In the name of the Almighty Father, cast aside the HERETICS among you, throw away the DEVIL’s SLAB of arcane symbols and the RODENT’s EYE of sight, and be EMBRACED by the DIVINE and JUST.
(Learn to play ULTRAKILL using a controller utilizing an optimized configuration)
Prologue: Why? ..No seriously, why??
ULTRAKILL is, simply put, a thrilling and kinetic fast paced first person shooter that at first seems terrible or limiting for a traditional console controller- and has even plagued many a streamer or content creator who is not versed in traditional keyboard/mouse controls. It is not designed with controllers in mind, nor would most people prefer to play it that way if they didn’t have to.
That said. I feel different. And I think ULTRAKILL is a *fantastic* game for controller play. While I do not think I will change many in their ways I implore you to read further and take the plunge for yourself if curious.
With that (also) said, this is not going to suddenly make the game any easier. It will still require a similar amount of skill and dexterity to play well.
It is best to play with assists off if you are able and at a difficulty level that you are comfortable with.
But still.
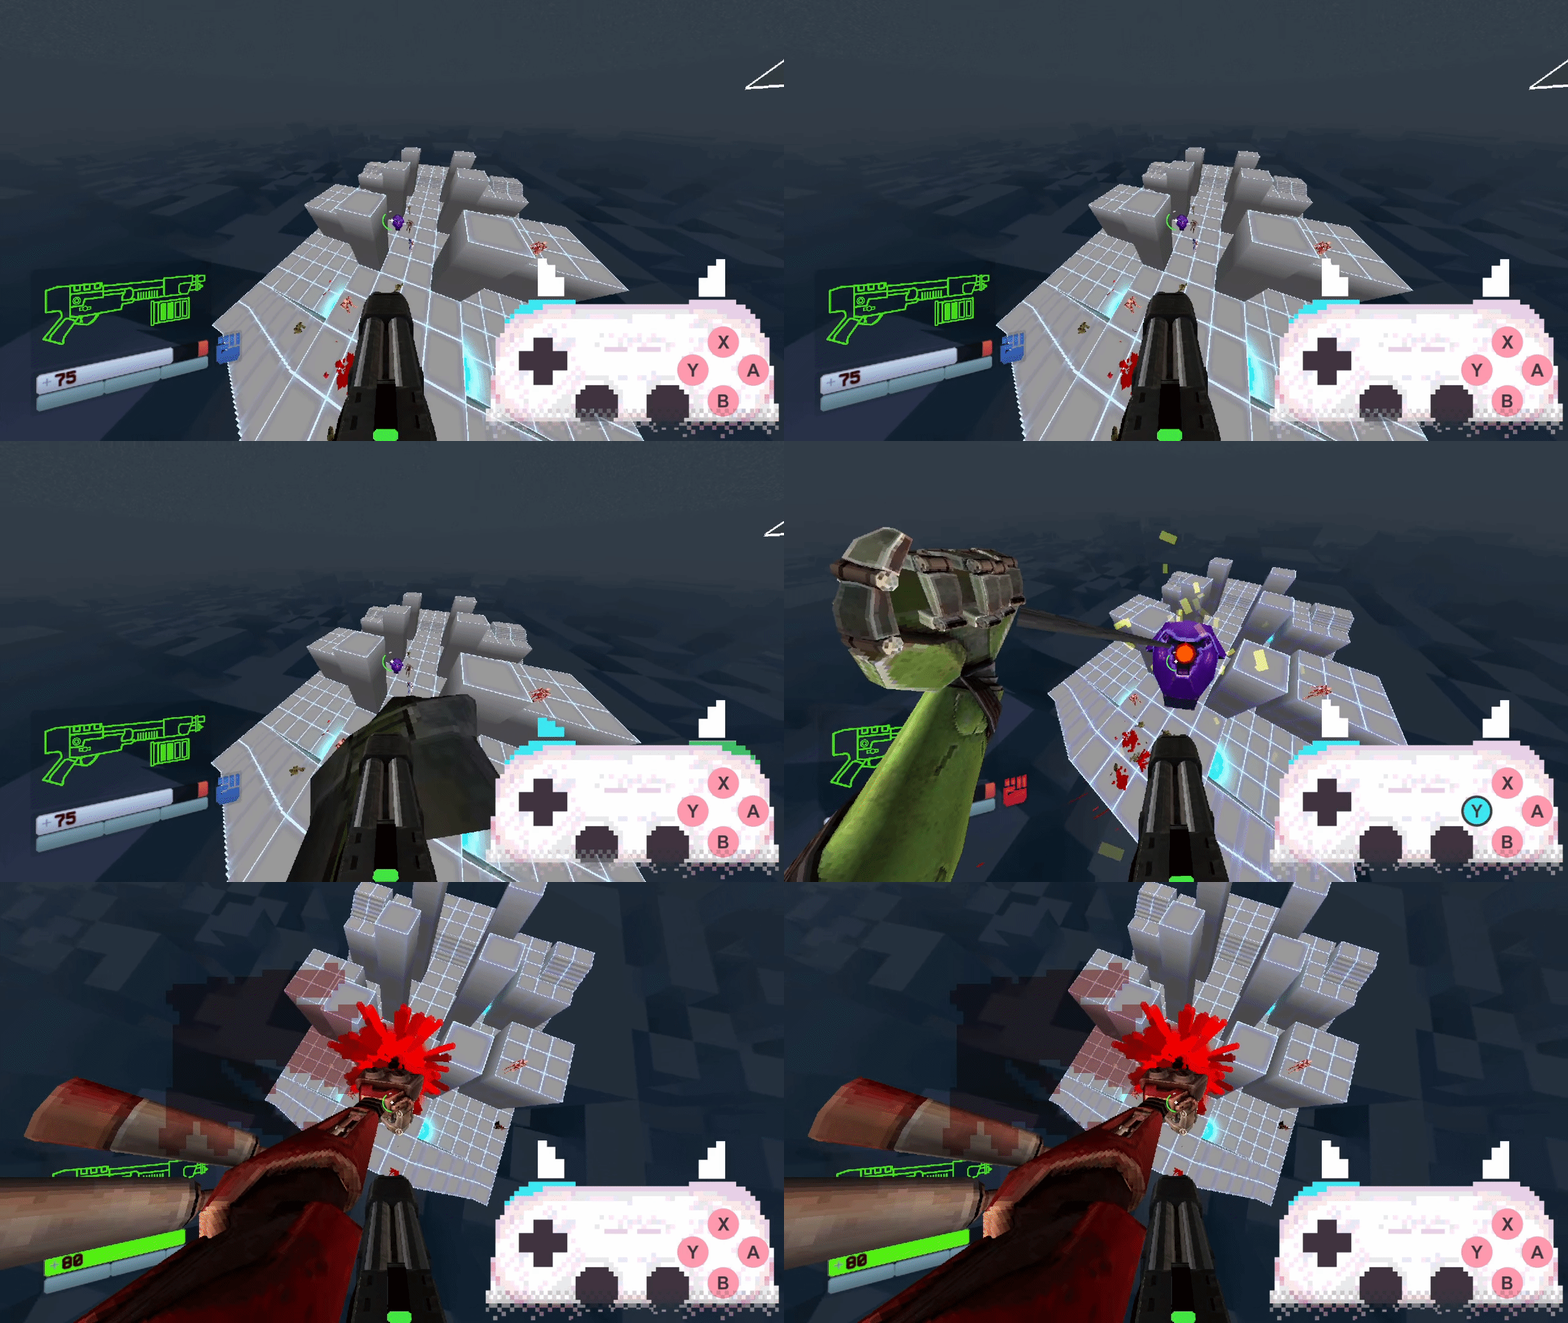
Would you rather play this?
Normal ‘Console’ First Person Shooter Controls
| WEBM – [imgur.com] |
|---|
or this?
Expert First Person Shooter Controls
| WEBM – [imgur.com] |
|---|
(The above videos were played on an 8BitDo Pro 2)
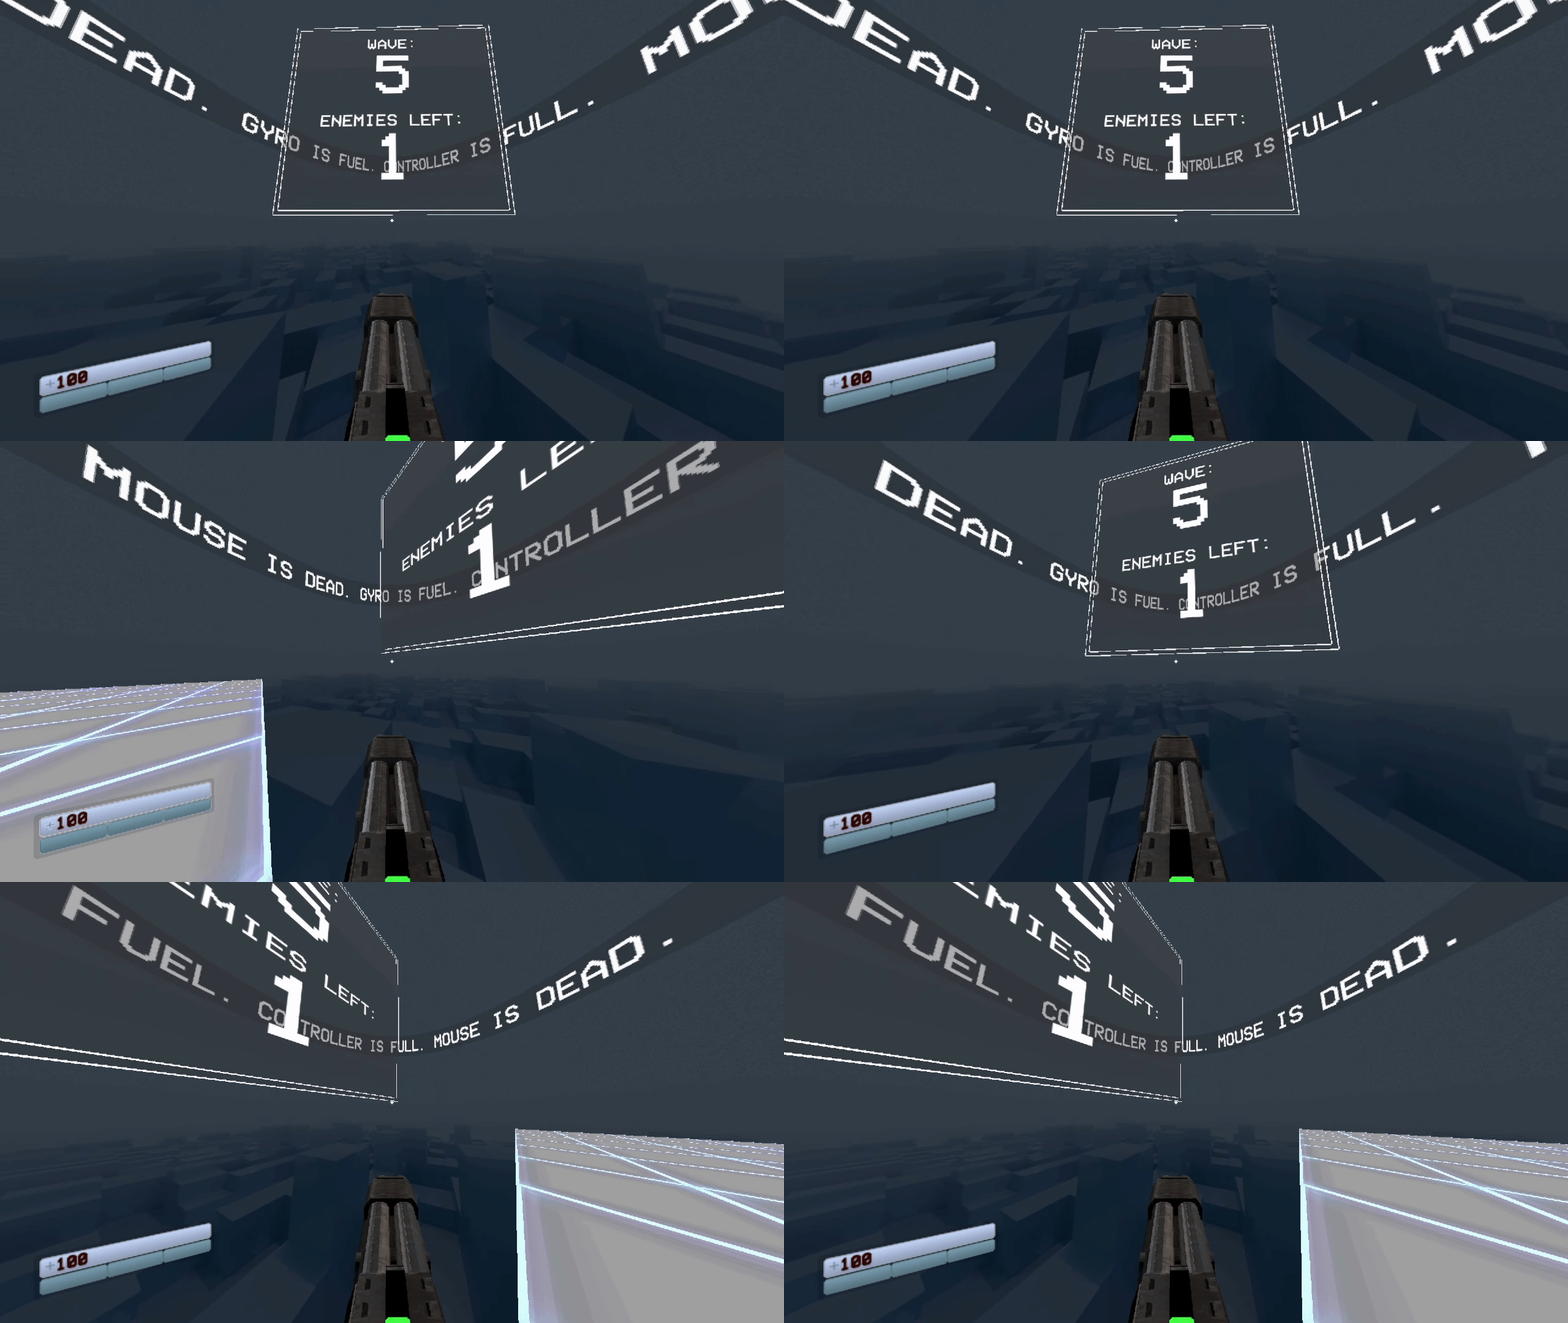
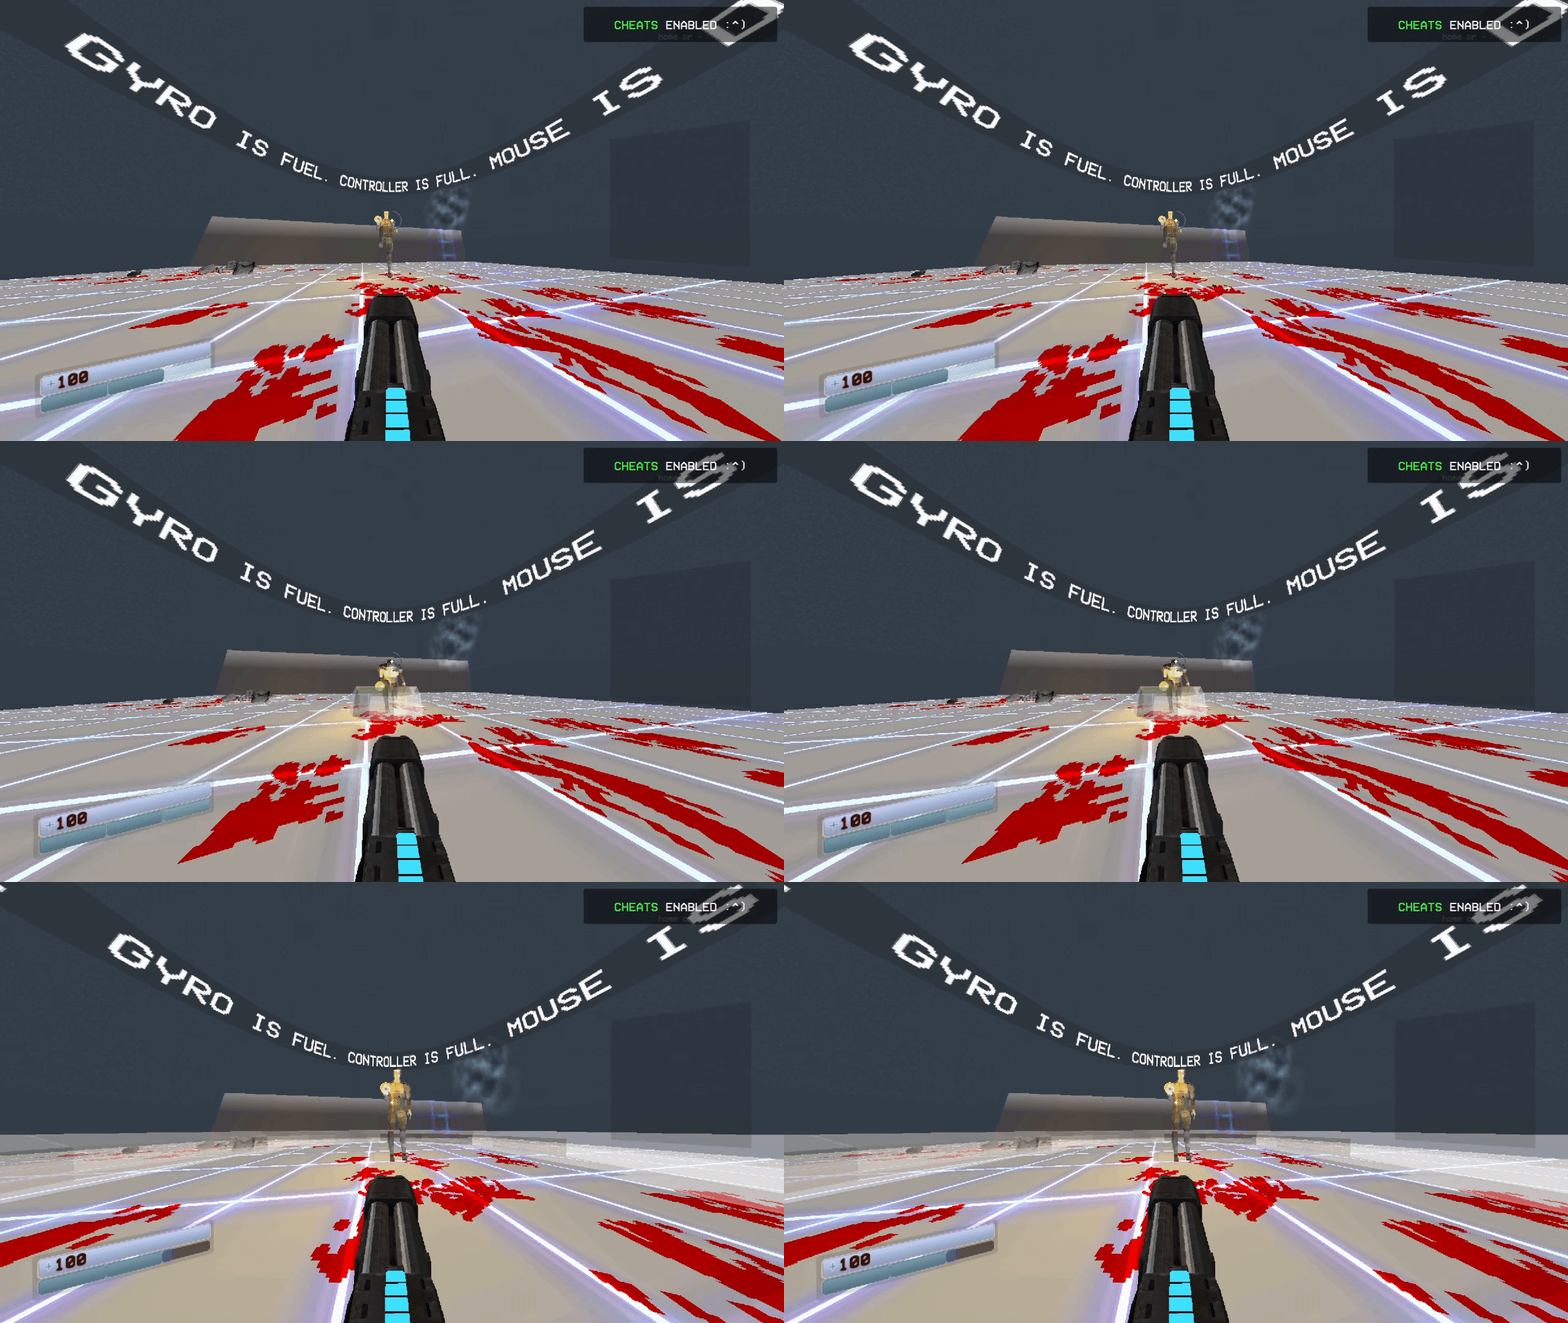
MOUSE IS DEAD. GYRO IS FUEL. CONTROLLER IS FULL.
Layer 1: Prep
–
There are two major things that you will need. A controller, obviously, and my provided Steam Input controller config to optimally play. JoyShockMapper – [jibbsmart.com] is a wonderful alternative, but the configuration will need to be made on your end or by the community. We are going to be using Steam’s builtin controller configuration tool, which has its own positives and negatives. (Primarily it being that it is accessible easily to anyone who is playing ULTRAKILL from the Steam launcher)
There is a Steam Input config available for both Nintendo Switch Pro Controllers and DualShock 4 controllers. DualSense has not been tested, but can be assumed to work by applying the DualShock 4 configuration. Xbox and most 3rd Party controllers will not work or have not been tested. Xbox controllers will be sub-optimal as they do not have a gyroscope sensor needed to properly aim.
8BitDo (SnPro 30+ / Pro 2) controllers are my personal preference and the hierarchy of controller preference overall goes like this:
- ) 8BitDo Pro 2* / DualShock 4 with back button attachment*
- ) DualSense / DualShock 4 / Nintendo Pro Controller / 8BitDo SN30 Pro+
- ) Steam Controller (???)
- ) Xbox or non-gyro 3rd Party controllers
The first three choices are well enough and have very little differences; any will do. I have not personally tried using my Steam Controller- it could reasonably work but it’s outside the scope of this guide. There is no configuration for the Steam Controller.
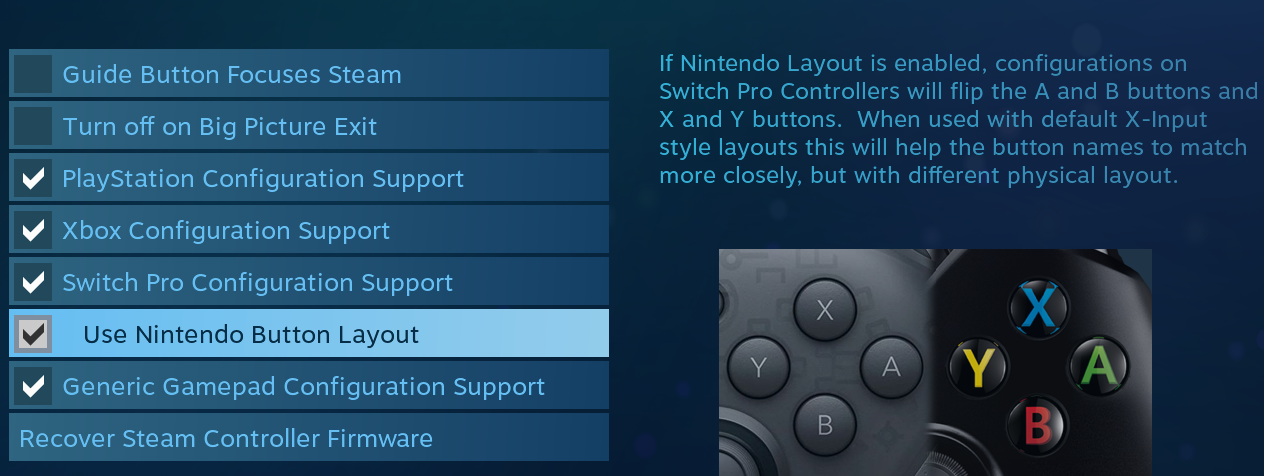
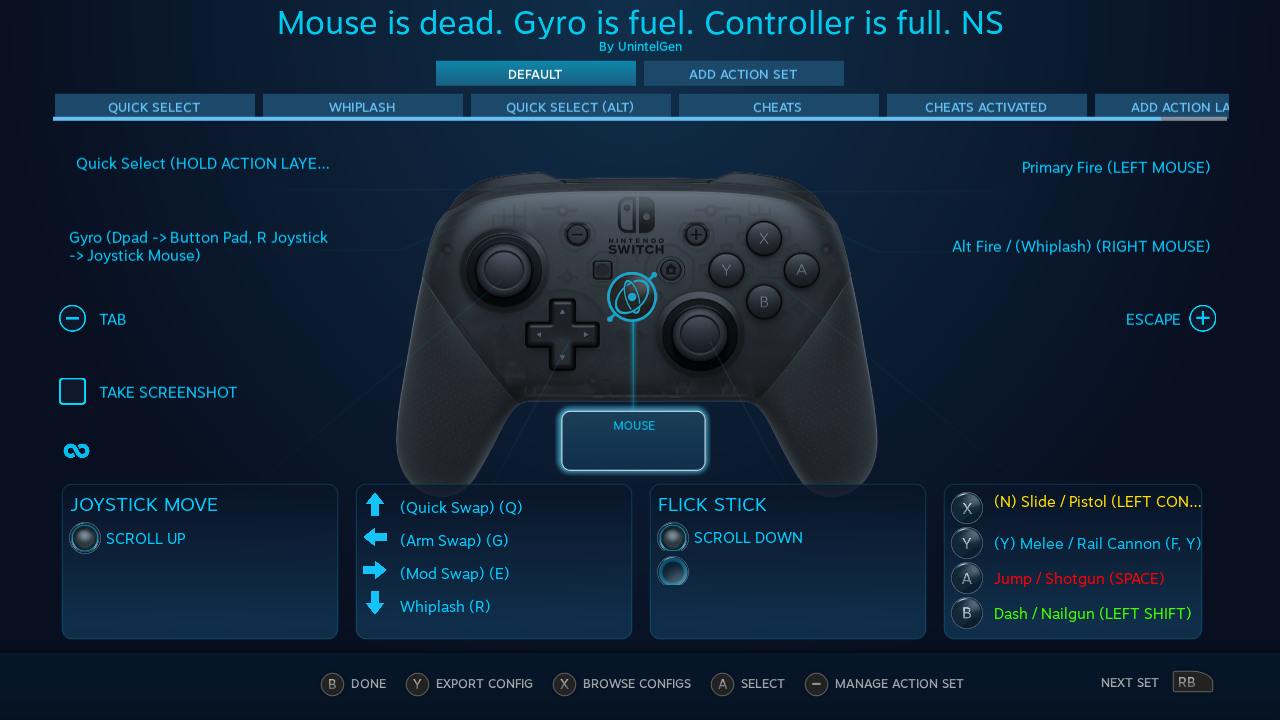
For this guide we will assume you are using a Nintendo Switch Pro Controller. The only core difference is face button layout, and it is assumed you have ‘Use Nintendo Button Layout’ ticked in your Steam controller preferences. The DS4 / DualSense also has the trackpad mapped to ‘Tab’, and the Share button set to screenshot.
(Use Big Picture Mode to access this settings page)
(The basics)
–
–
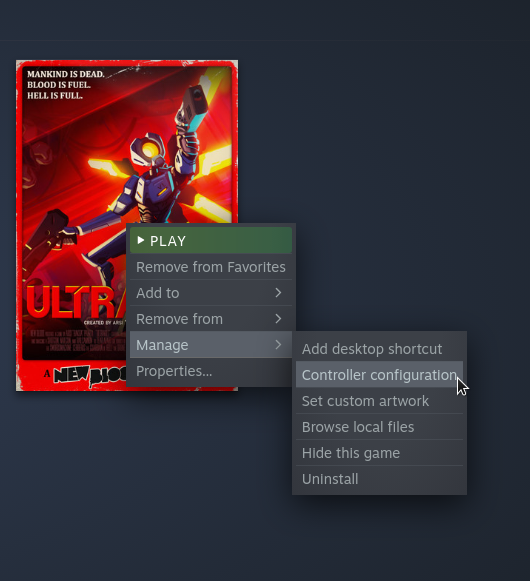
To download and use the config you can simply right click ULTRAKILL from Steam with your controller connected and click:
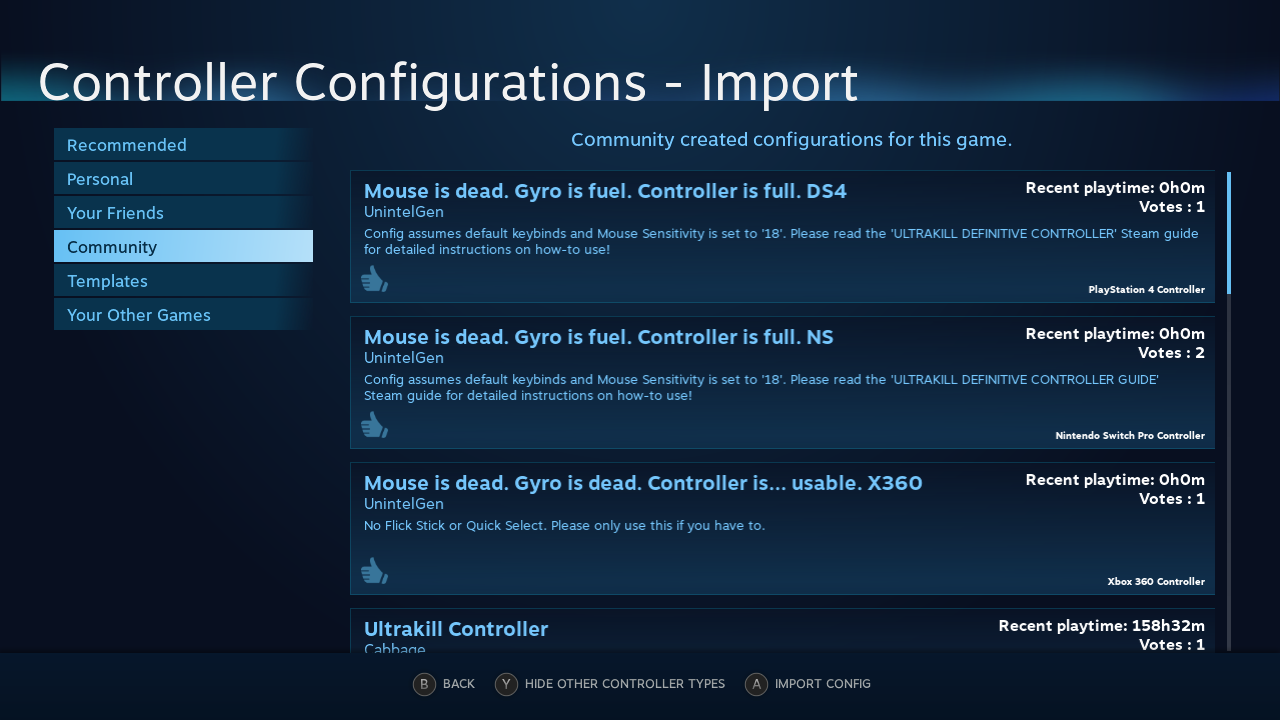
- Manage>Controller Configuration>Browse Configs>Community
and select the config “Mouse is dead. Gyro is fuel. Controller is full. NS” or “DS4” for DualShock 4 / DualSense. For non-Nintendo/Sony controllers you may need to select “Show Other Controller Types”.
Alternatively, you can simply copy-paste and then click the below links into the chat window on Steam Chat- It will automatically bring up the ULTRAKILL controller settings to apply the changes.
You can make a group chat and post the link to yourself.
Nintendo Pro Controller:
steam://controllerconfig/1229490/2585728798
DualShock 4:
steam://controllerconfig/1229490/2583940126
I have also prepared a non-gyro configuration for Xbox controllers. It works well enough, but is naturally slower. It has no Quick Select or Flick Stick configuration.
Xbox/360/One/S/X:
steam://controllerconfig/1229490/2527499861
(Right click from Steam)
(The configs, ignore any other ones)
With that, we can begin configuring to ensure the game optimally works with your setup. This is required; and while annoying it’s mostly painless.
*Pro 2 / DS4 back button differences will be discussed in ‘Tech‘
–
⮡ Mouse
–
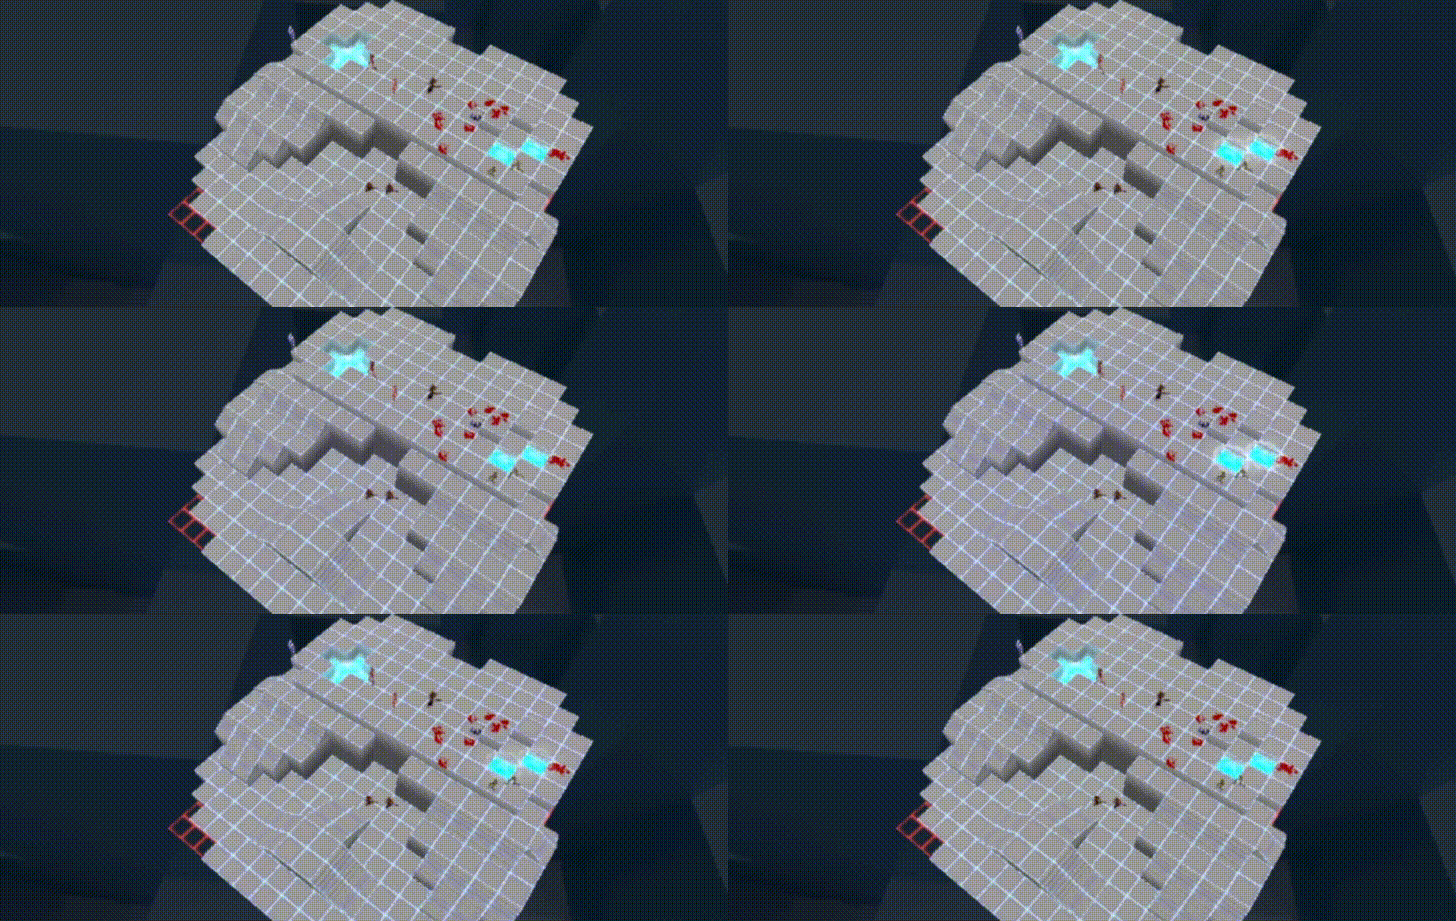
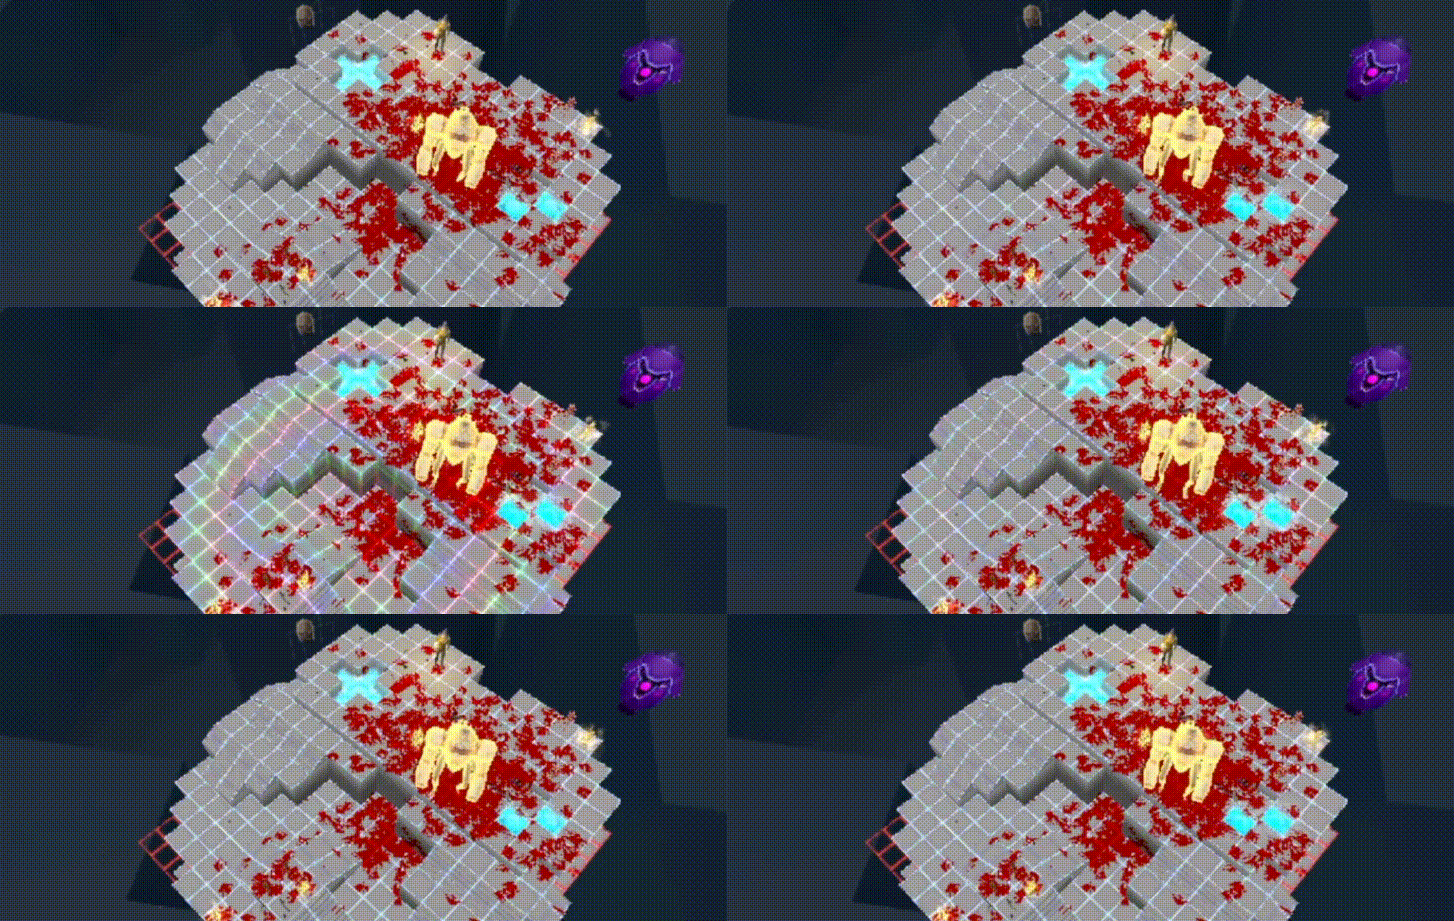
The first major thing you will need to adjust is your mouse settings. While using a controller you are also using your mouse to aim; your controller *is* your mouse. The most important thing is to ensure that any form of acceleration is disabled on your Operating System
(Make sure this box is unchecked)
Almost everything else is up to preference, though the defaults provided will make things much smoother.
(Note: I am not 100%, but Steam may have it’s own mouse profile that overrides the OS profile, therefore this may be unnecessary for anything but KB/M. Still, it’s good to do.)
–
–
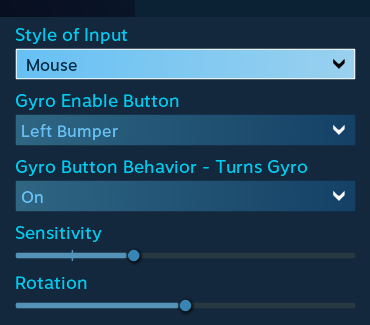
You can adjust and change the config’s mouse sensitivity by clicking the going into the controller configuration and selecting the middle section labeled “Mouse” and changing the “Sensitivity” slider below the “Gyro Button Behavior” button. This value only adjusts the movement speed of the gyro controls. The “Gyro Button Behavior” function by default is set to “On”. This means that the gyro will only work while the Left Bumper (LB) is pressed. You can set this to “Off” if you want the gyro to always be on except when (LB) is pressed.
(Ignore the other options, they aren’t particularly useful for us)
–
–
Now we can adjust settings in-game. Both Nintendo/DualShock 4 configs assume that the default keyboard bindings that come with ULTRAKILL are used. If you plan to alternate, and have custom binds, it’s recommended you change them in Steam’s controller config, not the game’s settings. Mouse sensitivity default is 50 in game. For the config it is assumed that the mouse sensitivity is set to 18, so please do so. Doing so may make Flick Stick setup (Next section) painless, as I’ve played with two separate OS setups and have not had to calibrate my settings. You can change the gyro sensitivity directly if you feel that you need faster movement aim.
The amount of motion in your wrists should be very minor. A full 360° turn in-game shouldn’t be more than 25° to 35° from neutral on the controller in the real world. The important thing to realize is that you are not ‘aiming’, like you would an actual gun. You do not ‘aim’ with a mouse either. With a mouse you are simply using X and Y translation; moving in those directions to position a reticle. With gyro, you are simply using X and Z *rotation* instead to do the same job.
The config page for mouse can be found here:
(Light Blue: Can be adjusted for preference)
(Light Yellow: Do not adjust unless you know what you are doing)
(Light Green: Adjust only if you have a non-standard 16:9 screen resolution)
–
| WEBM – [imgur.com] |
|---|
(You should be barely moving while doing this.)
If you find aiming is too sensitive, try lowering the Mouse Sensitivity slider shown above. It may make easing into gyro controls easier to start out, and then ramp up the sensitivity until you have a reasonable amount of control.
With that out of the way we can move on to…
–
⮡ Flick Stick
–
The biggest hurdle: Flick Stick. This has the potential to be difficult, and it is best to get a good feel for your mouse/gyro and have it adjusted now; any changes can easily break Flick Stick sensitivity.**
Flick Stick, for the unaware, is an alternative control method for the right analog stick created by JibbSmart. – [jibbsmart.com] Valve has incorporated its own version of Flick Stick in Steam Input, and it’s what we’ll be using.
Flick Stick, in short, forces a first person camera to snap to a direction based on where you ‘flick’ the stick and only changes the horizontal of your view. In tandem with a gyro-enabled controller it can be used to survey and quickly fire upon any target, from any angle. It is largely a replacement for the larger swipes of your mouse to pull things off like big 180 degree turns.
| WEBM – [imgur.com] |
|---|
(You spin me right round, baby)
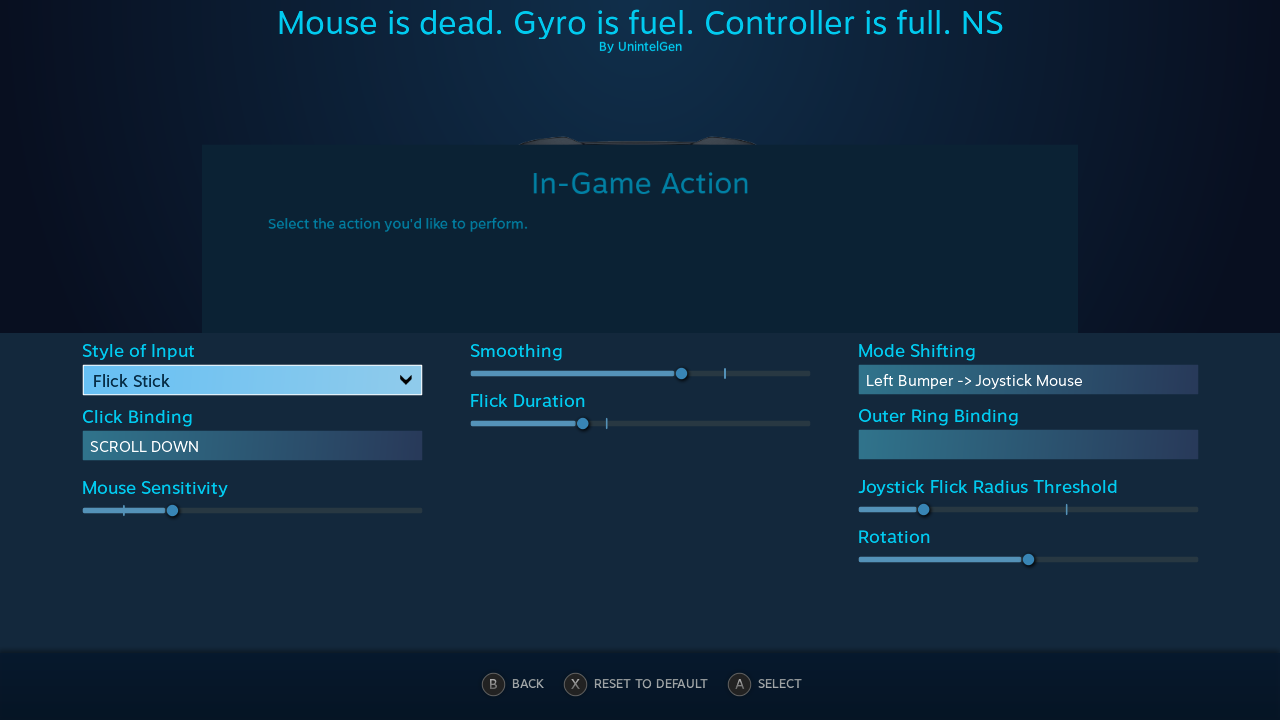
To begin, enter the controller configuration page once you’ve applied the config to your controller. Click the “Flick Stick” function that’s tied to the right analog stick.
(Light Blue: Can be adjusted for preference)
(Light Yellow: Do not adjust unless you know what you are doing)
(Light Green: Will need to be calibrated)
(The doom page.)
(For the best convenience open the game in Big Picture Mode for the BPM Steam Overlay)
(Flick Stick is dependent on your set screen resolution! The config is designed for a 1080p 16:9 display. You WILL need to adjust the Flick Stick sensitivity if you are using a different display resolution.)
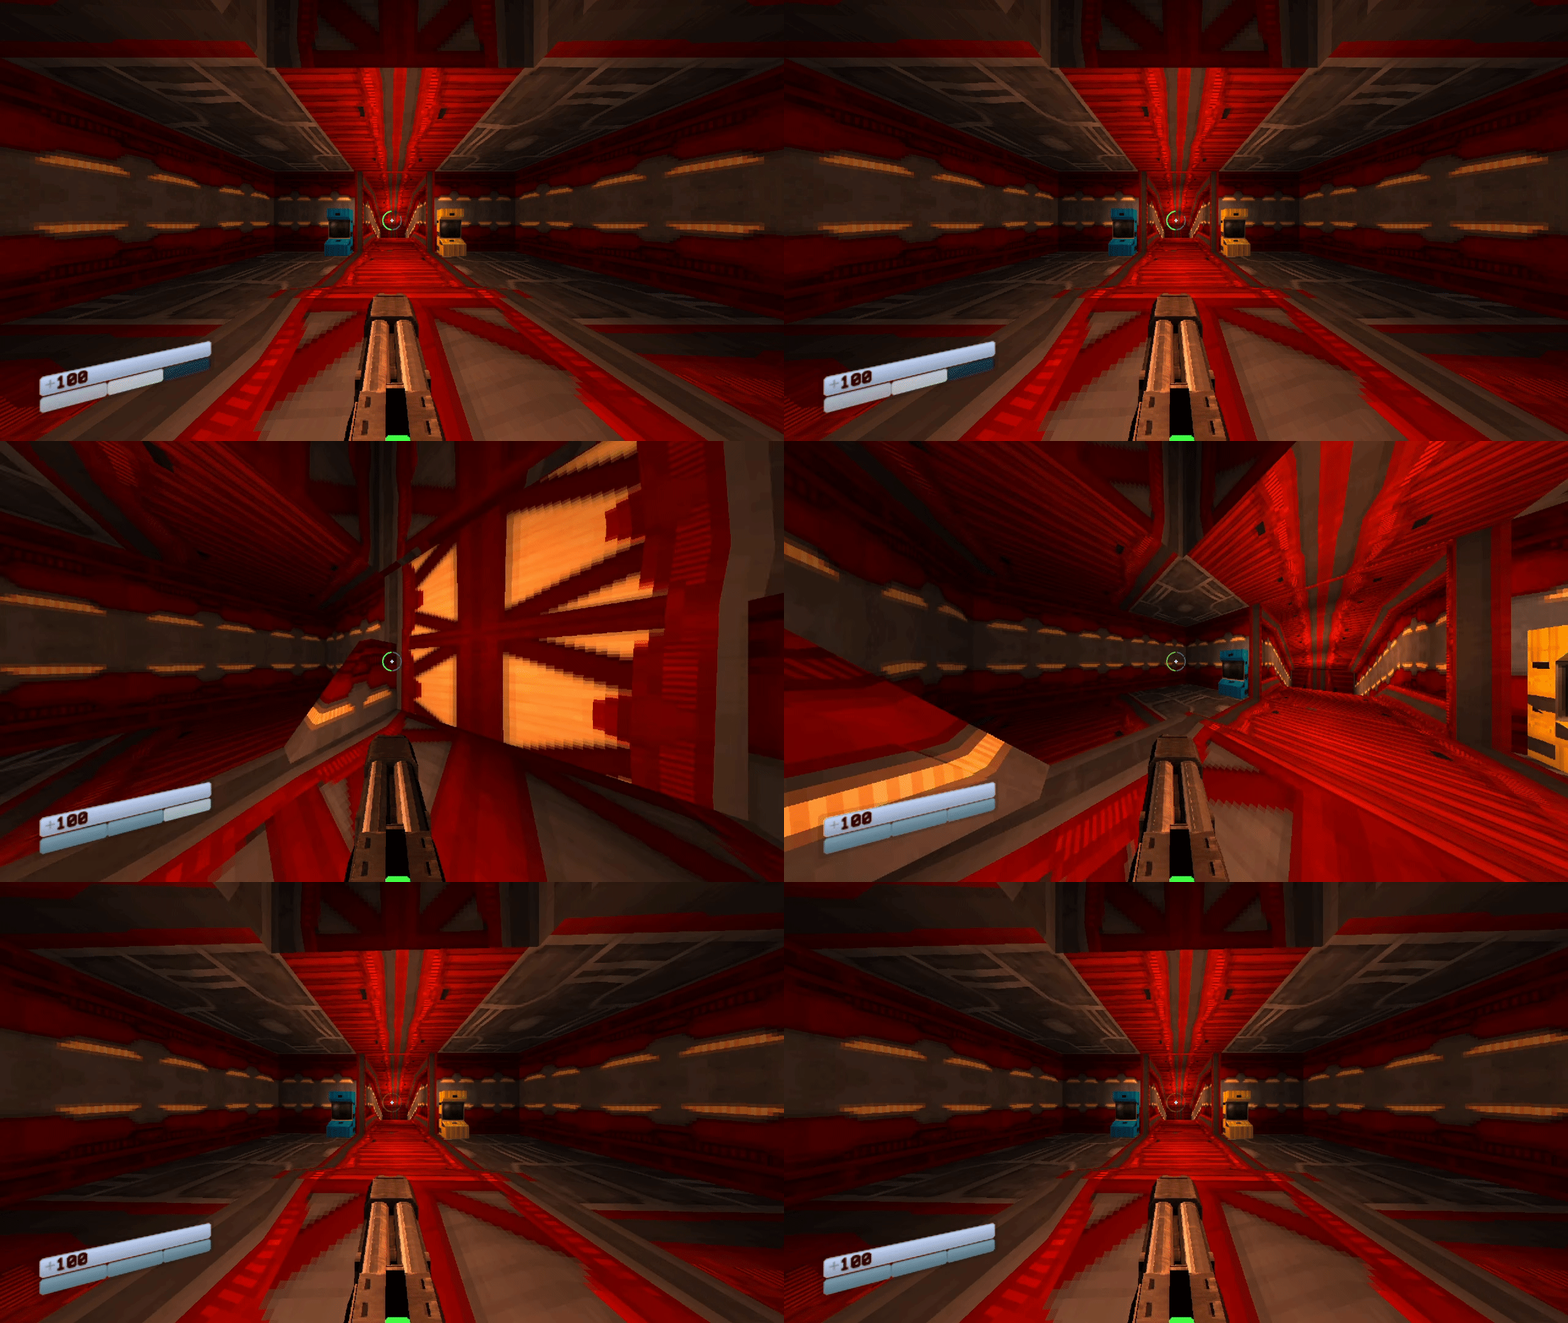
The only thing we’re concerned about here is the “Mouse Sensitivity” slider, below the click function. Everything else can be left alone. You’re going to want to be in-game for this; simply start in the empty room at every map and rotate the right stick one time for a full 360° turn. You should, *ideally*, make one full 360° rotation in-game. It might help (again) to have the in-game mouse sensitivity the same as mine (18) as that’s what is currently working on my end. If you do not meet a full 360° turn, or turn too much, you will need to adjust the “Mouse Sensitivity” config slider as mentioned.
To make it (slightly) easier, you can hover your cursor over the slider to reveal the current value. This value is not directly editable at the moment, which is a serious oversight on Valve’s part and is why this is harder than it needs to be.
| WEBM – [imgur.com] |
|---|
(What you should see if done successfully)
It may take a few attempts, but trust me it becomes easier to deal with over time. Use the Steam Overlay to edit while in-game if you are able.
One final note: If you notice that flicking down or left or right doesn’t always result in that perfect 90° or 180° angle- Do not sweat it. It can be hard to get precise down to the degree movement. Lightly flicking and using as little movement as you can has helped in my case. It just takes some practice.
Just get the 360° rotation test right and you’re good to go.
**Only applies to OS and in-game sensitivity
–
Layer 2: Tech
–
Alright. With that out of the way, we can move on to… Actually playing the game. These kind of setups are necessary at the moment, as the game itself has no way of knowing what exactly we want. Thankfully, this becomes easier with time and subsequent games become easier and easier to figure out.
Now that our mouse is adjusted and Flick Stick is calibrated, it’s time to learn how-to-play. Or how-to-play again if you’re not new to ULTRAKILL.
- You use the left analog stick to move
- The right analog stick for Flick Stick
- Left Bumper (LB) to activate gyro
- Left Trigger (LT) to activate Quick Select (Explained in the next section)
- Shoot with the Right Trigger (RT)
- And alt-fire with Right Bumper (RB).
The face buttons by default are:
| ULTRAKILL | Nintendo | Sony |
|---|---|---|
| Jump | A | Circle |
| Dash | B | Cross |
| Melee | Y | Square |
| Slide | X | Triangle |
And for the Dpad:
| ULTRAKILL | Dpad |
|---|---|
| Weapon Wheel | UP |
| Mod Swap | RIGHT |
| Whiplash | DOWN |
| Arm Swap | LEFT |
| WEBM – [imgur.com] |
|---|
(Brief primer on the buttons.)
It should be simple enough to familiarize yourself with this control scheme, it’s frankly not that different from how console FPSs do it. But now we’re going to incorporate a more advanced technique. And that is…
–
⮡ Quick Select
–
This is going to sound at first like it’s not particularly noteworthy, but I hope by the end you’ll see how revolutionary and useful this can be. Quick Select is a method for selecting weapon binds without interrupting the game or needing a HUD element to work with. In short, it’s a weapon wheel mechanic, but without the downsides that a traditional weapon wheel has. Because of how the right analog stick is used for mouse input it is not recommended to use the in-game weapon wheel.
(Hakita, seriously, you don’t need to finish this now. We good.)
With Quick Select we have 4 available binds and 4 weapons to cycle through. When you press and hold (LT) the face buttons are reassigned to keyboard keys 1 through 4. By default, those values are the following:
| ULTRAKILL | Nintendo | Sony |
|---|---|---|
| 1 | X | Triangle |
| 2 | A | Circle |
| 3 | B | Cross |
| 4 | Y | Square |
Either letting go of (LT) or pressing any face button will remove the number binds. This means you can only select one weapon at a time. To cycle through variants you will have to press (LT) as many times and rhythmically to get the variation that you want. This may sound complicated, but it’s really not. This ensures you have the fastest available time to use your movement functions. It’s quite easy to get down.
If you just do not like it and/or feel it doesn’t help, simply right click ULTRAKILL in Steam and go to the Controller Configuration.
I have a Quick Select action layer that doesn’t remove the binding when activated. You will need to rebind (LT) by changing the current bind ‘regular press’ [Quick Select] and rebinding it to [Quick Select (Alt)] Now it will only activate and remove itself when you press (LT).
After personally testing this myself, I will immediately say I don’t recommend changing to the alternative setup. It can make snap button presses prone to selecting wrong weapon variations and have found it to be very unreliable. Still, if you prefer that setup you can change it if you like.
(Using [alt] will not remove the Quick Select when you use Whiplash. It’s a known bug, and I cannot change it at this time. You can rebind the Whiplash action layer to accommodate this quirk.)
| WEBM – [imgur.com] |
|---|
(You can still move, aim and fire while changing weapons!)
(SPOILERS FOR LAYER 4: GREED (4-4) BOSS)
As for potential future weapons and updates that would exceed 4 weapons there is a solution for this. The config would either have to be updated or manually adjusted by the user but you can add a held button press to double the amount of inputs. I already use this in several games, and find it to be shockingly natural. So you ‘tap’ a face button for 1-4, and ‘press’ that same button instead for 5-8. This creates a slight nigh unnoticeable delay for the first category (1-4) and is well worth the trade off.
(Example from DUSK)
Even Prodeus, a game with 15+ weapons***, is largely playable and enjoyable with this system. ULTRAKILL just makes it easier for us thanks to its small weapon pool.
(From DUSK to Doom: Eternal)
***Prodeus has a multiple binds per-keystroke system, so most number keys are bound twice
–
⮡ Whiplash
–
The (recently released) Greed layer introduces us to the Whiplash, an arm with the ability to throw out a stringed projectile and pull using a dedicated keybind. That bind on controller is by default set to DOWN on the Dpad.
However, there is a more advanced way to activate Whiplash. By holding (LT) for Quick Select, your alt-fire (RB) becomes a secondary bind for Whiplash. So long as you hold (LT) you can use Whiplash with (RB), even if you select a weapon and remove the Quick Select bindings. Using Whiplash will remove Quick Select after its first use, so keep that in mind. Doing it this way is very fast and keeps your thumb on the left analog stick, however you will not be able to use your alt-fire as quickly as a result.
| WEBM – [imgur.com] |
|---|
(See? Not bad.)
–
⮡ Gyro (In-Game)
–
This should be fairly straight forward, but you are going to be primarily aiming with the ‘gyro’ of your controller, by shifting your wrists and the controller’s center to move the reticle. I recommend resting the controller in your lap if possible. You active gyro with (LB) and it will only be active while (LB) is held. You can navigate all menus using this setup, and select using your primary fire (RT). I find it easier when using the scrollbar/sliders to consistently hold (RT) and temporarily press (LB) when needing to move them.
In-game the gyro function isn’t much different. Moreso than mouse aiming, you will likely have to steady your shots while gyro is active, as there is naturally more ‘noise’ when using a device that’s not stationary on a desk. A more advanced method of steadying your shot is to let go of (LB) when you think you can line the shot up from simply moving; there will be no ‘noise’ from the gyro in that situation. Being able to mix the two in and out will allow you to have very accurate shots and be able to swiftly move from target to target. It’s something that just comes down to practice and persistence.
–
⮡ Flick Stick (In-Game)
–
Now we’re going to briefly go over how to use Flick Stick. It’s fairly simple and you should get a feel for it just from practice and regular play. When you move the right analog stick your view will snap to the angle relative to your current view. From a neutral position facing forward if you flick the stick to the left you should rotate roughly 90° counter-clockwise. Flick south, and you’ll do a 180. If you hold the stick outward after flicking, you’ll continue in the direction you move the stick and can continuously rotate your view from that origin point. And any point in-between works as well.
| WEBM – [imgur.com] |
|---|
(Getting this down can mean even having eyes in the back of your head)
There is one area where Flick Stick works differently here from a typical configuration. Flick Stick will not activate when (LB) is held for gyro control. Instead, you’ll move the first person view like a typical dual analog FPS. By mixing the two and choosing when to Flick Stick and when to right stick aim you can survey your environment much more efficiently. Right stick aiming allows for wider continuous movements that are great for getting around large corners.
To make things easier, I recommend simply not touching the right analog stick while holding (RB) and aiming via gyro when starting out. It can be disorienting at first to use Flick Stick and stick aiming in tandem, but overtime it becomes second nature.
If you prefer it off, much like the earlier Quick Select cancel activator, you can simply enter the controller config and then:
- Right Stick (Flick Stick)>Mode Shift ((LB) to Joystick Mouse))
and remove the Mode Shift button (LB) and the right stick Flick Stick functionality will never change.
–
⮡ 8BitDo Pro 2 / DS4 with back buttons
–
As I mentioned earlier in ‘Prep‘, controllers that have back buttons (or ‘paddles’) can have an advantage over those without. With both the DS4 w/ attachment and the 8BitDo Pro 2 you cannot assign unique buttons to the back paddles; they have to be existing buttons. My personal preference is to rebind them to LEFT and RIGHT Dpad inputs, which makes it so I have even less reason to take my thumb off the left analog stick.
| WEBM – [imgur.com] |
|---|
(But really, when would this be useful?)
| WEBM – [imgur.com] |
|---|
(Or this? Madness, I say!)
Utilizing the Dpad is still possible to do the above but sub optimal and potentially slower. I overall recommend using paddles if you have a controller that has them.
I personally use ‘Change Arm‘ and ‘Change Variation‘ as my back paddle setup. Variation on the left, arm on the right.
In games with larger weapon pools, it is easy to say that binding ‘9’ and ‘0’ as you would with the Quick Select face buttons would be fairly doable.
–
Layer 3: Movement
–
So now that we’ve covered the controller mappings and unique functions all we have left really is to cover the differences in movement. There’s not much, really, but some things are good to point out. You’ll be using the left analog stick to move, and unlike WASD you have gradual movement and can ‘walk’ if you feel to do so at a leisurely pace.
| WEBM – [imgur.com] |
|---|
(You can make moments like these much more intense and nail-biting!)
Thankfully the left analog stick is like the ONE thing that doesn’t conflict with ULTRAKILL’s KB/M controls. Mixing the two can cause things like alt-fire to drop suddenly, and it was very annoying when I didn’t know why it was happening.
–
⮡ Movement (continued)
–
Most movement tech still works in the transition to a controller and is fairly easy to execute. Actions such as:
Boost Jumping
| WEBM – [imgur.com] |
|---|
(Done by pressing B then A while on the ground.)
Slam Jumping
| WEBM – [imgur.com] |
|---|
(Done by pressing X in air then pressing A when making contact with the ground.)
Slam Storage
| WEBM – [imgur.com] |
|---|
(Done by simultaneously pressing X then A against a wall in air and the pressing A when making contact with the ground.)
Momentum Slide
| WEBM – [imgur.com] |
|---|
(Done by pressing X and A when making contact with the ground.)
And weapon tech such as:
Splitshot
| WEBM – [imgur.com] |
|---|
(Flick the controller slightly to time the shot.)
Rail Coin
| WEBM – [imgur.com] |
|---|
(Toss a coin out with RB and then LT and Y for Rail Cannon.)
Red Explosion
| WEBM – [imgur.com] |
|---|
(Core eject with RB and then LT and Y for Rail Cannon.)
Are able to be done just as they were with KB/M. Some of the timings may be slightly different but as I do not play ULTRAKILL with a keyboard/mouse at all I cannot say for sure.
For further explanations on tech, HerbMessiah – [youtube.com] ‘s videos are a more detailed series of videos to get started.
Most of these just require a little practice to execute consistently. There is no reason to believe that there are any techniques exclusive to KB/M execution, though some may require or benefit from back paddles as mentioned earlier.
Now there is one movement technique that (I believe) is exclusive to controller use, and that is…
–
⮡ Dash Faint
–
As far as I know this is a quirk of the analog movement from an analog stick and cannot be done via WASD. At least, I can’t think of a way to do it.
Dash fainting is, simply, dashing with minimal movement. It gives the same amount of invincibility frames as a dash and makes next to no movement. Whether this counts as ‘tech’ or not, I don’t know. It’s best case uses are to avoid shock waves or to hold a position in air when you don’t want to cancel momentum with a full dash.
To preform a dash faint, you need to preform a dash while having the left analog stick tilted very slightly in any direction. If you’ve held the stick position correctly, you’ll see speed lines and have dashed, but made very little movement. The ramp on doing so is very tight, moving the stick about 20% outward and it’s almost the same as a full dash.
| WEBM – [imgur.com] |
|---|
(Instantly stop your pesky momentum with this one weird trick!)
| WEBM – [imgur.com] |
|---|
(The timing is very tight, but it’s doable.)
The applications of this are, frankly, very minimal but I do think it’s fun to have.
| WEBM – [imgur.com] |
|---|
(Wanna see me use my i-frames? Wanna see me do it again?)
There’s a similar quirk with sliding as well, but due to how the slide decreases in acceleration it frankly isn’t helpful so far as I can tell since the slide ends moments after starting.
–
Layer 4: Cheats
–
As a quick primer, it is possible to use cheat macros that are builtin to the config, largely for convince sake or in case for whatever reason you lack a keyboard nearby. It uses the same functionality as Quick Select (assigned to face buttons) and all eight cheats are available in descending order from 1 through 8 as they are listed. This requires the ‘tap’ and ‘press’ functionality discussed earlier to allow all eight cheats to be selectable at once. The order is as followed:
| Cheat | Nintendo | Sony |
|---|---|---|
| Noclip (1) | Y | Triangle |
| Flight (2) | A | Circle |
| Infinite Wall Jumps (3) | B | Cross |
| Blind Enemies (4) | X | Square |
| No Weapon Cooldown (5) | Y* | Triangle* |
| Disable Enemy Spawns (6) | A* | Circle* |
| Teleport Menu (7) | B* | Cross* |
| Get the Spawner Arm (8) | X* | Square* |
(RB) is also used to keep cheats enabled and (RS) will hide the cheat list.
*Button needs to be held (about 1sec), not tapped
To enable the cheat menu in the first place, there is a special macro assigned to holding down both the Quick Select (LT) and the right analog stick (RS) for about five seconds. Just hold it down until the cheat pop-up appears. This will also activate an action layer that changes the UP dpad to the cheat macro Quick Select instead of the (mostly useless) weapon wheel / last weapon key. So now to use the cheat macros listed above, you will need to hold UP on the dpad and select with the face buttons.
If for whatever reason you do not want to have the cheat macro function available you can restore the button’s functionality by holding Quick Select (LT) and double tapping (RS). Or you can simply exit the game which will reset the macros to their default state.
(10/28/2021) UPDATE
As of the patch released on 10/28 the cheat menu has been overhauled. There are now more binds, new binds (most of the previously established cheats I think are untouched) and a system for rebinding keys for cheats. The method above will still work, and unless I can think of a better system it’s just going to stay as is. I personally changed all my cheat macro keys to the Number Pad (1 through 8) for easier readability in Steam Input and then simply changed the binds in game as needed.
–
FAQ
–
Is mouse actually dead?
It was ironically my keyboard that died, lol
Would you say this actually makes the game easier to play? Compared to either just regular controller or KB/M?
In the case of the former I’d say “yes” simply because you can naturally do things faster and more spontaneously and with a greater degree of accuracy. In the latter’s case, it’s complicated. With fewer buttons there’s less travel issues but more actions assigned to a single button can be more confusing. Really playing it this way is an awkward middle ground wherein it takes the type of experience and fortitude to just setup and play where you might as well just be playing KB/M anyway. I have tried to minimize the issues of setting up the configuration but I cannot say what the ‘ideal’ setup is for everyone. I feel I have largely maximized what you can do in any given moment to something that is comparable to regular KB/M play.
I would also say on a subjective level that the more natural movements when aiming provide a more visceral sensation and I kinda prefer that.
Is this the ‘definitive’ way to play with motion controls?
I can only speak for me but I do tend to see the gyro controls community (Discord/YouTube/etc) has certain preferences that do not align with what I think work (for me) or have written in this guide. I cannot in any way say this guide is “objectively” the best way to play, just that it works for me. If you ask the Gyro Discord (posted below) they may give different/better answers than what I’m providing. Ultimately, I feel this is the best way to play ULTRAKILL with a controller and many other games as well- but that of course is simply my opinion and that you should find what works for you!
Wired or wireless?
To minimize dropped inputs and latency, I suggest to ALWAYS play wired via USB when possible. Wireless should be fine on most setups, barring remote play with the Steam Link. Gyro motion and in-home streaming are not friends, I’ve found.
My cursor/aim keeps drifting!
This seems to be highly dependent on a controller-to-controller basis but drifting can occur. Steam has calibration tools to mitigate as best it can, but sometimes you just end up with a bad controller. Ticking ‘Auto-Calibrate Gyro During Use’ and using the gyro-only calibration tool can help significantly, particularly the latter. When I had some (brief) drifting problems I’d setup the desktop configuration to ‘always on’ gyro to diagnose the issue, laying it flat on a desk and seeing where my cursor was going. Try a different controller if all else fails.
I have found to unplugging and plugging back in my USB cable can help.
(I use a hub, so I flip the hub’s connection off and then on. This might be a unique situation to using a USB hub.)
You can change controller settings from both the settings Steam>Settings>Controller ‘General Controller Settings’ and in Big Picture Mode.
Any other differences between Nintendo/8BitDo/Sony controllers?
I can only speak from experience but there is varying aspects to each controller’s build and quality. I’ve found that 8BitDo has (probably) the highest issue with reliability but has the strongest feature set. If you get a good one, take care of it; I had to replace my first Pro 2 but the second is going strong. Nintendo’s the all-rounder and some may prefer the stick placement. I’d also say its digital triggers are probably better for action games overall. I’ve never had a Pro controller or used one, but I’ve had issue with Sony/8BitDo’s triggers, though 8BitDo’s software configuration tool has mitigated that immensely. I wouldn’t say it’s a huge issue overall. I’ve heard Nintendo’s controllers may need more frequent calibration, but again I wouldn’t know from first hand experience. Sony’s seem the best built overall and the community seems to go for them.
From the brief testing I did on a borrowed controller I think the DS4’s gyro may be more sensitive. I’m not sure if I liked it or not.
Should I use JoyShockMapper (or reWASD) instead?
Use what you want! There are some differences in how to set things up, but everything I’ve gone over in this guide is applicable to JoyShockMapper 100%, though achieving the exact same result will take some time. You may even find a way to improve the setup in ways much more efficient and cooler than even I!
I have not personally used JoyShockMapper, but the community attests to it’s better Flick Stick implementation; which is probably true. I don’t find Steam’s version to be bad, but it definitely isn’t perfect– So if you’re looking to ‘up’ your controls to the next level, I recommend JSM. It is a bit more technical and hands on to work with which are its only real drawbacks. If Steam Input isn’t cutting it for you, JSM may have what you need!
Do I require a keyboard for any section of the game?
No. Every situation has been accounted and there’s a way to do everything without ever reaching for a keyboard. For Y/N prompts your X (Square) and Y (Triangle) buttons (labeled in the config) have ‘N’ and ‘Y’ keys mapped to a held press. You only need to hold the button for about 2 seconds and it’ll press the correct key to advance any prompt. The scroll function in the left/right analog sticks is specifically modified to making scrolling on the in game terminal easier, though it’s painfully slow in regular menus as a result.
Because Y and N aren’t used by default there should be zero issues when holding those buttons during normal play. They’ll just be garbage inputs and rare enough it’ll never matter anyway.
What about other first person shooters?
This configuration is what I largely use on every FPS title I play nowadays. Some require tinkering, all will need different Flick Stick sensitivity, but rarely will I find something that just doesn’t work. Even Deus Ex, a game with 50% of the keyboard in use, largely works with this config. I managed to get both augs and inventory binded to the Dpad and face buttons respectfully. Except the on-screen keyboard for terminals. Damn that thing sucks, even when I did get it to work. So games that require typing are not ideal.
You can copy a config to another game by using the ‘import config’ button then going to ‘Your Other Games’ tab. This can be a great starting point for creating another config and save a ton of time. I’ve made a default one as a template in the ‘template’ section for this purpose myself.
Quick tip: Certain game engines do not like ‘mixed’ inputs, as in using both kb/m inputs and xinput controller inputs at the same time. In these cases you will have to assign everything to kb/m with Steam Input. You may have to check to make sure certain action layers don’t change inputs. This means the left analog stick will have to be remapped to WASD, sometimes with shift as a outer ring binding to allow a pseudo-analog input setup.
I hope you enjoy the Guide we share about ULTRAKILL – Controller User Guide & Configuration; if you think we forget to add or we should add more information, please let us know via commenting below! See you soon!
- All ULTRAKILL Posts List













Leave a Reply