Things you will need
Tools
Here is a list of tools that you will be using over this tutorial:
- Garry’s Mod (obviously)
- nemstools.github.io – https://nemstools.github.io/pages/VTFLib-Download.html
- Any Image manipulating program (Photoshop, GIMP, Paint, etc…)
- notepad-plus-plus.org – https://notepad-plus-plus.org/downloads/ (Not really needed, but highly recommended)
- nemstools.github.io – https://nemstools.github.io/pages/GCFScape-Download.html (Not needed, but useful)
Addons
You will need two addons from the workshop:
Extended Spawnmenu (by Rubat)
https://steamcommunity.com/sharedfiles/filedetails/?id=104603291
Sub Material Tool (by Kawoosh64)
https://steamcommunity.com/sharedfiles/filedetails/?id=405793043
STEP 1 : Getting your materials
Alright, now you have your tools and you are ready to start adding your materials. However, what if you don’t know what the material you are trying to edit looks like? For this there are two methods
USING GCFSCAPE (IN-GAME MATERIALS ONLY)
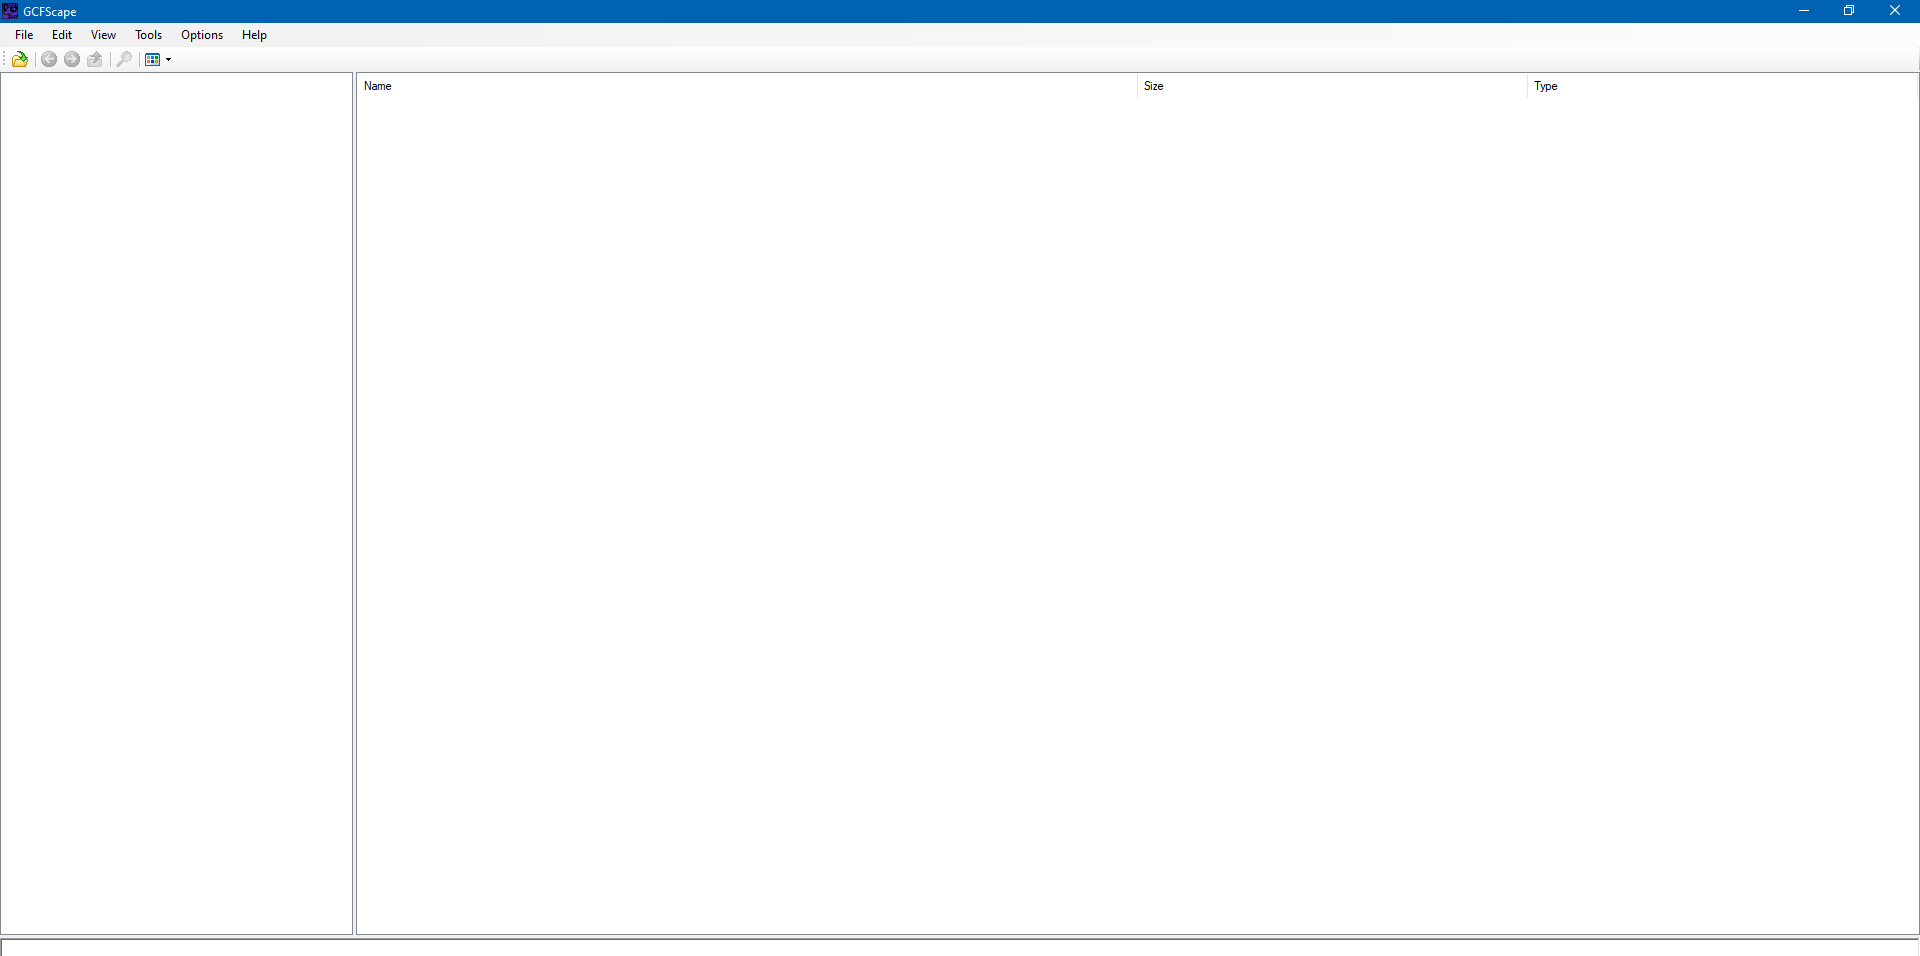
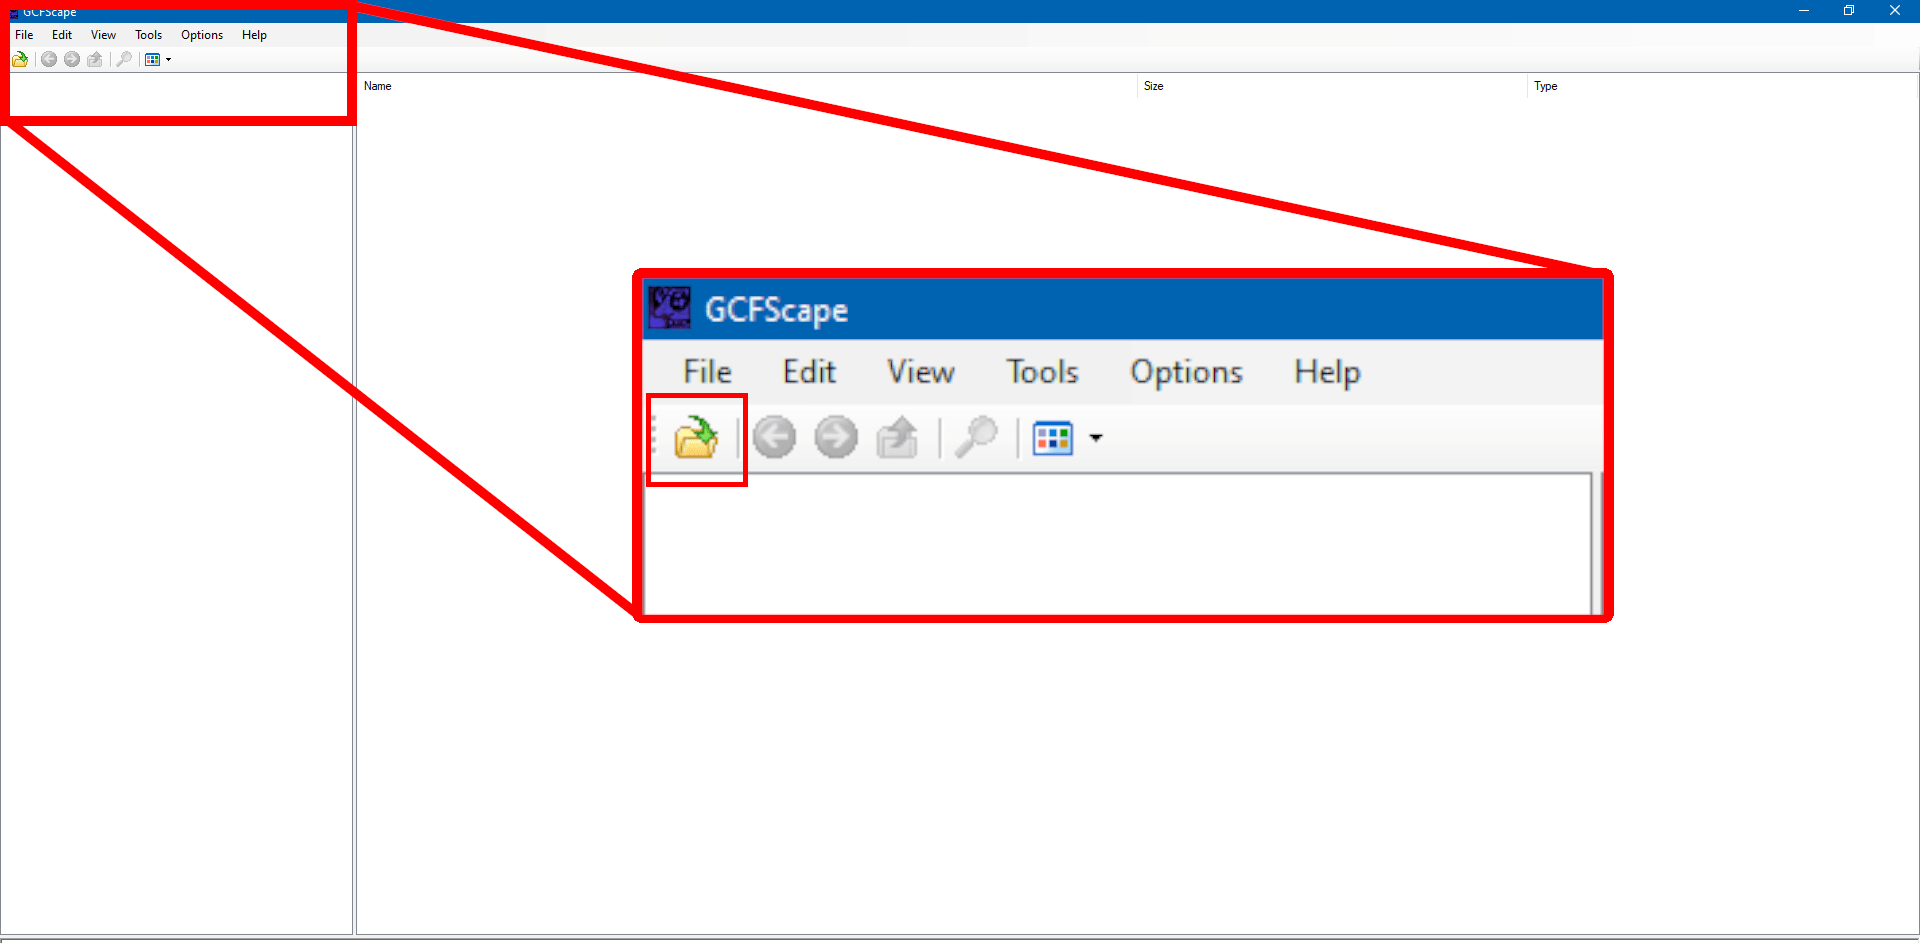
If the model you are trying to add a custom texture to is from Garry’s Mod or another Source game, you are going to need to use GCFScape to access the materials.
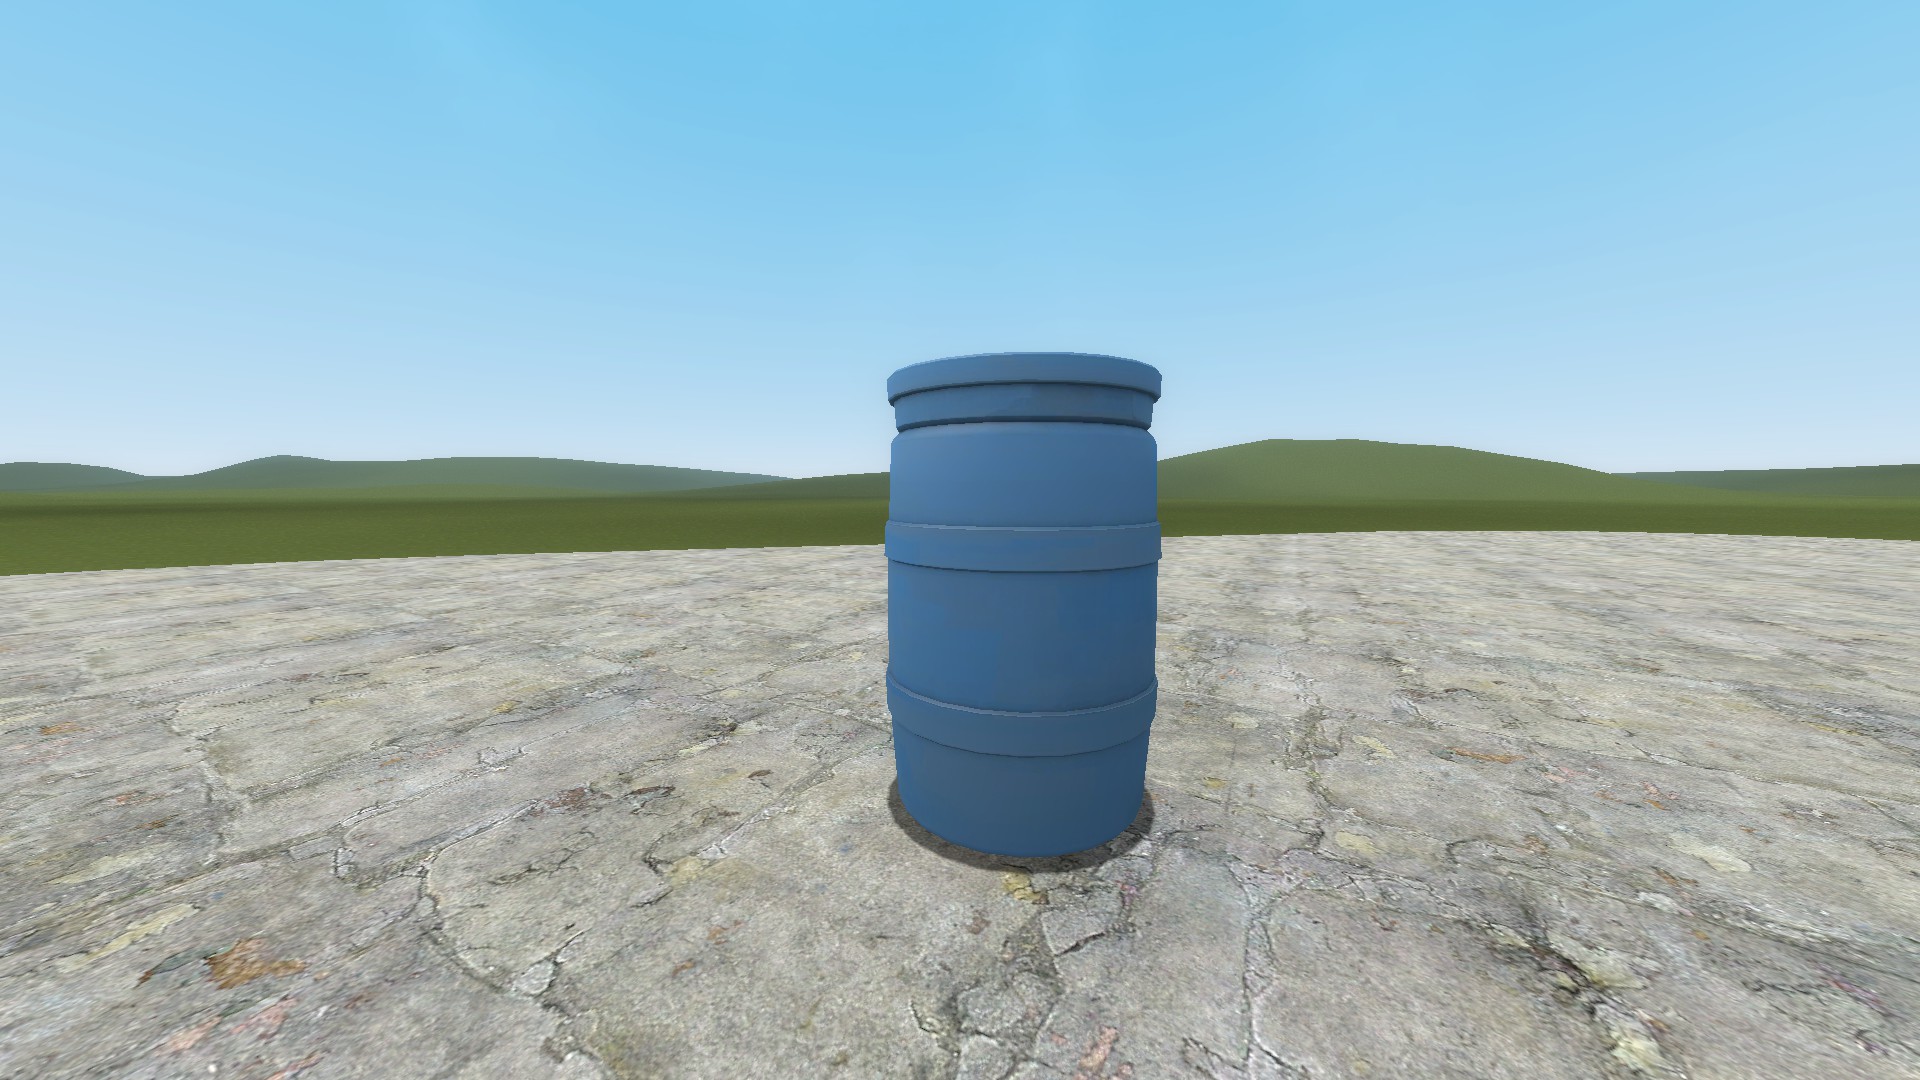
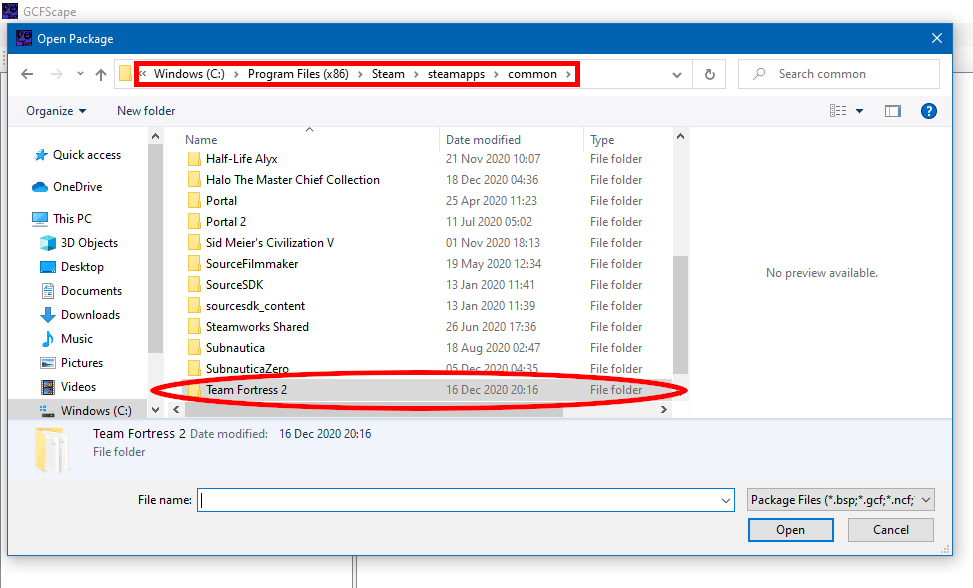
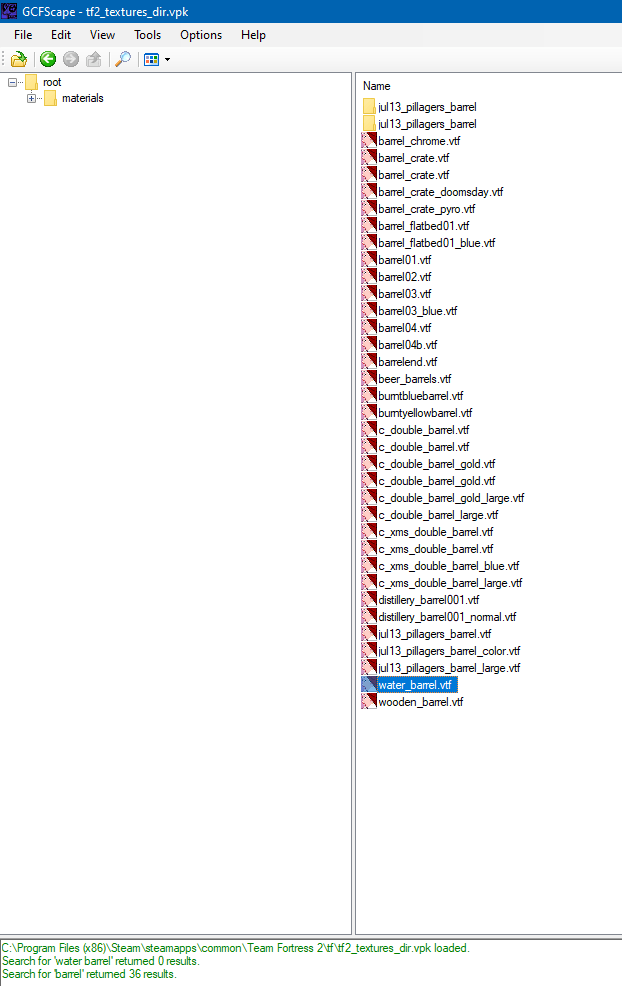
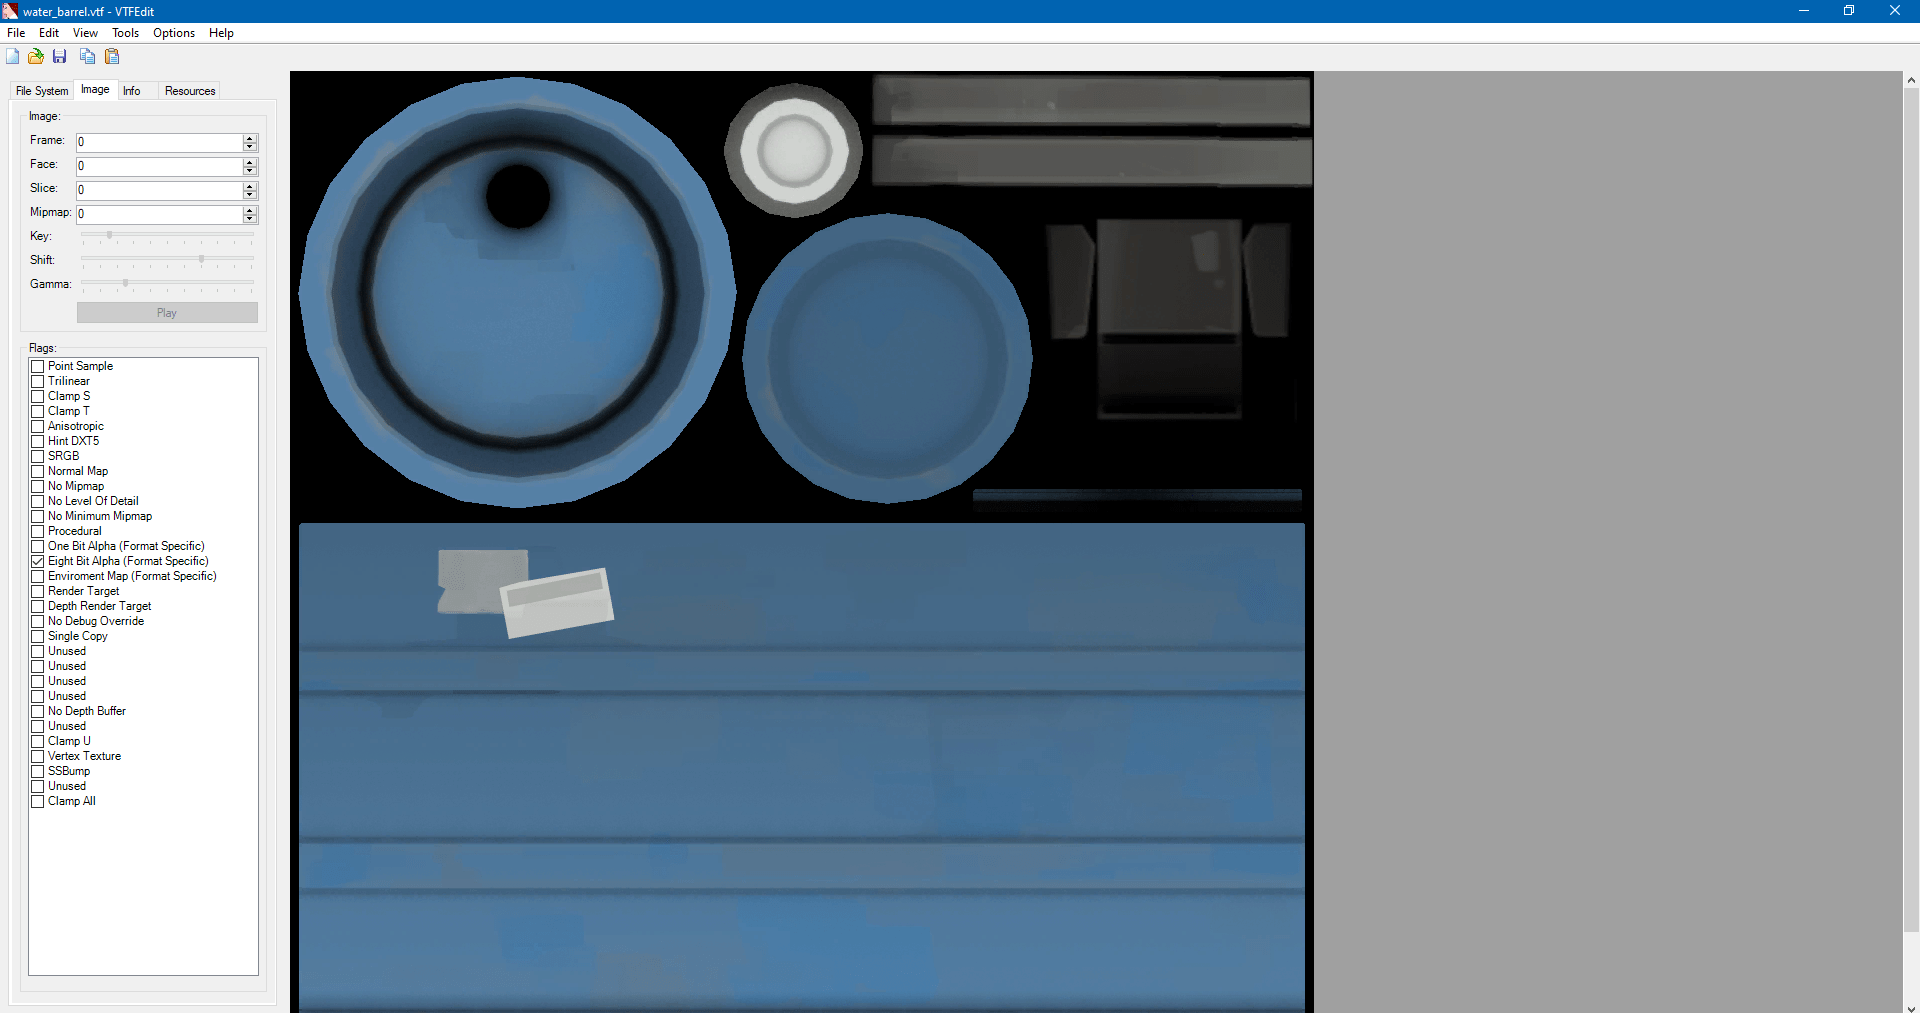
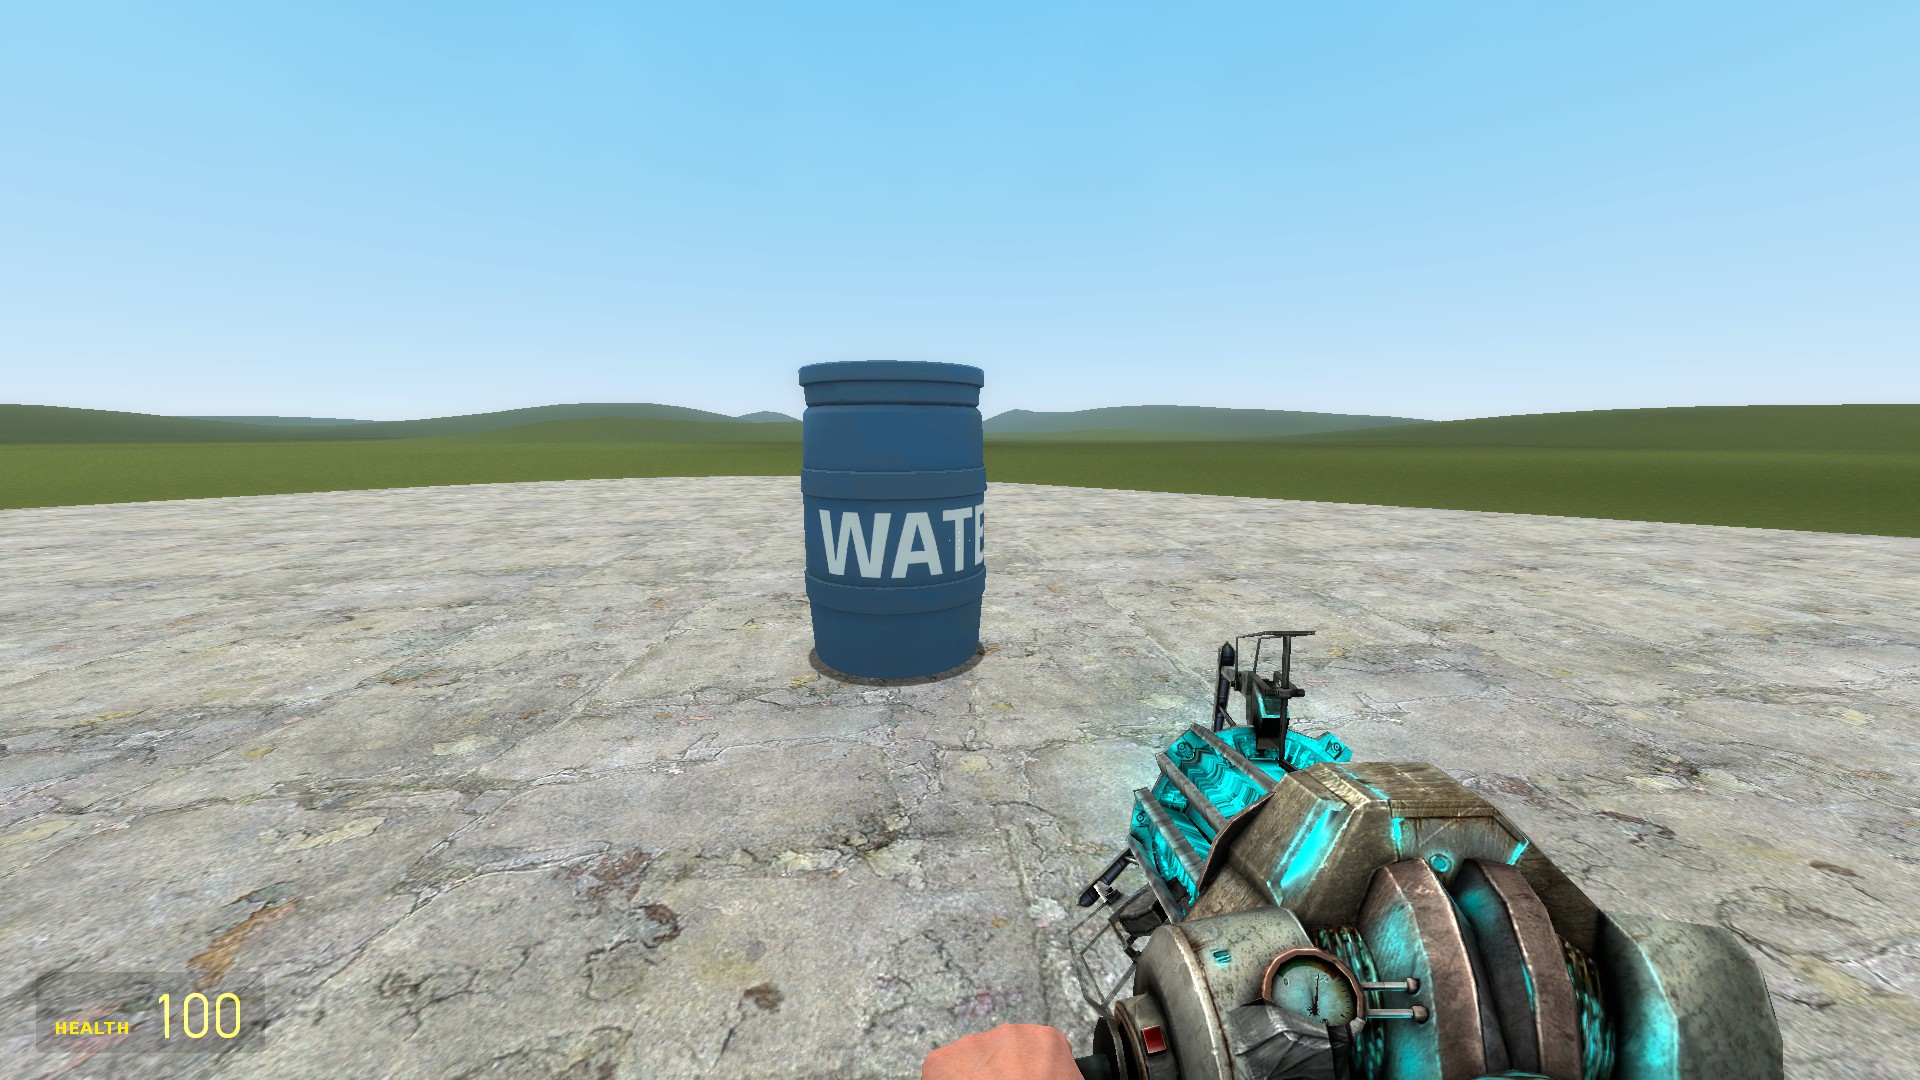
For the sake of example, we are going to use this Water Barrel’s texture from Team Fortress 2.
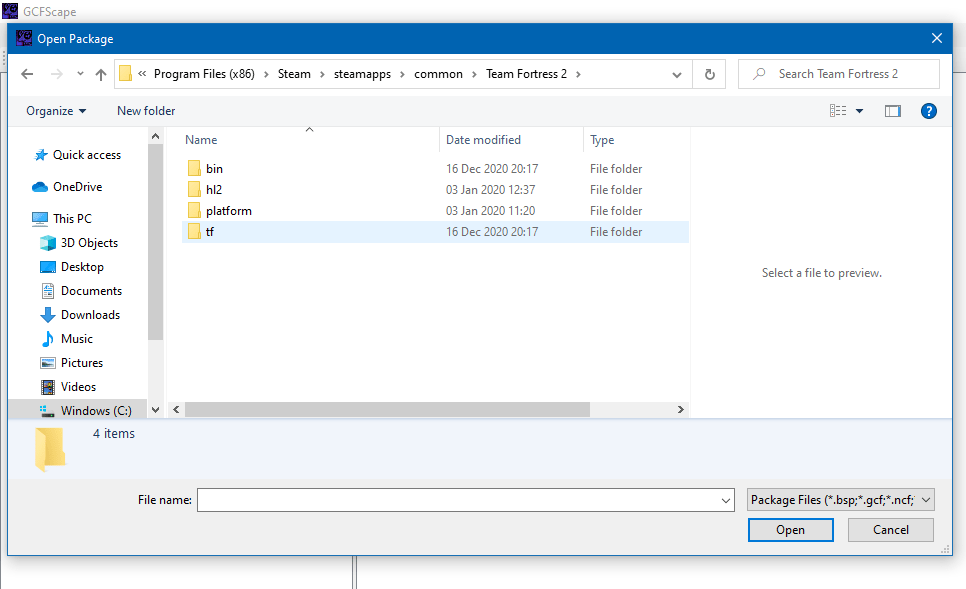
For this example, we will go to the Team Fortress 2 Directory
In the event your version doesn’t open to your Games folder in steam, go to the following directory: C:\Program Files (x86)\Steam\steamapps\common
Evey game has a folder that is name after it, in our case, it’s called “tf”. It should be self explanatory. For Half-Life 2 and its episodes, they are all located in the same folder.
These files are where the game ressources is stored.
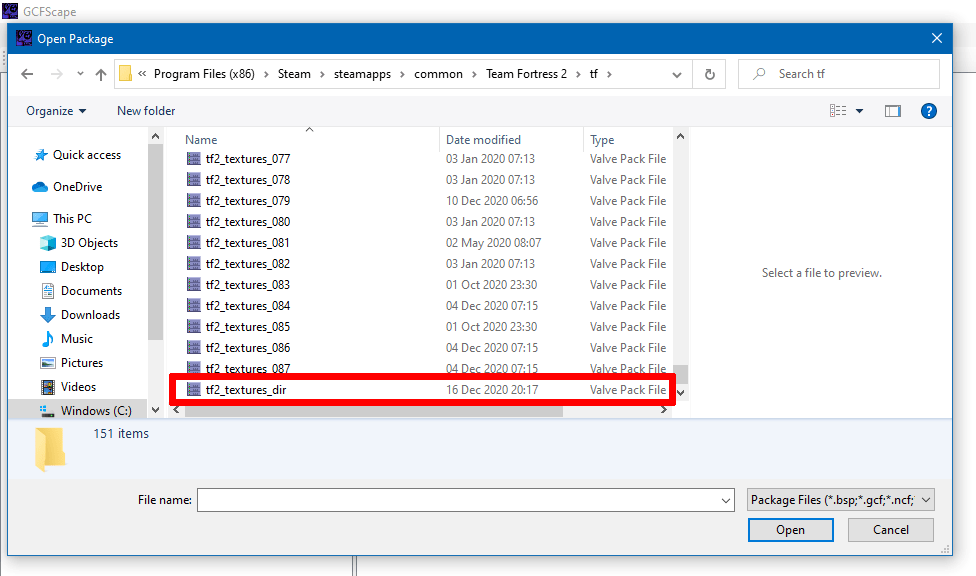
For textures in TF2 and Half Life series, they are split into two; a .VMT file in the “_misc” files, and a .VTF in the “_textures” files. The VMT file is not really required for our experiment, as we can always make a new one.
For CSGO, all the data is stored in one big VPK, so this isn’t something to worry about.
Also, if you want to examine the other VPKs, make sure to always pick the one ending in “_dir”.
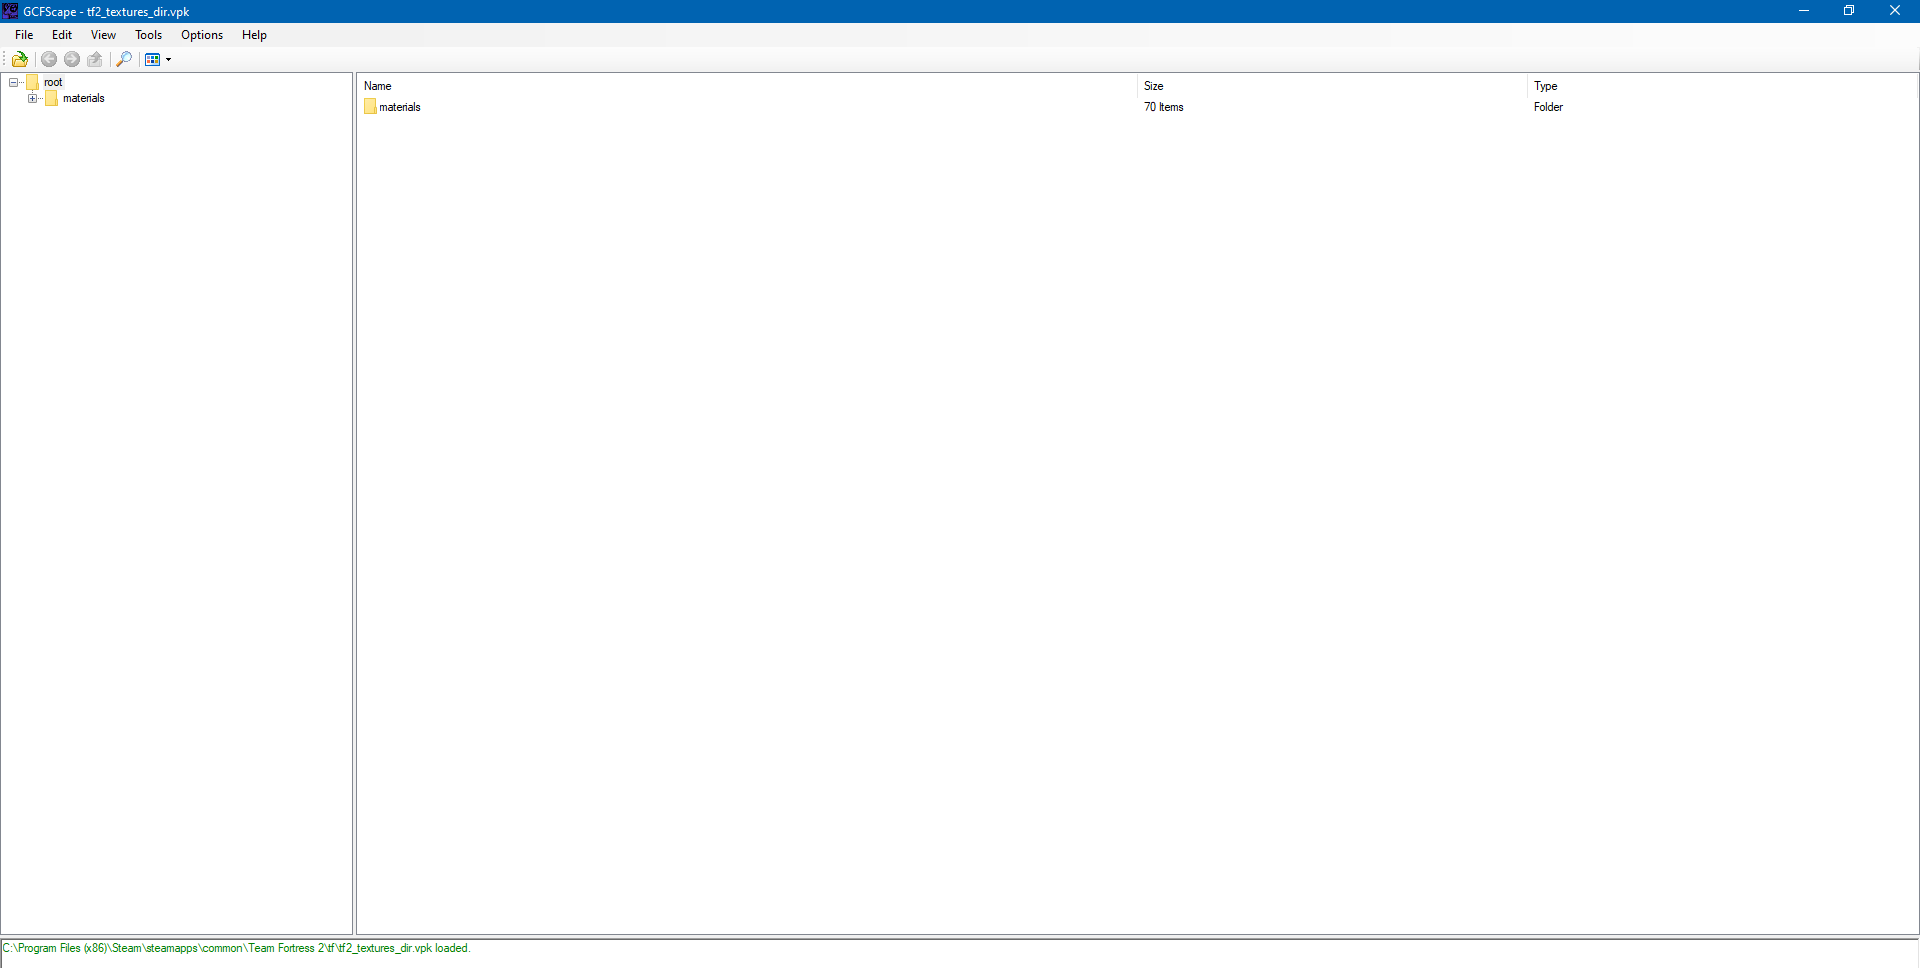
It’s important to note that some textures can be difficult to find from their names. Just keep looking!
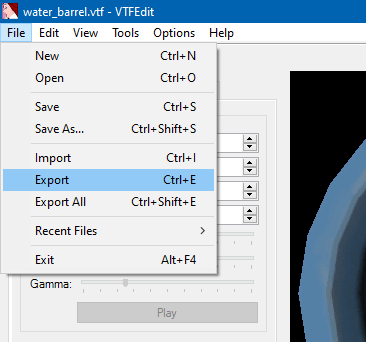
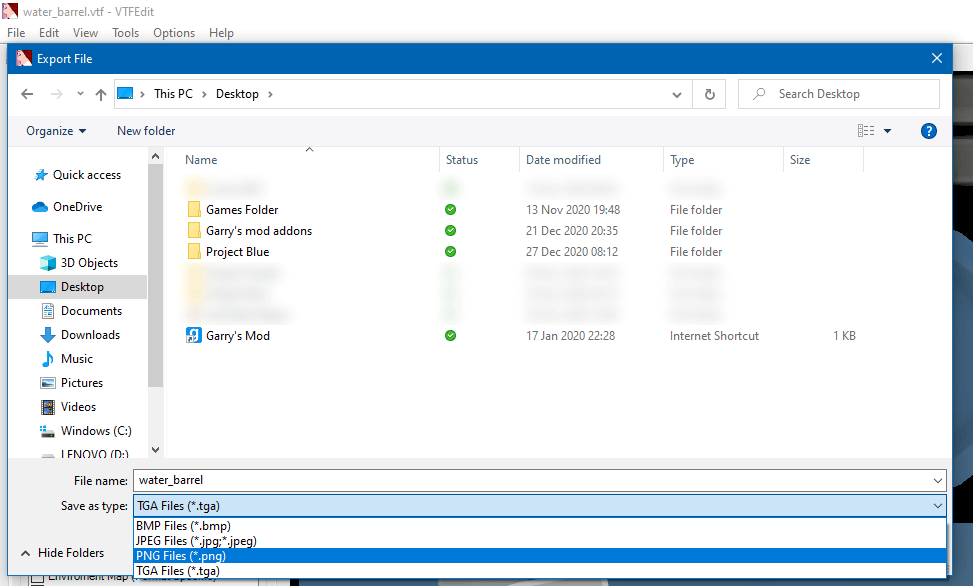
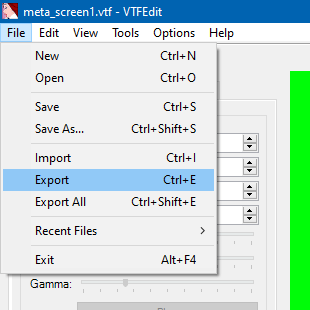
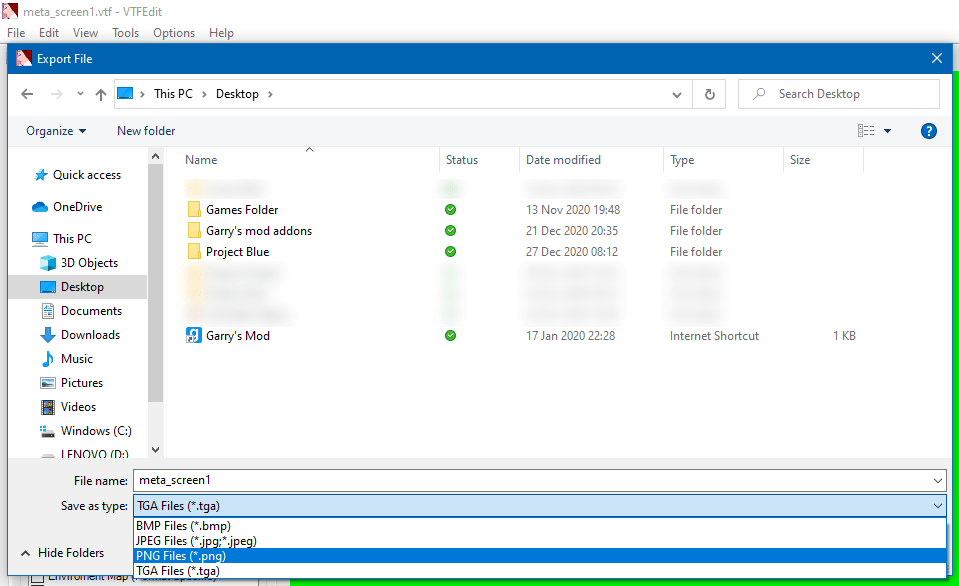
From experience, it is best to export it as a .PNG file
GETTING MATERIALS FROM ADDONS
Say your custom material isn’t from a Source game but from an addon. In a new Garry’s Mod update this year, many addons are now locate in a new location(*). For this to work, I advise having two folders open.
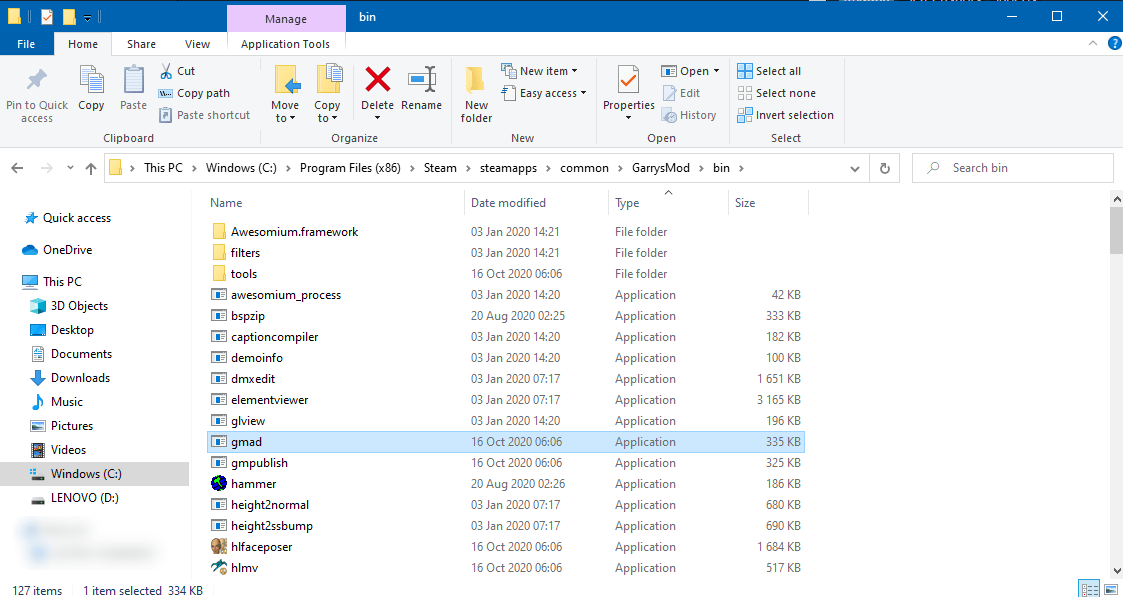
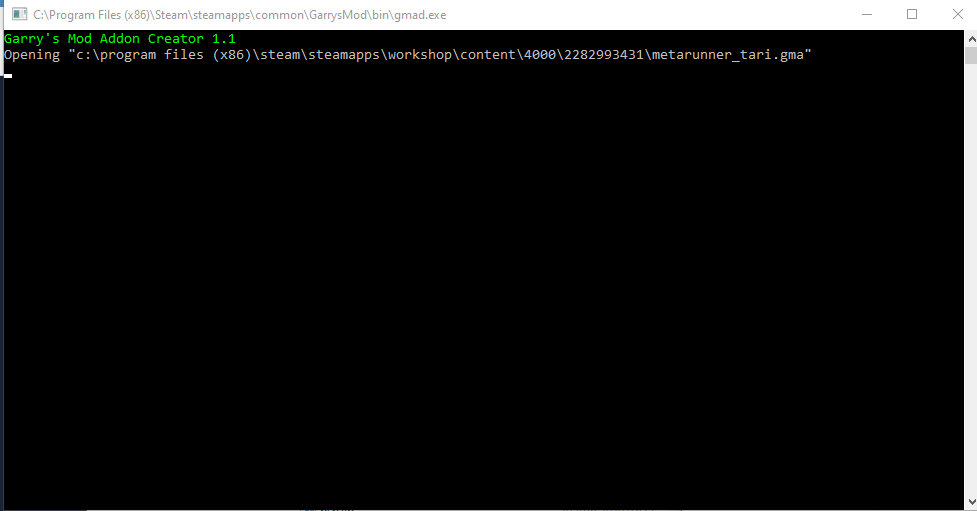
C:\Program Files (x86)\Steam\steamapps\common\GarrysMod\bin
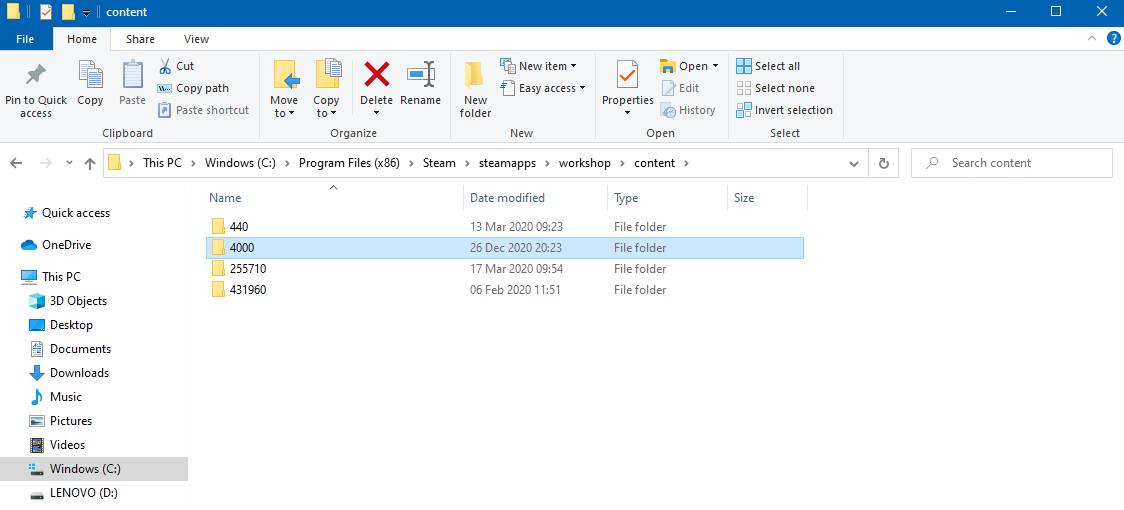
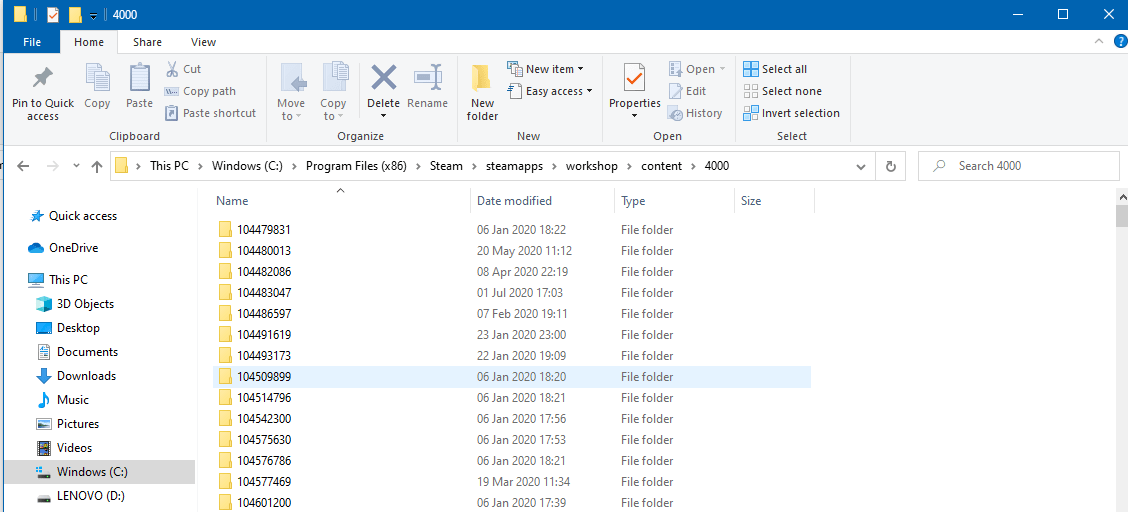
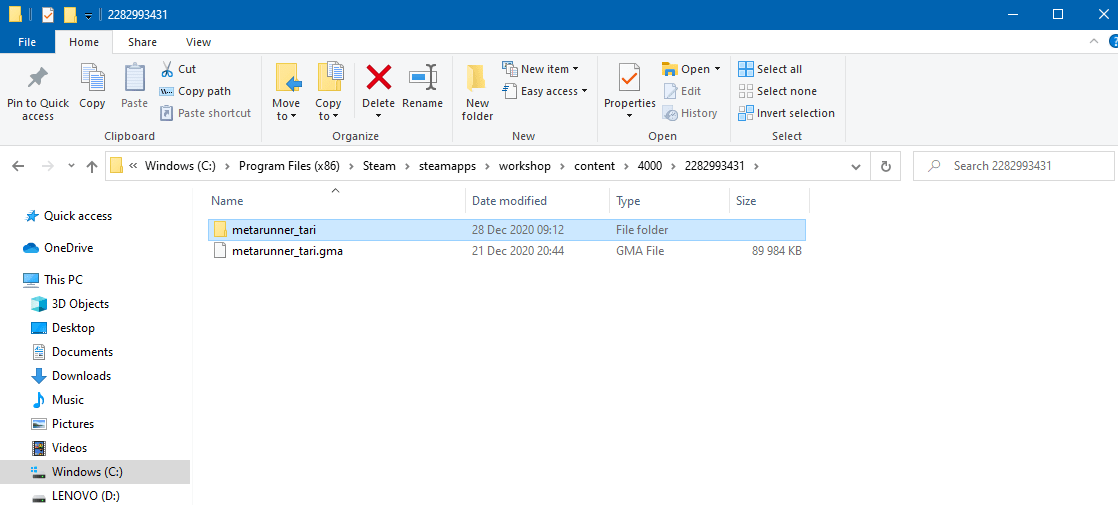
C:\Program Files (x86)\Steam\steamapps\workshop\content\4000
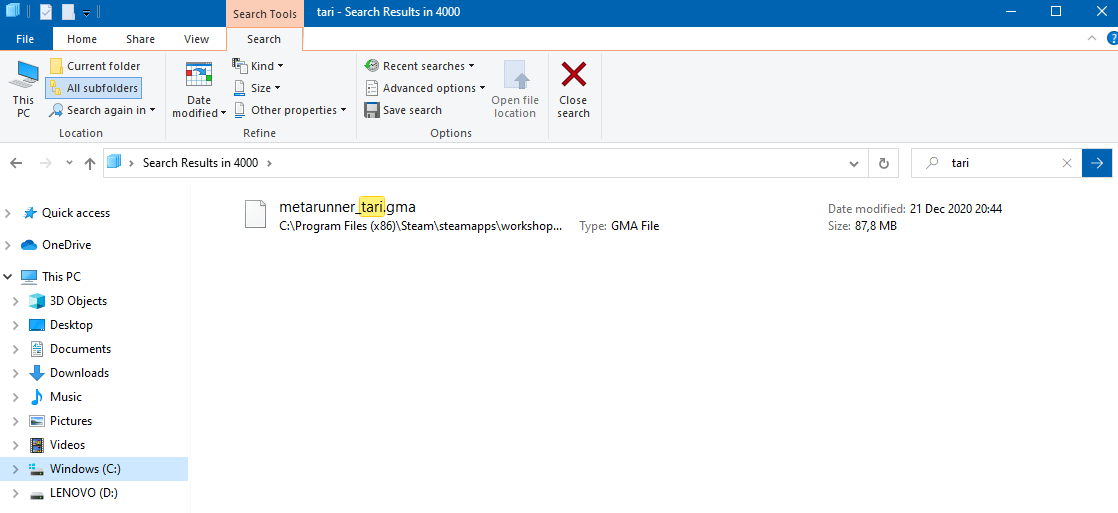
Use the search bar and type in any keywords from your addon. In my case, we will be using one of my models called Meta Runner Tari, so search for “tari”
The windows terminal should open up and a folder with the same name as the .gma file should appear
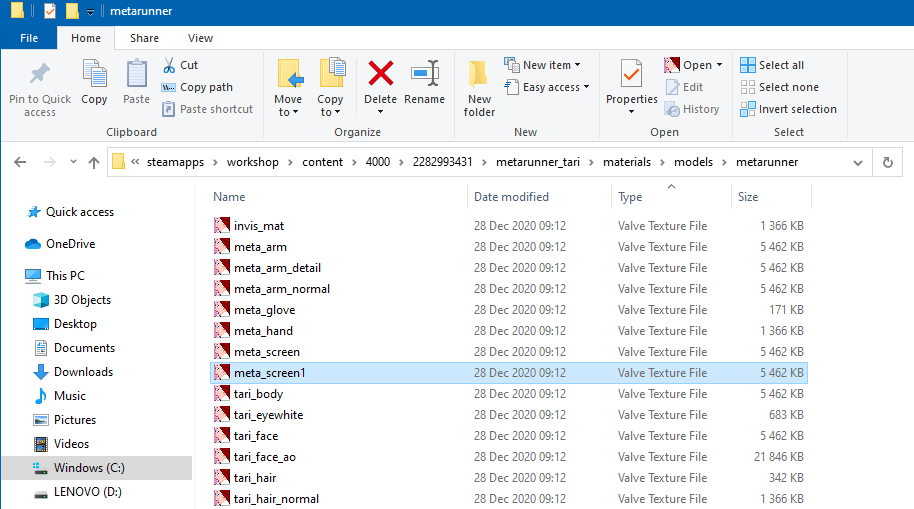
For us, we are going to use “meta_screen1”
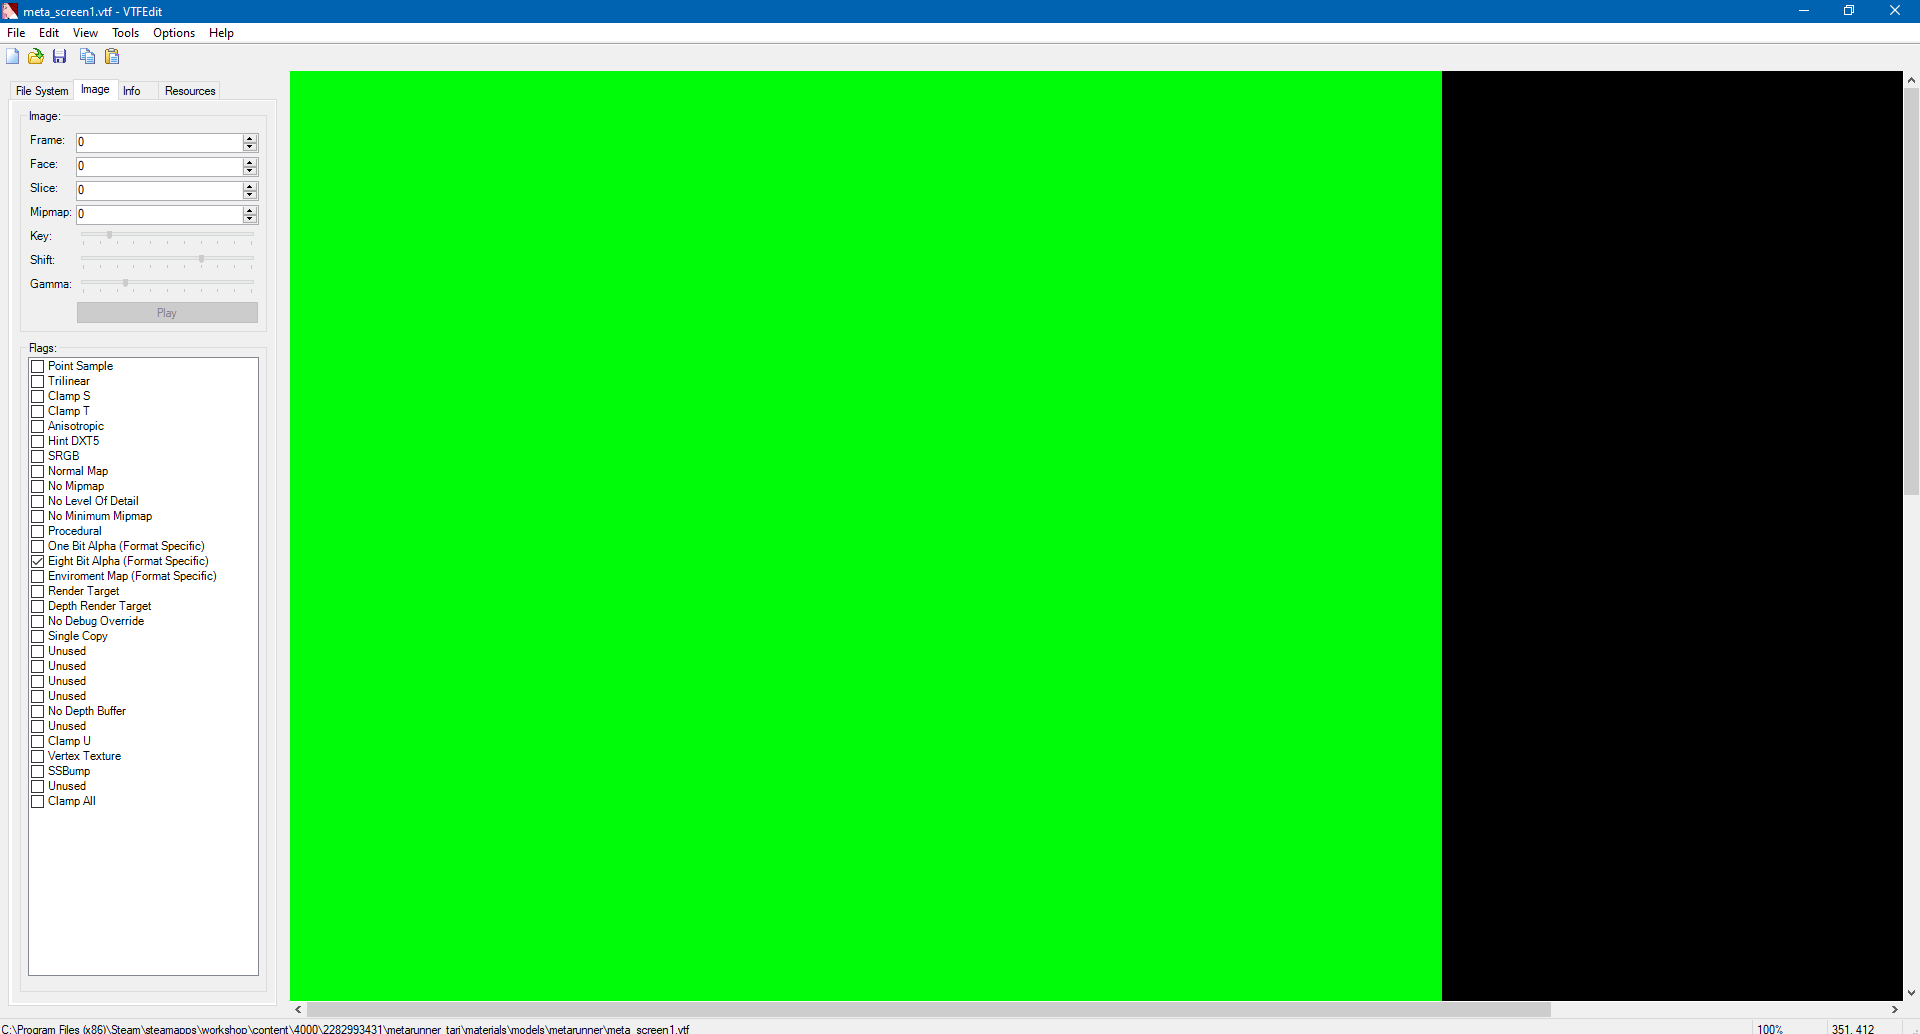
Make sure to open the .VTF file. For now, the .VMT files do not matter
(*) ADDITIONAL NOTE
Some addons still remain in the “addons” folder located in the “garrysmod” folder. The procedure works the same as described above; select your addon, drag it over “gmad.exe” and a folder should appear
STEP 2 : Editing your material
This section is the fun part, as you get to do what you want with your material. Make sure when editing that you stay within the resolution of the image, otherwise it will not appear properly once we import it back into Gmod.
For this, you use whatever 2D image manipulation program you have, whether it be Photoshop or MS Paint, as long as it gets the job done. I personally use GIMP.
Here are my two custom materials:
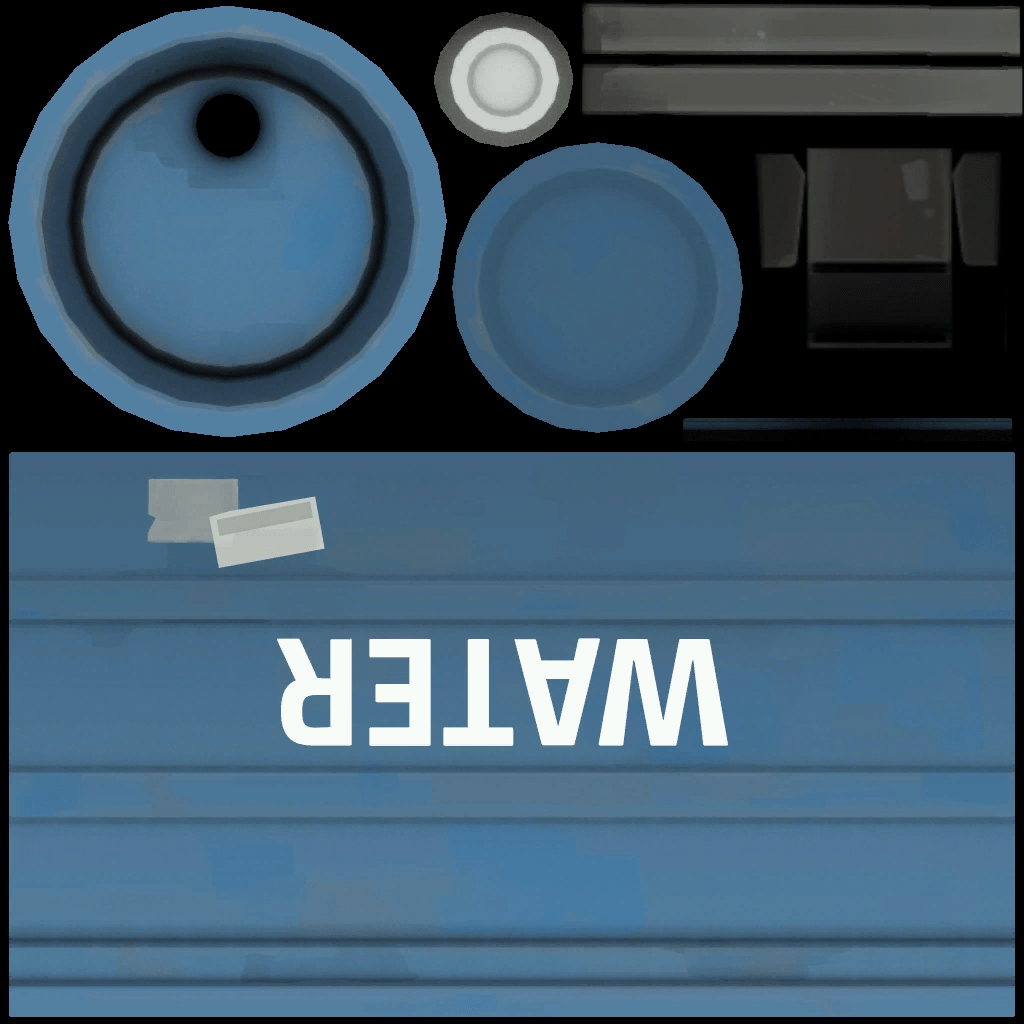
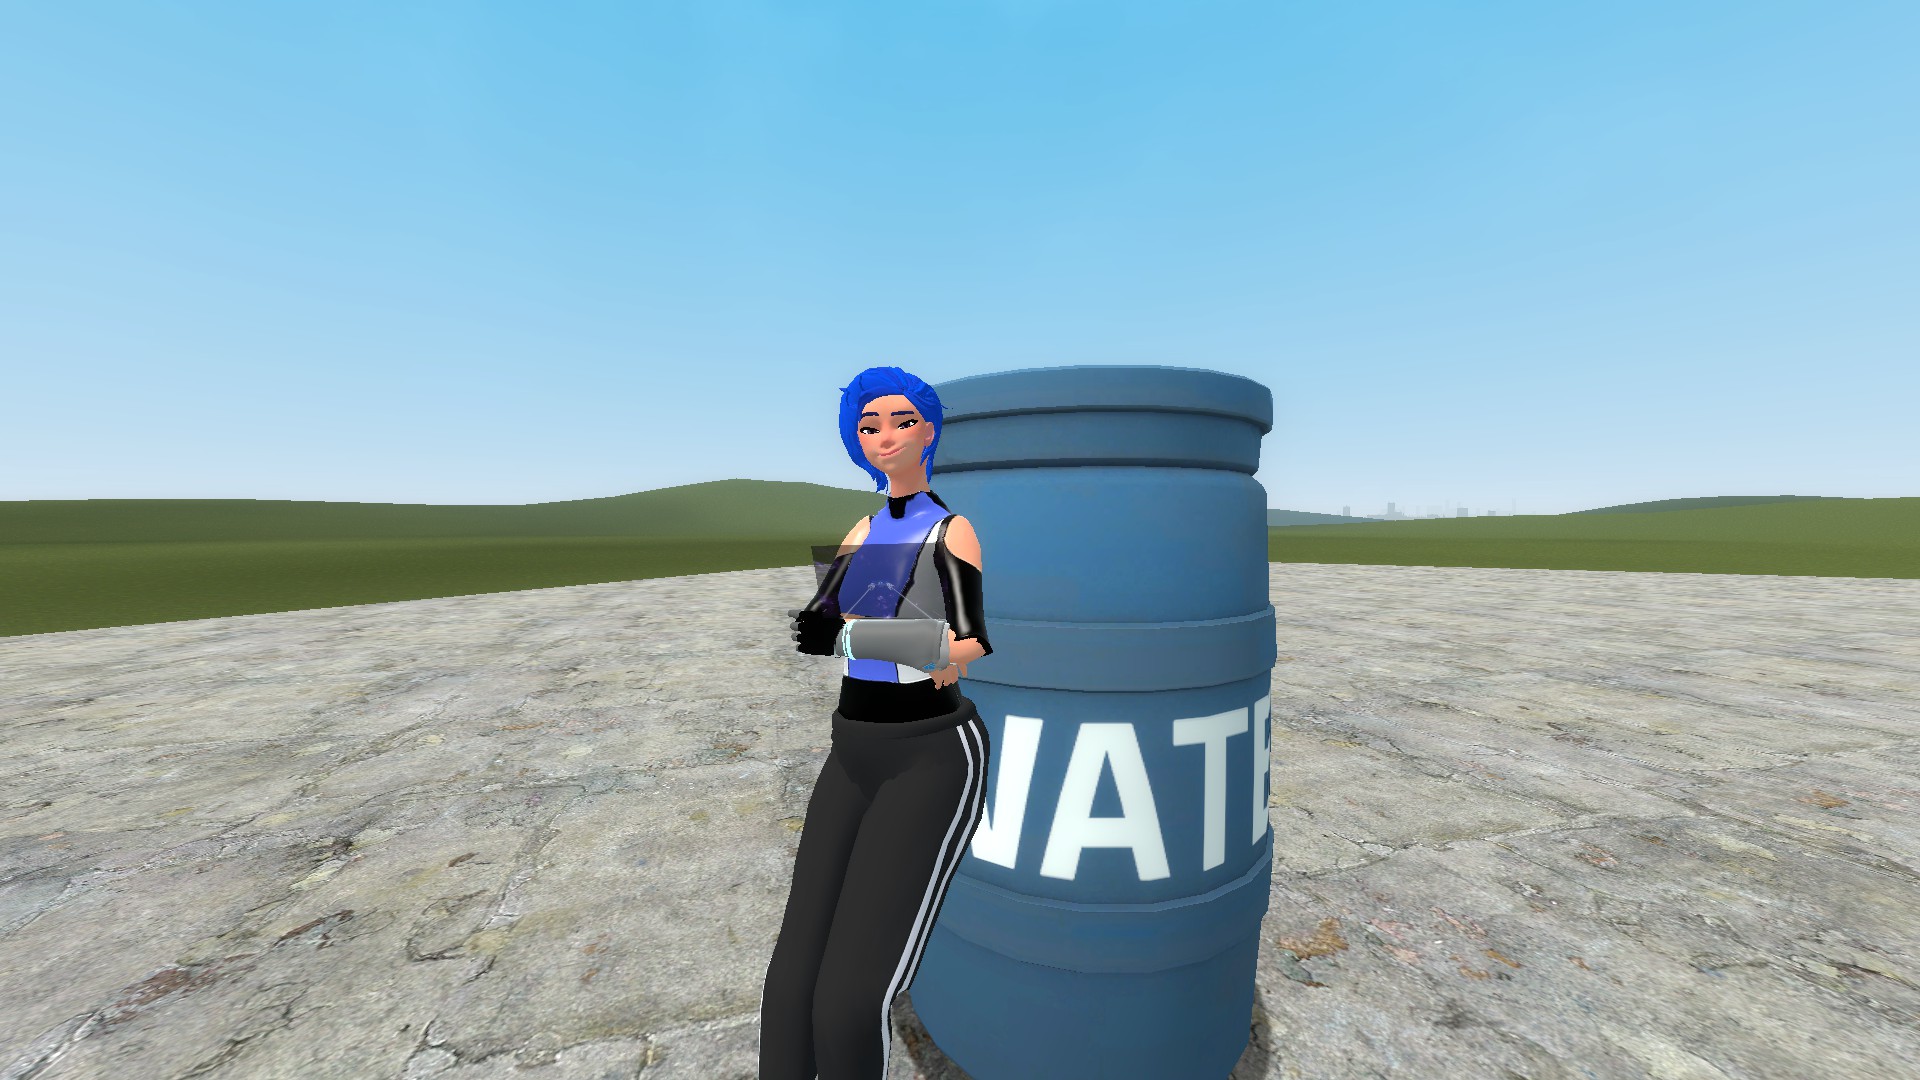
The Water Barrel
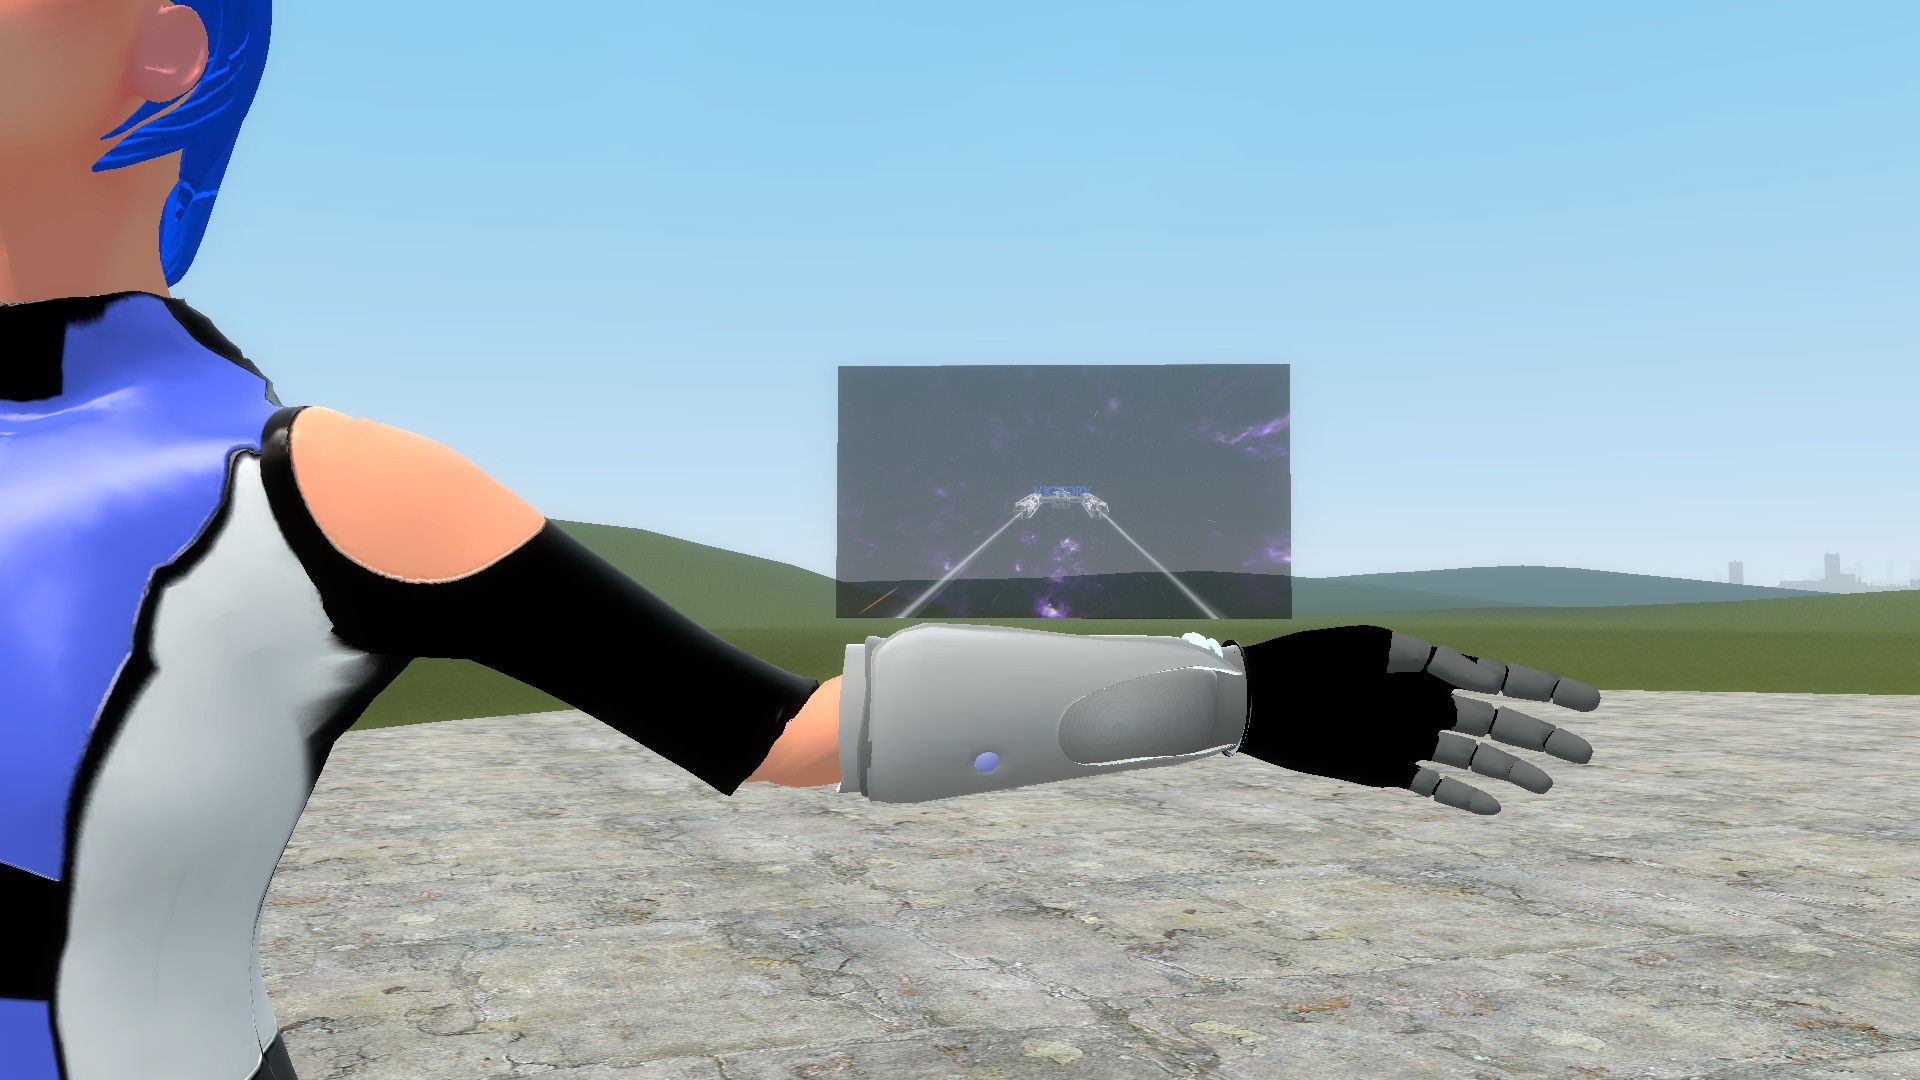
The Screen
TIP : Consider keeping a backup of both your image and the original texture just in case you need to make edits later. You can see this with the water barrel, where “WATER” is turned upside down. In VTFEdit, it’s impossible to be sure which way is up. It can only be accomplished through trial and error
STEP 3 : Getting your material in game
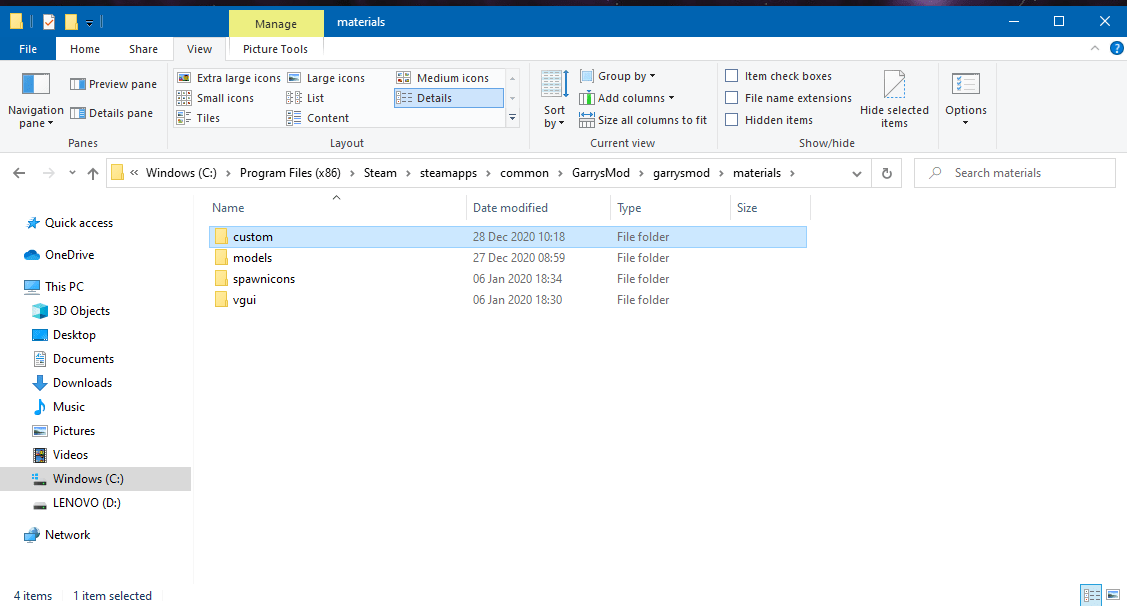
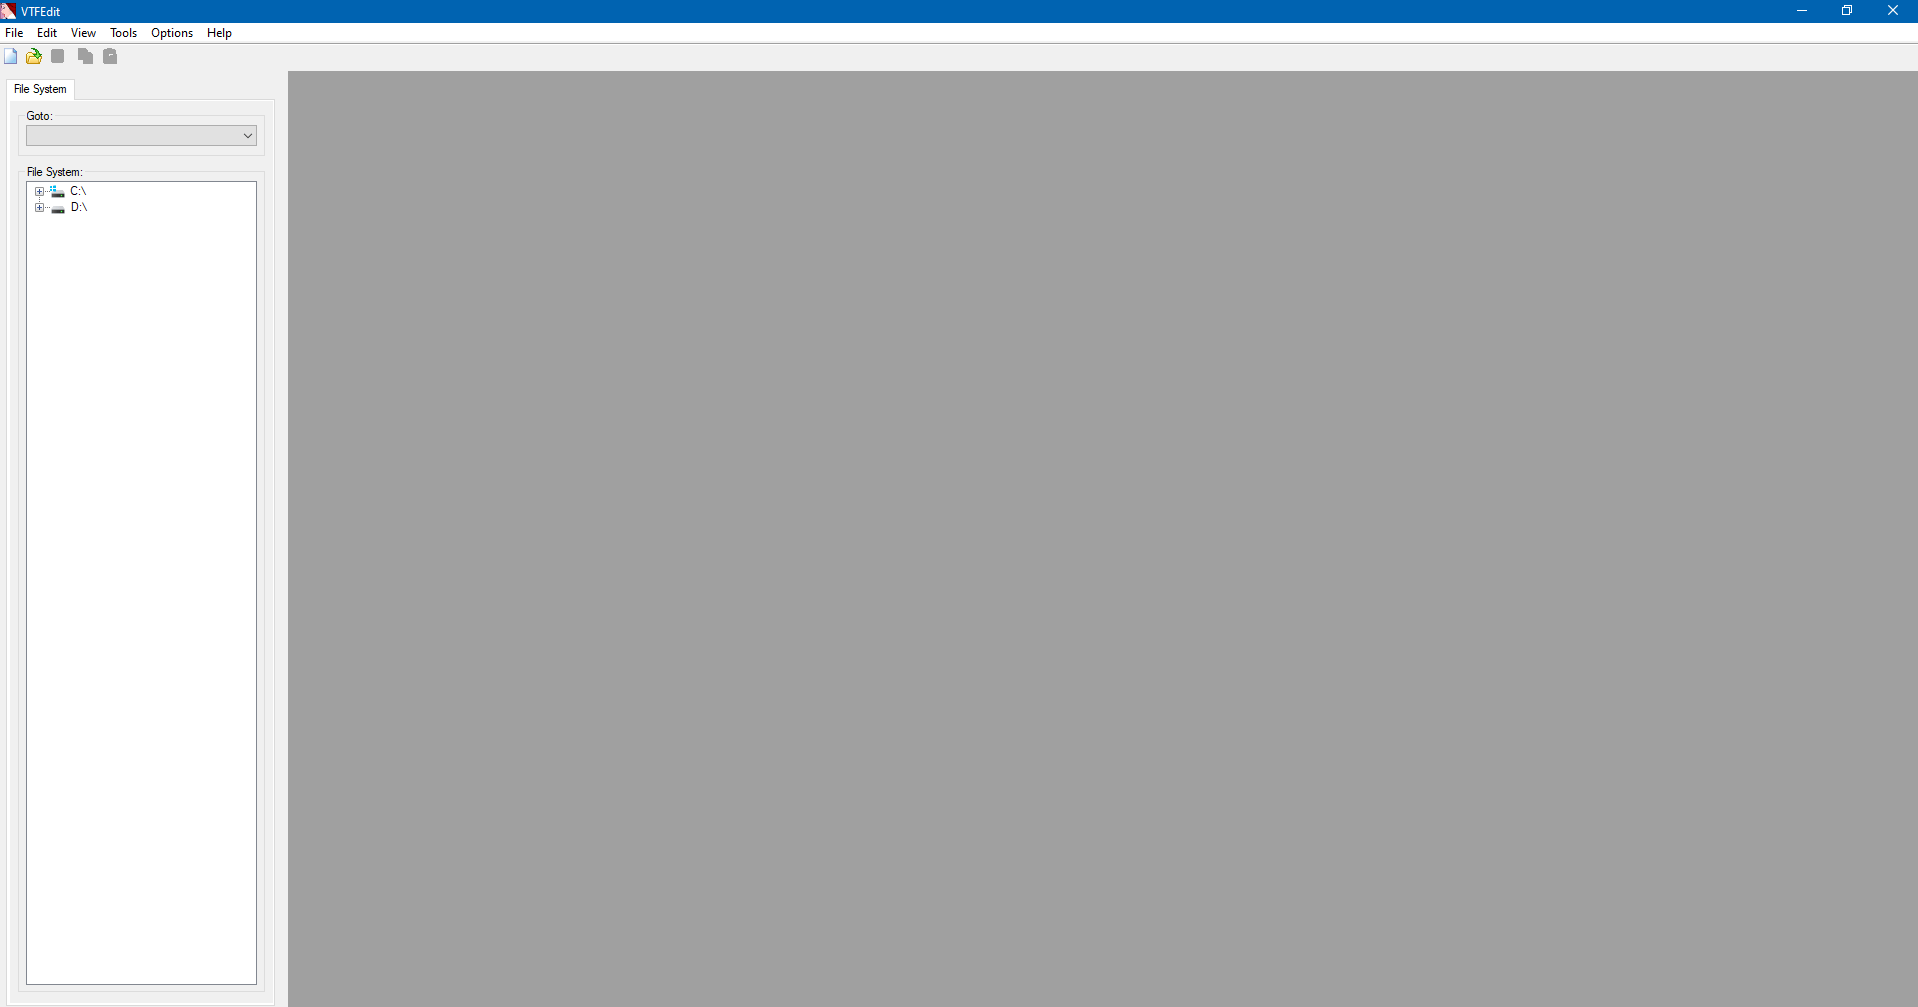
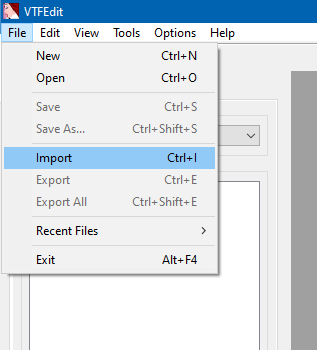
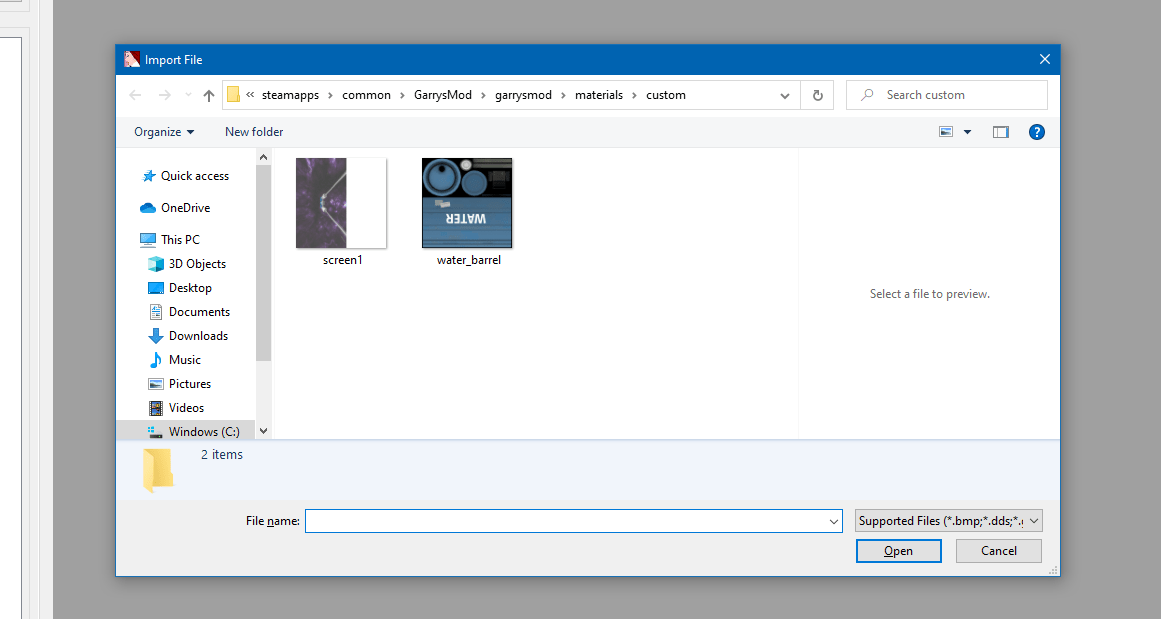
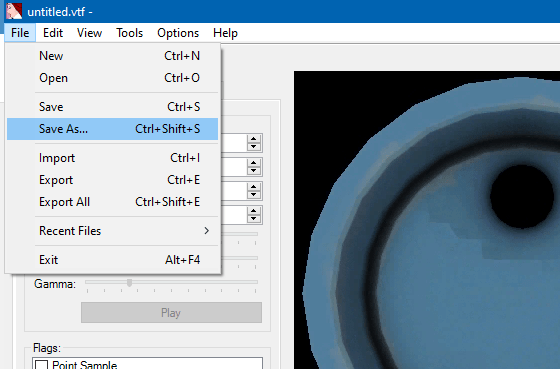
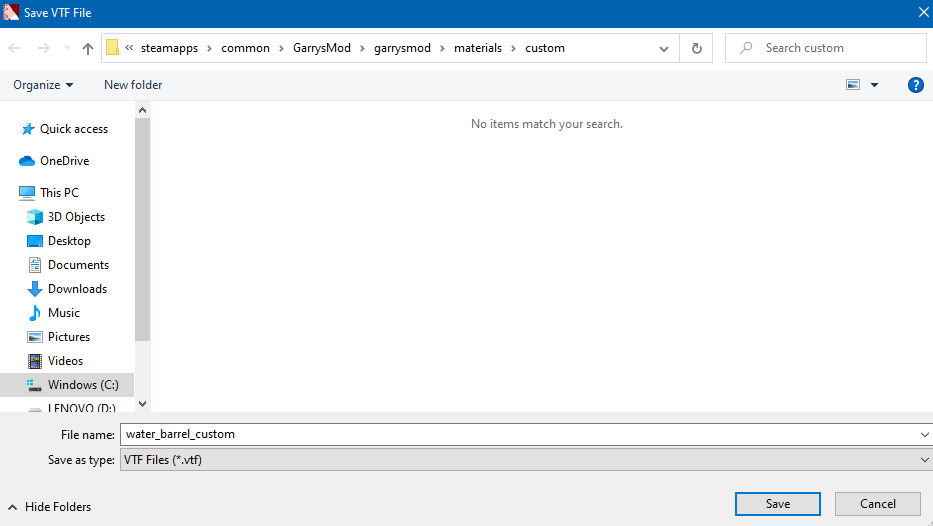
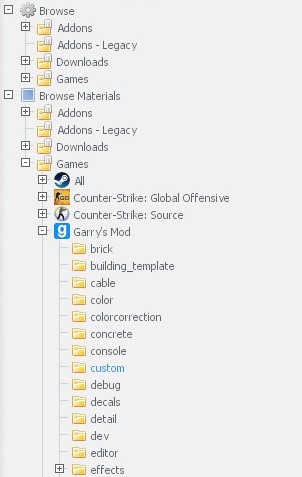
Now you have an edited material and are ready to put it into the game. First off, I would advise that you create a folder called “custom” in your materials directory in the Garry’s Mod folder. This will be useful for quickly locating and managing your materials later.
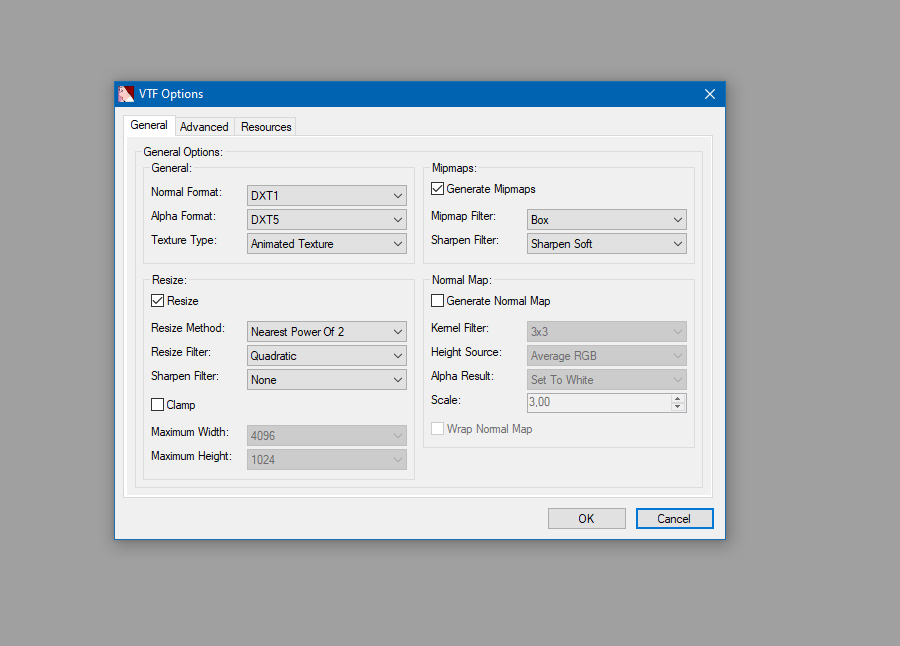
You will encounter this screen when loading in. Do not worry about it, as long as the settings look like mine, just click OK.
Creating a .VMT file
A .VMT file goes together with a .VTF file, for neither one can really work without the other. While the VTF file contains the material, the VMT contains the information that it transmits to the game.
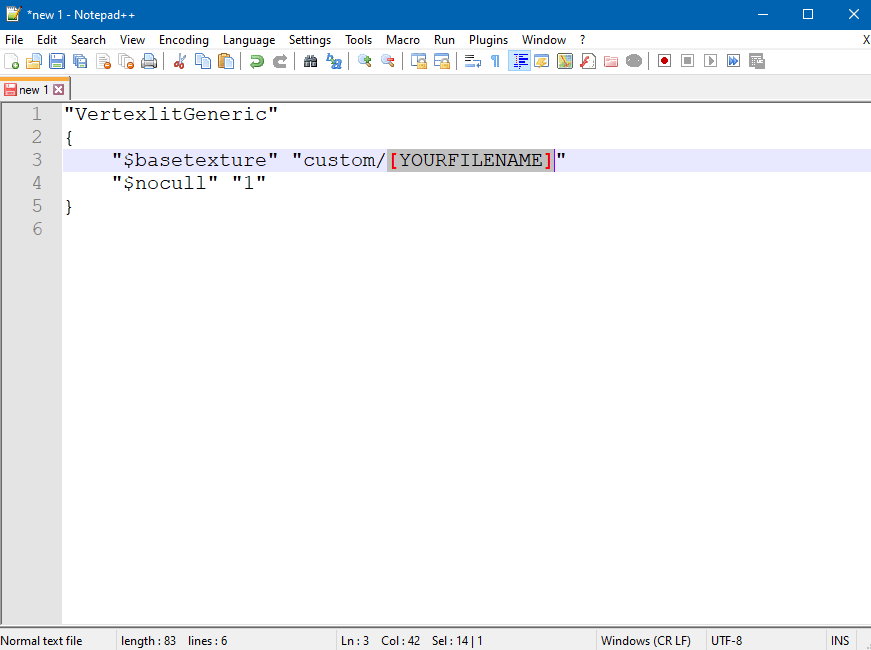
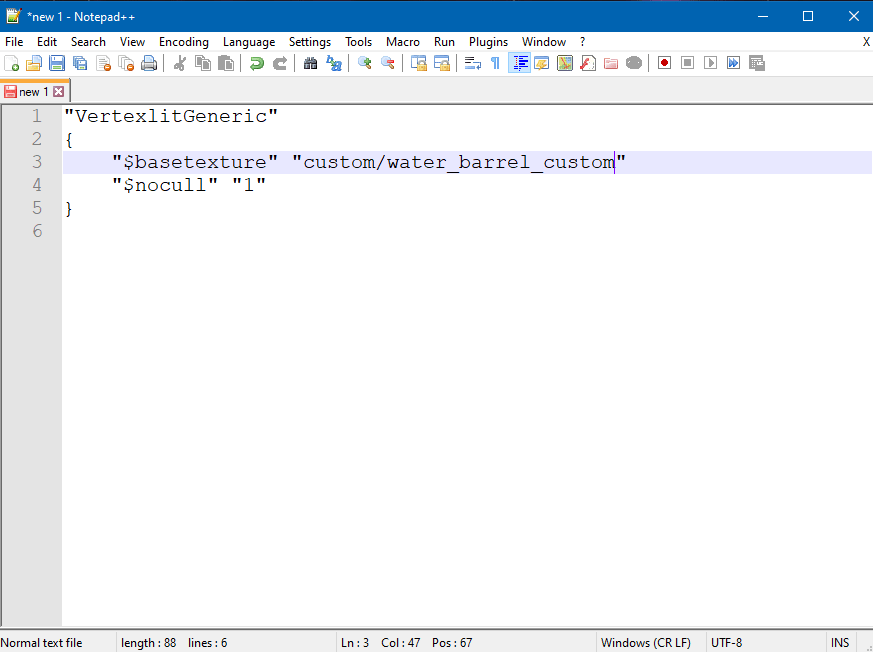
For us, we don’t need to worry too much about the specifics of the a .VMT file. For beginners, simply paste this code into your text editor:
“VertexlitGeneric”
{
“$basetexture” “custom/[YOURFILENAME]”
“$nocull” “1”
}
Replace [YOURFILENAME] with the name of your file from earlier, do not add the .vtf at the end!.
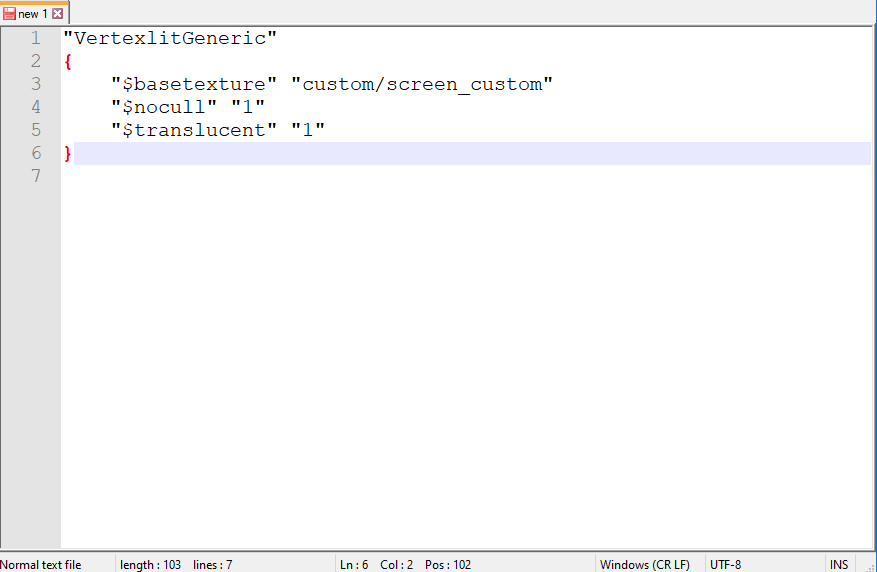
However, if your model has a bit of transparency to it, such as my screen, add this line beneath “$nocull”:
“$translucent” “1”
If you want to know more about the different options when it comes to a .VMT file, consider visiting the Valve Developer Wiki
Back to the material
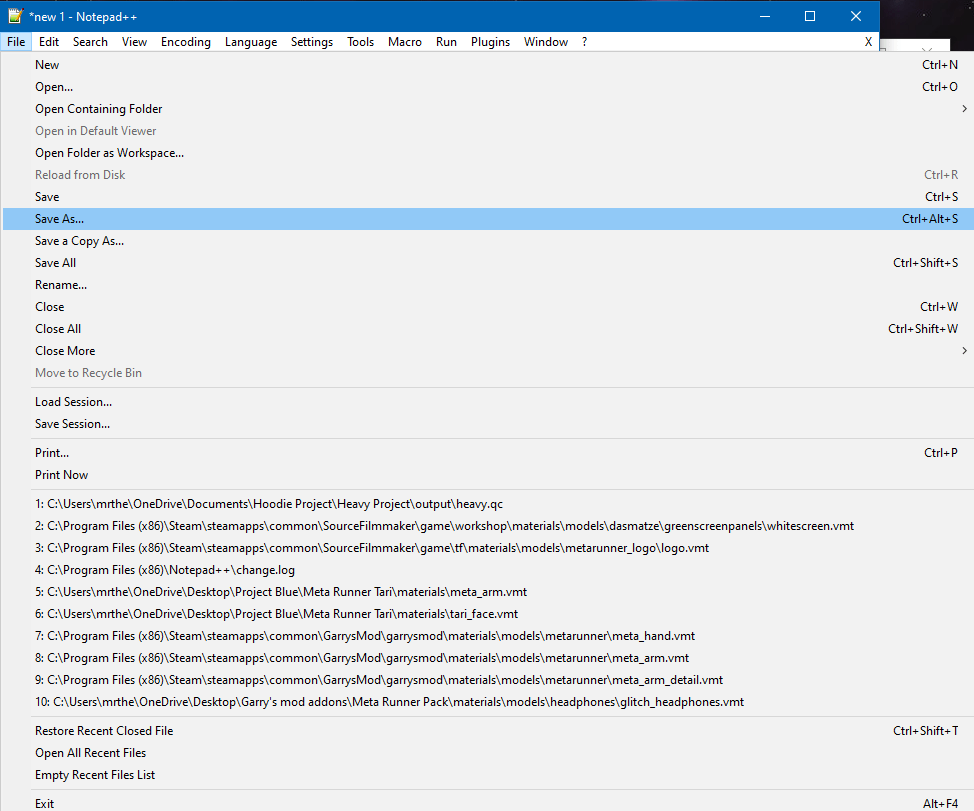
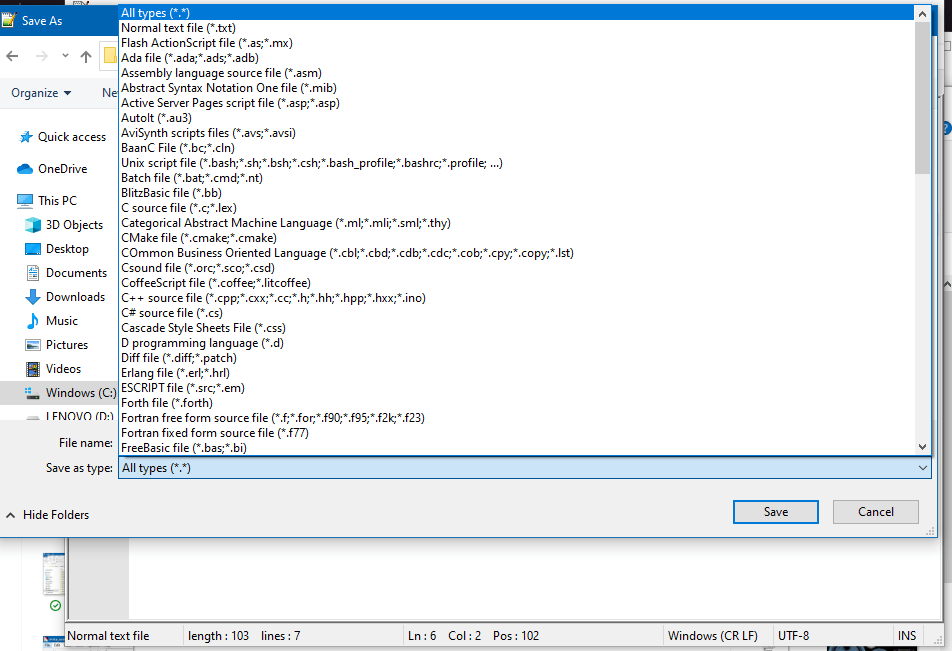
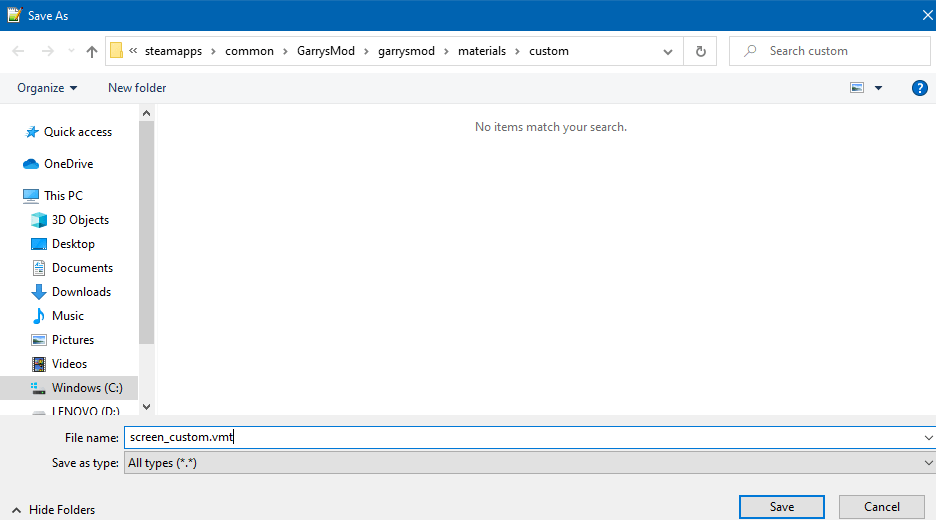
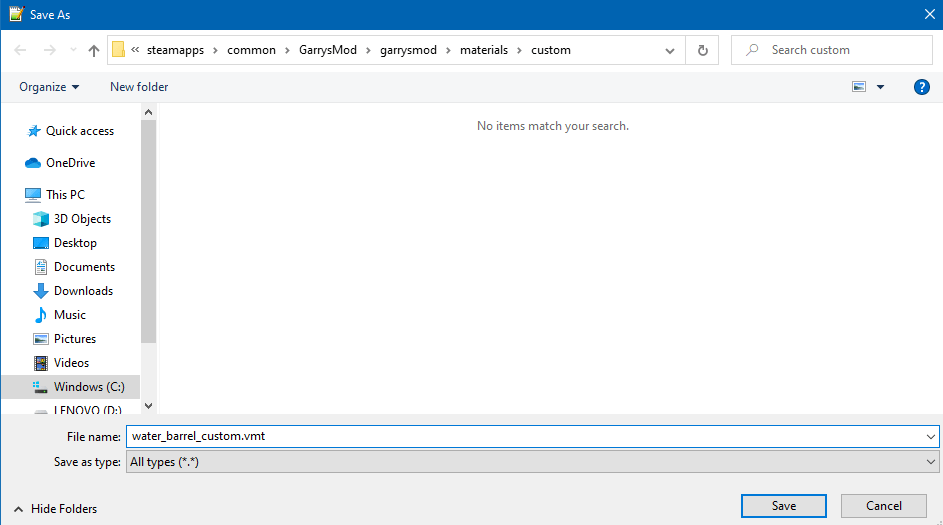
This can be achieved by selecting the “File type” in the same window and setting to “All file types”. Then type the name of your material in and add a “.vmt” to the end of it. It is very important that you do not forget the .vmt at the end!
STEP 4 : Using your material in game
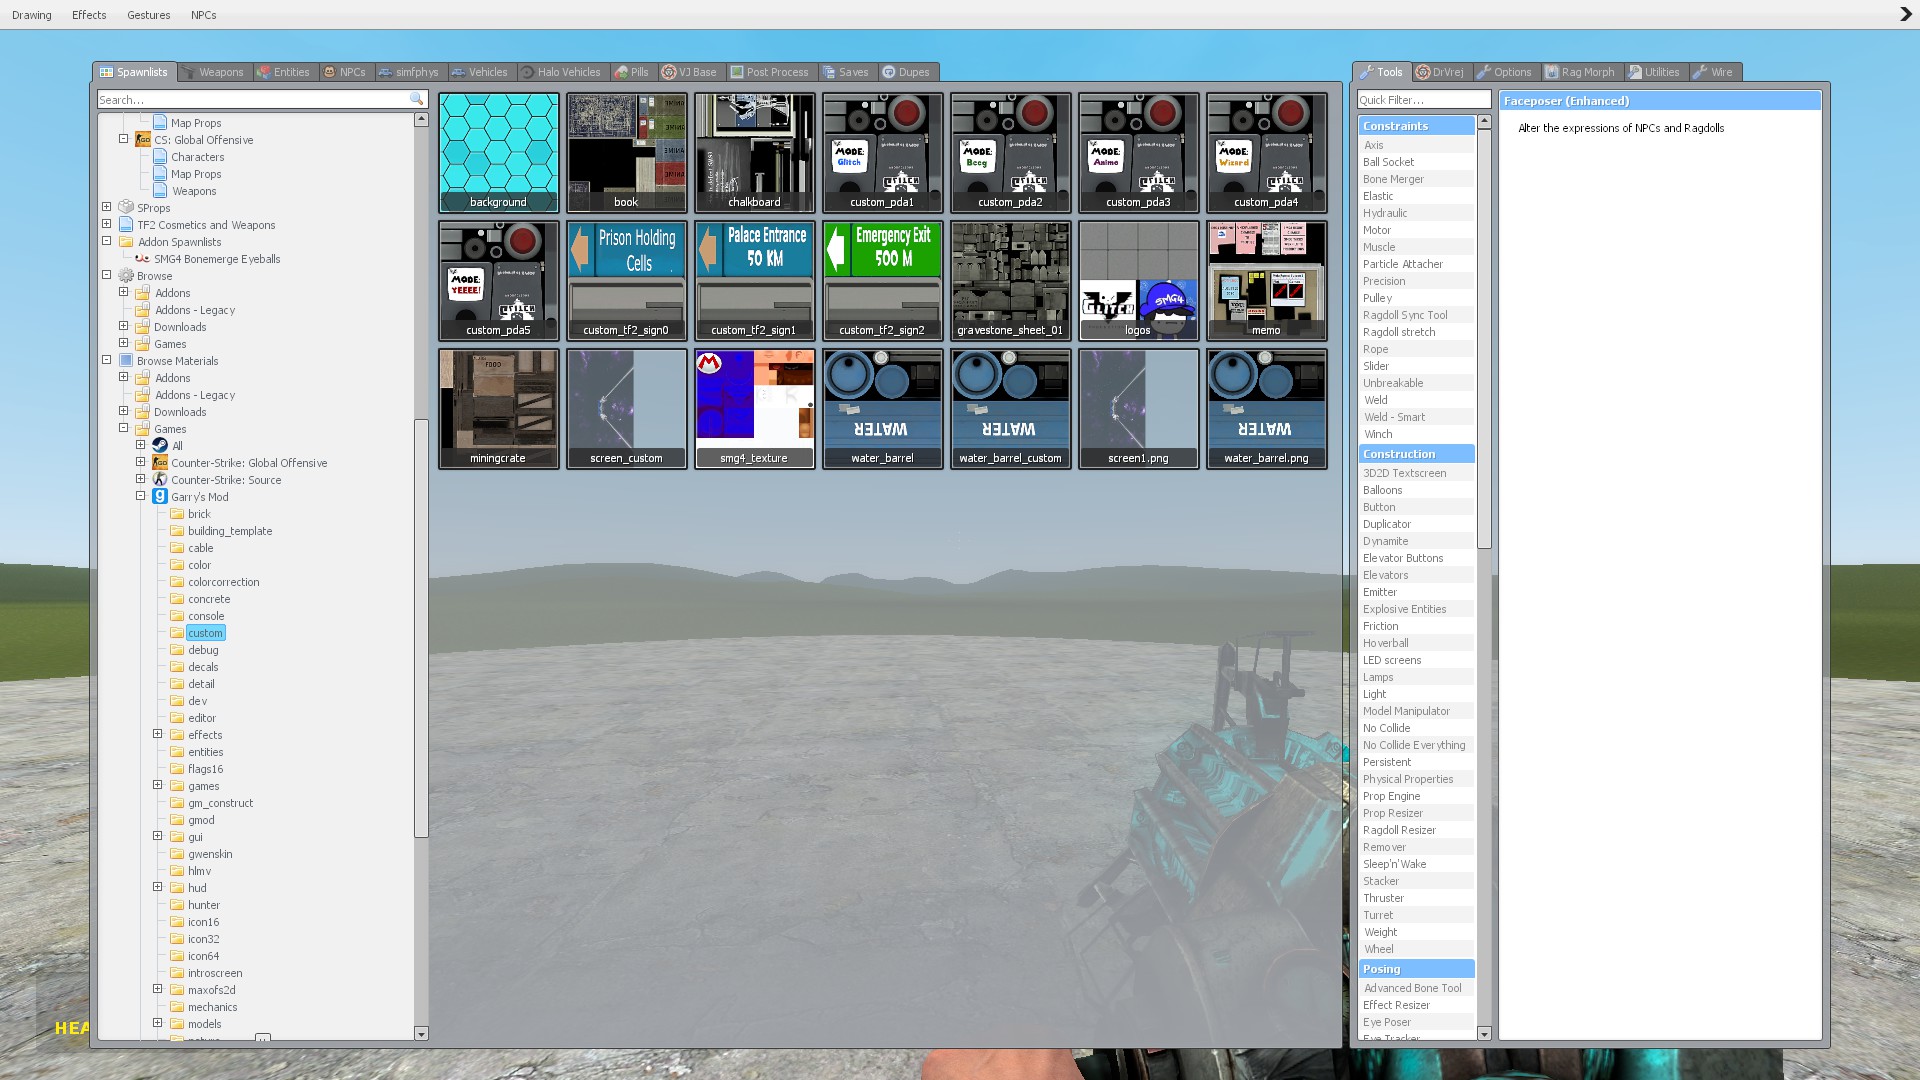
Once you have made it here, you should have a .VMF file and a .VMT file, both with the same name, in your custom folder, located in the games materials directory.
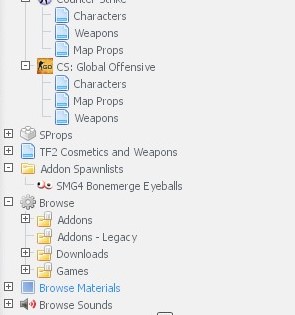
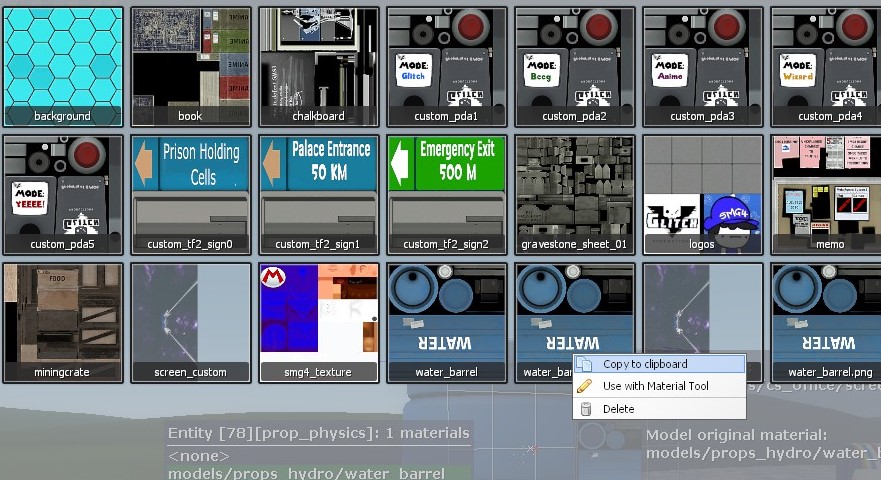
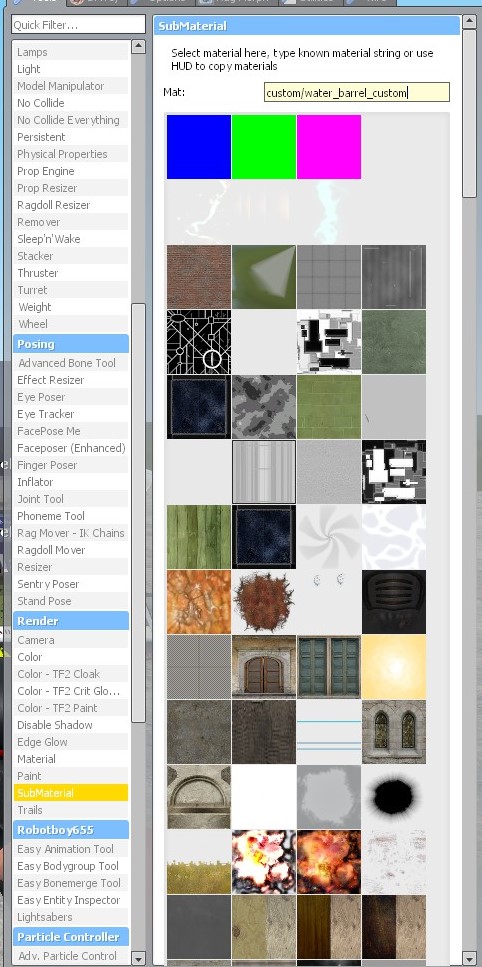
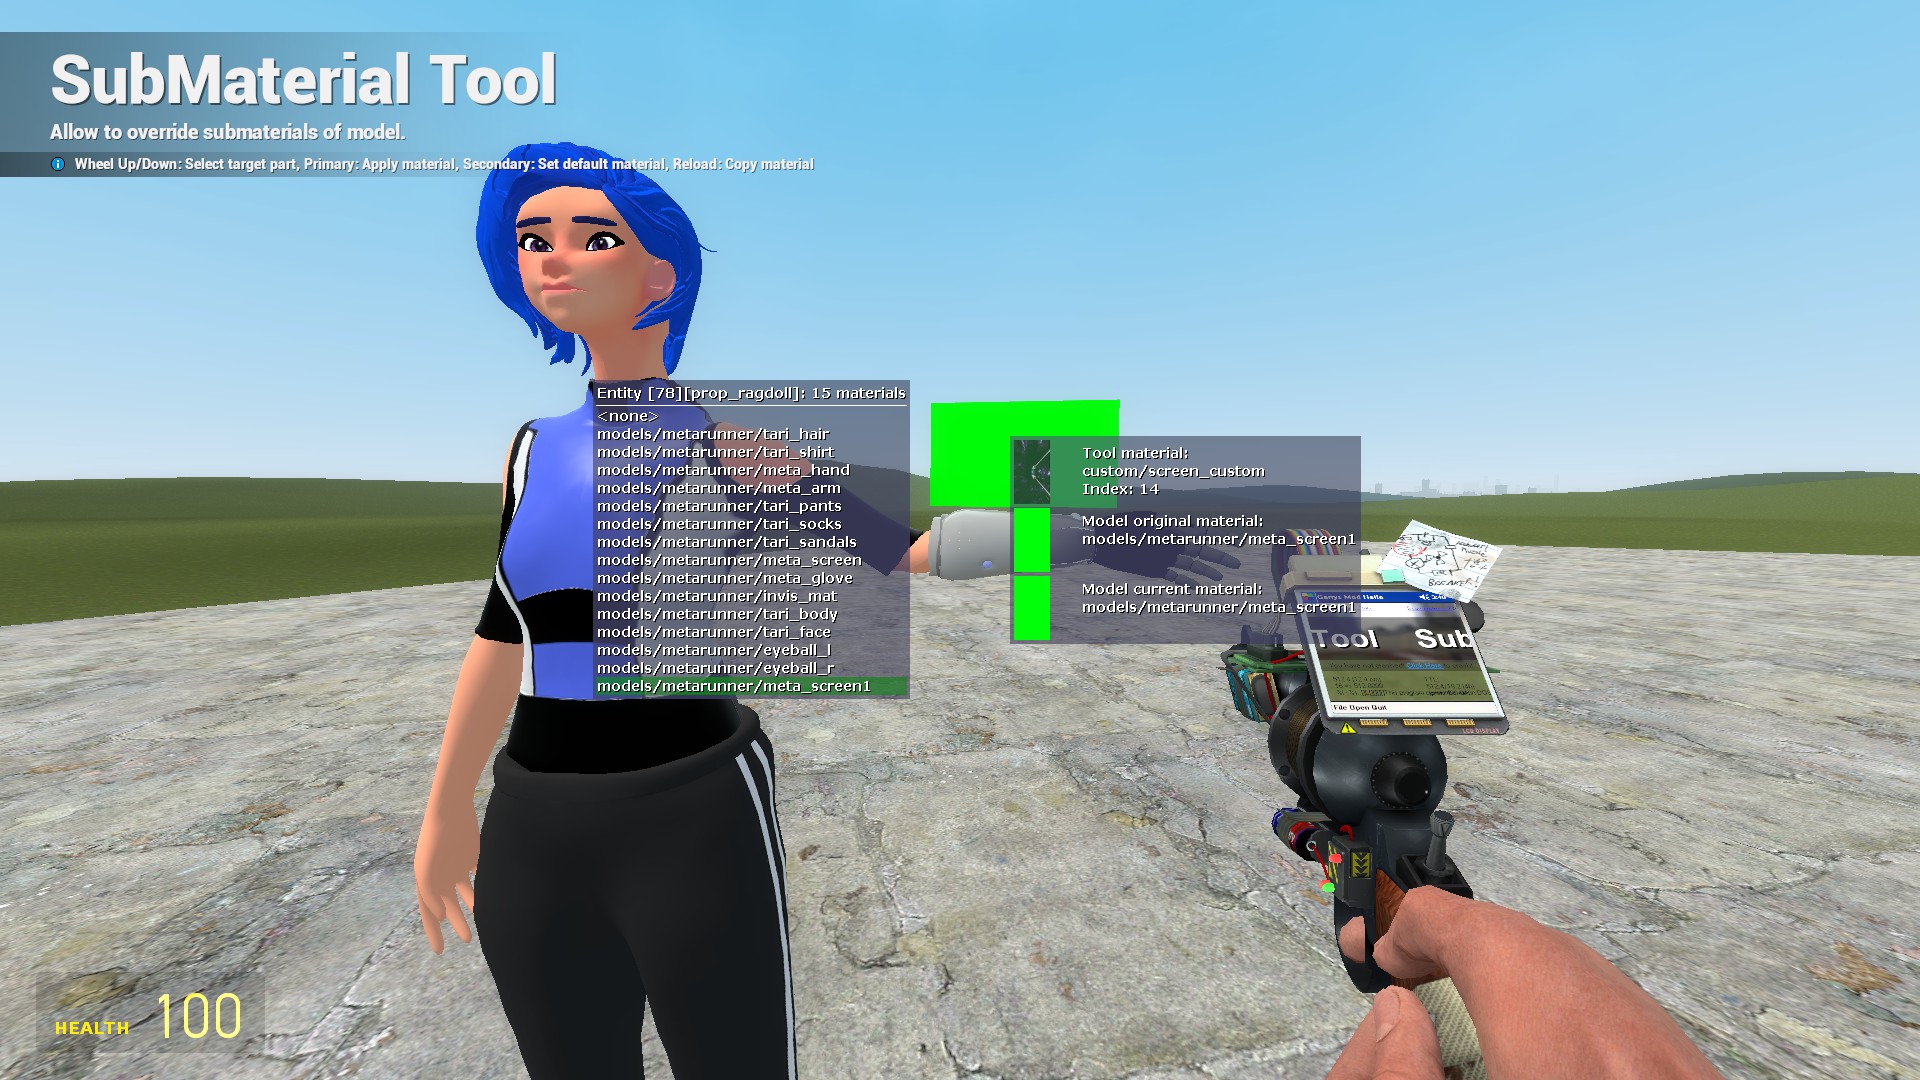
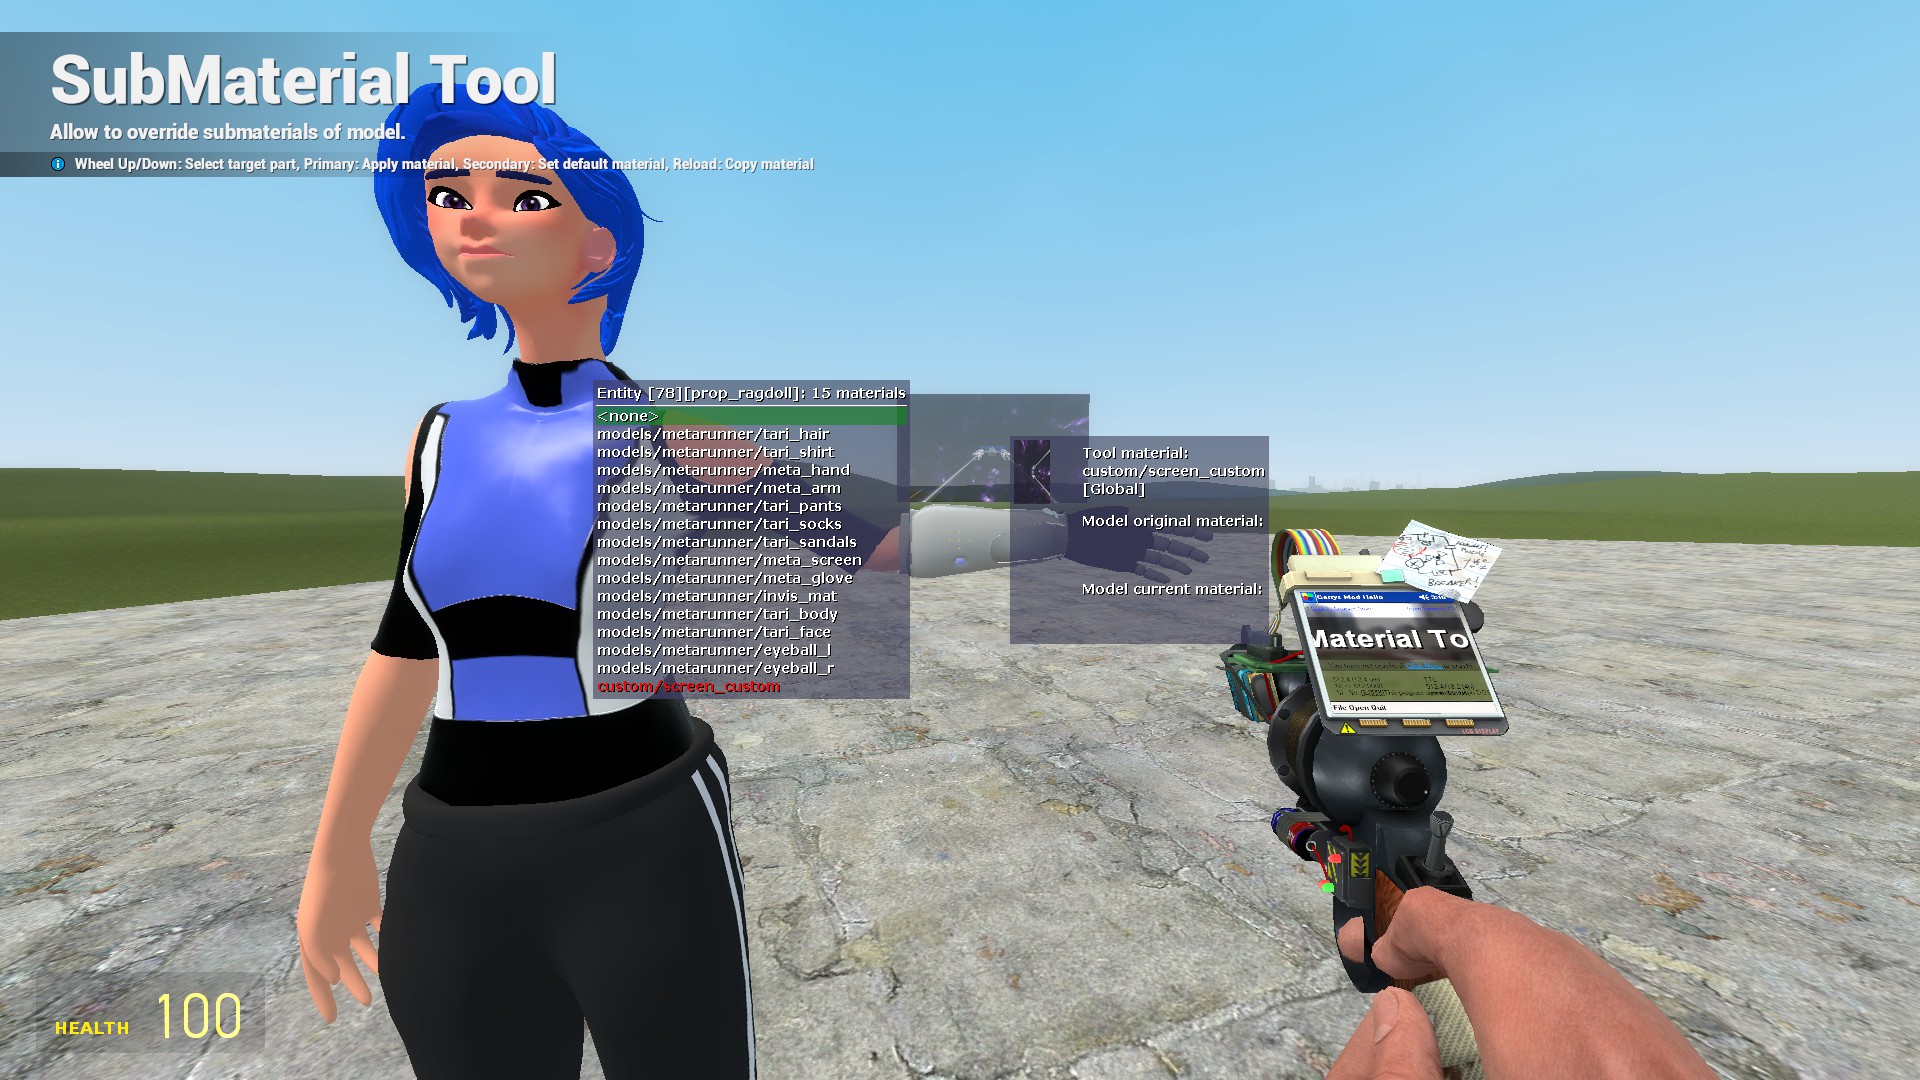
For this part, we are going to make use of the addons mentioned earlier:
Extended Spawnmenu (by Rubat)
https://steamcommunity.com/sharedfiles/filedetails/?id=104603291
Sub Material Tool (by Kawoosh64)
https://steamcommunity.com/sharedfiles/filedetails/?id=405793043
End of document
You’ve made it to the end of the guide, which means you either skipped through to the end and now don’t understand anything that’s going on, or you have successfully managed to add you materials into Garry’s Mod.
I hope this guide helps you in your futur projects. Feel free to comment if you don’t understand and I will get back to you as soon as possible.
I hope you enjoy the Guide we share about Garry’s Mod – How to add custom materials; if you think we forget to add or we should add more information, please let us know via commenting below! See you soon!
- All Garry's Mod Posts List



material is wireframe please help