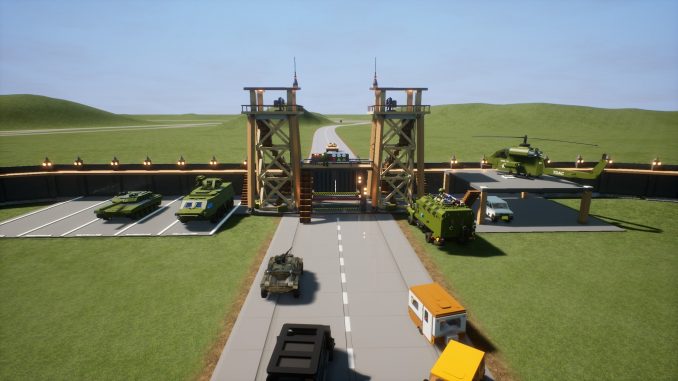
Hello!
The materials I use to make creation thumbnails are:
• Brick Rigs Graphics Settings
• A photo editing website
• Microsoft Paint…
I’m lazy & keep things simple. Remember, it’s my way how I do my thumbnails.
[Step 1: Pick Creation, Place, & Angle of Screenshot]
Bring out your creation from garage or hangar, place it in desired location, & angle your view in Free-Cam towards the creation as if you’re about to take a screenshot for the thumbnail (feel free to add any other background creations as long as it’s relevant to the creation or just to make the screenshot more pleasing)— but don’t press F12 key yet!
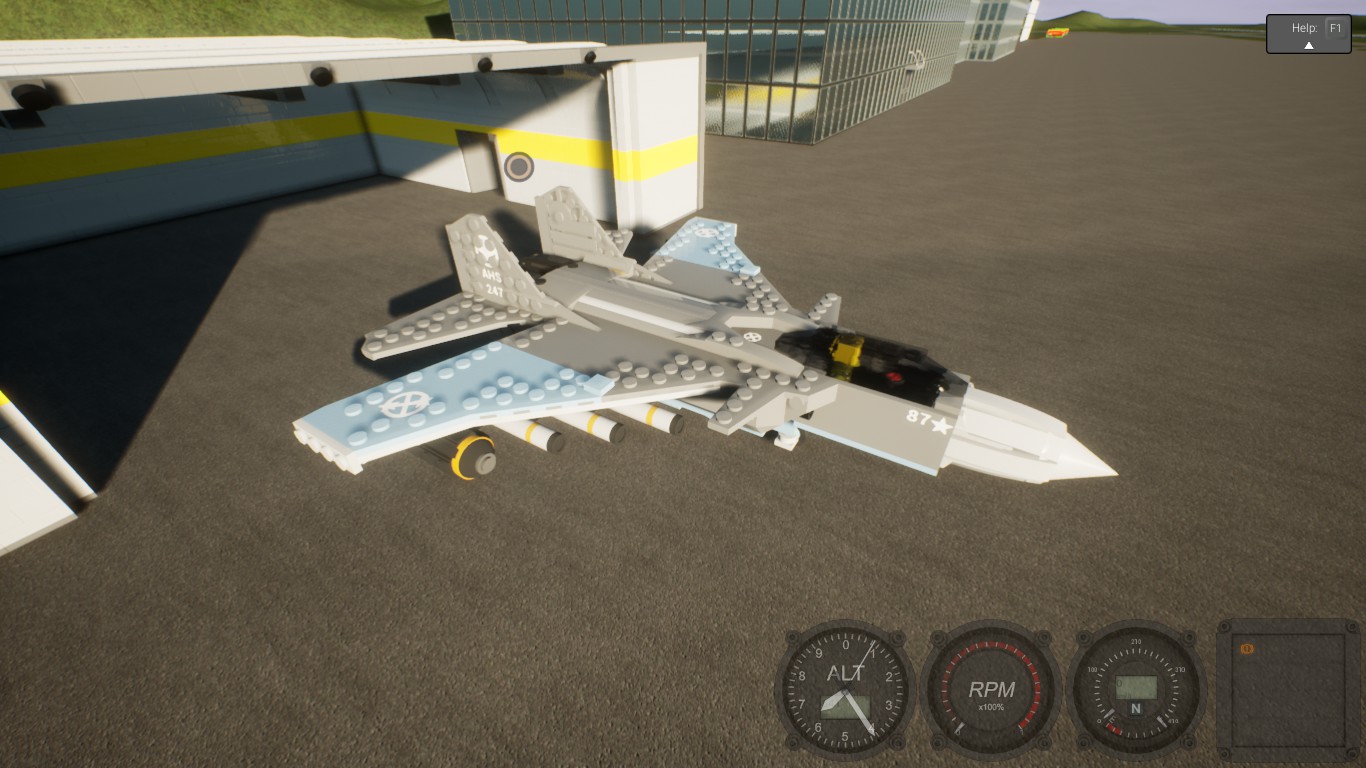
Hit [Escape] key to bring yourself to the menu (no, not the main menu), then click [Options], & finally, [Graphics]. Slide your [Field of View] left to 60 Degrees (yes, slide all the way to the very left).
Re-adjust your zooming in your Free-Cam from the creation with [W] & [S] keys, & maybe a bit of your angle using [A] & [D] keys & height using [Q] & [E] keys, & the mouse, if needed. Make sure you’re not too zoomed in nor too zoomed out, just enough to fit in a 1:1 image cropping process in the photo editing website.
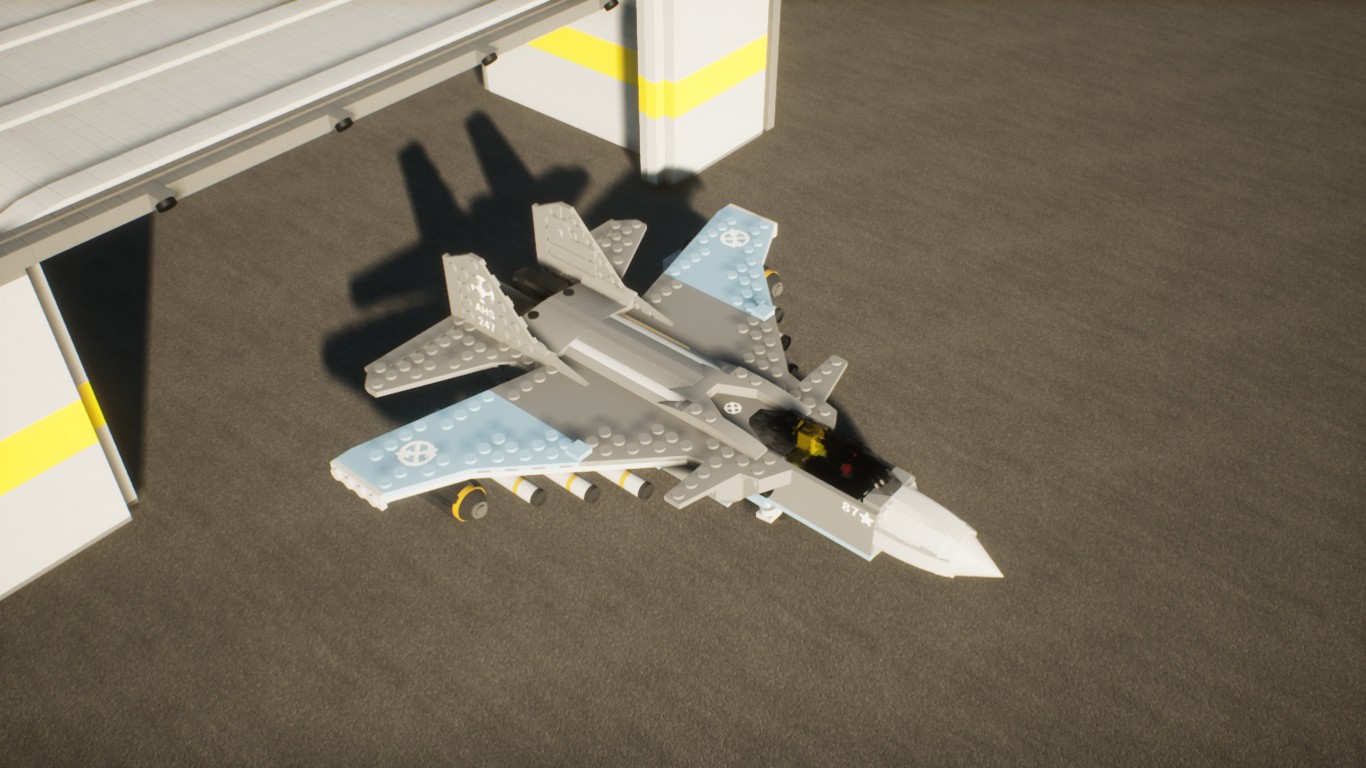
In the meantime, take the screenshot for the thumbnail. Don’t move away your Free-Cam screenshot angle yet, just in case you messed up or didn’t like the result after the editing of the screenshot for the thumbnail. After one or more screenshots, copy-paste your one selected yet-to-be-thumbnail screenshot to your computer or laptop’s Desktop (or in an exclusive folder, where you keep other edited screenshots regarding your creations).
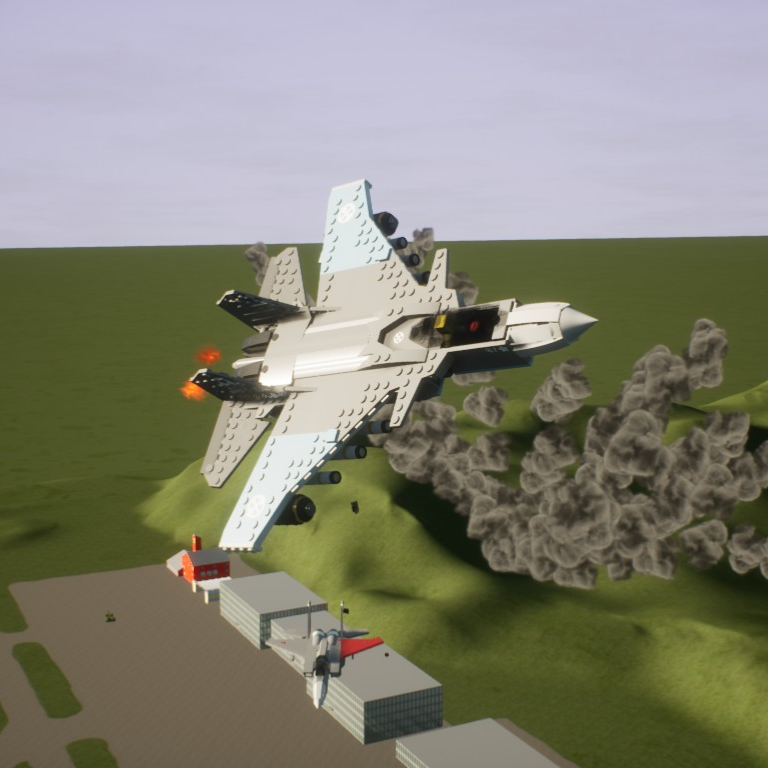
Note: if you want screenshot/thumbnail of any creation like a jet fighter airborne mid-air, respawn mid-air or take-off from ground & fly towards the wanted altitude & place. Press [P] button to pause in-game (works in Singleplayer only) at the place you want your screenshot & place your free-cam towards the desired angle for the screenshot. Don’t forget to angle the creation or aircraft too as you fly-by when necessary/possible for more pleasing screenshot like the given image for example above this text.
[Step 2: Editing in The Photo Editing Website]
I use Canva Photo Editor. Feel free to use any other picture editing websites, as long as it has the cropping feature. Here’s the link: https://www.canva.com/photo-editor/app/
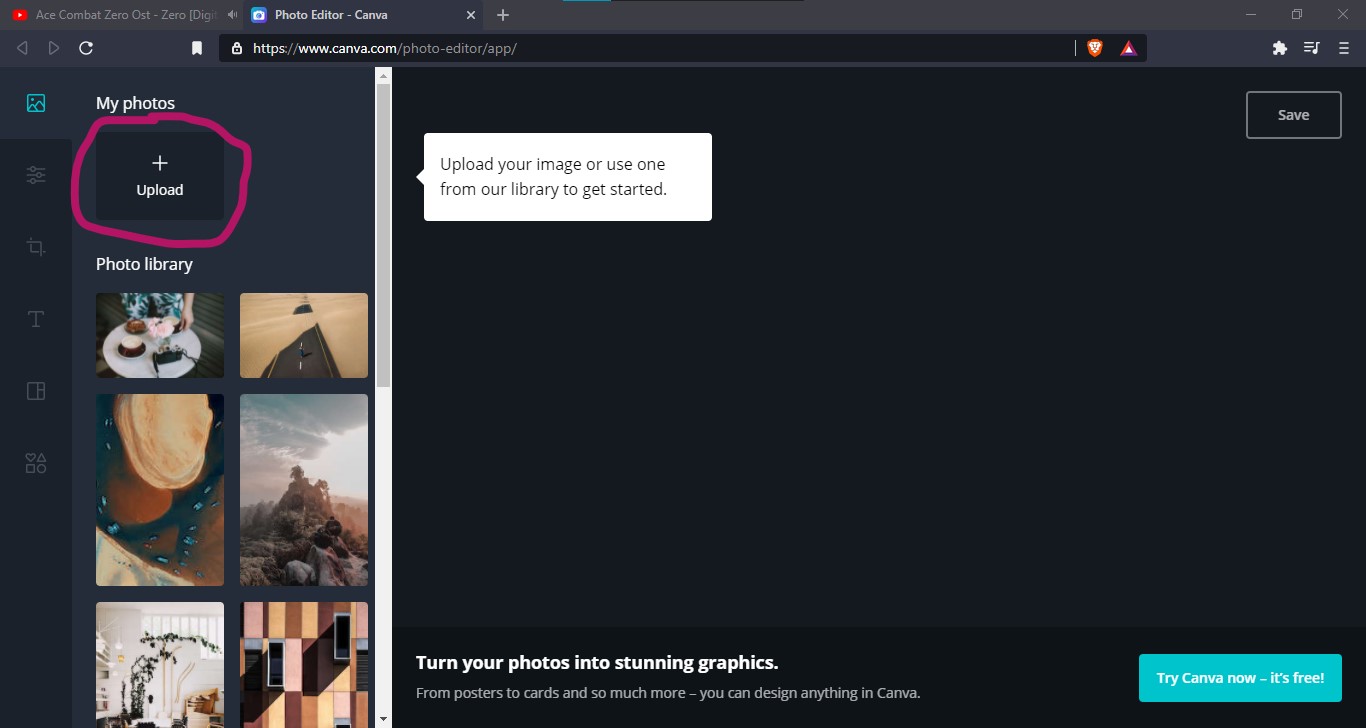
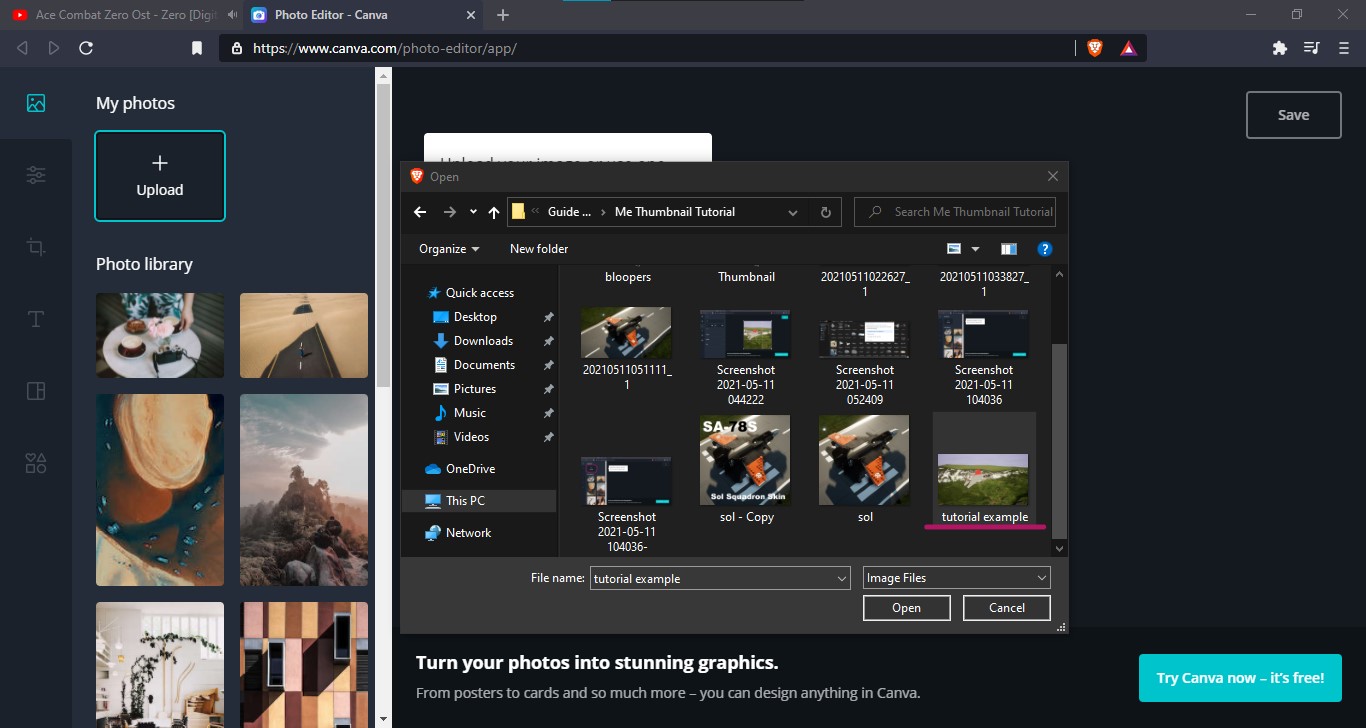
Once loaded in the Canva Photo Editor website, click the [Upload] button. Something should pop-up instantly…
Click [Desktop] (or look for the folder wherever your screenshot is located quickest possible) & double-left-click your selected screenshot. Once loaded, click on [Edit] button (there are 6 buttons to press on the left corner on your screen in the website. The [Edit] button is the Third Row button), then press [Original] & select 1:1.
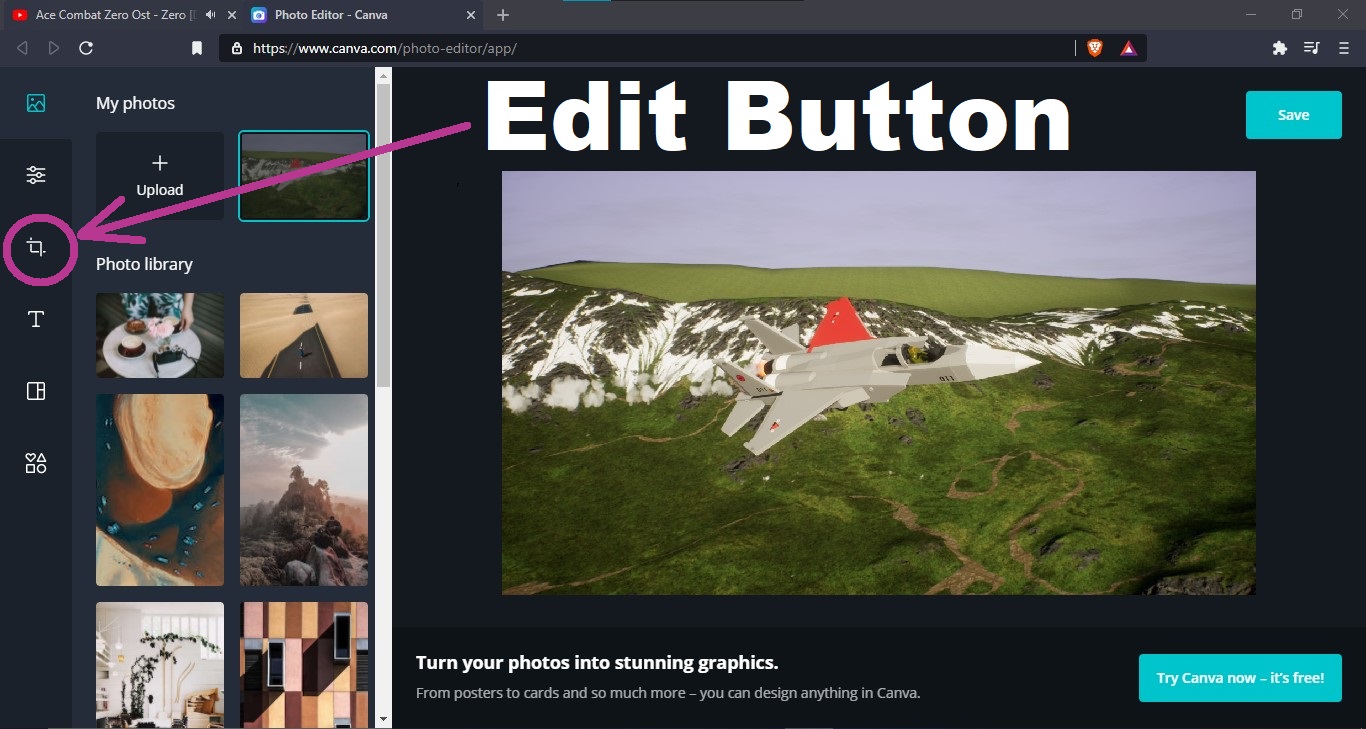
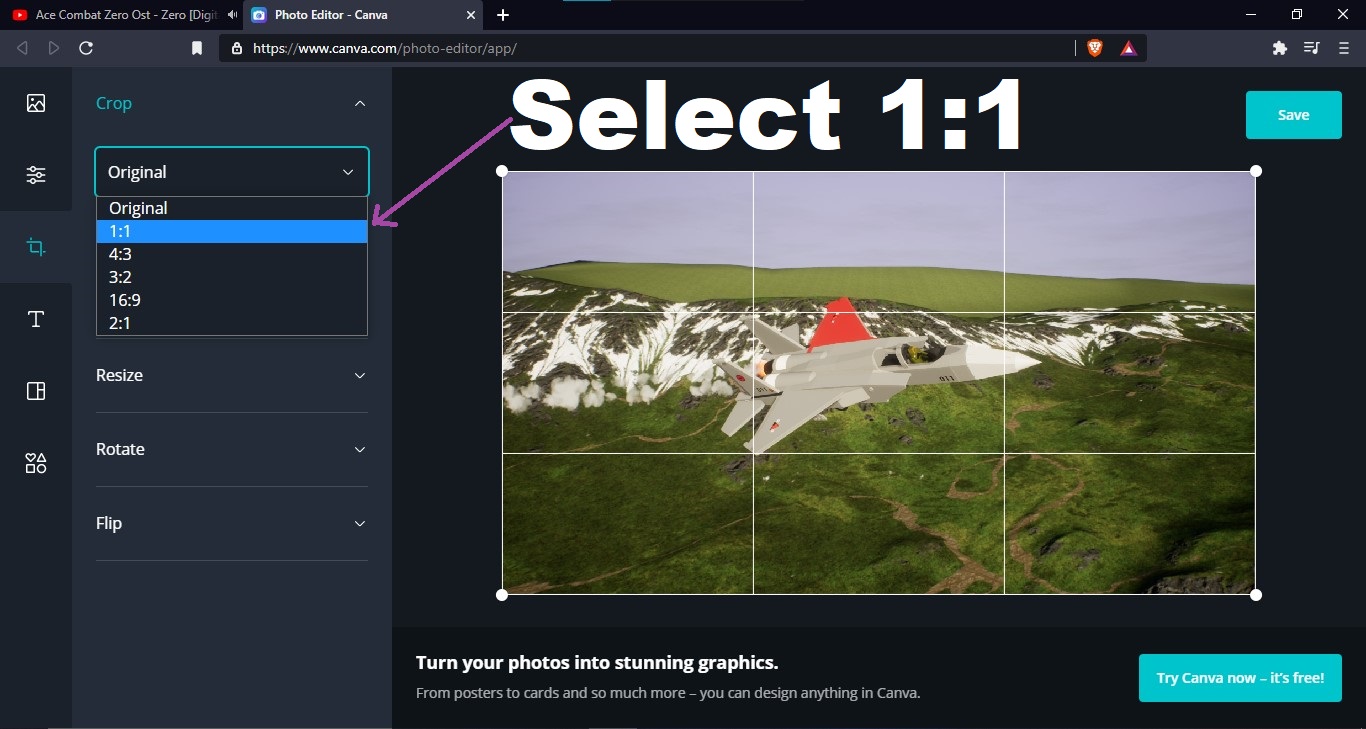
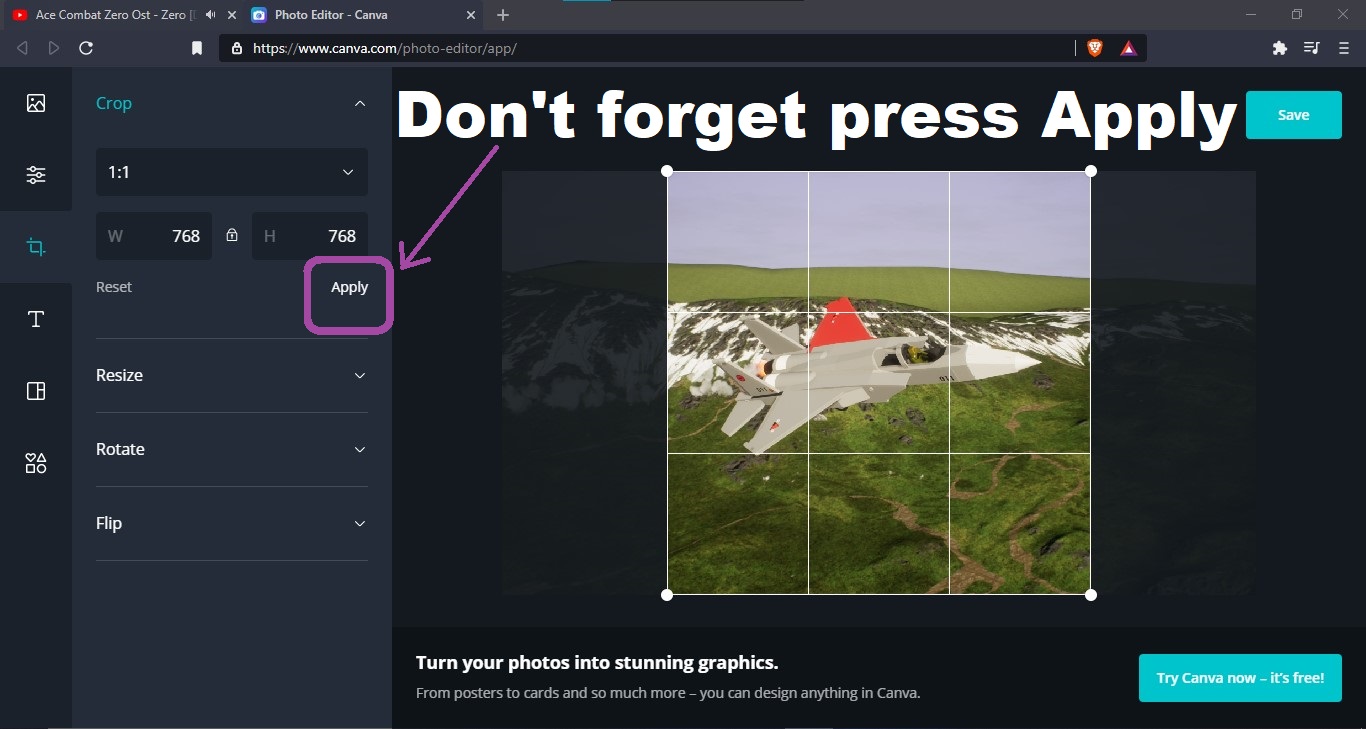
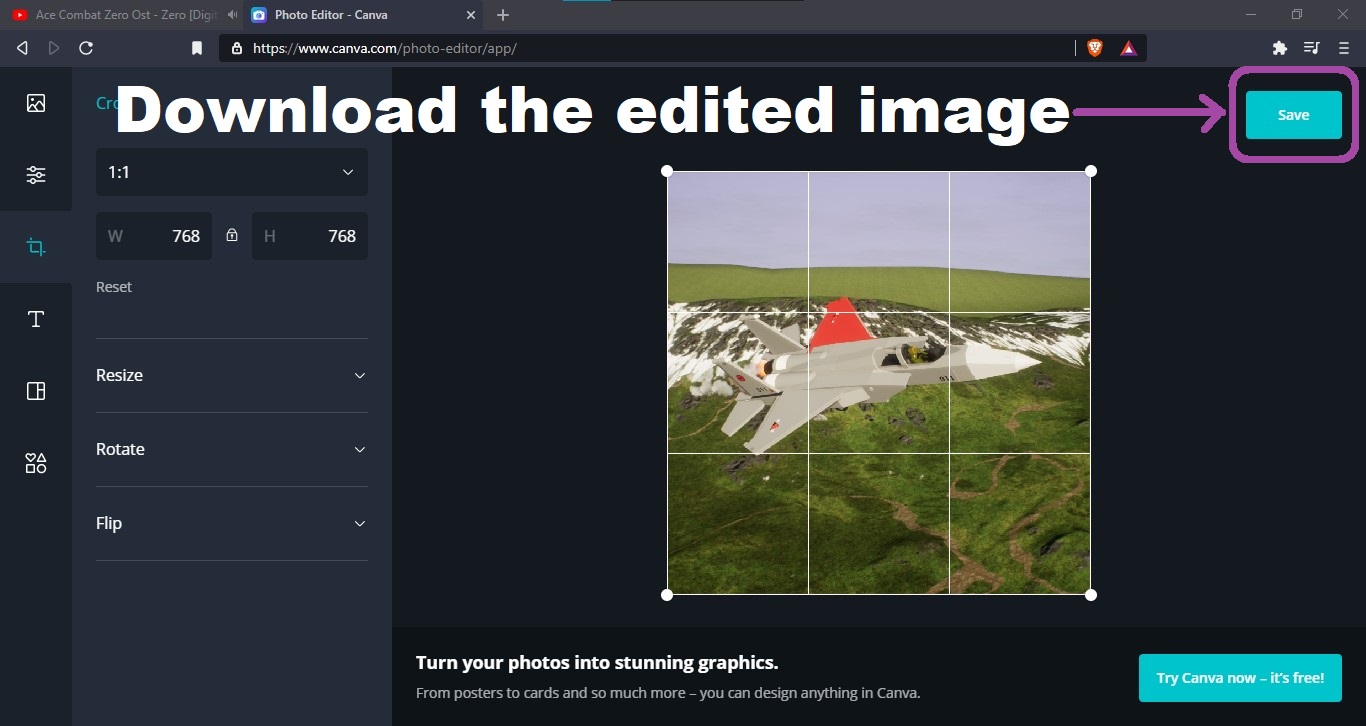
… Find out if your vehicle was not caught in the cropping. If not so, congratulations, you won’t have to take another slightly zoomed-out screenshot! Next, press [Apply] somewhere on the left of screen, & finally, press [Save] on top right of screen, then press [Download photo by itself] & that’s it! You have a thumbnail.
[Step 3: Oh Good Grief, The Microsoft Paint…]
This one is optional… as it’s only for adding texts.
I only use MS Paint just to add text on any of my thumbnails… You can use another application just to add any texts, like the name of your creation or its brick count, if you hate MS Paint that much. Make sure any texts you put contrast in the thumbnail & are big enough. You should by the way also be having two copy-pasted 1:1 thumbnails, just in case you have errors that can’t be undone in your thumbnail with texts.
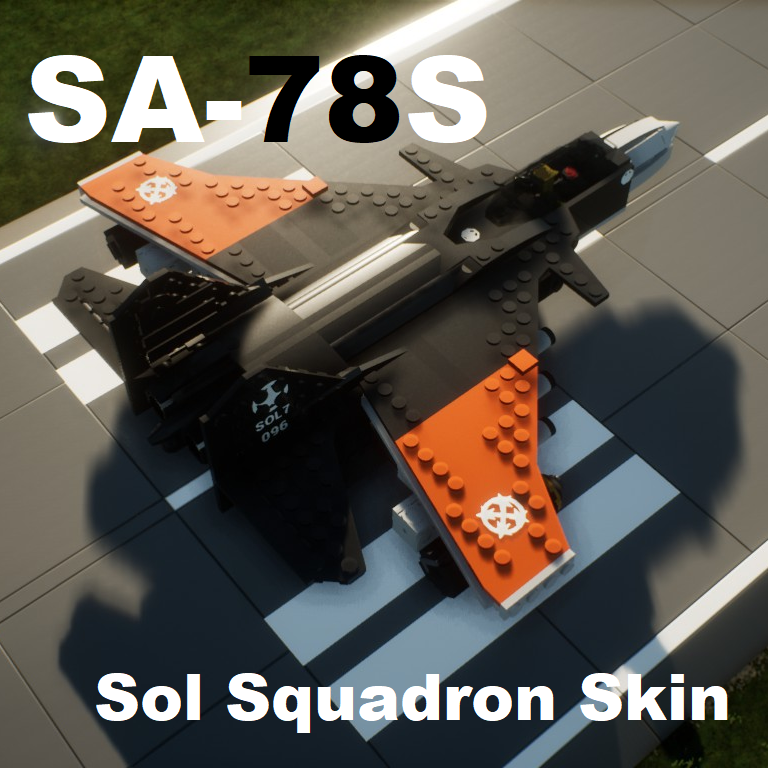
Very important: once you’re done with adding any texts to the thumbnail, or decided not to add any, rename your thumbnail file exactly as the name of the saved creation in your Brick Rigs saves.
[Step 4: Replacing Thumbnail With What You Made/Edited]
Press [Window] key first & then [R] key at the same time. Then, type appdata in the empty space, & go through the following files: Local>> BrickRigs>> Saved>> Thumbnails
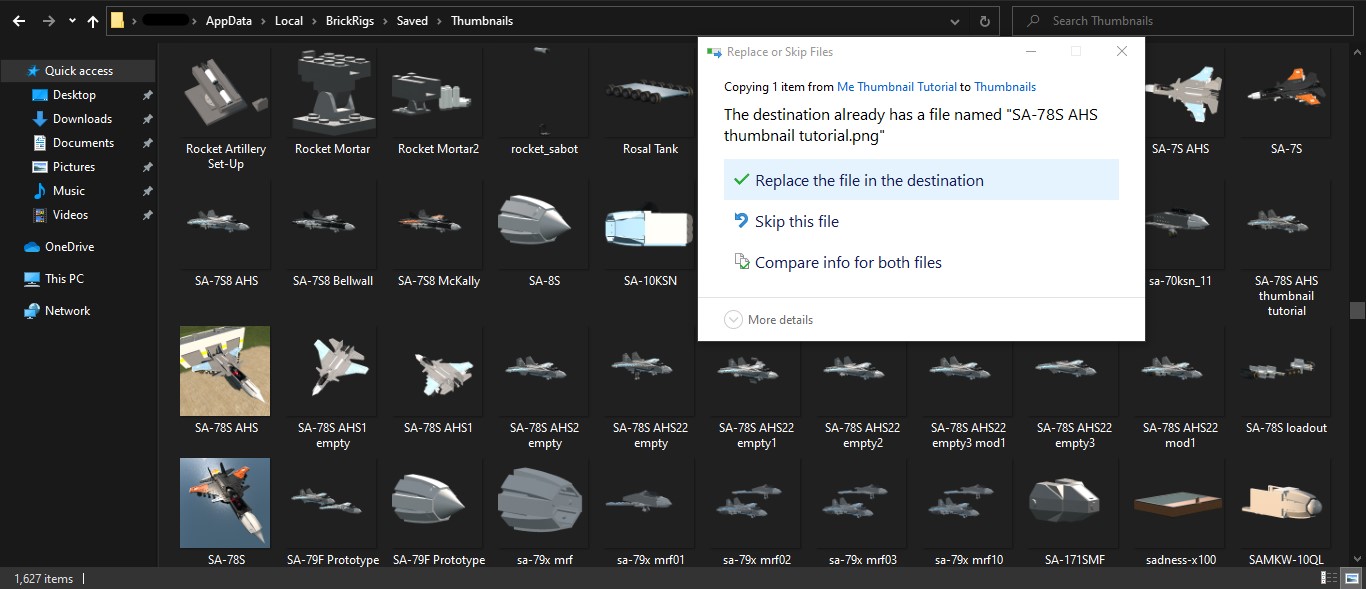
Assuming you renamed your thumbnail file exactly as the name of the saved creation in your Brick Rigs creation saves, drag or paste the thumbnail into the game’s Thumbnails folder & allow it to be replaced. The named creation save will be replaced & change into your desired thumbnail once you close the game or if the game is not running in the process of replacing the other thumbnail you’re bored with. If you replaced the thumbnail while the game is running, close it & boot it up again.
Never attempt to change the name file of the thumbnail once it’s inside the game’s Thumbnails Folder unedited, because it’s impossible to rename it there in the process of replacing the other boring thumbnail.
That’s it! Your saved creation with new thumbnail is ready for upload. Don’t forget to reset your [Field of View] back to your preferred configuration & press F9 to toggle off/on HUD display after.
Shoutout to Unit-153 for inspiration of making the guide done sooner. ‘Decent player & building like me. Though, ‘could use some more recognition.
This is all about Brick Rigs – Me Thumbnail Tutorial; I hope you enjoy reading the Guide! If you feel like we should add more information or we forget/mistake, please let us know via commenting below, and thanks! See you soon!
- All Brick Rigs Posts List


Leave a Reply