Welcome to Surviving the Abyss – Basic Building Tutorial and Walkthrough Guide
This guide provides all of the information in this guide is correct as of January 21st, 2023. This guide is still in the works, so the information provided is at best fragmentary, but I’m posting it here as I get it so that everyone can benefit from my efforts while adding some lore-friendly flavor to the presentation. I hope this guide is useful to everyone, both new and experienced.
An exploration team member approaches you and hands you a data disc, something they recovered from a nearby ruined research lab. You will have to spend some time perusing its contents to understand its value fully.
Tips & Tricks
We have been able to decipher what we can only interpret as bits of guidance strewn among the contents of the data we were able to retrieve. All of that data will be compiled here for your convenience.
The Art of Tunnel Building
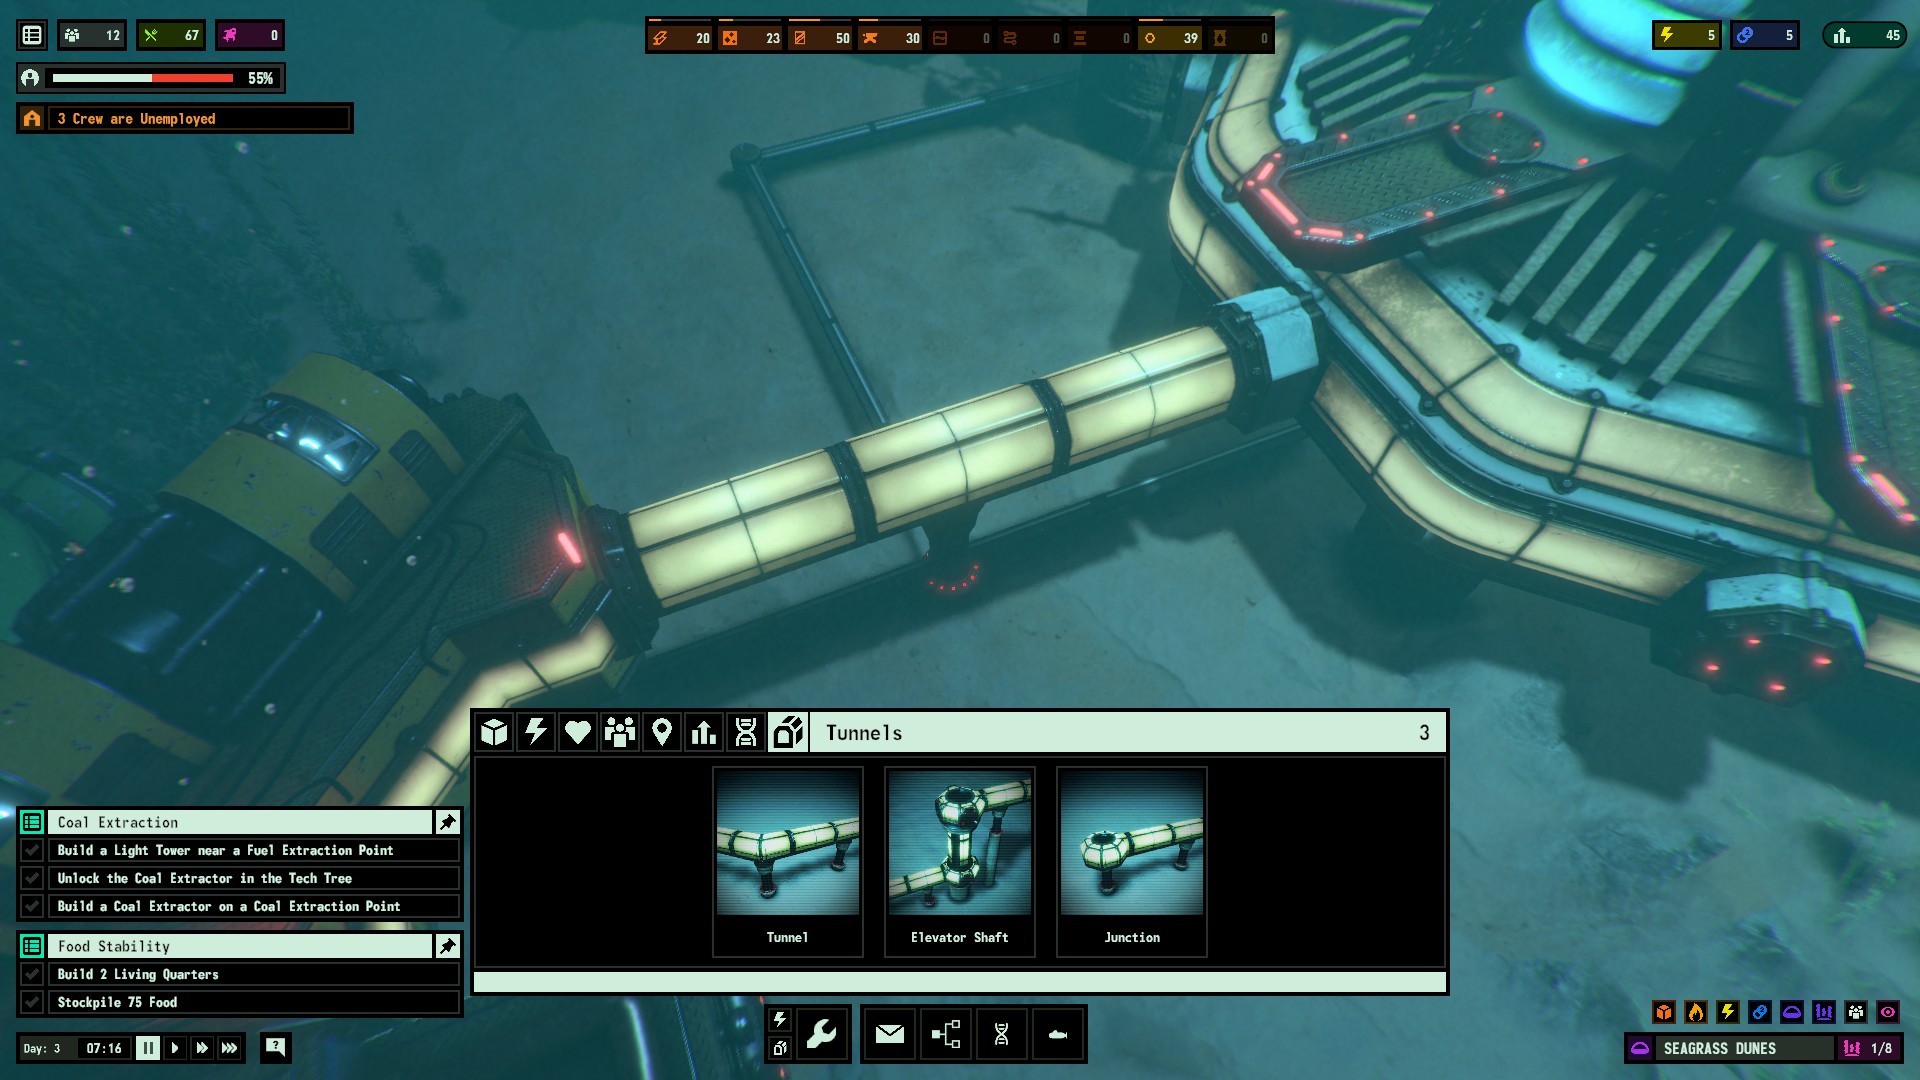
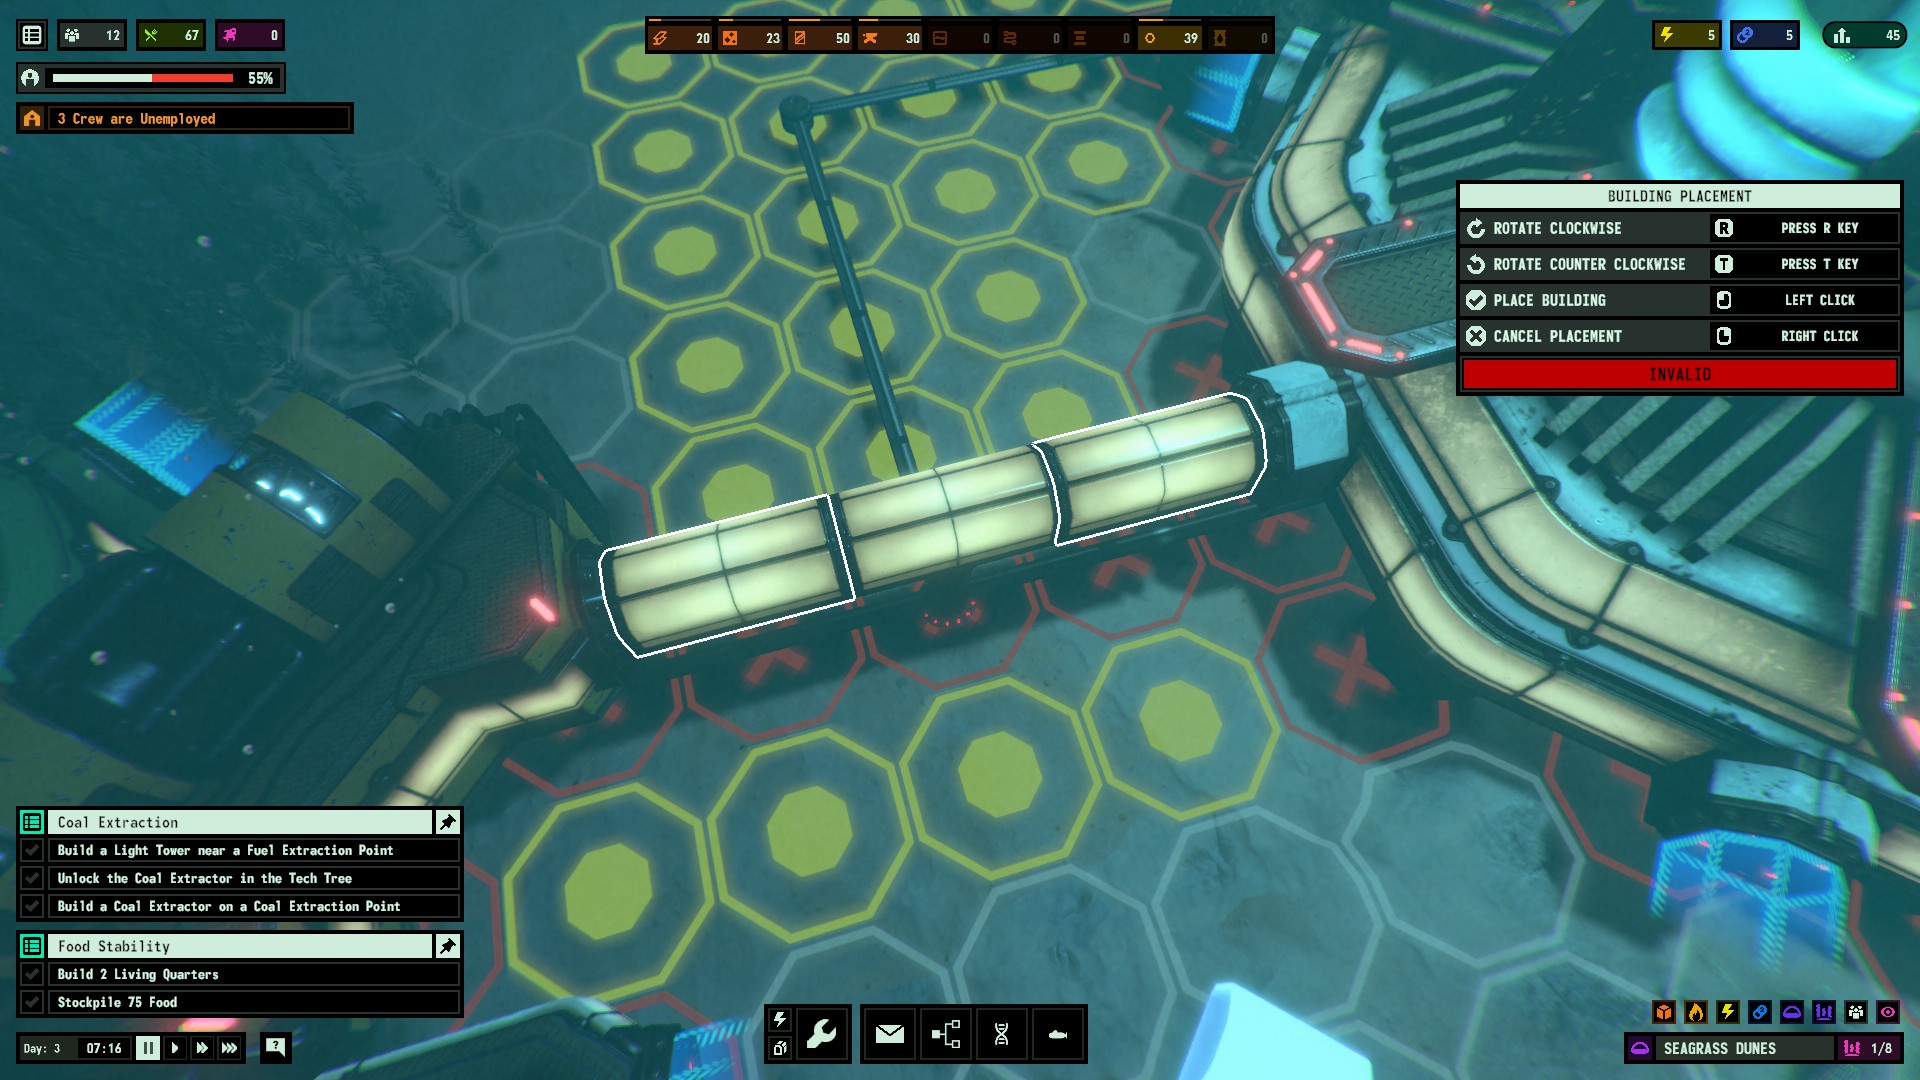
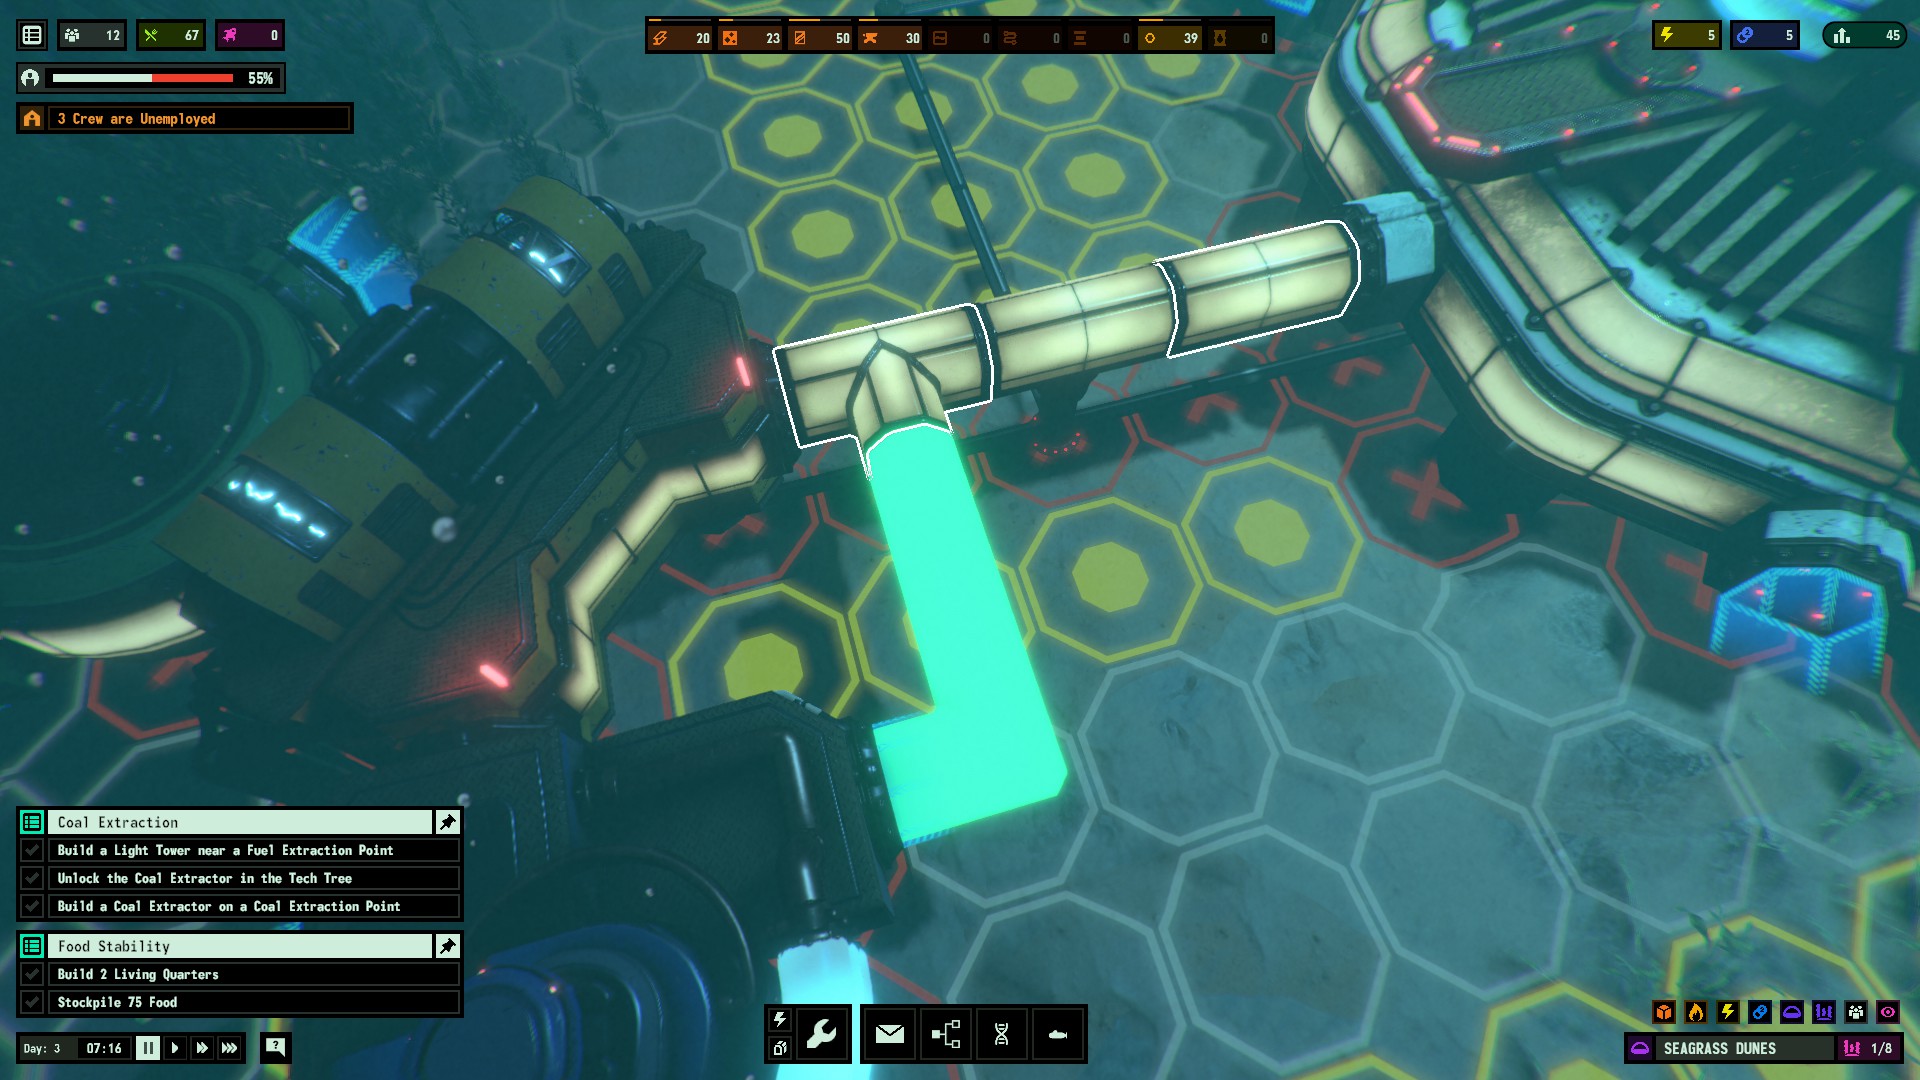
Tunnels, as you are no doubt aware, are used to transport crew and oxygen throughout your base. Furthermore, tunnels currently have no negative consequences as a result of long pathways. Tunnels can be built in any shape you want as long as they are built in a well-lit area. Connecting tunnels is a different story, as tunnels will typically not allow another tunnel to connect to the middle of an existing tunnel under normal conditions. A junction can be used to allow a tunnel to split off into any of the 8 available directions, whereas an elevator shaft, while only splitting off into the four main cardinal directions, can provide tunnels with a way to traverse the somewhat uneven terrain of the abyss.
But did you know there is another “junction” you can use that does not necessitate the arrival of a constructor sub to build it for you? When connecting point A to point B, tunnels use a start point and an end point, and the junctions at these two points are what I call tunnel-only junctions. You can interact with them just like any other junction, allowing you to build new tunnels to and from those tunnel-only junctions. The best part is that you can place a brand new tunnel-only junction by pressing shift+left click anywhere while building a tunnel. When used correctly, tunnel junctions can be beautifully placed and look far cleaner than the alternative.
Rush Research!
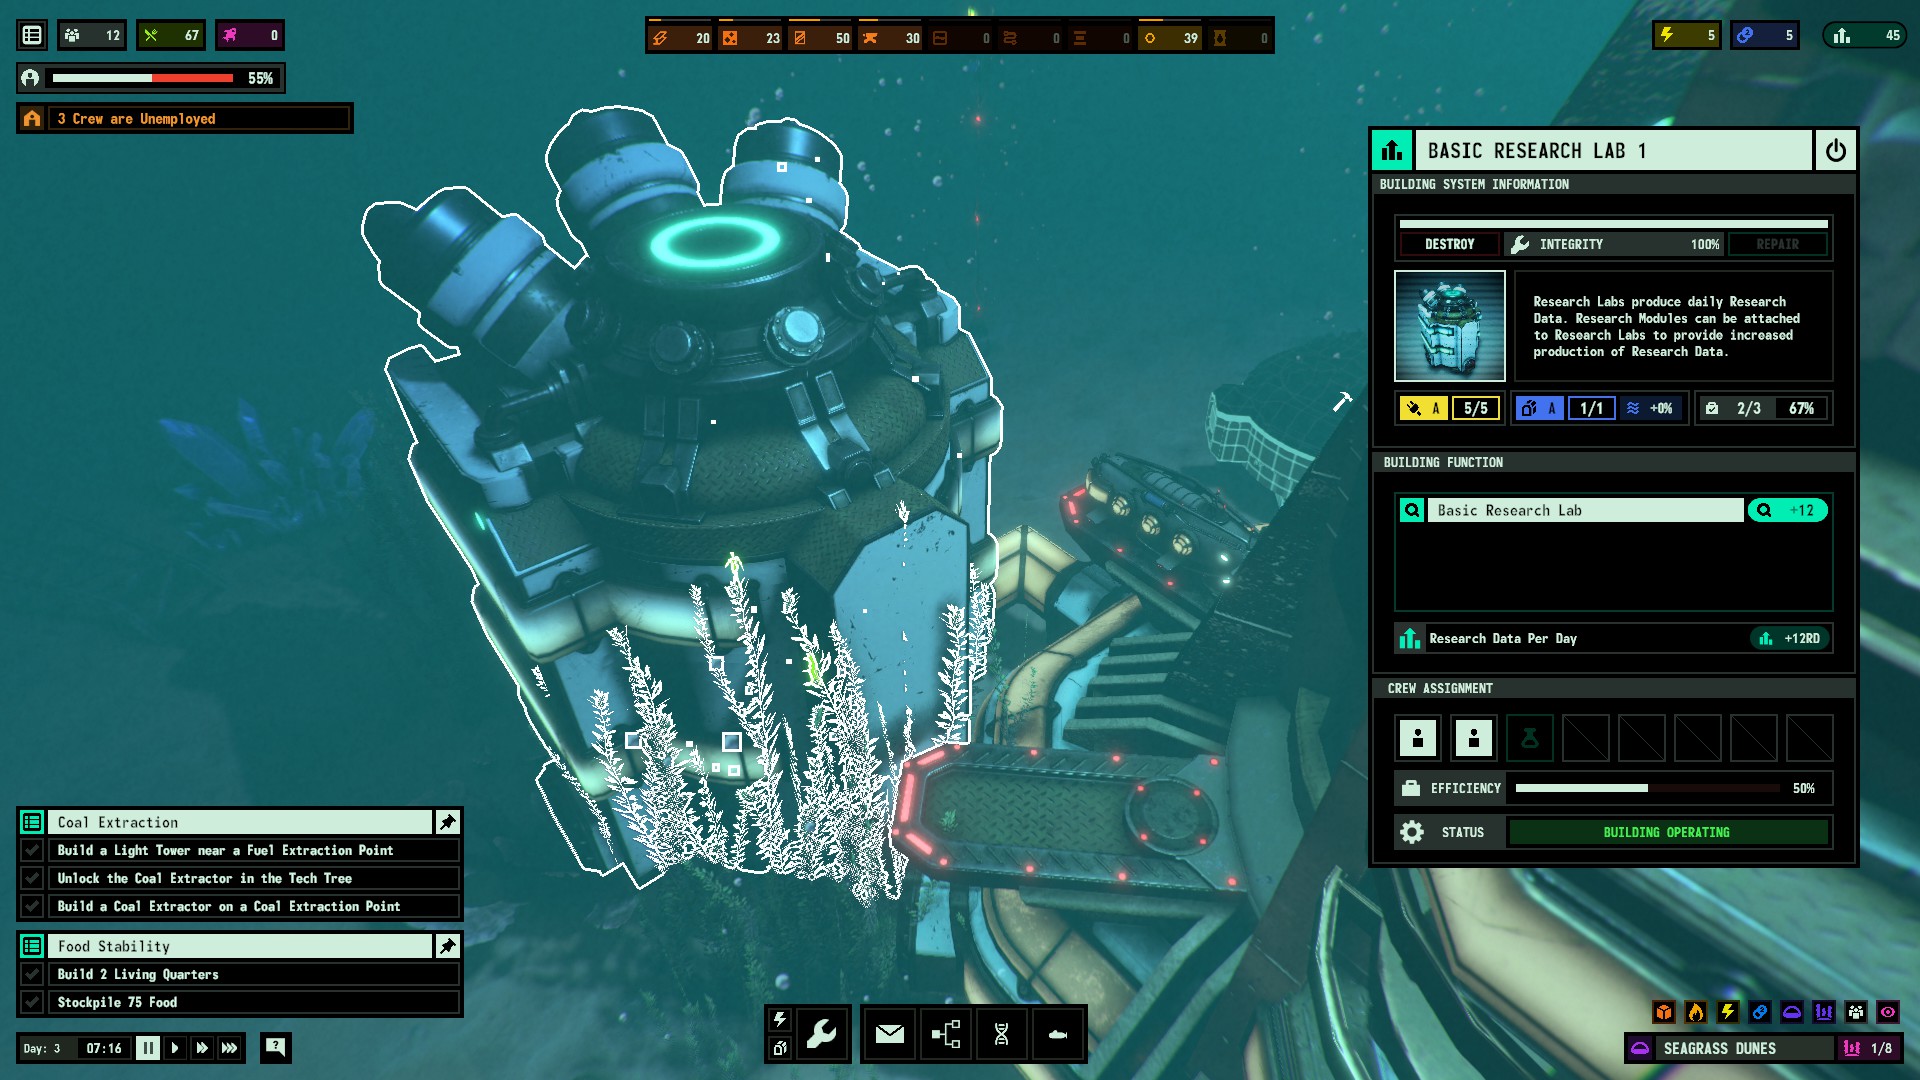
Research is fundamental to increasing your ability to survive in the abyss. The primary research lab is your only source of research data in the early game, and accumulating enough research data can make or break your ability to survive. Also, don’t just research things as soon as you have enough points for them. Only research technology you truly need to progress. Lastly, be prepared to build more than just 1 of these, as the amount of research data you will need to unlock tech from later tiers can become prohibitively expensive.
Rush Air Purifiers!
NOTE: As of update 0.1.4.1 on the 20th of Jan, you will now start with enough aluminium for use on your first 2 air purifiers.
Air quality is, and always will be, an issue you must deal with. Rather than attempting to isolate and ignore the problem by disconnecting parts of your base and making everyone move around via docks, prioritise researching the relevant tech in the tech tree. You will have enough material early game to immediately build 2 purifiers, which will counteract the pollution from a coal generater each. Prioritise searching for more aluminum on the map to build more purifiers to keep your whole crew nice and healthy.
Scan, Expand, Repeat
Scarcity of resources is a thing down here in the abyss, so it is always in your best interest to seek out the next source of the material that you desire. To pull this off, a recommended tactic is to always build a sonar tower along with each 2nd new light tower you build. This way, any new area you gain access to can be immediately scanned for all of its resources, while reducing the amount of steel you waste. Once you are certain that the sonar tower can no longer pick up anything else in its range, scrap it to regain some steel back (or leave it, your choice), expand to a newly lit area, and repeat.
Fauna Traps, Habitats & Their Rarities
As you know, our goal is to succeed in cloning the next generation of humans. However, we need the genetic samples of other deep sea creatures to help advance that research. We can obtain these genetic samples from the habitats littered around the area in the abyss. Each habitat can be classified into different categories: Common, Uncommon, Rare & Very Rare
You’ll need a steady supply of the previous tier of genetic samples to use as “bait” for higher-tier samples. For your first fauna trap, build it on top of an Common habitat. Once built, it should automatically provide you with genetic specimens. The habitat must be a Common one as it is the only type that doesn’t require any additional bait to operate.
Higher-tier habitats will need bait obtained from a lower-tier habitat. For example, to obtain genetic samples from an uncommon habitat, you will need genetic samples collected from a common habitat to use as bait. Higher tier genetic samples have been found to provide better genetic samples for use in cloning, but as a result you will need a robust supply chain in order to ensure an uninterrupted supply of genetic code is available for your cloning lab to use.
However, without additional work, habitats will eventually become depleted. To secure said steady supply of genetic material, position a habitat stabiliser nearby. Ideally, it would be servicing at least 2 or more habitats simultaneously. Early game, you will only need a single crew member to operate it, but that should be plenty for your purposes for the time being.
Crew Health & Well-being
Your crew is essential, so you need to treat them well. While you may be able to ignore the needs of your crew to a certain extent, ignoring it for too long can result in a death spiral of your crew relations. This may result in your immediate banishment from your position as overseer, so you have been warned. To help prevent this, plan out the layout of your base to take into account the positioning of key facilities like the mess hall, as well as isolating air polluting buildings and ensuring the air is thoroughly purified.
Stage 1: Preparing Your Base For Clones, Step #01
As you look through the notes, you discover the original owner’s plans for his own deep-sea research base somewhere nearby, complete with numerical data, blueprints, and the reasoning behind each aspect of the design. You may be able to gain some insight as to how to start on the right path…
As with all amazing governments, the surface government decided to use their vast resources to make a fancy building in a location they chose, but not much else. So, it’s time to take things into our own hands.
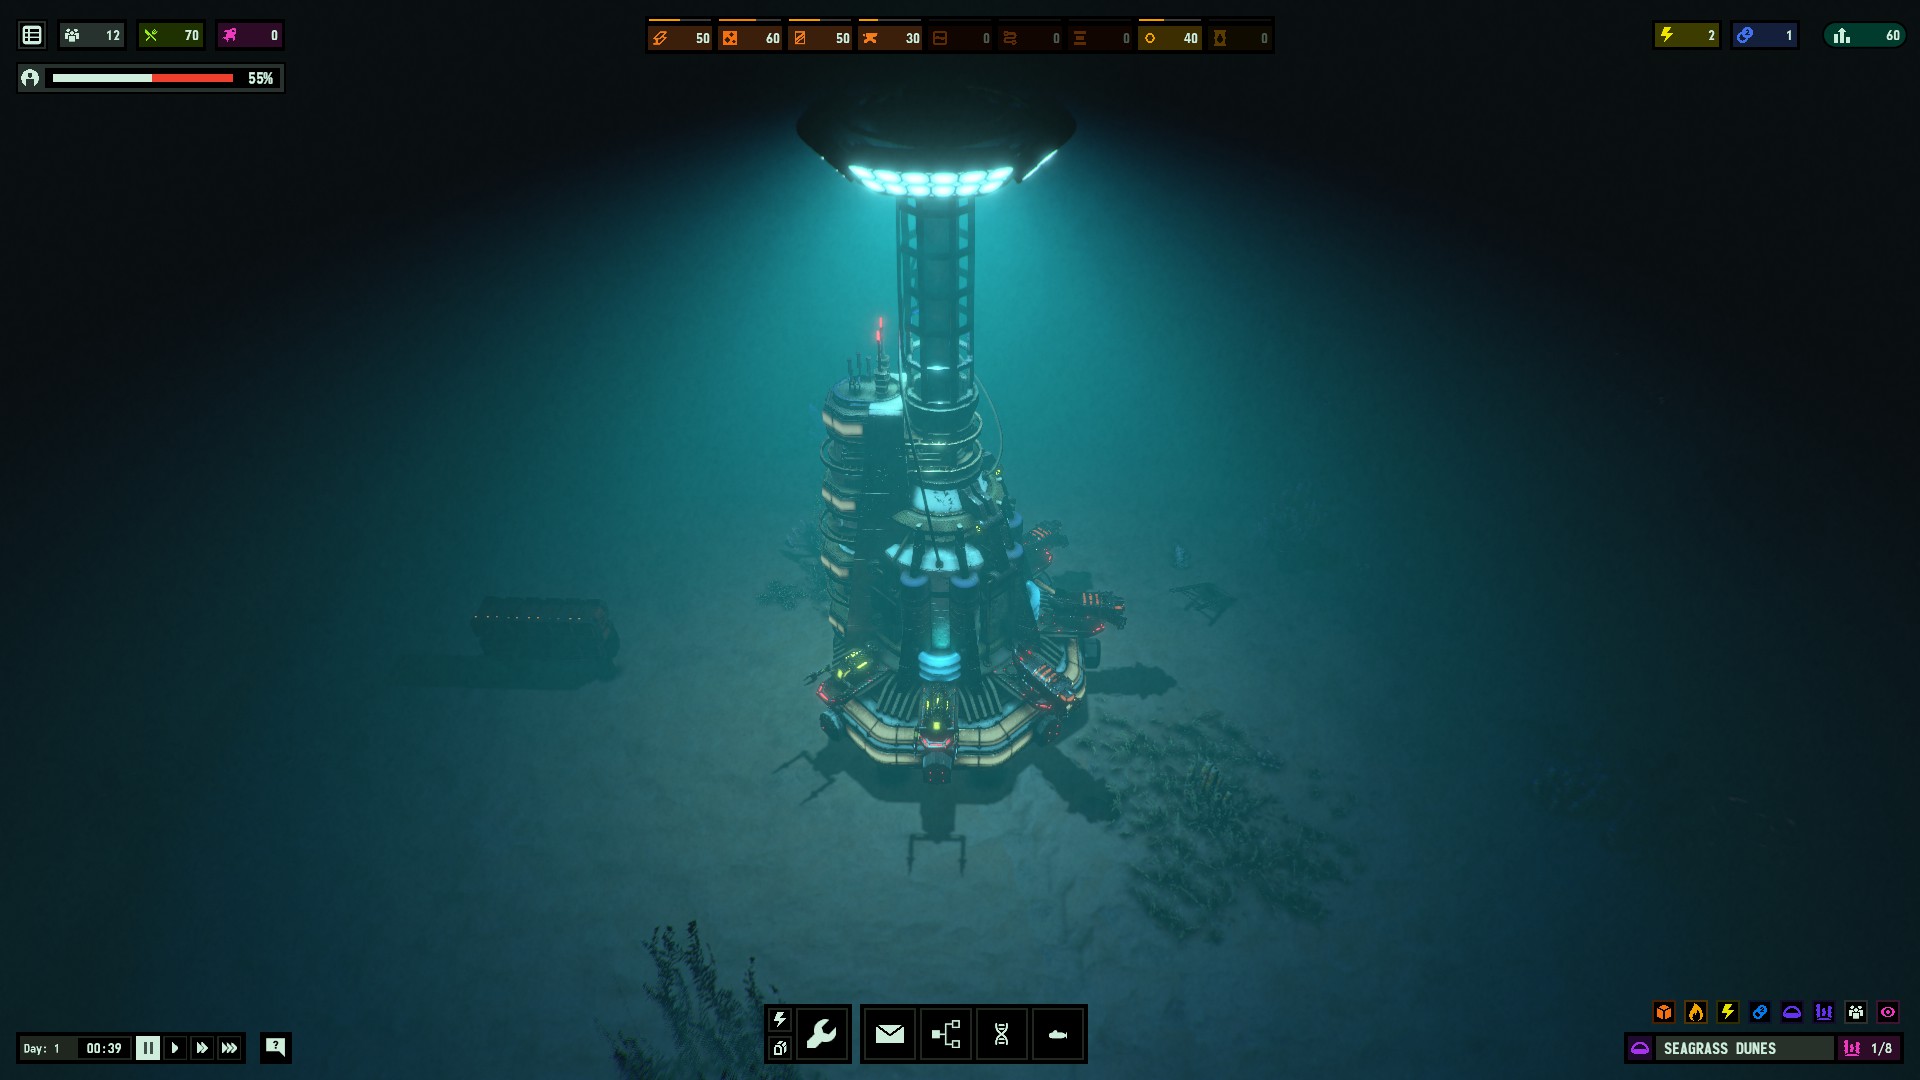
Step #01: Build the Laboratory & Survey the Area
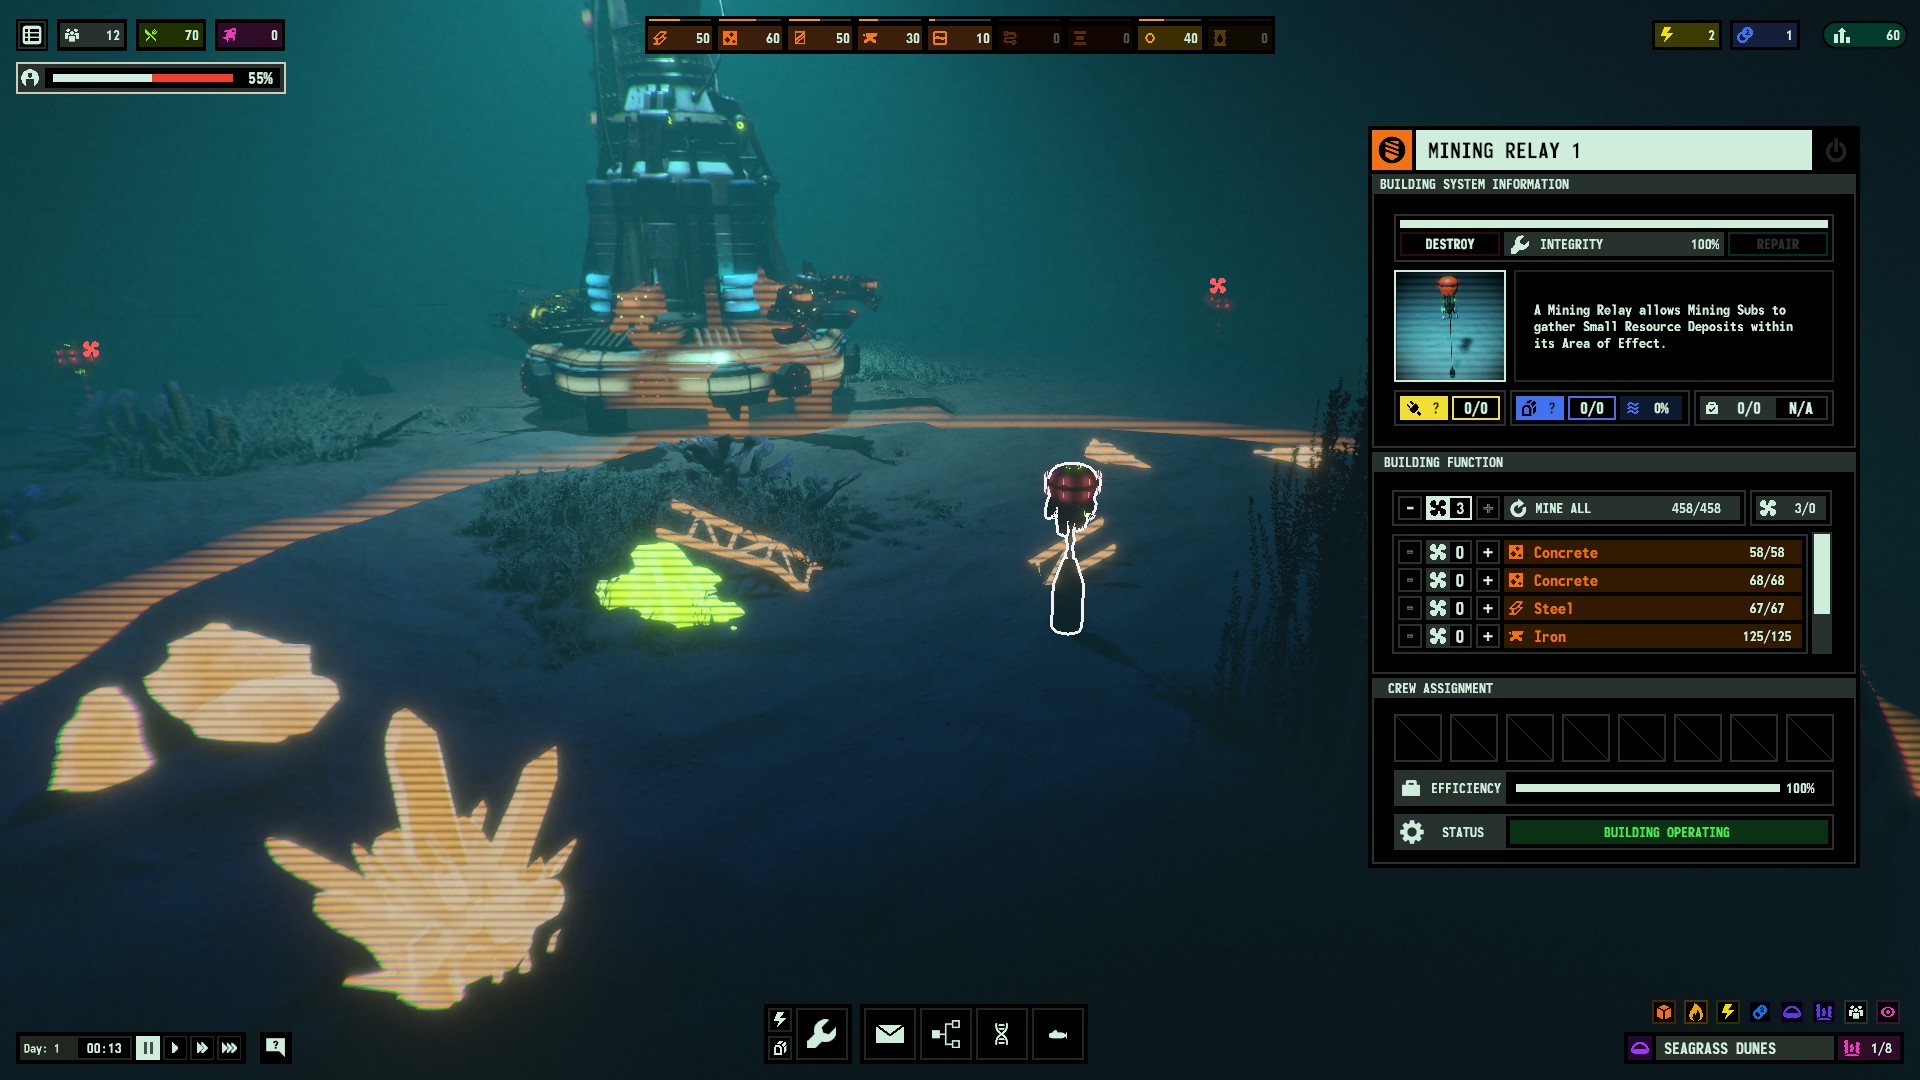
Build mining relays to provide a working area for mining subs to collect resources
Make sure to assign all your subs, prioritising areas with steel, concrete, quartz glass, and coal.
Establish power, oxygen & food supply
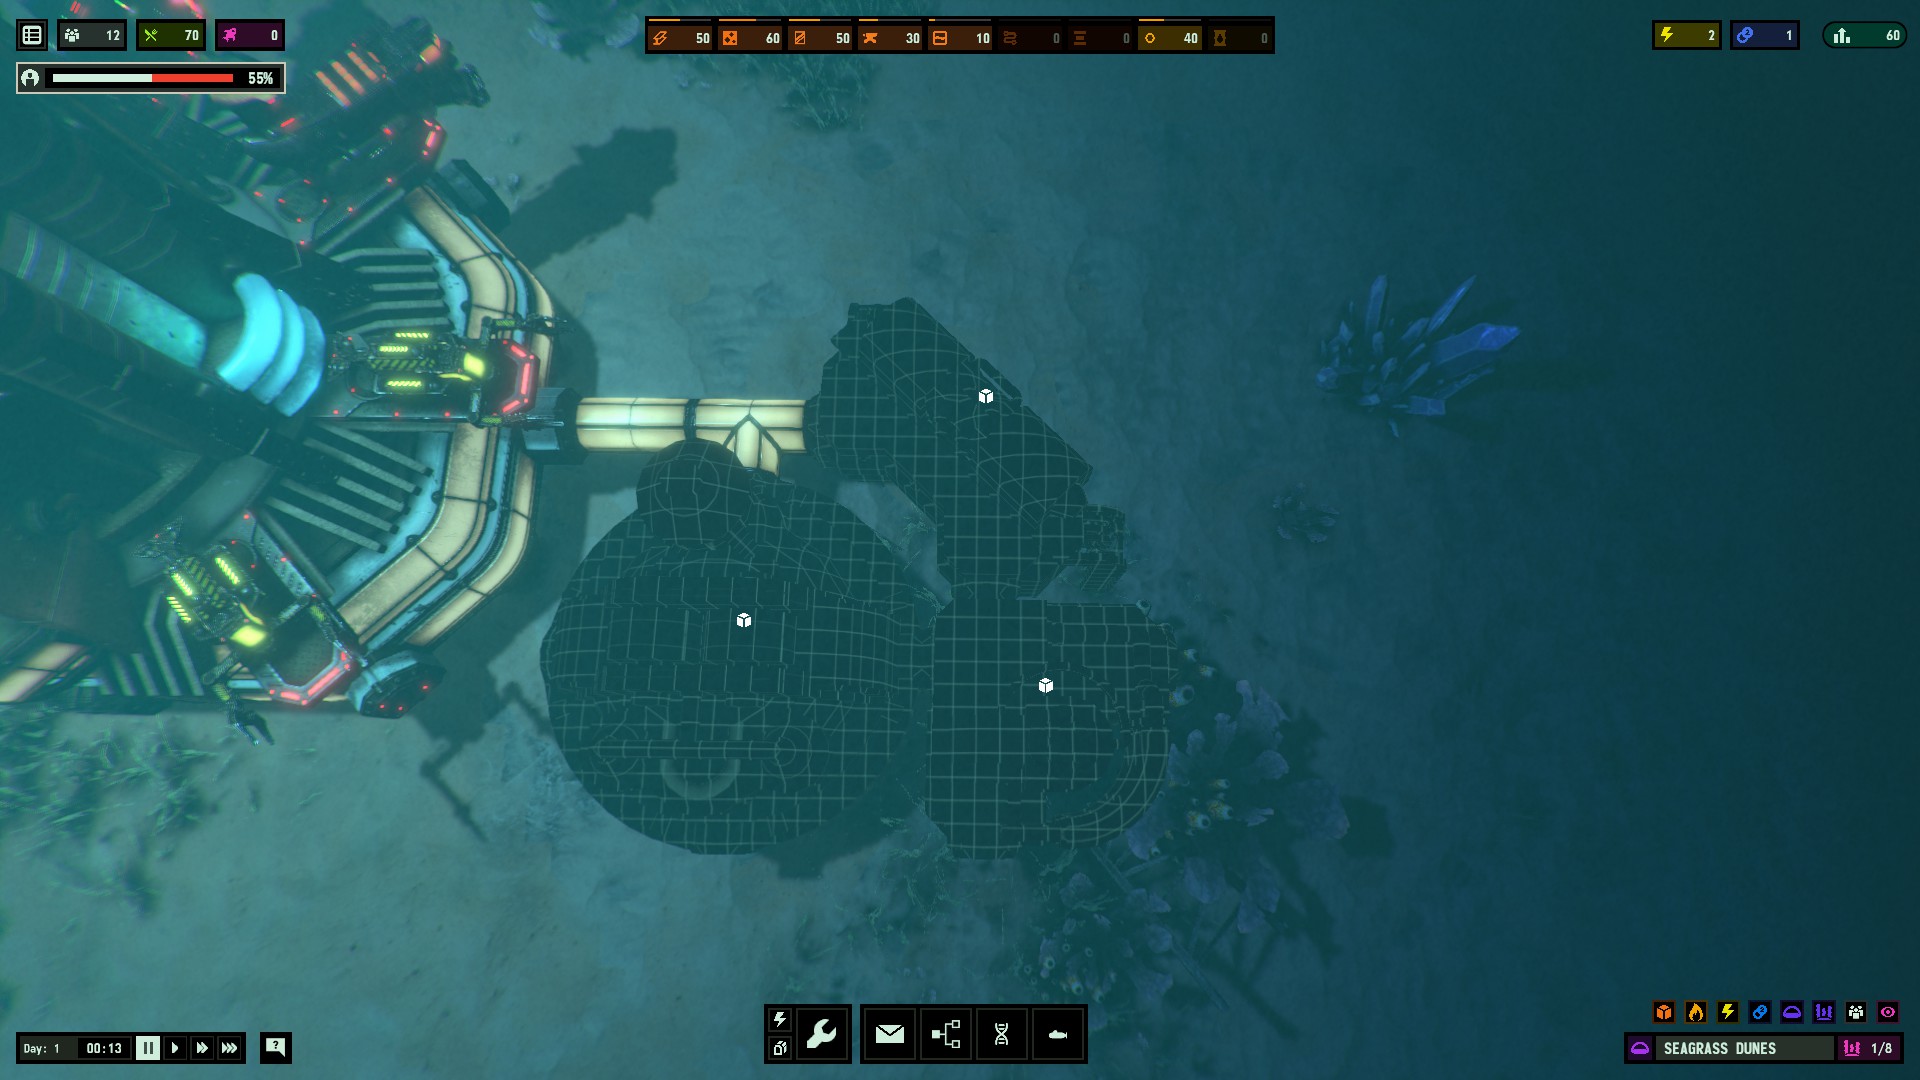
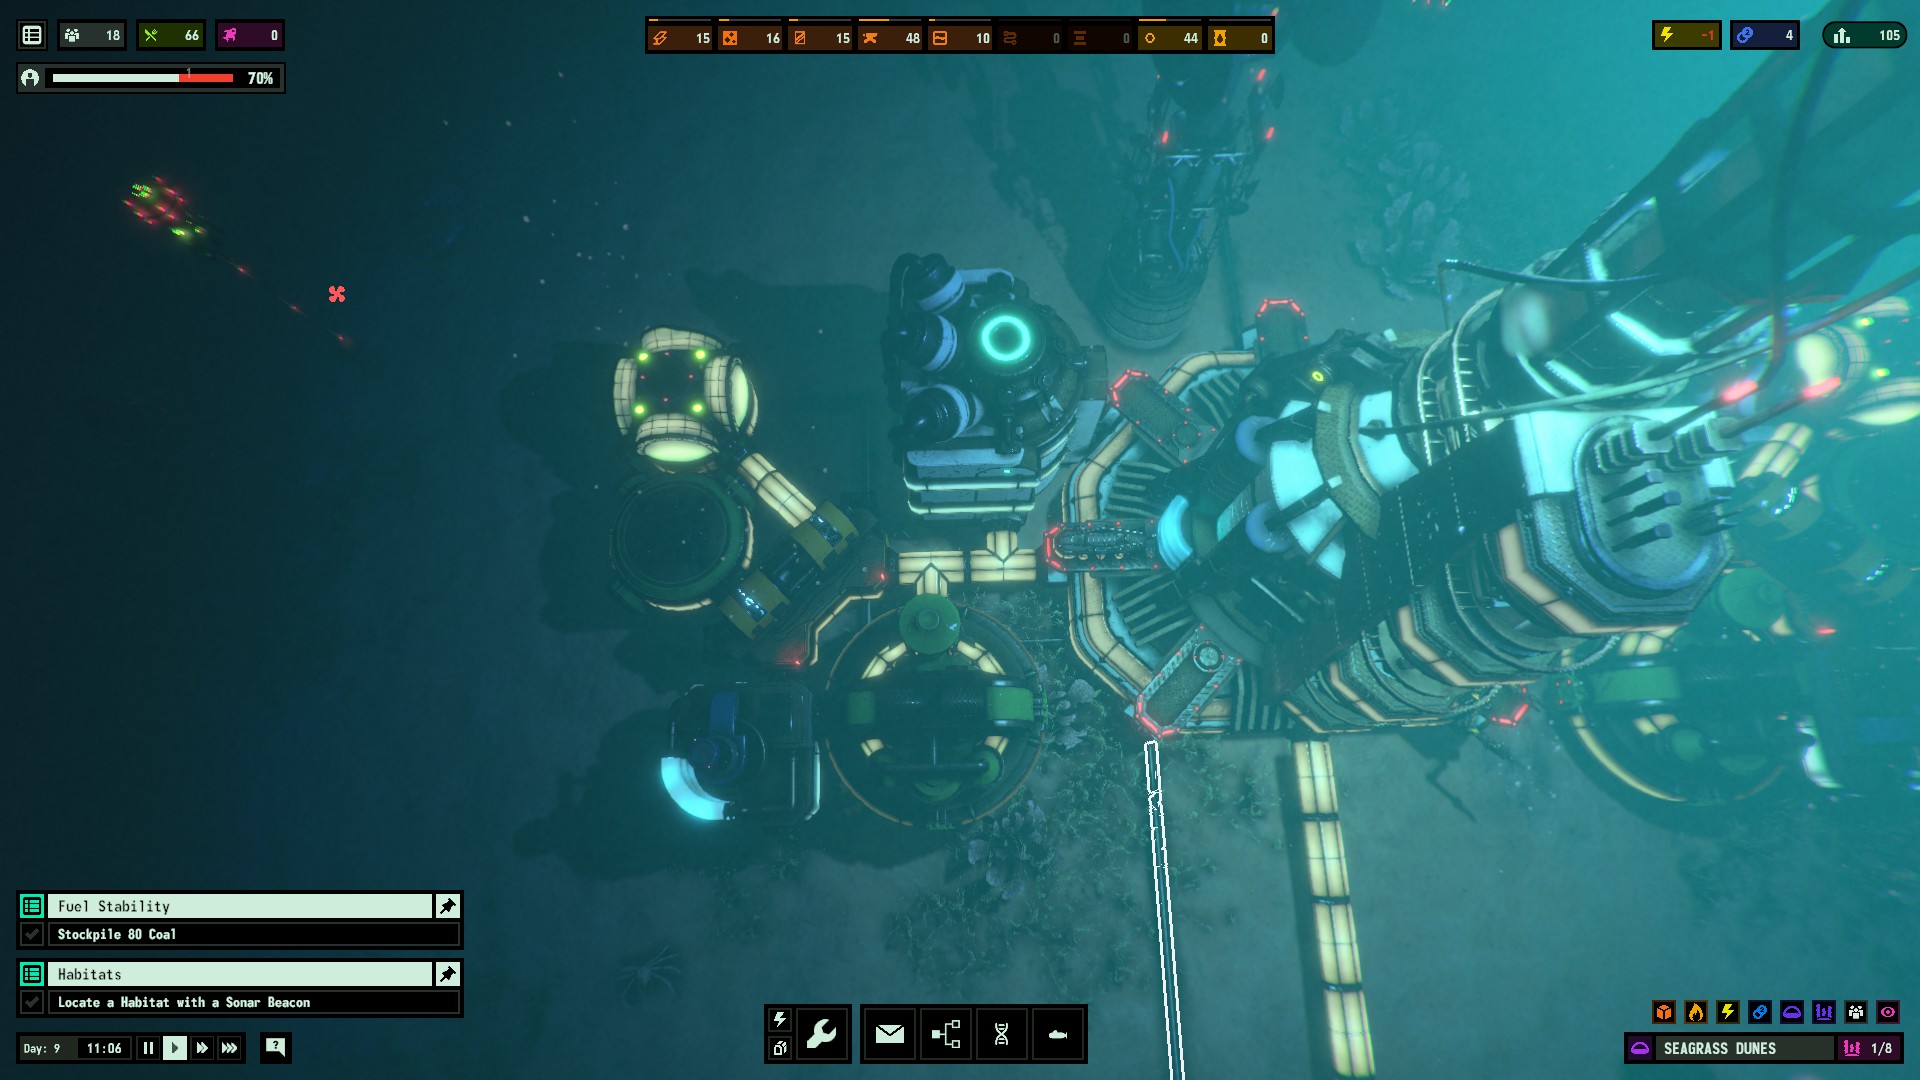
Design made to be compact, making it easier for a mess hall to service all these buildings later. Cable lines are placed to grab the power provided by the central hub, covering all currently built buildings. Make sure to maximise the distance of the power cables per steel used. Note that you will still need an additional food source soon, but the one carbohydrate farm being built now will help mitigate that need to be fulfilled till later down the line.
Construct research lab
This will be your priority from here on out. Increasing research. We can only build one for now, but we will need to build a second one soon.
Build sonar tower
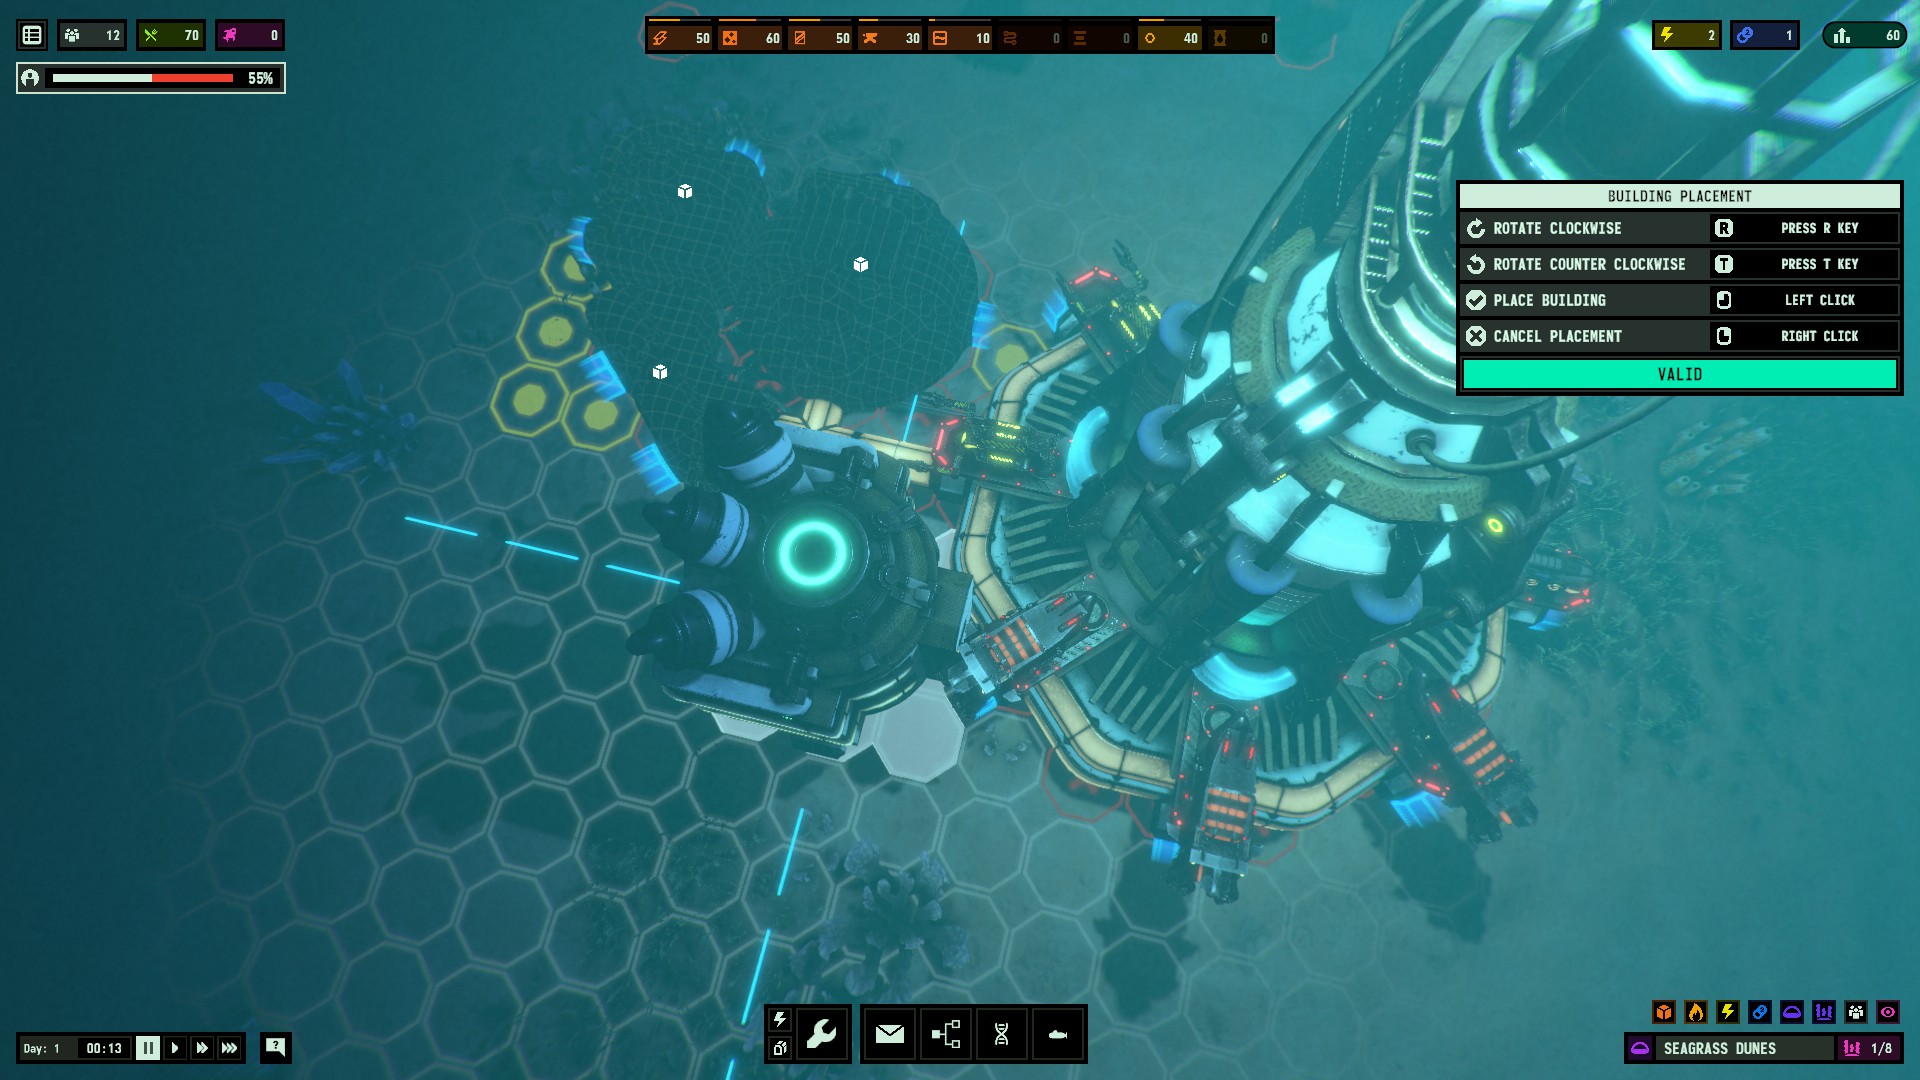
You can build this anywhere you want, but I recommend placing it as close to the central hub as possible, in order to reduce cable costs. If you haven’t already, this is the time to let all the buildings at this point finish building.
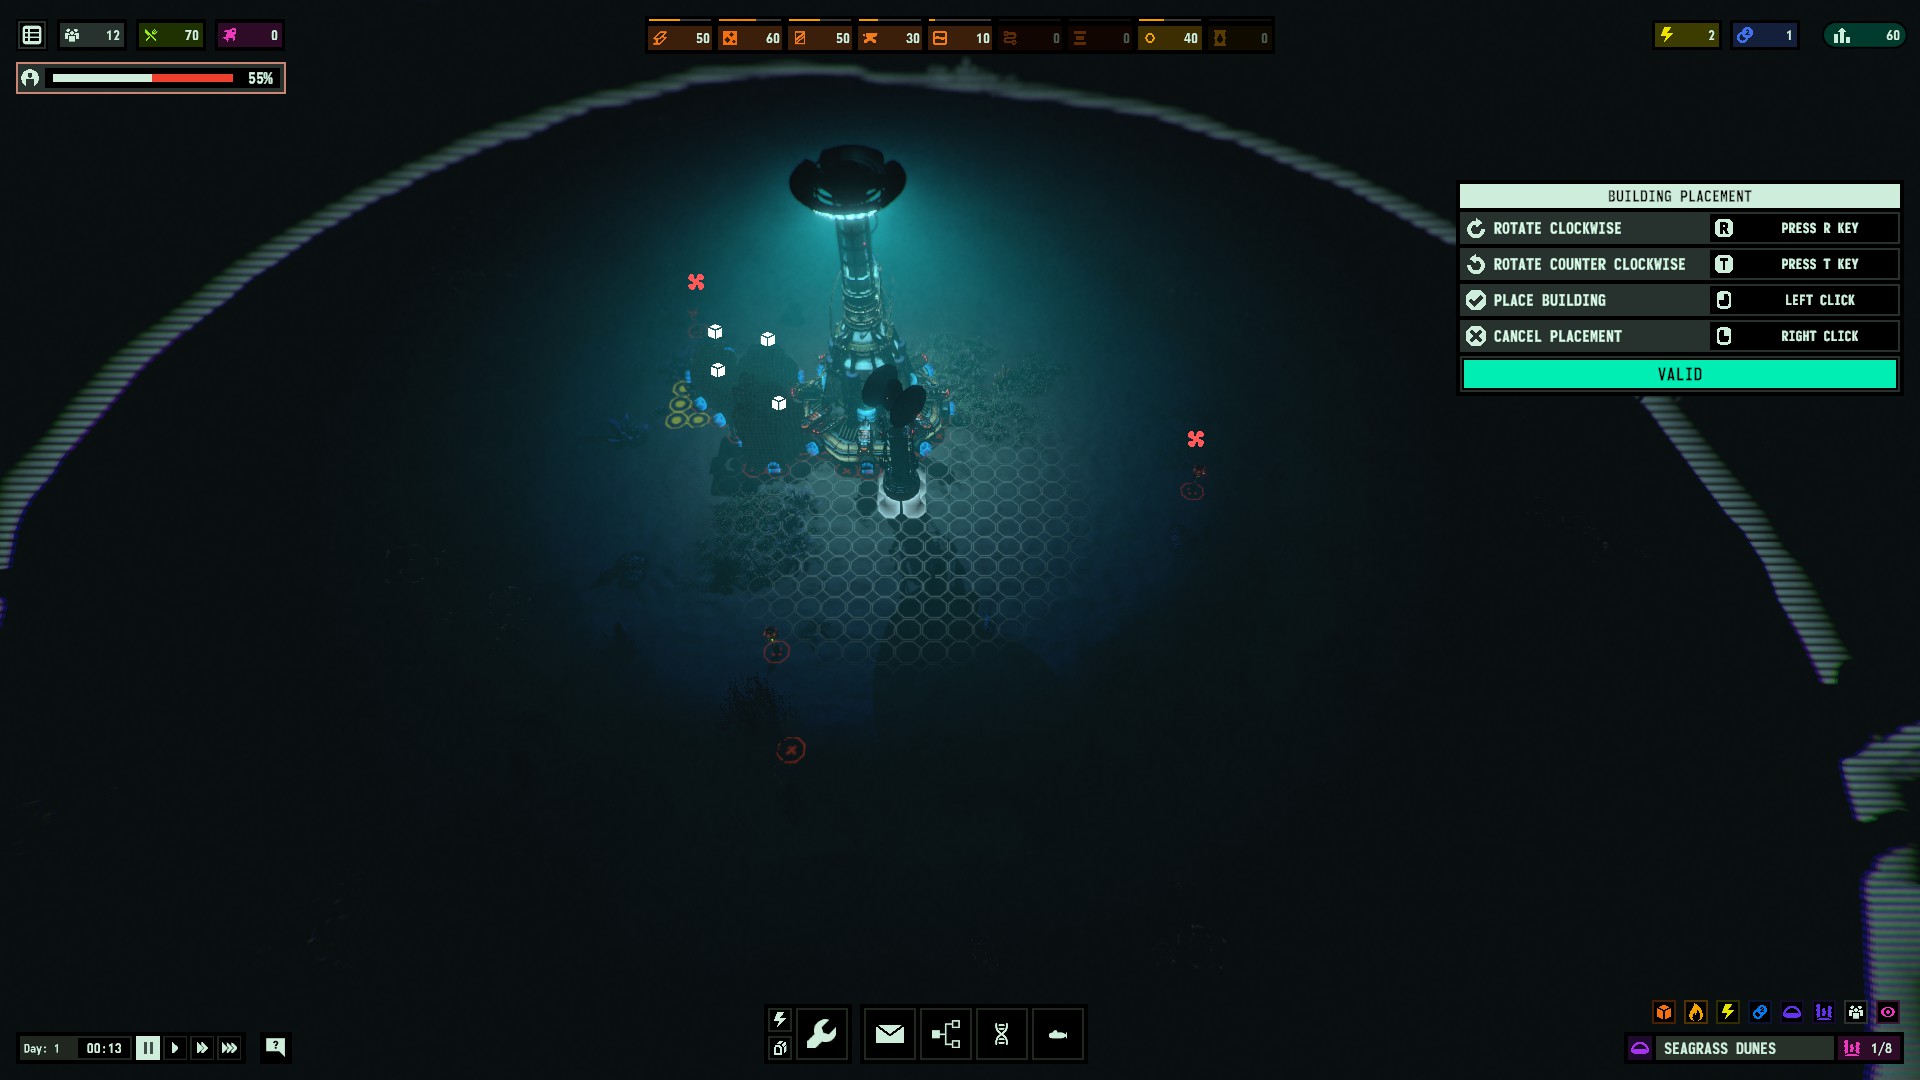
Scan immediate area
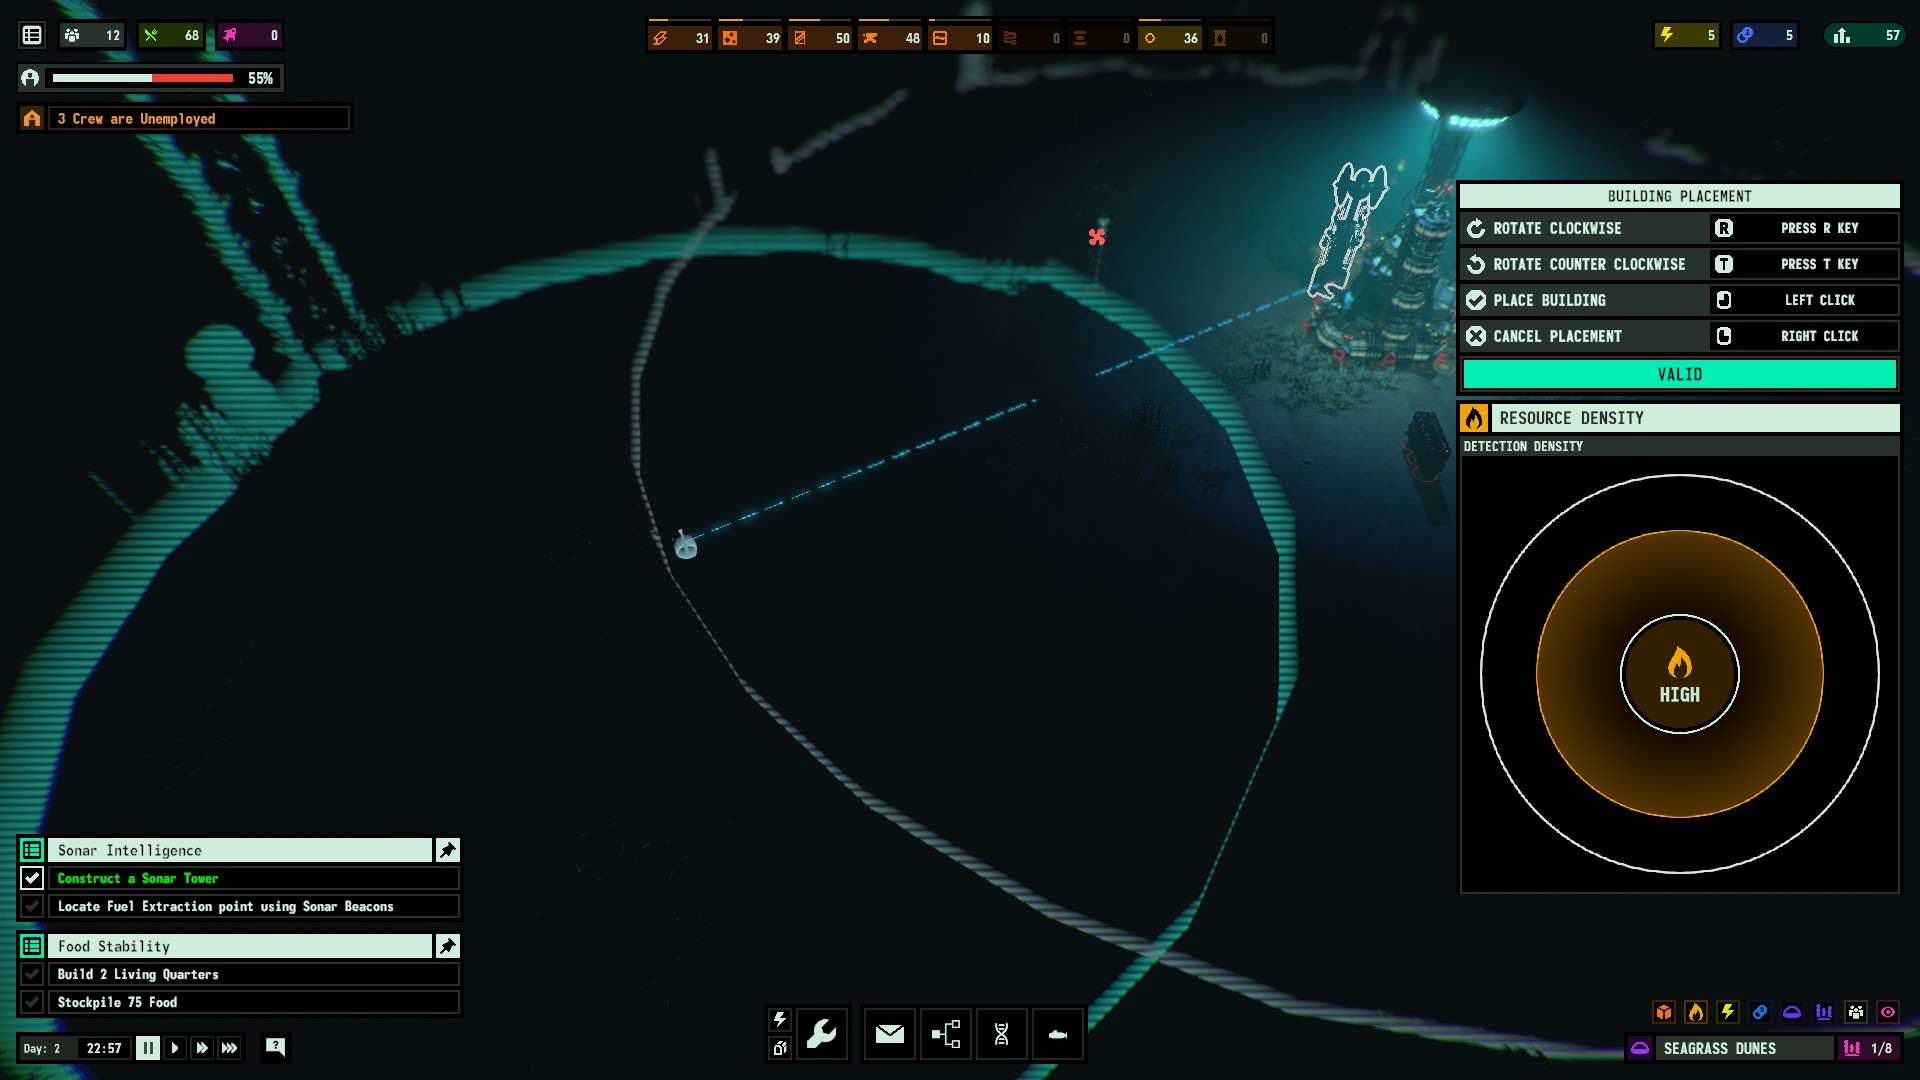
You will want to first scan for fuel using the sonar tower, followed immediately by scans for both resources and habitats. You will want to focus the last two scans near the same area as the first fuel scan, all of which should be placed to maximise the amount of resources it will reveal. Note that the sonar tower can only be used 3 times in quick succession before you wait for more scanning attempts to recharge.
The goal of scanning for those three things in the same general facility is to help you decide where to expand to maximize your gains. It would be best if you mined for a steady coal supply soon, so figuring out what’s around it is extremely important. I would still recommend scanning everywhere with those three types of scans before you progress any further, just so you know where to go to maximize your gains.
Build living quarters
You should have enough food if you’ve waited long enough due to scanning the area. You will now need to expand your base just a little bit more so that you are not only ready for the next step, but also have enough crew numbers to staff all of the buildings you require. I’ve decided to build the new living quarters and coal generator to match what we already have on the other side of the central hub.
Expected Results
| New Buildings: | Required: |
|---|---|
|
|
| Net Positives: | Net Negatives: |
|---|---|
|
|
Stage 1: Preparing Your Base For Clones, Step #02
Step #02: Secure Coal Supply
Light up & expand
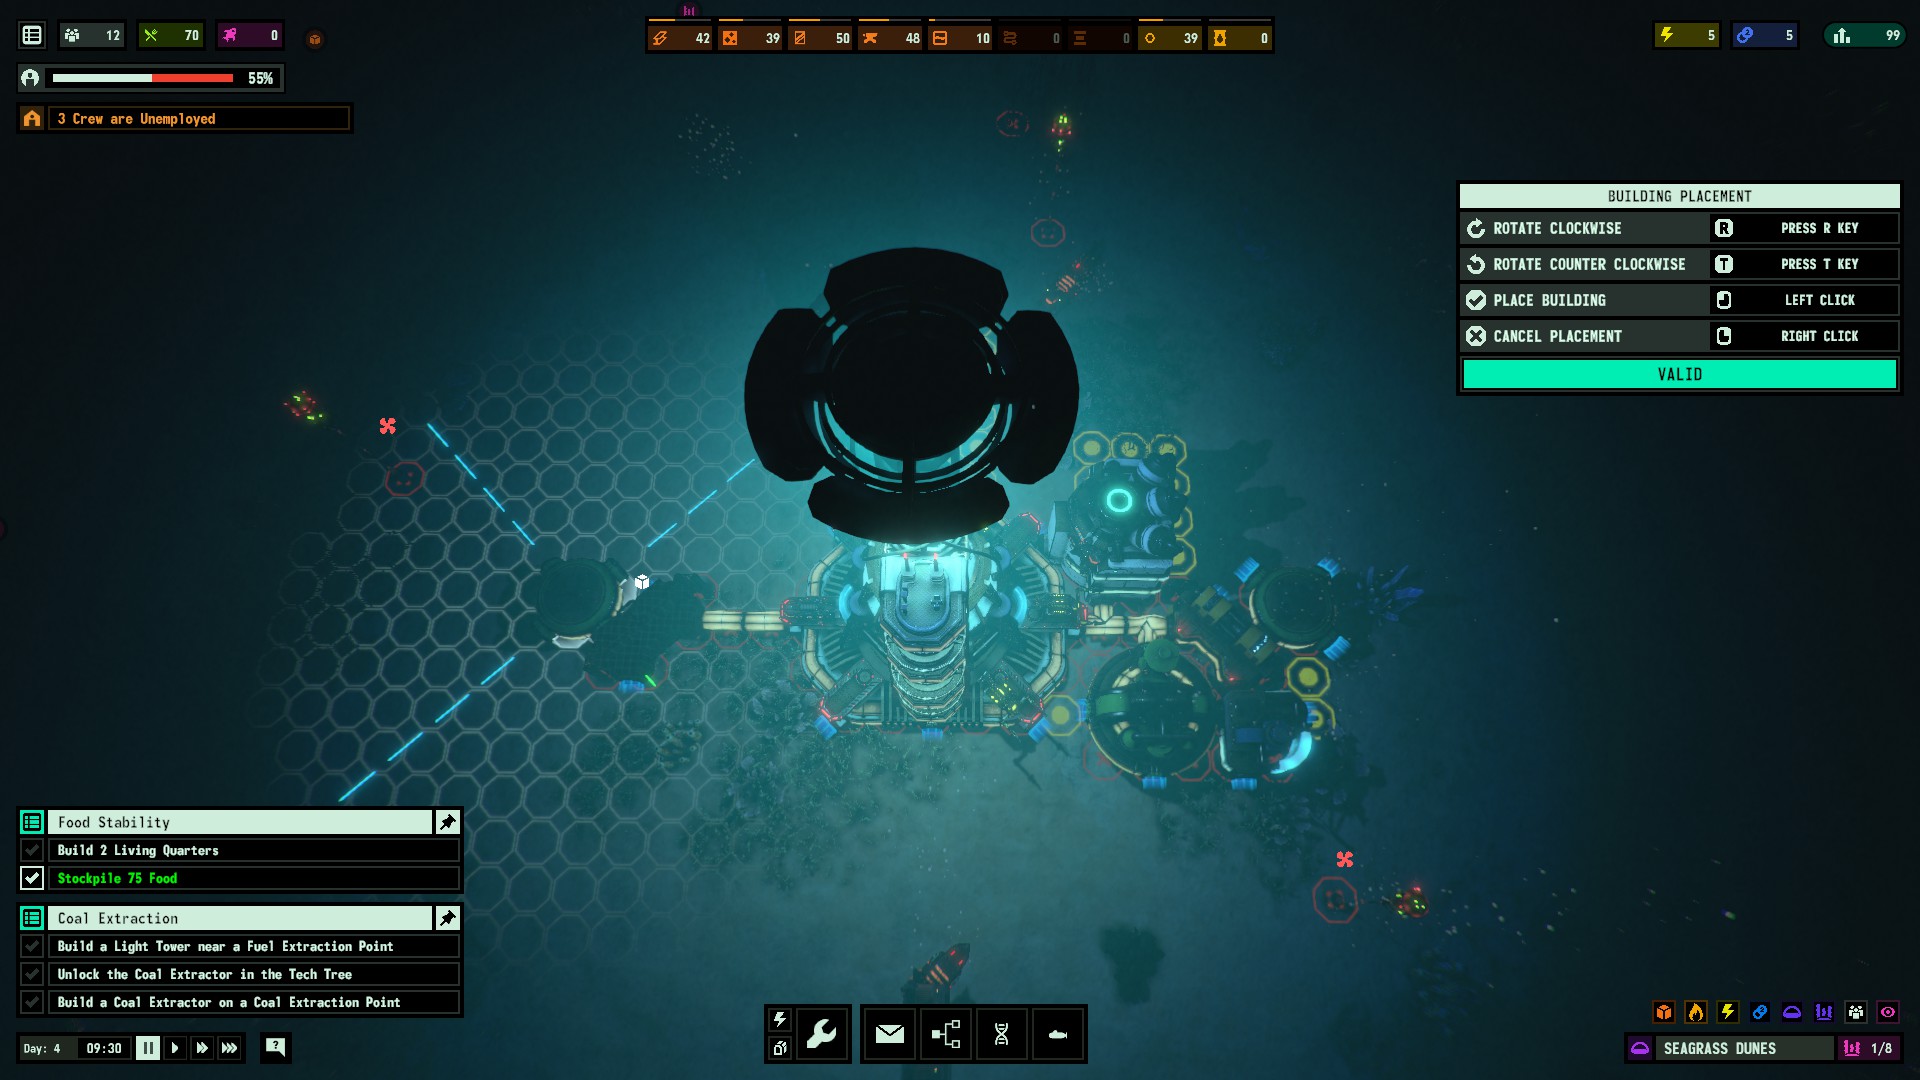
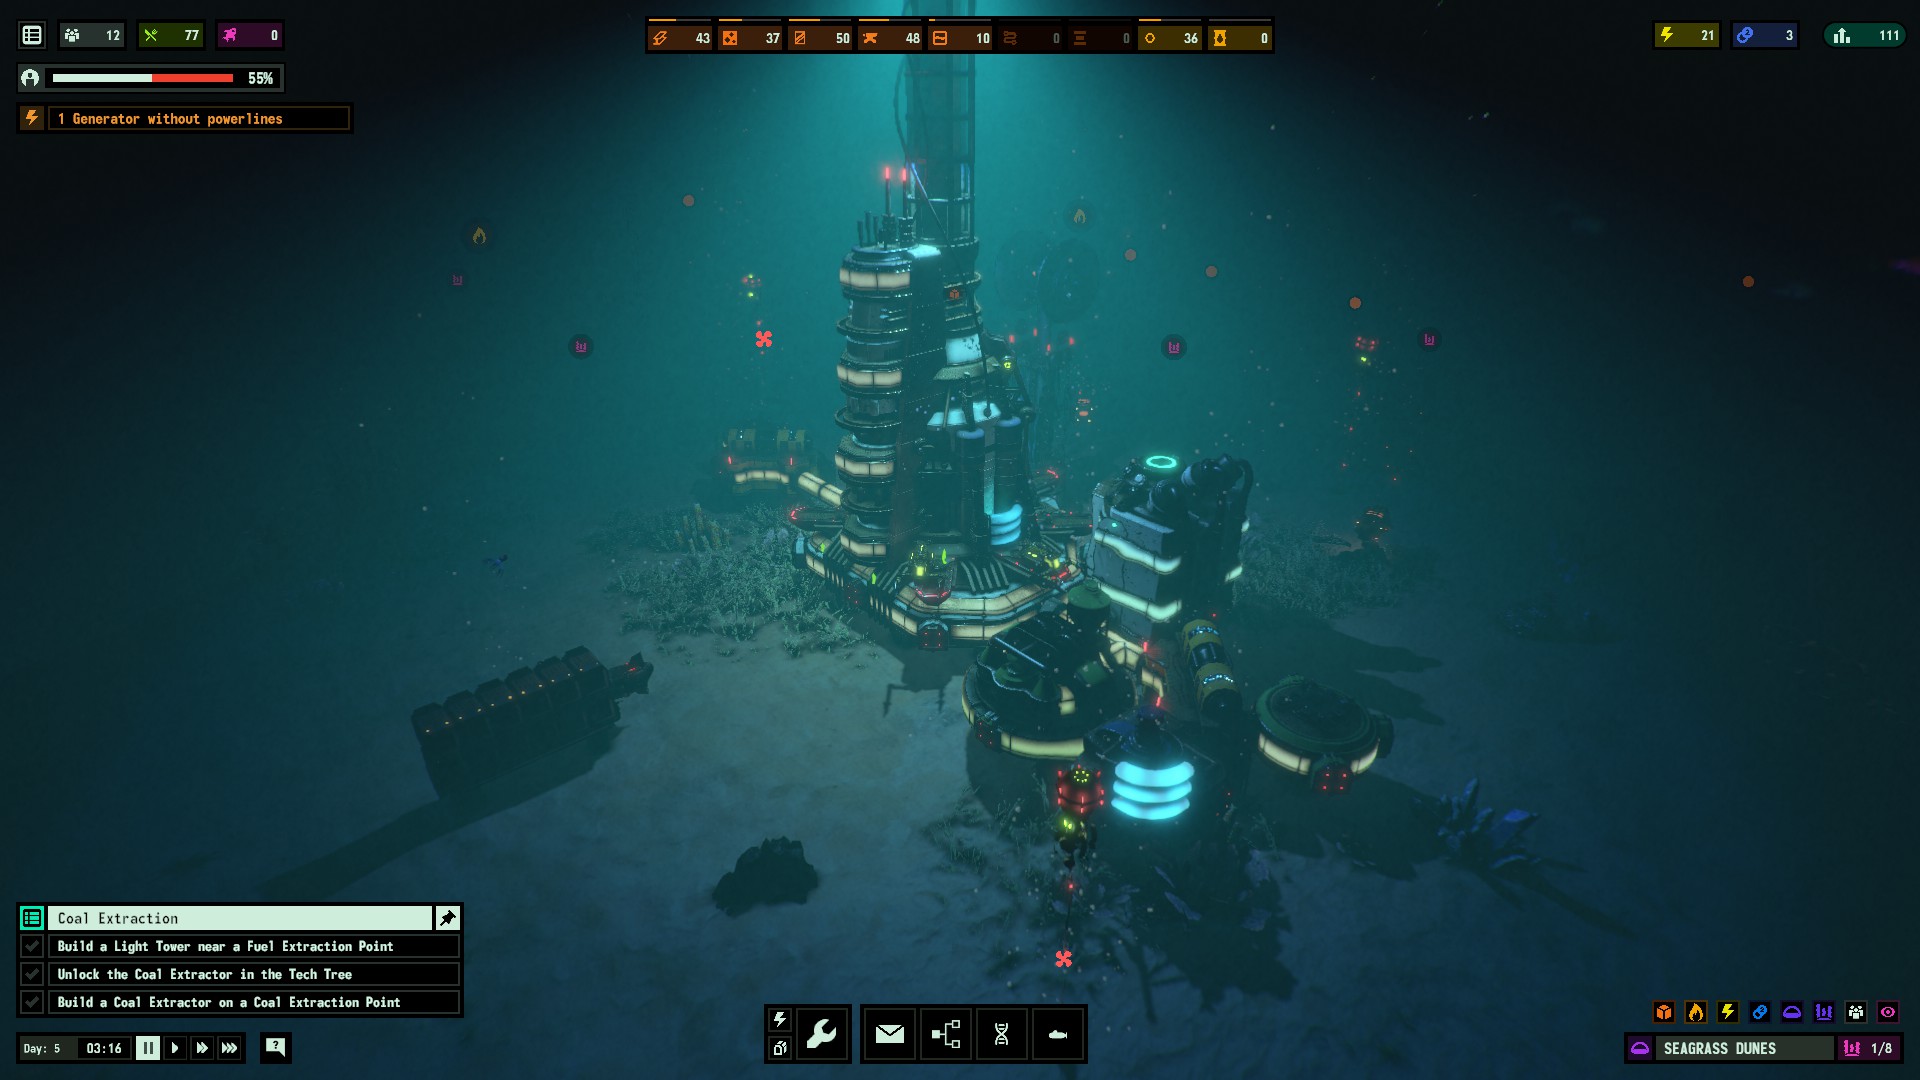
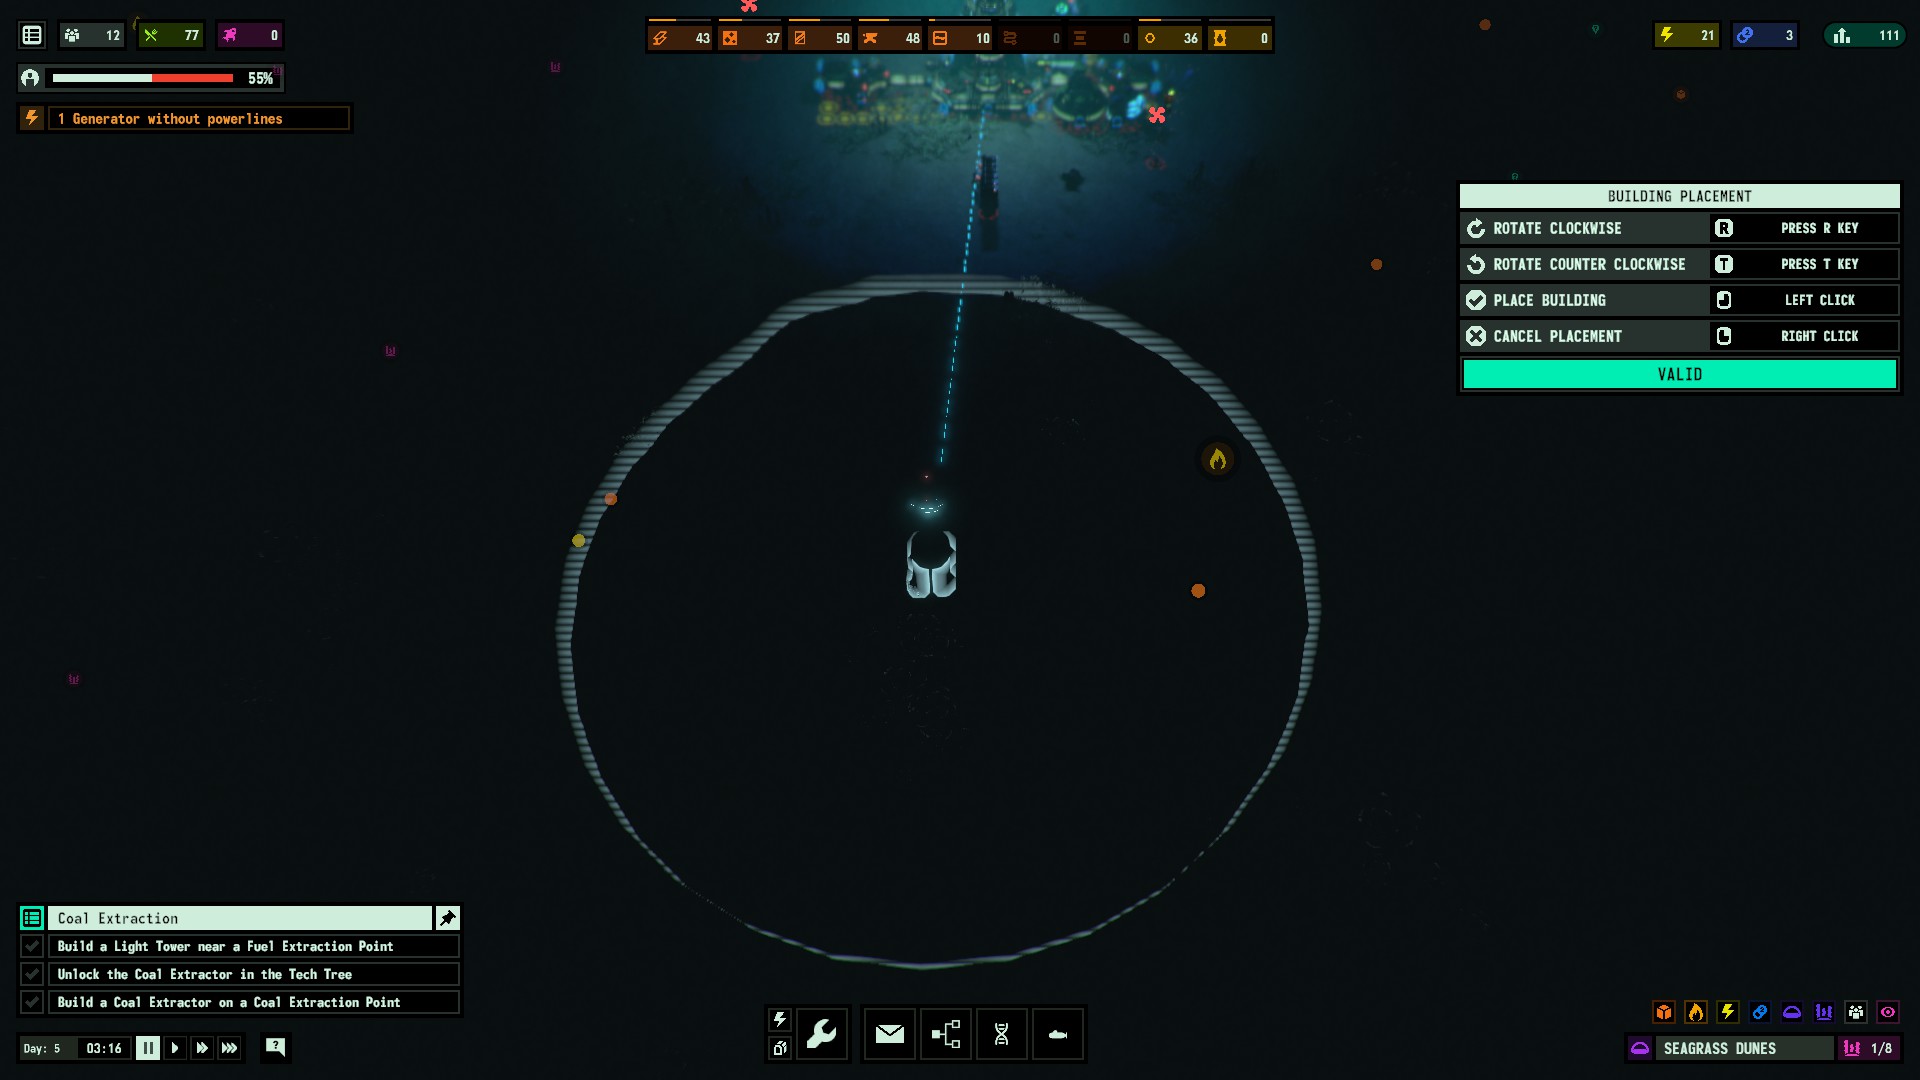
Using the information you have obtained from the sonar tower, position the light tower to cover both the coal extraction point and (hopefully) an Abundant Habitat. If there are no abundant habitats nearby, then prioritize the coal. You need the fuel ASAP, especially since you now have a second coal generator.
Side note: Yes, I was unlucky here… the coal was by itself… =(
Research and construct coal extractor
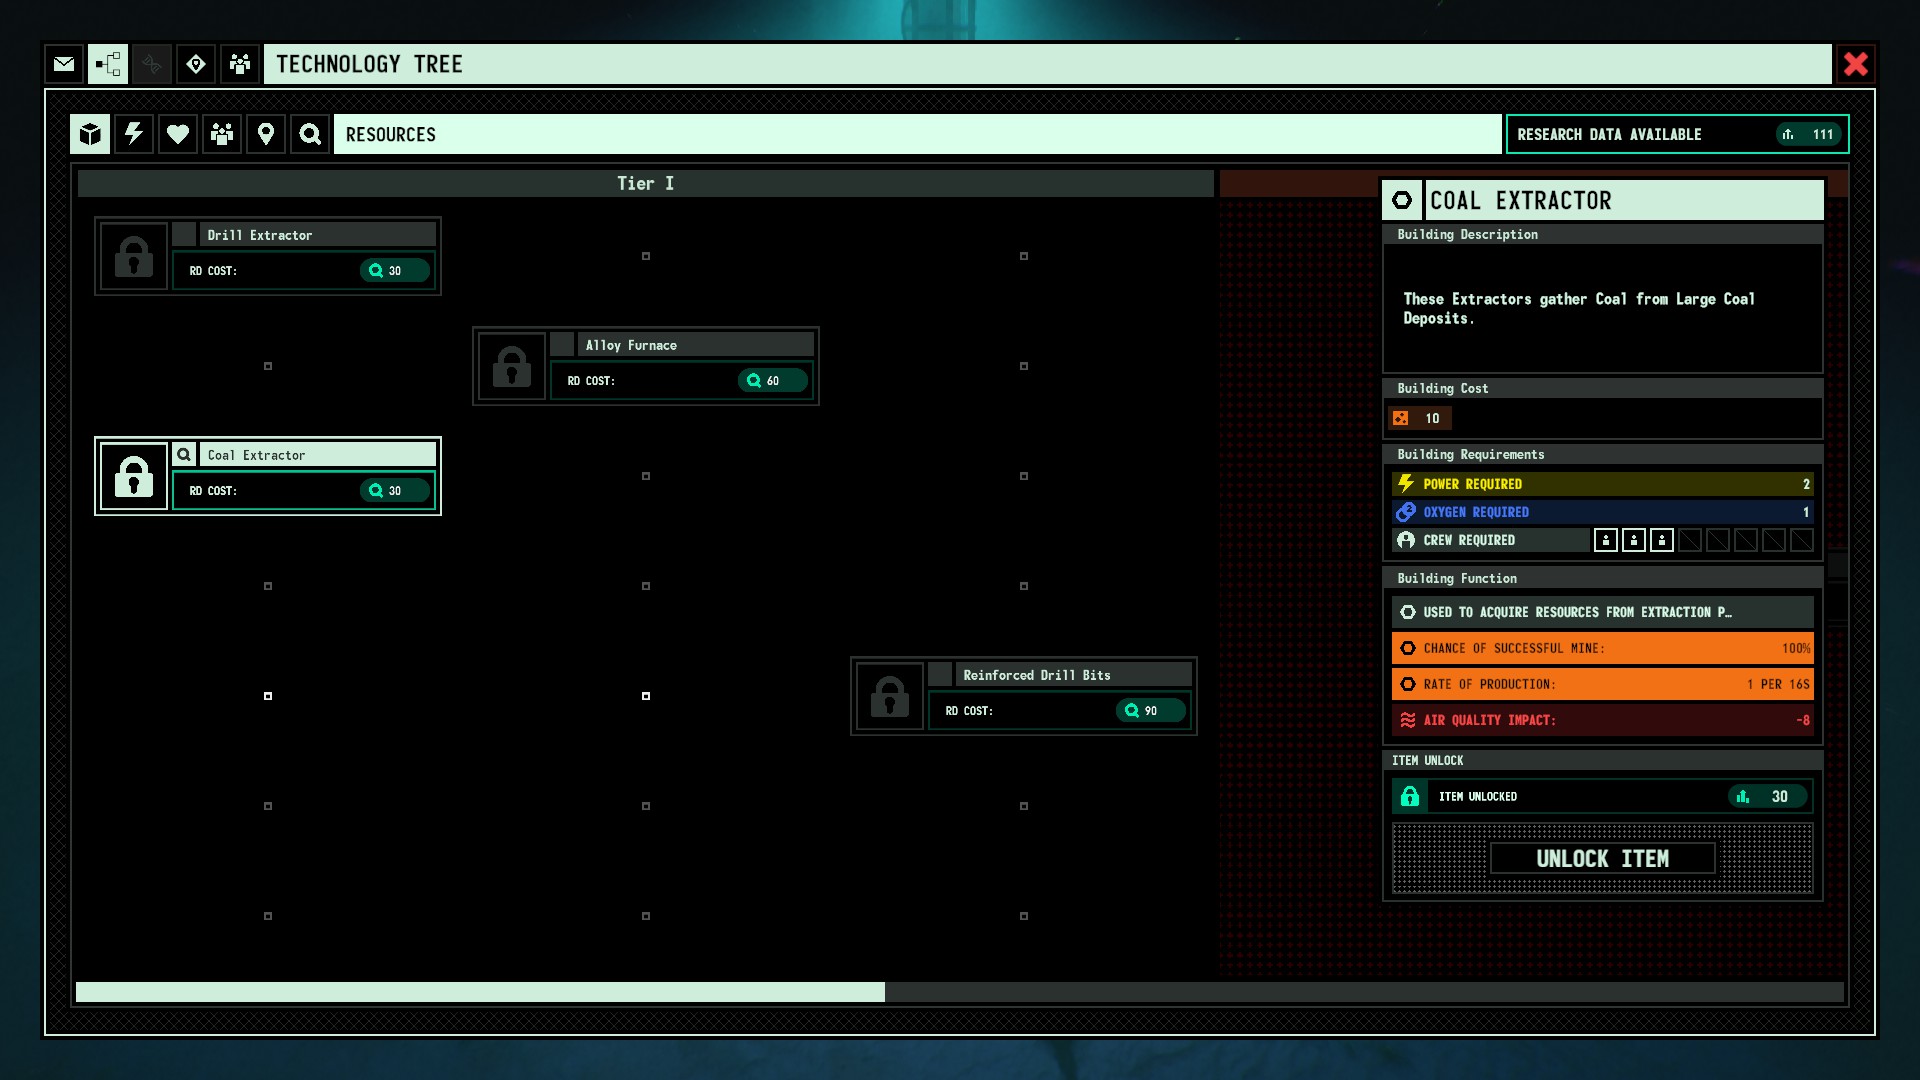
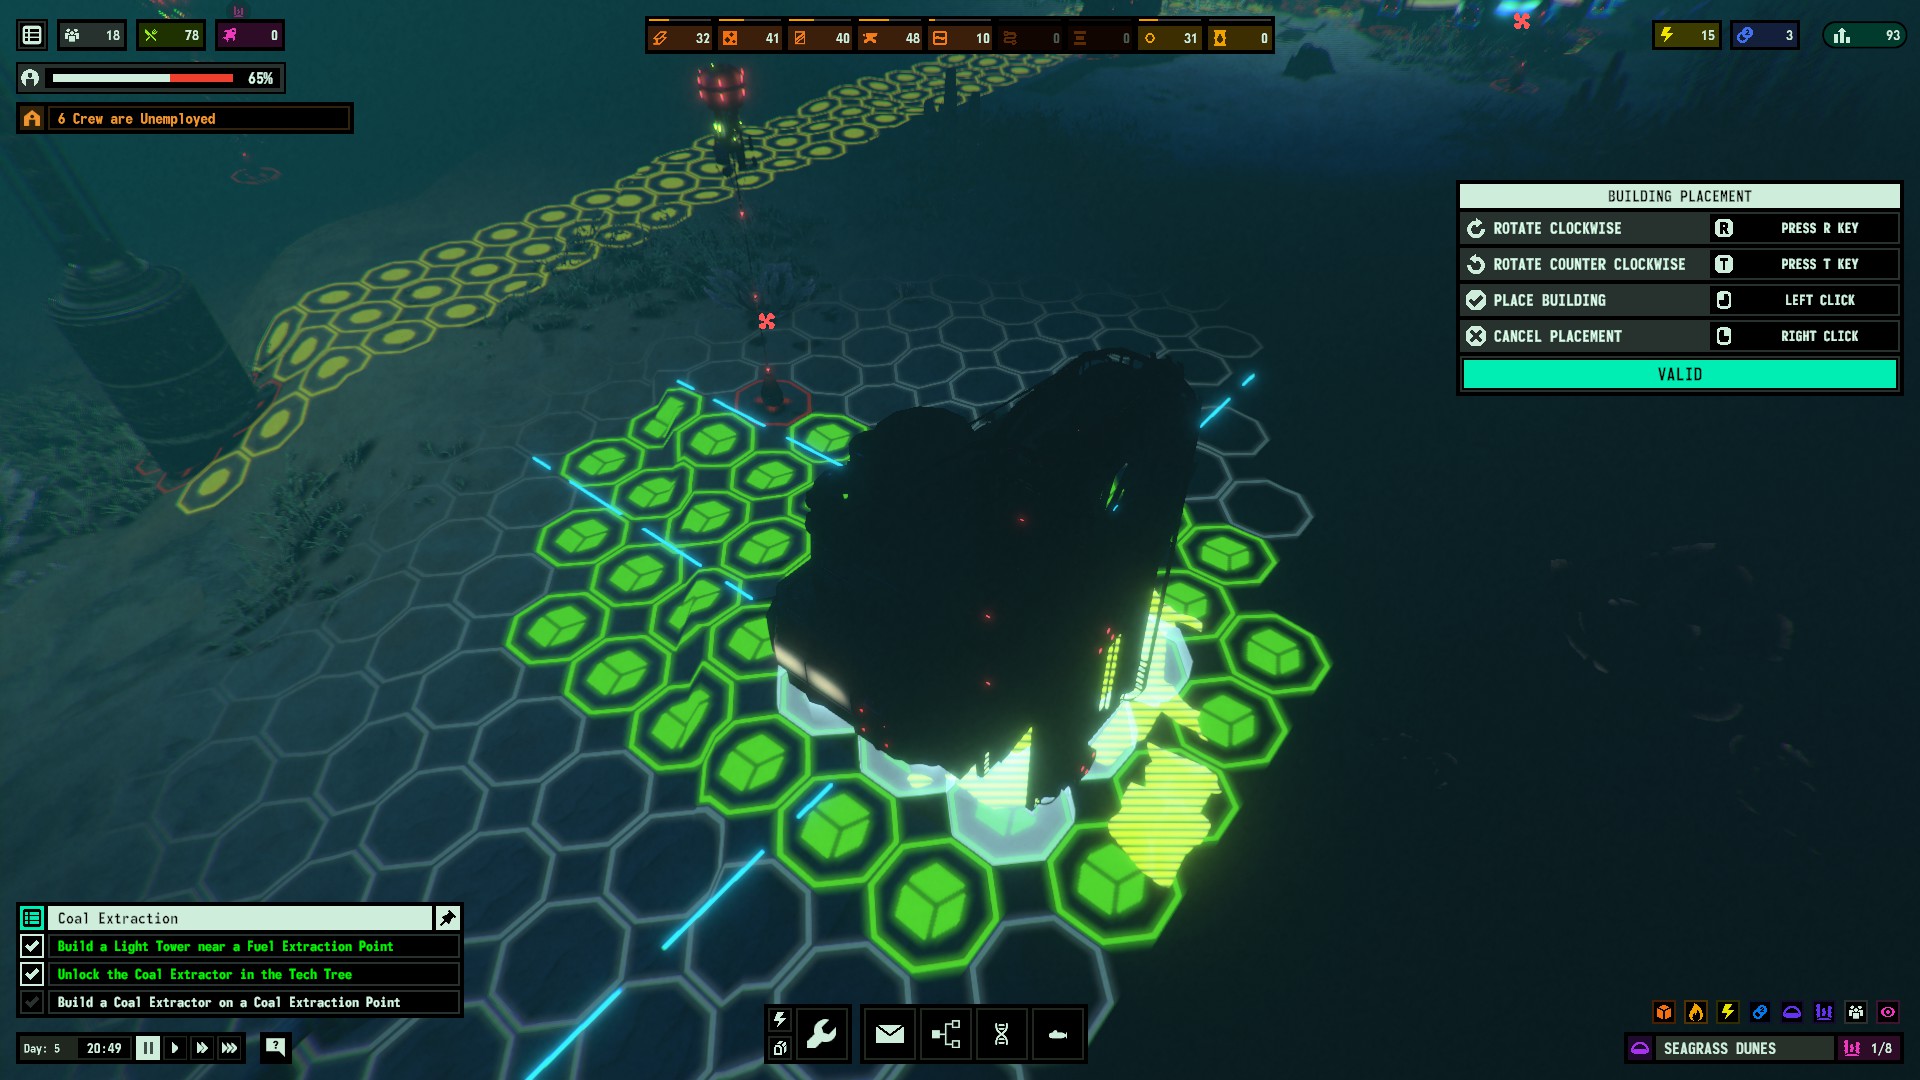
Once you research it in the tech tree, build the coal extractor on the coal deposit revealed by the light tower. By this point, you should also have enough research points to pick up the “Coal Efficiency Upgrade 1” node in the tech tree, helping reduce the amount of coal you need to keep the lights on. Once you can, you should also pick up the “Rate Per Day Attachment Module” node in the tech tree to help almost double your current research data output with a simple one point increase in power and oxygen costs.
Stabilise and purify
Did you build the coal extractor? Good. We need to stabilize and ensure the base can run self-sufficiently in its current state while improving where we can. Build a new research lab and carbohydrate farm, along with an oxygen generator, and assign a single crew member to each building.
After that, pick up the “Mess Hall” node in the tech tree. We need this to prevent our crew from suffering any further adverse effects eating low-quality food would normally give them. With our current number of crew, we will need 3 mess halls to service everyone (8 crew served per building).
Lastly, please pick up the purifier and O2 tech, build two purifiers, turn off the oxygen gen that only had one guy, relocate him to research, and then wait.
What next, you ask? Well, we wait. Seriously. Let your research data, coal, and other resources build up. Bleeding resources? You’re good to go if you don’t build anything else.
Step #03: Secure Genetic Samples
- DECODING…
Step #04: Establish a Cloning Facility
- DECODING…
Stage 2 (Incomplete)
Goal: Stabilise, Expand, Adapt
Things get a little vague, as not enough information has been decoded from the encrypted files within the data drive. All we know is this:
- Obtain rarer, harder-to-get genetic info
- Secure supply of coal and building materials
- Diversify food supply
Known Bugs
The following is a list of confirmed bugs that may impact your game ability. I will try to provide screenshots and what can cause the bug to happen whenever possible. I will also list any potential fixes or workarounds to keep in mind when dealing with these bugs.
Hey, this game is early access, so we should already know these things happen. This is why I am collating all the info here.
CRITICAL BUG: UNABLE TO SAVE
Issue: Players unable to save progress for unknown reasons
Likely Cause: Extended playtime or reloading saves multiple times in a single session
Workaround: Save often, and quit when you are unable to save.
Potential Fix: Patch 0.1.4.1 attempted to fix this bug, but not confirmed if this has been resolved.
Sources:
https://steamcommunity.com/app/1254320/discussions/0/3765606379491401367/ – [steamcommunity.com]
https://steamcommunity.com/app/1254320/discussions/0/3765606567081174635/ – [steamcommunity.com]
Bug: The oxygen Generator’s oxygen demand incorrect
Issue: The oxygen Generator shows 0 oxygen usage but still requires 1 oxygen. It also affects total demand displayed within the building.
Likely Cause: Doesn’t take oxygen from the existing system, but supplies itself with oxygen.
Workaround: N/A
Potential Fix: Devs need to work on displaying information better. This “bug” has been catalogued to help explain the inconsistent numbers displayed.
Bug: UV Light button problems
Issue: The purple button for the UV light can have several issues.
1. Does not respond from time to time, even when an anomaly attack is currently in progress.
2. Claims UV lights are on when the anomaly attack starts but isn’t.
Likely Cause: The auto-check on whether or not an anomaly is attacking isn’t fully syncing up with the UV light button. As a result, the game may have assumed that the anomaly isn’t attacking, preventing the player from protecting themselves and turning the UV lights on. The auto-checker’s desyncing may also be why the button thinks that the UV lights are on, as they were previously left on in the last attack before the anomaly left. When the anomaly returned, the auto-checker noted that the UV lights were on previously and turned the indicator for the UV lights on, but not the ACTUAL UV lights, opening the base up for attack.
Workaround: Spam the UV light button during an anomaly attack while the game is unpaused until you see the light towers emitting the purple UV light. No purple light? Keep spamming that button.
Potential Fix: Devs, please eliminate any automation you built into the UV light button. It is currently highly bugged, and would serve all us players better if you let us turn it on and off manually. This will hopefully make the button more responsive, and not leave us players open to attack by the anomaly. Coal wastage? Don’t worry, we can deal with that.
History
| Date | Discoveries |
|---|---|
| Jan 18, 2023 |
|
| Jan 19, 2023 |
|
| Jan 20, 2023 |
|
| Jan 21, 2023 |
|
This is all about Surviving the Abyss – Basic Building Tutorial and Walkthrough; I hope you enjoy reading the Guide! If you feel like we should add more information or we forget/mistake, please let us know via commenting below, and thanks! See you soon!
- All Surviving the Abyss Posts List


Leave a Reply