In this guide I will be teaching you the basics of making professional artwork in PPG…
1. Maps
You are going to want to choose a map that is appropriate for the scene you are going to make.
For this scene I am going to choose the Tiny room because it fits well for the scene I am trying to make!
After this you can proceed to Section 2
2. Props
To make this room feel less plain and more alive you should consider adding some Props into the room to make it look better.
After you add the Props into the room click the space button to stop time.
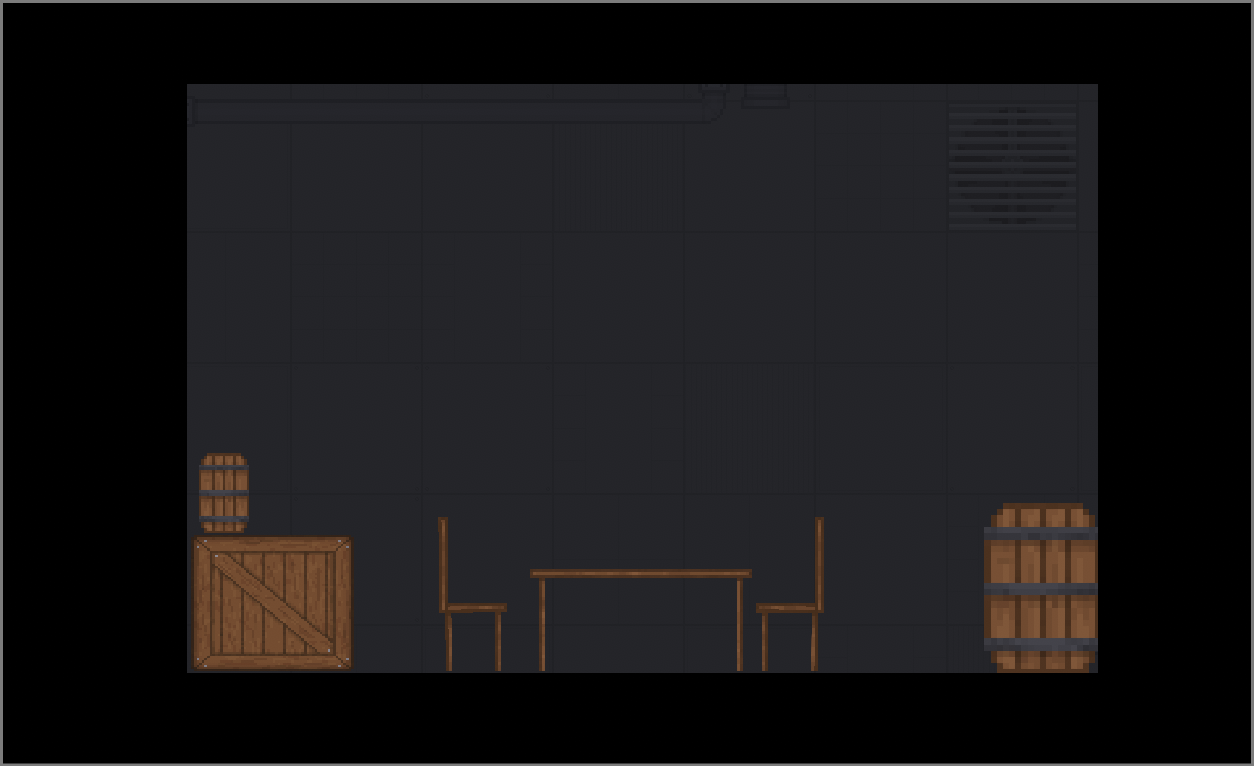
While time is paused position all of your Props in place.
Take this image as an example…
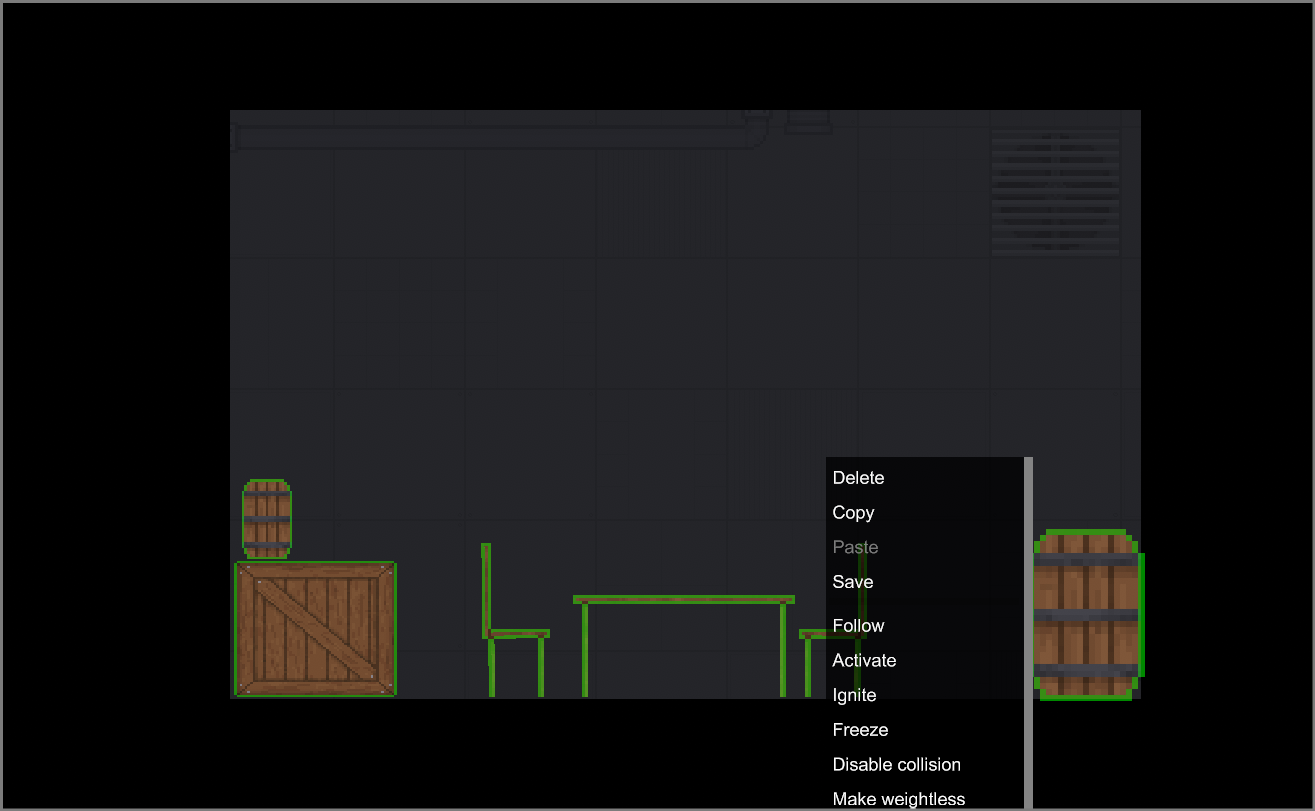
After that hold the left-mouse button and highlight every object in the room.
Then right click and press the freeze button.
Take this image as an example…
After you have done this proceed to Section 3…
3. Npcs
After adding some props into the room you should add some Npcs into the room as well…
Since I have 2 chairs in this room, I will add 2 Npcs into the room!
Now spawn the Npcs into the room.
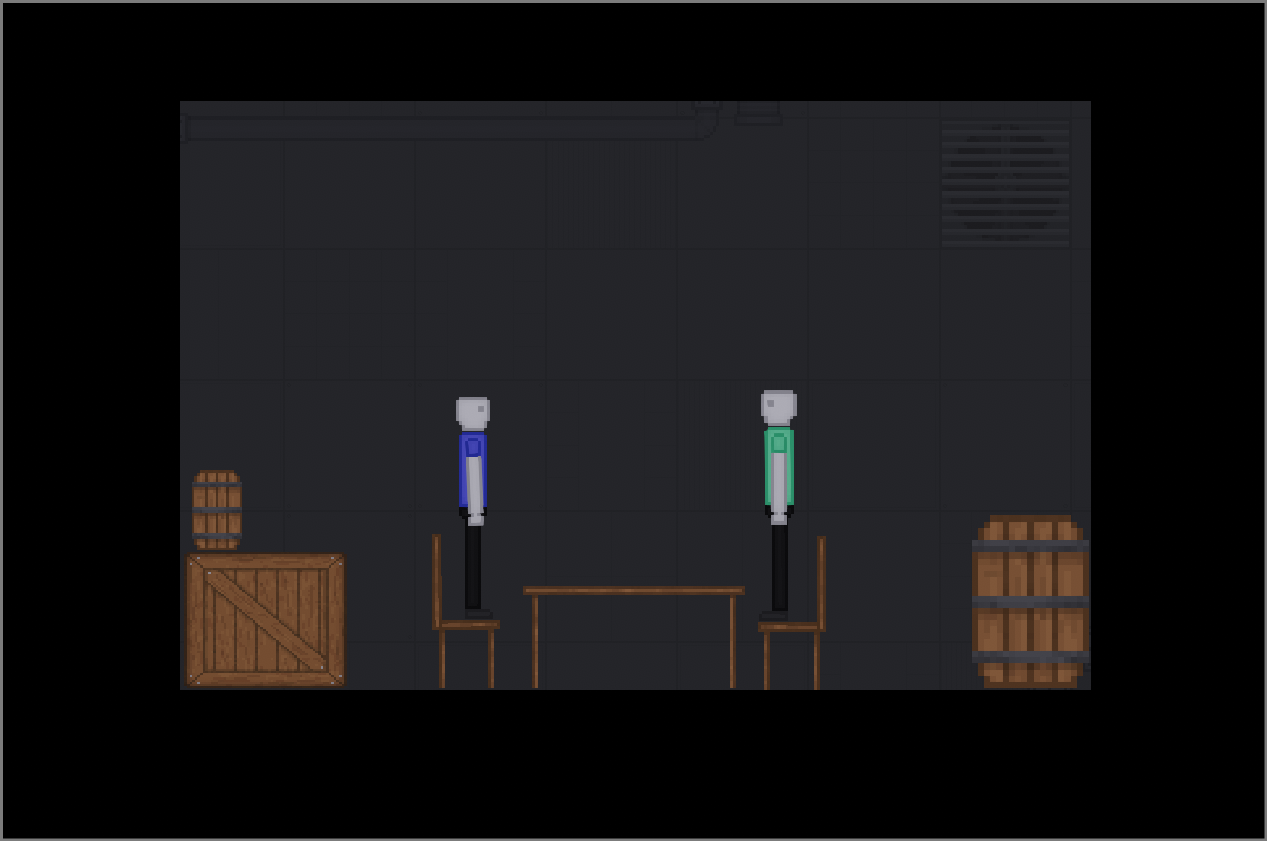
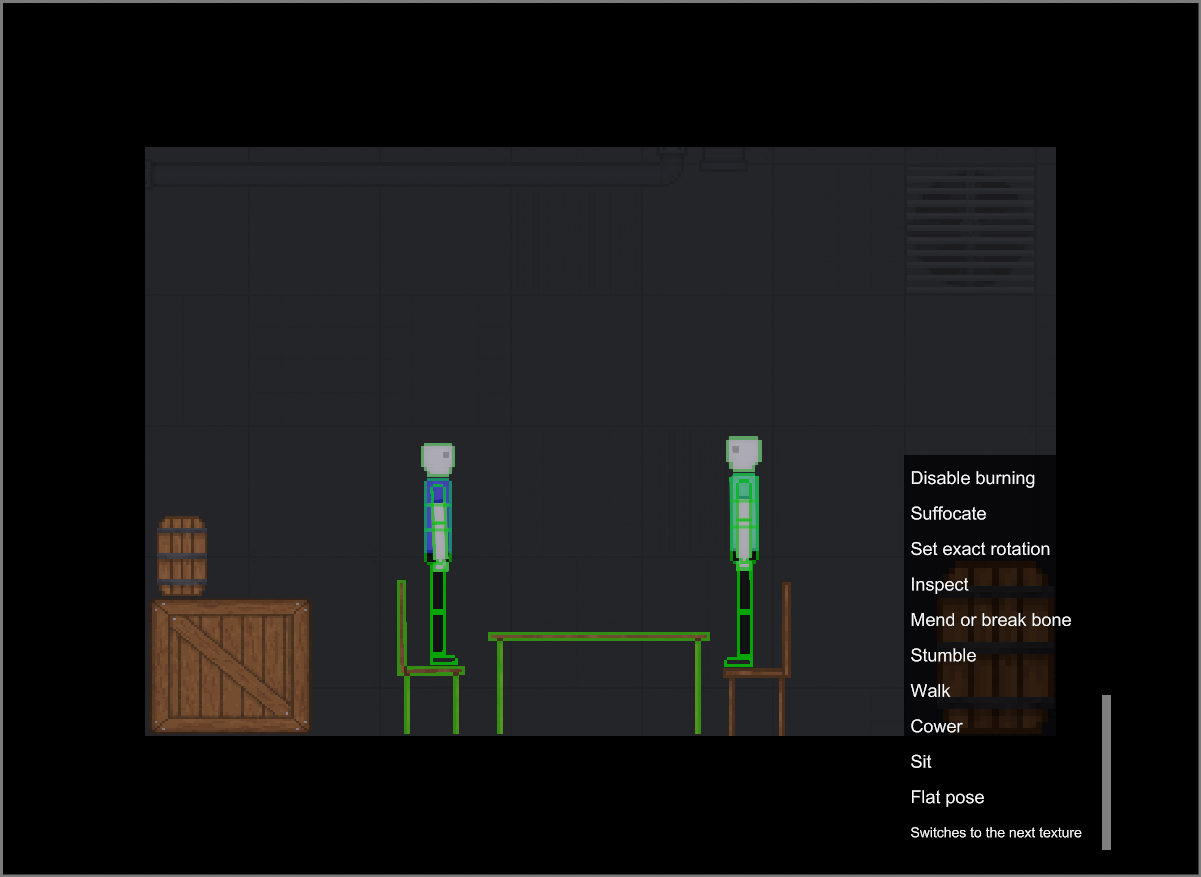
While you do this unpause time and place the npcs on top of the chairs…
After that hold the left-mouse button and highlight both of them.
Then right click and scroll down and then you should see a button called sit.
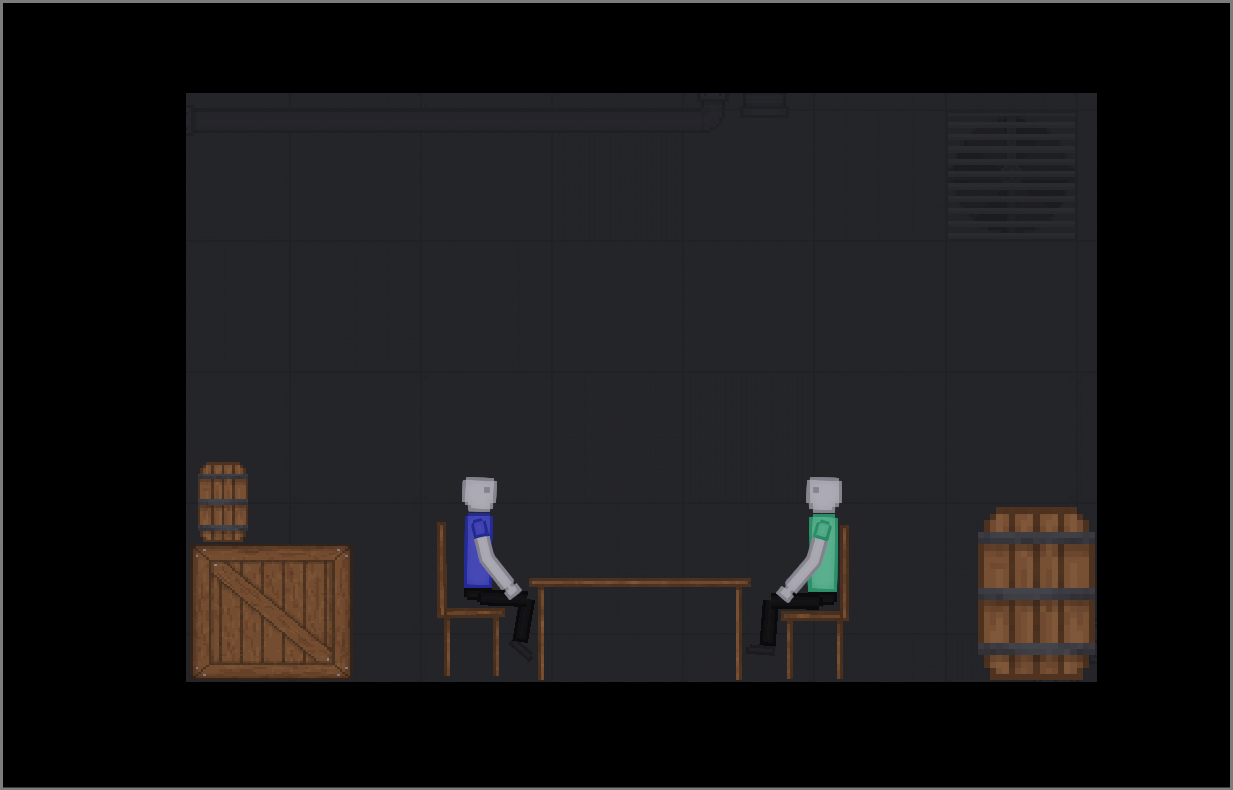
Click the button and it should position them into a sitting position
After that freeze both of them and proceed to Section 4…
4. Lighting
Now after completion of Section 3 you are ready to add Lighting into the room…
For now im going to add a Floodlight into the room…
For Lighting purposes Floodlights are kinda unique because you can use them in two ways!
1. A Sun-Ray effect
Or
2. Scenic Value
For now im going to stick to option 2 for this tutorial!
So
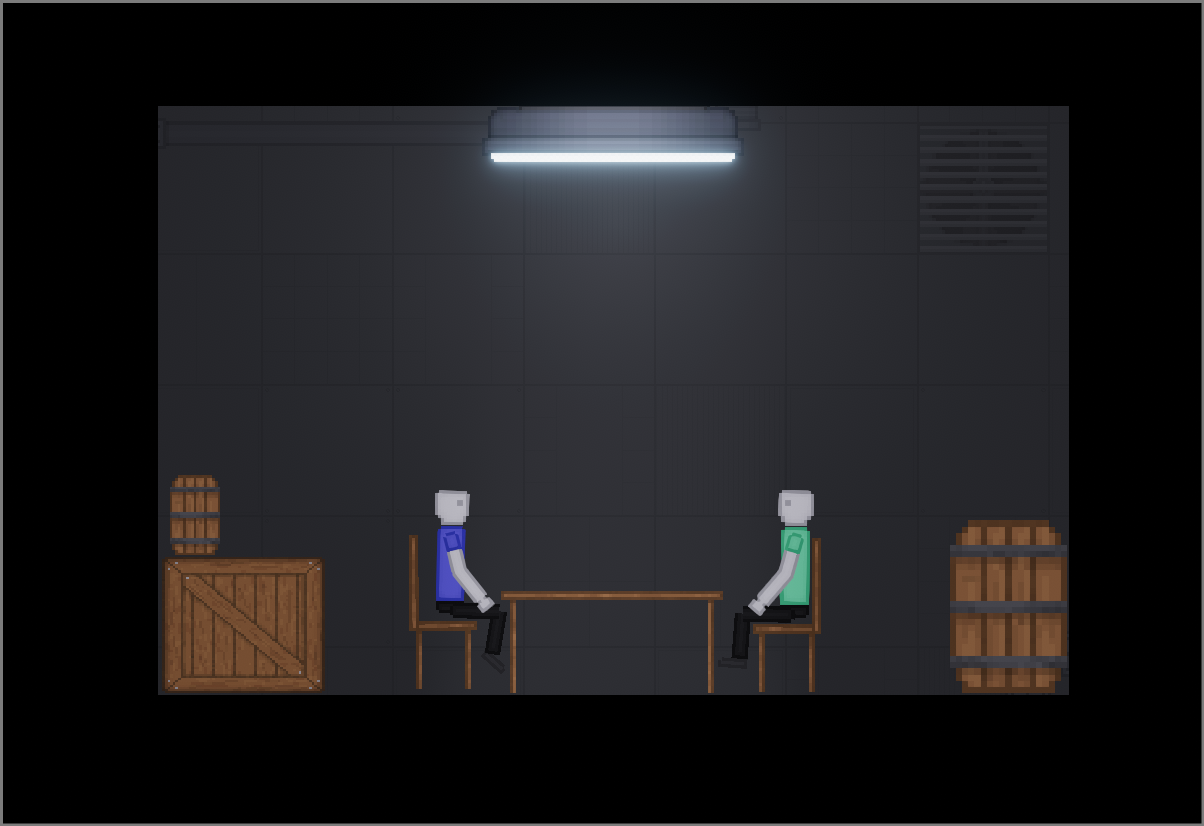
Pause everything and add the Floodlight to the room and it should look like this.
After that freeze the Floodlight and move on to Section 5…
OPTIONAL:
If you want you can add Cathode lights or Light bulbs into the room.
Cathode lights: If you want a fair amount of light you can add these into the room
Light bulbs: If you want a large amount of light you can add these into the room
Once you have selected a light you are going to want to pause time and place it some where that
isn’t visible in the room so that only the light is visible and not the model.
Like this for instance…
After that freeze it and move on to Section 5…
5. Screenshot
Now comes the final part…
If you are a Windows user use Snip & Sketch to cut the image out and save it on your PC
If you are a Mac user use Grab to cut the image out and save it on your PC
If you are a Linux user use GNOME Screenshot to cut the image out and save it on your PC
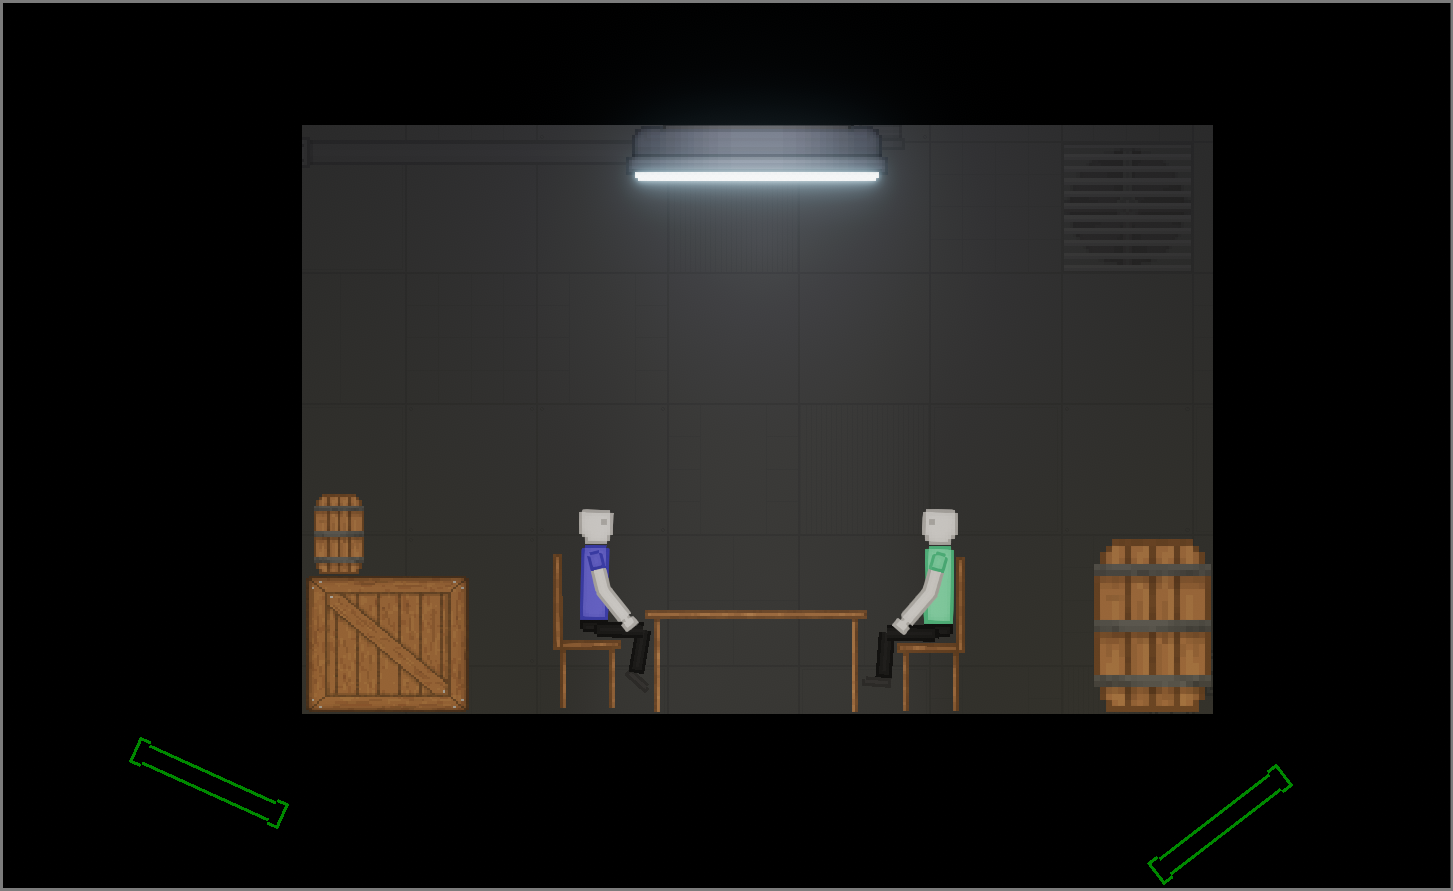
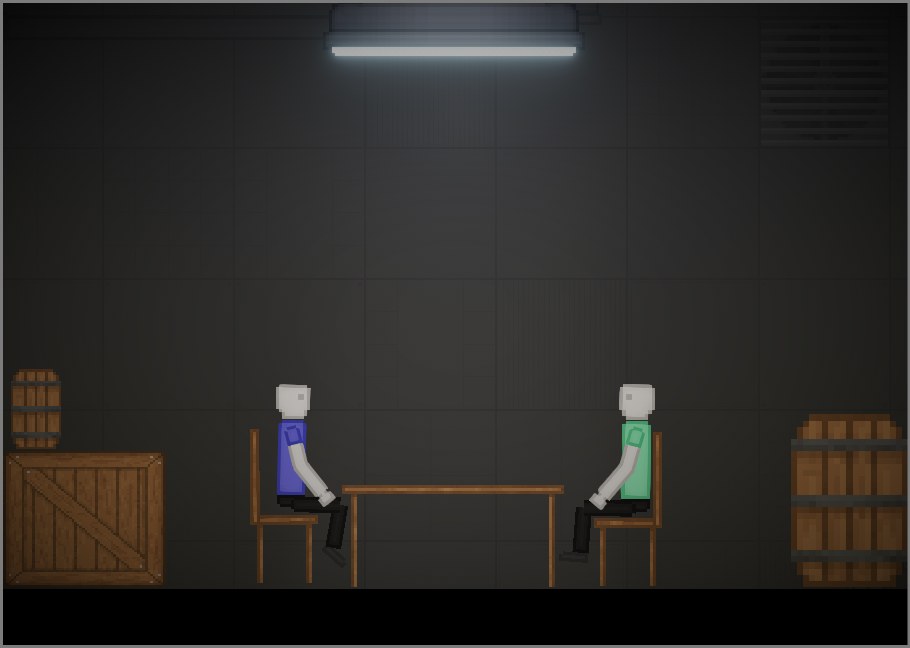
Your finishing product should be similar to this.
End
I hope you enjoyed this tutorial!
If you want you can like or award this tutorial if you really enjoyed it!
I hope you enjoy the Guide we share about People Playground – Artwork Tutorial Guide; if you think we forget to add or we should add more information, please let us know via commenting below! See you soon!
- All People Playground Posts List


Leave a Reply