

Locus of Wailing Grief Boss Fight in Warlord’s Ruin Dungeon Destiny 2
Hey there, fellow Guardians! Ready to take on the Locus of Wailing Grief in Destiny 2? Let me walk you through it. First off, this boss isn’t a solo walk in the park like Rathil. When he shows up, you’ve got to deal with six Blighted Eyes floating above him. Smash all six, and bam! You’ll see a message pop up. That’s your cue that two mini-bosses, Malaris and Second Broken Knight, who are kinda like Rathil’s cousins, will join the party.
Ready, Set, Totems!

These mini-bosses are all about the drama. They’ll summon these Taken totems, and you need to activate them by chilling in the white circle around them. Tip: Wait until both totems are up before you start activating. Keep an eye out for a timer saying “Imminent Wish” and a spooky message, “The bones call forth a freezing tempest…”
Beat the Cold, Find the Heat
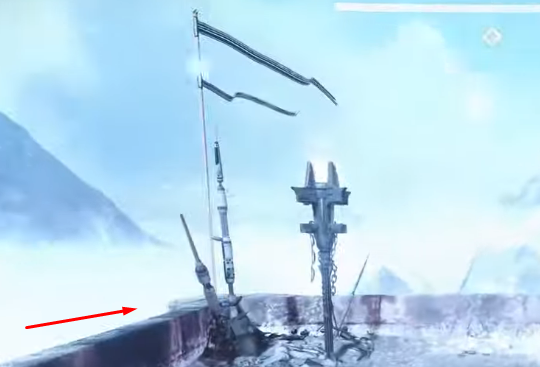
As things get chilly with the tempest, you’ll start feeling the Biting Cold debuff. Hit nine stacks, and you’re a frozen statue. Ten stacks? Game over. But hey, no worries! Just huddle near one of the Torches at the edge of the arena. They give you this awesome Shelter from the Storm buff, melting away the Biting Cold and stopping new stacks.
Hot Potato with Solar Charges

After you’ve dealt with the totems and the storm’s taken a break, you’ll get a message, “A burning wish! Granted, O vengeance mine!” Depending on how many totems you rocked, one or more Solar Charges will pop up. Your job? Carry them to the torch sconces around our big bad boss. You’ve got about twenty seconds per charge, so hustle! Once you slot in the fourth charge, it’s DPS time. The blizzard’s back, but those torch sconces are your lifeline. They give you Shelter from the Storm and the Naeem’s Wish Empowerment buff. Need to damage the boss? Stay in the Shelter circle. Step out, and you lose the buff. When the timer’s up, the sconce fades, and you move to the next until you’ve used all four or the boss is history.
Didn’t get ’em this round? No sweat. The cycle repeats – storm fades, new Blighted Eyes, activate totems, and carry those charges. For the solo heroes out there, watch those jumps and damage rotations, especially with all the extra mobs around. Play it smart and steady, and you’ll nail it.
- All Destiny 2 Posts List

Leave a Reply