This guide will show you how to obtain every Blue Magic skill in Final Fantasy 5
Intro
Final Fantasy 5 Pixel Remaster: Blue Magic Guide
This guide will cover:
- Locations of enemies that you can learn Blue Magic spells from
- How to use the control command
- Tips on how to obtain Blue Magic Spells
NOTE: This guide is a reproduction of my original Blue Magic guide which can be accessed here
https://steamcommunity.com/sharedfiles/filedetails/?id=2611986585 – [steamcommunity.com]
The Images and content from this guide are the the IOS/Steam version but will work on any version of Final Fantasy V and remains true to the original version of the game on SNES.
CHANGE NOTES:
- Created Azulmagia section
- Multiple grammar fixes
- Added reference to steam achievements
- Updated FAQ section
Blue Magic
Blue Magic, also known as Blue, is a Magic skillset in Final Fantasy V. It is the special ability of the Blue Mage, and marks the first way in Final Fantasy to use magic learned from enemies.
Blue Magic comes in a variety of different forms, from offensive spells to positive enhancements. Some of the most useful spells in the game are Blue Magic.
The character must be hit by the Blue Magic spell either as a Blue Mage or with the Learning ability equipped while in another job to learn the spell. Only one character is required to learn a specific spell for it to be used by the others. Some enemies never normally use the desired spell onto the party and must be forced to do so to learn it. The Blue Mage doesn’t need to live through the attack to learn it, as long as another party member gets through the battle alive the desired Blue Magic spell will be learned.
Blue Magic is the only school of magic that cannot be Dualcasted. Unlike other types of magic, Blue Magic is not disabled if the user is silenced.
Upon mastery, Freelancers and Mimes gain the Blue Mage’s base Agility, Stamina and Magic unless they already have a higher base from another mastered job.
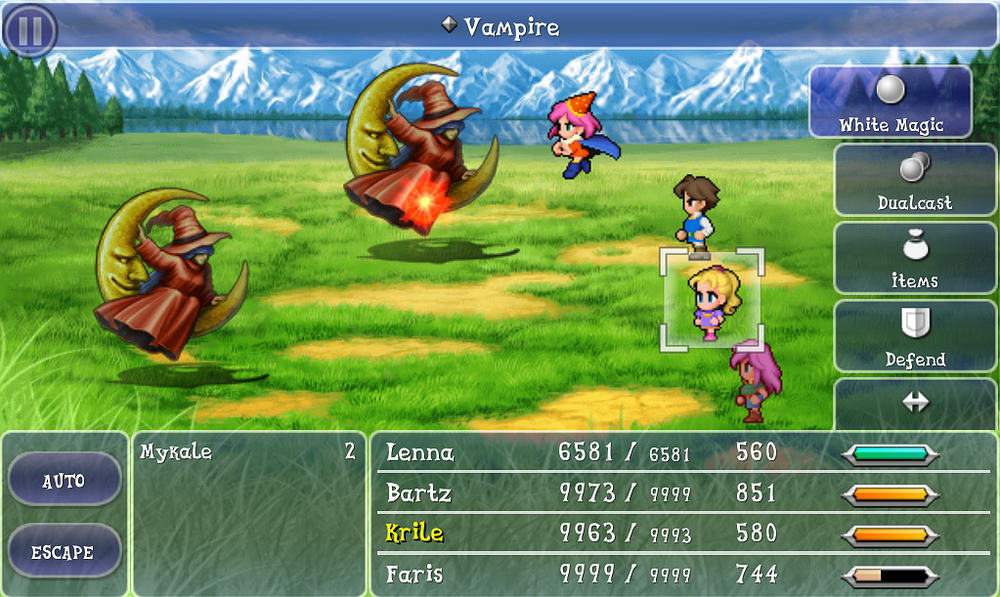
Blue Magic Demonstration:


Learning Ability
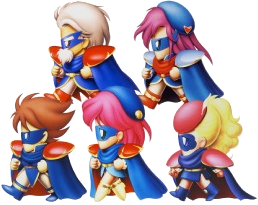
Learning is a Level 2 Blue Mage ability that requires 20 ABP to learn. If the character is a Mime or Freelancer with the Blue Mage mastered, they do not need to equip this ability in order for it to be active.
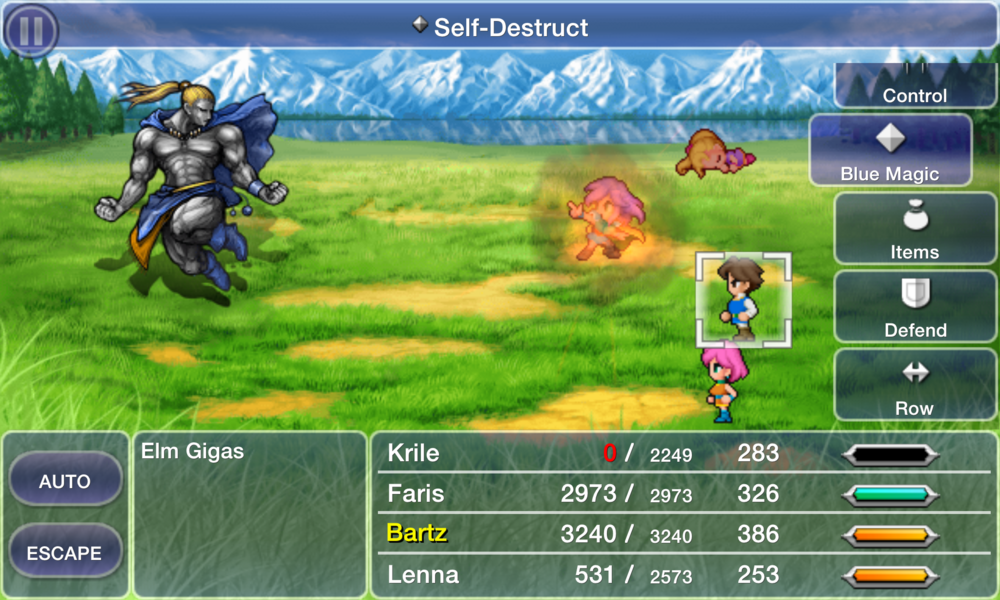
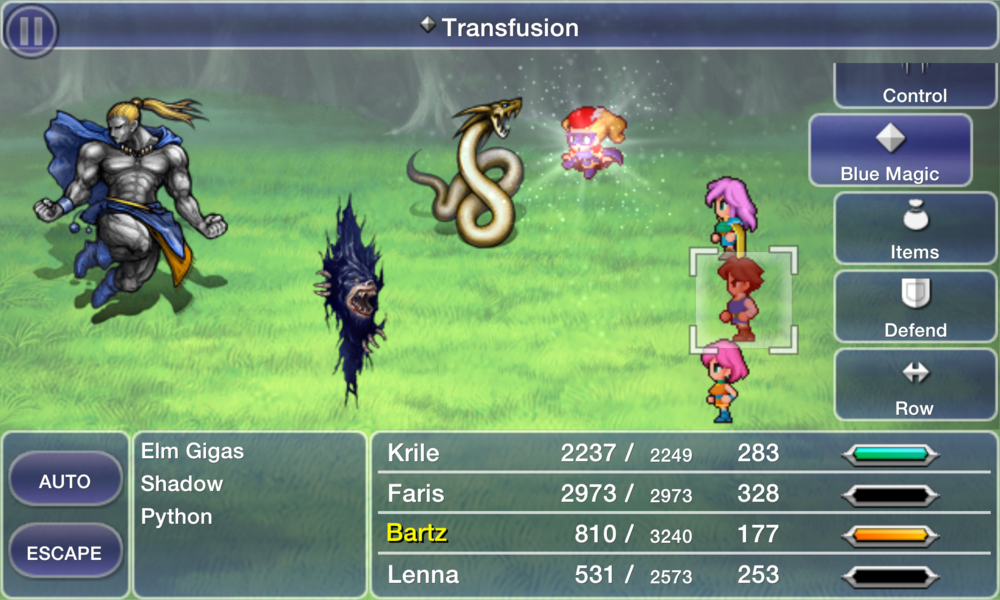
With Learning, the characters can learn Blue Magic when being hit by it.
Control Ability

The Hypno Crown (originally called Coronet) is headgear armor that can be equipped by the party and improves the effectiveness rate of Control. It provides +5 Defense and Magic Evasion, +1 Magic, and +4 Evasion. It can only be found in Drakenvale.
With Hypno Crown equipped the player has 75% chance of controlling the target, opposed to the rate of 40% without the Hypno Crown.
Drakenvale, also known as the Valley of Dragons, is a location in Final Fantasy V. It is the only place where the dragon grass grows in the second world, and used to be a habitat for wind drakes in the past.
Drakenvle is accessible in Galuf’s World and the Merged World
Azulmagia
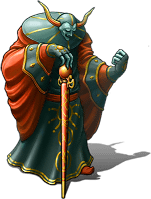
Azulmagia has 17 of the 30 Blue Magic spells in the game and casting certain Blue Magic spells on him will cause him to learn them and start using them on the party, giving him a total of 28 of the 30 Blue Magic spells he can actively use (he will not use Transfusion and Moon Flute). These 28 spells can be learned by any Blue Mage in the party, if they have not learned them already.
Blue Magic:
Doom, Roulette, Aqua Breath, Level 5 Death, Level 4 Graviga, Level 2 Old, Level 3 Flare, Pond’s Chorus, Lilliputian Lyric, Flash, Time Slip, Death Claw, Aero, Aera, Aeroga, Flame Thrower, Goblin Punch, Dark Spark, Off-Guard, Mind Blast, Vampire, Magic Hammer, Mighty Guard, Self-Destruct, ???, 1000 Needles, White Wind, Missile
Note: Although many Blue Magic spells can be learned from Azulmagia there are much simpler ways to obtain spells see quick start table for more details.
Blue Magic Spells
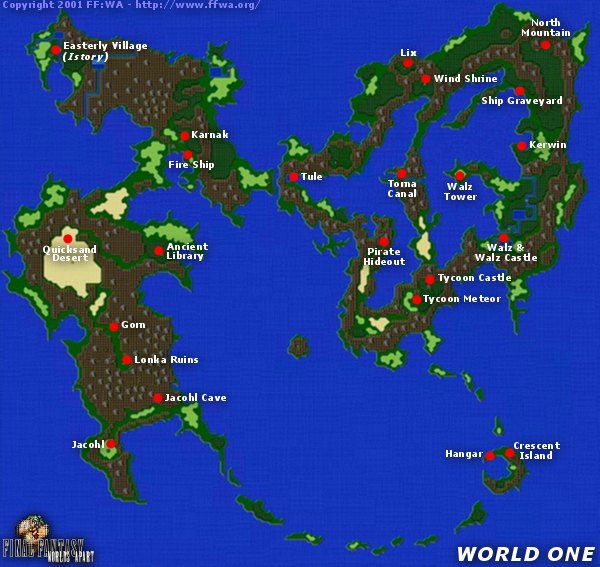
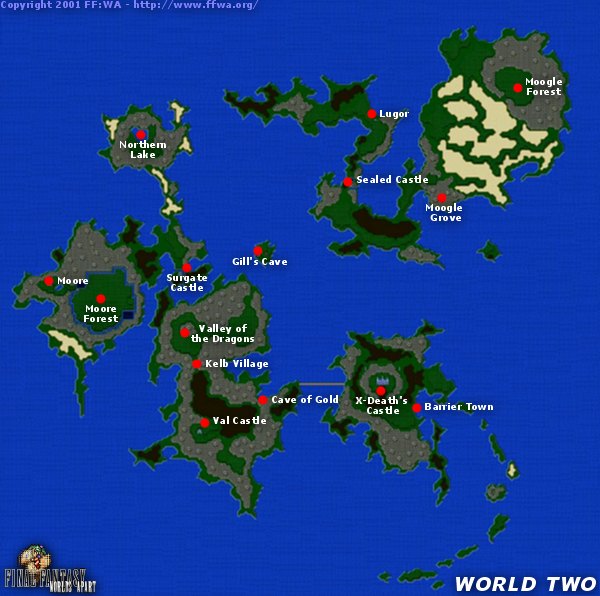
The following sections contains spell specific information. Specifically three world maps, and a glossary of all Blue Magic Spells.
The spells are listed in the order you can obtain them. There are a total of 30 Blue Magic Spells
World One Blue Magic Spells:
- Goblin Punch
- Aero
- Vampire
- Flash
- Moon Flute
- Pond’s Chorush
- ????
- Self-Destruct
- Aera
- Death Claw
- Aqua Breath
- Transfusion
- Missile
- Level 5 Death
- Off-Guard
- Magic Hammer
- Dark Spark
- Flame Thrower
- White Wind
- 1000 Needles
- Level 4 Graviga
World Two Blue Magic Spells:
- Time Slip
- Level 3 Flare
- Level 2 Old
- Aeroga
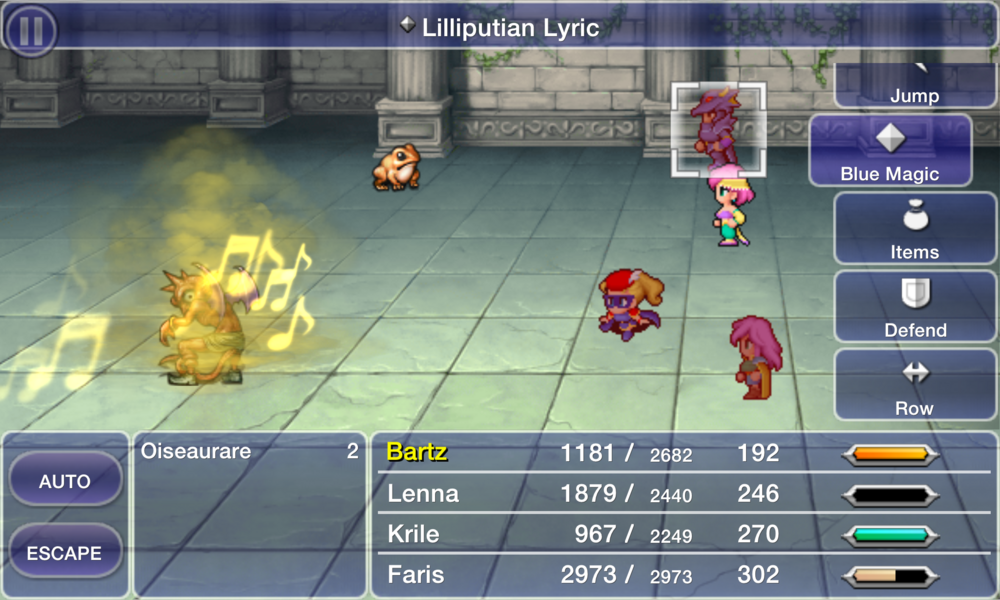
- Lilliputian Lyric
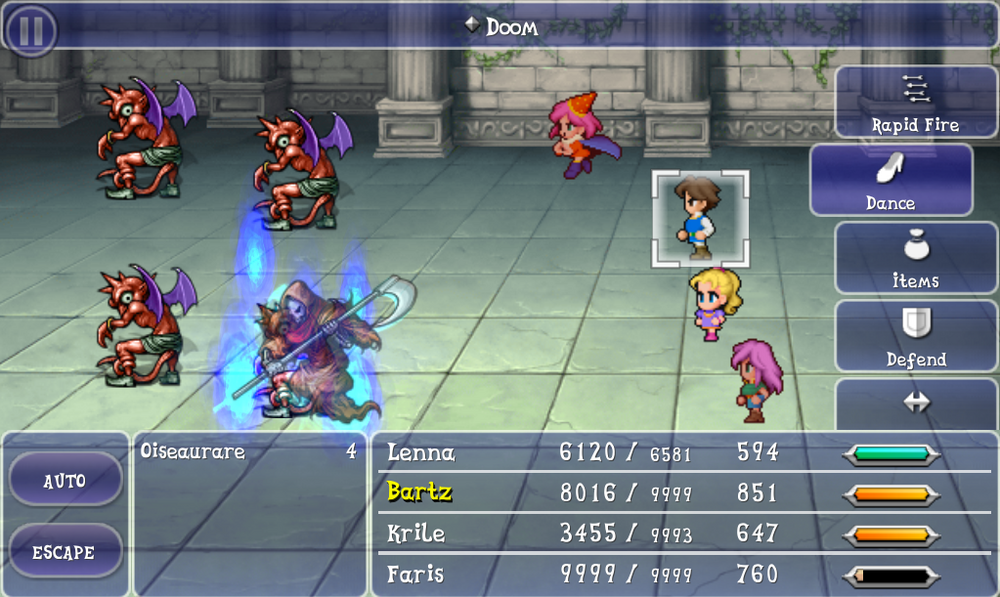
- Doom
World Three Blue Magic Spells:
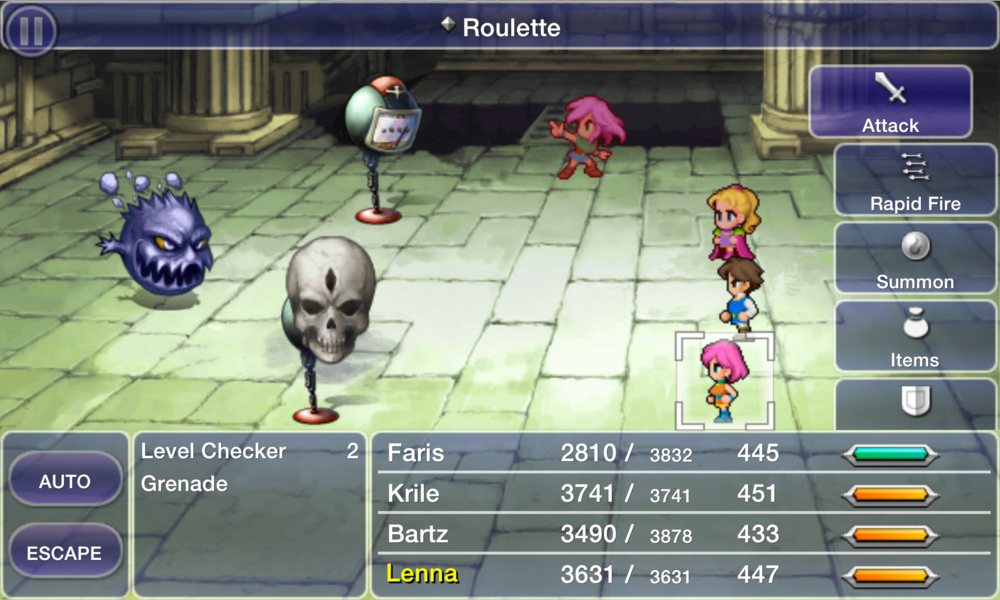
- Roulette
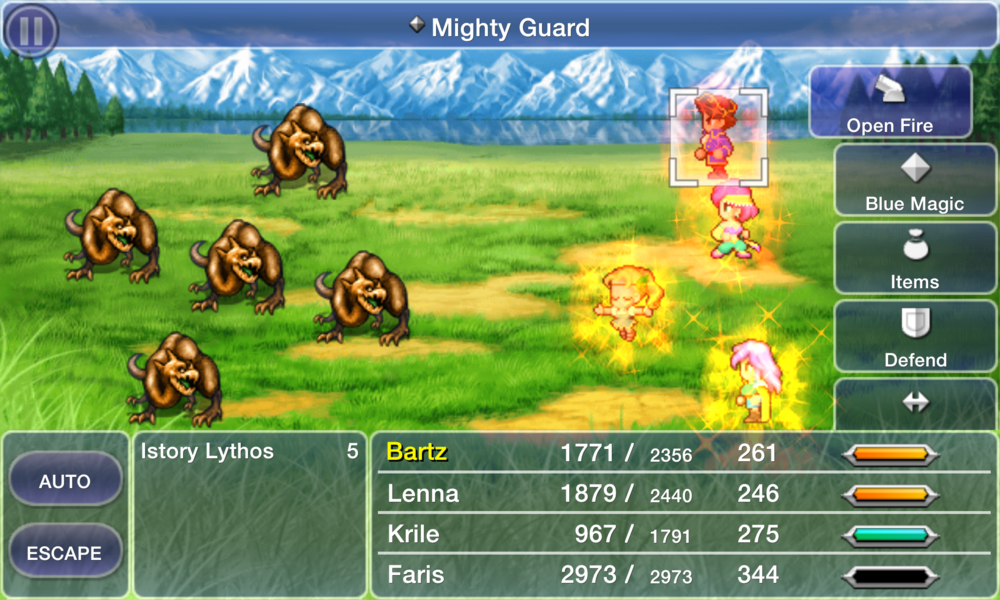
- Mighty Guard
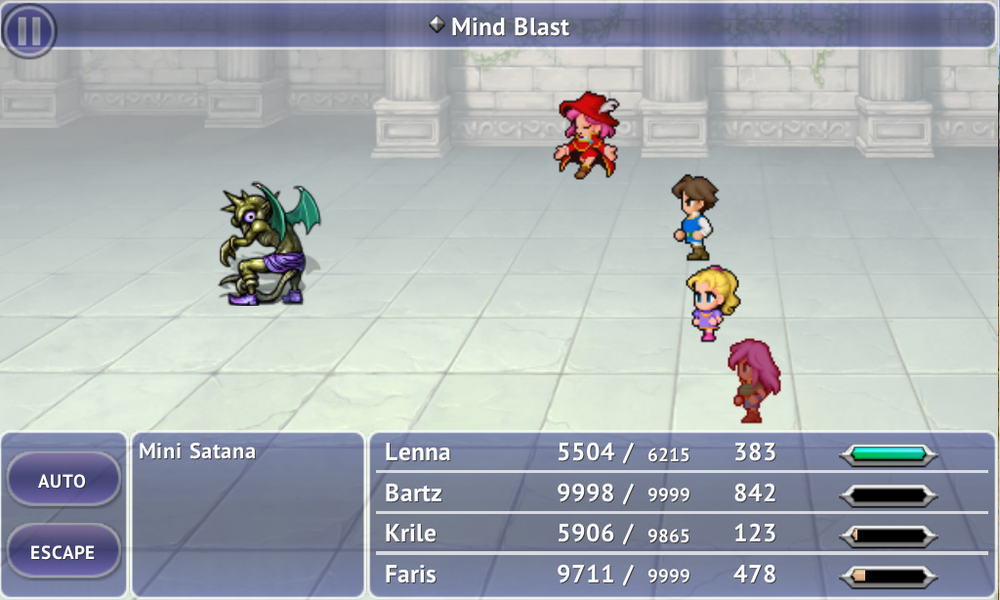
- Mind Blast
Quick Start Table: First Attainable
The Quick Start Table below is intended for players who are are looking to learn the Blue Magic spells as quickly as possible. This table lists a suggested order for when each Blue Magic spell could be obtained.
Earliest each Blue Magic can be obtained
Blue Magic |
Enemy |
Location / Notes |
|---|---|---|
| Goblin Punch | Black Goblin | Wind Shrine |
| Aero | Moldwynd | Wind Shrine |
| Vampire | Steel Bat | Pirates’ Hideout |
| Flash | Headstone | North Mountain (enemy needs to have an Ether used on them) |
| Moon Flute | Jackanapes | Walse Tower – However, at this point in the game the battle is unwinnable unless the party has gone through severe grinding. (The player is better waiting to get it from Page 256 in the Library of the Ancients.) |
| Pond’s Chorush | Elf Toad | Walse Tower (enemy needs to be alone to use it) |
| ???? | Wild Nakk | forests near Karnak |
| Self-Destruct | Motor Trap | Fire-Powered Ship (enemy needs to be in critical health or hit with a Thunder spell) |
| Aera | Gigas | monster-in-a-box in Karnak Castle |
| Death Claw | Iron Claw (Boss) | Karnak Castle |
| Aqua Breath | Dhorme Chimera | desert north of the Library of the Ancients |
| Transfusion | Mythril Dragon | Library of the Ancients area in the world map (must be controlled by a Beastmaster) |
| Missile | Motor Trap | Fire-Powered Ship (must be controlled by a Beastmaster) |
| Level 5 Death | Page 64 | Library of the Ancients (learner must be on a level divisible by 5) |
| Off-Guard | Page 256 | Library of the Ancients (must be controlled with a Beastmaster) |
| Magic Hammer | Byblos | Library of the Ancients |
| Dark Spark | Black Flame | Crescent area on the world map |
| Flame Thrower | Prototype | the islands near Crescent |
| White Wind | Enchanted Fan | inside the Ronka Ruins (must be controlled by a Beastmaster) |
| 1000 Needles | Lamian | inside the Ronka Ruins (must be controlled by a Beastmaster) |
| Level 4 Graviga | Ghidra | final area of Ronka Ruins before talking to King Tycoon (learner must have level divisible by 4) |
| Time Slip | Traveler | Barrier Tower |
| Level 3 Flare | Red Dragon | Barrier Tower monster-in-a-box
|
| Level 2 Old | Level Tricker | Barrier Tower (found towards the top of tower)
|
| Aeroga | Metamorph | Ghido’s Cave (uses it in Enchanted Fan form) |
| Lilliputian Lyric | Mini Magician | Great Forest of Moore |
| Doom | Exdeath (Boss) | Castle Exdeath |
| Roulette | Parthenope | Phoenix Tower (reached with the airship) |
| Mighty Guard | Stingray | coastal waters above the sunken Walse Tower (must be controlled by a Beastmaster) (reached with the airship) |
| Mind Blast | Wendigo (Boss) | Island Shrine (reached with the airship) |
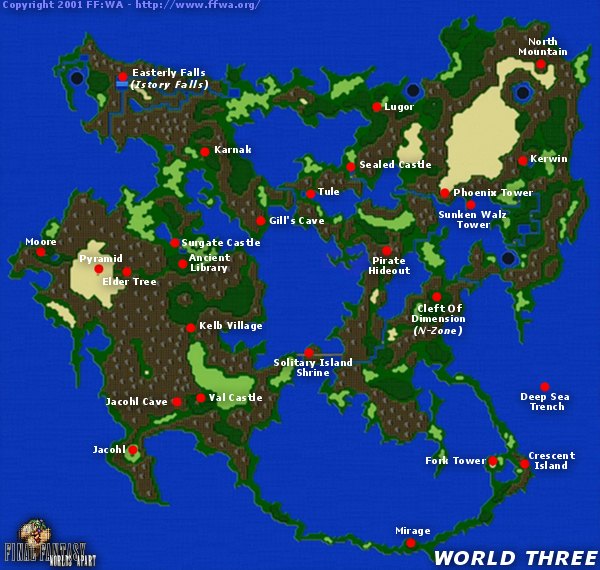
World Map
If you are unaware of a specific area discussed throughout this guide, please consult with the world map (pictured below).
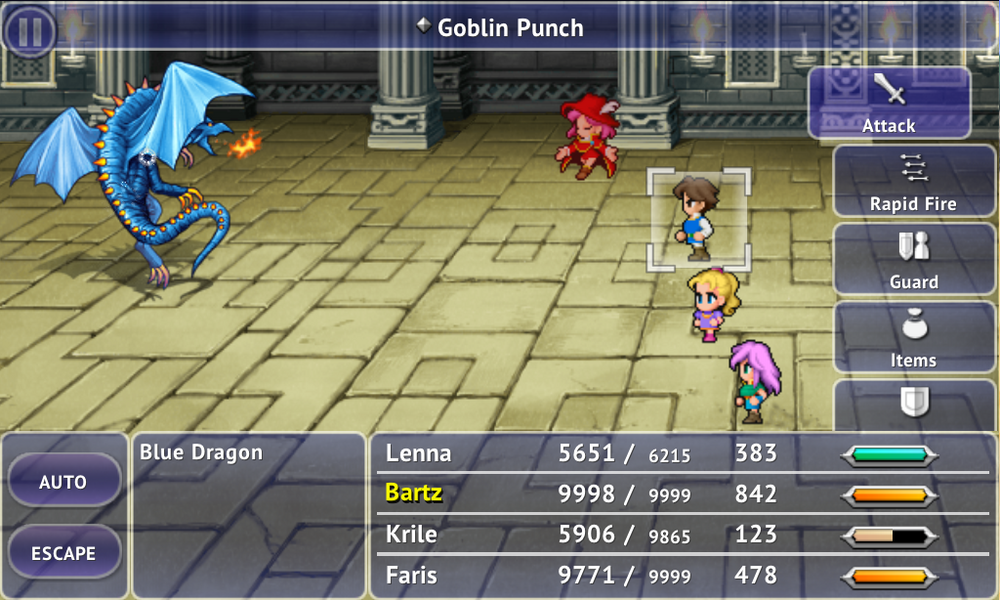
Goblin Punch (GblinPnch, GobPunch)
MP Cost: 0
Learned From: Goblin, Black Goblin, Gobbledygook, Azulmagia, Sahagin, Nix
Locations: Tycoon Meteor, Tule (monster-in-a-box), overworld around Tycoon Castle, Wind Shrine, Tule, Pirates’ Hideout, and Fork Tower (Right) / Wind Shrine (2F – 4F) / Xezat’s Fleet / Interdimensional Rift, Castle / Ocean of Jachol and Crescent (World 1); Sea Battle, southwest of the Phoenix Tower (World 3) / Merged World Sea Battle – Coastal waters above the sunken Walse Tower
Description: Deals non-elemental damage to one target. If the target’s level is same as the caster’s level, deals 8 times the damage instead. Ignores row positions and weapons’ special effects (e.g. Excalipoor hits at full power and Chicken Knife has no chance to cause fleeing).
Tip: Learn from from Black Goblin in the Wind Shrine
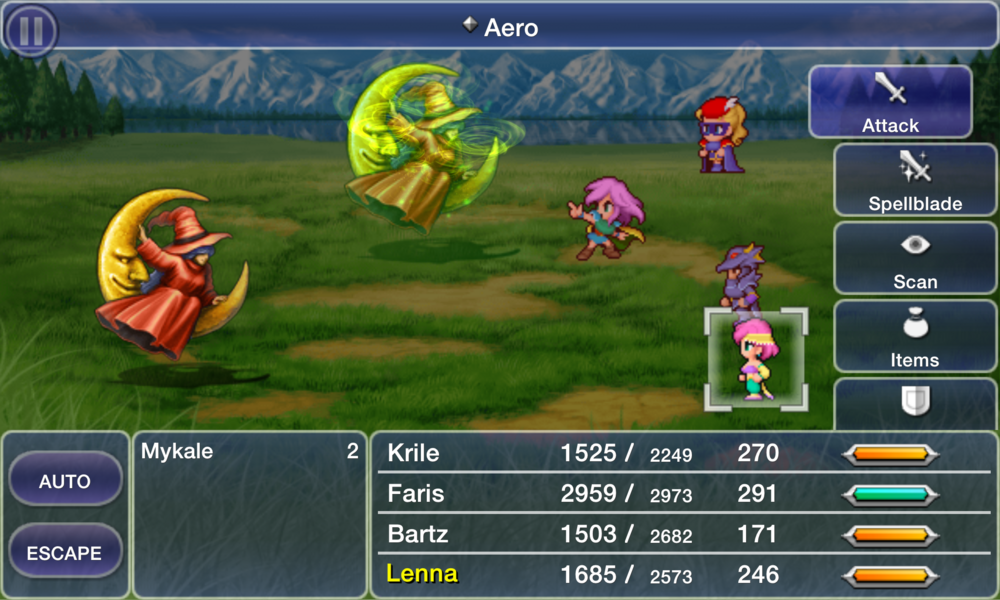
Aero
MP Cost: 10
Learned From: Moldwynd, Gigas, Magissa, Mykale, Azulmagia, Defeater
Locations: Wind Shrine (2F – 4F), Interdimensional Rift (Castle) / Karnak Castle / Moore area and Crescent area (World 3) / Interdimensional Rift, Castle
Description: Deals Wind-elemental damage to one or all enemies. (Spell Attack = 20)
Tip: Learn from Moldwynd in the Wind Shrine
Vampire (Red Feast)
MP Cost: 2
Learned From: Steel Bat, Blood Slime, Abductor (#270), Zombie Dragon, Enkidu, Dark Aspic, Python, Mercury Bat, Azulmagia, Achelon, Dechirer, Shadow
Locations: Pirates’ Hideout / Second World – Underground Waterway / Castle Exdeath; Castle of Bal; Castle Exdeath / Drakenvale; Interdimensional Rift: Caves; Pyramid of Moore / Xezat’s Ship / Ghido’s Cave (All Floors) (World 2) / Ghido’s Cave area (World 3) / Istory Falls / Interdimensional Rift, Castle / Interdimensional Rift (Caves) / Second World – Area around Moore; forest north of Surgate Castle / Second World – Forests around Fork Tower, Ghido’s Cave
Merged World – Surgate Castle area, beach north of sunken Walse Tower
Description: Absorbs HP from target and restores caster’s HP. The amount it absorb is calculated {\displaystyle (MaxHP-CurrentHP)/2} The GBA version is bugged so that the formula is not divided by 2 at the end.
Tip: Learn from Steel Bat in the Pirates’ Hideout
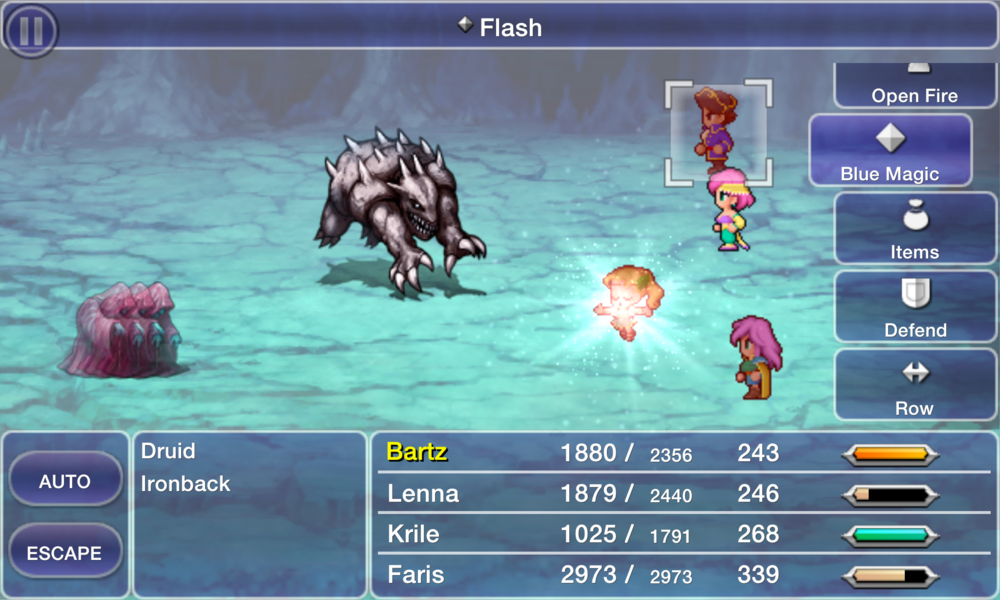
Flash
MP Cost: 7
Learned From: Crew Dust, Ramuh, Neon, Necrophobe, Azulmagia, Headstone, Orukat, Parthenope, Ushabti, Stone Mask
Locations: Fire-Powered Ship; Ghido’s Cave / Forest near Istory (World 1), Interdimensional Rift; Ghido’s Cave / Interdimensional Rift / North Mountain/ Interdimensional Rift (Caves) / Pyramid of Moore / Phoenix Tower / Ronka Ruins (World 1)
Description: Inflicts Blind on all enemies.
Tip: Learn from Headstone on the North Mountain (enemy needs to have an Ether used on them)
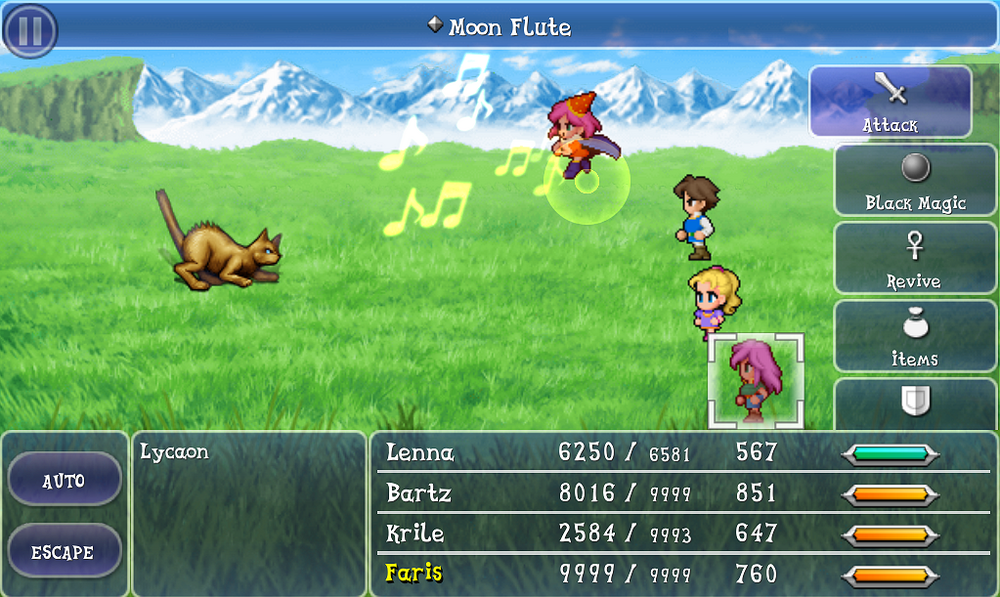
Moon Flute (MoonFlut)
MP Cost: 3
Learned From: Page 256, Jackanapes, Mykale
Locations: Library of the Ancients / Walse Castle Basement; Castle Exdeath / Moore area and Crescent area (World 3)
Description: Inflicts Berserk on all allies.
Tip: Learn from the Jackanapes in Walse Tower. However, at this point in the game the battle is unwinnable unless the party has gone through severe grinding. (The player might be better off waiting to get it from Page 256 in the Library of the Ancients.)
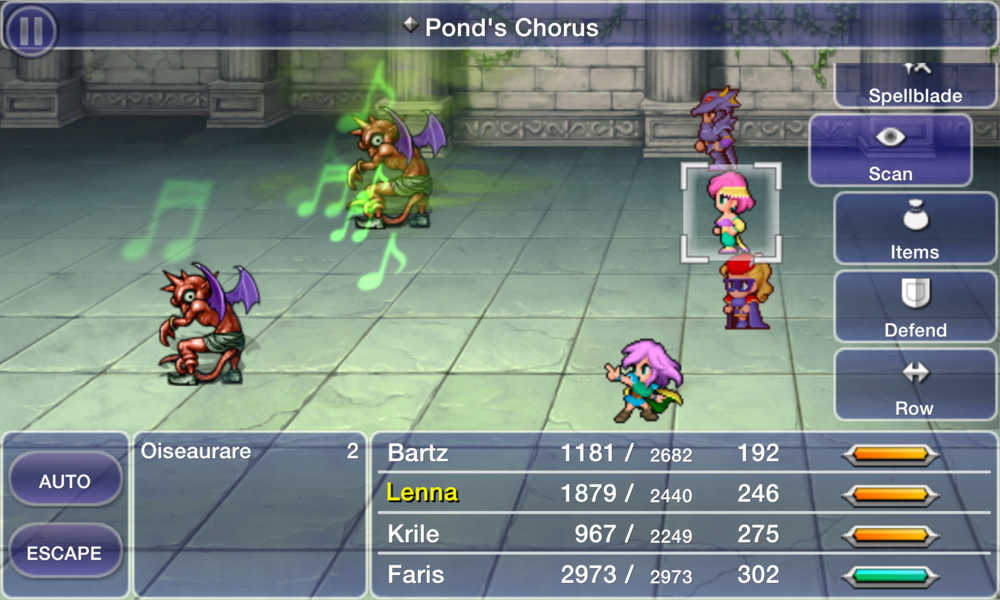
Pond’s Chorus (FrogSong, Toad Song)
MP Cost: 5
Learned From: Azulmagia, Elf Toad, Metamorph (Elf Toad), Archeotoad, Kornago, Farfarello, Lemure, Vilia
Locations: Interdimensional Rift, Castle / Walse Tower; Ghido’s Cave / Second World – Ghido’s Cave / Ronka Ruins (World 1) / Quelb area (World 2); Jachol area (World 3) / Interdimensional Rift (Forest) / Phoenix Tower / Merged World Sea Battle – Southwest corner of the World Map; Sealed Temple (River of Souls)
Description: Inflicts Toad on one target.
Tip: Learn from Elf Toad in Walse Tower (enemy needs to be alone to use it)
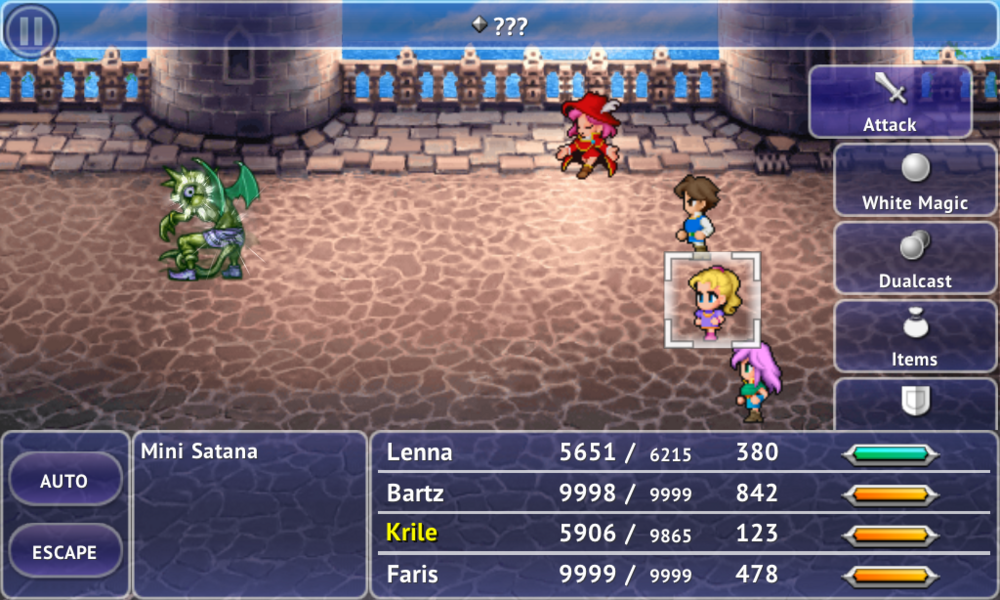
????
MP Cost: 3
Learned From: Azulmagia, Kuza Beast, Tyrannosaur, Wild Nakk, Behemoth, Gel Fish, King Behemoth, Mecha Head, Numb Blade, Traveler, Tunneller (Zephyrus)
Locations: Interdimensional Rift, Castle / Sealed Castle area (World 2); Phoenix Tower (World 3) / Underground River before Moogle Village / Forests outside Karnak (World 1) / Sealed Temple – Titan’s Grotto – B2; Lethe Court – Shadowed Gate / Merged World Sea Battle / the Rift and the Sealed Temple / Pyramid of Moore / Island Shrine / Barrier Tower (All Floors) (World 2) /
Regole area (World 2); Pyramid of Moore (World 3)
Description: Deals non-elemental piercing damage to one target equal to caster’s Maximum HP minus their current HP.
Tip: Learn from Wild Nakk in forests near Karnak
Self-Destruct (Exploder)
MP Cost:1
Learned From: Azulmagia, Motor Trap, Bomb, Purobolos, Grenade, Prototype, Unknown (#171)
Locations: Interdimensional Rift, Castle / Fire-Powered Ship / Jachol (World Map) / Walse Meteor Crash Site / Interdimensional Rift (Ruins) / Two islands southwest of Crescent (World 1); Sunken Walse Tower (World 3) / Great Sea Trench
Description: Kills caster to deal non-elemental piercing damage to one target equal to user’s current HP.
Tip: Learn from Motor Trap on the Fire-Powered Ship (enemy needs to be in critical health or hit with a Thunder spell)
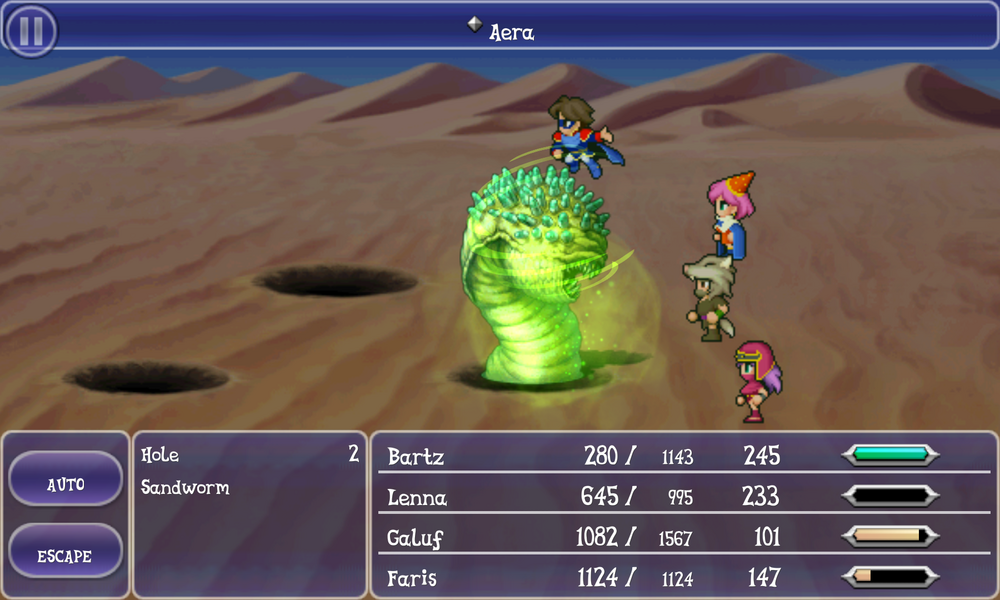
Aera (Aero 2)
MP Cost: 10
Learned From: Gigas, Enchanted Fan, Page 32, Enkidu, Abductor(Enemy), Azulmagia, Galajelly, Moldwynd
Locations: Karnak Castle / Ronka Ruins (World 1); Ghido’s Cave (World 2) / Library of the Ancients / Xezat’s Ship / Castle Exdeath; Castle of Bal; Castle Exdeath / Interdimensional Rift, Castle / Great Forest of Moore (World 2) /
Description: Deals Wind-elemental damage to one or all enemies. (Spell Attack = 50)
Tip: Learn from Gigas in a monster-in-a-box in Karnak Castle
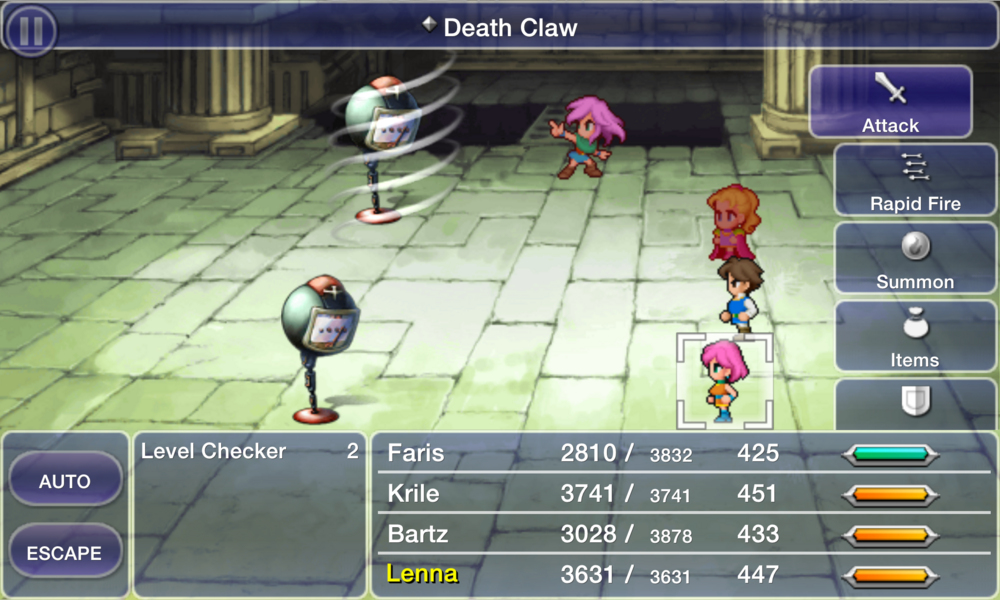
Death Claw (DethClaw, DoomClaw)
MP Cost: 21
Learned From: Death Claw, Treant, Soul Eater, Azulmagia, Iron Claw, Objet d’Art, Strapparer
Locations: Interdimensional Rift (Castle) / Castle Exdeath area (World 2) / Sealed Temple – River of Souls – B1 / Interdimensional Rift, Castle / Karnak Castle / Castle of Bal [B2] (World 2 and 3) / Second World – Outside Castle Exdeath
Description: Reduces a target’s HP to single digits and inflicts Paralyze.
Tip: Learn from Iron Claw boss in Karnak Castle
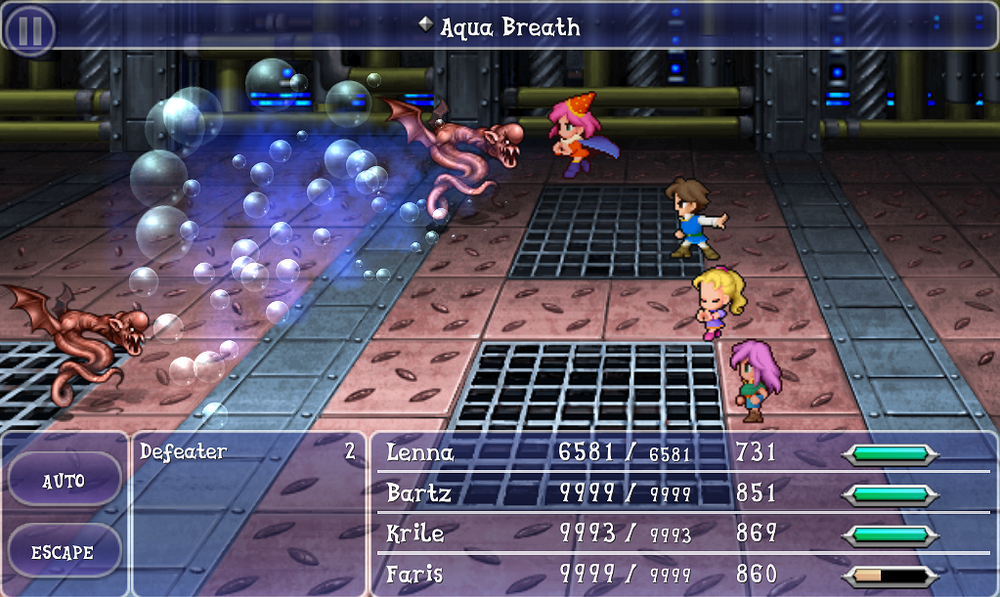
Aqua Breath (AquaRake)
MP Cost: 38
Learned From: Dhorme Chimera (All), Manticore, Leviathan, Bahamut, Azulmagia, Crystal (#279), Aquagel
Locations: Library of the Ancients area (World 1); Pyramid of Moore / Meteor Crash Site / Istory Falls / North Mountain / Interdimensional Rift, Castle / Great Forest of Moore / Istory Falls
Description: Deals non-elemental damage to all enemies (Spell Attack = 75). Deals 8 times the damage to desert enemies.
Tip: Learn from Dhorme Chimera in the desert north of the Library of the Ancients
Transfusion (Fusion, Pep Up)
MP Cost:13
Learned From: Mythril Dragon, Gargoyle, Birositris, Devilfish, Unknown (#169), Mover
Locations: Library of the Ancients area (World 1) / Pyramid of Moore, Istory Falls, Great Sea Trench, Island Shrine / Castle Exdeath & Regole area (World 2) / Castle Exdeath area (World 2) / Great Sea Trench / Interdimensional Rift (Inner Sanctum), Sealed Temple (River of Souls)
Description: Sacrifices the caster and fully restores one target’s HP and MP.
Tip: Learn from Mythril Dragon in the Library of the Ancients area in the world map (must be controlled by a Beastmaster)
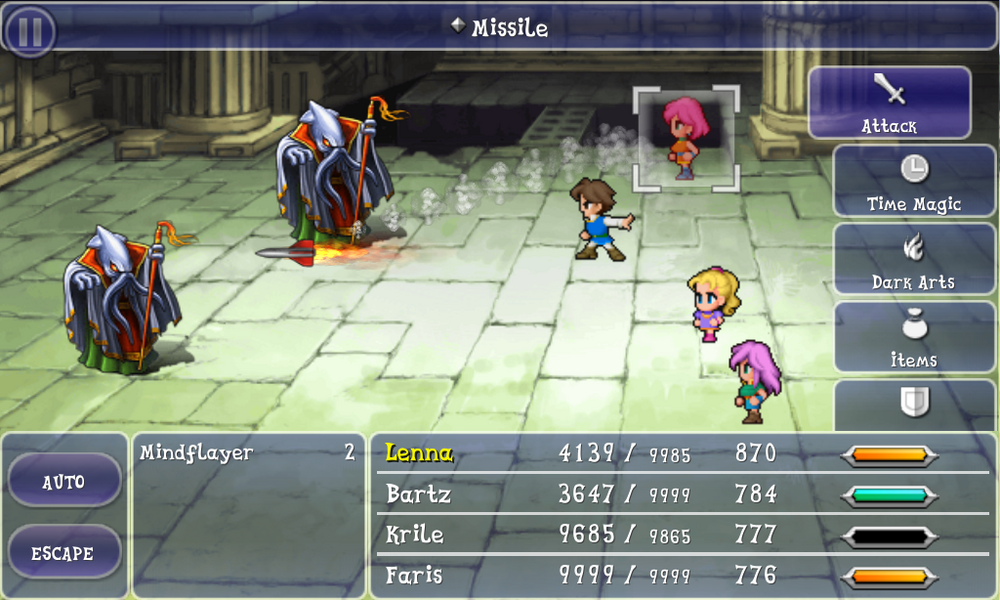
Missile
MP Cost:7
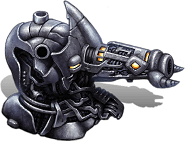
Learned From: Mecha Head, Prototype, Rocket Launcher, Enkidu, Soul Cannon, Azulmagia, Motor Trap
Locations: Pyramid of Moore / Two islands southwest of Crescent (World 1); Sunken Walse Tower (World 3) / Ronka Ruins / Xezat’s Ship / Ronka Ruins; Phoenix Tower / Interdimensional Rift, Castle / Fire-Powered Ship
Description: Reduce target to 1/4 of its current HP.
Tip: Learn from Motor Trap on the Fire-Powered Ship (must be controlled by a Beastmaster)
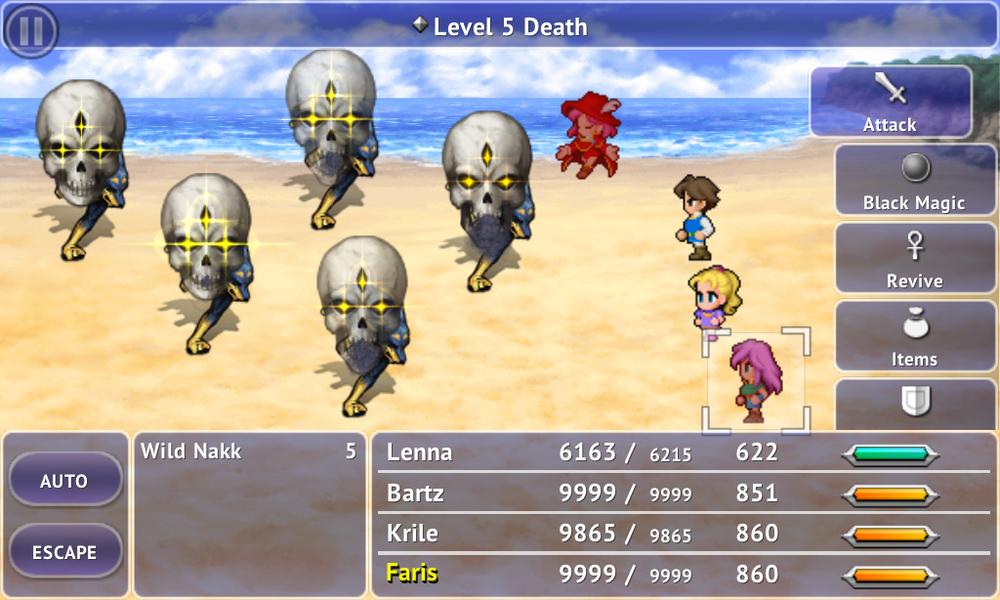
Level 5 Death (L5 Doom)
MP Cost: 22
Learned From: Page 64, Level Checker, Azulmagia, Executor, Level Tricker
Locations:Library of the Ancients / Interdimensional Rift (Ruins); Sealed Temple; Sunken Walse Tower / Interdimensional Rift, Castle / Island Shrine / Barrier Tower (5F–10F) (World 2)
Description: Kills enemies whose levels are a multiple of 5. Ignores death resistance.
Tip: Learn from Page 64 in the Library of the Ancients (learner must be on a level divisible by 5)
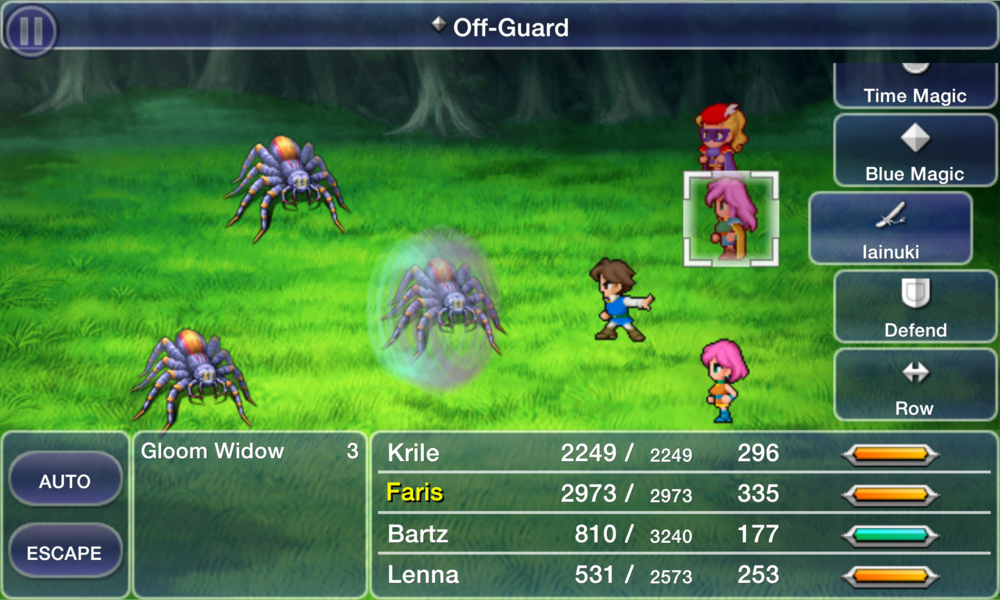
Off-Guard (GuardOff)
MP Cost: 19
Learned From: Magic Dragon, Ziggurat Gigas, Ushabti, Azulmagia, Page 256, Shadow, The Damned
Locations: Castle Exdeath (2F-4F) (World 2), Sunken Walse Tower and Interdimensional Rift (Castle) (World 3) / Barrier Tower (Upper Floors) (World 2); Pyramid of Moore (World 3) / Pyramid of Moore / Interdimensional Rift, Castle / Library of the Ancients / Second World – Forests around Fork Tower, Ghido’s Cave Merged World – Surgate Castle area, beach north of sunken Walse Tower / Pyramid of Moore (monster-in-a-box), Island Shrine
Description: Halves the target’s Defense.
Tip: Learn from Page 256 in the Library of the Ancients (must be controlled with a Beastmaster)
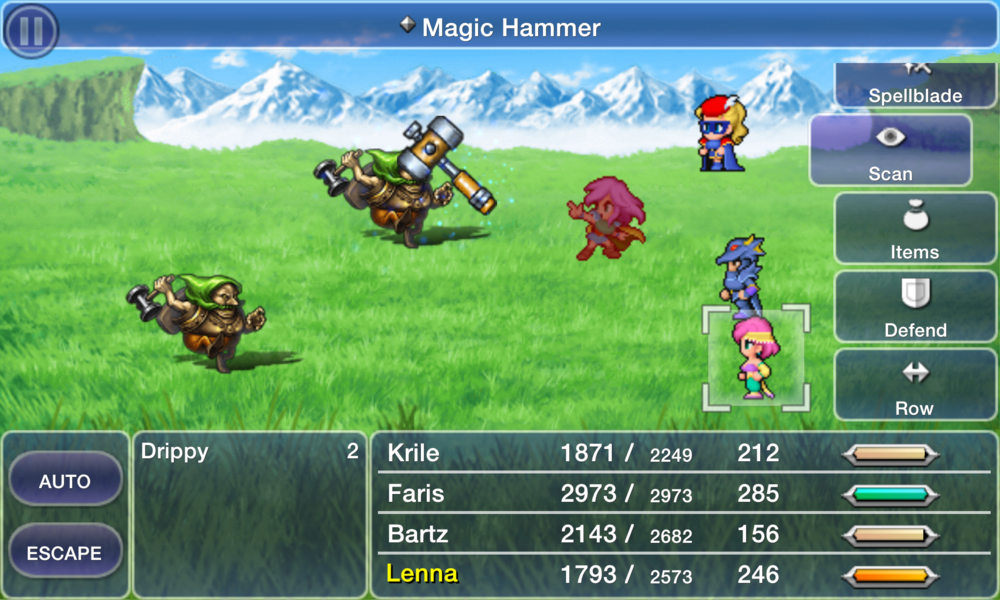
Magic Hammer (Hammer, MagHammer)
MP Cost: 3
Learned From: Byblos, Drippy, Apanda, Azulmagia, Oiseaurare, Cursed Being
Locations: Library of the Ancients / Drakenvale (World 2 and 3) / Interdimensional Rift / Interdimensional Rift, Castle / Island Shrine; Castle Exdeath / Galuf’s World – Bal Continent; Jachol area (World 3)
Description: Halves target’s MP.
Tip: Learn from Byblos in the Library of the Ancients
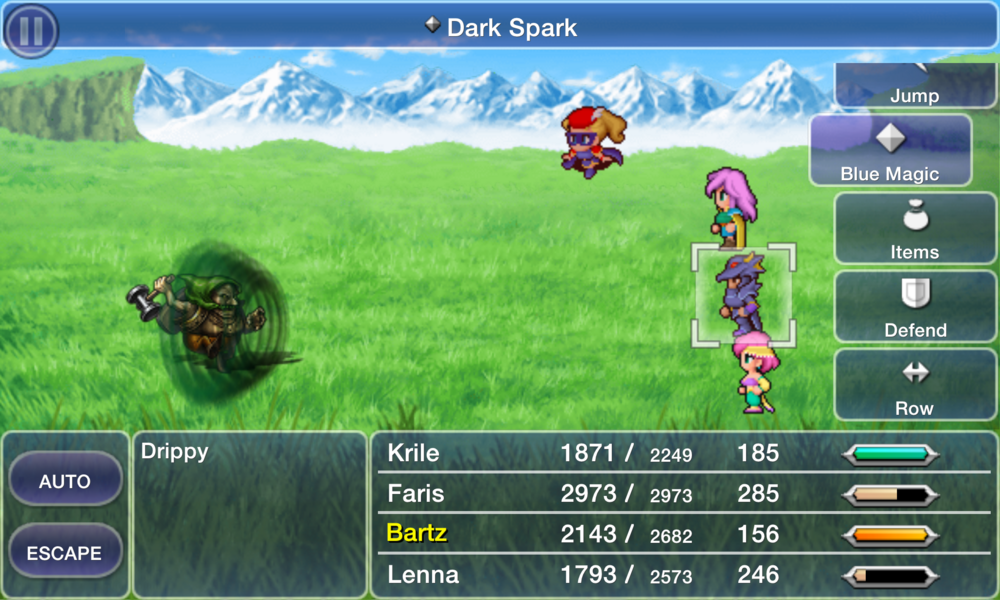
Dark Spark (DrkShock, BlakShok)
MP Cost: 27
Learned From: Black Flame, Strapparer, Ushabti, Azulmagia, Shadow, Druid
Locations: Crescent and Istory area (World 1) / Second World – Outside Castle Exdeath / Pyramid of Moore / Interdimensional Rift, Castle / Second World – Forests around Fork Tower, Ghido’s Cave
Merged World – Surgate Castle area, beach north of sunken Walse Tower / Second World – Northwest Underwater Cave, Third World-Island Shrine
Description: Halves the target’s current level.
Tip: Learn from Black Flame on the Crescent area on the world map
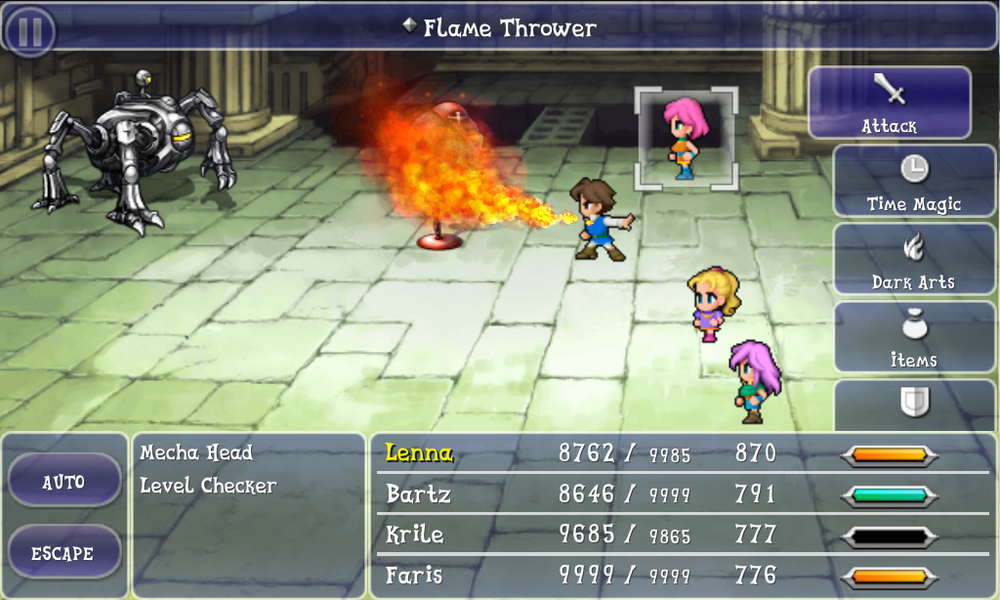
Flame Thrower (Emission, Burn Ray)
MP Cost: 5
Learned From:Prototype, Flame Thrower, Mecha Head, Omega, Triton, Great Dragon, Azulmagia, Claret Dragon, Mindflayer
Locations: Two islands southwest of Crescent (World 1); Sunken Walse Tower (World 3) / Ronka Ruins (Exterior) / Pyramid of Moore / The Interdimensional Rift (Cave Area) / Great Sea Trench /
Interdimensional Rift (Caves) / Interdimensional Rift, Castle / Sealed Temple – Shinryu’s Lair – Shinryu’s Roost; Lethe Court – The Stairs of Destiny / Interdimensional Rift (Inner Sanctum)
Description: Deals Fire-elemental damage to one enemy. (Spell Attack = 50)
Tip: Learn from Prototype in the islands near Crescent
White Wind (WhiteWind, WhitWind)
MP Cost: 28
Learned From: Enchanted Fan, Dark Elemental (All), White Flame, Hellraiser, Azulmagia, Enkidu, Parthenope, Necromancer
Locations: Ronka Ruins (World 1); Ghido’s Cave (World 2) / Sealed Temple – Ruined Shrine (Hall of Souls; Hall of Doubt); Abyssal Falls – B2 / Interdimensional Rift (Forest) / Castle Exdeath (2F-4F) (World 2) / Interdimensional Rift, Castle / Xezat’s Ship / Phoenix Tower / Interdimensional Rift (Inner Sanctum)
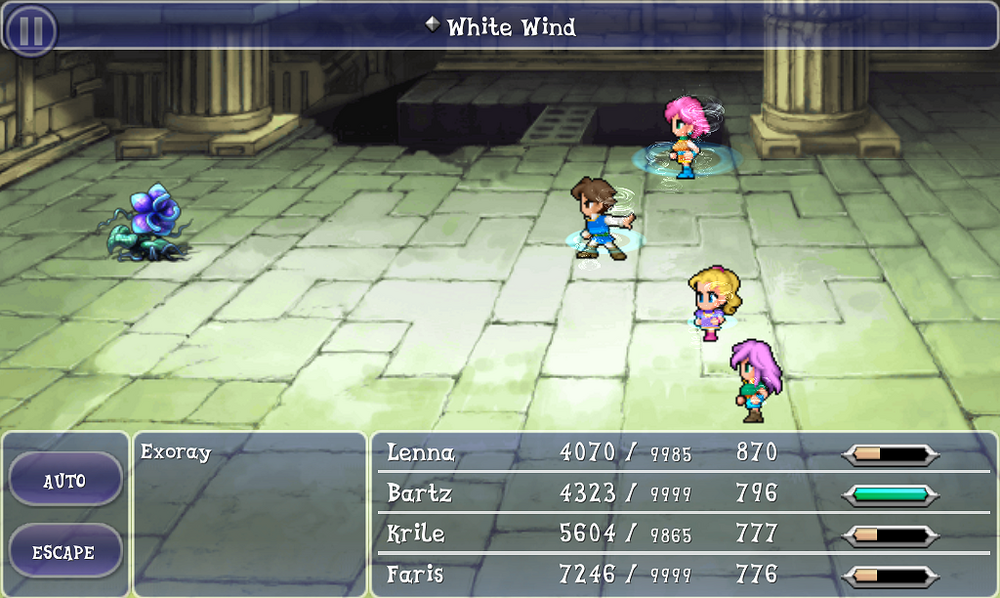
Description: Restores HP to party equal to caster’s current HP.
Tip: Learn from Enchanted Fan inside the Ronka Ruins (must be controlled by a Beastmaster)
1000 Needles (Blowfish)
MP Cost: 25
Learned From: Azulmagia, Lamia Queen, Cactus, Hedgehog, Lamia, Lemure, Mykale
Locations: Interdimensional Rift, Castle / Pyramid of Moore / Second World – Moogle Village (World Map) / Second World – Forests around Fork Tower Merged World – Area around Ghido’s Cave to the Guardian Tree / Ronka Ruins (World 1) / Phoenix Tower / Moore area and Crescent area (World 3)
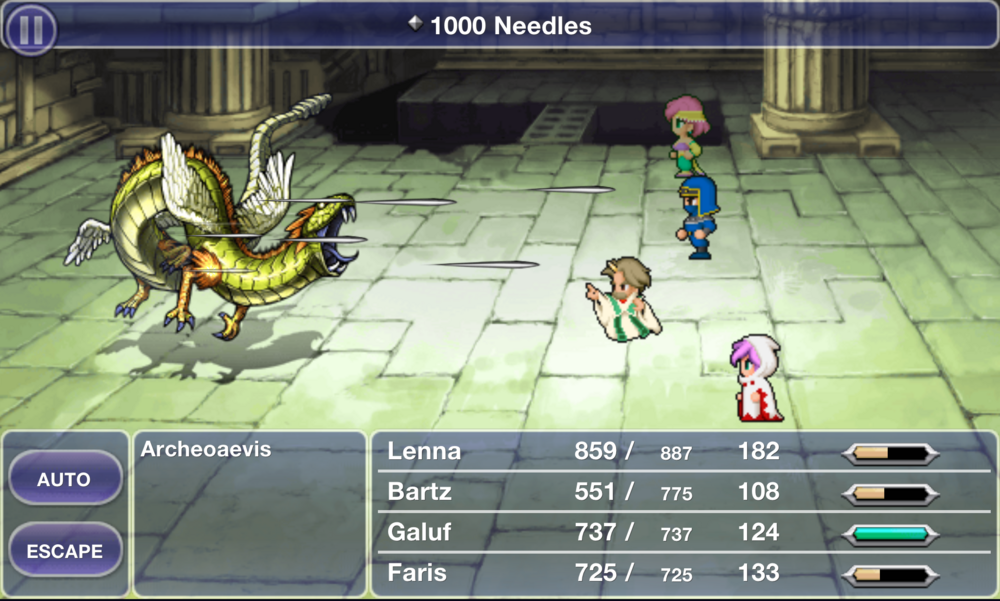
Description: Deals 1000 damage to one target. Damage cannot be reduced.
Tip:Learn from Lamia inside the Ronka Ruins (must be controlled by a Beastmaster)
Level 4 Graviga (L4 Qrter)
MP Cost: 9
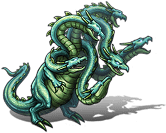
Learned From: Ghidra, Level Tricker, Level Checker, Azulmagia, Executor
Locations: Ronka Ruins (World 1), Interdimensional Rift (World 3) / Barrier Tower (5F–10F) (World 2) / Interdimensional Rift (Ruins); Sealed Temple; Sunken Walse Tower / Interdimensional Rift, Castle / Island Shrine
Description: Casts Graviga on enemies whose levels are a multiple of 4.
Tip: Learn from Ghidra in the final area of Ronka Ruins before talking to King Tycoon (learner must have level divisible by 4)
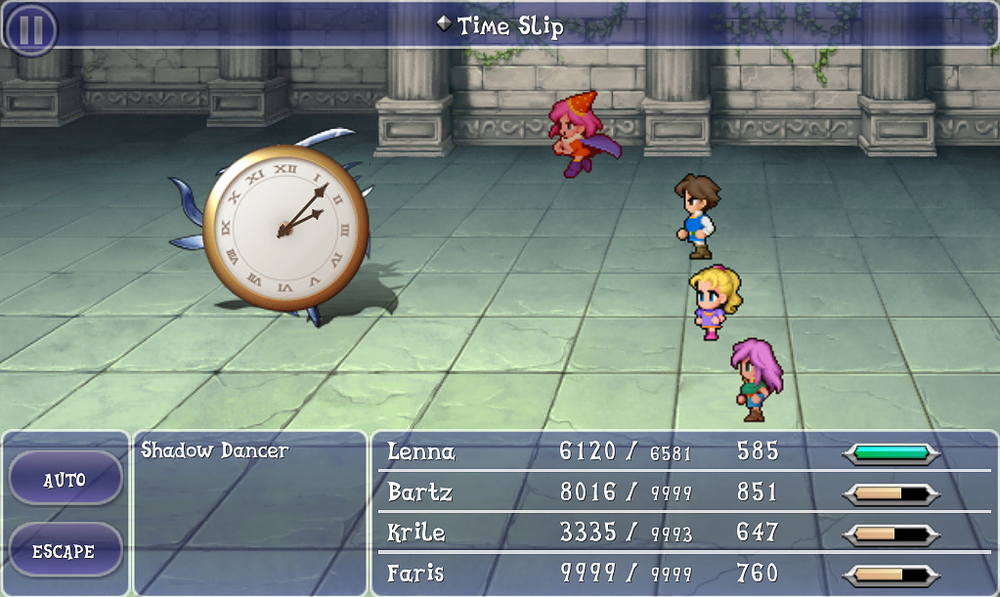
Time Slip (TimeSlip)
MP Cost: 9
Learned From: Traveler, Azulmagia, Cherie, Mykale
Locations: Barrier Tower (All Floors) (World 2) / Interdimensional Rift, Castle / Phoenix Tower / Moore area and Crescent area (World 3)
Description: Inflicts Old and Sleep on one target.
Tip:Learn from Traveler in the Barrier Tower
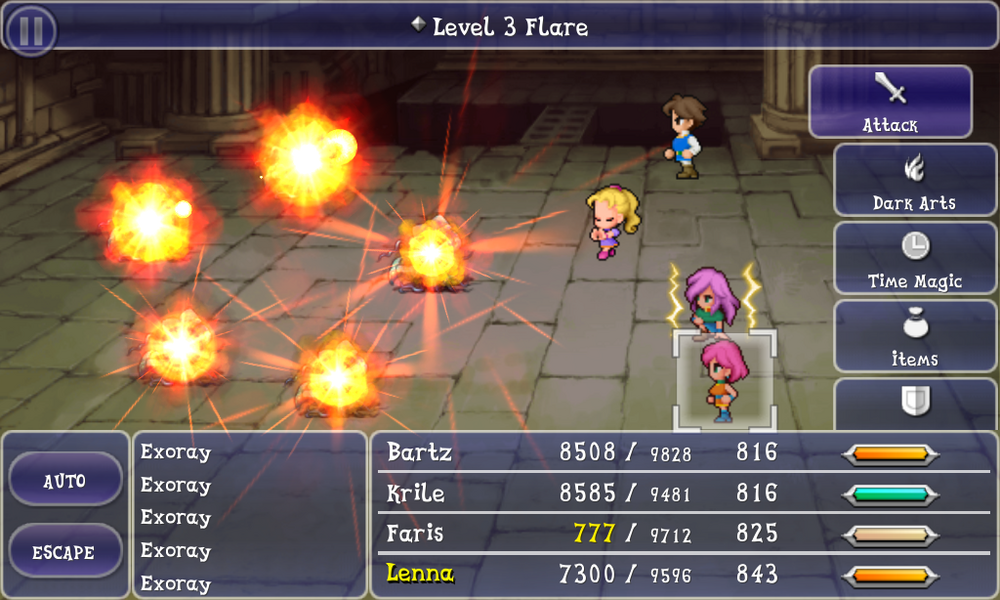
Level 3 Flare (L3 Flare)
MP Cost: 18
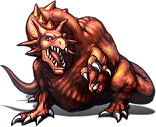
Learned From: Exdeath, Level Checker, Azulmagia, Executor, Tunneller (Zephyrus), Shinryu, Red Dragon, Archeosaur, Dechrier
Locations: Great Forest of Moore; Castle Exdeath / Interdimensional Rift (Ruins); Sealed Temple; Sunken Walse Tower / Interdimensional Rift, Castle / Island Shrine / Regole area (World 2); Pyramid of Moore (World 3) / Interdimensional Rift (Inner Sanctum) / Barrier Tower (Monster-in-a-box) and Castle Exdeath (6F-9F) (World 2); Istory Falls (World 3) / Pyramid of Moore / Second World – Area around Moore; forest north of Surgate Castle
Description: Casts Flare on enemies whose levels are a multiple of 3. (Spell Attack = 254, pierces MDef)
Tip: Learn from Red Dragon in the Barrier Tower monster-in-a-box
- Use Chemist’s Mix ability Dragon Defense (Phoenix Down+Dragon Fang) to cast Reflect on the enemy
- Control it with a Beastmaster
- Use Level 3 Flare on the Red Dragon and bounce the spell onto a single randomly targeted party member
- The learner must be on level divisible by 3
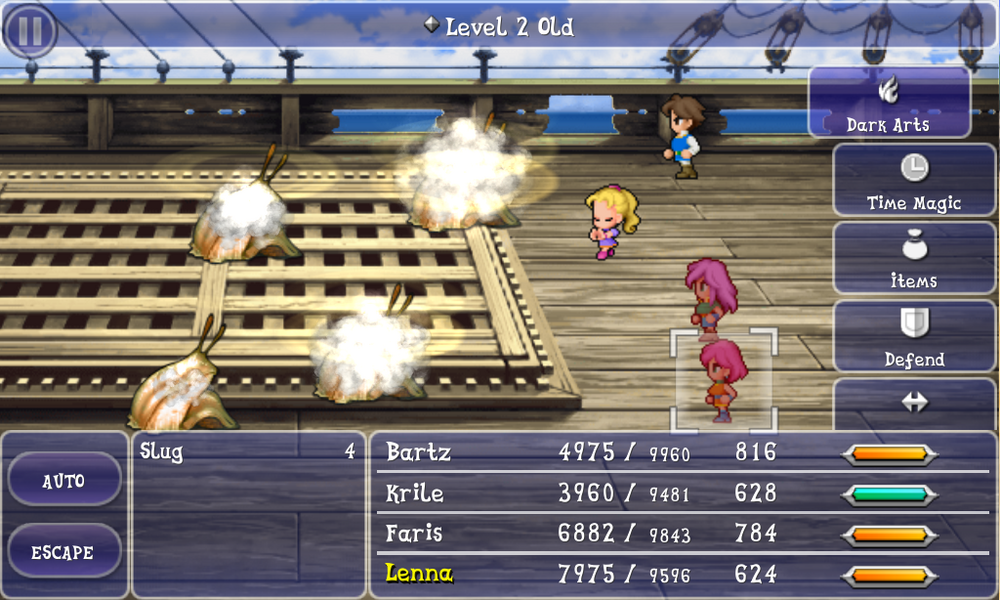
Level 2 Old (L2 Old)
MP Cost: 11
Learned From: Magic Dragon, Level Checker, Azulmagia, Executor, Shinryu, Level Tricker
Locations: Castle Exdeath (2F-4F) (World 2), Sunken Walse Tower and Interdimensional Rift (Castle) (World 3) / Interdimensional Rift (Ruins); Sealed Temple; Sunken Walse Tower / Interdimensional Rift, Castle / Island Shrine / Interdimensional Rift (Inner Sanctum) / Barrier Tower (5F–10F) (World 2)
Description: Inflicts Old on enemies whose levels are a multiple of 2.
Tip: Learn from Level Tricker in Barrier Tower (found towards the top of tower)
- Use Chemist’s Mix ability Dragon Defense (Phoenix Down+Dragon Fang) to cast Reflect on the enemy
- Control it with a Beastmaster
- Use Level 2 Old on the Level Tricker and bounce the spell onto a single randomly targeted party member
- The learner must be on level divisible by 2
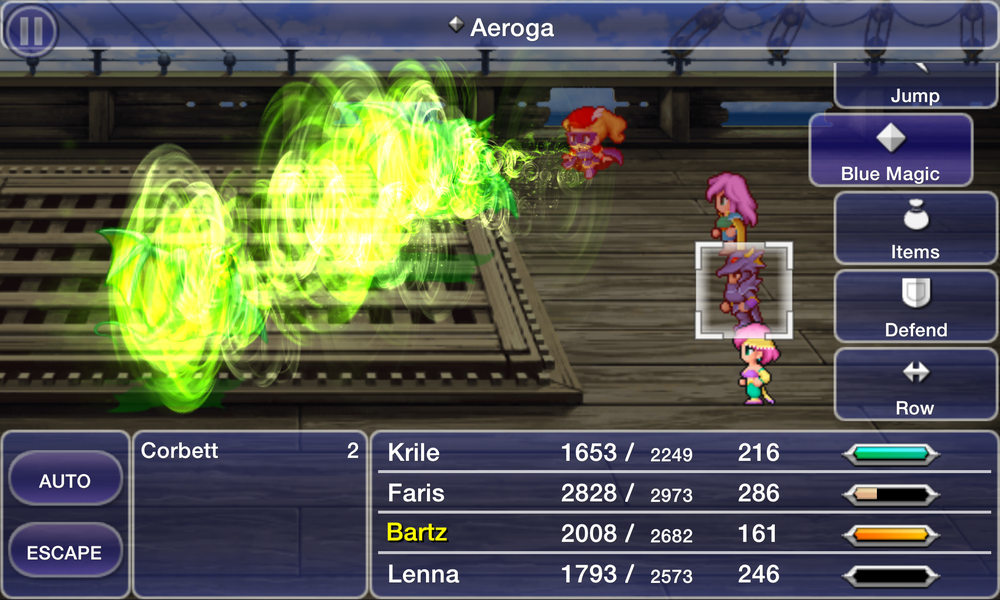
Aeroga (Aero 3)
MP Cost: 24
Learned From: Metamorph (Enchanted Fan), Magic Dragon, Elm Gigas, Crystal (#280), Baldanders, Azulmagia, Dark Elemental (Grand Aevis), Cherie, Ziggurat Gigas (Zephyrus)
Locations: Second World – Ghido’s Cave / Castle Exdeath (2F-4F) (World 2), Sunken Walse Tower and Interdimensional Rift (Castle) (World 3) / Library of the Ancients (Merged World) / Great Forest of Moore / Interdimensional Rift (Ruins) / Interdimensional Rift, Castle / Sealed Temple – Ruined Shrine (Hall of Souls; Hall of Doubt); Abyssal Falls – B2 / Phoenix Tower / Barrier Tower (Upper Floors) (World 2); Pyramid of Moore (World 3)
Description: Deals Wind-elemental damage to one or all enemies. (Spell Attack = 140)
Tip: Learn from the Metamorph in Ghido’s Cave (uses it in Enchanted Fan form)
Lilliputian Lyric (TinySong, LitlSong)
MP Cost: 5
Learned From: Mini Magician, Cherie, Farfarello, Azulmagia, Vilia, Mykale
Locations: Great Forest of Moore (World 2) / Phoenix Tower / Interdimensional Rift (Forest) / Interdimensional Rift, Castle / Merged World Sea Battle – Southwest corner of the World Map; Sealed Temple (River of Souls) / Moore area and Crescent area (World 3)
Description: Inflicts Mini on one target.
Tip: Learn from Mini Magician in the Great Forest of Moore
Doom (Condemn, Condemnd)
MP Cost: 10
Learned From: Exdeath, Azulmagia, Death Dealer, Unknown (#172), The Damned, Jackanapes
Locations: Great Forest of Moore; Castle Exdeath / Interdimensional Rift, Castle / Interdimensional Rift (Ruins) / Great Sea Trench / Pyramid of Moore (monster-in-a-box), Island Shrine / Walse Castle Basement; Castle Exdeath
Description: Kills one enemy after 30 seconds.
Tip: Learn from Exdeath boss in Castle Exdeath
Roulette
MP Cost: 1
Learned From: Parthenope, Azulmagia, Death Dealer, Shinryu
Locations: Phoenix Tower / Interdimensional Rift, Castle / Interdimensional Rift (Ruins) / Interdimensional Rift (Inner Sanctum)
Description: Kills one random ally or enemy.
Tip: Learn from Parthenope in Phoenix Tower (reached with the airship)
Mighty Guard (MghtyGrd, Guardian)
MP Cost: 72
Learned From: Ironclad, Stingray, Azulmagia, Shinryu
Locations: Sealed Temple – Lethe Court (Shadowed Gate/ The Stairs of Destiny) / Merged World Sea Battle – Inland lake near Carwen; coastal waters above sunken Walse Tower Sealed Temple – River of Souls / Interdimensional Rift, Castle / Interdimensional Rift (Inner Sanctum)
Description: Grants Protect, Shell, Float to the party.
Tip: Learn from Stingray in the coastal waters above the sunken Walse Tower (must be controlled by a Beastmaster) (reached with the airship)
Mind Blast (MindBlst)
MP Cost: 6
Learned From: Wendigo, Twintania, Mindflayer, Azulmagia
Locations: Island Shrine / Interdimensional Rift / Interdimensional Rift (Inner Sanctum) / Interdimensional Rift, Castle
Description: Deals non-elemental damage while inflicts Sap and Paralyze to one target. (Spell Attack = 80)
Tip: Learn from Wendigo boss in the Island Shrine (reached with the airship)
Frequently Asked Questions (F.A.Q.)
Q:How many blue magic skills can I learn from Azulmagia?
A: Azulmagia has 17 of the 30 Blue Magic spells in the game however he is a boss and can only be fought once and the chances of him using all of the spells is not likely. There are much easier ways to obtain blue magic spells.
Q: Why didn’t you include bosses like Enou, Famed Mimic Gogo and Gilgamesh that blue magic spells can be obtained from?
A: There are many ways to obtain blue magic, some just are not very practical. If its not practical its not in the guide. For example you can learn Aqua Breath from Famed Mimic Gogo but that wool also mean you would have to beat him in battle which is difficult unless you simply wait and do not attack.
Additionally, there are enemies that do not appear in every version of Final fantasy V such as Enou, Omega MKII and Hades. For this reason I left them out so this guide can be used for any version of the game whether it Pixel, SNES, GBA, MOBILE, Steam Etc.
Q: Is there any new content in the Pixel Remaster version of FFV
A: No, it is essentially the Super Nintendo version of the game with minor graphical enhancements.
Credits
This guide was created by Sweet Tooth
http://steamcommunity.com/id/Sweet_Tooth85 – [steamcommunity.com]
Edited by ELKronos (AKA The Kronos)
http://steamcommunity.com/id/elkronos – [steamcommunity.com]
____________________________________________________
RATE THIS GUIDE – WE NEED YOUR FEEDBACK
This guide is publicly posted via Steam and free to use in portion or entirety so long as there is no financial gain. If you have questions about the use of this guide, its videos, or images, please contact Sweet Tooth.
We look forward to hearing from you. Our goal is to make the best guide for the gaming community by providing detailed yet concise descriptions, with images, and videos illustrating the techniques discussed throughout the guide. Please let us know how we are doing, and whether you have questions, comments, or suggestions for this or future guides.
___________________________________________________
OTHER GUIDES BY SWEET TOOTH:
https://steamcommunity.com/id/Sweet_Tooth85/myworkshopfiles/?section=guides – [steamcommunity.com]
Hope you enjoy the Guide about FINAL FANTASY V – FFV PR: Blue Magic Guide, if you think we should add extra information or forget something, please let us know via comment below, and we will do our best to fix or update as soon as possible!
- All FINAL FANTASY V Posts List

































































Leave a Reply