RED Defense
BLU Spawn (point 0)
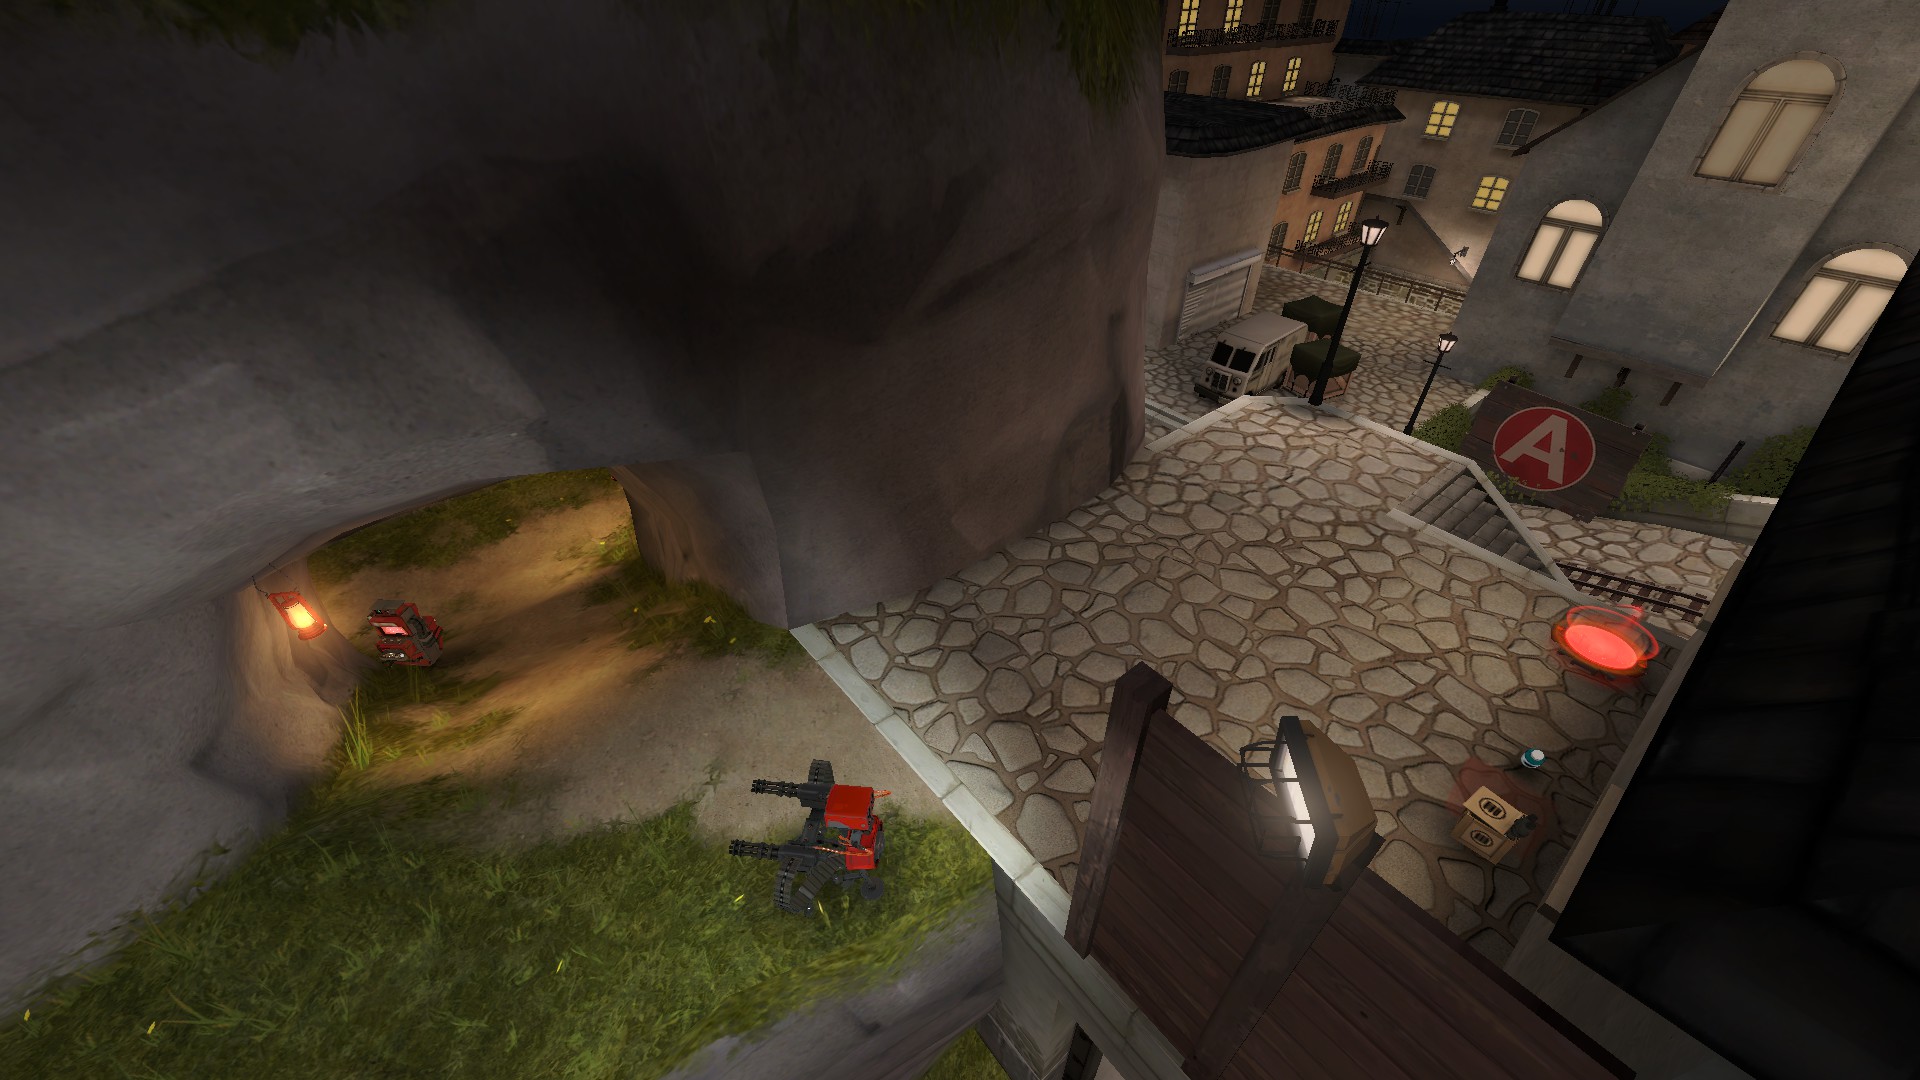
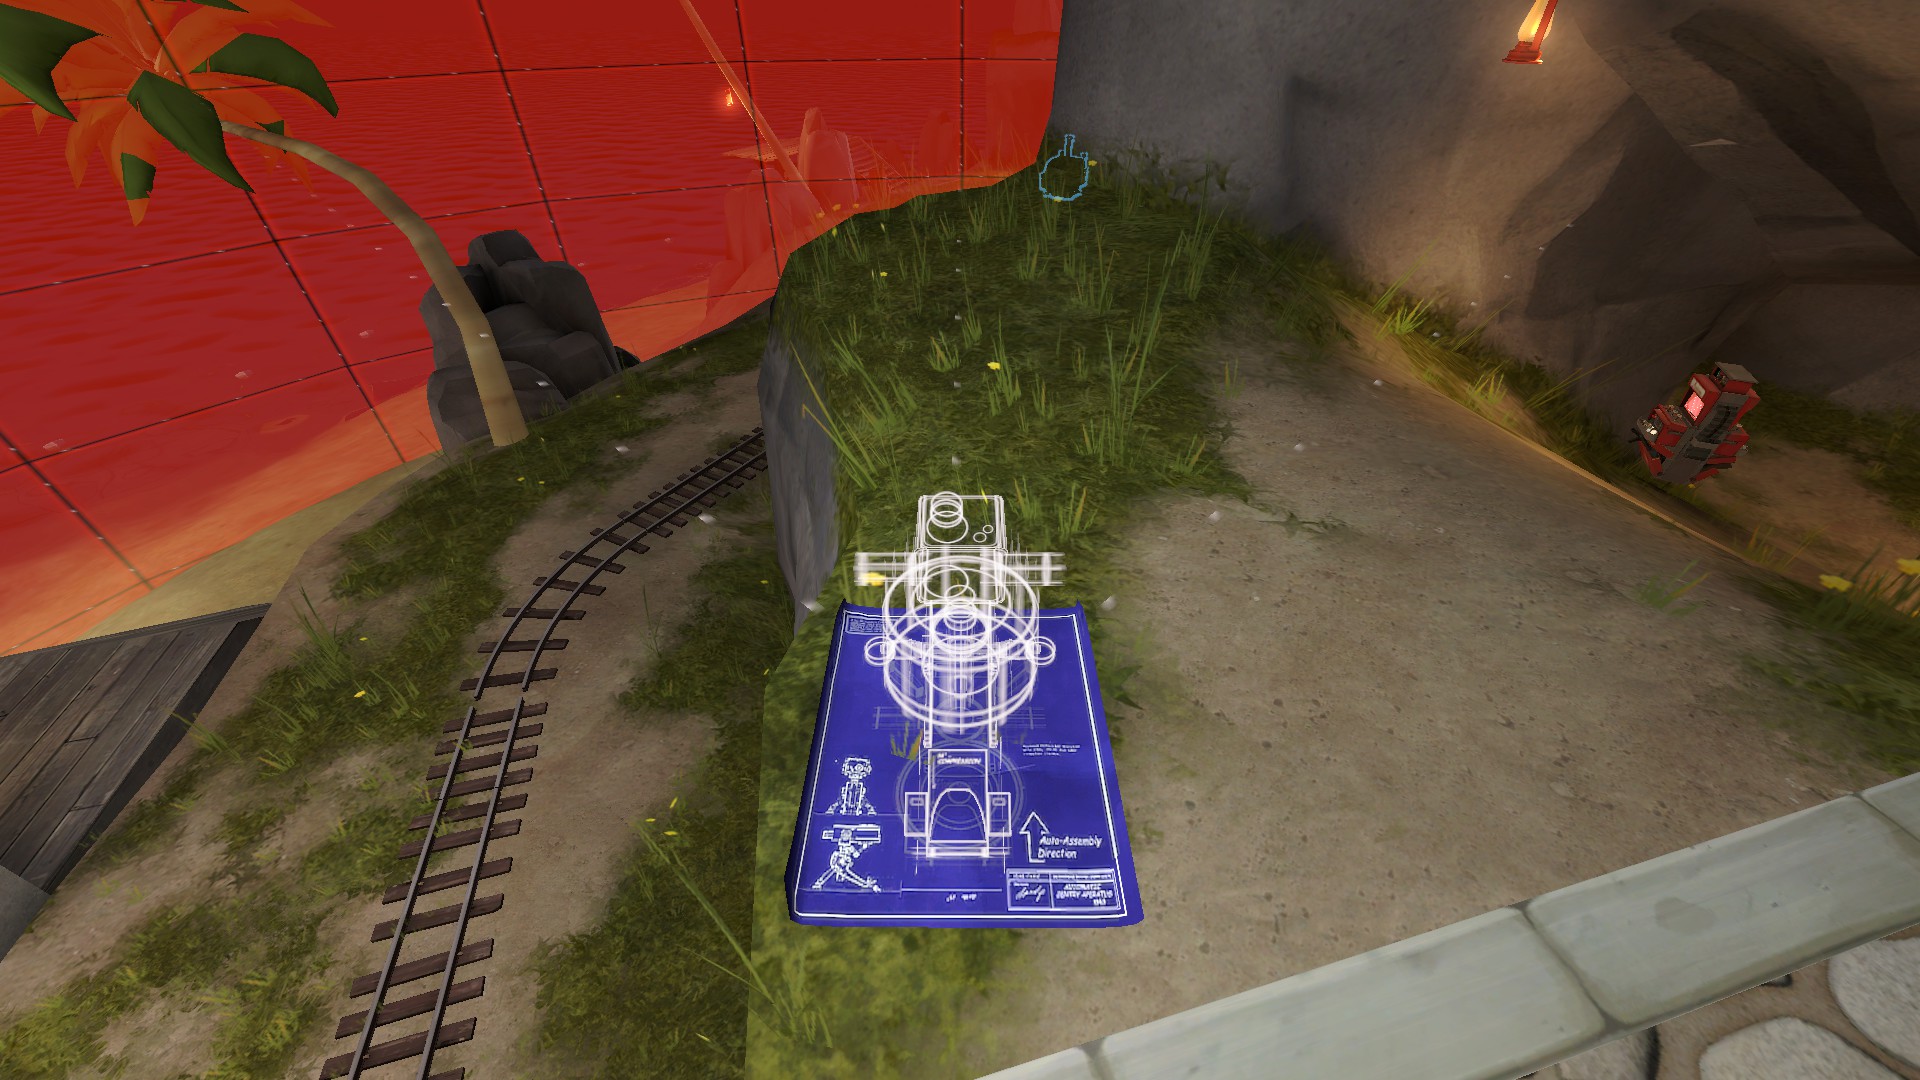
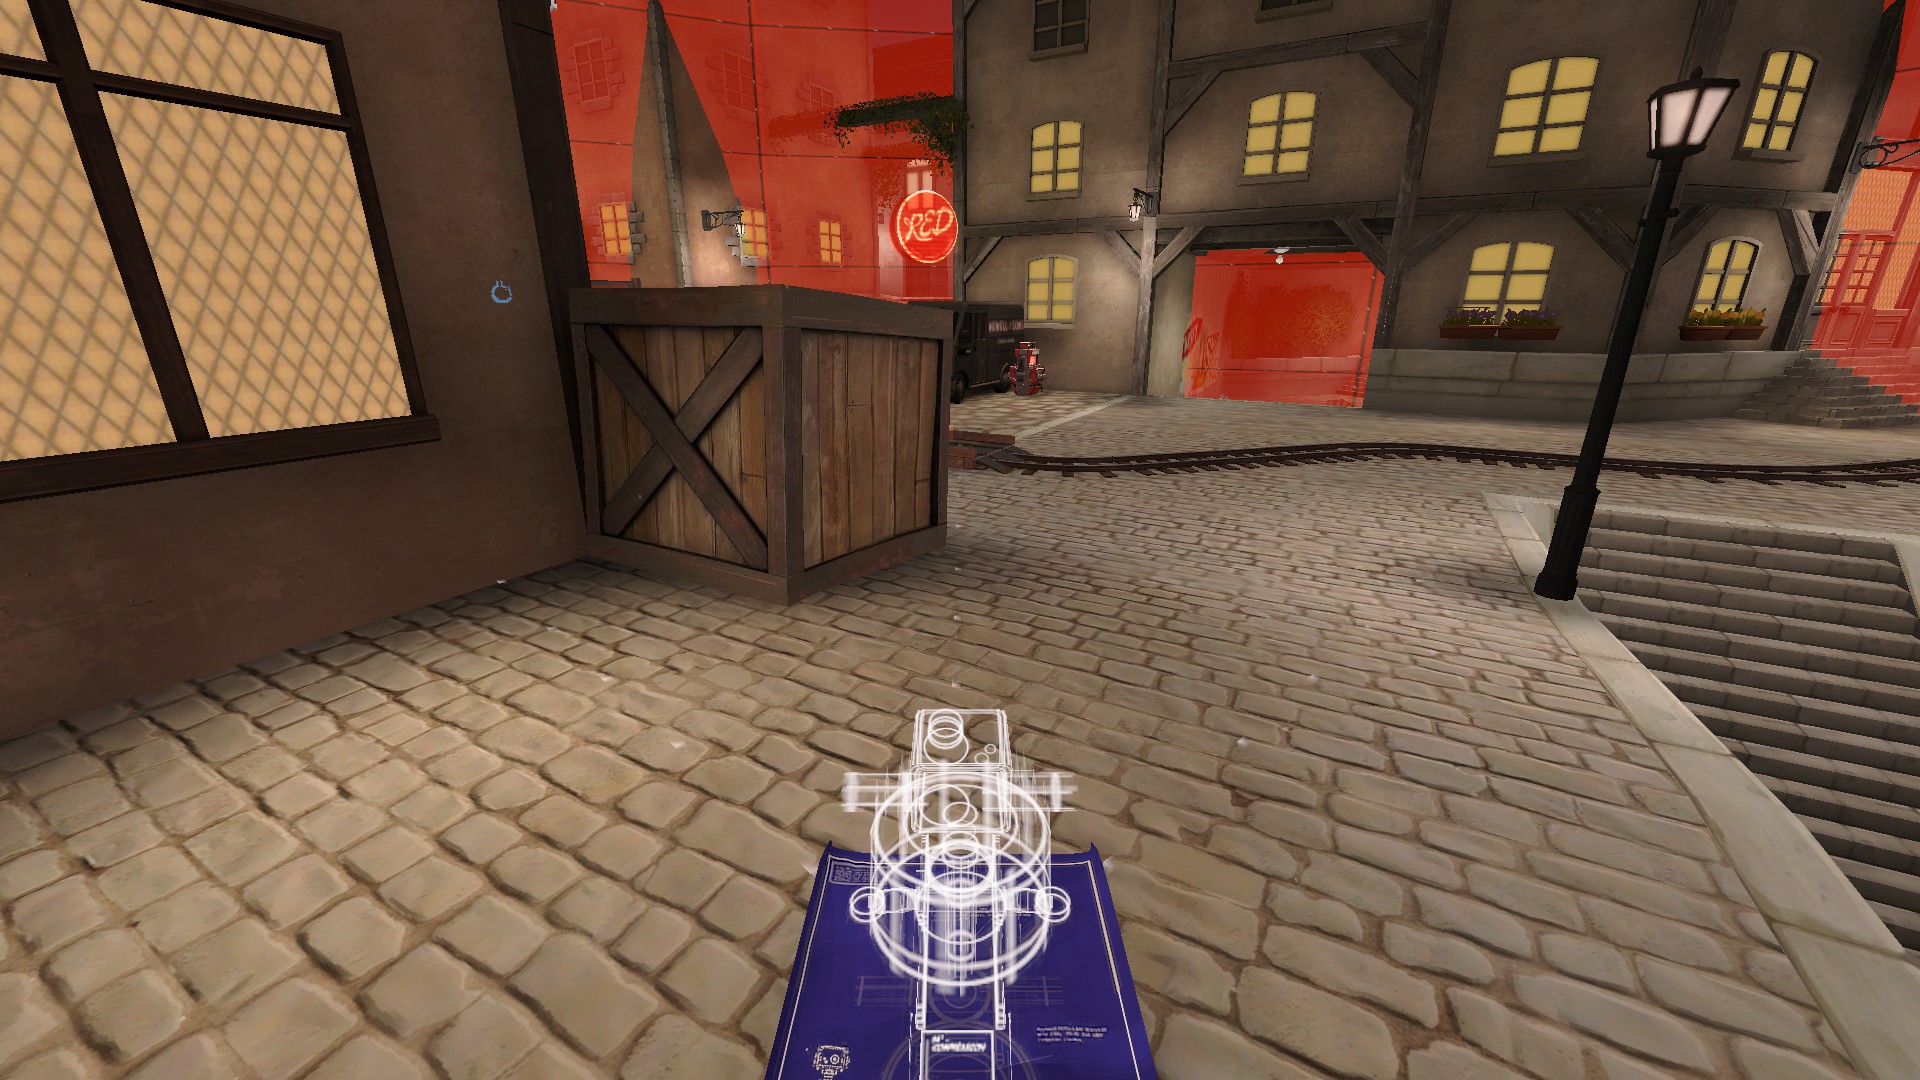
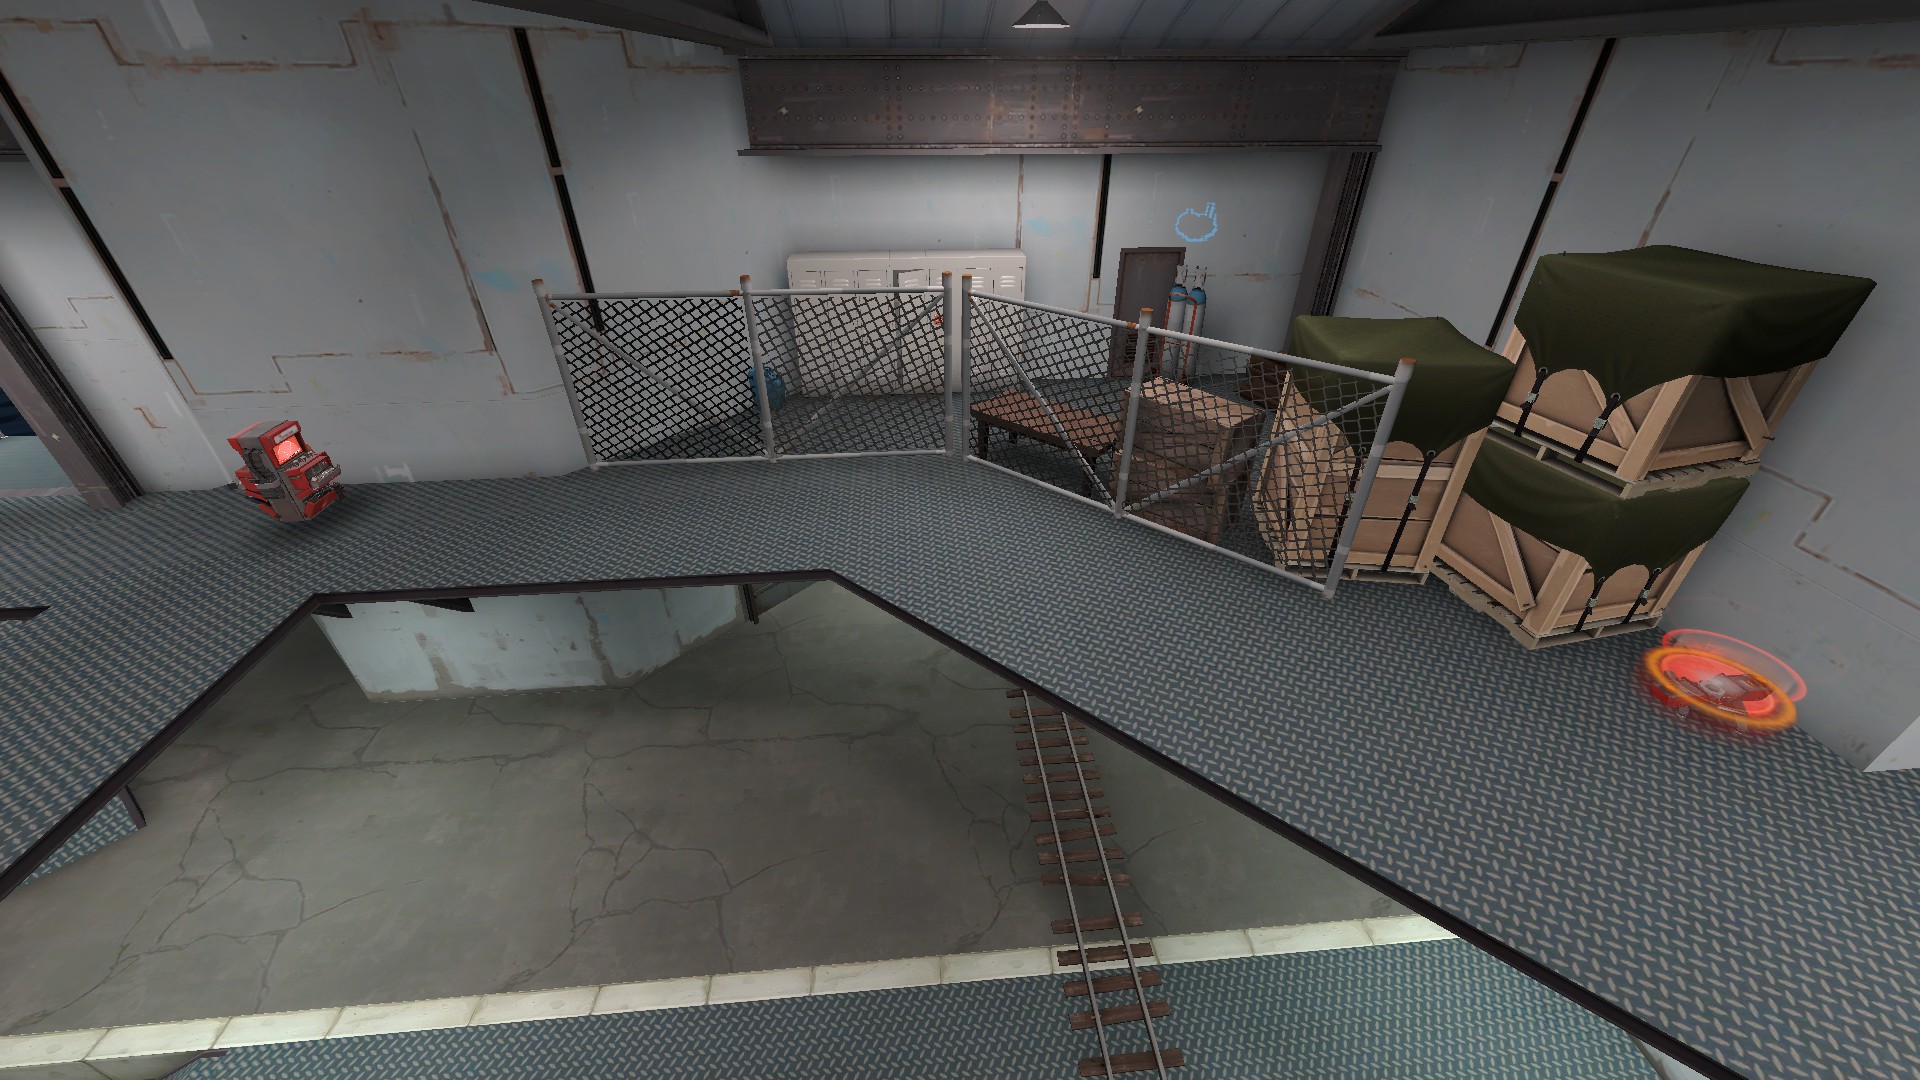
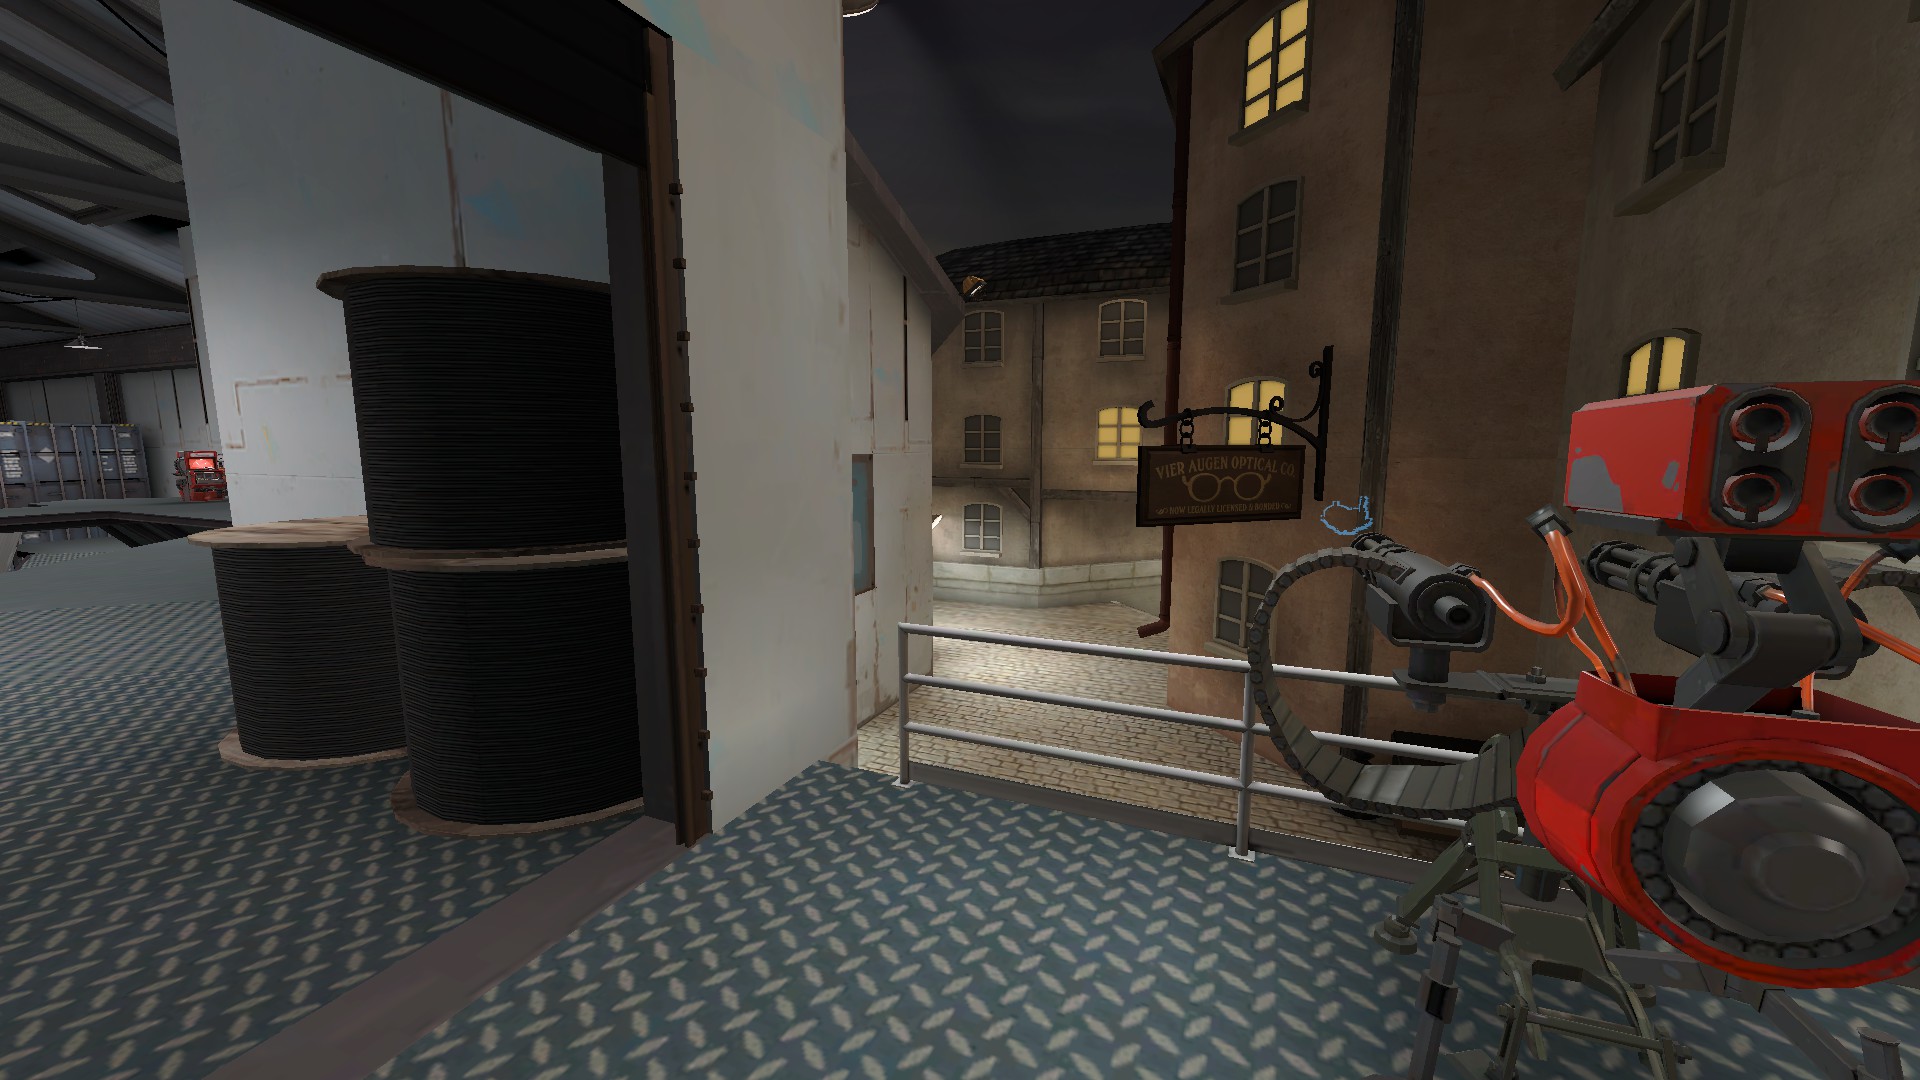
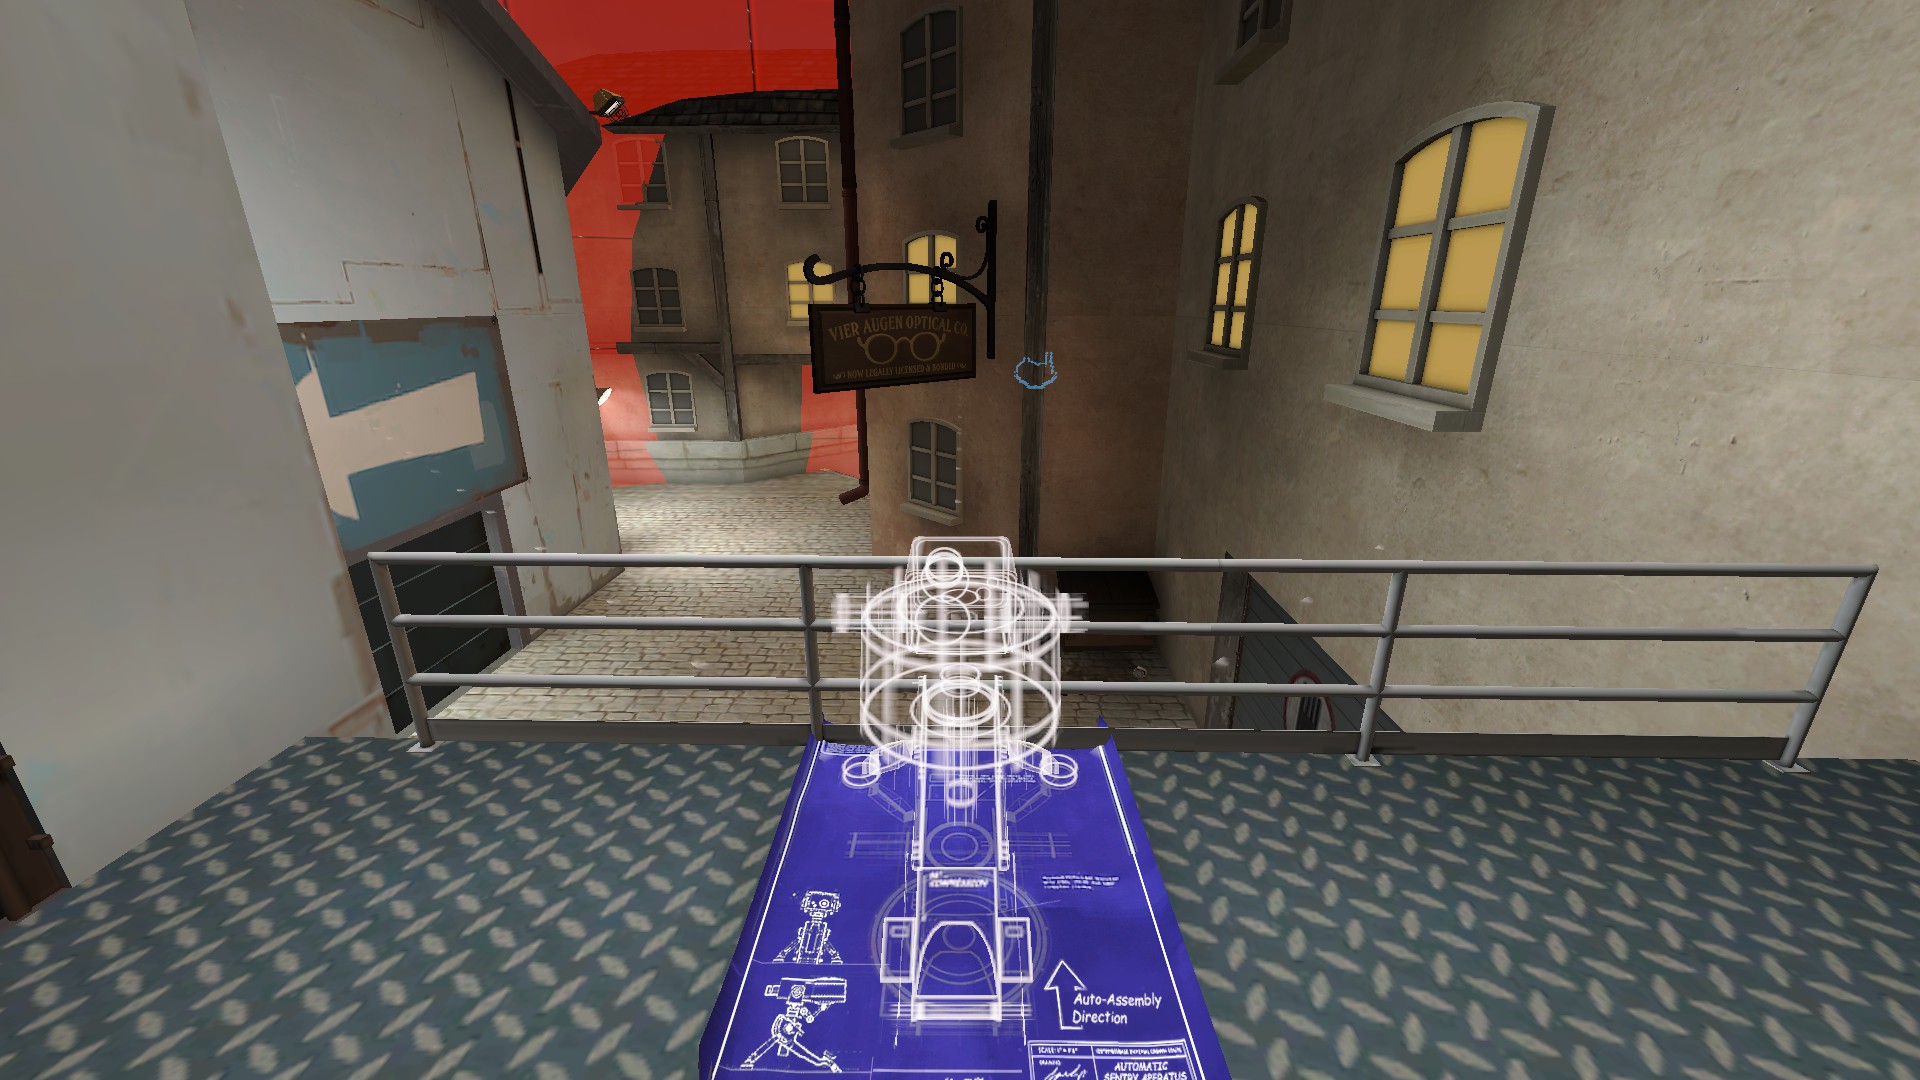
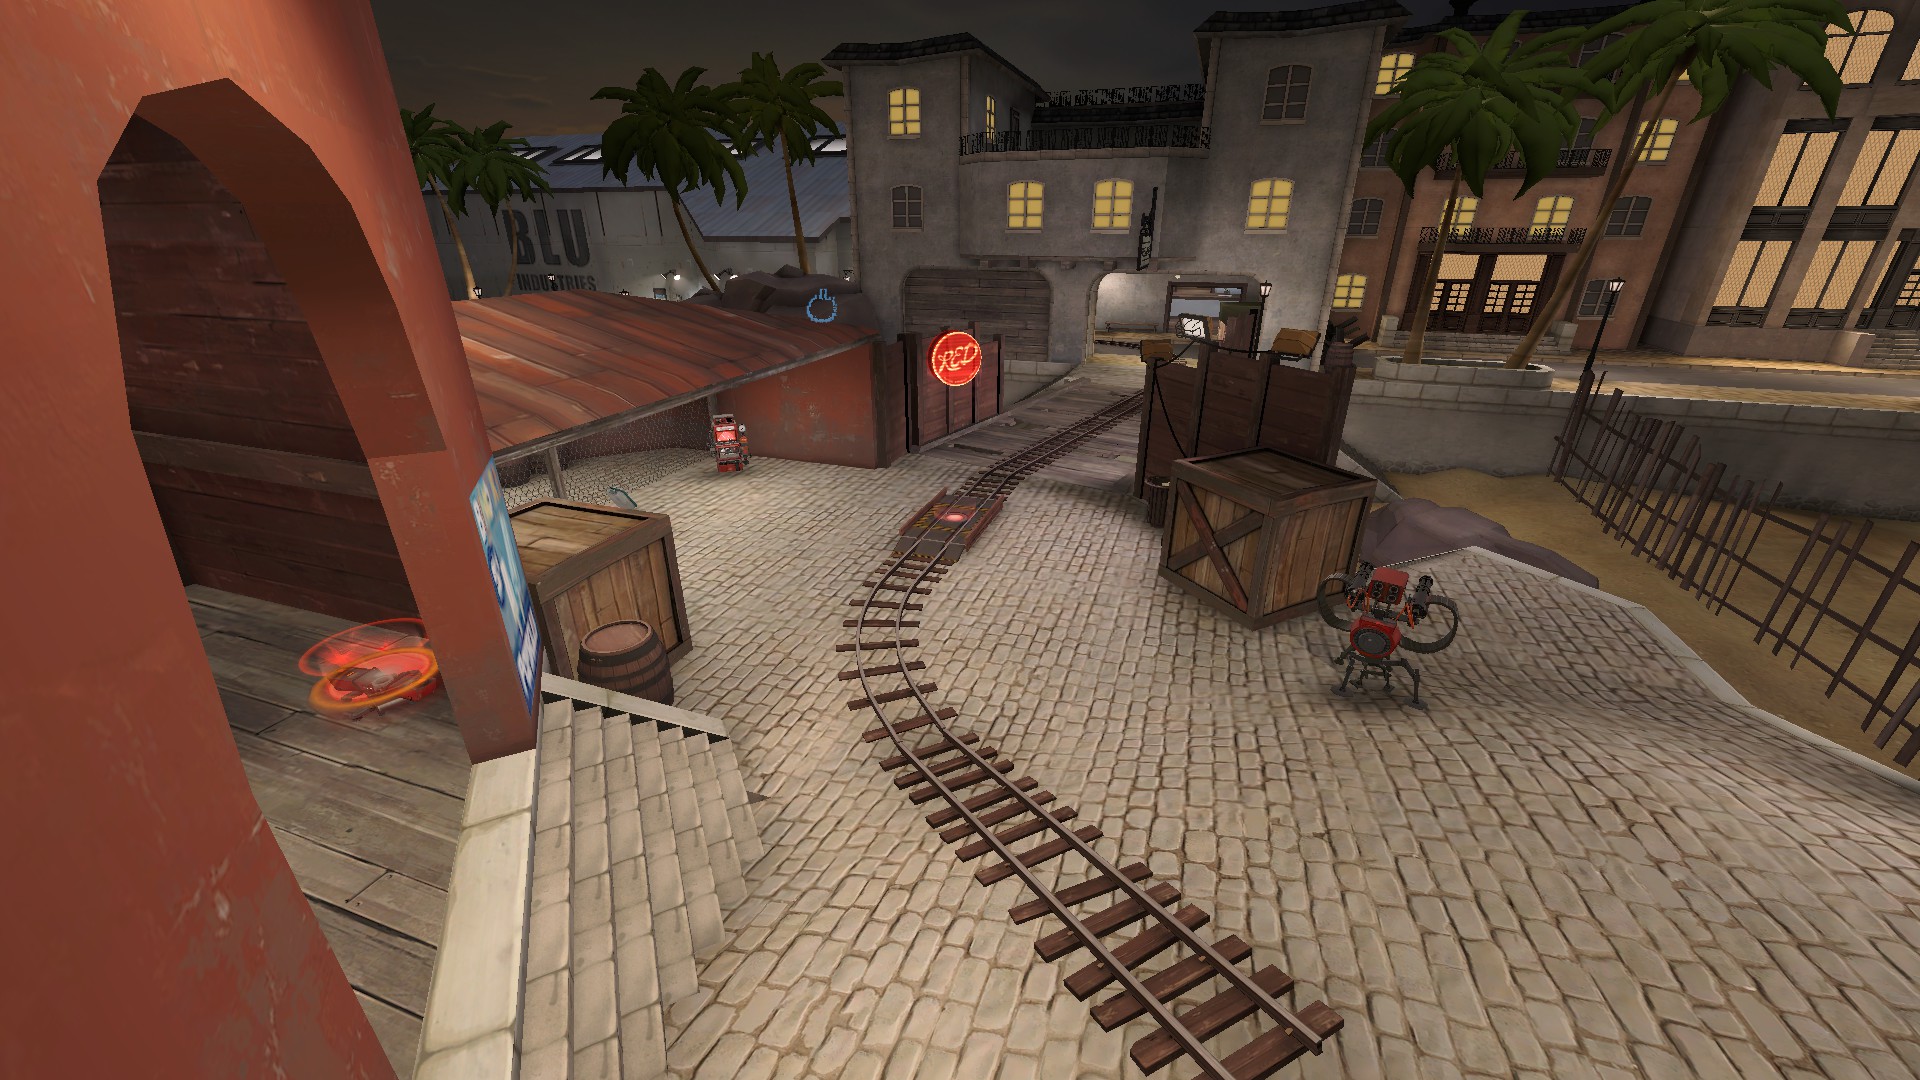
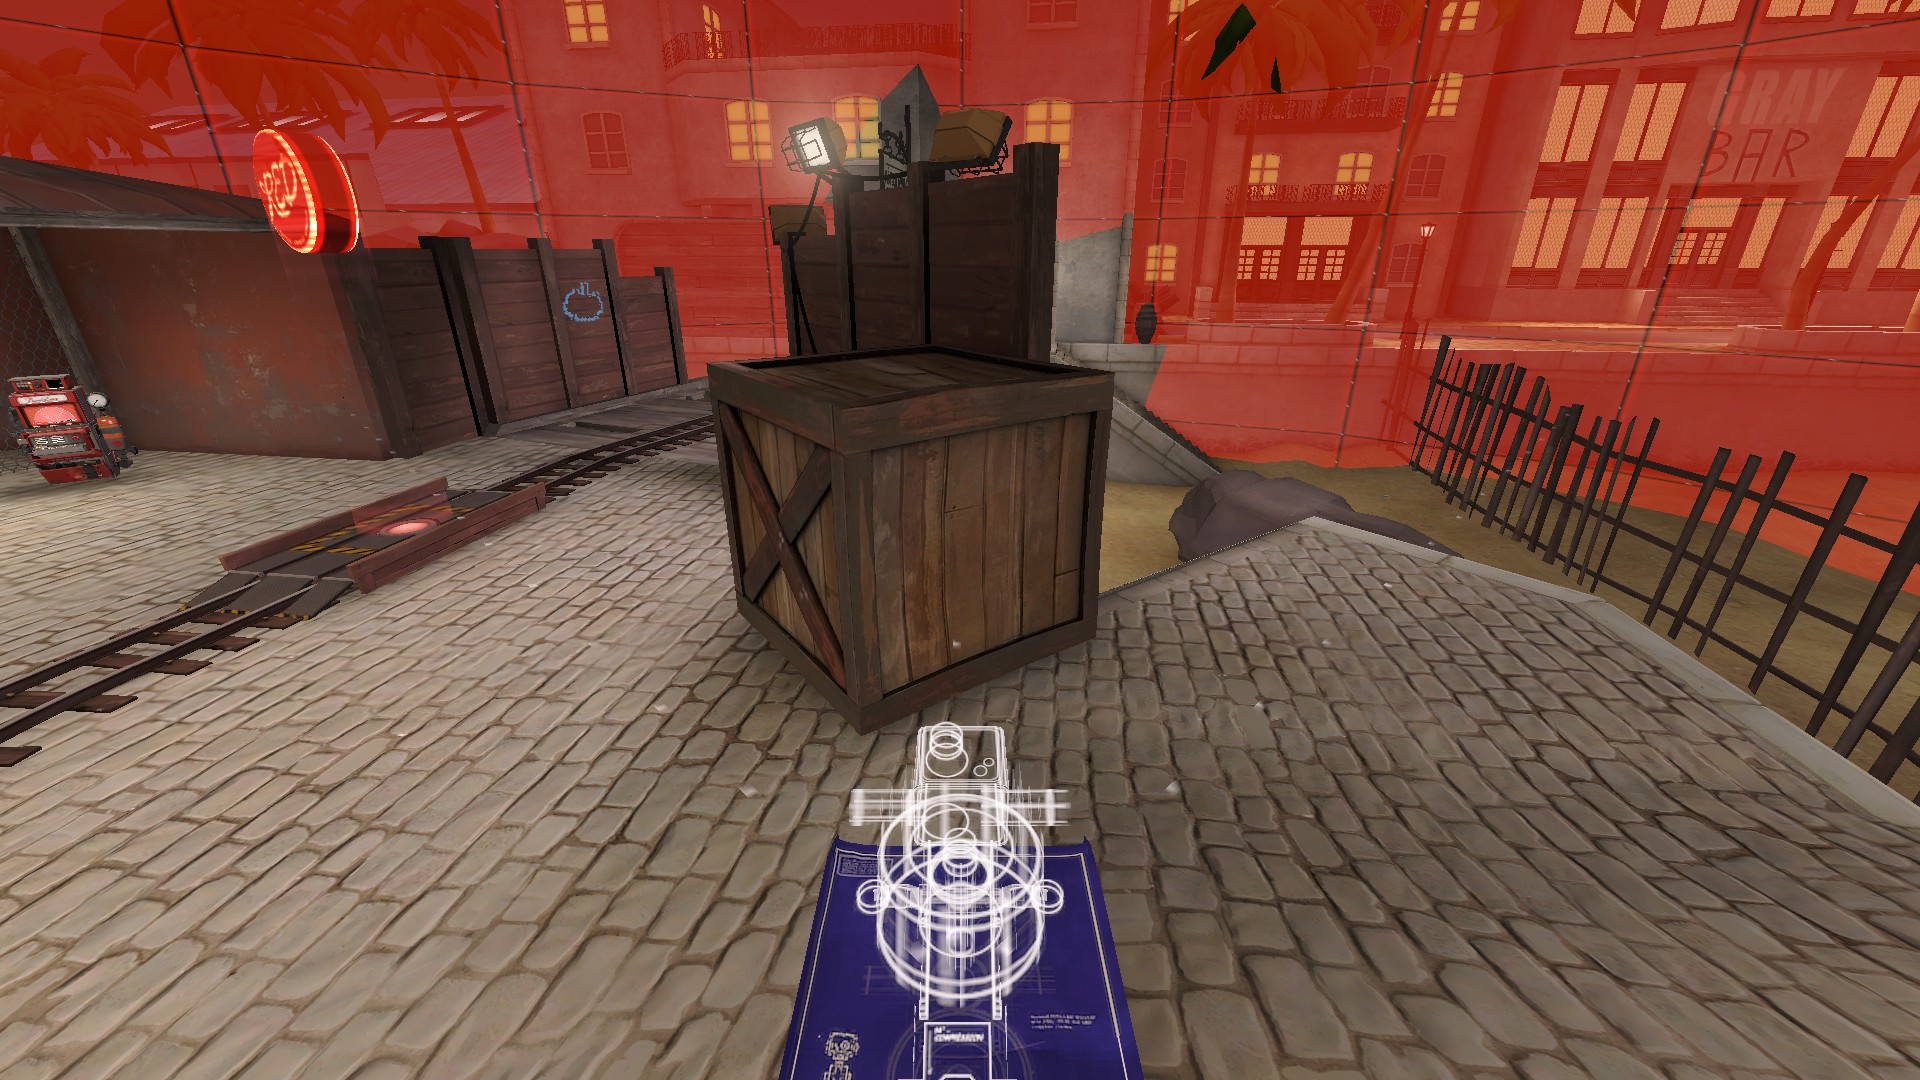
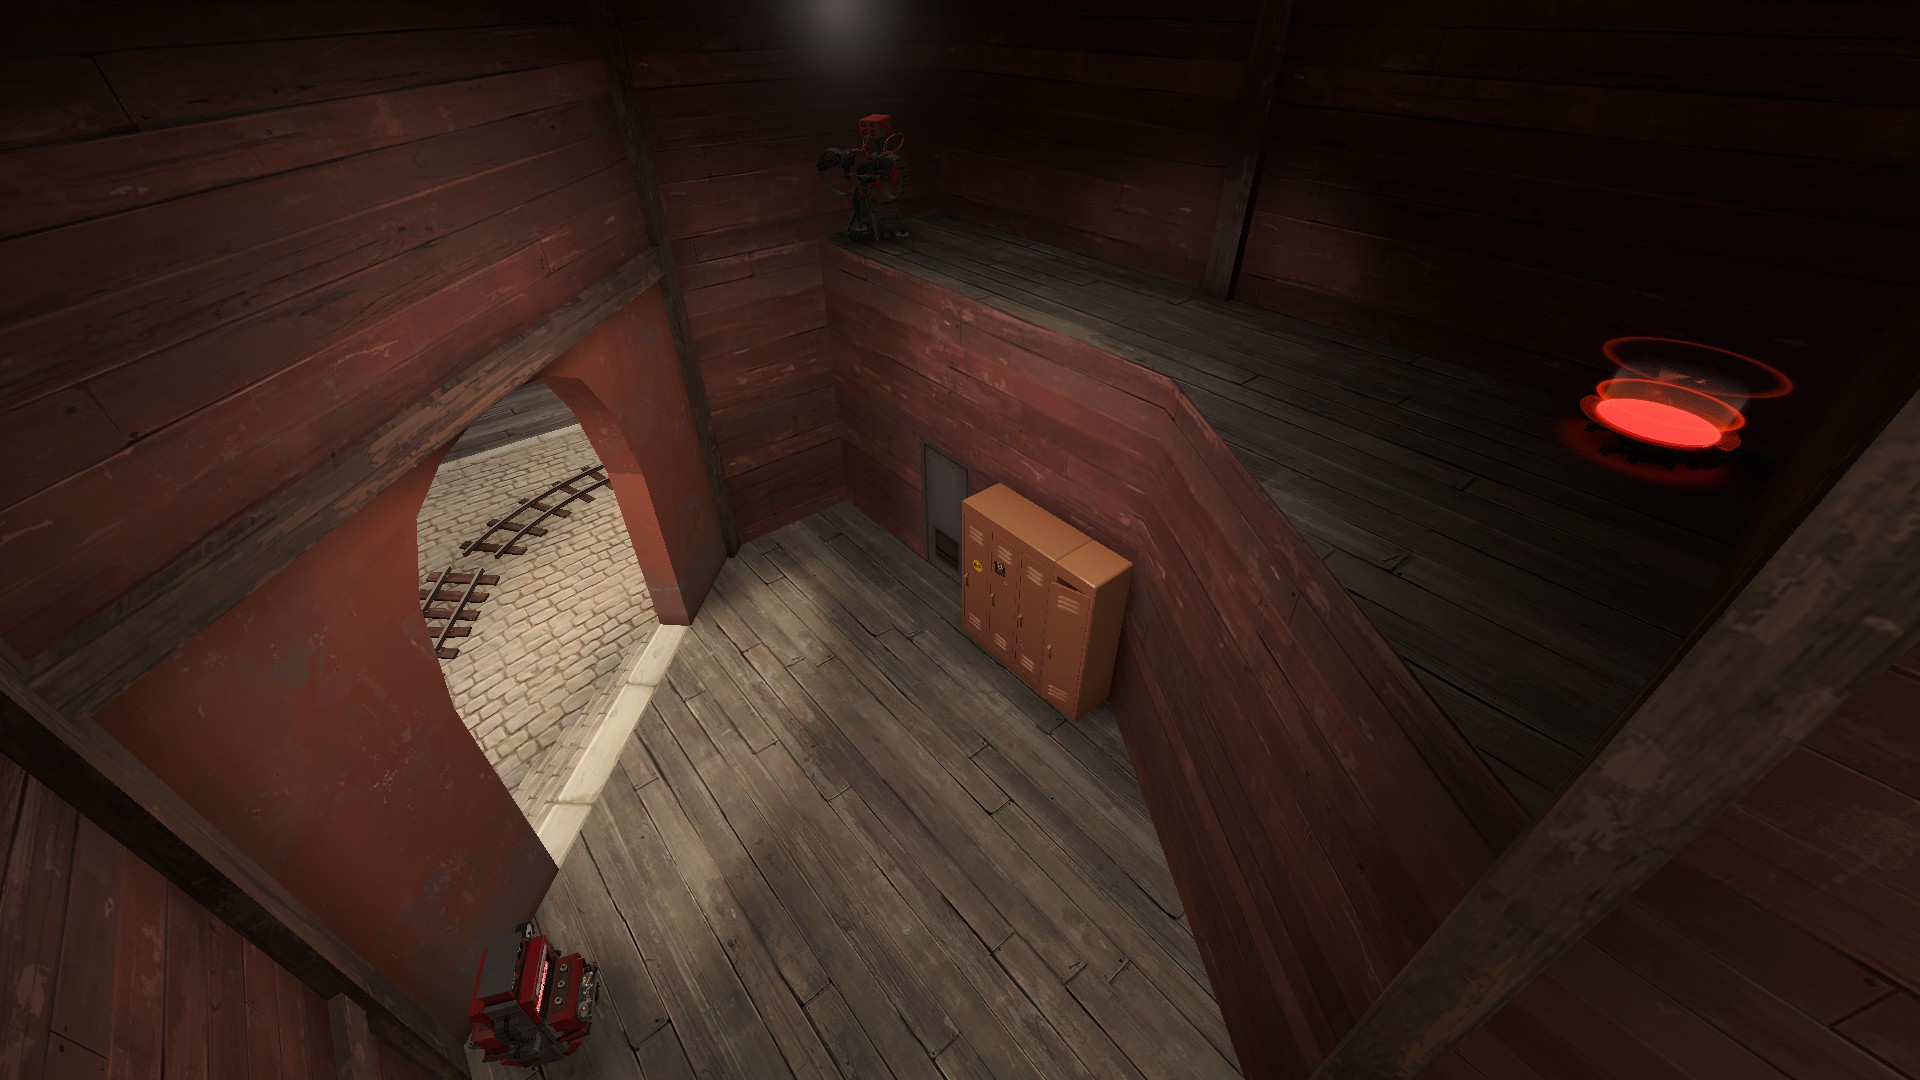
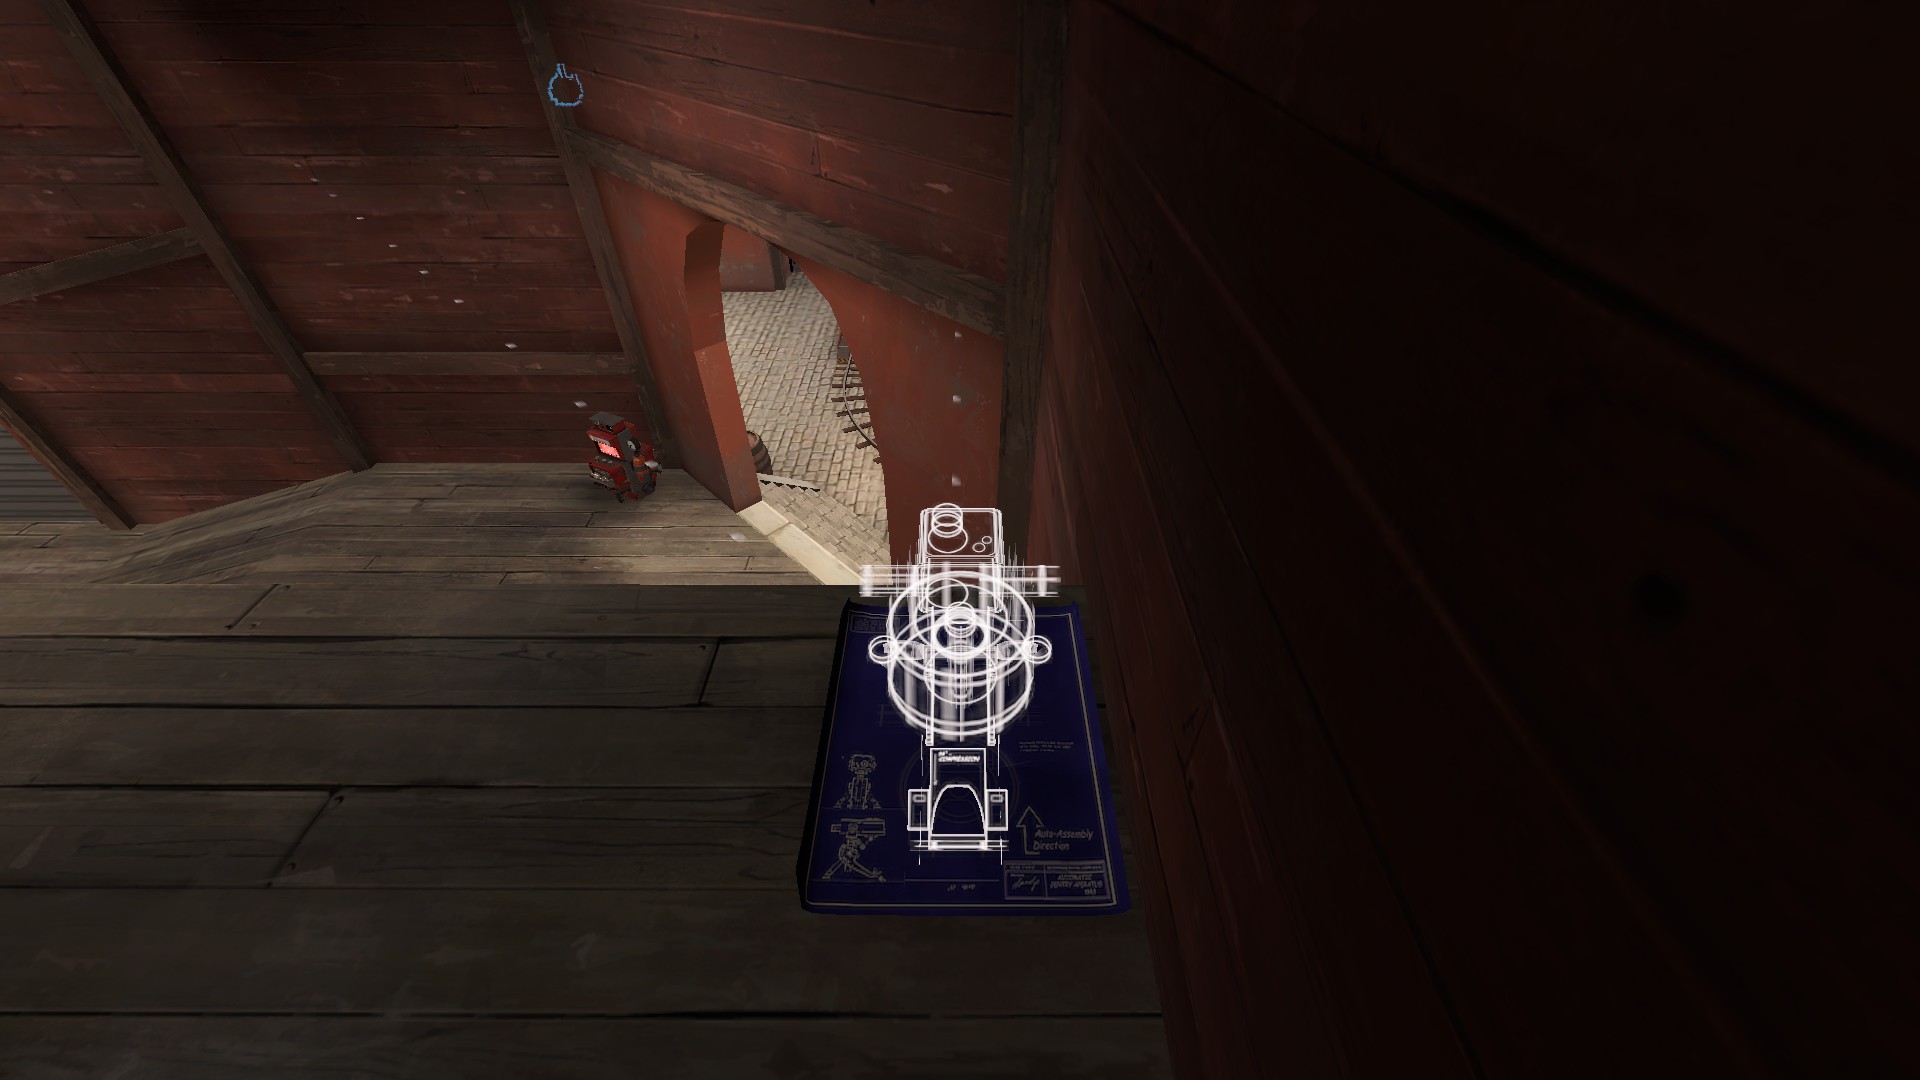
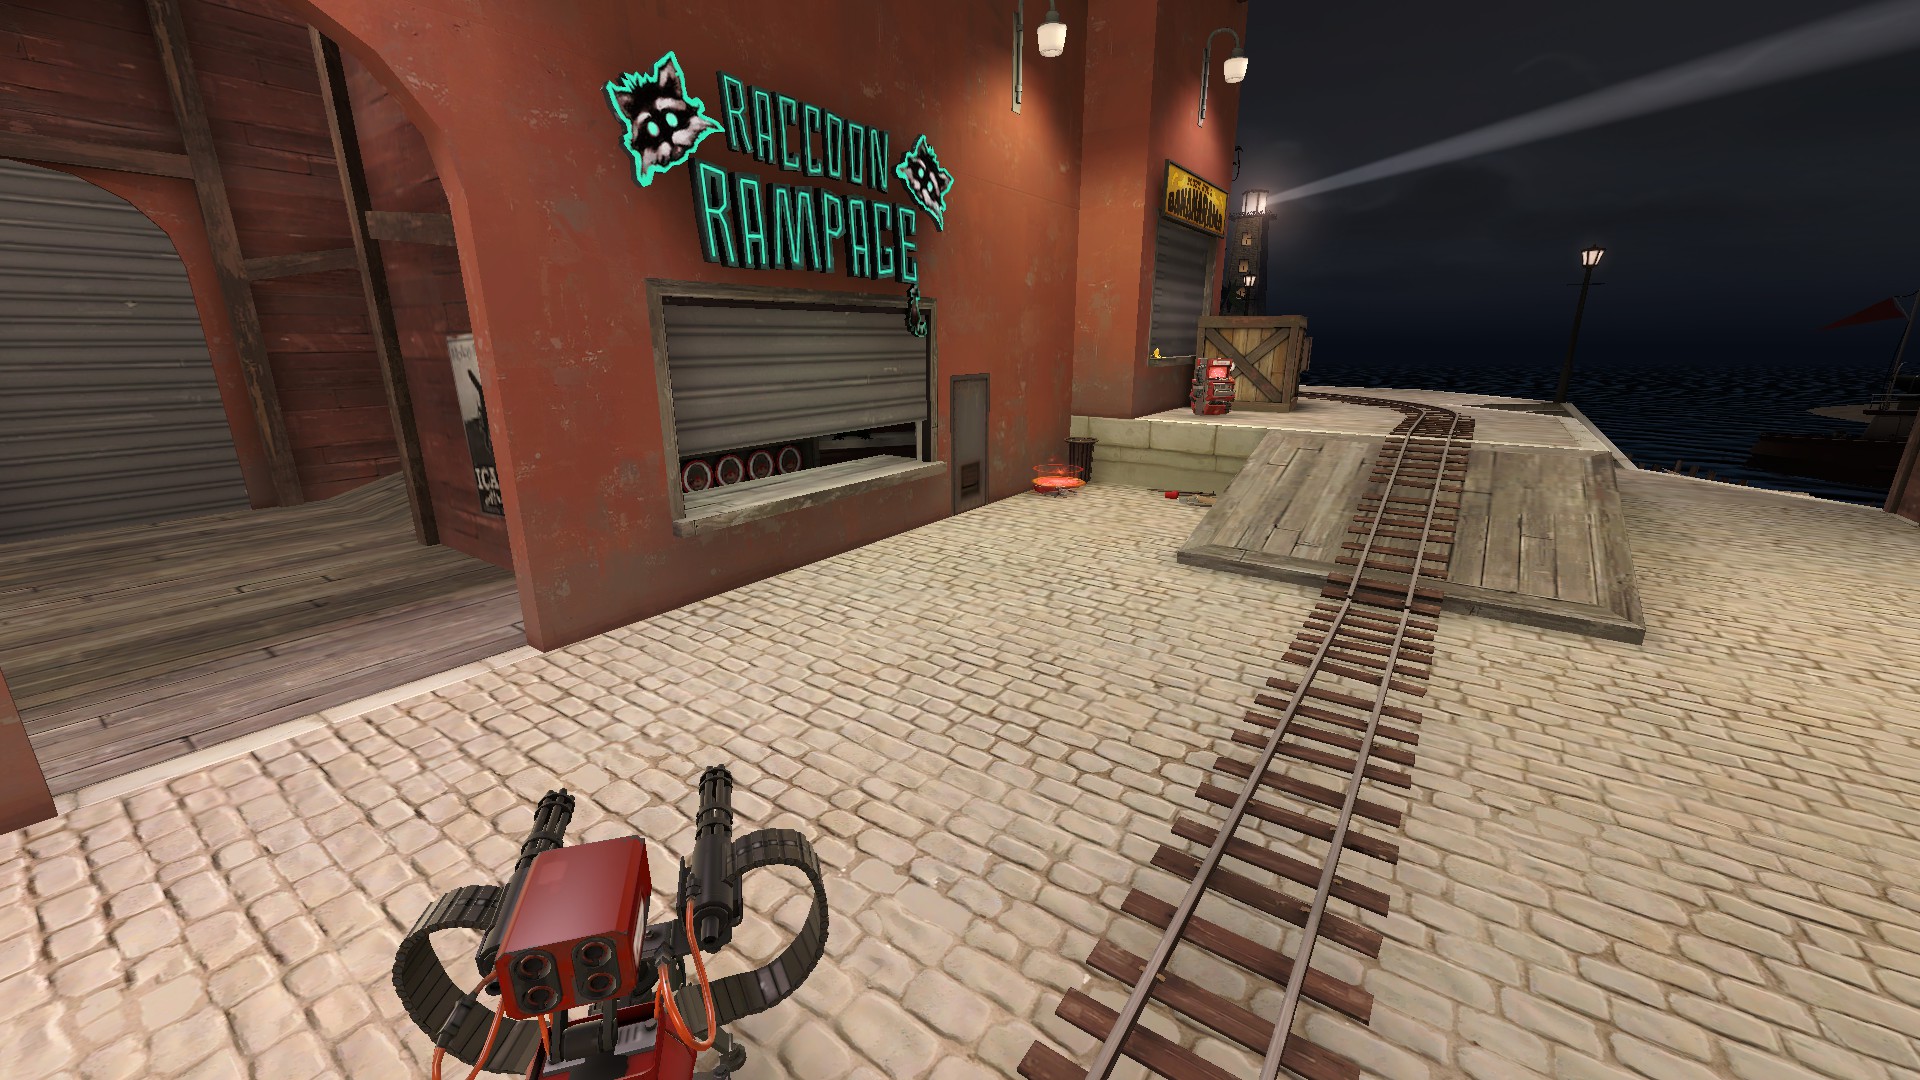
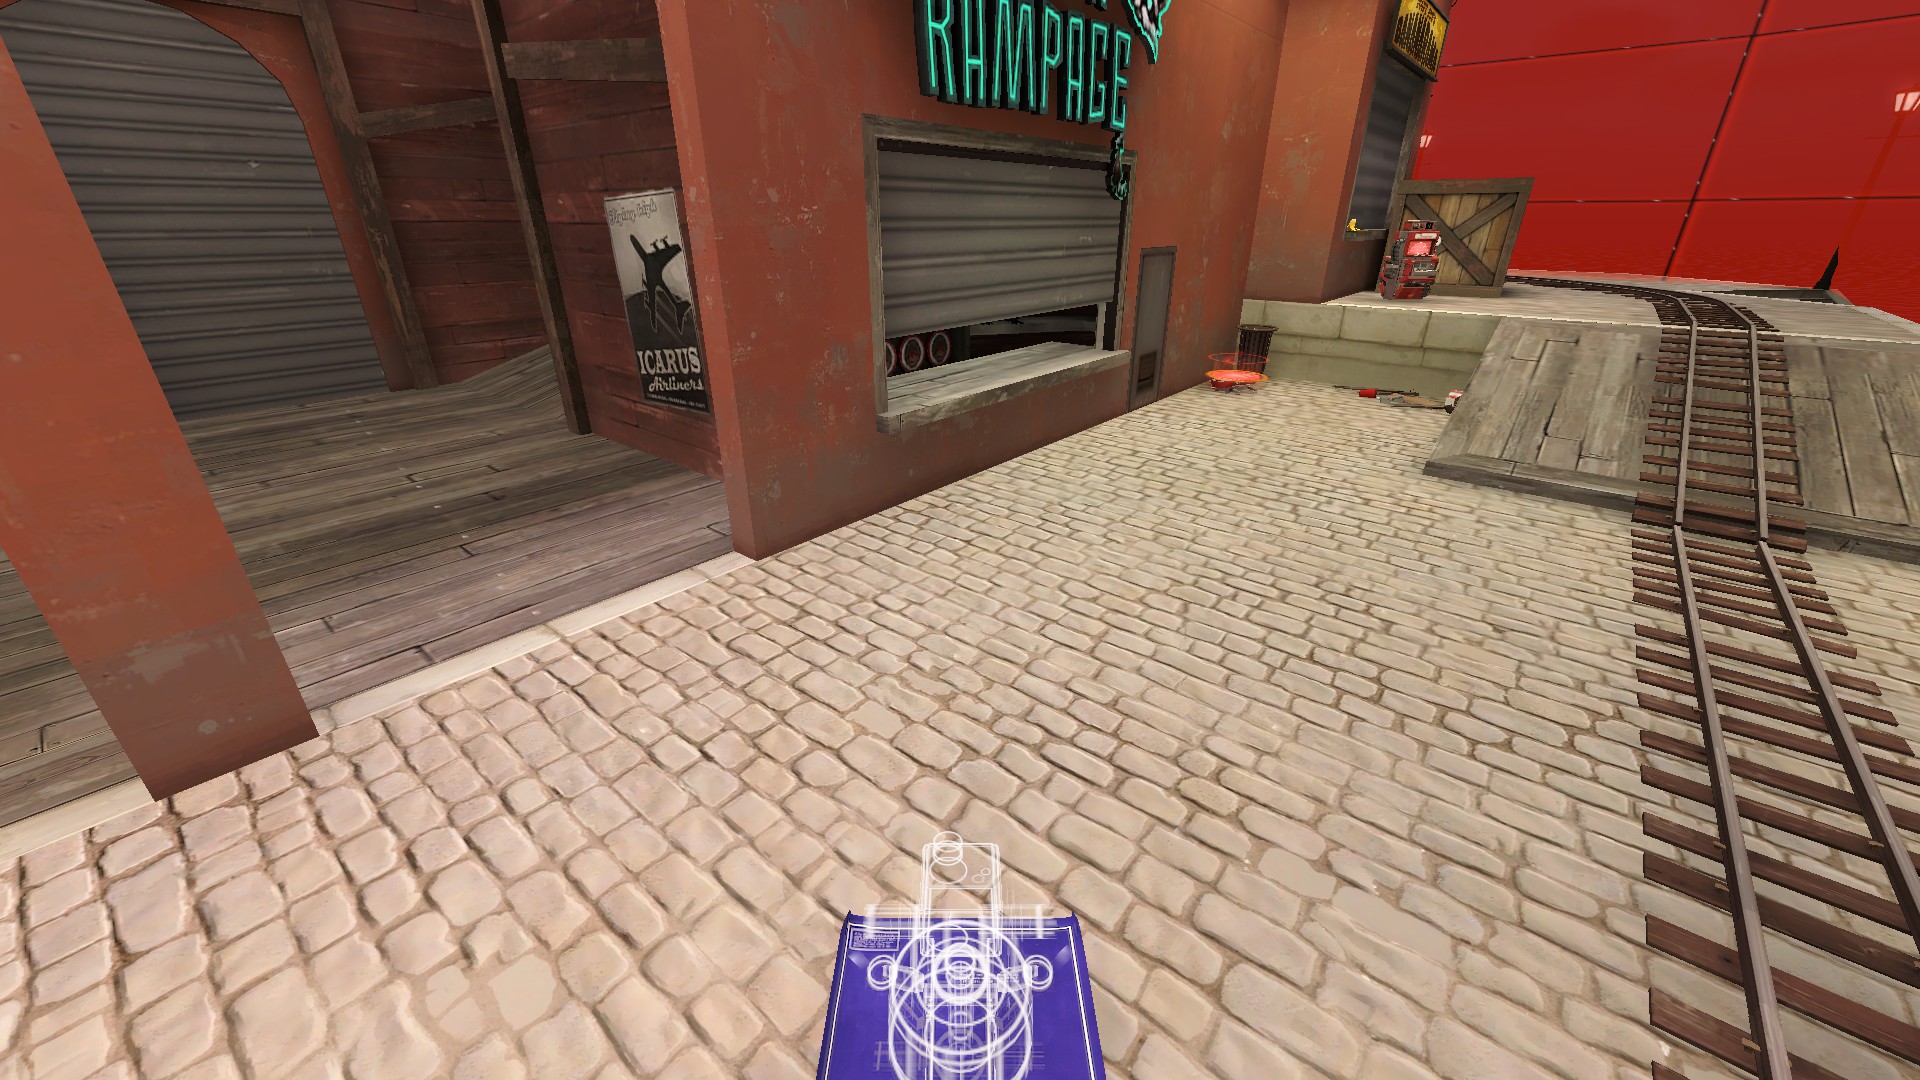
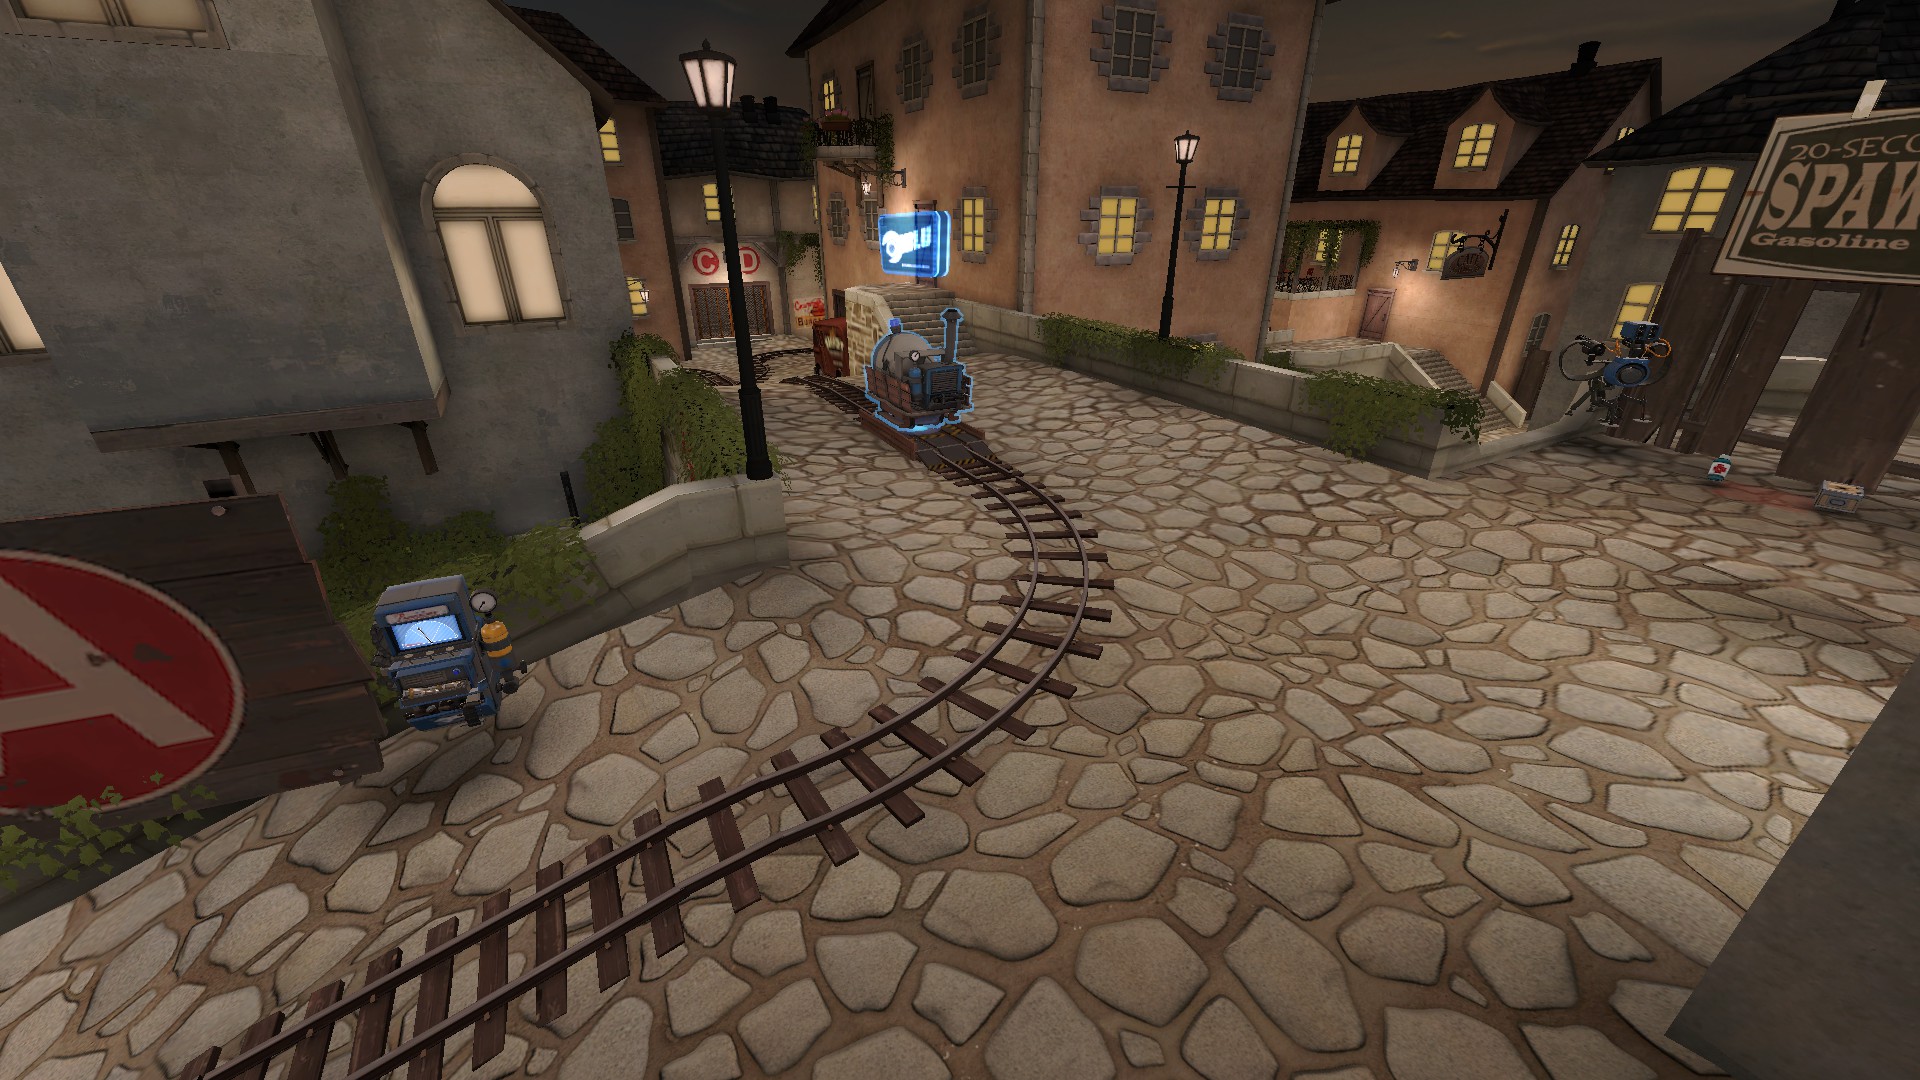
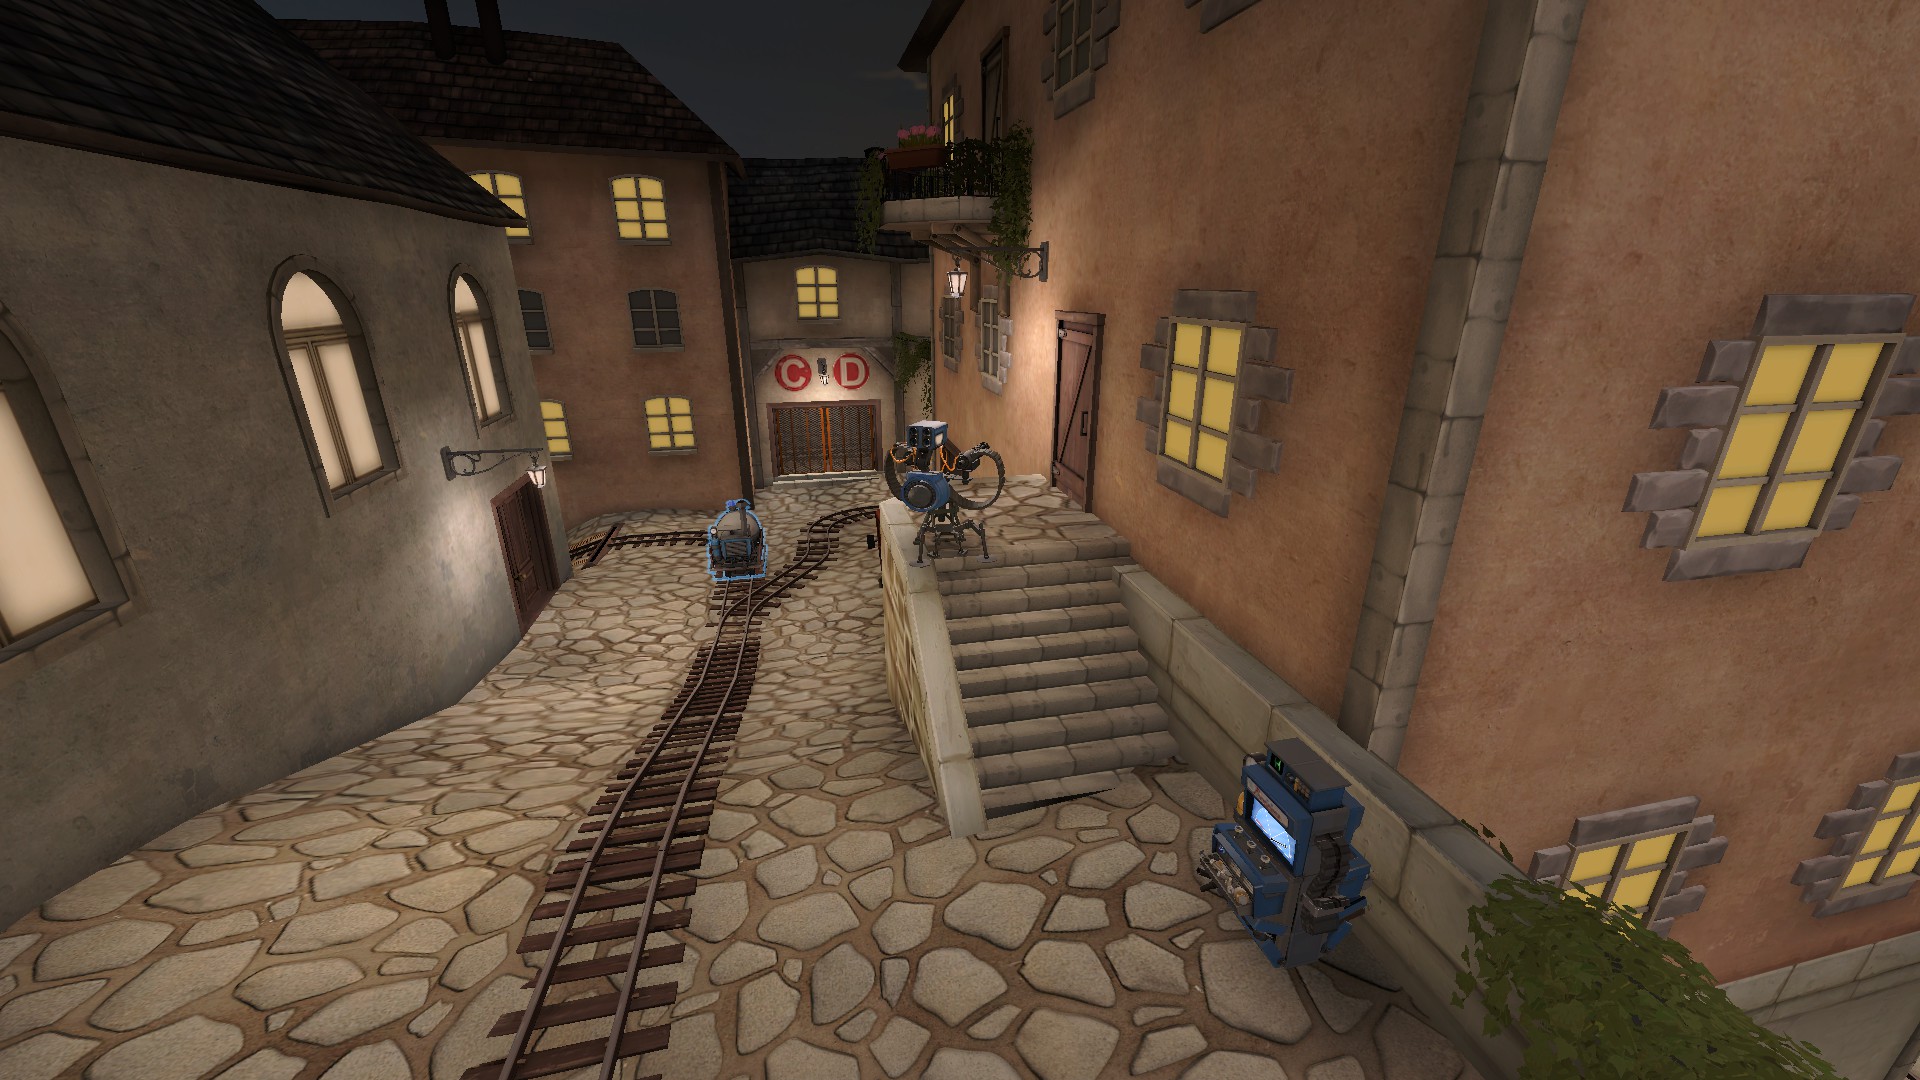
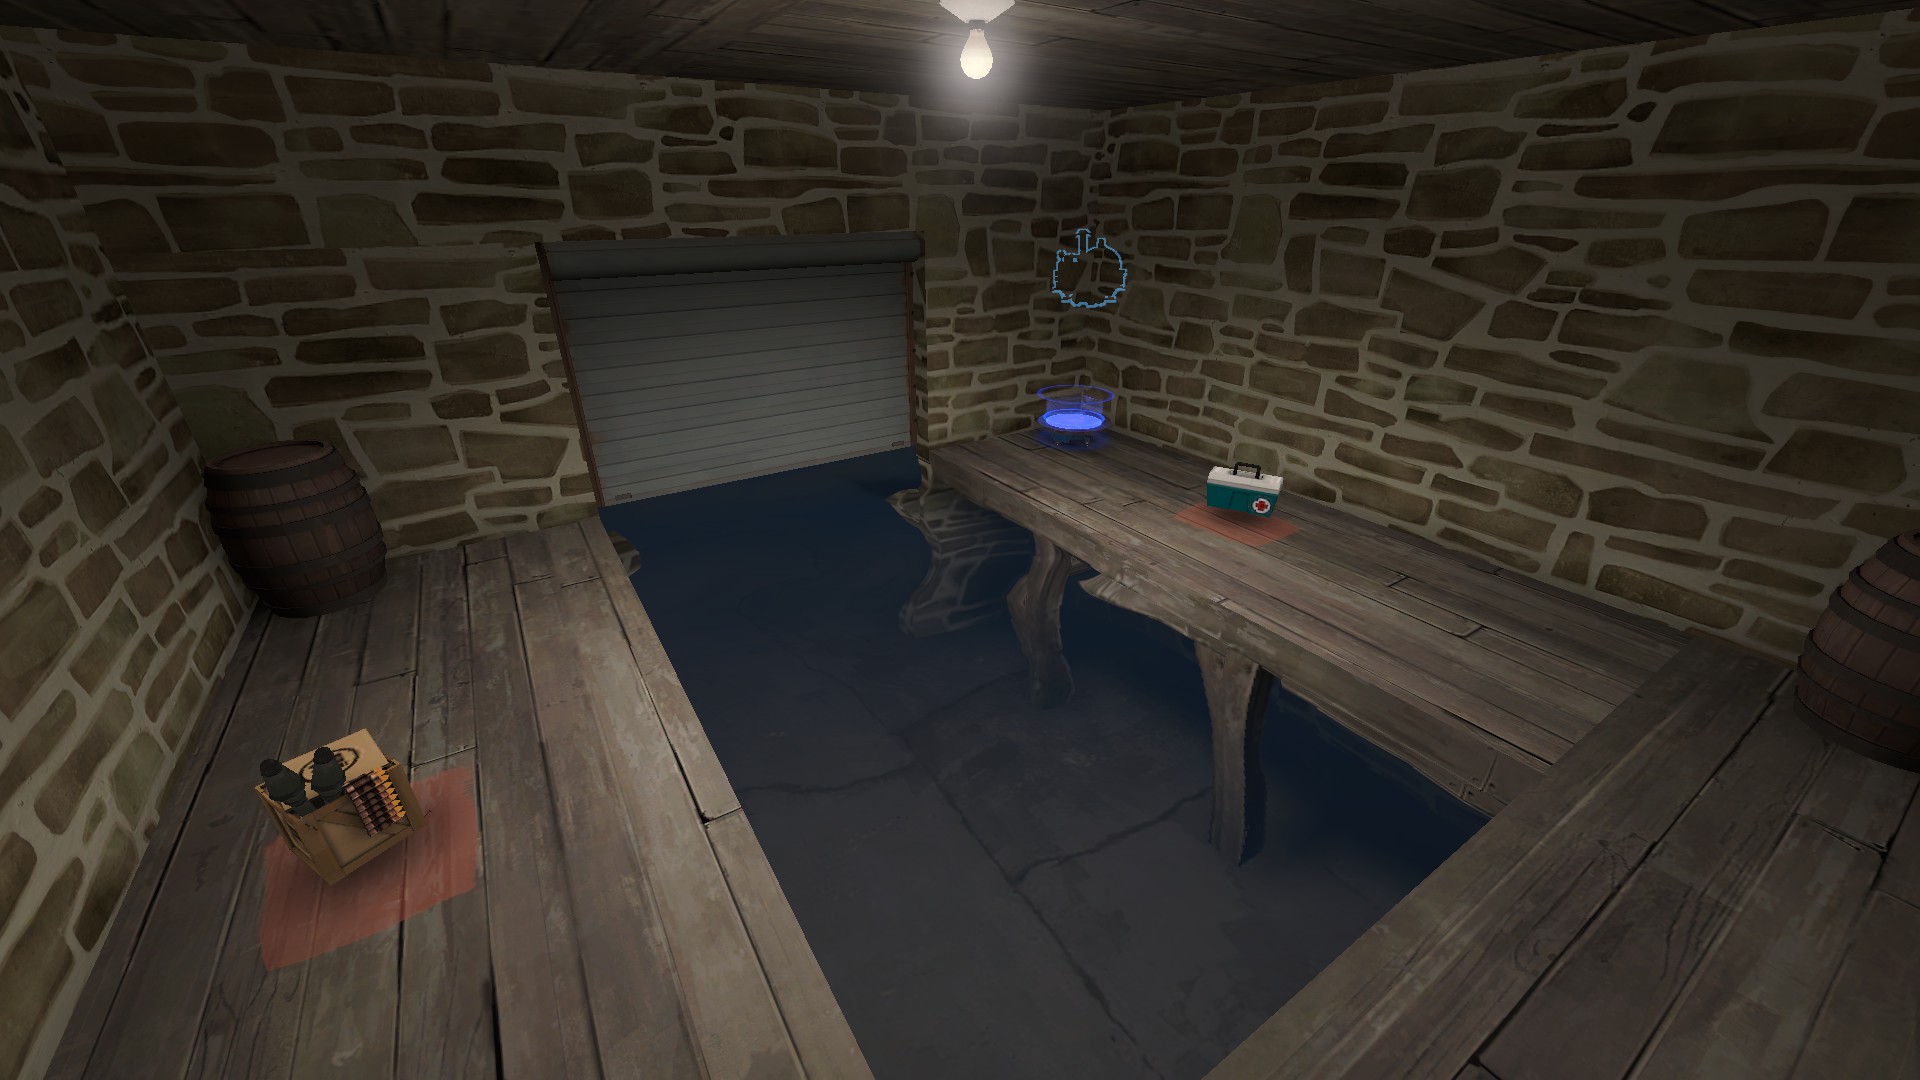
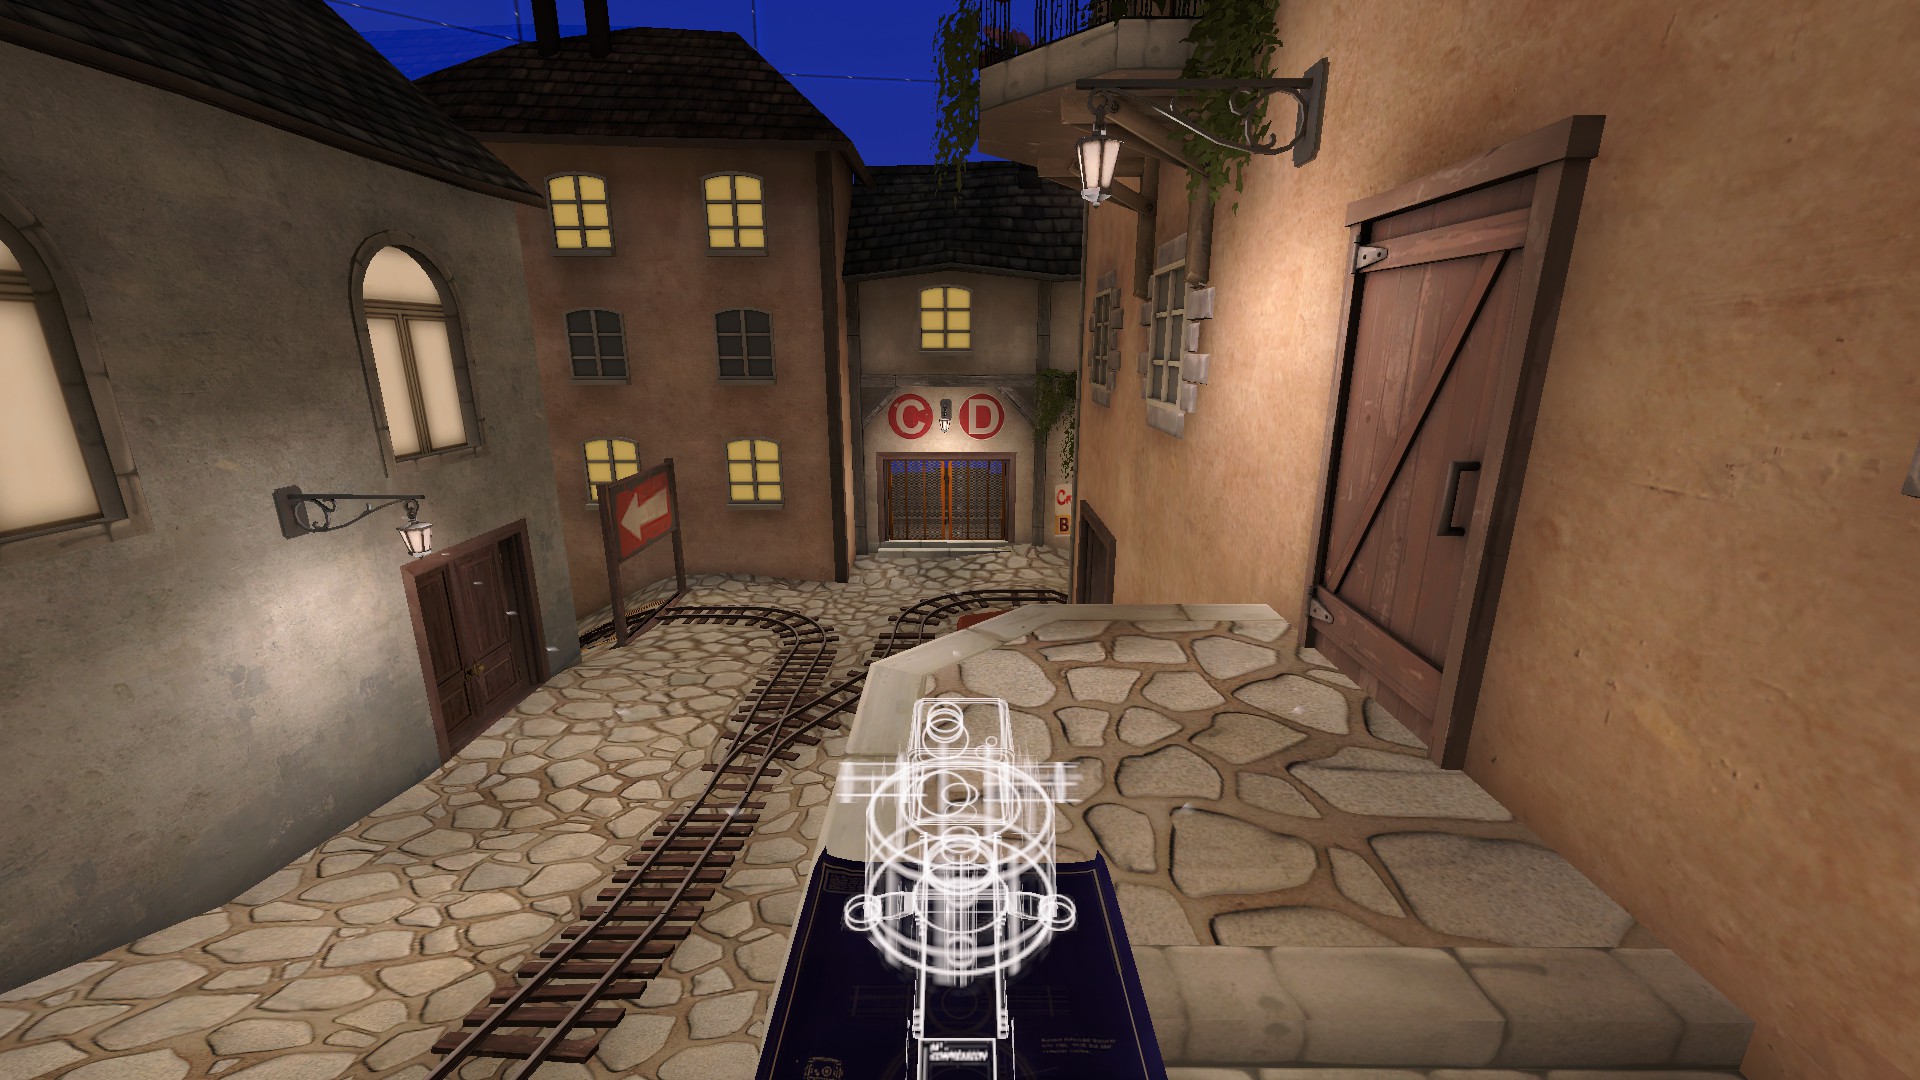
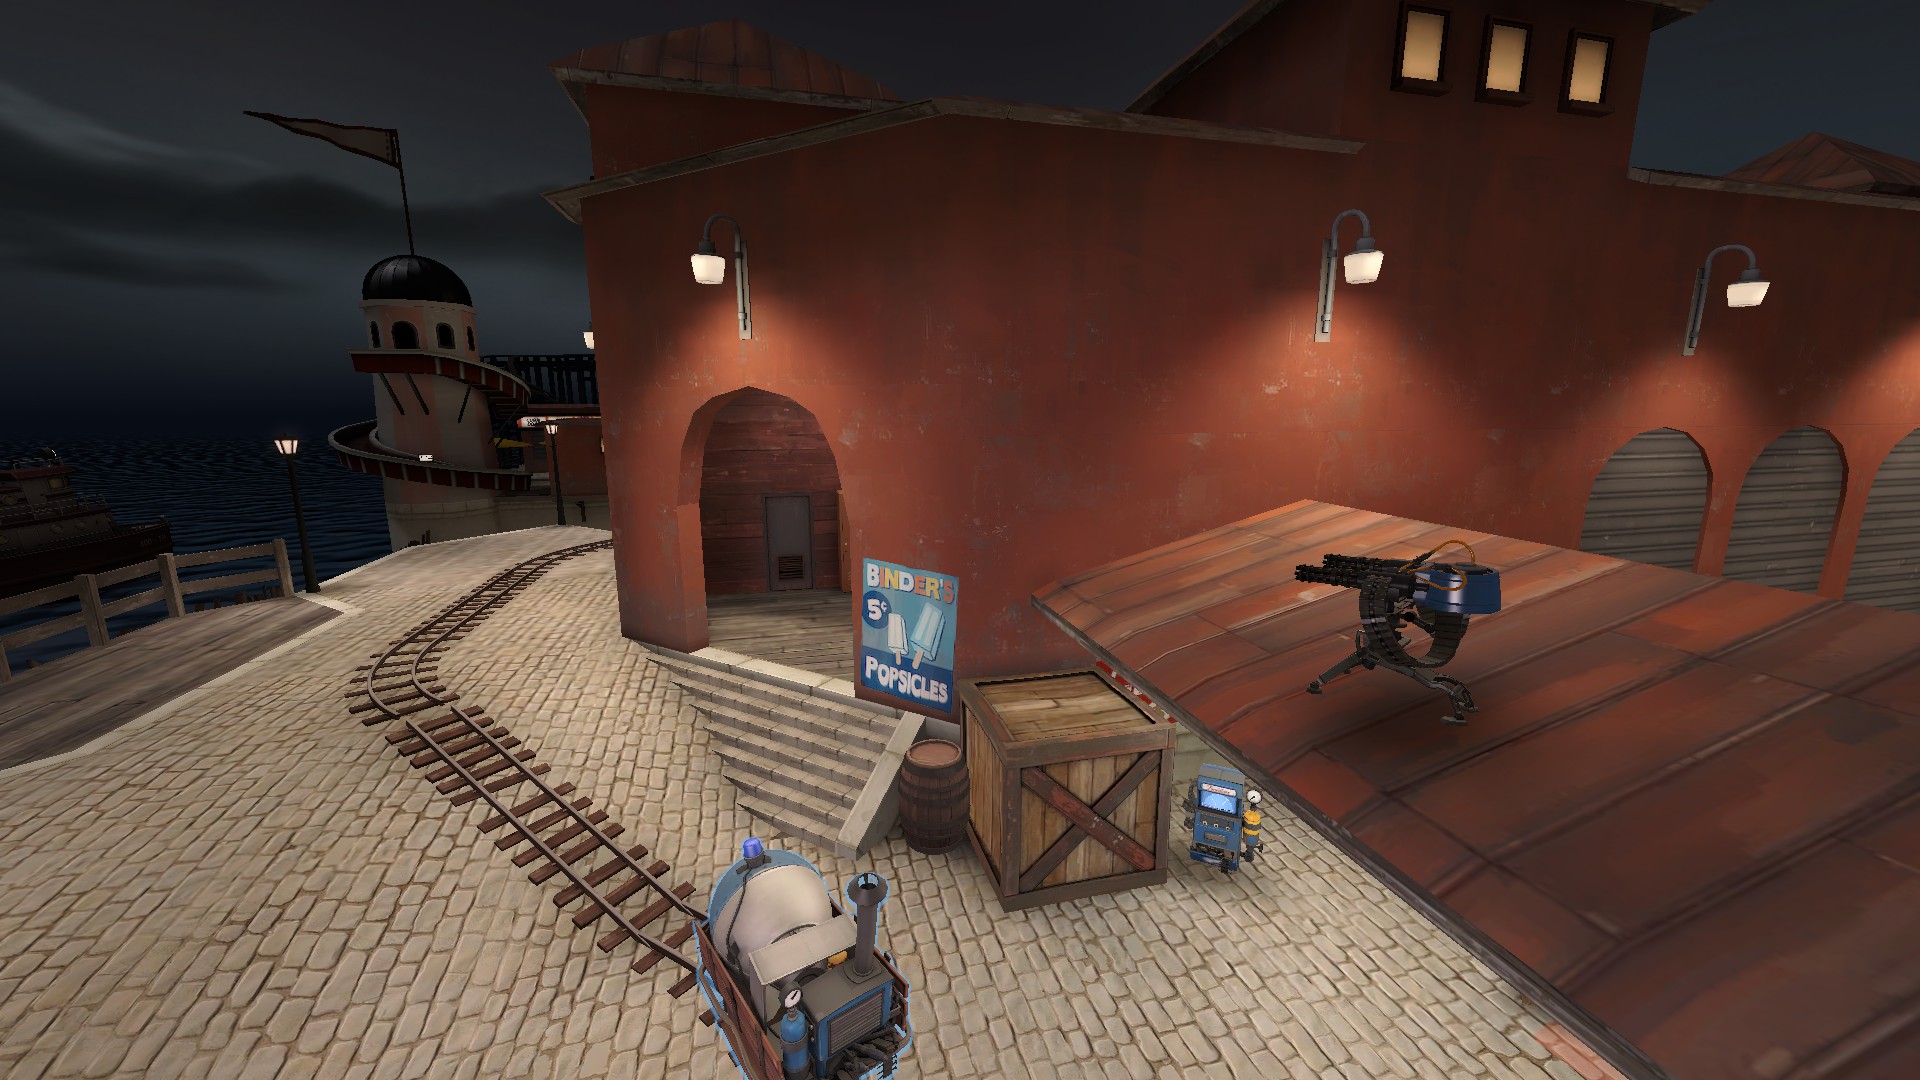
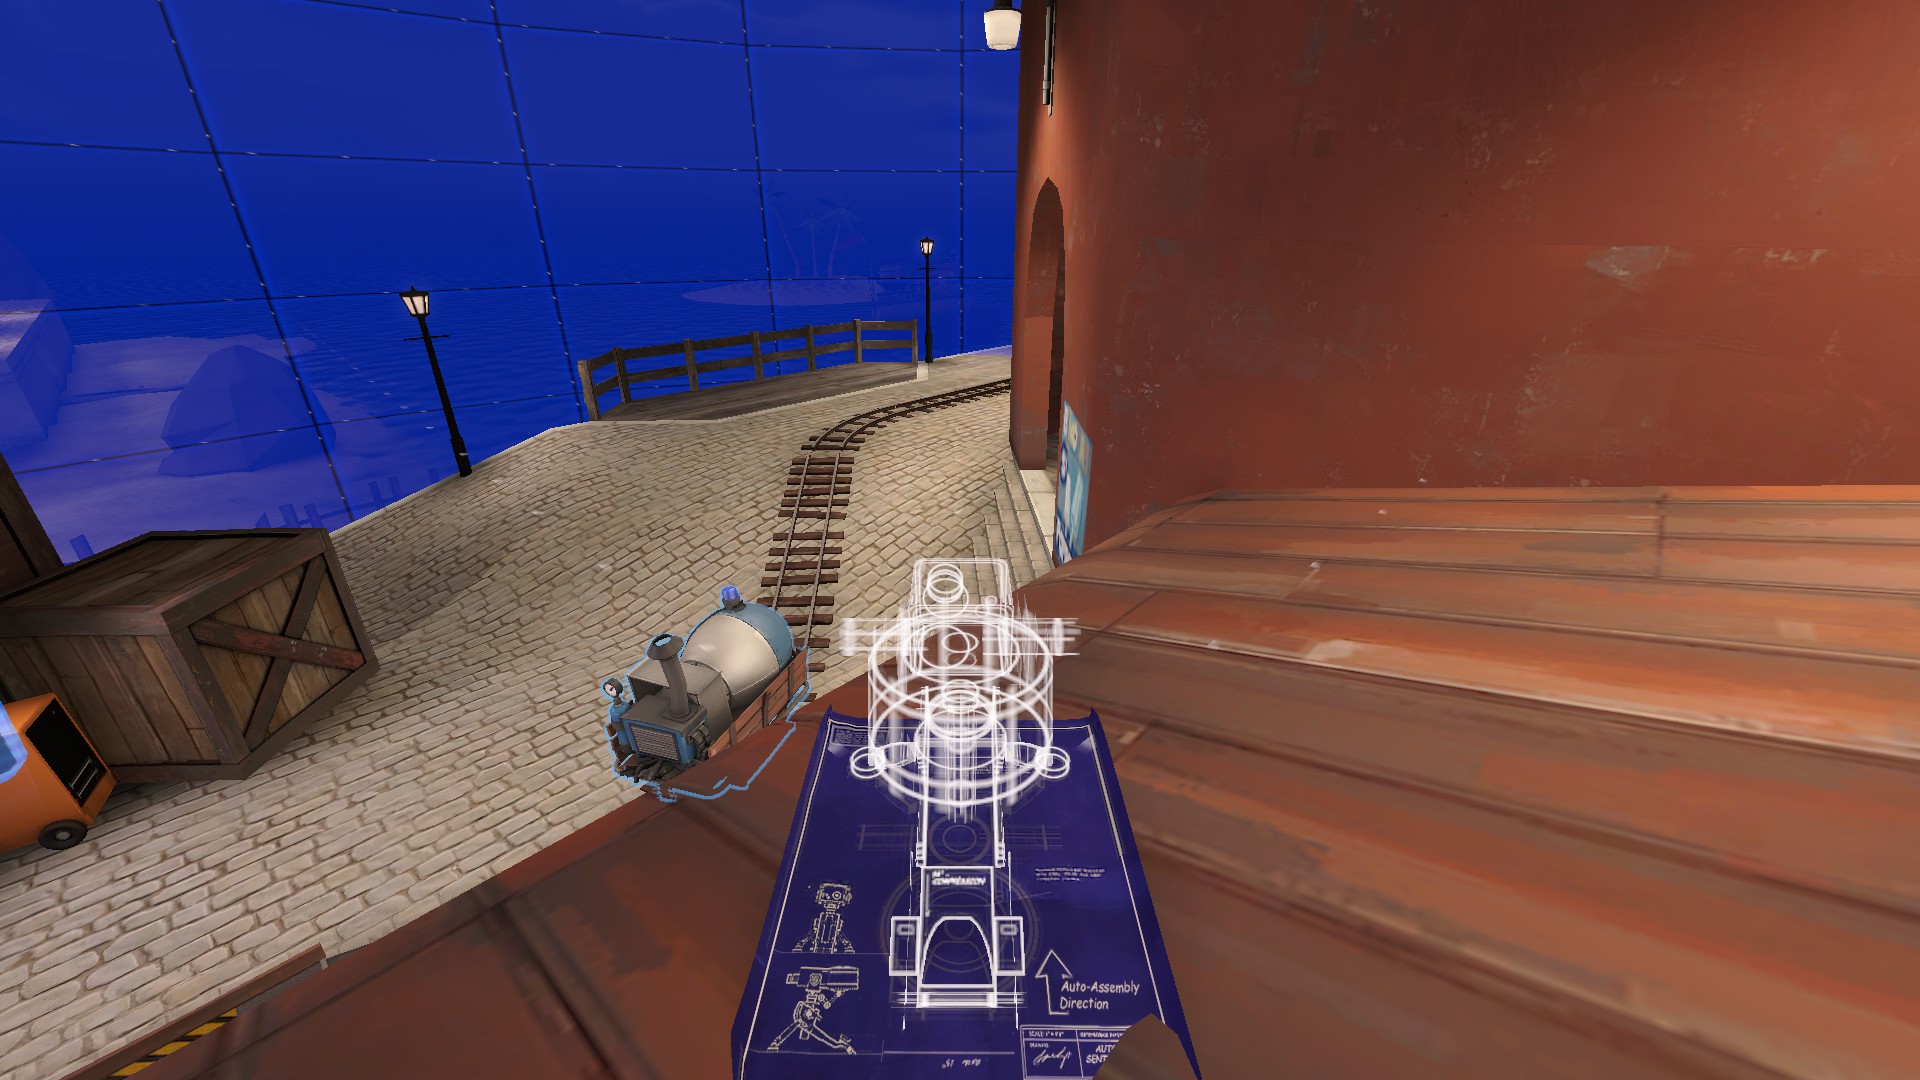
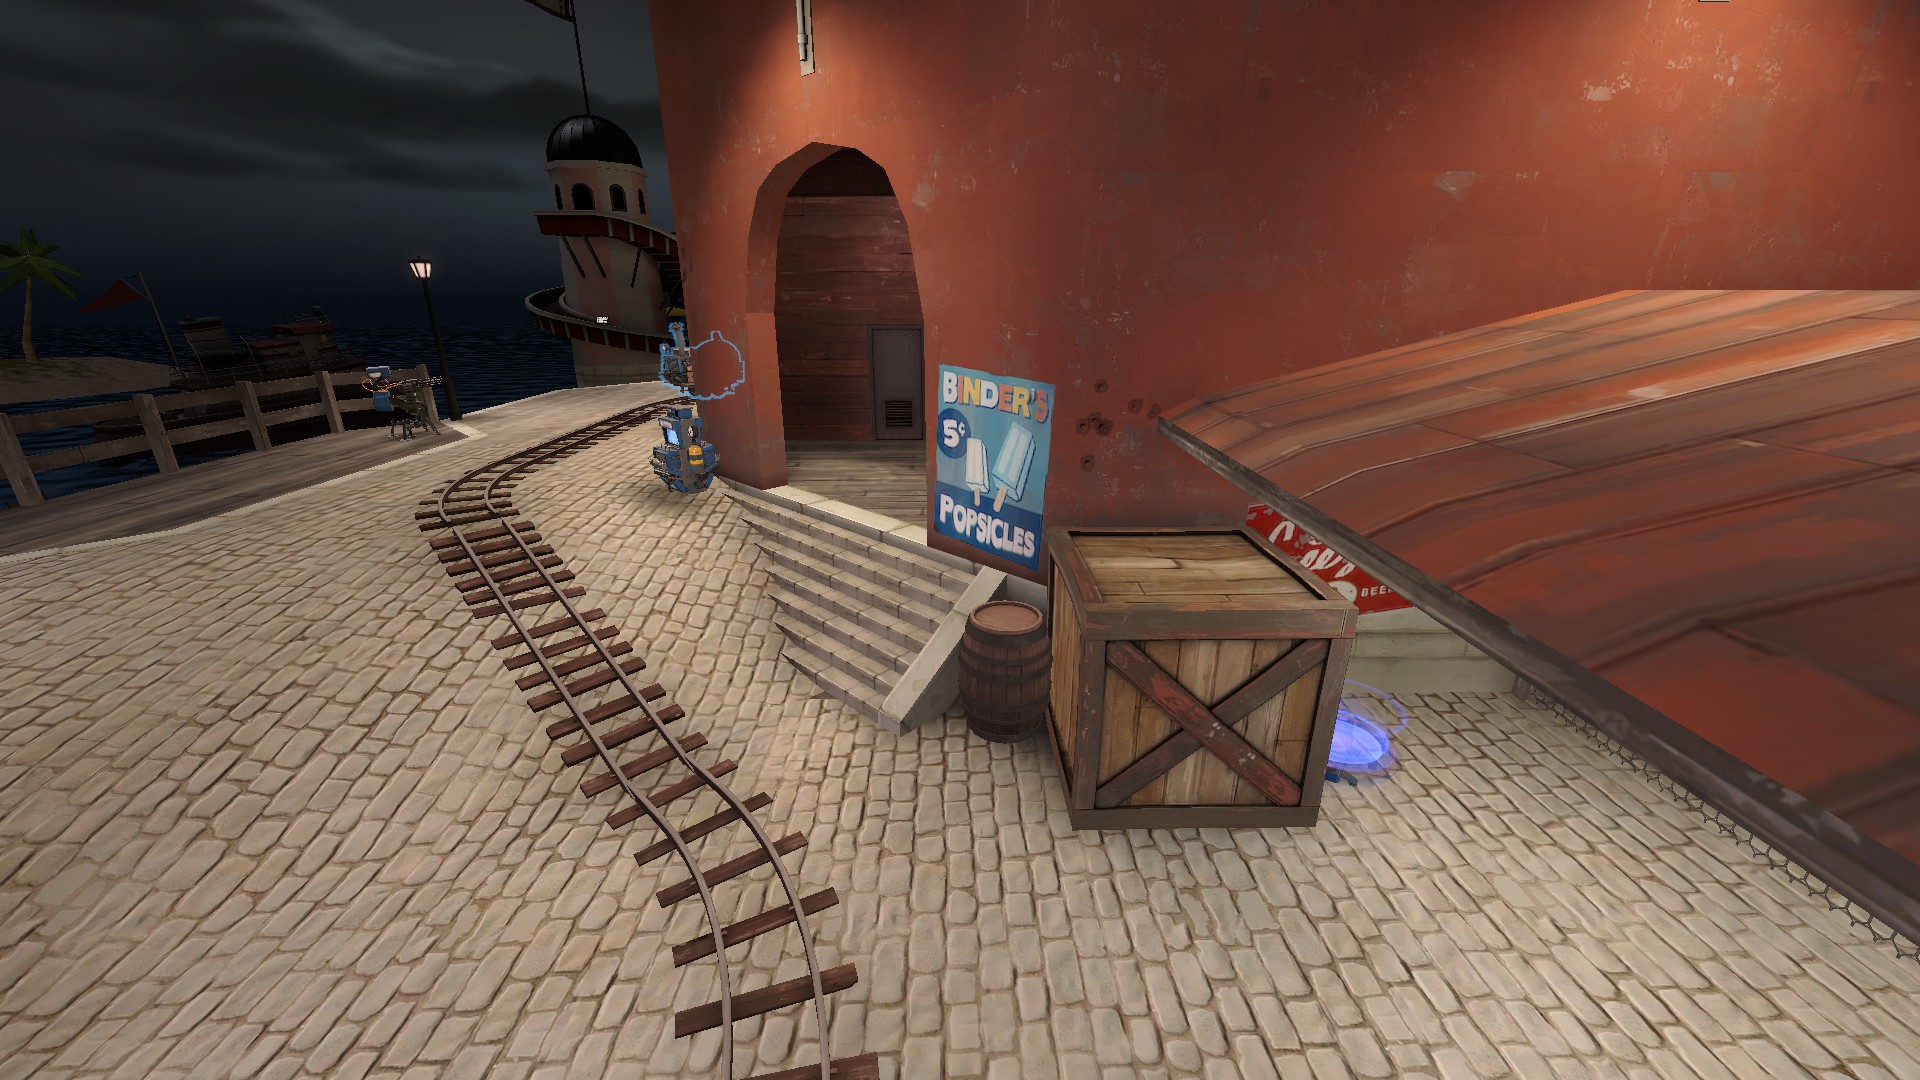
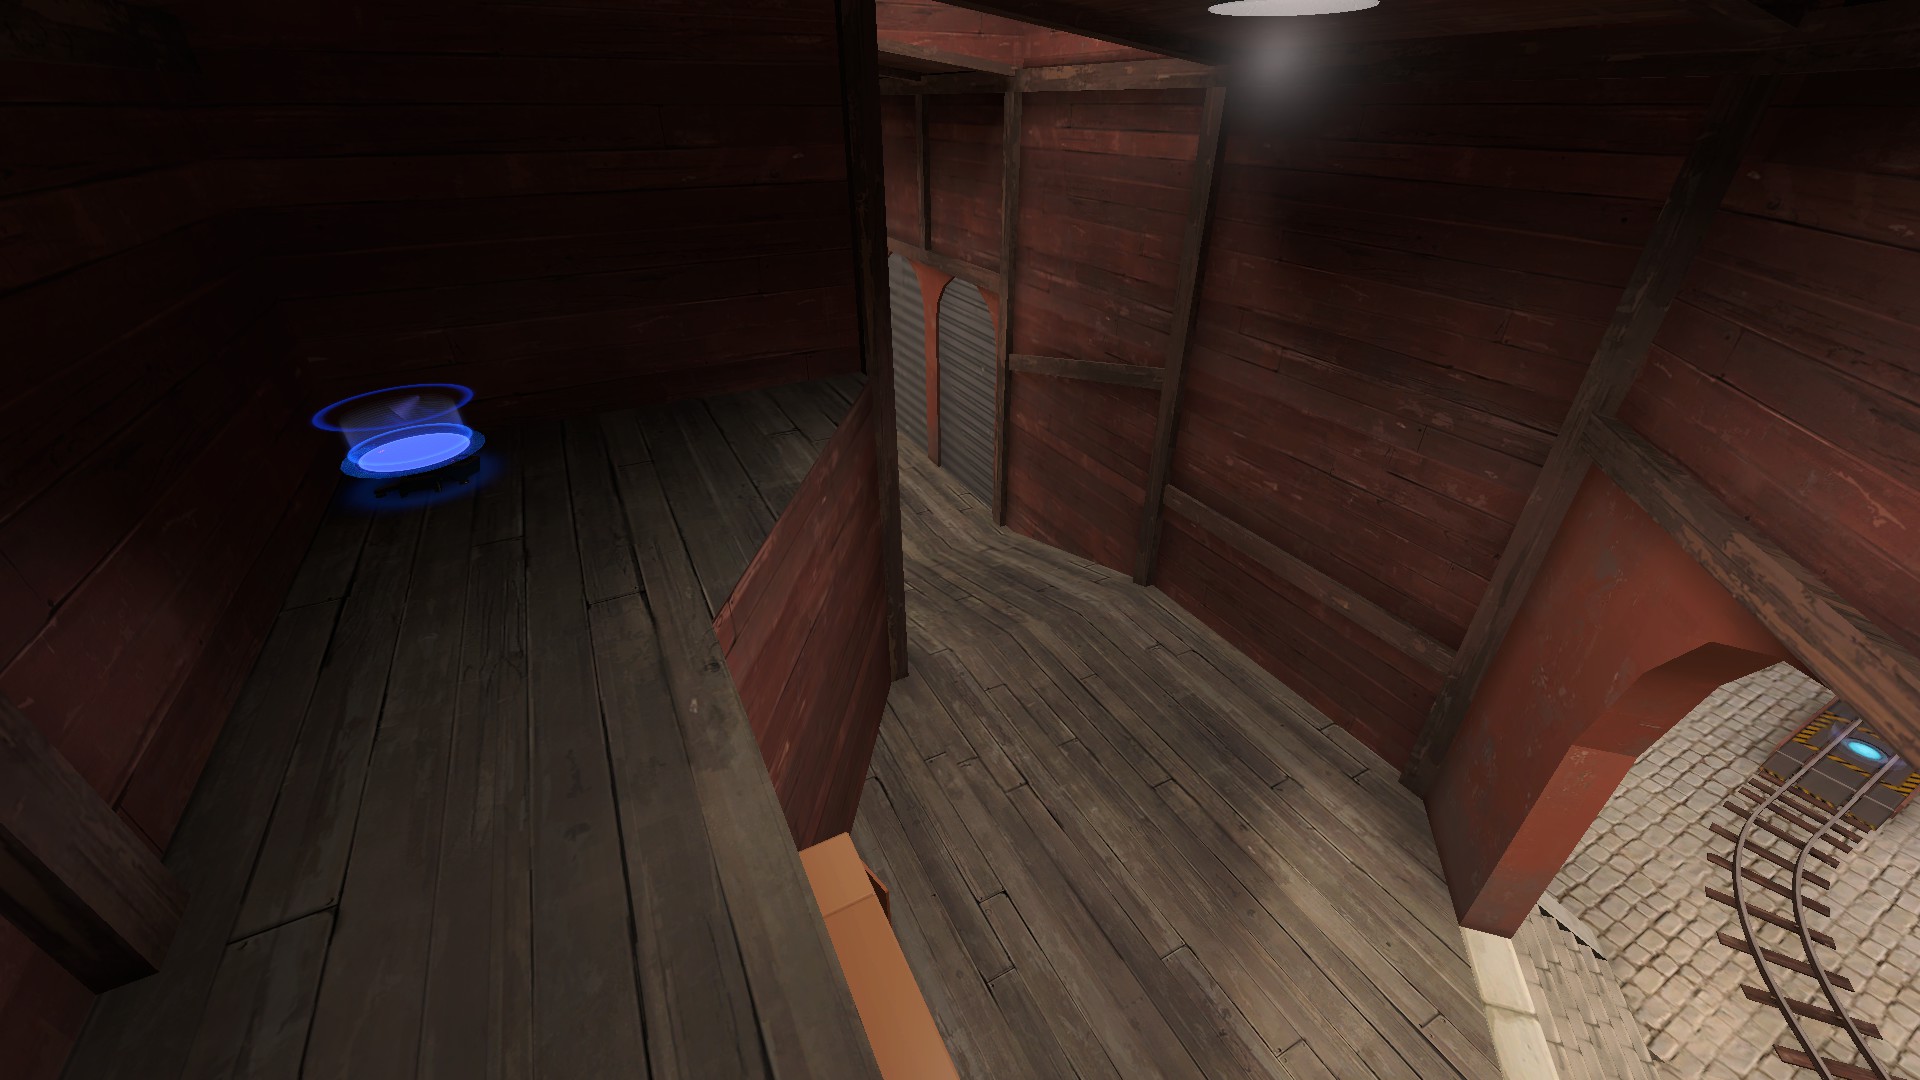
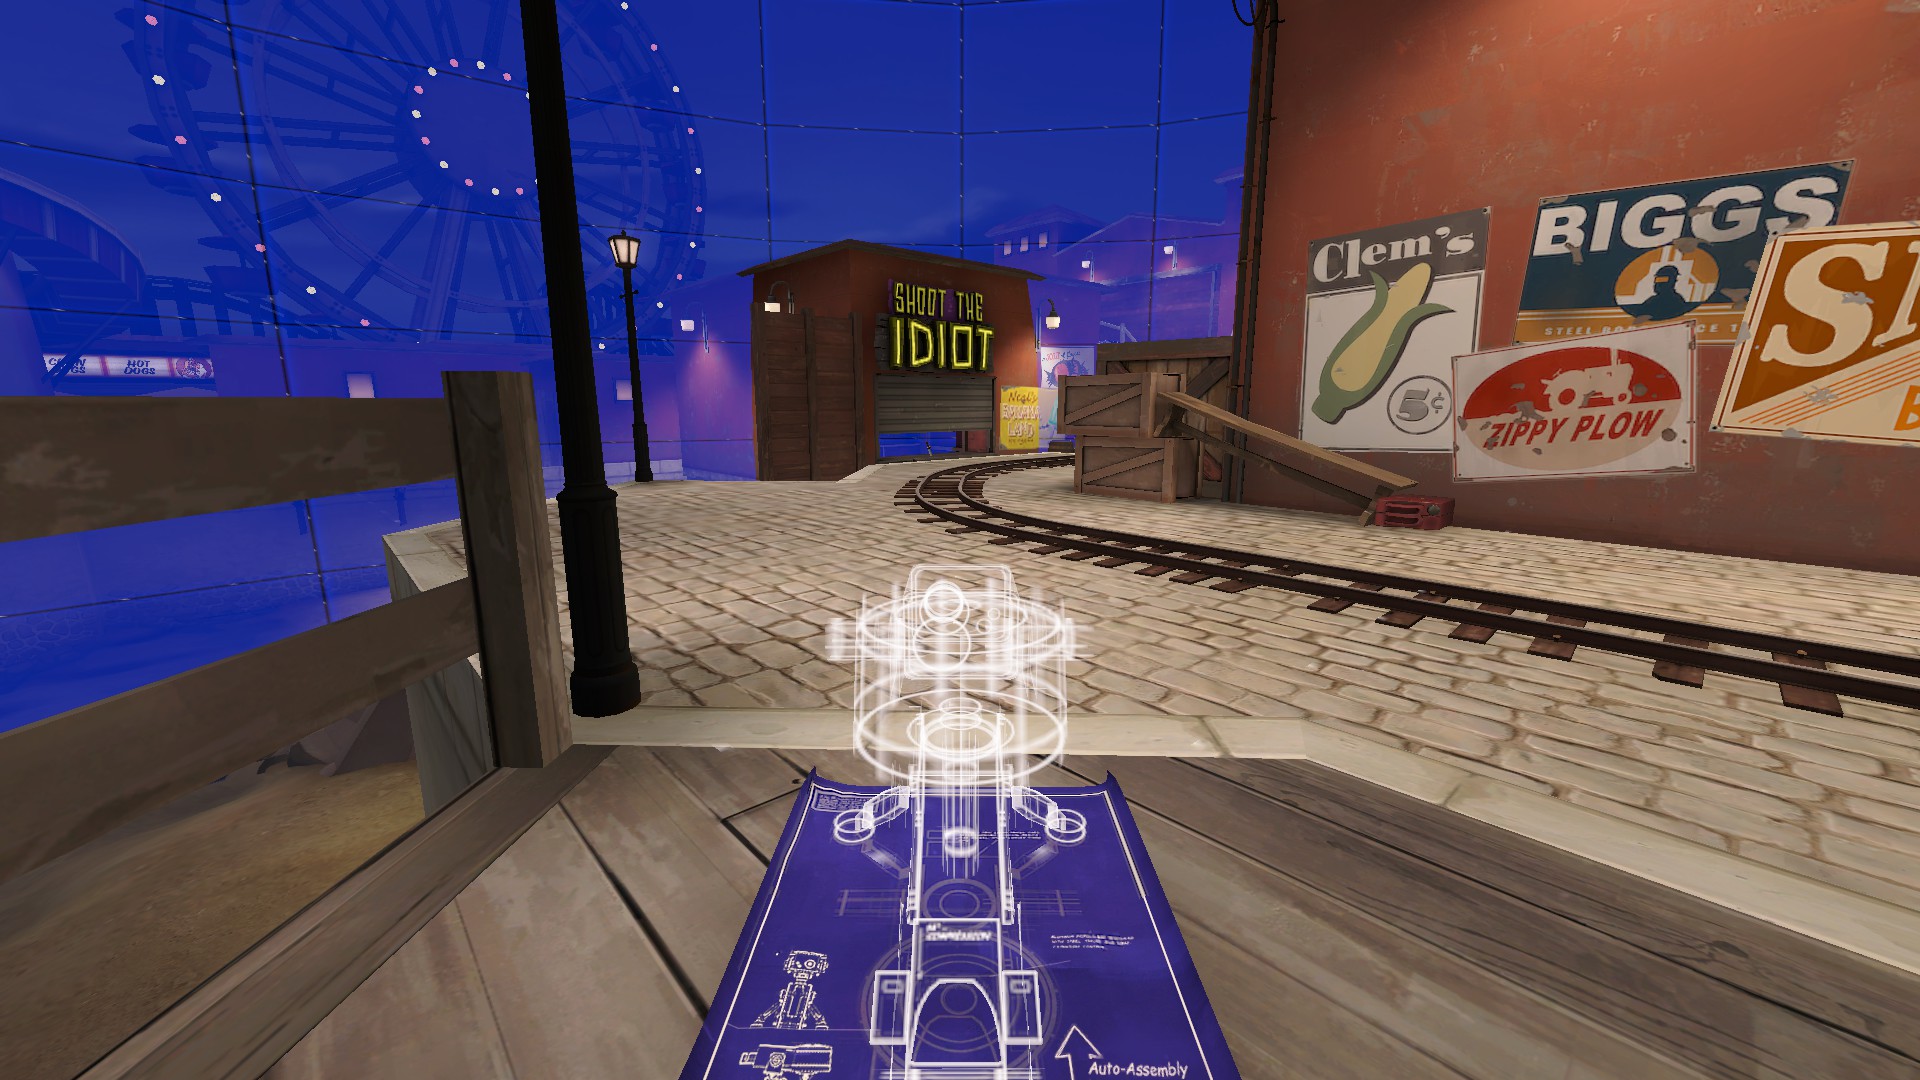
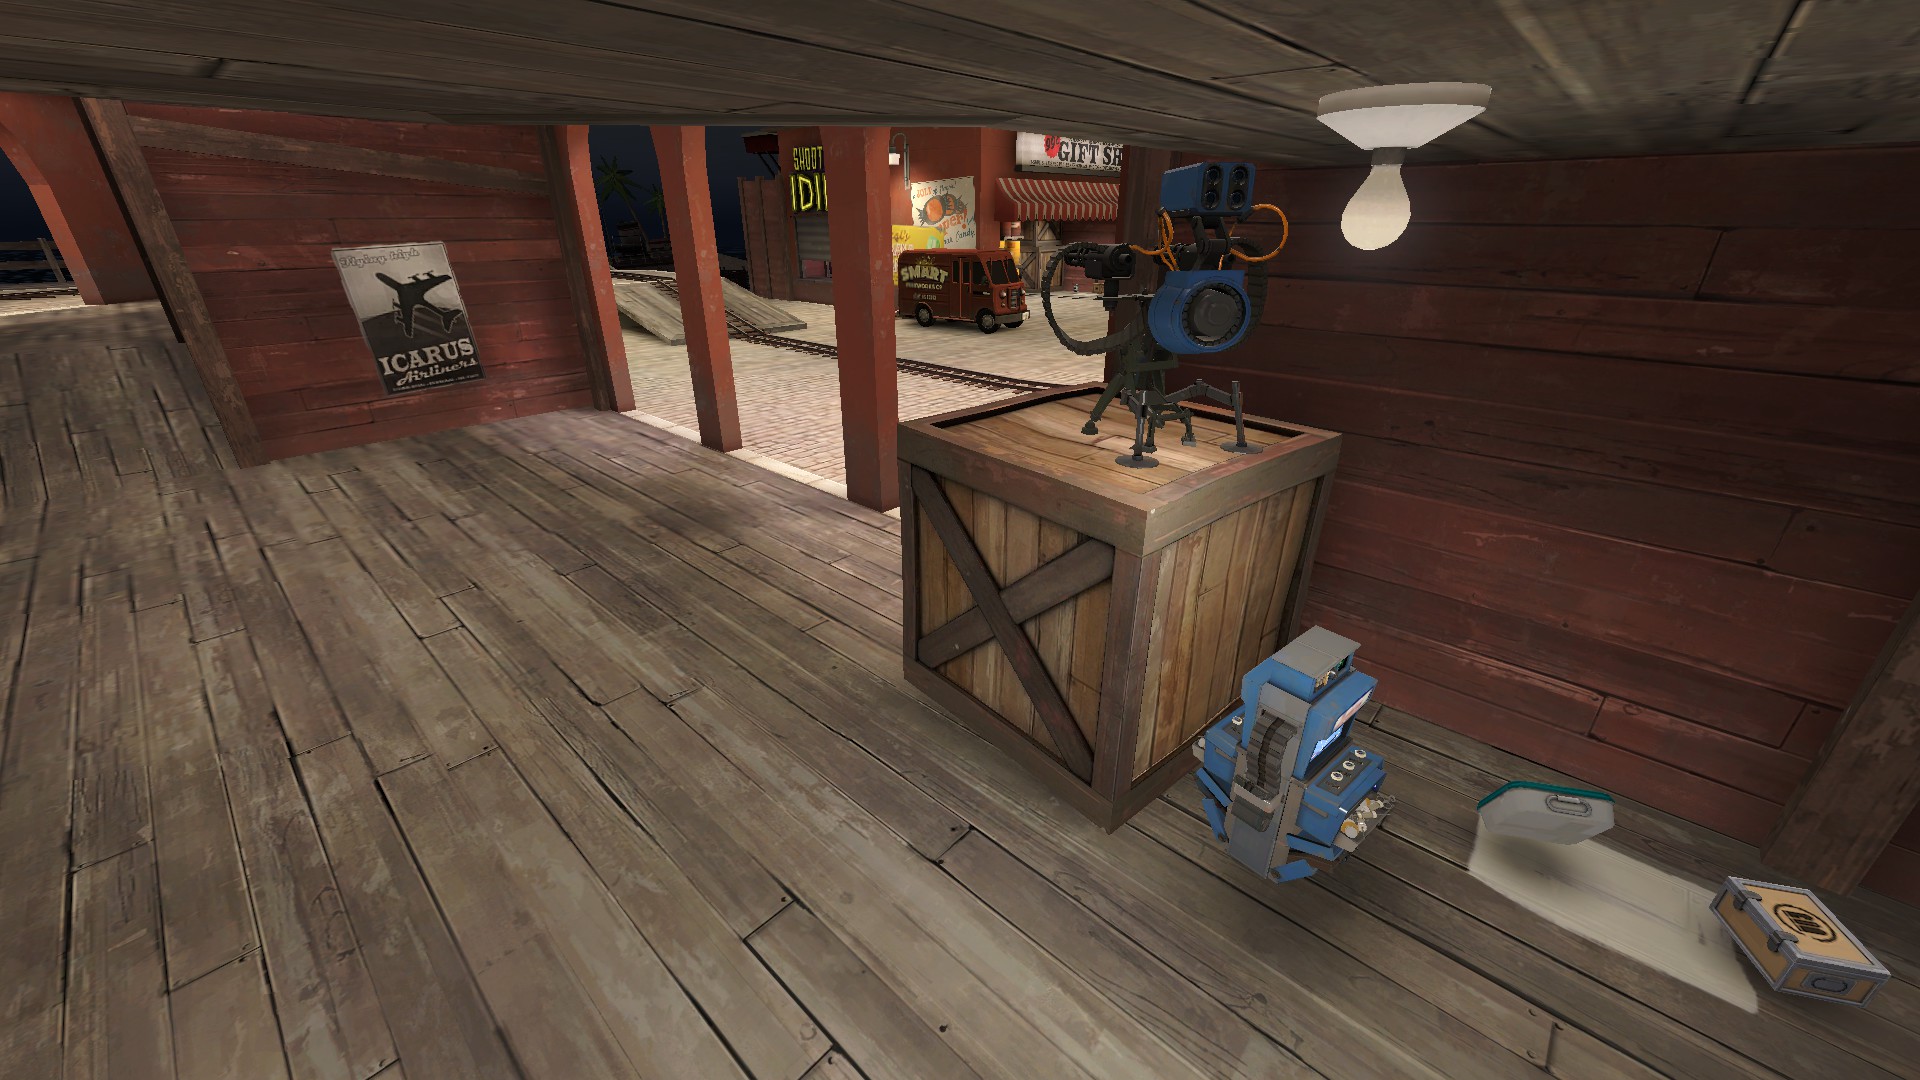
This is the sentry, teleporter, and Dispenser spot that I could manage to find, where the safety of buildings is guaranteed the most. Due to this being the only spot, it is probably able to be considered meta, unfortunately.
Here, you can see an example of what the sentry will and won’t be able to see. It’s got bad coverage over the end of the cliff, but it would have otherwise been easily snipeable. The sentry covers the tracks for when BLU gains some ground.
First Point
This is your first and honestly best option for defending first point. It covers two chokes and perfectly covers a high ground. Soldiers will have trouble peeking from top and right, while the cart will be their best chance of destroying your sentry.
This is your sentry’s range. Did my best to make sure it sees the high ground so soldiers or heavies can’t cheese it. Potential of being overwhelmed if not careful.
This here is an amazing show of using your teleporter and dispenser. While it’s not advised to have a sentry on the frontline, on a payload map no-less, it is your last defense against this point.
Your sentry will cover anyone that tries to cross or push the cart by this point. I have done my best to make it as effective and hard to see from the high ground past the wall. Try not to upgrade to level 3! Your biggest threat is demo spam and someone who uses the cart to block the sentry’s vision.
Second Point
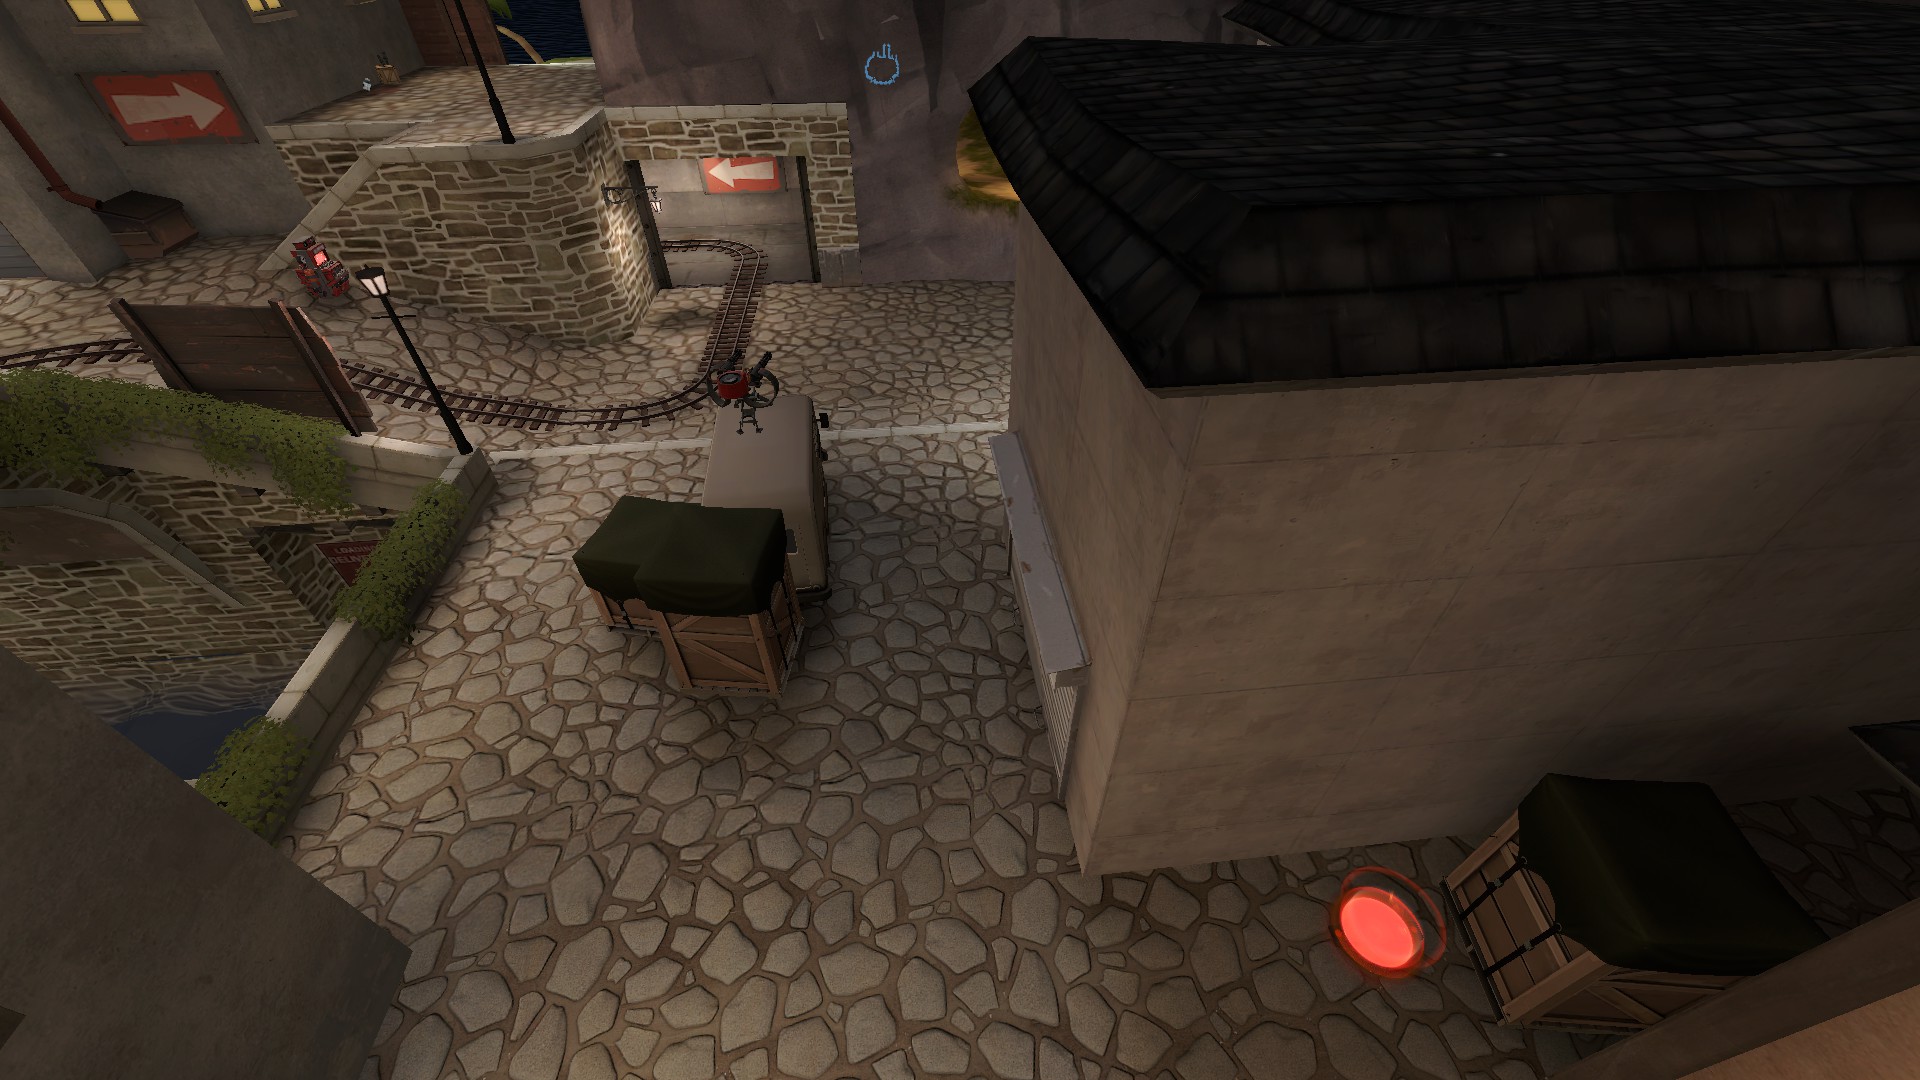
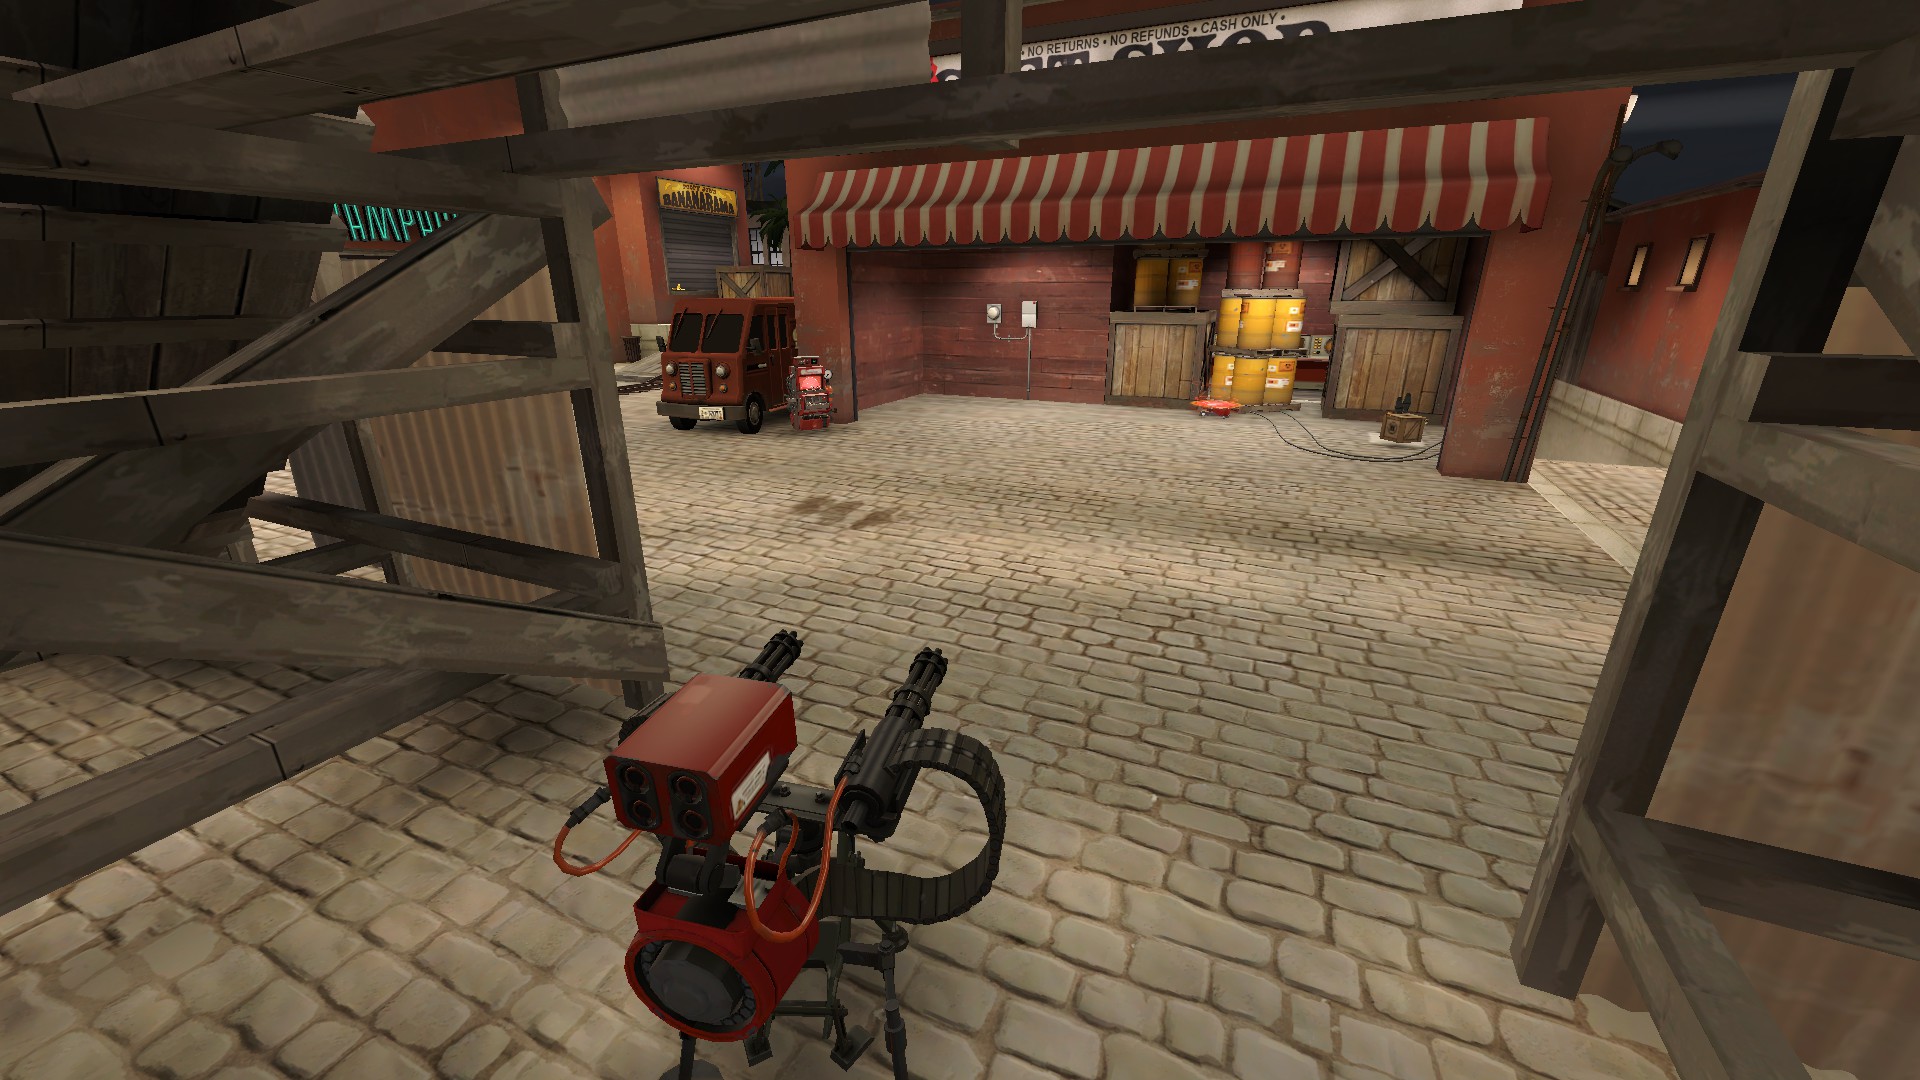
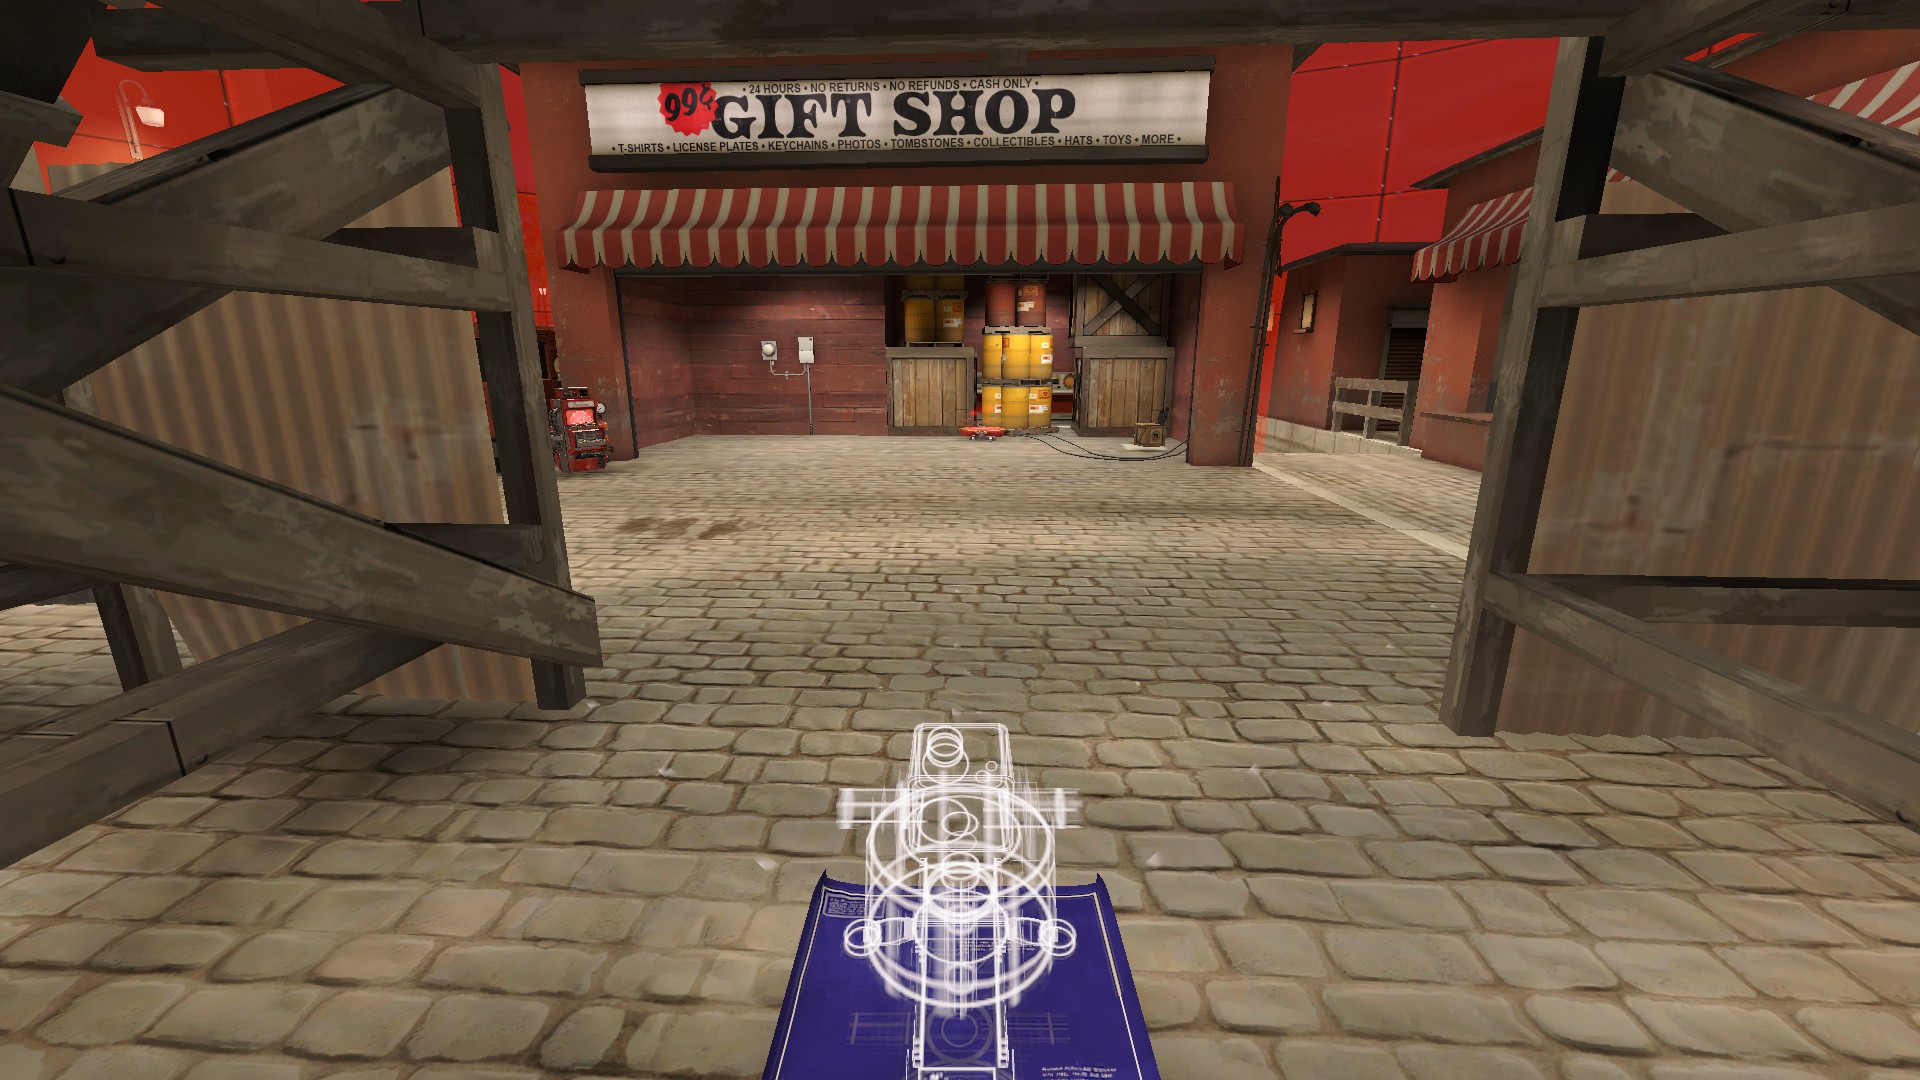
This one is definitely more dependent on your team being there. The teleporter is smack dab in the middle of the action, with people able to decide to either take the tunnel or the ramp up. The sentry defends against flanks and completely covers the area to the dispenser without exposing itself to pixel peeks.
This is what the sentry can see. It can just barely see over the truck, meaning nobody can step on it without being knocked back.
Third Point
The dispenser despite what you may think is best put down up in the top middle. This makes it easy for soldiers and other classes that rely heavily on the high ground to keep the high ground flanks defended.
This sentry excellently covers the right flanks and makes it very hard for the right side to be accessed by the BLU. Although it can die very fast if you are not careful.
Excellent view of the right, but can dangerously be corner-peeked by smart players.
If your first sentry dies, your next best spot is almost always going to be this part right here. Get it as close to the right corner of the jump as possible.
Can see all, except for the rails on the left, You could make the jump and place it closer to see the rails on the left but that can cut off a bit of bottom vision.
The sentry can be put down here. It does allow enemies to take up the top area without much of a problem, but anyone who goes down or pushes the cart past the doors will die quickly without much retreat. This spot is a bit of a glass cannon, though.
Example of its vision.
Fourth Point
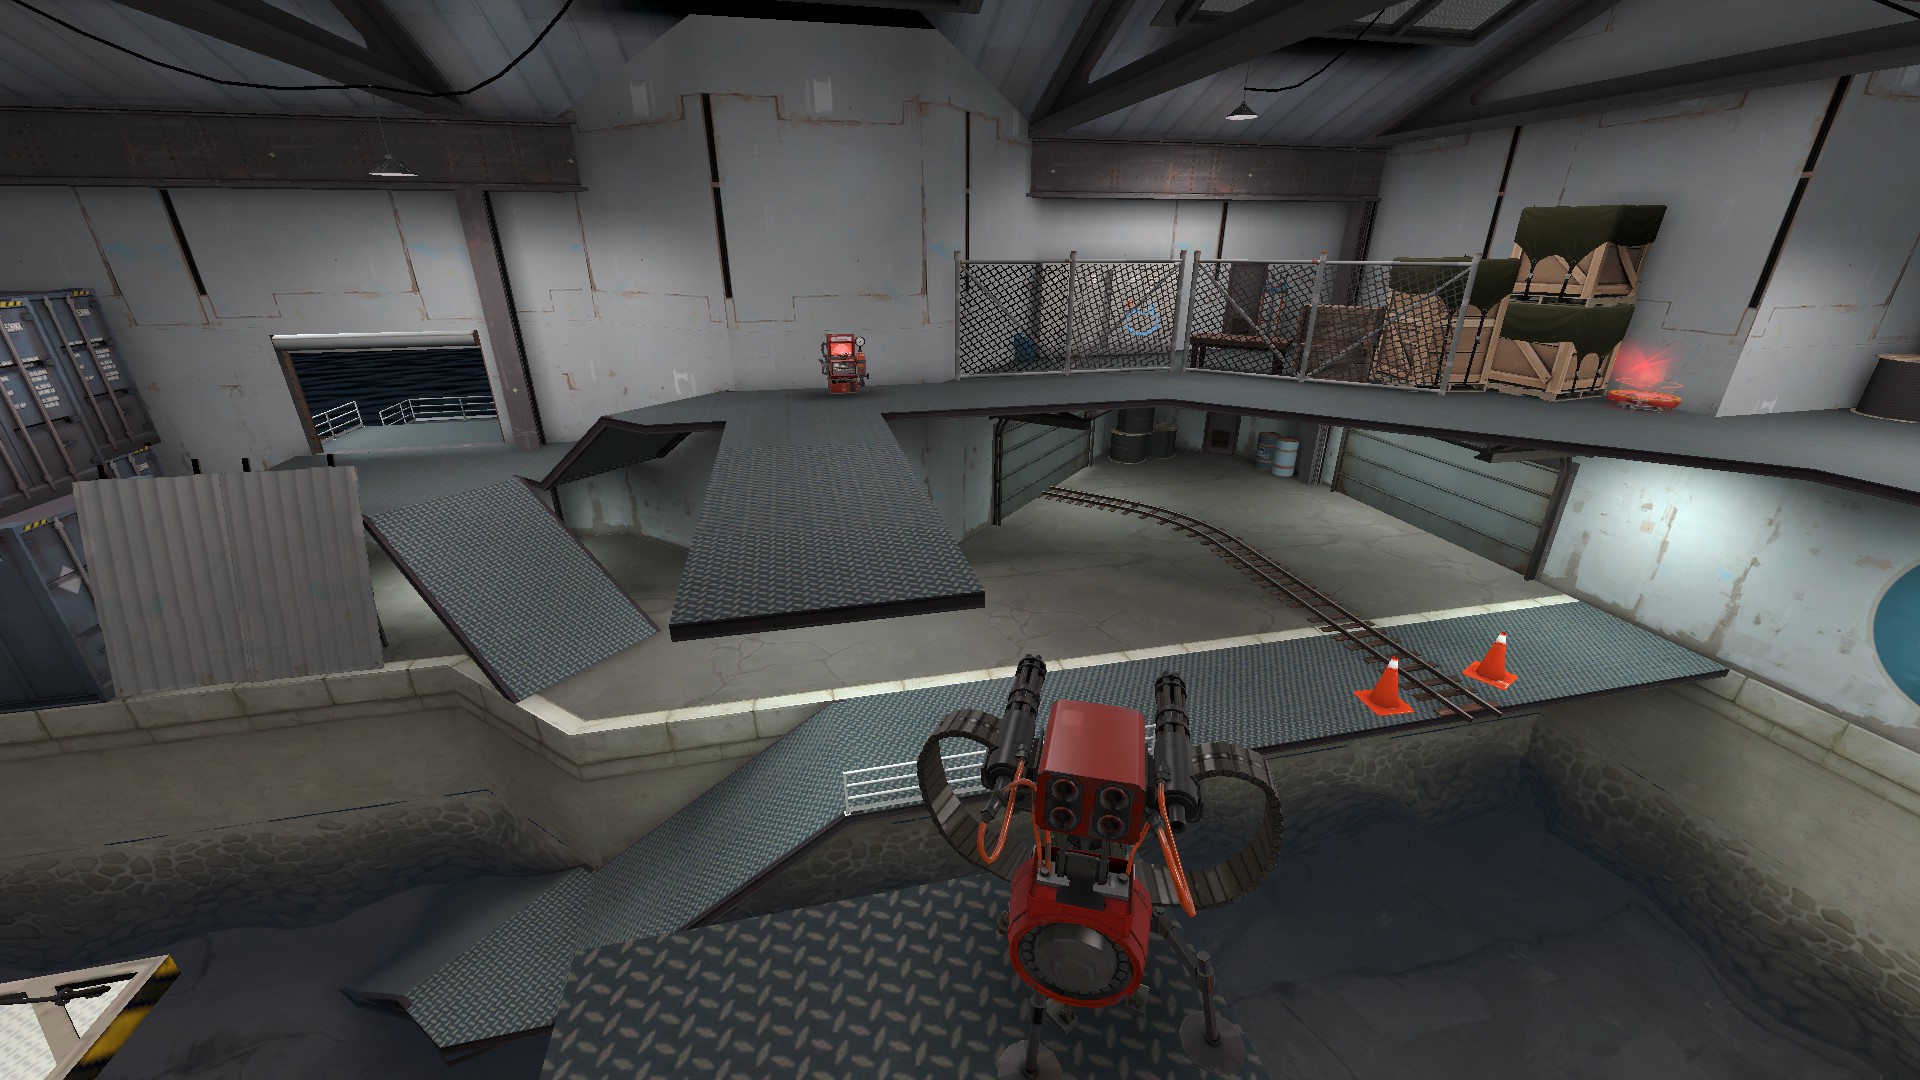
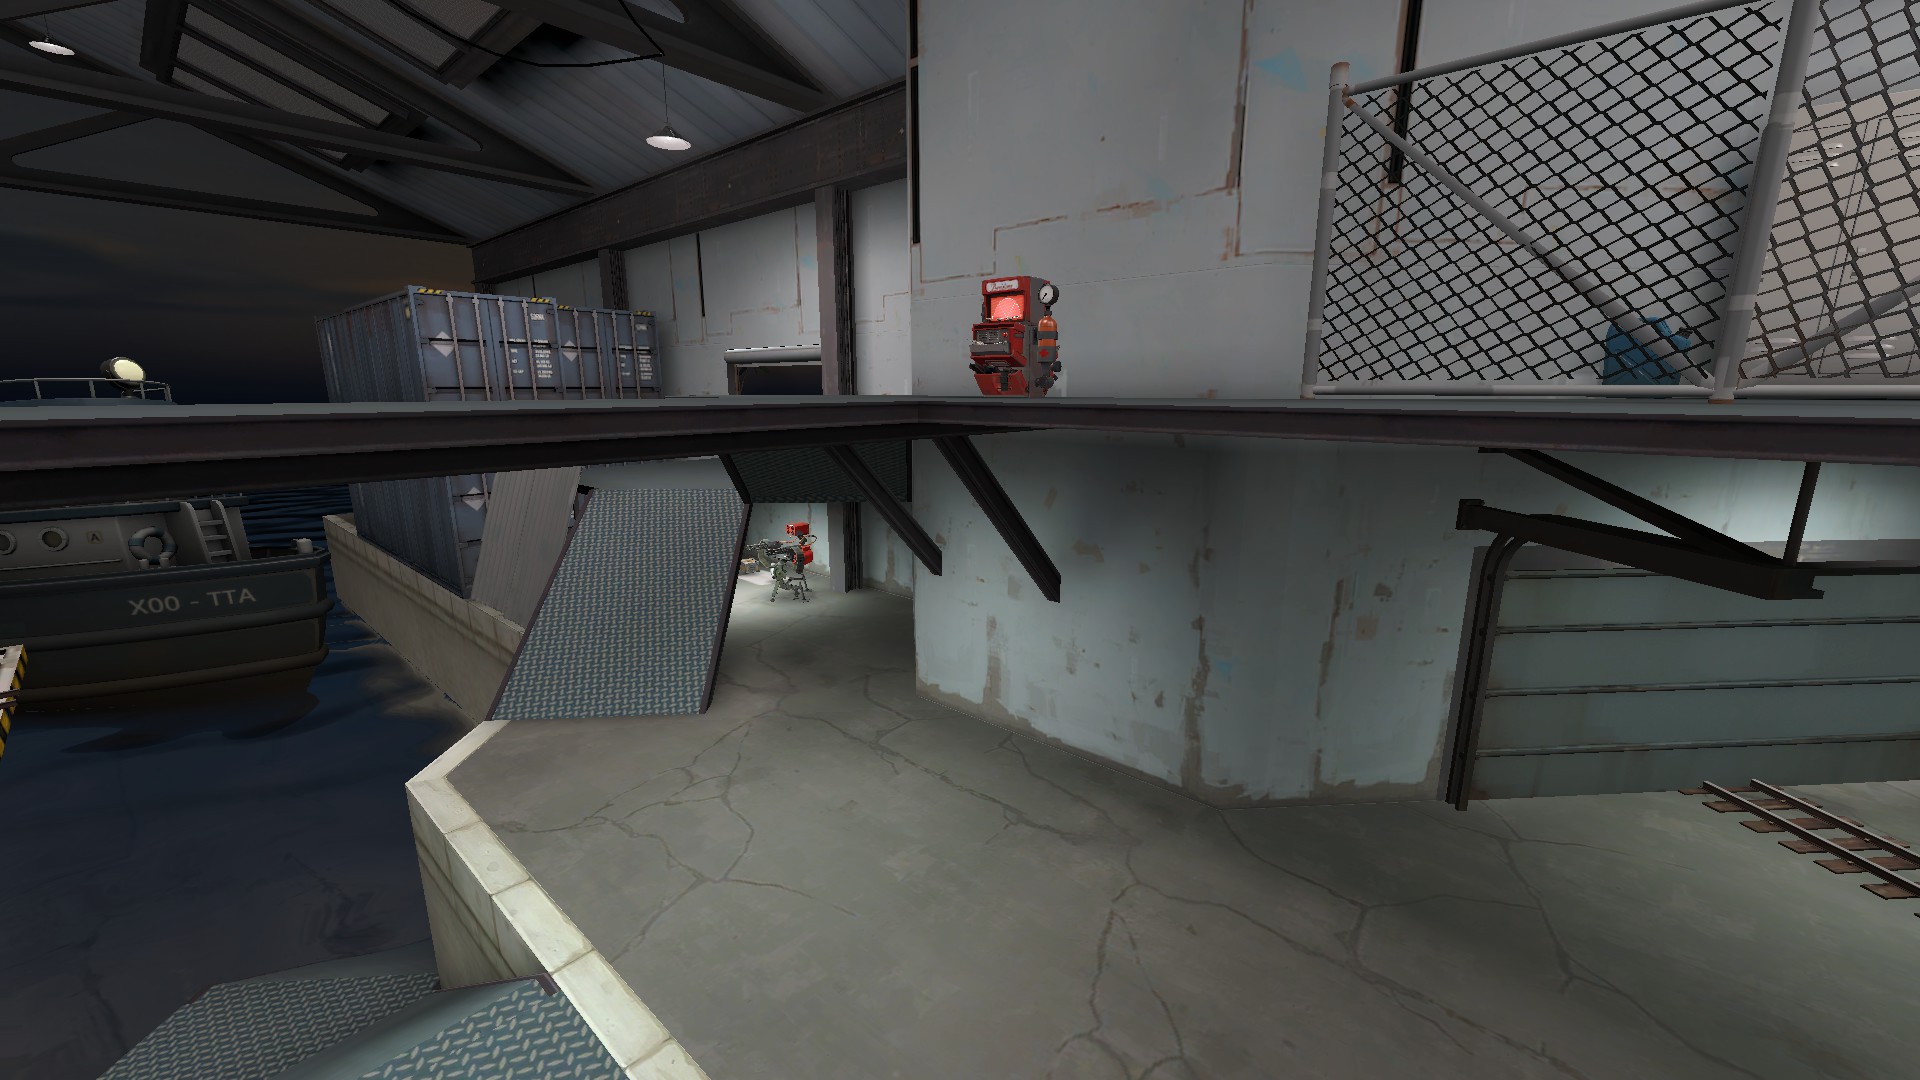
Dispenser in a safe corner. Make sure to place it in a way where it’s easy to get healed and protected by it like a meatshield. The teleporter is as close to and safe from the action as possible.
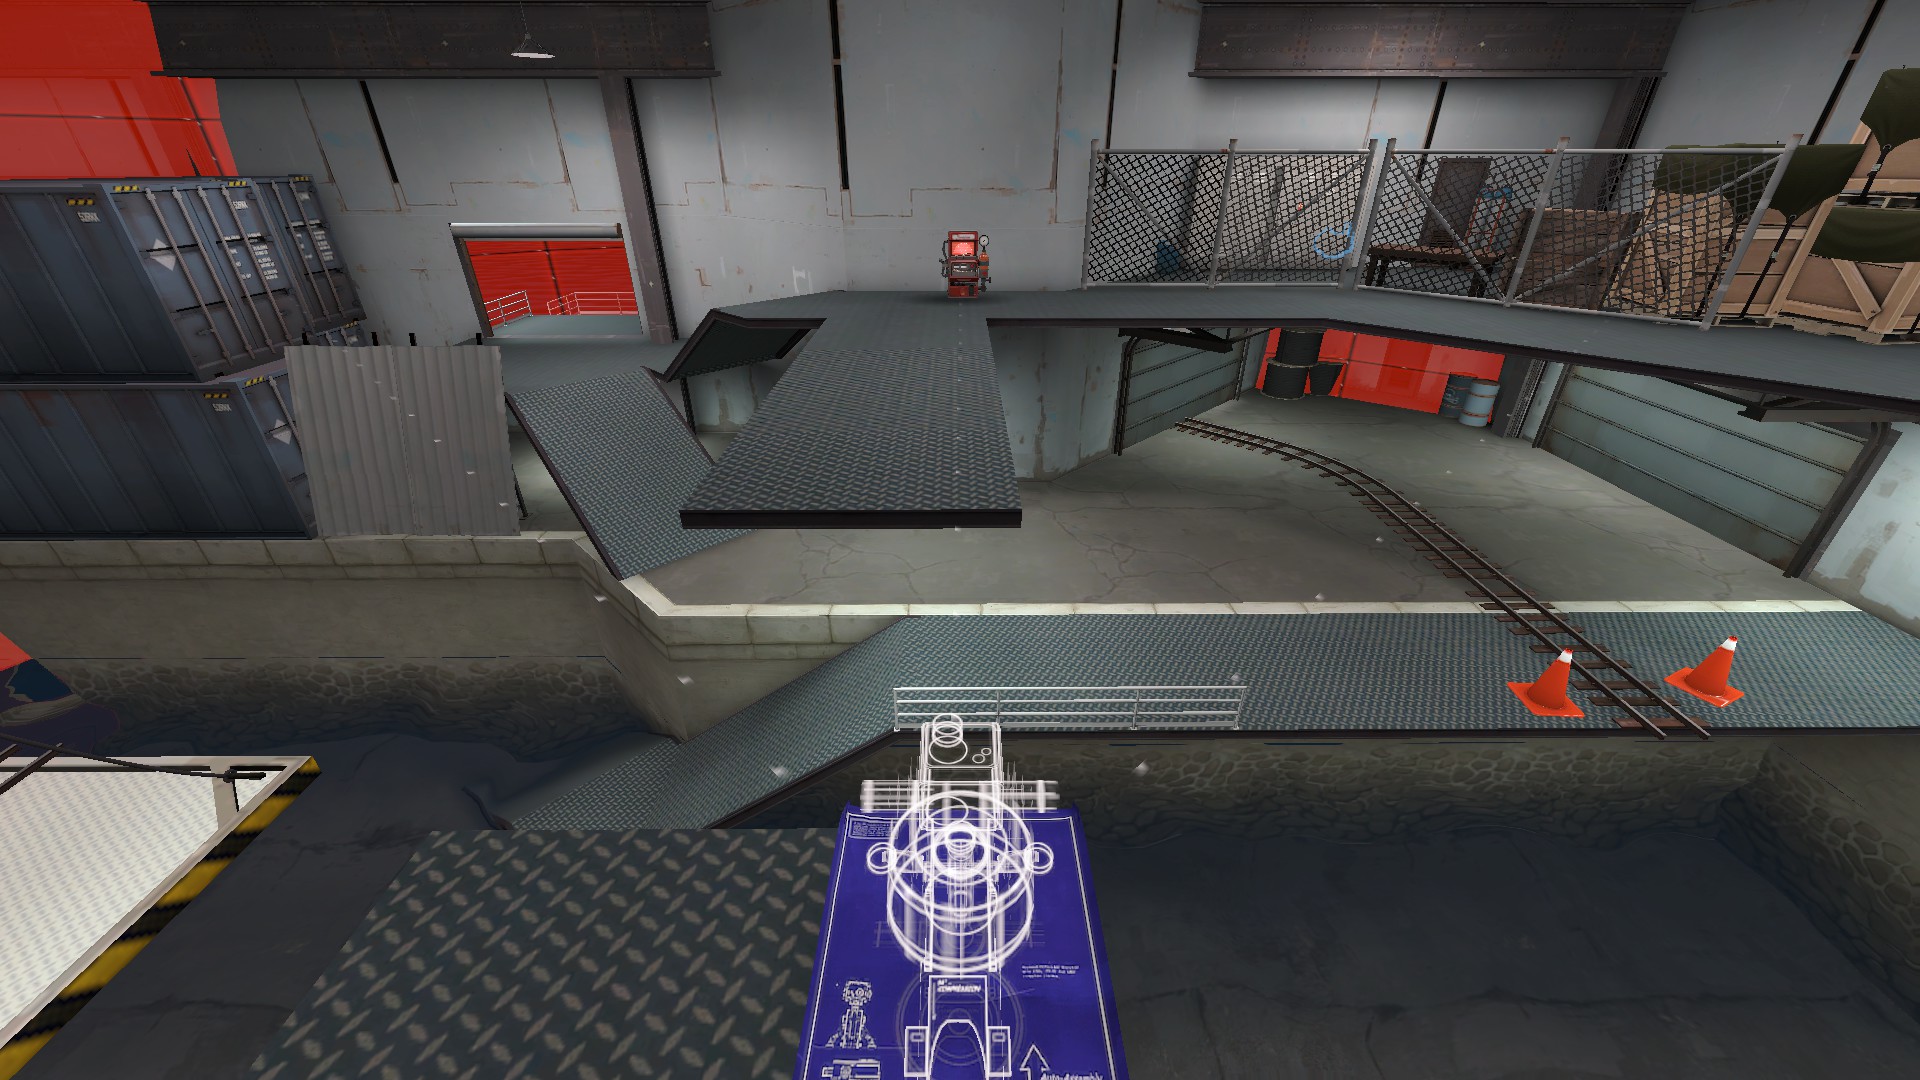
The sentry is in a really good position. It can see the right flank perfectly, and I’ve given it as much of its vision to the cart tracks while also making sure it is hard to peek without it targeting the enemy. Be aware you may need to use a rescue ranger to heal it if it gets hurt.
This is an additional spot for you and your team. Not as defensive of flanks, but depends on a very uptight defended area, with a teleporter and sentry that cannot be easily killed. It can’t see too much unless people walk in or come from the giant box by the roof thing. You would obviously wrangle yourself up here. Hell, the teleporter here may instead just be the best teleporter spot ever.
My best example of what the sentry can see while being safe from anything that might try to be cheeky.
Last
Dispenser right there in the thick of things. Sentry covers all angles. Downside to that is that it can be overwhelmed. Teleporter is also right there in the thick of it. Dispenser and its healing and ammo (Important you get it to lvl 3 before anything else save for a lvl2 tele) can very well lead to a pushback towards Fourth cap.
Great range on the right. In danger of corner peeking on the left. May get blasted by flankers in the back.
Dispenser and tele in good spots. This is the best place I could find for a last stand defense. Sentry perfectly covers right flank and your buildings.
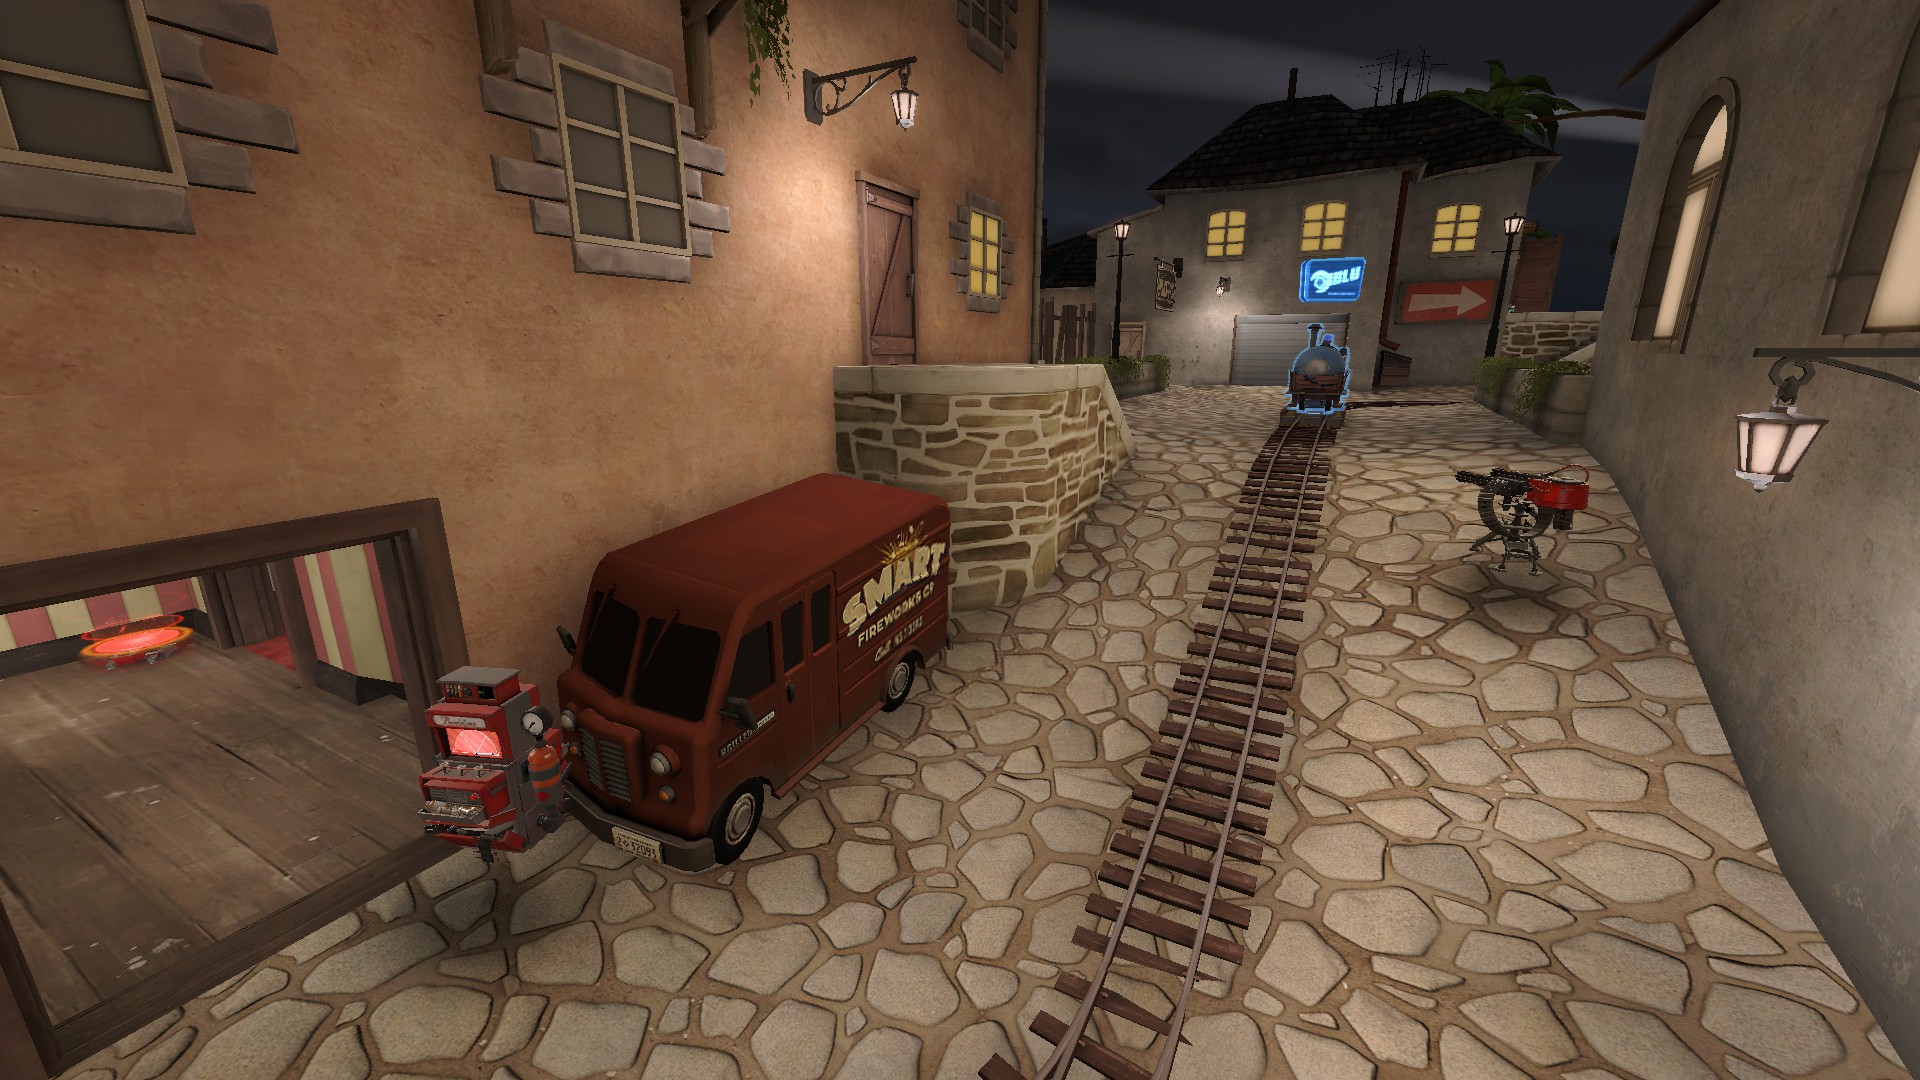
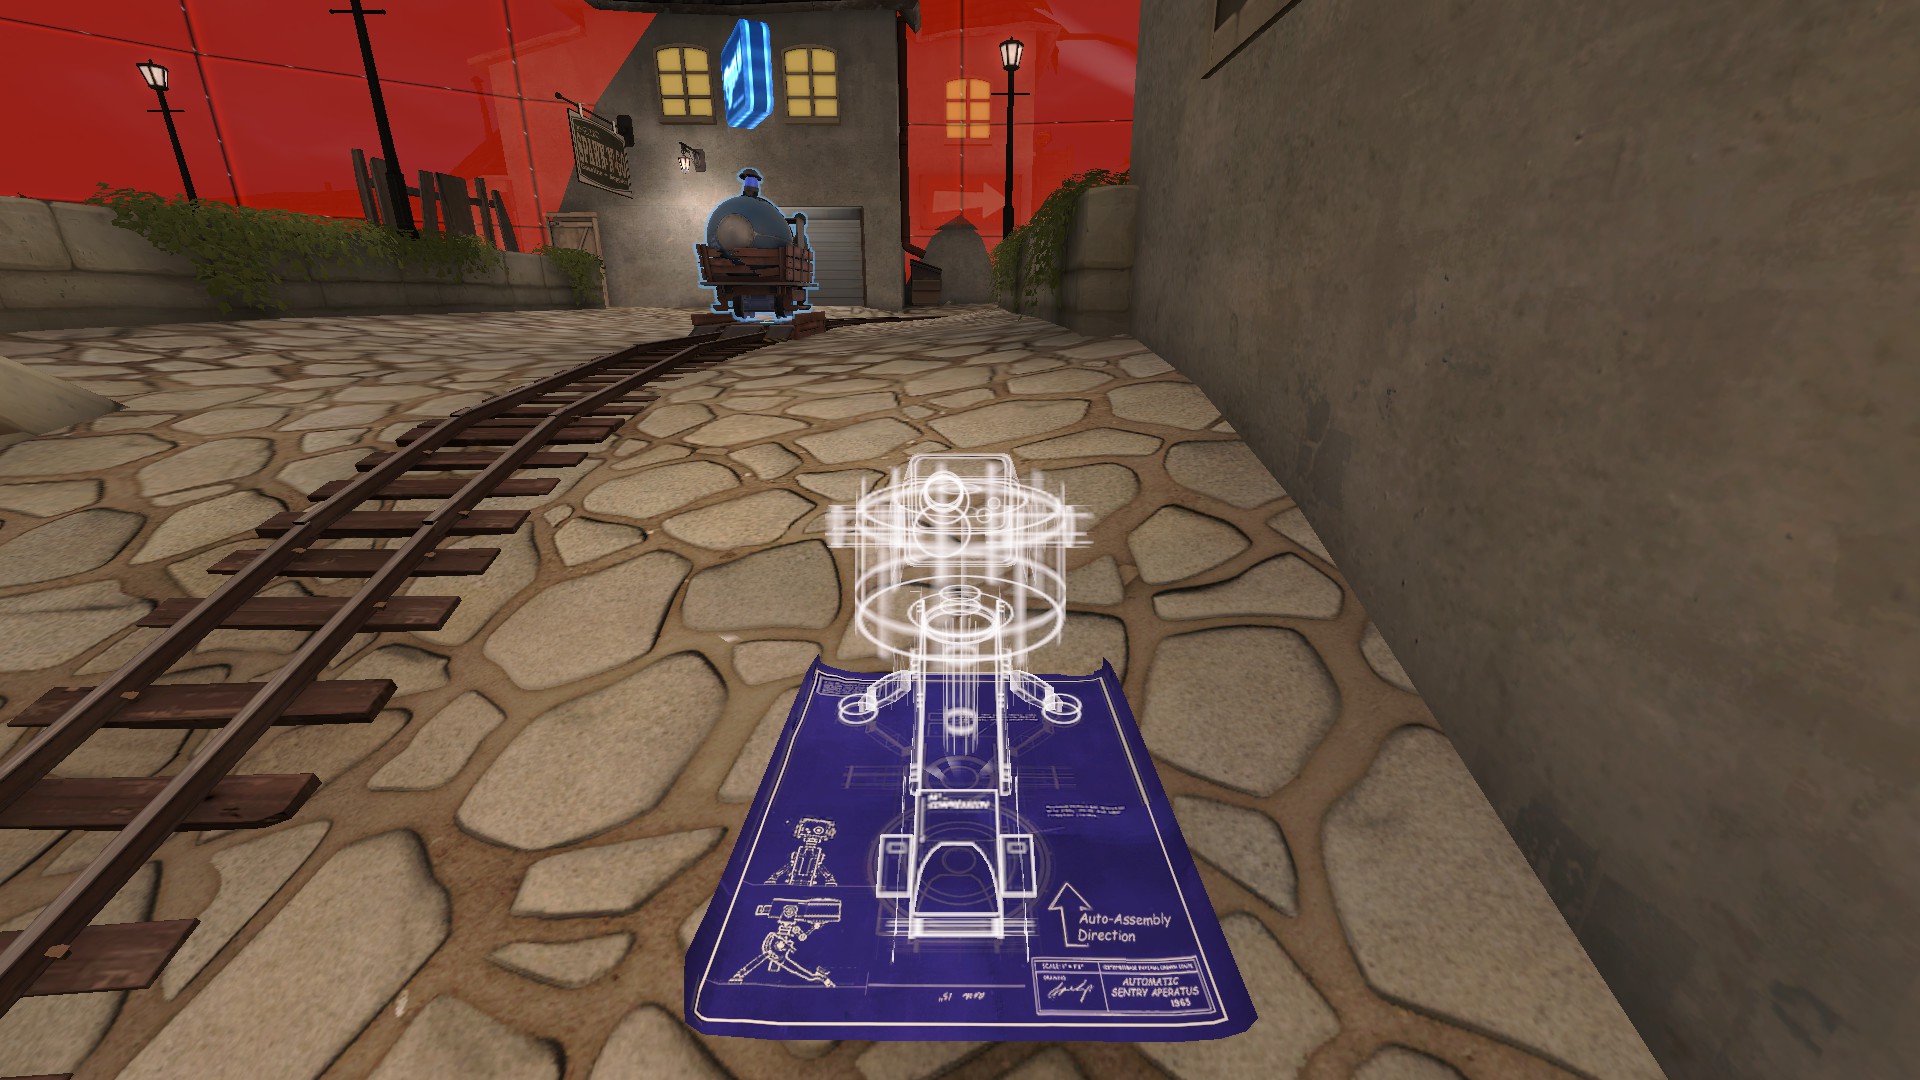
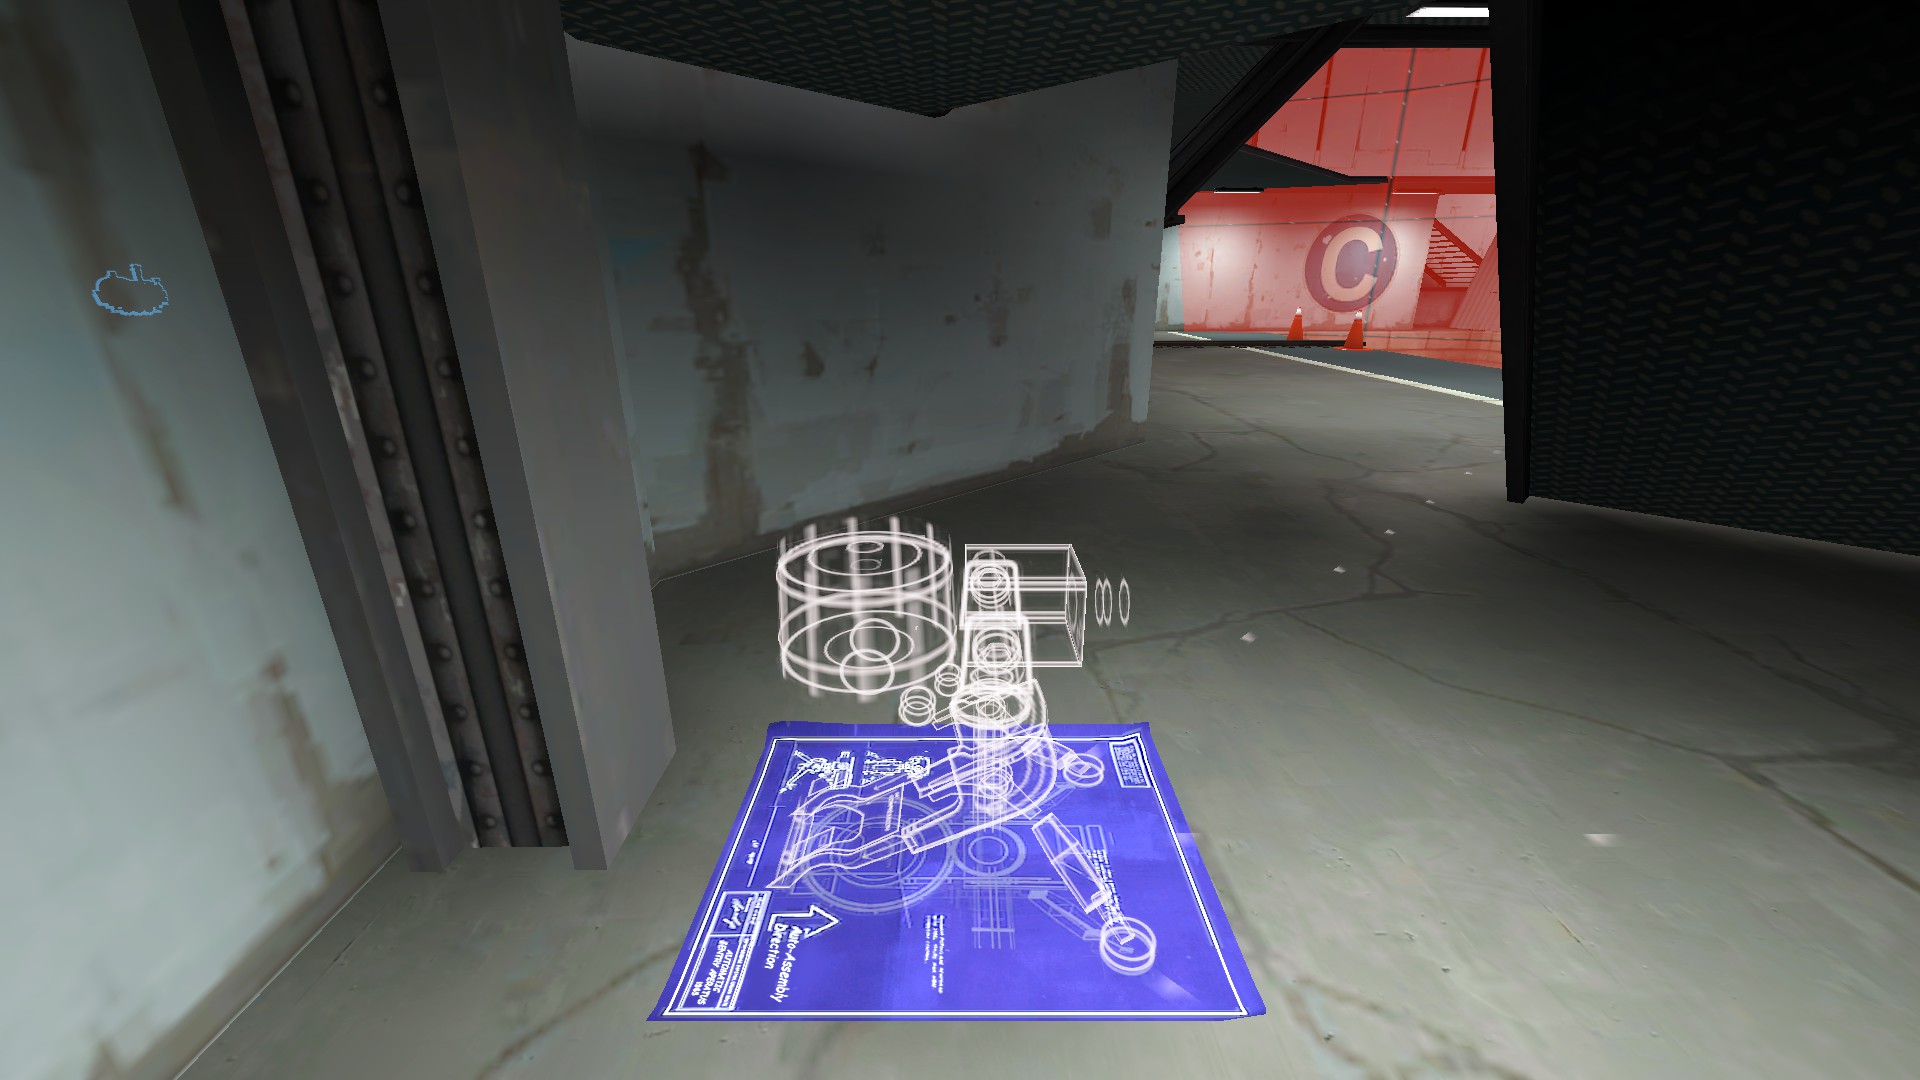
Make sure you place it here where it perfectly sees the right flank but cannot be shot at by people that pass by the red van over on the left. If you want it to be effective at shooting those beyond the van, you run the risk of it being outranged by people in the building on the far left.
BLU Offense
BLU Spawn (point 0)
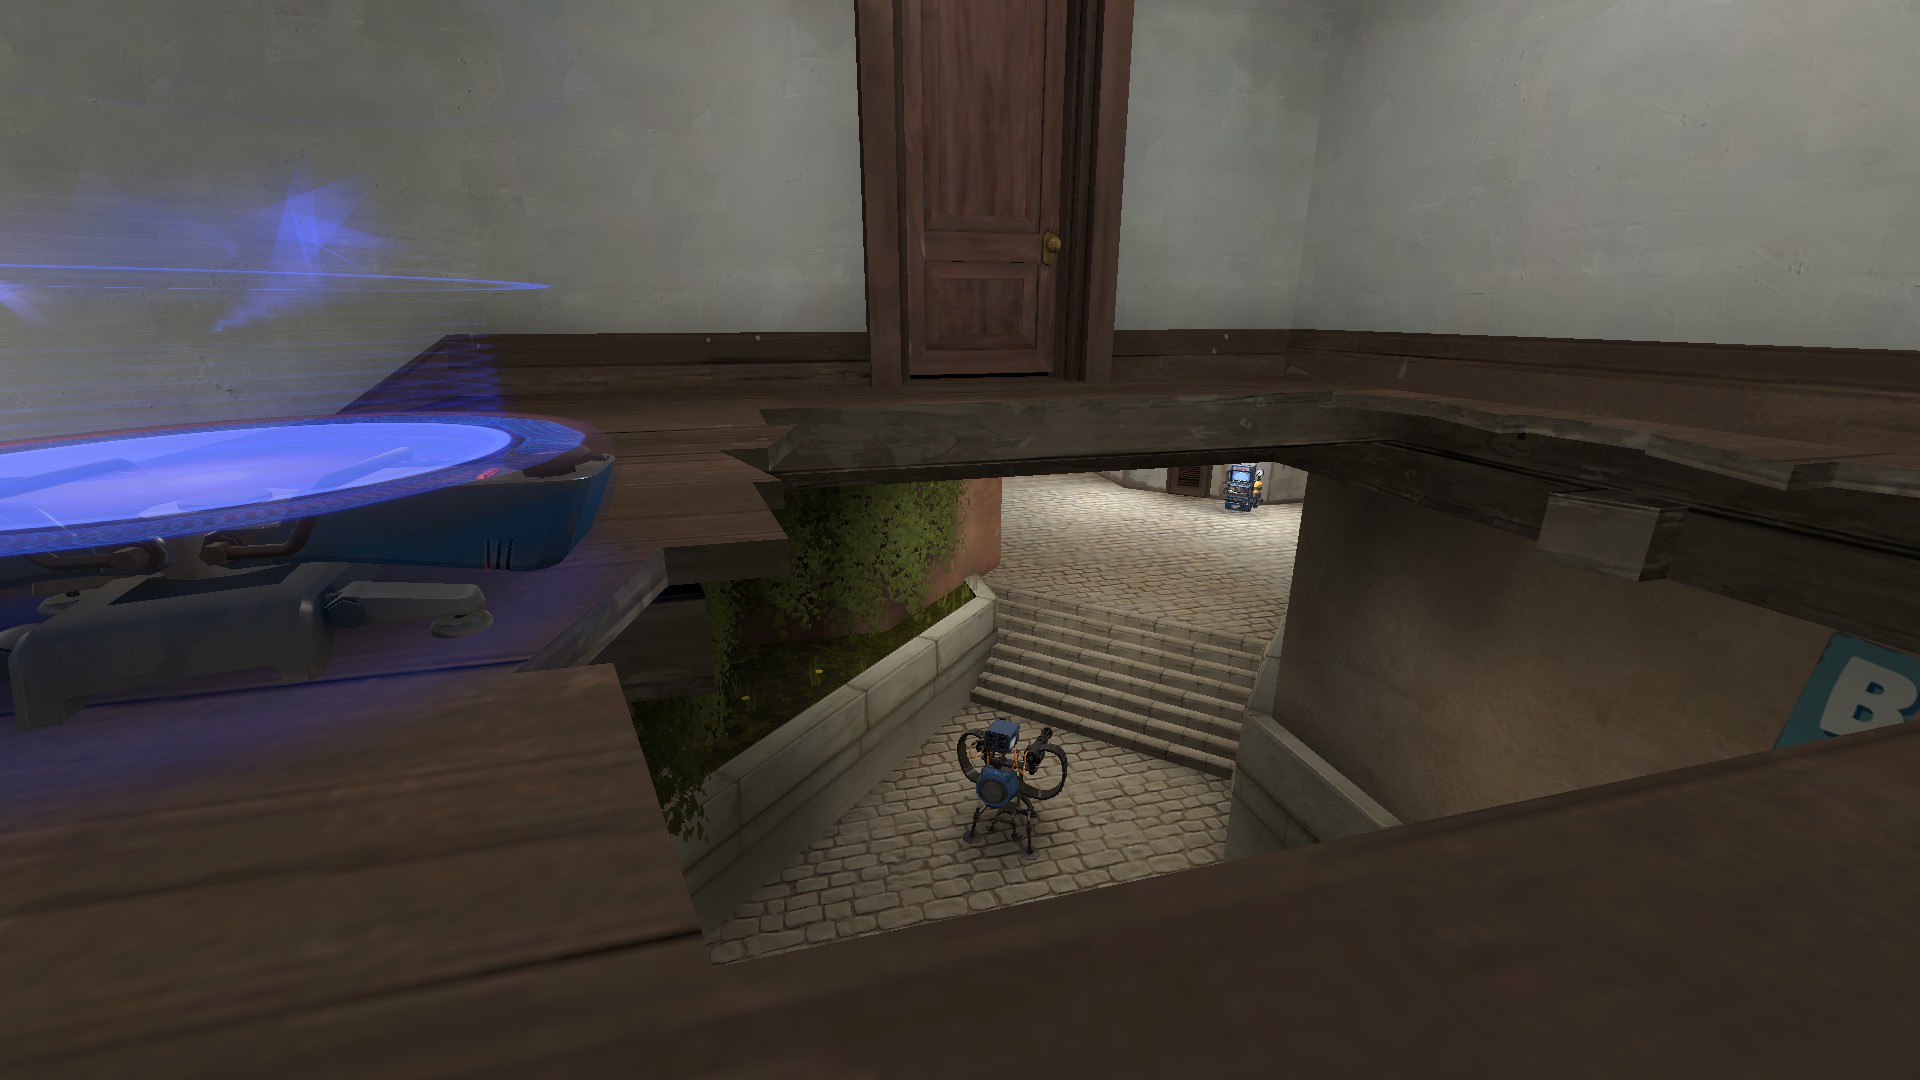
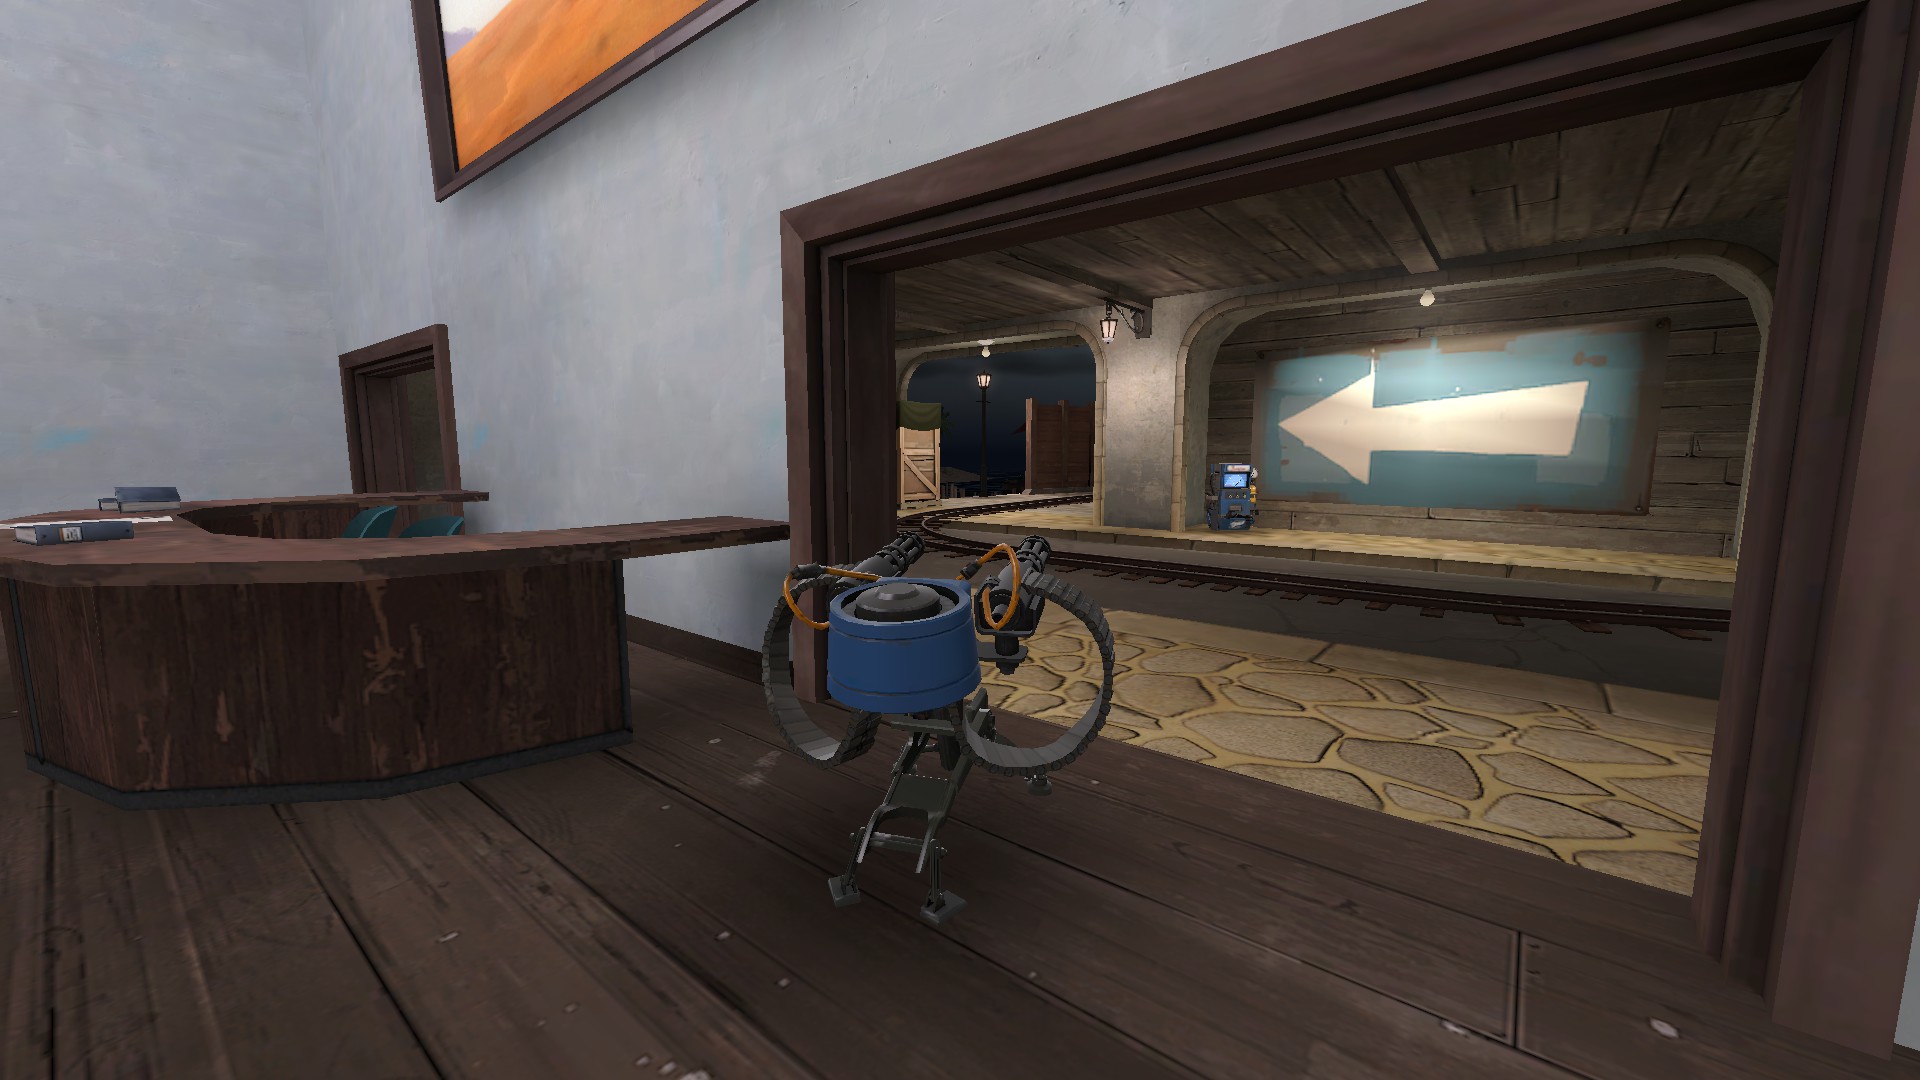
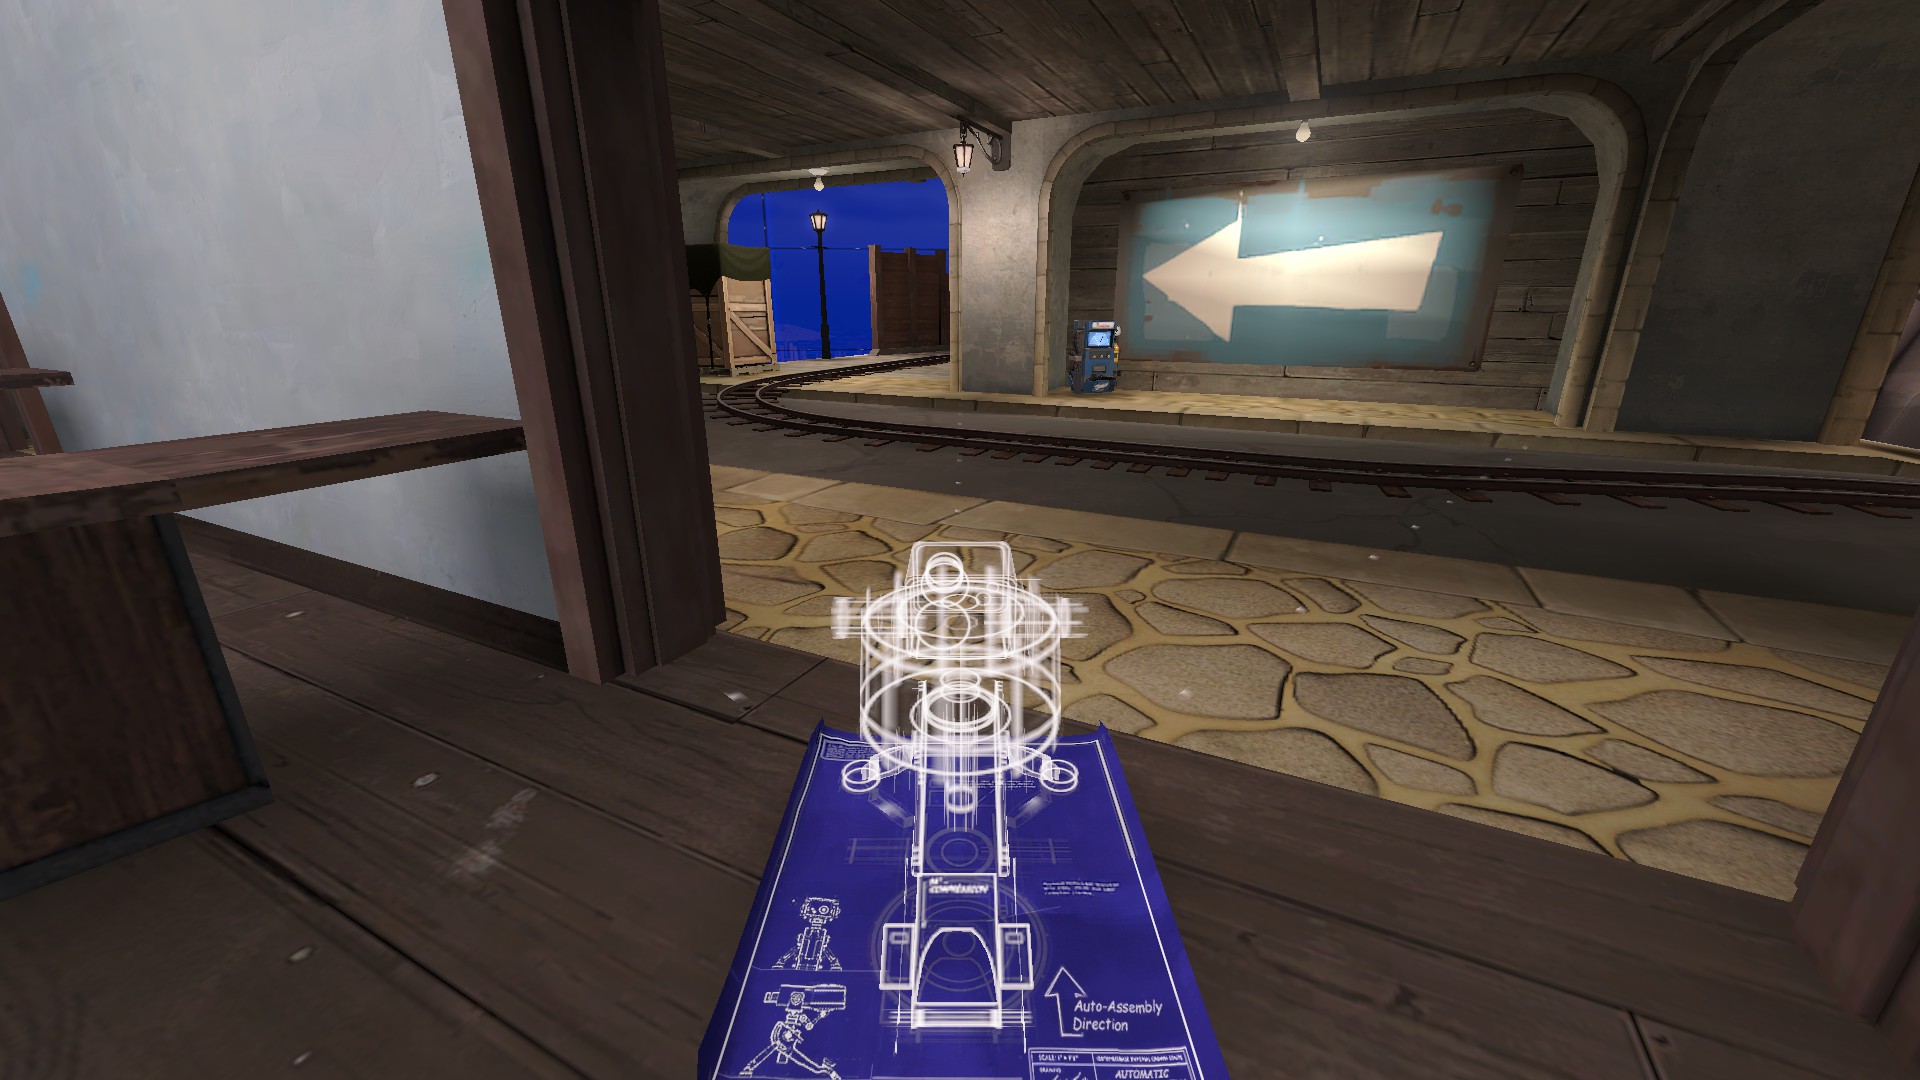
This is your greatest extent of putting a sentry and dispenser in the beginning. Every other avenue was either really easy to kill the sentry or remove the engineer from existence, especially by spies and snipers.
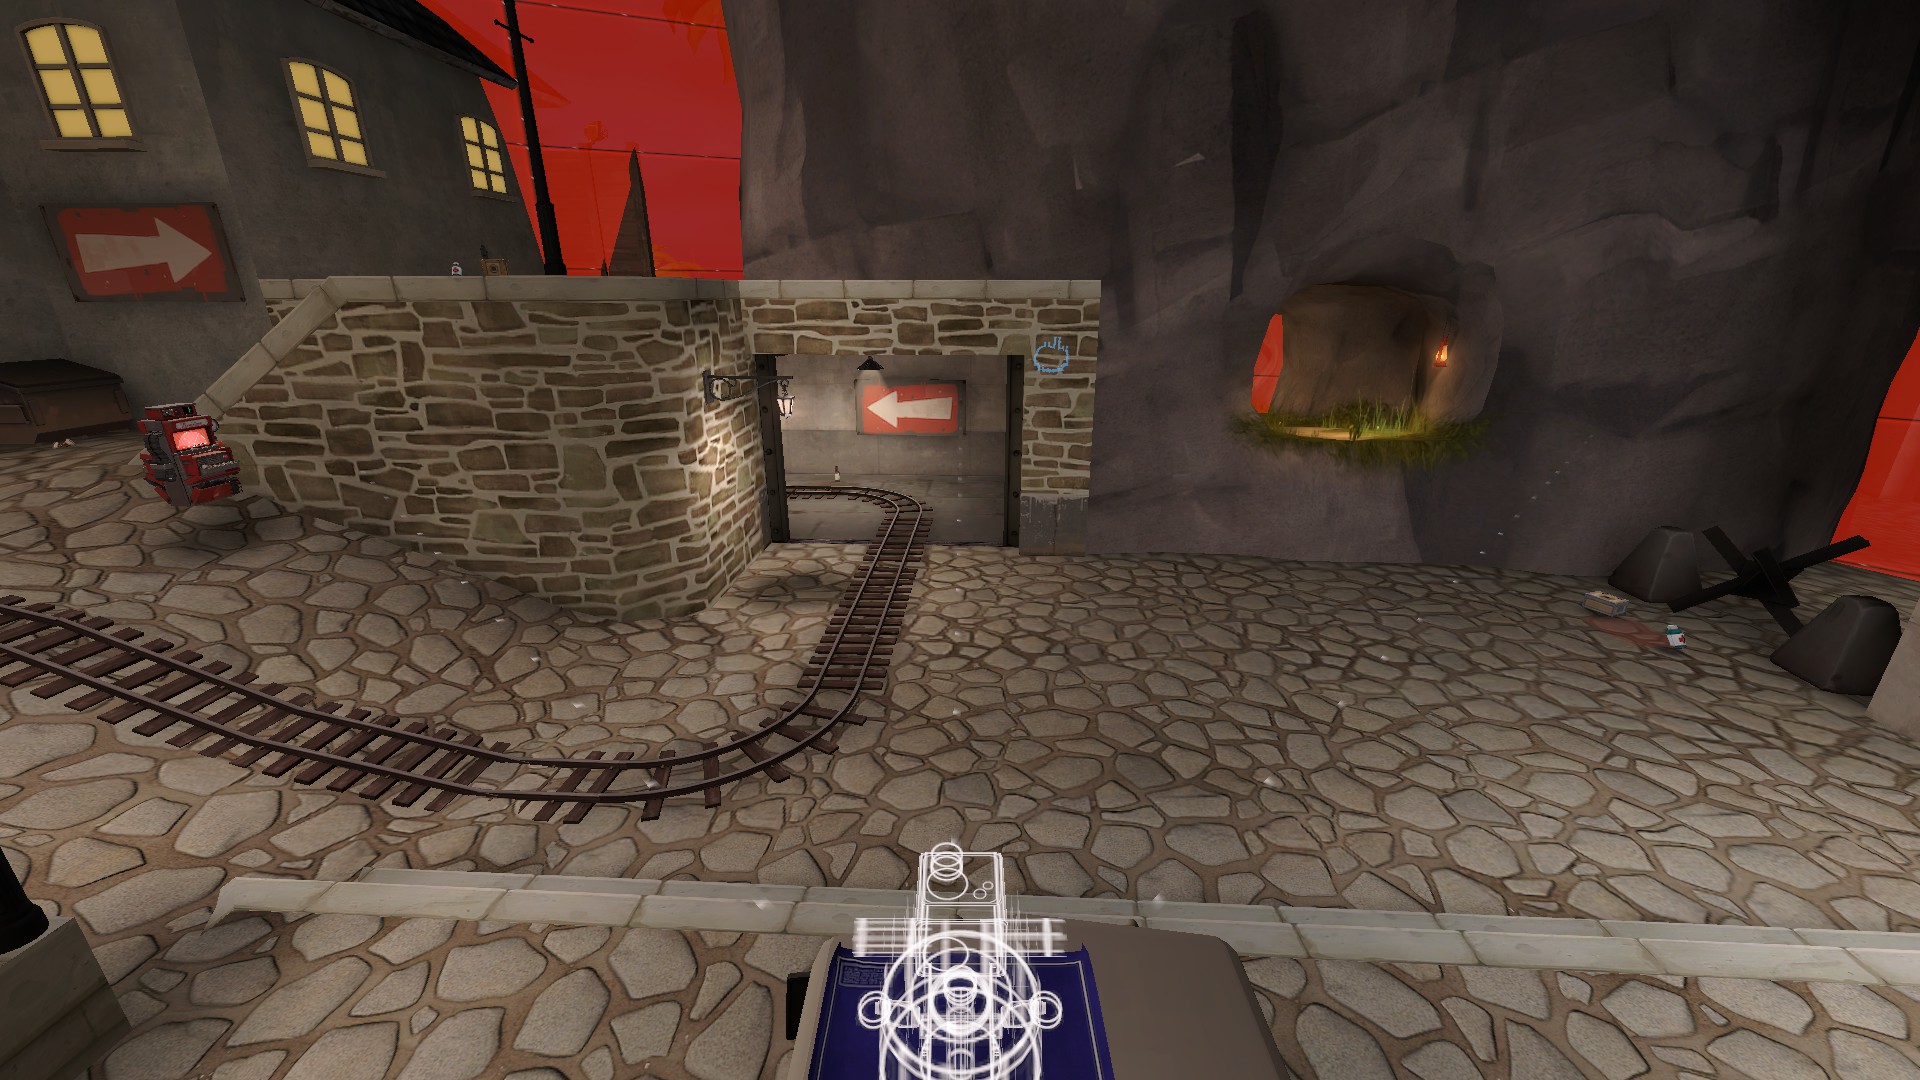
That being said, the sentry covers an amazing chunk of area and even some of the opposing cliff. I’ve also done my best to get it to cover as much of the tunnel as possible, to prevent corner peeking.
The sentry does not see into the tunnel or the turn where the cart enters. Its main focus is removing the effective high ground advantage many classes will take up top. If it doesn’t, a lot of chaos can occur, so this form of area denial is perfectly fine for you as an engineer to employ.
You can see its vision of the ground is awful, but amazing up top. If the sentry can stay alive, your team could convert the high ground into an effective push.
First Point
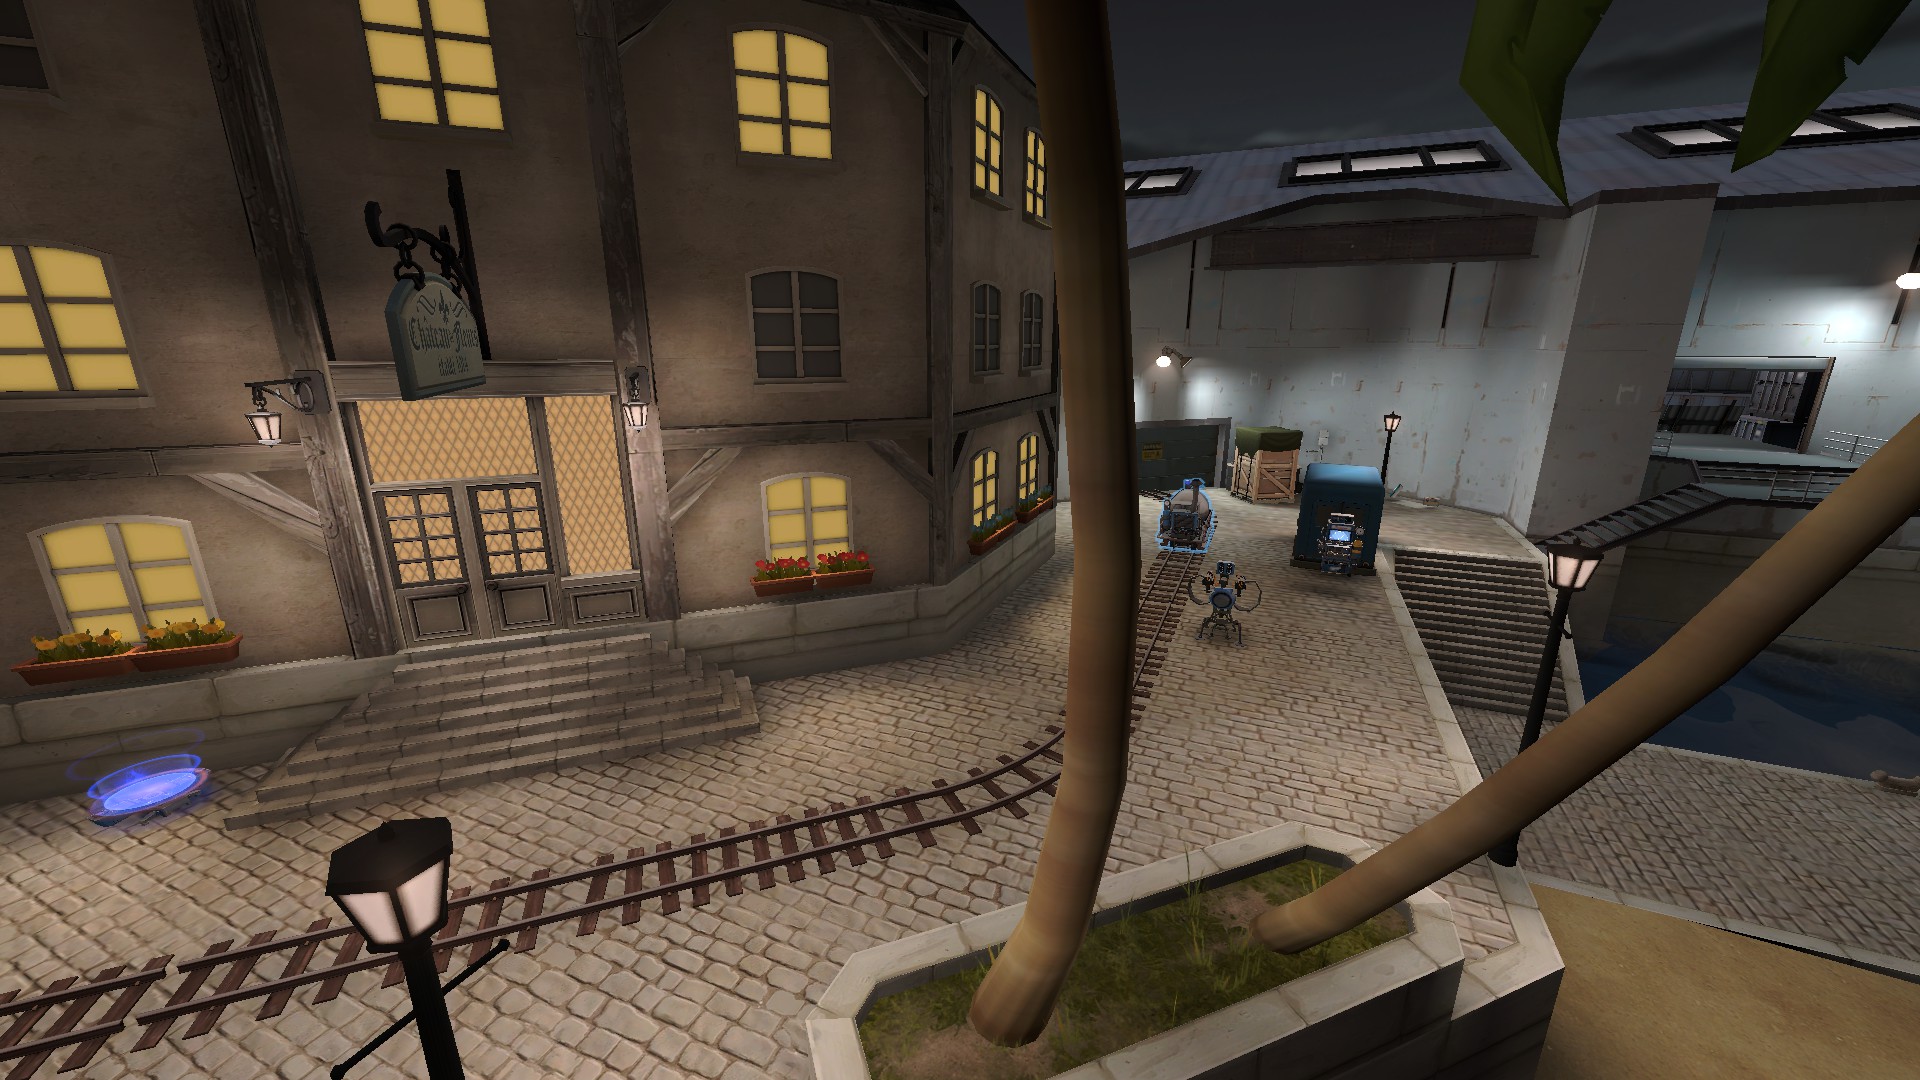
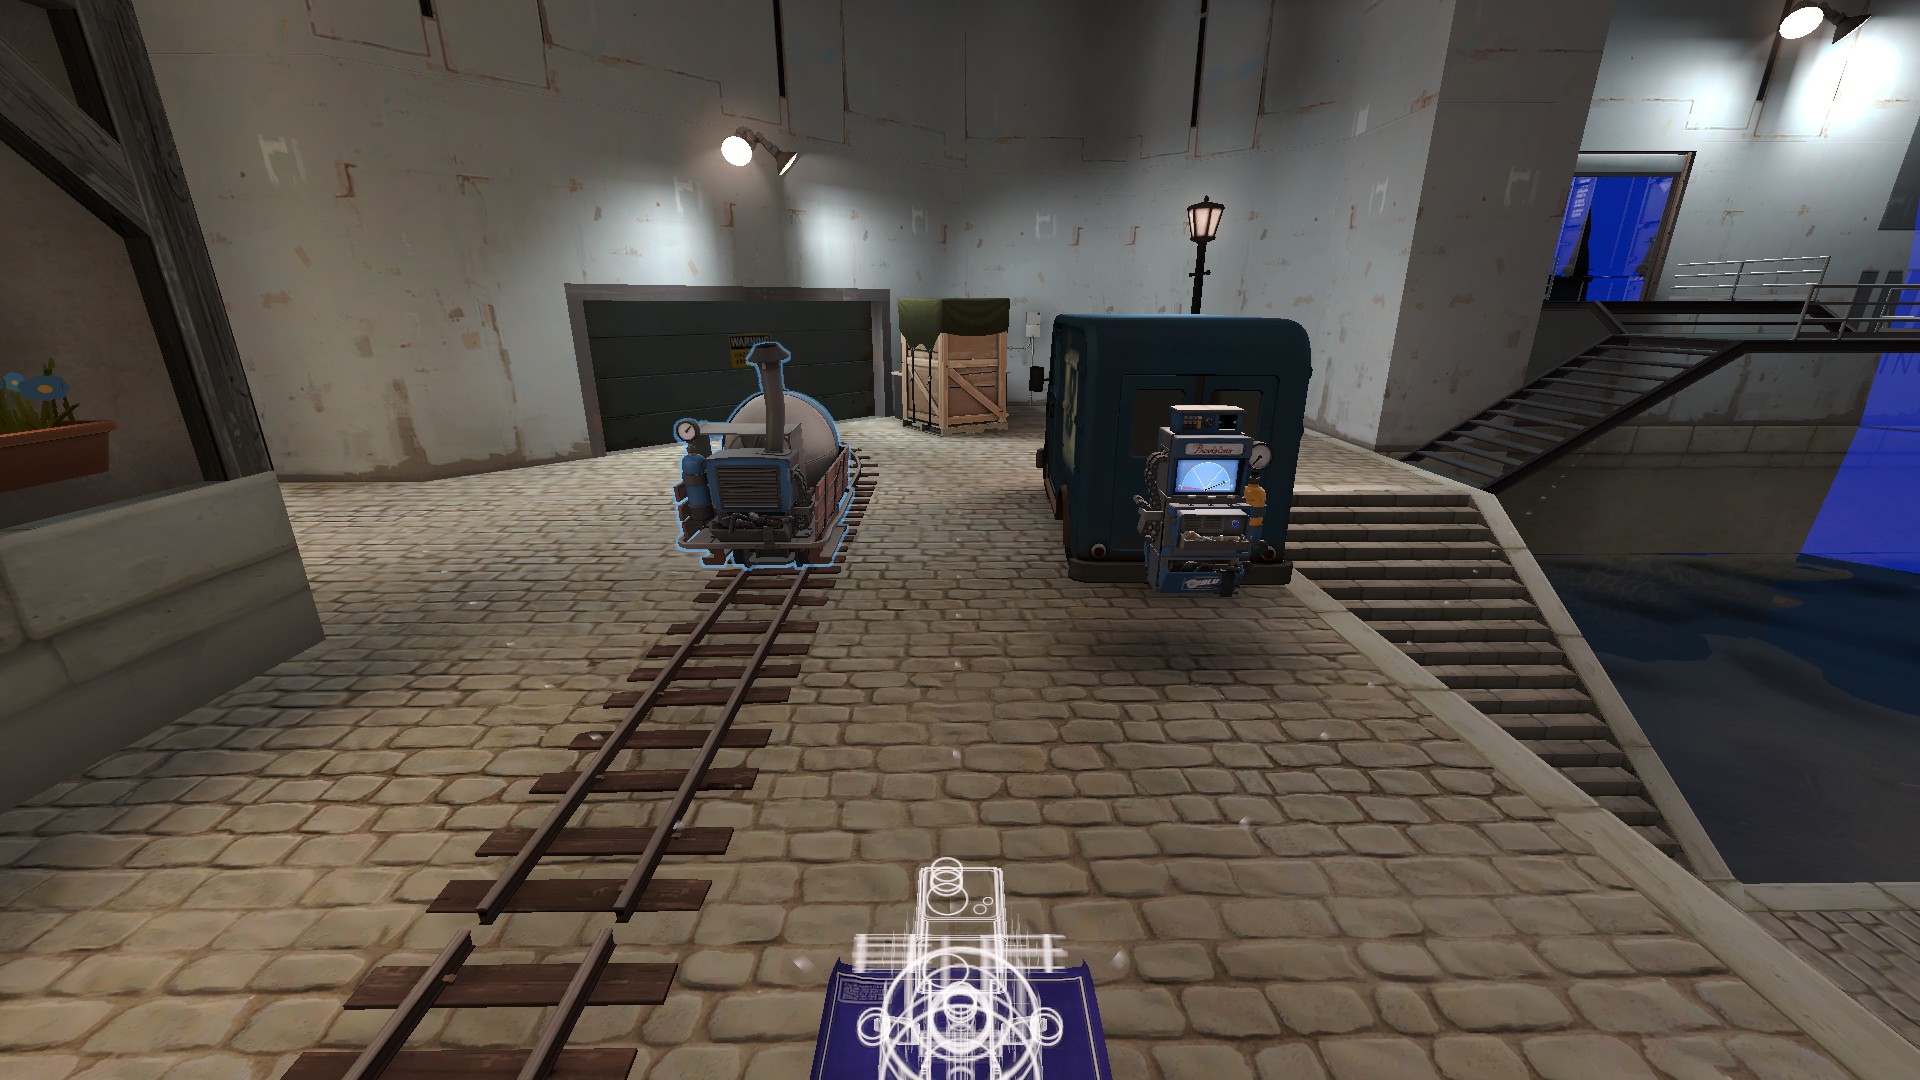
Dispenser has the most closeness while having cover for both team and itself from splash and spam. If you need a teleporter spot, I may recommend behind the truck The sentry is broken. I need to describe this in detail:
THIS sentry has the best view of so many angles at once, while also having the best cover from pretty much anywhere. It also cannot be easily overwhelmed as all angles of popping around a corner are so far apart in moving from one peek to the other, but are all really close to each-other so the sentry never needs to rotate far.
Second Point
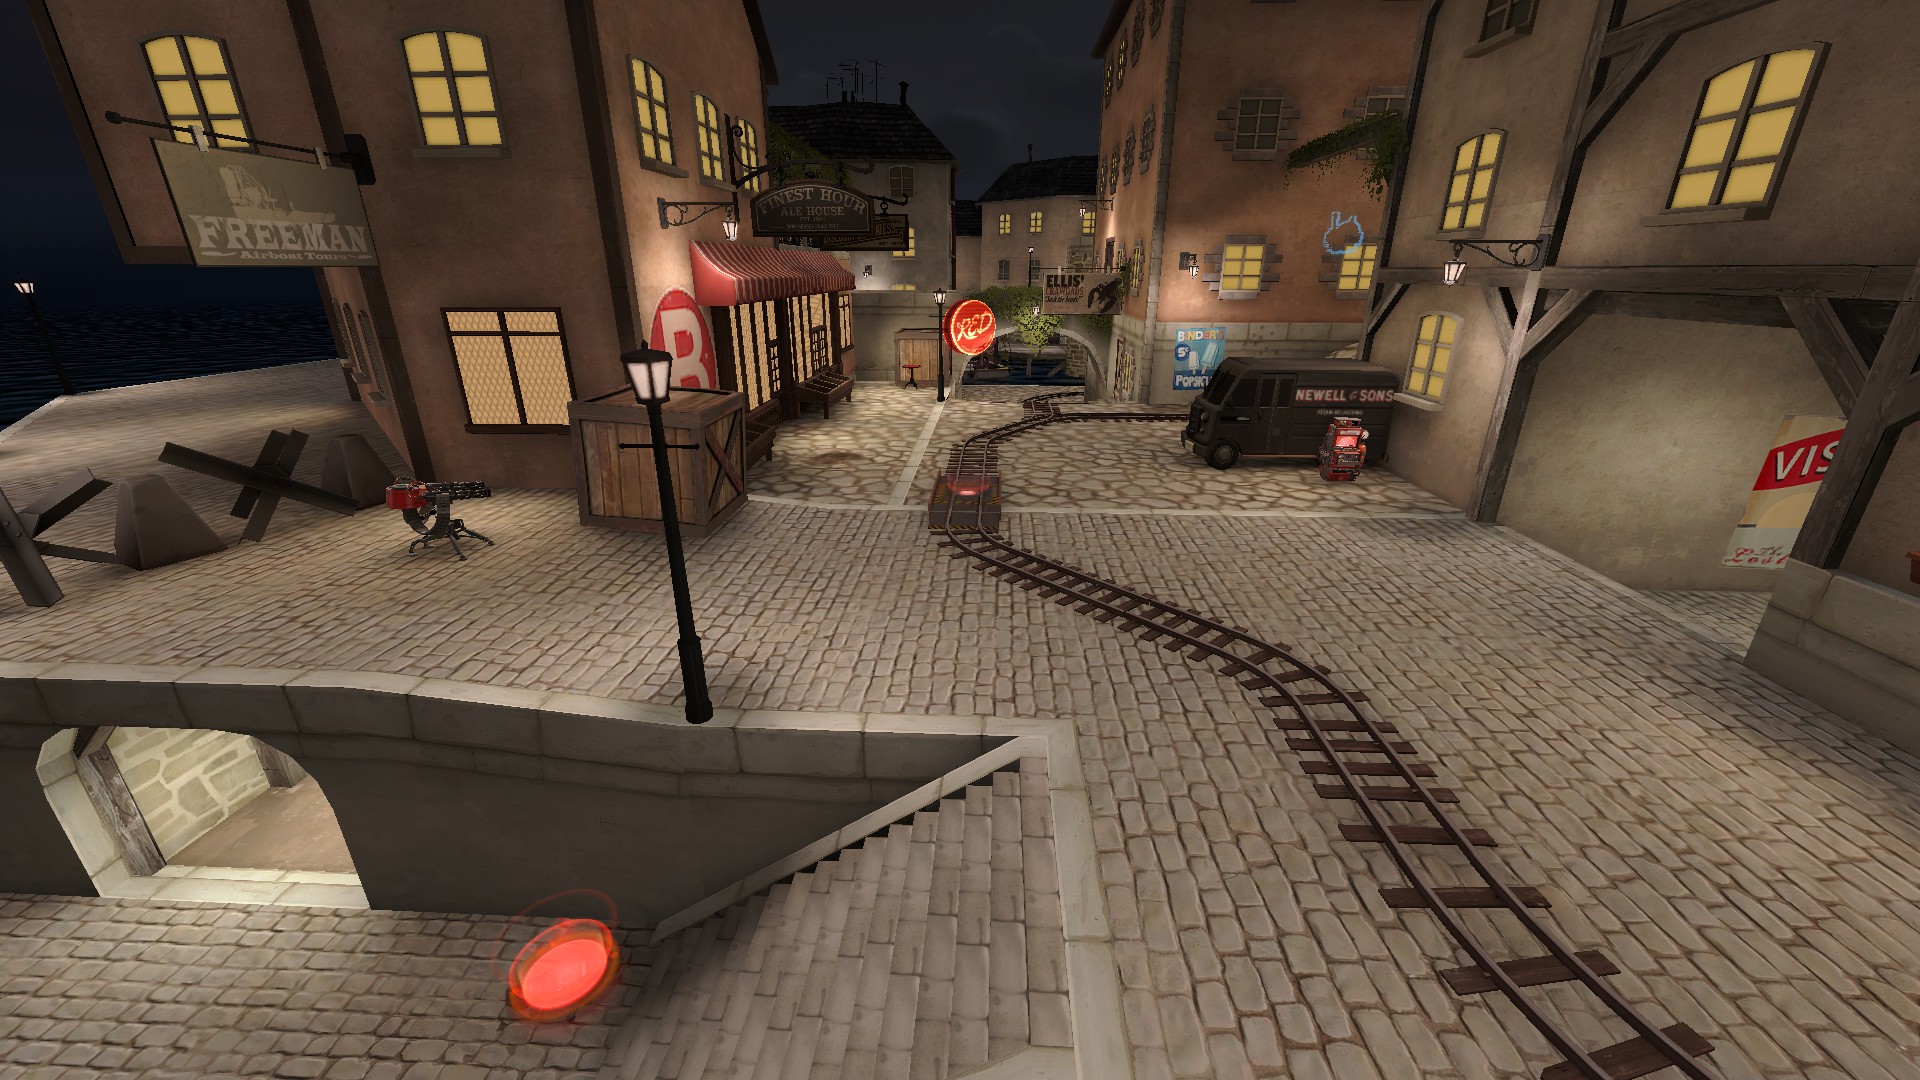
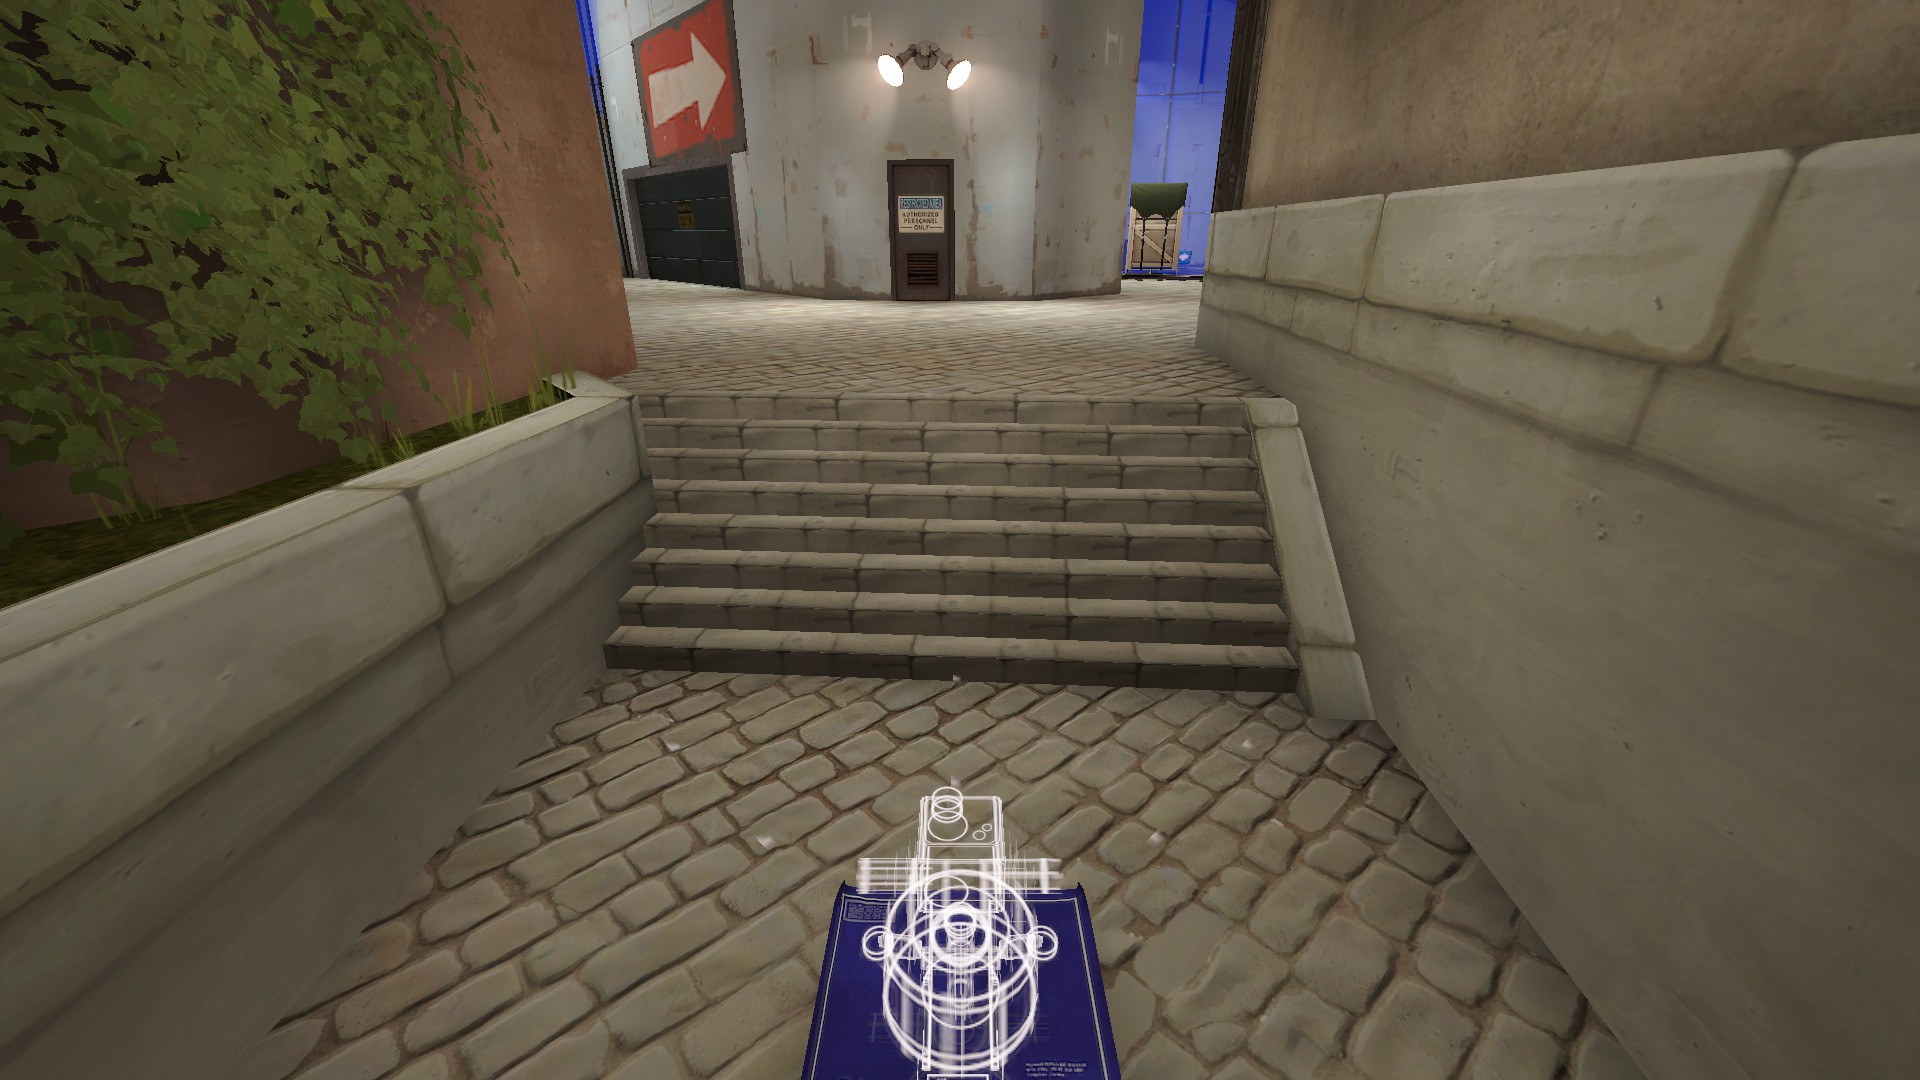
Your next push is going to be these stairs on the right. Get your sentry as far back left of the top as possible, and a dispenser not too far behind. The spacing is bad, but a forward offense is super important here.
When the cart gets out of the tunnel there is a closed garage door on the river that you can swim under to get here. This teleporter is extremely important SOLELY to put people on the cart as immediately as possible.
Sentry has perfect coverage. Can be corner peeked so it’s important your team keeps hold of the T-section while cart pushing.
Once cart has made it around the bend at the end of the river, you’re going to want to move everything up, starting with the teleporter for team relevancy. Both tele and dispenser are in really good spots. Dispenser blocks from just anyone getting into the building. Building has access to two other doorways in or out that all benefit your team.
Sentry covers everything, with the best distance so target acquisition and rotation are fast and ready. No chance of being overwhelmed. Cannot be hit from past the grey truck at this spot so it perfectly does its job of area denial.
Third Point
Spacing is again compromised between two buildings for the power-spot. Bring your dispenser forward first, then teleporter, and then your sentry. Teleporter is just barely out of the way so it’s not immediately killed, and is next to a drop-down for a high ground advantage.
Sentry near-perfectly covers all of this area. You can see it is in danger of being corner peeked on the left, but as long as the drop-down is used for a crazy good height advantage by other classes, the sentry is unlikely to be destroyed.
Once you have pushed the enemy forwards enough, consider moving your dispenser here between the two big doors, with a sentry to perfectly defend anyone who may try and push out from them.
Pretty much perfect vision of both sides. Cannot see the top right flank, so that is the weakness of this push.
Your other and slightly less foolproof option that covers all angles with more restriction on safety for your sentry. With a teleporter and dispenser that focuses much more heavily on a center push.
Rule of thumb of where exactly where to place this sentry is by looking at the top right flank and making sure the range bubble pierces the corner of the blue shipping crates just a little.
THIS is the position for all your buildings you’re going to eventually want. Dispenser is not by the car but is far safer for teammates to retreat to, and sentry has excellent view of all angles. When the cart opens the garage door to the third cap that door will permanently stay open, so sentry eventually covers even the left door by proxy.
You can hop up on the back of the blue truck and jump-place the sentry. This is what your sentry sees, at least before that big door opens. It will be vulnerable to some long range damage once the door opens.
Fourth Point
Before I show you the sentry and dispenser, please for the love of God…
Put your tele entrance up here and relay its location to your team.
And put the exit at your next spawn, because there is no good reason not to. Makes forward spawns so much faster.
Now:
This sentry is extremely hard to corner peek both from the stairs and the bend. It also covers the big rocks on the right. There is a cubby definitely made for dispensers so make sure to put it there in the corner.
Sentry sees everything it could need to while being safe from soldiers, as long as you have team support.
Last
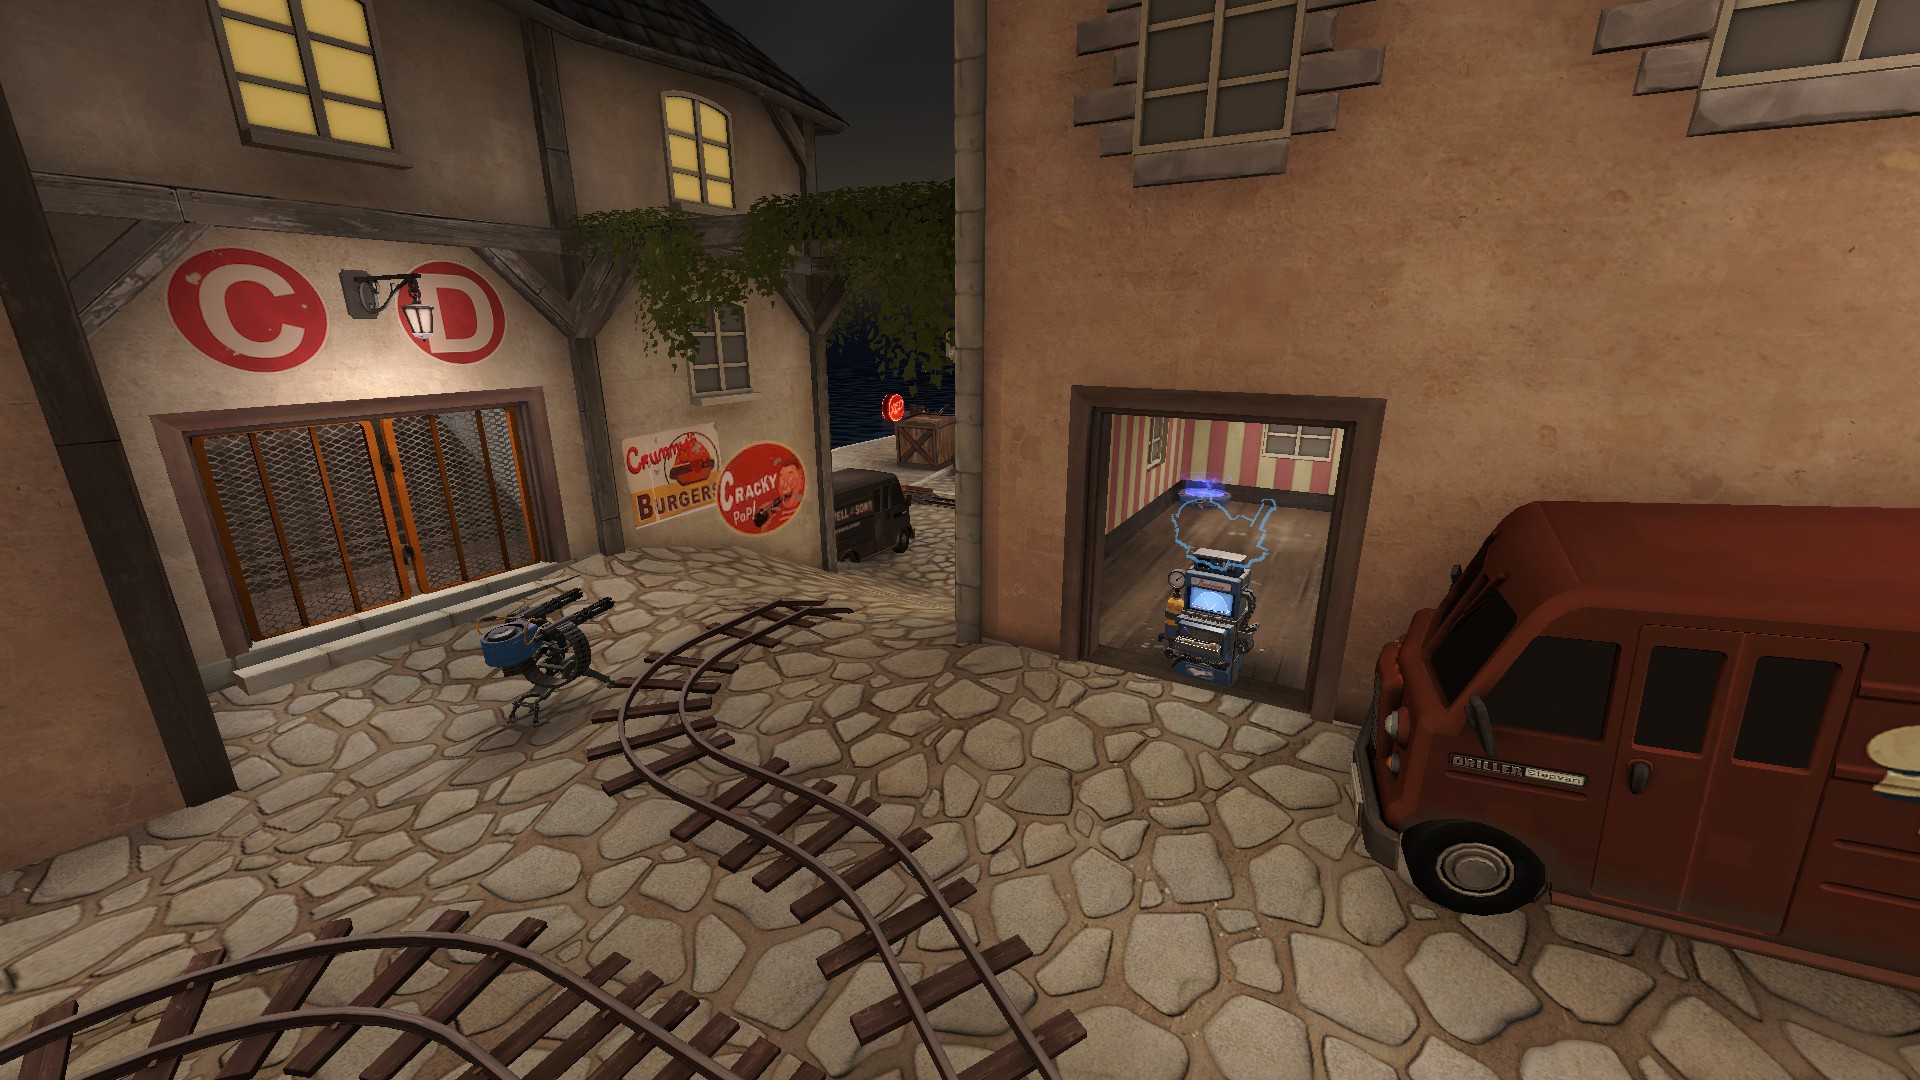
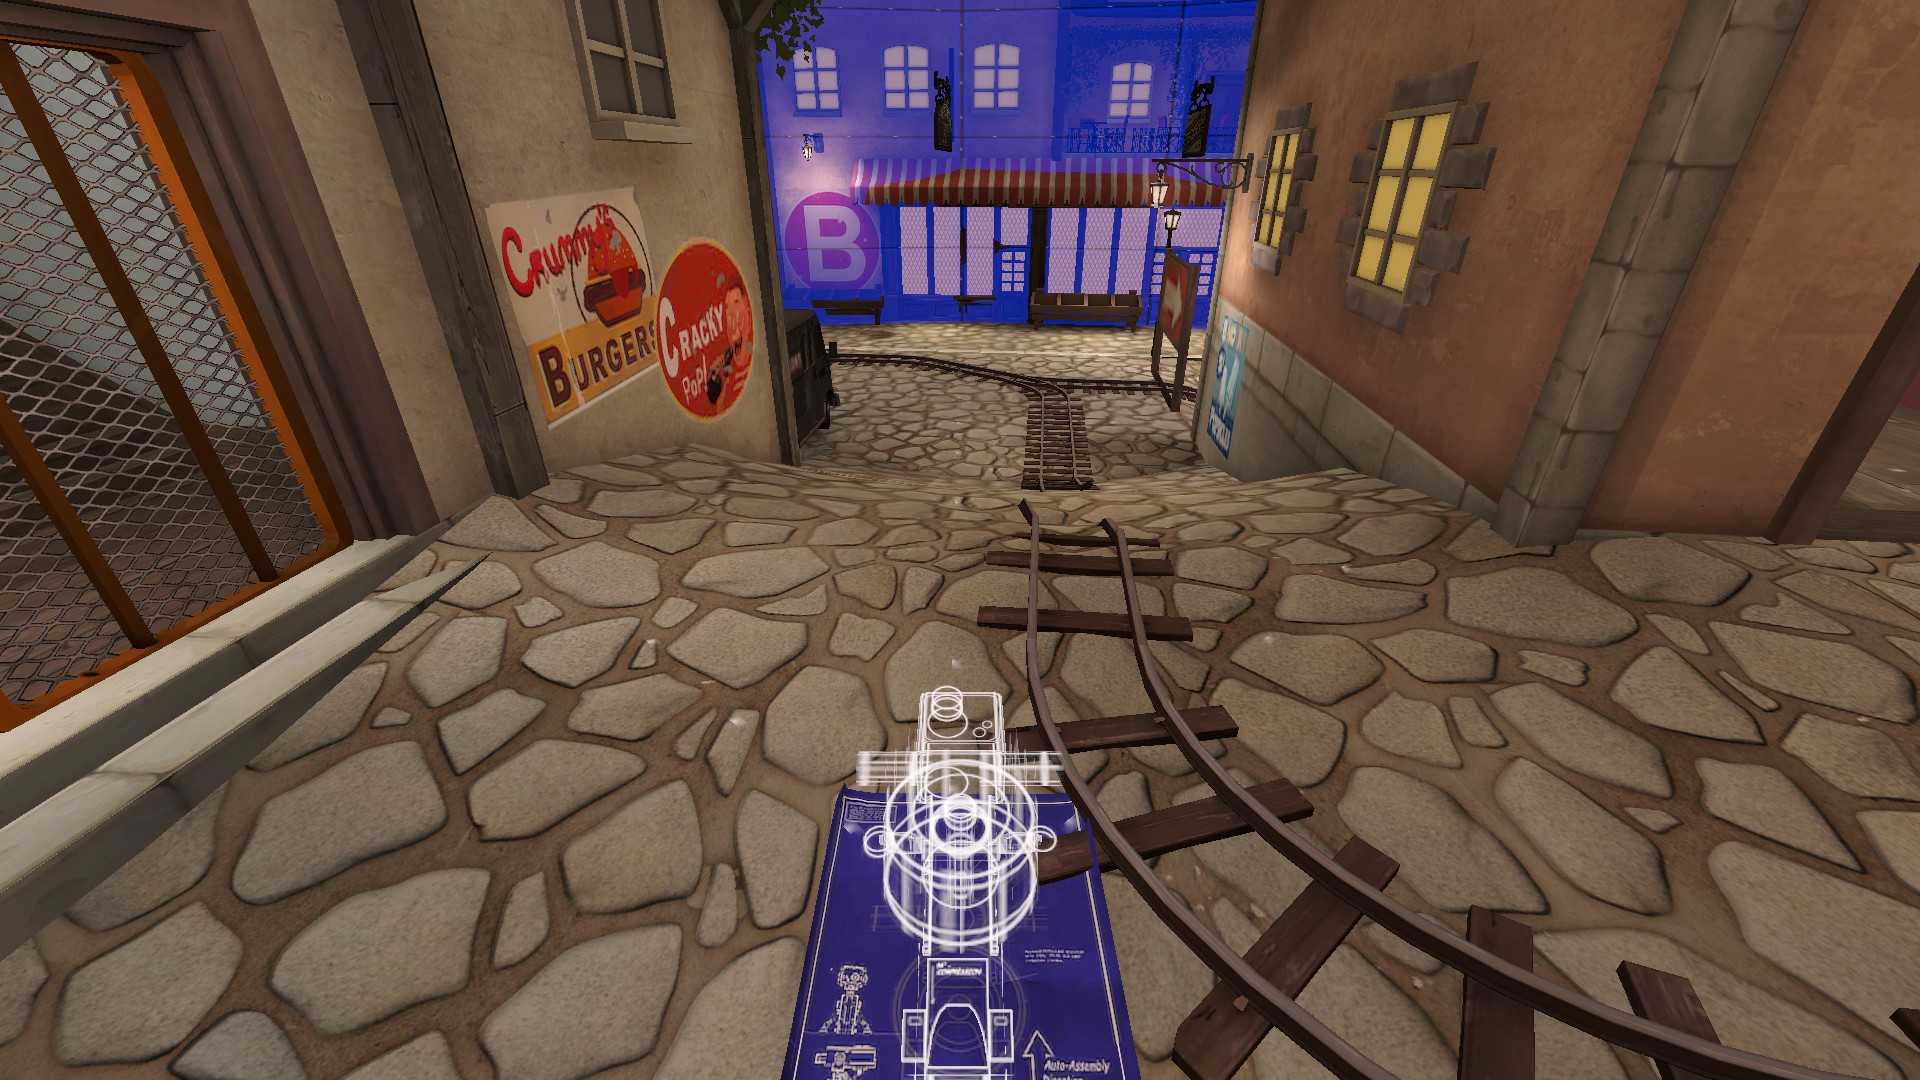
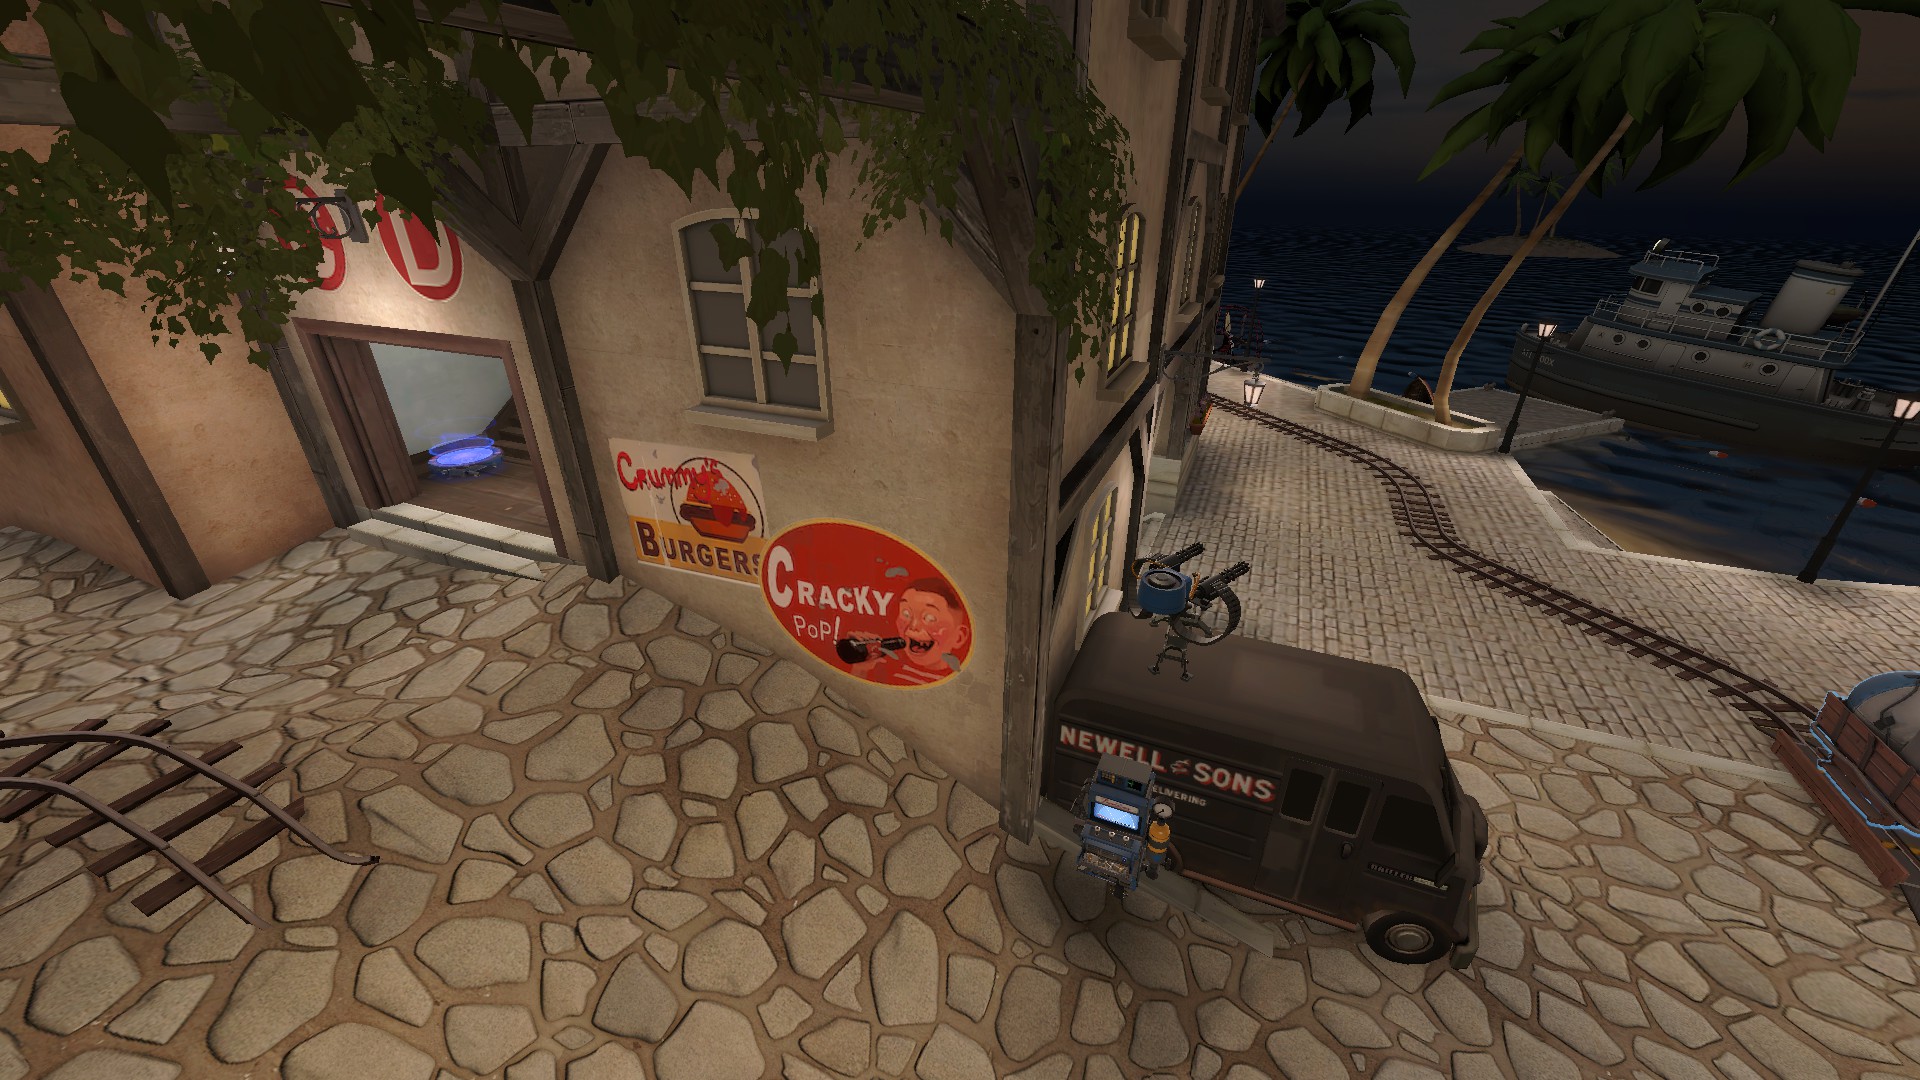
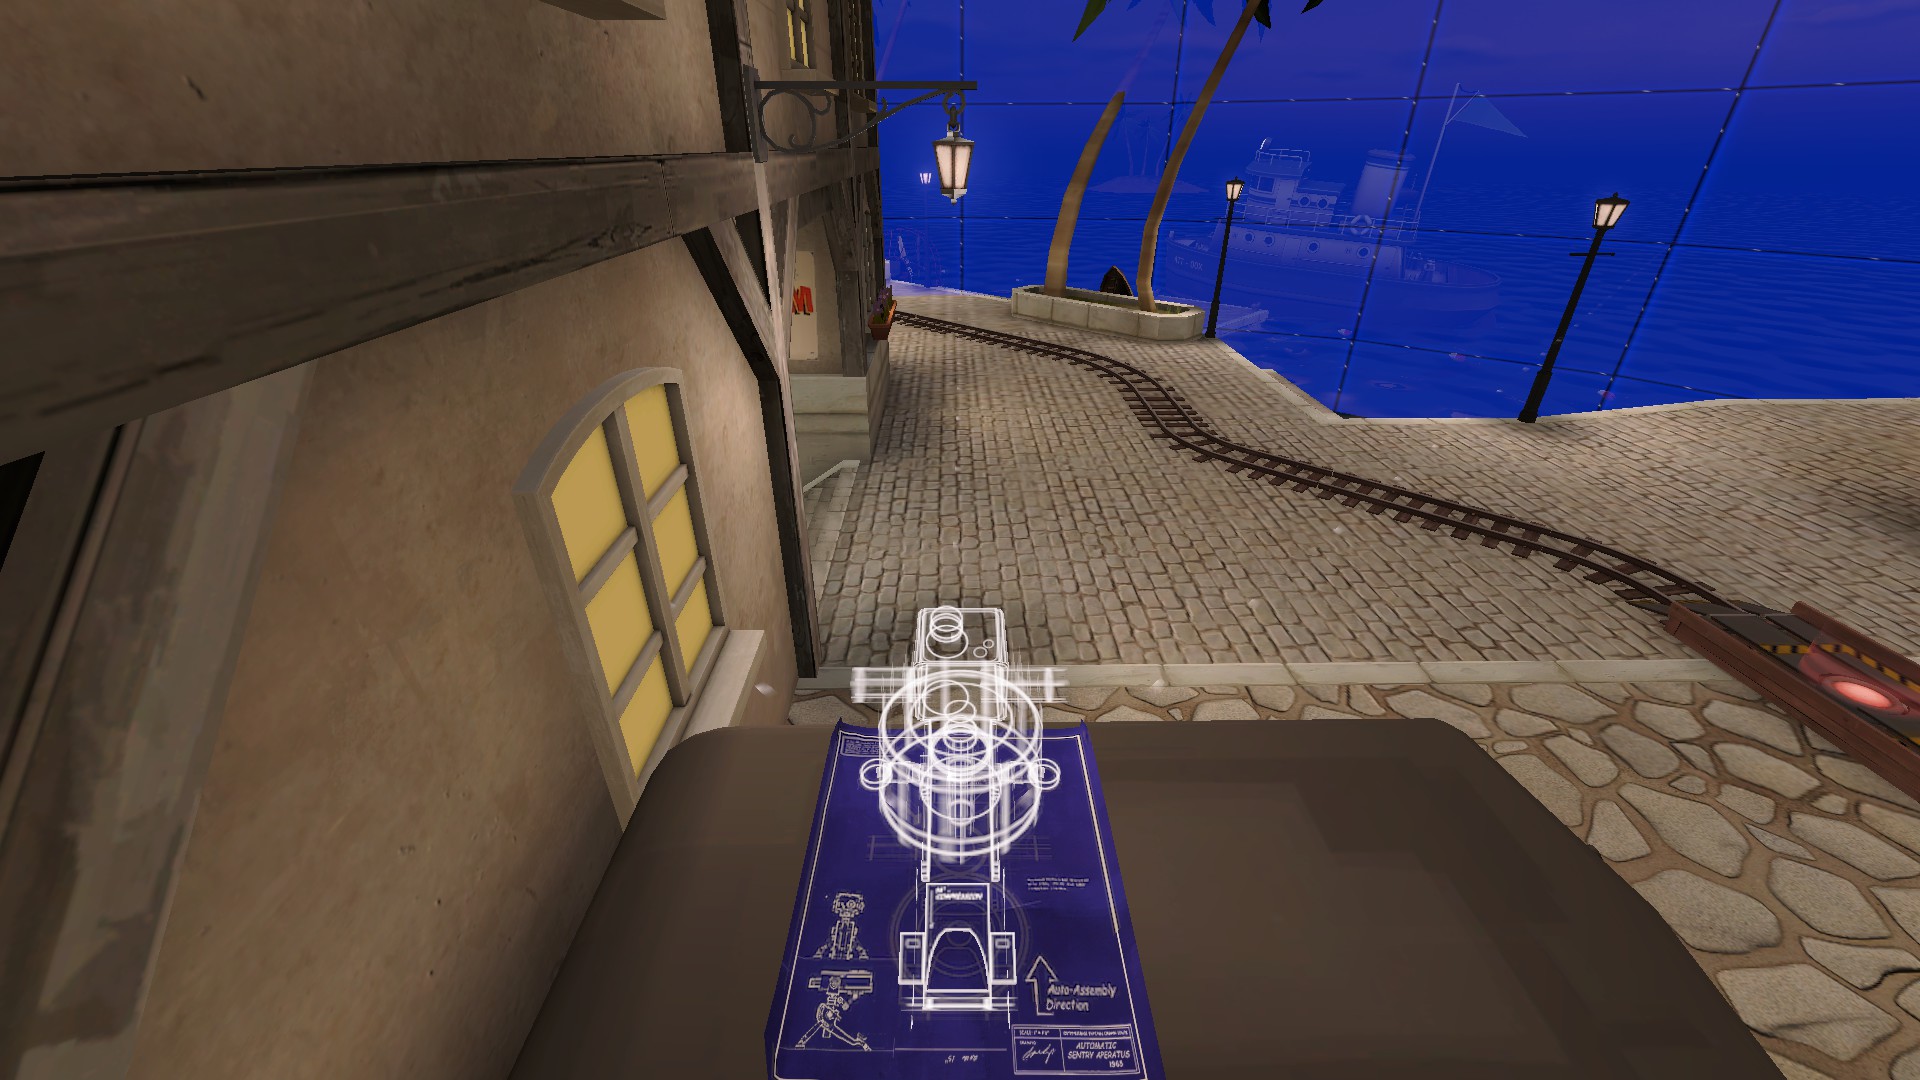
Get up this dispenser and then sentry first before the teleporter. Your spawn becomes forward enough to only need the tele later on when the cart meets its first bend.
Sentry sees pretty much the whole distance without being visible from the beach flank so snipers cannot shoot it. It is possible but a little difficult to corner peek the sentry from the doorway into the building.
Once the cart has met the bend around, you’ll want to bring your dispenser very forward, with the sentry right at the end of the wooden extension. Sentry has amazing vision as any of the other times while being unable to be peeked very easily.
Just as you could do on RED defense you can also do on offense. If you wrangle yourself up here, having just a teleporter is fine and extremely effective.
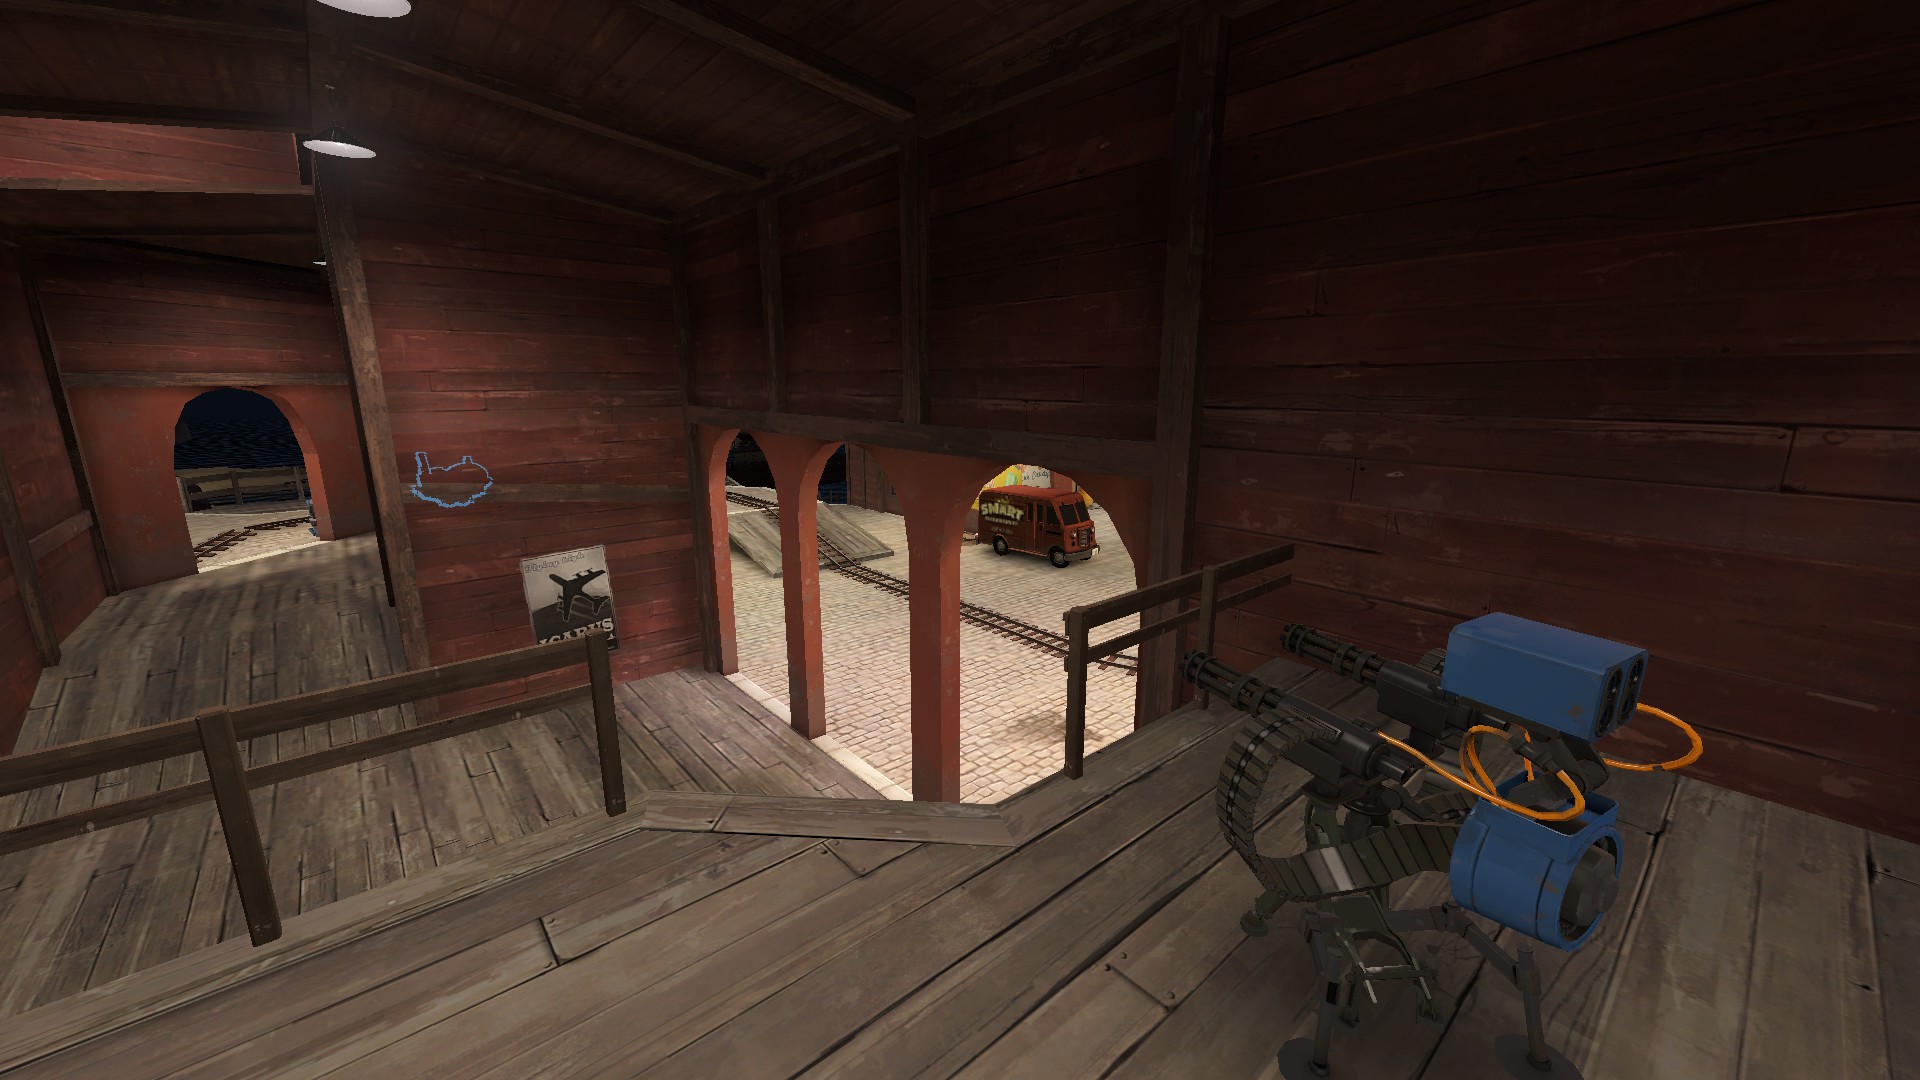
Here’s what you’re going to want to see when placing down the sentry. I recommend upgrading it to 2 or 3 before putting it here.
After the cart moves up enough, your next building positions are going to be behind this box, once again risking building safety with spacing issues. There are two places for the sentry to go here. Each have small differing pros and cons. The below sentry on the box here sees a little less but is easier to turtle if need be.
And the sentry here above can see much more and is slightly harder to corner peek effectively, but is harder to keep healthy if it becomes the focus of many classes or an uber.
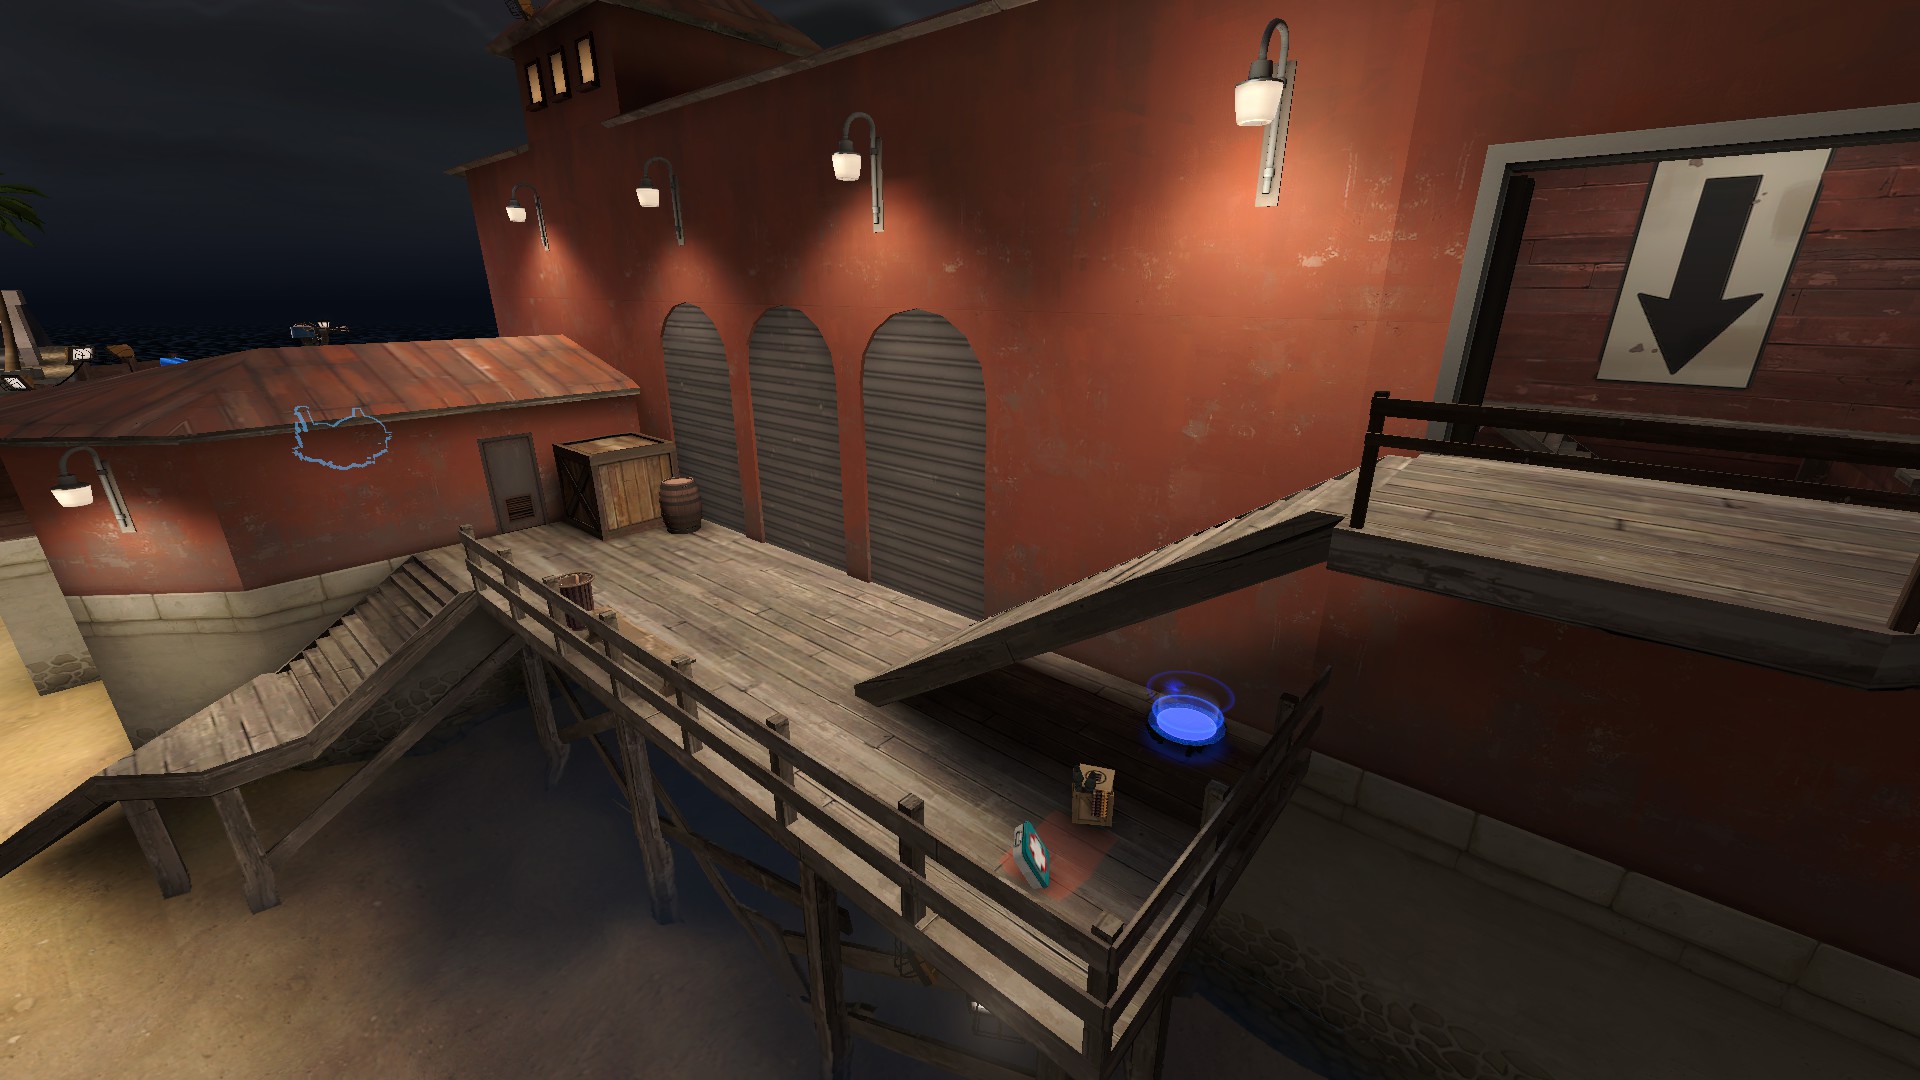
Additionally, your teleporter will always be best placed here. Put it atop and I’ve found heavies can easily just camp it from the stairs inside the building.
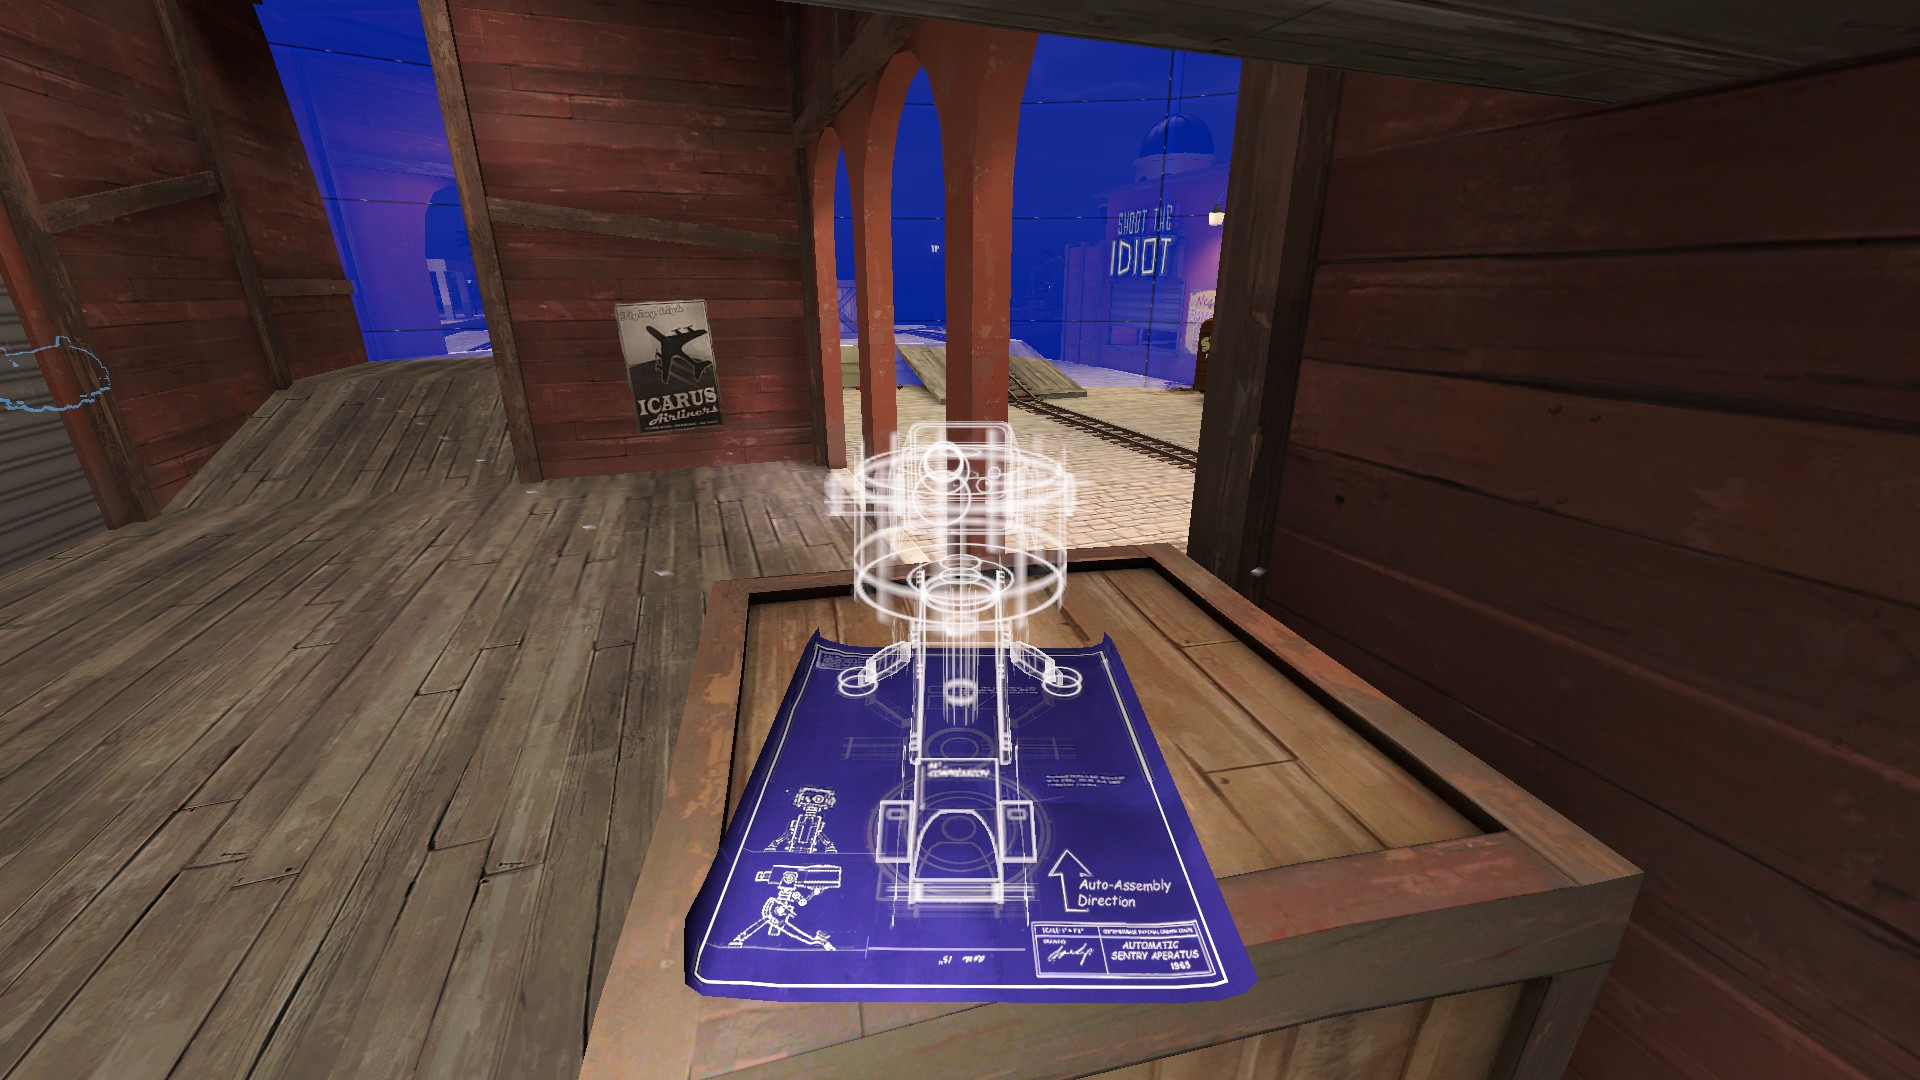
Here is what the box sentry will see.
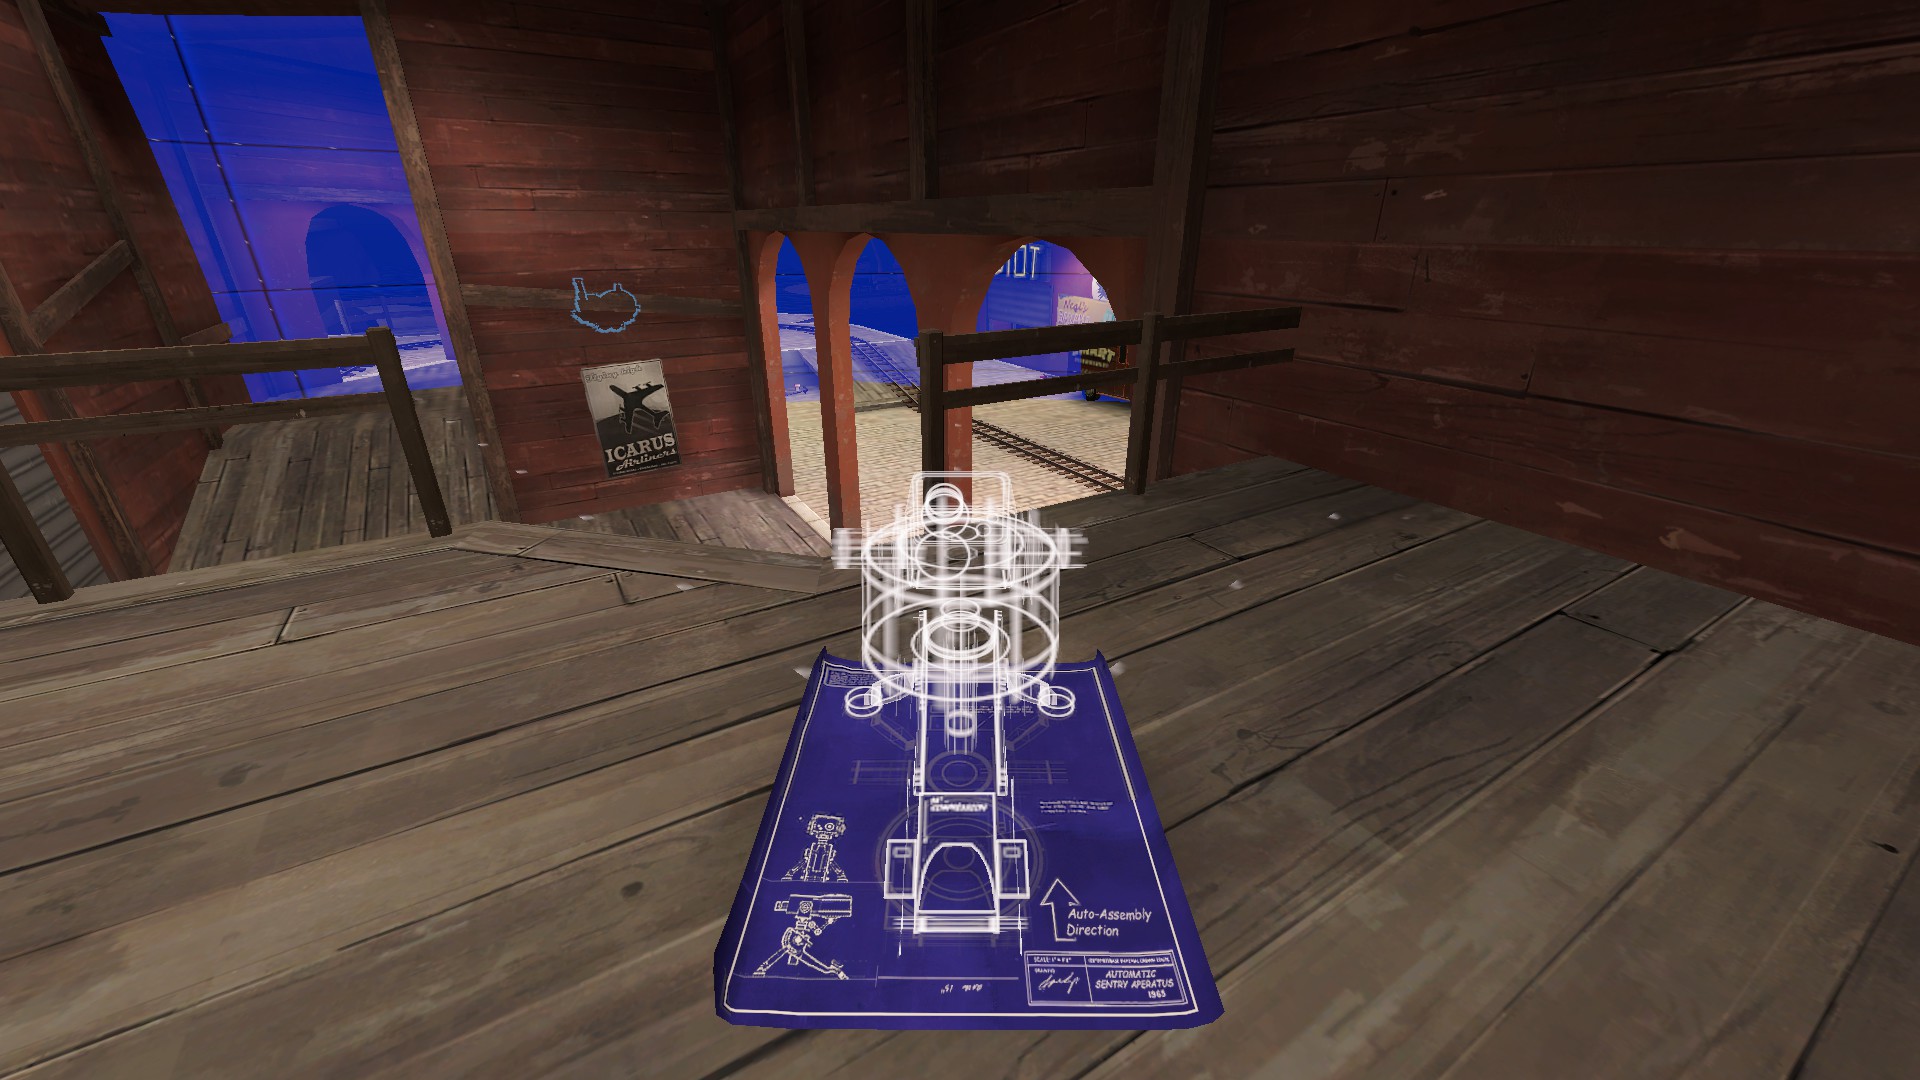
Here is what the balcony sentry will see.
For future maps…
I want to do more maps. I have done guides previously– this one being of the highest and probably best quality moving forward. If you want to contact me, please PM me. My name is Alphamoonman on Discord, and you can find me in the Bearded Expense or Uncle Dane servers. Additionally I am in the TF2 Coaching Society and Engineer Apostles groups on Steam. I do not mind being PM’ed for any reason relating to doing more guides in the future map-wise, and want to gather opinions on the next map to do.
By Alphamoonman
This is all about Team Fortress 2 – Best Possible Engi Guide for Pier; I hope you enjoy reading the Guide! If you feel like we should add more information or we forget/mistake, please let us know via commenting below, and thanks! See you soon!
- All Team Fortress 2 Posts List



Leave a Reply