Hello and welcome, In this post, we will provide you with information regarding the Half-Life: MMod – How to Play Deathmatch in Multiplayer, and we hope you will find this page helpful.
This guide will help you on how to play deathmatch in the multiplayer mod and how to install it.
Intro
So, you want to play deathmatch in MMod? Alright, I’ll show you the basic way to get it going.
BUT, first you must be warned about a few things:
- MMod does not support multiplayer officially.
- The dev does not plan on supporting multiplayer, so don’t complain when things break.
- Things WILL break, and you WILL crash!
With the basic warnings out of the way, here are some advance warnings
- Hosting a dedicated server doesn’t work.
- Beware of the gauss gun, shooting a player with it crashes the game.
Above all, please do not bother the dev about multiplayer being buggy. We will just have the fun trying to do it anyway even though it’s not supported.
With that out of the way, let’s begin.
Preparation
There are a few things we have to prepare, let’s start with the easiest.
Maps
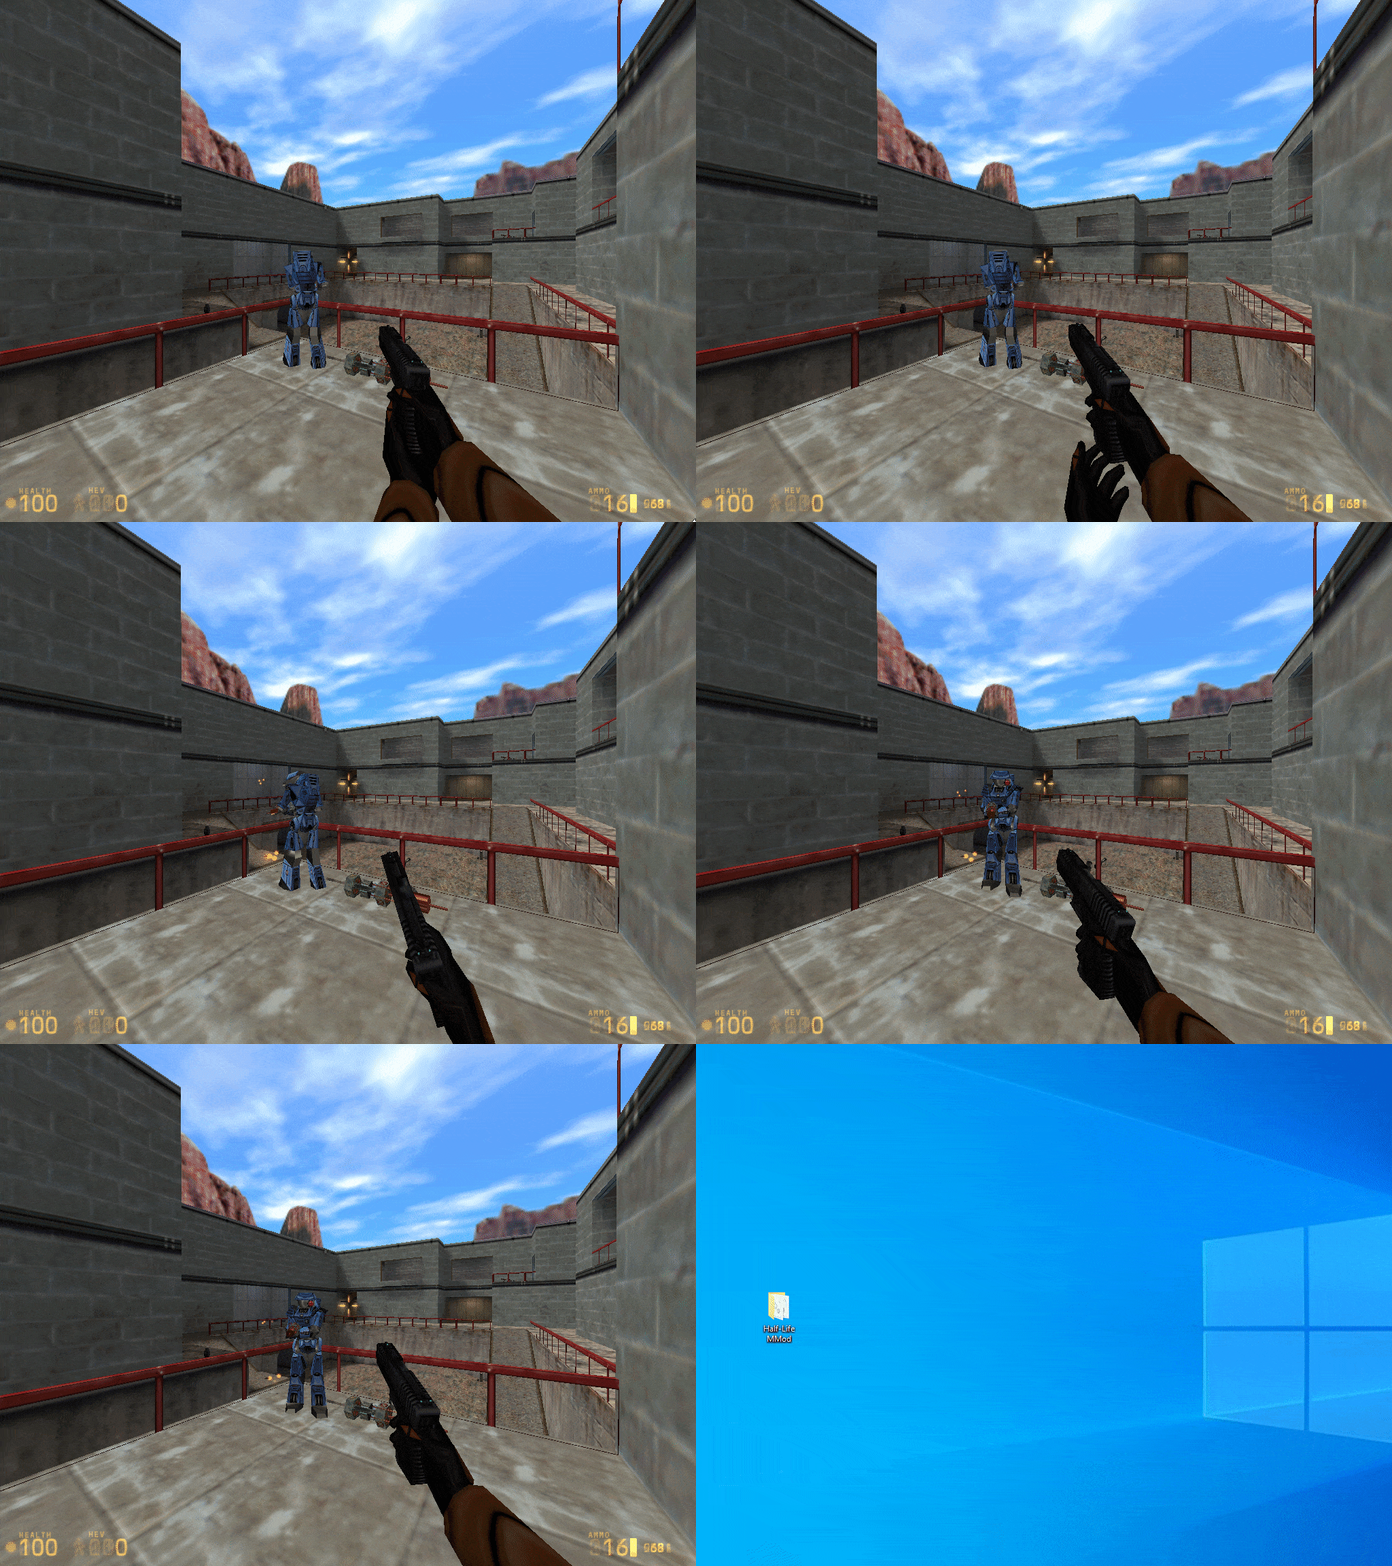
We will need to bring our own multiplayer areas because MMod doesn’t include any (for obvious reasons). Standard maps could be used for deathmatch, but classic deathmatch maps are much better suitable for this.
Fortunately, we can easily duplicate some venerable Half-Life 1 deathmatch levels. Everyone should already have this since Half Life is required to play MMod (if not, run the original HL1 instead).
Just copy the chosen maps into the MMod maps folder from the HL1 maps folder.
\steamapps\common\Half-Life\valve\maps
\steamapps\common\Half-Life MMod\HL1MMod\maps
Port Forwarding
This step is kinda optional, but unless you want to use Hamachi or whichever other LAN emulation software is used these days, you’ll want to follow do this part.
I won’t go into details about port-forwarding here, but you can check this video as a starting point if you’re unsure what port-forwarding is and how to do it.
Also check this link for port forwarding instructions – [steampowered.com]
MMod, like other goldsrc games, uses default port 27015, but you can change it to anything using
port 12345
command in the game console.
Keep in mind that port forwarding may not be possible for some people depending on your Internet provider.
Setup
Let’s do a quick and dirty setup and host this deathmatch game already!
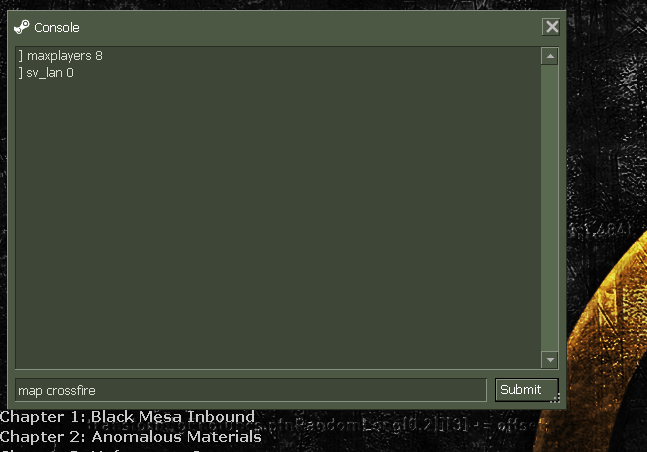
So, launch MMod and press the tilde key (~) to open your console.
After that input these commands.
maxplayers 8
sv_lan 0
- maxplayers x – this command changes the maximum number of players in-game that you can have. so change the x to any number greater than 1. maxplayers 1 will turn your game back into singleplayer and disable multiplayer features. Keep in mind that changelevel triggers will stop working in multiplayer, so you won’t be able to play through the campaign in coop.
- sv_lan 0 – this is what allows other to connect from outside of your local network.
With that done let’s start a game. Type in the command map and the name of the map you want to play. In this example, crossfire.
map crossfire
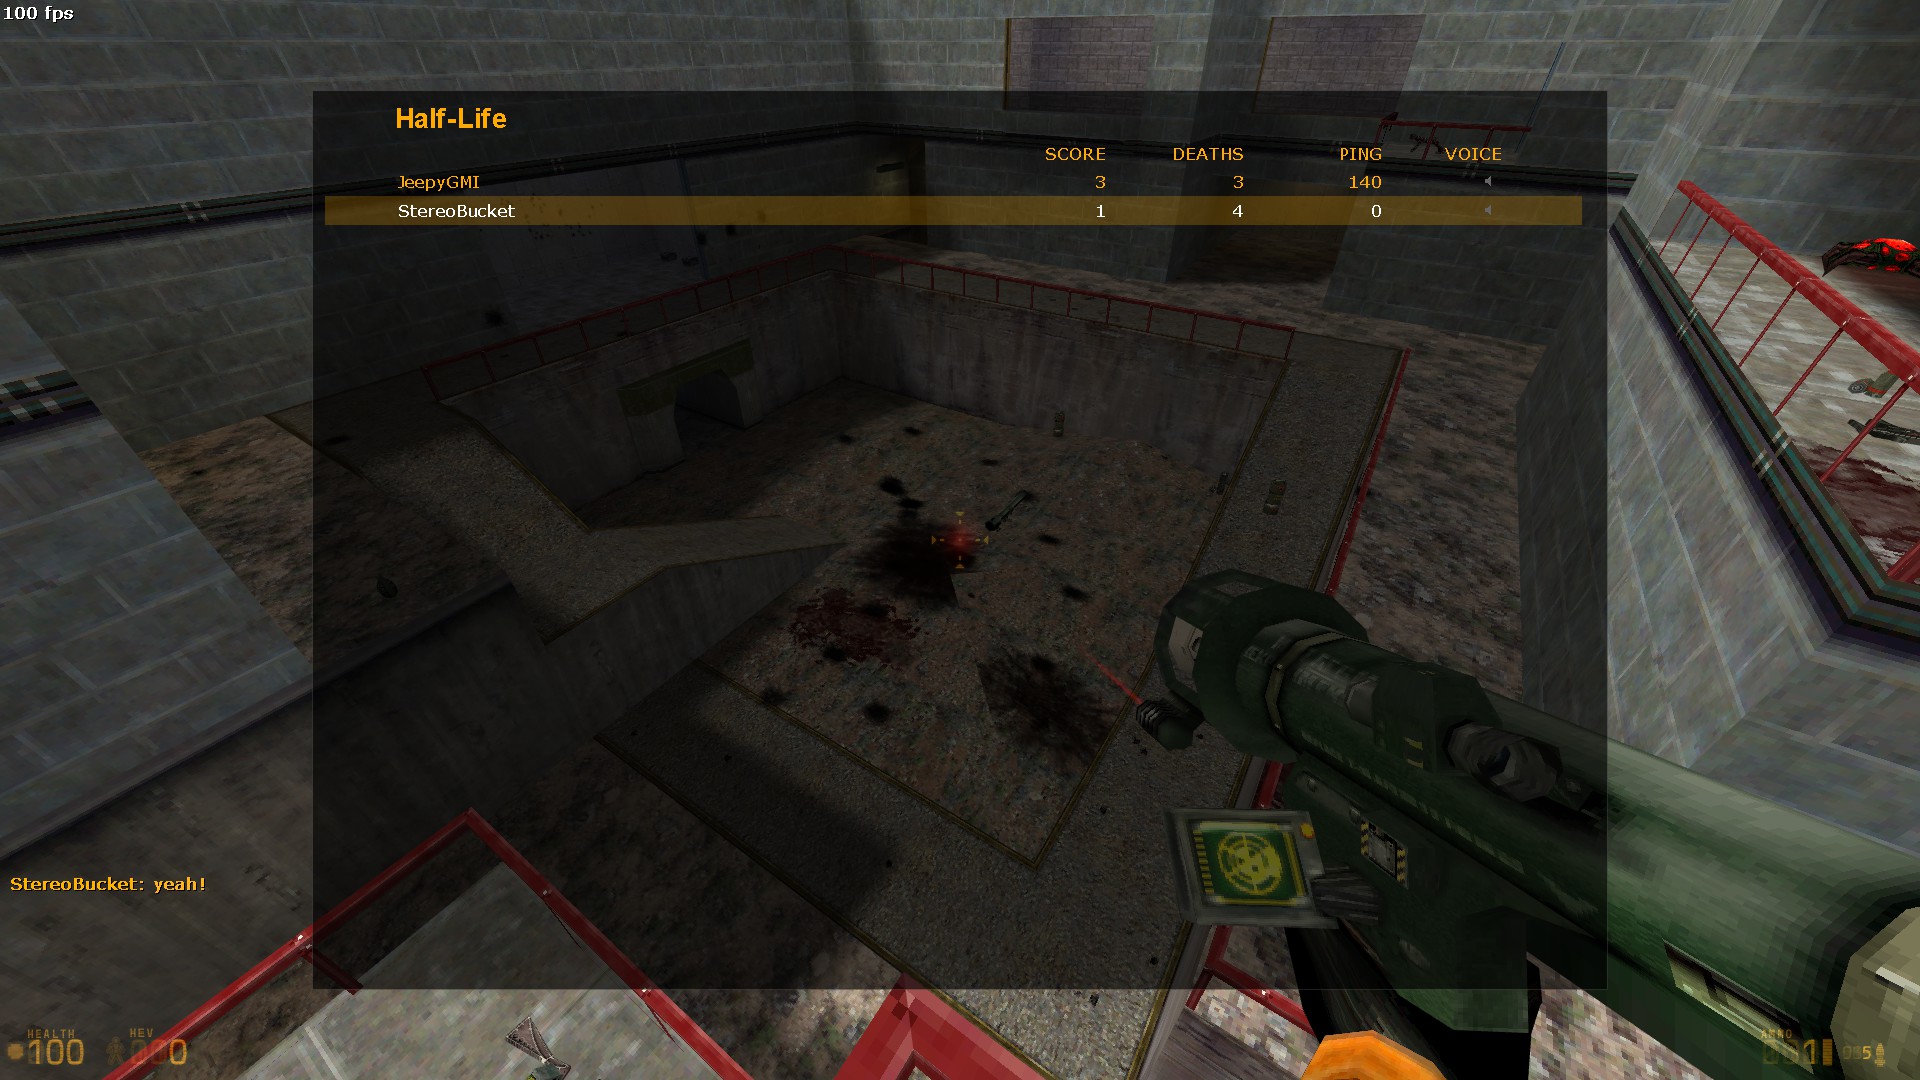
Once in-game, there are a few things you may want to input into the console.
mp_weaponstay 1
mp_fraglimit 25
name StereoBucket
- mp_weaponstay 1 – This command will make it so once someone picks up a weapon, it will immediately respawn and be available for pickup by other players.
- mp_fraglimit 25 – Sets a limit for how many kills are needed for someone to win. After that the game changes to the next map. The maps that will be cycled are defined in \steamapps\common\Half-Life MMod\valve\mapcycle.txt
- name StereoBucket – This is something you and all your friends joining should use to change your in-game name. Just use your name, not mine.
Additionally, if you want to change your player model, use model command
model robo
Models you can use are found in
\steamapps\common\Half-Life MMod\valve\models\player
With that done, let your friends join. Give them your public ip (google “what’s my ip”) and they should be able to connect with the connect command in console.
connect 123.123.123.123:27015
Obviously replace 123s with your own ip.
Enjoy!
Making it permanent
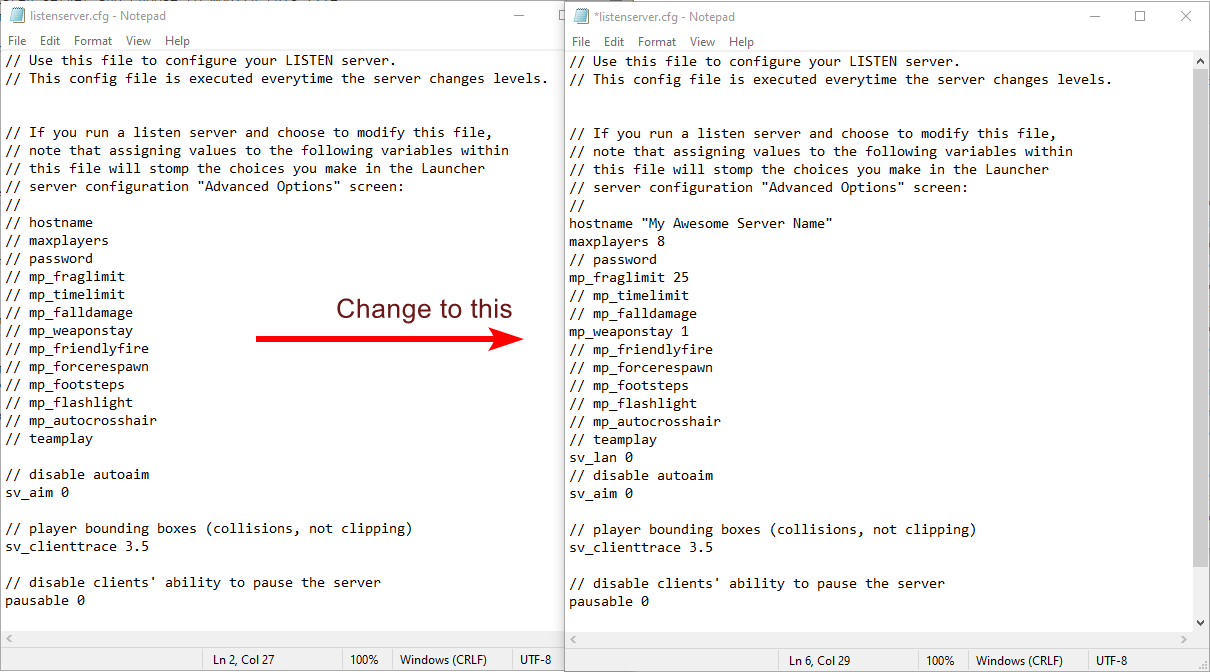
Alright, in order for you to not have to type all of those commands in every time, go to
\steamapps\common\Half-Life MMod\valve\
folder and edit listenserver.cfg
You will see a few commented out lines (starting with //). For the commands we used before, uncomment them and add the values we used before.
You can tweak settings in here as you’d like, but the two important ones are maxplayers and sv_lan.
When you start MMod, simply type
exec listenserver.cfg
and then type
map crossfire
to launch a map (in this case crossfire) and you are ready to let your friends join.
BIG WARNING
AS OF THE VERSION WHEN THIS GUIDE WAS WRITTEN, GAUSS CRASHES THE GAME IN MULTIPLAYER
Shooting a player with the the gauss will crash the host and whoever shot it. Fully charged shot may not crash, but anything else will crash!Communicate with your friends to not use it!
We hope you found it useful; it has been our pleasure to walk you through the Half-Life: MMod – How to Play Deathmatch in Multiplayer. If you see any mistakes or have suggestions for how we can improve this page, do let us know in the comments. I appreciate your time and effort, and I wish you a wonderful day! A post that Midnight[Dawn] made inspired this guide, so a big thank you goes out to him for that! Don’t forget to add us to your bookmarks if you enjoyed the post; we update regularly with fresh stuff.
- All Half-Life: MMod Posts List


Leave a Reply