Requirements
- www.blender.org – https://www.blender.org/download/releases/2-79/
- steamreview.org – http://steamreview.org/BlenderSourceTools/download.php?v=2.10.2
- notepad-plus-plus.org – https://steamcommunity.com/groups/CrowbarTool
Step 1: Setting up
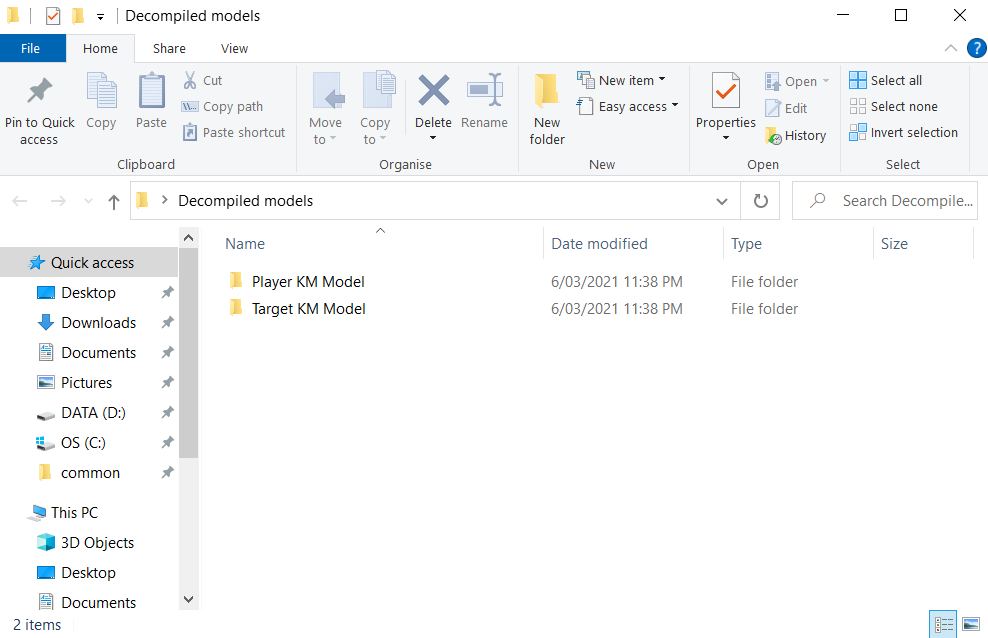
Download the Custom KillMove Template from github.com – https://github.com/randomperson189/BSMod-Custom-KillMove-Template as a zip file and extract it somewhere. Now make sure the decompiled models folder is there since we’ll be using them in Step 2.
Step 2: Importing into Blender
Open Blender and then go to File > Import > Source Engine
Select the target’s killmove model as shown below

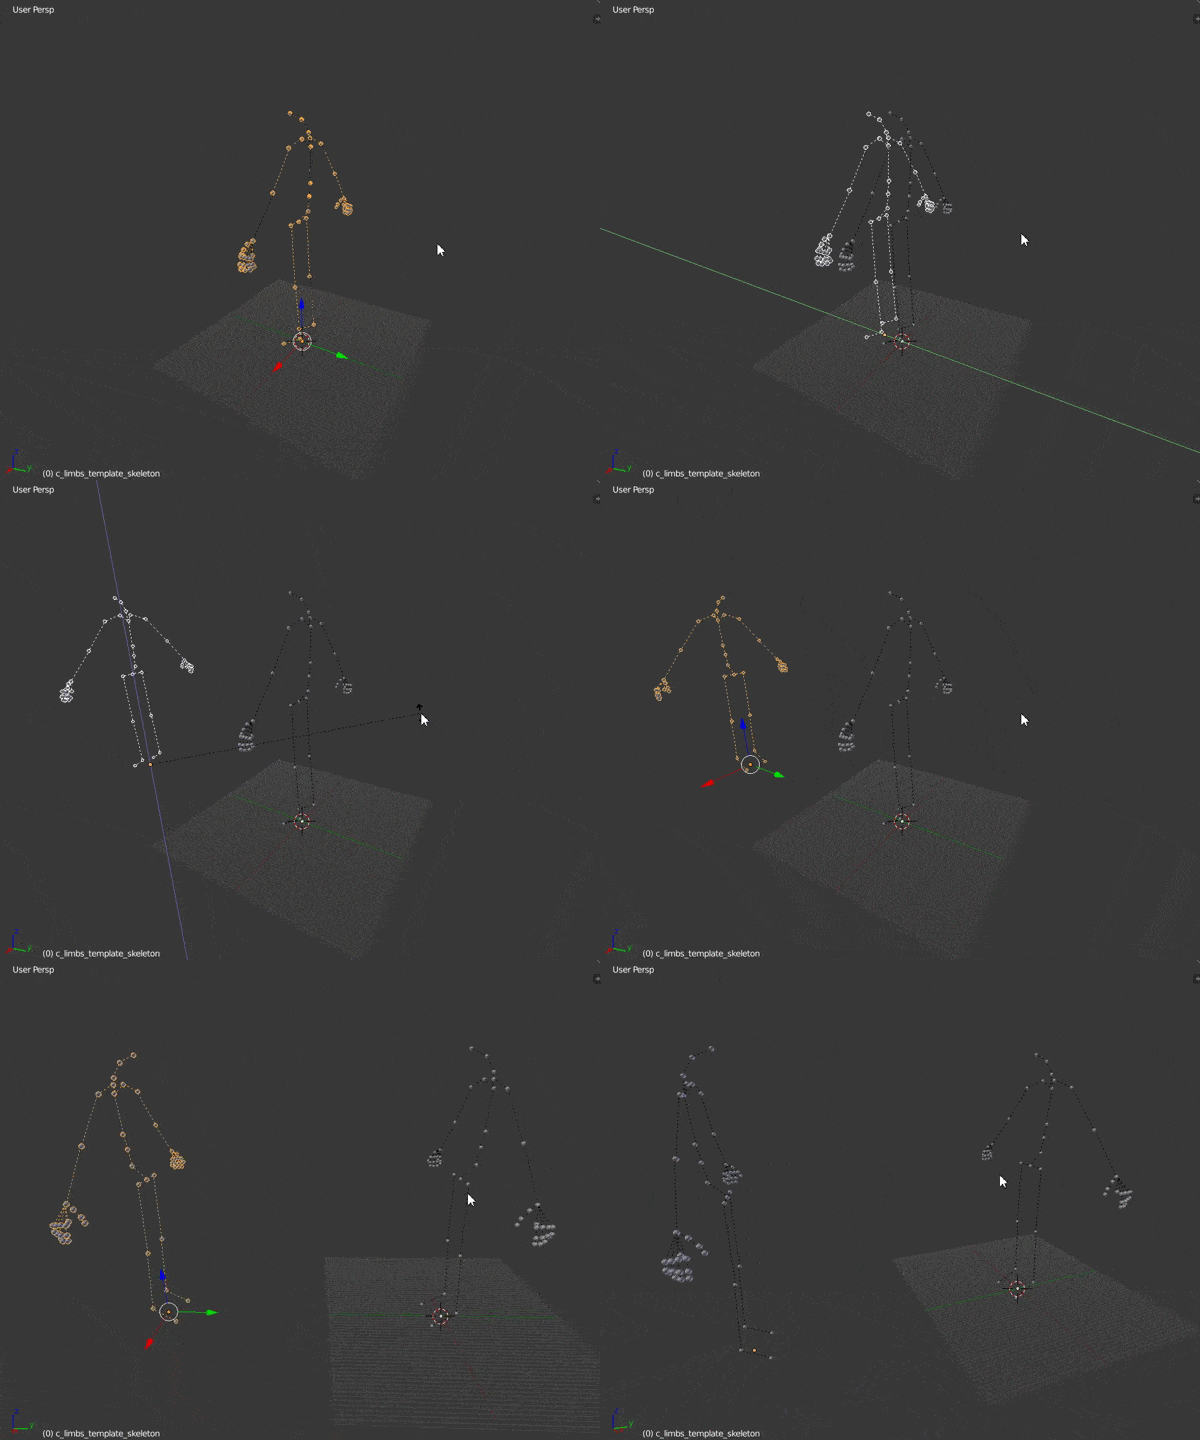
This should show in Blender
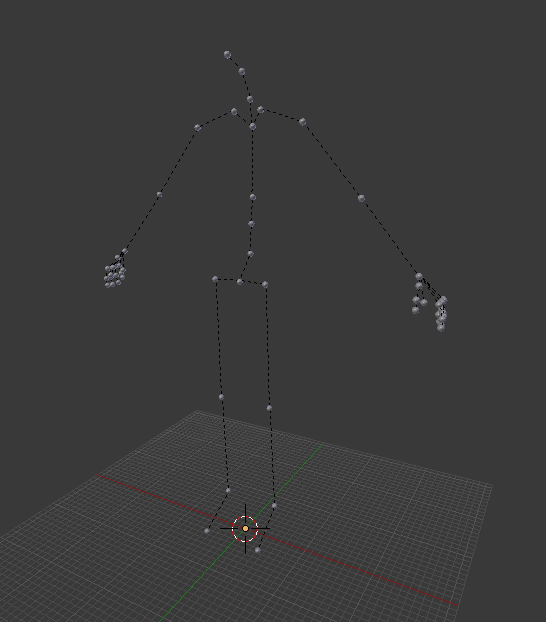
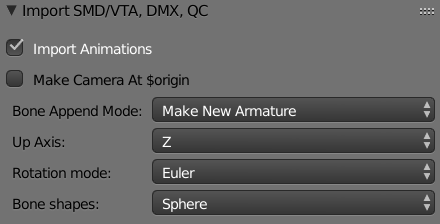
Now do the same for the player’s killmove model except this time make sure the bone append mode is set to “Make New Armature”
And then move the player away from the target in whatever direction you want and rotate it any angle (usually facing at the target)
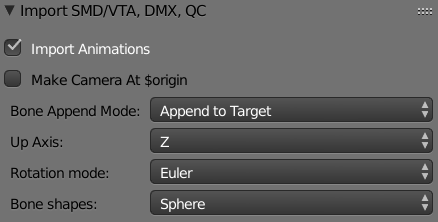
If you want to import a model for display then you can do that, select the player’s killmove model in object mode and go to the import menu, make sure the bone append mode is set to “Append to target”
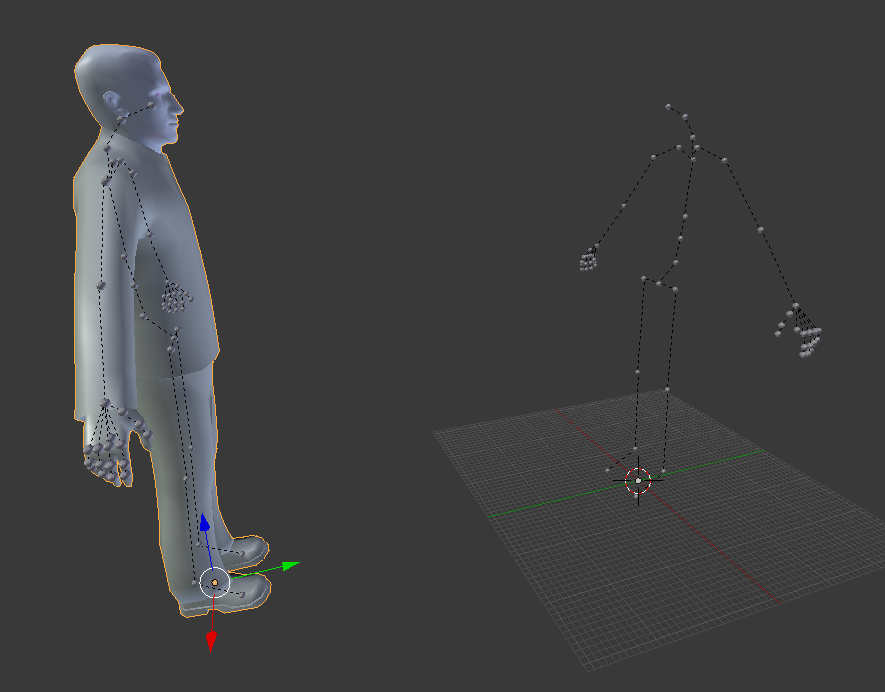
Now select whatever SMD/DMX model you want (don’t import QC since it causes issues), for this tutorial we’ll be using male07 as the player and a zombie as the target
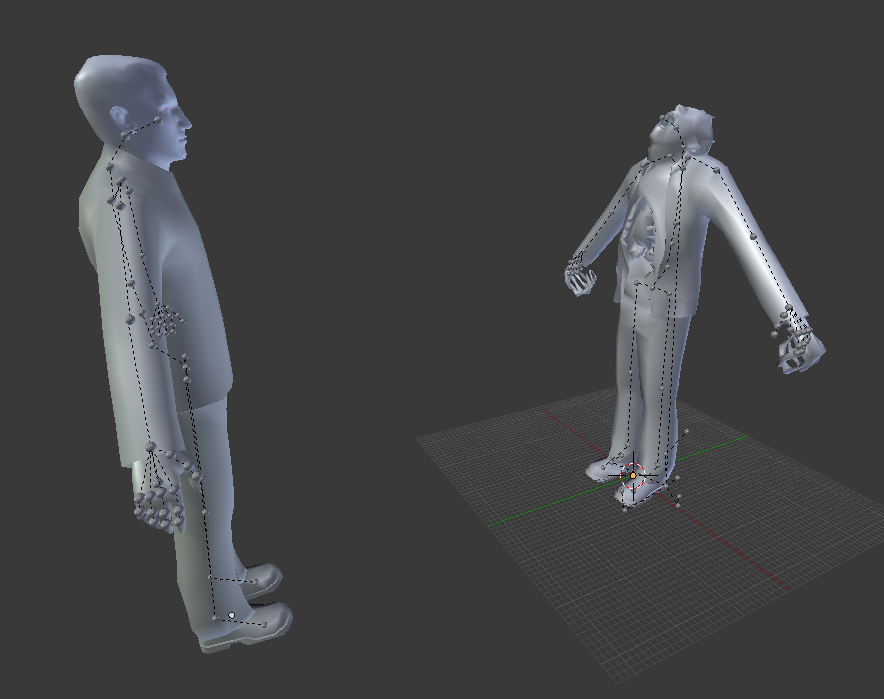
Now repeat the process for the target model, unfortunately you can’t move the headcrab on the default zombie model unless you make your own km model for it (I’ll make a tutorial for that later)
Step 3: Animating
To animate the models in Blender, go into pose mode and rotate/move the bones. If you don’t know how to animate in Blender; there’s many tutorials out there that show you how to.
The custom killmove template already has some animations for the models so for this tutorial we’ll be using those
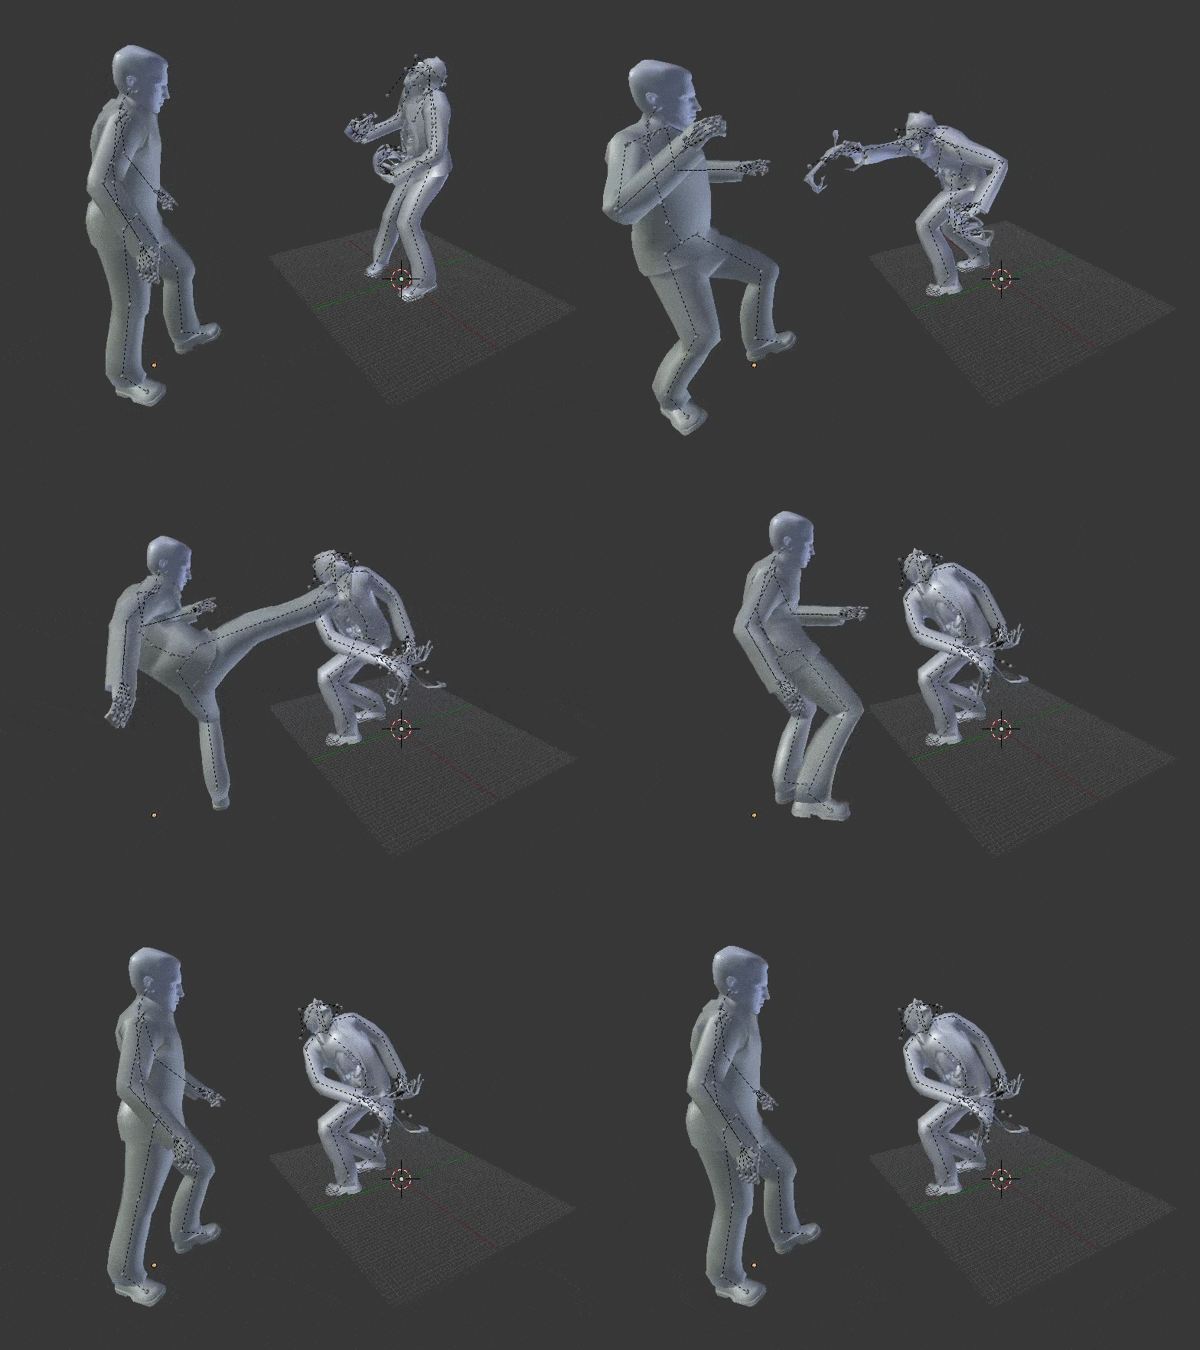
Keep in mind after the target’s killmove animation, it dies and after the player’s animation, they regain control. The player and target animation length can be different to eachother and that’s fine.
Step: 4: Exporting animations
When you’re done with the animation, select the player’s killmove bones and go to the Scene menu as shown below
Now scroll down to the Source Engine export section (remember you need Blender Source tools if it isn’t there)
Set the export path to the directory if your player killmove model and set the export format to either SMD or DMX (SMD is recommended)
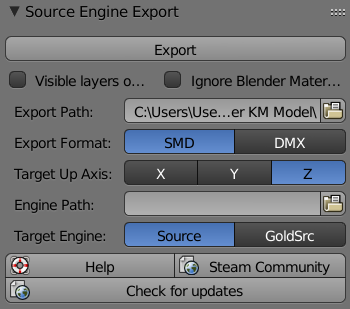
Select export and select the animation name
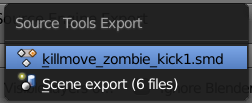
Now do the same for the target model (make sure to set the export path to the target killmove models directory now)
Navigate to the player and target killmove models directory and you’ll see an ‘anims’ folder, move the animation SMD file from that folder to the already existing one that has the model name before anims. Make sure the animation name is the same for the player and target so the BSMod addon knows to play them both in GMod
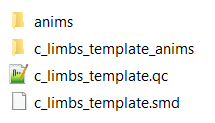
Now we’ll have to rename the model to our own to prevent conflicts with other custom killmove addons. Change uniquename to whatever name you want.

Now do the same with the target killmove model

Step 5: Referencing animation in QC file and compiling model
Open the QC file of the player and target killmove model in a text editor (Notepad++ recommended)
So before we reference the animations, we’ll have to rename the model in the QC as well so do Ctrl+F and replace the template name with the name you set the QC file to
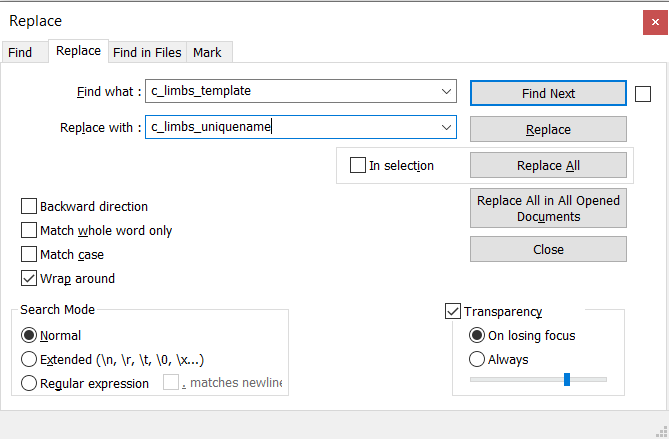
And now do the same in the target killmove model QC file
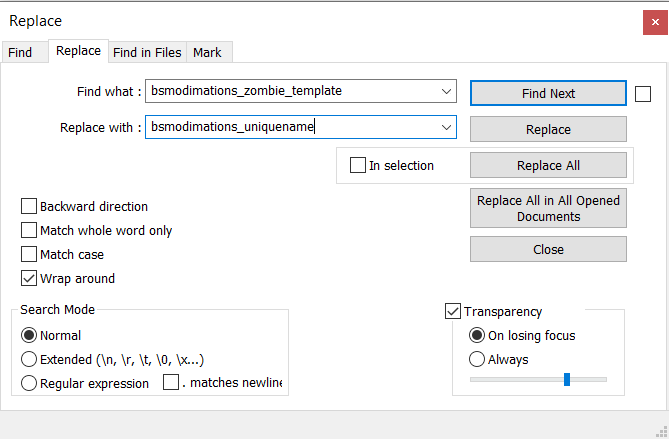
Scroll down to $sequence. Copy paste an existing one and rename the animation to your one. You can edit the properties of the sequence to change how the animation plays in game. Check out https://developer.valvesoftware.com/wiki/$sequence for more info.

Now it’s time to compile the models, open Crowbar, go to the Compile tab and set the QC input to the player killmove model QC file. Set the Output dropdown to “Work folder” and now browse to the models directory of the addon as shown below
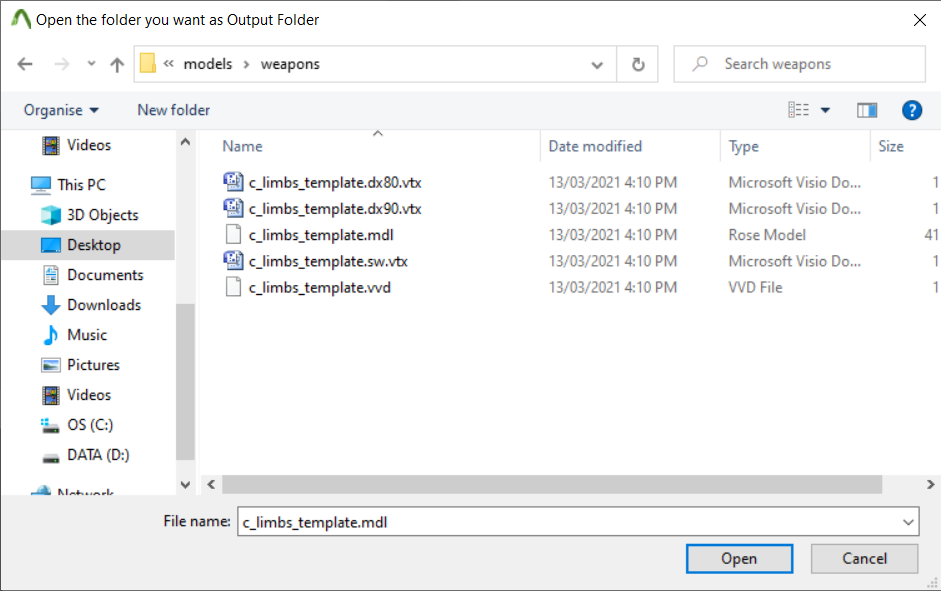
You can see that the template models are there, make sure to delete them since they aren’t needed
The directory is “\models\weapons” for the player killmove model
Now export the the target killmove model except this time output to the “\models” folder
Step 6: Modifying lua file for your animation
Open bsmod_customkillmove.lua in a text editor (Notepad++ recommended) and follow the comments, they will guide you.
Also something to note, in the distance from target, set that number to around the distance the player is from the target in Blender. You don’t need to change the angle if you’re making the player look at the target, the addon automatically does that. Only set a custom angle if you’re not making the player look directly at the target.
Step 7: Testing in GMod
To test your custom killmove in GMod, locate the extract the “Addon” folder and inside it is a folder called “BSMod Custom KillMove Template”. Extract that to your “\steamapps\common\GarrysMod\garrysmod\addons” folder
End of tutorial
That’s the end of the tutorial, if you have any problems feel free to add me so I can help.
This is all about Garry’s Mod – How to make custom BSMod KillMoves for ValveBiped models; I hope you enjoy reading the Guide! If you feel like we should add more information or we forget/mistake, please let us know via commenting below, and thanks! See you soon!
- All Garry's Mod Posts List


Leave a Reply