This guide will explain why, when and how to use retaining wall. It explains how to determine the best location for maximum ore access. It also covers ramp design, planning, and construction.
Introduction
For new players, the placement of retaining walls can seem a bit confusing. After reading a few threads about the topic, someone suggested that I create a guide from the information. This is the guide. I am current as of v0.4.11
The problem with retaining walls is that they are difficult to place far enough from the mine. It is difficult to know how much space the walls will take and whether they will cascade down (or). It can be difficult to plan for a ramp (, especially one with switchbacks).
Terminology
Here's a glossary that explains how I will use certain terms. This glossary will hopefully help to avoid confusion and reduce redundant words for clarity.
- Transports – Belts and pipes
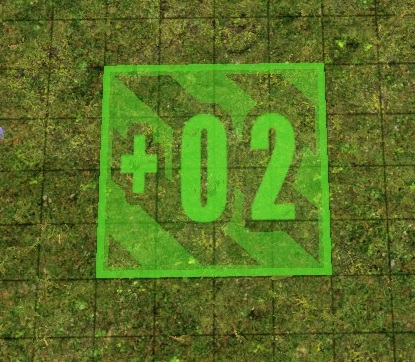
- Cell – The smallest area of terrain
-
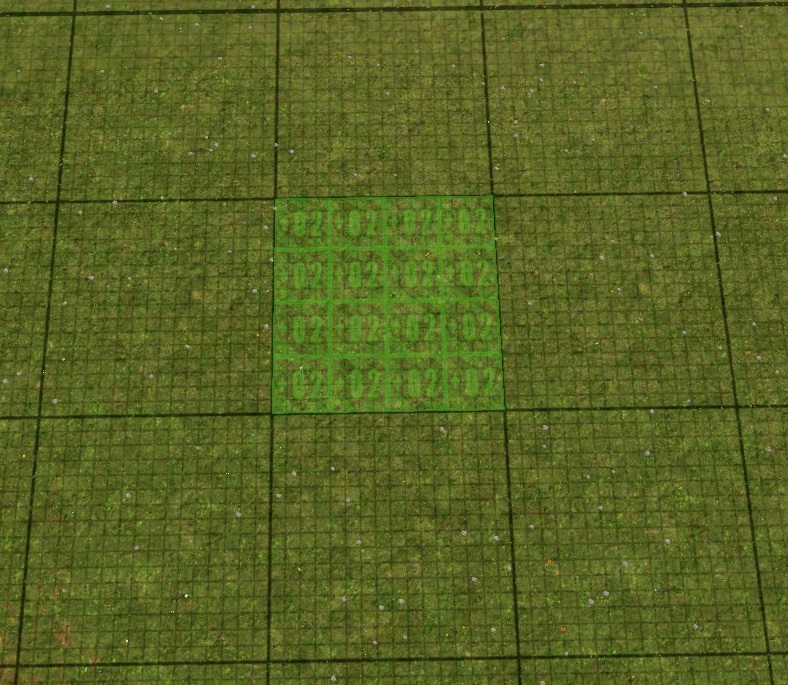
Section – This is the smallest terrain that you can choose with the mining or disposal tools. A 4-cell by 4-cell square.
-
Box – A 16-cell by 16-cell square denotated by a heavy grid line. A square of 4 sections by 4 sections.
- Ground – Any terrain, regardless of type (dirt or rock, ore, etc.)
- Slide – When the ground decides to occupy a lower floor and achieves that goal
- Slippage – The result of a slide.
-
Terrace – A layer of digging or dumping that is successive
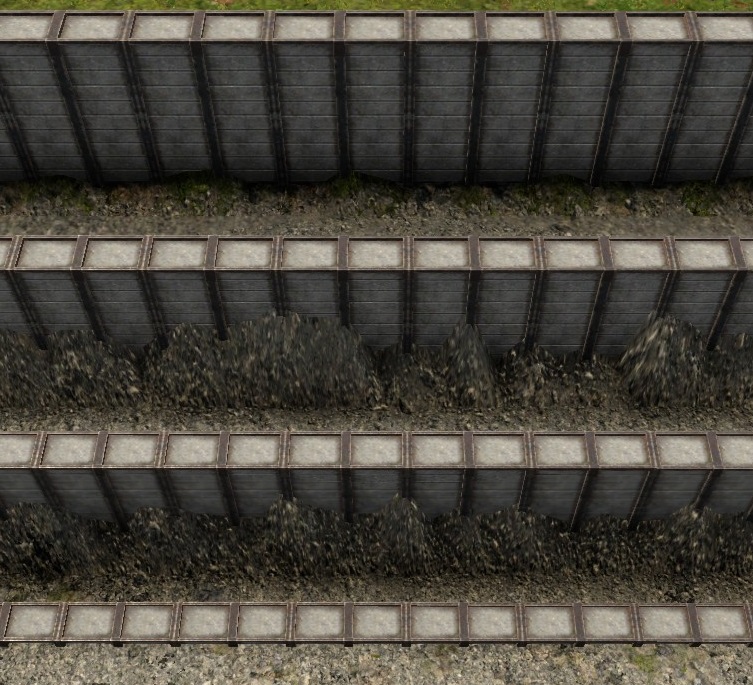
- Face – A nearly vertical piece of terrain that is typically mined at the bottom.
Why use retaining walls?
Retaining walls should be used when there is slippage in certain areas on your map. Immediately, these situations come to mind.
- Transports and buildings are close enough to the pile (or dig) that they could be damaged if there is a slip.
- The dig is below the sea level and close enough to the ocean that a slide could cause one or more cells along the coast to slide and flood.
- Make sure your ramp doesn't slide and block access.
- Retaining walls can be used to create a more pleasing view.
Some people believe that retaining walls are unnecessary. For some materials (, especially rock and ore), the retaining-wall construction takes up more space that letting the materials function on their own.
Let's take a closer look at this. (This is only a demonstration of how a particular face of terrain behaves. When leveling a mound, there is no need for a retaining wall. These references are only for comparison when we dig down later.)
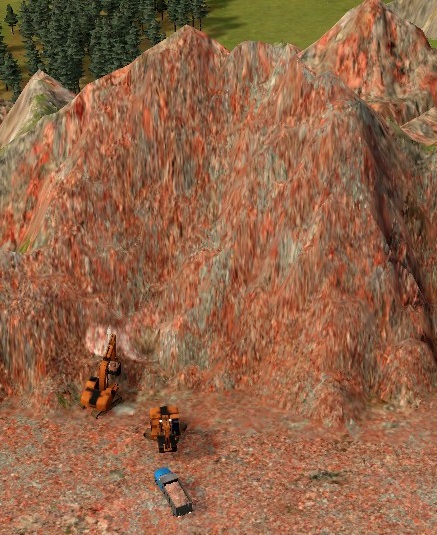
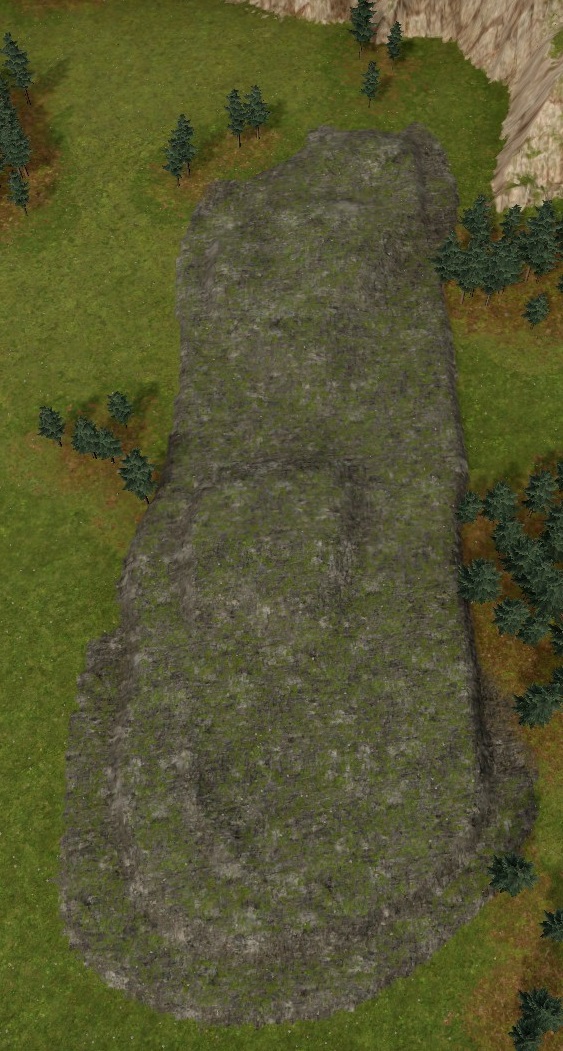
Here is an image showing an iron ore mound (, which has been mined. The texture of the iron ore mound (on The Crater) shows that it has been moved by excavators as they remove the ore.
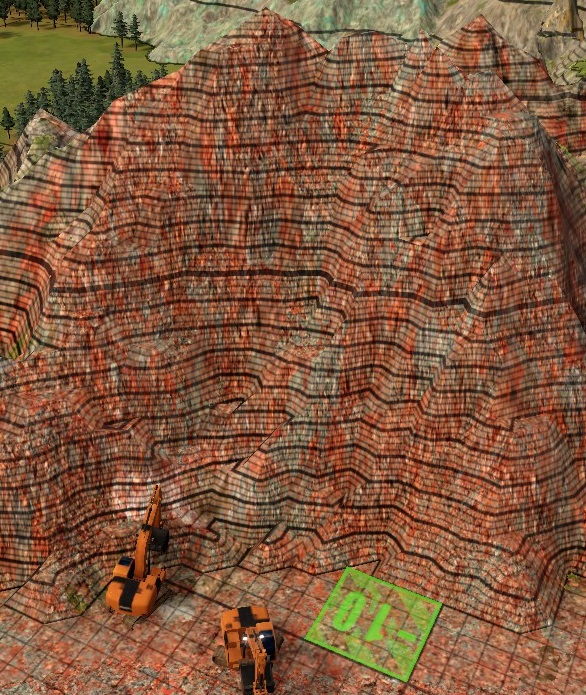
We can see lines that indicate how high the mound is by selecting the mining or the dumping tool. Each heavy line represents a level of height. (Note : I use the dump tool because it is easy to reach with my 'keyboard hand' and my mouse.)
The dumping tool shows that the 'ground' level is -10. We can count up 10 heavy lines to a very strong line, which would be sea-level (0. – Next, we can count 10 lines to the very peak (the very heavy line is there, but it is very small) for an 'peak level' above +10. These are the most important facts to know:
- This mound rises 20 feet above the ground.
- It was all sliding to the top.
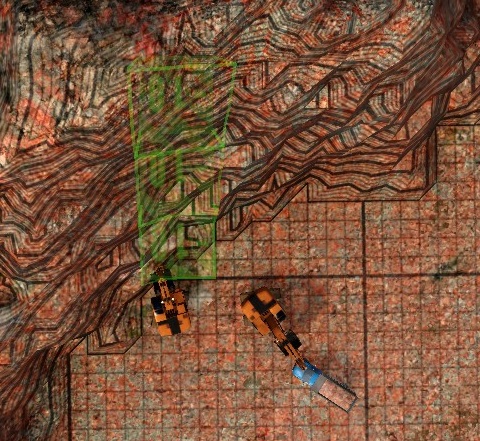
Here's a photo directly above the peak showing the sections for measurement.
It took 3 sections to get to the 20 levels of ore, enough space to find the slope. To control the terrain, it would take 4 sections if we used retaining walls ((details later)). We can conclude that (, at least for iron ore,) states that retaining walls take up more space that just letting things slide.
However…
At this point, I'd like to refer you the Undying29 Soil Test Guide. He demonstrated how to dump different materials in his guide. He shows that iron ore has the lowest slippage. It holds its shape better than rock. Dirt is twice as good at sliding, and if you dig (instead of clearing a mound,), you will often find dirt on the surface of the face that you are excavating.
Either you clear the dirt first before digging for the desired materials or you have more uncontrolled slippage at top. This could mean that there are more sections than necessary to erect a retaining wall.
In full disclosure, I have to admit that I don't always use retaining walls. In many cases, I'm happy to allow some slippage. On some maps, space is limited (, especially early), so it may be necessary to build near the mine.
Although retaining walls are rarely strictly required, they look great.
The rest of this guide will focus on how to plan retaining walls intelligently when you want to extract ALL of the ore.
Building The Wall
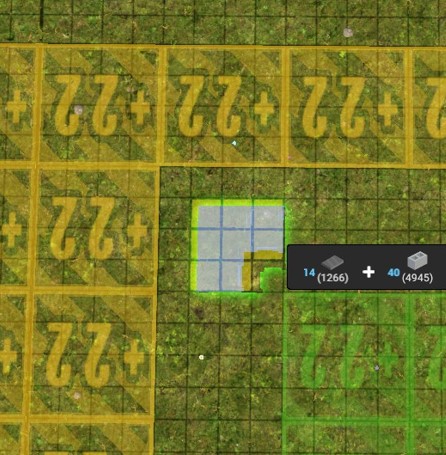
Before we get into the planning phase, I want to briefly cover how retaining walls should be placed. The key point is that the wall's facing side must be at least one cell from the section's edge. The wall can continue to the section's edge without any problems. (These images will be of assistance.)
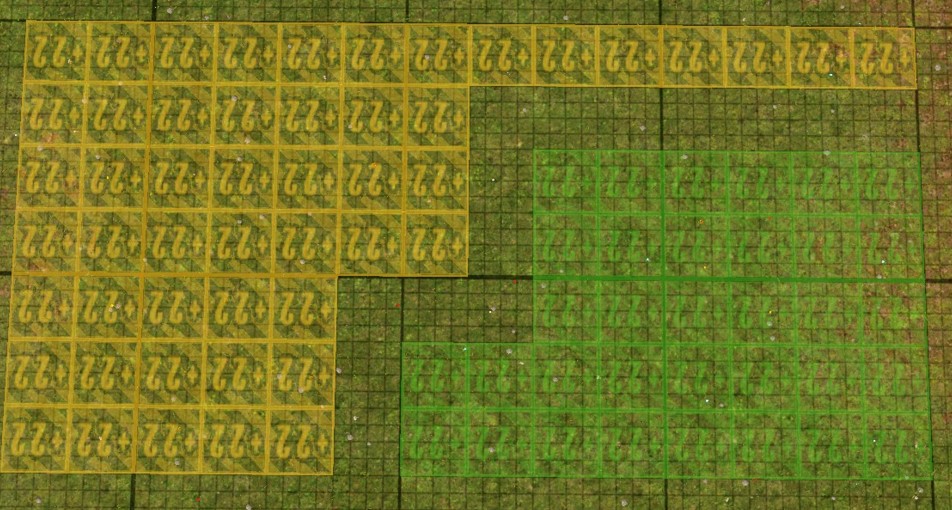
The following image will help you to imagine that the yellow sections represent the mine, and the green sections represent the outside of the mine. (This is crucial when placing corners.) Do not ignore the upside-down numbers. They don't really matter for this. (I tried rotating it and it looks silly.) I didn't want to have to make the screenshots all over again so please ignore the numbers.)
Let's begin by putting our corners. Take a look at the corner pieces of retaining walls.
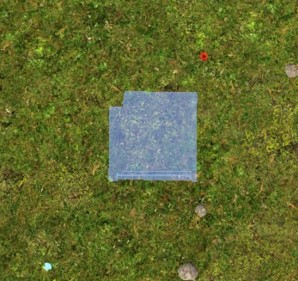
Notice how the corner piece has one corner with a tiny notch. This should point to the inside corner being made.
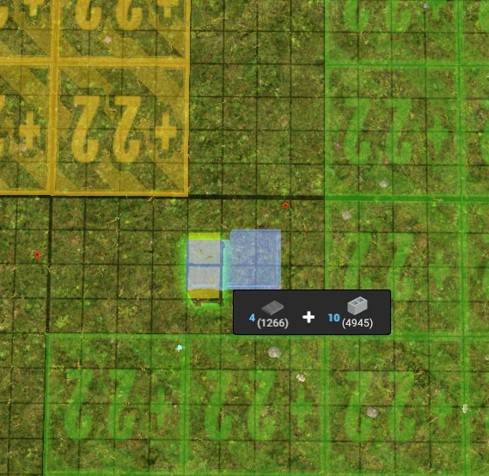
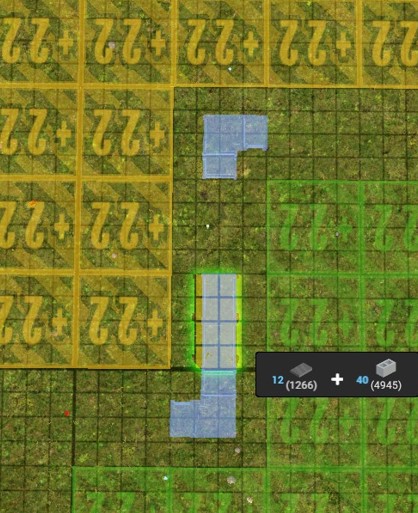
The corner (, a 2 by 2 cell item), will always be in the middle section (4 by 4 cell).
Let's now place the corner and two short retaining walls.
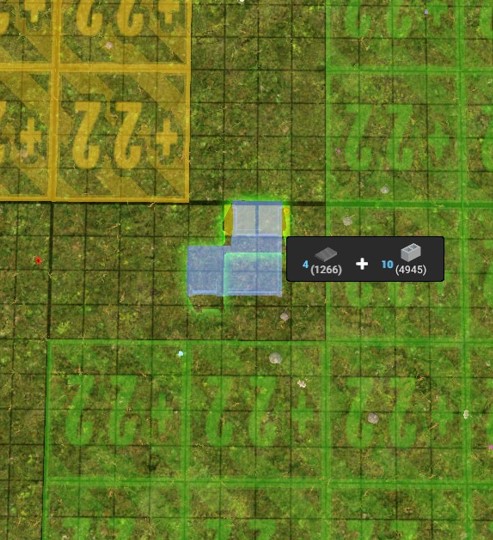
Copy the entire corner construct (1 corner and 2 short retaining walls ()) using the copy tool Rotate it and place in another corner spot.
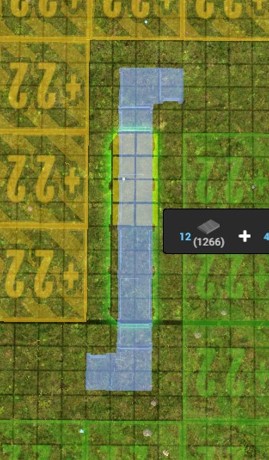
Place a long retaining wall from one corner to the other. It doesn't matter which direction it is, as long as the short side matches the corner construct.
Place the next long retaining walls.
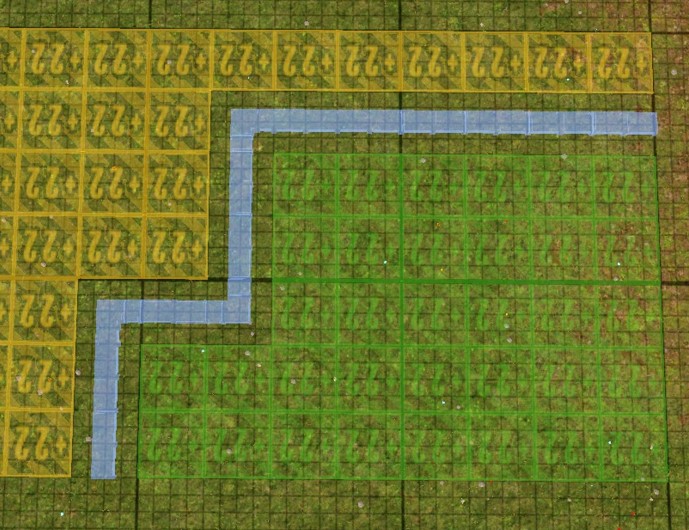
Now, place the remaining pieces in the example.
Simple as pie. (I did not say simple as pie. This would be absurd.)
Now we have a clean, neat retaining wall that will not be abused by drunk excavators.
You can cause wall damage if you place items against the edges of sections.
Now, let's get to the PLAN.
Planning – When and how (Part 1)
When to Plan
Before anything is built near a mine, the retaining walls must be planned. It is difficult to put a number on "nearby" until you have planned. This is why I recommend starting the game (or at least partially). It is important to stop the game as soon as it starts. Take some time to think about what you can build.
How to Plan
Our goal is to build a series retaining walls that run the length of a mine. These walls will have successive down terraces at every 5 levels, until the bottom of the mine can be reached.
As an example, I will use the New Haven map and nearest coal mine to the original shipyard location. You can start a new game on this map, pause it and follow the example.
We can see that there is a limestone deposit in the area behind the coal deposit. This will make things more complicated. This will likely prevent us from constructing a retaining wall at our coal mine's back.
The limestone mine will probably need a retaining walls. We can use the same retaining walls for both areas.
We need a way of marking things. Since we don't yet have retaining walls, I will use the mining or dumping tools to mark the terrain. Our goal is to finish marking so that our retaining wall can be built just inside the remaining marks. (After we walk through it, it will make sense.)
I used to mark sections for dumping at their level. Developers have placed a restriction on the placement of retaining walls. They cannot be placed on Sections that have been marked. (This restriction can be undone using a console command, but) will allow us to get around it. Instead, we will mark all the Sections around the mine and remove any marks during our process to indicate where we need to place our Retaining Walls.
We will begin by activating the overlay using the "L" key.
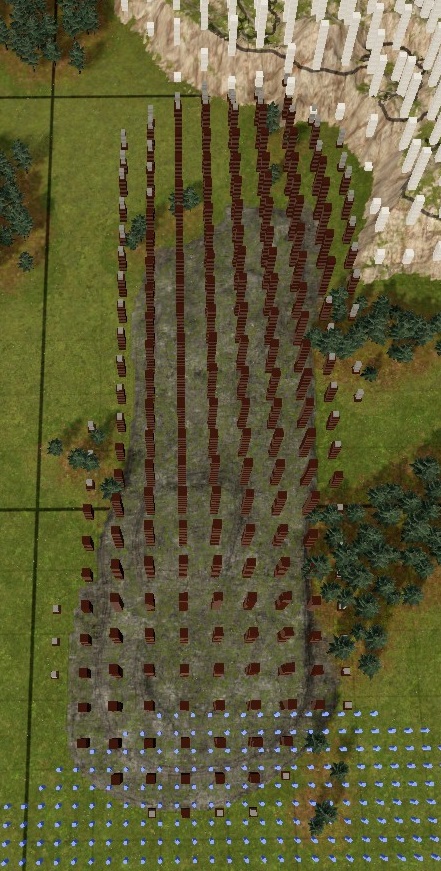
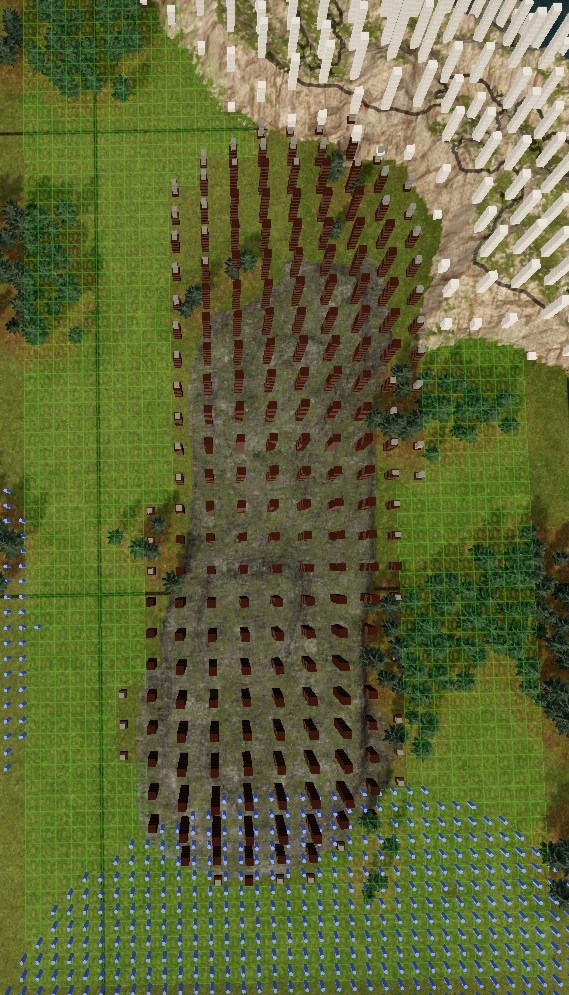
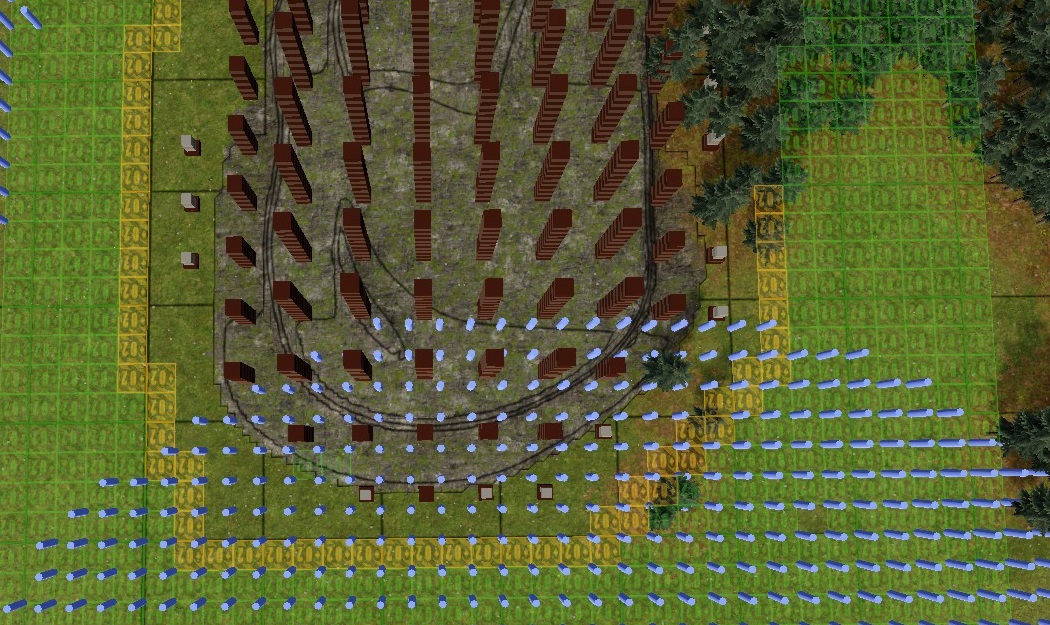
We will now mark sections using the dumping tool. We will mark the area around the deposit that has at least six sections. (The number of sections is arbitrary. We want to make sure that we have marked enough sections so that, when we begin erasing the marks we still have some to show our border. Any sections of the deposit (i.e. Sections with columns) need not be marked.
Because this deposit's footprint is more rectangular, we have made the area marked a rectangle. We may not want to have many corners. We might not mark the entire rectangle if a deposit's footprint is more diagonal.
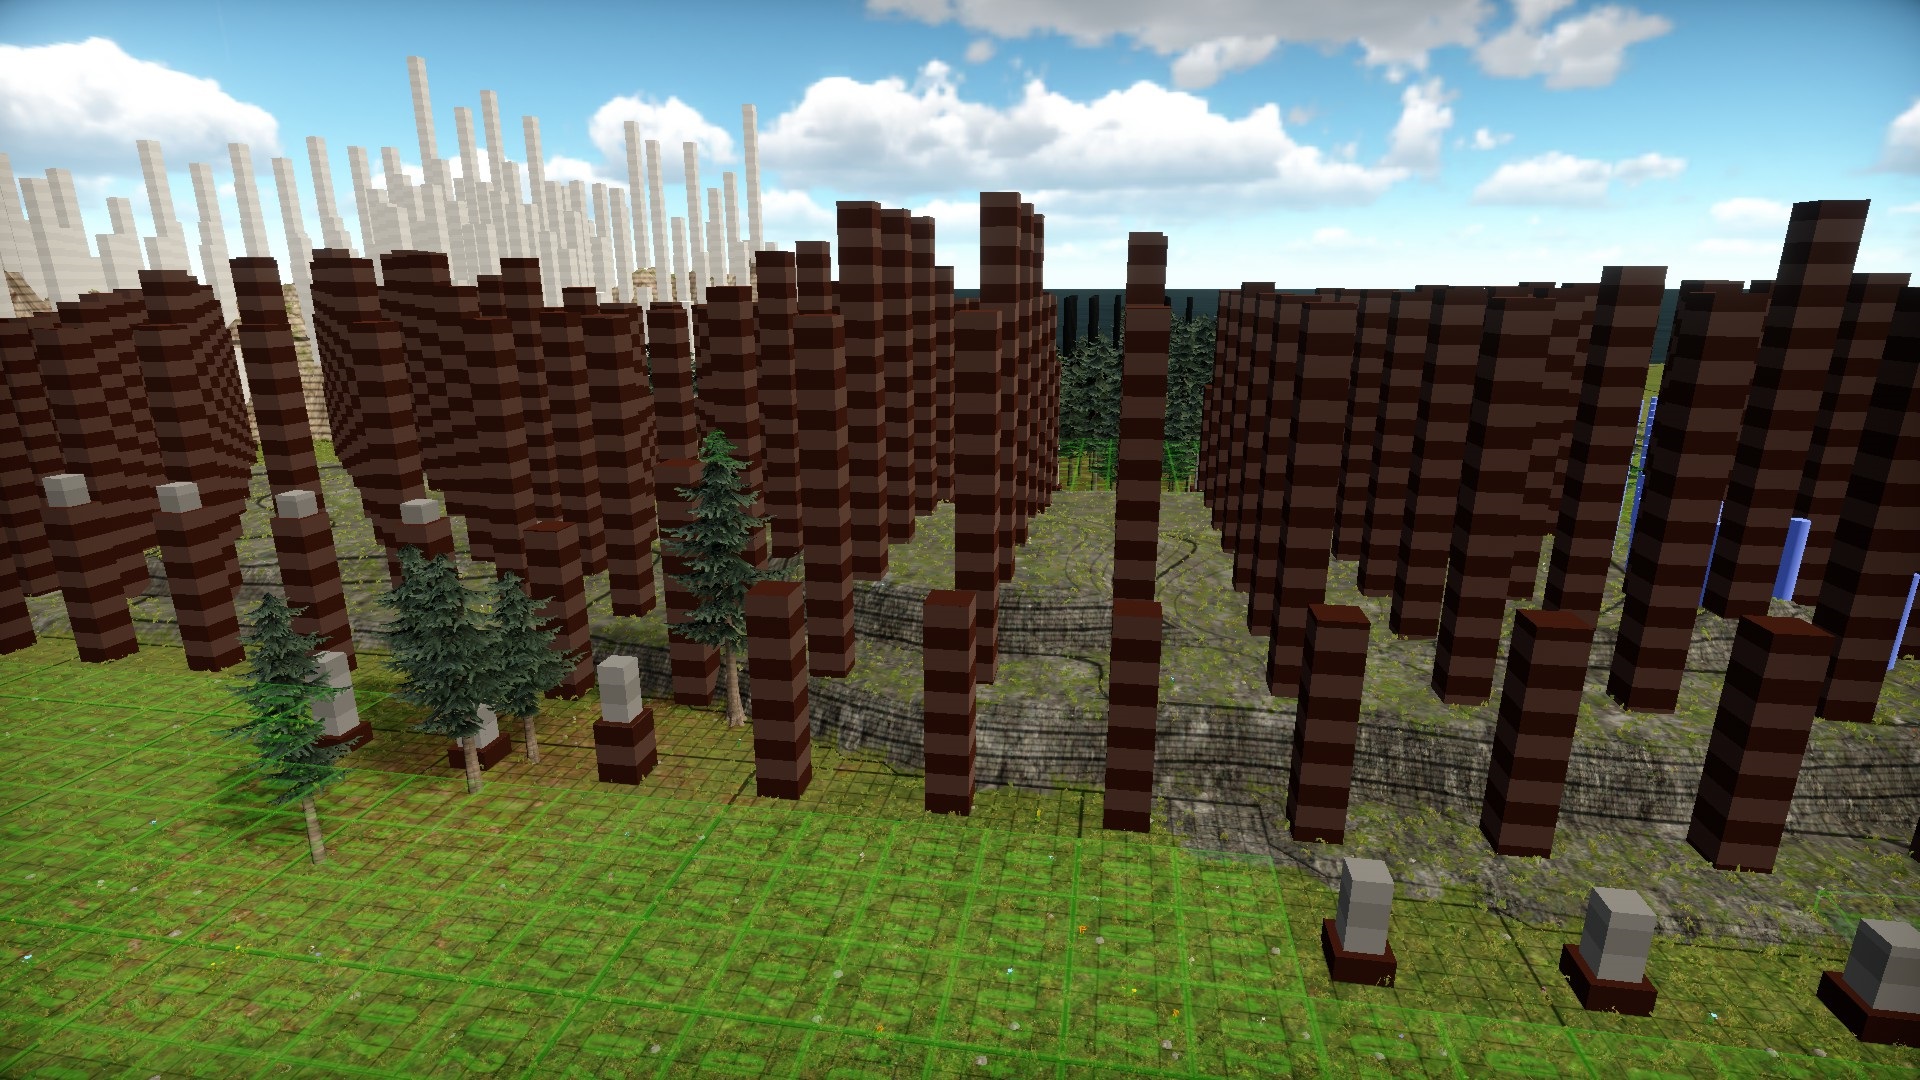
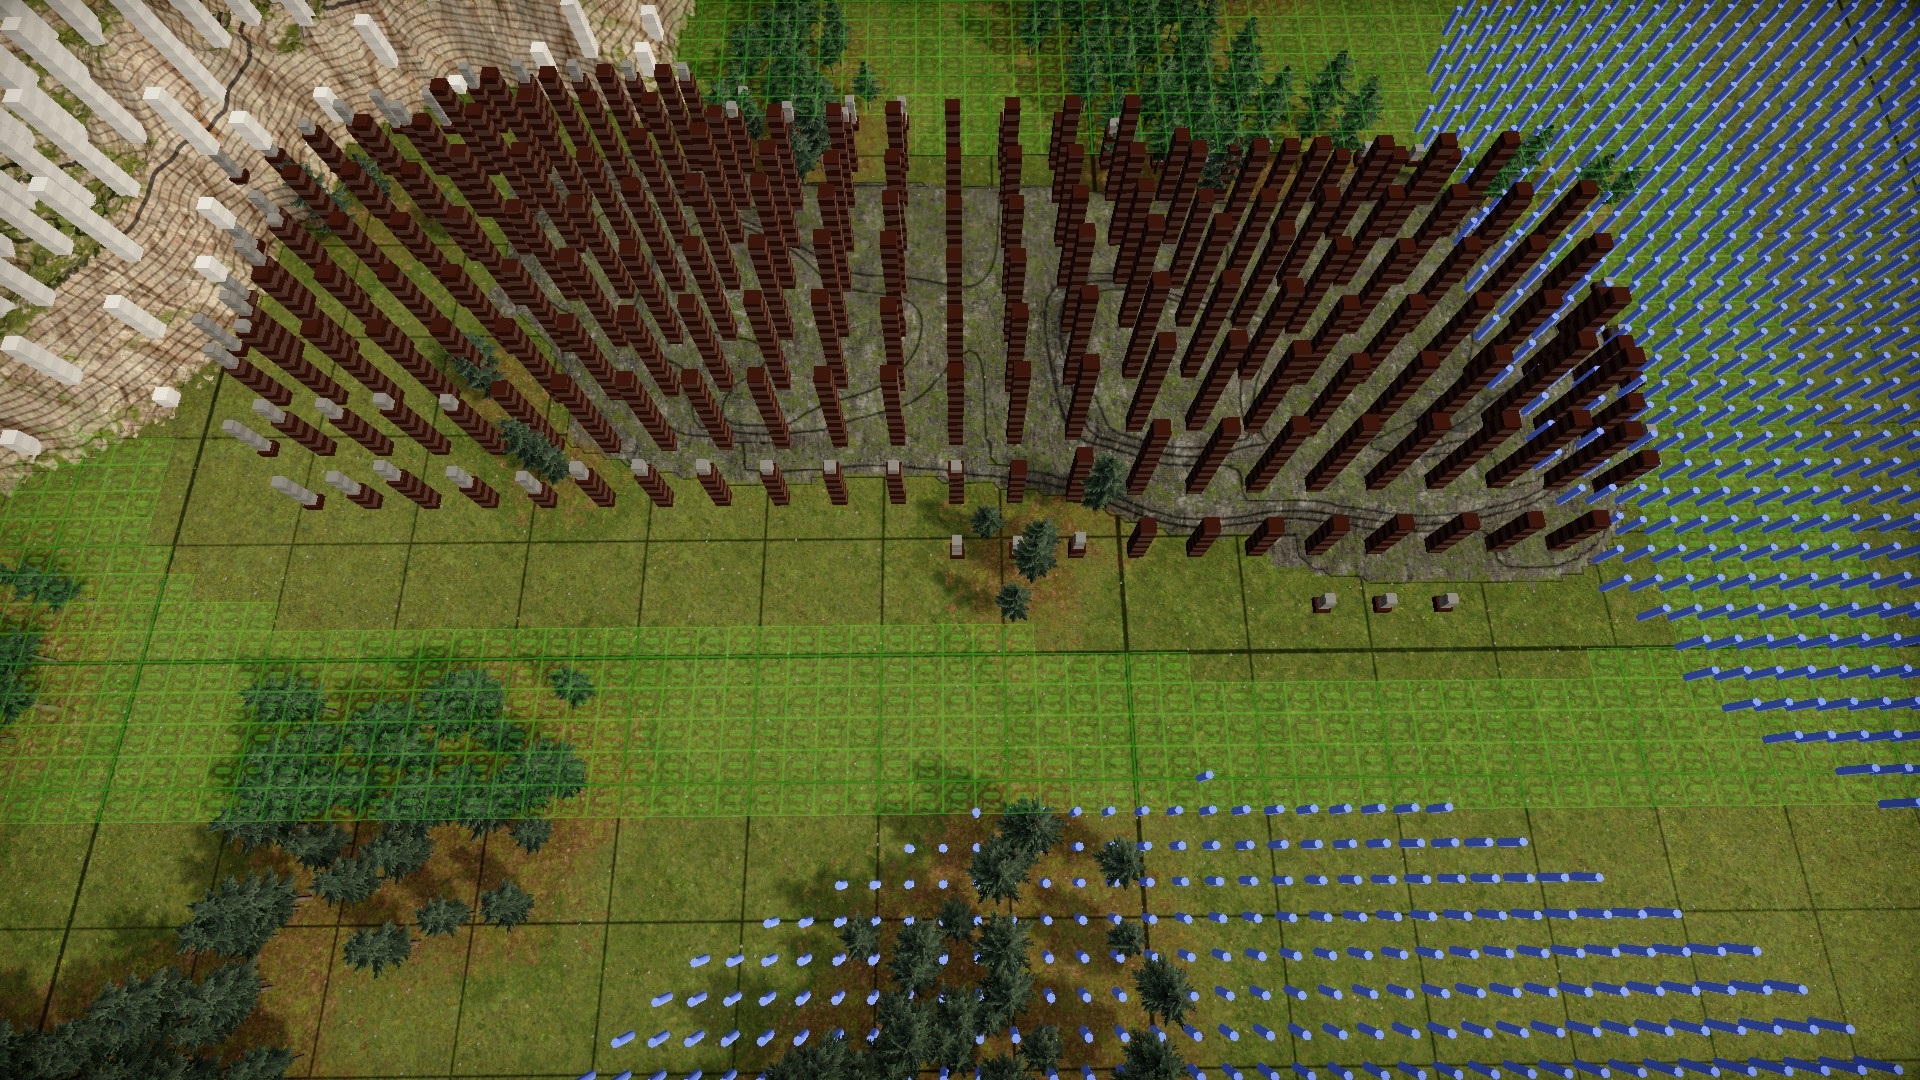
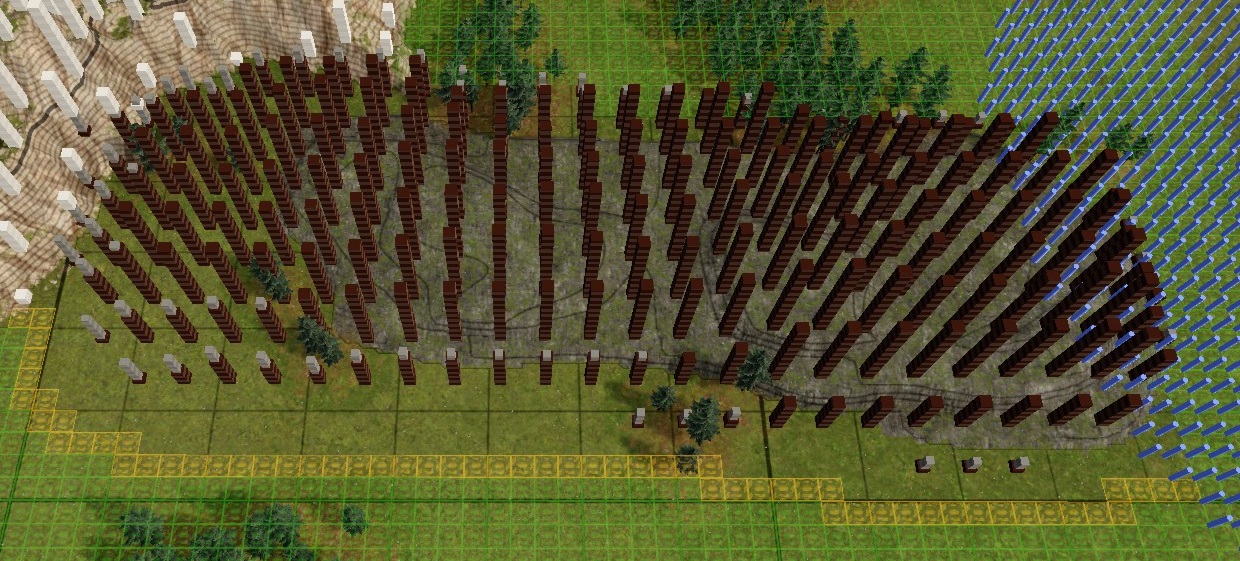
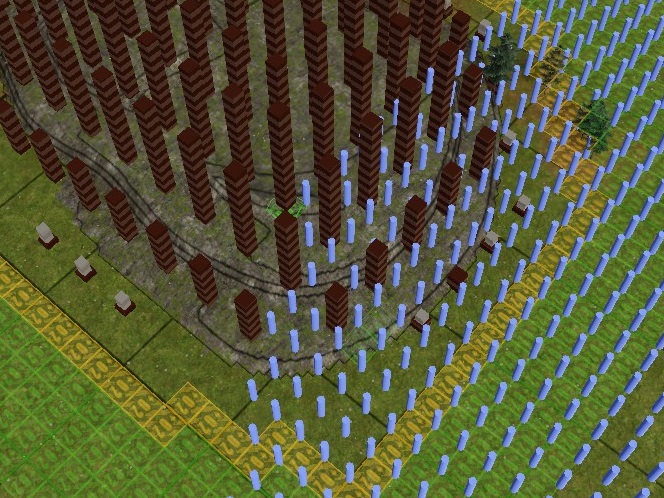
Here's a side view showing the columns. The shipyard would be oriented forward and to the right.
These columns indicate the depth of the ground and what useful material it is. There are also columns with grey levels that represent dirt or rock. These columns will need to be excavated to reach the (, in this case coal). We are interested in the height and position of each column, as well as the ground beneath it.
First, notice that the columns are not on each section but on every other section. What about the other sections of the deposit? Each section (within the deposit) has coal. This is especially important when you consider the sections that border (, including the corners) sections that have columns. We don't know if they have coal in them, but we don't know if they do. We should assume that they also have coal as our goal is to get ALL the coal.
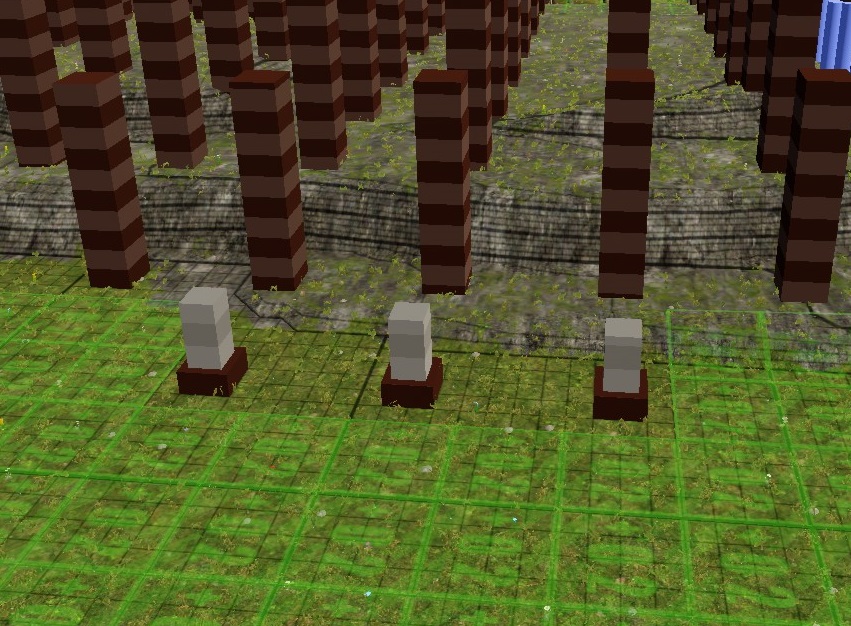
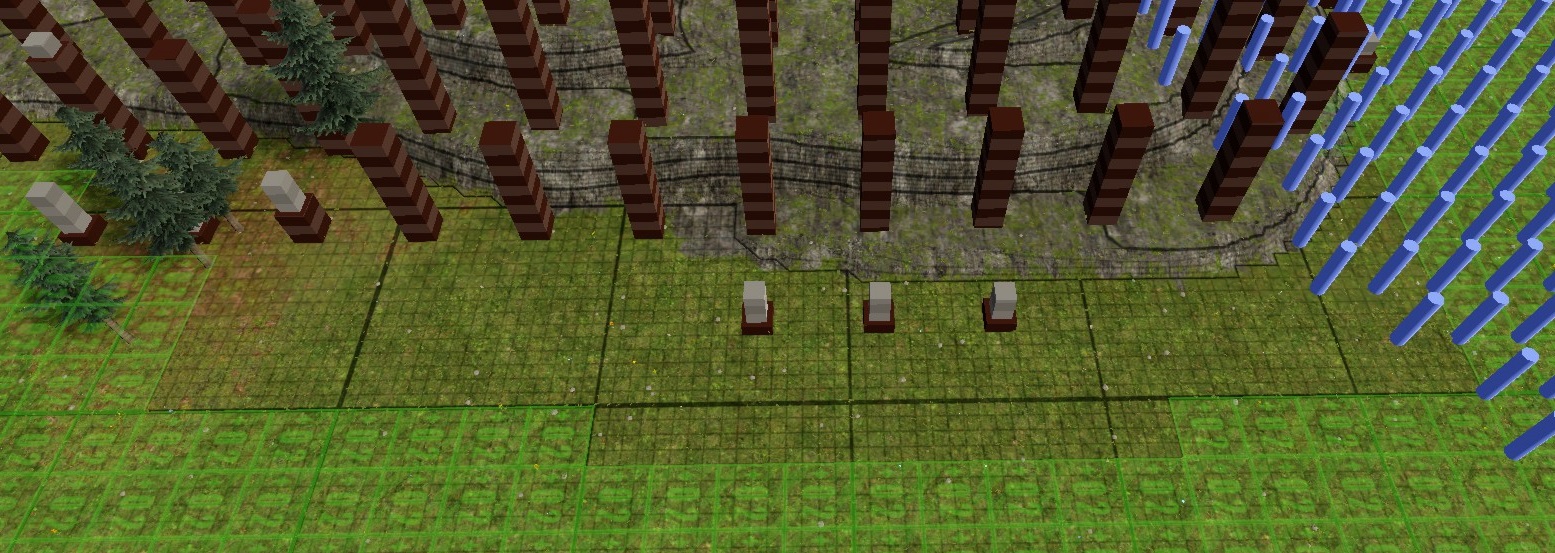
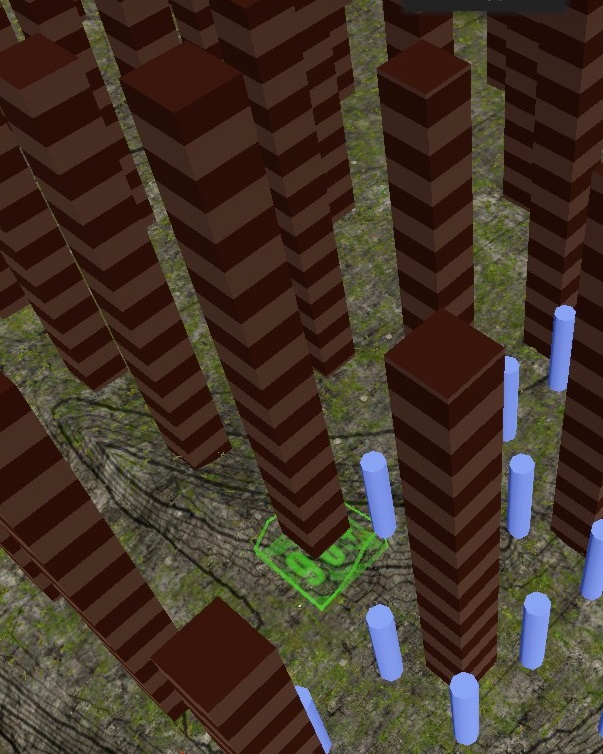
Let's begin by looking at some columns near the edge.
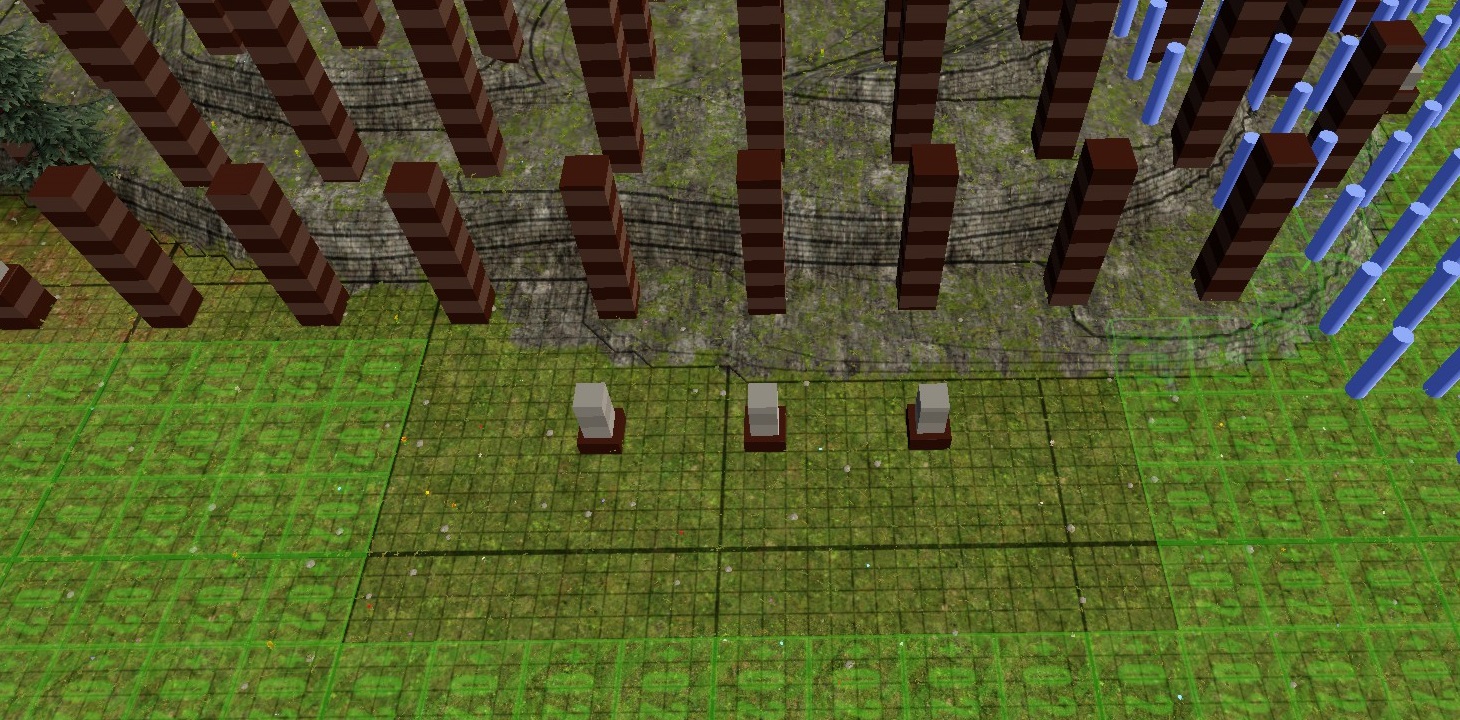
Each ring indicates a level in depth. These three short columns have four rings (, one brown and three grey. The brown represents coal (stuff that we want)) and the gray denotes dirt or rock (stuff that we need).
A retaining wall can hold back five levels of material. Multiple terraces of retaining wall will be required to hold back more material. How many terraces do we need? One for every 5 levels of depth, or part thereof. I count the rings, round up the next number divisible and use 5 (5, 10, 15, 20 etc. Divide by 5
In this example, we have only 4 rings. Add that to a number that is divisible by 5, and you get 5. Divide that number by 5 to get 1. This means that we only need one terrace for the retaining wall.
We need to add 1 to our final result because there may be ore in the sections next to the columns. This means that we must reserve two sections for our retention wall.
We now unmark all sections which are two or more from these three columns.
Let's now look at the row of columns immediately behind the row (group 1. The three columns directly below the short three are 11 rings tall. (Count the) sliver at the bottom. These will be discussed in a moment.
The column to the right is about 10 inches high. It is located at the top of a topological line, which indicates that the ground beneath it is changing from 2 to 3 as it crosses it. If we decide that it is 10 feet high on level 3, it would be the same height as 9 feet on level 2, which is our ground' level.
The column to the right is at level 3, which corresponds to our ground level at height 10.
These will require 3 sections (2 to reach the height, and 1 if there is more) space for the retaining walls.
The three columns to the right of group 1 are all 10 in height and will need the same 3 sections.
Let's mark those sections, remembering to also mark diagonals.
Let's now return to the 'group1' columns. They are 11 rings high, so you will need 3 sections of space to accommodate them. One for every 5 or part thereof), and one for the adjacency. We need to mark 4 more sections on this diagonal.
In extreme cases, you might need to consider columns further from the deposit's edge. I have found that a column cannot be ignored if it is more than 10 rings above its neighbors. This is because 10 rings are 2 levels of terracing, but the column is only two sections away from its neighbors.
We should now proceed to unmark any items that are not required for the remainder of this side.
Pay attention to the left corner if you are following the game. The column in the left corner is tall enough that it can influence the shape and placement of the markings.
For clarity, I will mark this side's first ring of retaining walls with the mining tool.
Planning : When and How (Part 2)
We now need to think about a few things.
Our interaction with the limestone deposit to our left. How should we interact with it? I recommend using the same marking process, except that we don't curve in towards the coal. Instead, we move straight to the bottom of the image and include the limestone. It is not what I am going to do here, but it is the same as what we have been doing.
The second is that we don't know how far we want this to go. Let's do the same thing to the left side. (The view of the images will be changed.)
We will need to be able access the mine so that we don't have to build all that retaining wall. This is the most likely place to enter. Before we can make a decision, let's talk about ramps.
Ramps – Accessing the Mine
Ramps and retaining walls are very different. Remember the slope difference.
A set of retaining walls terraces can be used to change the level of each section.
A ramp can only be used to change one level in each section.
You can use switchbacks (, where the ramp turns 180 degrees). This will make it appear smaller. However, the ramp must be one section for each level of the mine.
How deep is it? You can theoretically examine columns by counting the rings, and subtracting the height of ground on which it rests.
In my notes, there is an entry that states that the calculation was incorrect, but I admit that I was possibly suffering from sleep deprived (Great Job COI) at the time I wrote it. In retrospect, I realize that I forgot that the 'ground level' was +2 when I wrote it. I did not notice that in the heat.
We will stick to the theory. We will assume that we will build a ramp from this end, and then mine the materials as we go.
Let's take a look at the tallest column located near the mine's front.
This was for orientation. Now we zoom in.
This column has 21 rings. It appears (is sitting on level 6 from the) dumping tool. It is not. The previous image shows that you can count the topographical lines, and it is at level 7. The dumping tool appears to be at the lowest elevation. The correct answer is 7. (As I mentioned, the dumping instrument is my 'go-to' tool for examining things. I will need to learn from my mistakes.)
21 rings – 7 ground height equals that there will be ore level -14. Level -14 is 16 lower than our local 'ground level' of +2. To reach all the ore below this column, we need a ramp with 16 sections.
Let me draw it for you. Well, let me pause.
After drawing a ramp (using the mining tool), I realized that the row next to the opening was even more difficult. It turns out it also contains coal at level 14.
Also, I will draw the ramp in four sections. We will discuss the ramp's width later.
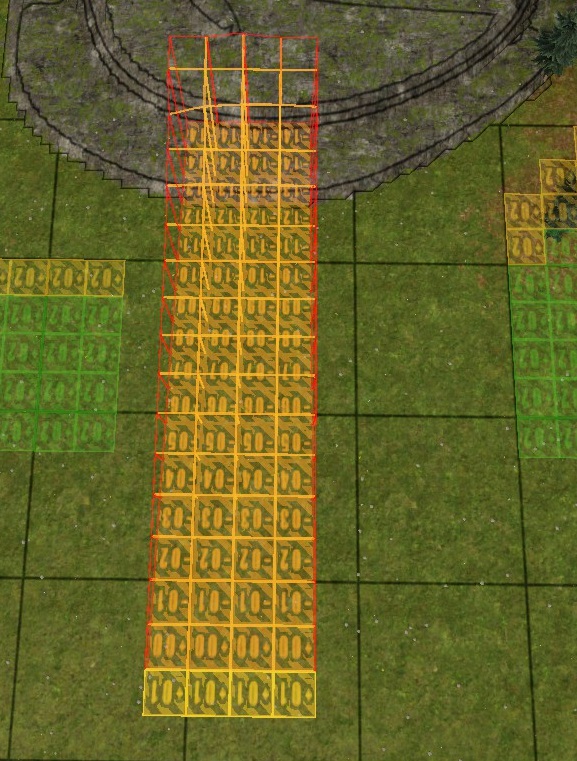
Let me now draw it for you. (When drawing a ramp, the number shown should be the lower end.) We need a level section at the level -14 below that column.)
Here's a zoomed-in picture to give you a better perspective.
This is quite a large amount of real estate that is not part the deposit. Remember that our goal was to get ALL the ore. It will also need its own retaining walls.
There are many options. There are other options. It doesn't change how much space we use, but it does affect which space is being used.
I will demonstrate a plan to bring a ramp down the left-hand side of the coal mine. Please note that I have not checked every column to determine the final depth of this mine. This deposit should be cleaned up to a depth of -17-18, according to my experience.
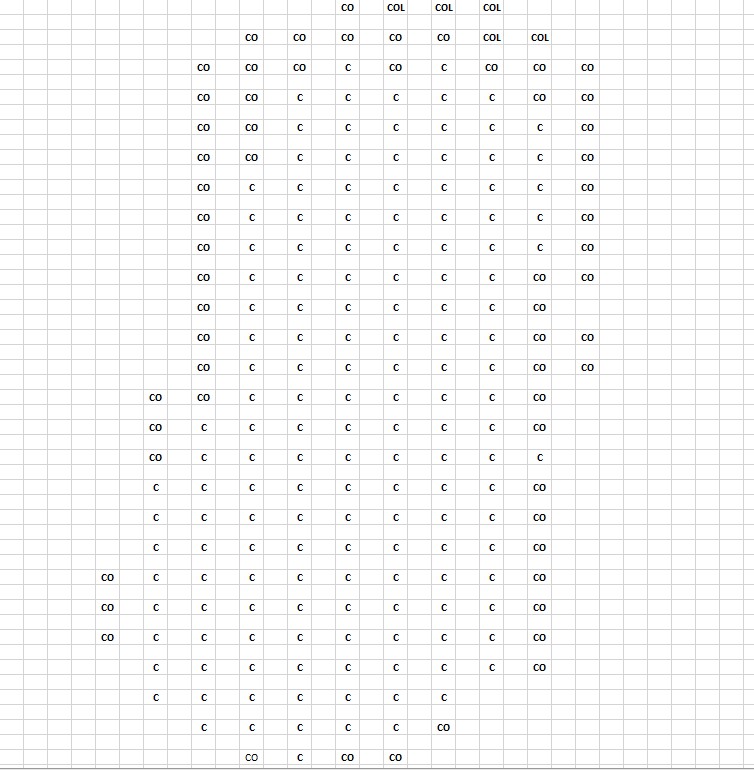
Here is a diagram showing the contents of the deposit. This shows the color of the columns. C is for coal, O for other (rocks and dirt), while L is for those sections with limestone. The columns are not in every section.
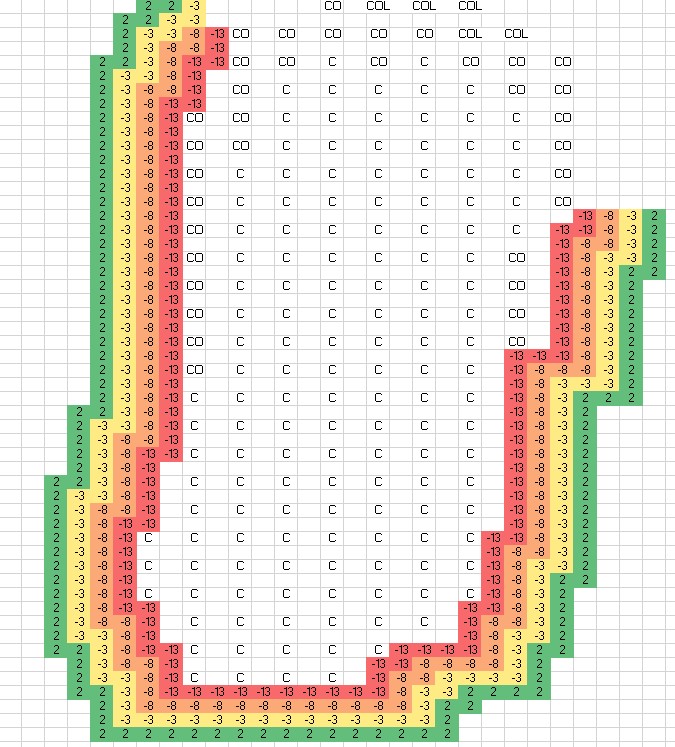
Here is the second mine, with most of the retaining wall placed. The number indicates the height of the retaining walls.
Third, the ramp will take you from +2 to 17 with retaining walls. The retaining walls have made the ramp narrower at the entrance and mouth, while making it wider at the mouth.
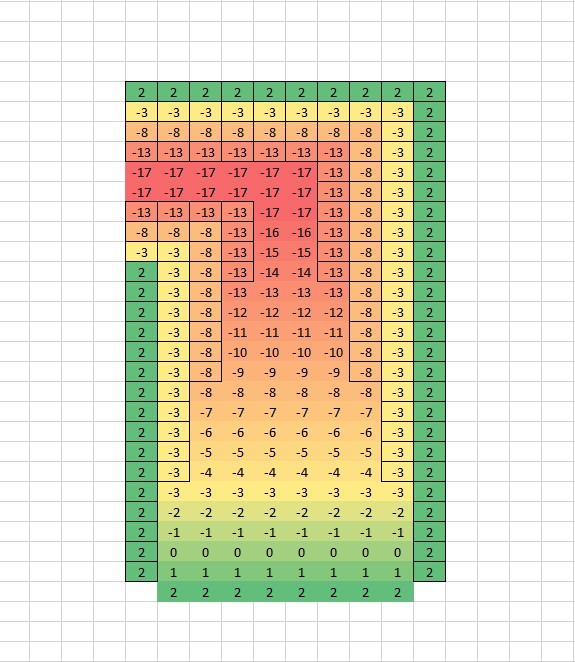
Kudos to you if you're now saying "Samurai!" This will not work because the -3, 8 and -13 walls in upper left have no support for the left. ".
You are correct.
But…
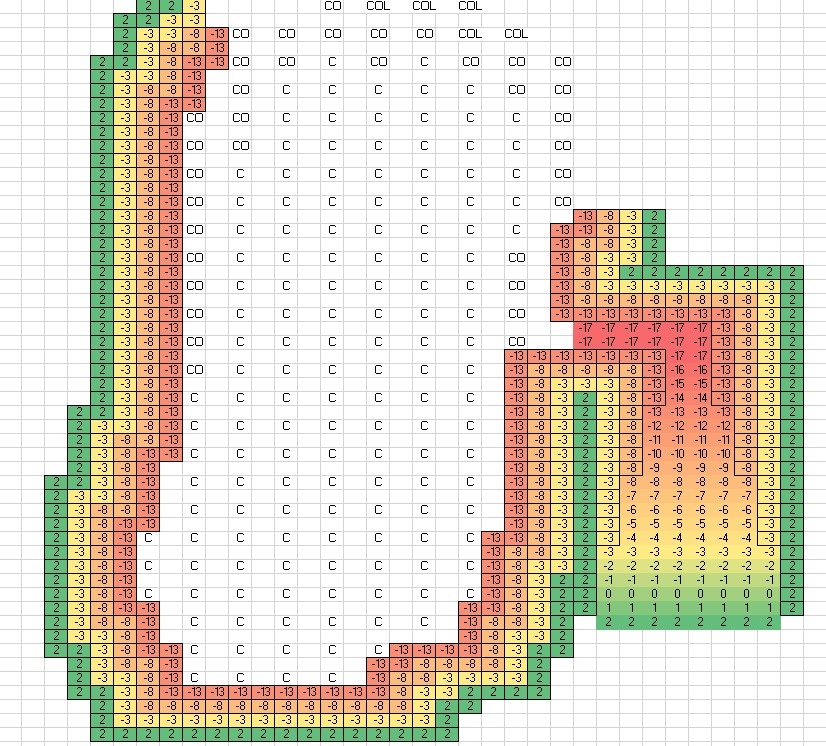
This will be merged into our plan for the mine retaining walls to provide that support. Only minor adjustments will be required in the retaining walls at the top of this ramp diagram.
I am aware that there is an oil deposit nearby where I placed the ramp, but they don't overlap.
Now we have a plan which allows us to access ALL the coal and allows us to build up to the sections with outer retaining walls. It can also double as the ramp to the Limestone mine that is adjacent to the coal mine.
Now, build it.
Ramps – Making It Happen
In broad strokes, (is the order in which everything should be done.) is the order in which it should be done. There will be overlap between steps. This means that you will start the next step (, or two) after you finish the current step. This must be true to ensure that there are no interruptions to the flow of coal.
- Your mining tower should be built near the mouth of the ramp, but not where there are retaining walls.
- Start by mining the surface coal. Start mining by setting your mining depth at the local ground level (+2.
- Your storage infrastructure should be built near the ramp's mouth. You can add additional storage units for coal (up to six) so that you have enough stockpiles to divert your excavators from mining dirt and rocks occasionally.
- Place the retaining walls at level +2. You don't need to build them all before moving on to the next step. However, you should never mine next to a wall that is not completed.
-
Start mining the ramp to level -3 as soon as you have enough coal. Then, mine the entire mine area to level 3. This includes the sections where the lower walls will be.) After excavating all of the coal to level -3, you will have a two-section wide berth at level 3. Do not forget to convert your mining back into coal and to rebuild any excess before you run out!
These changes can be made by changing the mining area at the control tower, focusing on the coal or a section of terrain just inside of the retaining walls. - Rinse and repeat steps 4 through 5 for levels 3, 8, and 13.
- Celebrate the fact that you got all the coal and didn't have a landslide. (You didn’t have a land slide did you? Unfortunately, I don't usually do that… only water for my family 🙁
You can always backfill with rock if something goes wrong (dirt tends too much)) and dig again.
It is very important to resist the temptation to take one side and then get the other. I've tried this and I always end up in a situation where I have to dig too deep to get there. Steady wins.
Insurgency: Sand
The following is what I wanted to pass on.
Retaining walls made of sand are not expected to behave like good citizens. Sand is insurgent and can cause uprisings.
Really.
I have constructed beautiful retaining walls to keep back sand. I also dug the terrain out (just like normal). Later (, probably after a certain amount rain) I came back to find a small section of retaining wall that was one level higher than the original location.
Yes, there was an uprising! Caused (, I believe) by the insurgence sand!
It could be a bug but it is a cute feature that works as intended.
Beware! (LOL)
A personal note
I hope you find this guide useful and helpful. If you have any questions, please leave them in the comments. I welcome your feedback and suggestions.
This guide is my attempt to pass it on. Many fine gamers have helped me over the years with youtube videos and guides like this. These guides are written by almost all game developers, which helps to attract more players (, more content, and better patches for the intricate games we love).
Many thanks to all who helped me. I have enjoyed playing so many of your games with greater enjoyment. We are grateful!
Last thing…
Unfortunately, the last guide I wrote ended-up on a website that was practically covered in ads. Despite not asking for permission, it was there. Although I was accused of plagiarism, they credit me and the accusation was later retracted. I feel obliged to share the following, in the spirit of "Once Bitten, Twice Shy".
This guide is being posted on Steam Guides for Captain Of Industry. It may not be posted elsewhere without my express written consent or the explicit approval from Valve Corporation.
This is all about Captain of Industry – How to use retaining walls + Terminology Guide; I hope you enjoy reading the Guide! If you feel like we should add more information or we forget/mistake, please let us know via commenting below, and thanks! See you soon!
- All Captain of Industry Posts List



Leave a Reply