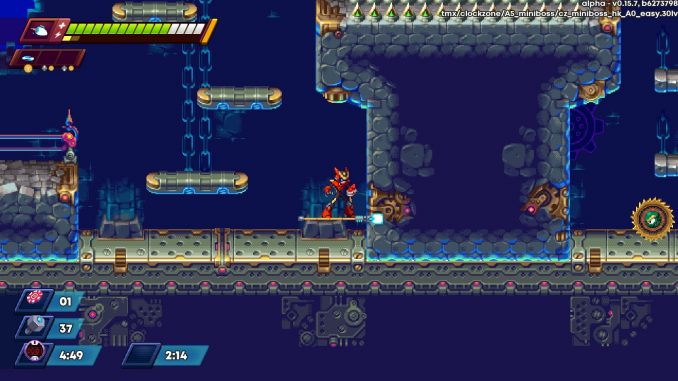
Core Augmentations
Core augmentations are generally the most valuable gear you’ll get during the run. Functionally, the armor upgrades that apply to specific parts of your body. Unlike the last game, you can hold as many Core augmentations you can find, and even equip two different parts on the same body(May be a bug) In exchange, this game introduced Core Capacity. Armor pieces cost Core Capacity in order to equip. You start with a measly 7, and can currently only get more through salvaging other items.
Armatort, the Unstoppable
Armatort’s set is designed around brute force. The end goal of the set is to minimize the cost of taking damage, and pray you can kill the enemy before you get hit too many times. You usual idiot-resistant protective gear.
Armatort’s Dome(Helmet piece:2 Cores)
Gives you a chance to convert health pickups to armor pickups, also allows you to pick up health at full. Does not currently guarantee an armor point at full health, so arguably a downgrade in multiplayer.
Armatort’s Shell(Chest piece:3 Cores)
Grants immunity to both Knock-back and the Hit-stun Caused by it. Remember that you still take damage regardless of how it makes you feel.
Armatort’s Pound(Arm Piece:4 Cores)
Charge shots now destroy bullets on contact. Not much to say other then proper usage of it can make a fair group of enemies(including bosses) harmless to you.
Armatort’s Momentum(Leg Piece:5 Cores)
Gives you an up to 2 second hover while in the air. Has limited movement, but help save you from horrible timing, or simply to throw some extra damage at an enemy before gravity brings you back down.
Owlhawk, the Wise
Owlhawk’s set was usually referred to as the “power” set. Without the addition of set bonuses, I prefer simply calling it the “survive-ability” set. The main goal of the set is to regenerate your resources before the long-term effects of using them so freely sinks in.
Owlhawk’s Focus (Head Piece: 2 Cores )
This gives a 50% chance to not consume energy. Now you can spam twice as much. Particularly usefull with Owlhawk’s Reign
Owlhawk’s Reign(Chest Piece: 3 Cores )
Gives your Power’s a chance to heal you when they kill an enemy. Free health never hurts, right?
Owlhawk’s Talon(Arm Piece: 4 Cores)
Gives your weapon a chance to restore energy on kill. Helps reward a proper balance of weapon and power usage, and free things for killing stuff is always nice.
Owlhawk’s Feather(Leg Piece: ? Cores)
Allows you 1 second of flight in mid-air. This has much more movement then Armatort’s Momentum, in exchange for half it’s time. In general, it’ll save you from much more precision platforming then it, while still keeping it’s function as a sustain tool against aerial enemies.
Dracopent, the Foul
Dracopent Set’s can be refereed to as the attack set. Generally, this the only armor set that gives a noticeable increase in your damage output. The main goal of the set is to burst down select groups of enemies through it’s bonuses given to charge shots.
Dracopent’s Fang(Head Piece: 2 Cores)
Allows you to fire off two charged weapon shots before recharging. Double damage makes a pretty big difference.
Dracopent’s Pride(Chest Piece: 3 Cores)
Gives a chance for you heal based on your kills with your weapon. Did I mention I like free stuff?
Dracopent’s Claw(Arm Piece: 4 Cores)
Gives you an additional charge level for your weapons. Particularly powerful with This set’s head piece, but may not be worth the additional charge time in most situations.
Dracopent’s Bound(Leg Piece: 5 Cores)
Gives you an additional mid-air jump. most notable for being the only aerial tool that keeps your momentum after using it, making it particularly useful to reaching across long gaps. Otherwise, It’s just generally the easiest to use leg piece, at the cost of being an arguably smaller safety net then the other options.
Oxjack, the Flash
Oxjack’s set generally seems to just have a bunch of utility attached to it’s parts. It lacks any clear identity the other two has, but each part individually has specific situations where they are notably powerful. With that in mid, This set doesn’t really have a goal. Unless you count “Just dash around more” as a solid plan.
Oxjack’s Ken:(Head Piece:2 Cores)
Fires a bolt based on the direction you dash. Fairly Redundant for Nina, but gives Ace a notable ranged tool that he usually is lacking in.
Oxjack’s Guile:(Chest Piece:3 Cores)
Creates a shield based on the direction you dash. For such a fast-paced game, the shield lasts for a fairly long time. Arguably outclasses Armatort’s Pound in terms of projectile spam.
Oxjack’s Fury(Arm Piece:4 Cores)
Reduces the Charge Time of your weapons(and powers?). Just your generic arms upgrade. Can’t really complain about this either way, especially if it stacks with Dracopent’s Claw.
Oxjack’s Blitz(Leg Piece:5 Cores)
Allows you to dash mid-air. Arguably the most clunky movement tool out of the leg sets. That being said, once you get used to the movement, this easily the best in terms of both exploration and bossing. The only real weakness of these is that it’s the only leg part that doesn’t ease precision platforming, and you can’t fire during the dash.
Nina
Nina’s your classic jump-and-shooter, and she hasn’t changed too much in these years. With the removal of Energy Capsules, she instead gets energy from Life Capsules(at a rate of roughly 2 energy healed for every 1 point of health healed), on-top of their usual health gain. Additionally, she gained the ability to fuse two weapons together. The fused version of these weapons are almost always a straight upgrade, with the only cost being that you only ever get one of each power per play-though. Note that you can always change both your current powers and their fusions in the pause menu.
Nina’s Weapons
Currently, Nina doesn’t have any truly unique weapons for her to switch to. Until we get some, this will only have the default N-Buster, and some core upgrades specific to it.
N-Buster
Your standard lemon shooter. mash the button to rapid fire. It also has a charge shot that much bigger in both damage and size, as well as the ability to pierce through defeated enemies.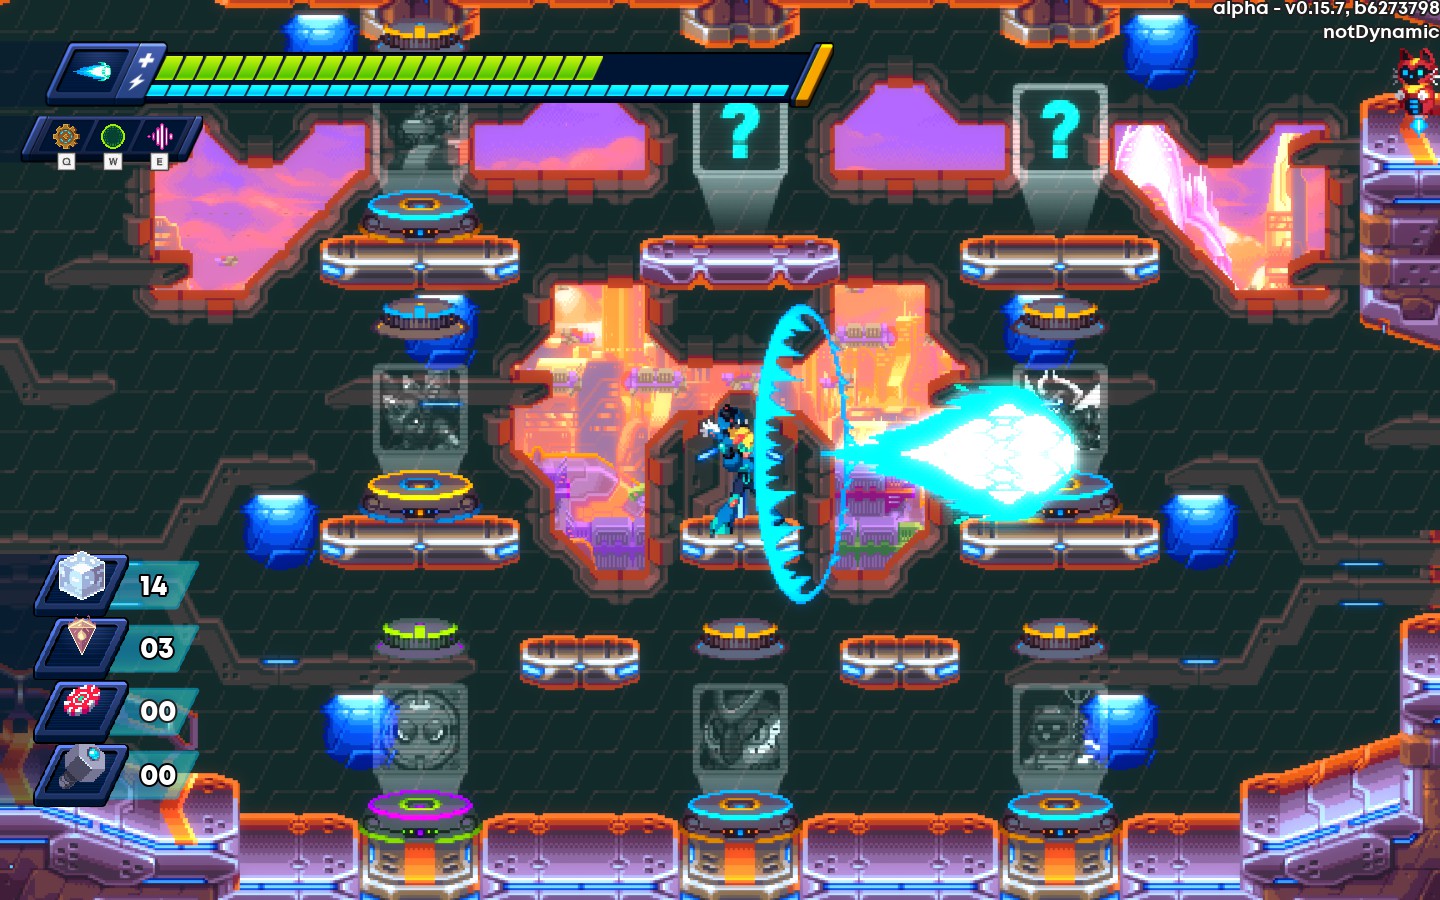
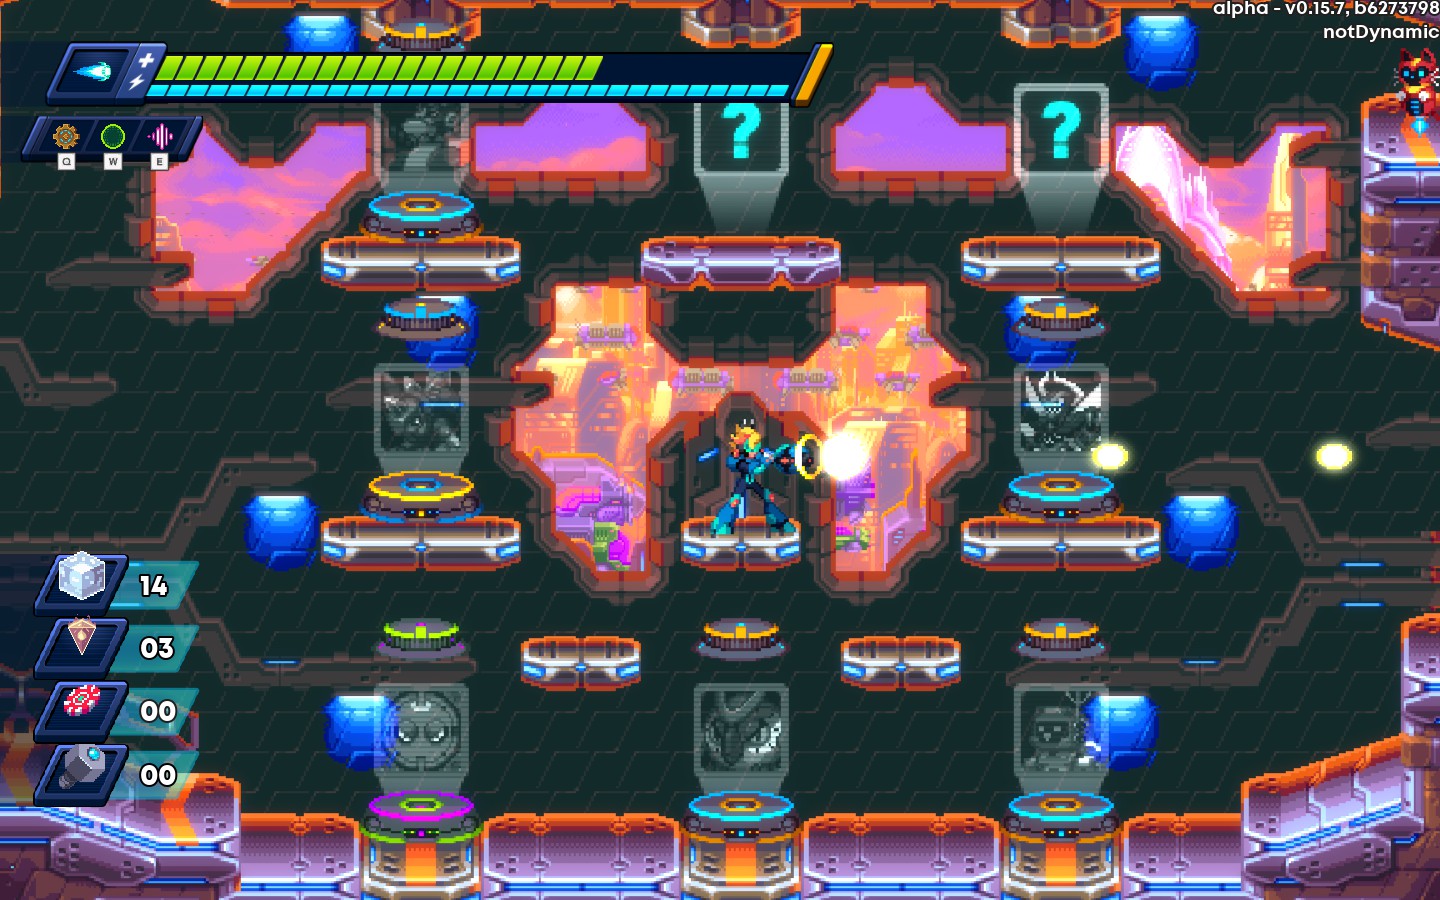
Retrobeam
At the cost of 2 Core Capacity, this upgrade fires in both directions. Currently, the secondary shots do not fire charged shots with you.
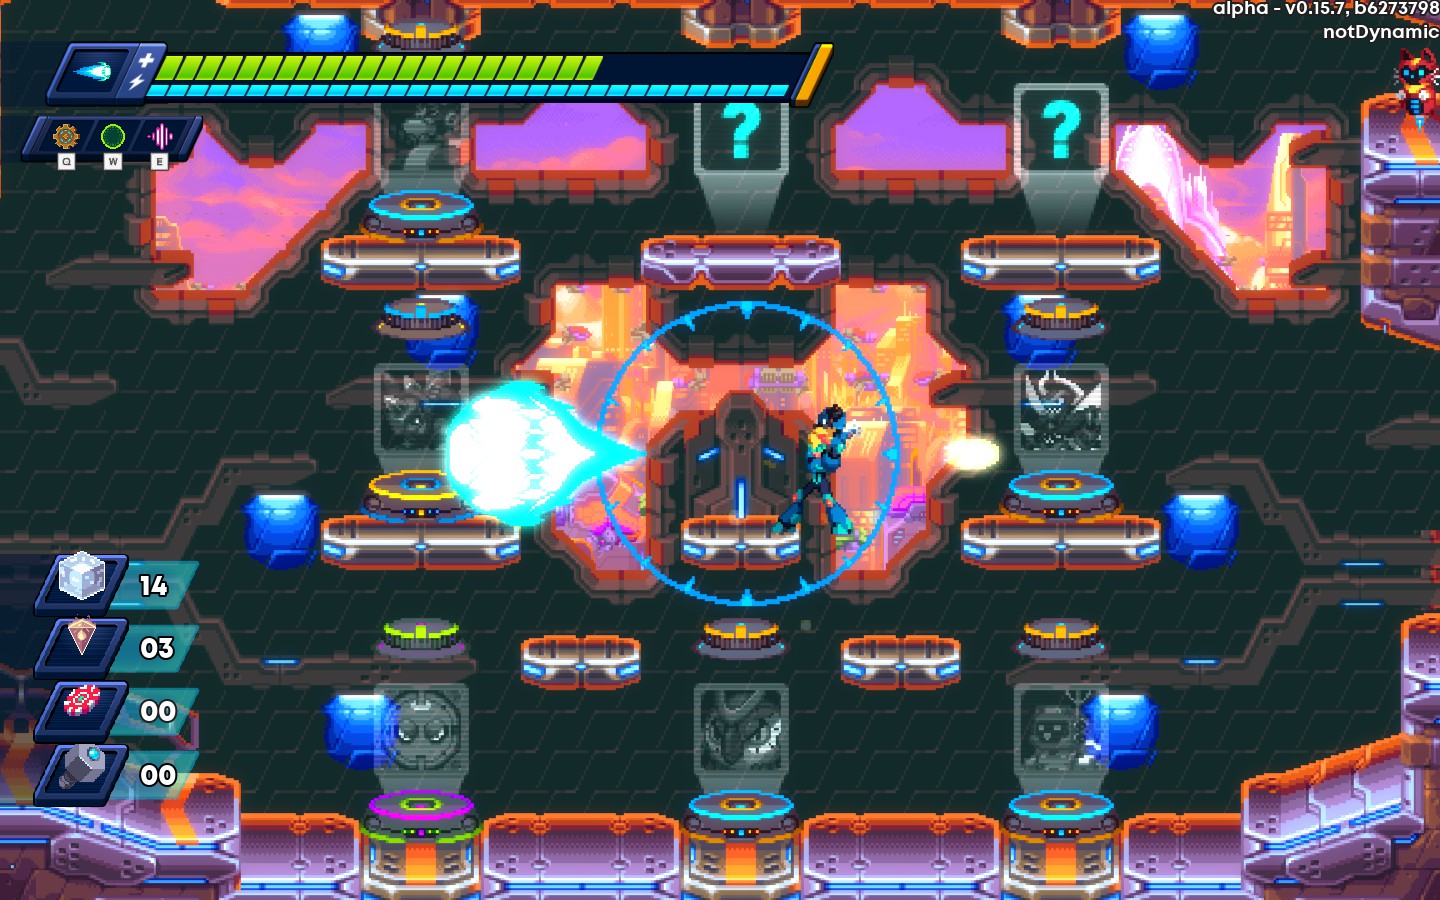
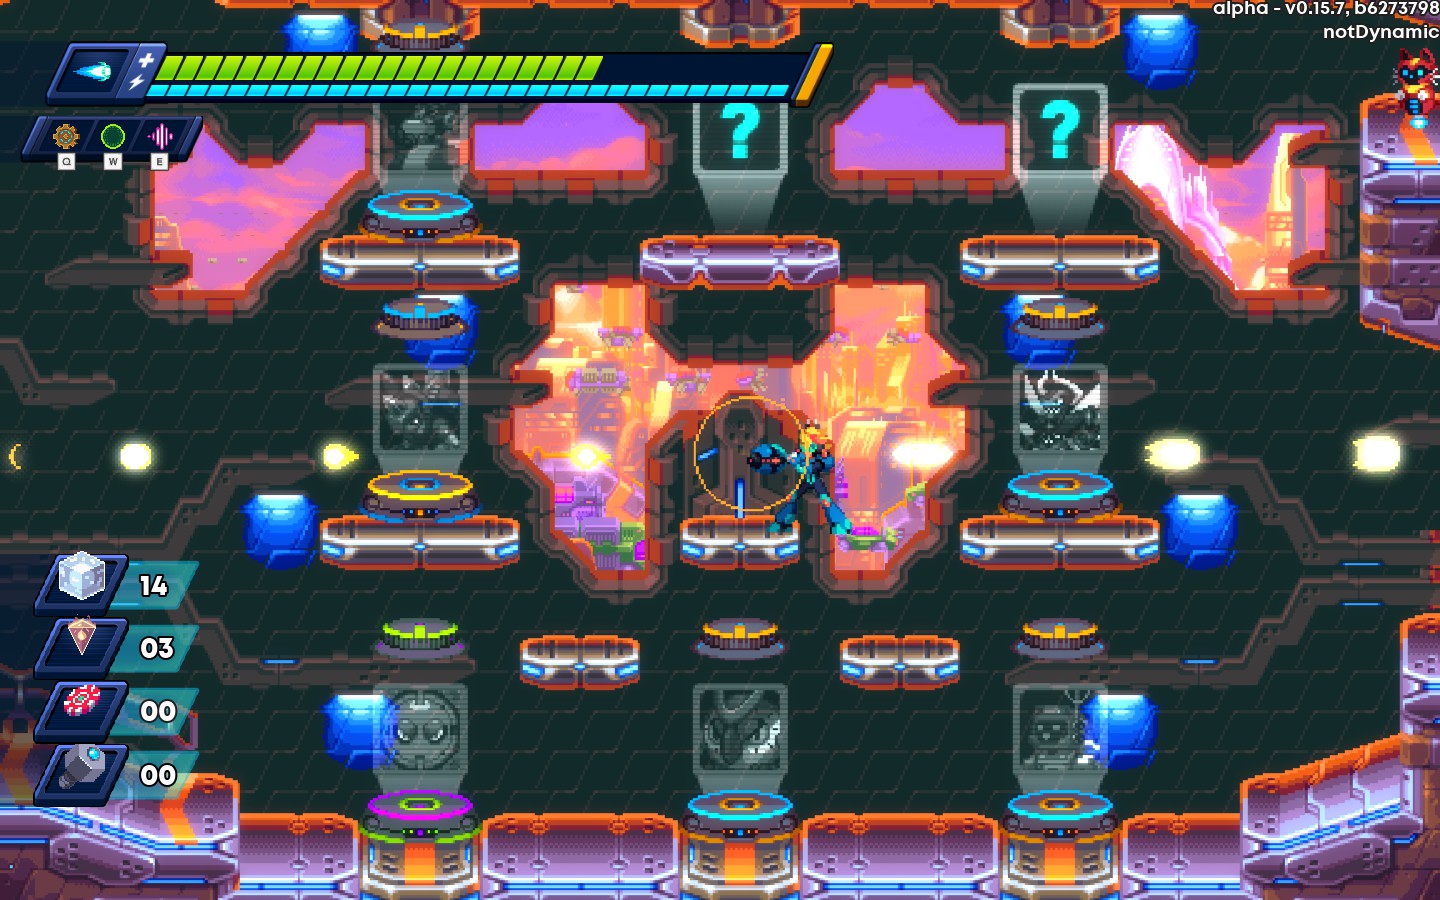
Nina’s Powers
Here’s the current information I have for Nina’s Powers. Currently, there are six powers. I will be explaining each power individually below, but here are some general notes about the modifers they give when used as fusion. Any fusion lacking pictures has little to no visual change attached to it.
Aiming Gear(Aim):Allows you to change the position/direction the power is fired.
Crushing Void(Charge):Allows you to charge the weapon.
Crystal Wave(Freeze):Freezes enemies on hit, turning them into ice blocks for a limited time.
Negation Pulse(Shield):Allows weapon to destroy projectiles.
Rending Whirl(Persist):Gives the weapon a lingering effect.
Zen Mortar(Echo):Allows “Detonation” of the power through using the power a second time. Because of this, you cannot fire a second projectile until it is detonated/expired.
Aiming Gear
Aiming Gear fires a fairly fast projectile that can hit one enemy before expiring. Currently, this costs 0.5 energy, can be fired in 8 directions, and will slide off platforms that are not perpendicular to it.
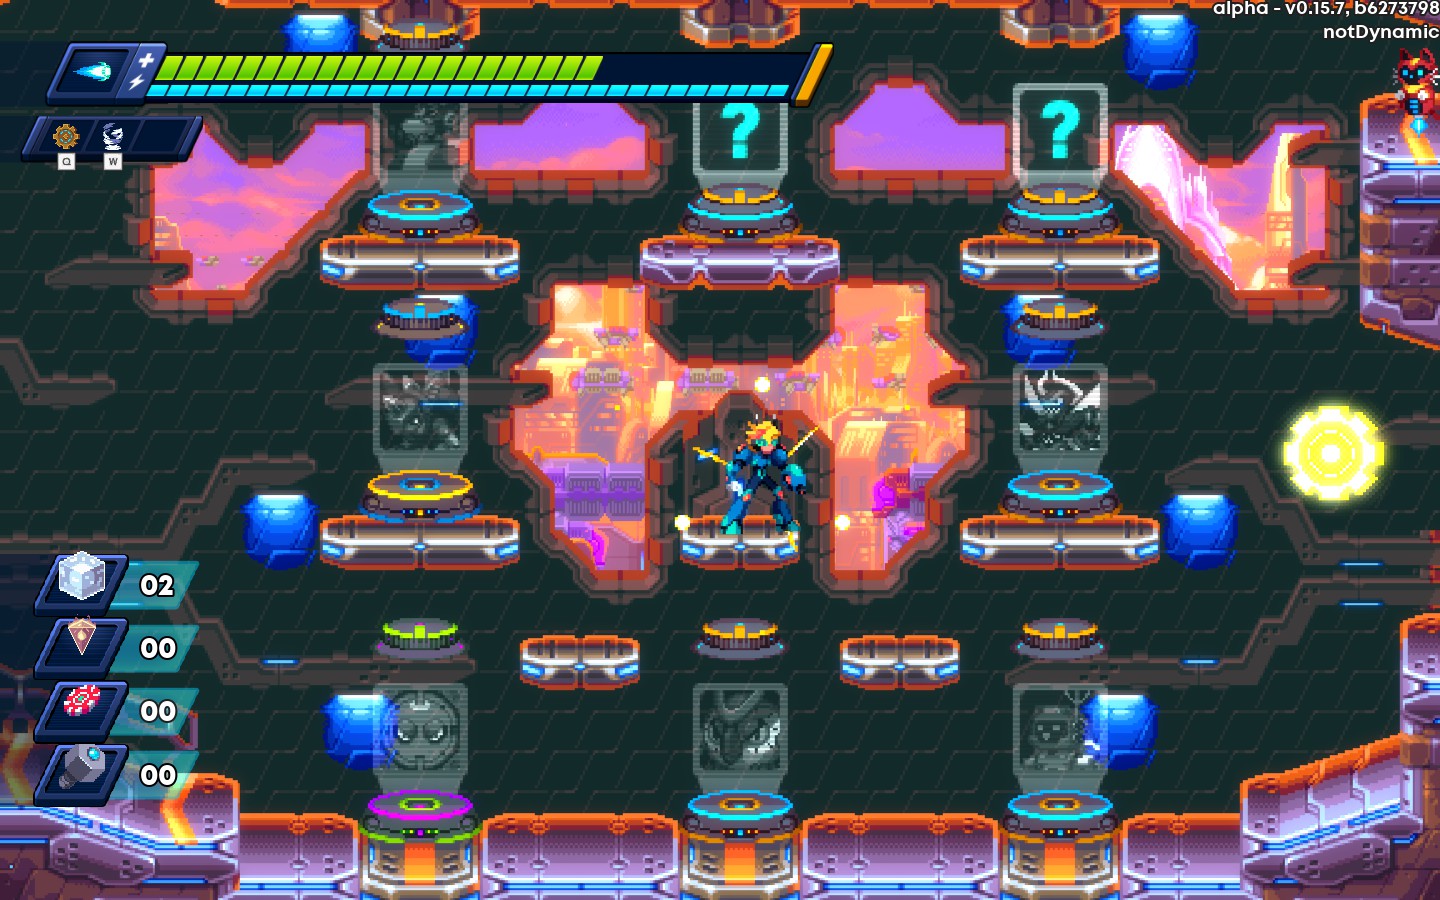
Gear+Void(Charge):Fires 3 gears at the cost of 1 bar
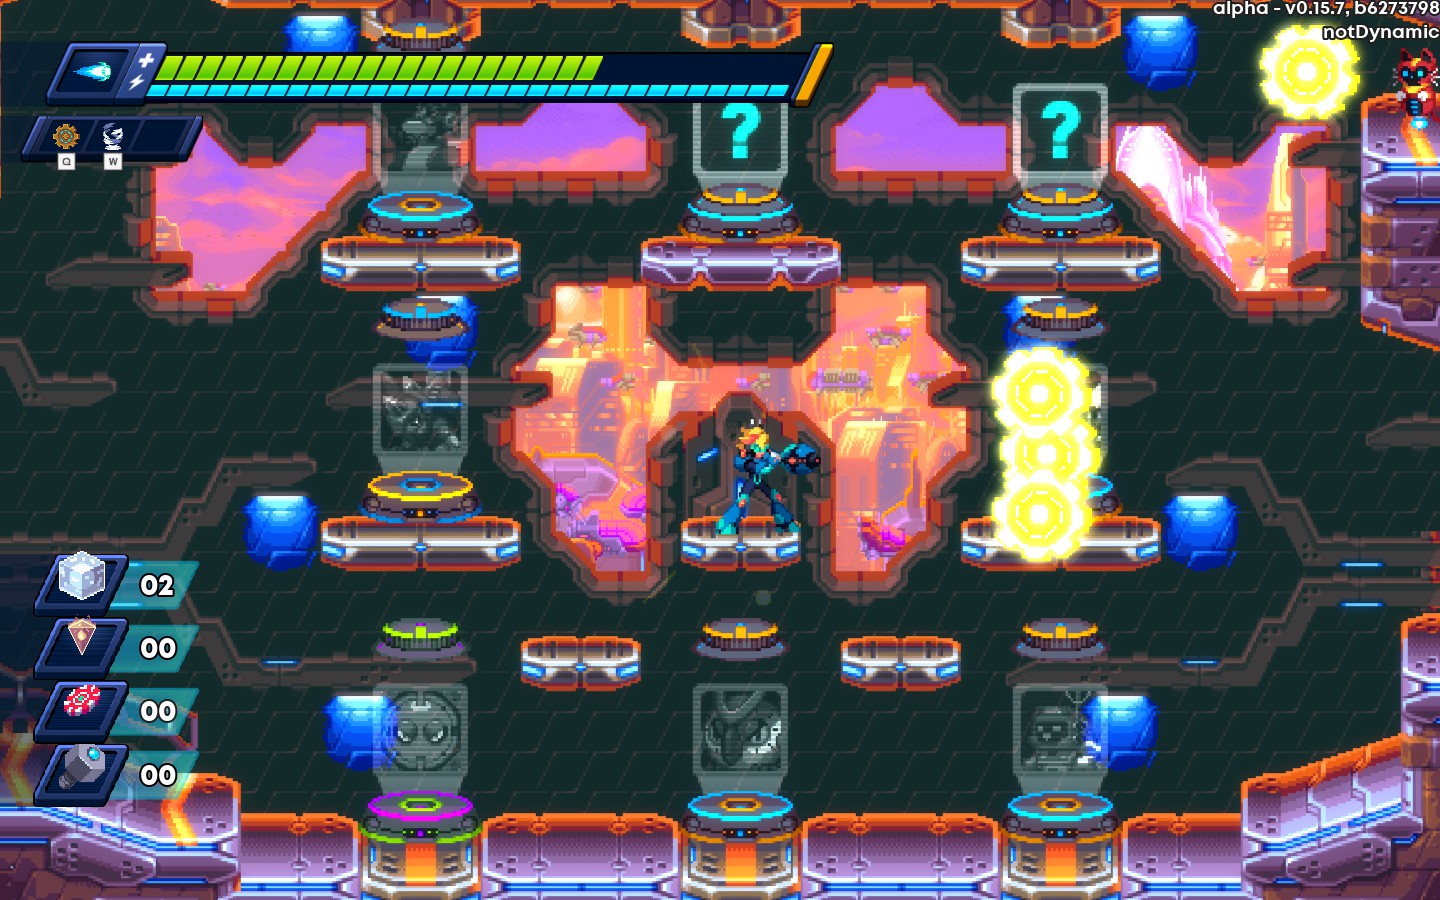
Gear+Crystal(Wave):Freezes enemies, no longer deals damage.
Gear+Pulse(Shield):Allows the weapon to pierce enemies. Projectile will still be destroyed by some enemies.
Gear+Whirl(Persist):Leaves an lingering AOE after the projectile is destroyed that deals DoT.
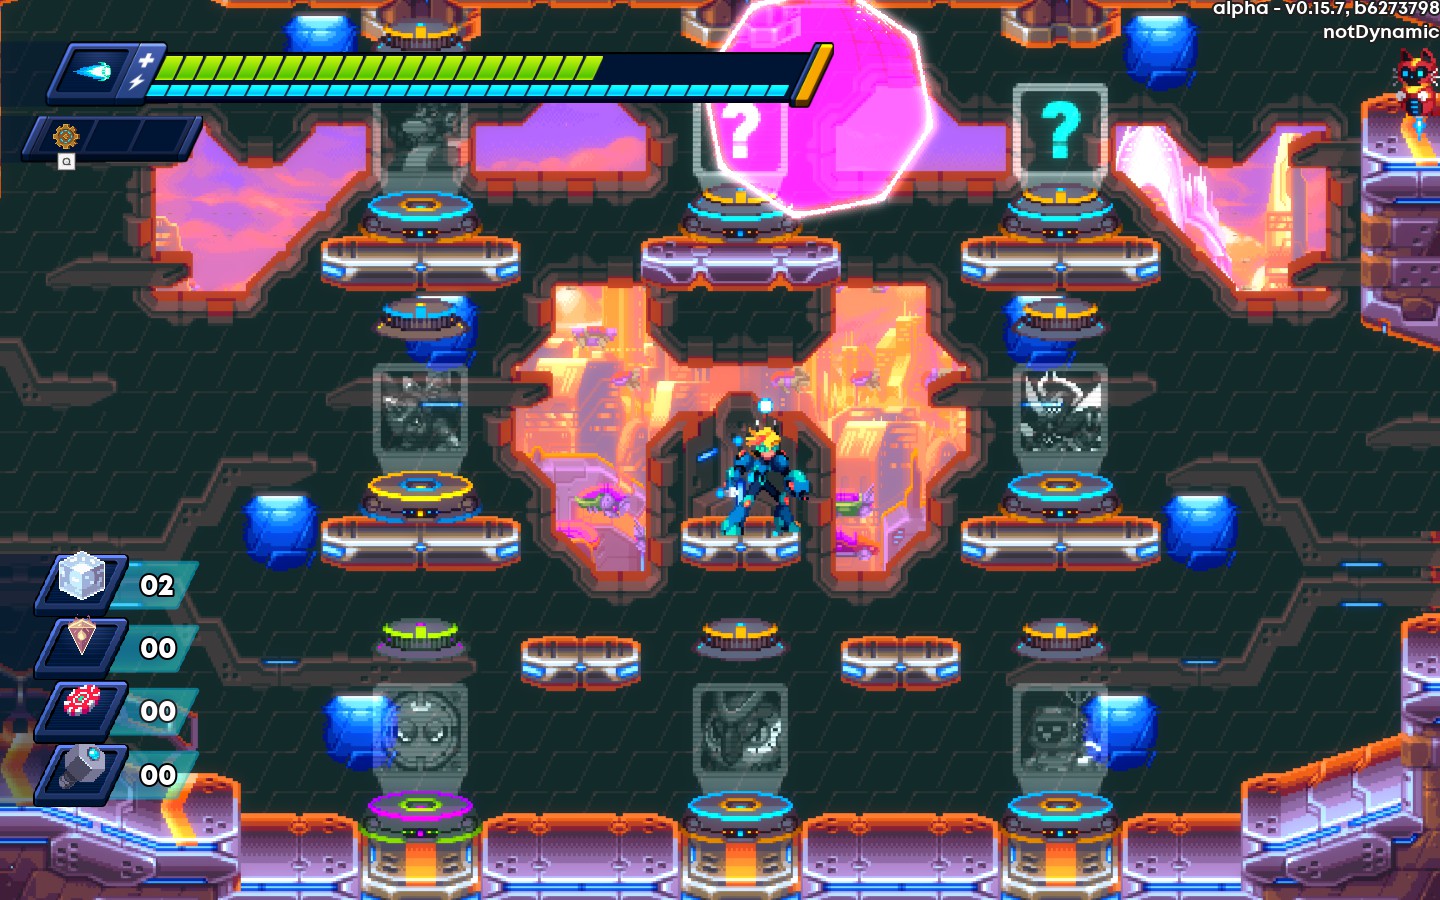
Gear+Mortar(Echo):Pressing the power button again will cause the gear to split into 8, each firing at a different angle.
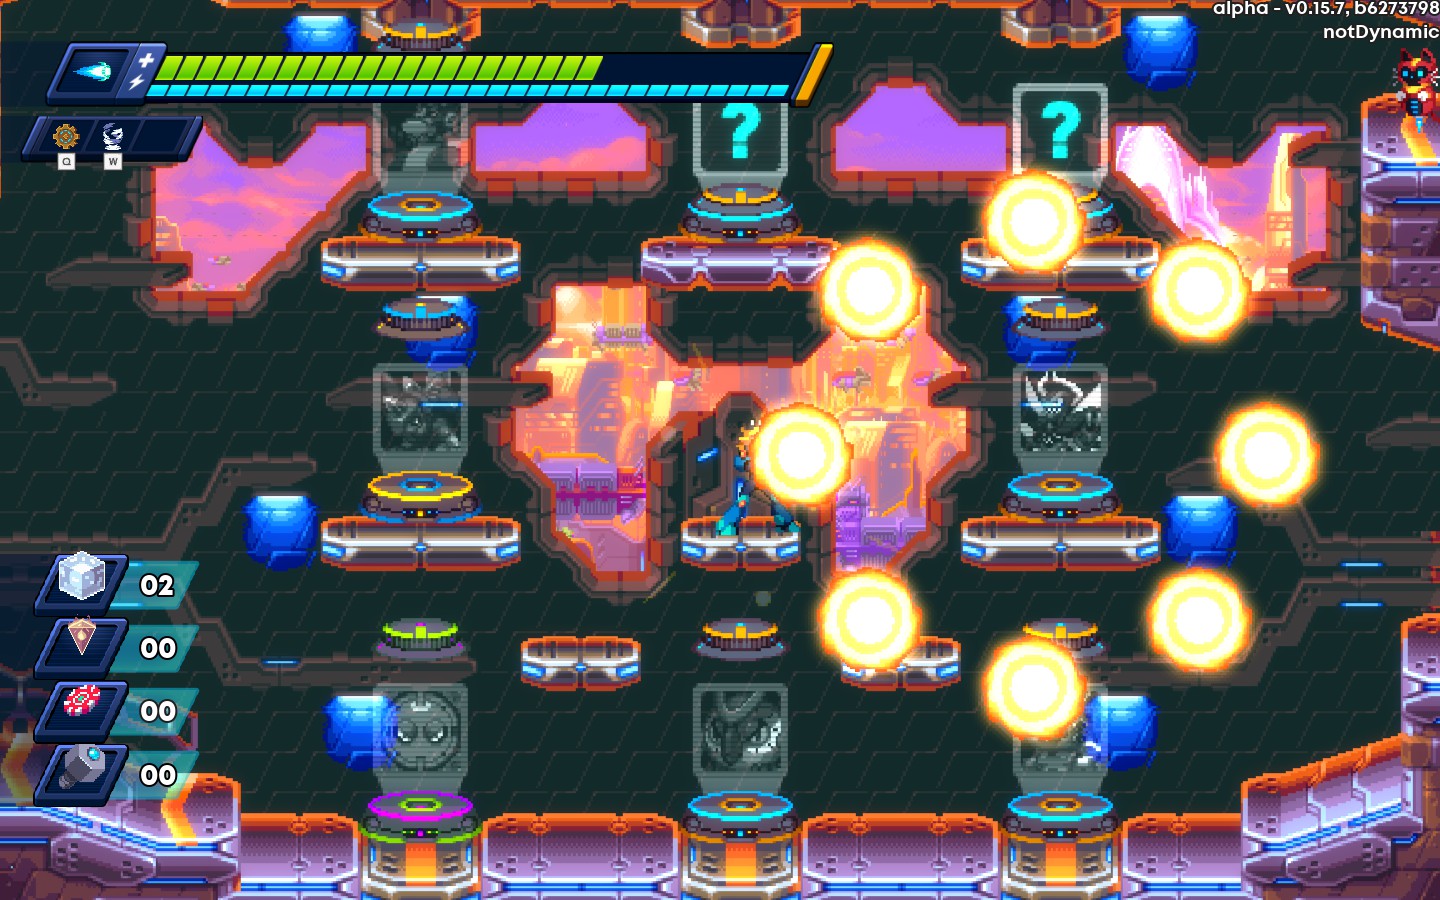
Crushing Void
Crushing Void fires a slow projectile that deals DoT and pulls enemies to the center of it. This can also be charged up to two times. This will cause the projectile to become larger, move faster, and deal more damage, Though this is also at the increased the cost. The price of power is 1, and further increases by 1 for each charge.
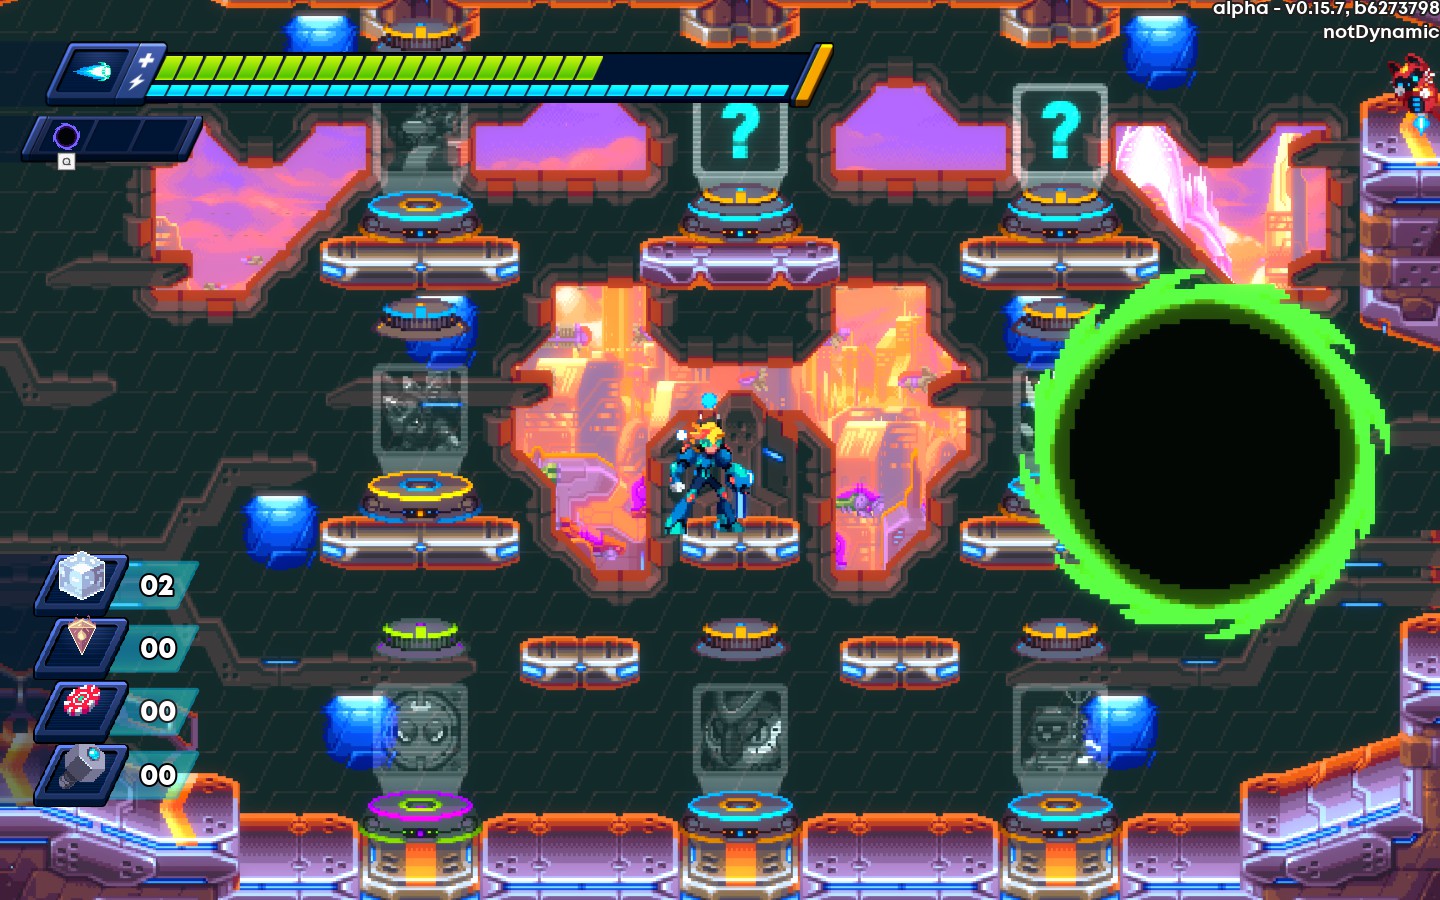
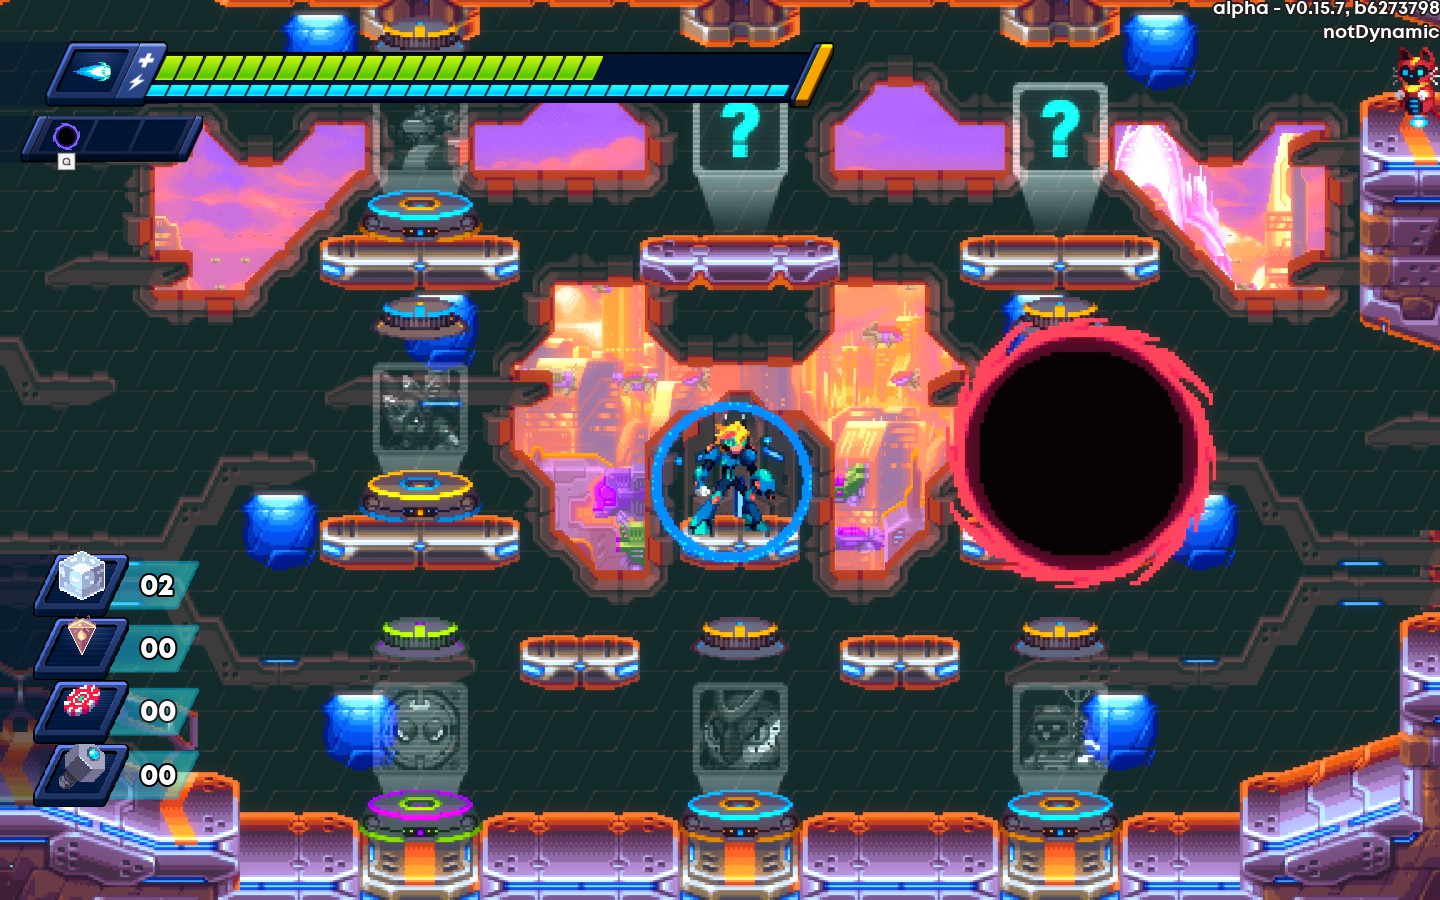
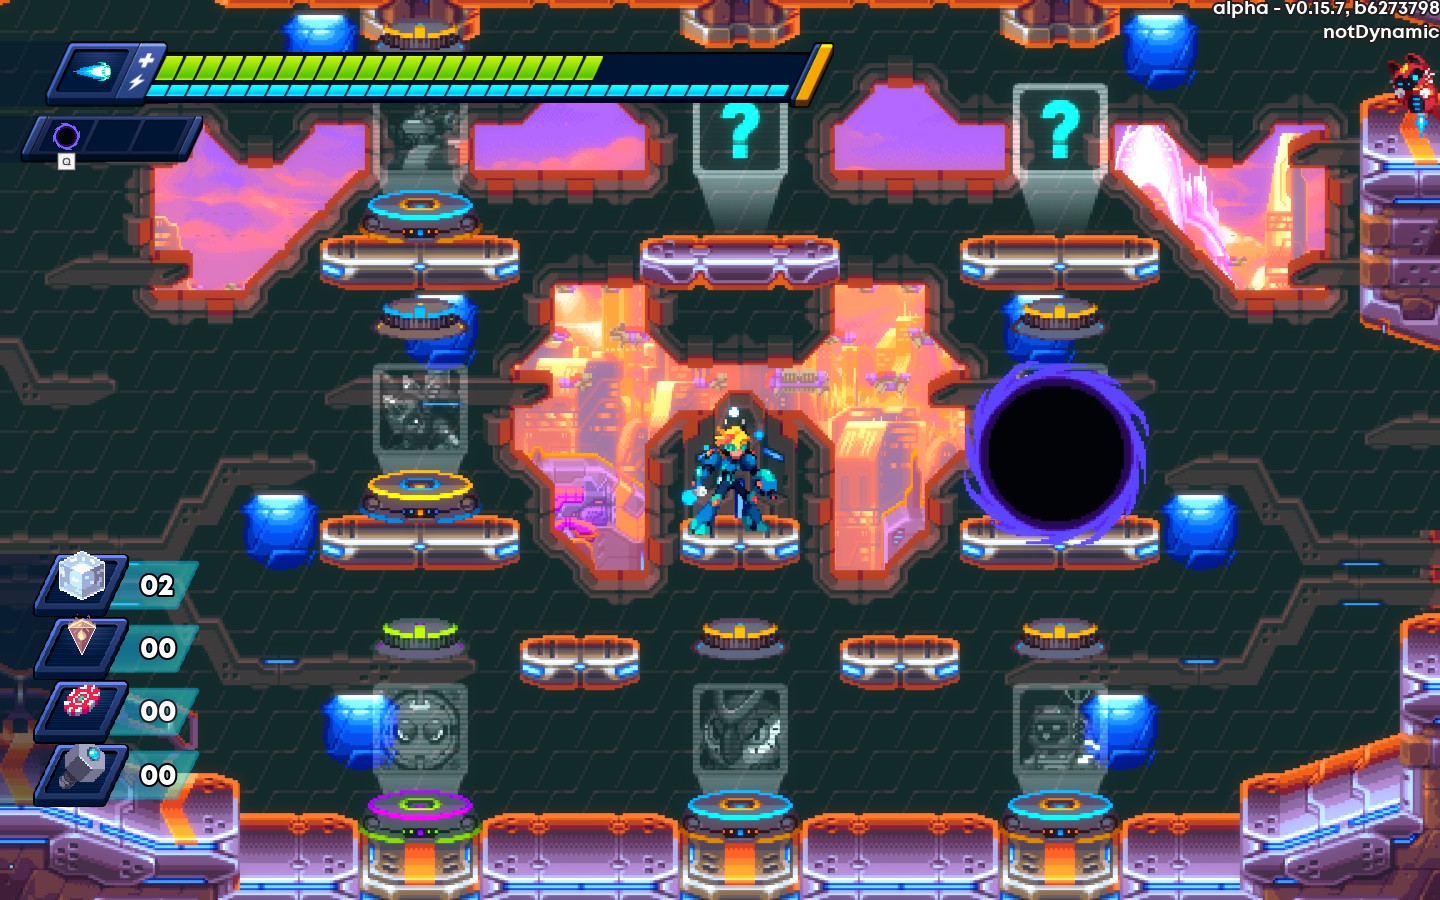
Void+Gear(Aim):Allows you to fire the projectile in the 8 possible directions.
Void+Wave(Freeze): Changes the weapon. Instead, spawn an ice-block below you. it will fly forwards until it expires. Charging the weapon will increase the size, speed, and piercing capability of the weapon. Power cost starts at 2.
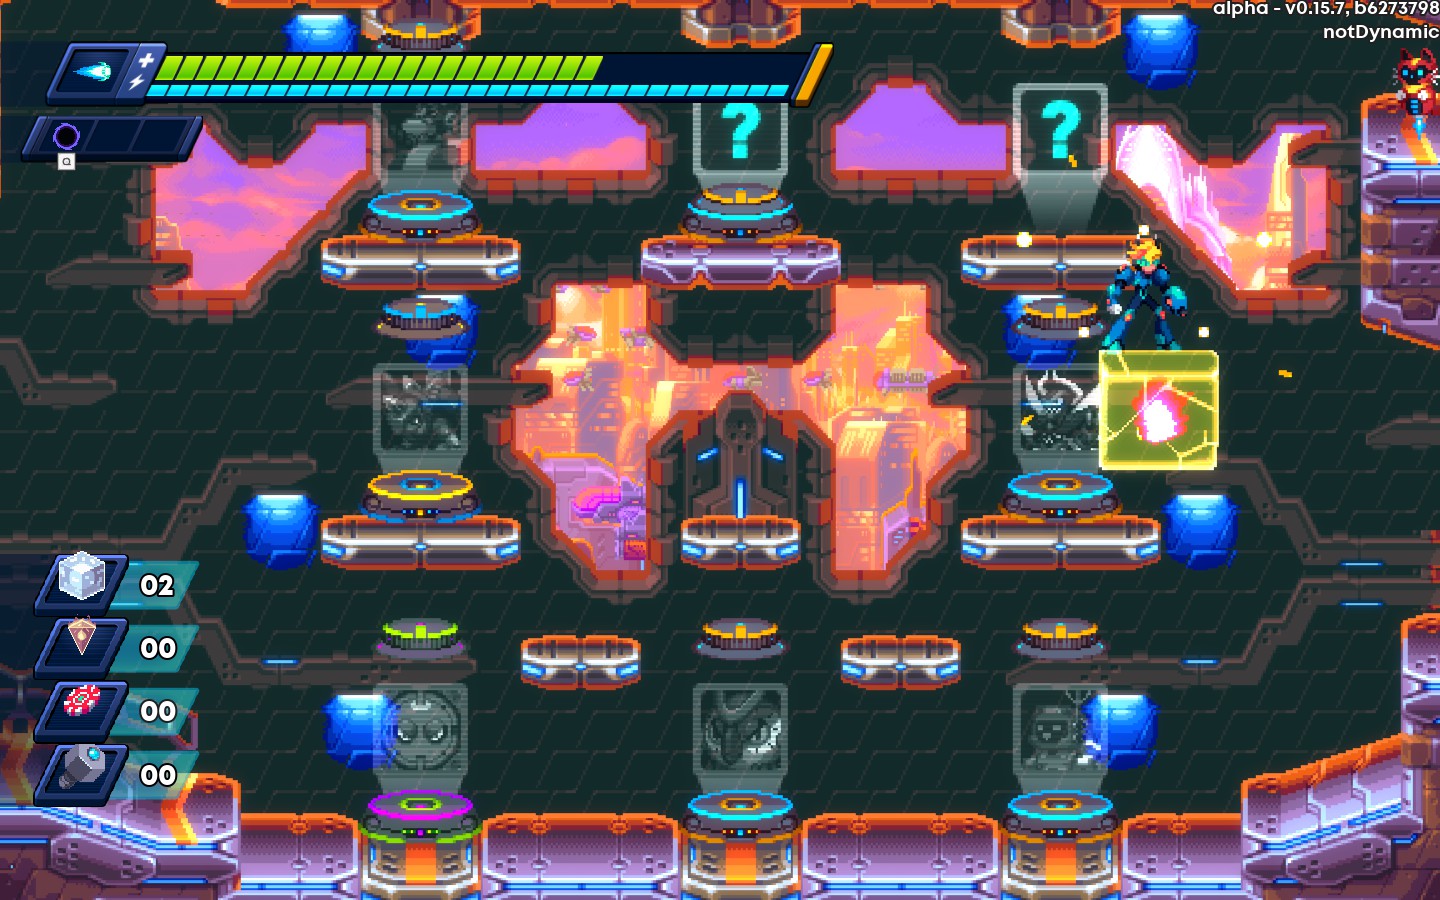
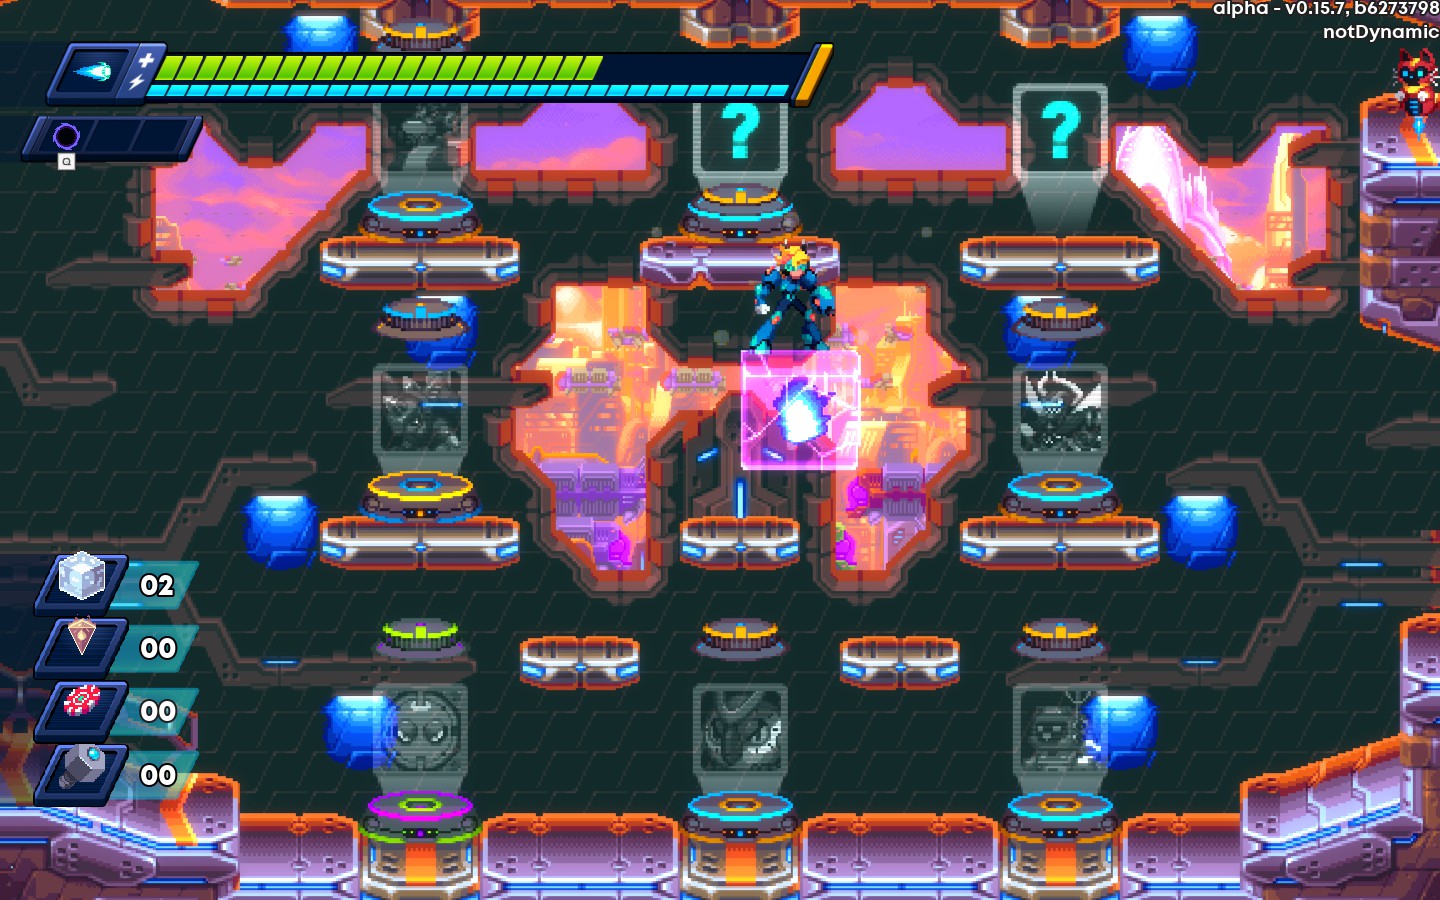

Void+Pulse(Shield):Allows the Void to both pull in and destroy projectiles.
Void+Whirl(Persist):Changes the weapon. Instead, form a void around you as a lingering AOE. The Void will stay on you until it expires. Charging it increases it’s size and damage. The Power cost starts at 1.
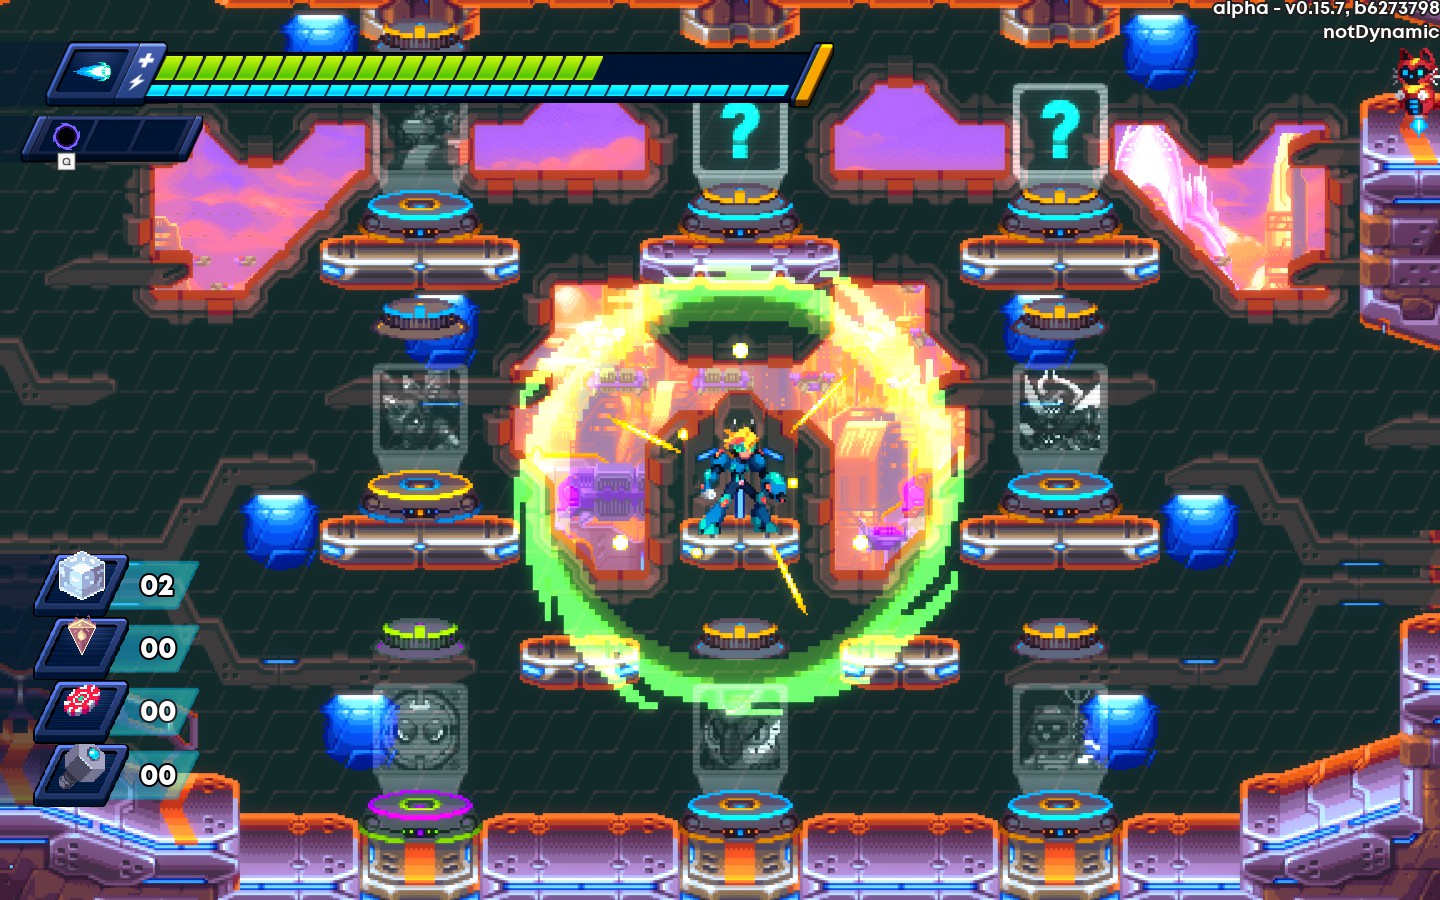
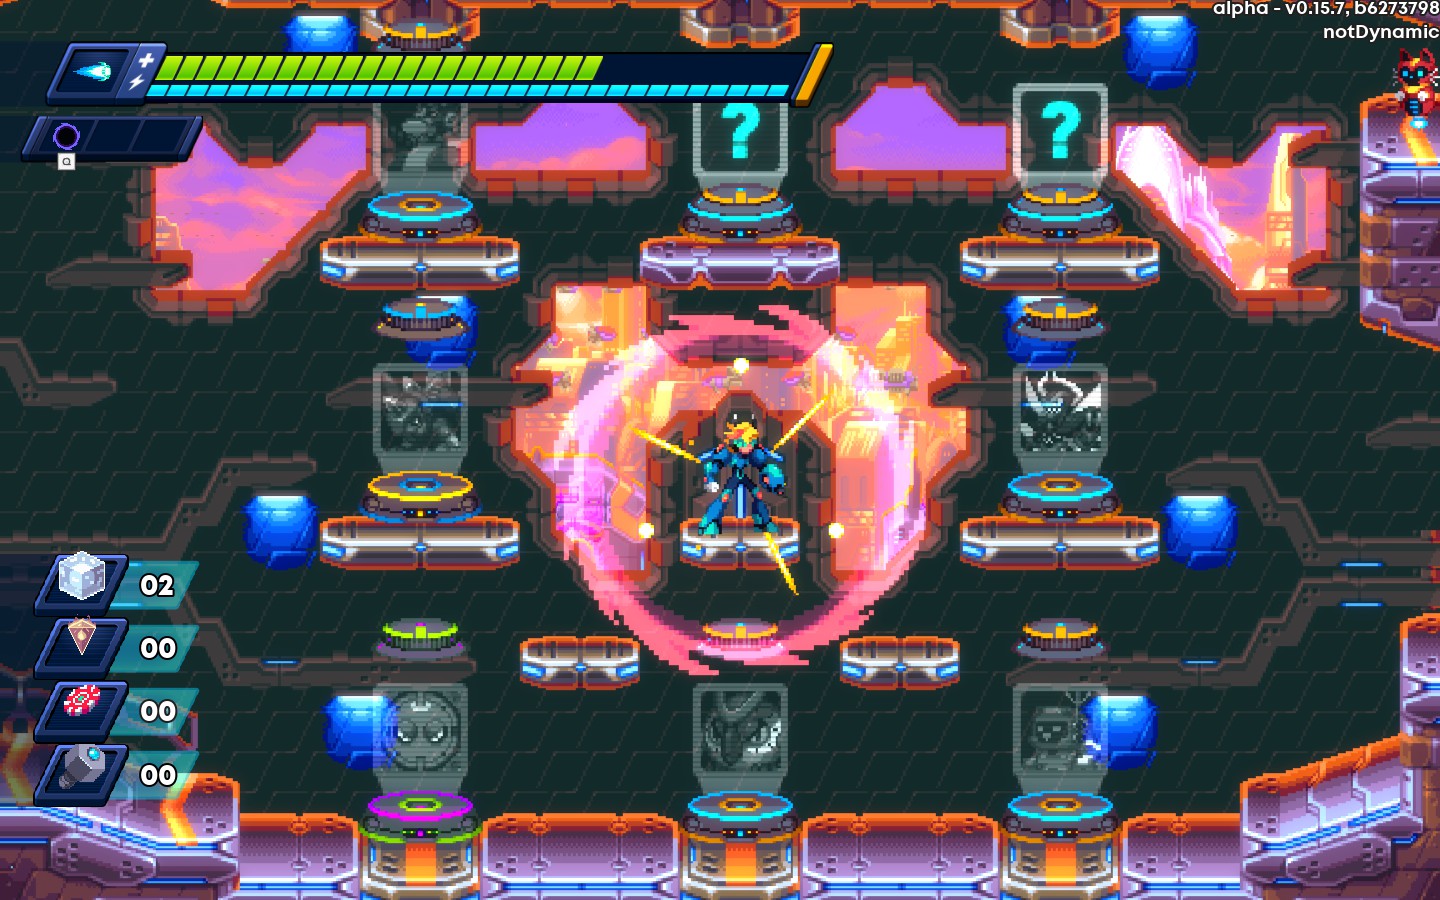
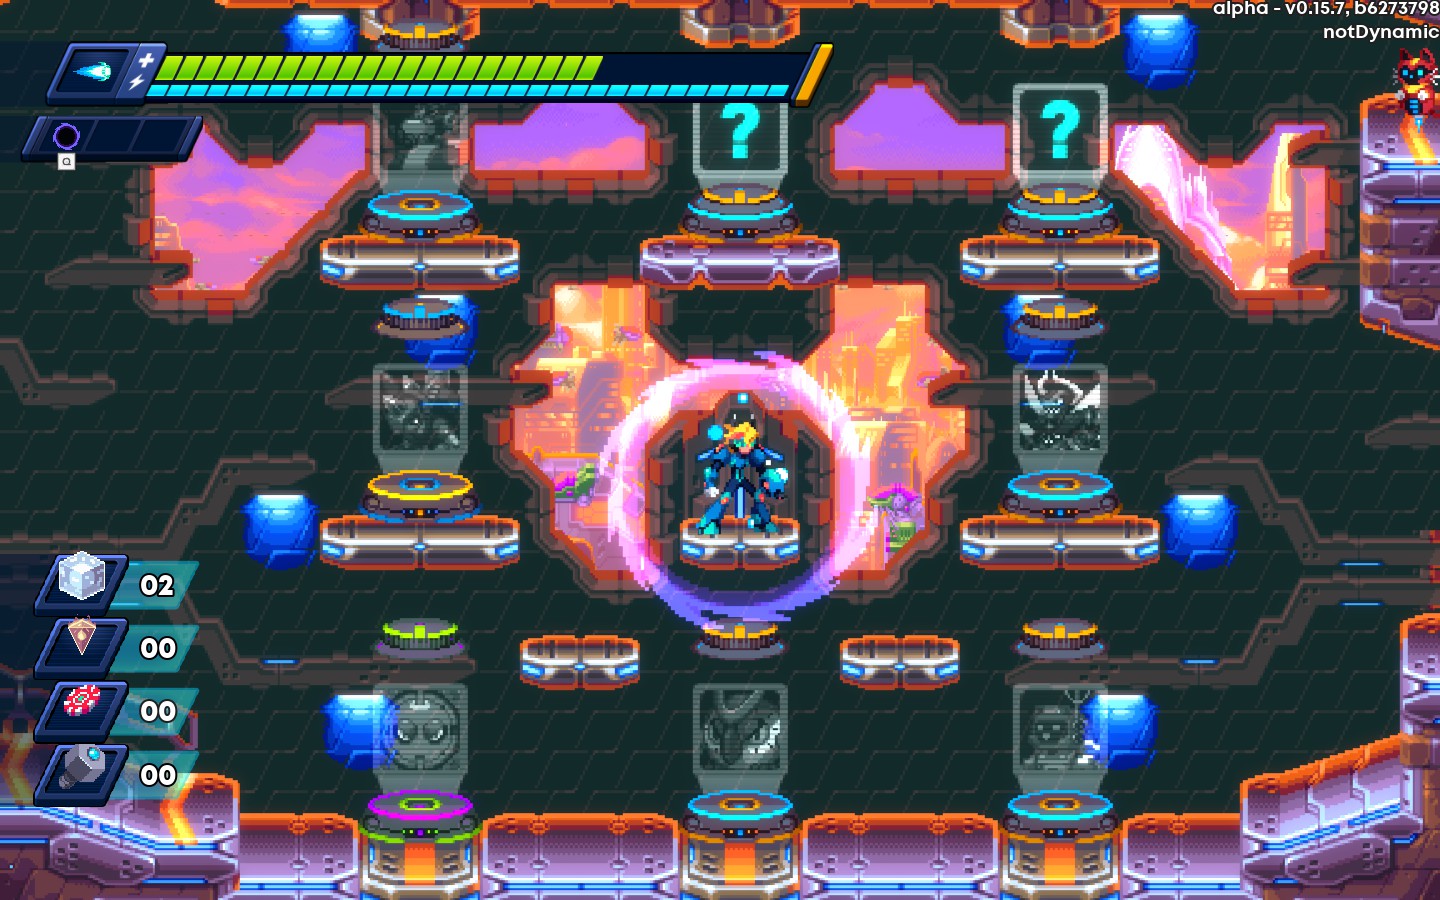
Void+Mortar(Echo):Pressing the power button again will cause the cause the void to explode, dealing a burst of damage in a larger area around it.
Crystal Wave
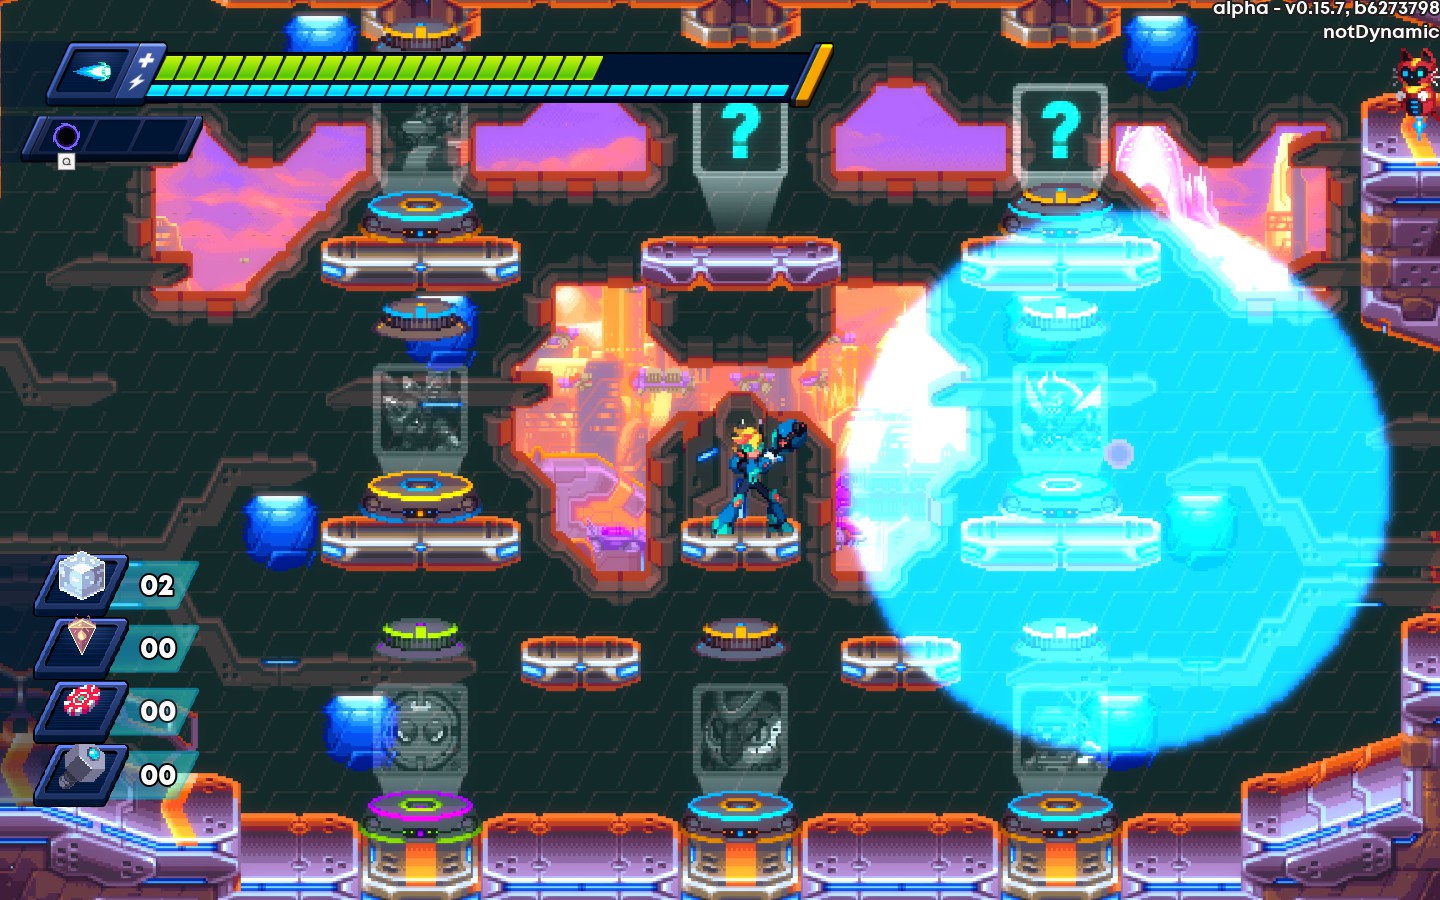
Crystal wave fires a projectile that freezes all enemies it hits. This weapon does not deal any damage, but can be used to stall the enemies, or simply as platforms to reach higher areas. The starting cost is 1.
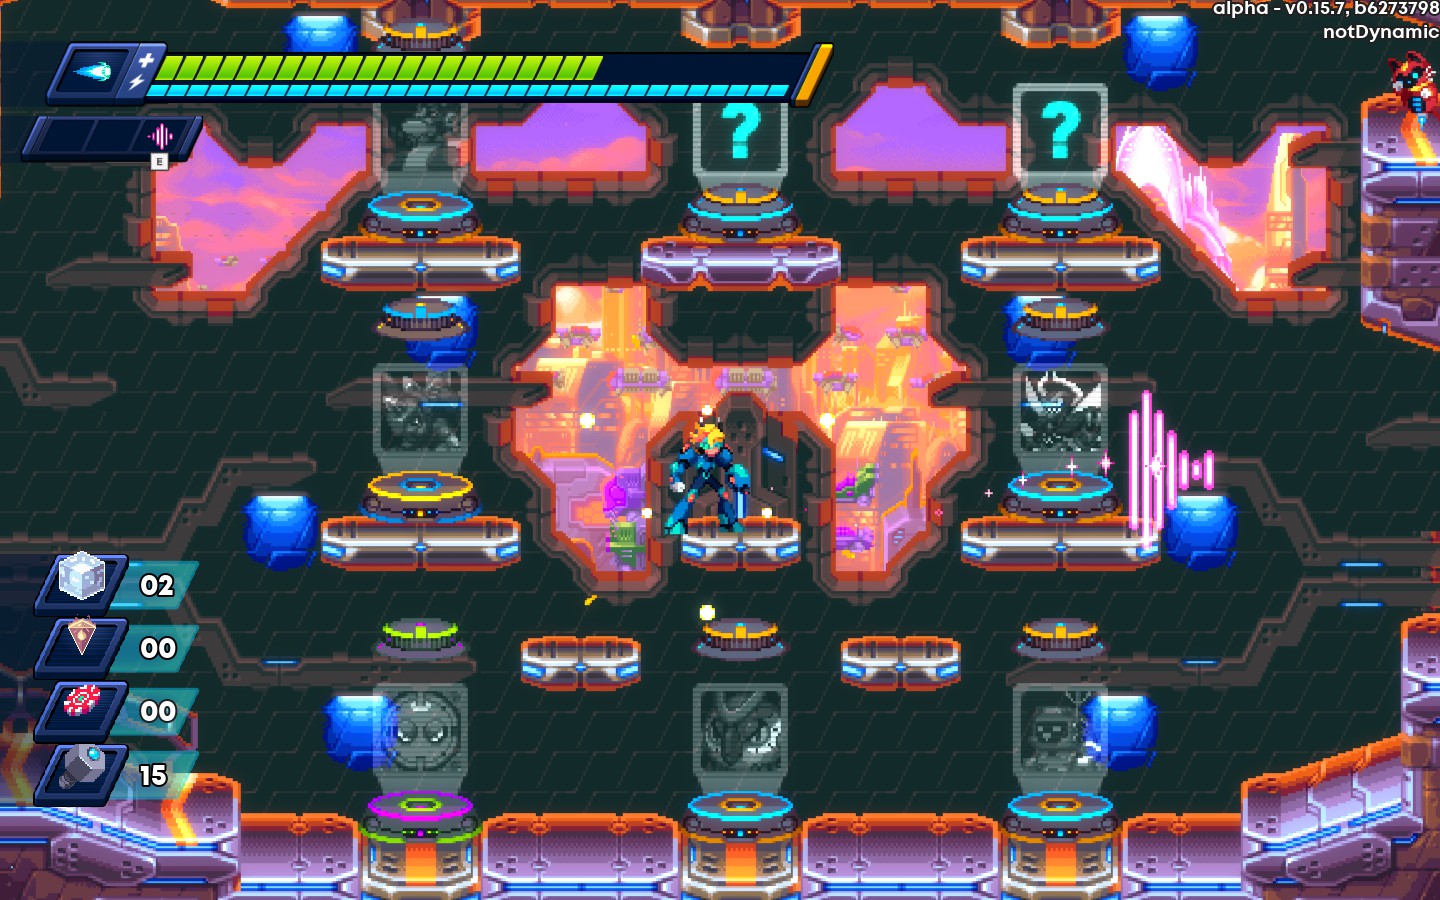
Wave+Gear(Aim):Allows you to fire it in the 8 possible directions.
Wave+Void(Charge):Changes the weapon. Instead, fires an large AOE around you, freezing enemies. Charging the weapon increases the range and duration.
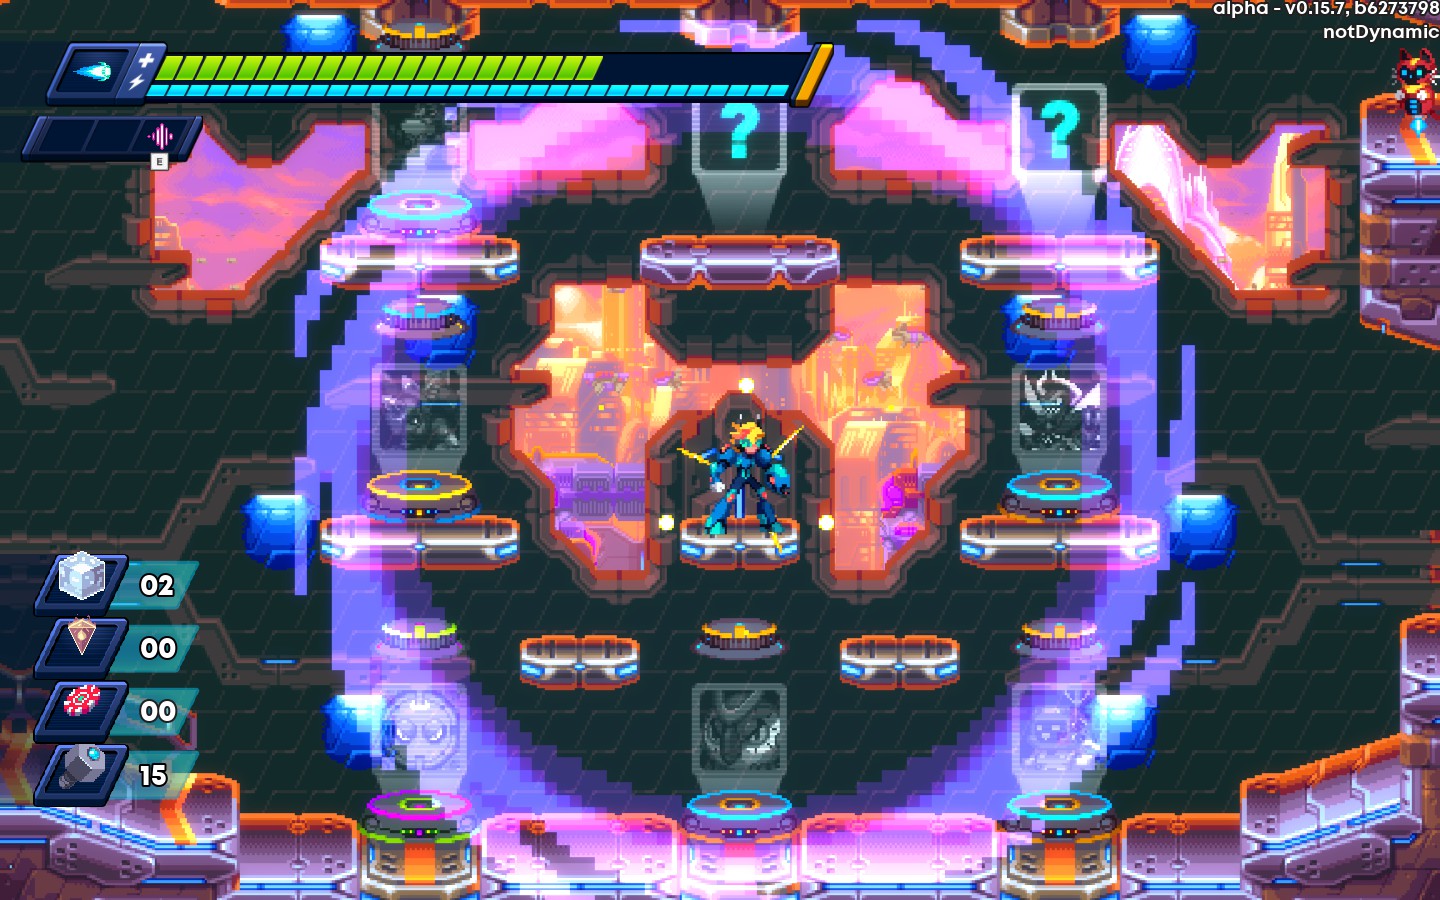
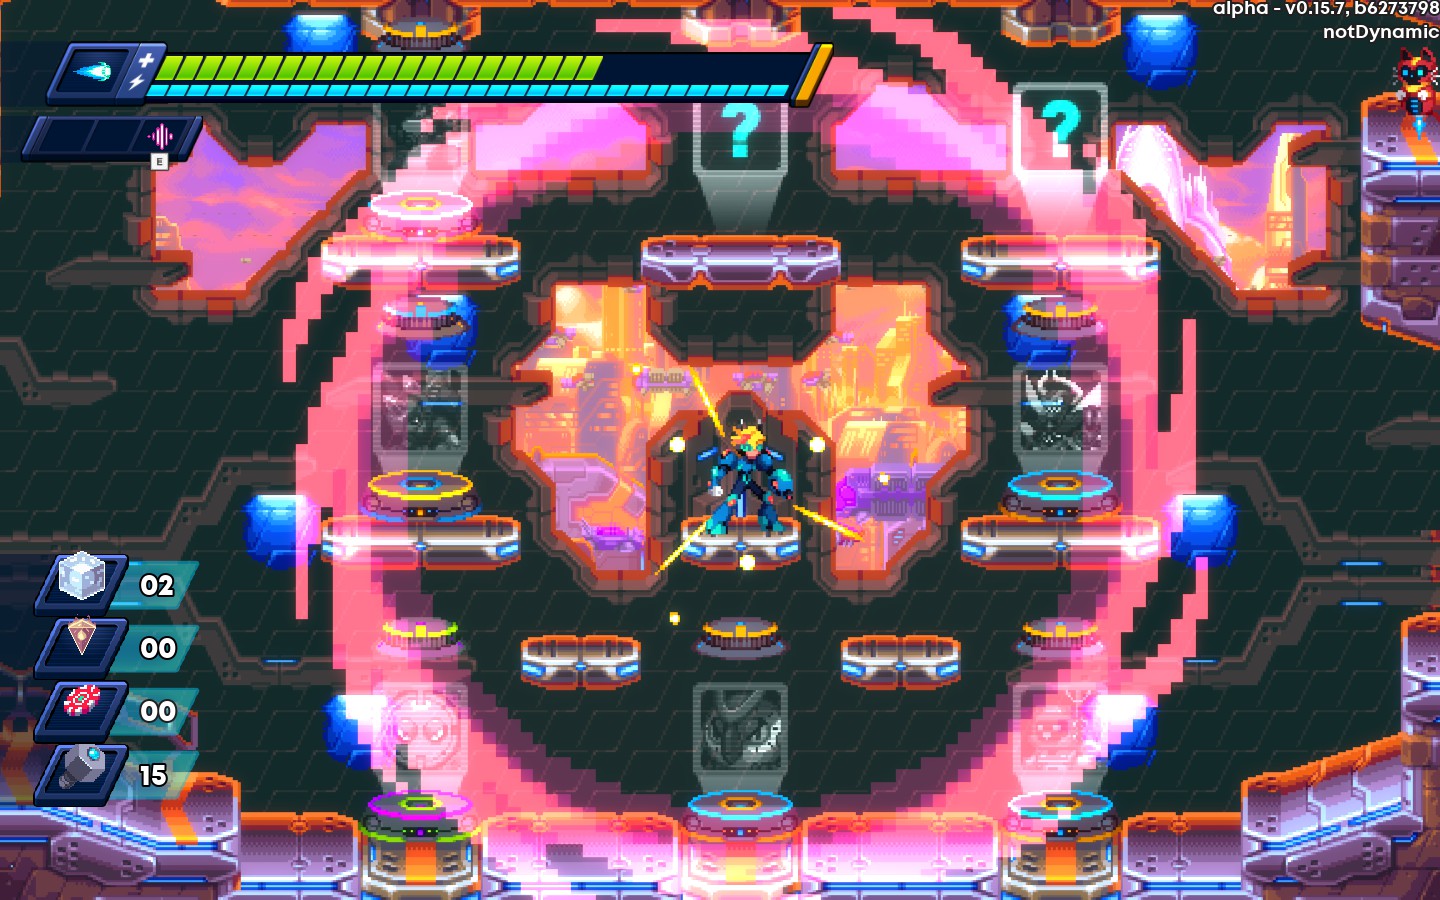
Wave+Pulse(Shield):Causes the weapon to turn projectiles into ice blocks, destroying them in the process.
Wave+Whirl(Persist):Increases the duration of the freeze. Currently, it seems to last forever for minor enemies.
Wave+Mortar(Echo): Spawns an ice-block at the detonation point.
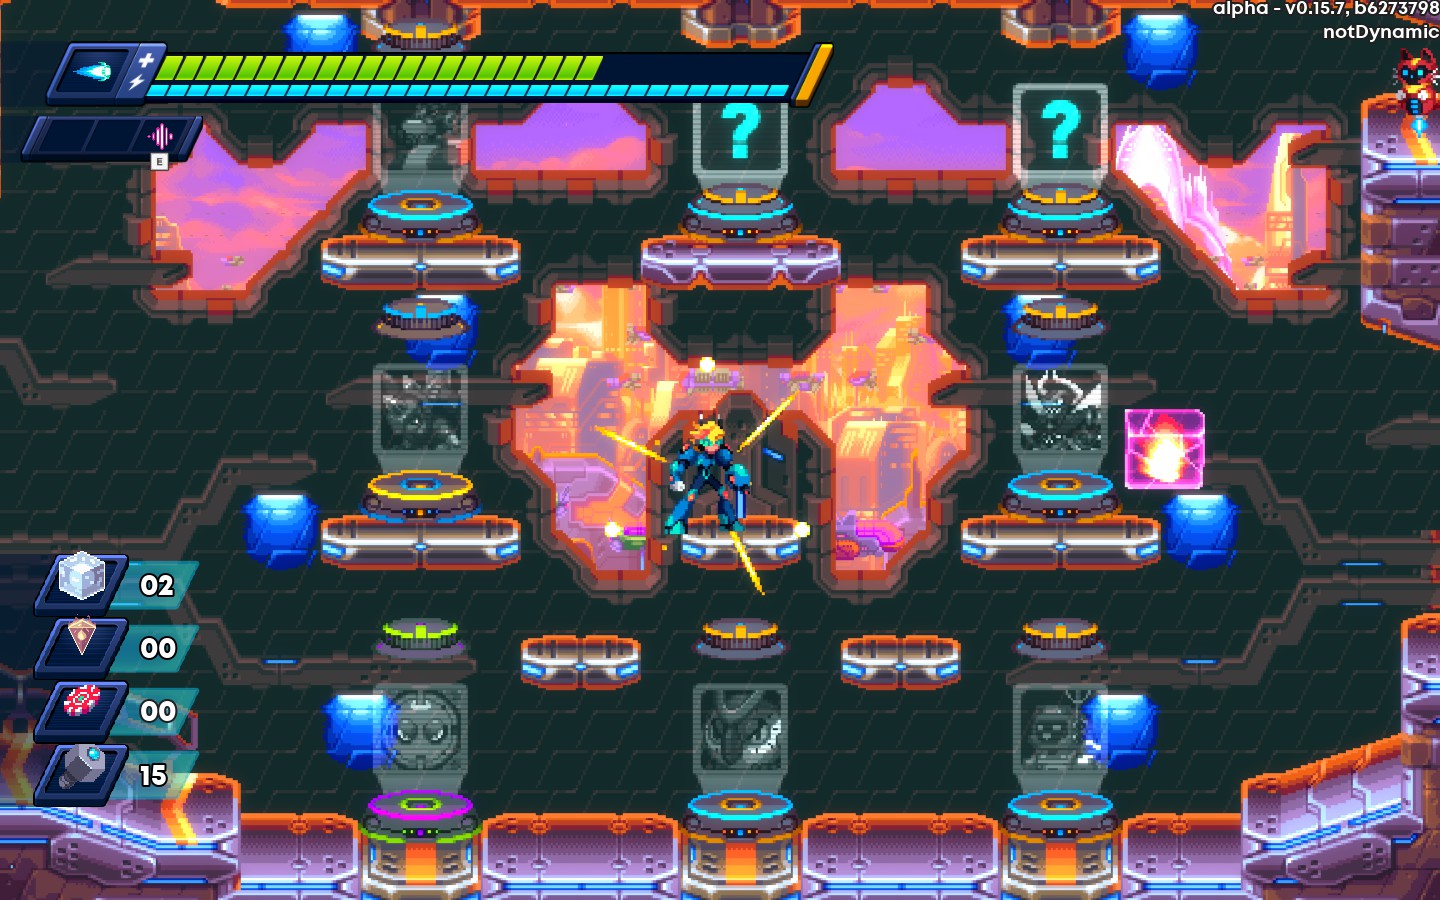
Negation Pulse
Negation pulse fires an AOE centered around you. The Pulse will deal damage to enemies, and destroy projectiles. The starting cost of this power is 1.
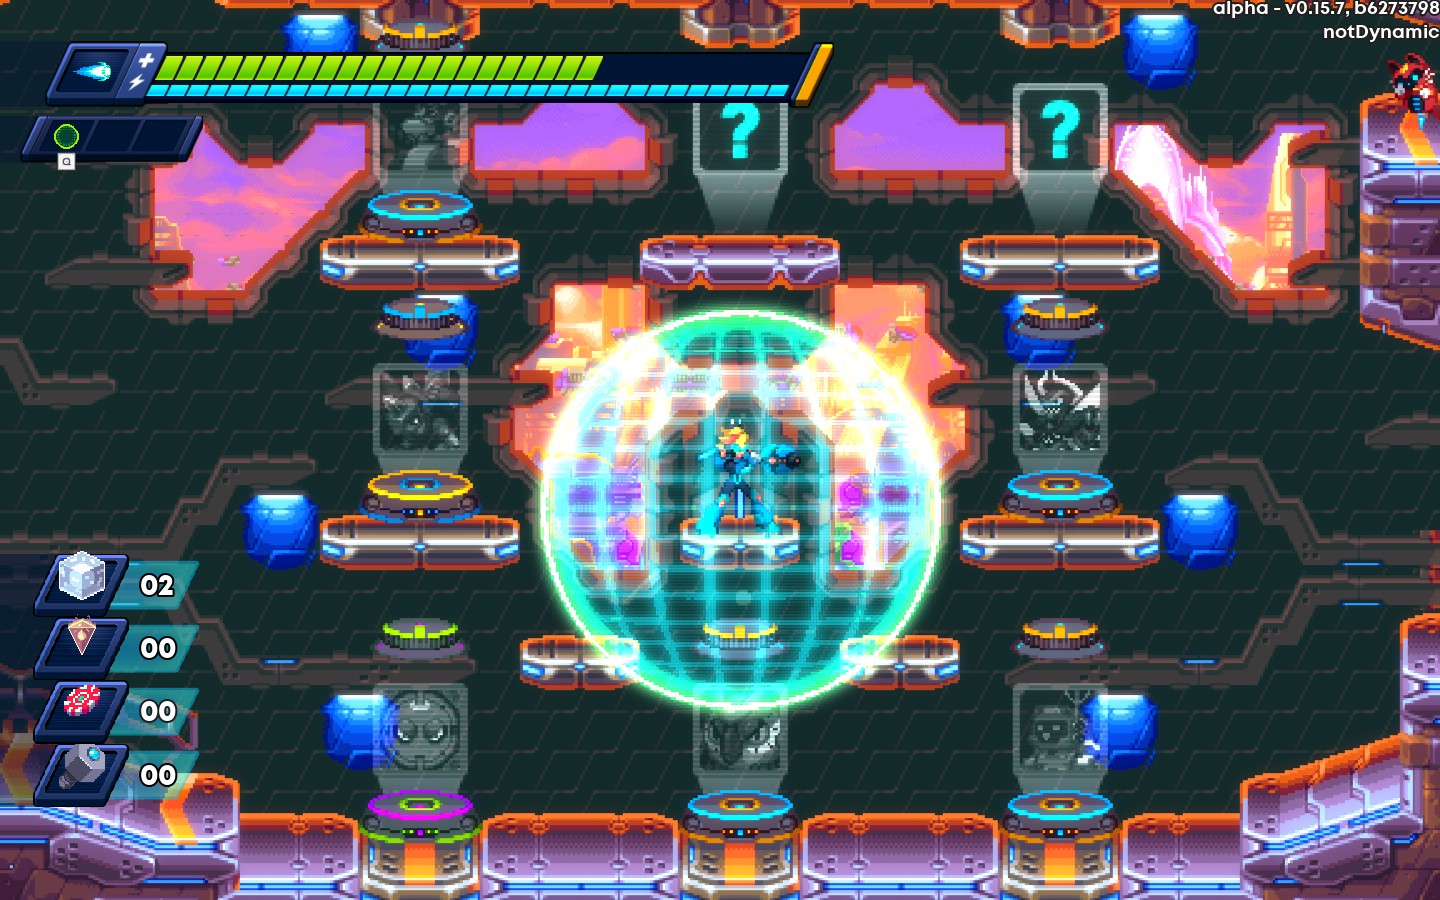
Pulse+Gear(Aim):Allows you to aim the pulse in the 8 possible directions
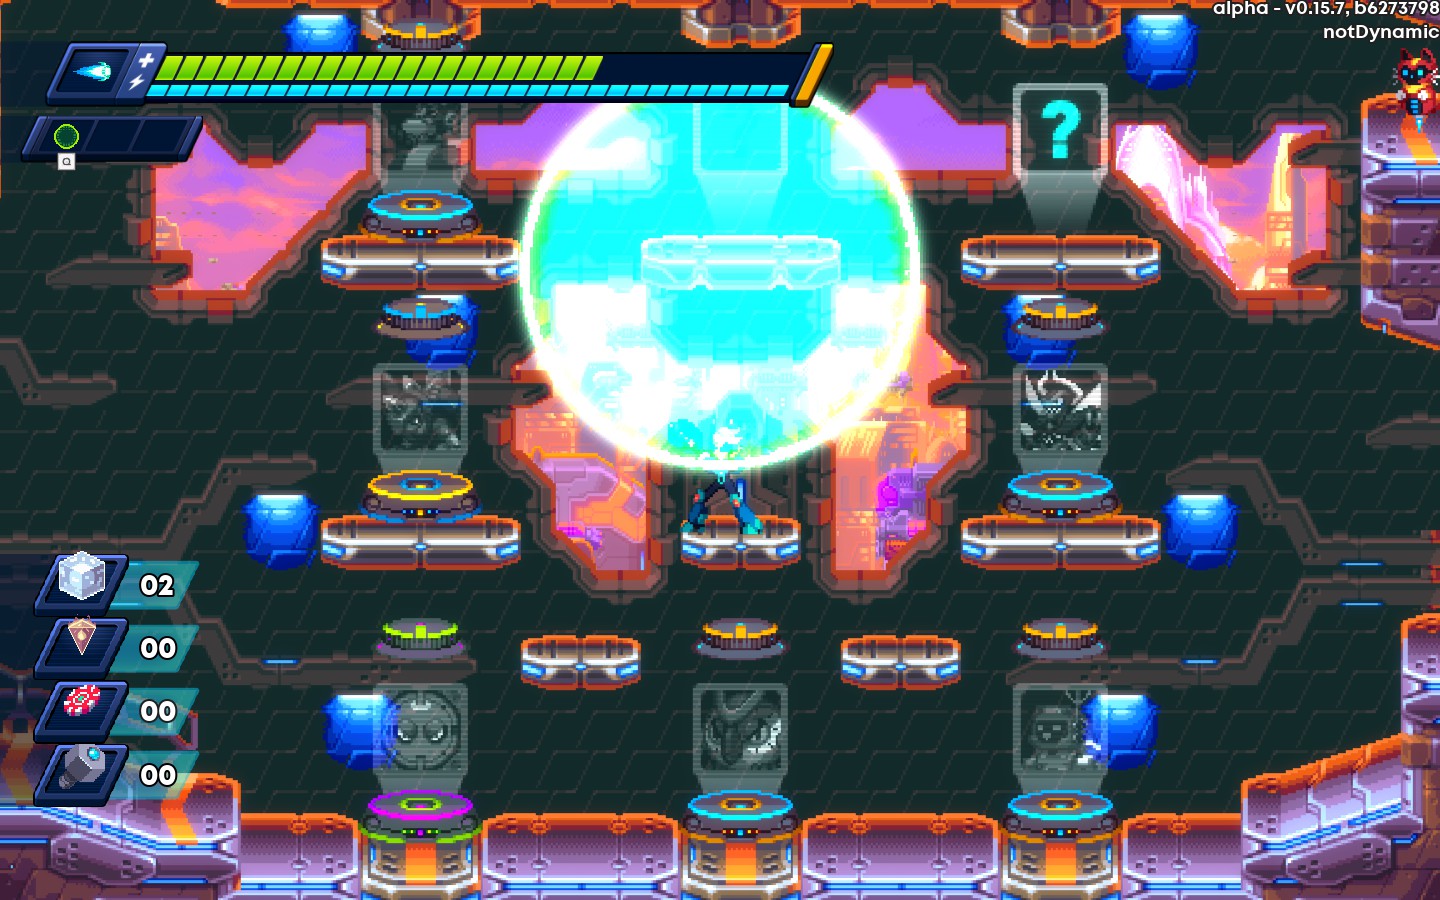
Pulse+Void(Charge):The charged version of this weapon will much more damage and covers most of the screen, the charged version costs 4.
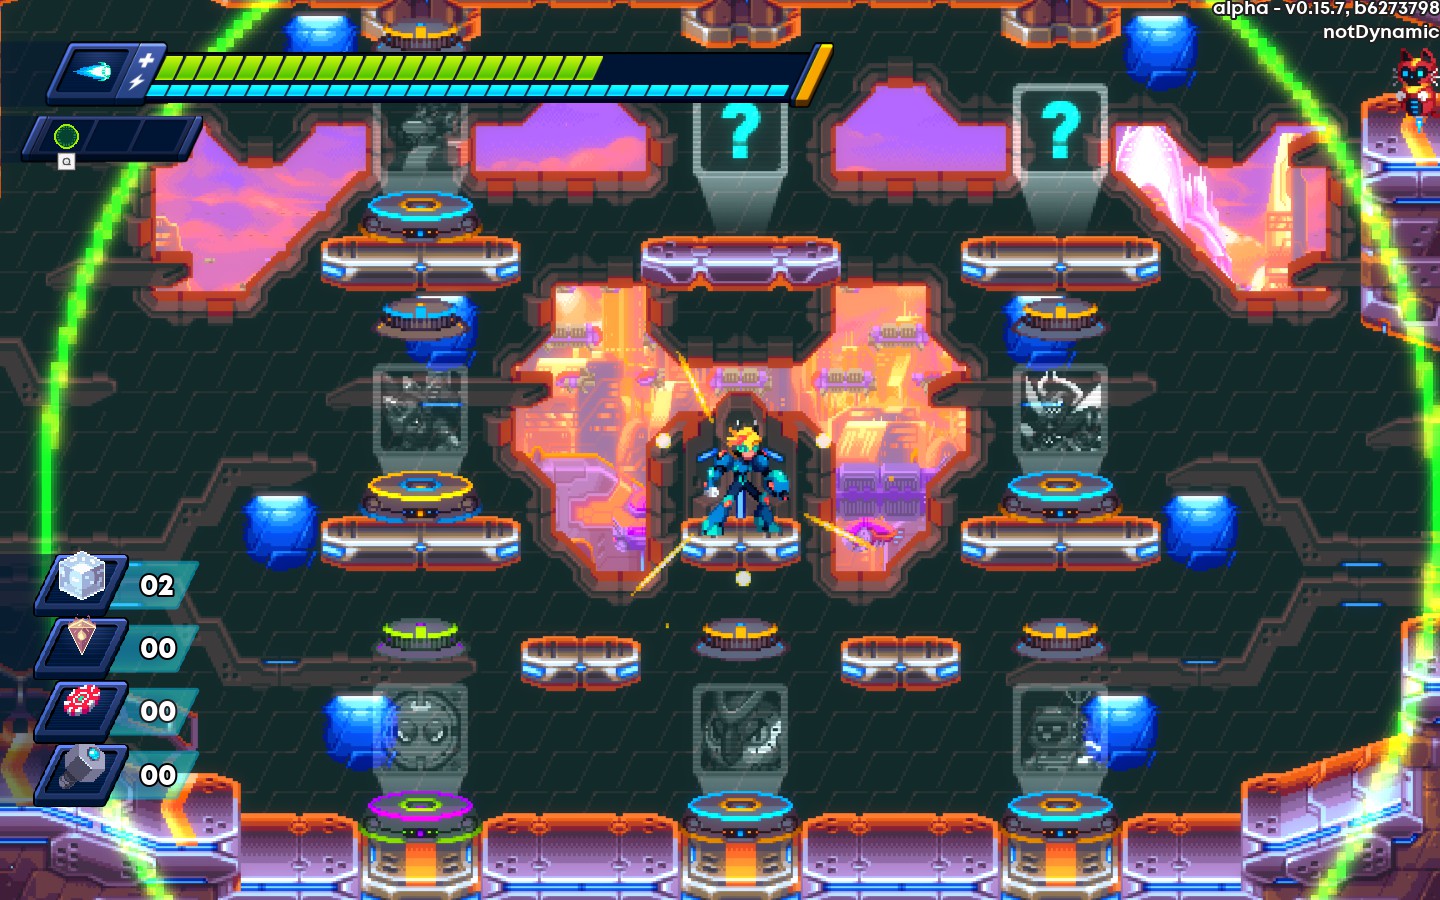
Pulse+Wave(Freeze):Causes the wave to freeze enemies, but removes the damage of the weapon.
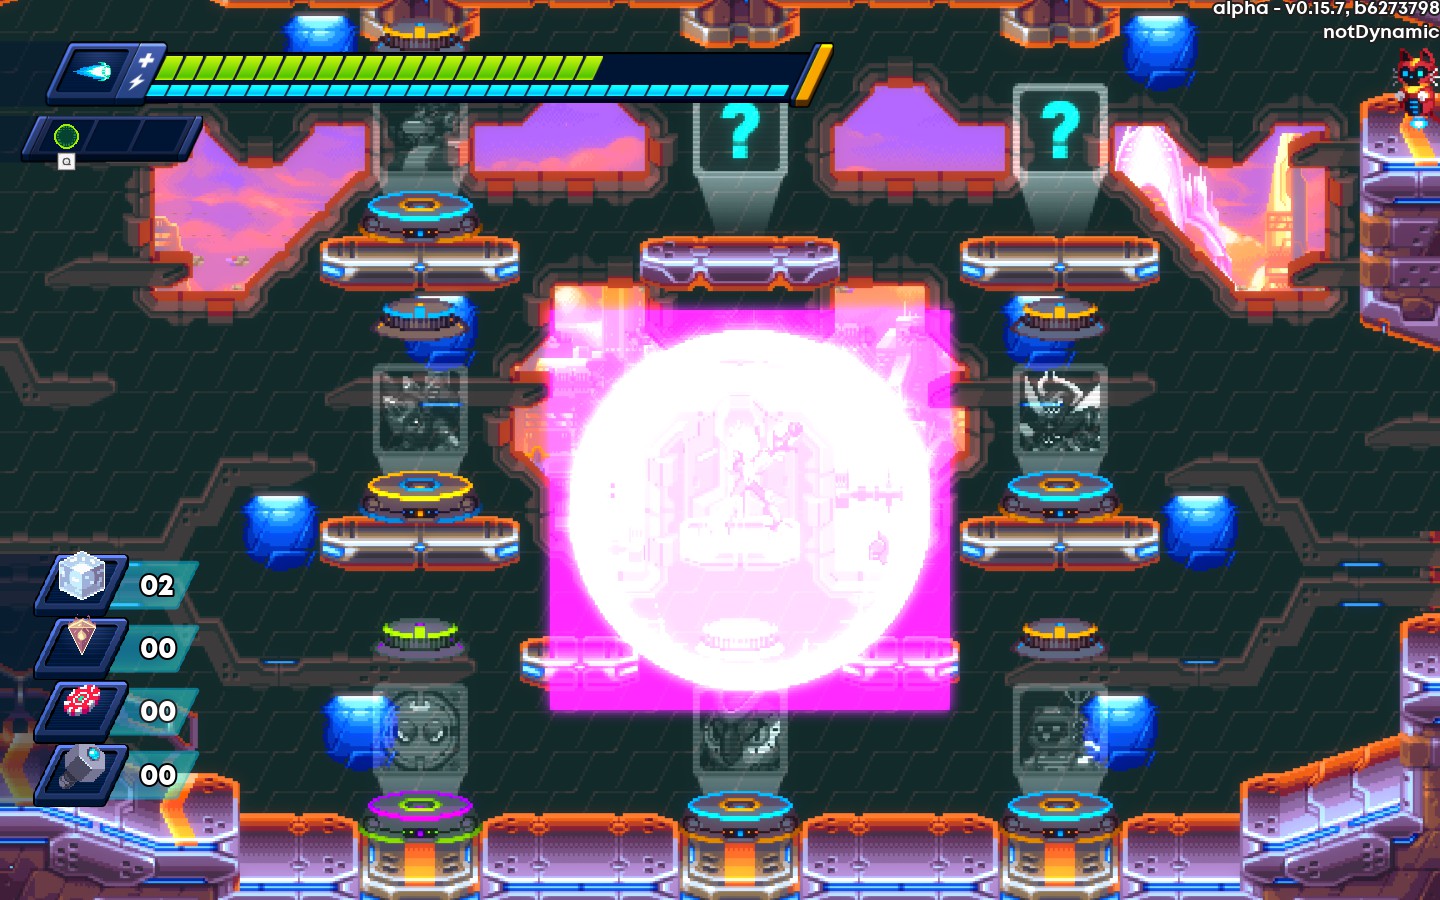
Pulse+Whirl(Persist):Changes the weapon. The weapon creates four bubbles that orbit around you. bubbles will protect you from both enemies and projectiles, but are destroyed by the first threat it connects with. The bubbles otherwise have unlimited duration.
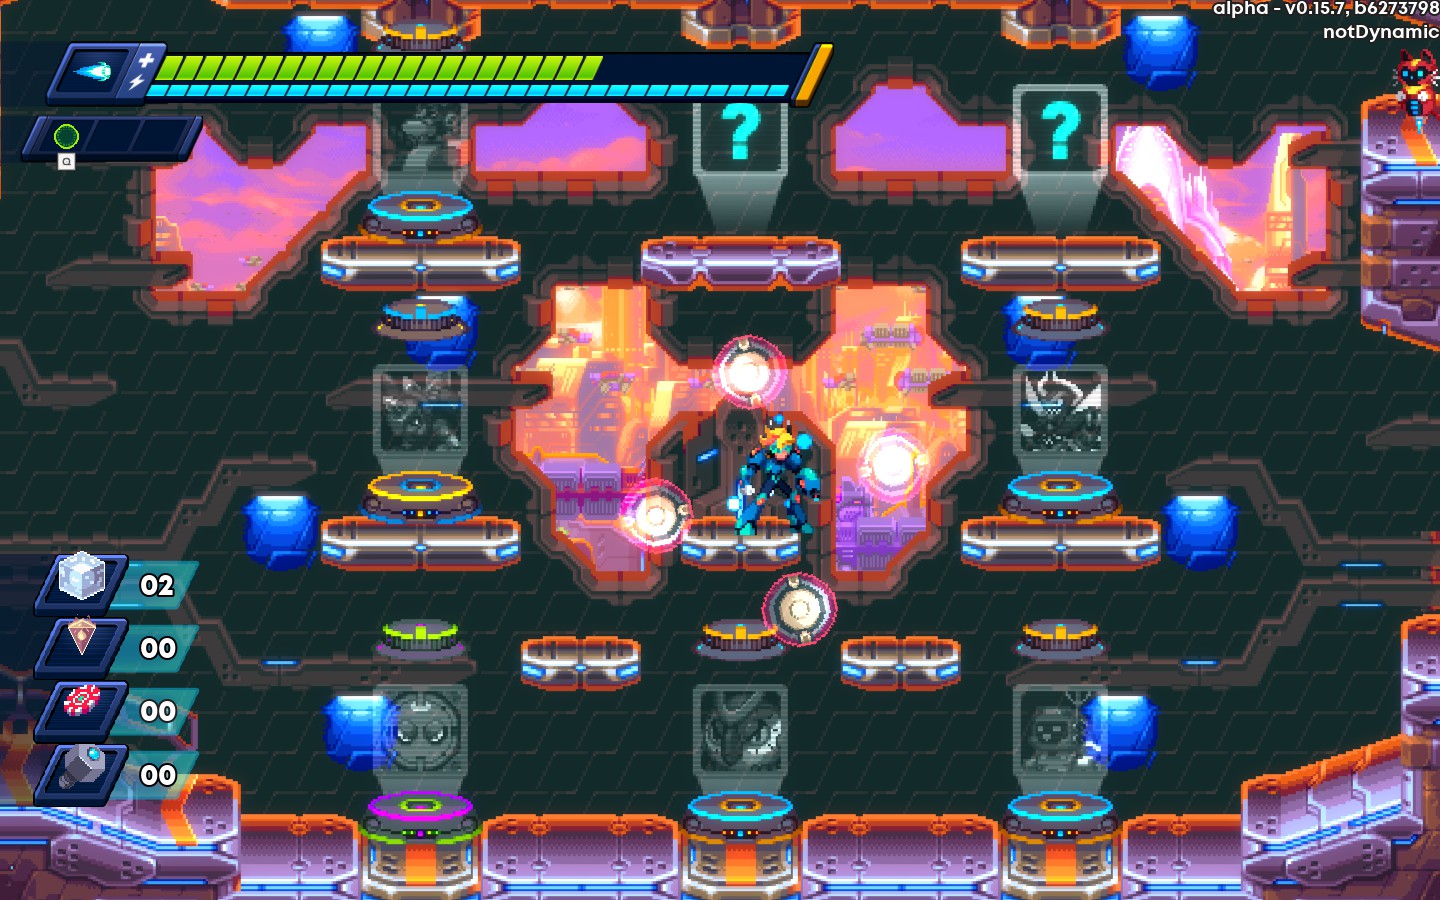
Pulse+Mortar(Echo): Pressing the power button again will cause an additional pulse with double the range.
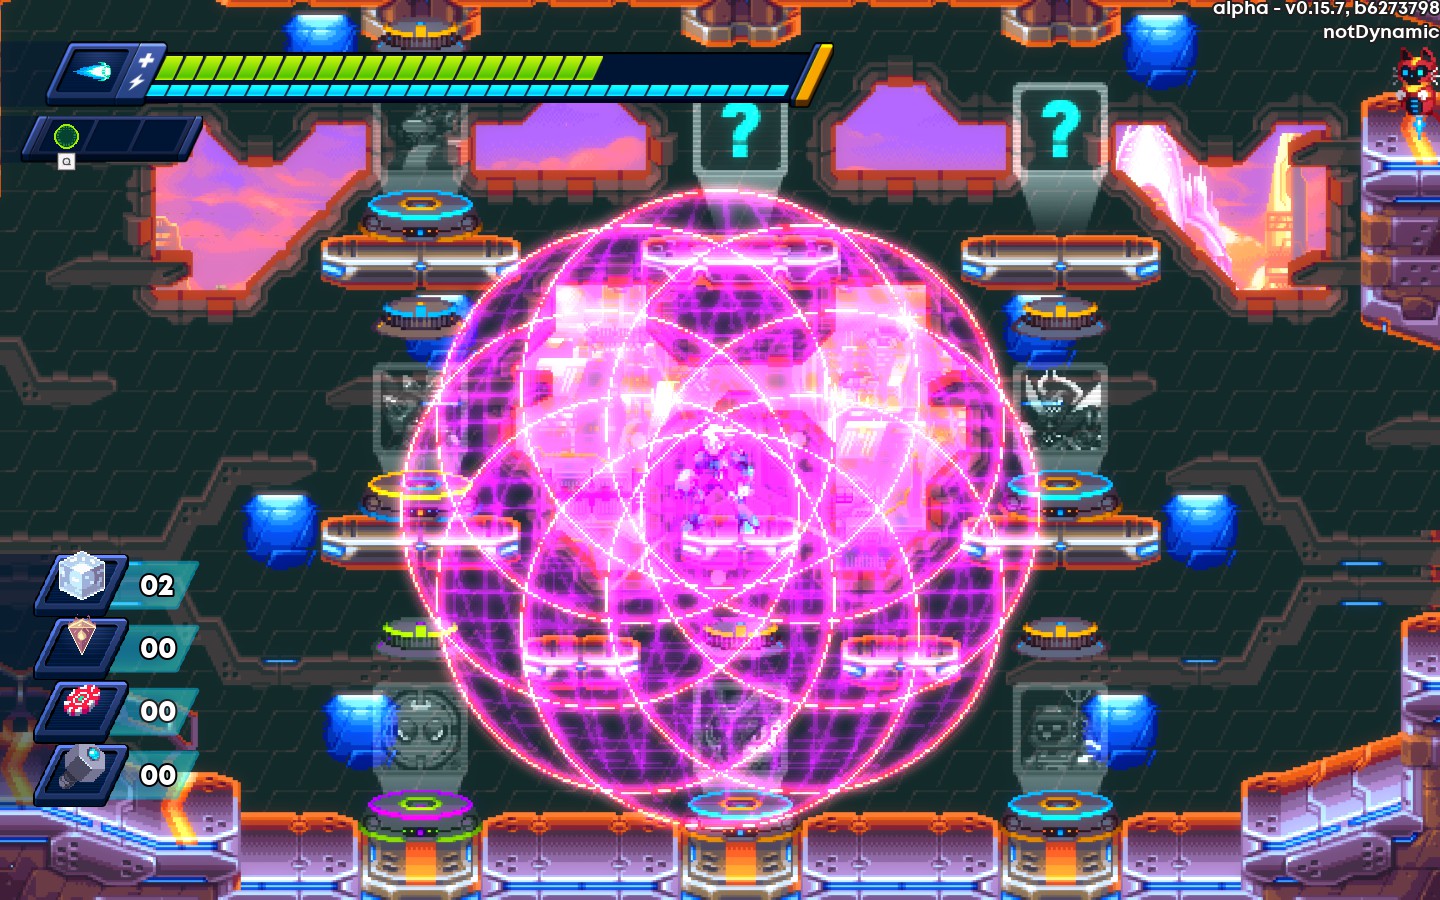
Zen Mortar
Zen Mortar fires a projectile straight upwards. This weapon is affected by gravity, so will fall straight down after some time. Pressing the power button again will cause it to explode, firing two additional Mortars perpendicular to the first. The starting cost of this Power is 1.

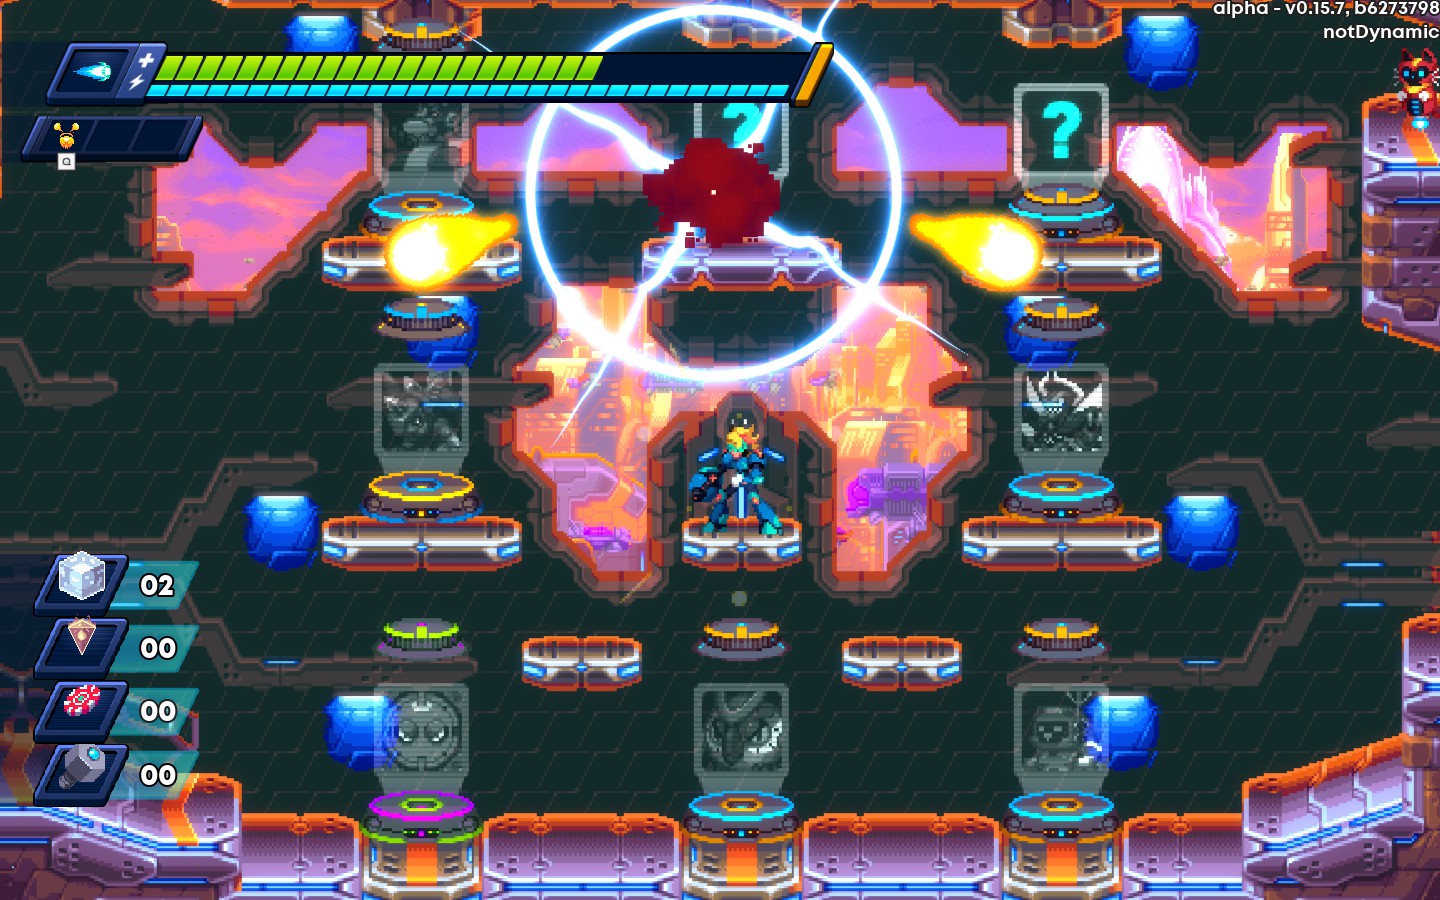
Mortar+Gear(Aim):Allows you to fire in the 8 possible directions.
Mortar+Void(Charge):Charging the weapon makes the main projectile slightly bigger, deal more damage, and split into six upon hitting the power key again. Increases the cost by 1
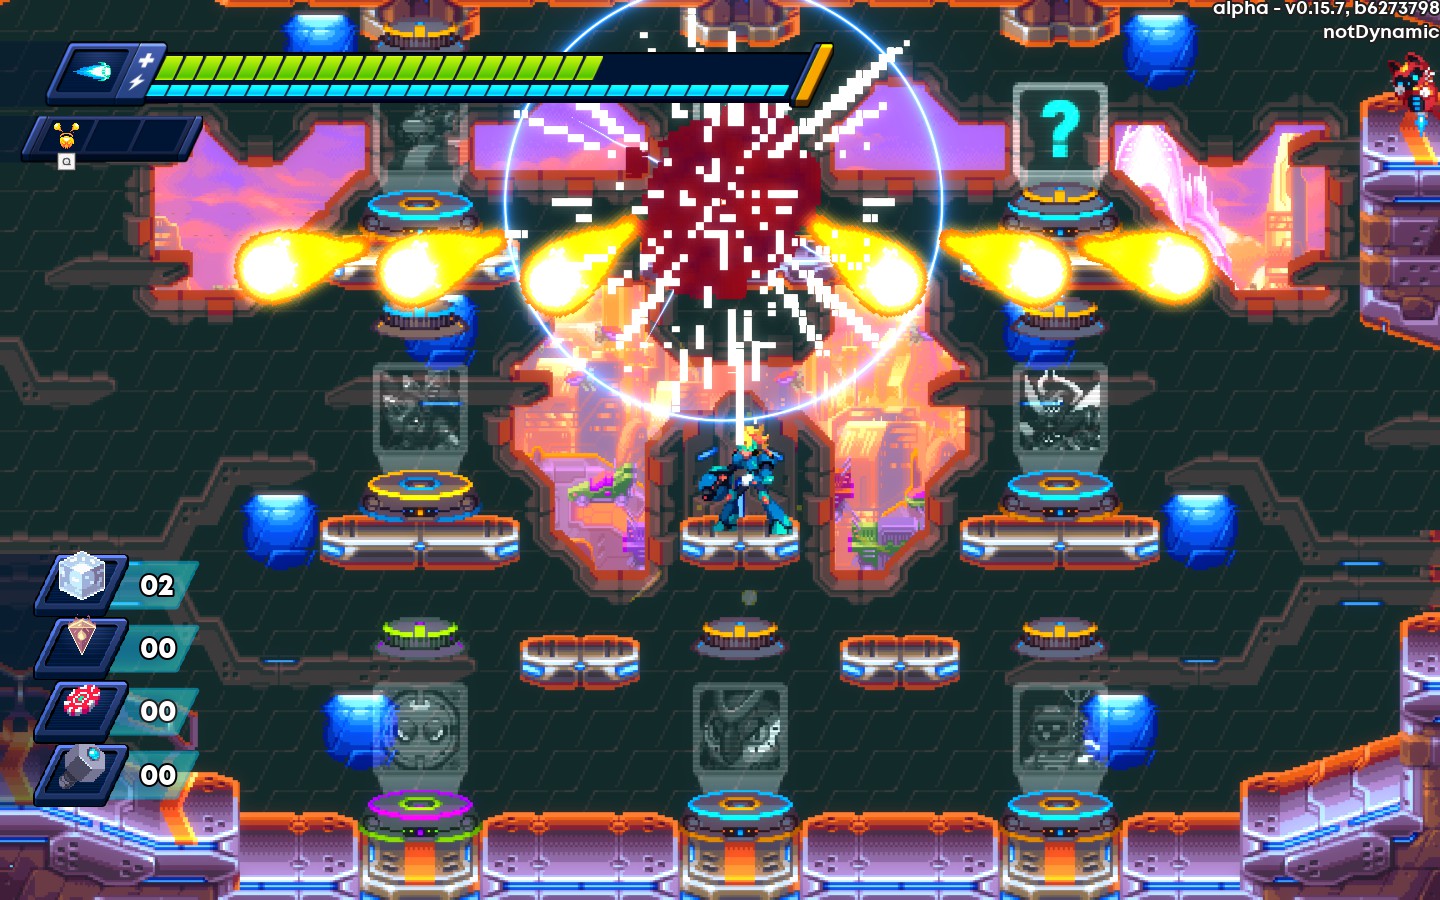
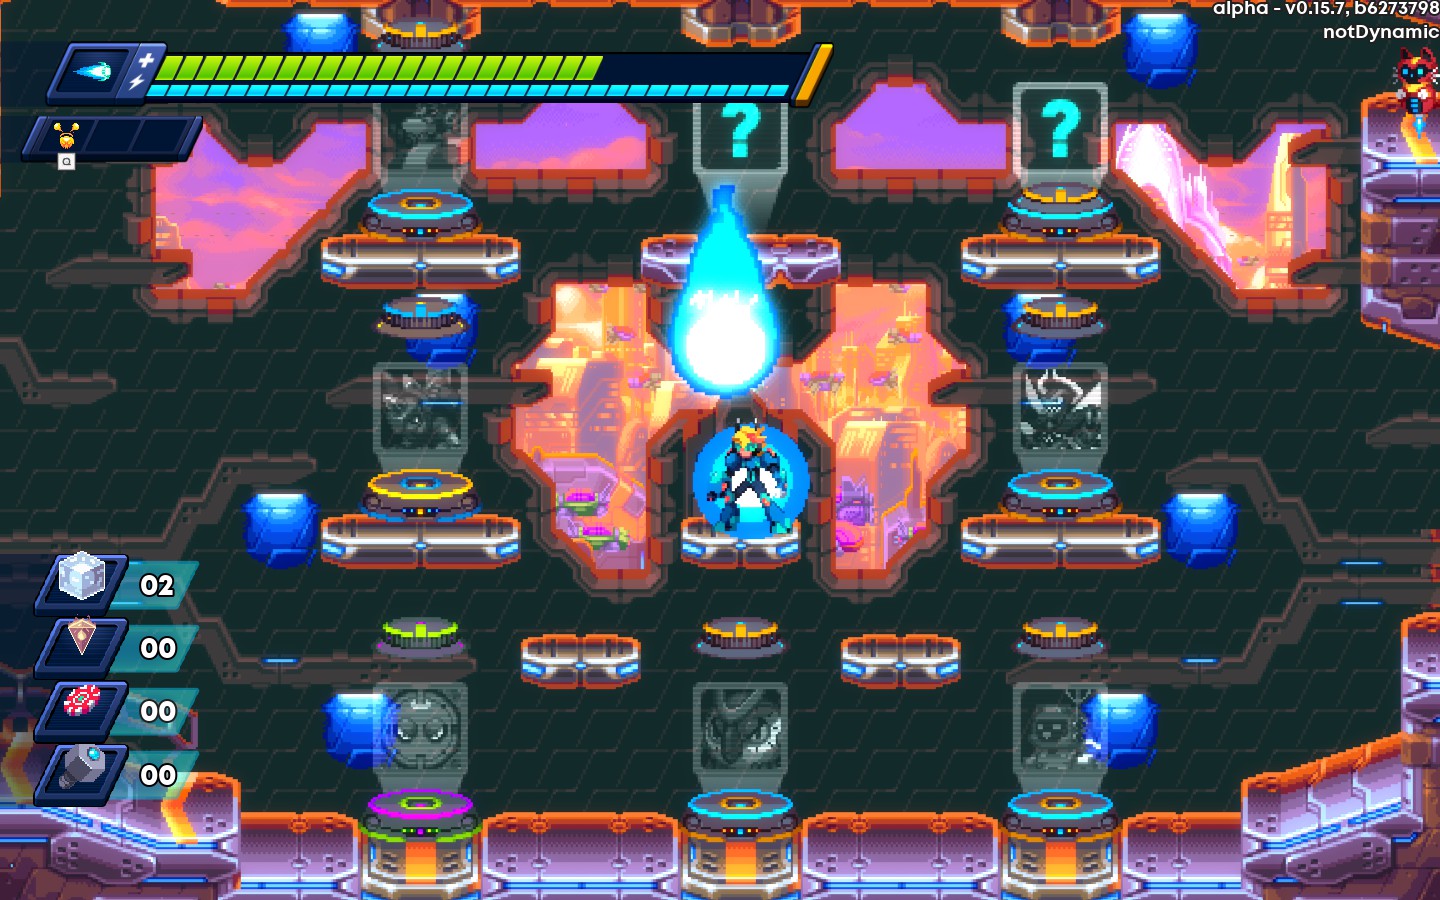
Mortar+Wave(Freeze):Spawns an ice block at the detonation point.
Mortar+Pulse(Shield):Causes an lingering AOE to spawn at the detonation point. The AOE will both damage enemies and destroy projectiles.
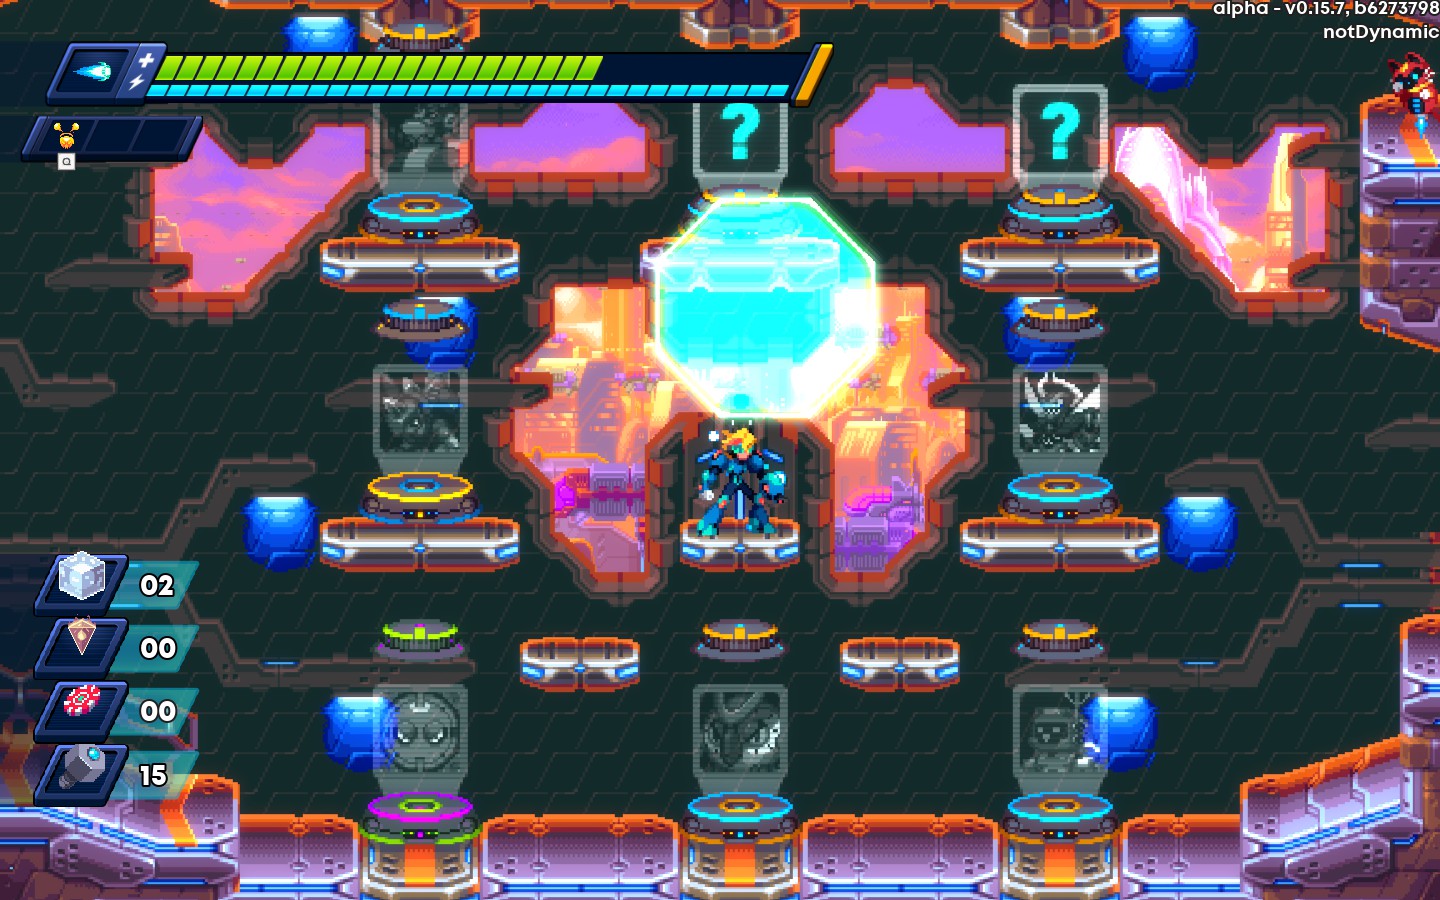
Mortar+Whirl(Persist):Changes the detonation. Instead, creates a lingering AOE that will also constantly spit out smaller mortars for the duration of it’s effect.
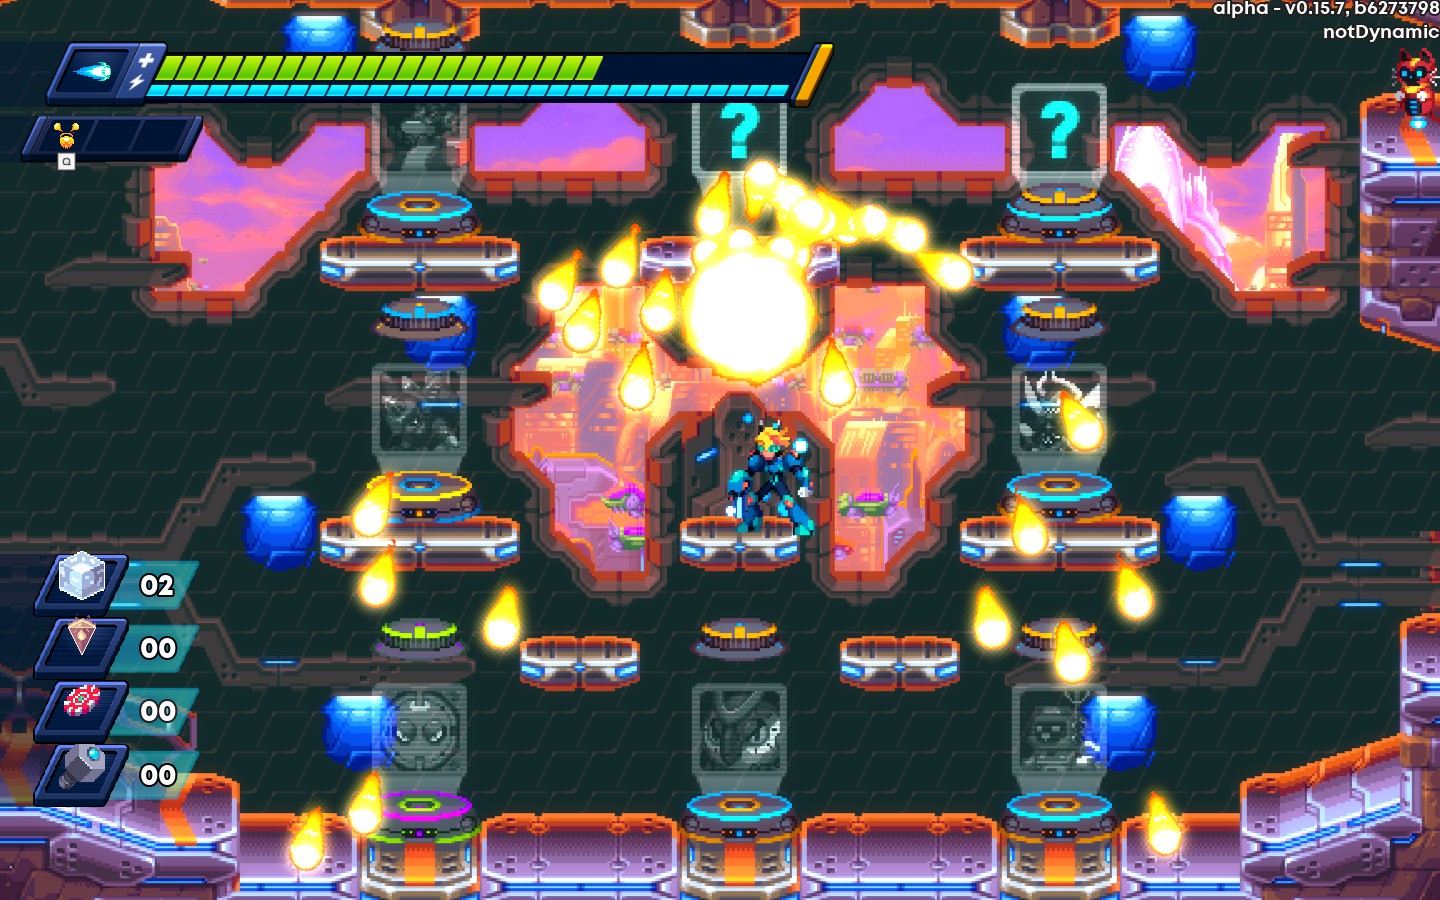
Rending Whirl
Rending Whirl fires a vertical line centered on you, in the form of lingering AOE. This both hits above and below you a fair distance, but has limited horizontal range. The starting cost is 1.
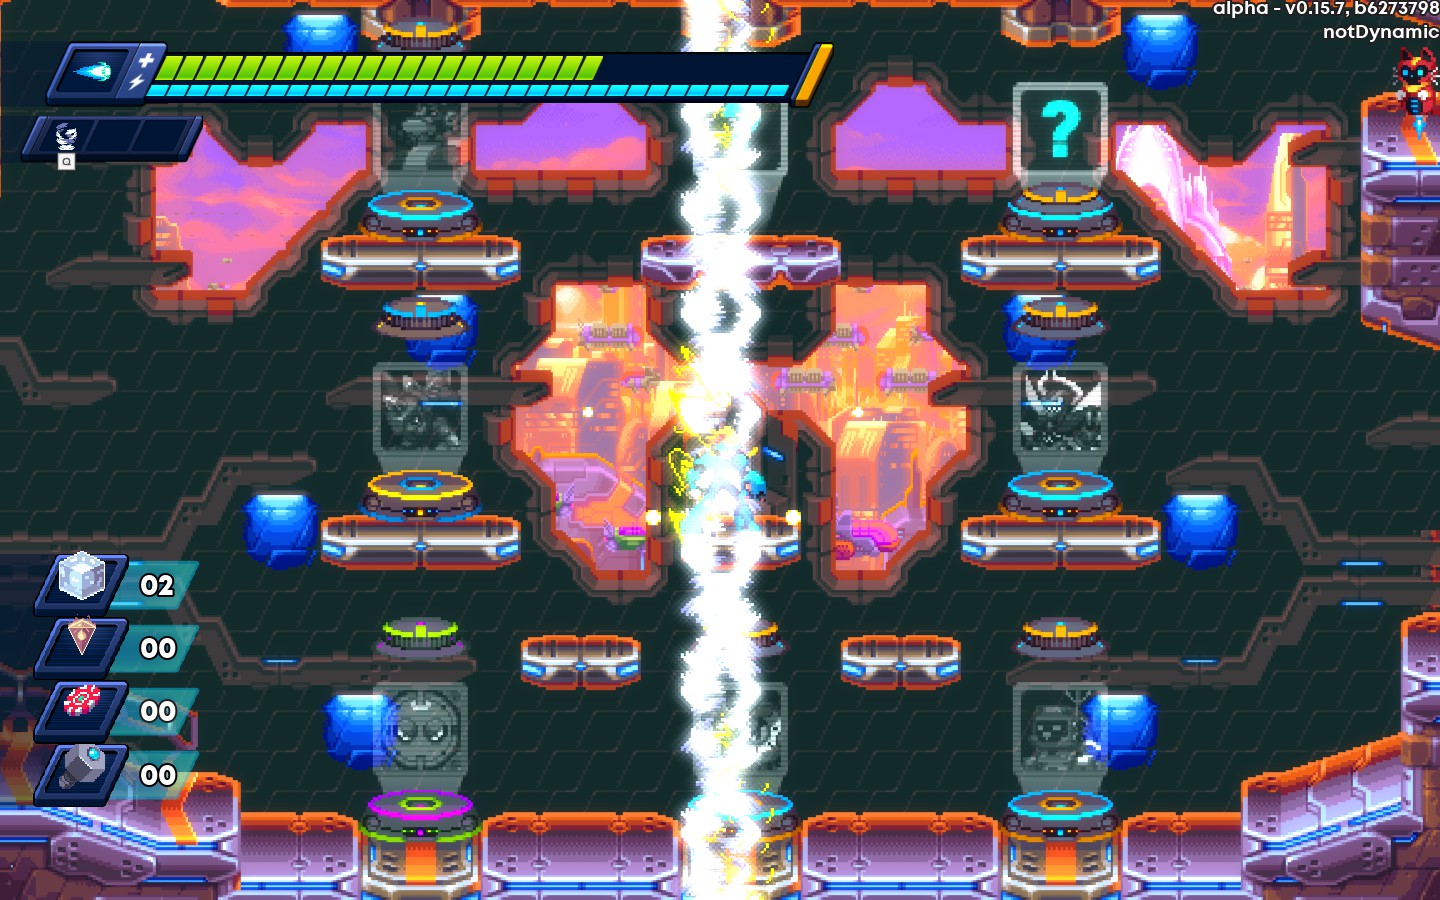
Whirl+Gear(Aim):Allows you to fire in 8 possible directions. Weapon instead starts from the tip of the barrel and moves forward.
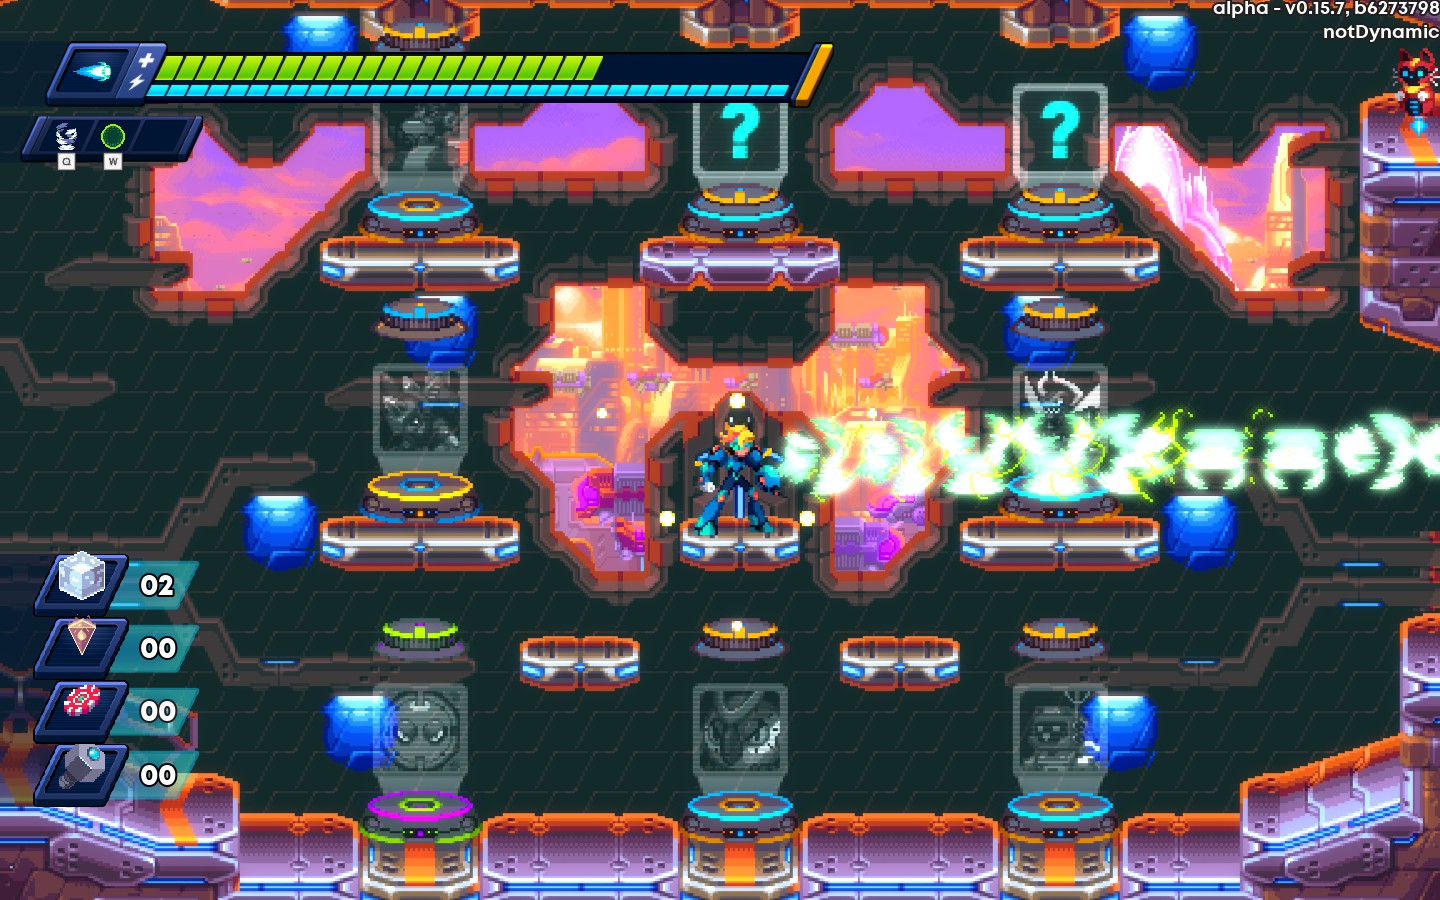
Whirl+Void(Charge):Charging the weapon makes a much larger tornado that lasts longer, and deals more damage. The charged version cost 2.
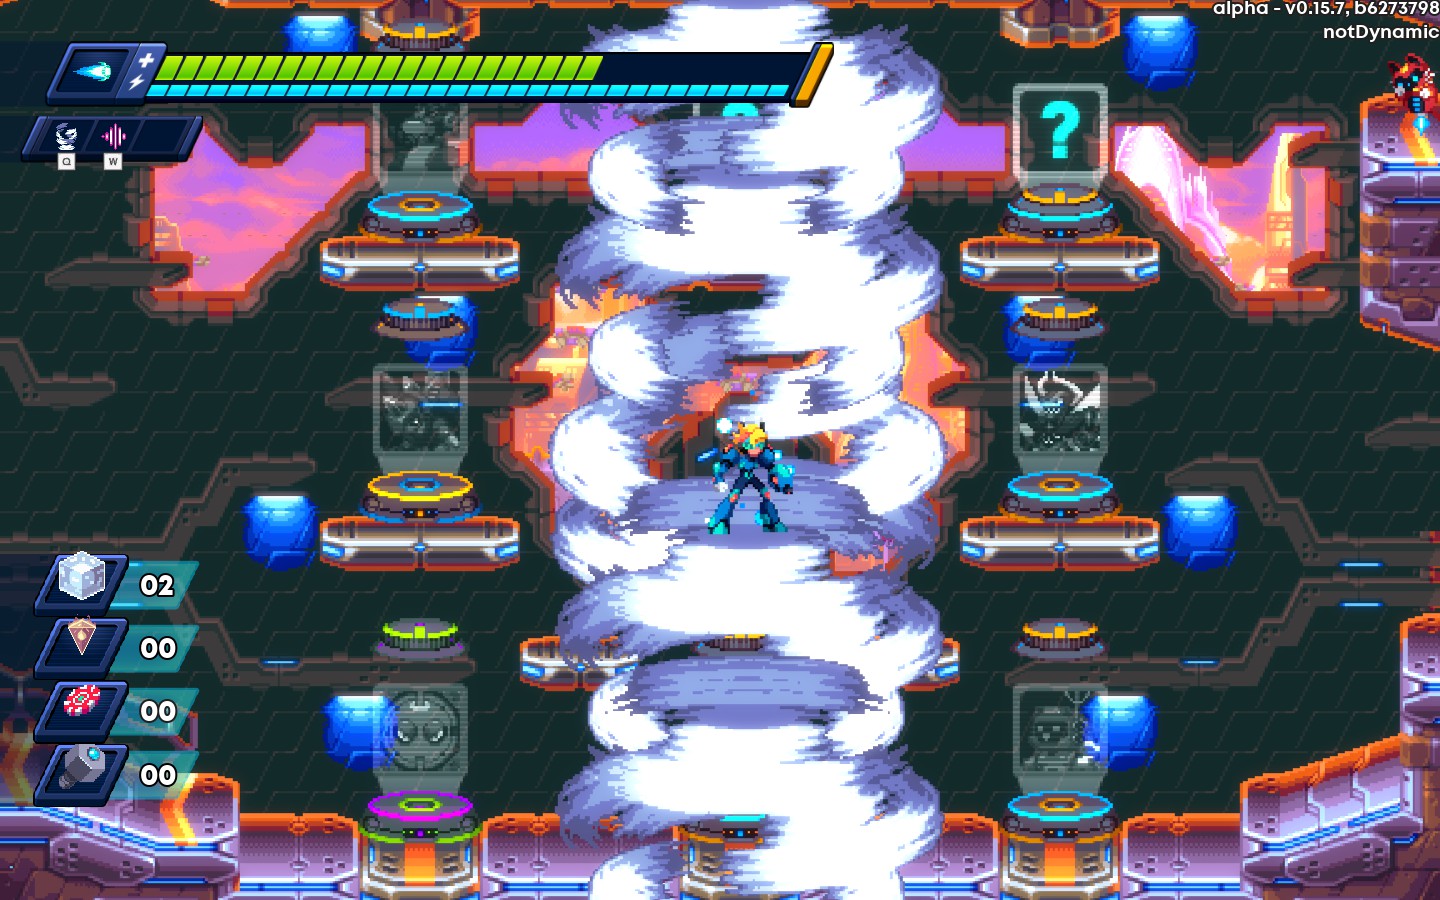
Whirl+Wave(Freeze):Causes enemies to spawn ice-blocks on death.
Whirl+Pulse(Shield): Causes the tornado to reflect projectiles. Reflected projectiles will instead damage enemies.
Whirl+Mortar(Echo):Pressing the power key again will split the tornado into two, the tornadoes will spread apart for a short period before expiring as well.
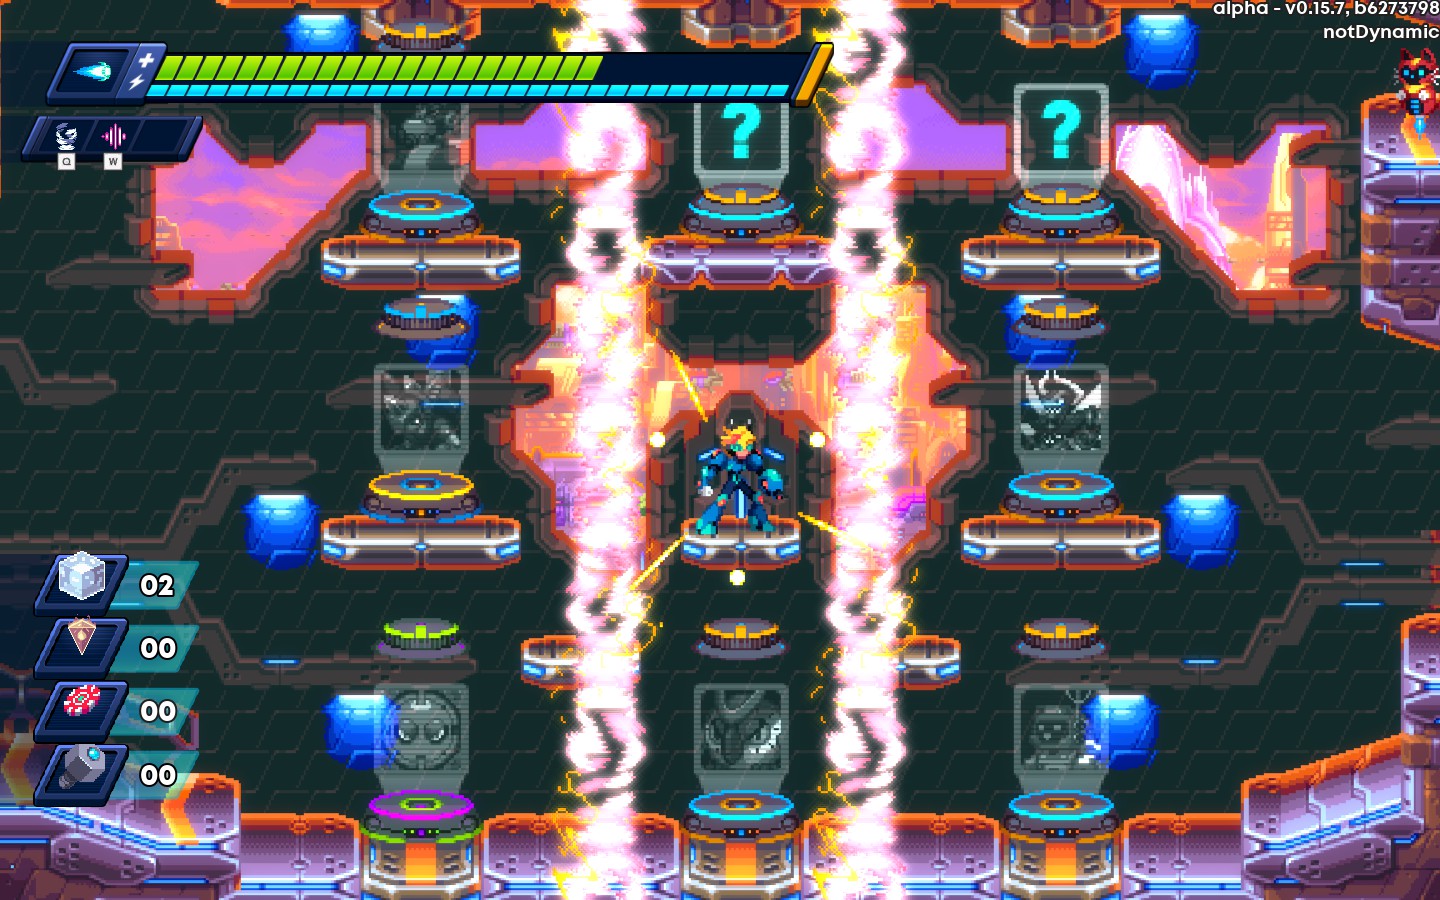
Ace
Ace exchanges a ranged weapon for a variety of mid-short ranged tools. Aside a completely new set of powers, Ace has a few additional traits that differentiate him from Nina. The most obvious is his Style bar. It functions much like Nina’s Energy, but will regenerate on it’s own over a fairly short period of time. In Exchange, the bar is fairly limited in it’s actual capacity, and his abilities in general are less spammable then Nina’s. Additionally, Energy upgrades increase his Style Regen, rather then his Style capacity.
Ace’s Weapons
Ace has a larger collection of weapons then Nina’s. While Ace’s weapons do not functionally change by charging it(other then the raw damage boost), he does have a skill that changes depending on his weapon.
A-Saber
Your usual Saber weapon. Has a three slash combo. Unleashed throws a boomerang that does fairly consistent damage, and be jumped over to increase it’s range.

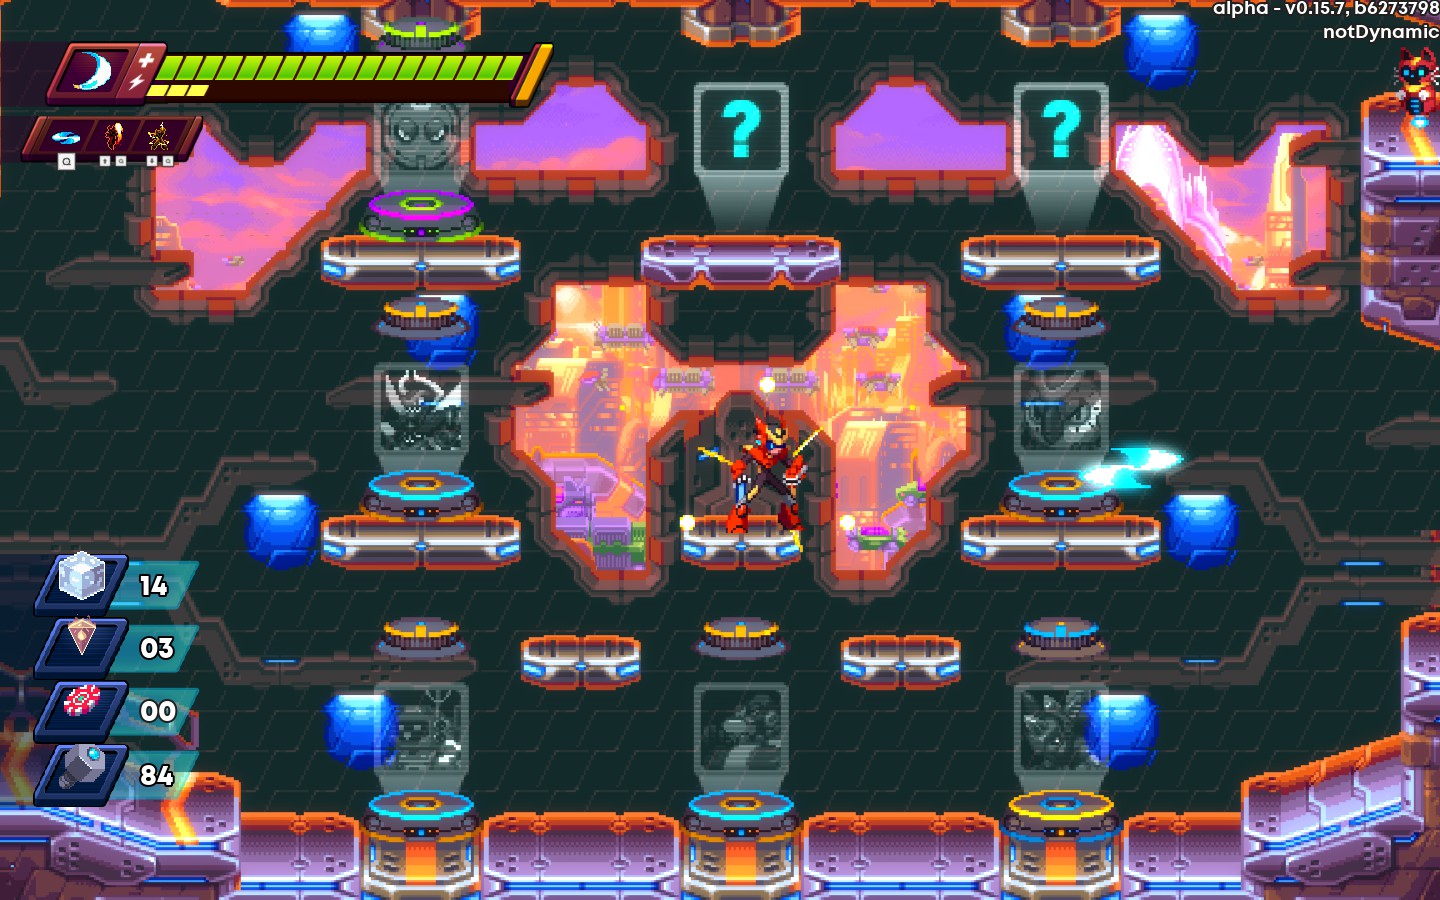
Lara
A giant hammer. By far the slowest weapon, but one of the best in terms of both size and damage. Unleashed throws the hammer in an arc.
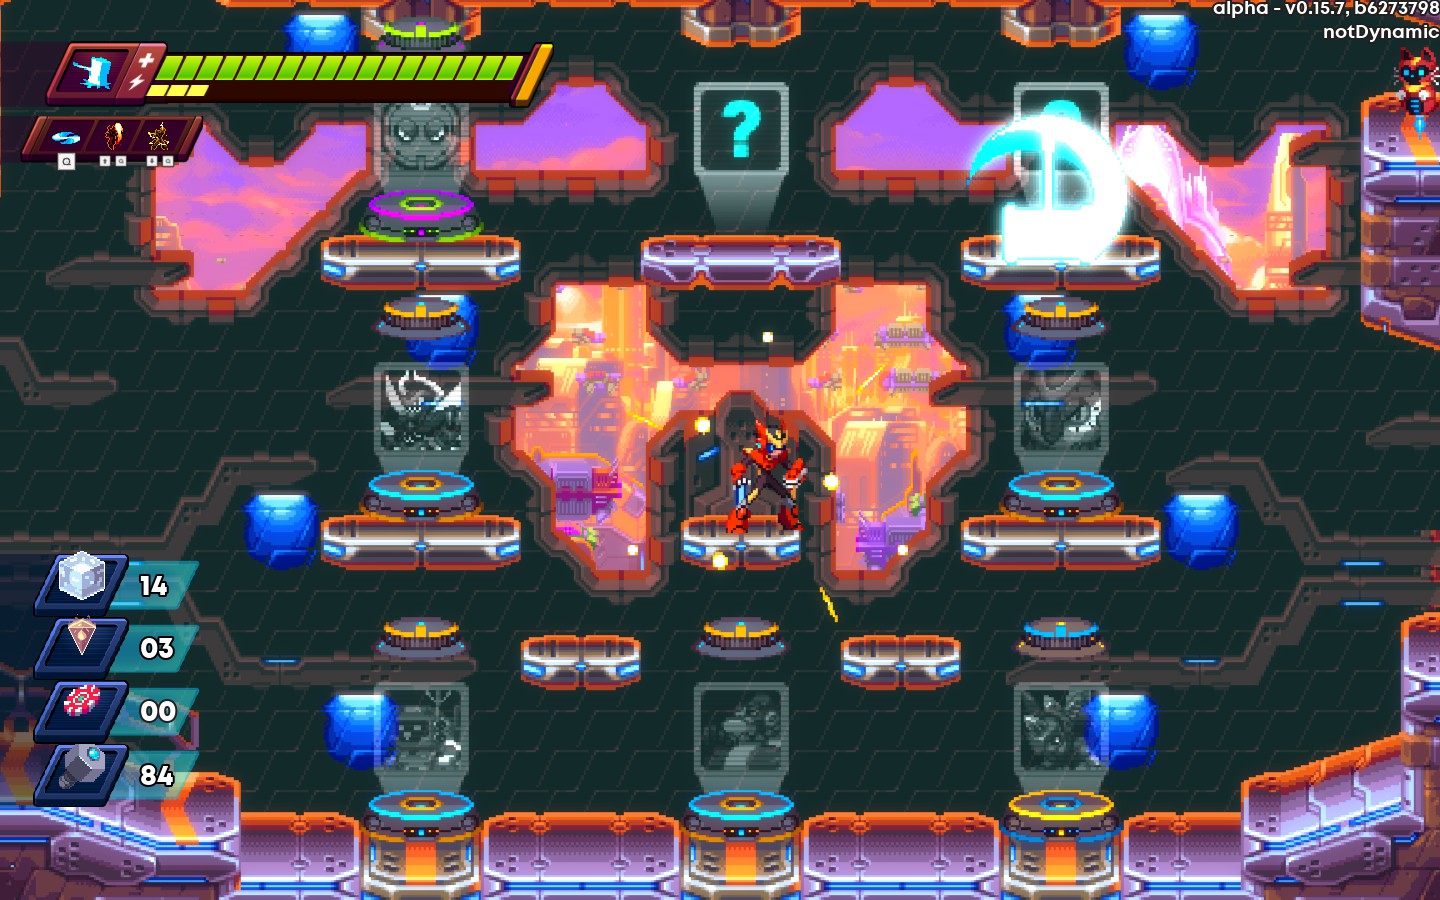
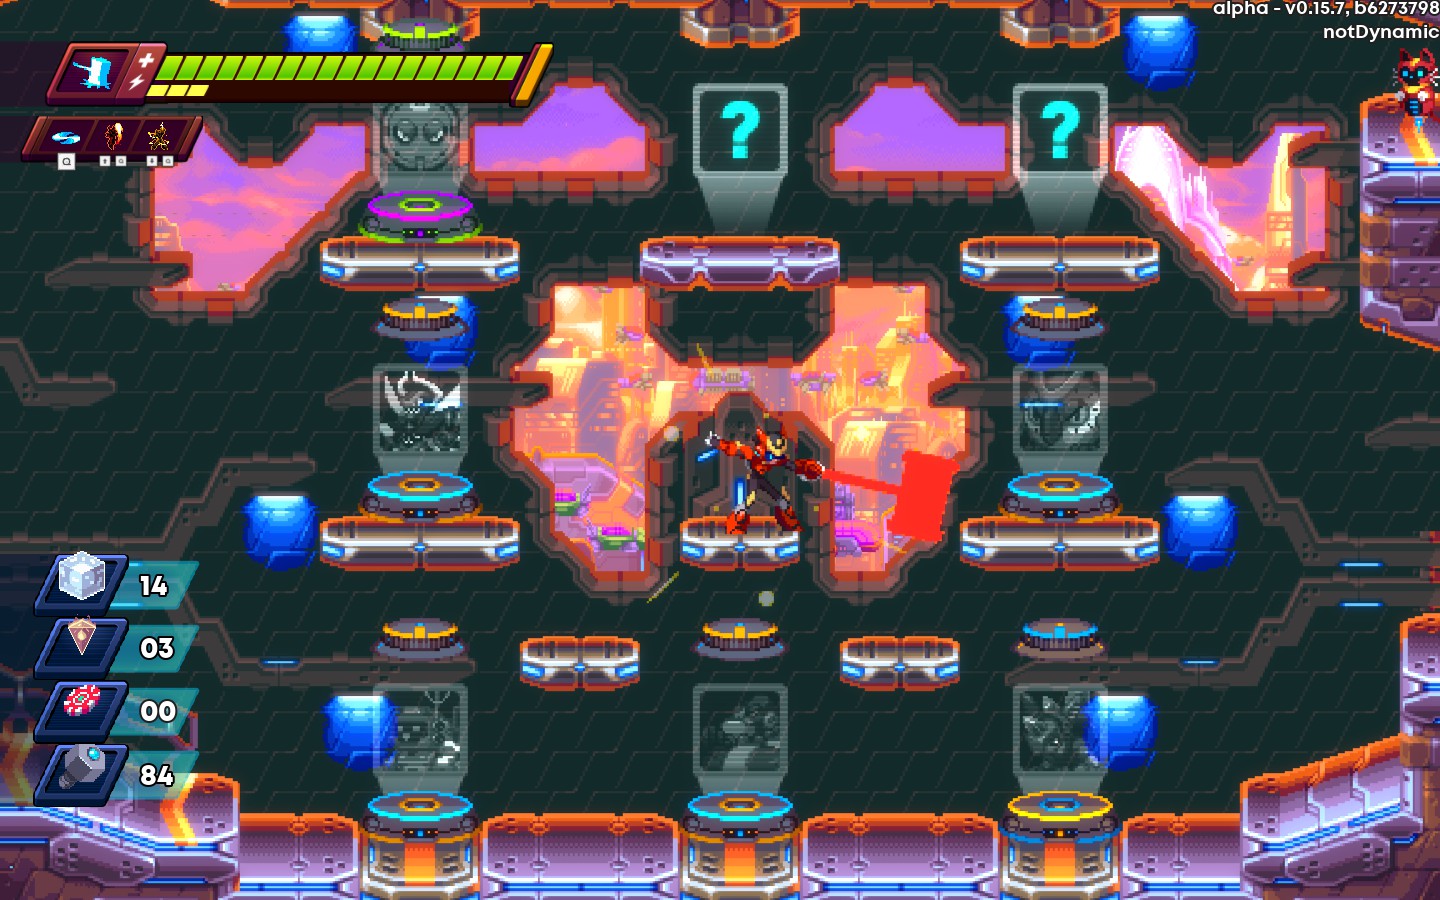
Tonbokiri
A simple spear. Sacrifices the Saber’s vertical range for more Horizontal reach. Unleashed gives Ace a much needed ranged weapon that also functions as a platform.

Ace’s Powers
Instead of fusion, Ace has the ability to equip all 8(though currently 6) powers at the same time. this is done by pushing up or down as well as the respective power key. Here are the default commands for each power. Note that you can change the position of these powers at any time.
^,P1 Zen Ascent
^,P2 Void Double
P1 Unleash Blade
P2 Dolomite Link
P3 Osafune
v,P1 Raijin Call
v,P2 Echo Shell
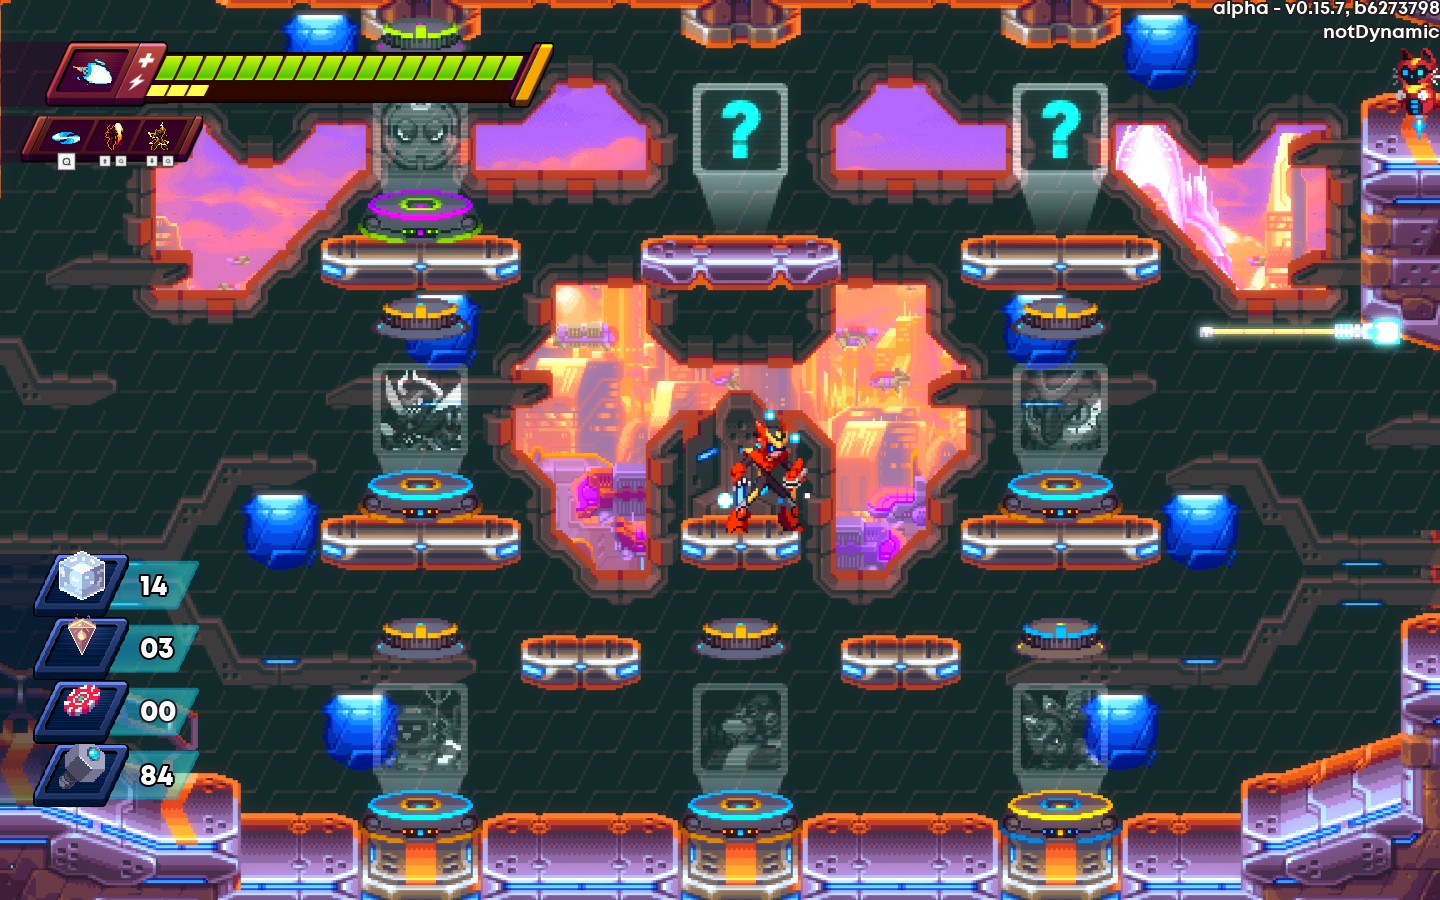
Zen Ascent is a flaming uppercut that can be used as both an anti-air tool, and as an additional mid-air jump.
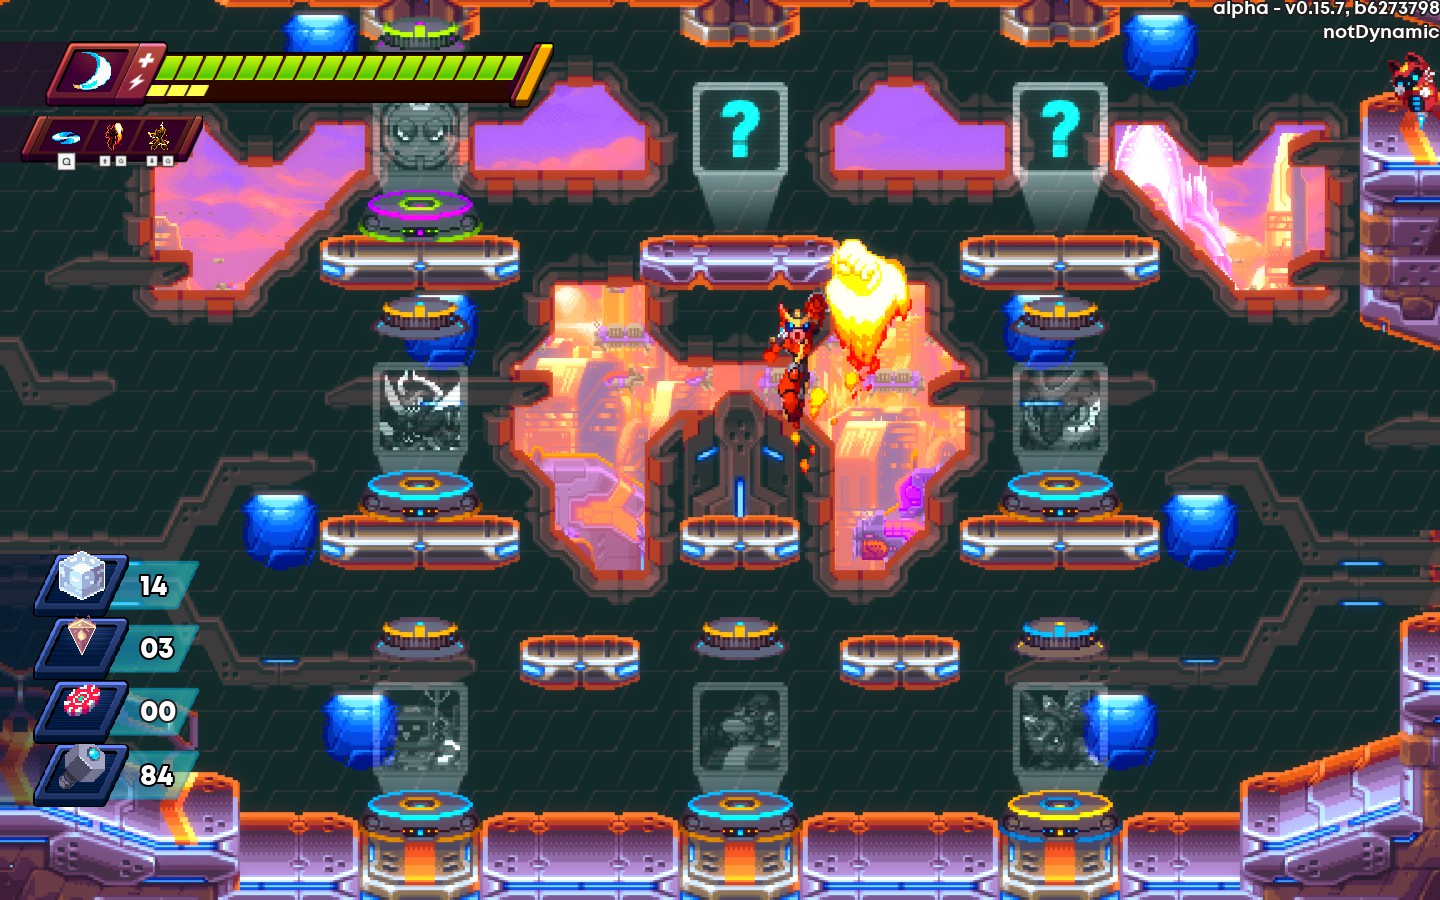
Void Double spawns a clone of yourself. He copies all of your attacks, but he stays in his respective spot. Currently, only his weapon attacks have a noticeable impact in battle. Additionally, you can press the power button again to return to the clone. You can use this to reach higher spots through refreshing your air movement(by touching the ground, and Teleport back to clone. Even if you don’t touch the ground again, it will still refresh you aerial powers(Most notably Zen Ascent)
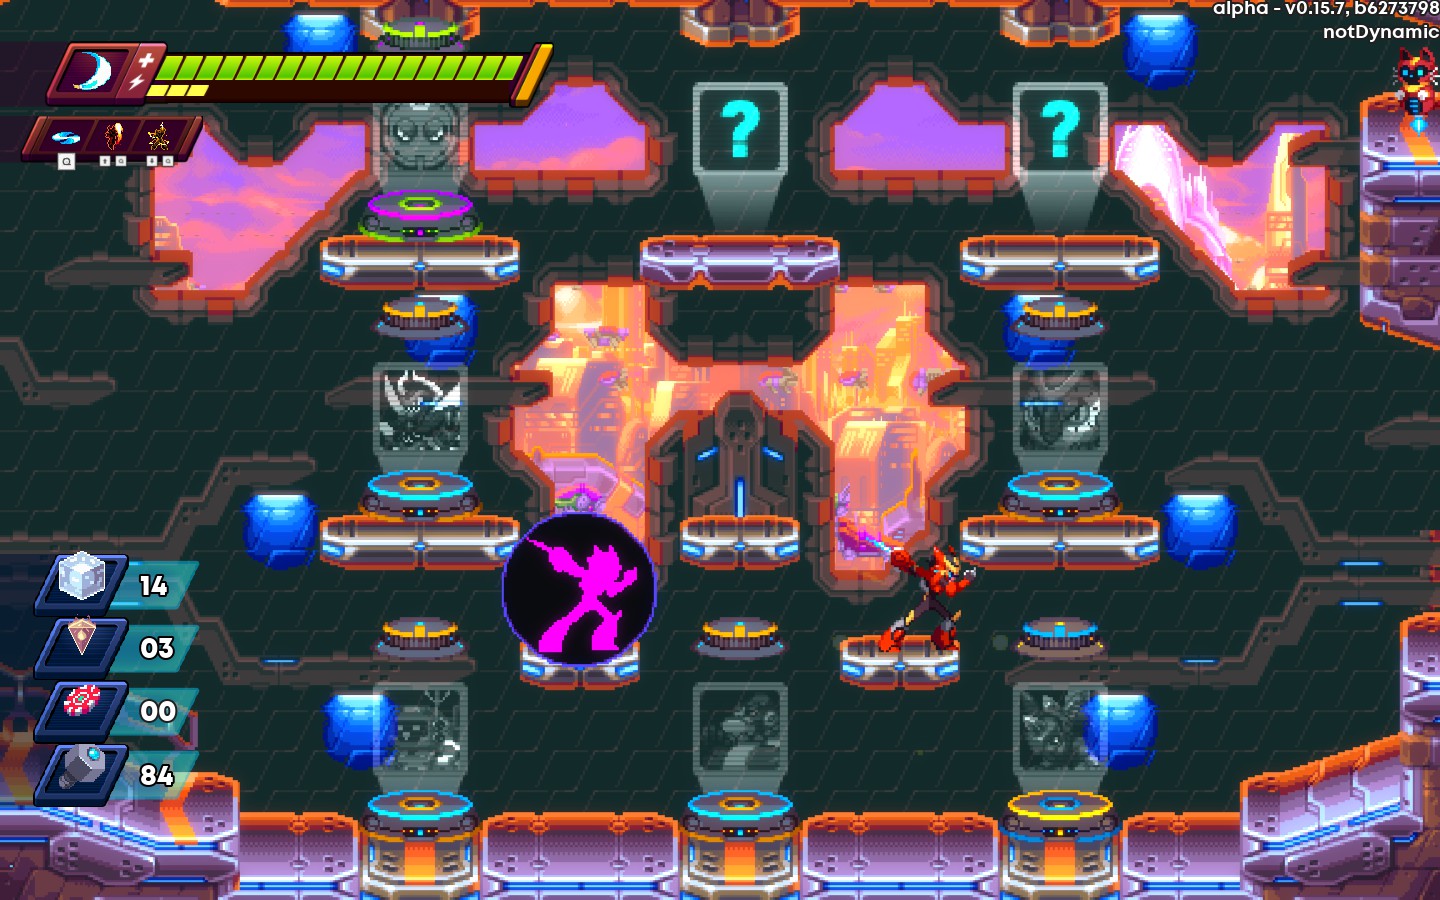
Unleash Blade is a skill that changes based on the weapon you have equipped. Refer to Ace’s Weapons for more details.
Dolomite Link is a whip that pulls you towards enemies. Upon impact, you are invincible for a very short amount of time, and deal impact damage to enemies around the target. This can also be used to launch yourself forwards when you’re out of other movement options.
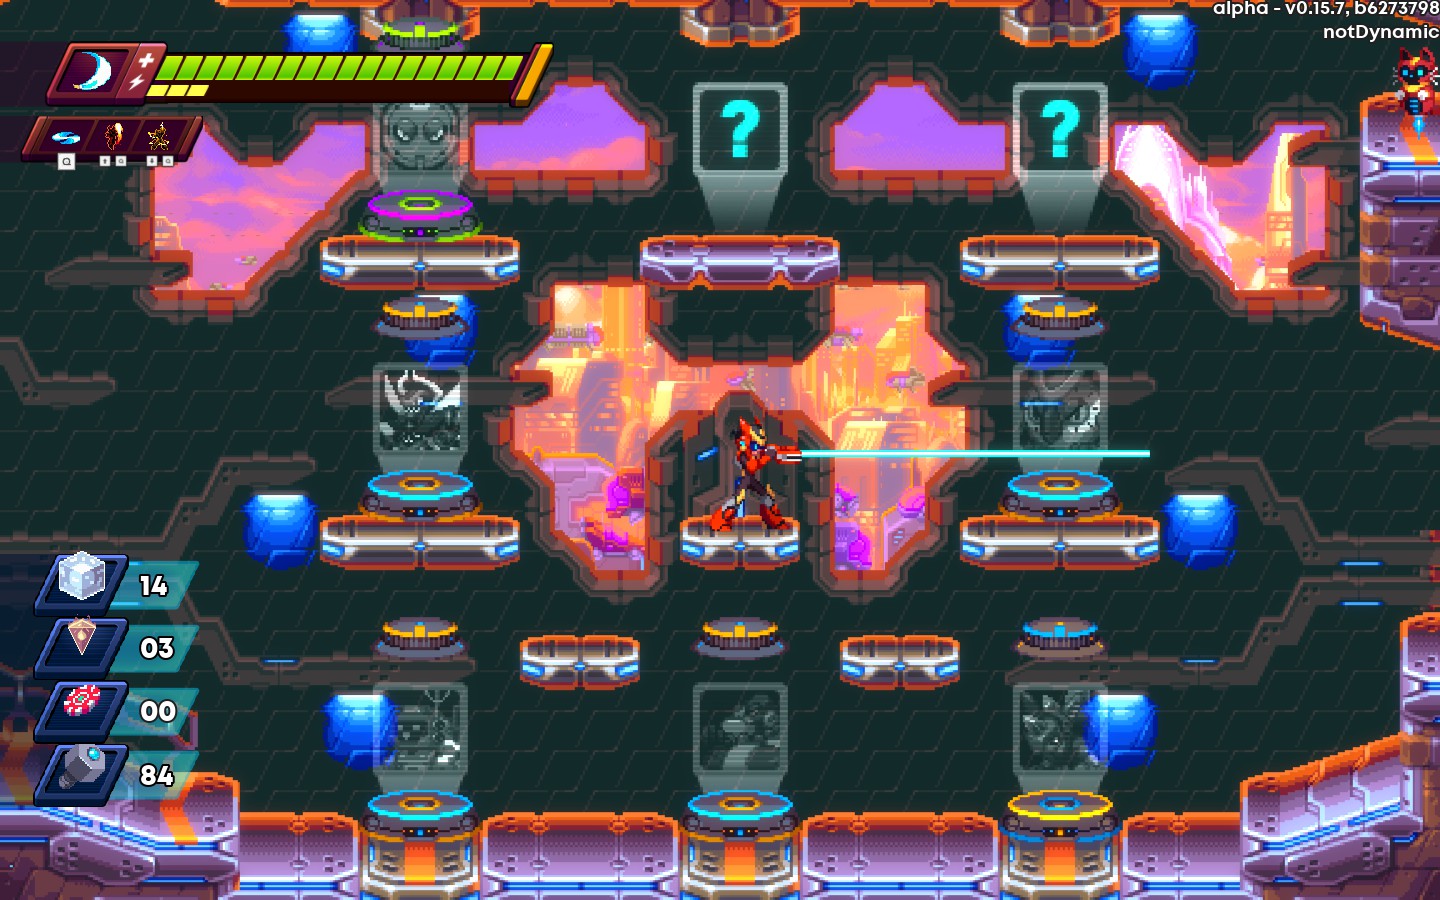
Osafune freezes you in the air in order to dash be-hide an enemy and attack before returning to your original spot. The attack range is pre-set, and you are invincible for entire animation.
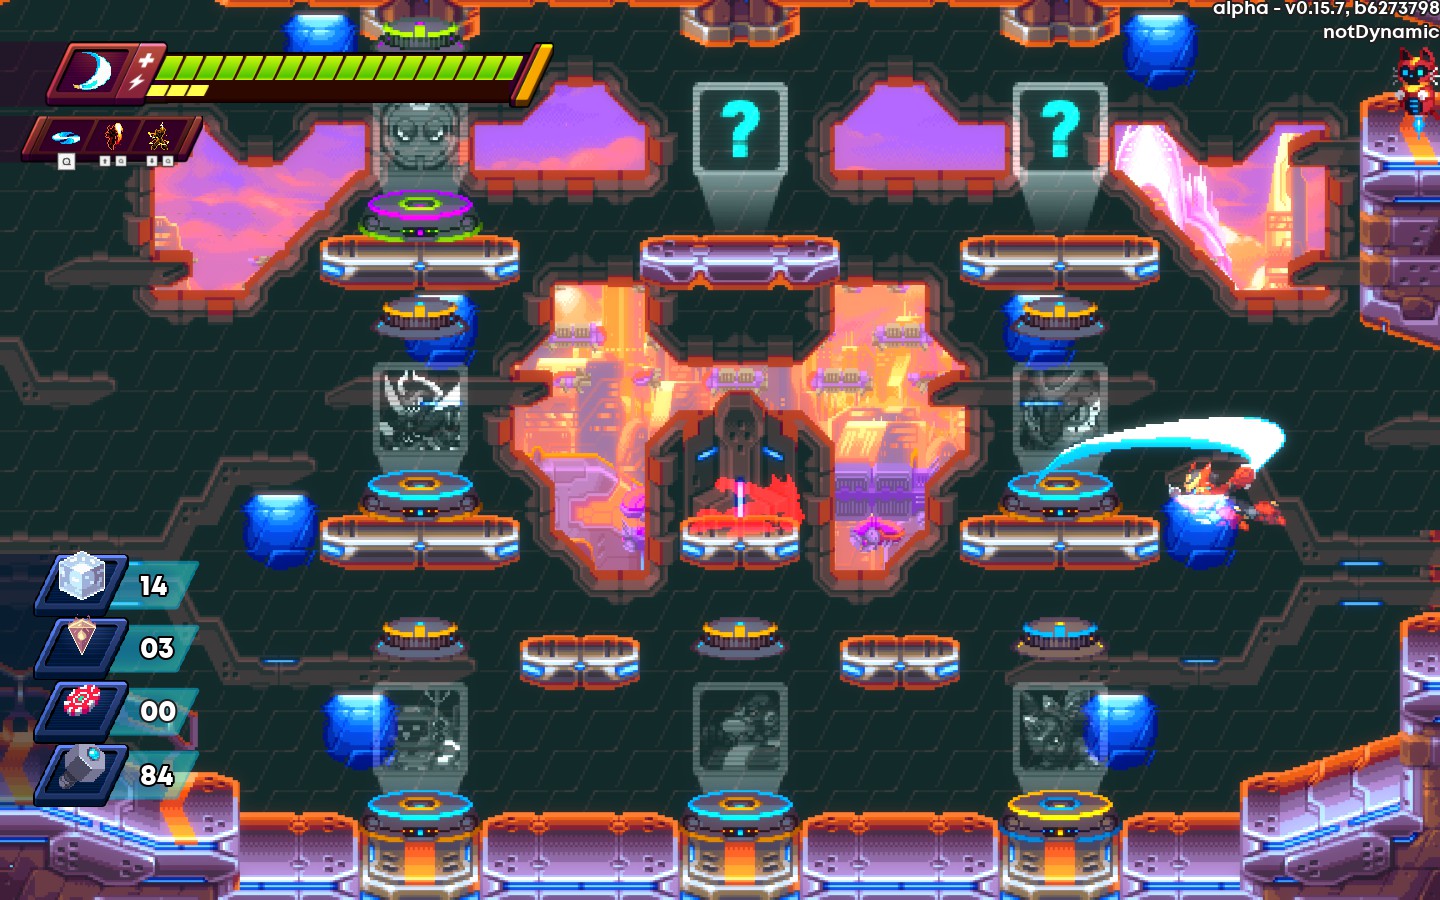
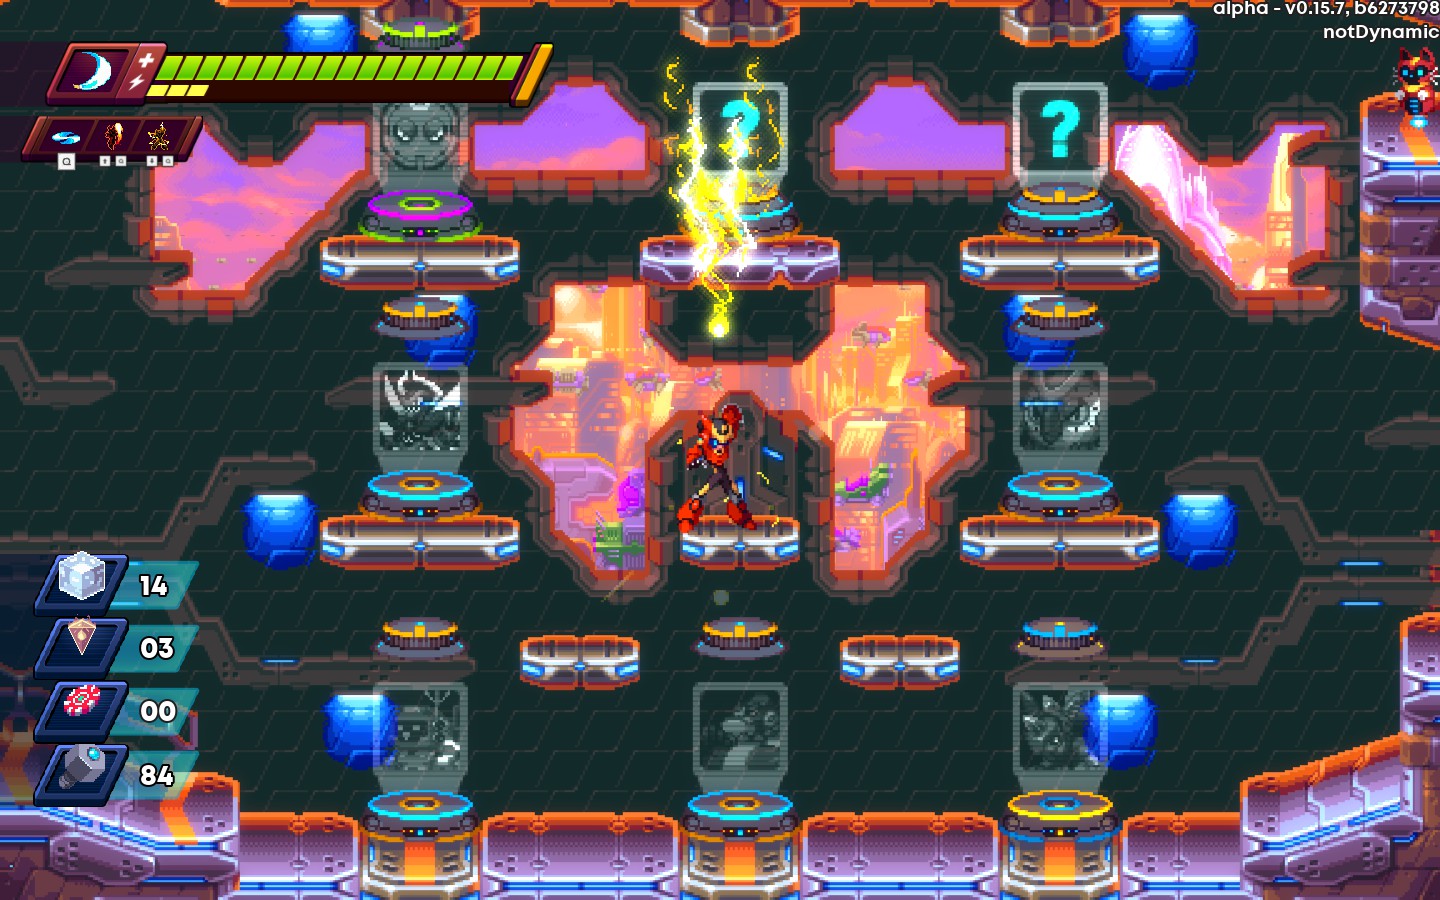
Raijin Call summons lightning from the sky, dealing damage to everything in it’s path. Additionally, you can catch the lightning in order to fire fowards with your next attack.
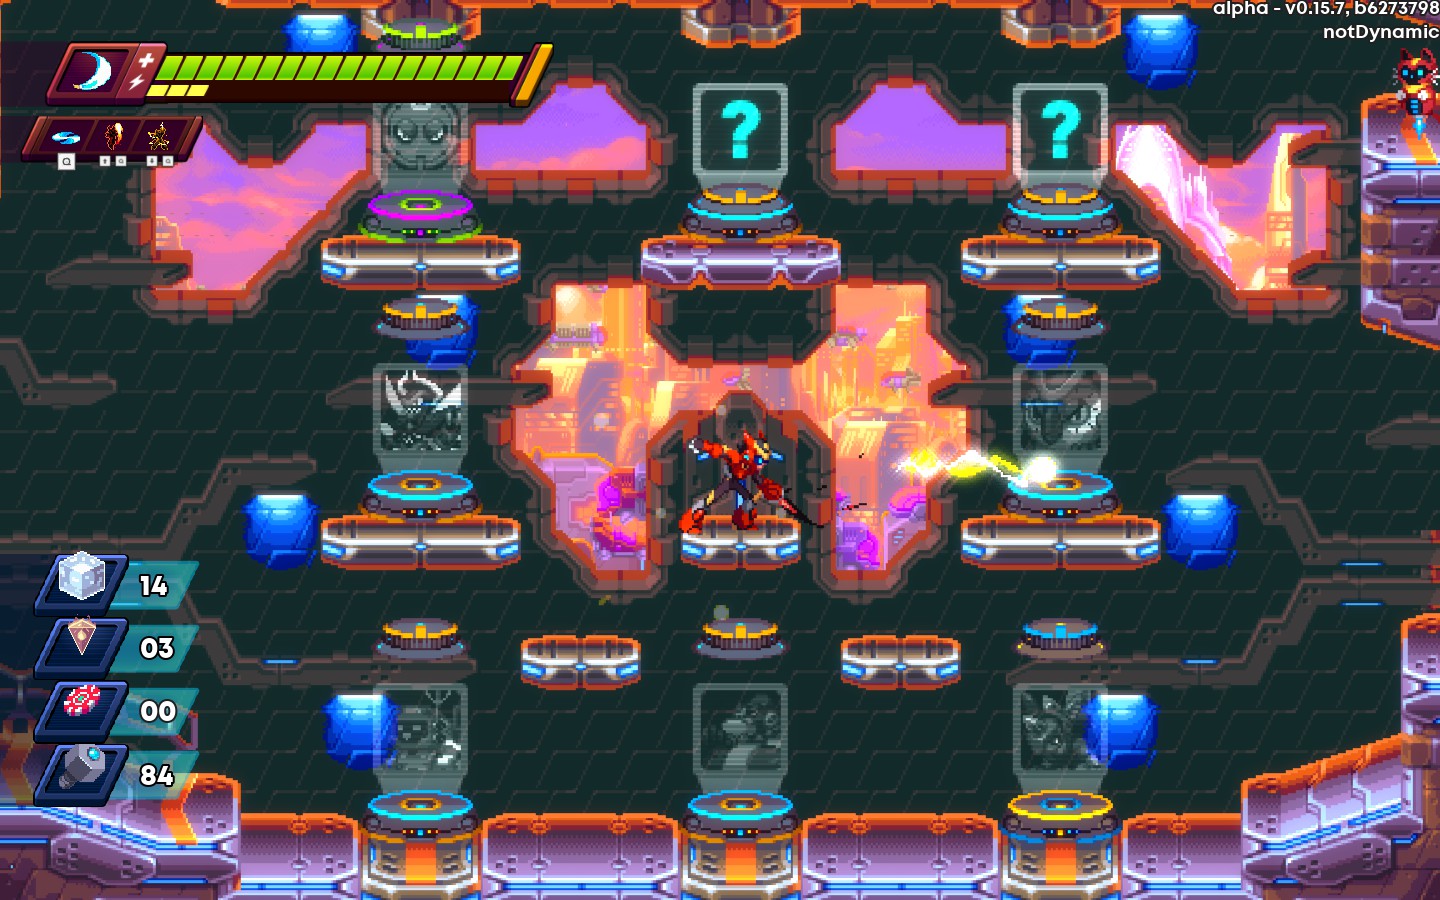
Echo Shell puts you into a counter state. If you get hit by a projectile during this counter state, you destroy it and fire off a counter attack. You are invincible during the counter attack animation. Does not seem to work on non-projectile attacks, or contact damage.
I hope you enjoy the Guide we share about 30XX – Casual Guide; if you think we forget to add or we should add more information, please let us know via commenting below! See you soon!
- All 30XX Posts List


Leave a Reply