(Image heavy)
How to Lua Spy, full stealth, the easy way.
Introduction
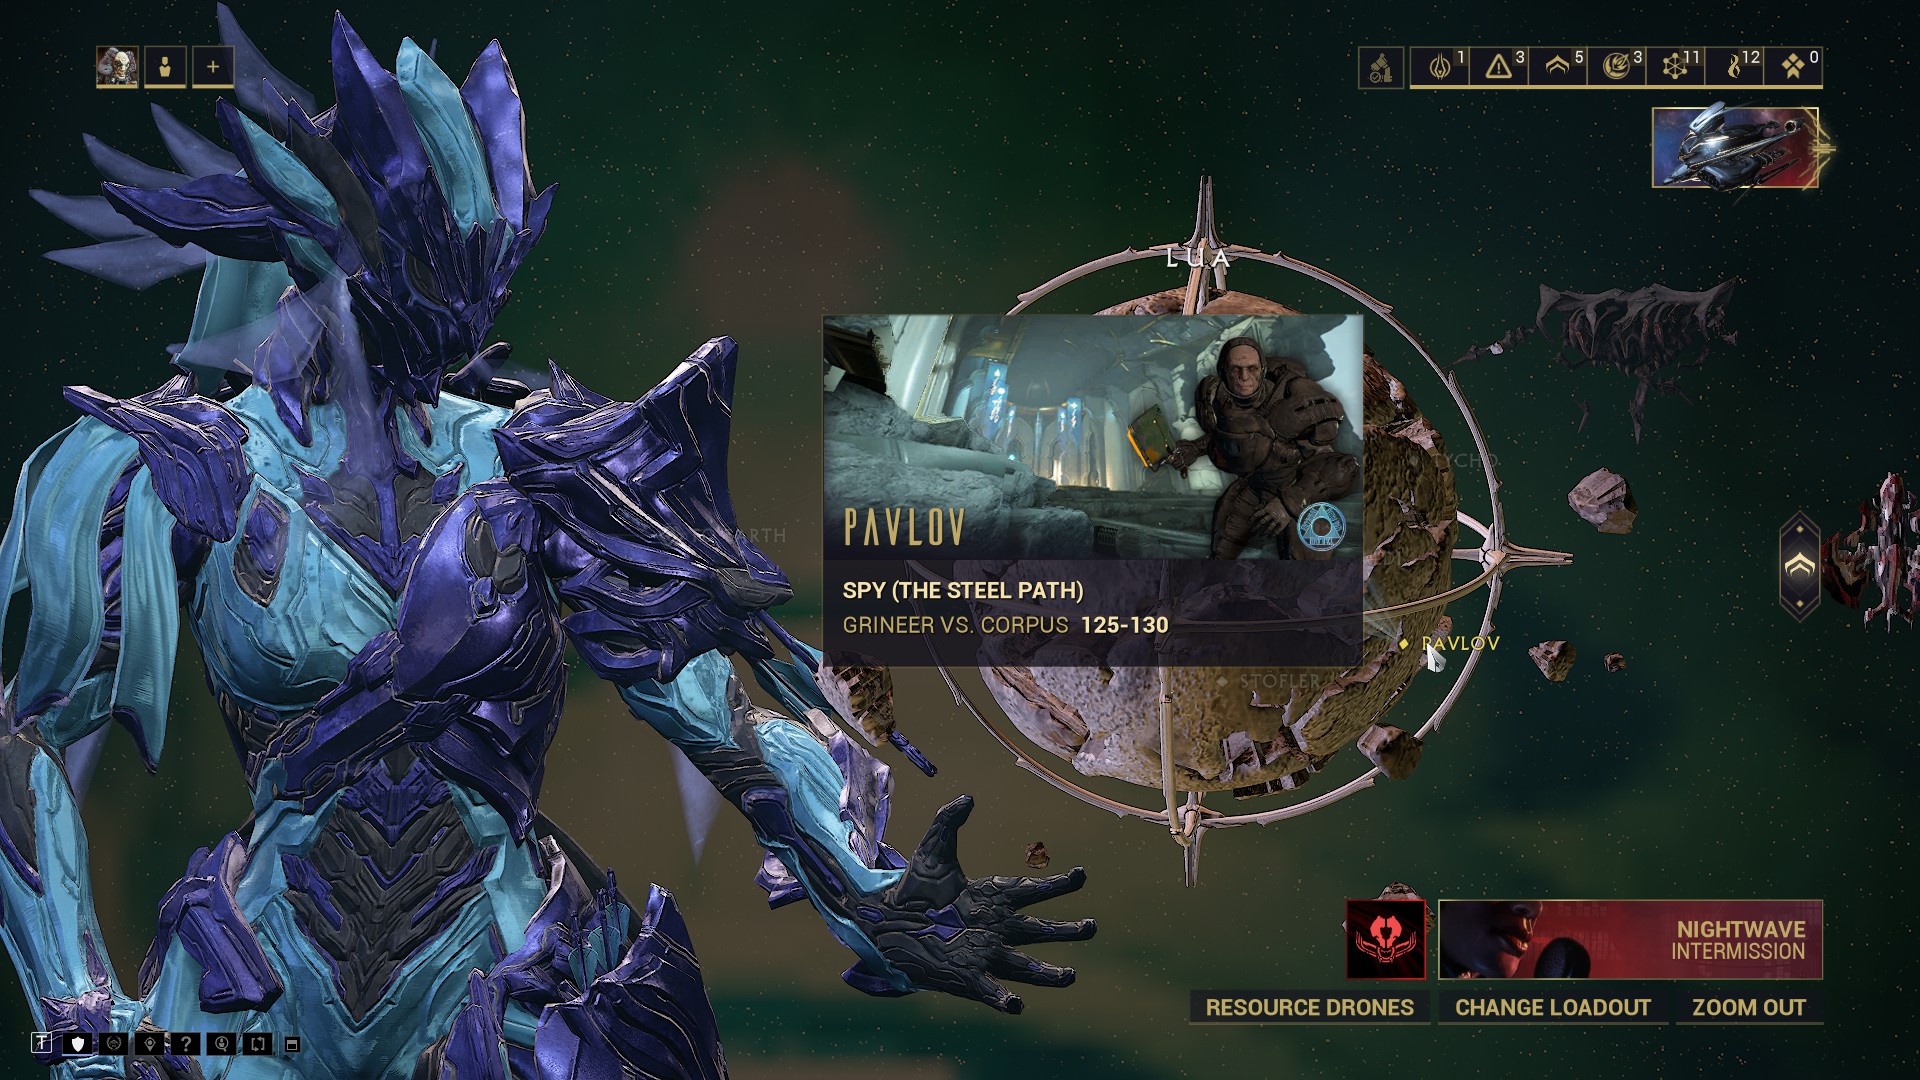
Lua spy may sound intimidating, but it is actually extremely easy once you learn how the vaults work. In this guide, I will show you how to complete Pavlov, Lua with full stealth.
There are multiple ways to complete each vault. I think the pathing shown in this guide is a good combination of simplicity and speed, while requiring minimal skill.
This guide was written at the time of patch 31.1.x. Vaults and Warframes may change in subsequent patches.
Frame Choice
I strongly recommend playing a frame that is capable of passing through lasers without triggering alarms such as Ivara (with Infiltrate) or Limbo. It is possible to complete this other frames, but you must take caution to avoid lasers and sentries in vaults.
That said, the failure timers on these vaults are very generous and you should have enough time to complete the vault even if you trigger the alarm.
Vault Types
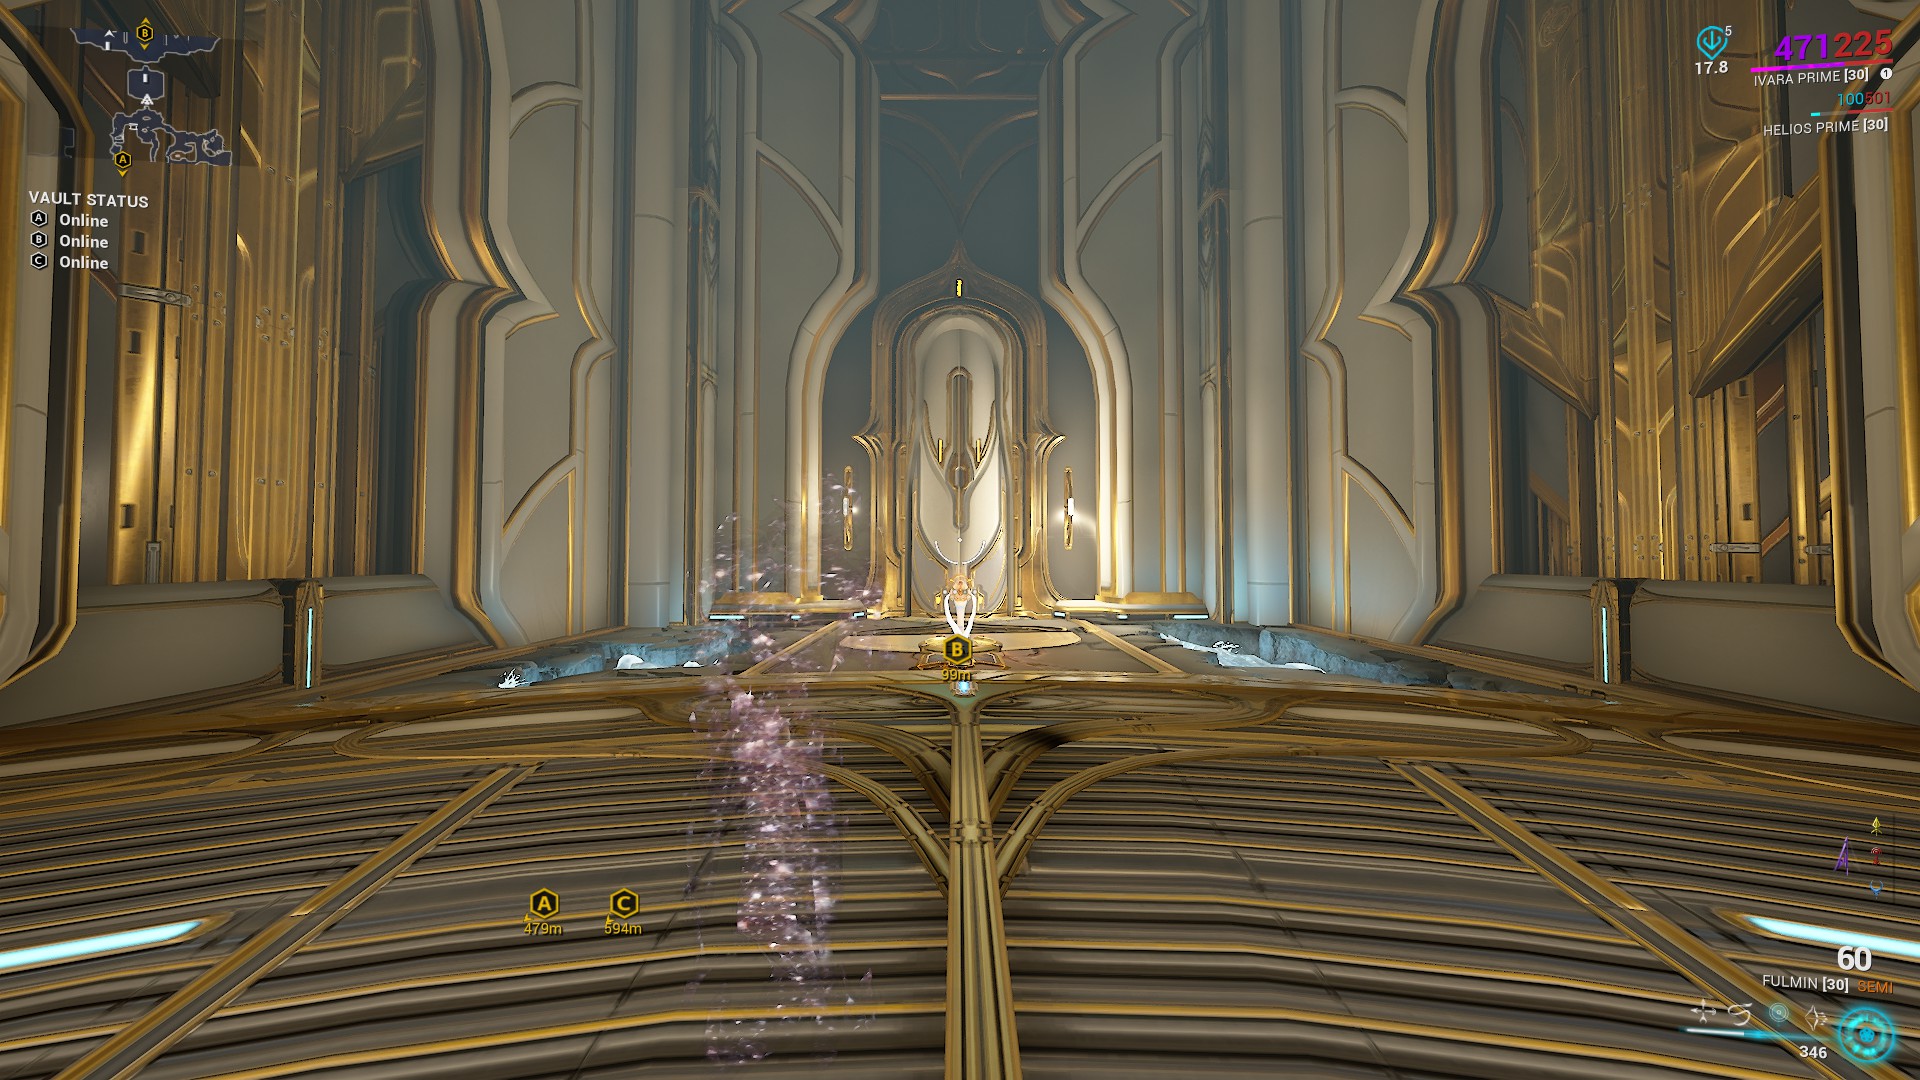
There are only three vault types in Lua spy. The vaults do not have variations (e.g. vents that may or may not be open) so the same pathing may be used every run.
Vaults A and B may vary between which is which. Vault C will always be the same.
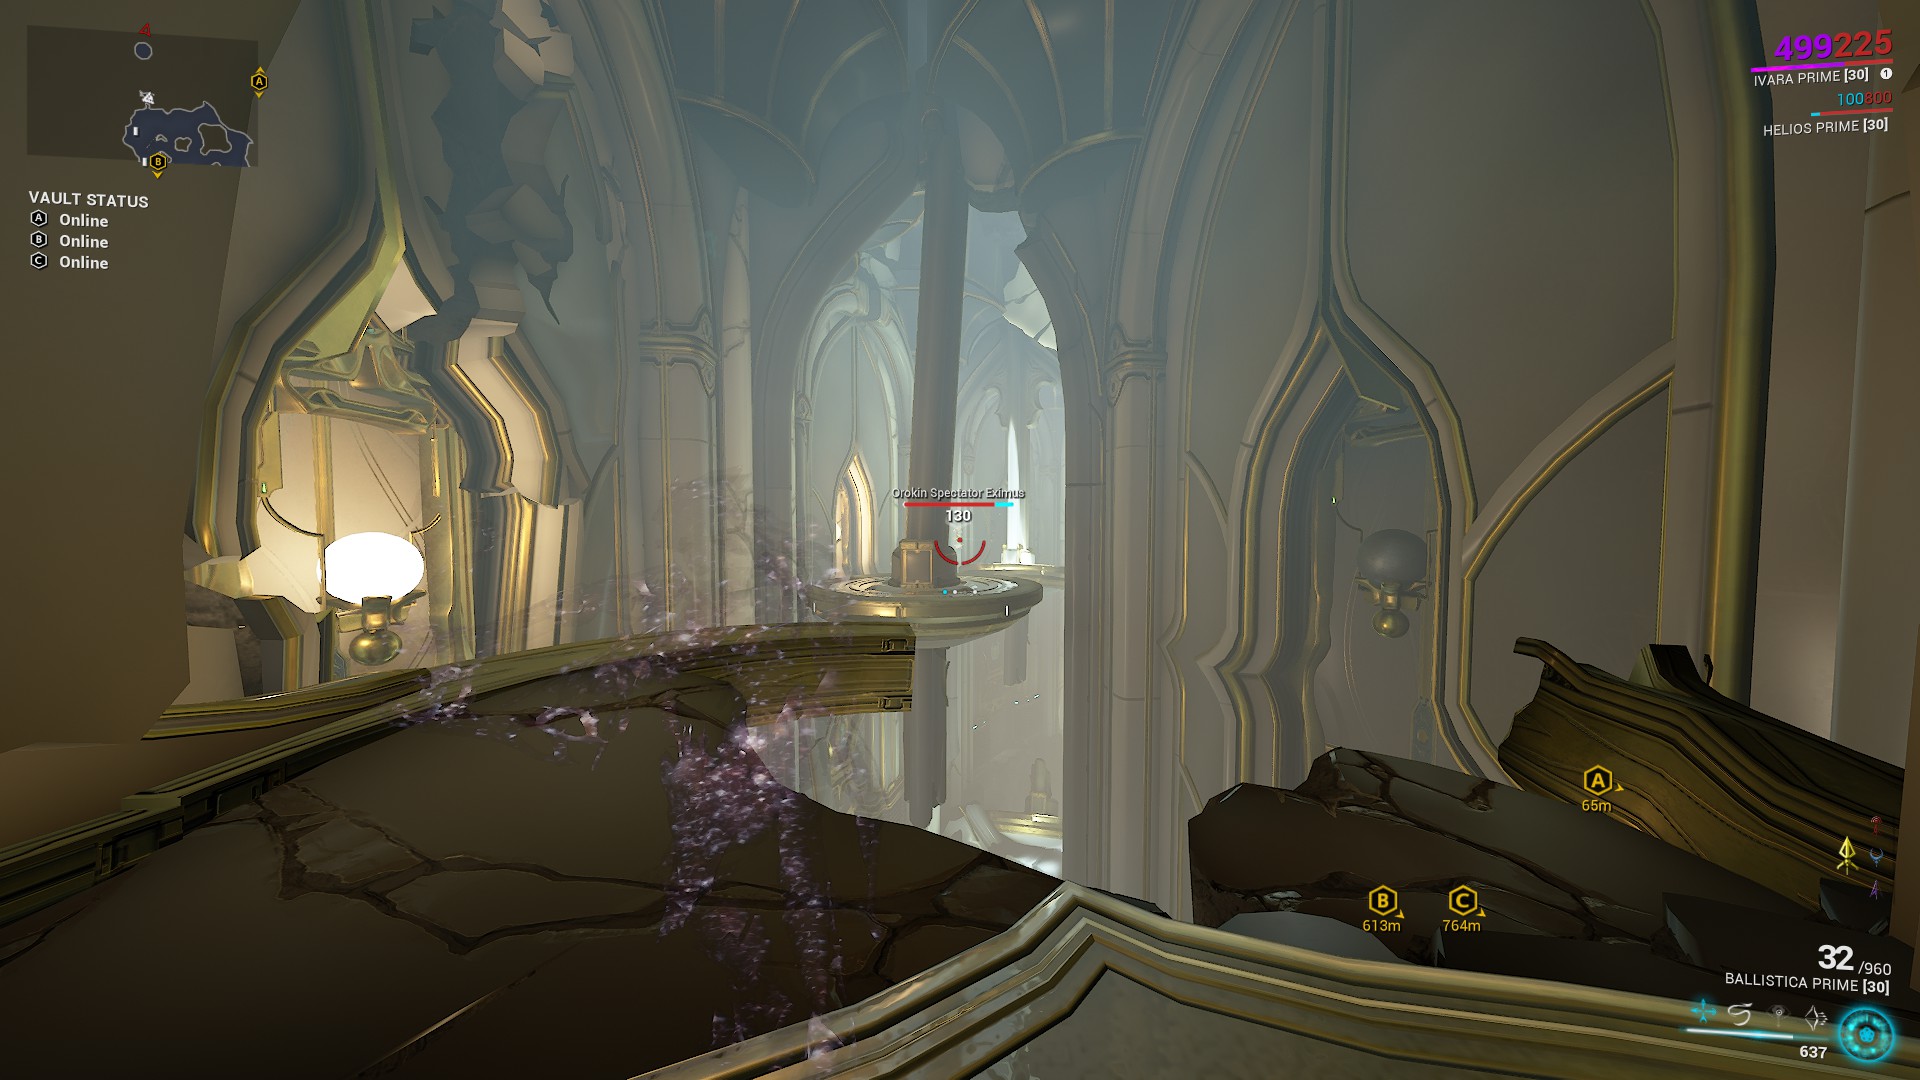
Orokin Spectator enemies may spawn in Vaults A and B. They function like Sensor Regulator enemies and will trigger the alarm if they detect you.
Take note of which door you see at marker A / B and reference the guide accordingly.
Void Rifts
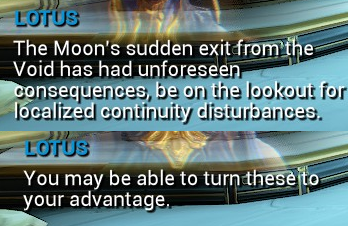
Lua spy features an unique mechanic known as Void Rifts. These are distortions in space-time which send the player between the present (destroyed) state and the past (pristine) state.
In the present, many things are broken including security systems. However, this also means most things don’t function (including the vault consoles). Although the landscape of each state is different, actions in one state will carry over to the other. We will use this to our advantage to manipulate the landscape and easily traverse the vaults.
In this guide, I will refer to the states as present and past and I will inform you which state is required at each stage.
Note: passing through a void rift cancels all active Warframe abilities.
Vault A (Console door)
Vault variation A – door is opened by a hackable console
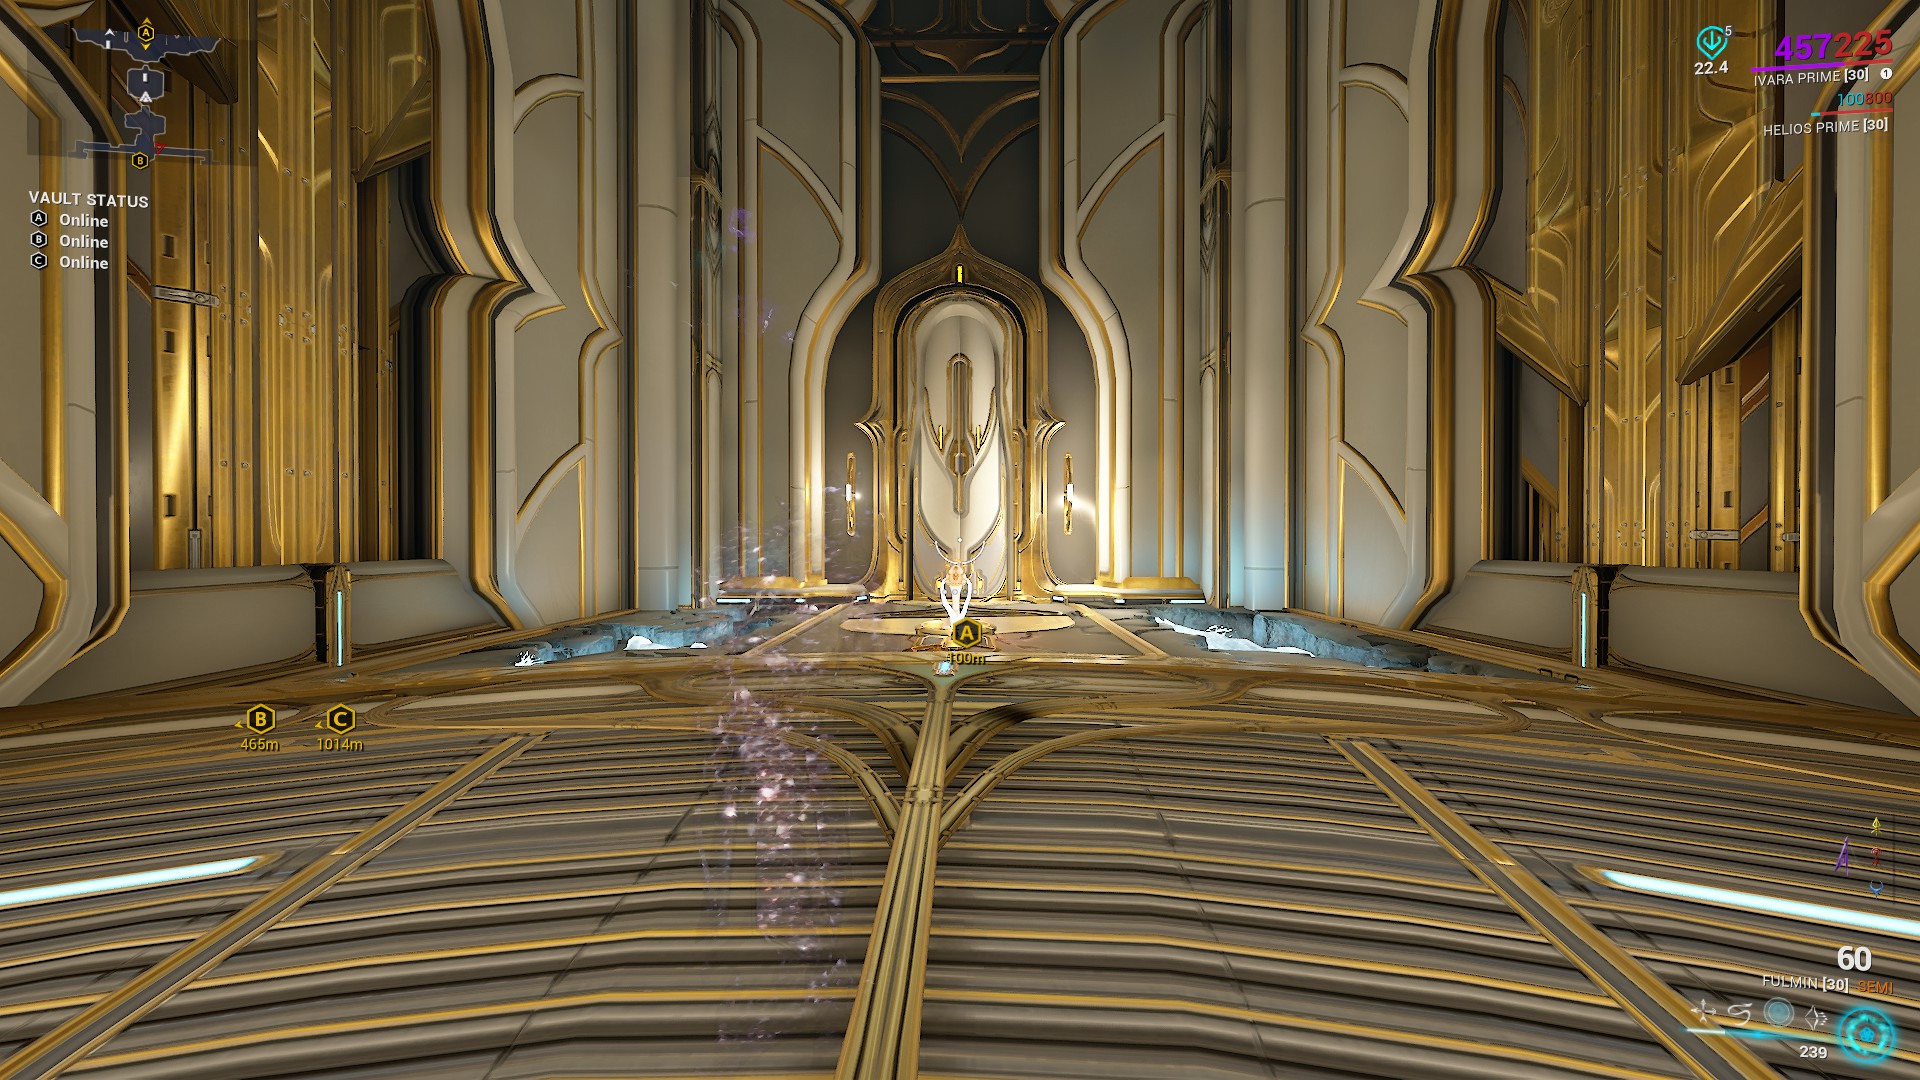
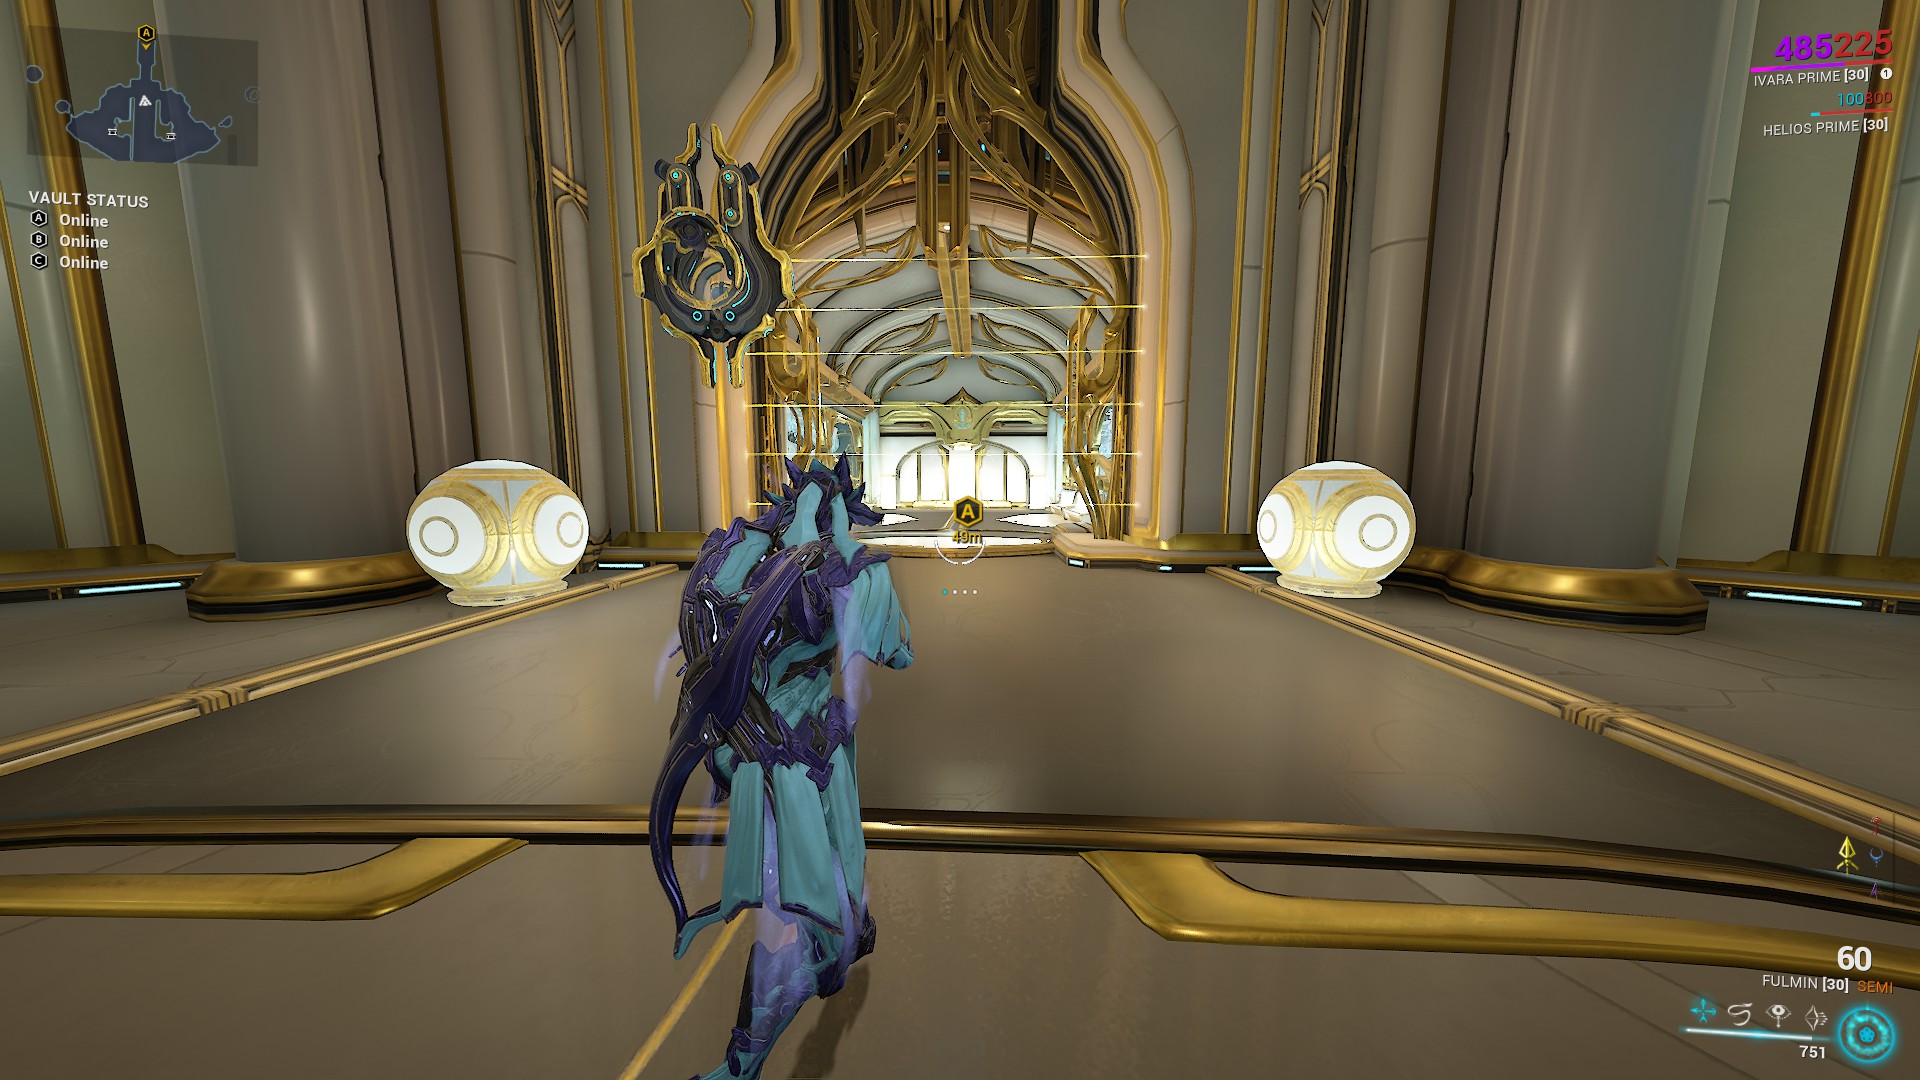
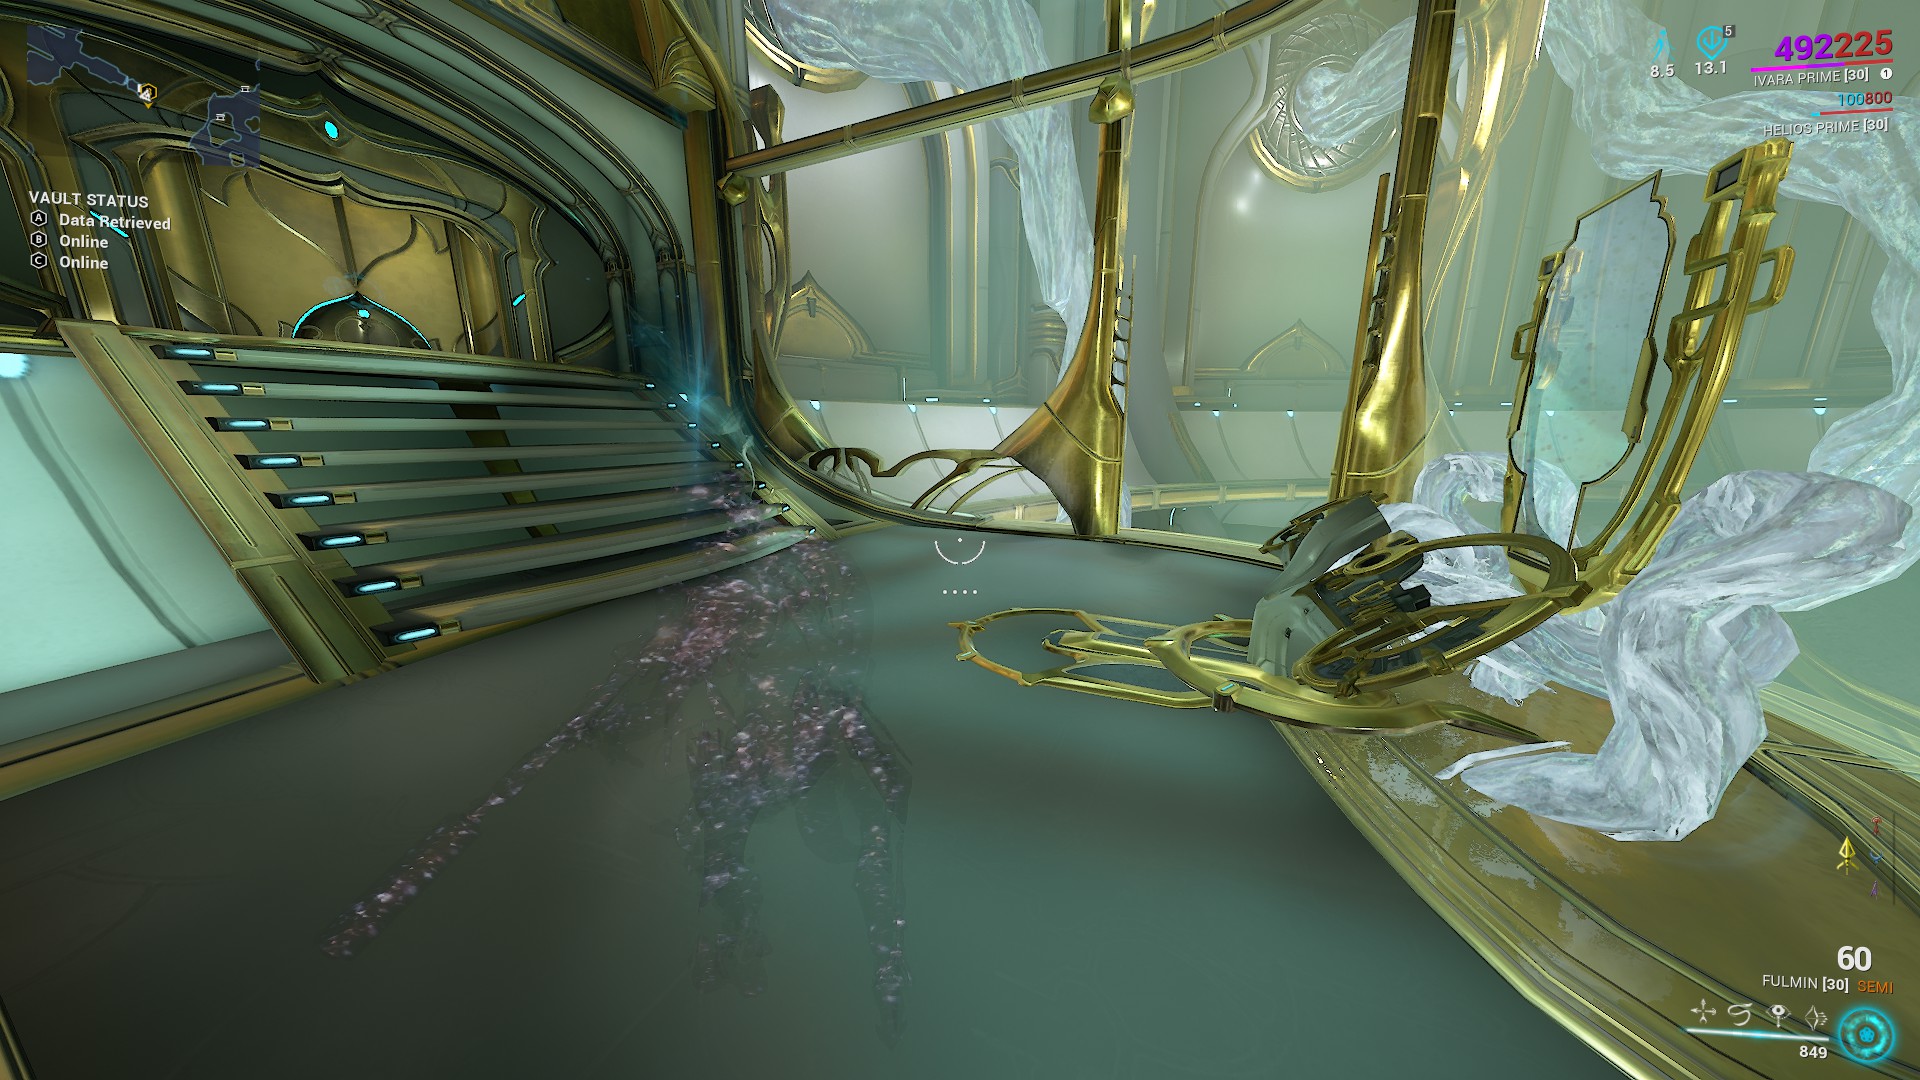
Enter the vault and head up the stairs on the left.
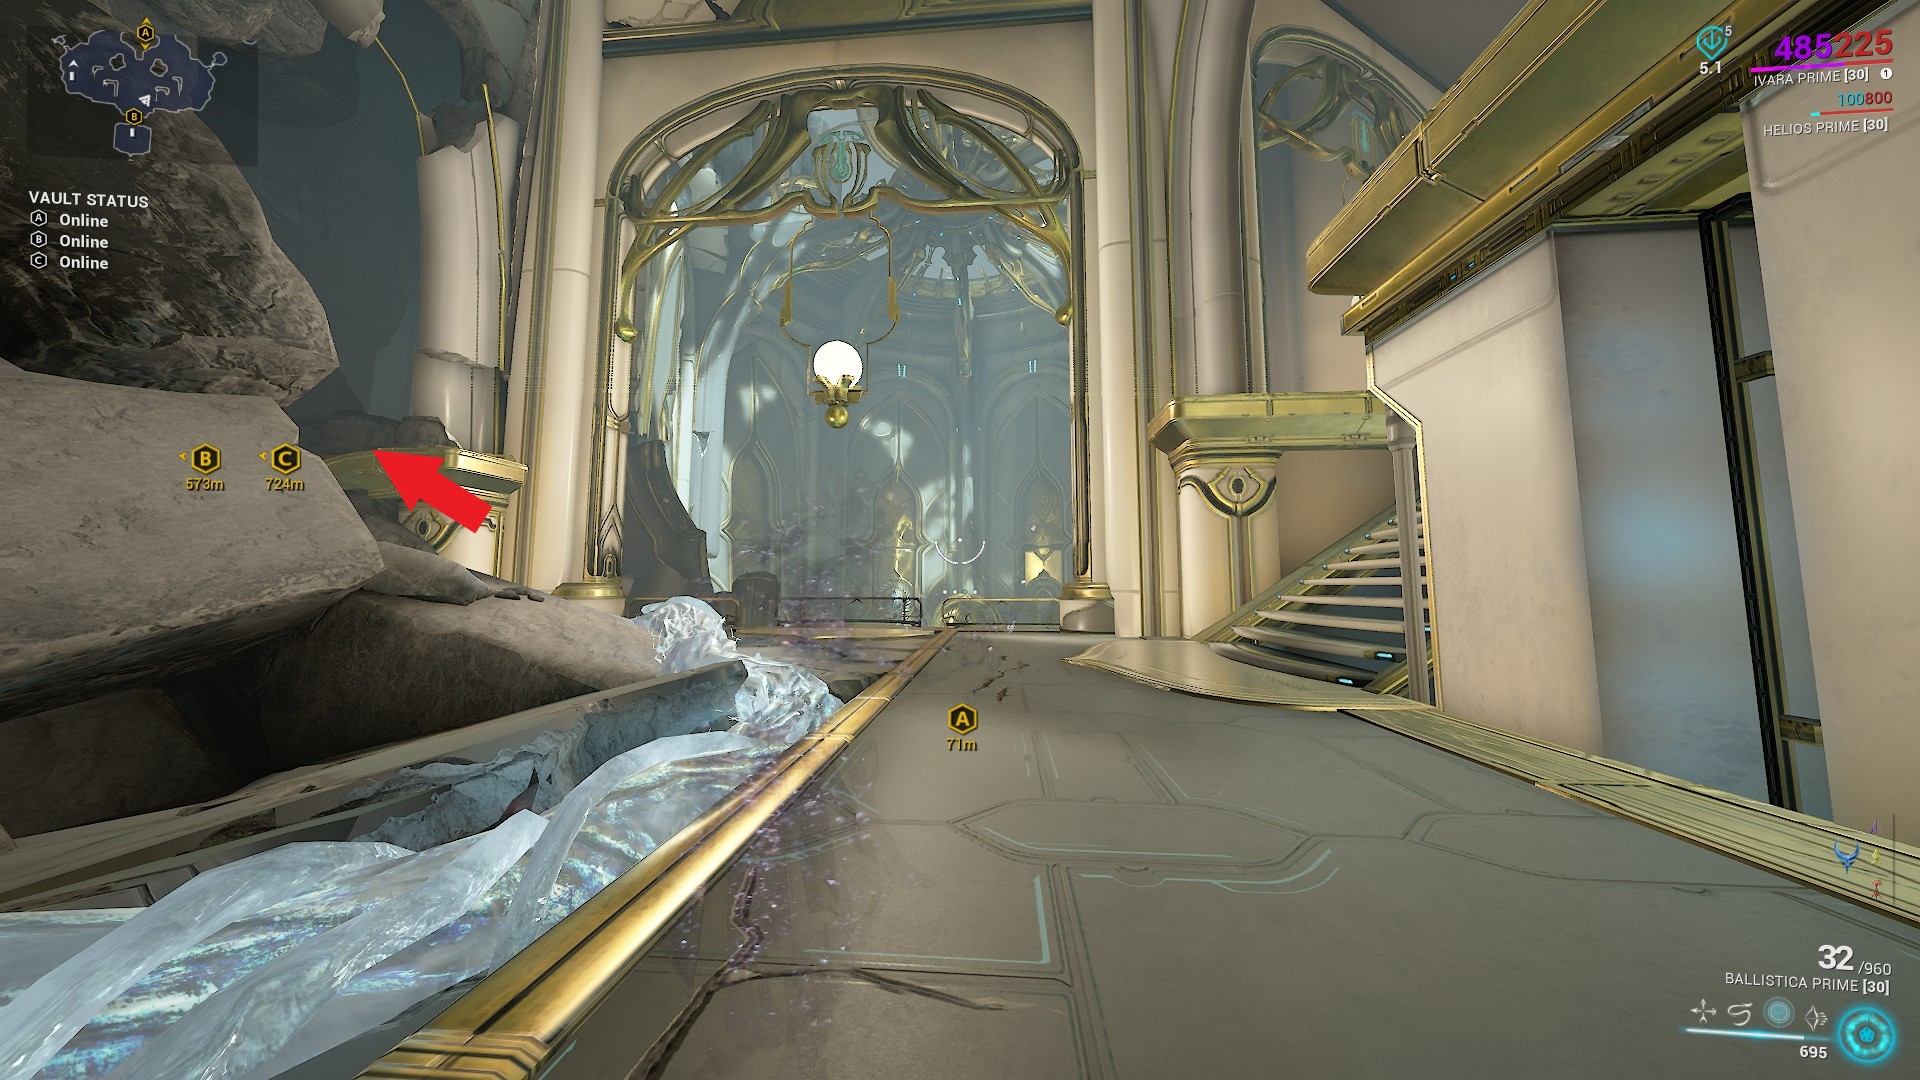
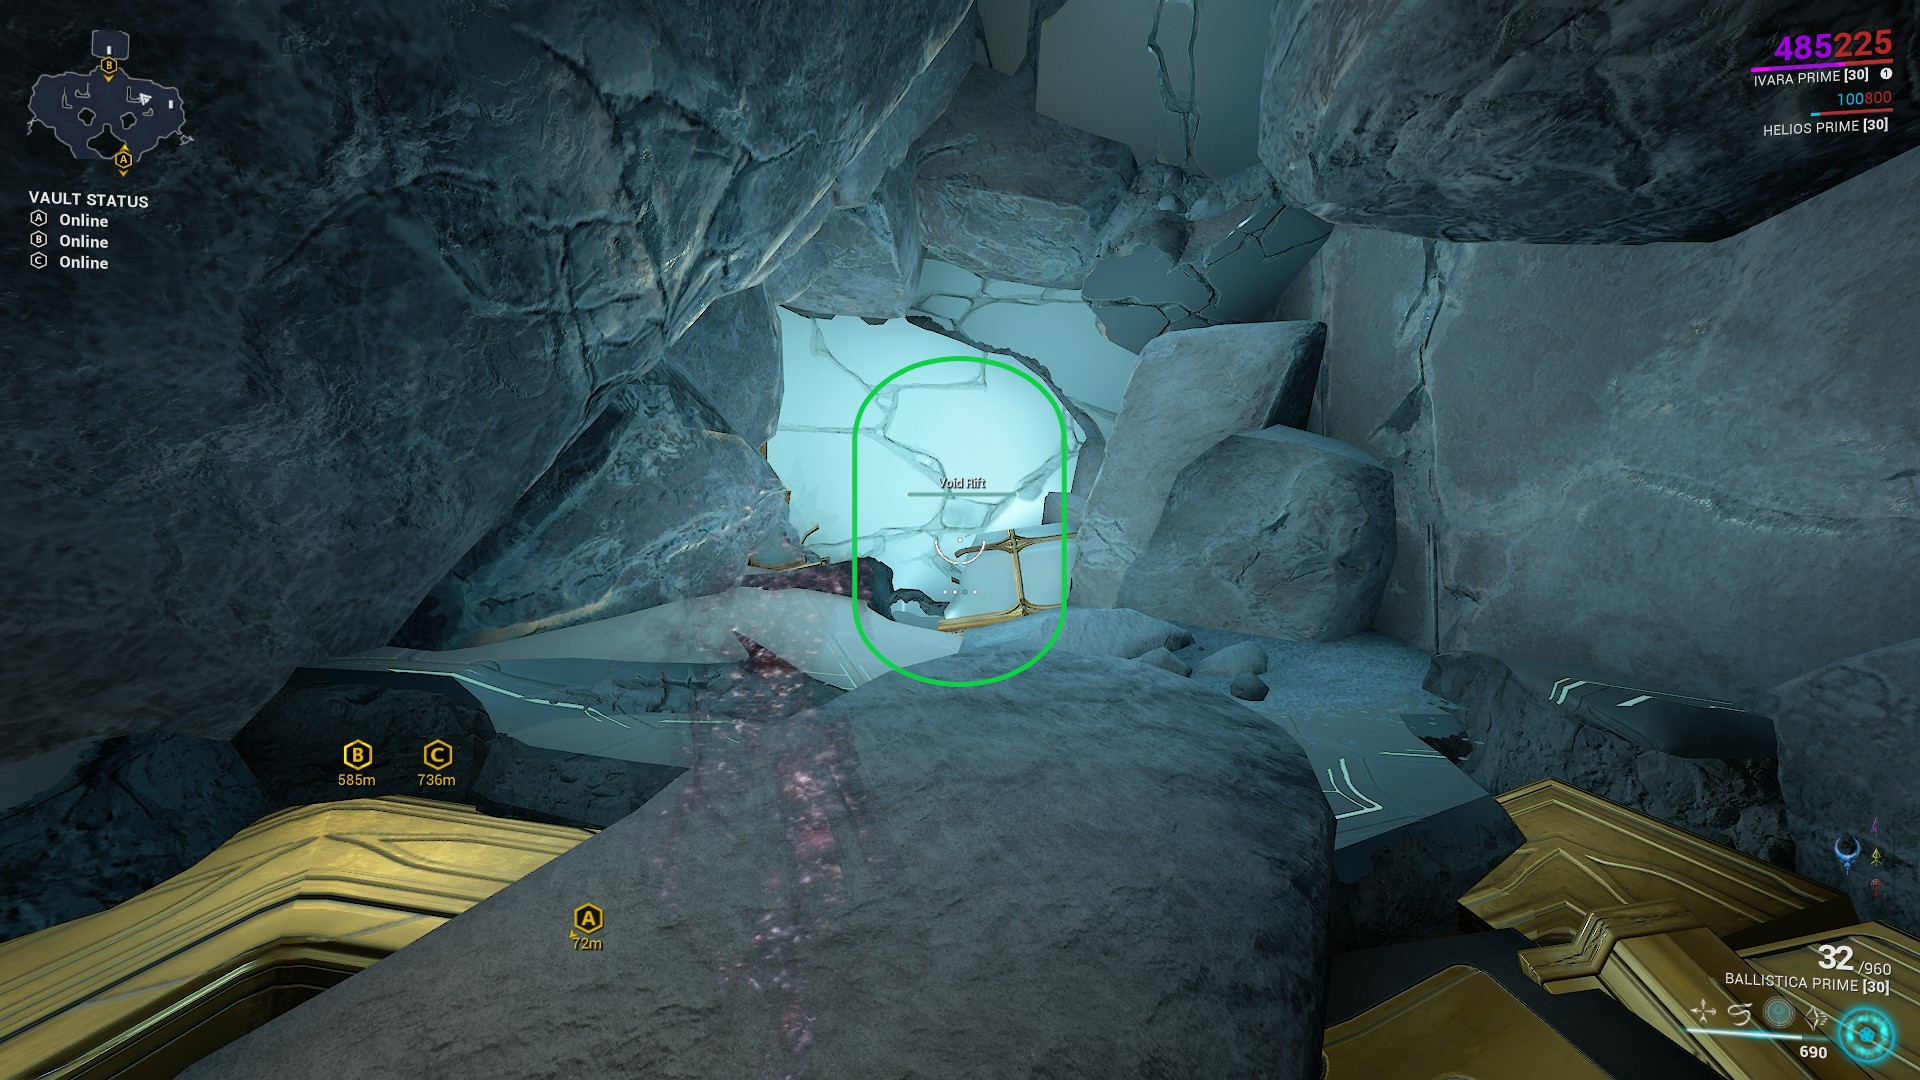
Go through the void rift to the past, then go through the next void rift back to the present.
Continue along the path. Go through the door at the end.
Note: Orokin Spectator enemies may spawn in this area.
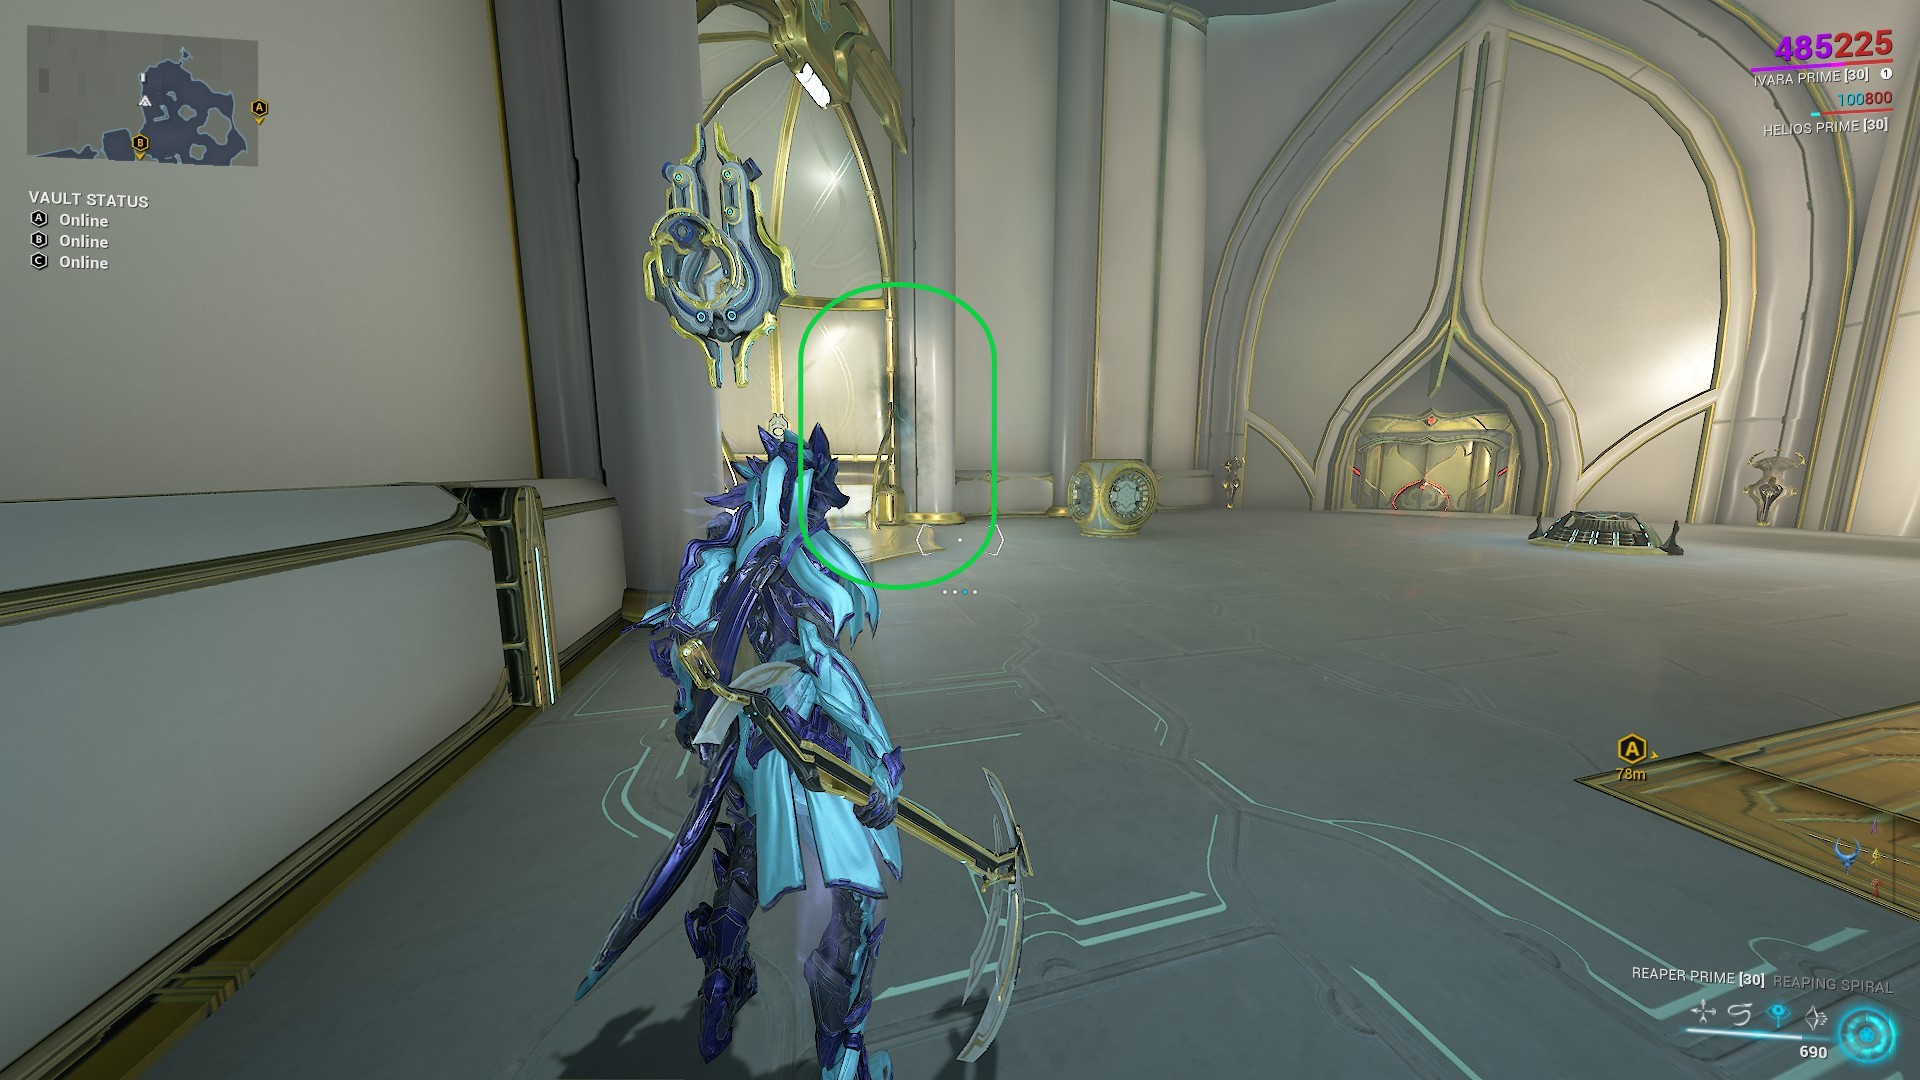
The vault is here, but we cannot pass through this destroyed door. Go through the void rift back to the past.
The door is functioning now.
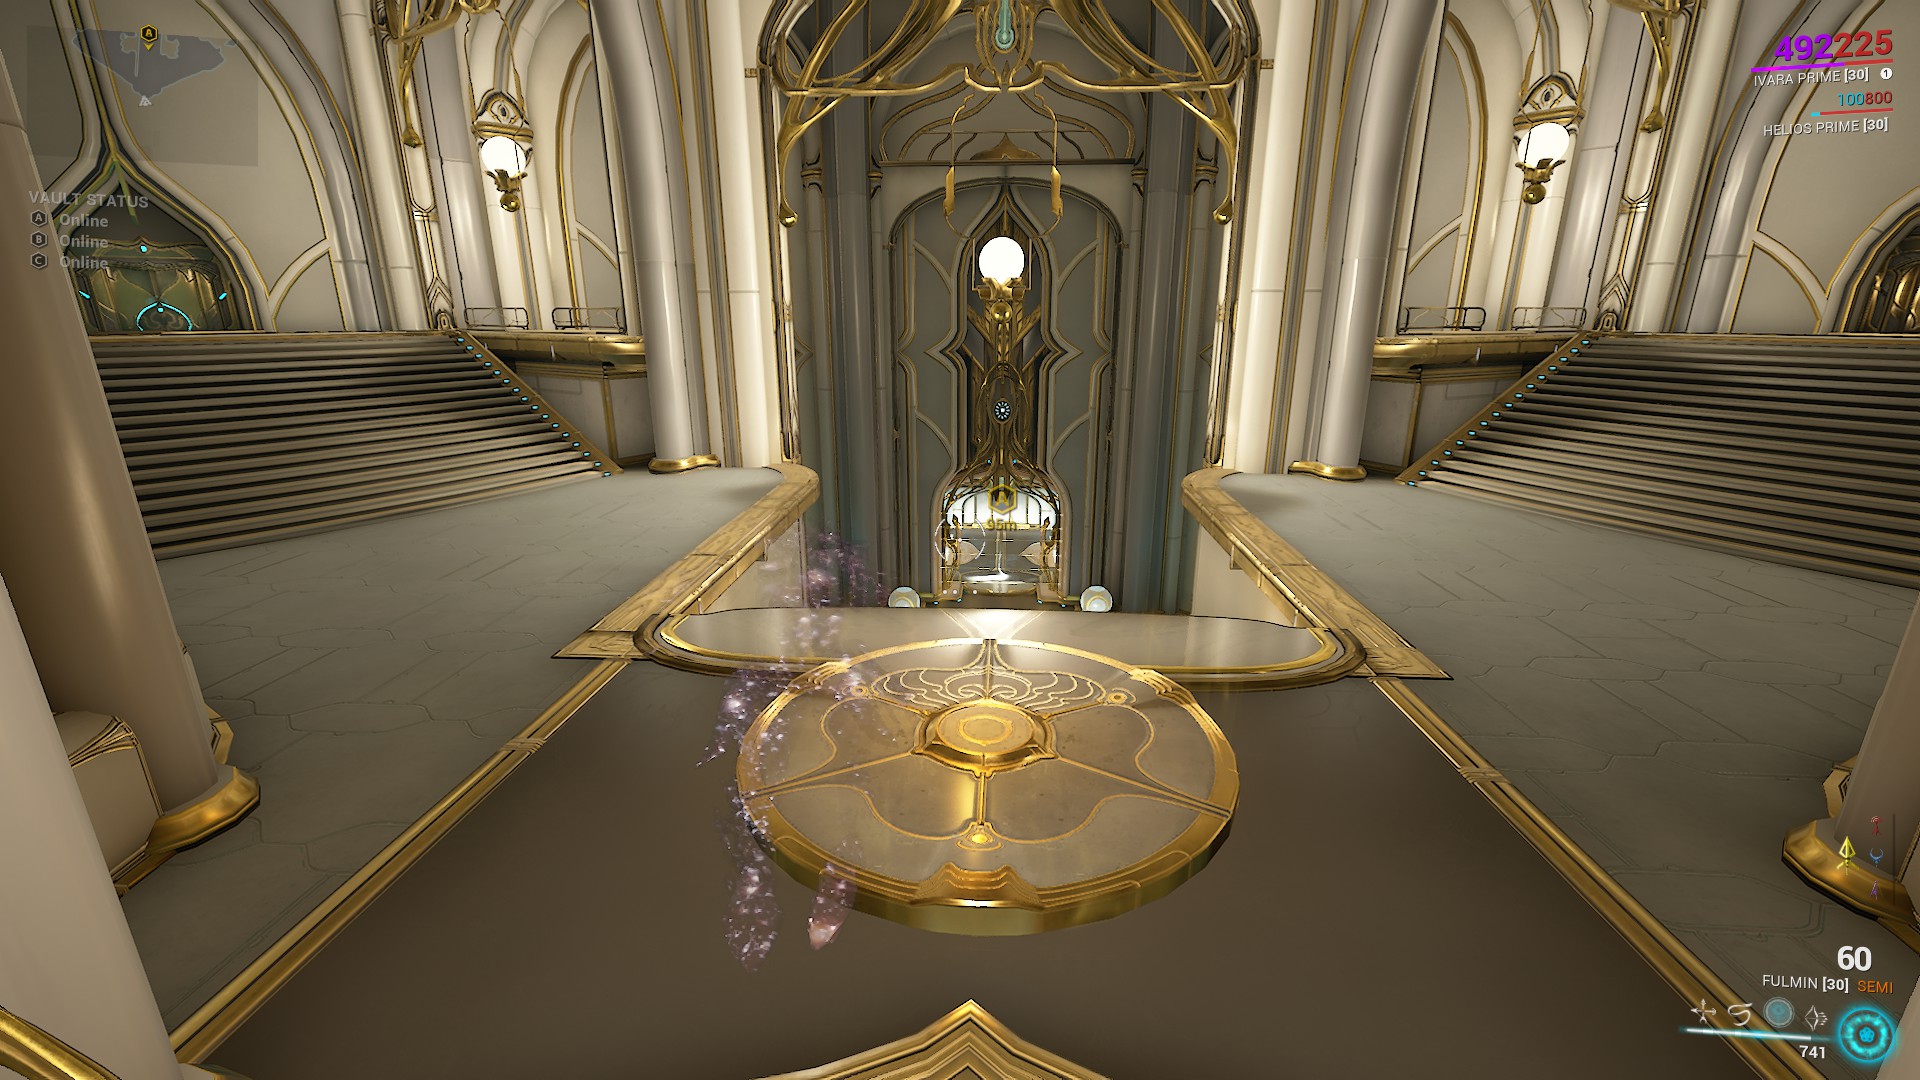
The pressure pad at the top of the staircase will open the door and activate traps around the entrance (shock orbs and cold).
Activate the pressure pad and go through the door quickly before it closes.
Tip: you can easily navigate these obstacles using Void Dash.
Vault A done!
Use the void rift to return to the present to exit the vault.
Vault B (Button door)
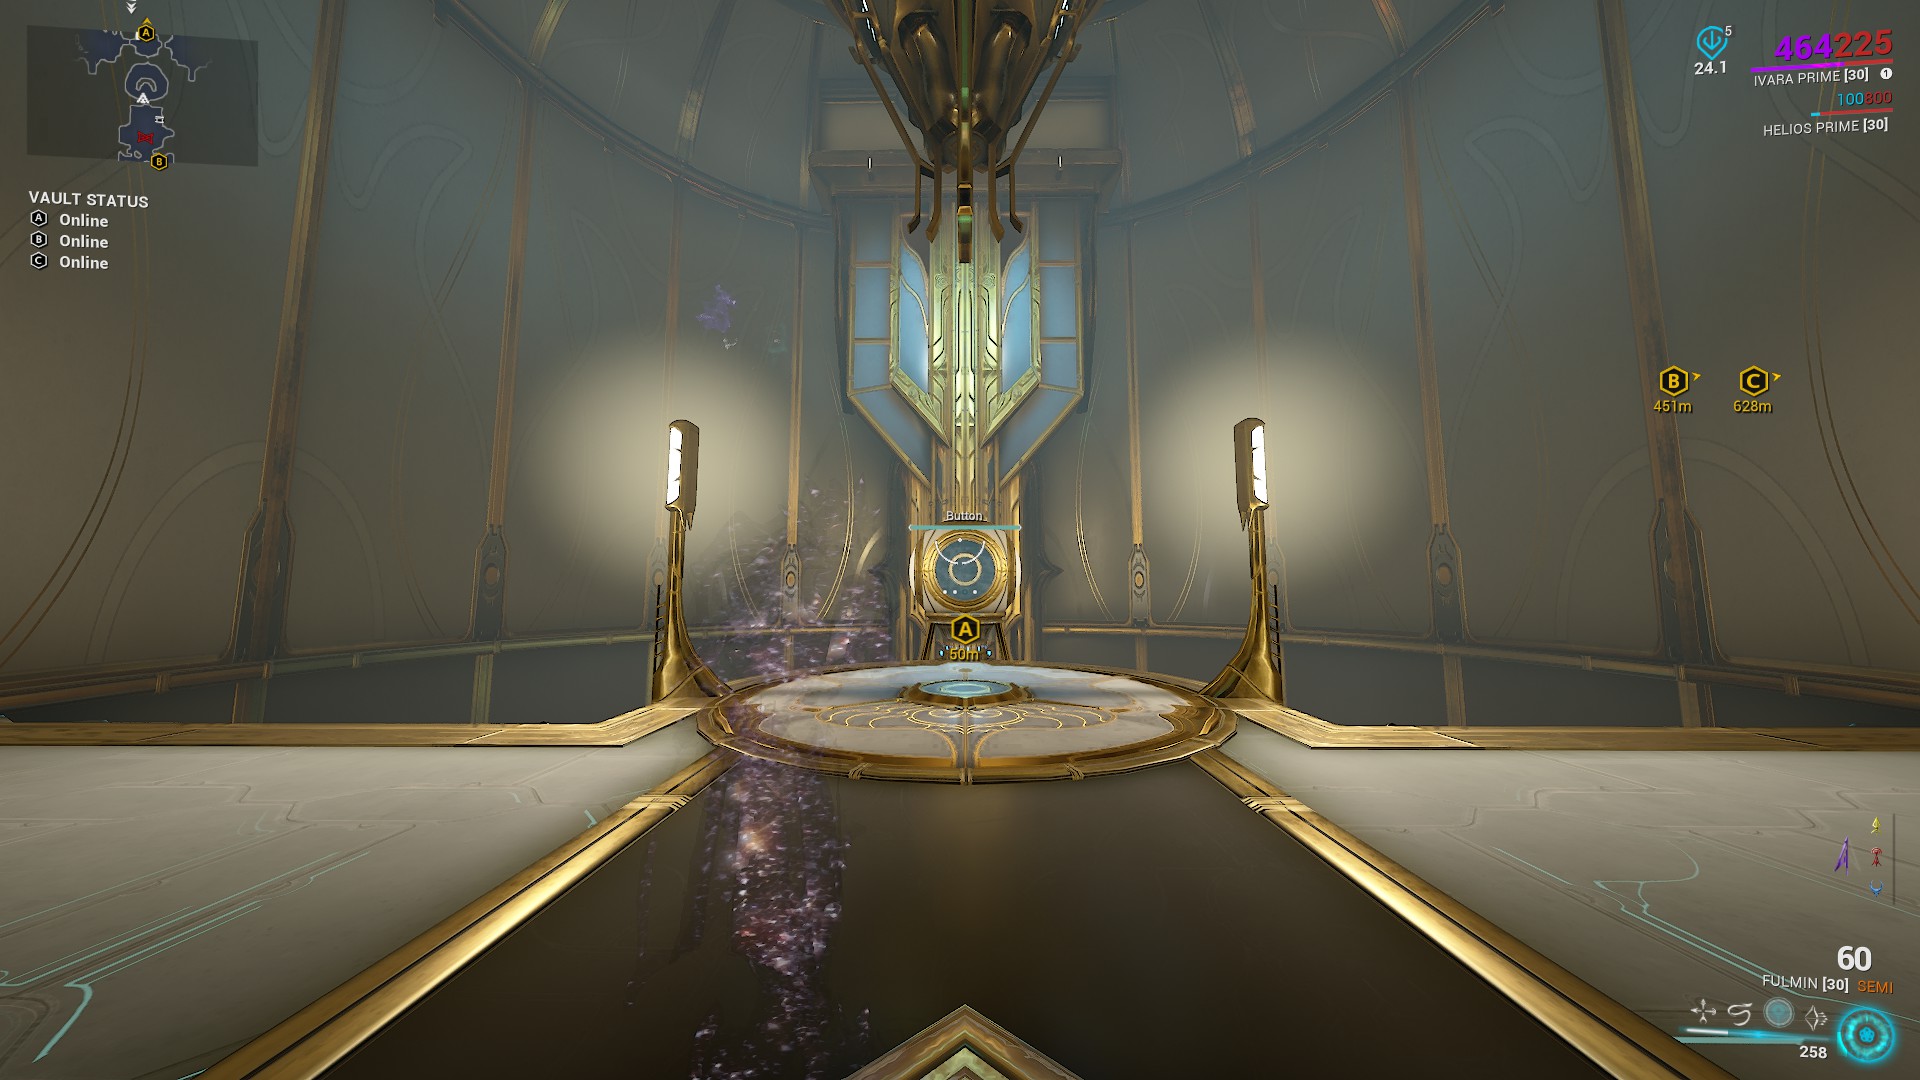
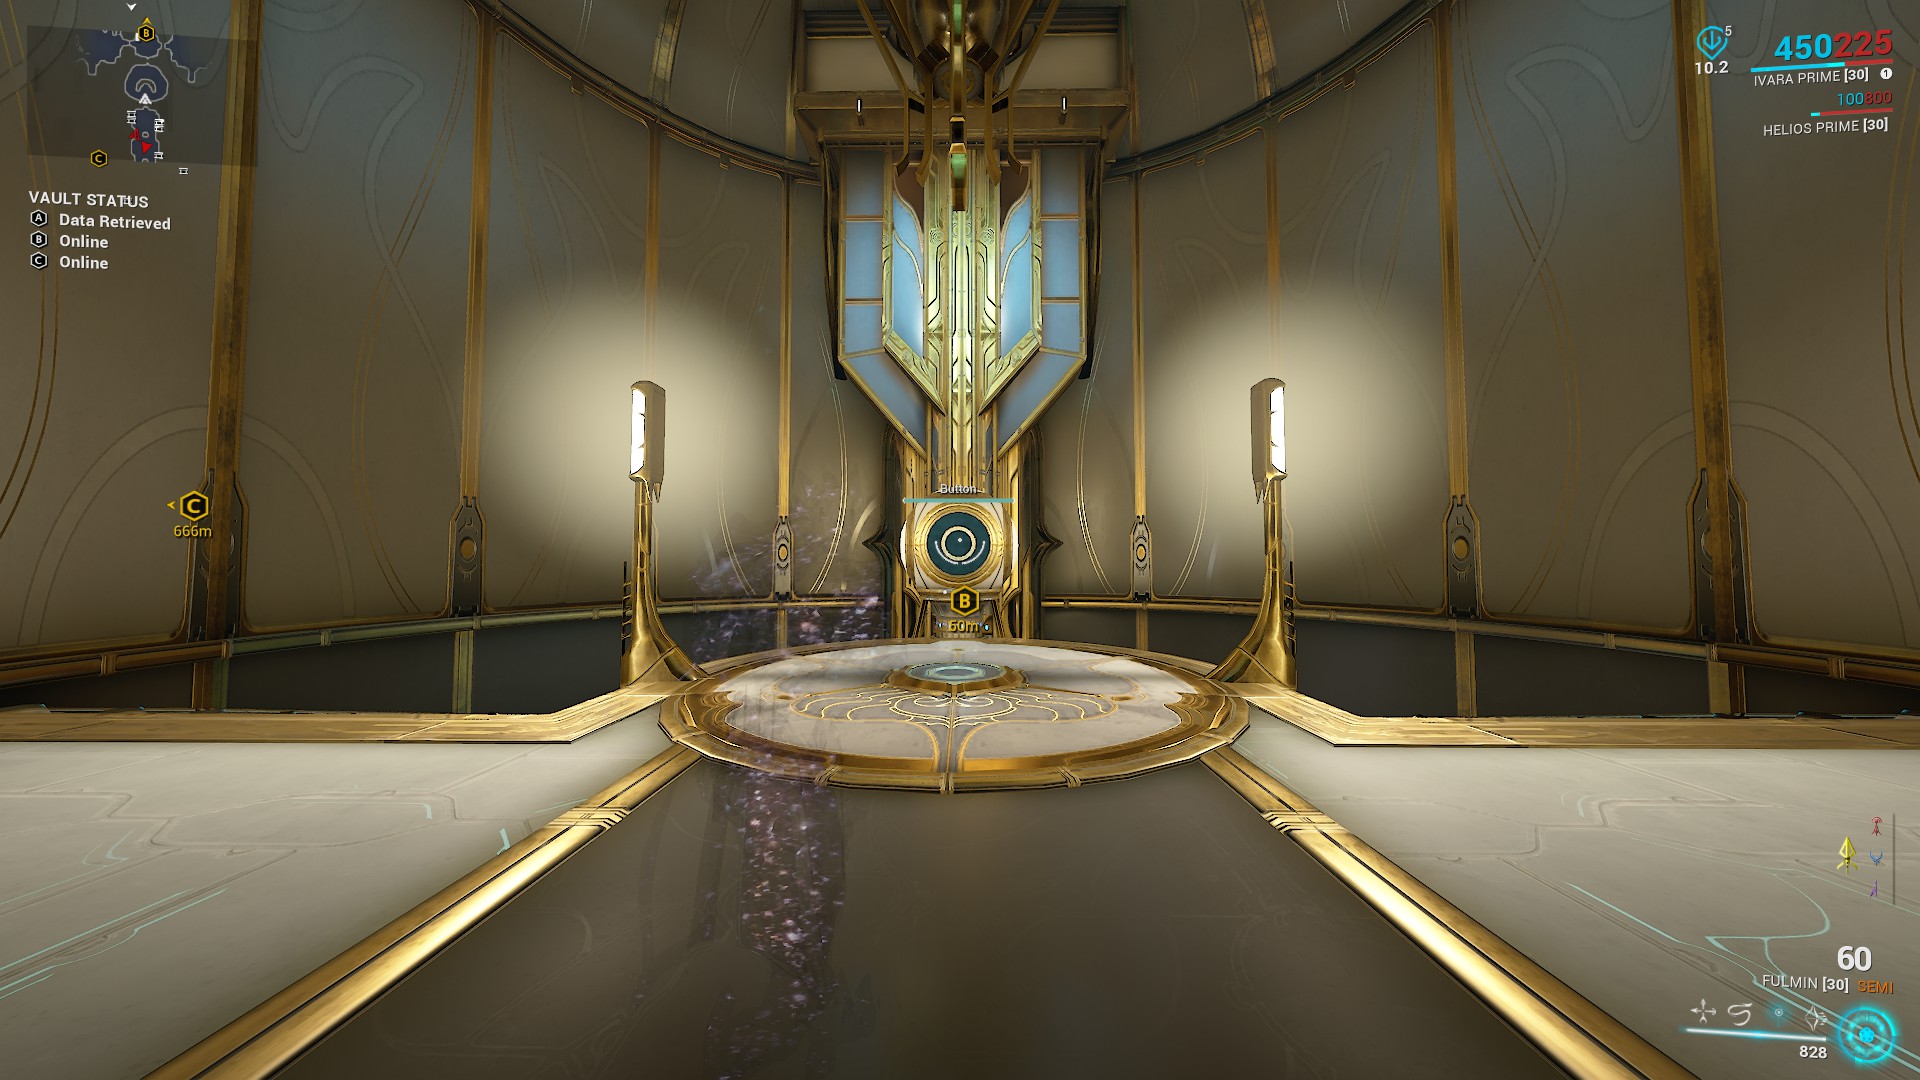
Vault variation B – door is opened by shooting the button.
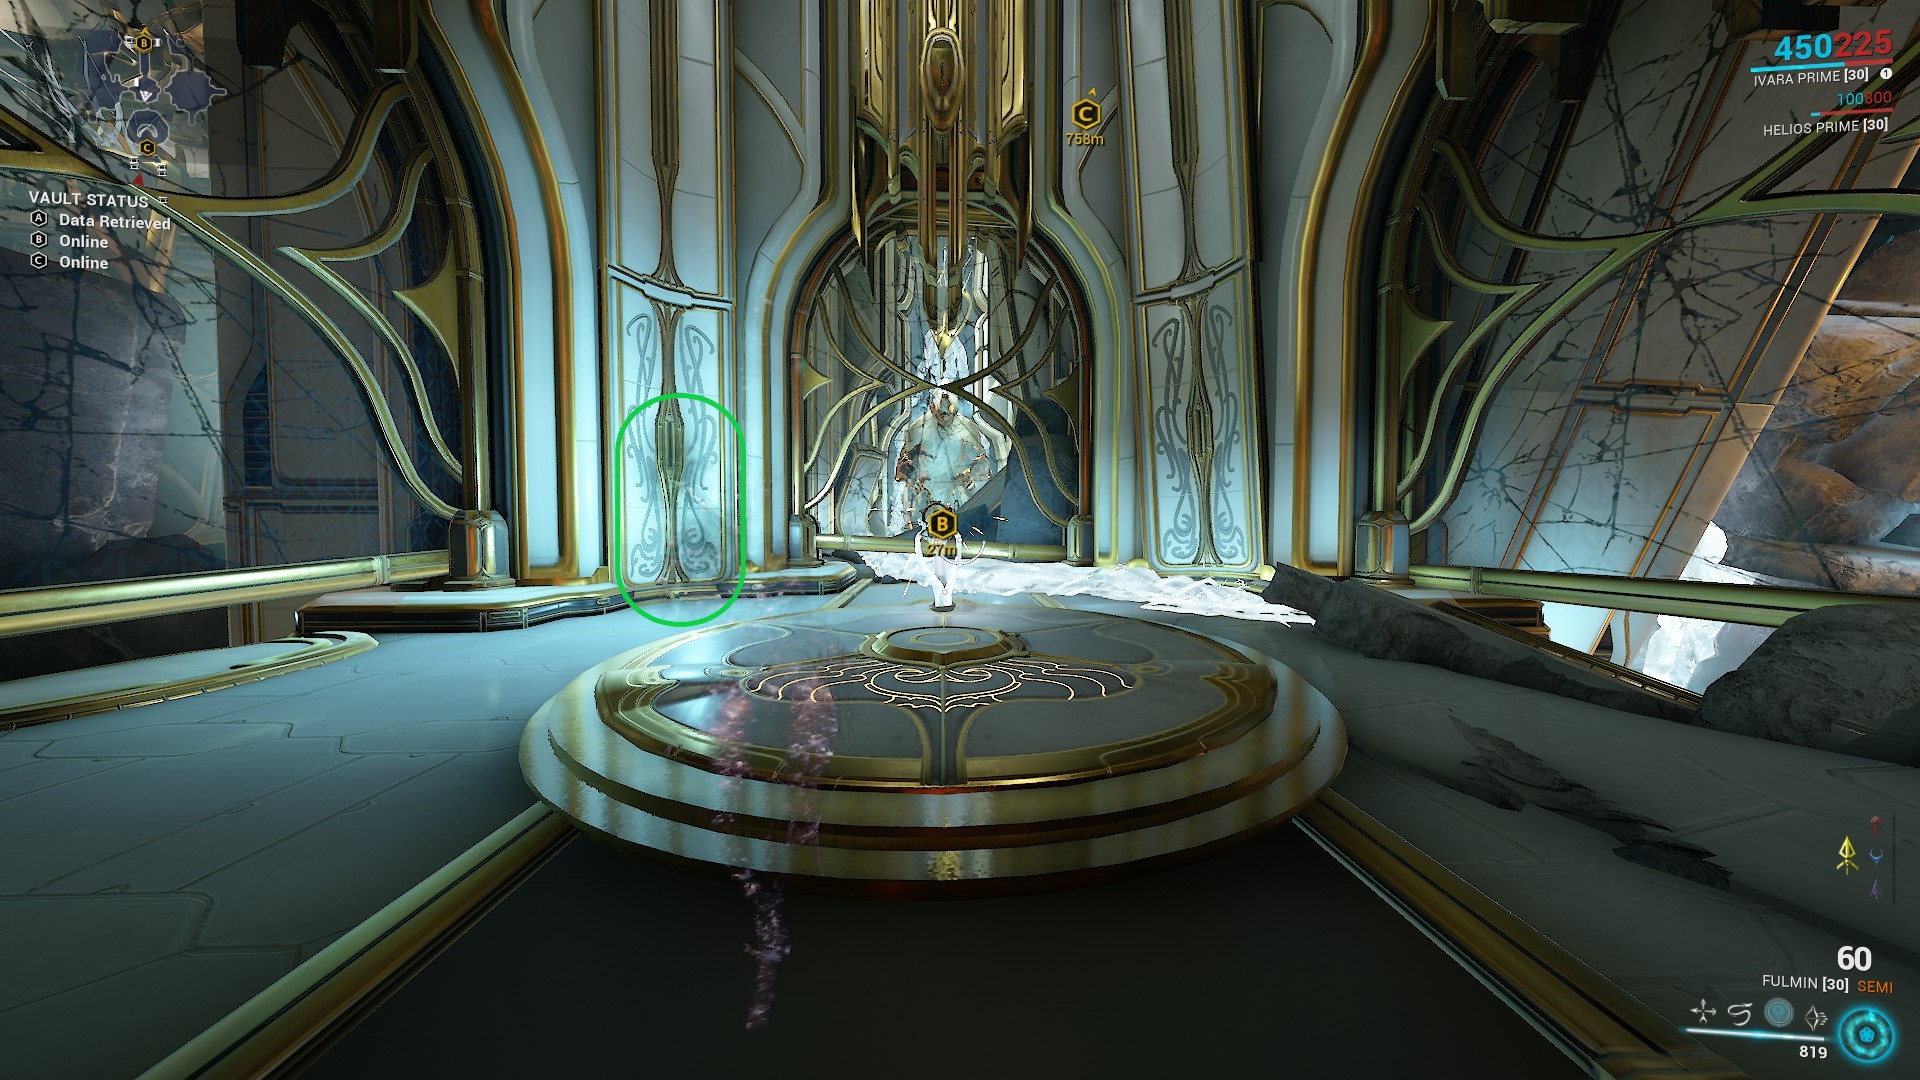
Enter the vault and use the void rift to travel to the past.
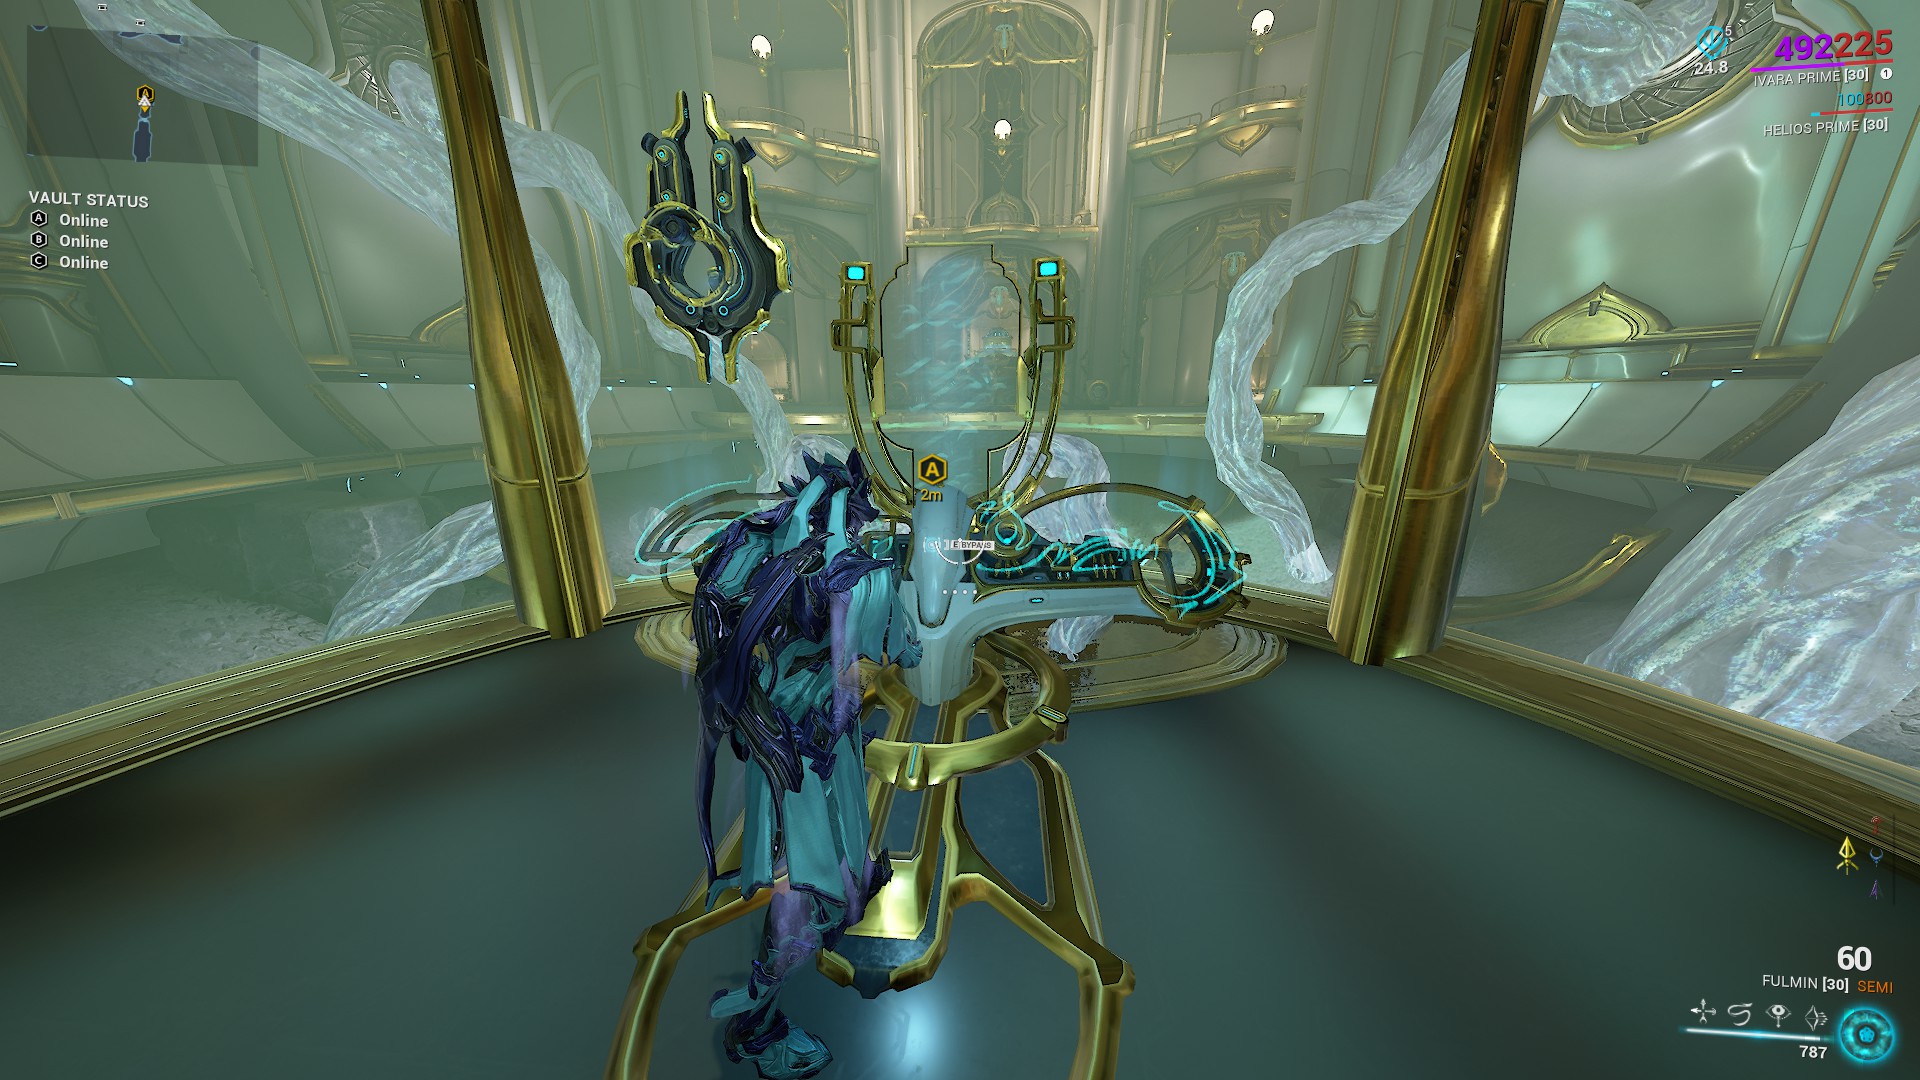
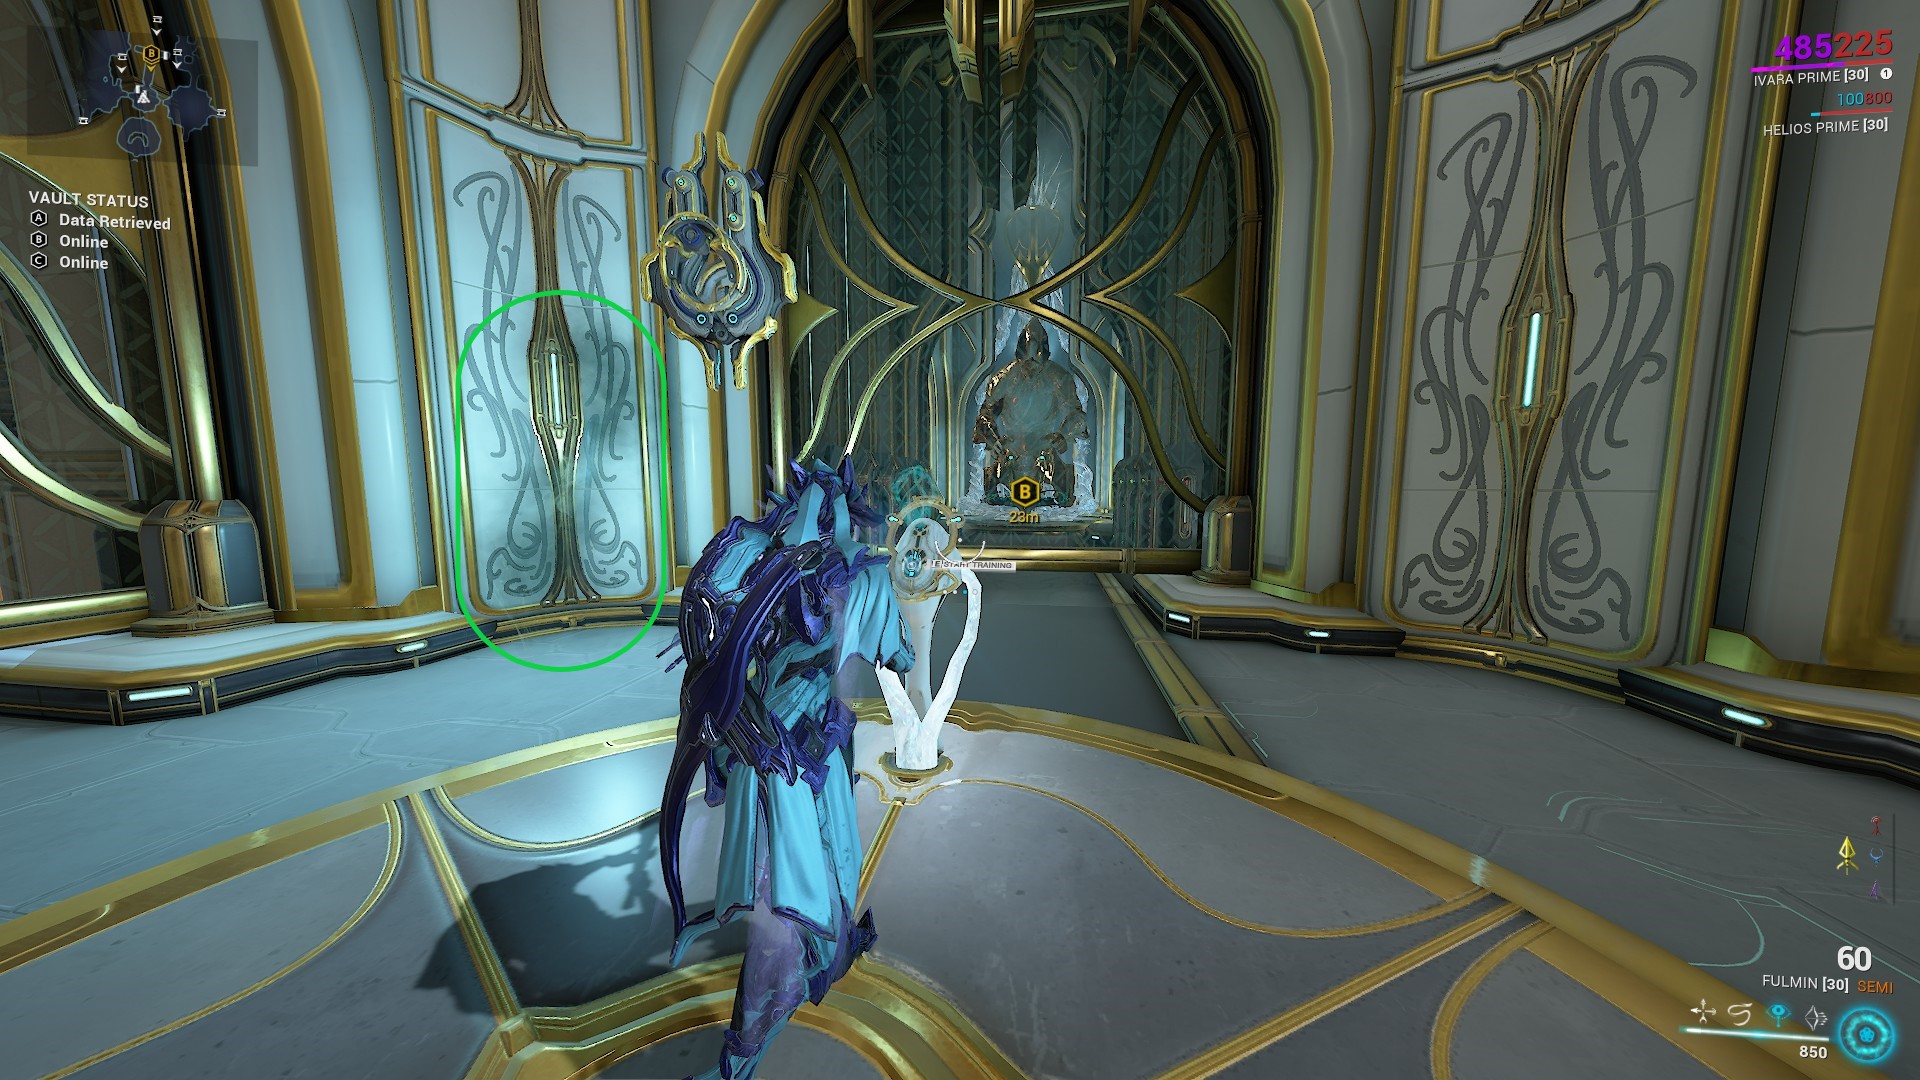
Activate the console. Go through the void rift again to return to the present.
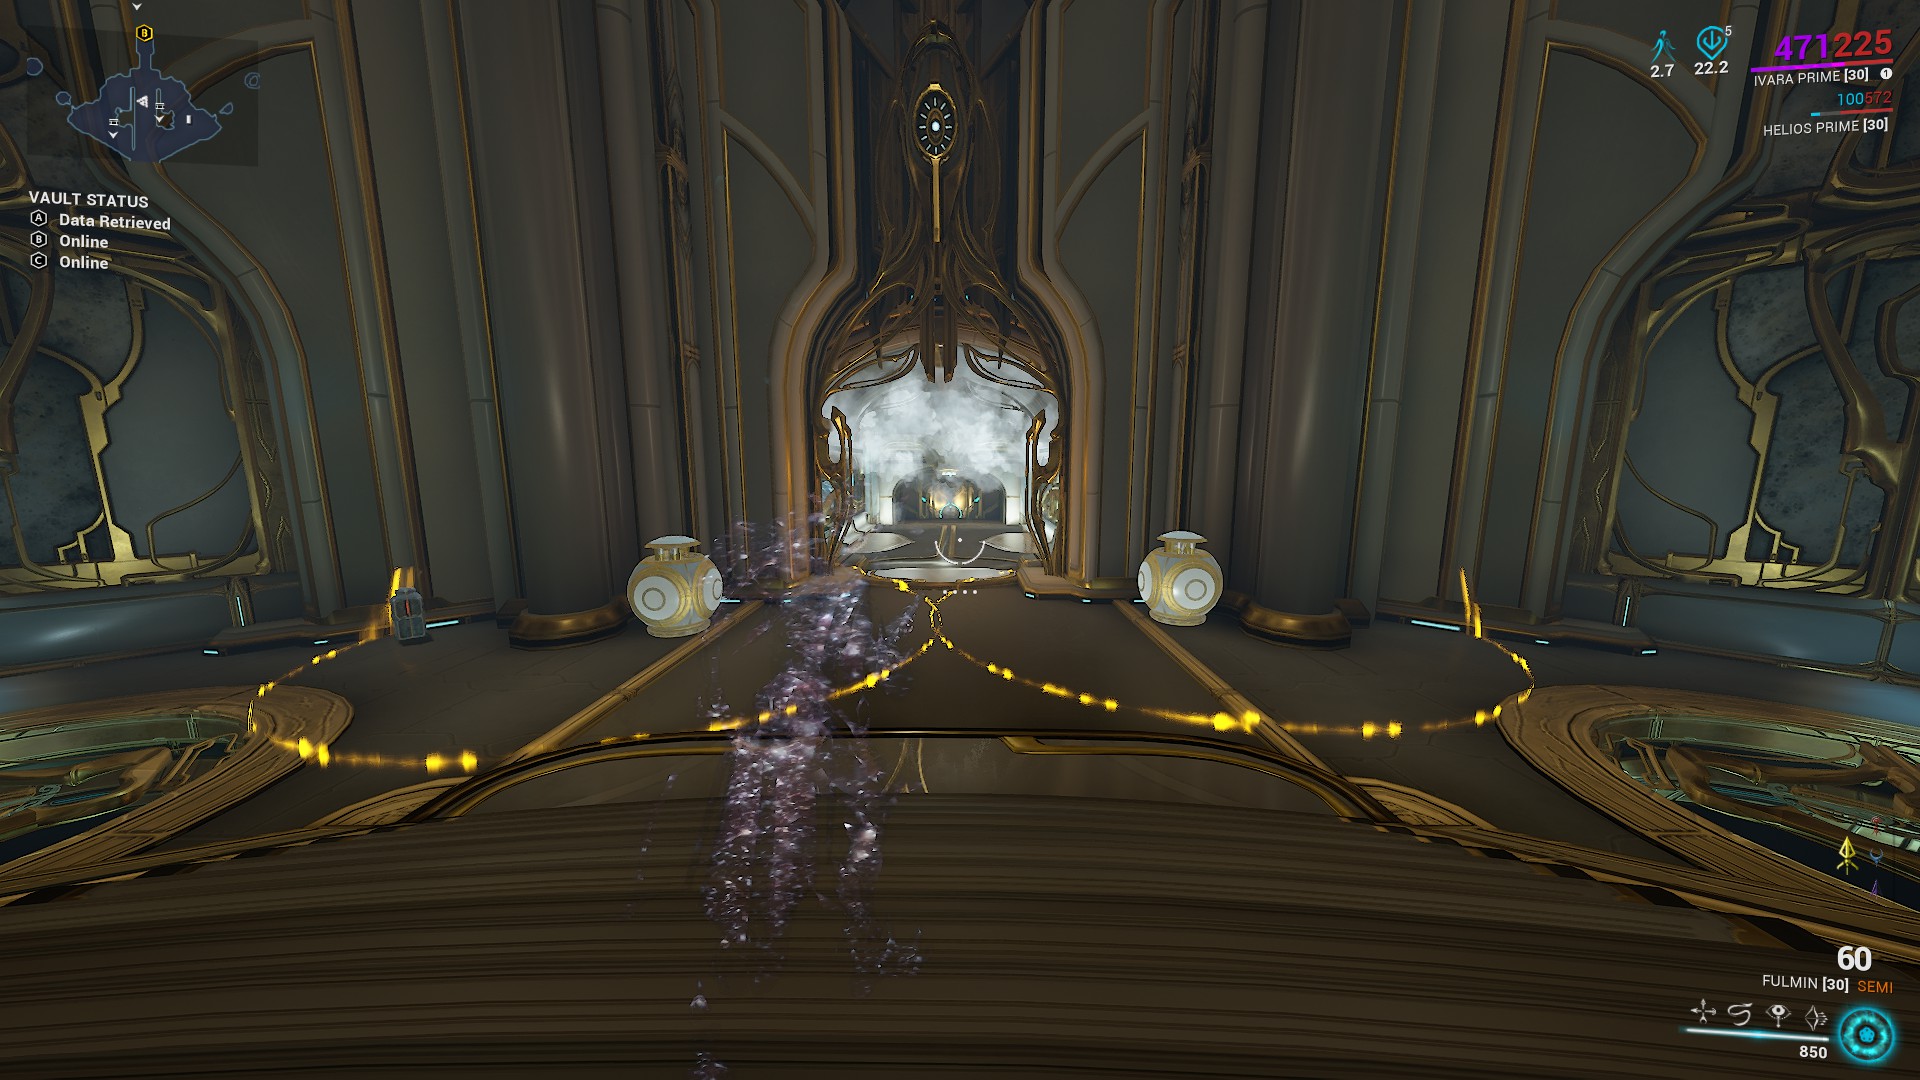
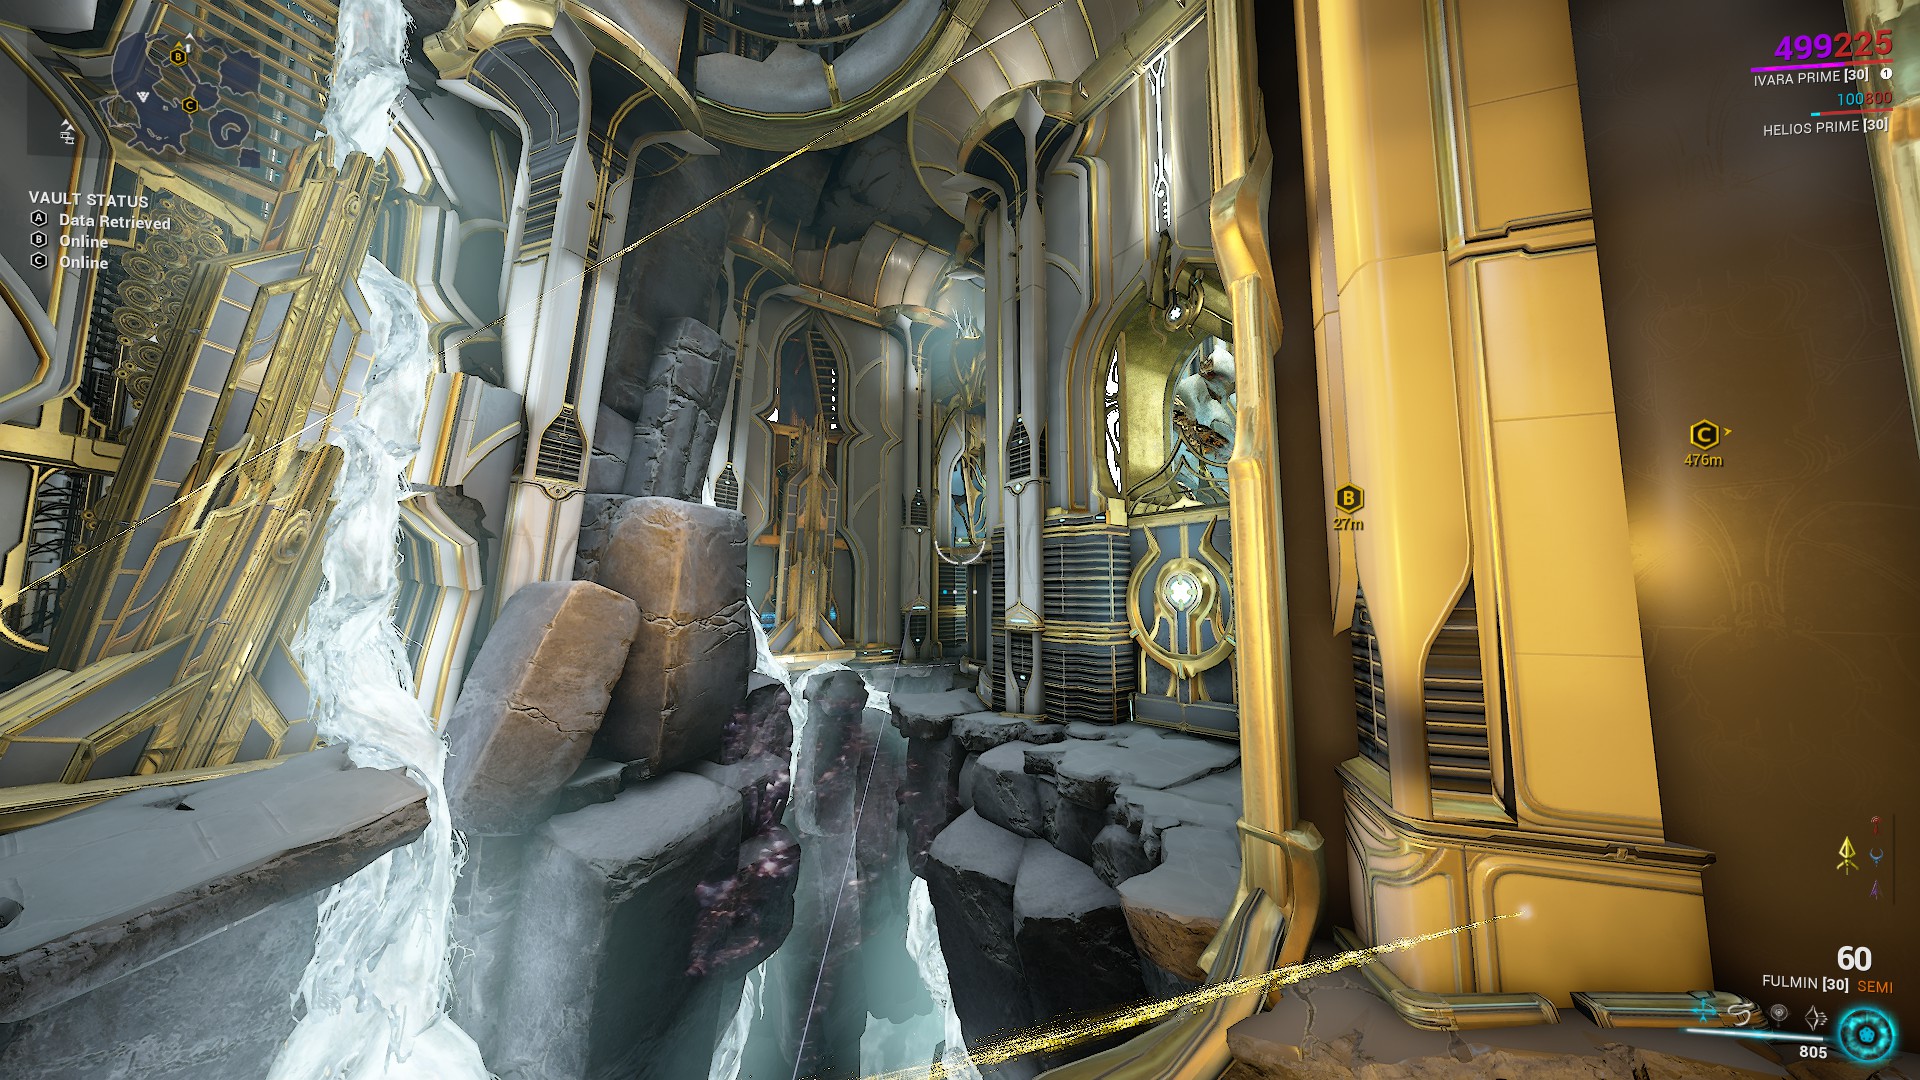
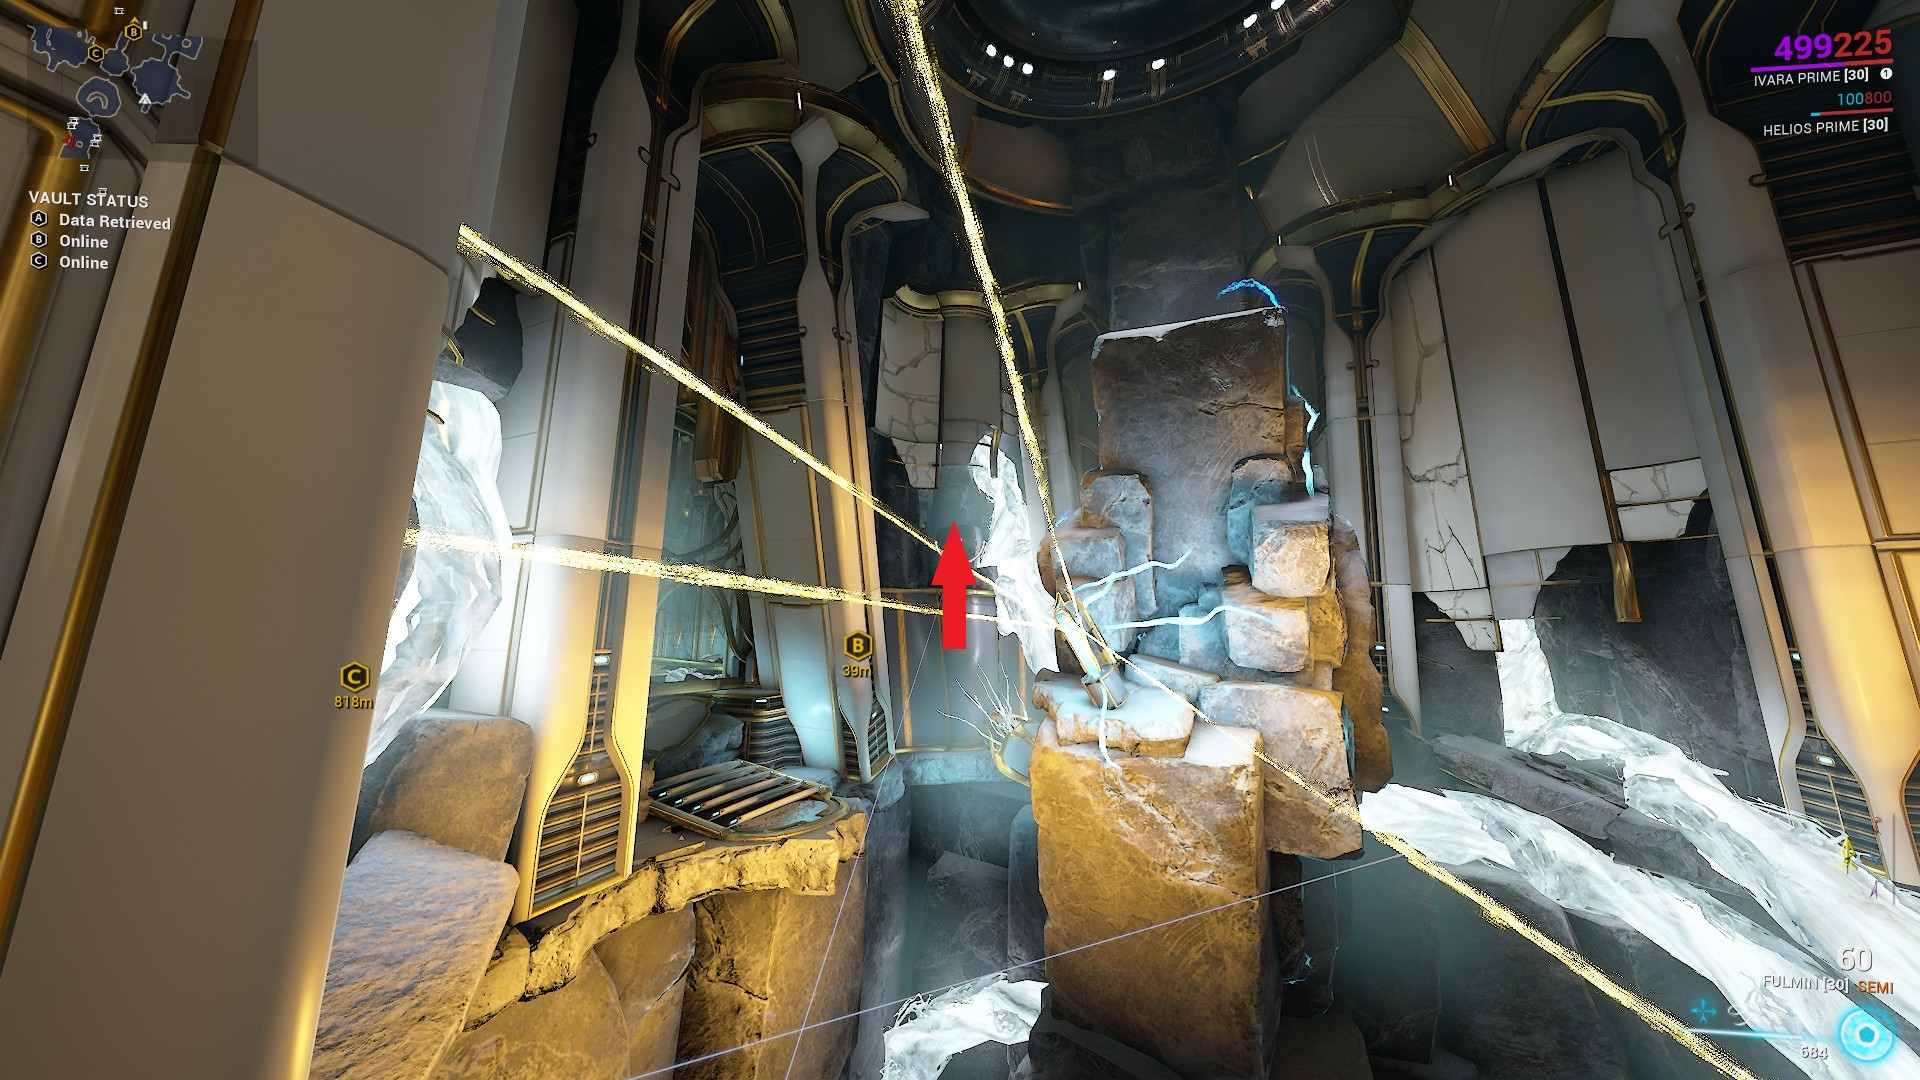
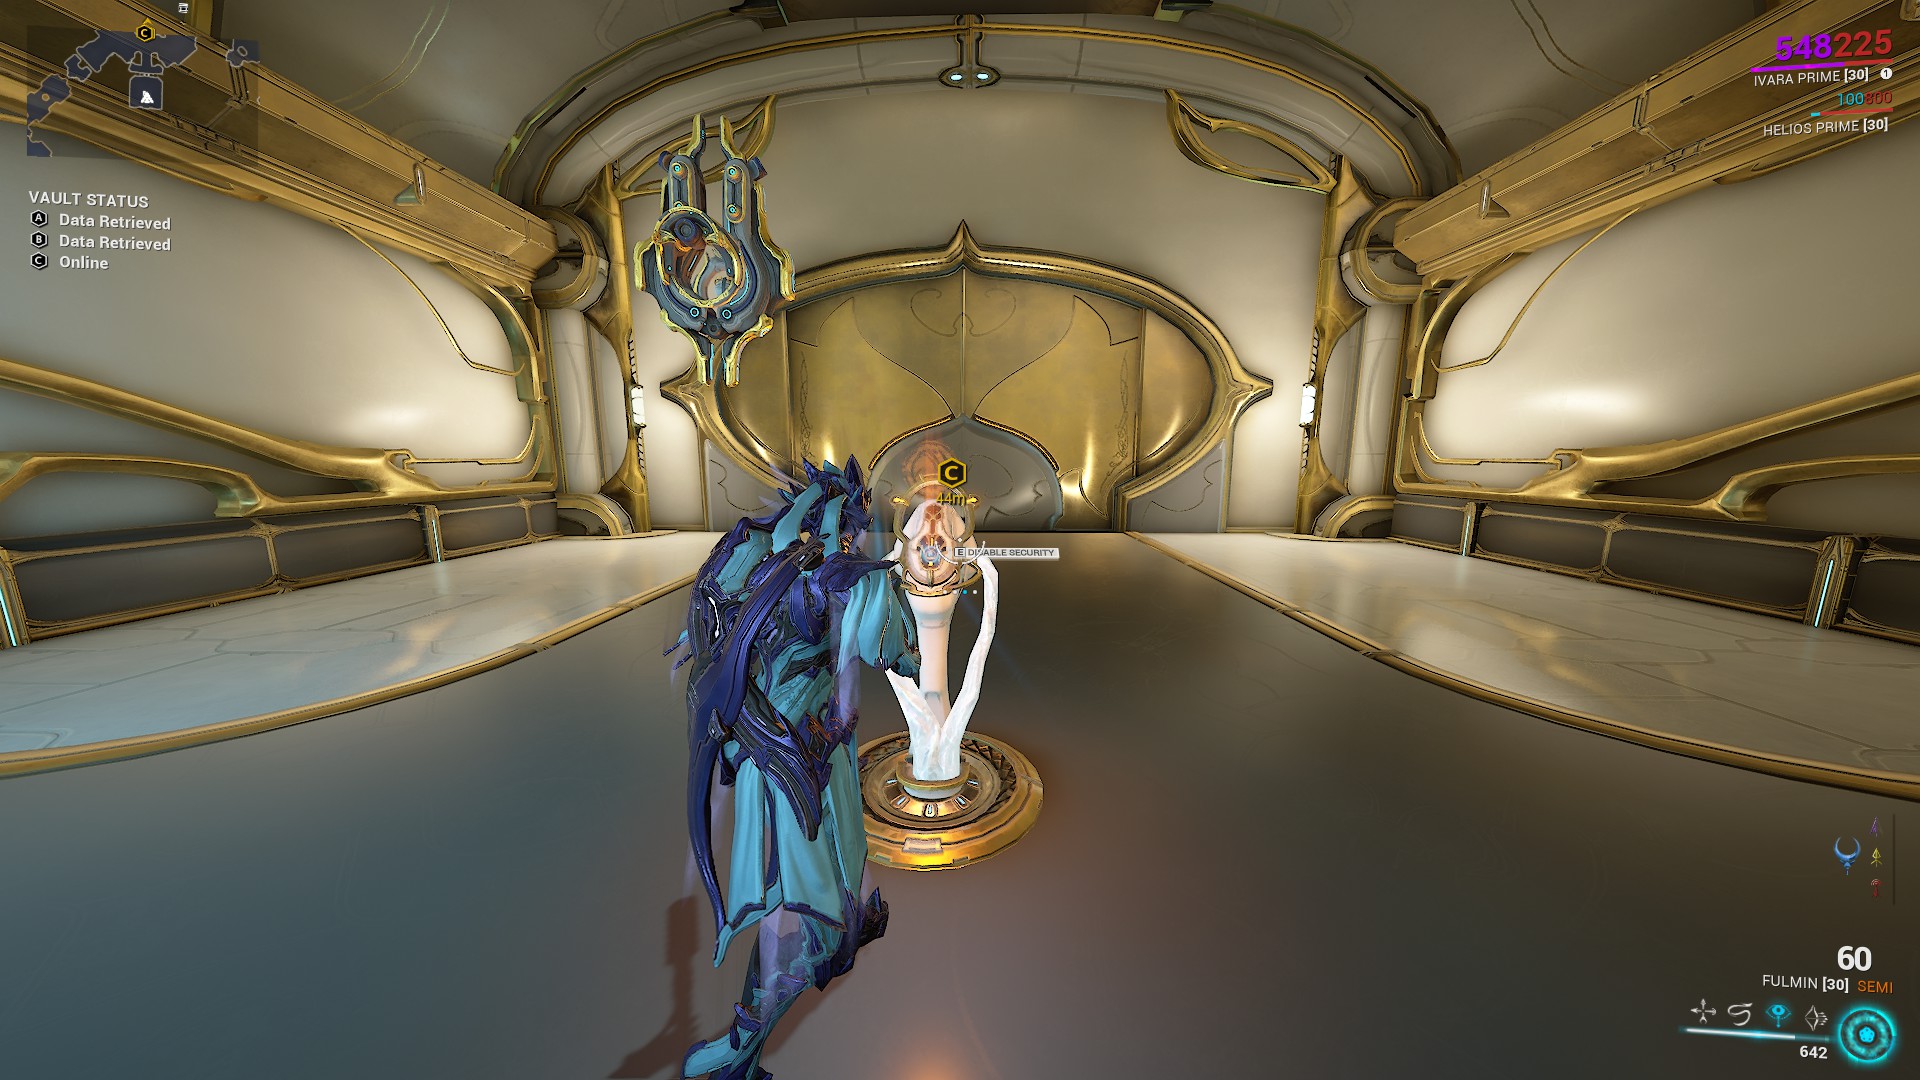
Go through the door that opened on your left and continue along the path while avoiding lasers.
Note: Orokin Spectator enemies may spawn in this area.
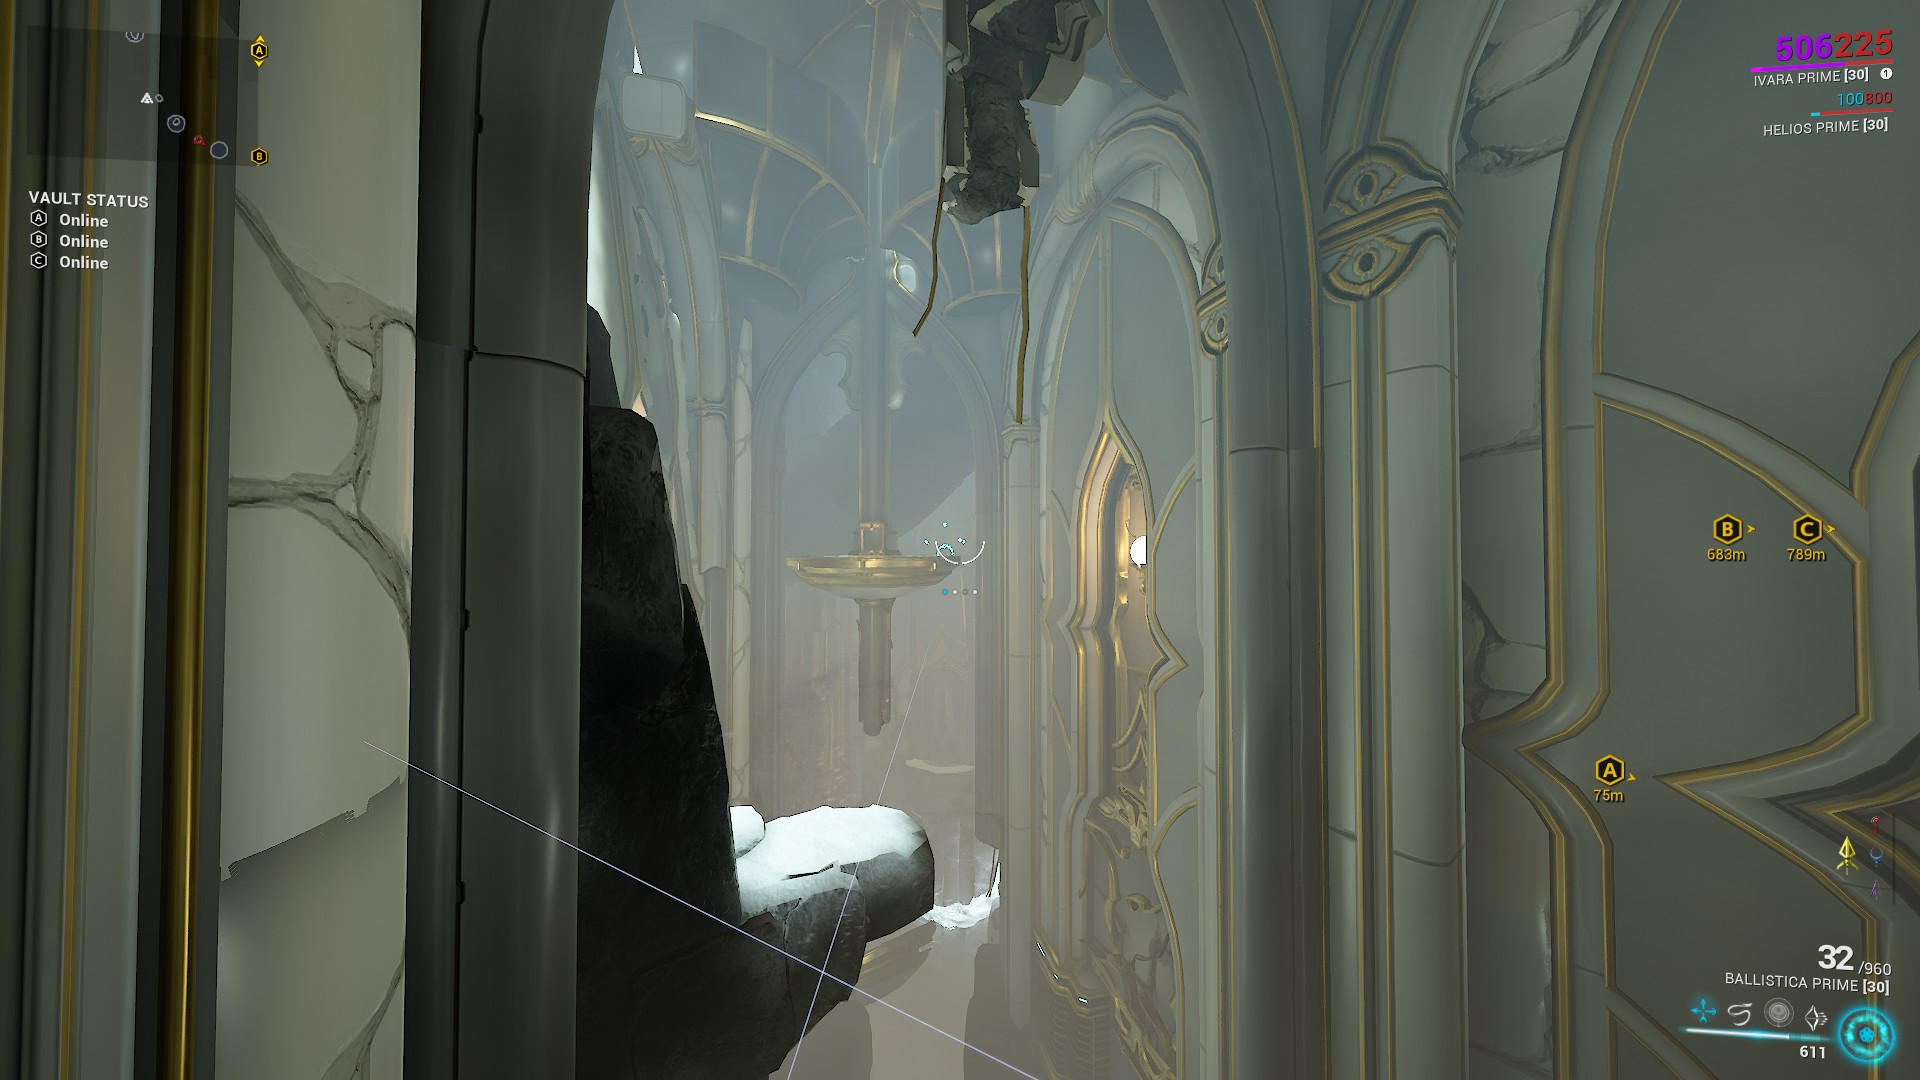
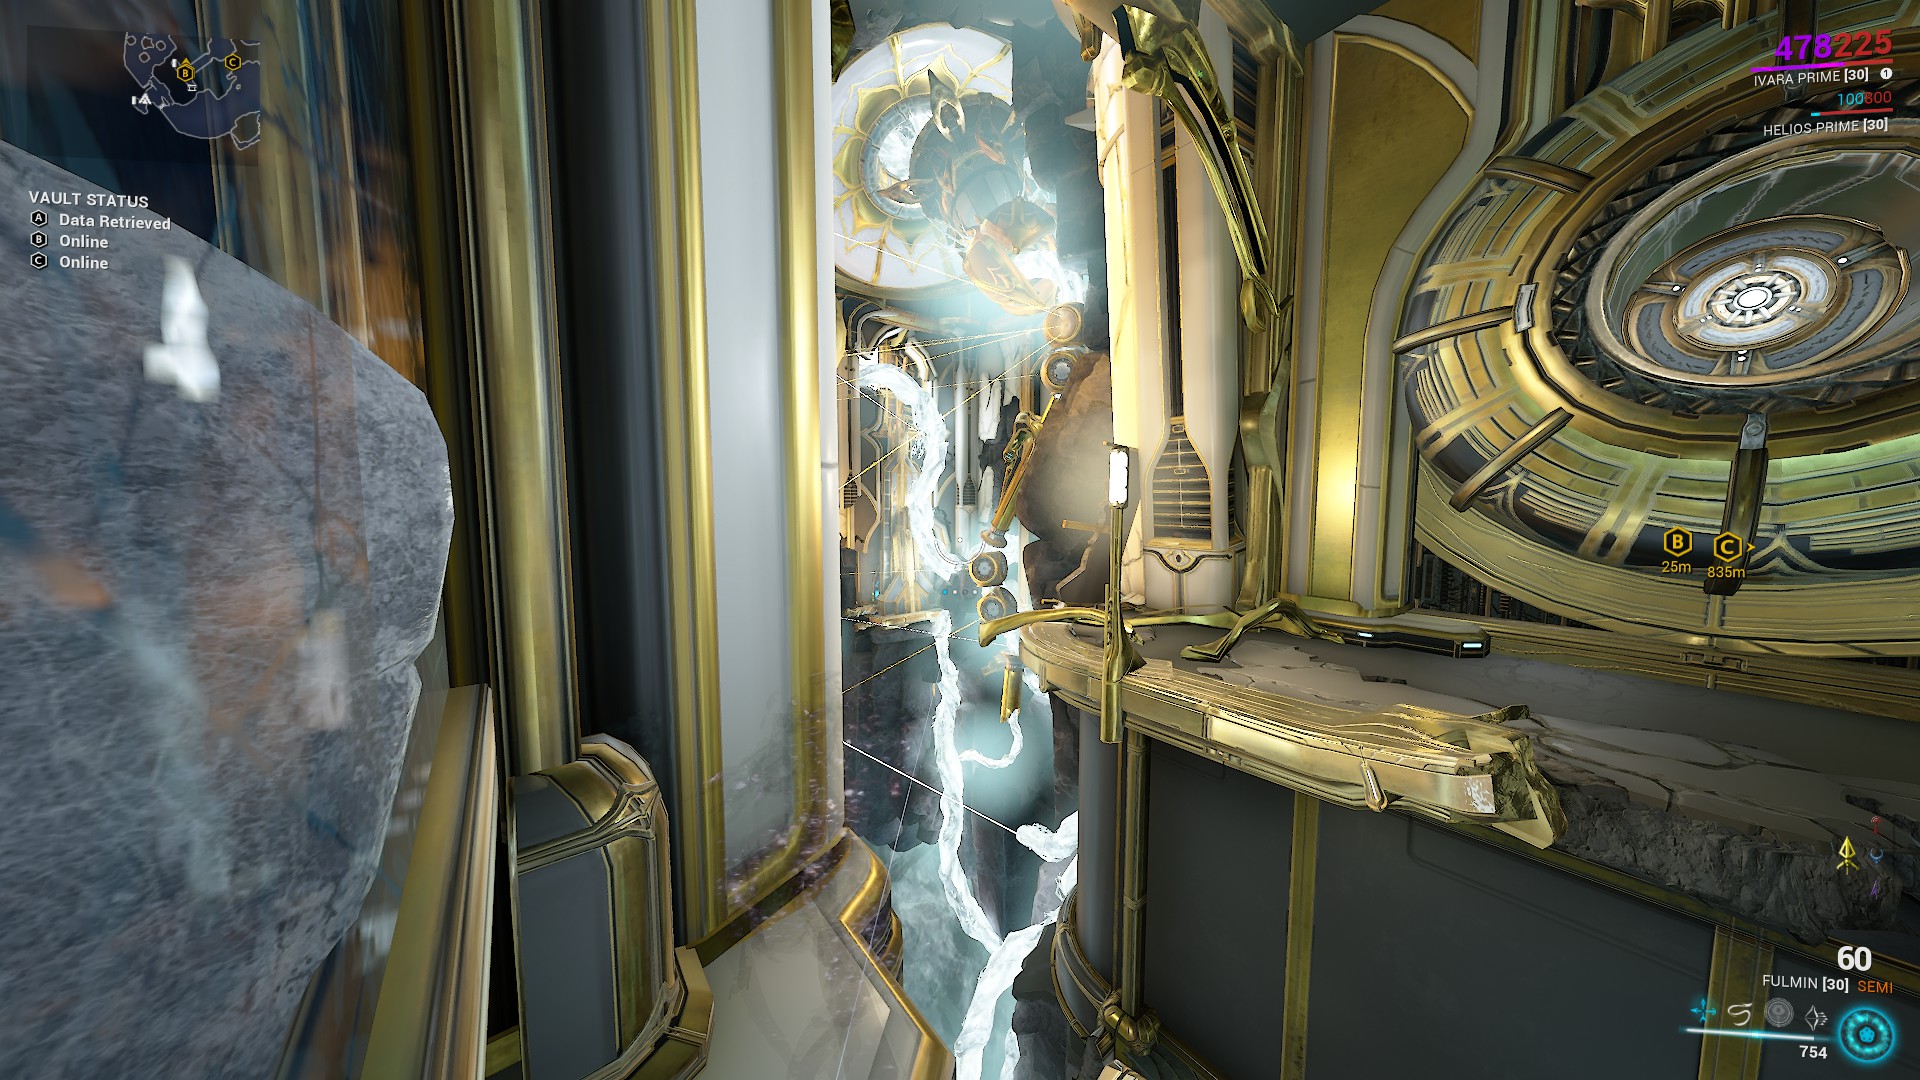
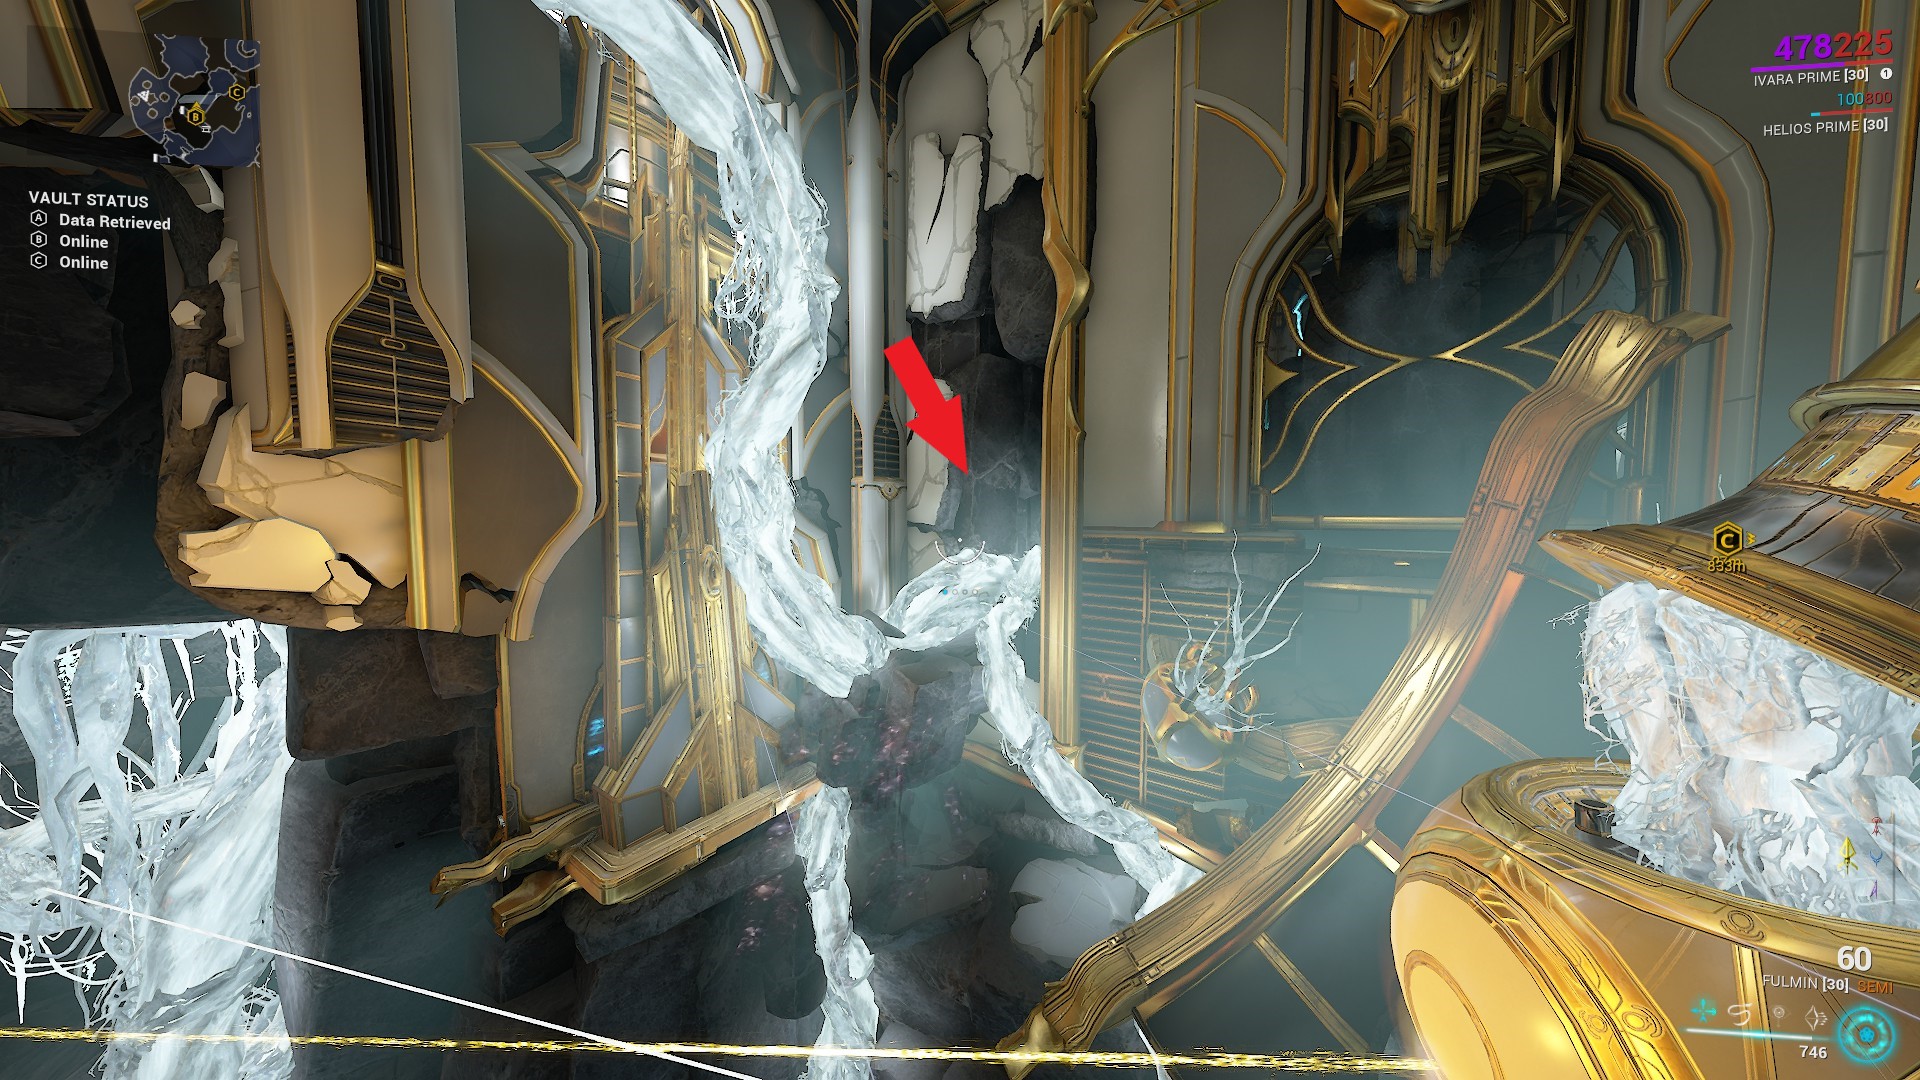
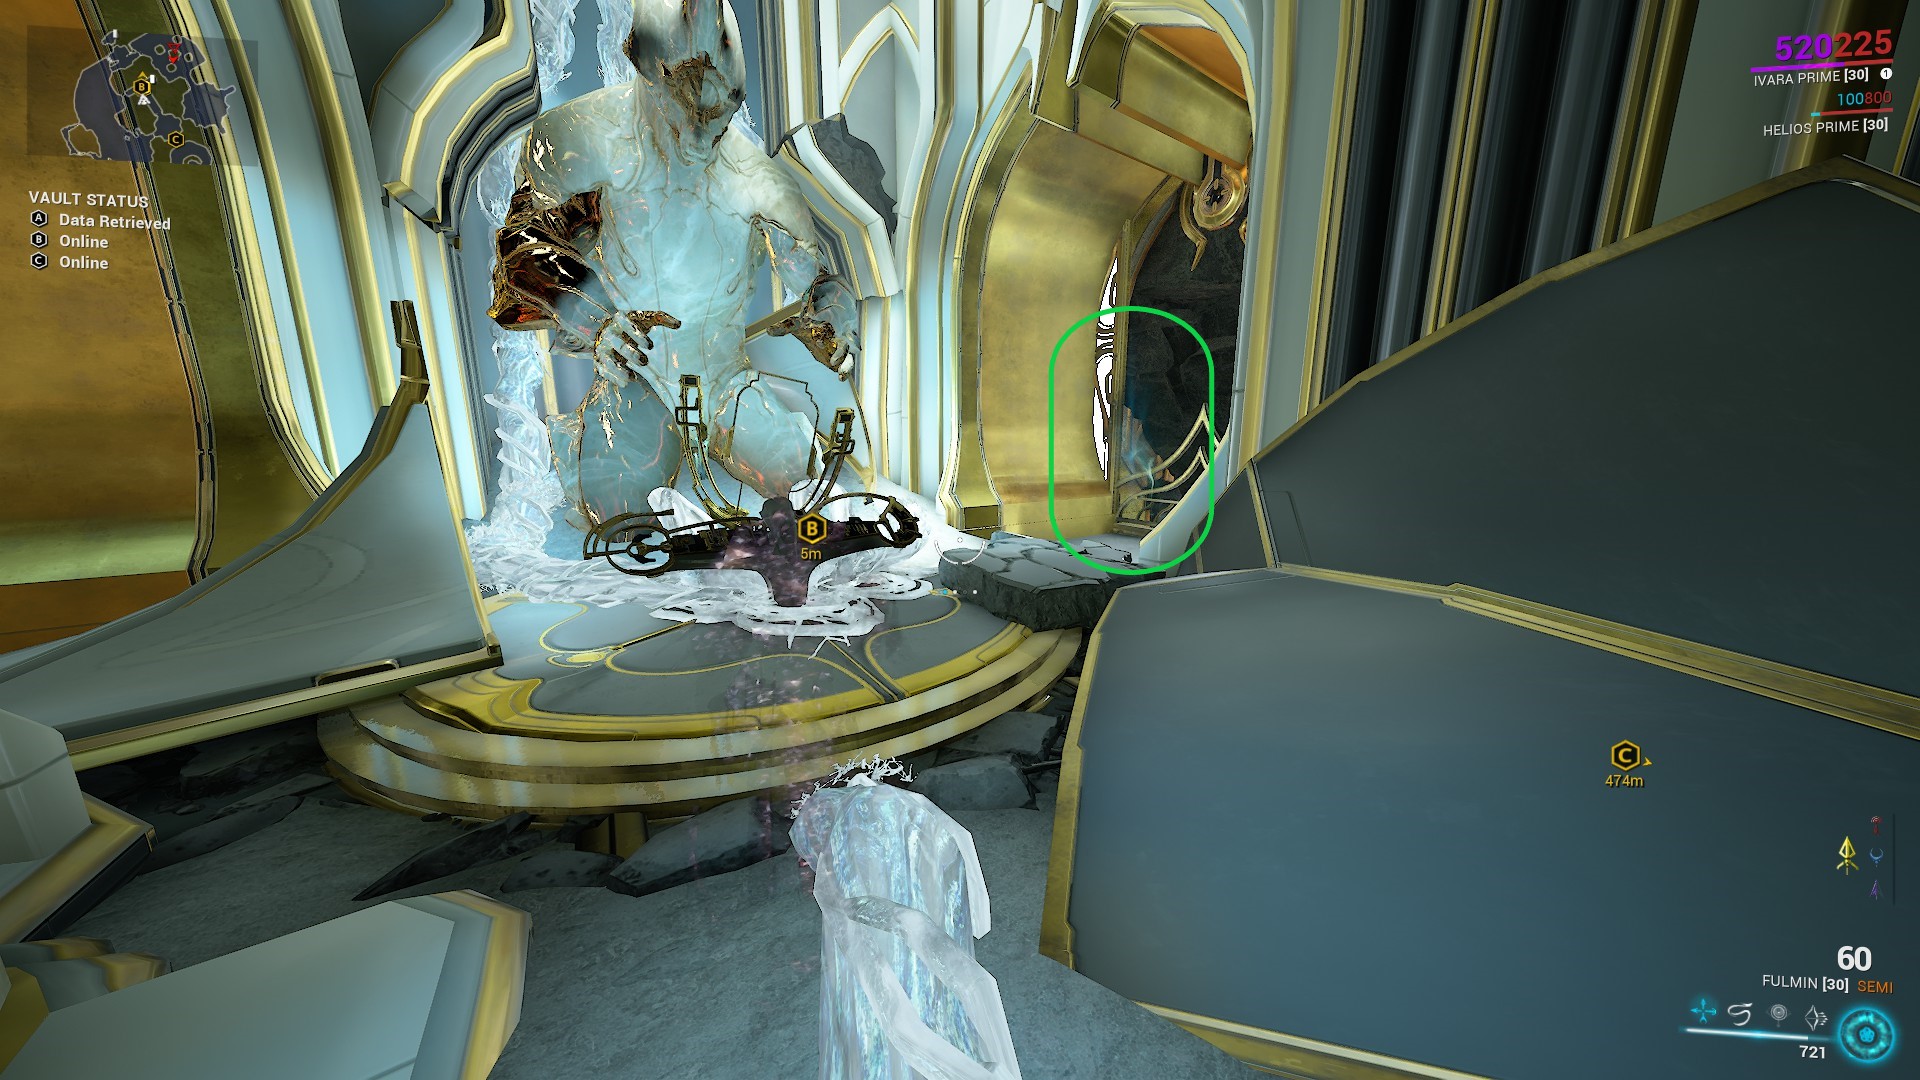
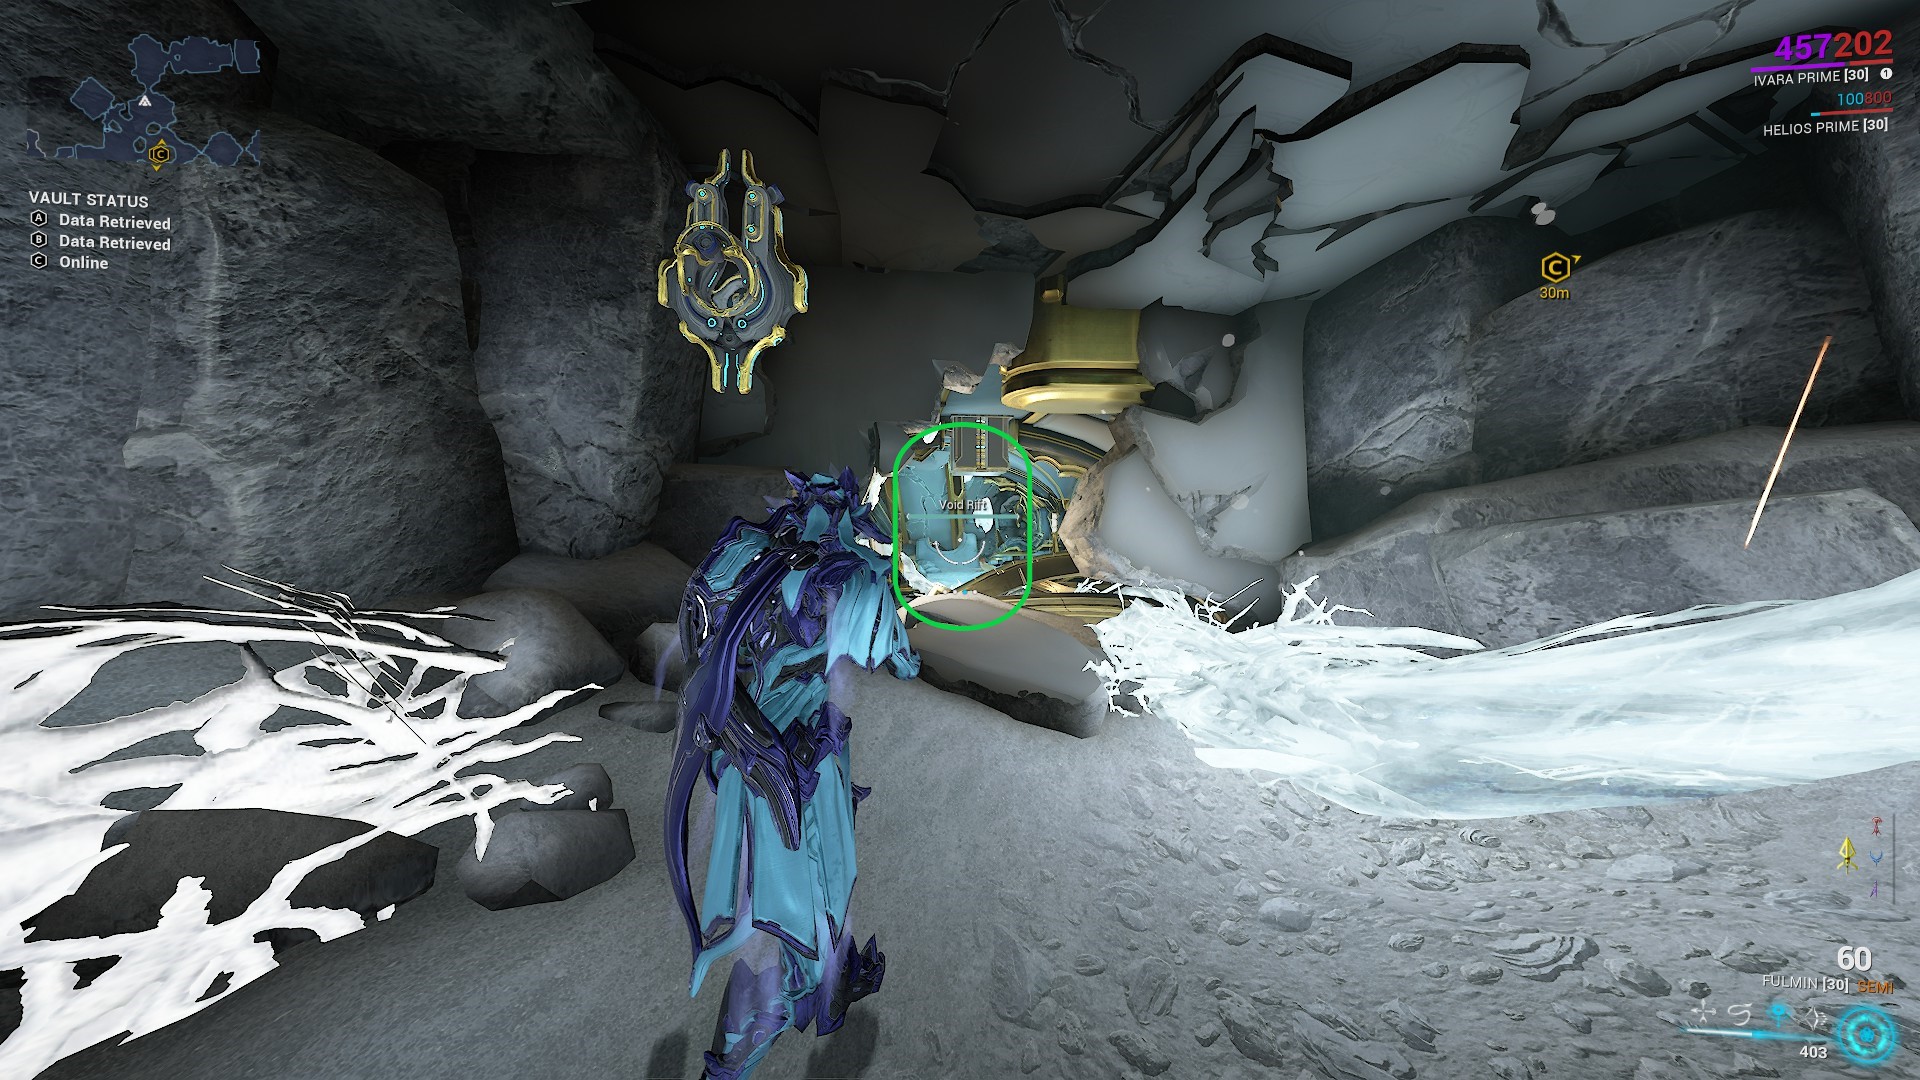
Go through the hole in the wall.
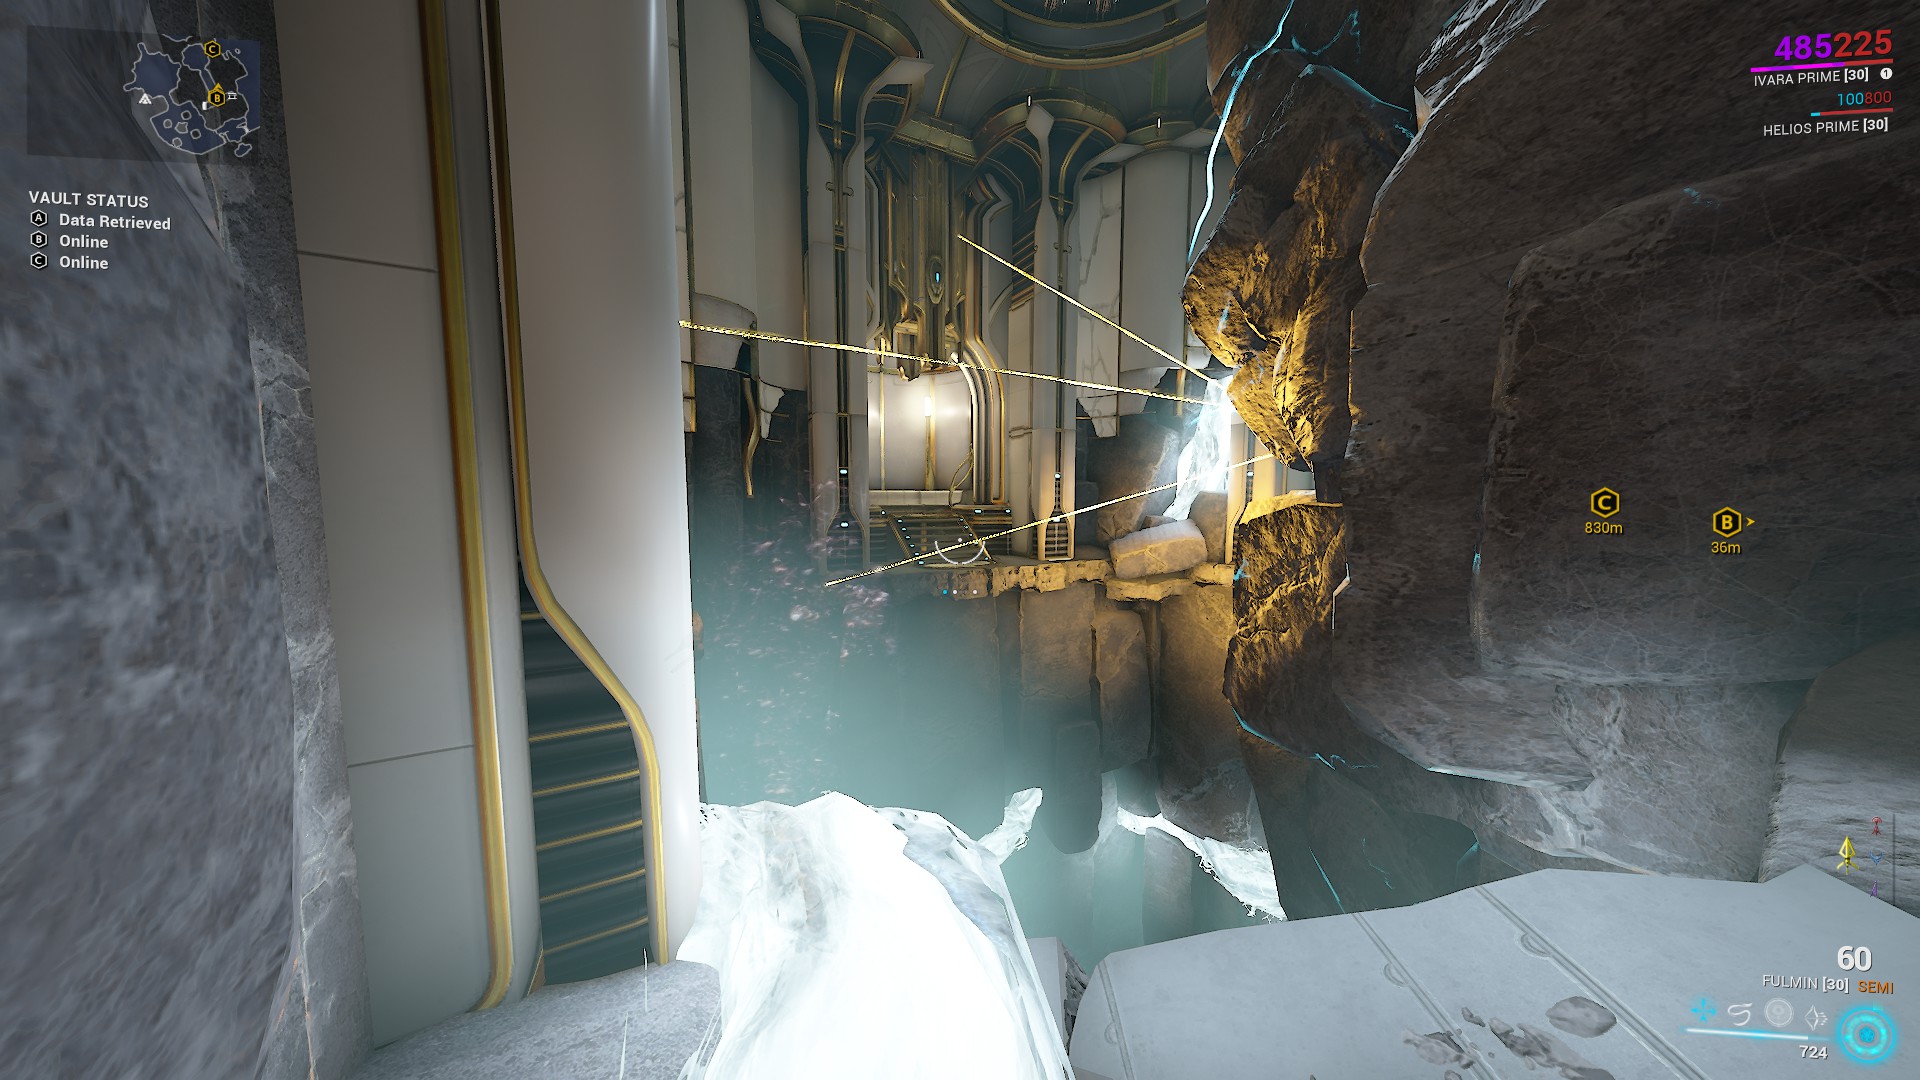
Avoid the rocks on the right, they are electrified.
Go through another hole in the wall.
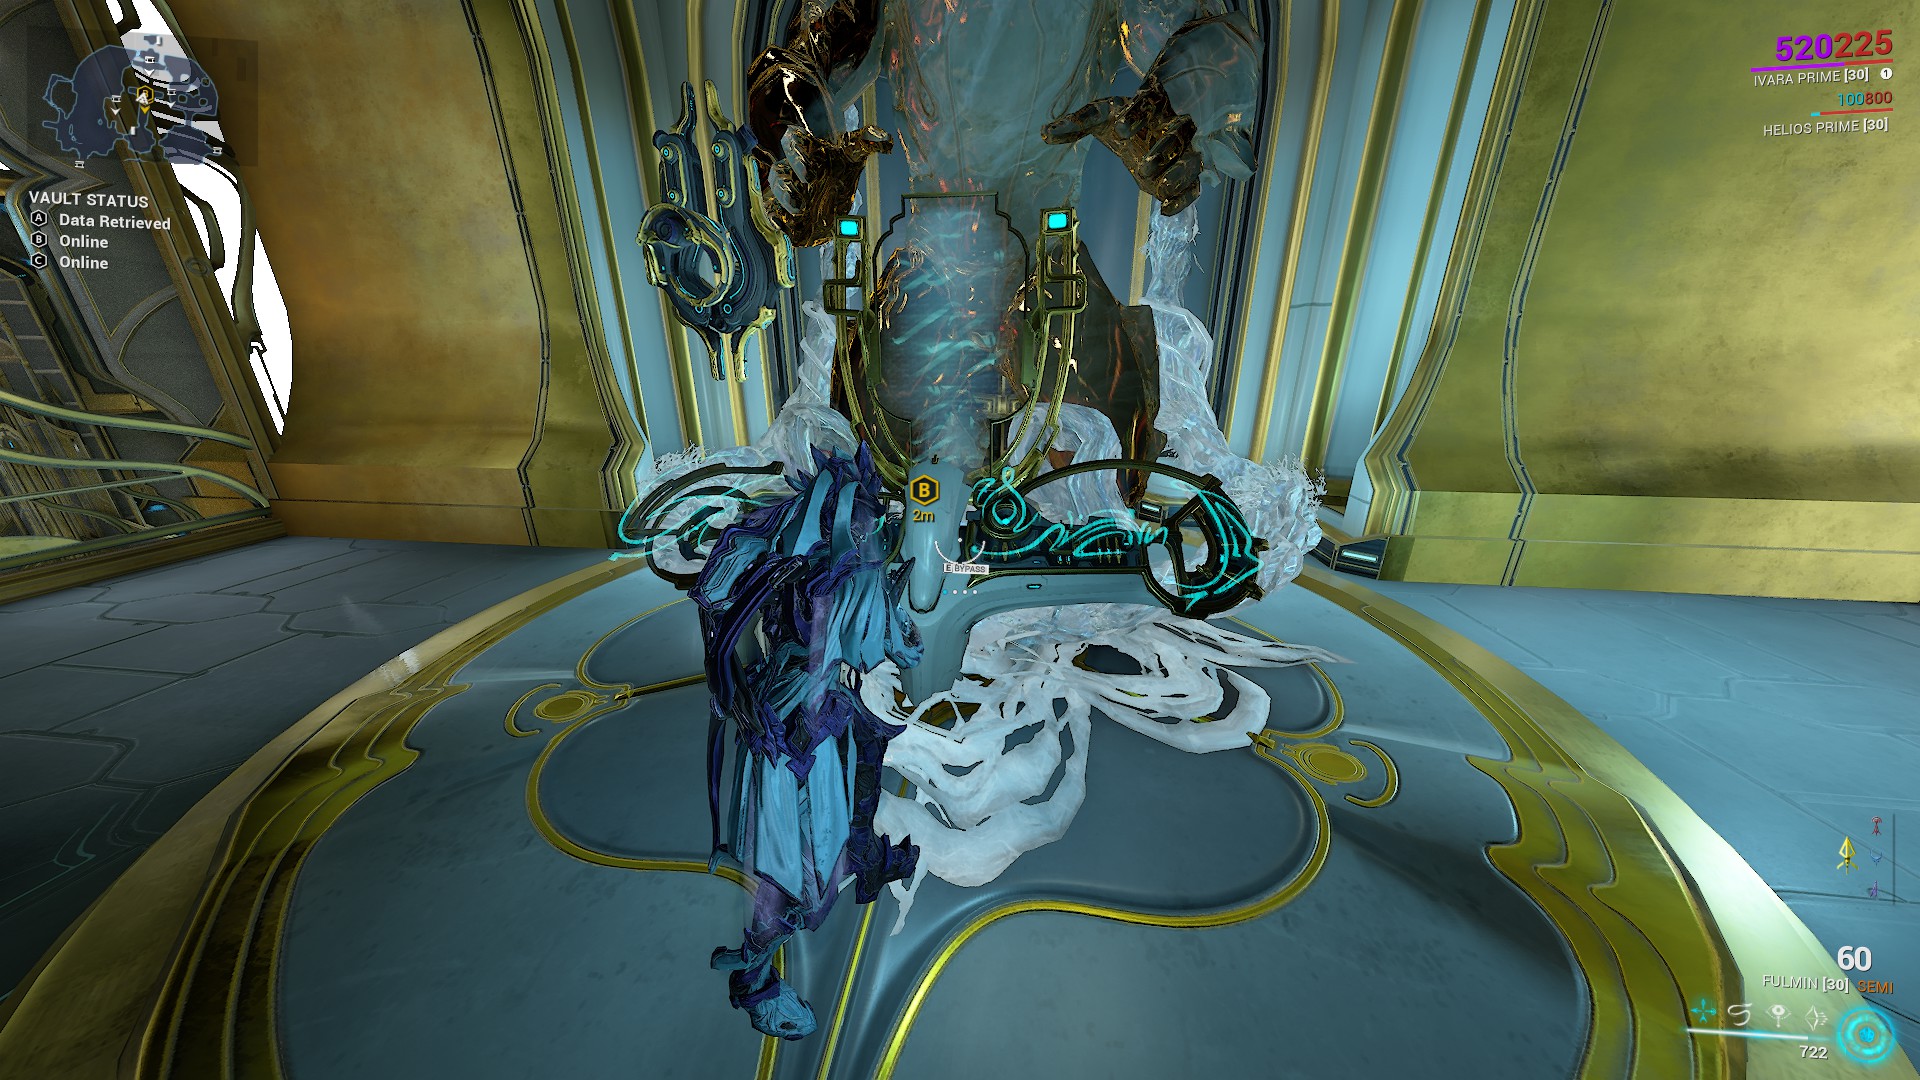
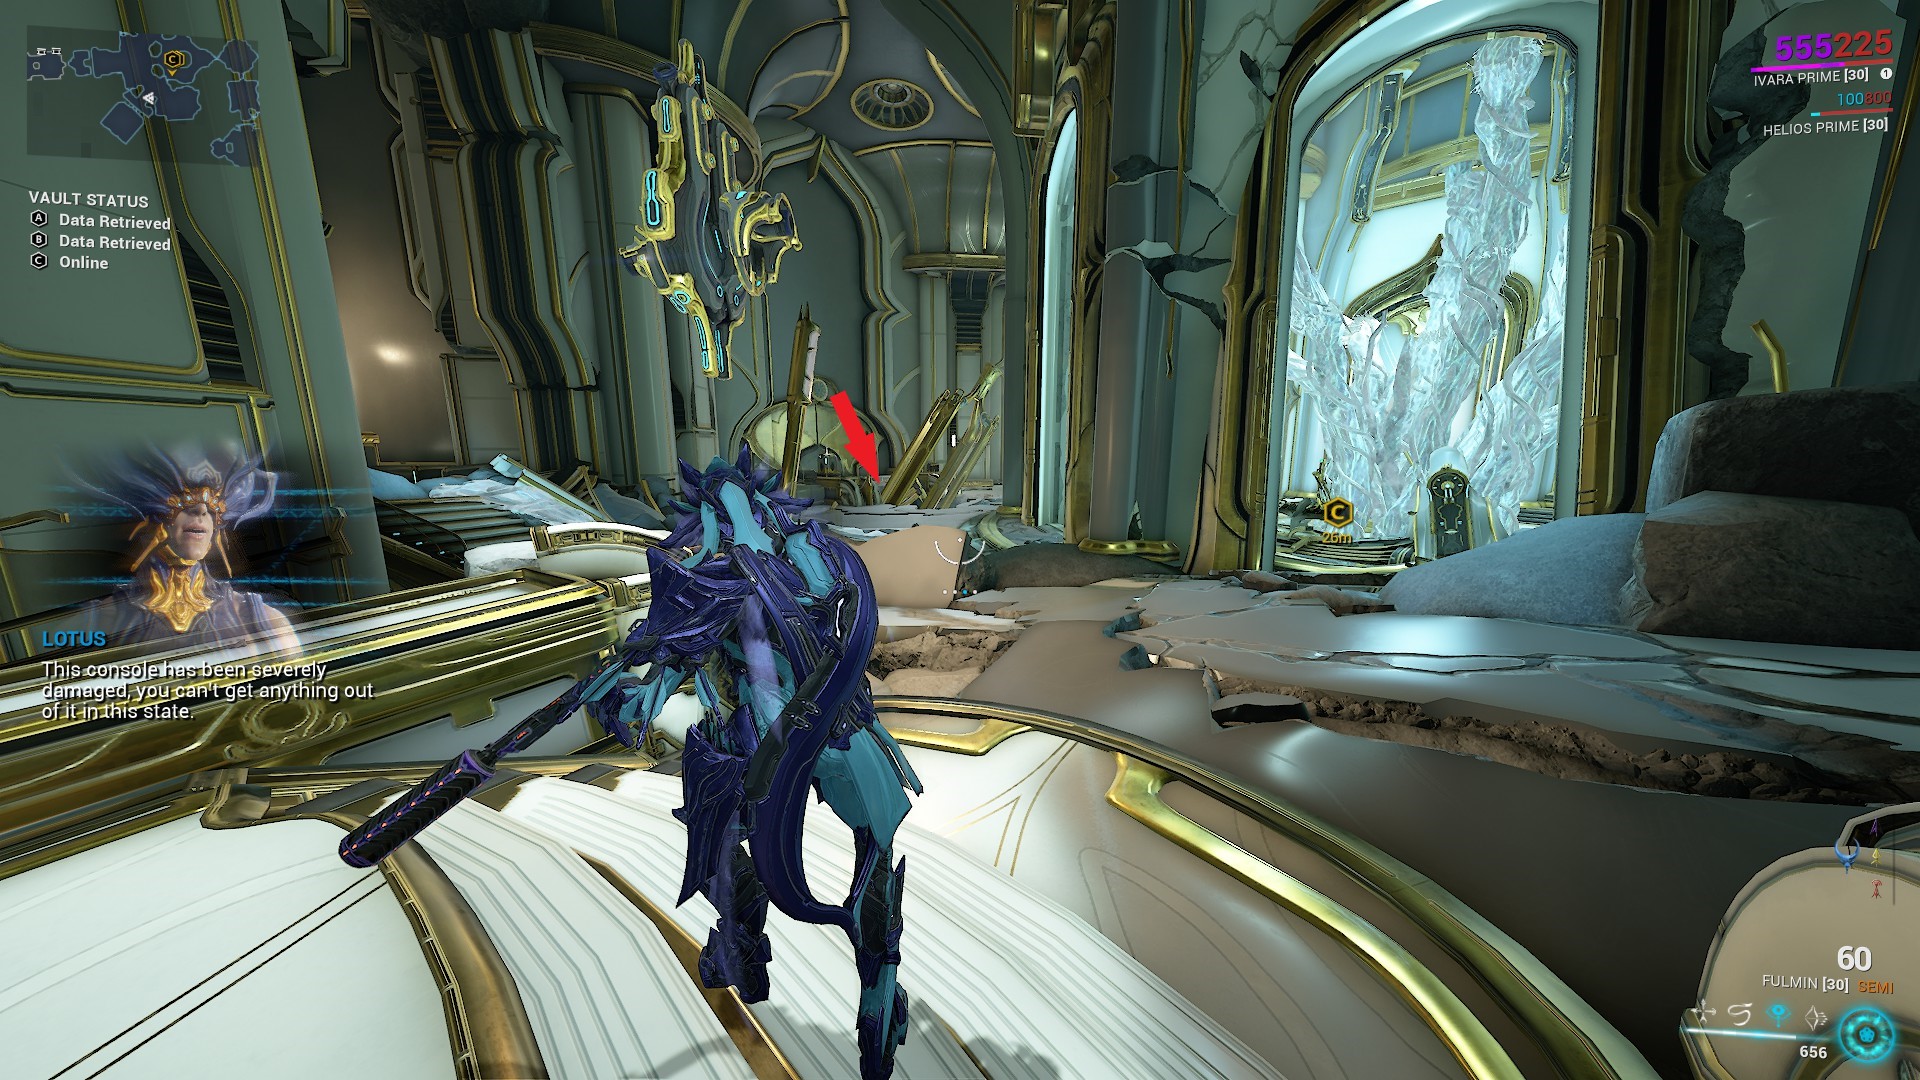
Unfortunately the console is destroyed. Use the void rift to travel to the past.
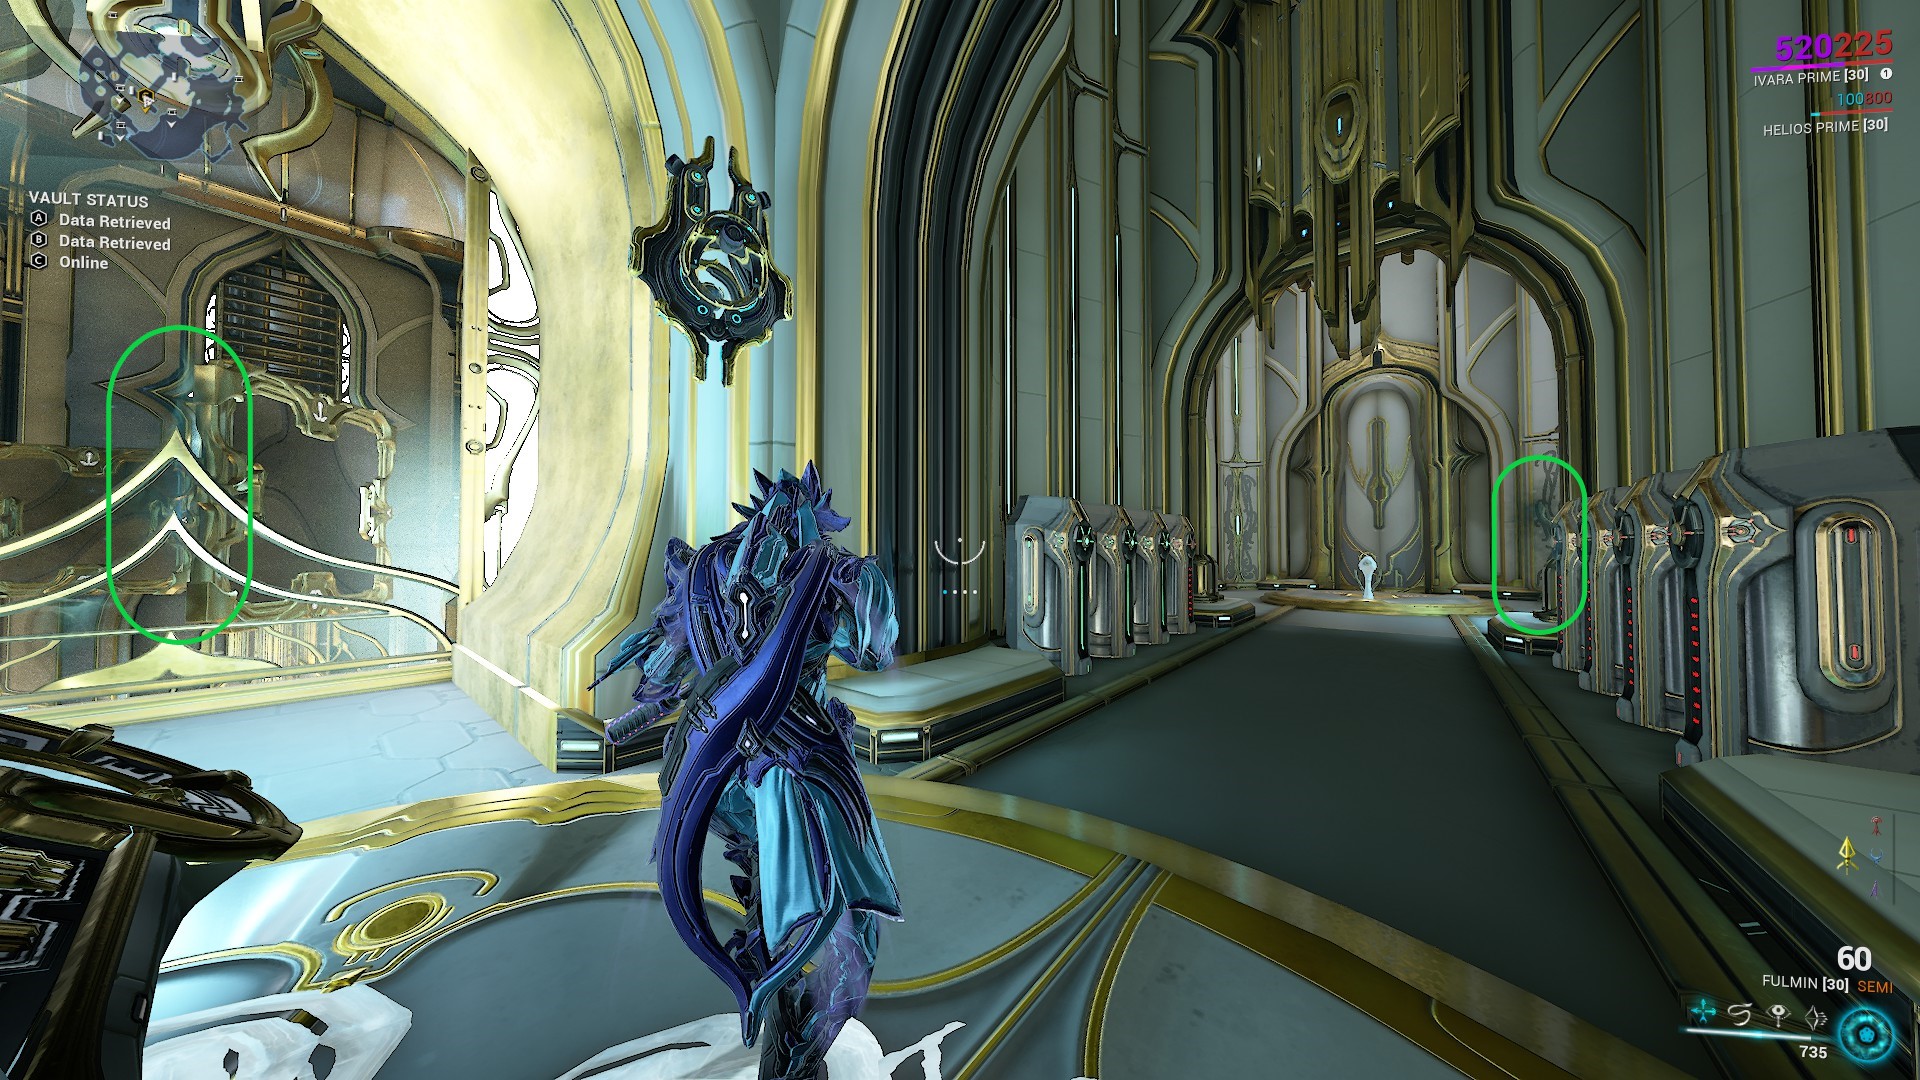
Vault B done!
Use a void rift to return to the present to exit the vault.
Vault C
Vault C
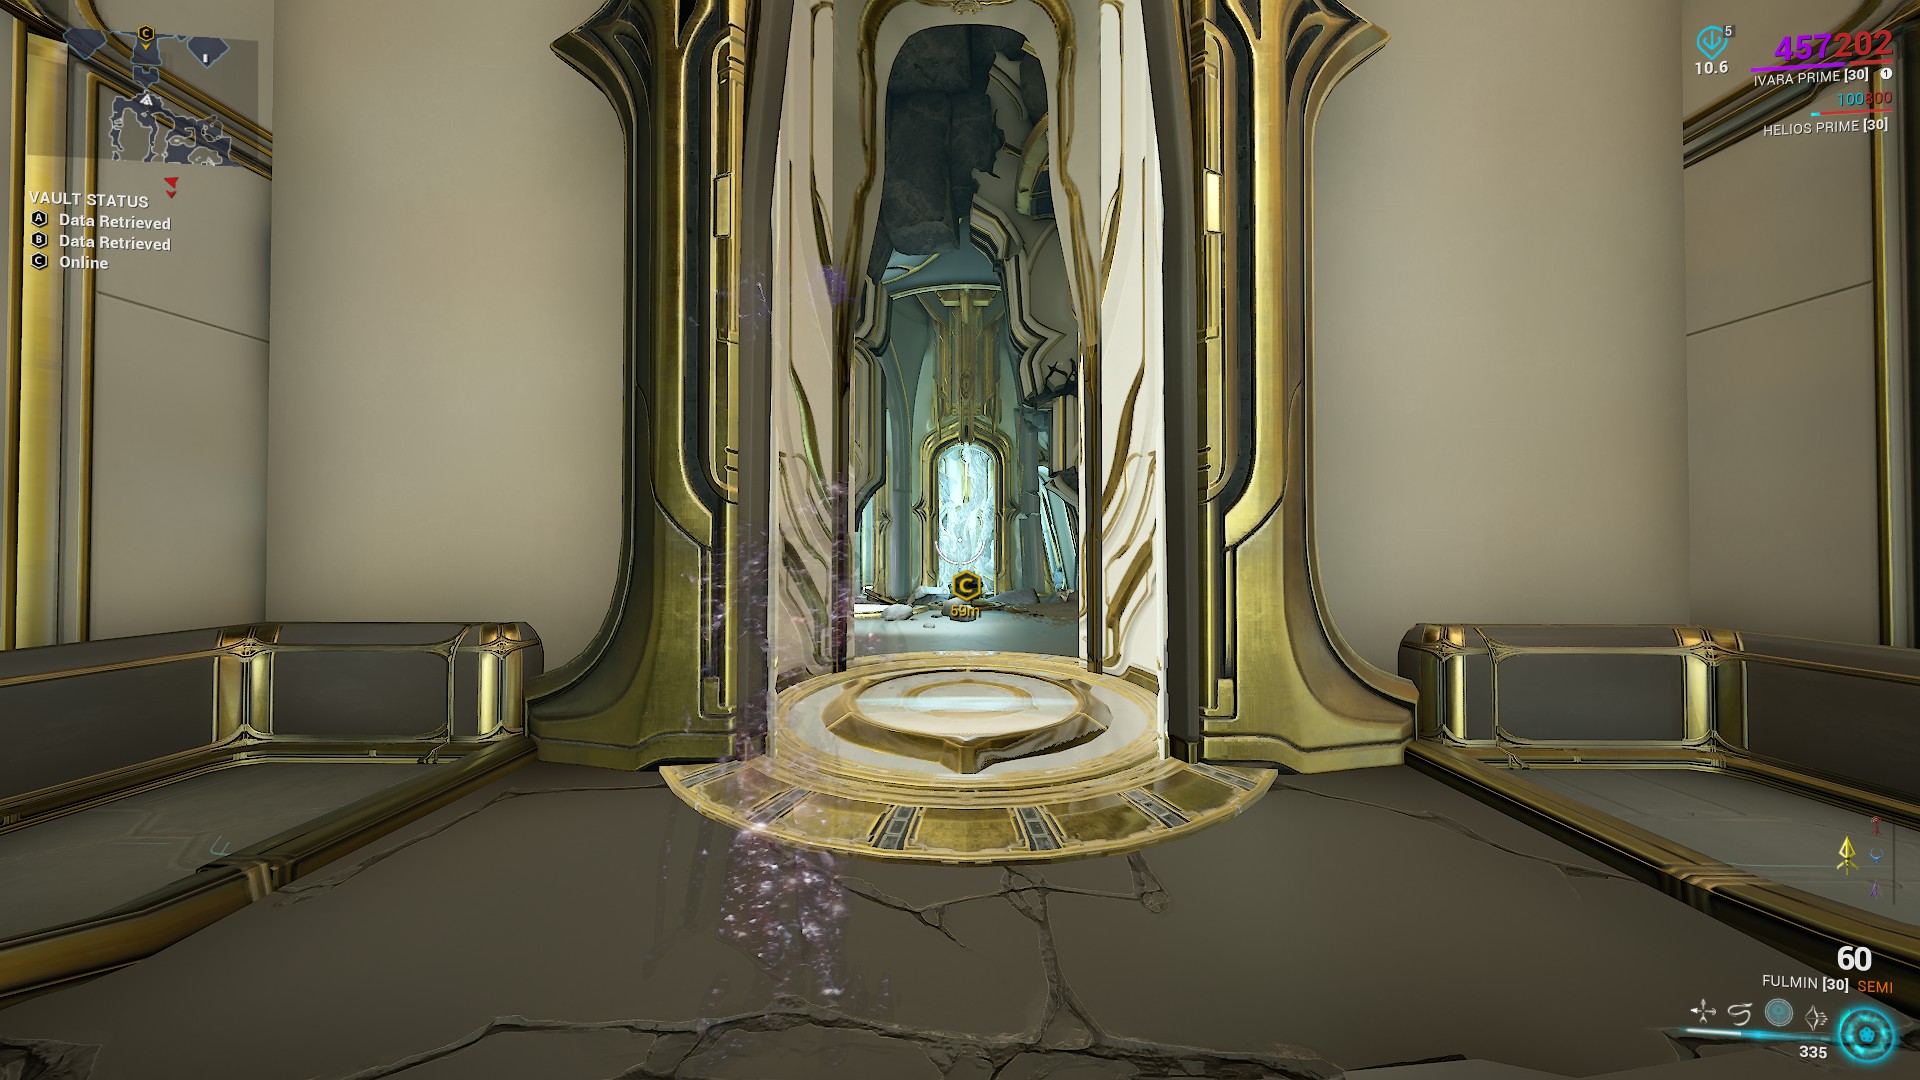
This vault is longer, but not really more difficult. We will travel back and forth between past and present to make things easy.
Head inside the vault and enter the door on your right by shooting the button above.
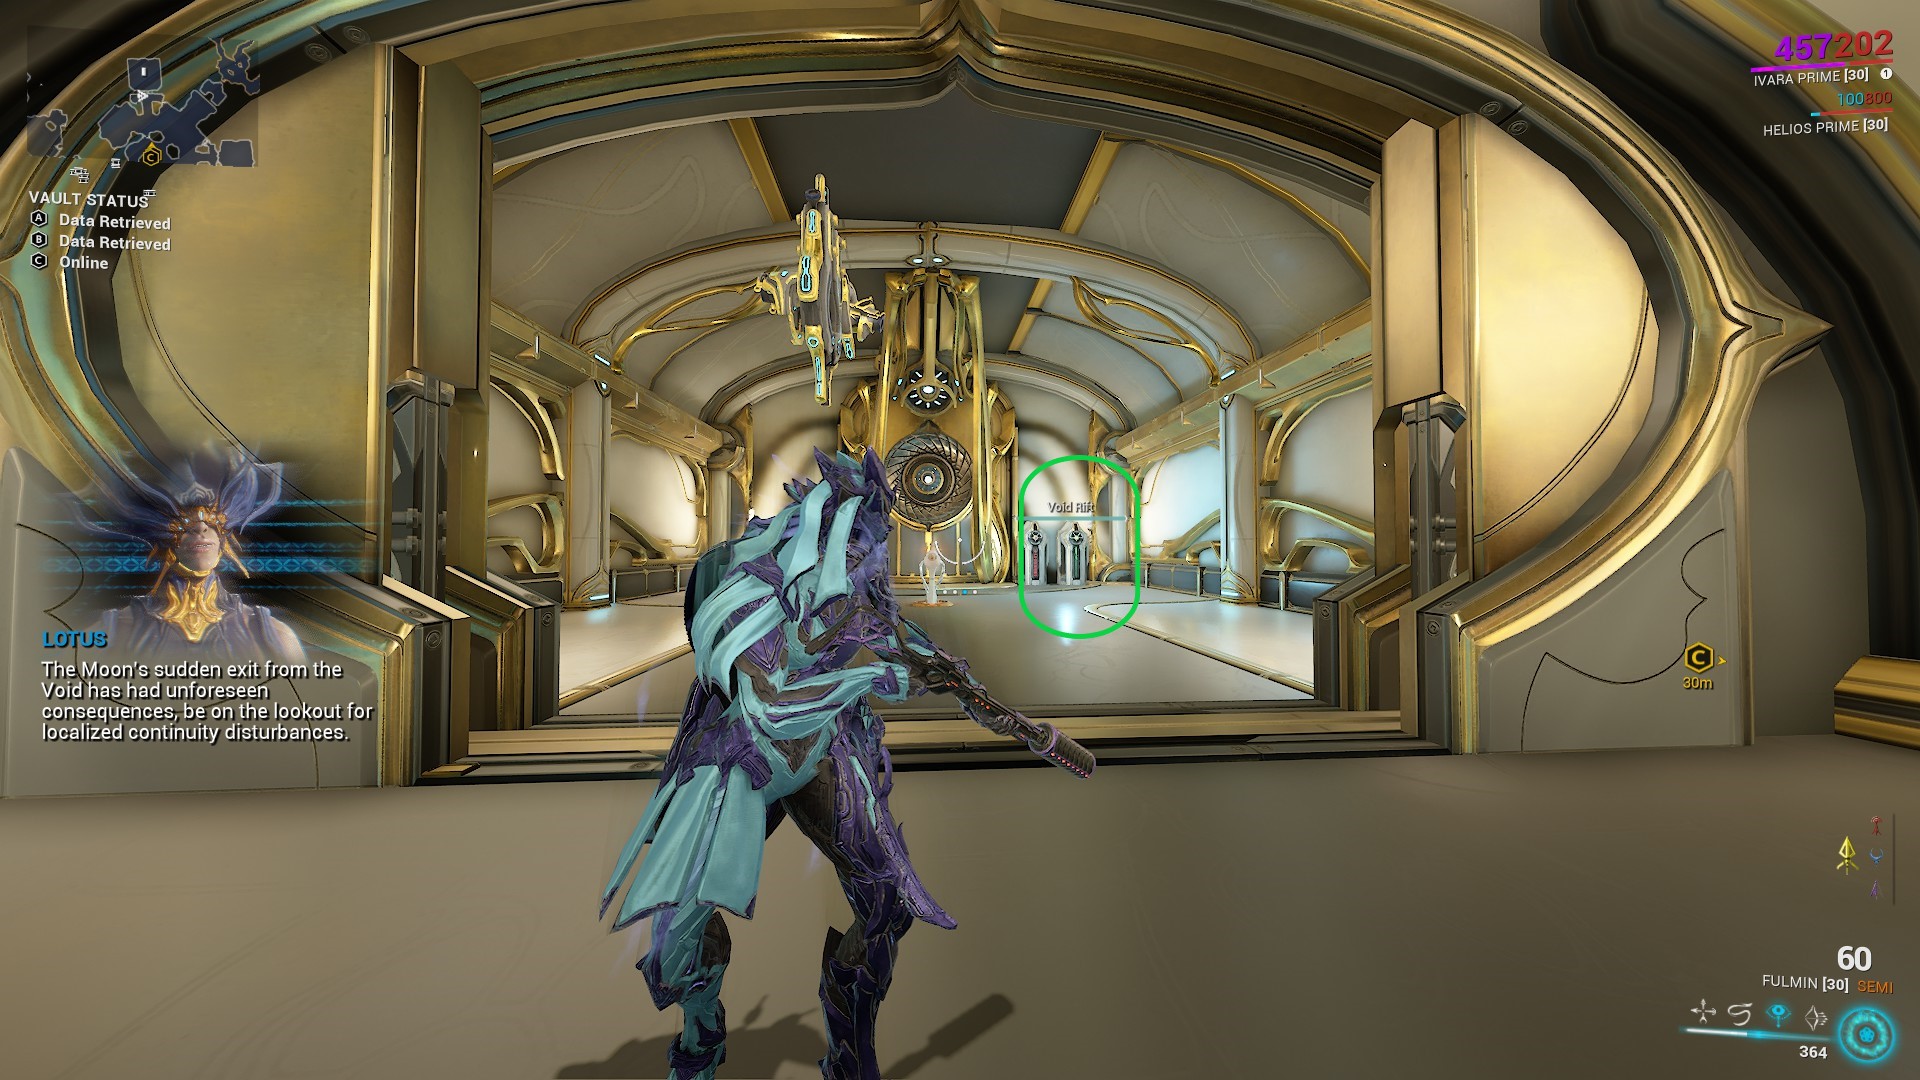
Use the void rift inside the room to travel to the past.
Hack the console to open the door.
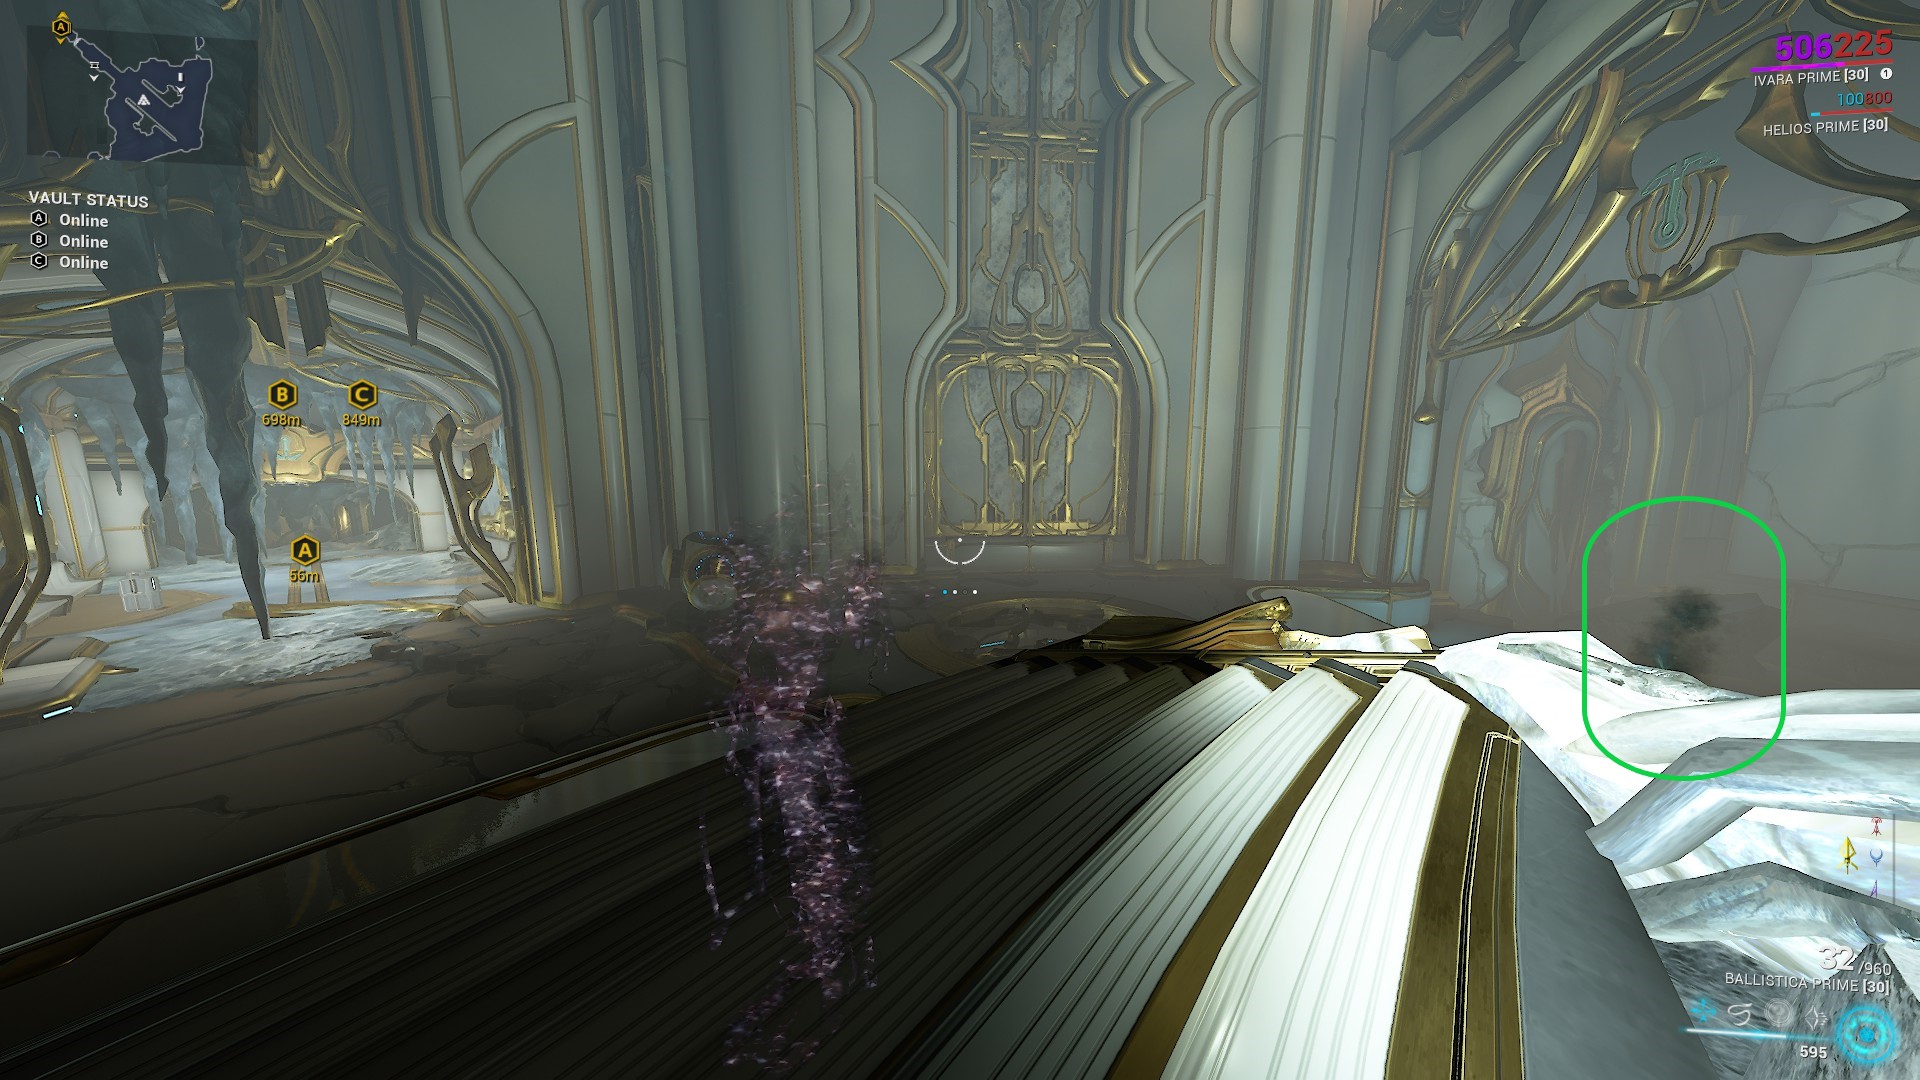
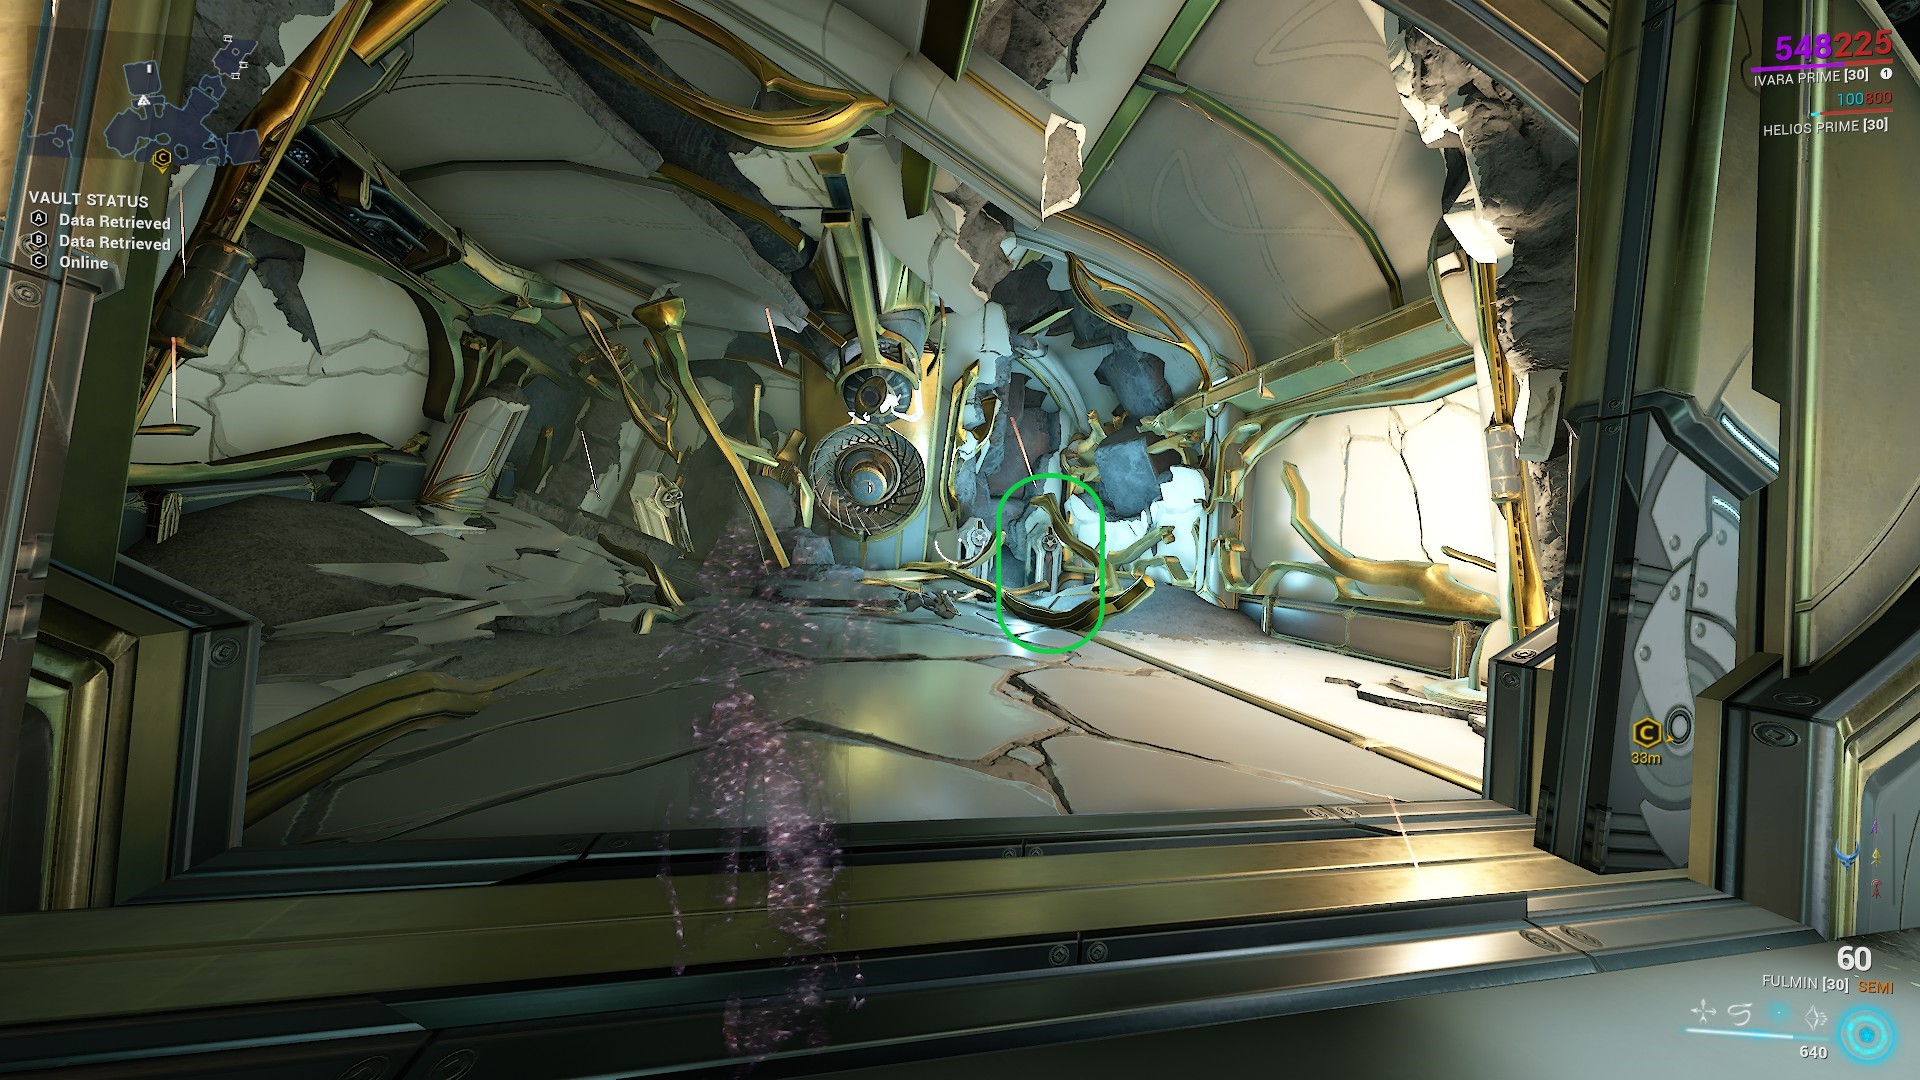
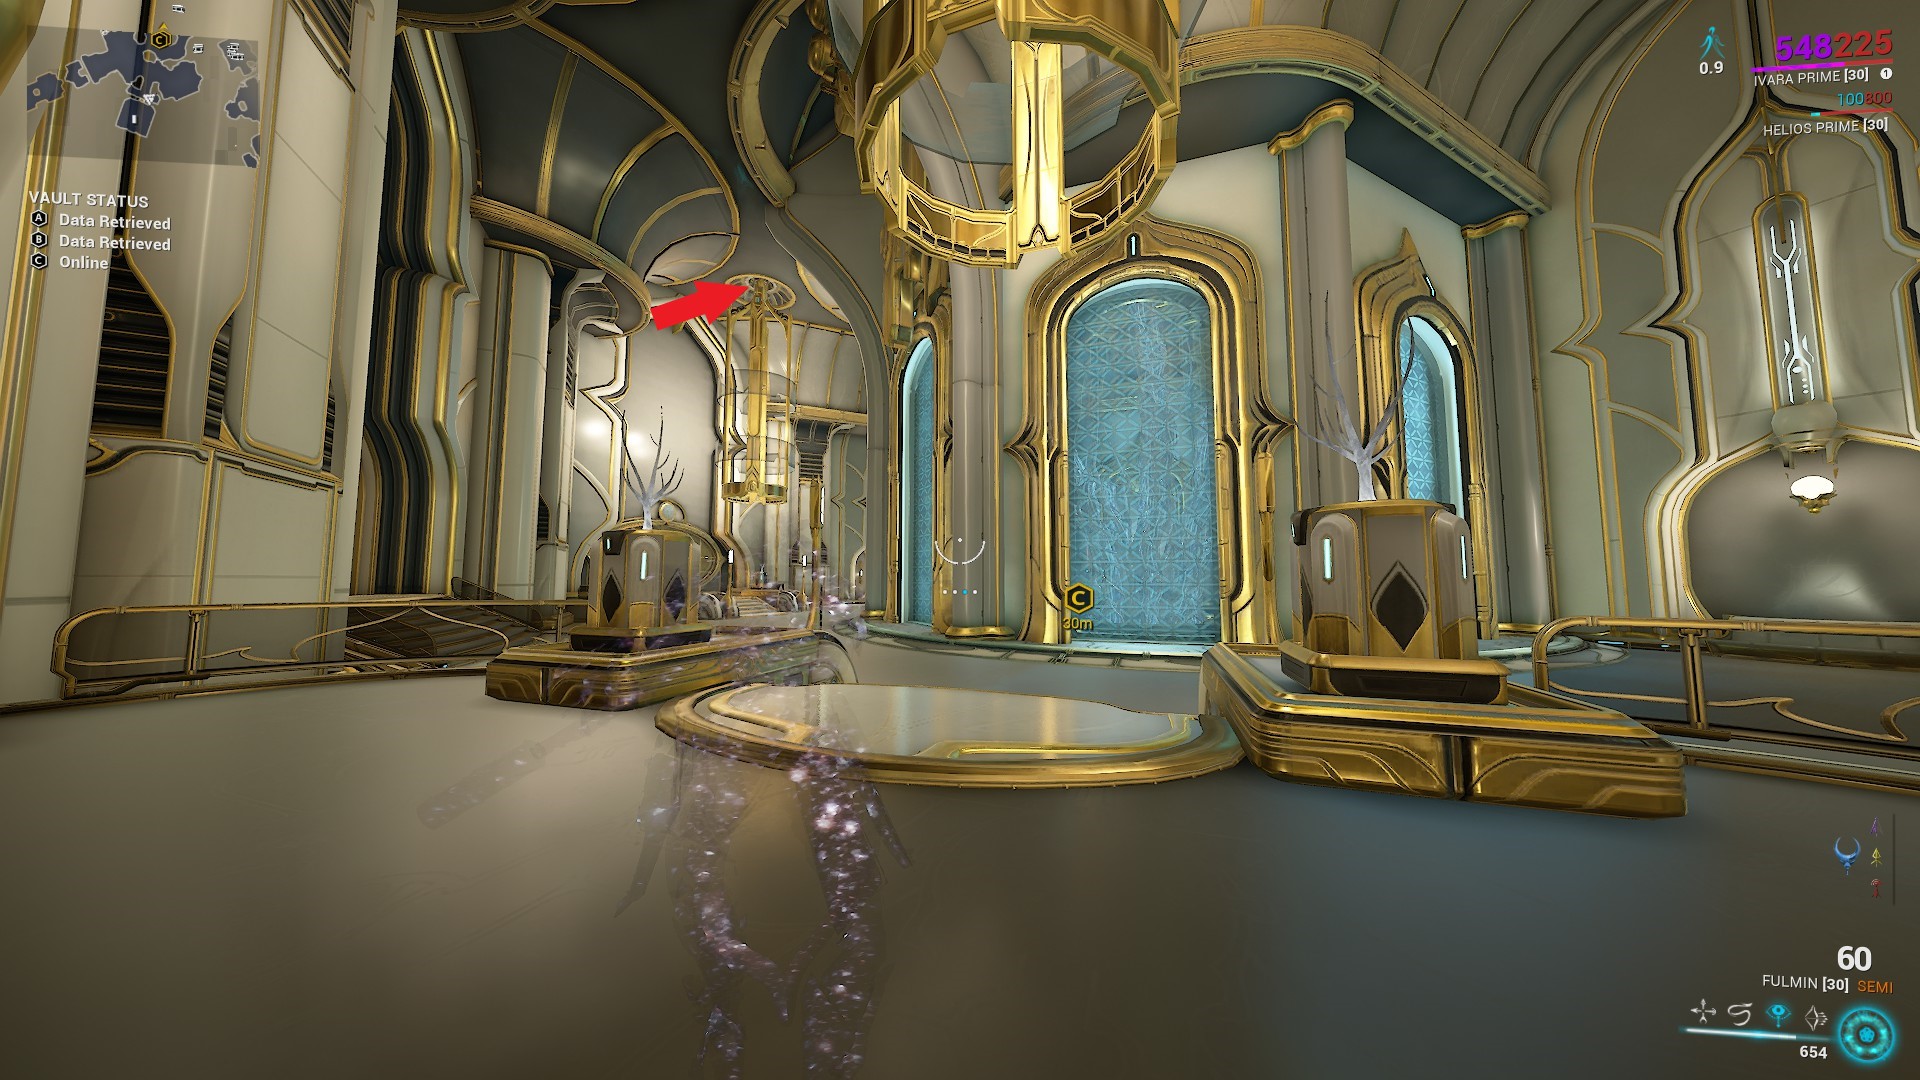
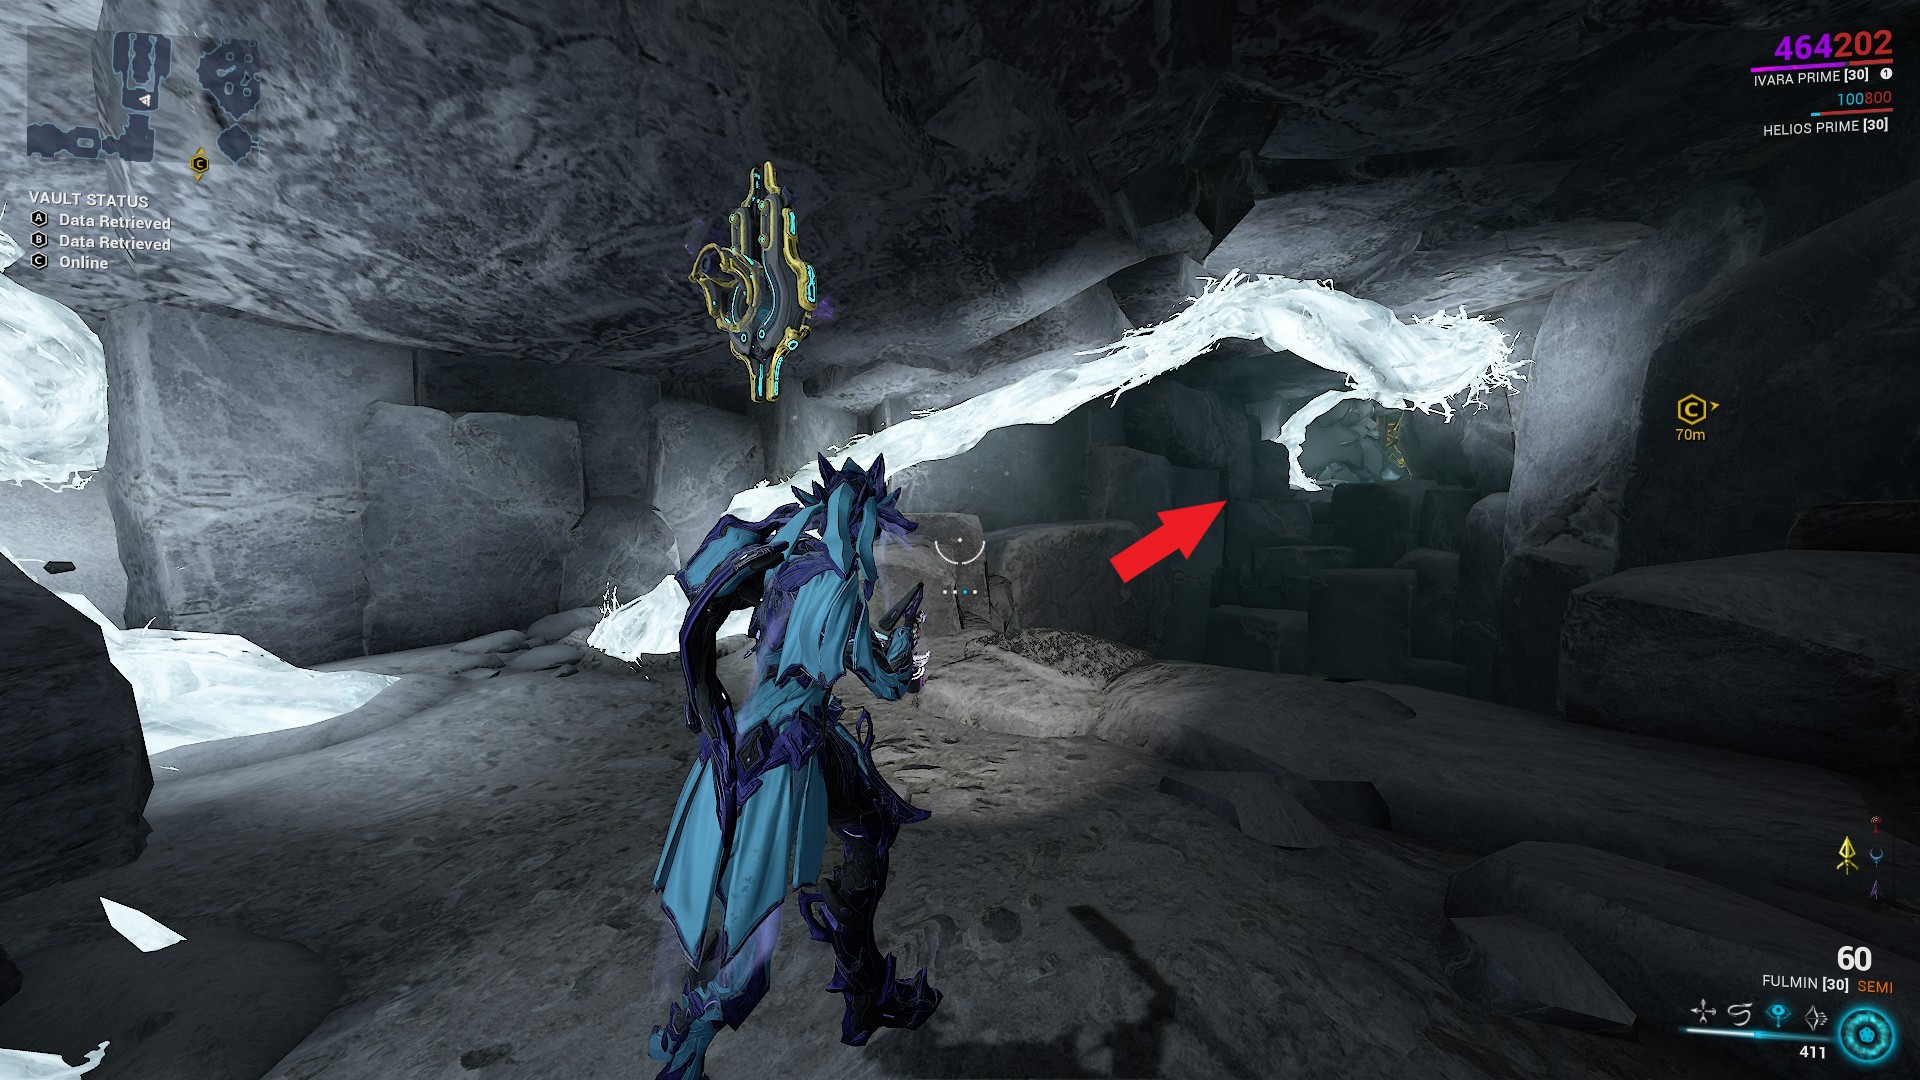
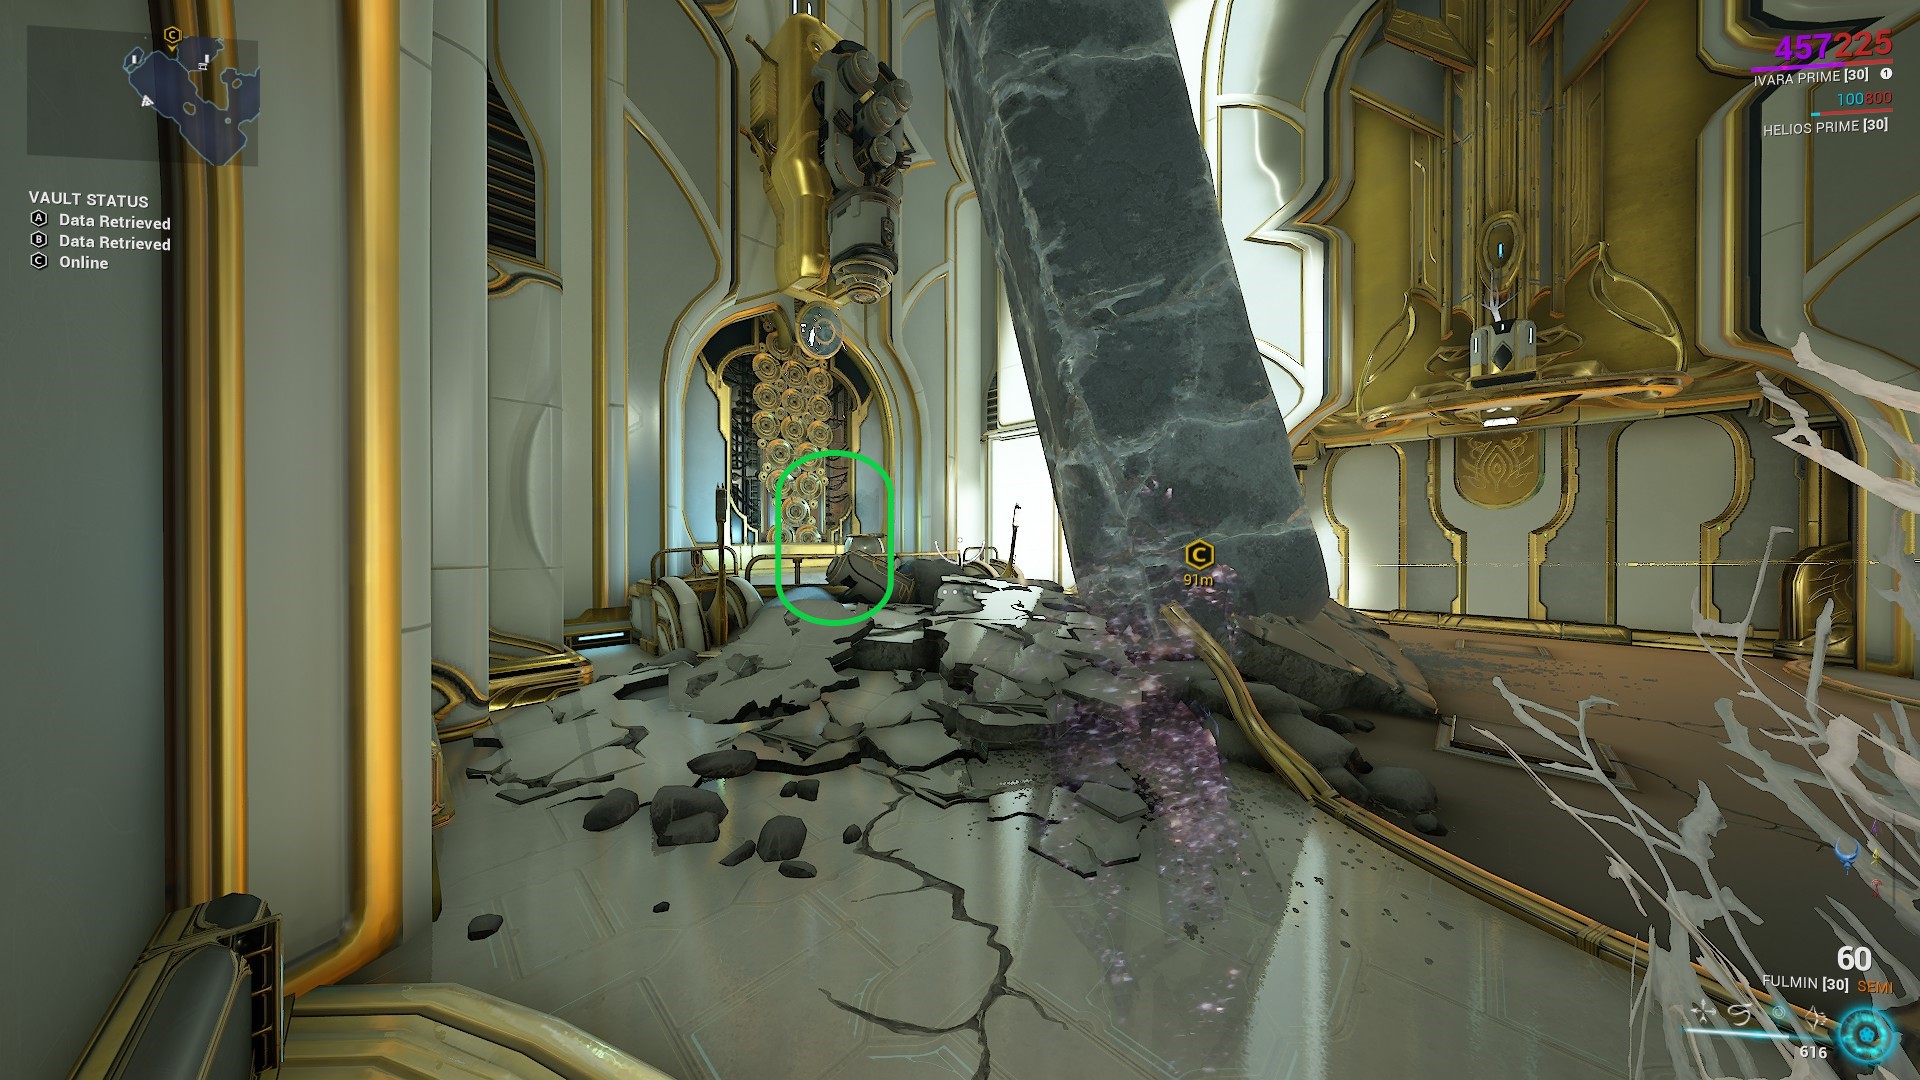
Go through the door and shoot the hanging column at the indicated spot to make it fall.
That’s a lot of damage.
Use the void rift again to return to the present.
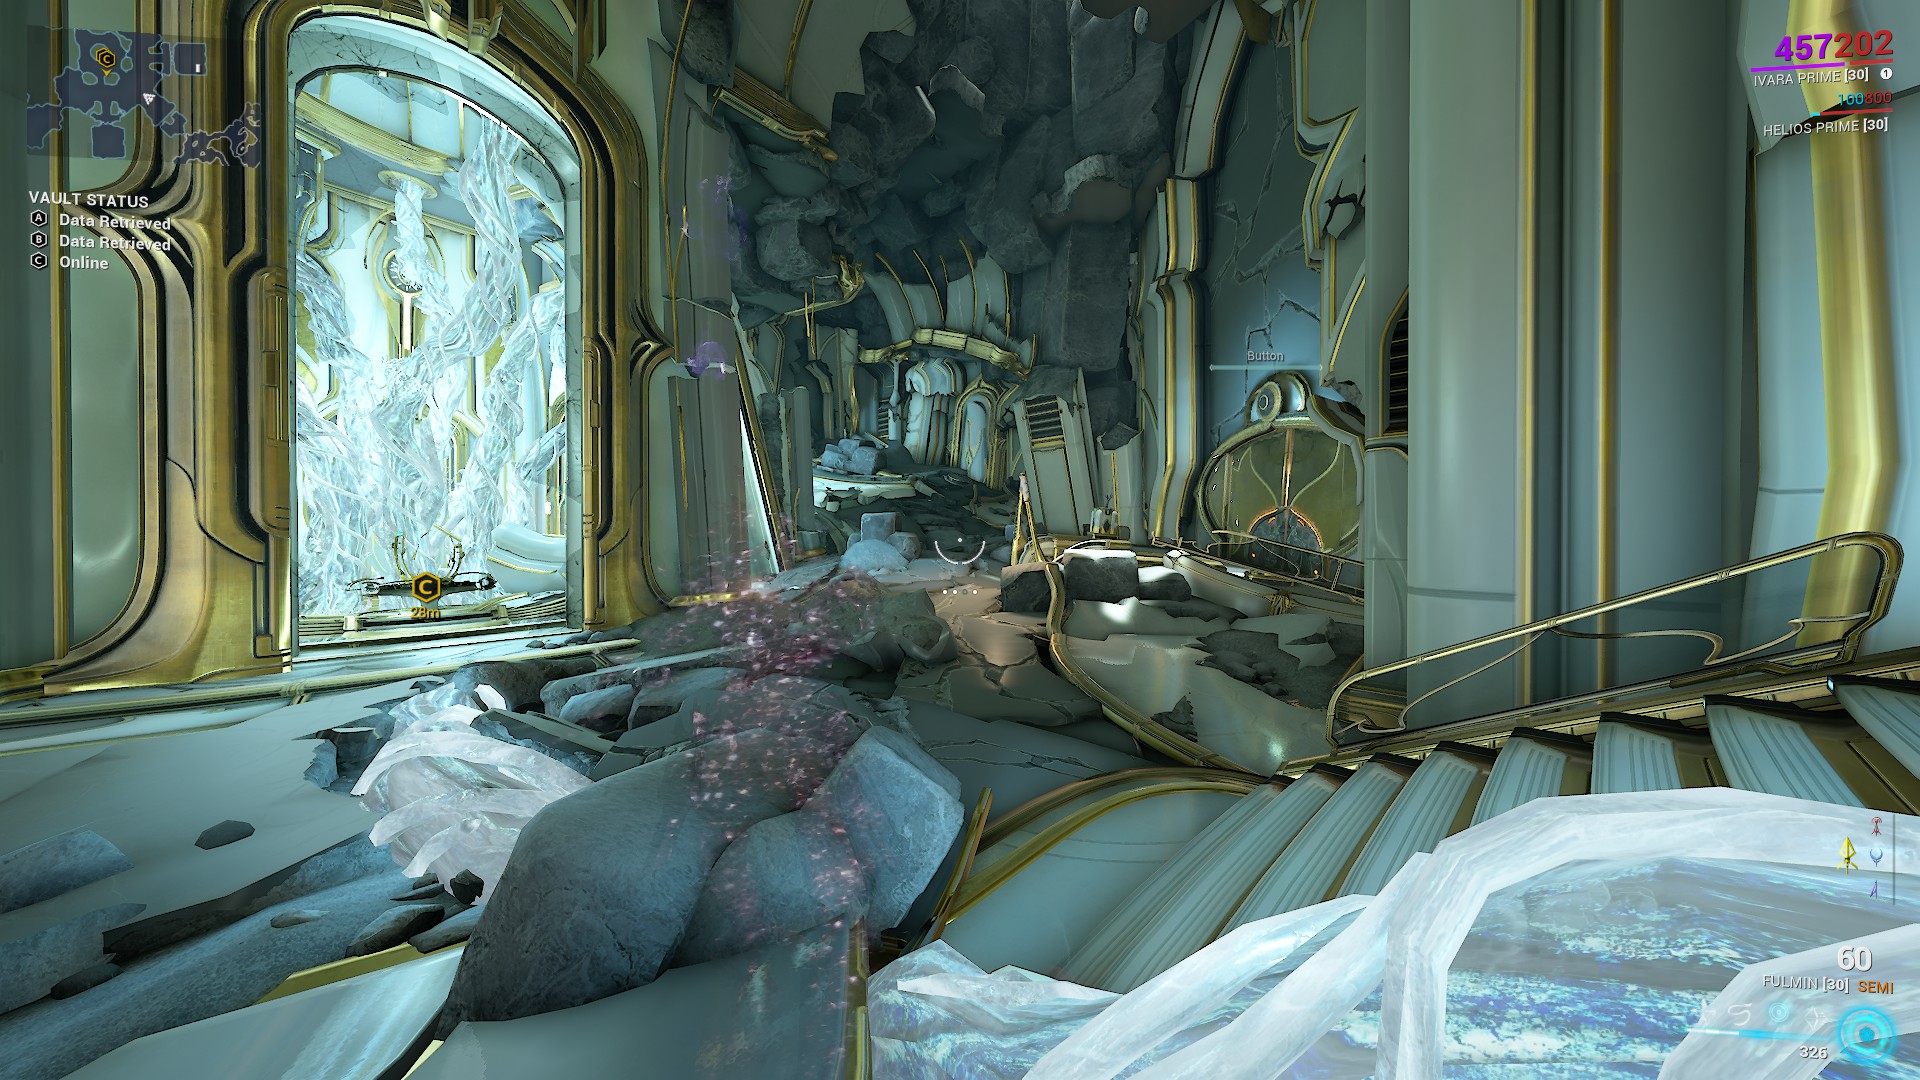
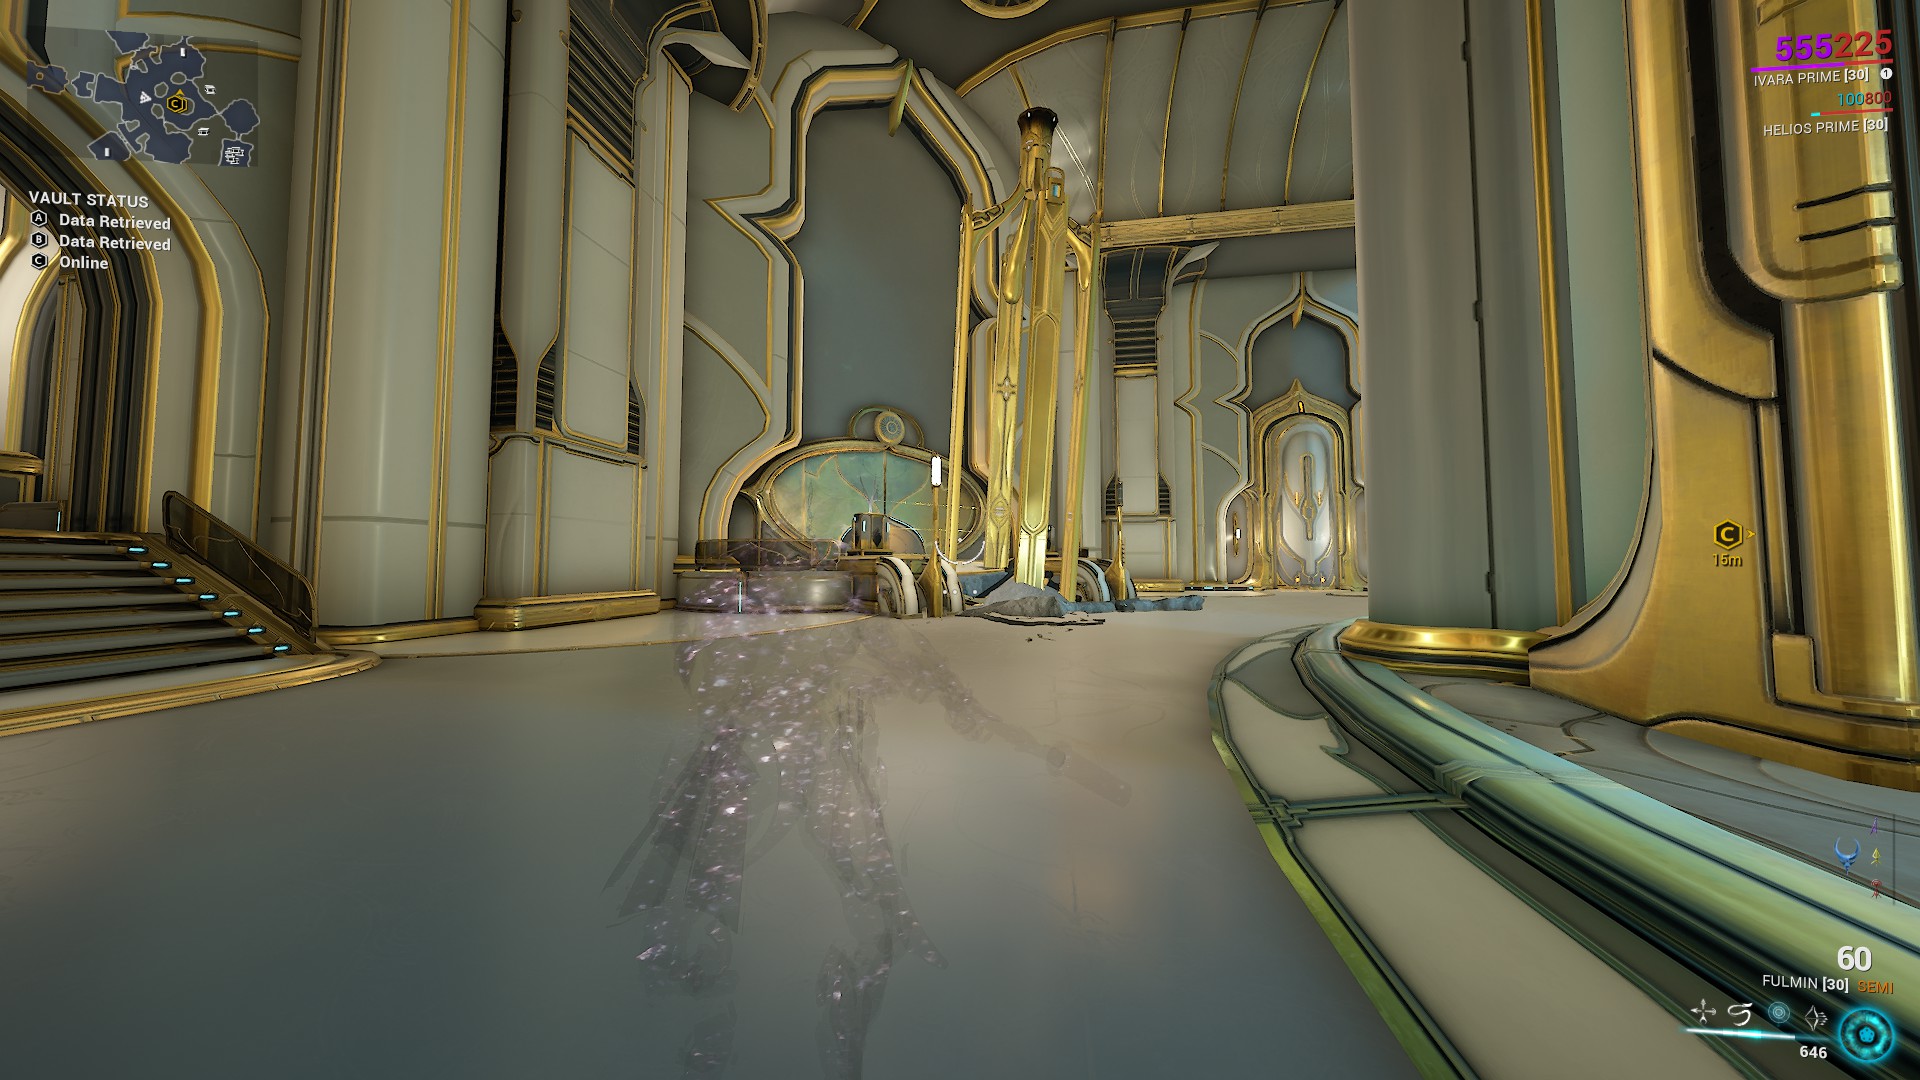
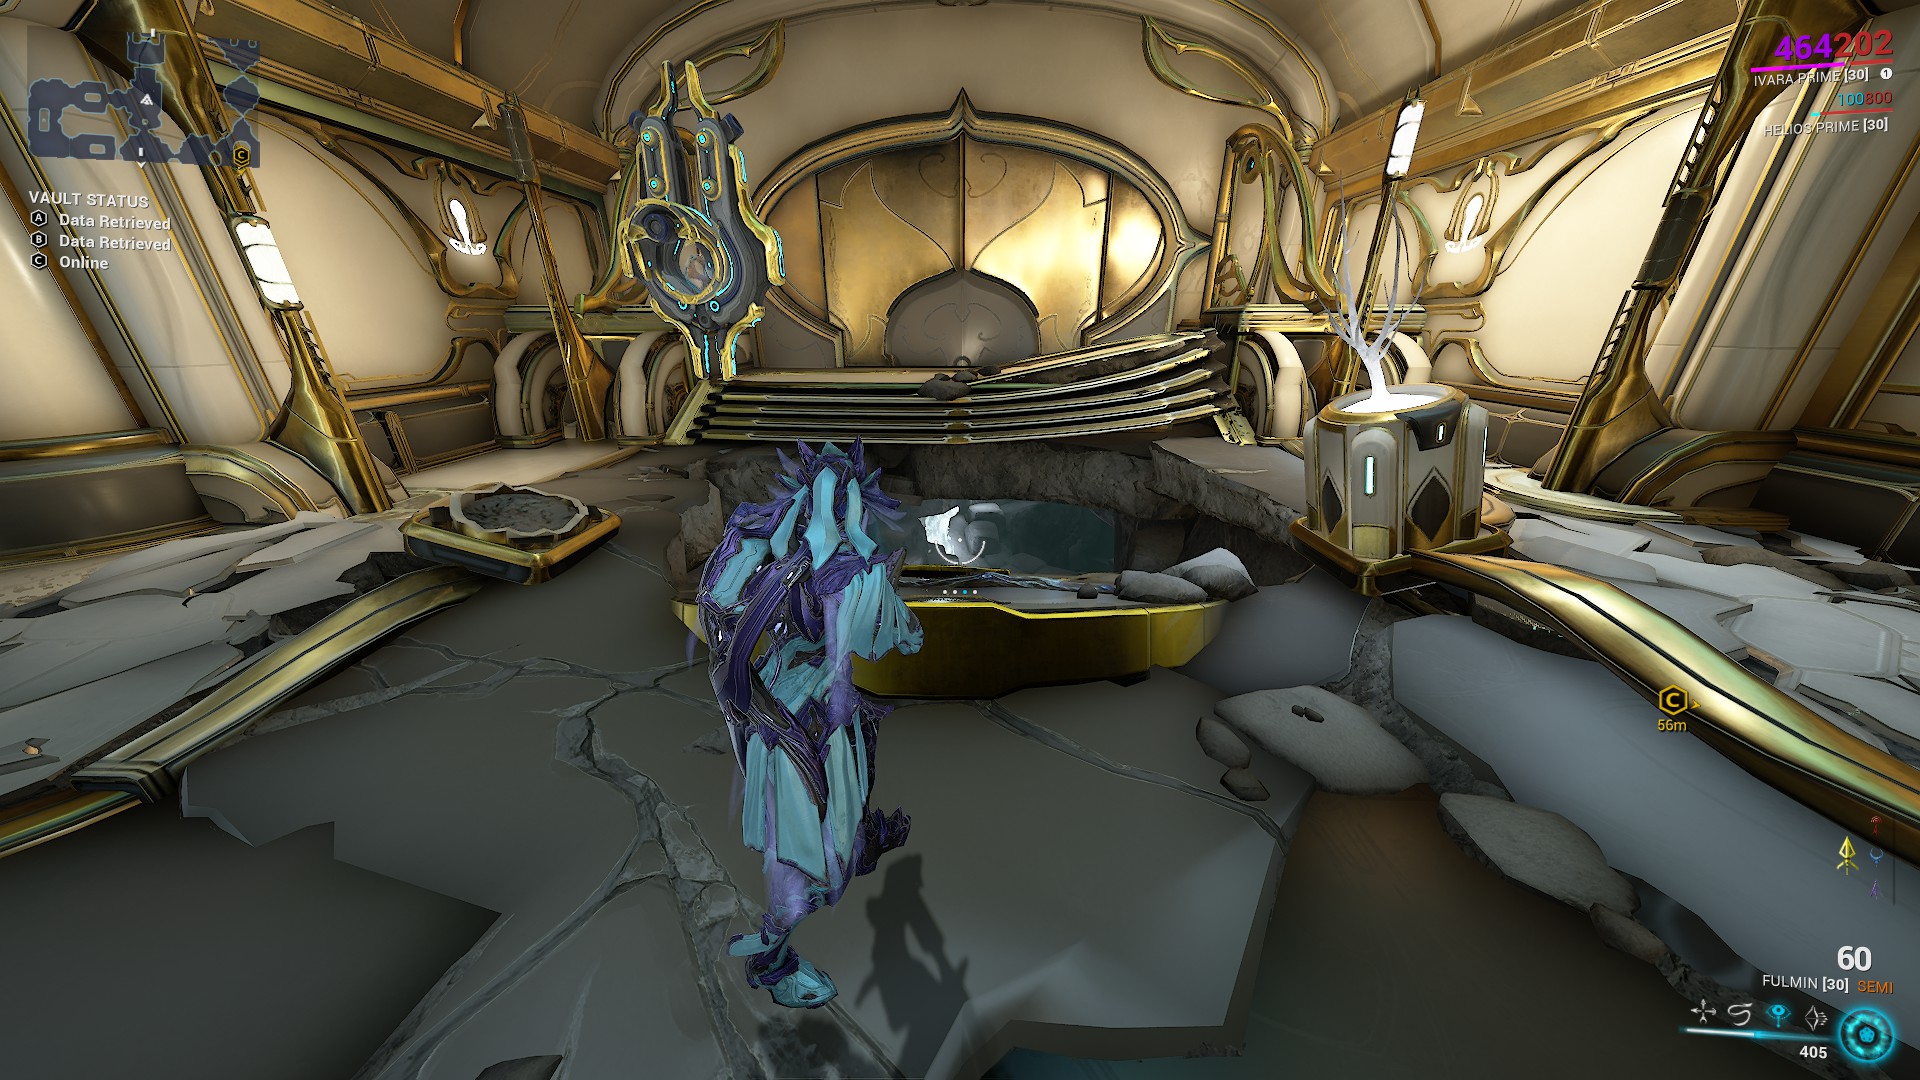
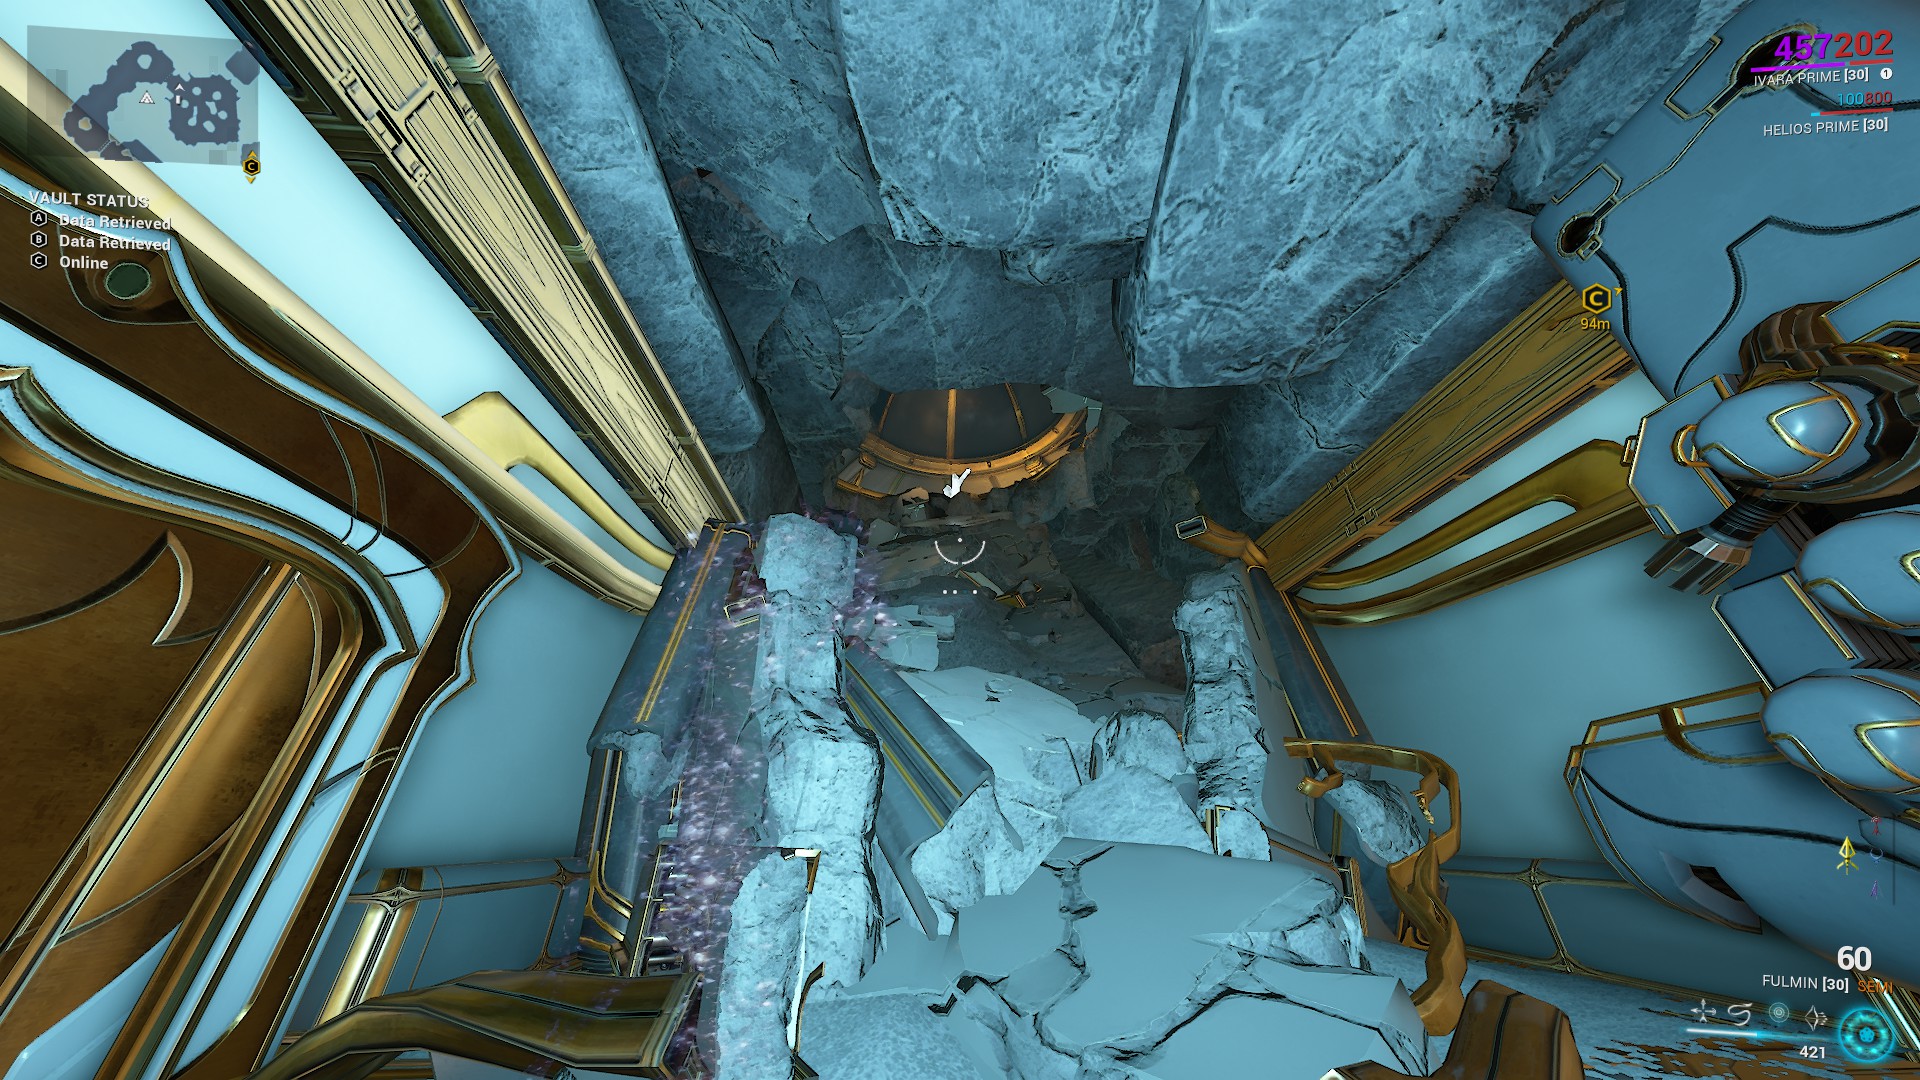
Go through the hole in the floor you just made and continue through the tunnel. Use the void rift to return to the past.
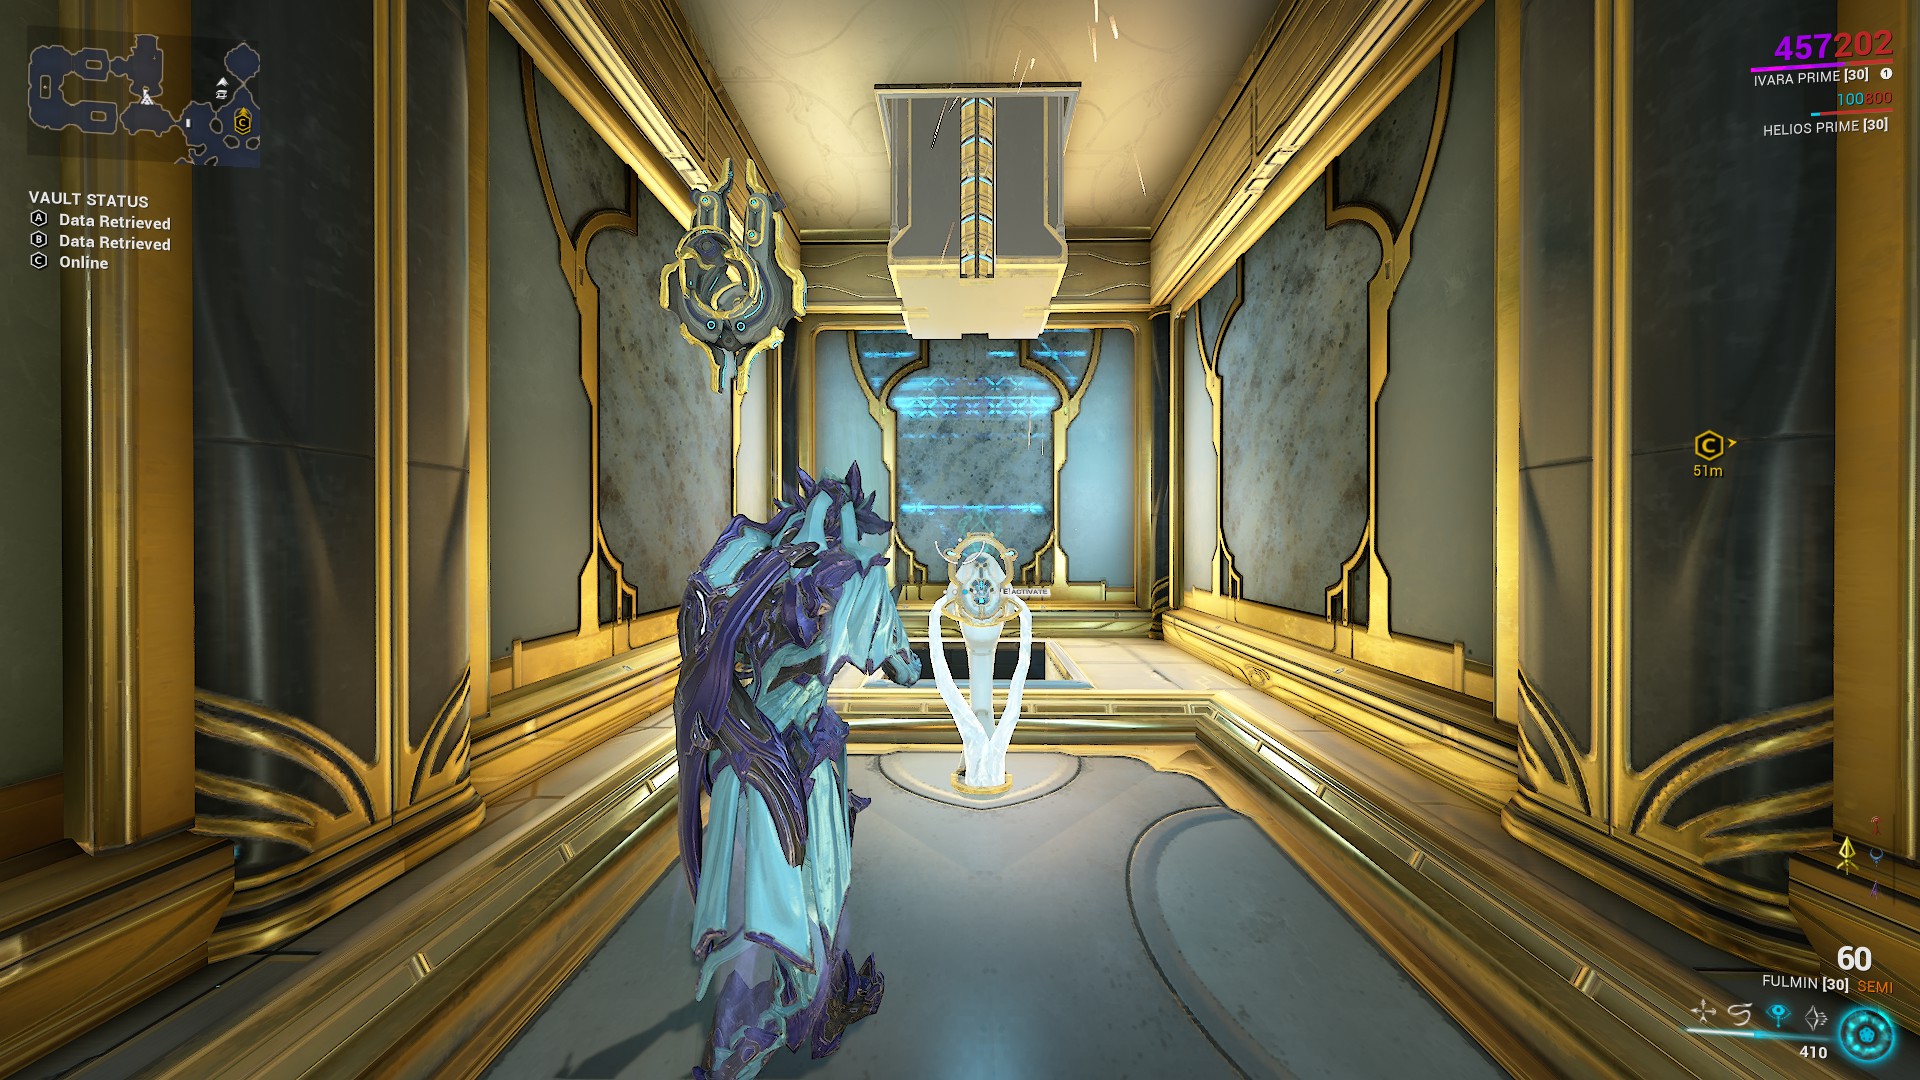
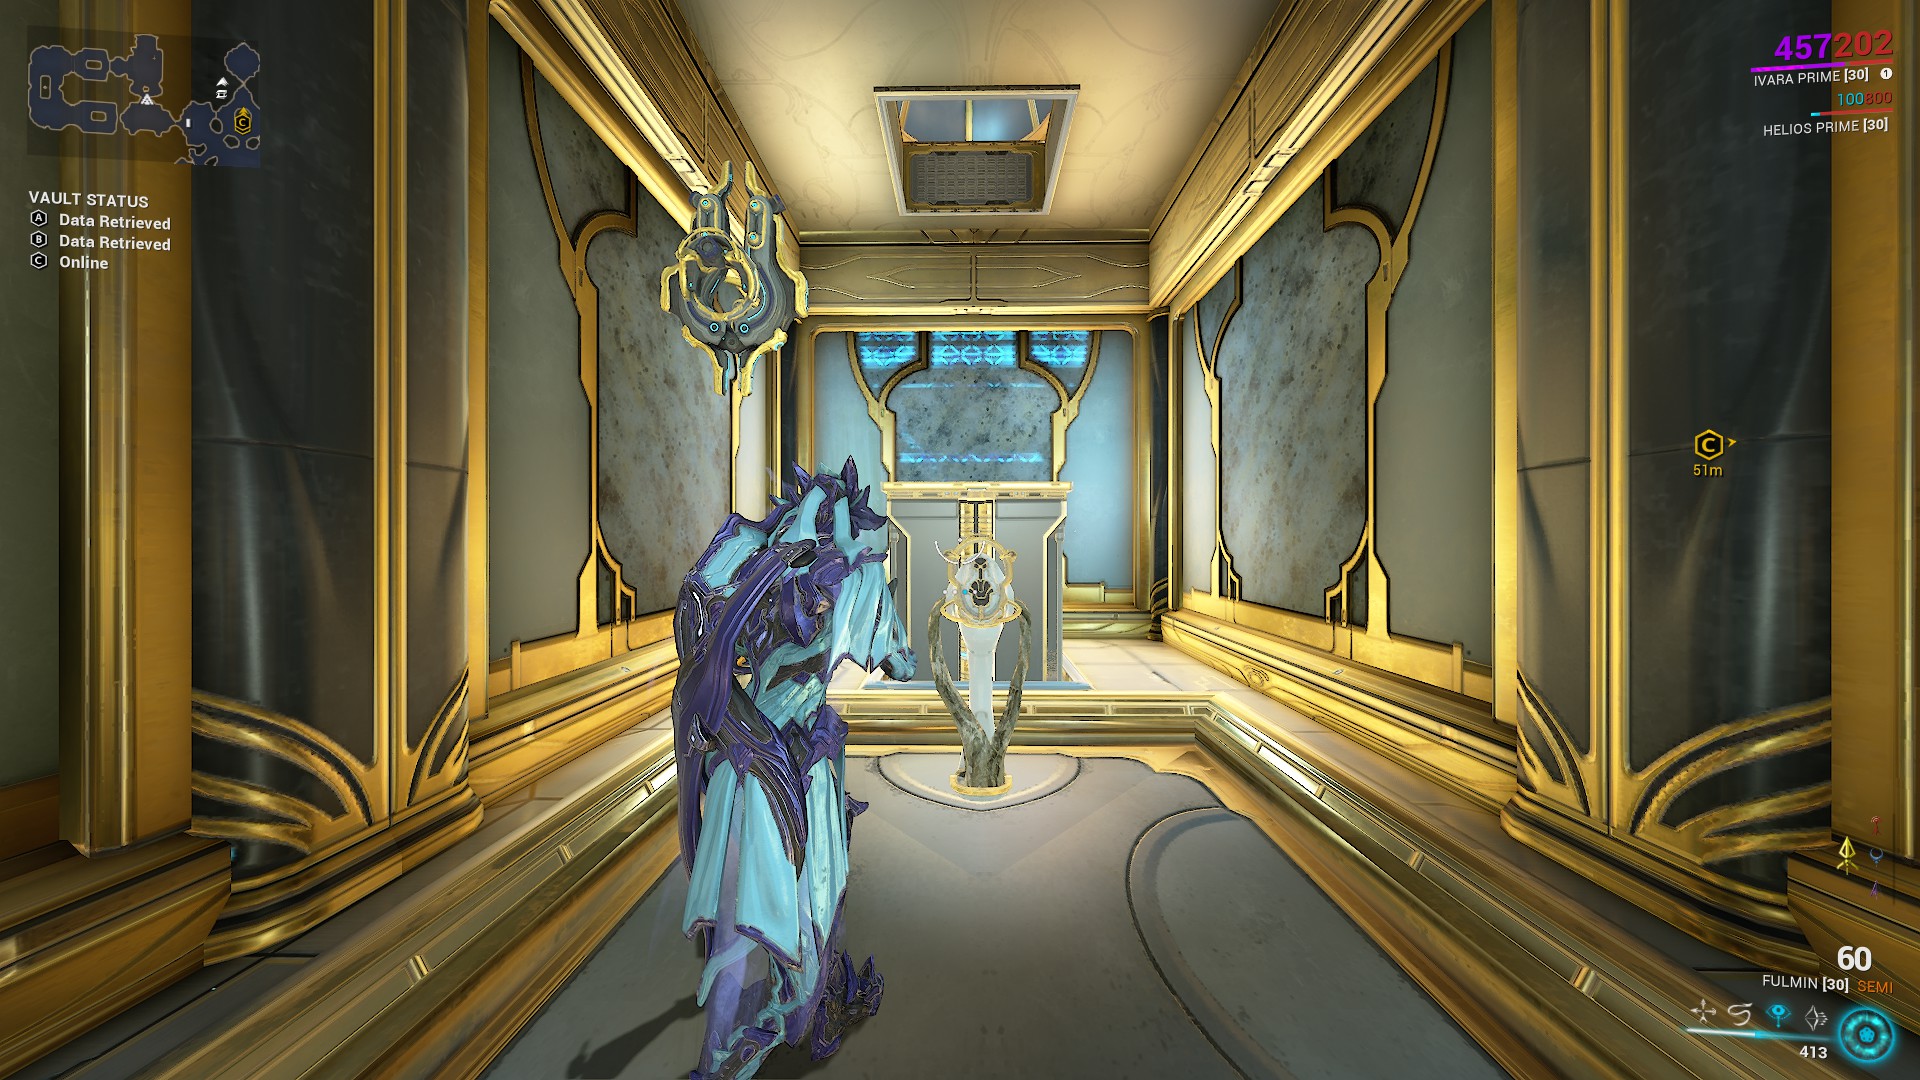
Interact with the console to drop the box down. Go through the newly created hole.
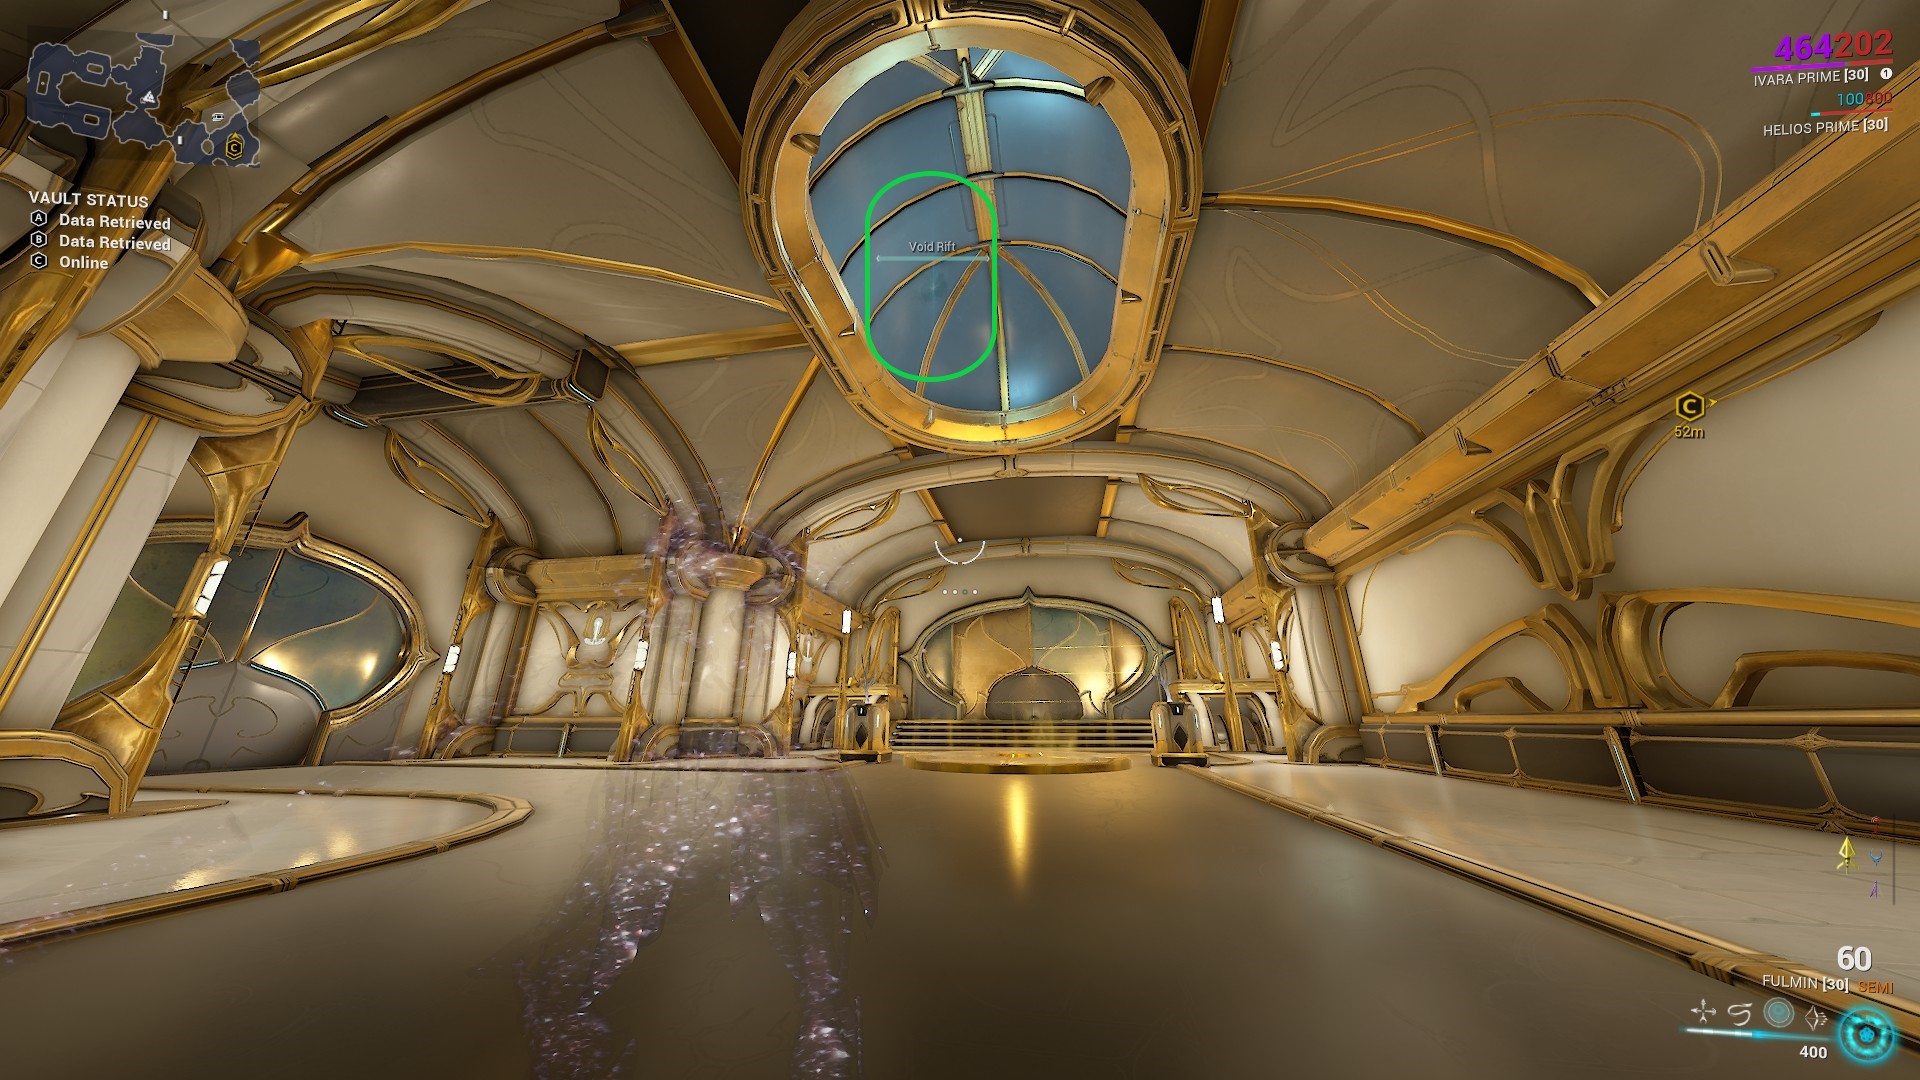
Use the void rift near the ceiling to return to the present.
Go through the hole in the ground. Continue forward through the tunnel.
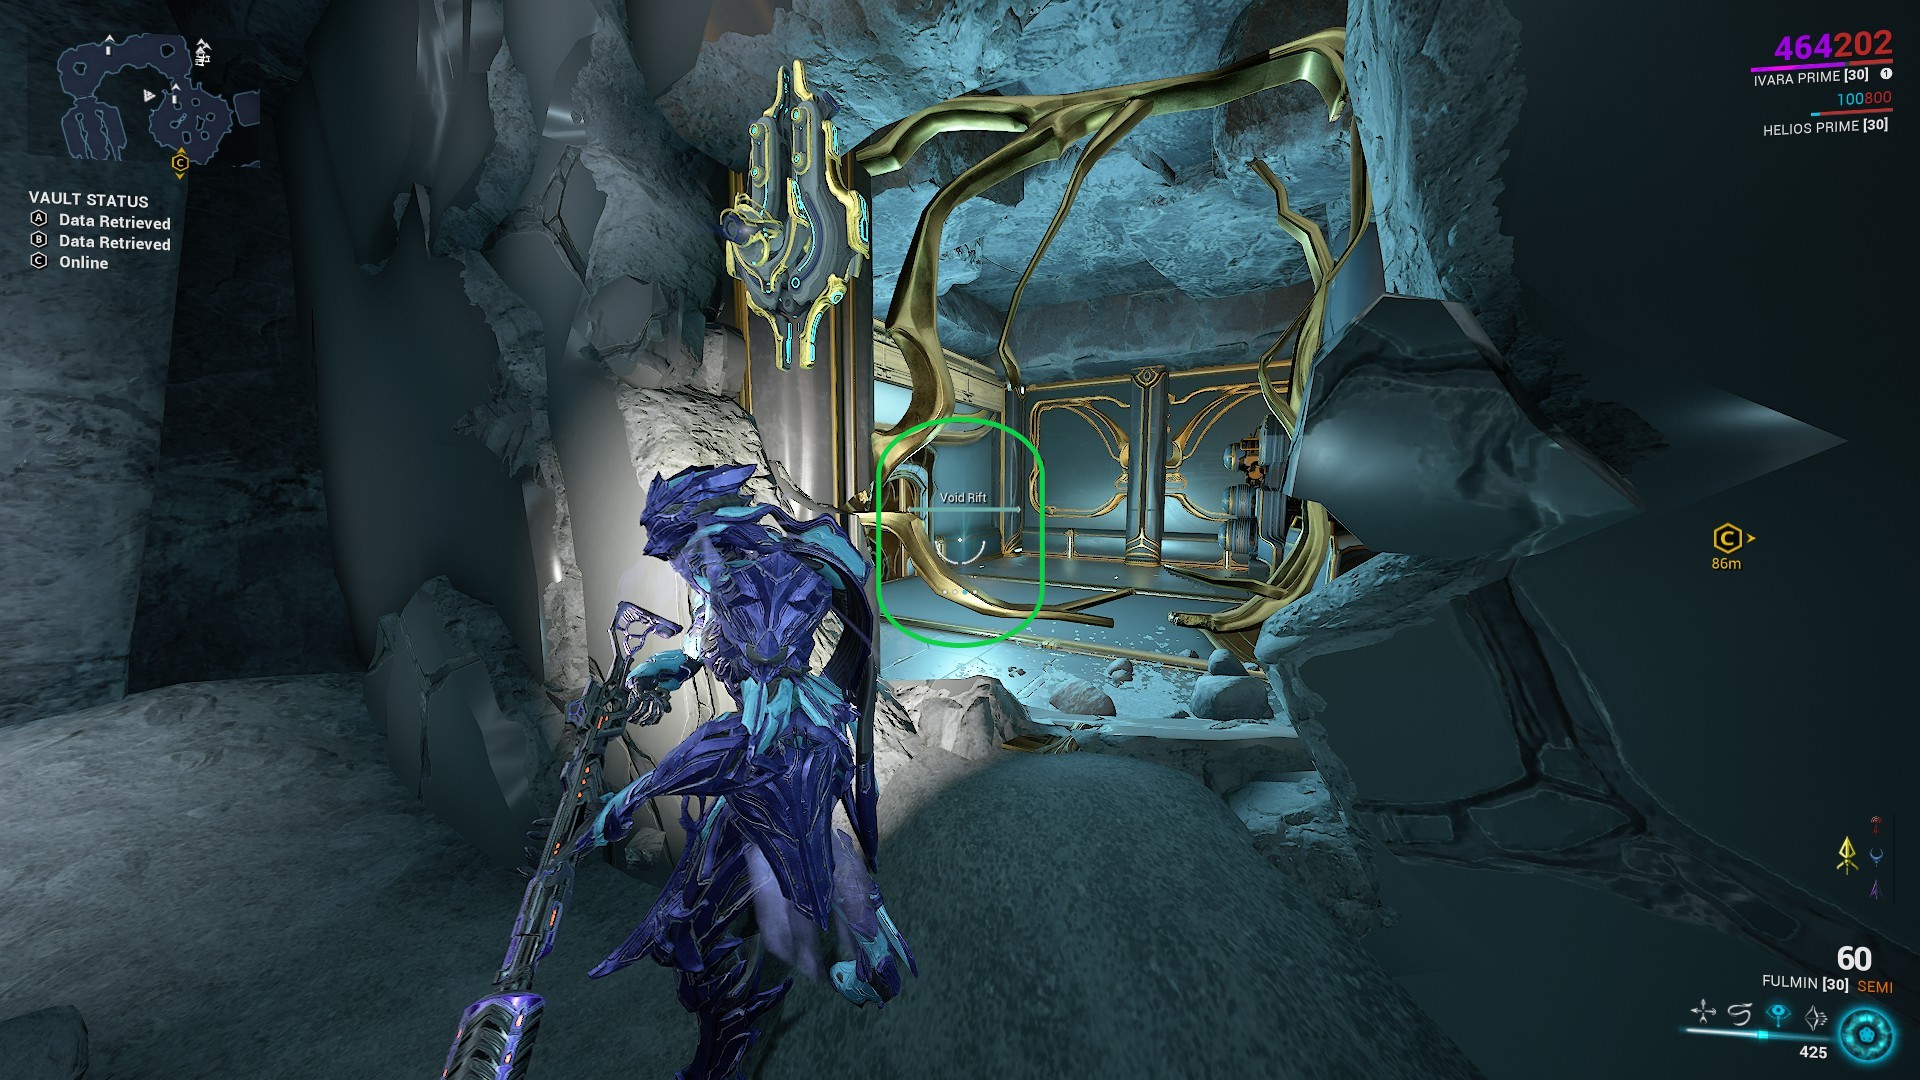
Use the void rift at the end of the tunnel to return to the past.
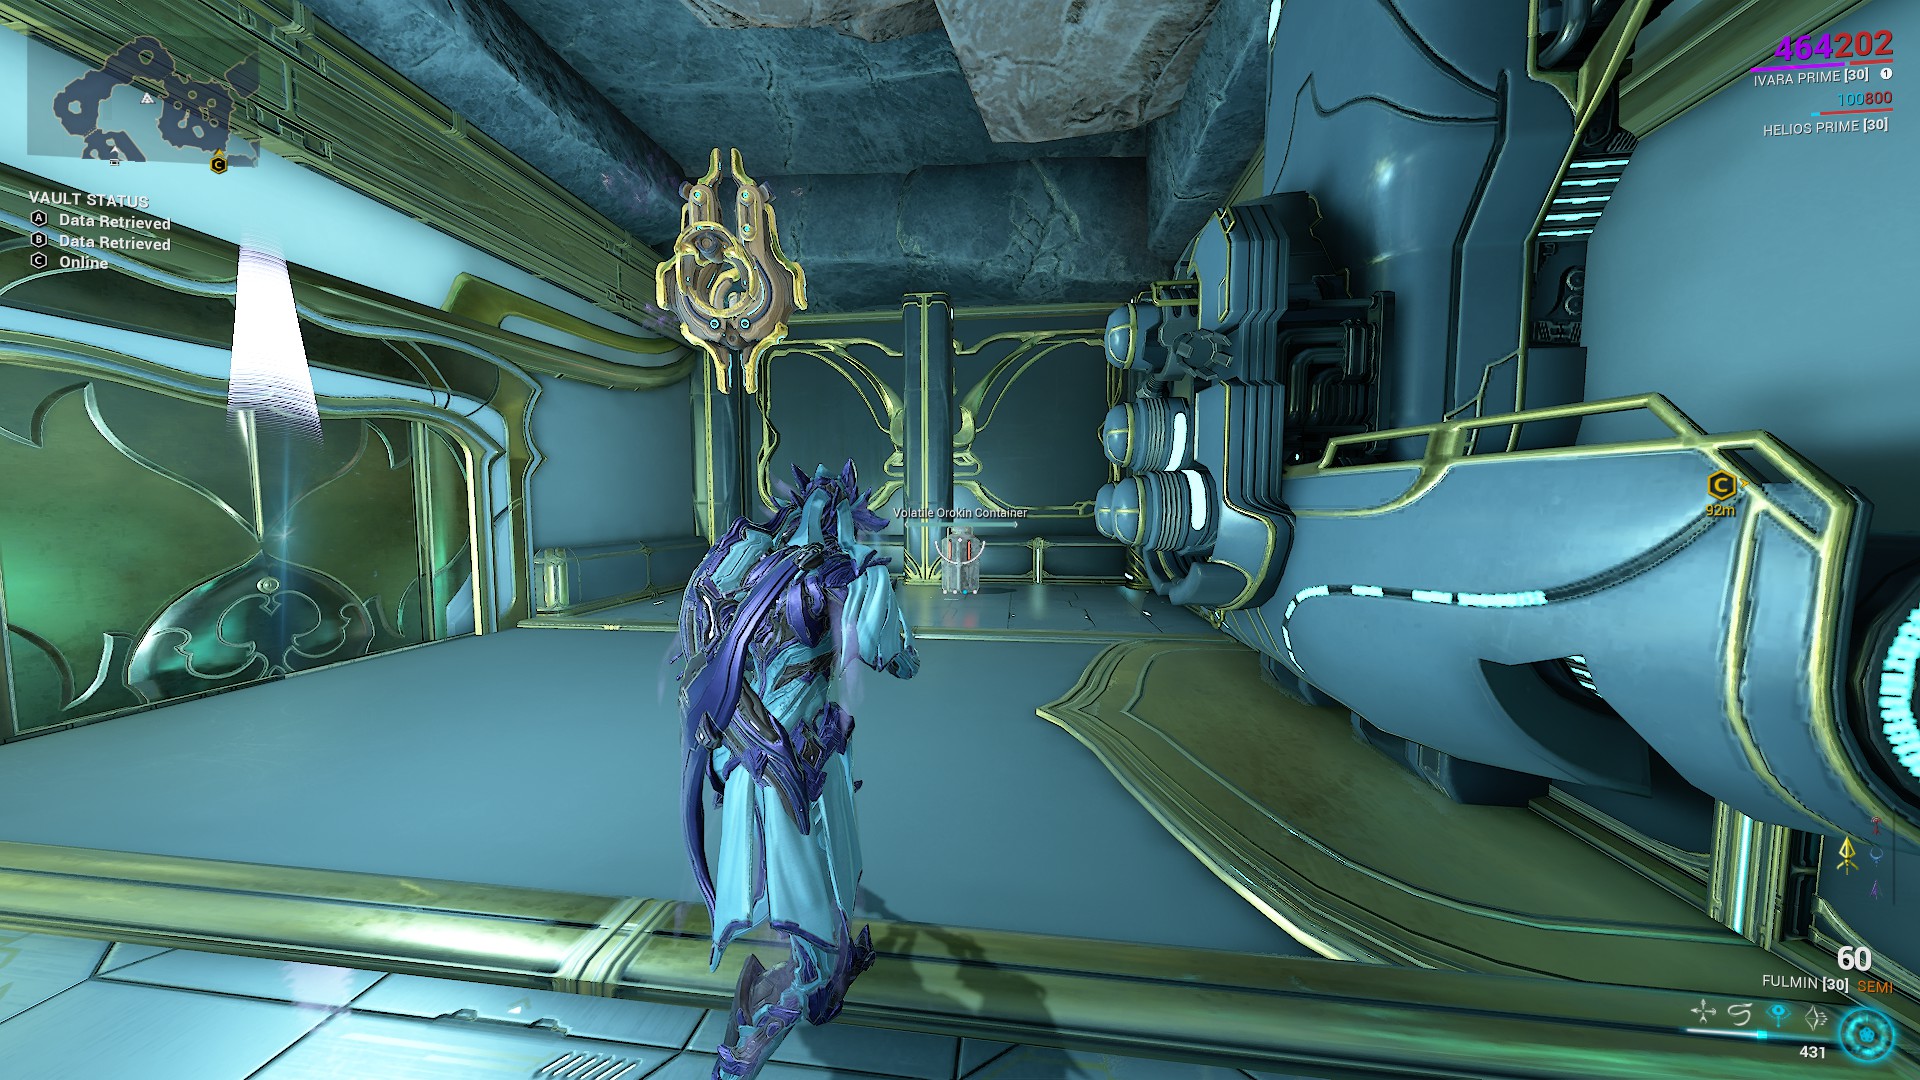
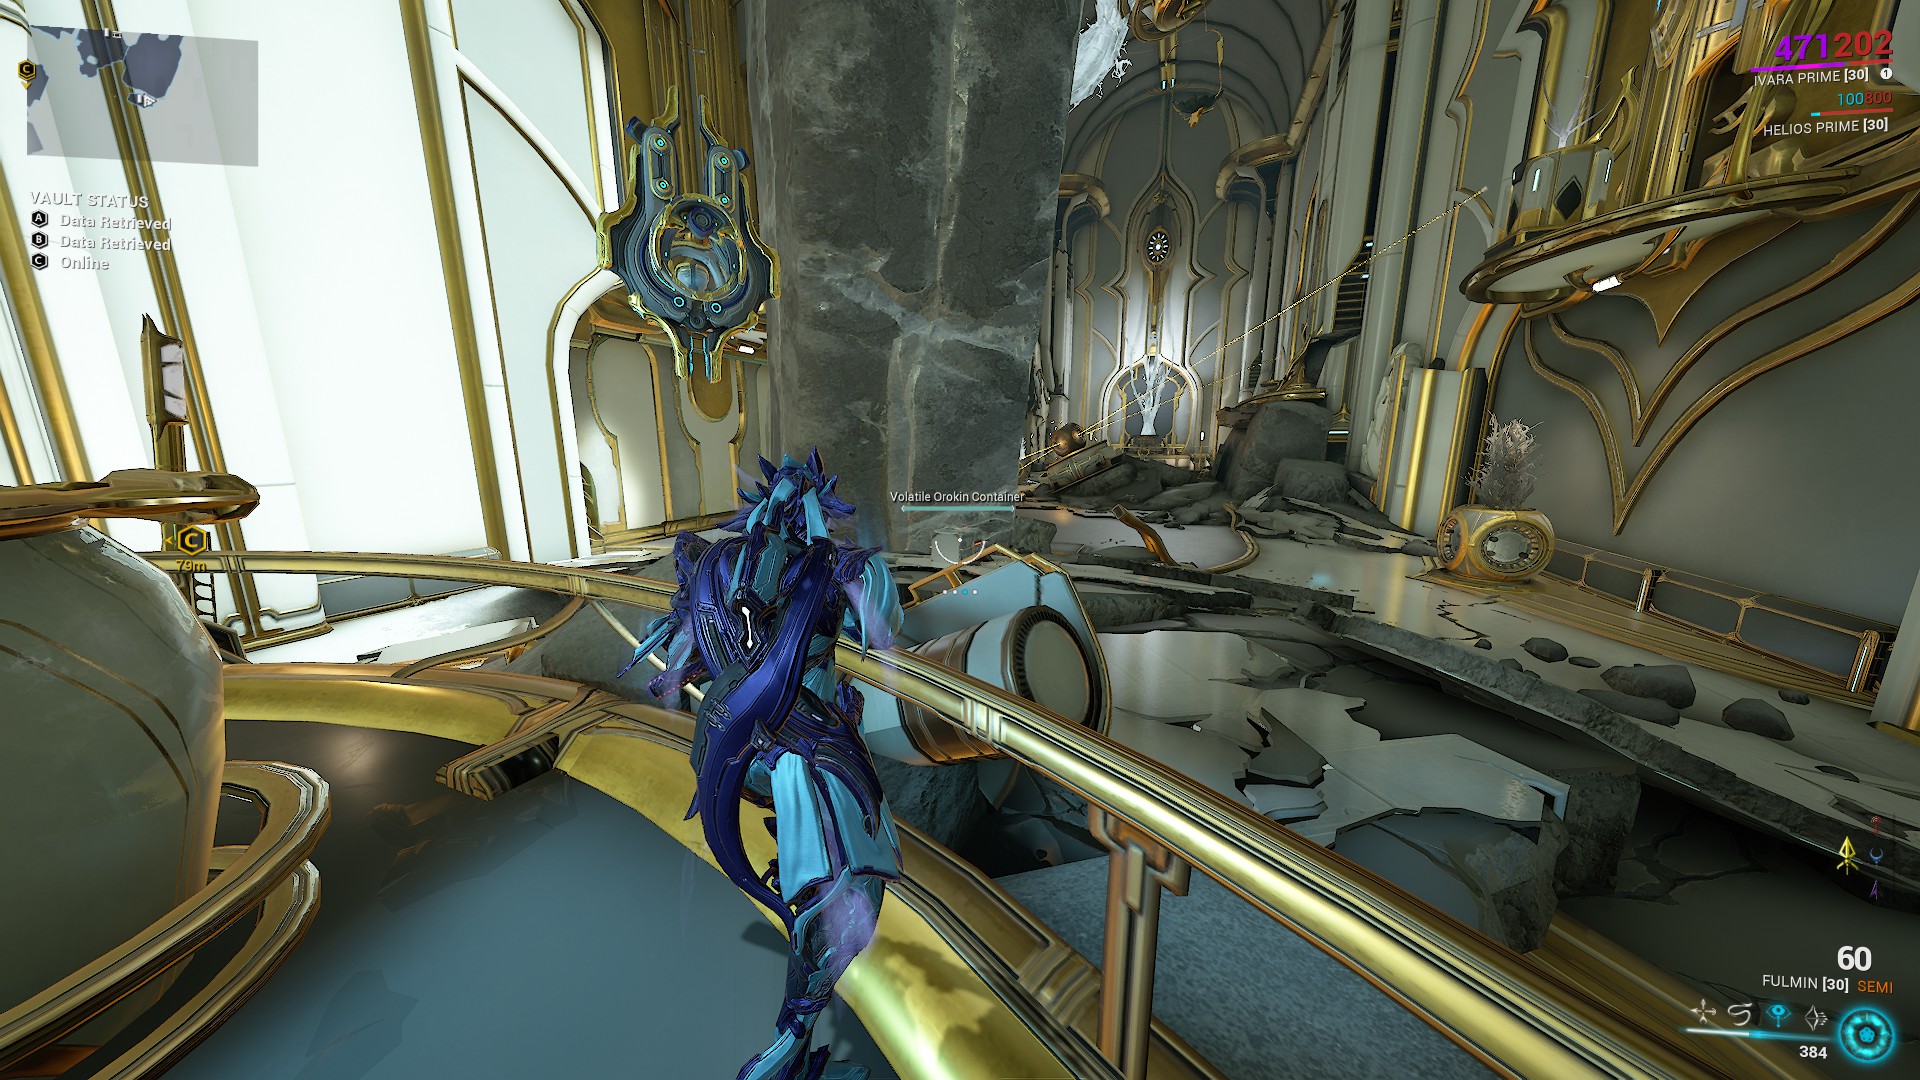
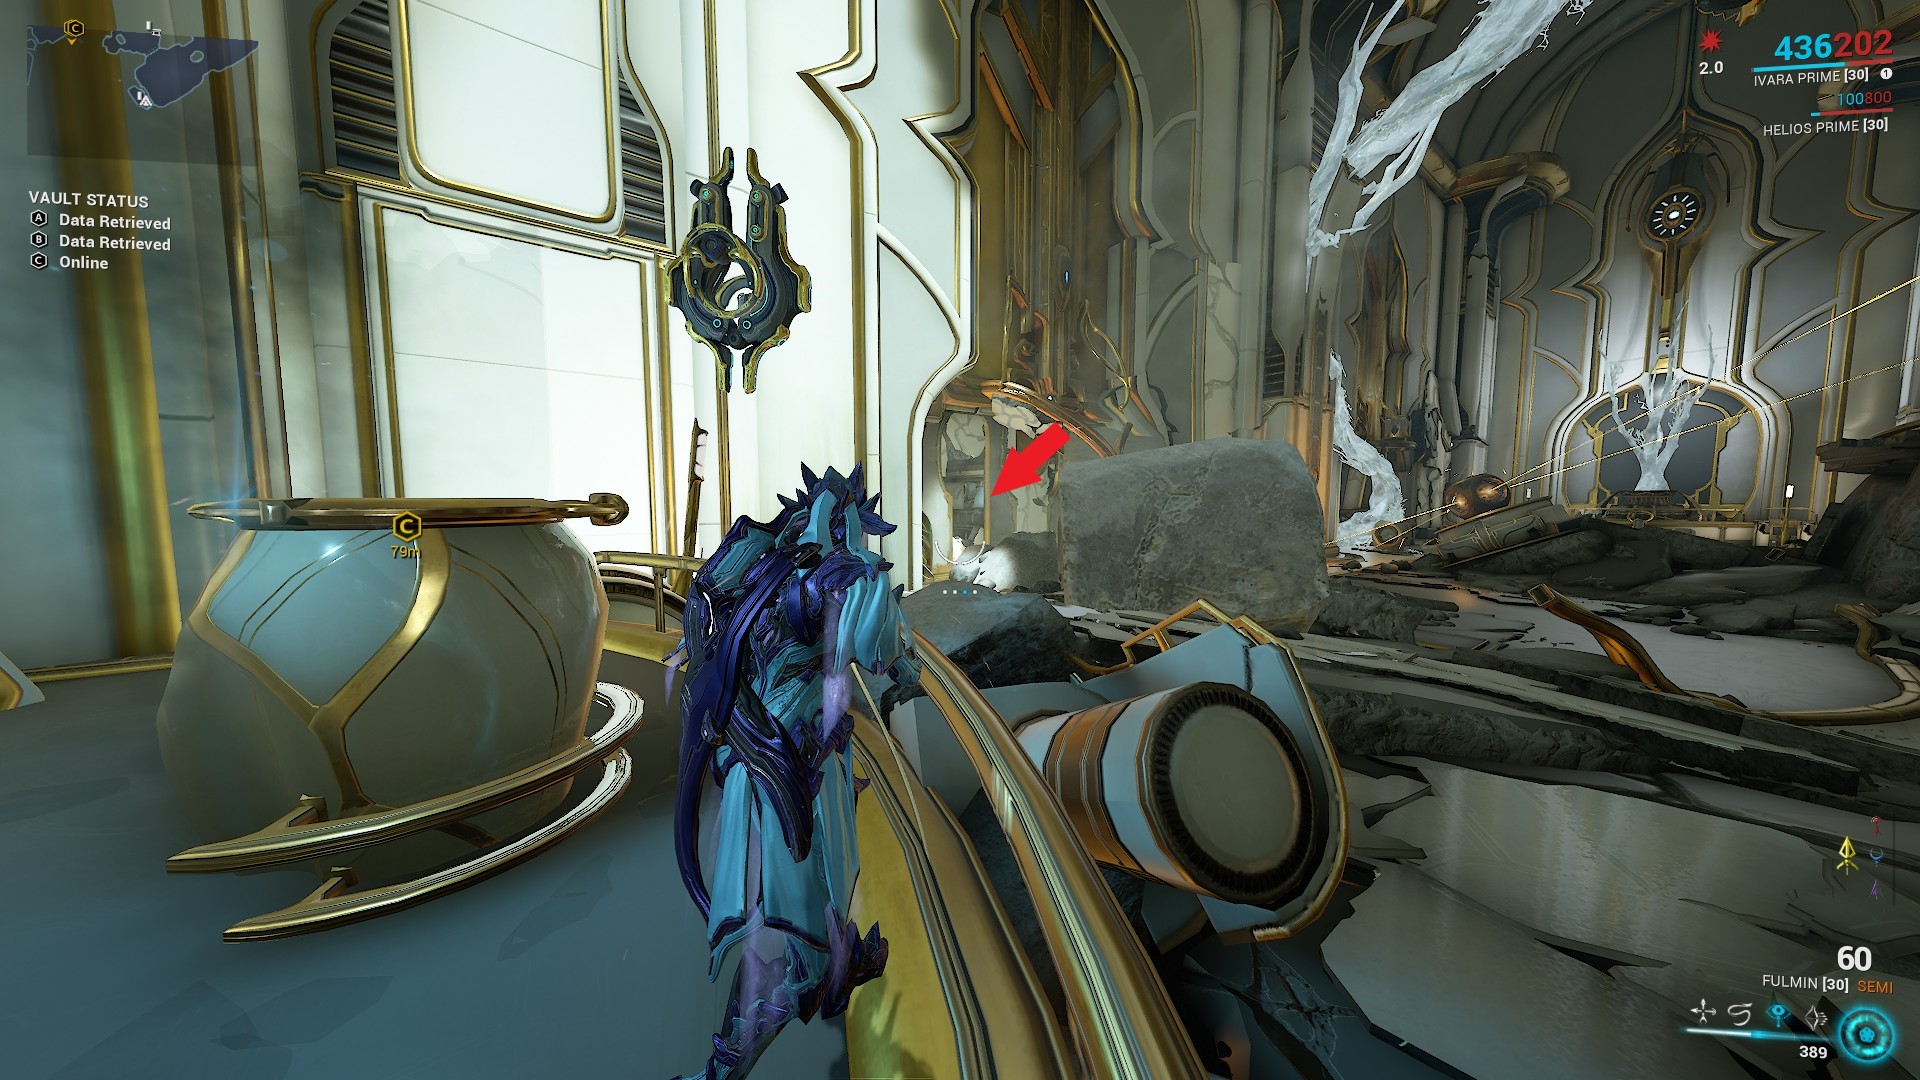
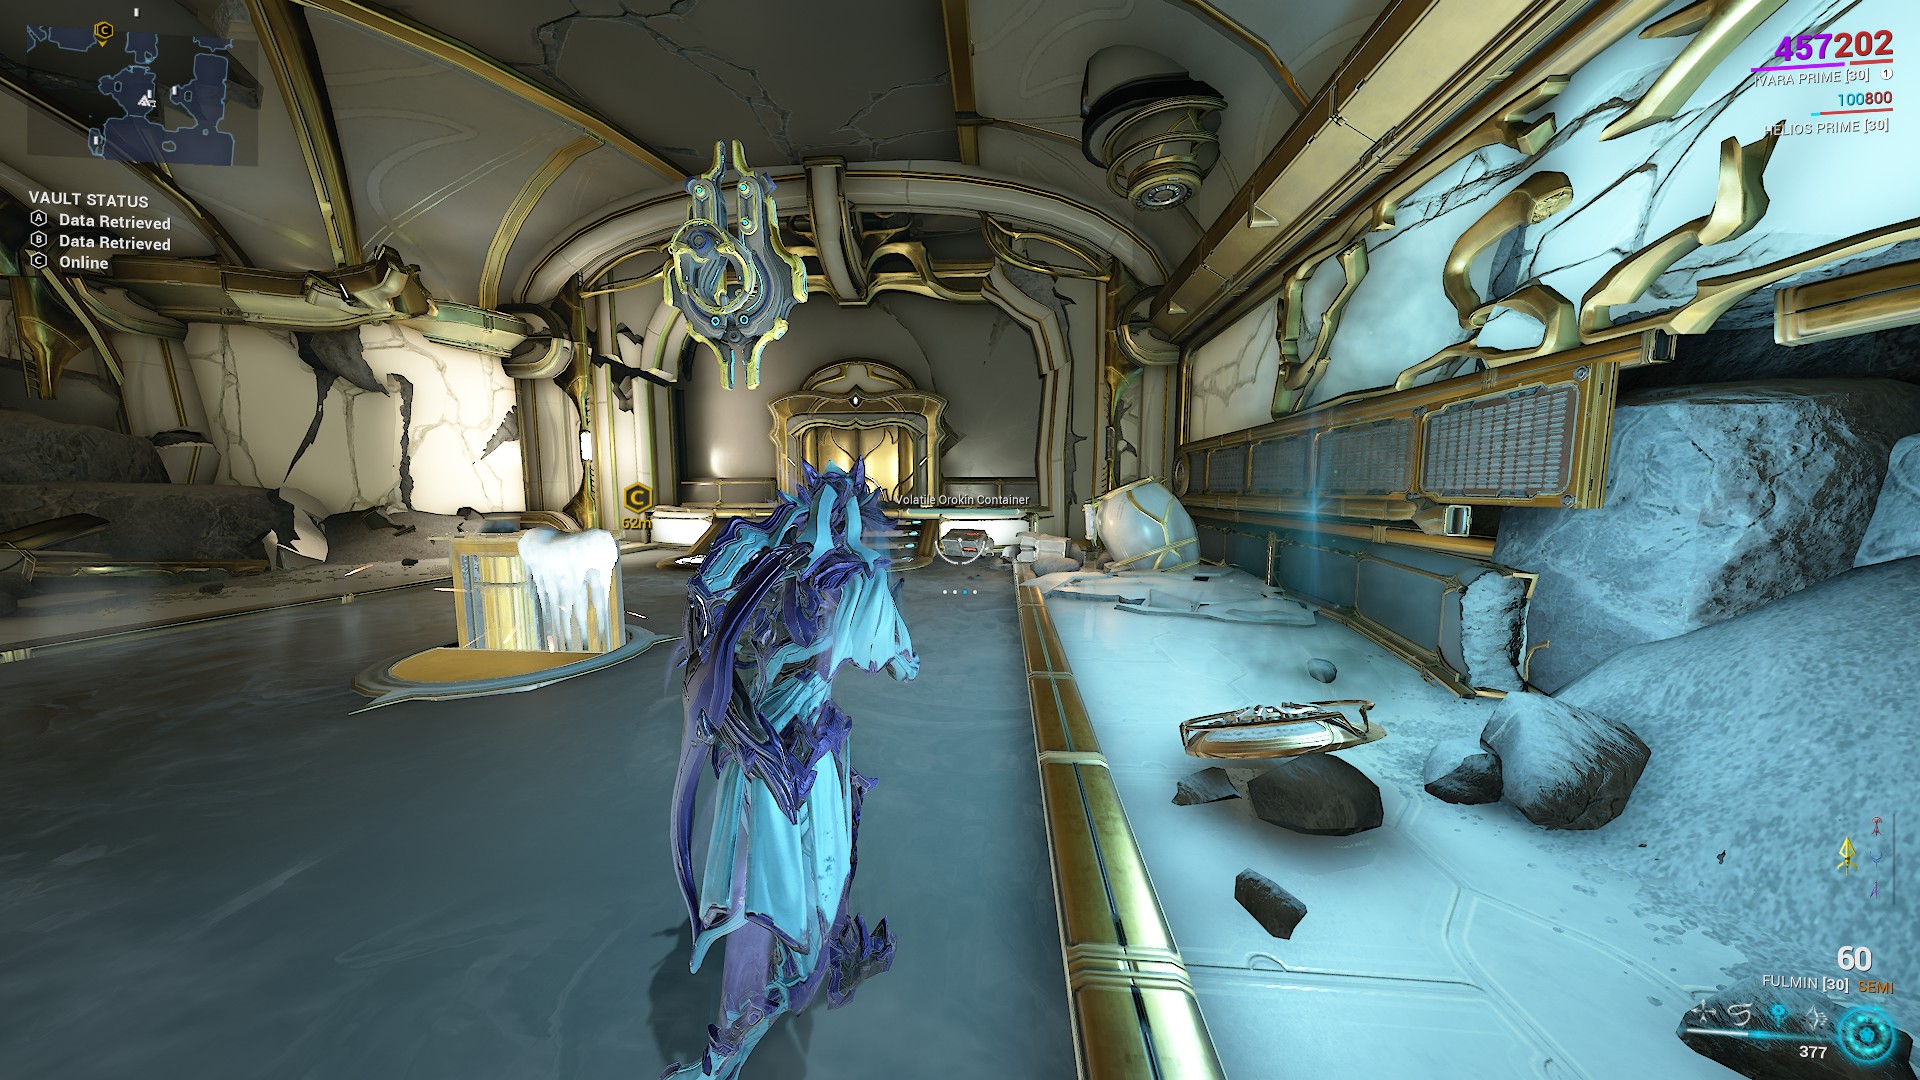
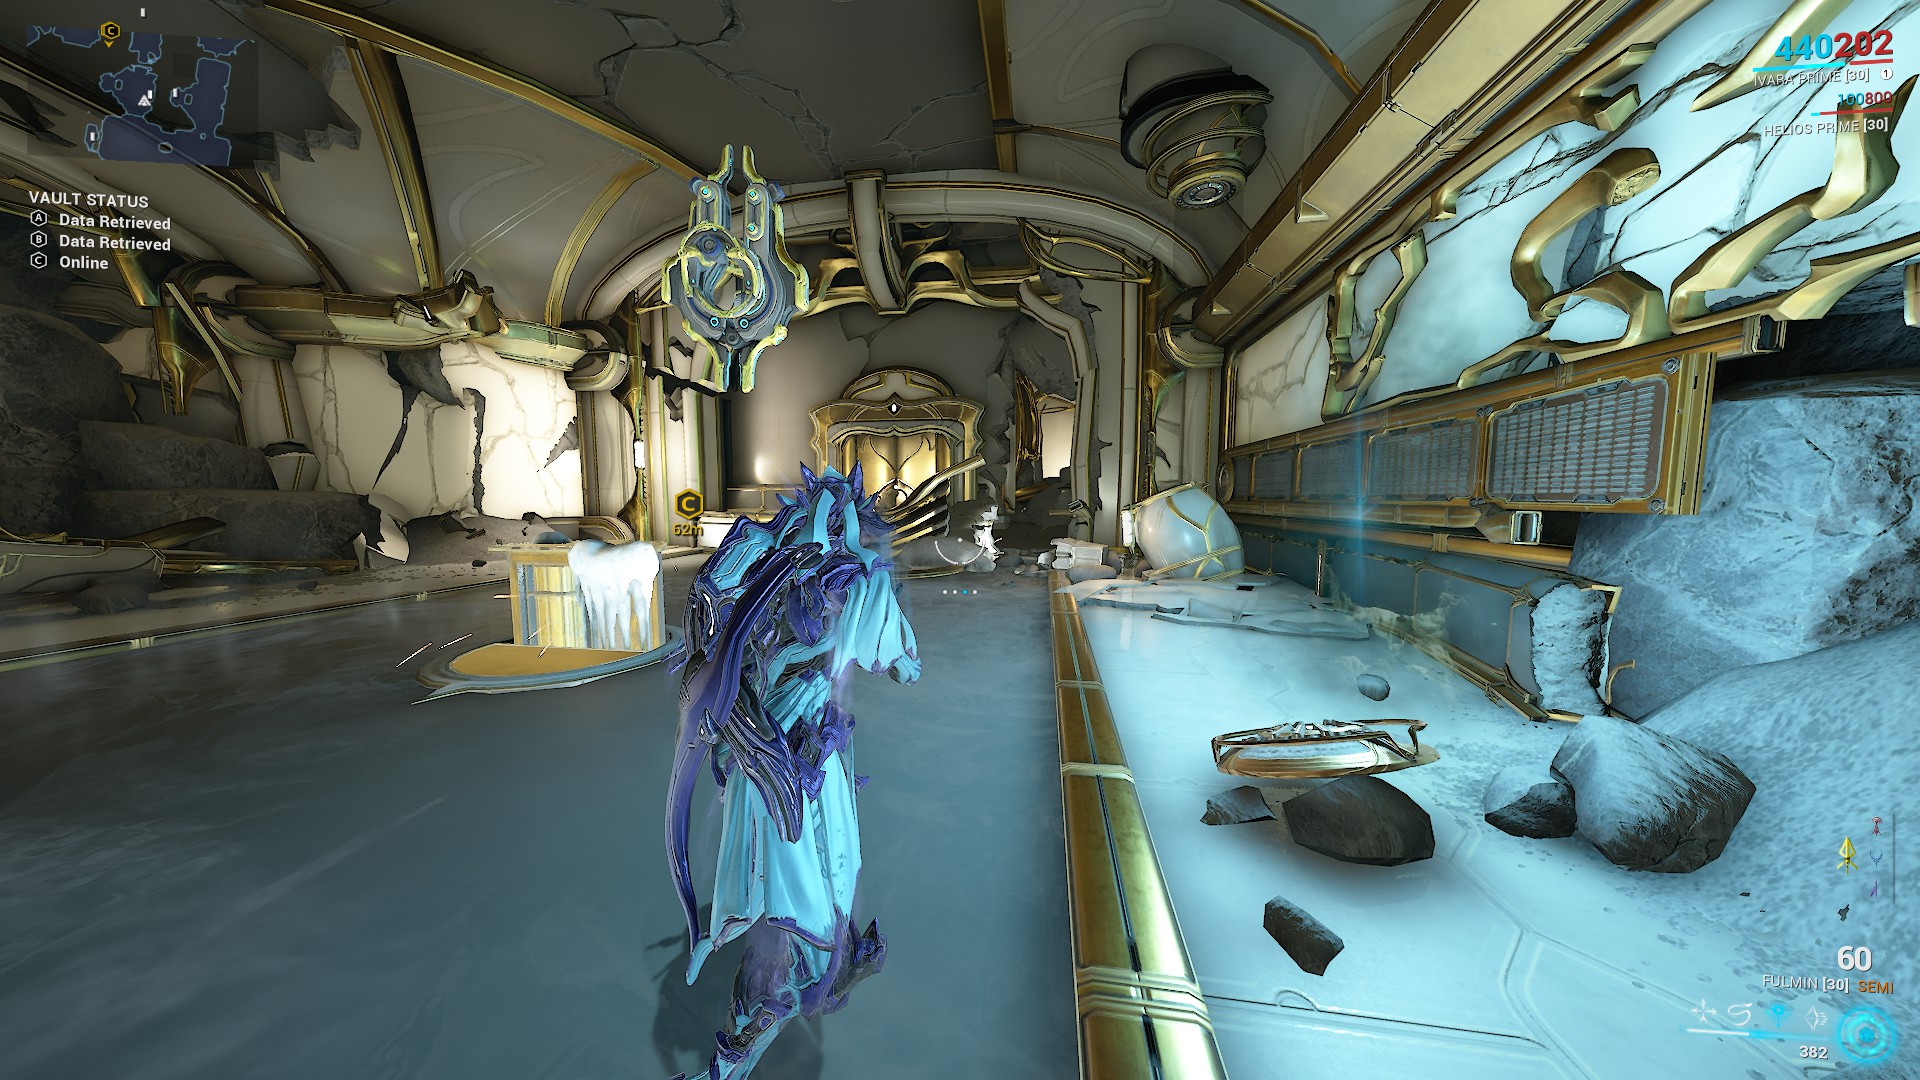
Blow up the volatile orokin container. Use the void rift to return to the present.
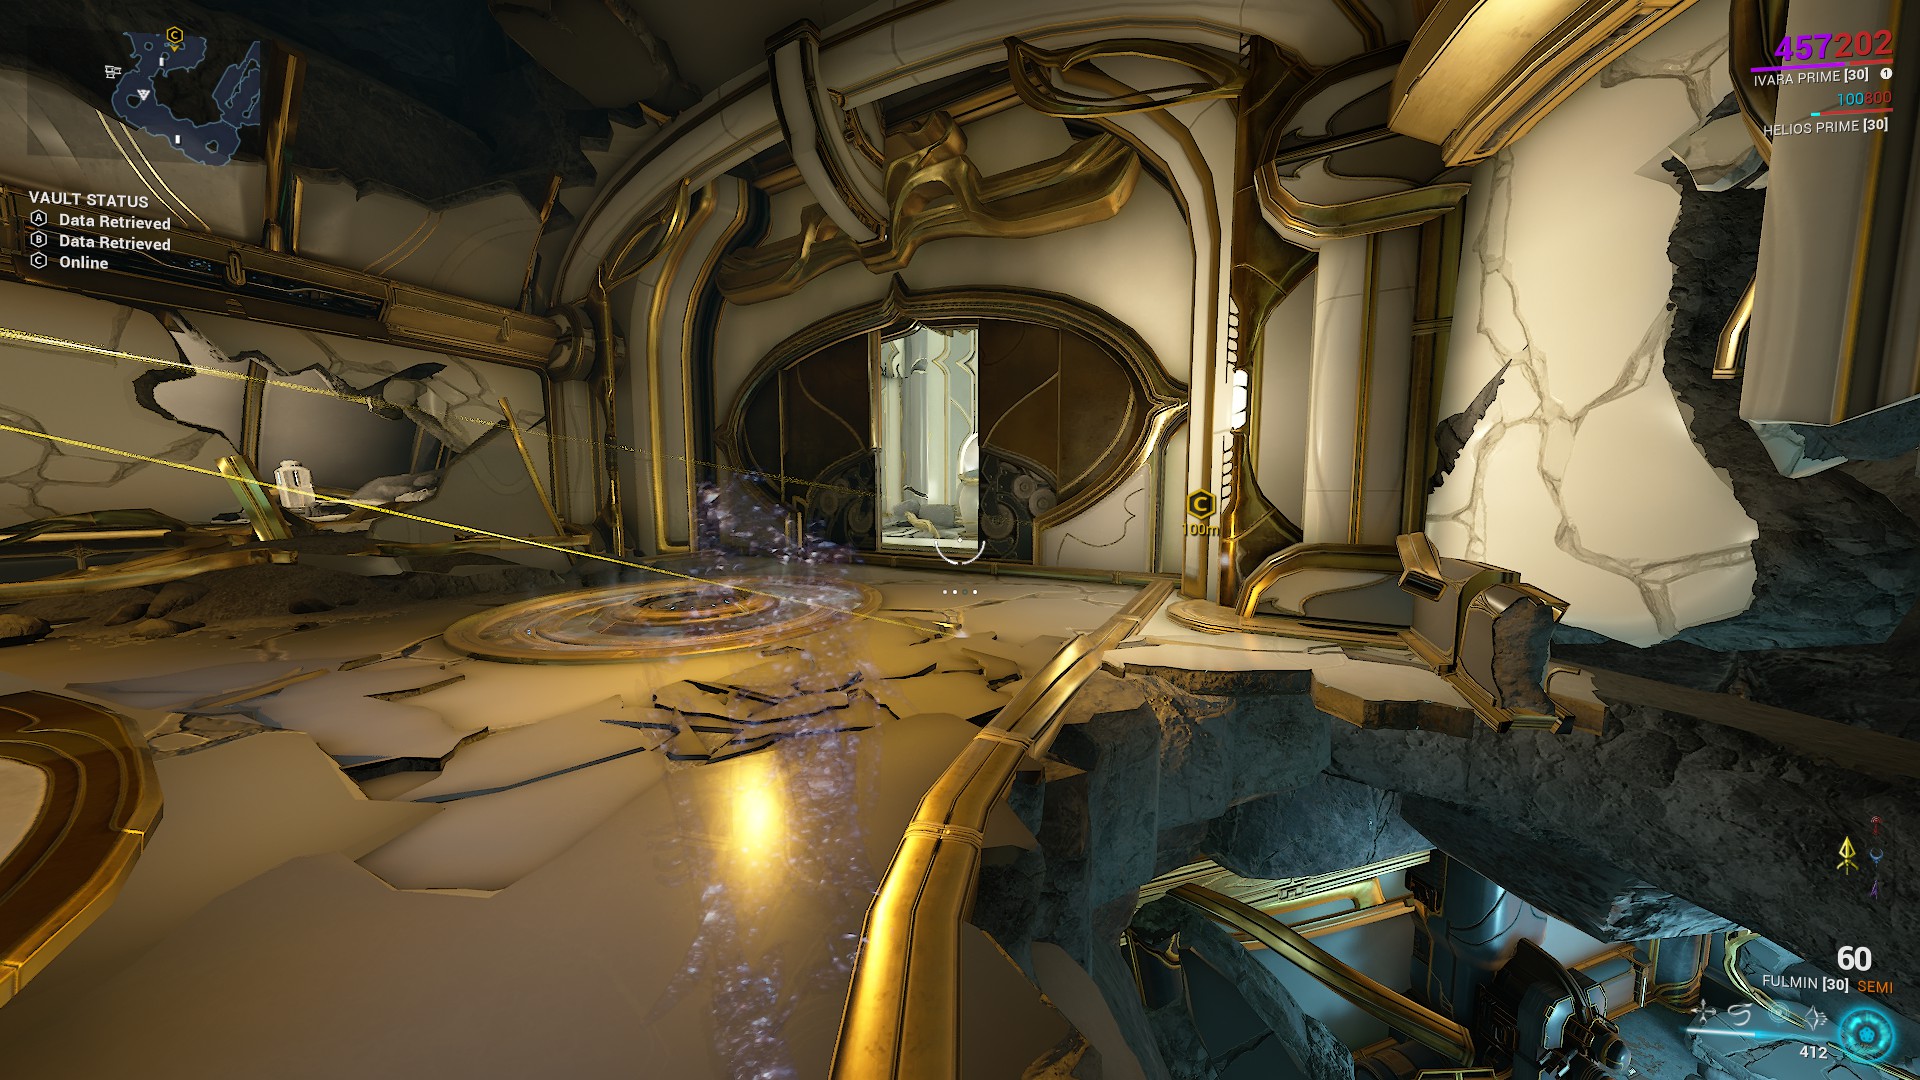
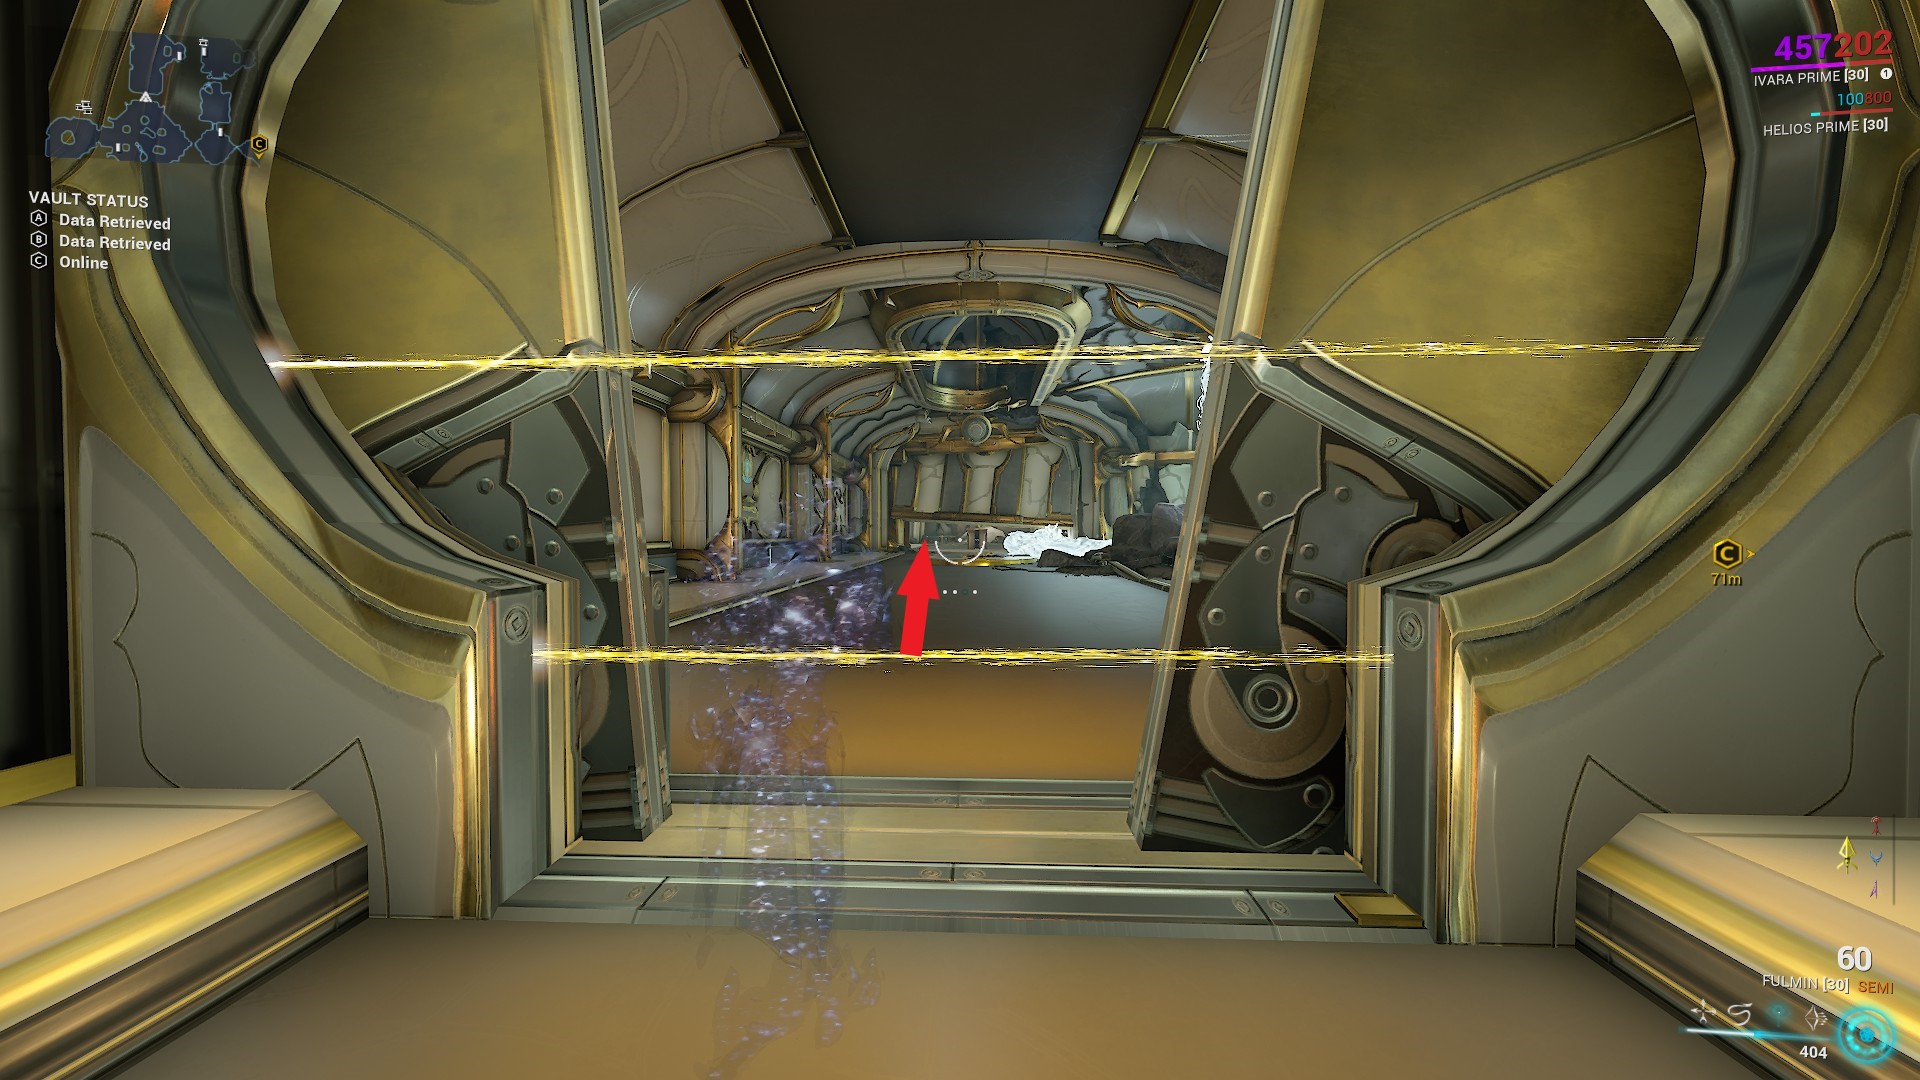
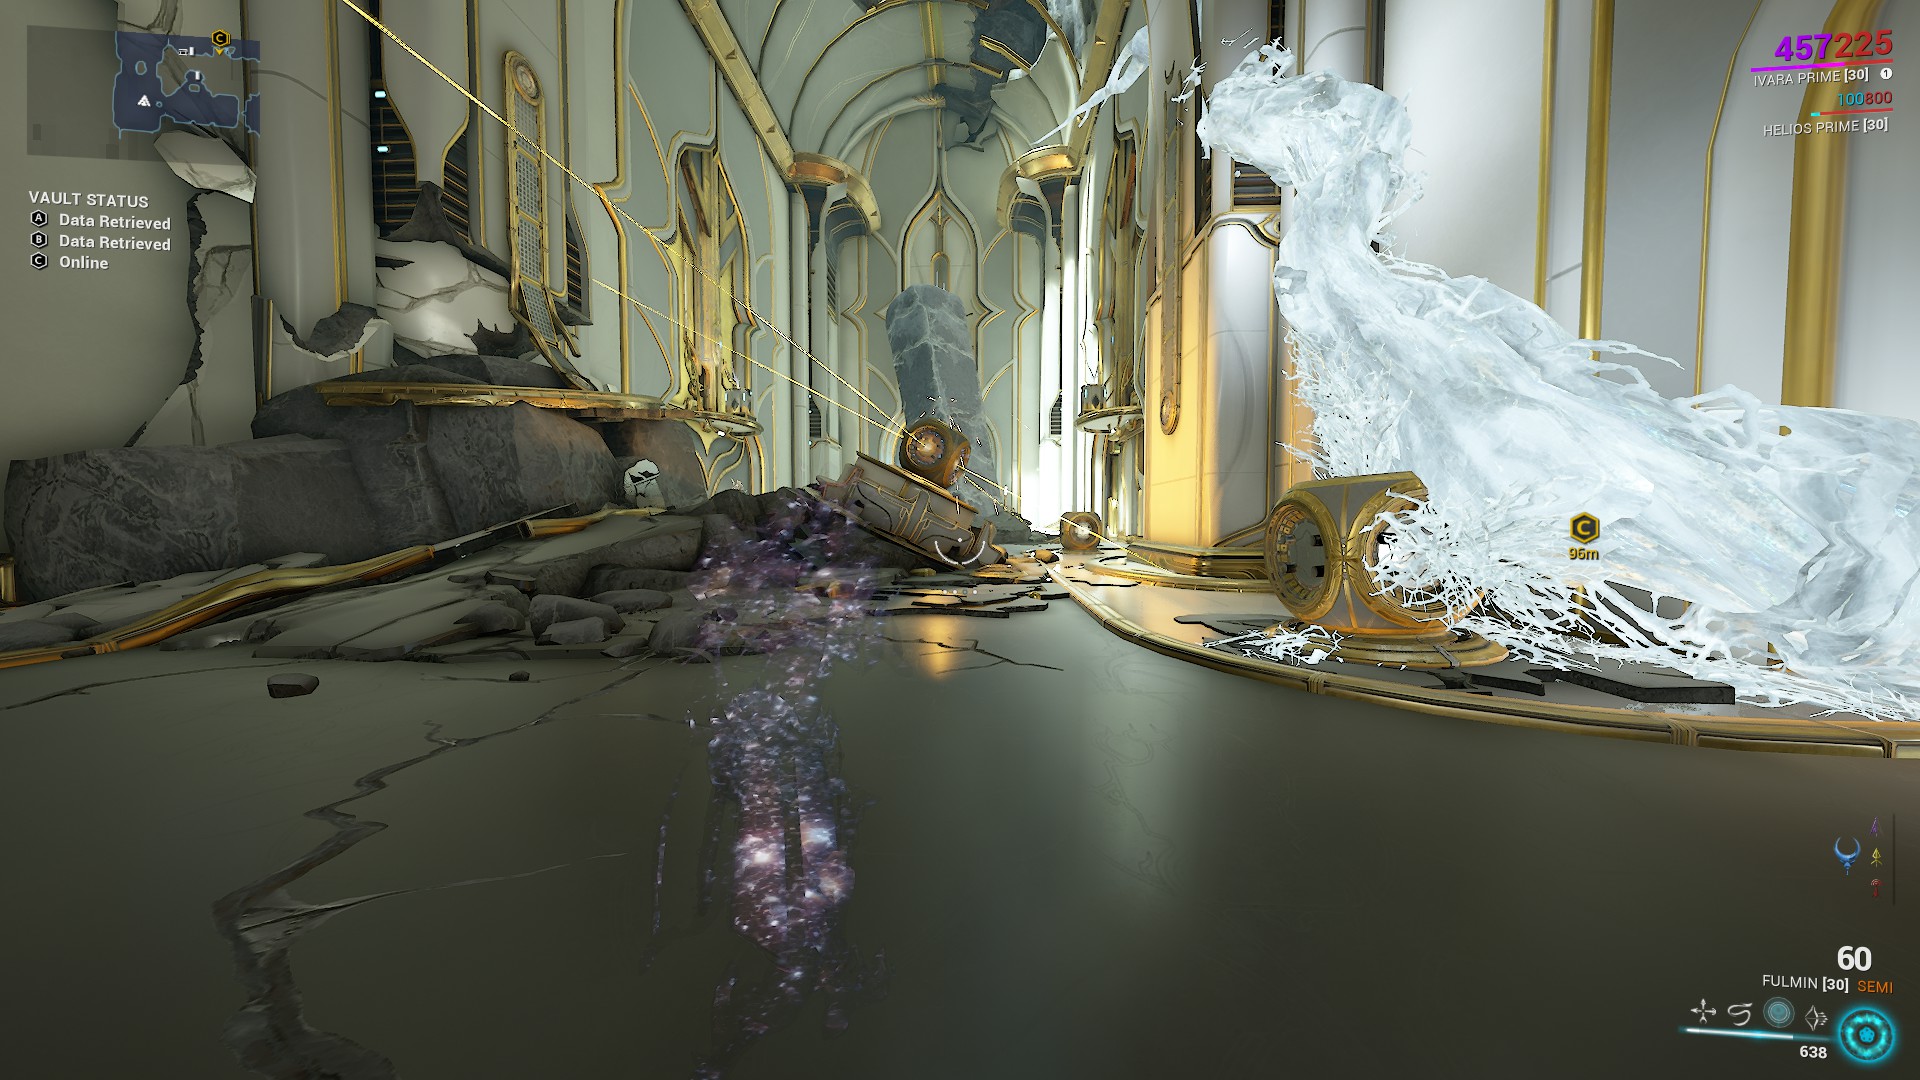
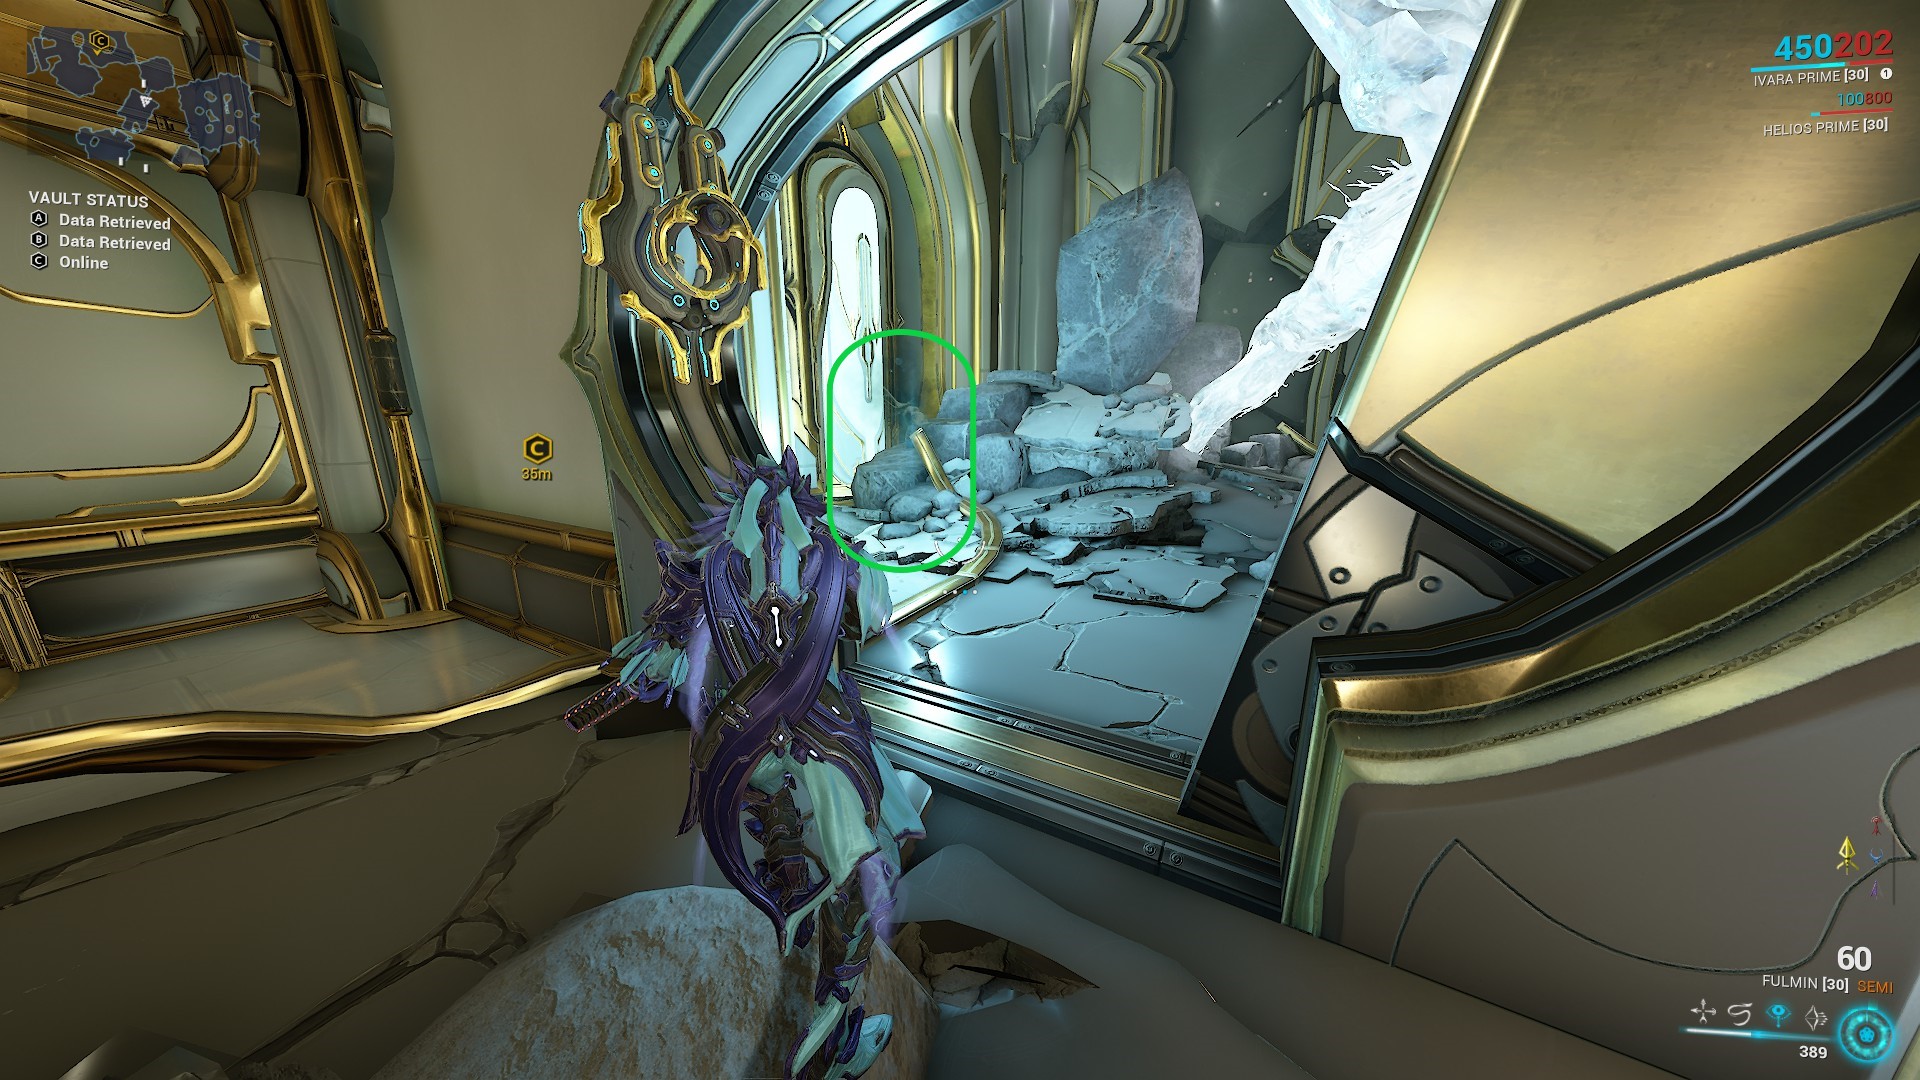
Go through the hole you just made. Be cautious of the lasers at the top.
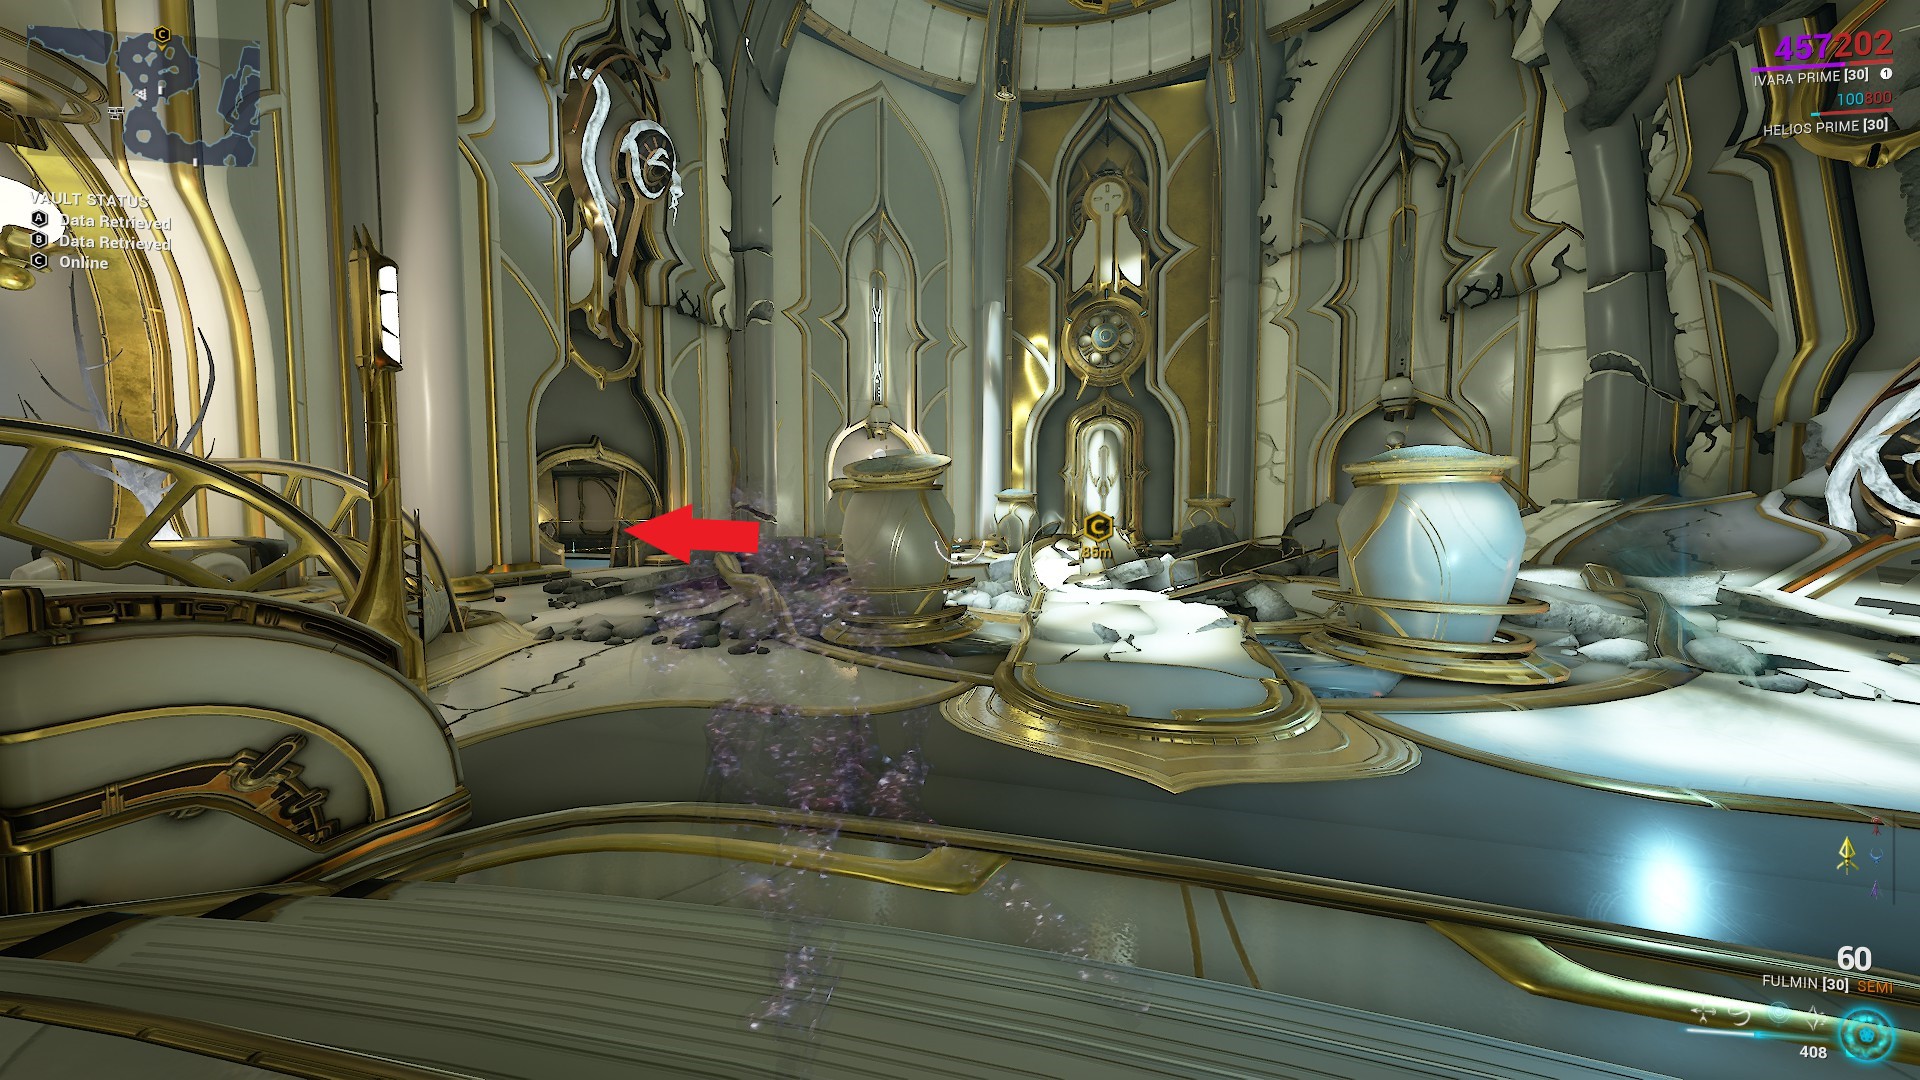
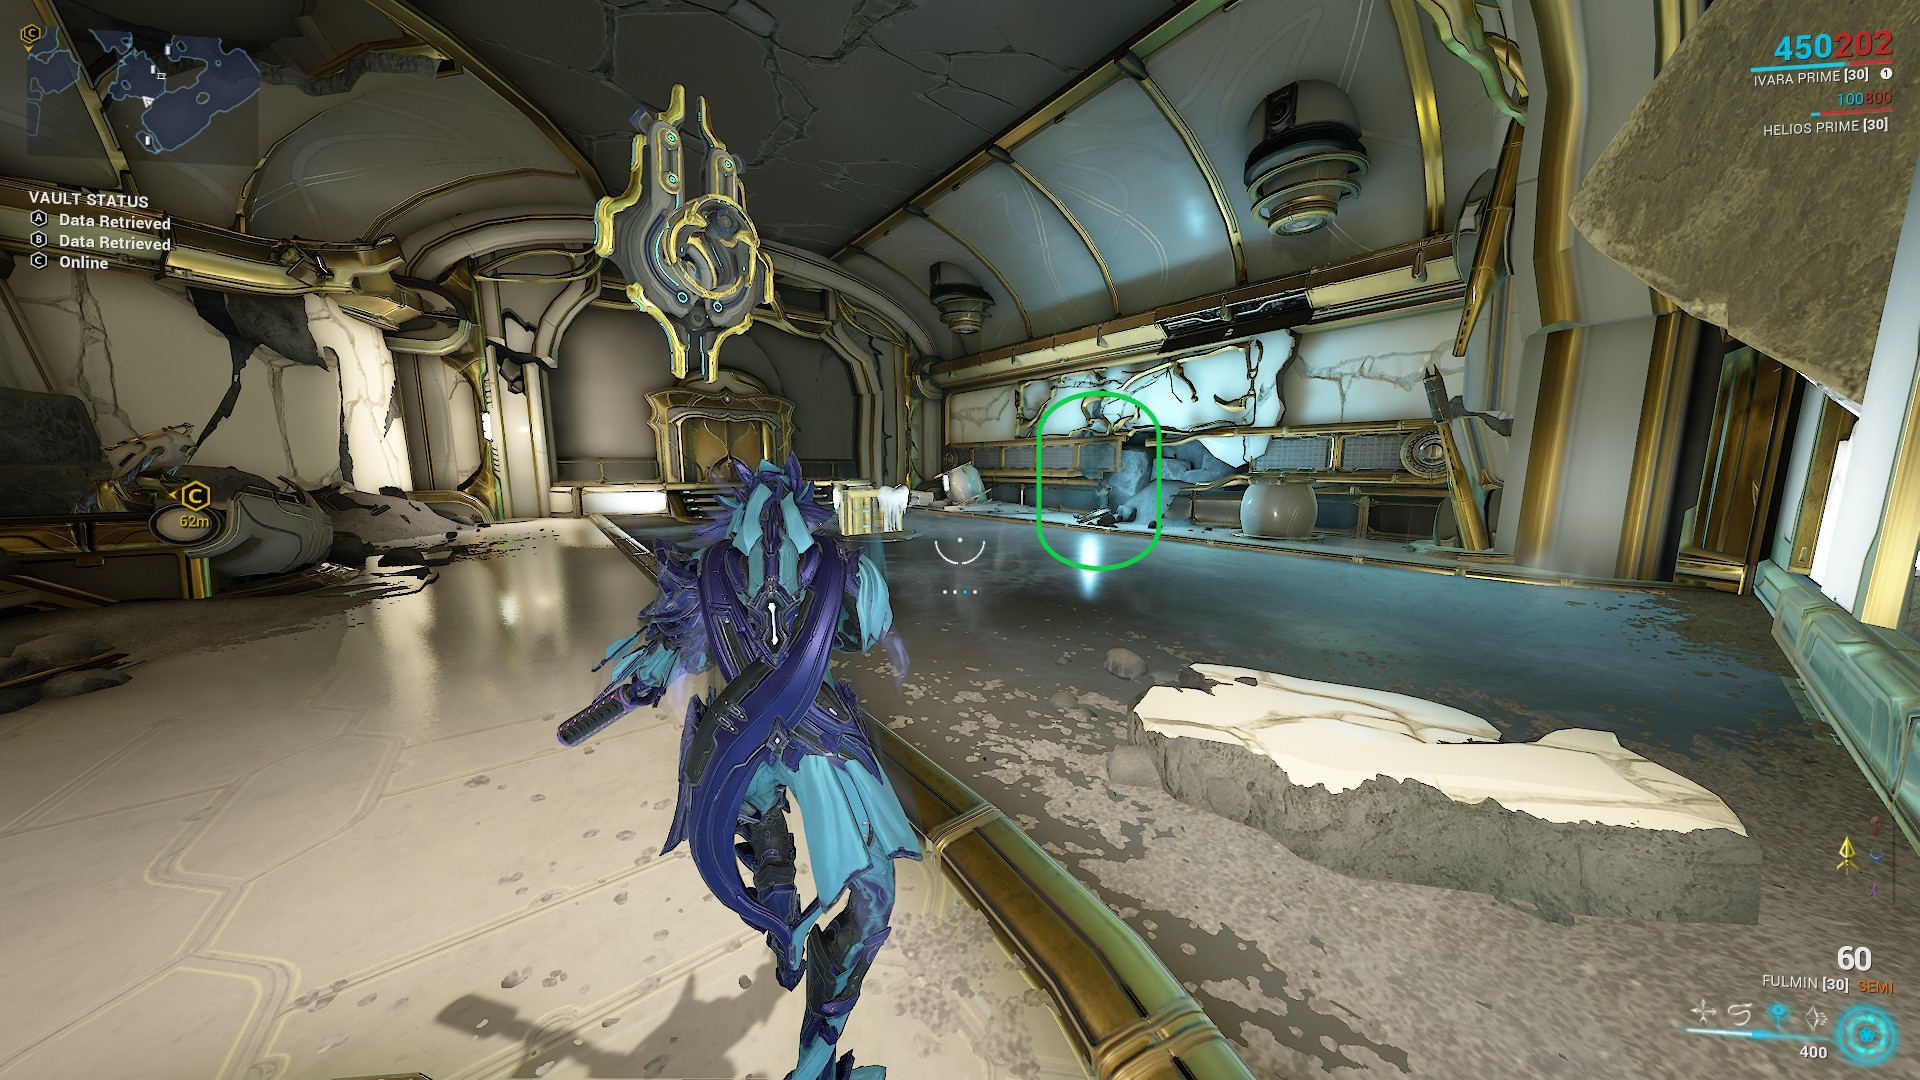
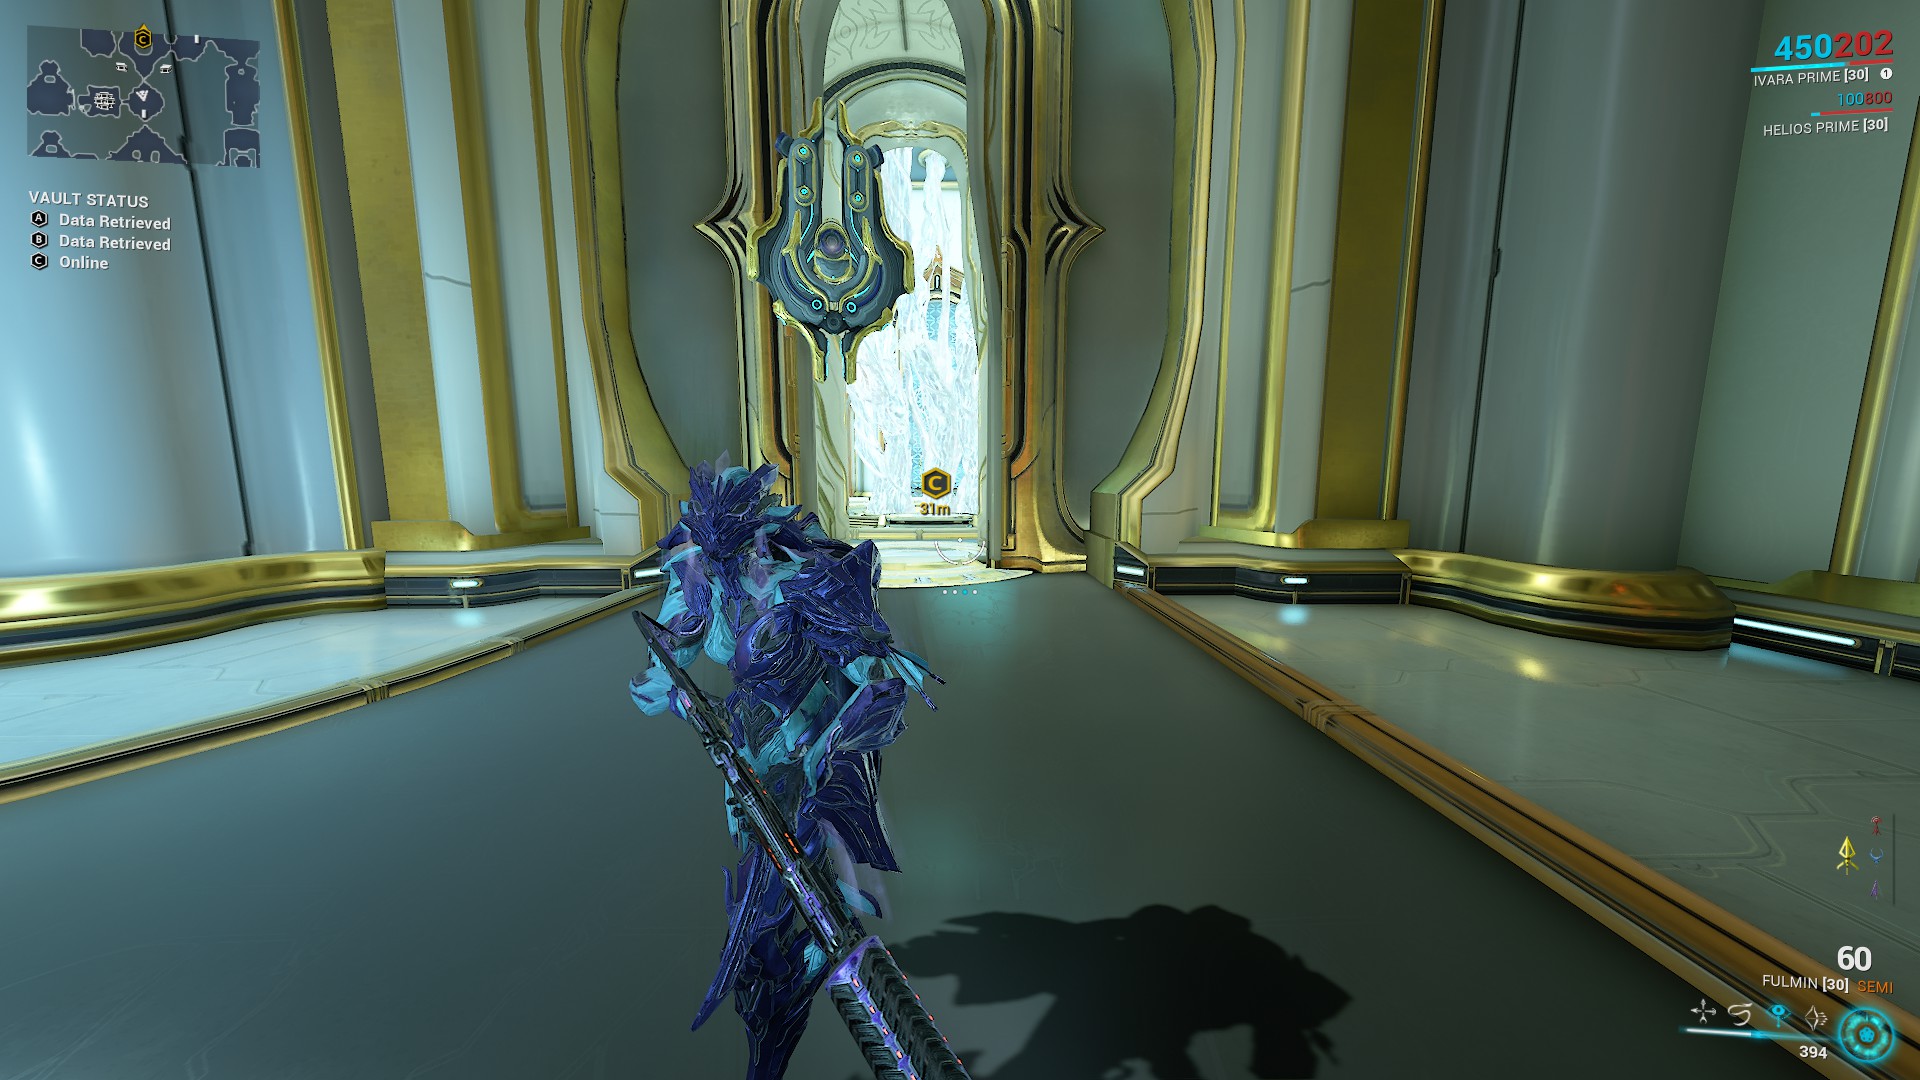
Go through the door, then through the open door on your left. Continue forward under the fallen door.
Continue forward in the next room.
Use the void rift to return to the past.
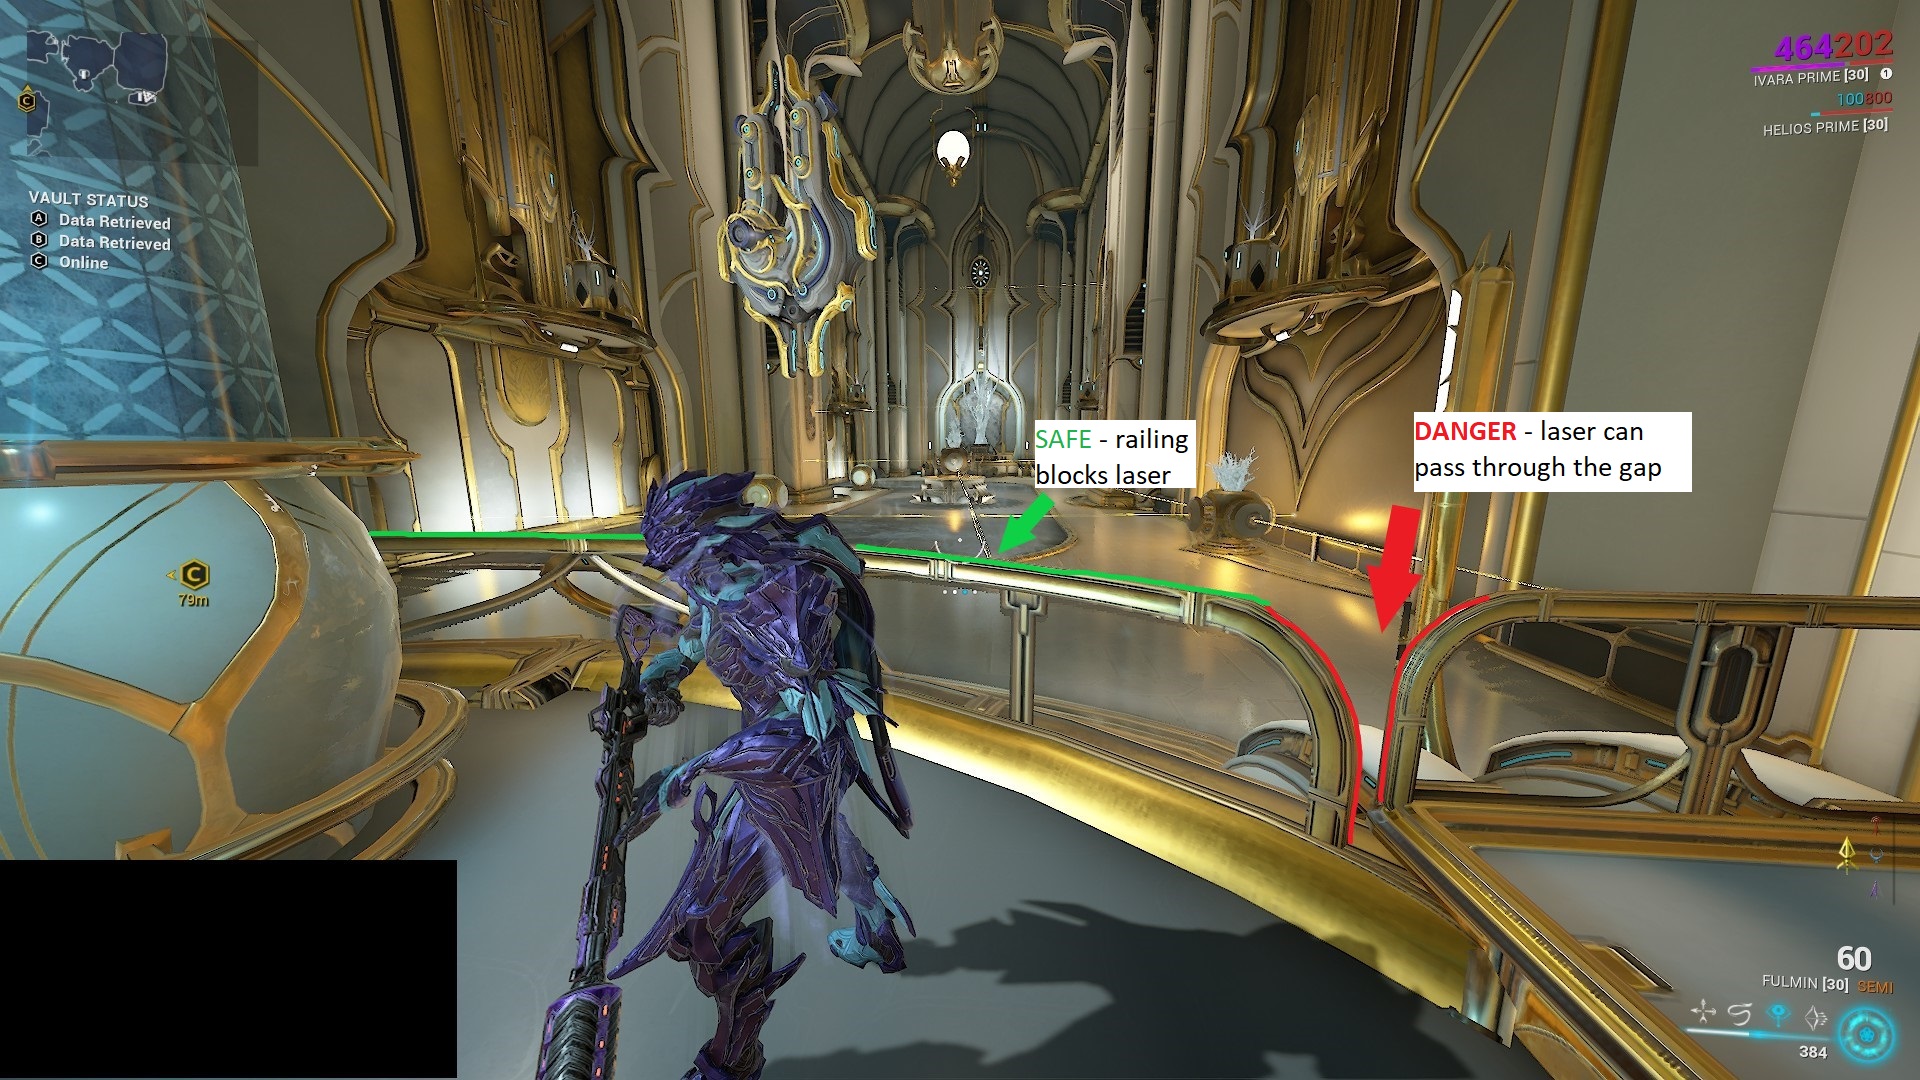
BE CAREFUL IN THIS AREA – your abilities will reset when you pass through the void rift.
The railing around you will block the laser beams. However, there is a gap between the two railings where the laser can pass through and detect you!
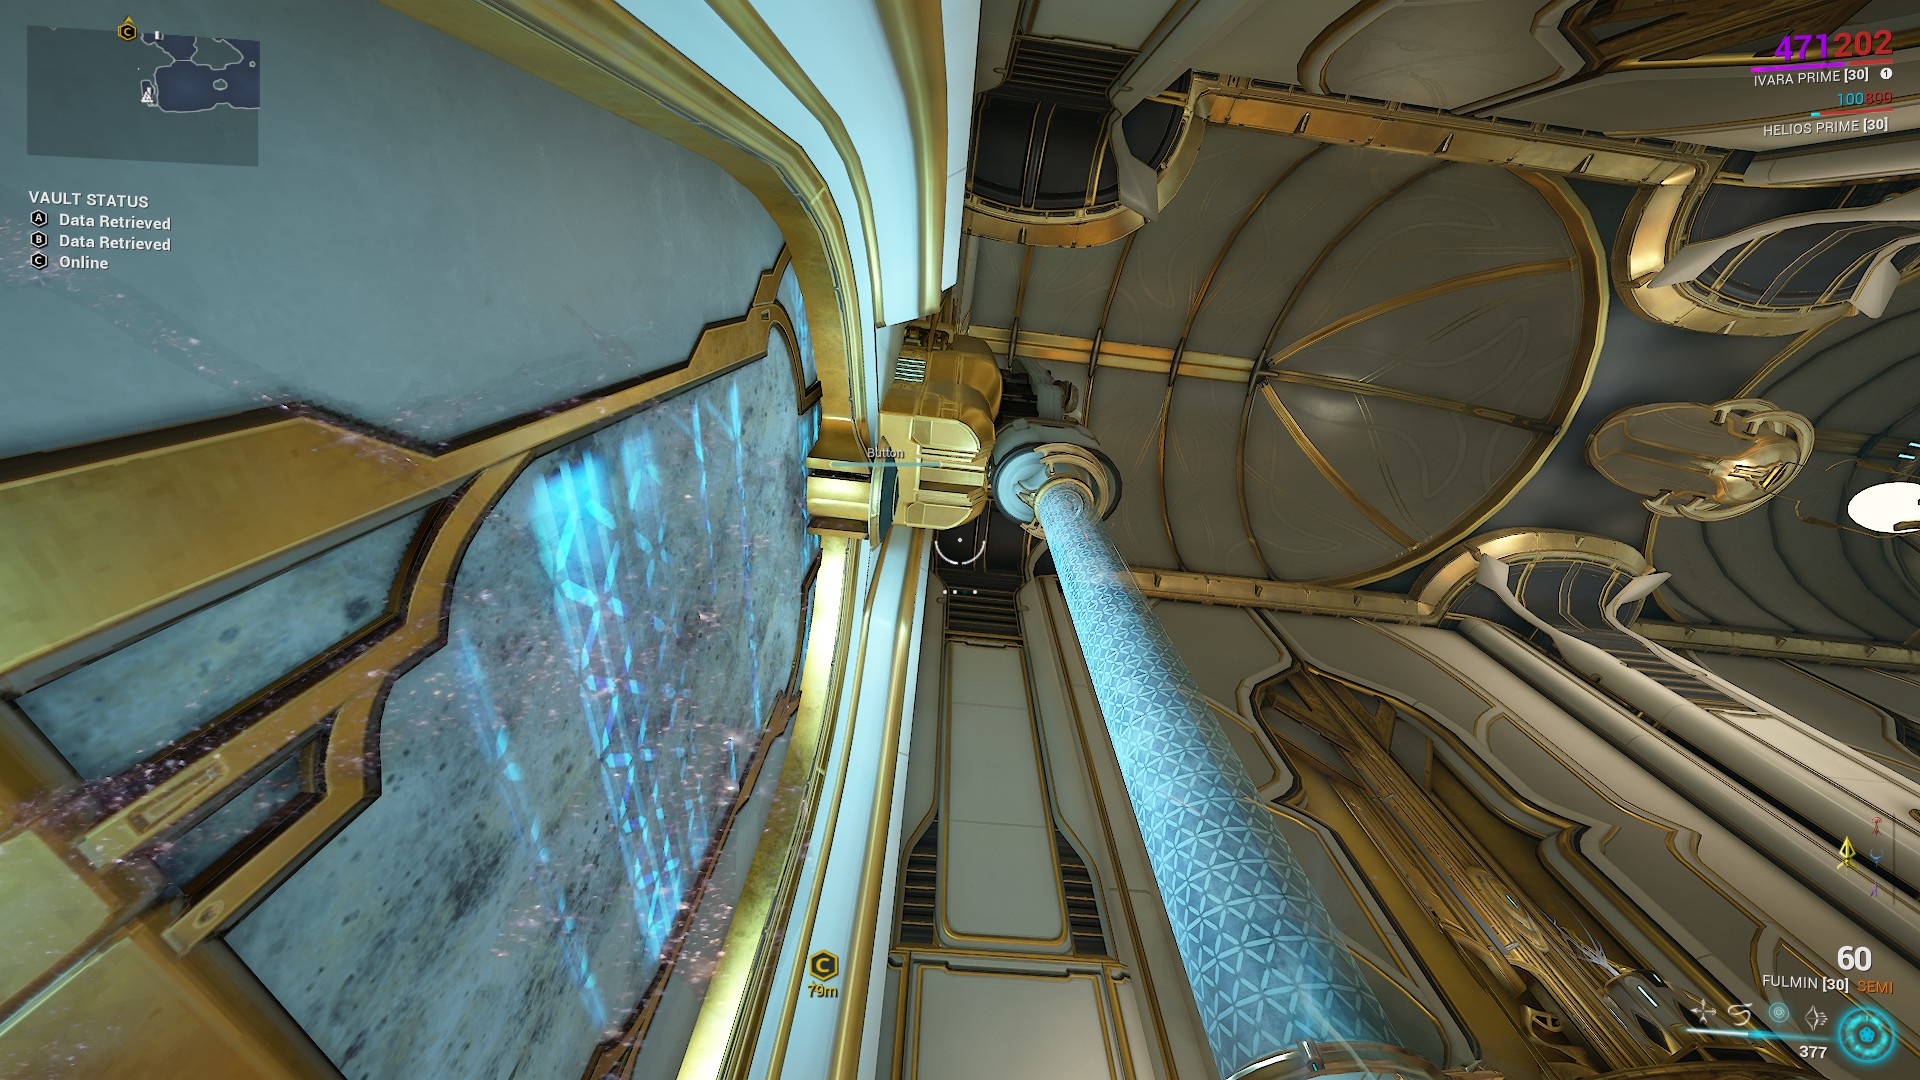
Shoot the button to release the explosive container. Use the void rift to return to the present.
Shoot the container and proceed through the hole you just created.
Use the void rift in this room to return to the past.
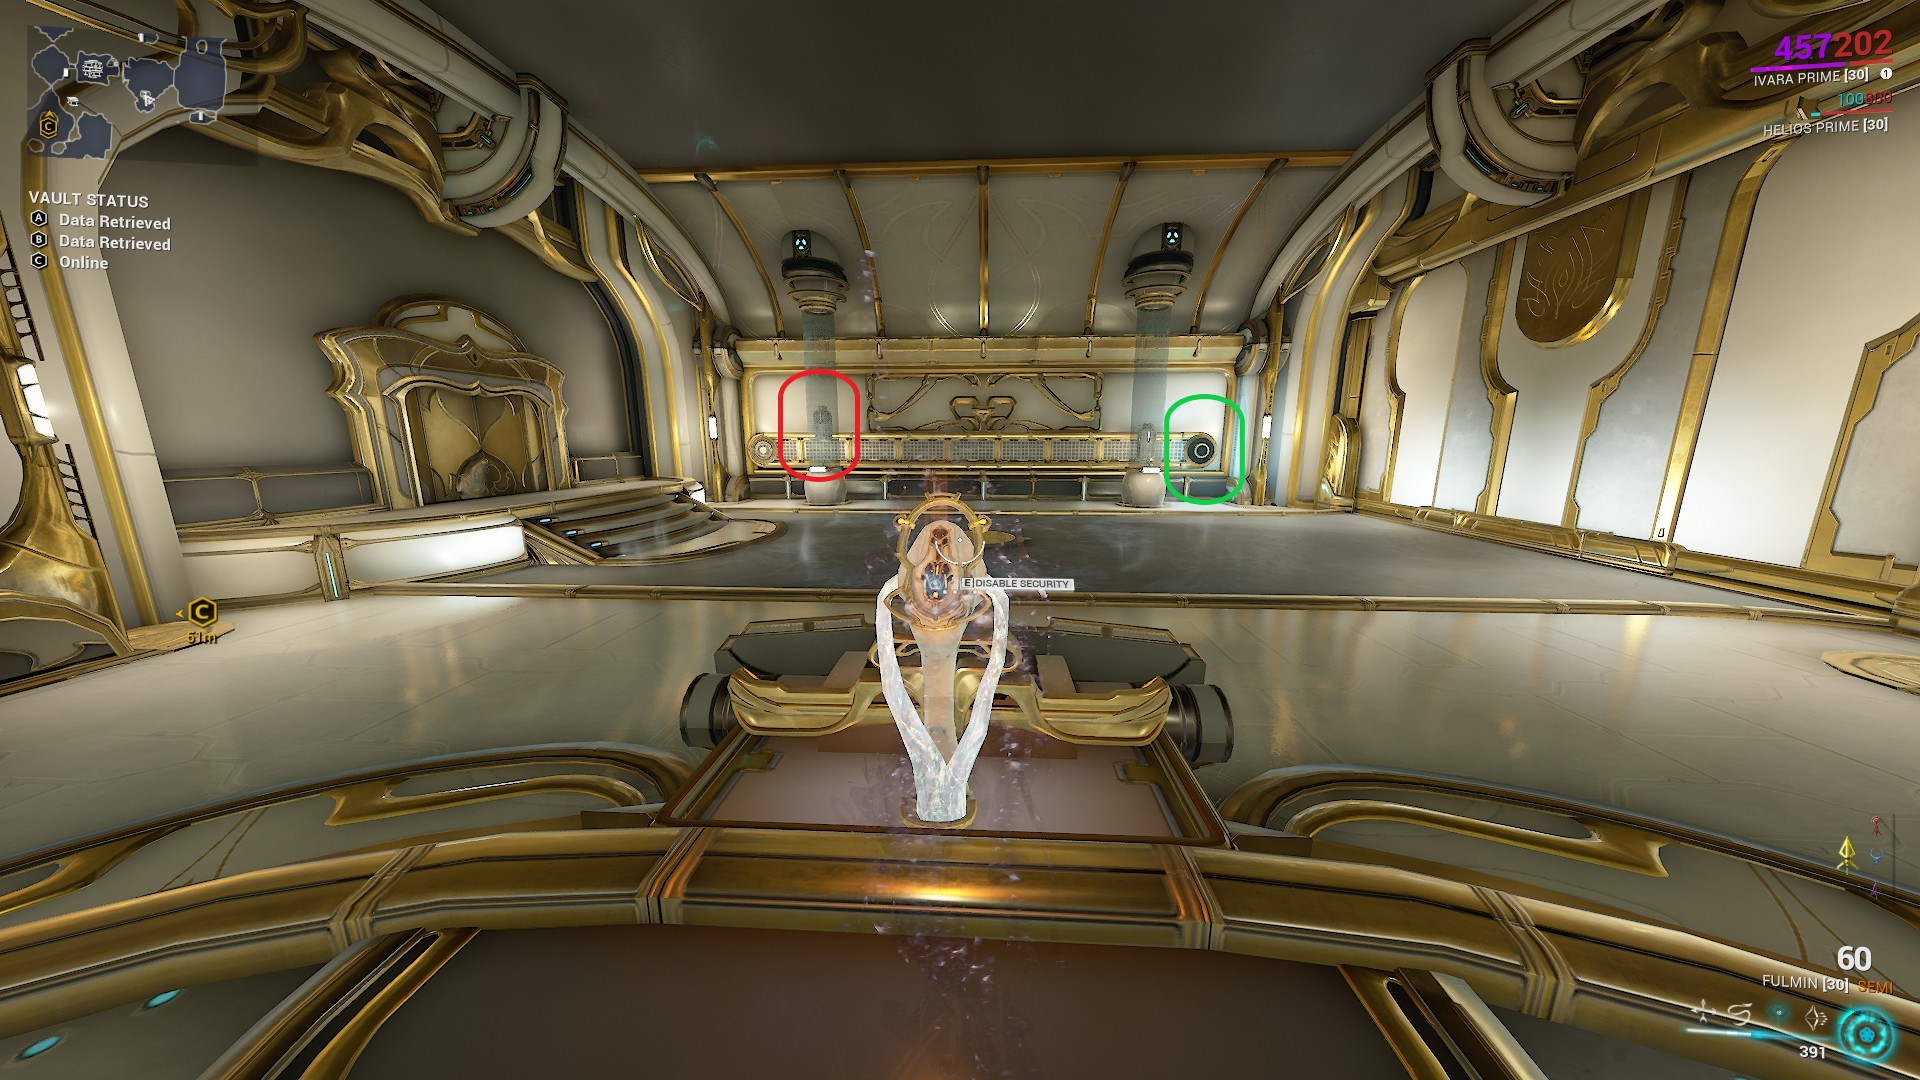
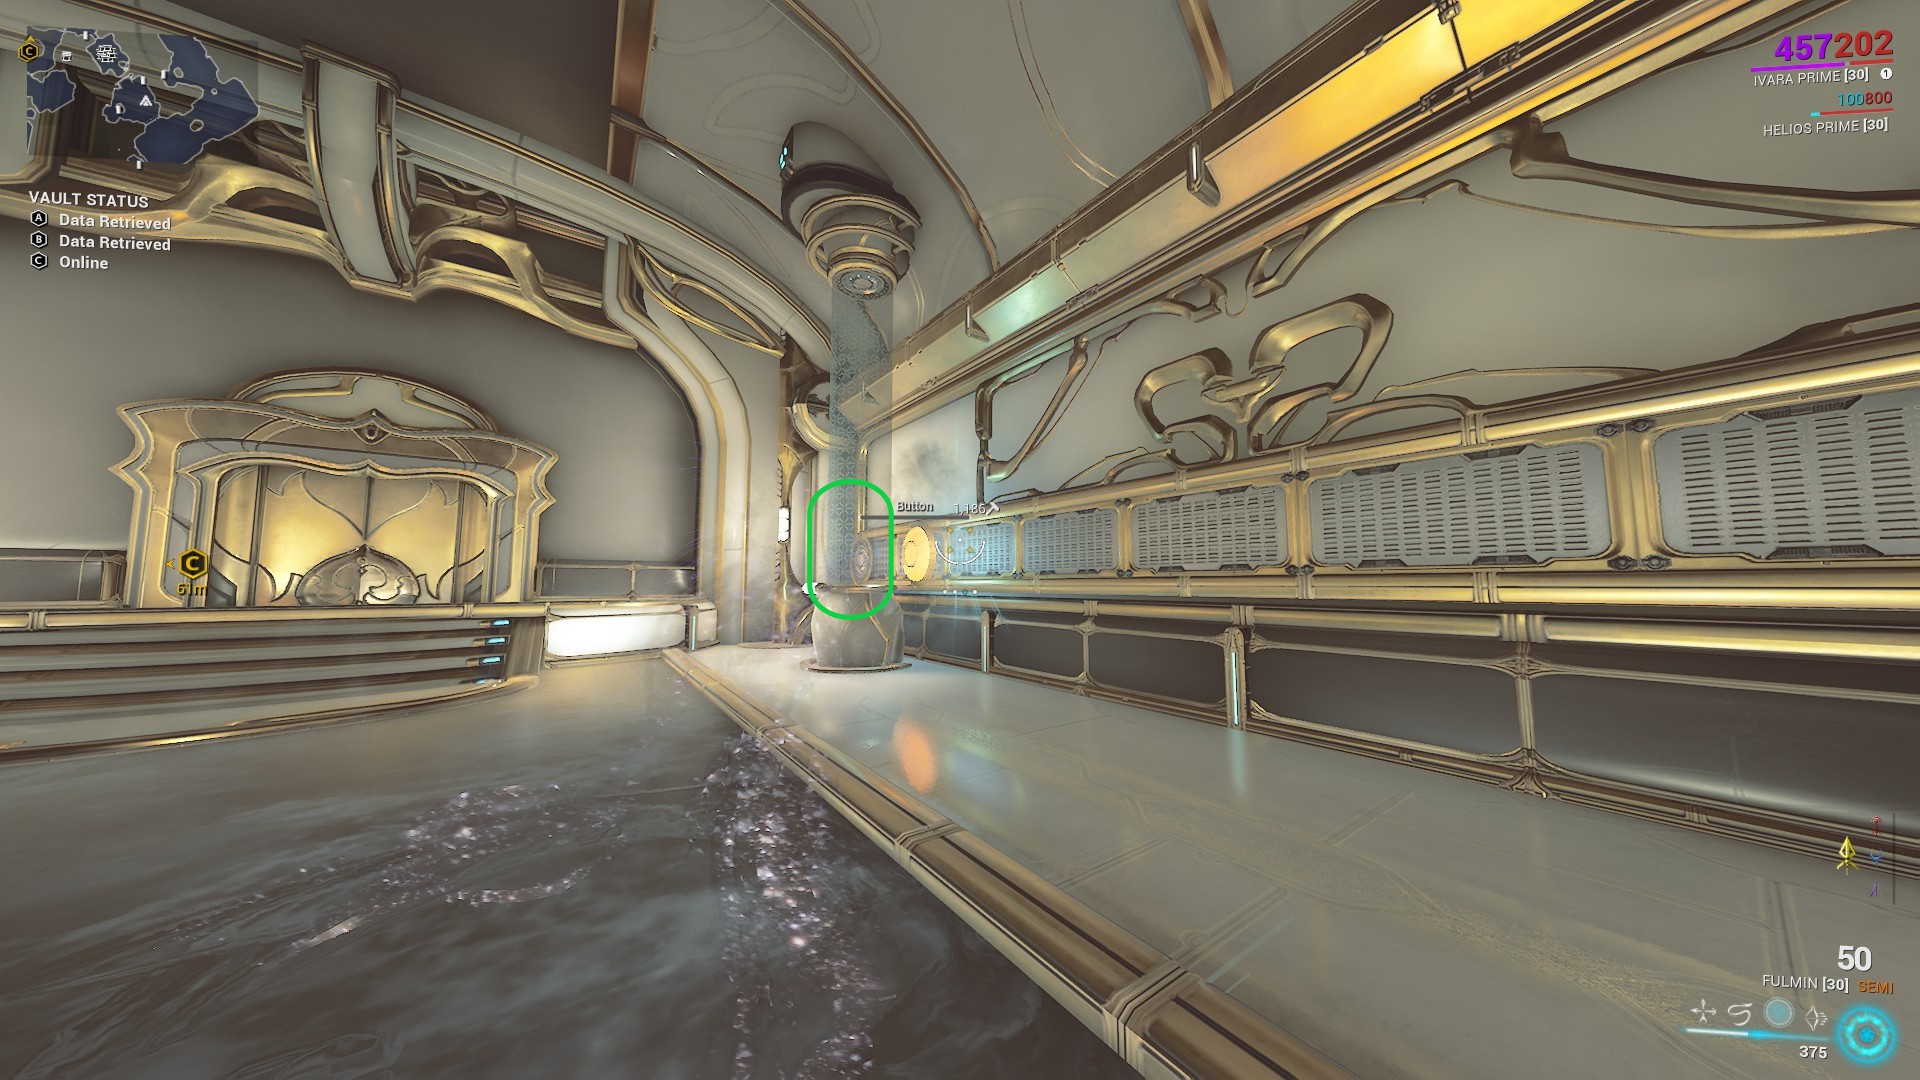
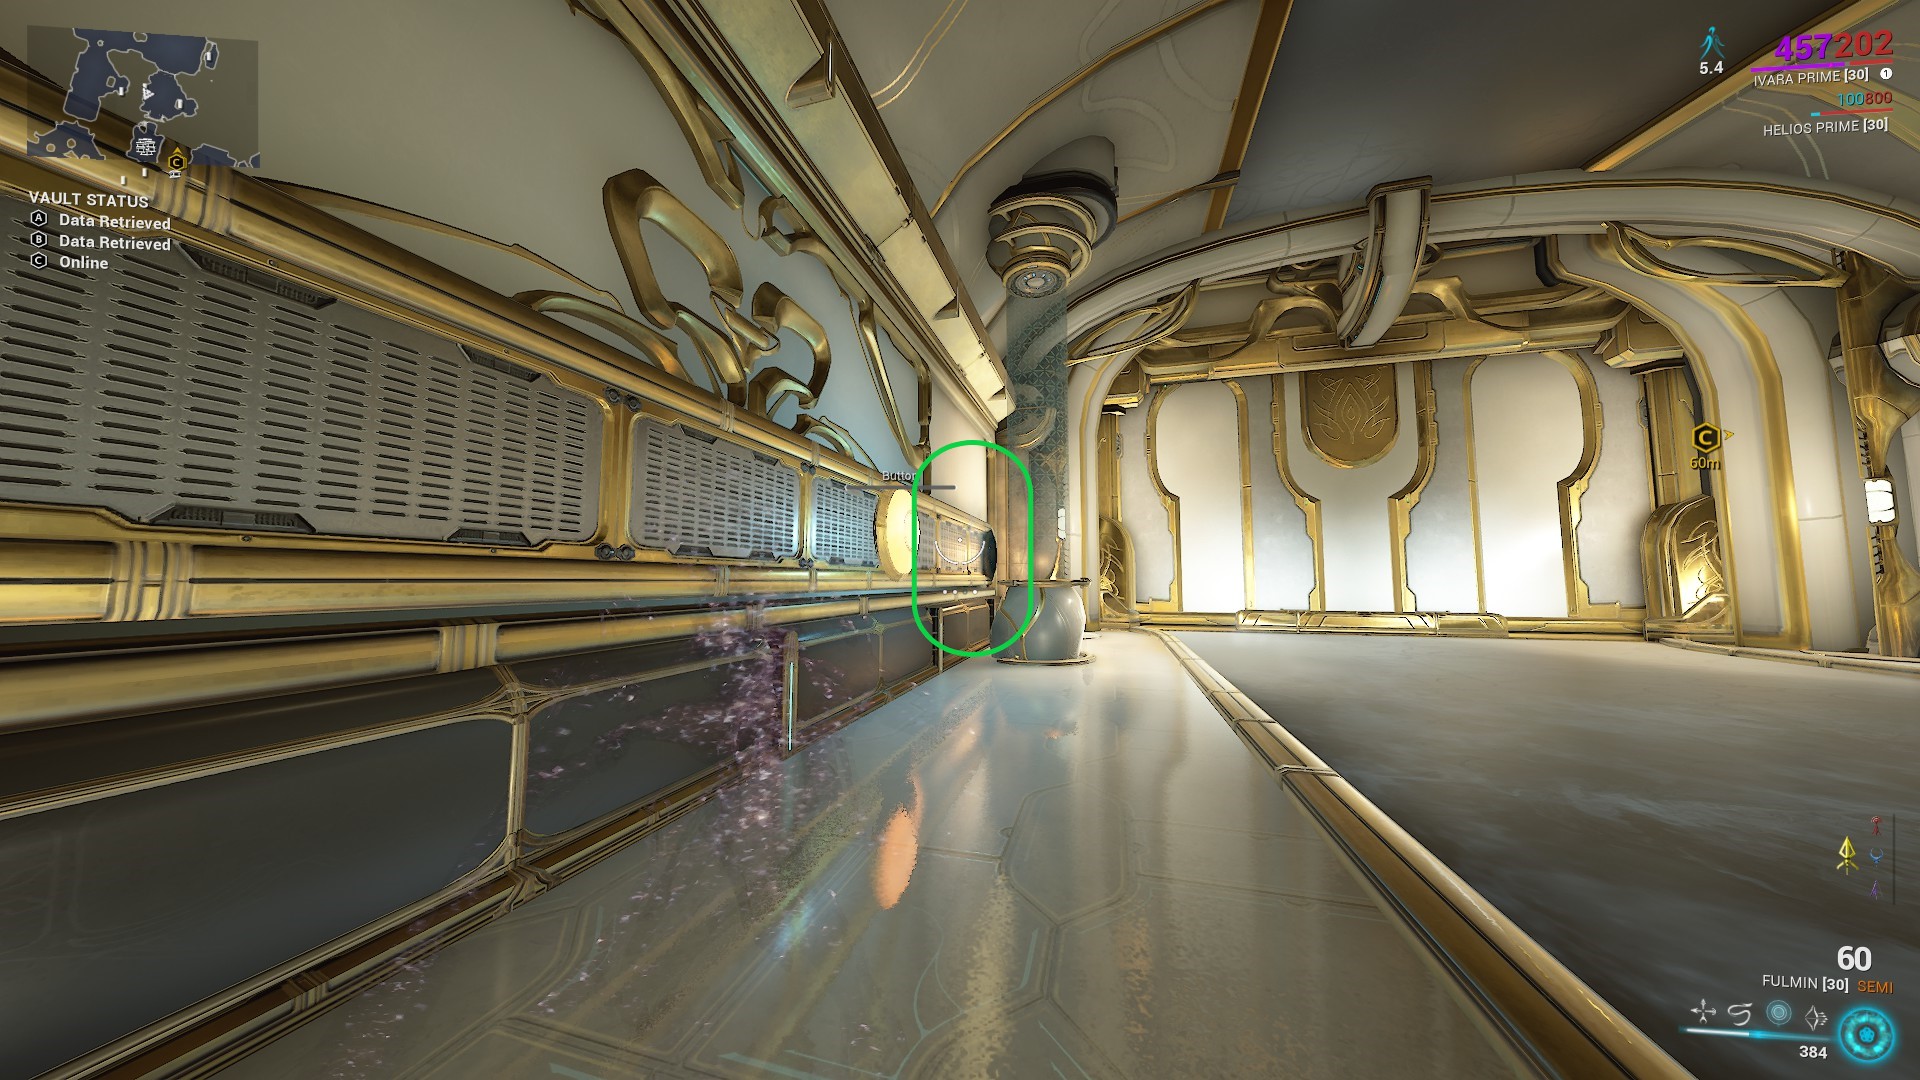
Hacking the console will make the button move left and right along the rail. There is a void rift attached to the button which is activated by shooting it.
We want to send the explosive container (and ourselves) through this void rift.
Shoot the button to activate the void rift and send the explosive container through, then jump in and return to the present.
Shoot the explosive container and go through the hole in the wall.
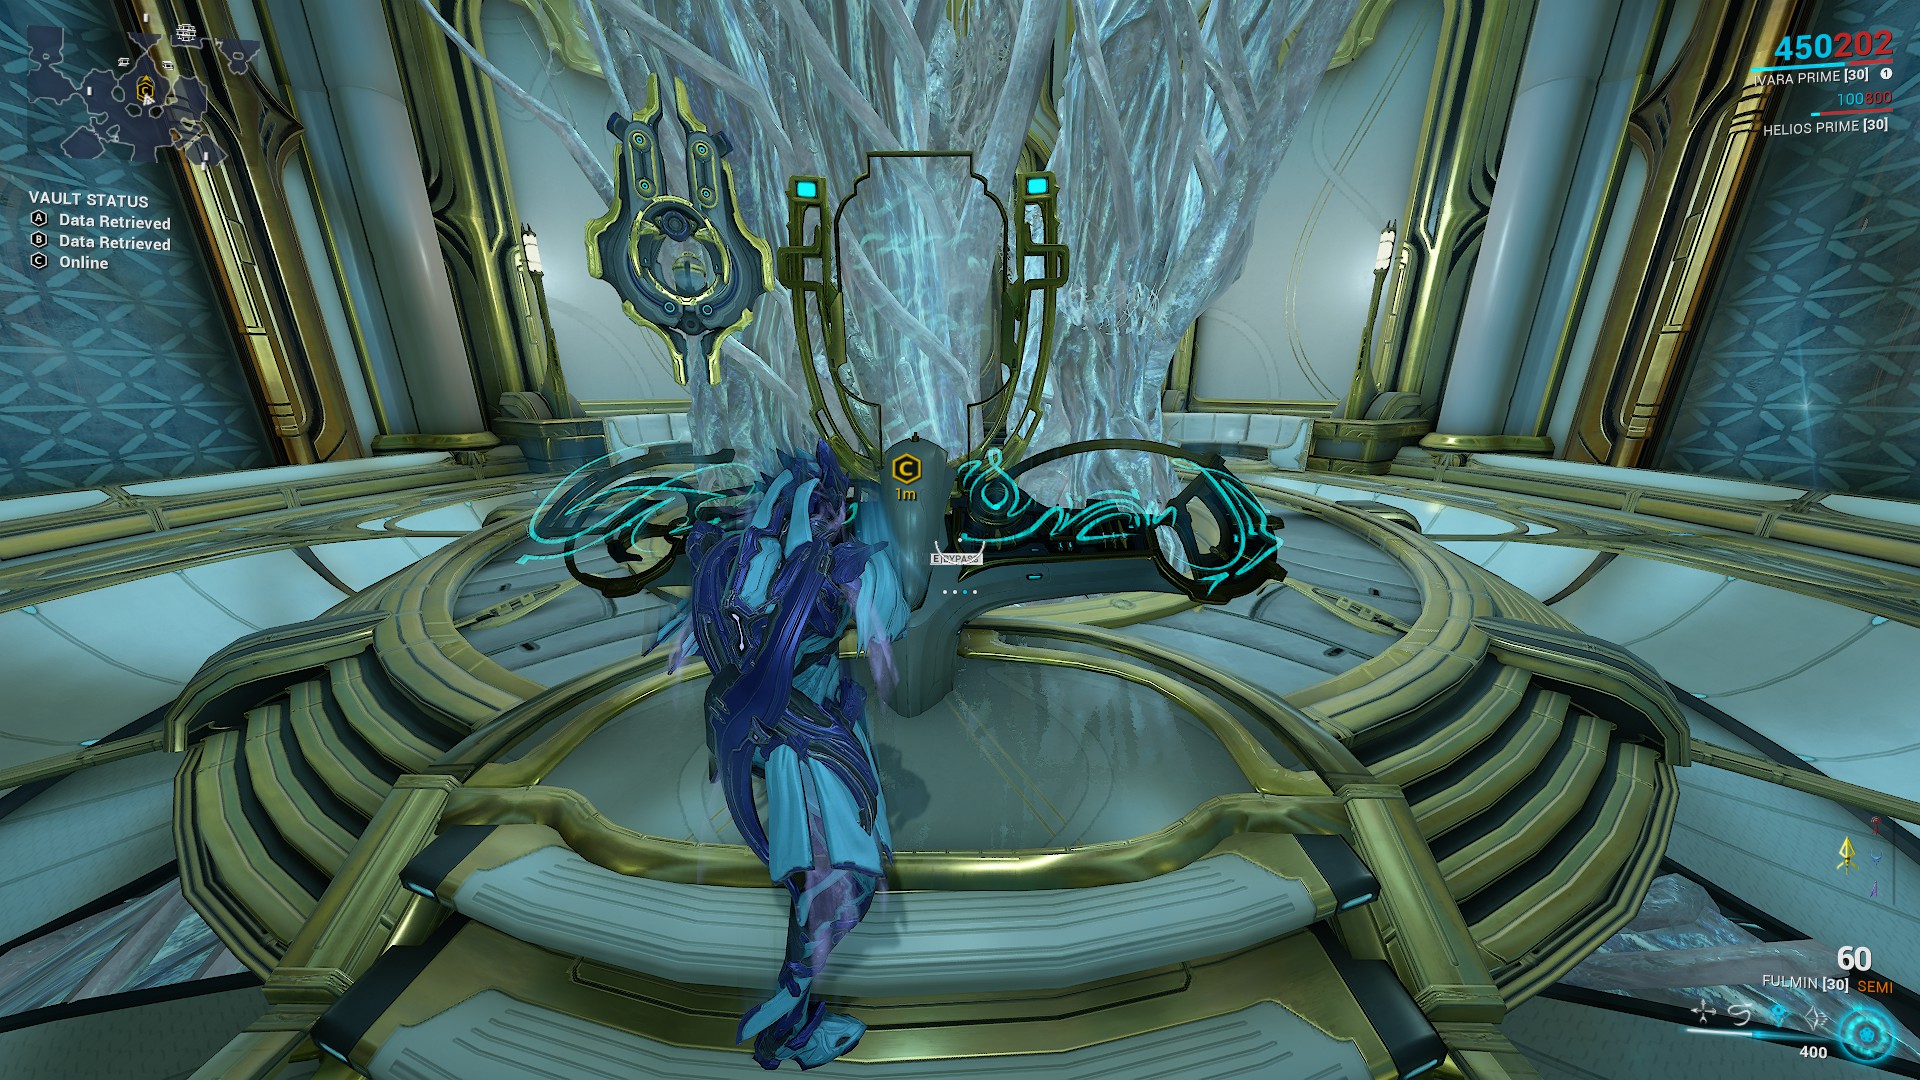
Use the void rift to return to the past.
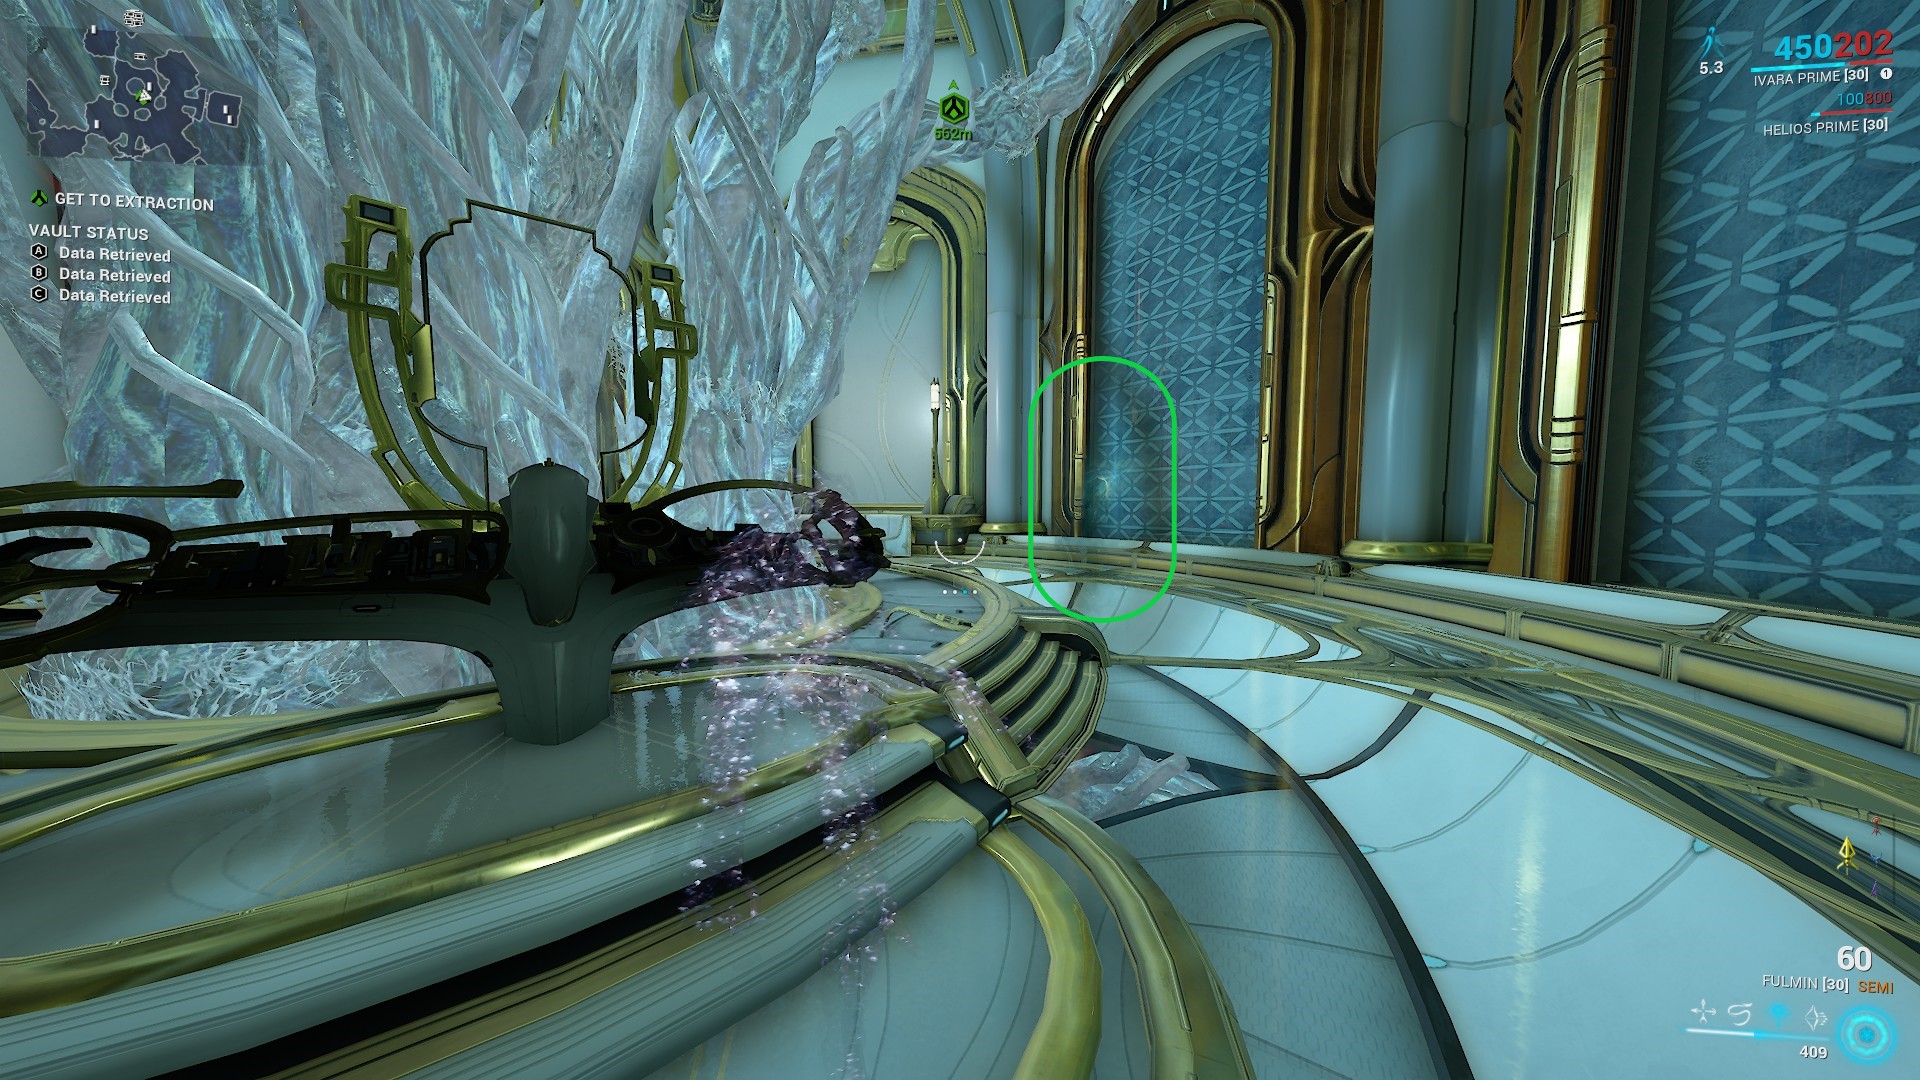
Vault C done!
Use the nearby void rift to return to the present and exit the vault.
Conclusion
Wasn’t that easy?
Please 👍 and ⭐⭐⭐⭐⭐ if this guide helped you!
This is all about Warframe – Pavlov (Lua Spy) Walkthrough; I hope you enjoy reading the Guide! If you feel like we should add more information or we forget/mistake, please let us know via commenting below, and thanks! See you soon!
- All Warframe Posts List



Leave a Reply