
Read this
This guide will obviously contain spoilers. I will explain everything in detail. Most of the tension comes from the monsters and not knowing what they can do so if you hesitate to read this, try to study their behavior first. If you are stuck, then this guide might help you. I’ll show their appearance, behavior, location, and approaches to get past them (also chases, jump scares and sightings related to them). If you have anything to add to this guide, please go ahead and help me make this better!
General information & tips
Nearly every enemy in SOMA acts differently and requires a different approach. Your screen will start glitching and your flashlight will flicker when an enemy is nearby. They usually can’t reach you when you are, for example, on a table or in a vent (of course, if there’s enough distance between you and them). Once the enemies in SOMA start chasing you, they are NOT going to give up easily, unlike in Amnesia. Oh, and don’t stay in one place for too long. Enemies will eventually find you.
Remember that MONSTERS CAN OPEN DOORS! I have a tip: always leave the doors open so you can escape quicker (Jin Yoshida is an exception, though). The doors won’t bring you any safety. Once I locked myself in a room only to find out the monster had appeared next to me. Another tip is don’t look at the monsters if possible because there seems to be an unspoken rule to Frictional’s games; looking at them will somehow make you more visible, perhaps due to the main character panicking.
Don’t hold objects in your hands nor toggle your flashlight when enemies are close (even if they are blind/deaf) because doing this has led to my death many times. This should be obvious but I’ve seen way too many players doing this: NEVER THROW OBJECTS AT THE MONSTERS EVEN AS A DISTRACTION, THEY WILL GET ANGRY AND START A CHASE.
Enemies in SOMA won’t kill you in one hit, usually dying takes 2-3 hits. You’ll wake up in the same spot you ”died” with a blurry screen and restricted movement. In this state, you are more likely to die for real and restart from a checkpoint. So when you are hurt, stick your arm into one of the glowing WAU flowers you see everywhere and you’ll regain your health. You’ll be able to use one flower once.
1. Construct
Location: Upsilon
Weakness: nothing special
Abilities: nothing special
Encounters: two (one is skippable), 2-15 minutes
Approach: keep moving slowly out of its sight
Death: 3 hits
This robot is the first enemy you’ll encounter in SOMA. When you wake up at Upsilon, you’ll soon find a big mocking bird hanging from the wall of the “Machine Hangar” room and it will spring to life when you move to the room next to it. It makes crackling noises but once you peek around the corner, it is nowhere to be found. When you enter the next area and the lights go out, don’t try to open the pneumatically locked door you see on the left. Construct will be behind it and attack immediately. After a few seconds, the banging stops and the monster despawns. You’ll also hear noises and see light when entering the hallway that leads out of the red-lit area or crawling in the vent but you’re not in real danger yet.
First Encounter
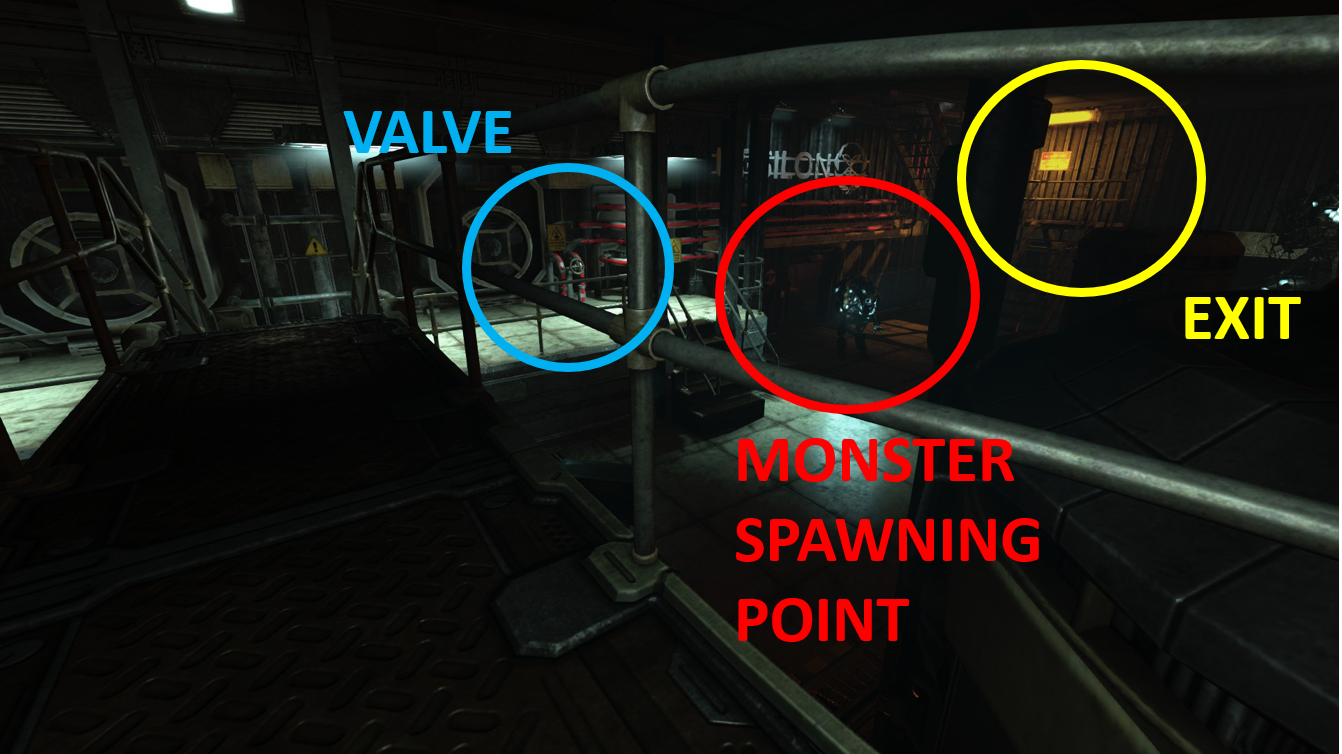
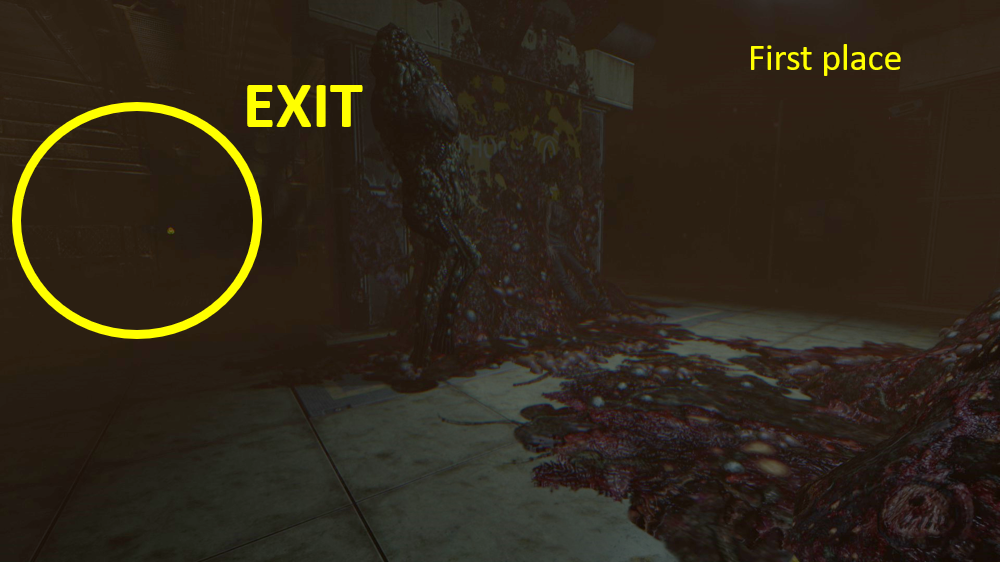
The first serious encounter is after meeting Catherine. You will see a geothermal turbine hall under you. When you descend the ladders, they’ll broke under you and you’ll fall onto the ground. By the way, don’t go to the place you see in the picture. It’s not safe, the robot is programmed to spot you if you’re trying to hide up there. Then the robot spawns and appears from a dead end, the red room under the “Upsilon” text. Your only mission is to turn the valve you see on your left on the white platform (you can do it later too) and get up the yellow ladders. Be fast to open and close the door because the enemy will be coming your way if it hadn’t already seen you. Crouching at the top of the staircase won’t help you go unnoticed, nor will the gas provide any protection from the enemy: that big bot can squeeze into the small space to kill you.
Second Encounter
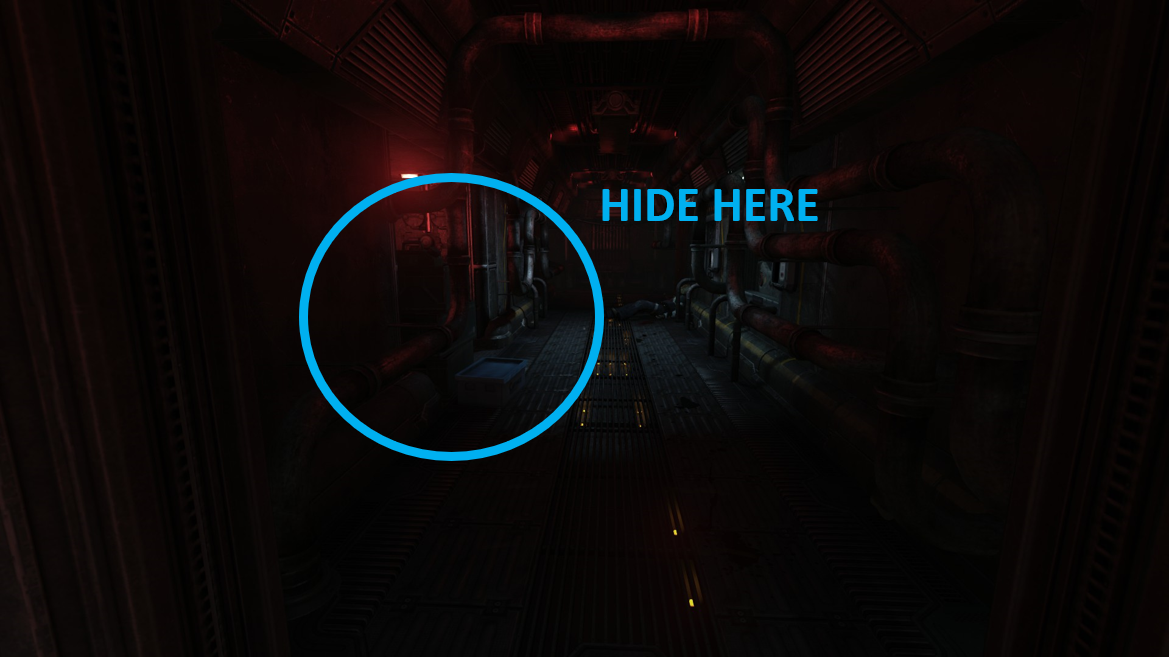
The next encounter is skippable. To get out of Upsilon, you need to shut down one of the two power sources to escape via the Comm center. If you choose to pull the lever in the Flow control, the Construct will spawn in the area. If you pull the lever near the Carl robot, the monster won’t spawn but you will leave Carl suffering for eternity. Once you exit the Flow control, you’ll see light coming from the Control station B. The Construct will come up the very same stairs you just came from. This encounter is surprisingly scripted. Hide behind the boxes in the hallway and wait for the enemy to pass. If you wait for too long, it will find you no matter what because this enemy searches every nook and cranny in the area. Slowly crawl toward the computer you logged in as Carl Semken and open the Comm Center. Then pull the lever and haul your a*s up there before the robot catches you.
2. Scavenger
Location: On the path between Upsilon/Lambda
Weakness: slow, easy to outrun
Abilities: nothing special
Encounters: two, 2-15 minutes
Approach: sneaking or running past them
Death: 3 hits
First Encounter
This is probably the least dangerous enemy in the whole game. When you leave Upsilon, you’ll soon meet a Scavenger roaming around the path and mumbling to itself. Take the path to our right by either crawling in the seaweed or simply running past this enemy. It’s so slow and very easy outrun. Besides, it gives up the chase easily. After freeing the little robot, it will guide you toward the Shuffle station. You will encounter another Scavenger on the path but as long as you don’t stand directly in its line of sight, you’ll be able to evade it easily. Or do it the easy way and just run.
One of these will also appear outside Lambda and start breaking the window but it’s only a jump scare. It will go away eventually.
Second Encounter
You will see two Scavengers after leaving the Shuffle station and heading for Lambda. These are a bit more aggressive and will chase you longer. They are still as slow as the their less aggressive friends from before.
3. Flesher/Jiangshi
Location: Lambda/Curie
Weakness: blind and deaf
Abilities: teleports, reacts to eye contact and proximity
Encounters: two, 2-30 minutes
Approach: keep moving fast without looking at it
Death: 2 hits
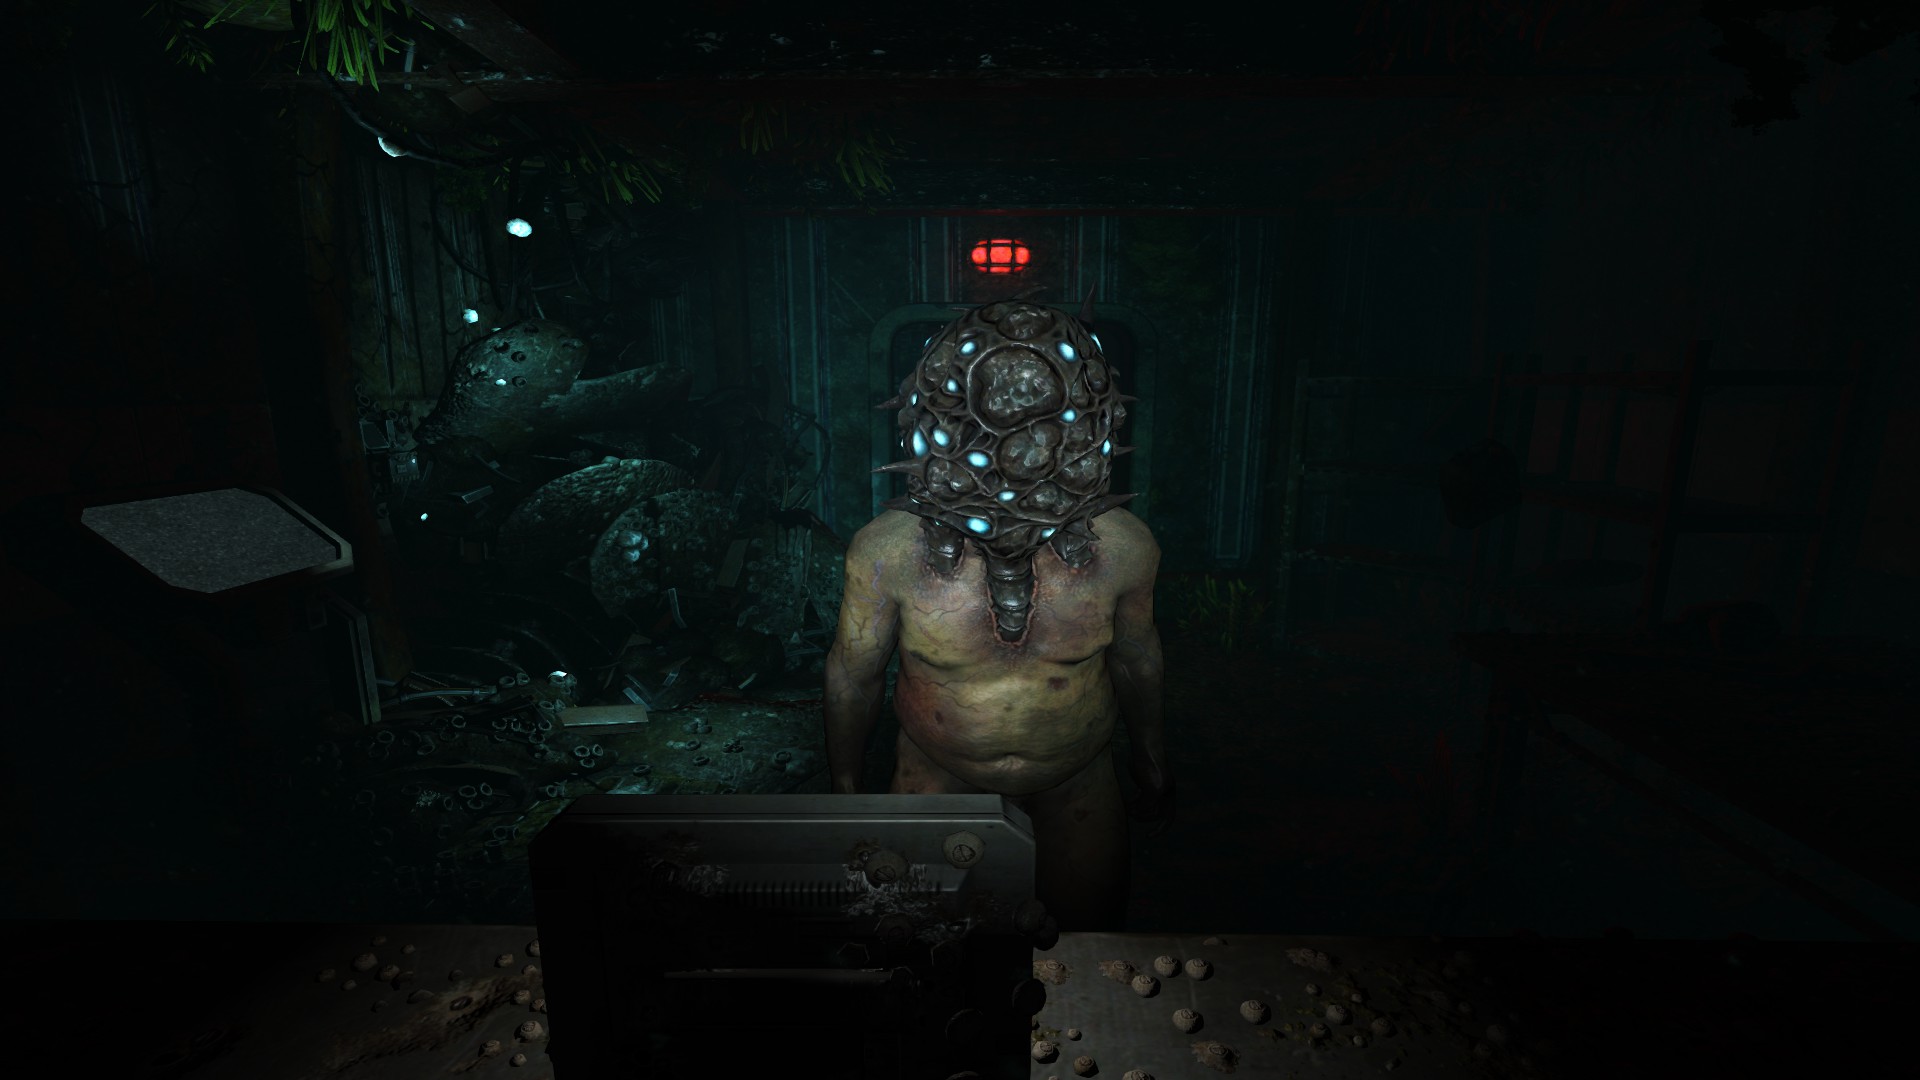
There are actually two Fleshers but you’ll encounter only one at a time. This enemy is blind and deaf but it reacts to proximity and eye contact. If you are too close, it will attack. If you maintain eye contact for too long, it will teleport closer to you and eventually attack. Casting a quick glance in its direction won’t agitate it. Keep your flashlight turned on so you can locate the enemy more easily (it won’t be agitated by the light). The best tactic to avoid getting killed by this discoball is to keep moving (I’m not sure if running agitates it). So don’t hide in a corner unless you are sure it’s safe.
First Encounter
When you enter Lambda, you’ll see a figure with a lit head at the end of the corridor. This is the female Flesher that will roam around the station briefly before disappearing. I hid behind boxes in a room right left to me when I entered Lambda. It takes a couple of minutes for the monster to disappear so if you don’t have the patience, you’ll have to go into the room where Catherine is (it’s down the corridor, on your left). But be careful because this is the room where the monster comes out. If you explore the back of the station after talking to Catherine, it will come back for a moment and disappear again.
There are two jump scares. One is when you walk from the broken escape vessel near Lambda down the path that leads to a bigger wreck. The monster will spawn in front of you and scare you. The same happens when you leave the big wreck I talked about and head for Curie.
Second Encounter
The final encounter with the Flesher is in the Curie where Simon tries to find a working escape vessel. There is a underwater maze where the male Flesher appears at the room on your right. What makes this encounter so distressing is the layout and navigation of the level. You just need to find a wheel, turn it and climb up the ladders. The only way is up. There are many dead ends but the Flesher should not corner you very easily. Just keep looking at the walls and it should go away. I’ve seen many players do this mistake: they turn around and go backwards without looking at the enemy. It led to them bumping into the monster and triggering a chase. Even if you are not looking at it, it will be agitated by your presence – proximity has the same effect as eye contact! When dealing with a Flesher, never close the doors because it can TELEPORT. You would just block your only escape route. Normally Fleshers don’t teleport right next to you but this has happened to me once when I was going up the stairs; Flesher teleported right in front of my face. I’ve ran past this enemy once without triggering a chase, so I guess I could say it’s safer than just hiding in one place for too long (except the kitchen, it looks safe even though I was hiding there for several minutes). Some enemies in SOMA won’t start chasing you if you run past them, some will, at least I think so.
There’s also one chase sequence by this enemy after you destabilize the ship’s reactor core upstairs. The Flesher appears in the engine room and starts chasing you down the same path you came. Your only mission is to make it back to the escape vessel.
4. Proxy/Coral Puppet/Terry Akers
Regular Proxy
Terry Akers
Location: Theta
Weakness: blind
Strength: good hearing
Encounters: three, 10-45 minutes
Approach: crawling quietly and stopping in a corner when nearby
Death: 2 hits
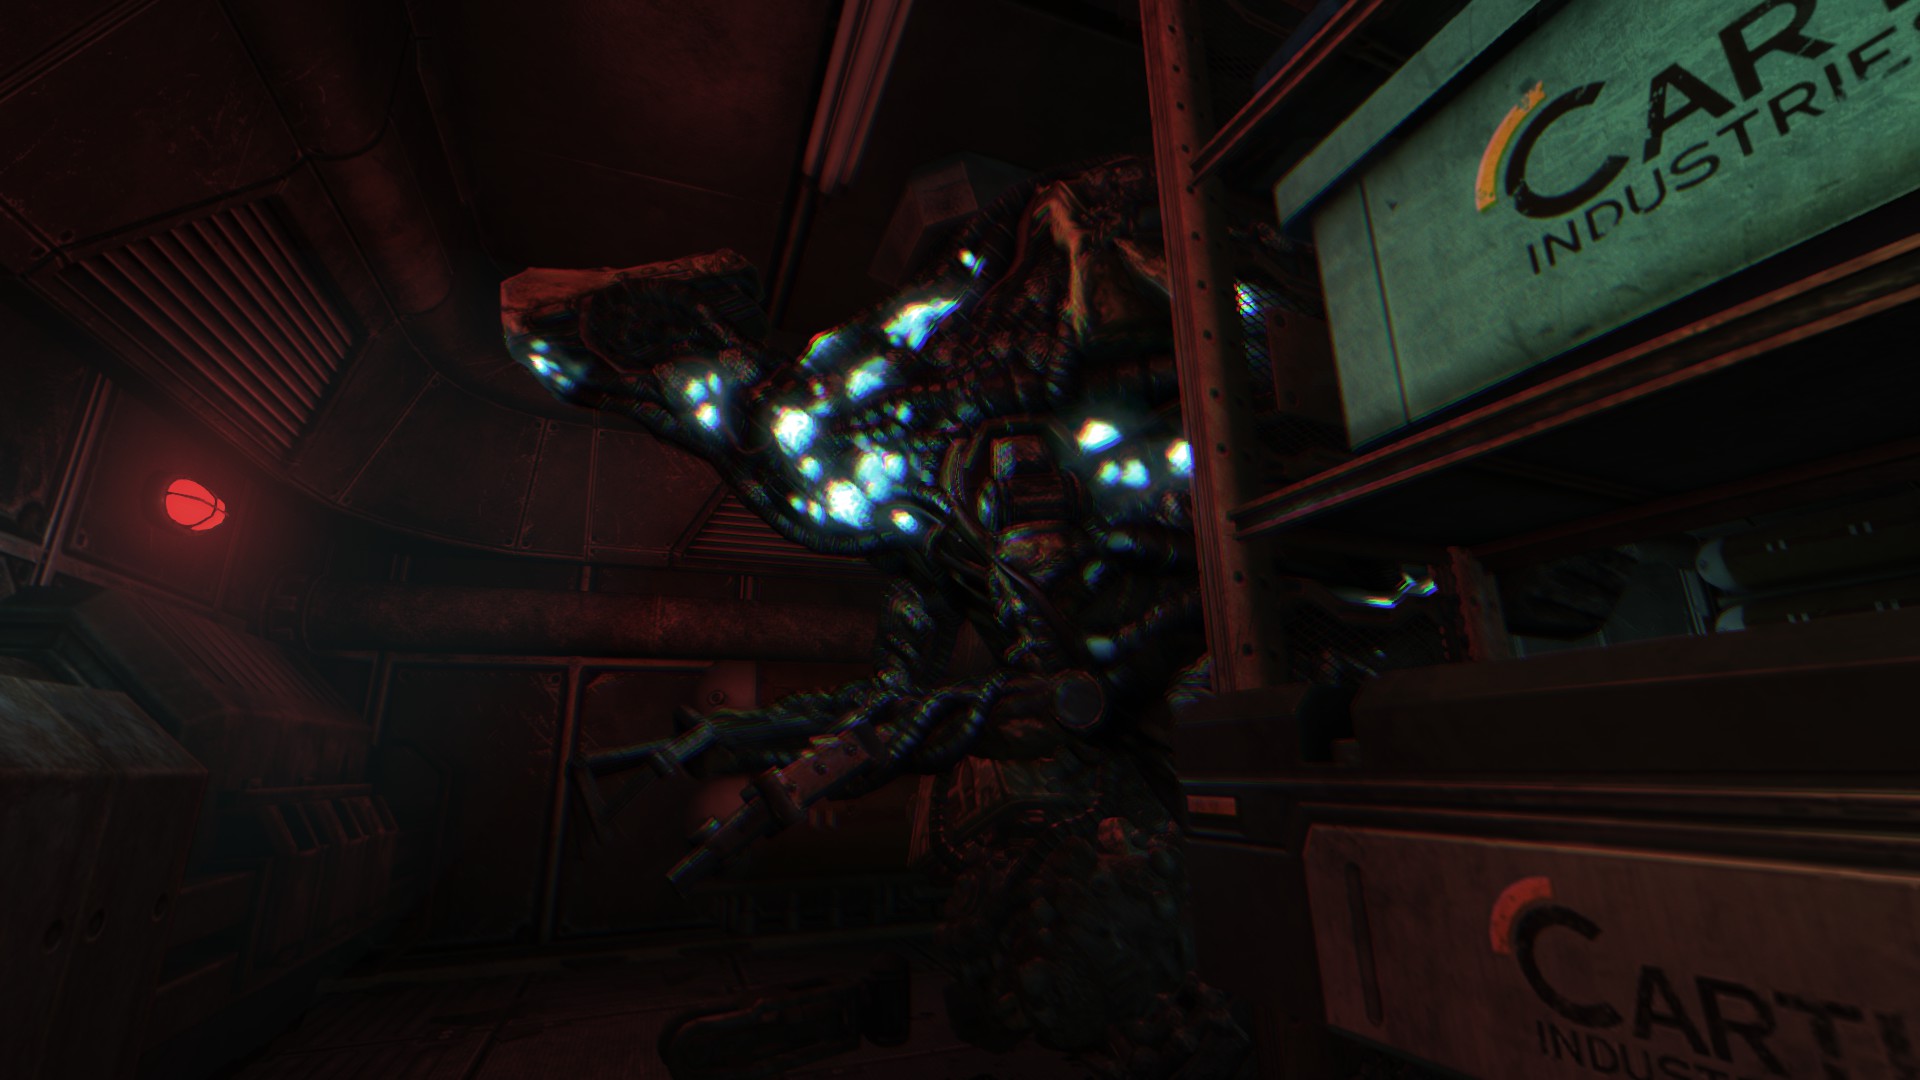
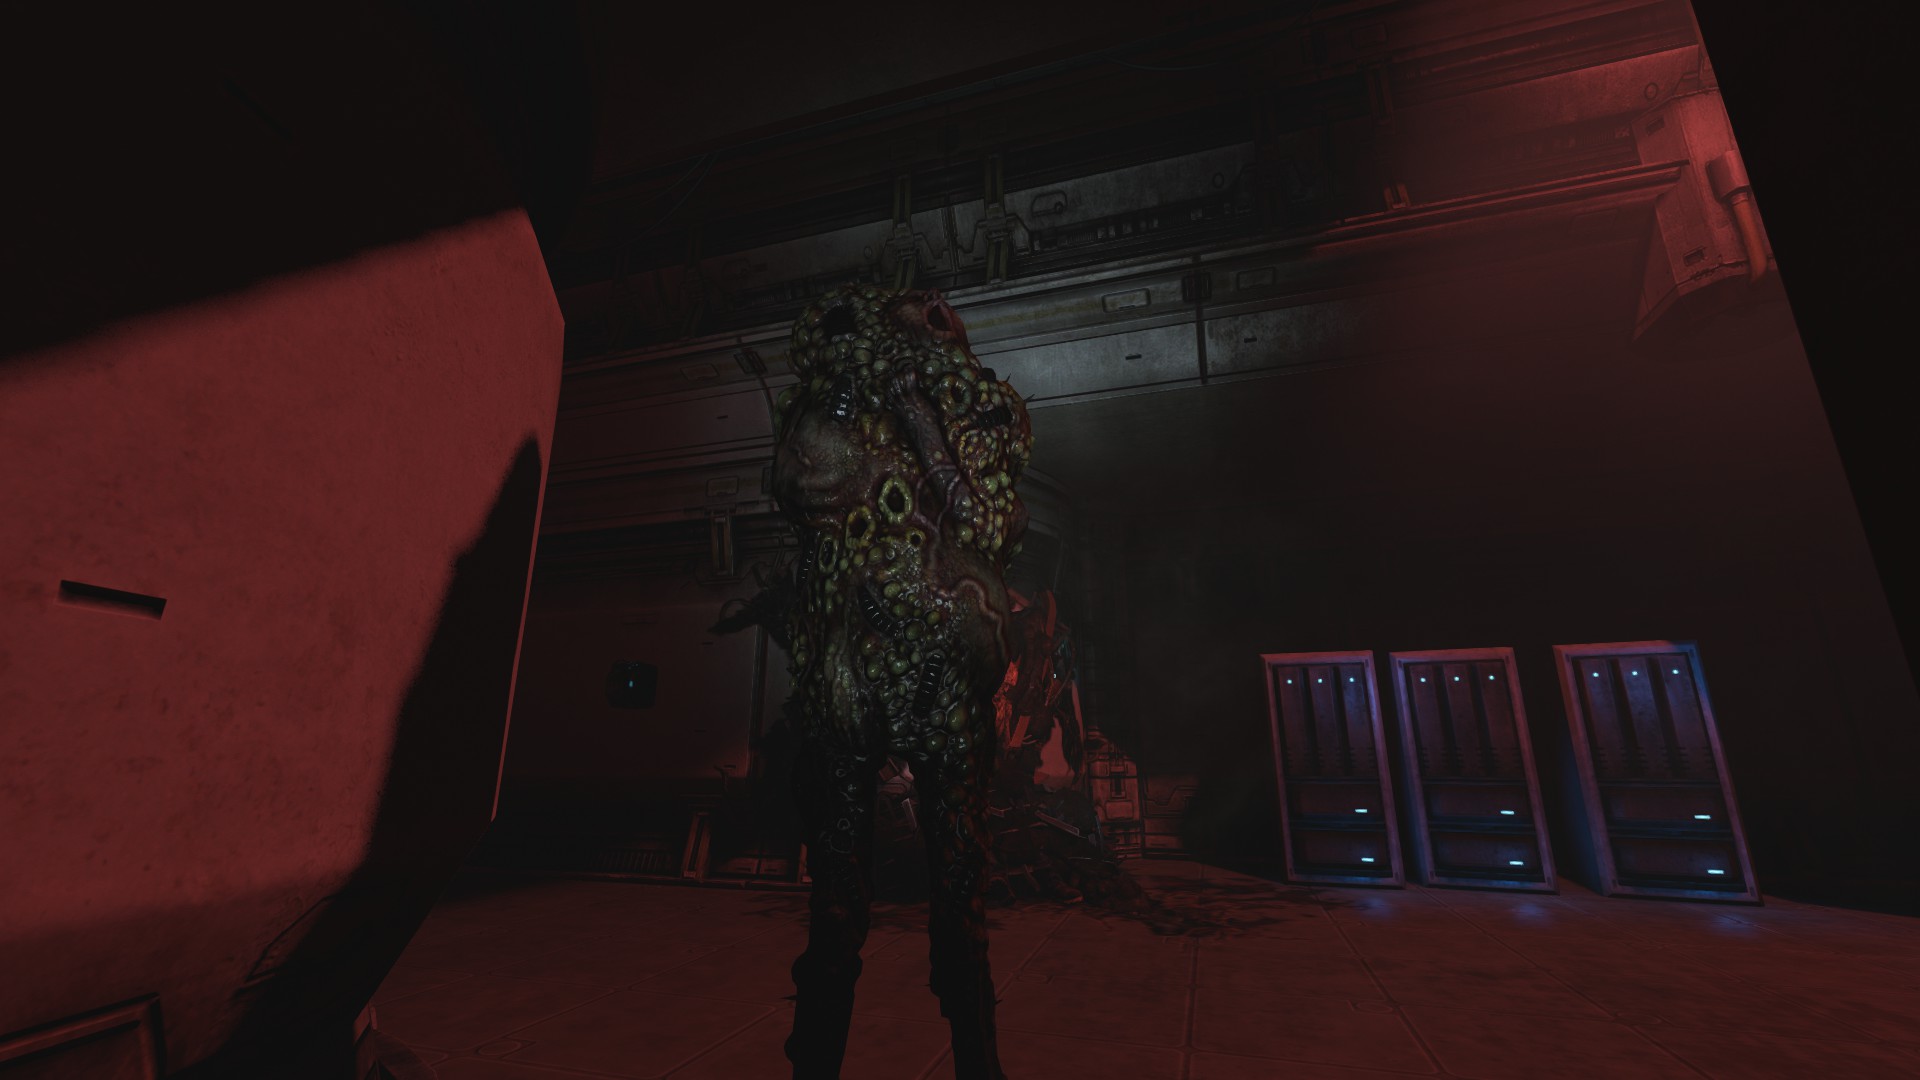
At Theta, you’ll see two types of Proxies/Coral Puppets. One is Terry Akers and the others are just regular proxies and look the same. These guys are blind but have an excellent hearing and they make terrifying shrieks and gurgles accompanied by heavy footsteps. Walking will agitate them and bring them to your place if they are close enough but running will immediately trigger a chase despite the distance. It’s hard to outrun a Proxy due to their fast speed and the confined areas of Theta. The best tactic is to crawl on the floor and distract them by throwing objects. Sometimes, they can hear you even crawling so I suggest that when you hear them close by, find a corner and wait for them to pass. When they are farther away, keep moving. It’s quite easy once you understand how they behave. If you must move in the presence of a Proxy, do it by tapping ‘W’ in short sequences and reduce the amount of noise you make. Believe me, this is important. The Proxies can even hear you toggling your flashlight and come to investigate the source of noise.
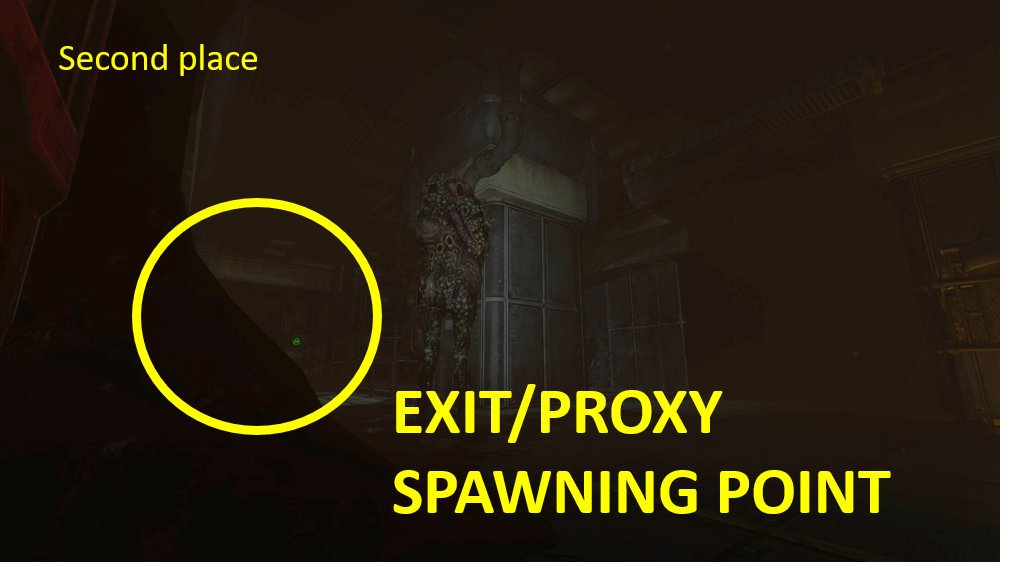
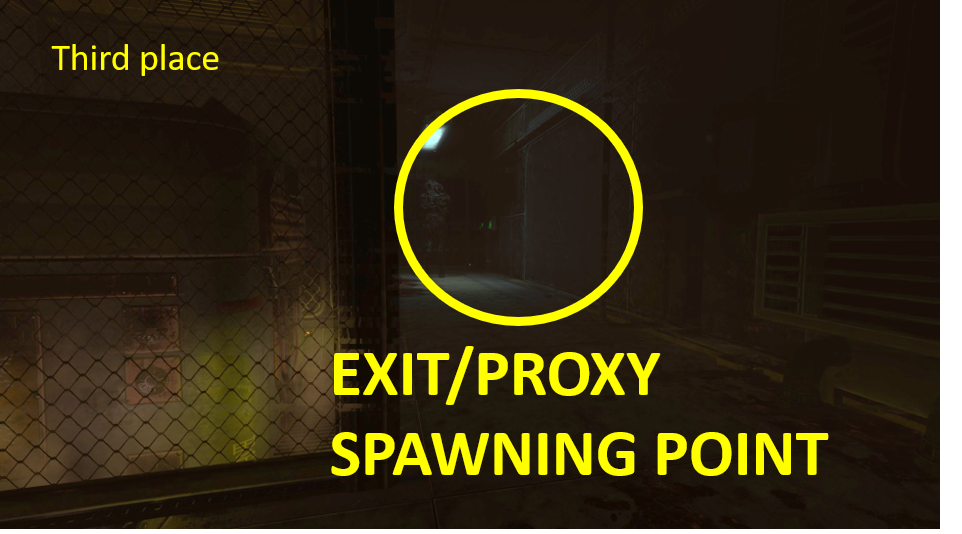
I’ve realized that my flashlight hasn’t worked properly in this section, probably because the game developers wanted the players to be detected more easily. There are also many objects lying on the floor to make sure you’ll watch your step. I crawled over a threshold noisily, and the Proxy went into listening mode. It tried to track me down and was even more sensitive to sound. If this happens, stop moving immediately or do it extremely carefully as instructed above. Then it’ll just calm down. I did neither and when I accidentally bumped into a shelf, it went into attack mode and killed me. You can also be surprisingly close to them, right in front of them, but not TOO close since they can hear you breathing. The first picture above is a good example; I was that close to a regular Proxy without its awareness.
First Encounter
The first Proxy encounter is in the Power Room. When you open the door on your left and step into the area, the monster will spawn. It’s a relatively small but dark area with many good hiding places. But like with all other monsters, you have to keep moving because if you don’t, the Proxy has a higher chance of spotting you. I hid in the most obvious place for two minutes and it just came to my place to knock me out. I think that some random corners can be safer than those that seem to be ”offered” by the game itself. After activating the mainframe at the back of the room and letting out the loudest noise ever, you must hide and maybe throw a distraction to make the Proxy go away. Although the monster has no arms, it’s still able to open doors but it can’t come after you once you’ve climbed up the stairs.
Terry Akers
The first sighting of Akers is seen at the end of the corridor in the living quarters of Theta. If you peek through the glass, you will get a quick glance of Akers on the other side of the door, on your left. He is also the one who makes the horrifying sounds when the player crawls in the vents. Judging from the sounds, Akers is actually capable of crawling in the vents too but is never seen there in the game.
After entering Theta Labs, you will soon start hearing the mad screaming of Akers in the distance. It takes about five minutes for him to actually spawn for the first time unless you start breaking the window that leads to the Omega Management room. He will then come to you immediately but DON’T RUN. Crouch and slowly make your way away from him. Akers is the only enemy in SOMA that goes into hiding mode. He will practically disappear when out of sight but continues making noises and spawns every few minutes. If you then do something loud, he will come out from his hiding mode. Usually his footsteps are the first indicator that he’s coming your way. When I played for the first time, I survived by being on the alert for his footsteps and hiding in a corner when hearing them. As long as you don’t stand in his way, he usually walks the same paths in the middle of a corridor and won’t detect you if you pretend to be a wall.
When dealing with him, I advise that you leave the doors open because he rarely enters the rooms unless he has heard something. Strohmeier’s security room is the only place where he can’t hear you that well (sound insulation I guess). Otherwise, he can even hear you toggling on your flashlight from the other side of the door and find you if you are hiding right next to the doorway. After obtaining the chip to repair the elevator, Akers turns off the lights from Theta Labs to confuse you. He will then behave more aggressively and search for you more often. If you find yourself running away from Akers, the only safe hiding place is behind the bubbly chair in the Examination room or in the place where Brandon Wan is if the door is locked. This might be due to the restrictions of the animations because he can’t come to these places even though the game indicates otherwise. When repairing the elevator, Akers will come (because ofc he hears you doing it) and force you to hide. HIDE ON THE LEFT SIDE OF THE ELEVATOR, IN THE SMALL RECESS. If you hide on the right side, he’ll detect you. Once you have stepped into the elevator, be quick to press any of the buttons because Akers will be heading your way screaming.
There are two chase sequences by Akers. When you reach the maintenance level and start walking down the corridor, you’ll hear Akers screaming and bursting through the door and sprinting down the stairs. This is scripted, you are not supposed to get away from him so don’t panic. He will grab you and knock you unconscious. The other chase (scripted too) is when you are in the sewers and wait for the door to open. If you look on your right side, to the way you just came, you’ll see Akers there. You don’t have to run away because the water will wipe both of you away.
Third Encounter
The last Proxy encounters are in the Maintenance level of Theta. There are multiple (three if I remember correctly) of those walking around but only one at a time. You are safe in the vents. There’s really nothing new to add. When you arrive at the first level, wait for a minute to let the Proxy walk by and then just crawl forward. There’s a door there that leads to a room with a WAU flower in it. Crawl into the vent there and you arrive at another maze. I guess the Proxy will this time come from your left, the place where you must go. Before you start crawling down the narrow corridors, stop at a corner because the Proxy will now cross paths with you. After this, move forward unless you find another vent. This vent ends in a room with many shelves in it. Grab an object and proceed to the next area. You will see a Proxy there opening a door and standing guard over it. Throw the object in the direction you want and when the Proxy goes to investigate, crawl toward the door. If you are quick enough, you can run up to the door before the Proxy even opens it and steps out. Then go into the room right at the end of the corridor to restore power so you can escape through the door on the left which leads to the sewers.
5. Robot Head Girl
Location: Omicron
Weakness: blind and deaf
Strength: reacts to movement
Encounters: one, 5-15 minutes
Approach: move slowly when ”not active”
Death: 2 hits?
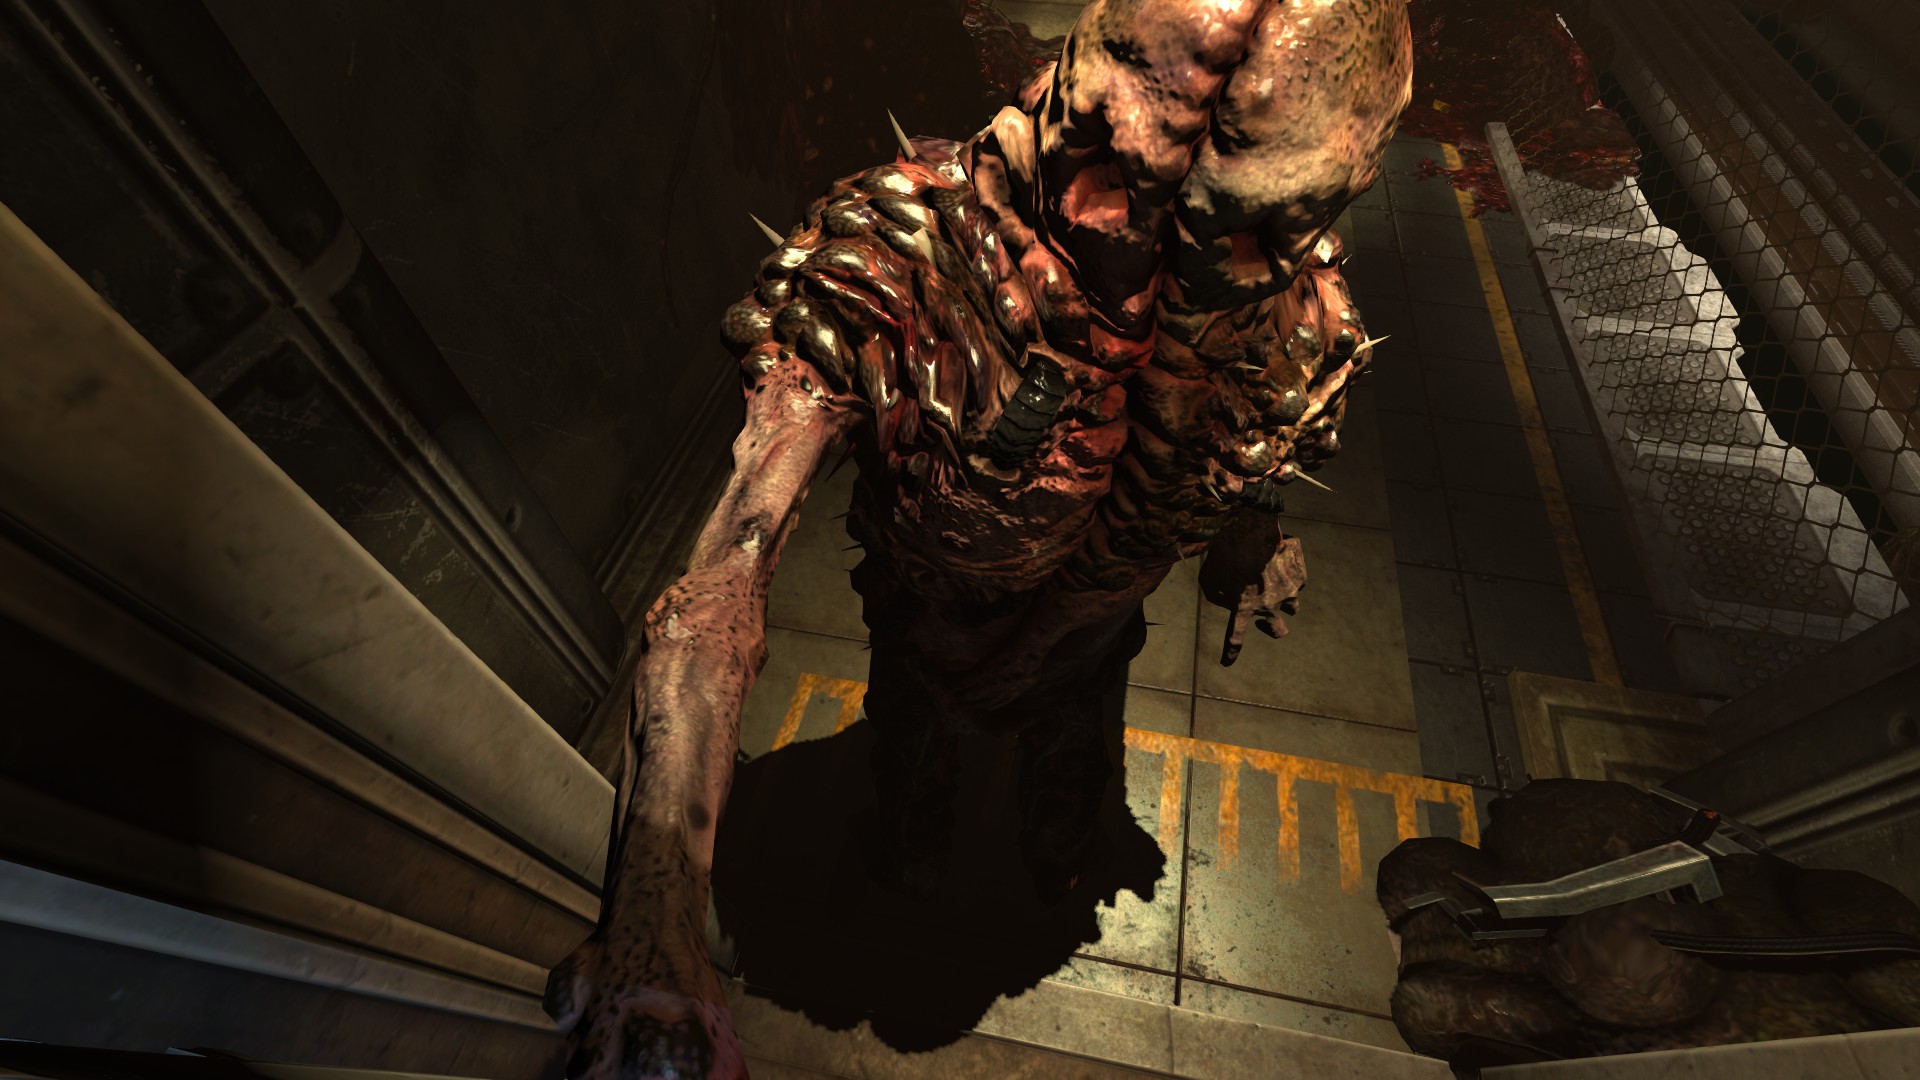
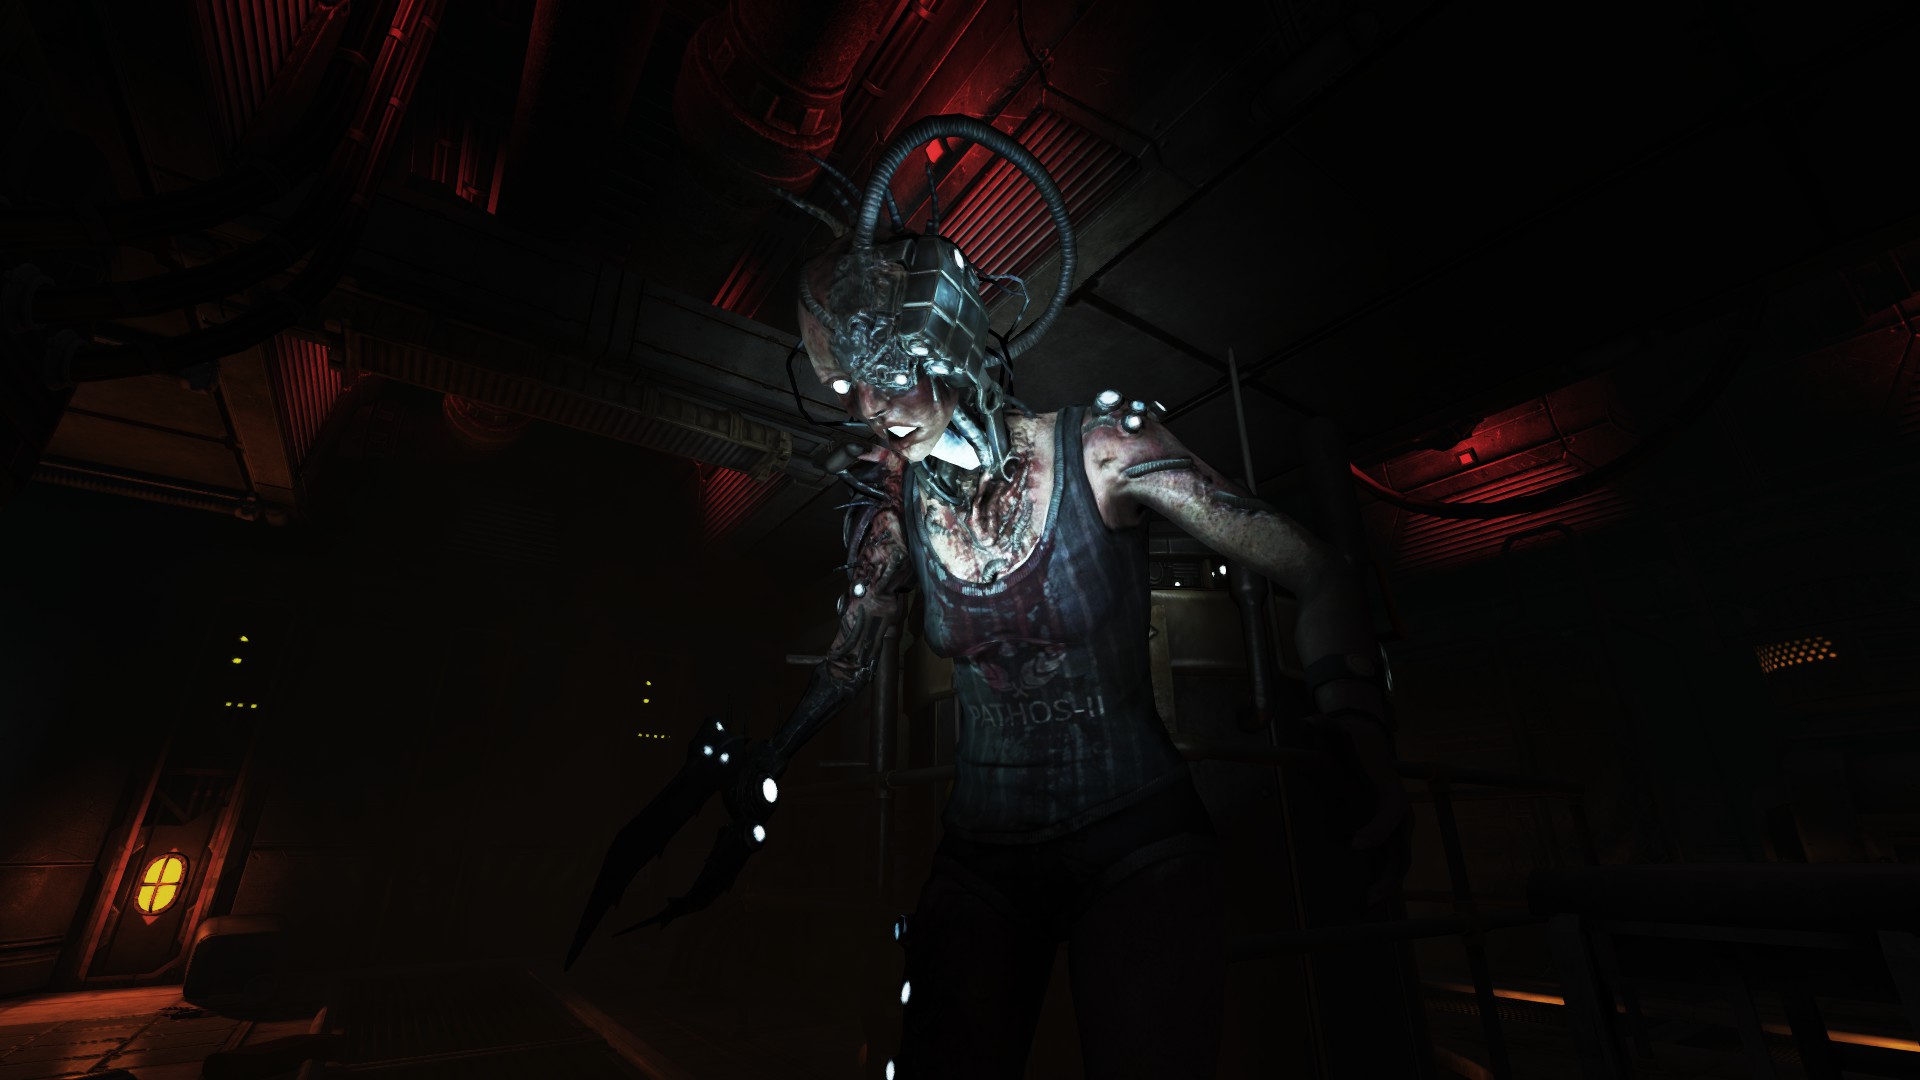
This monster waits you on the third level of Omicron where you need to find the power pack. The room is quite small but she will be waiting for you there. The thing with the Robot Head is that she is the only stationary enemy in SOMA and won’t attack you unless agitated. The Robot Head doesn’t react to sound or sighting, only movement. She has too stages: agitated and neutral. When agitated, the monster will light up (like in the picture above) and your screen will shake for a second accompanied with sudden noise as a warning. Then you HAVE TO STOP MOVING FOR A FEW SECONDS. When she closes as if she was hugging herself letting out a cry and the light goes out, you can continue to crawl. If you keep moving when she’s agitated, she will warn you three times before screaming and going into attack mode. She will give up the chase but will stay in the place she was left. So if you run all the way down the hallway and she stops there, she won’t be going anywhere by herself. You can go surprisingly near her, but the closer you are, the more agitated it will be and the slower you have to move. SO NO RUNNING.
There’s one chase by the Robot Head. When you have acquired all the things you need for the Power Suit, she will be waiting for you in the middle of the Medication room. When you step into the long red hallway that leads to Catherine’s place, she will suddenly teleport behind you and start chasing you. So instead of waiting for the chase to be triggered, just run past her and get it over with. Catherine will close the door for you. I’ve seen someone trying to crawl past her into the hallway and when the chase started, he wasn’t fast enough to stand up and escape and got killed.
6. Leviathan
Location: After Omega/Alpha sections
Weakness: lights (mostly)
Strength: nothing special
Encounters: two, 5-10 minutes
Approach: running along the illuminated path/running and ducking under cover when in attack mode
Death: 3 hits
First Encounter
On your way to TAU, this enemy shies away from light so following the illuminated path is the only right thing to do. Leviathan won’t attack you if you move fast enough and stay in the lights. When you reach the TVS-d and find a machine that illuminates your path in the darkness, it will make an appearance. There’s a jump scare; Leviathan will come and eat the machine and then circle around you until you enter the cave following the green lights.
Second Encounter
After the Alpha section and WAU, Leviathan will give a chase. It will chase you through a tunnel leading out of the place. For a moment, you will fall and the angle will flip back to point the direction the monster is coming. Some people’s inner compass gets messed up in the process and they start running toward the enemy (because the tunnels look the same). So without caring about the change of angles, just turn around and keep running. Run until you are out and under a small rock cave with a WAU flower in it.
Now Leviathan’s behavior has changed. It will attack despite the lights. All you need to do is to follow the illuminated path and duck under cover when you hear the chase music. The ambience music is the same as Akers’. When this plays, you know Leviathan won’t attack you. It goes into attack mode occasionally and then you have to hide and wait for the music to stop.
7. Viperfish/Anglerfish
Viperfish
Anglerfish
Location: Abyss
Weakness: lights (to some extent)
Strength: nothing special
Encounters: each one, less than 5 minutes
Approach: running along the illuminated path
Death: 3 hits
First Encounter
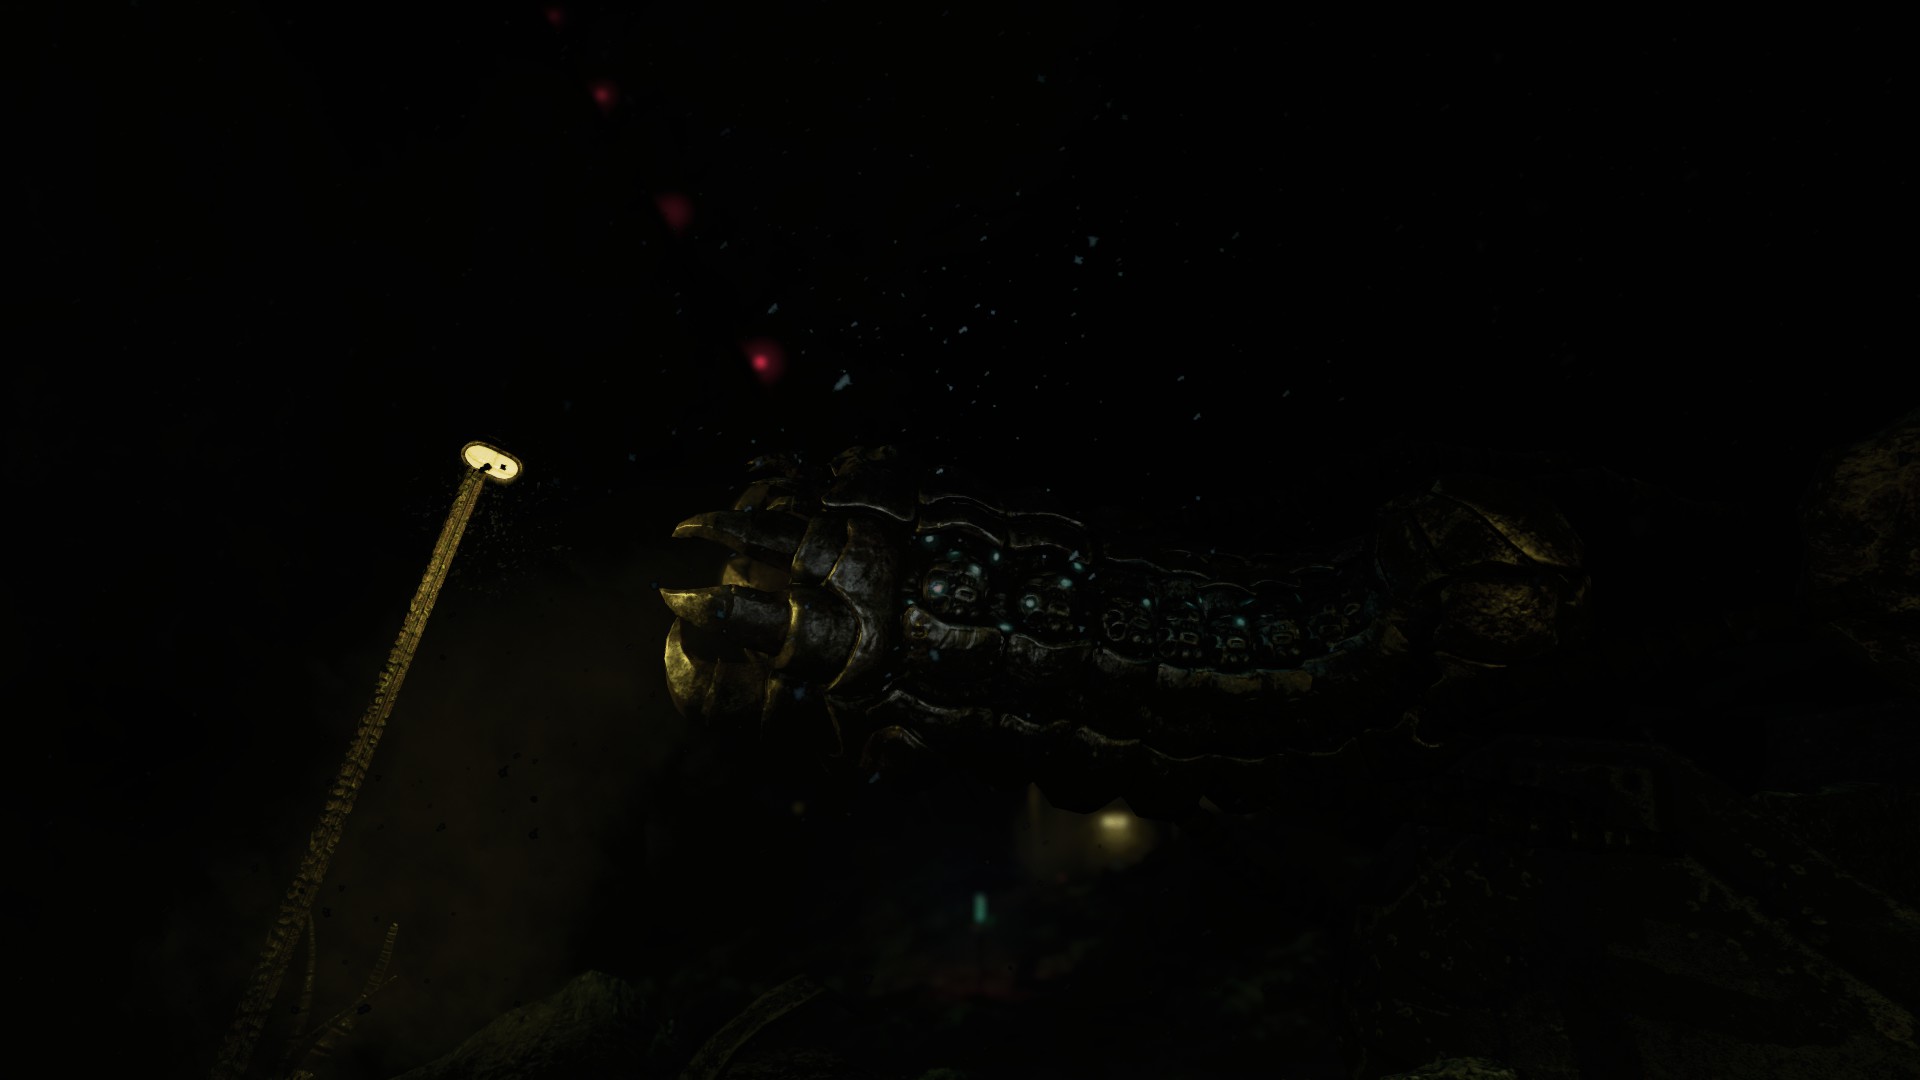
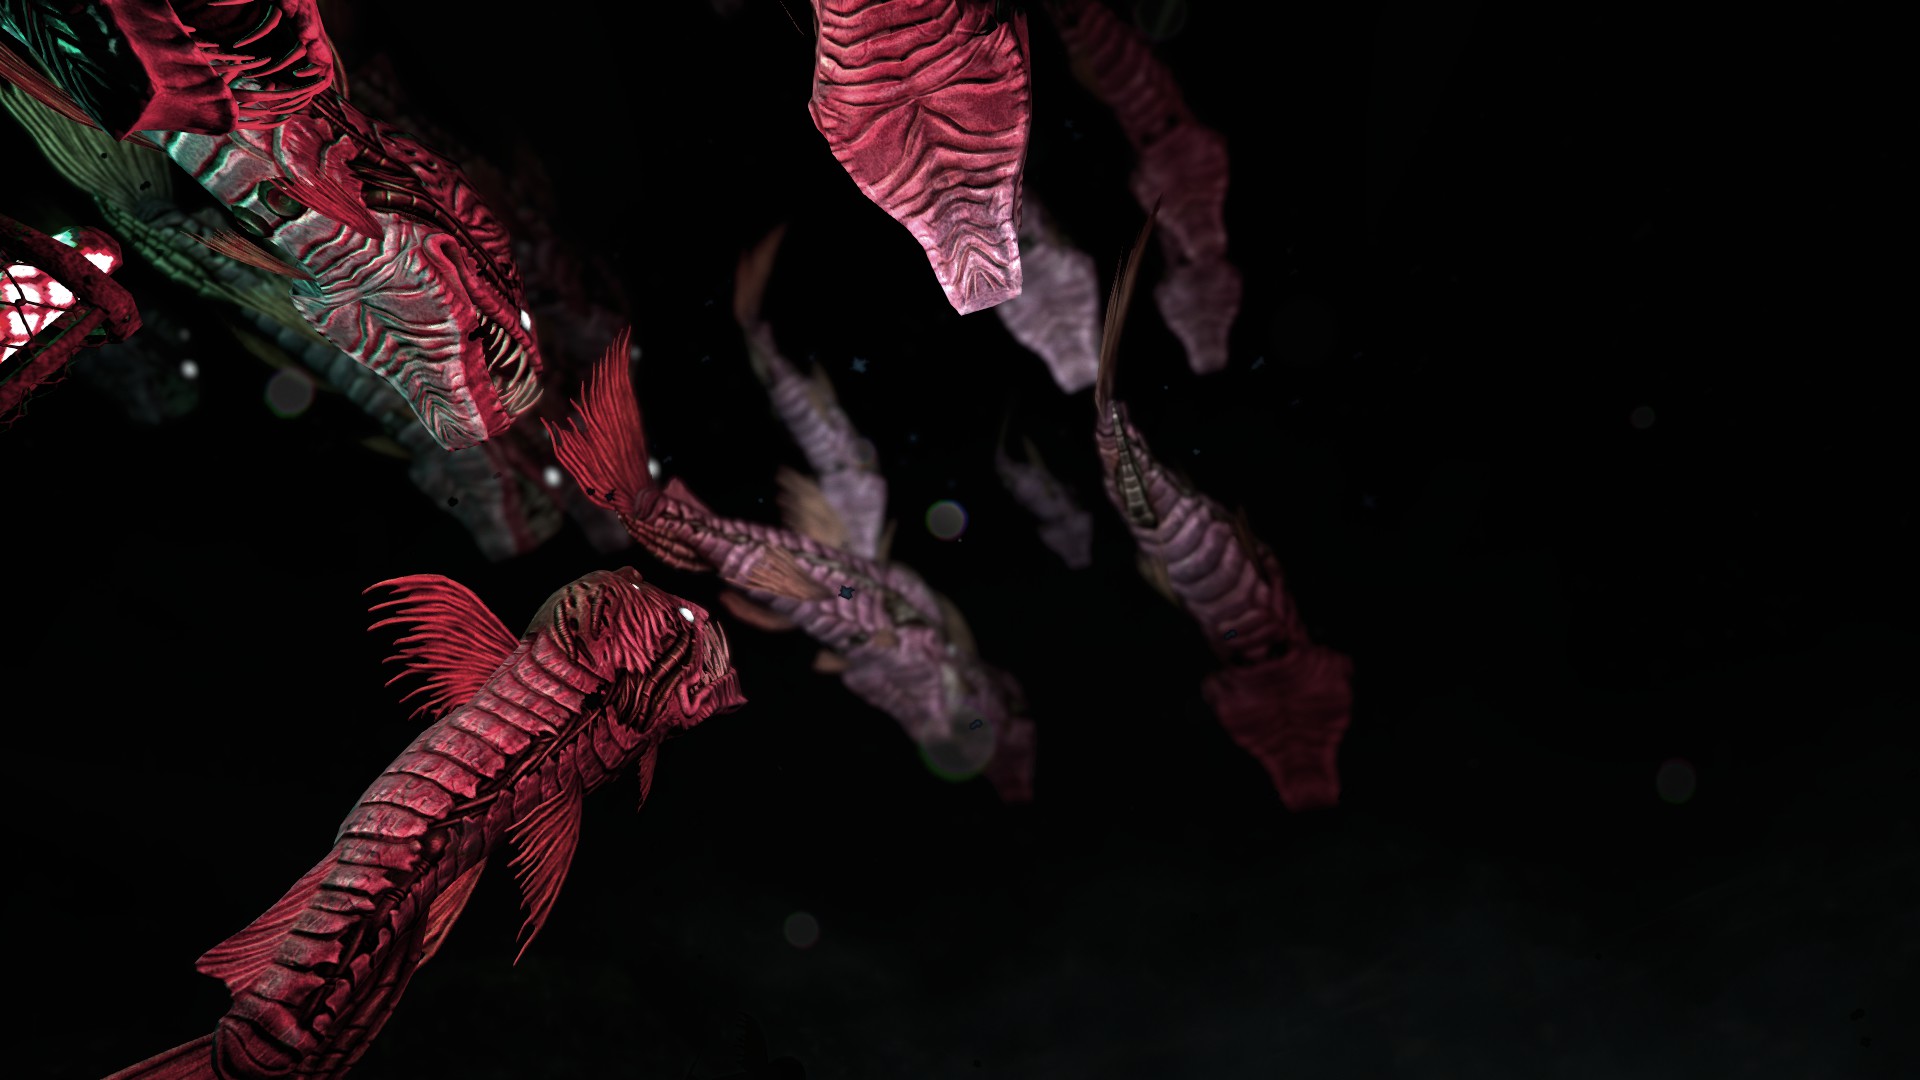
The first enemy of these two is a flock of Viperfish you will encounter in the abyss after the Observatory and before the TVS-d. They suddenly emerge from the storm and if you stand still for too long, one fish will separate from its flock to bite you despite standing near a light source (I guess they won’t protect you from Viperfish even though they game says otherwise). They circulate around you all the time but don’t come into the containers of some sort so you are only in danger when out in the open. Just keep running and follow the lights. When I played for the first time, I didn’t even know Viperfish existed so they are not much of a threat, really.
Second Encounter
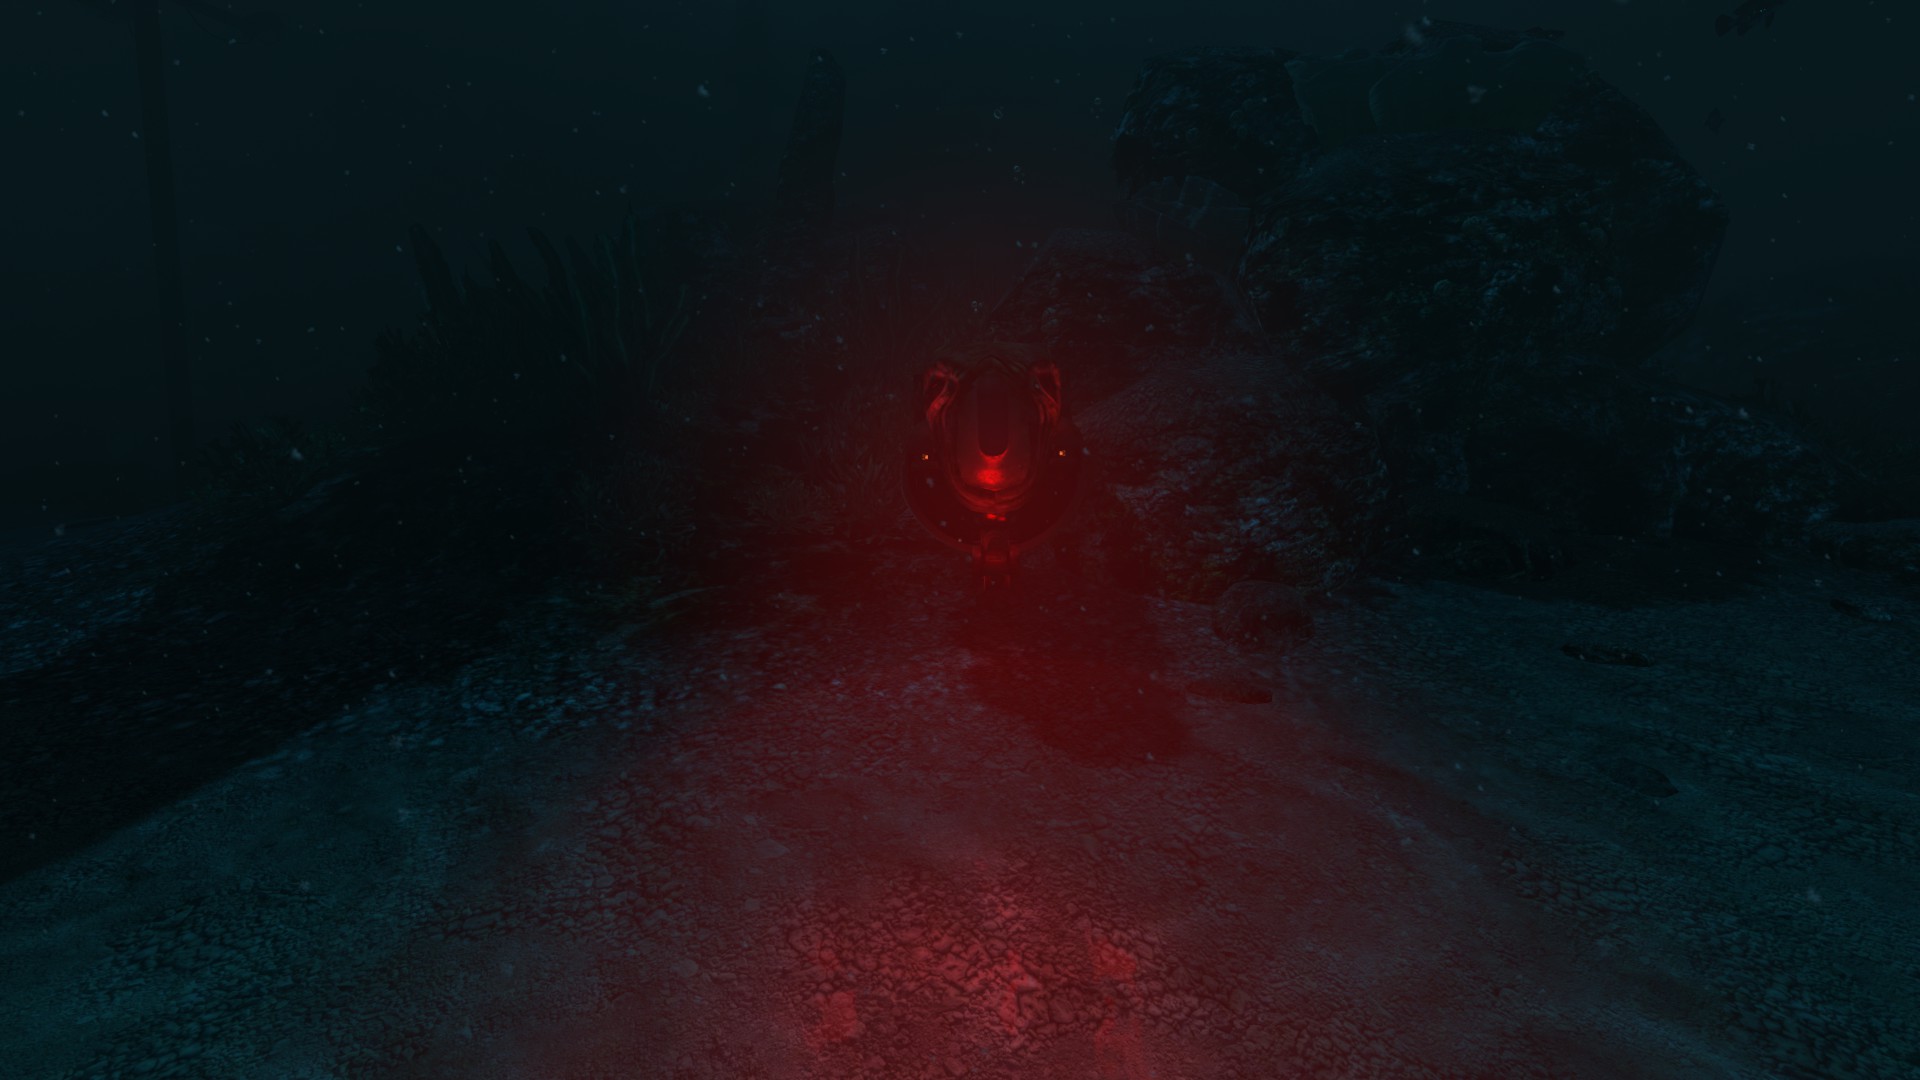
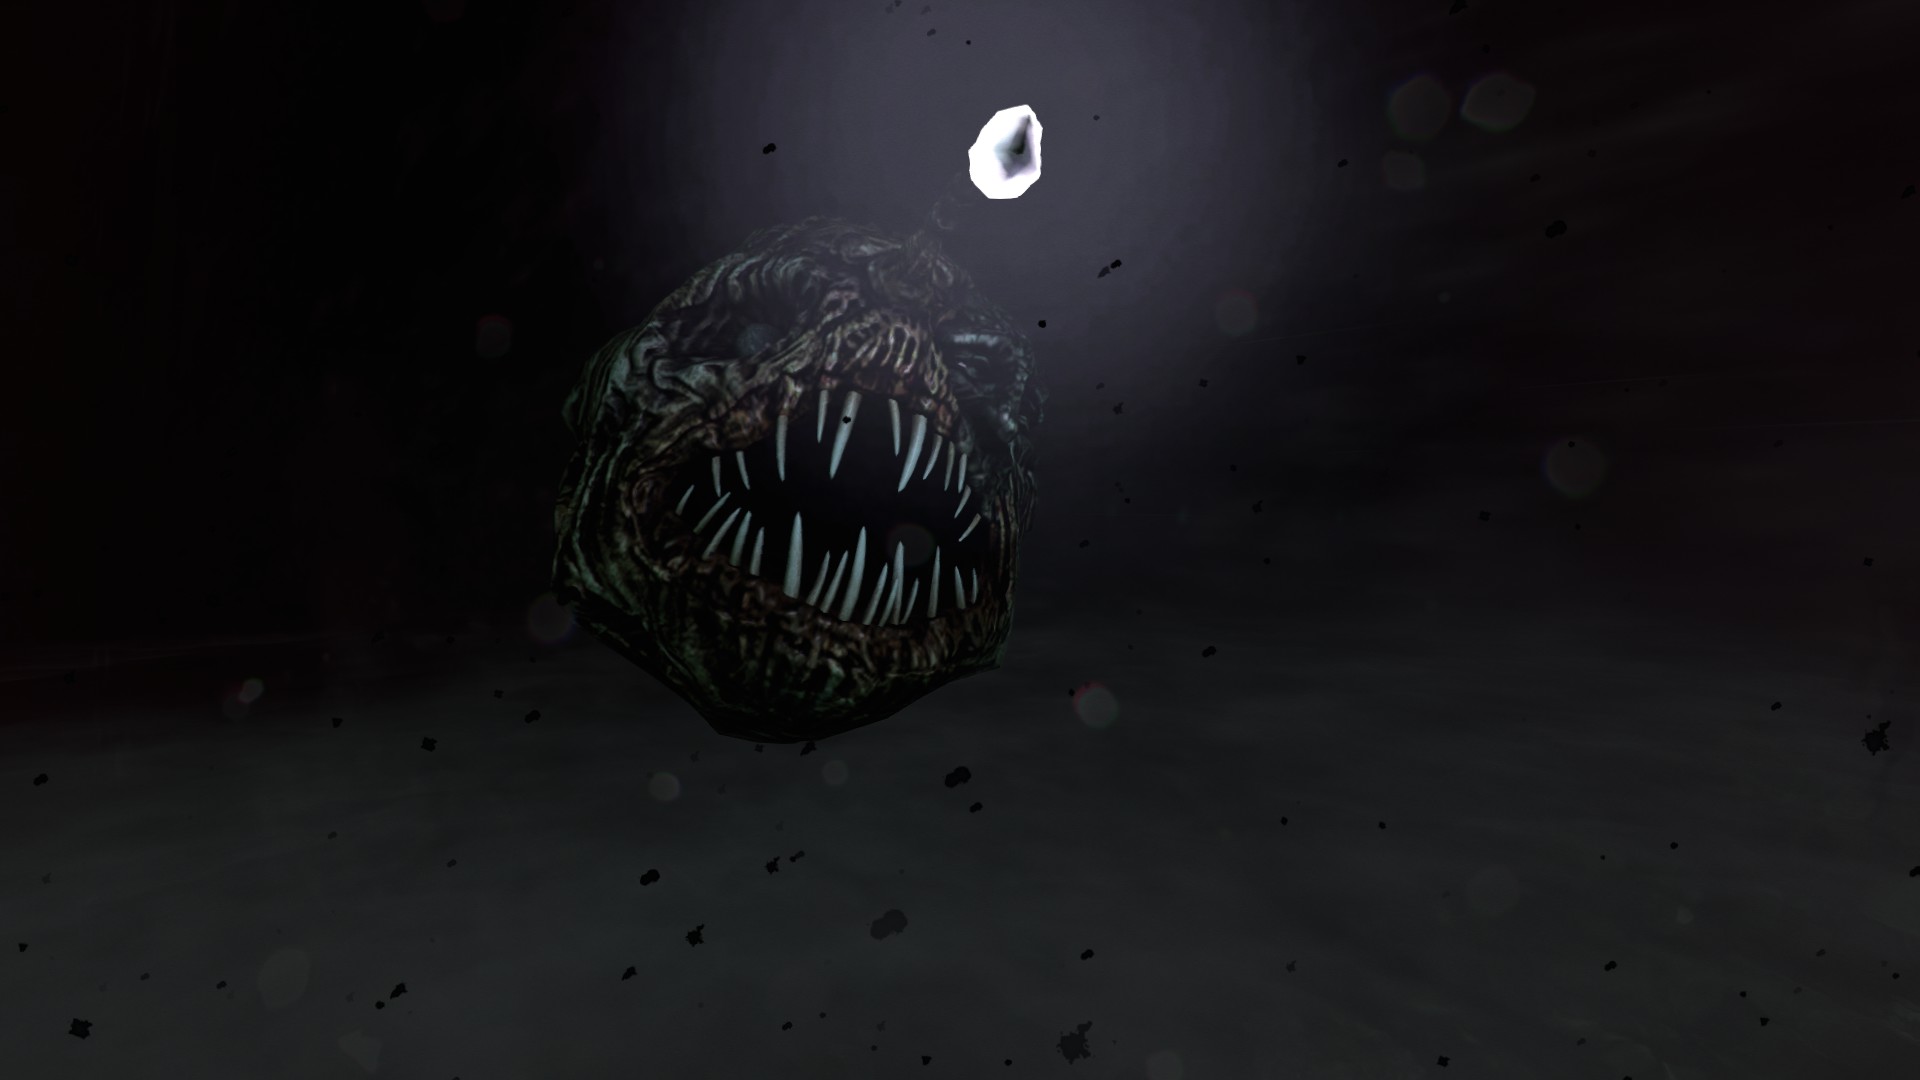
When you exit the cave, you will see faint light in the distance. There are two types of light; the one coming from the tubes and the round one coming from the Anglerfish. Don’t run headlong into the lights before you identify them. I did and I got attacked by that deformed creature. If it starts a chase, it will leave you alone once you reach the illuminated path. Evade the white light ball (on the left I remember) and keep running along the path, you should be fine, the Anglerfish doesn’t come near the light. Only when you diverge from the path, you are in danger. Occasionally, you might see a figure popping from the corner of your eye, but that’s just Ross guiding you forward.
8. Jin Yoshida/Deep Sea Diver
Location: TAU
Weakness: eye contact
Strength: very clear senses
Encounters: one, 2-5 minutes
Approach: keep moving fast and close doors
Death: 2 hits
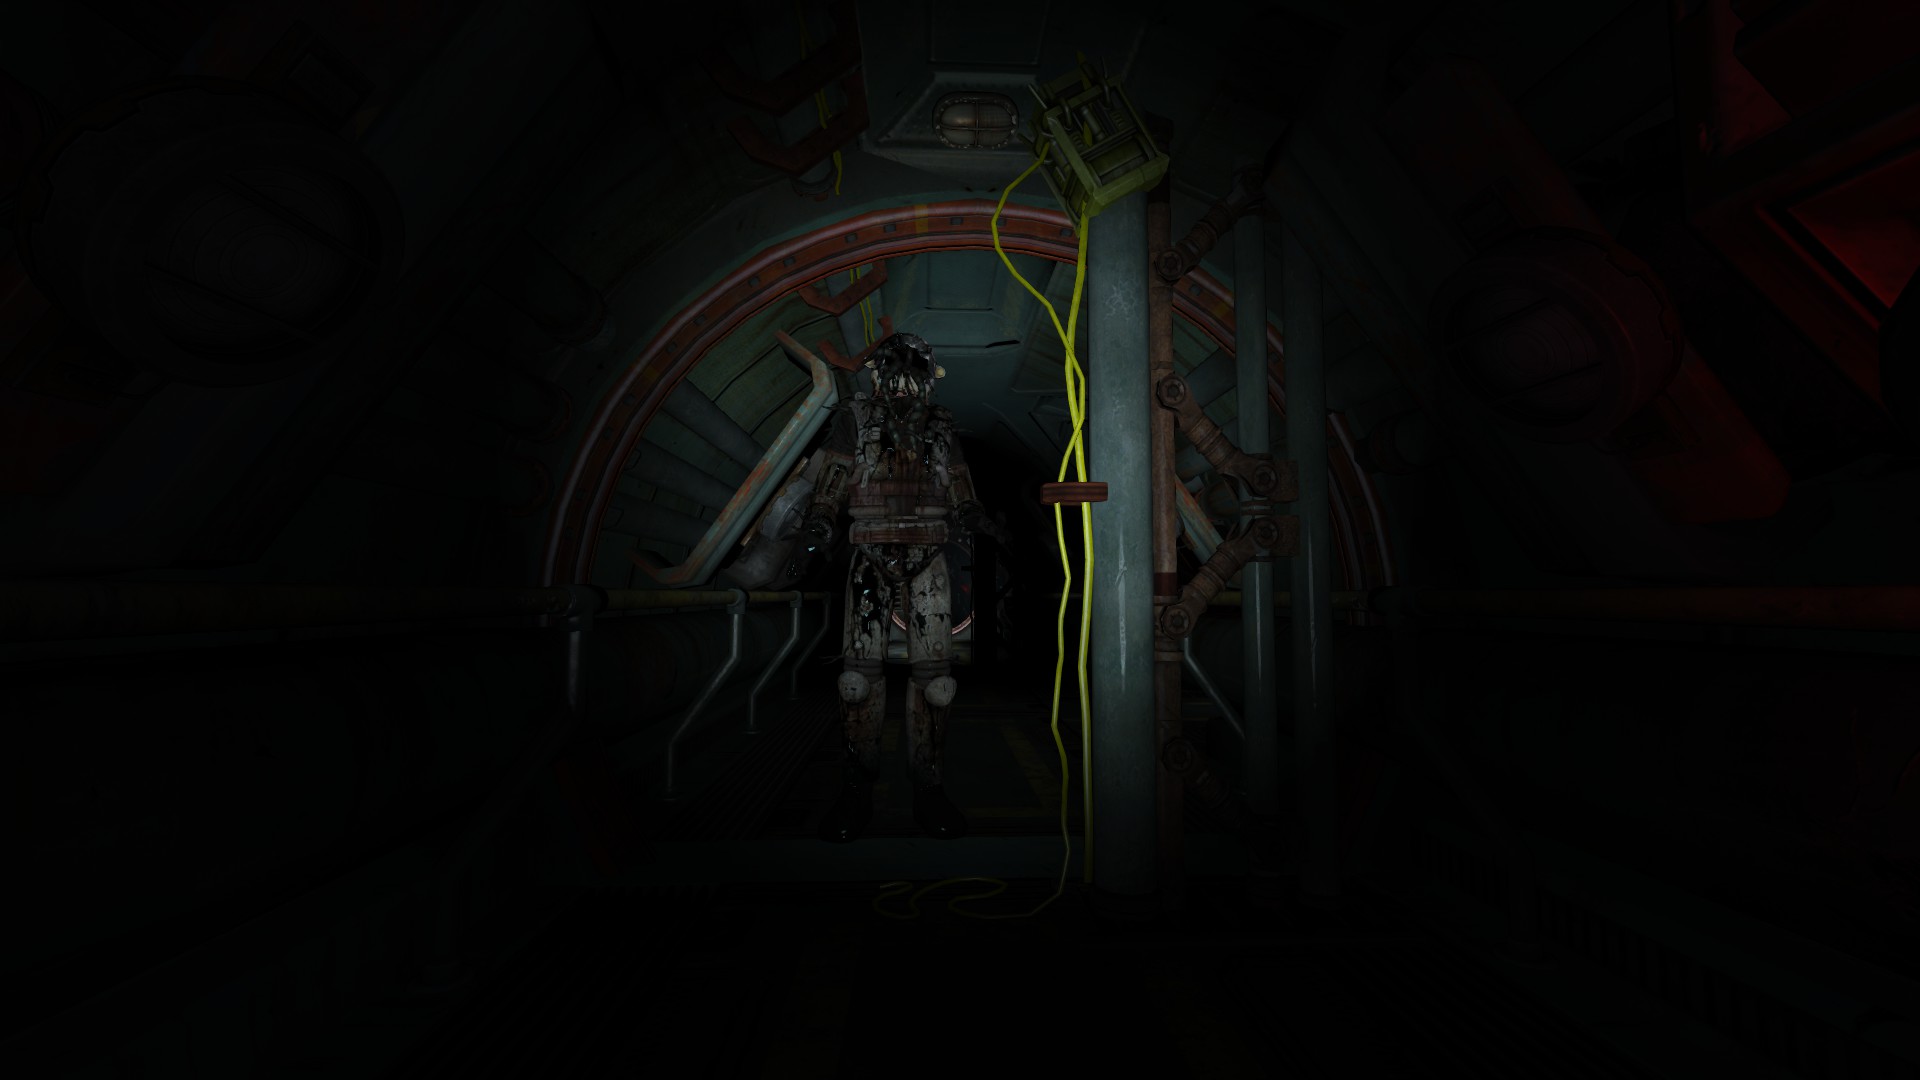
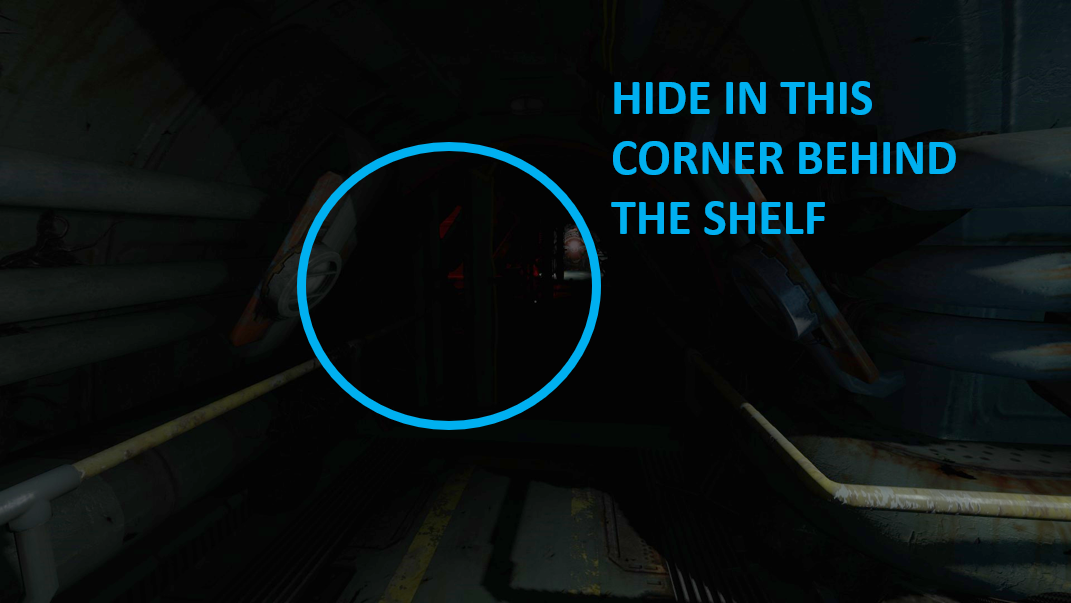
You’ll meet this ”Power Suit Monster” face to face at TAU after opening the door at the end of the long corridor. The door opens slowly which allows you to hide in a dark room next to it. Jin Yoshida is very perceptive and he can pick up on every sound, movement or sighting. There are not good hiding places at TAU which makes this encounter so unnerving. Jin Yoshida moves around robotically with heavy footsteps and makes gurgling sounds as if choking on water. He searches every corner (except the one in the picture).
This enemy won’t come sprinting at you when he sees you – no, he will basically follow you and maintain his fast-paced walking speed. Though, I’ve heard that someone got insta-killed by Yoshida when he saw the player strolling down the very same corridor he was in. But I guess this is relatively rare, because TAU is very easy to navigate but also very confined so the monsters can’t be impossible to deal with. Otherwise, the game experience would be more frustrating than scary (this is not Alien: Isolation lol). You can turn off the lights in the rooms to make it harder for him to detect you (I haven’t tried this so I don’t know how much it helps but I can imagine that hiding under a table in a dark room, dragging a chair in front of you and staying still would be a feasible plan).But I strongly suggest that you do not try to hide from this monster. You have to walk/run because this enemy walks faster than you crawl, although I have seen some people get away unscathed with stealth. For me, it was actually easier to have him after me than not knowing his location. He also knocks on the door before opening it which is very friendly. Looking at him will make him stop dead in his tracks for a moment allowing you to escape but don’t maintain the eye contact for more than five seconds. He will then kill you right away.Basically, what you need to do is to keep moving while staring at him. At a dead end (like in the room next to the slow-opening door you need to open to exit the area), you can break the eye contact, let him move closer, then look back again and go past him around the table. Repeat quickly, many times so he won’t go into attack mode but will move in the direction you want him to.
One huge mistake to do is to stay still because the longer you are unmoving, the higher is the risk of getting killed. There’s no escaping from agitated Jin Yoshida because he is unbelievably fast. When he goes into attack mode, you’re dead. I survived by running around and closing doors – this made him confused when he tried to locate me. I also think that throwing objects as a distraction isn’t wise because it somehow feels like he always knows where you are. The best thing in this encounter is that it’s very short – a few minutes max – and the only thing you need to do is to open one door and climb up the ladders to safety. The only problem is that it takes long for that door to open. It’s Jin Yoshida’s abilities that makes this the most stressful encounter in the whole game.
9. Johan/Jonathan Ross
Location: Omicron/TAU/Alpha
Abilities: teleportation
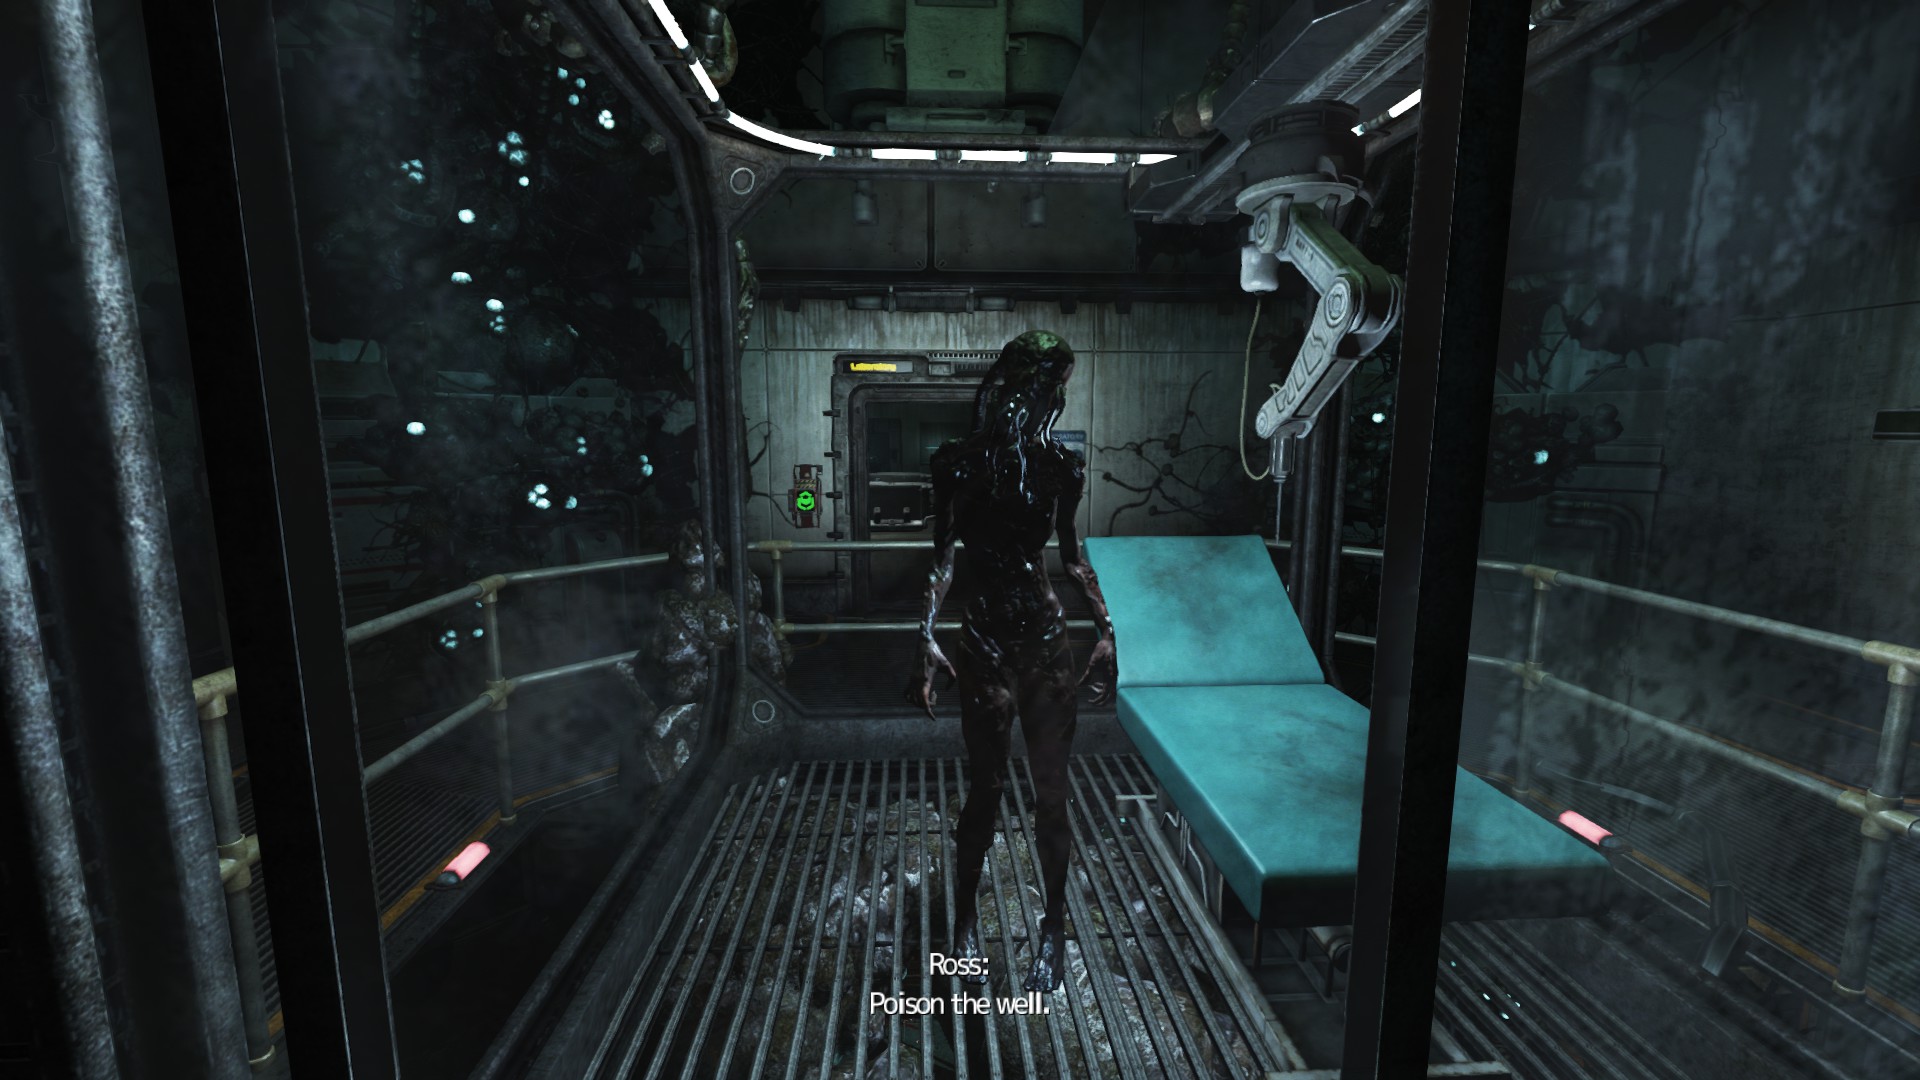
This guy is not dangerous and won’t try to harm you except in one part of the game (and it’s story-related so you don’t have to worry about it). Don’t be afraid of him. He’s only a creep who wants you to do him a favor. He flickers in and out of sight and appears a few moments later, sometimes right in front of you but he won’t do anything to you. He will appear in the glass container when you enter the hub for the first time and after discovering one of the three things you need to find at Omicron. After you’ve gathered everything you need in order to progress in the story, he will just shatter the glass container indicating that “he will follow you there”. This is why he appears in the Climber when you are about to reach the abyss. The screen will start to go blurry and you will see him creeping down the Climber unable to fight back when he knocks you out. At TAU’s living quarters, he will appear there many times (first when you descend the ladders into the area and look behind) so don’t get a heart attack every time you see a slender figure standing behind you. The final encounter is at site Alpha where you can decide whether or not you want to obey him (he will try to hurt you either way but gets killed by Leviathan).
I hope you enjoy the Guide we share about SOMA – All Monsters Information Explained + Hiding Spot; if you think we forget to add or we should add more information, please let us know via commenting below! See you soon!
- All SOMA Posts List


Leave a Reply