Hi, welcome to this post, We’ll discuss the Rusted Moss – Level Editor Controls & UI Guide in this post, and we sincerely hope you find it helpful.
Have you ever wanted to challenge yourself with your level?
Create your custom level using the Level editor. You can share it with others through Steam Workshop.
Introduction
Guide to the Rusted Moss Editor
This editor has been designed to be minimalistic and is made specifically for creating your own challenge course (the timed challenges that you discover in the maingame).
When the guide uses “level”, it refers to the project that is being made in the level editor. When the guide uses “room”, it refers to the individual components which make up the entire level. A level is made of one or several rooms.
Controls for the Level Editor
Keyboard Controls
Place Block – Left Click
Hold down D while changing cursor mode to delete block. Click on the tile/object to delete.
Move screen: Middle mouse button OR Arrow keys
Teleport Player – R (This works only when you’re playing a level in the level editor. When you’re testing a level and hold R, Fern will teleport directly to your cursor.
—Moving/Rotating Objects—
Note: Not all tiles can be rotated/moved. Tiles do NOT have this behaviour. Only certain objects have this behavior. Hover over the object while holding down the appropriate controls. If a square appears, then you can take action.
Hold V to change cursor mode to move object. Click and drag an object.
Hold R down to change the cursor to rotation object mode. Click on an object to rotate it.
Controller Controls
Select
Go Back
Navigate Cursor – Left Stick/D Pad
Right Stick Move screen
Place a tile/object Select an object – A
Deletes an object/tile – Hold left bumper + Select object with A
Rotate an item/tile – Hold right bumper & select object using A (note that not all object types may be rotated).
Move border i.e. Resize room by holding the right trigger while selecting a level border.
UI Guide
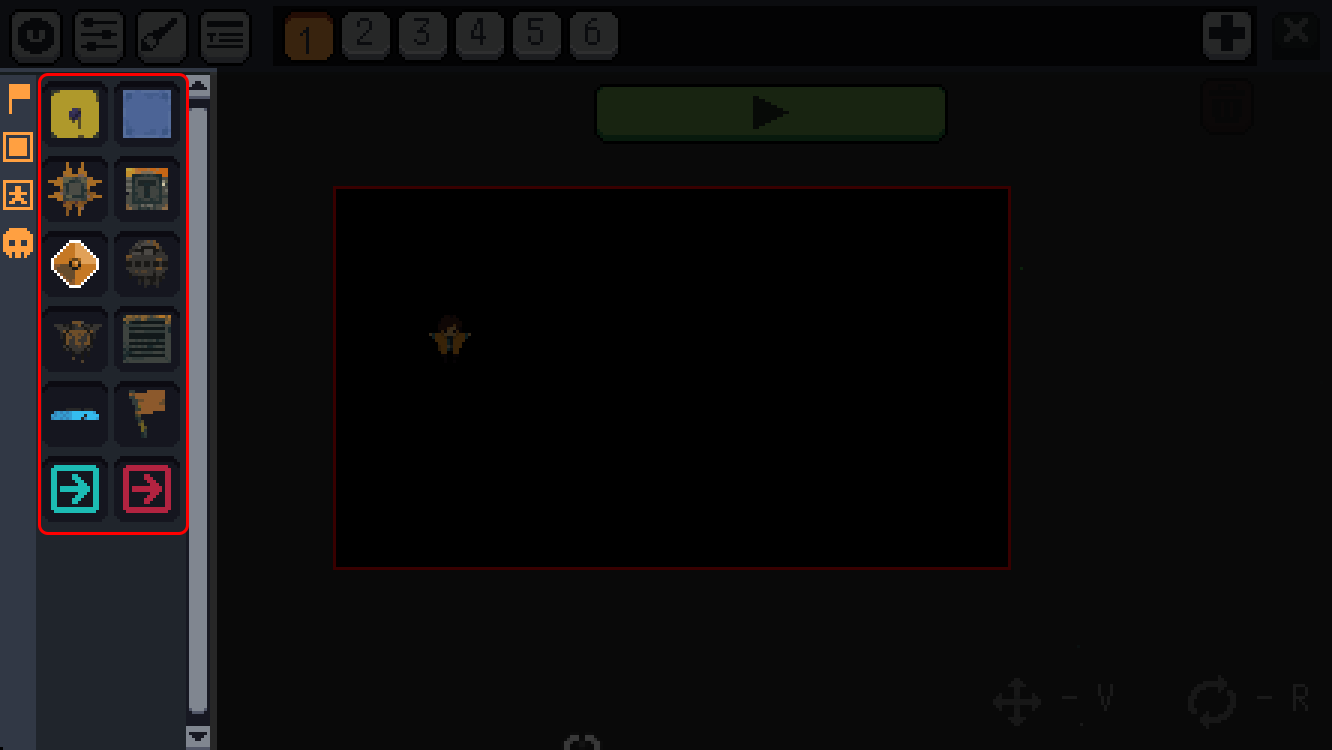
Sidebar Filters
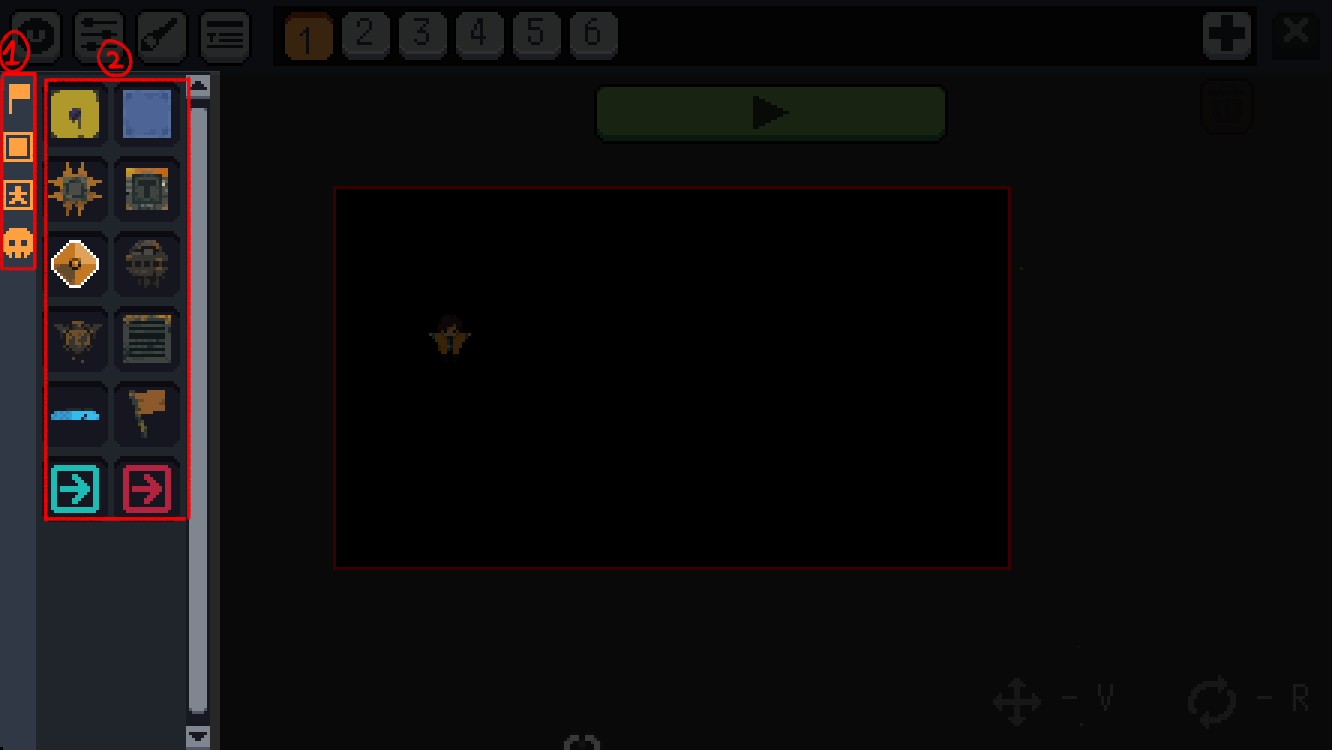
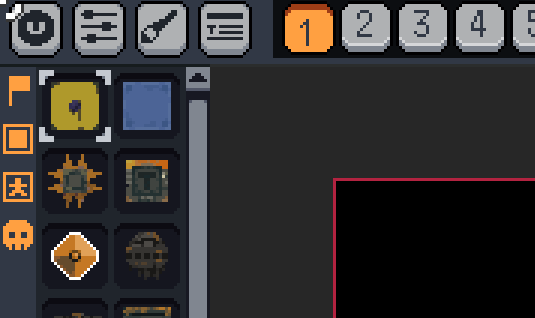
These icons allow you to filter blocks that are available for placement on the level. The first icon is key items. The second icon is basic blocks.
1 – Sidebar Filters
2 – Available Blocks/Objects to Use
Other Options
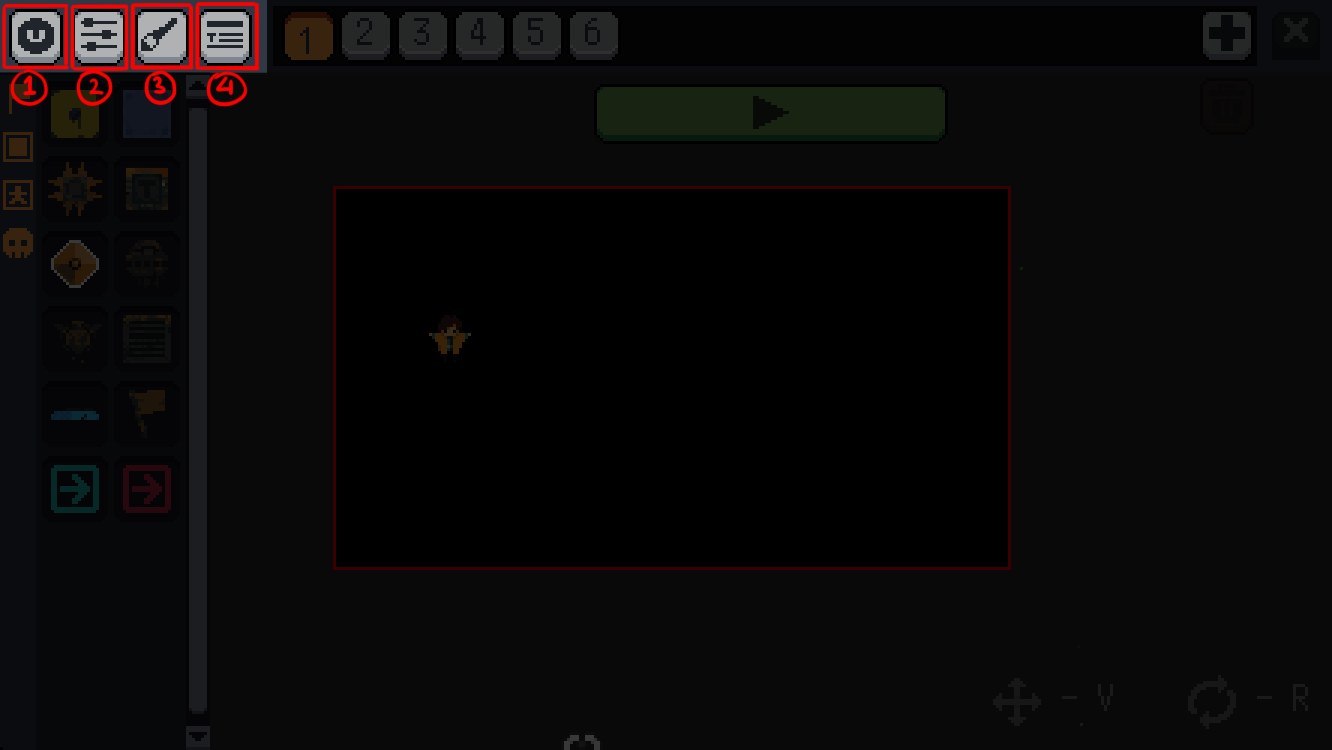
These buttons at top affect player settings and level settings. Meta data such as the level name and description are also affected.
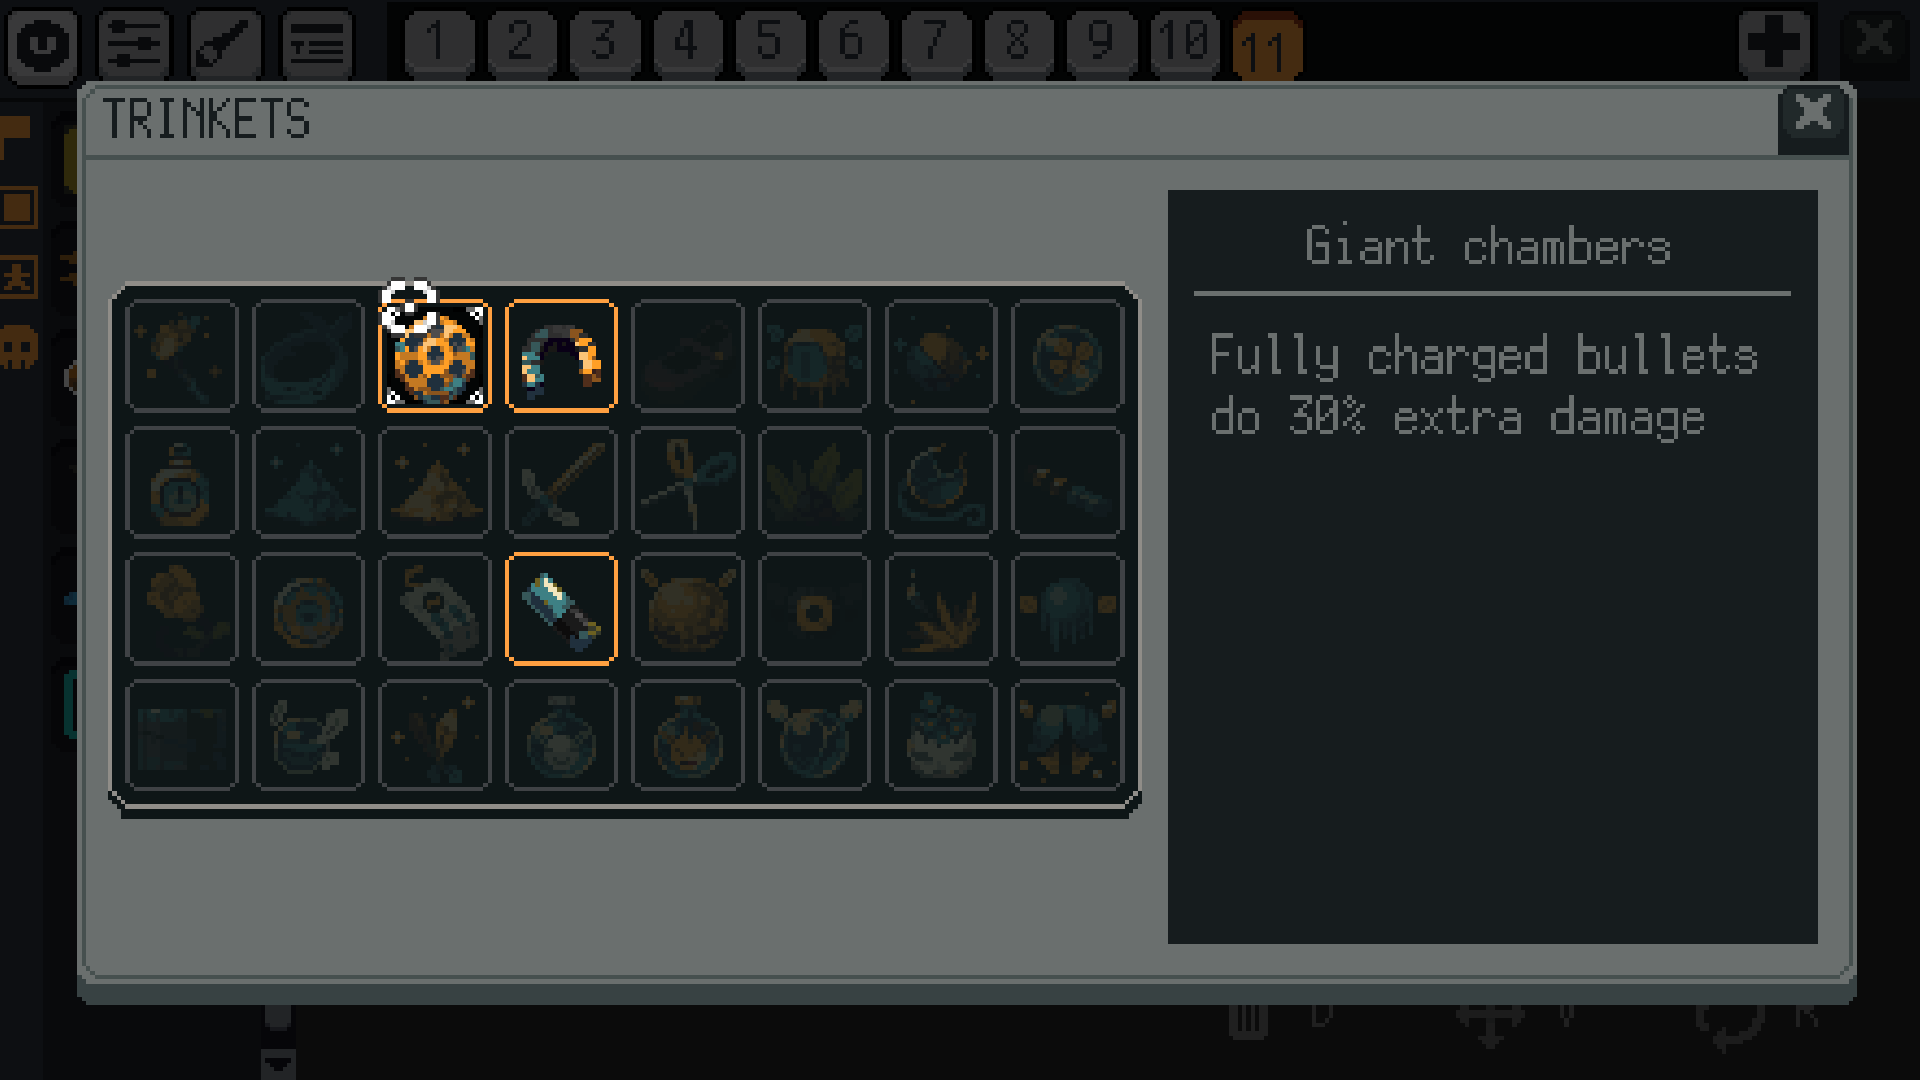
1 – Opens the trinket menu. This is used to set up the trinkets your players have when playing on your course.
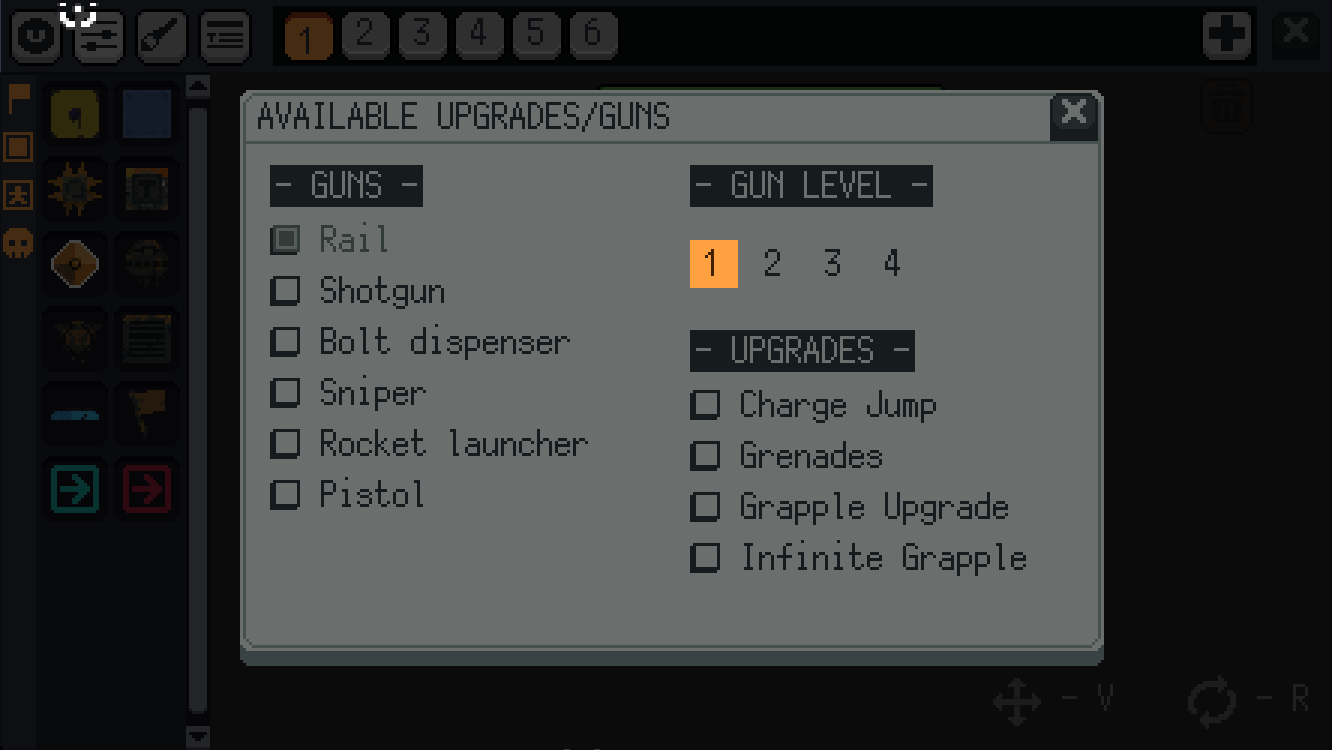
2 – Opens the Upgrades/Guns menu. This menu allows players to select the type of gun they have and their level. You can also choose what upgrades the player has such as: Grenades and Grapple Upgrade.
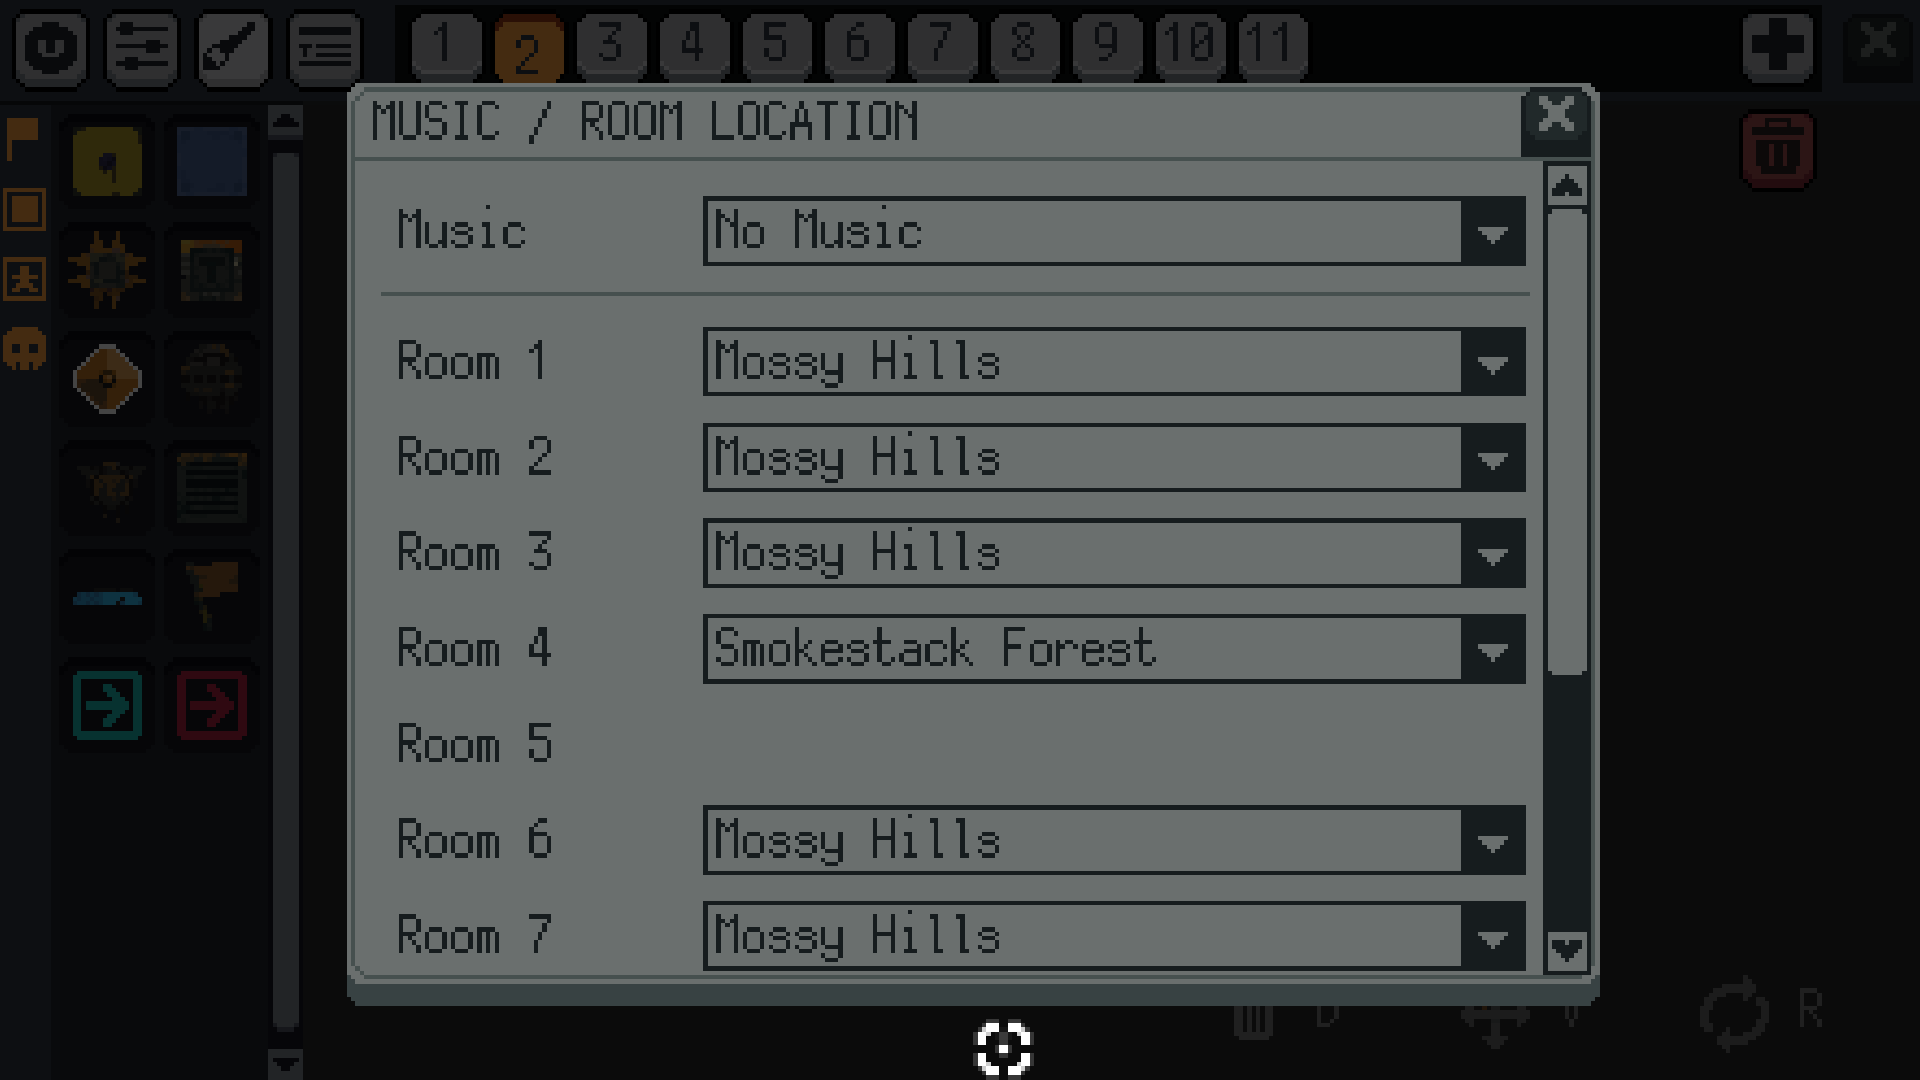
Opens the menu so you can choose the area that the room should be located in. You can also select the music for your level. You can also turn off music.
4 – You can edit your level package name and description.
Room Bar
This bar will allow you to navigate through different rooms. Each number represents a specific room. Click on a number in order to jump to the room. The plus symbol adds additional rooms to your level.
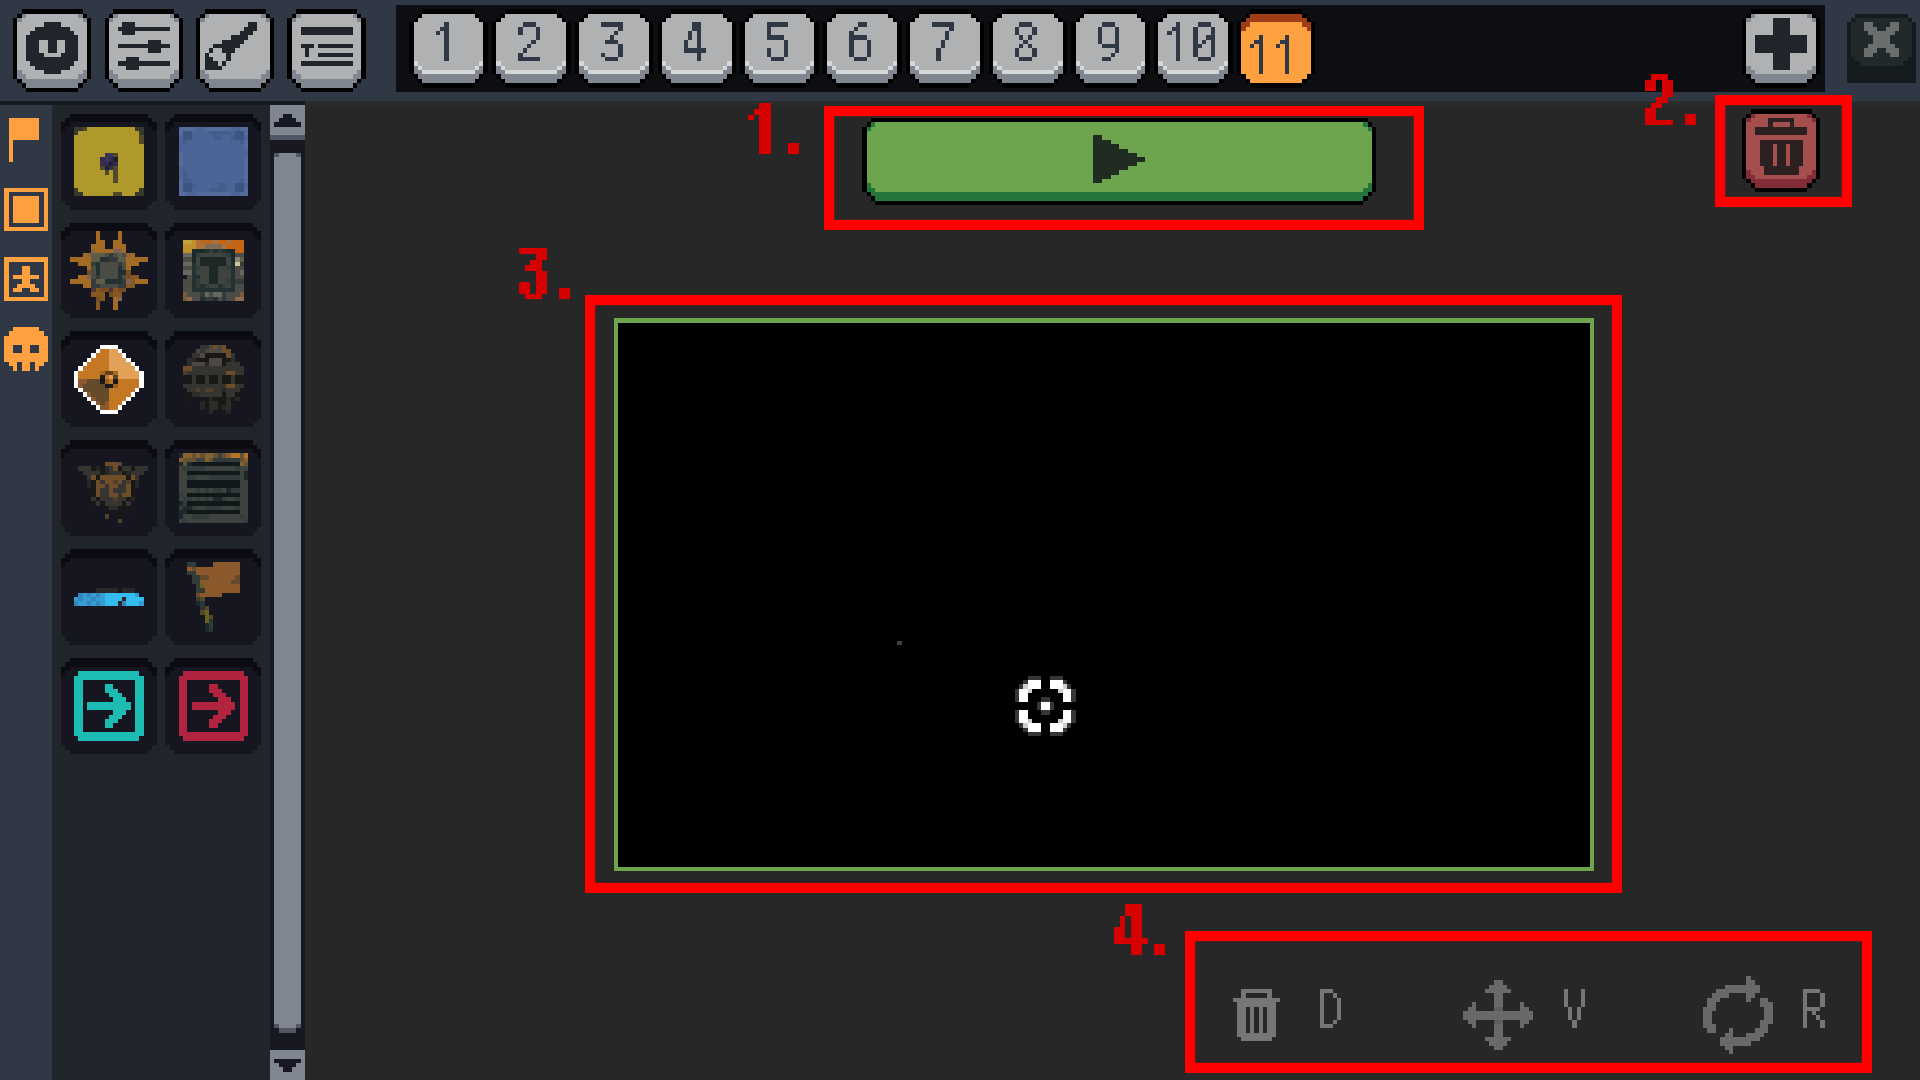
Work Area
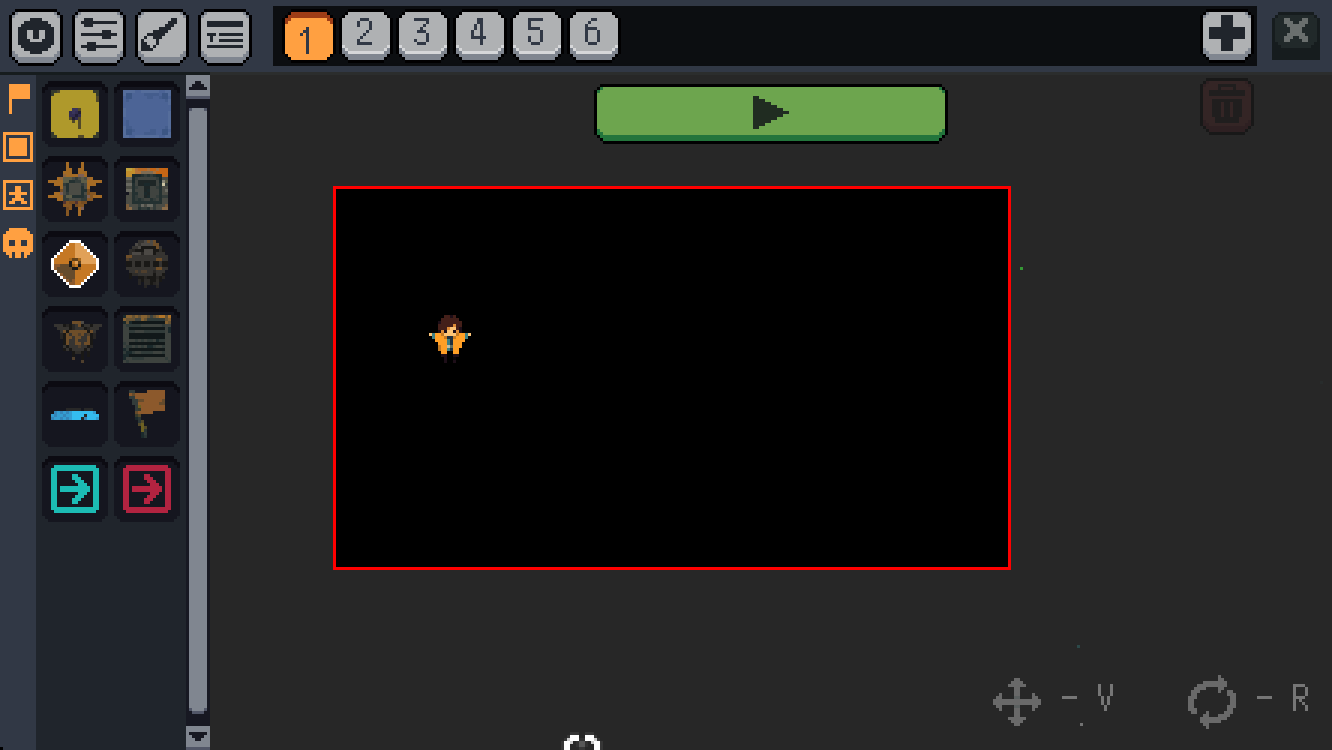
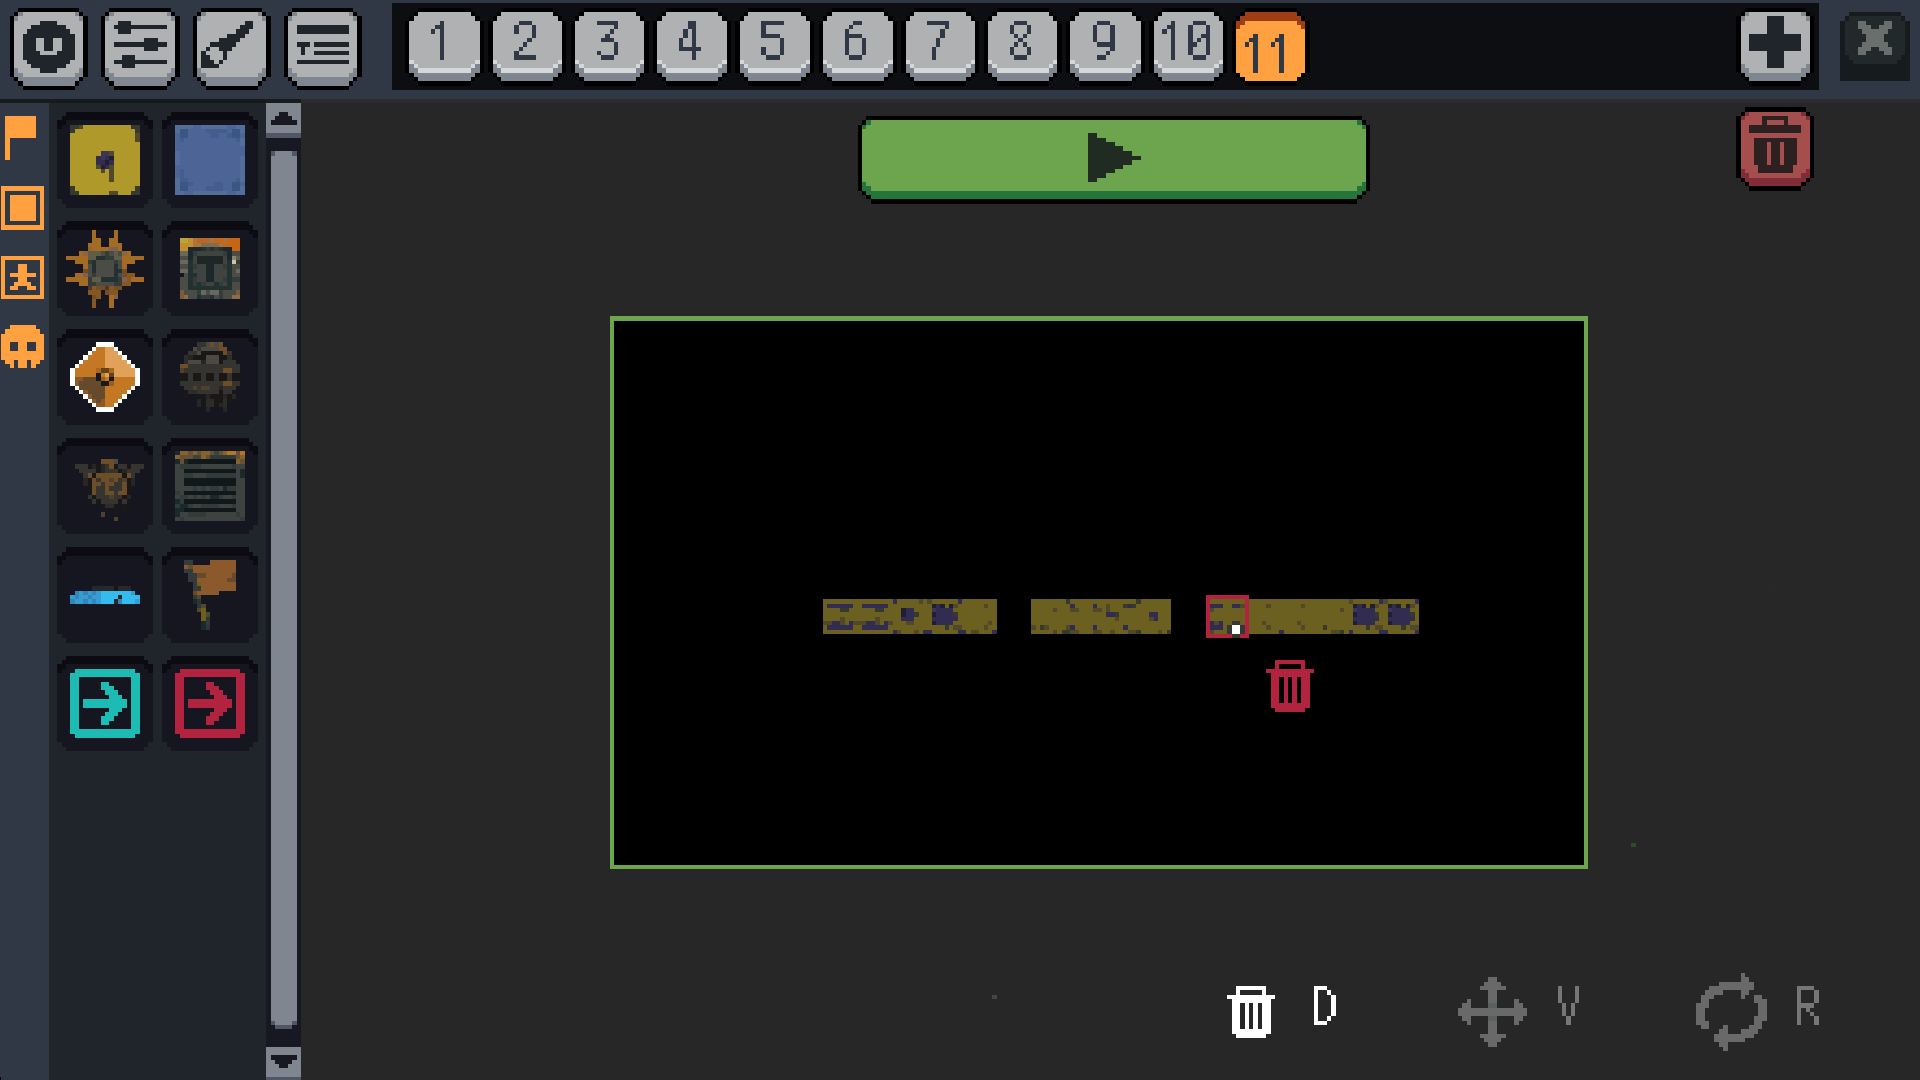
This area is where blocks are placed. From this area, you can also play the rooms.
1 – Play the selected room (room in the room bar).
2 – Deletes room active
Area to move roomblocks in
Displays controls. It will change if you are using keyboard or a controller.
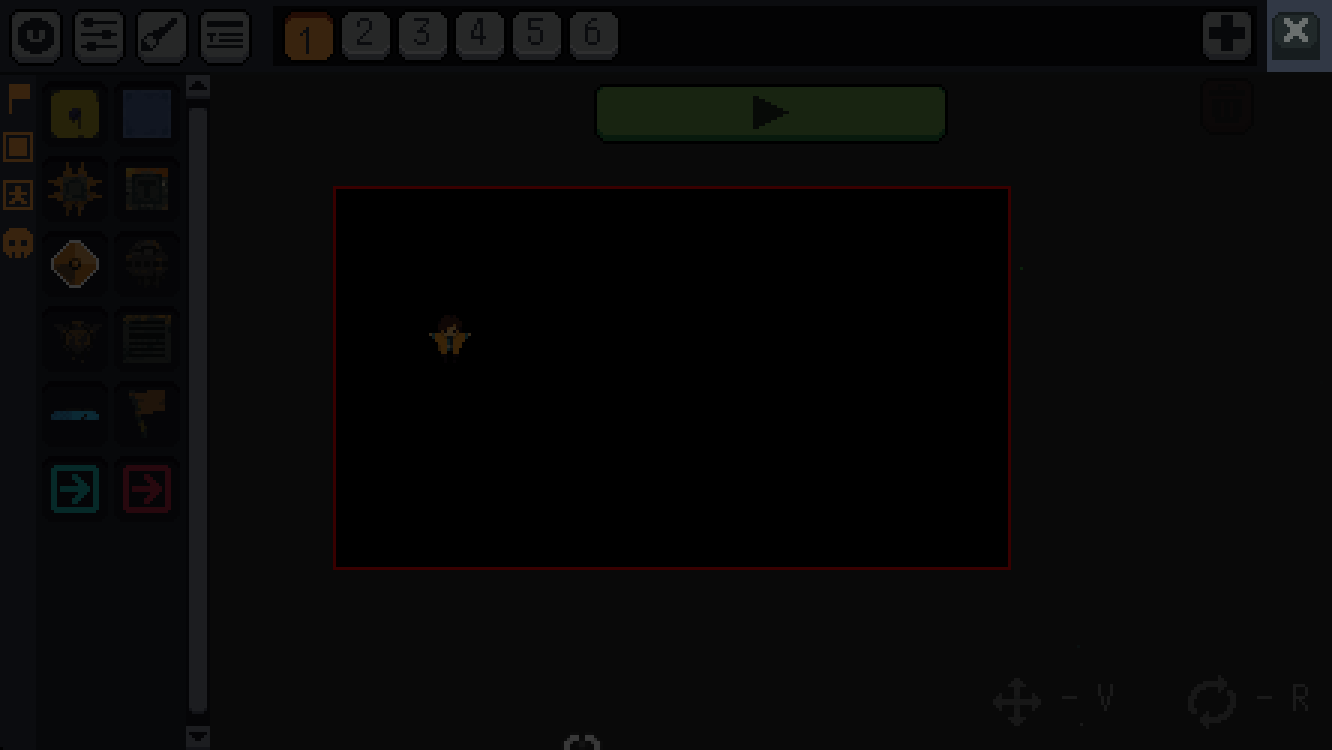
Exit
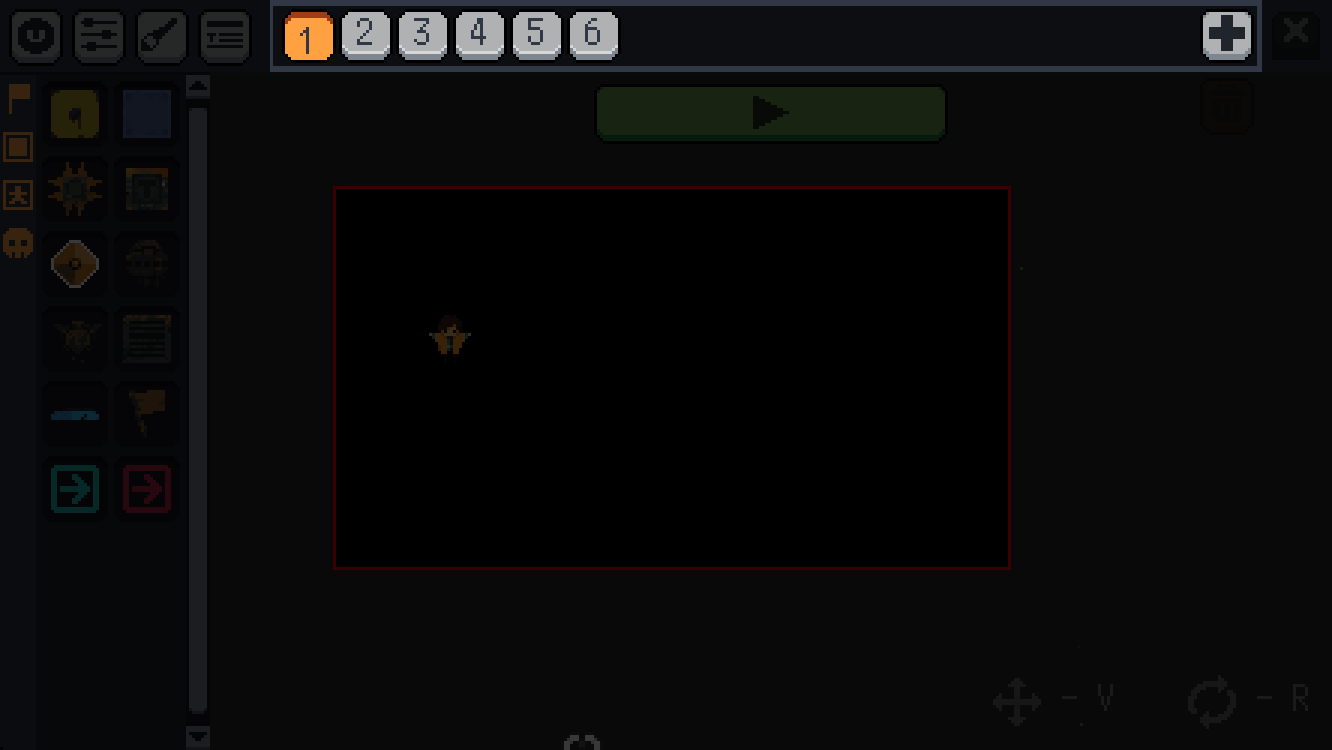
Exit level editor
Available Blocks
Moss Block
Basic faerie moss block.
The players can stand on top and charge up by grappling onto it.
Wall Block
Basic wall block.
This is not a surface that players can grab onto.
Spike Block
Basic spike block
When players hit spike block, they take damage.
If you want the player to fall into a pit and die, then spike blocks will be needed.
Jump Pad
When players jump from a jumppad, they can jump higher.
IMPORTANT NOTE : Jump pads MUST NOT be placed on top of a solid block.
This is an incorrect placement. The jump pad won’t work.
Placement of a jump mat is important.
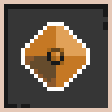
Jump Crystal
Recharges a player’s grapple that has already been used.
Also boosts their height a little.
Ground Enemy
Basic enemy
Enemy that remains on the ground.
Flying Enemy
Basic enemy
Enemy who flies.
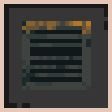
Vent
Hot steam is released periodically to damage players.
Important: Vents must be placed on top of a solid block to work.
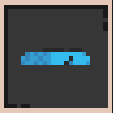
Mana Stone
Players can recharge their mana to heal.
Best placed on ground
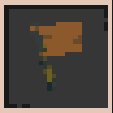
End Flag
This block signifies the end of an entire level. When a user touches it, it ends the level and displays their final time.
Placing, moving, deleting blocks
How to place blocks
1 – Click a block on the sidebar to choose it.
You will see a circle around the selected block.
Click the work area to begin.
You can now click on the block to place it.
Click again on a block to deselect it. Click on another block in order to place another block in the workspace.
How to delete blocks
1 – Press and hold the D key. A delete icon should appear next to the cursor.
Click on the block to be deleted while holding the D key.
Selecting the location where the player will first spawn
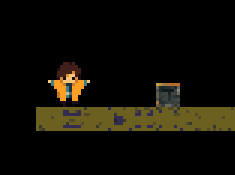
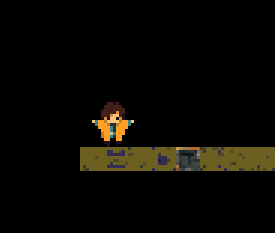
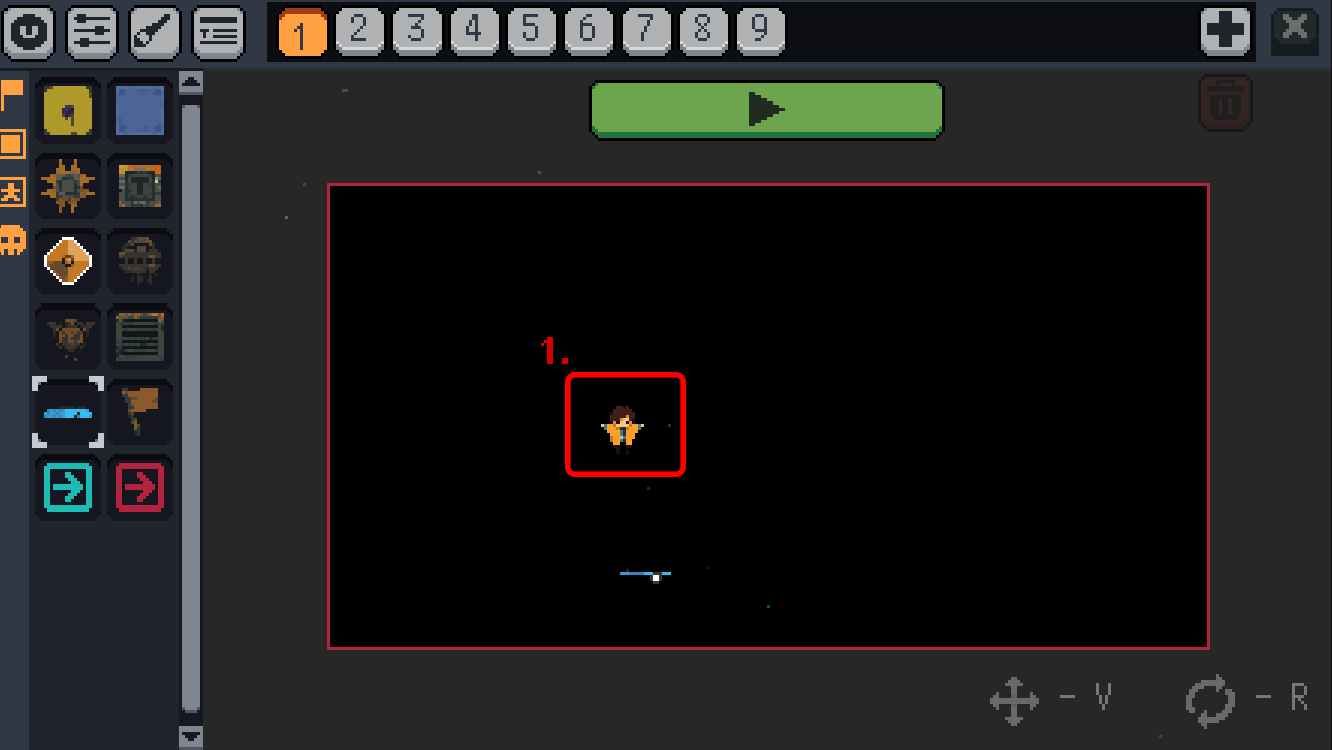
The Fern doll will determine the location of Fern when a level first starts.
This doll is only in the first room on your level. The transition objects will determine where Fern appears in different rooms. (Covered in the section on room transition).
This doll should only be visible when the room 1 is selected. You can see which room has been selected in the room bar at the top.
Click and drag to move the fern doll.
Adding / Deleting rooms
To add a level, click the plus icon near the top.
Rooms are ordered so that the newest room will be on the far right of the bar. (example: you can add a fifth room to a four-room house. The new room will appear at the rightmost end of the bar.
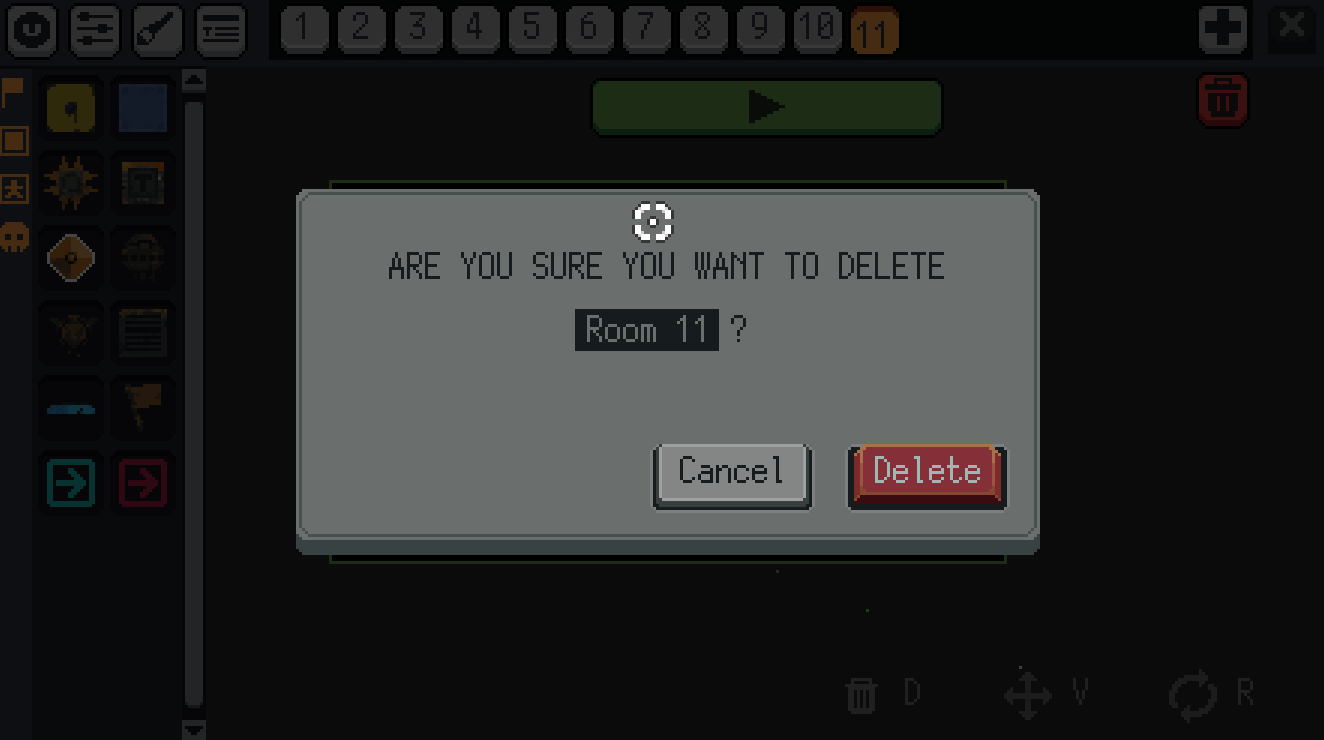
To delete a space, click the delete button next to the play button. You will then be asked to confirm the decision. The room currently selected will be deleted.
How to link rooms
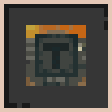
The room transition block is used to move a player from one room into another.
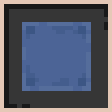
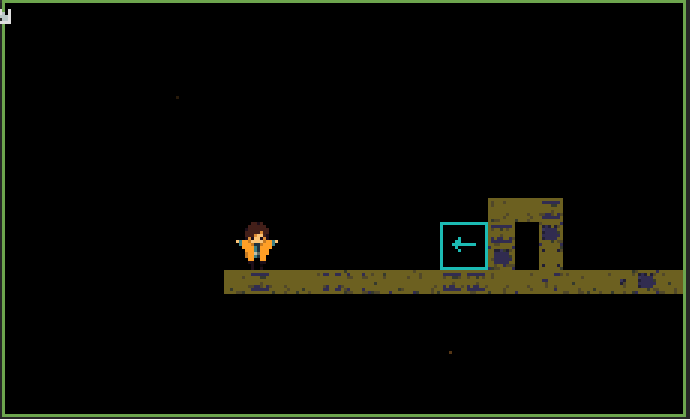
The blue blocks are used to move a player from one room to another.
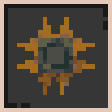
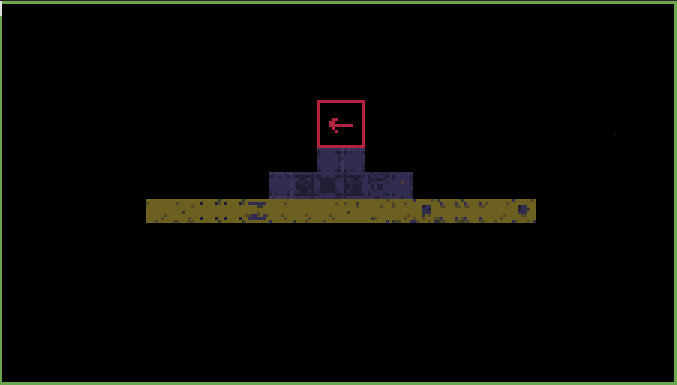
The red transition blocks will tell you where they are in the room.
If a person touches a block of blue in room 1, then they will appear where a red block is in room 2.
Example:
Room 1 with a transition block in blue. If a person is playing in this room and touches the blue transition block, then they will be taken to room 2.
Example of room 2. A red transition has been placed to indicate where the player is going to appear.
———–
The arrow directions on the transitions blocks show the position of the player in relation to the block in the following room. If, for example, a blue square is pointing to the right, it will show how the interaction in-game happens:
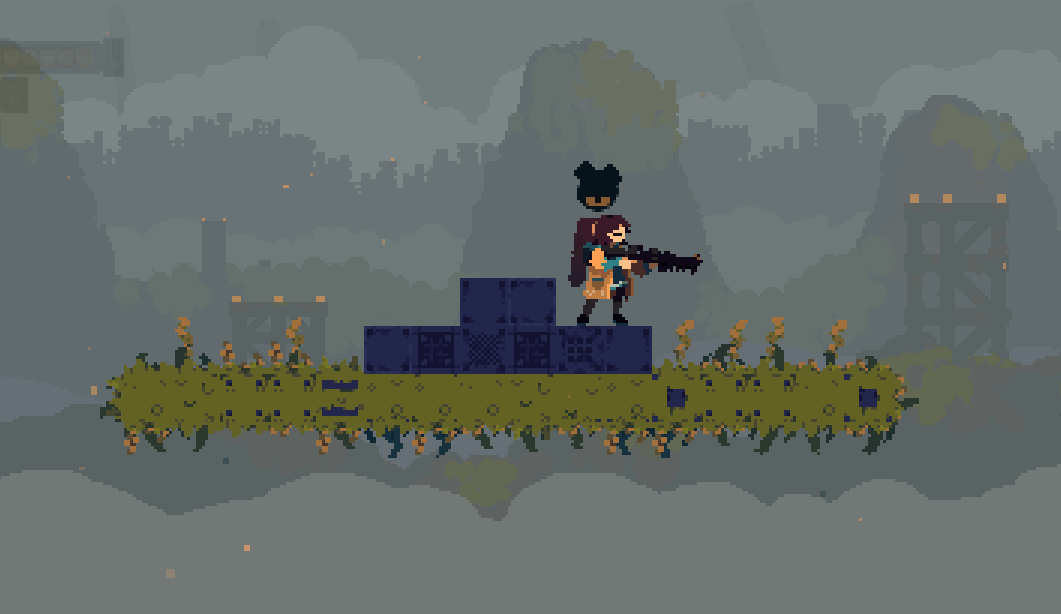
The player appears RIGHT of the red block because the blue block from the previous room was pointing right.
This is how the same interactivity in the game happens when the blue blocks are rotated so they point to the left.
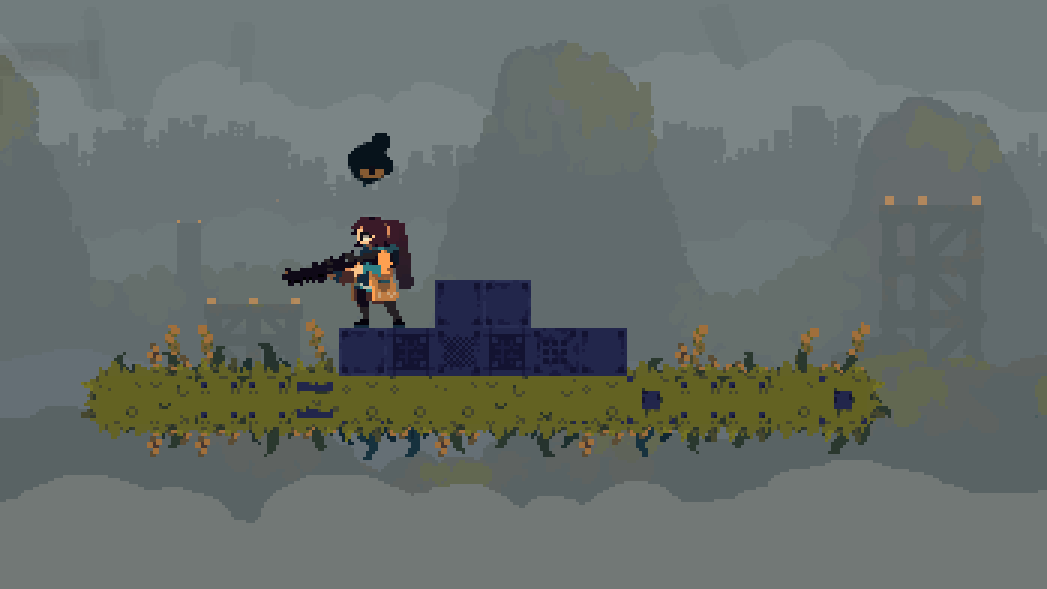
The player appears to be to the LEFT where the red blocks are placed because the arrow on the blue block in the last room pointed to the left.
NOTE: It’s possible to have several room transitions located in the same room, but at a distance. We do not know what the exact rule for where the player will start if there are several blocks in very different locations. Wherever the player spawns remains consistent. I don’t know how to predict the spawn point without running through the room.
Changing a Level’s Music / Changing a Room Biome
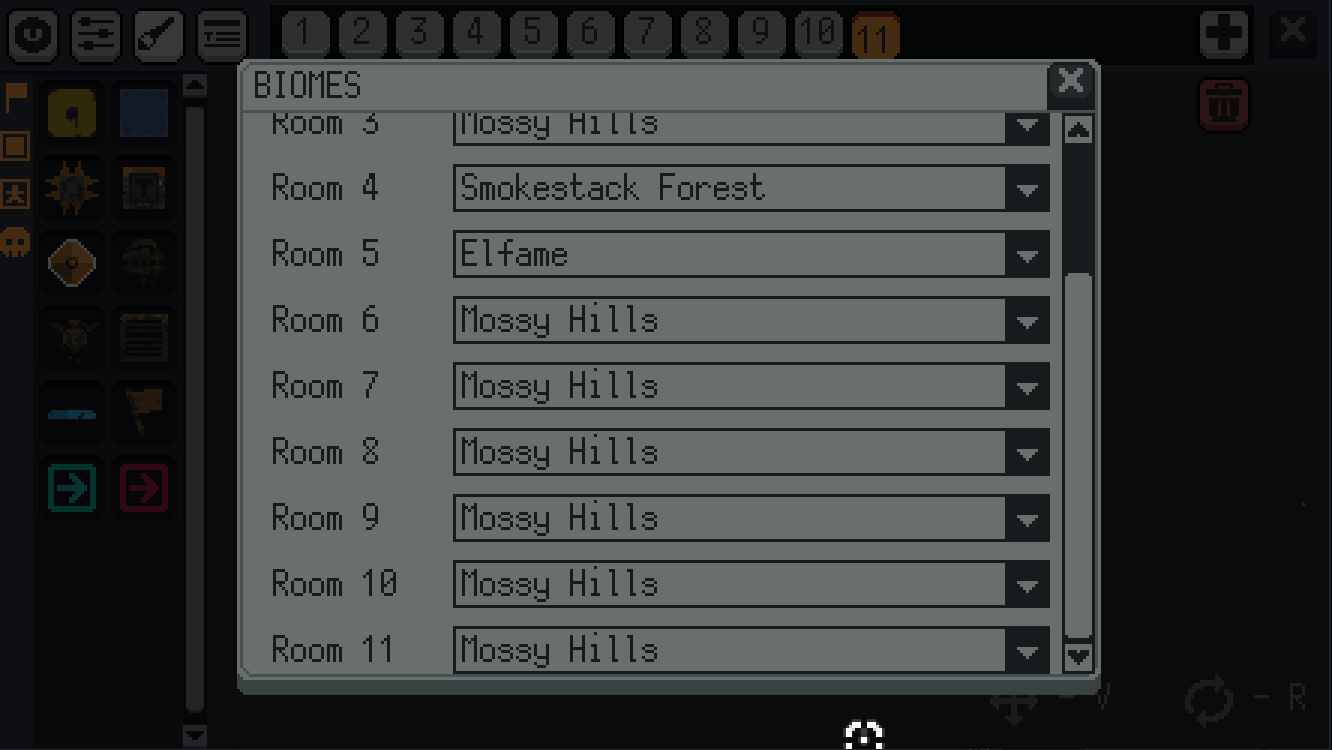
Click the paintbrush icon in the upper left corner of the screen. You can also disable the music or change it to the level-wide music here. You cannot edit music for each individual room. Only the music of the entire level can be edited.
The room’s biome determines its theme. Some biomes mimic the behavior of the areas within the game.
If you choose the “Smokestack Forest Biome” for a particular room, the wind effect will be activated.
The level editor contains a biome unique to it called “Twilight”. It doesn’t have any additional gimmicks, it is just a unique theme that does not appear in the game.
Changing Player Equipment/Upgrades
You can change the type of gun and upgrade that the player has in the Upgrades Modal.
To access the modal, click on the Settings Slider icon in the upper left corner of the editor.
The rail gun will always be active. It is currently not possible to remove the rail gun because the game code was designed with the expectation that the player will have the railgun.
The gun level corresponds with the gun upgrades that you receive from turning in your faesilver to a blacksmith in main game.
The grapple upgrade is a grapple pull that you can get later on in the maingame.
You can also choose what trinkets your player has by selecting the trinkets option.
This modal can be accessed by clicking the icon on the upper left corner of the editor.
How to upload to Steam Workshop
Once you have completed your level, click the X icon to exit.
After exiting the editor, you should be taken to a screen where you can browse through your own levels. Click the “Upload to Steam Workshop” button after selecting the level you were working on.
Important things to remember when you upload
- Your level is set to private as a default. To make it searchable and public by other users, you must visit the actual Steam Workshop website (or Steam app) in order to change its visibility settings.
- The level will remain in steam workshop even if you delete it locally. You’ll need to visit the Steam Workshop website (or the Steam App) to delete your level.
- Your local level will not change if you delete the level in the workshop
- If you edit the level name and description in Steam Workshop, it will not affect your local level.
- If you re-upload the level in the Level Editor after changing the level name or description in Steam Workshop, the level description and name will be updated to reflect the new information in the Level Editor.
We hope our Rusted Moss – Level Editor Controls & UI Guide was informative and enjoyable. If you find any mistakes or have suggestions for improving this post, please share them with us in the comments below. Kind regards, and I hope you enjoy the rest of this lovely day! We are indebted to Taku | PLAYISM, Michael_PLAYISM, happysquared, whose perceptive guide served as the impetus for this one. Also, if you like the post, don’t forget to add this website to your bookmarks; we publish new posts every day with additional material, so be sure to check back with this website on a regular basis for more posts.
- All Rusted Moss Posts List





Leave a Reply