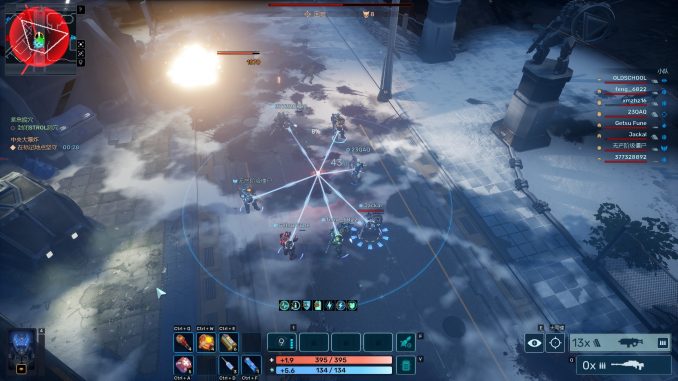
It’s been 200 years since the STROL virus annihilated Earth and we escaped to Mars. The virus somehow found its way to Mars and now it’s your turn to fight the mutants it produces. Your primary goal is survival, both for yourself and your team. Your secondary goal is to complete your mission. If we run out of Marines, humanity is lost.
Quick Start
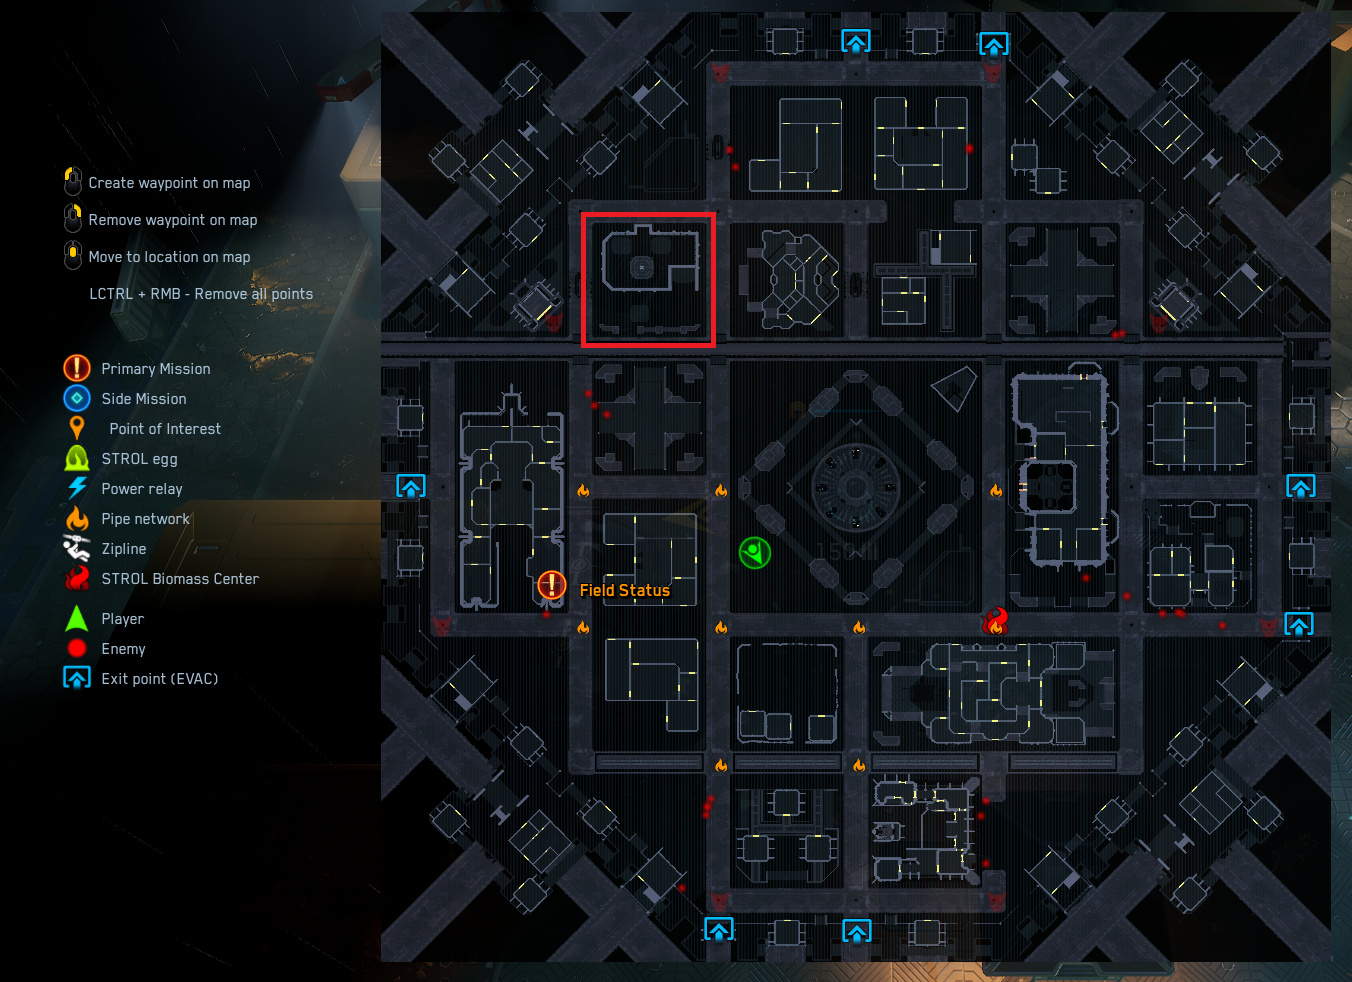
The first thing you need to do is familiarize yourself with your tac-map. Once in-game, press Tab to bring up your map and look at the legend. Remember where the evac points are. If things start to get hairy, it’s time to evac and try again another time. Each section of the Arcadia colony that you will be deployed to has the same pre-built habs, but they are all in different layouts. As we move away from Arcadia colony in the future, this will change:

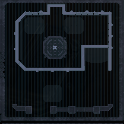
Take note of the evac locations around the map. Also, memorize the layout of the landing pad prefab, because if any of your fellow Marines die in combat, you can call reinforcements (brings back all dead Marines) from it. The reinforcement mission is repeatable. The first time you do it, it will drop a supply box that can be looted a total of 10 times for various loot items.
The Landing Pad looks like this:
Next, pay attention to the biomass markers:
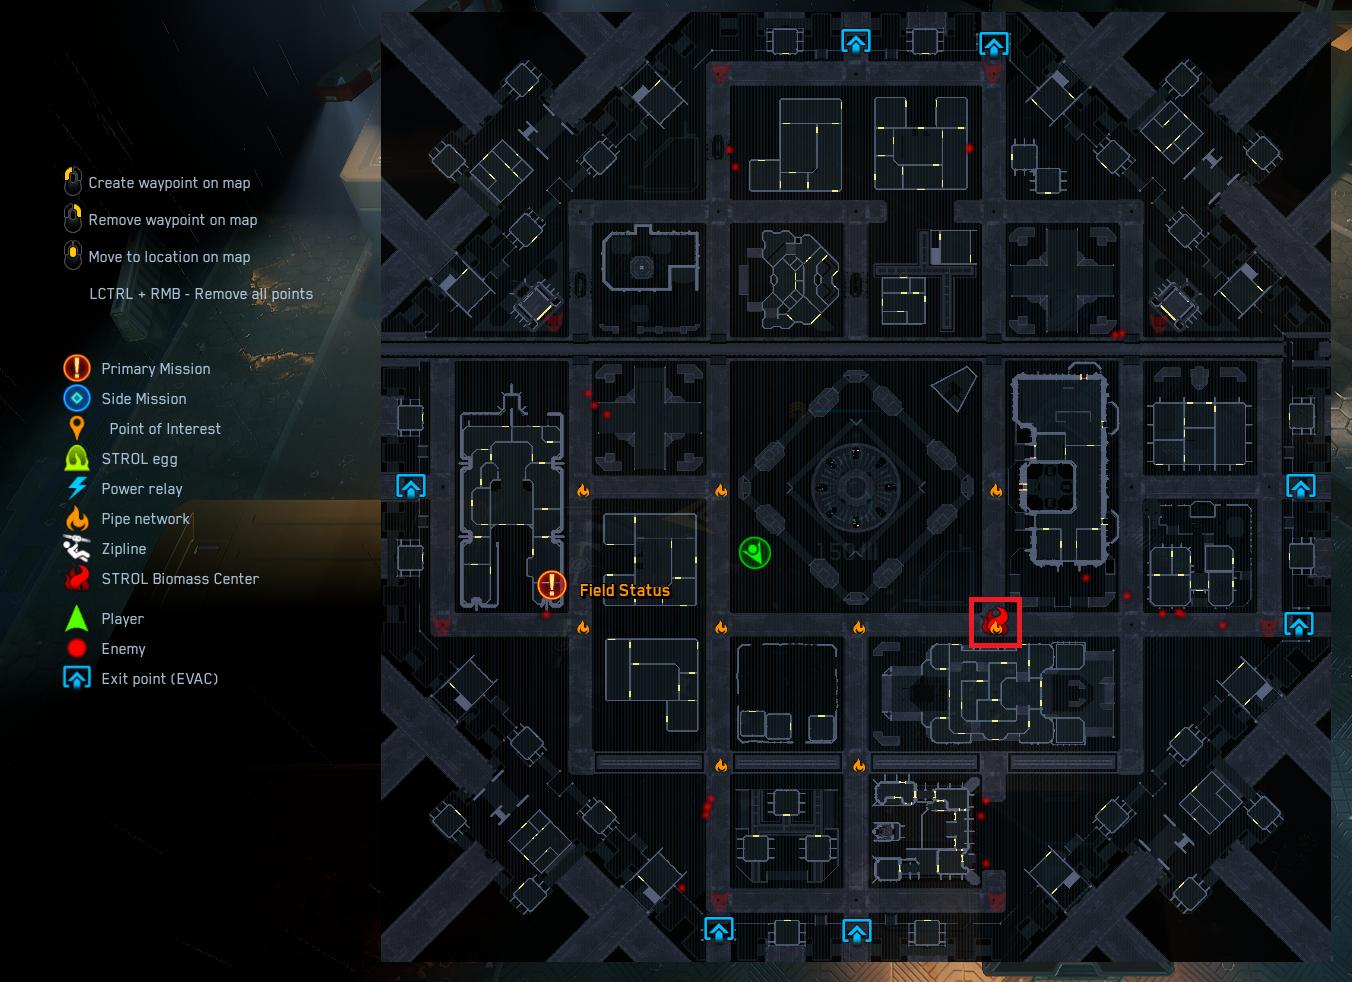
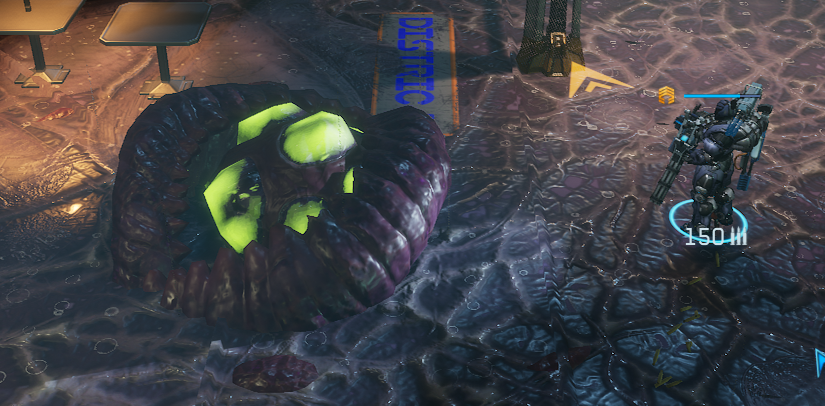
As the game progresses, the biomass spreads:
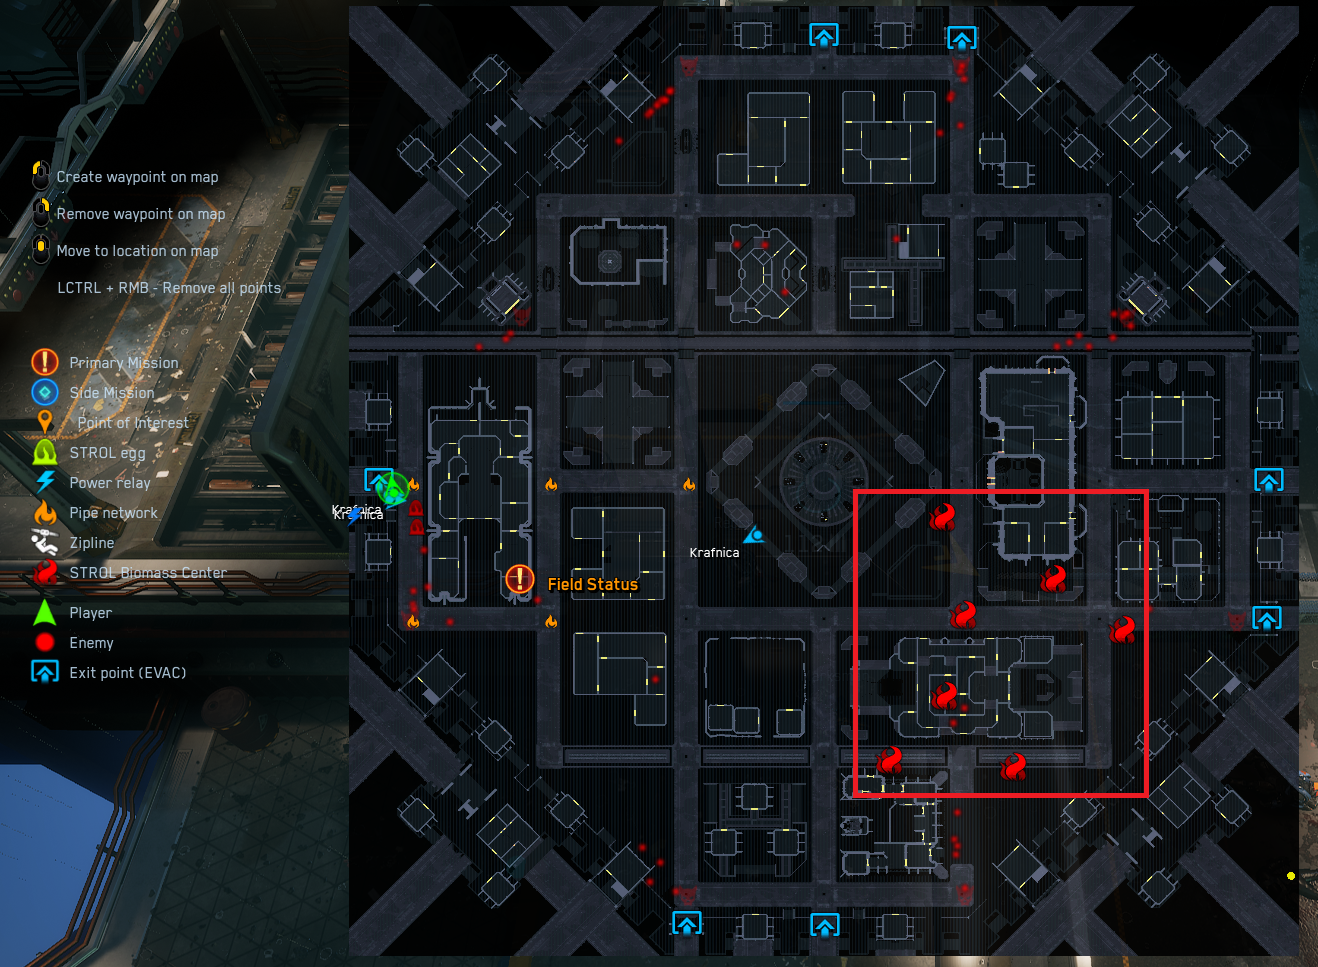
Biomass makes movement extremely difficult. While you are on it, it is able to constantly spawn mutants for you to fight against in addition to the regular waves of mutants you’ll have to fight against. You can clear sections of biomass by either destroying the hearts at the markers on the map, or by using explosives and fire to forge a path through. Explosives and fire temporarily clear biomass and stop the constant spawn of enemies. If you can, having a 2 man team dedicated to clearing biomass as it spawns is recommended. The longer the biomass hearts are up, the harder they are to kill. If you get a mission objective in the middle of an uncleared biomass sector, it’s going to get rough.
Next is the mission itself. The mission icons are obvious:
and the mission description will be on the left side of your game interface:
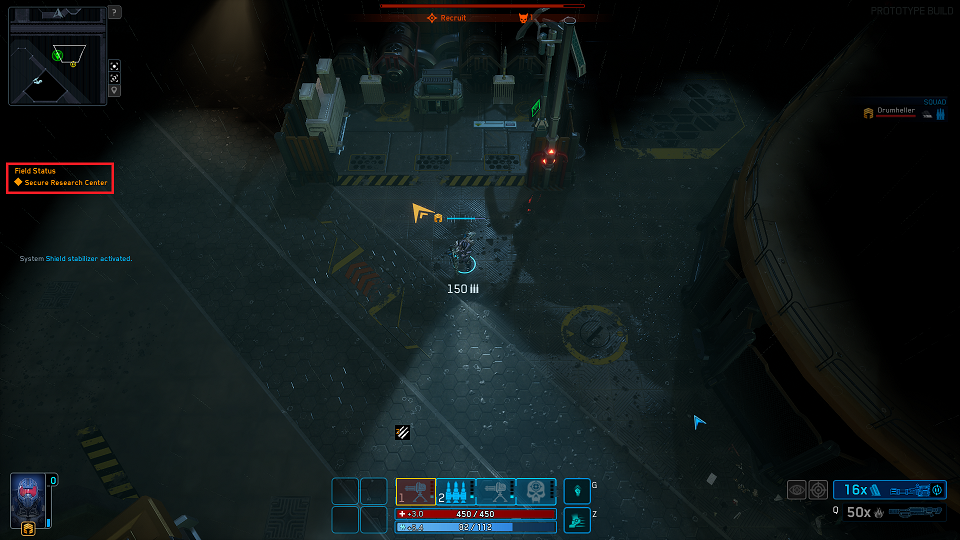
Note: Some mission objectives are unpowered. The icon for powering a facility:
will normally pop up when you get near it . You will have to power the facility before completing the objective.
Lastly, you can left click on the minimap to give your team waypoints. Right click deletes waypoints one at a time, and ctrl+right click deletes all waypoints. In the future, only select squad members will be able to assign waypoints.
-General Tips:
Mission: As the mission progresses, the enemy wave counter slowly goes up. It is recommended for all players to group up around wave 6-8, and necessary past then for survival. You need to balance the speed at which you complete the mission with your other objectives. You will need to loot enough ammunition and other supplies to be able to complete the mission before getting overwhelmed by enemies or biomass.
Explosives: Learn to use explosives and get used to reserving a couple of inventory spots for explosives to set traps for bigger enemy types. The bigger the enemy, the more damage resistance it usually has. Chain explosives do the most explosive damage but require another explosive as a catalyst to set them off, such as a grenade or other placed explosive.
Medical: For classes without a self-heal, or when you’re not using a self-heal ability, the two best healing items to keep you fighting and take the least amount of inventory slots are the First-Aid Kit and the Stimulants. The first aid kit is a heal over time which can keep you alive through bleeds and poison. The Stimulants will heal fractures, which slow you down and are the deadliest of ailments. Since inventory slots are limited, you have to learn what items to prioritize for your play-style. Other medical items include: Fibrin Bandages, which heal you for a large amount and stops bleeding, but can’t be carried in large amounts; and Antivenom, which cures all poisons and toxins.
Other notable controls:
-F1: Adds temporary waypoint – Good for pinging items/locations on the map.
-F2: Tells your team to follow you and draws blue lines from all other players to your current position. Useful for showing other players where you are.
Now get out there and do your best to survive and complete your mission. The future of Mars, and maybe even Earth, depends on you. Keep in mind that if you start getting overwhelmed, you can always evac. And remember: In the future, there will be several MP game-modes in addition to survival including exploration and stealth, as well as many different and varied mission types for the campaign, which is also fully 8 player co-op drop-in and drop-out.
I hope you enjoy the Guide we share about Red Solstice 2: Survivors – Jester’s Quick Start Survival Guide; if you think we forget to add or we should add more information, please let us know via commenting below! See you soon!
- All Red Solstice 2: Survivors Posts List


Leave a Reply