
This guide will cover the basics of Sazabi and strategies for dealing with various opponents and situations.
Sazabi Gameplay
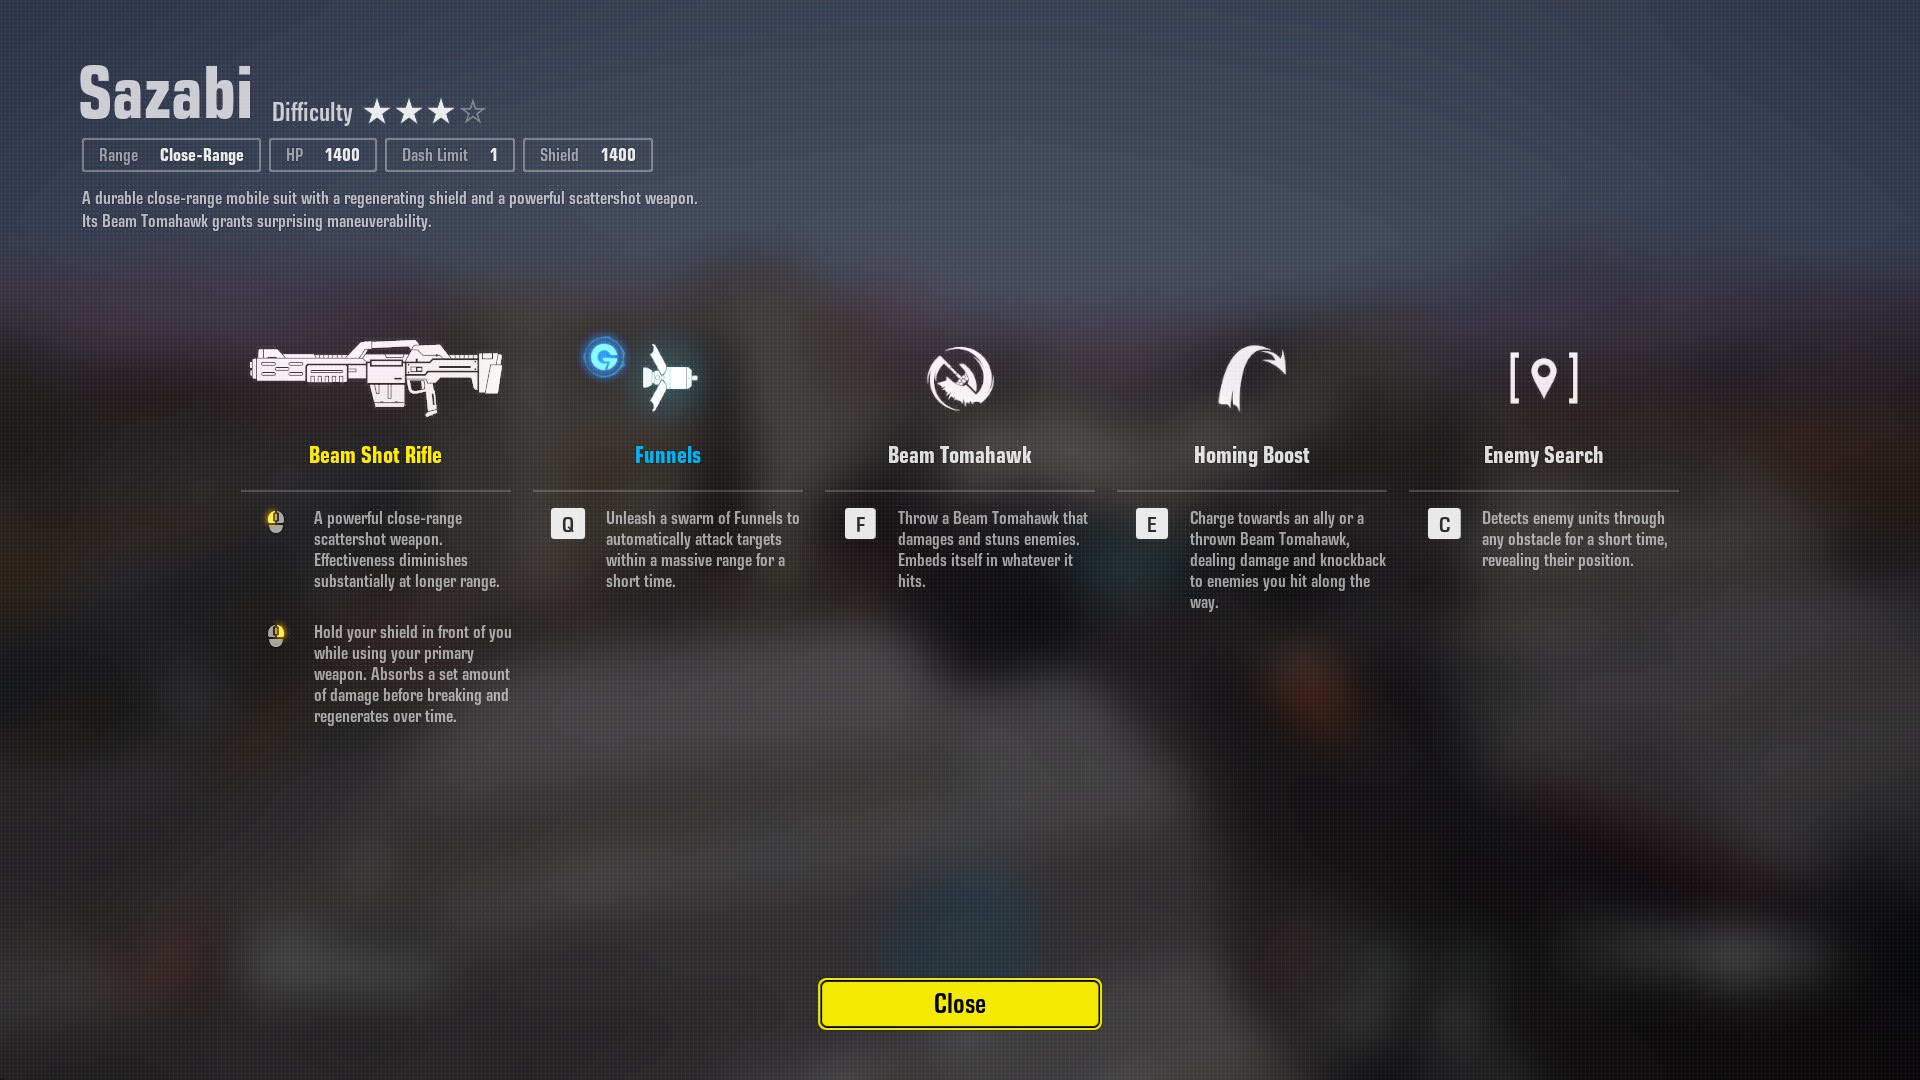
You chose Sazabi because he is a tank or because you love him from the franchise. This guide will cover Sazabi’s abilities, how to use them, and different strategies and tactics for their usage. Before we get into his abilities, we need first to discuss his basic tools.
Sazabi Essentials
Sazabi has a staggering 1400 HP. With his shield, he can take extreme punishments before giving them out. But don’t be too reckless; even with your shield down, you can still be two shots with the right weapon or ability. Due to your large hp pool, it is crucial to be aware of the medkit areas. You will often be able to use the stronger medkits at their full potential. Some of you can already attest that fighting an opponent who is healing mid-fight can be annoying, but that opponent with 1k hp can make a huge difference. This can be summarized by saying that no matter if you are pushing or defending a point, you should always have at least one medkit in your reach. The following information is provided about the haru-medkits. They restore a certain amount of HP based on the number of harus.
3 = 1000/ 2 = 750/ 1 = 500
Weapon
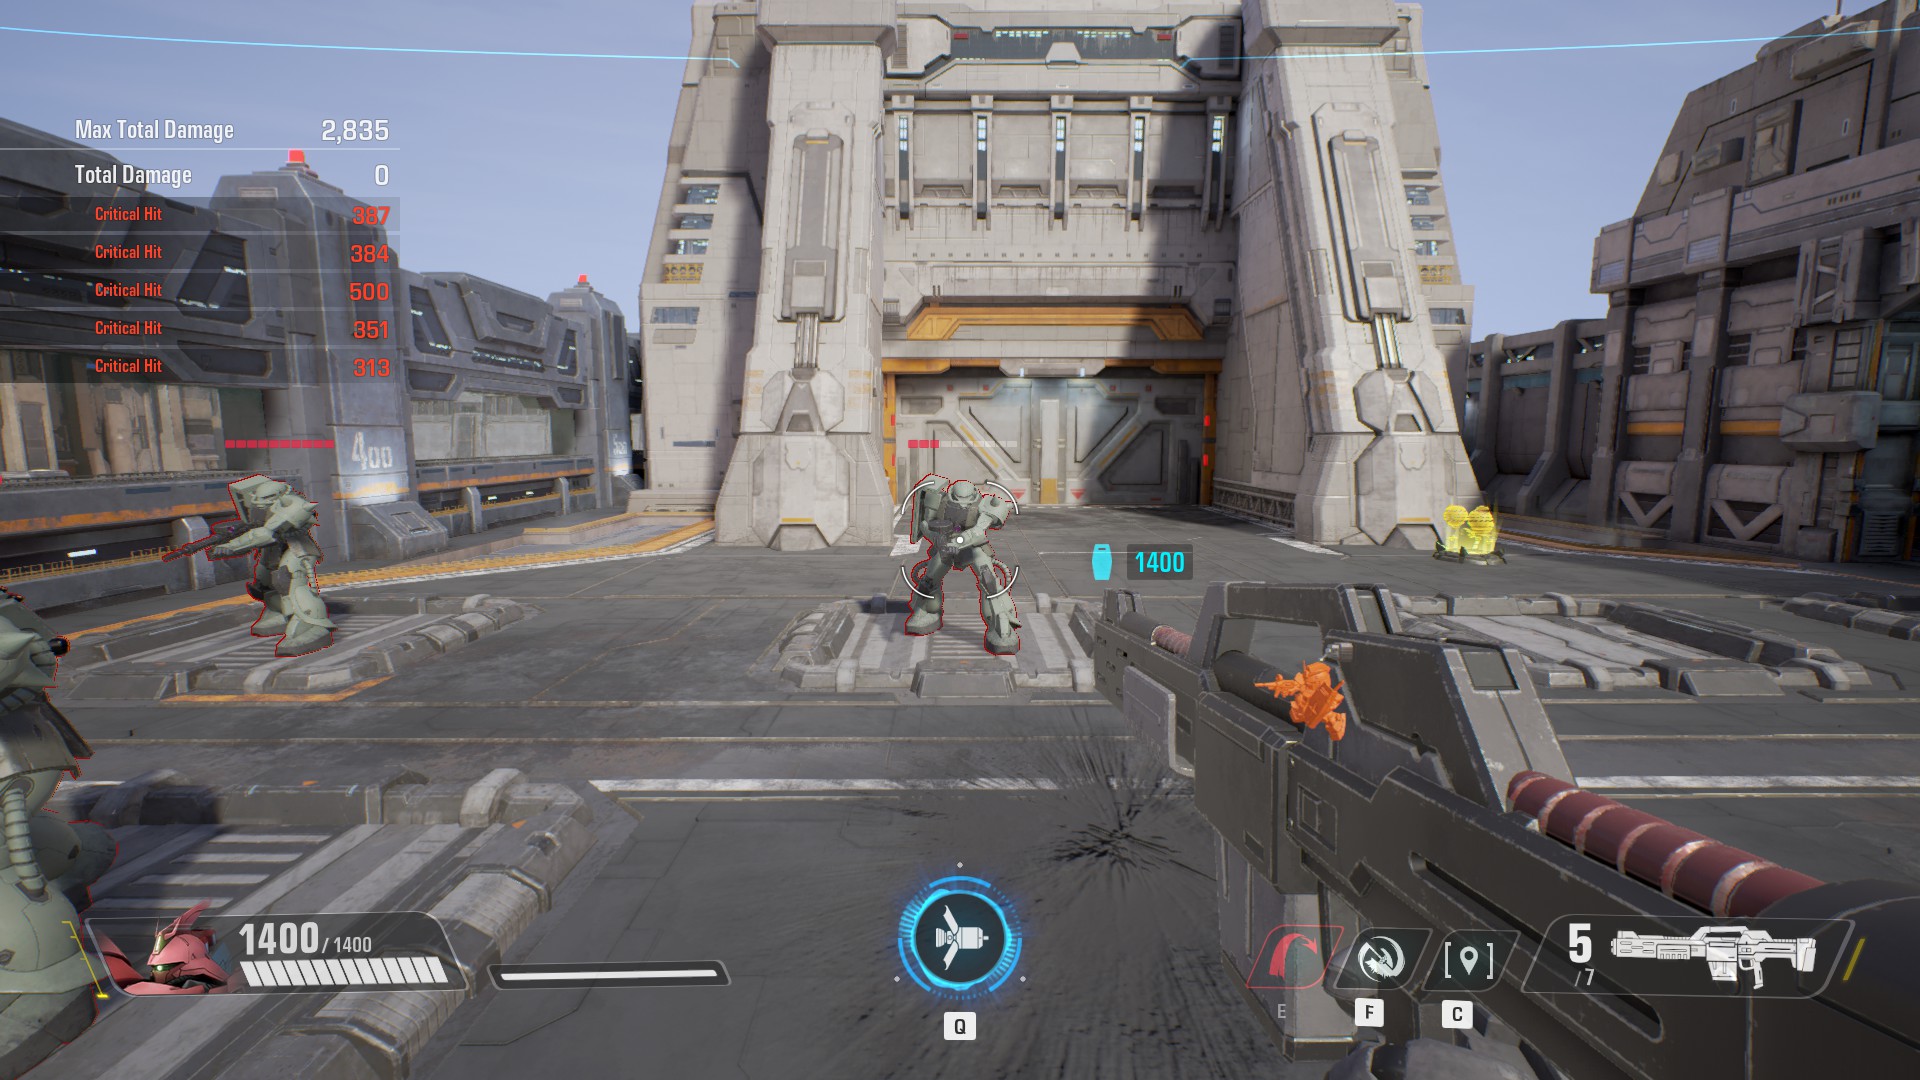
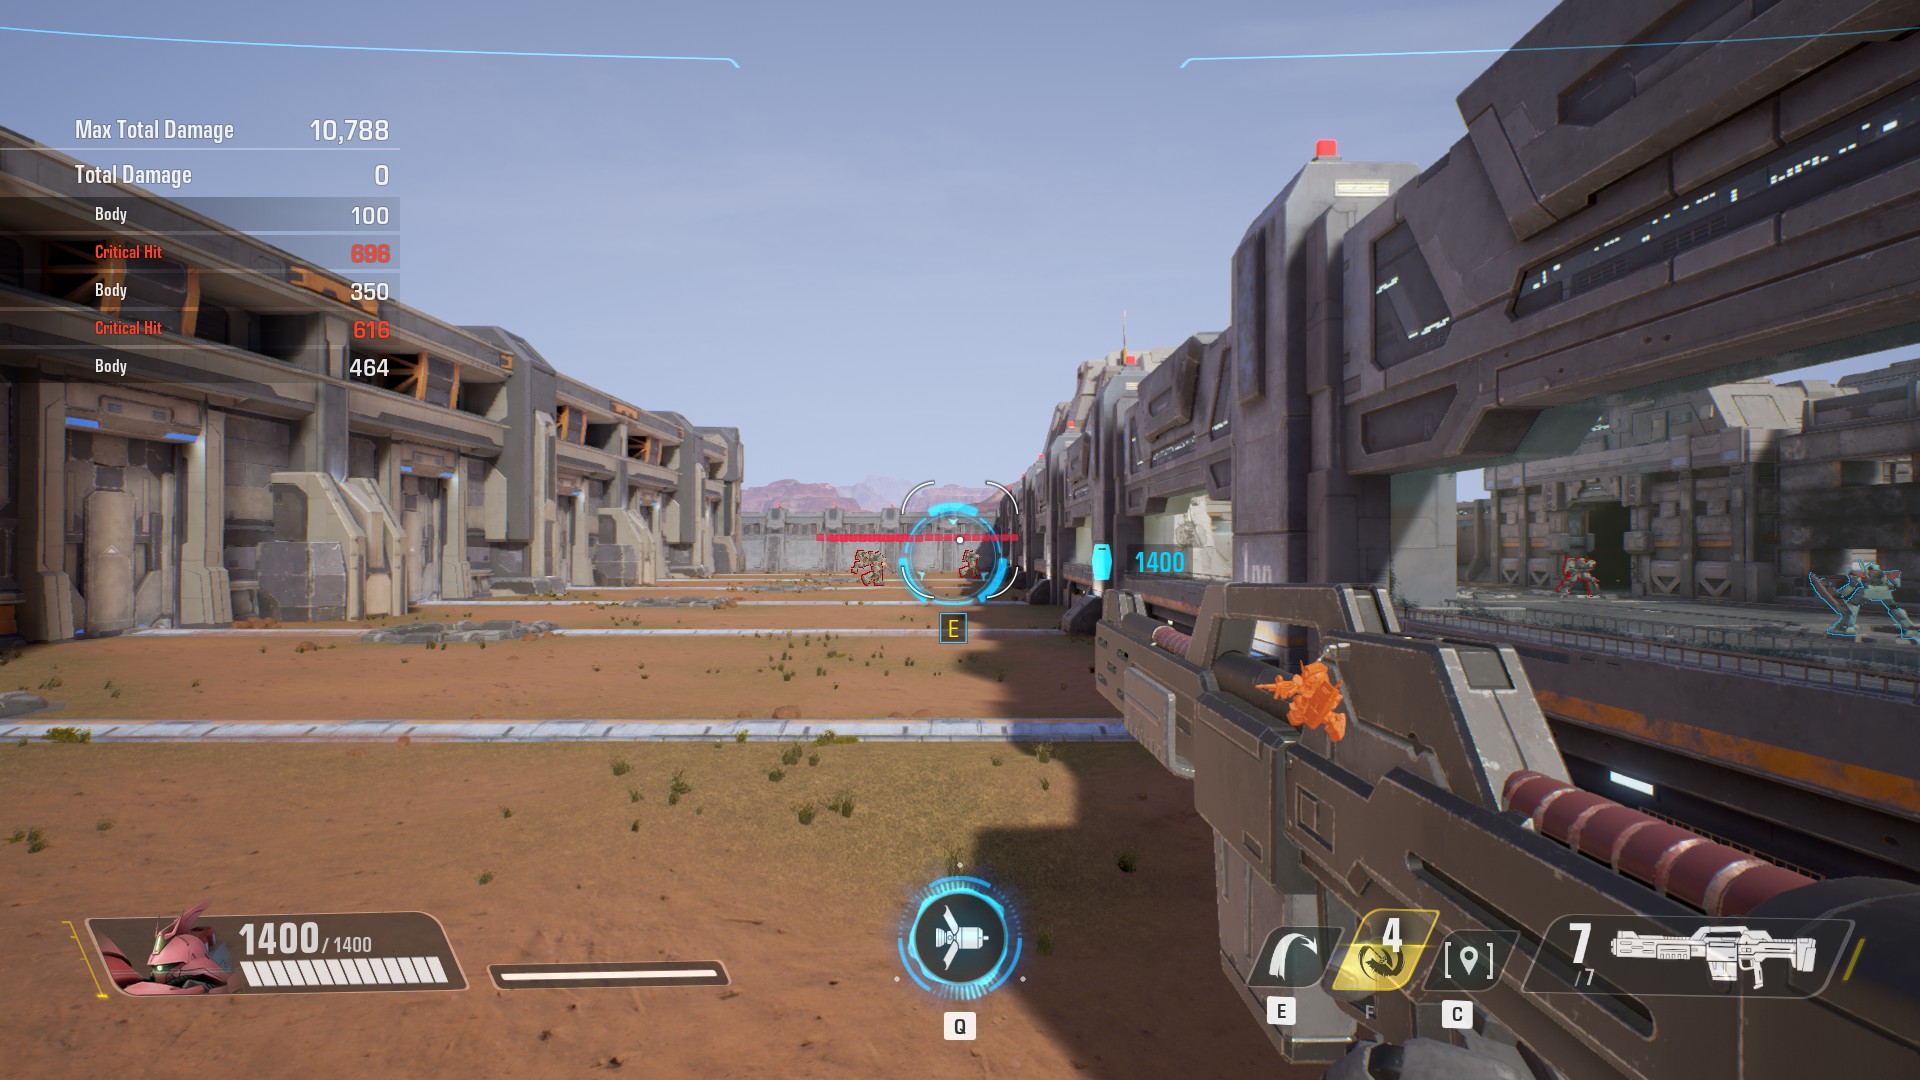
Next, we will look at the Beam shotgun, which is a glorified shotgun. You have 7 shots, and you need to make them count. The first thing to consider is range. Although it may seem evident that Sazabi uses a shotgun, your shots must be within striking distance of your opponent. With slight variations, you will deal 350 – 450 and 23A26146143A damage per hit at the optimal range (see screenshot below), sufficient to take out most MS units. I will discuss the tactics in more detail, but generally speaking, you want to wait for that perfect shot against that wildly dashing barbatos or zakus, rather than firing randomly and having to reload, which will force your shield to be down. Last note: Don’t jump and shoot unless your enemy is directly ahead of you. Jumping scatters your shots so much that you only do minor damage.
Mobility
This section will discuss Sazabi’s mobility as well as his dash. Sazabi is large and tanky. This means that he is slow and very slow. If your team is racing to achieve their objectives, you will often be last. Although Sazabi does possess one ability that mitigates his mobility problem, you should practice your single long dash. The long dash can be used to quickly get to a medkit, which you are hopefully close to. Another use is to close the distance to use your weapon properly, which is a risky strategy depending on the circumstances. It is a good idea, even if you are separated from medkits or overwhelmed, to save your dash and disengage. This will be discussed in detail later. Even though it is a niche use, you can cancel your dash with quick movement inputs. This is useful if your reason for dashing doesn’t need much movement or you are unable to move fast enough.
Abilities
Sazabi’s abilities can be a game changer when used properly. This is true for all MS units, but it is especially true for Sazabi. Although I won’t go into detail about tactics for every ability, I will discuss how to use them.
Shield
Sazabi’s Shield is Arguably his most valuable and best ability. It can be viewed quickly, but it has a lot of nuances.
To start Sazabi’s shield, you need 1400 hp. This is equivalent to Sazabi’s hp bar. If an enemy is forced through your shield, they must grind through 2800 hp first they can kill, which is a substantial amount, I think. Sazabi’s shield, when lowered (, if not broken), starts to regenerate after a delay 2.5 seconds. This means that together with your huge hp pool disengaging fights, is an incredibly powerful strategy. Even if you are spending time in a corner, it is much quicker than having to respawn.
You must wait 12 seconds for Sazabi’s shield, which can be broken by damage or ability that stunned before you can use it again. Even after those 12 seconds, your shield will only be at 700 hp or half efficiency. Your shield must not be destroyed unless you can do so or suffer severe damage.
Your shield will block all direct fire. However, any AOE abilities and attacks will bypass your shield entirely and damage your HP. This includes stuff like grenades, DOM or Turn A ult, etc.
The shield covers Sazabi in an A2614856A. This means that even if your opponents are behind you or to your side, they are competent and able to still damage you and bypass your shields. It is crucial to keep track of enemy positions and not lose your opponents while they run around you.
Let’s now discuss how to use the shield in combat. If your shield is damaged during a skirmish, you should not use it unless you are about to engage in a prolonged battle. Also, don’t tap your shield to activate the 2.5 second delay and stop any regeneration. This raises the question of which shield is more important: HP or shield? Sounds simple, right? You might think that HP is more important. It’s not that simple. Remember what I said about staying near medkits? Well, if you have allied Menthus nearby, HP becomes an equal resource to shields. When engaging with enemies, you should remember that even if your shield is damaged, you still have a way to heal. However, if you are in serious danger, you can resort to the shield.
Last but not least, keep in mind that if your shield is up and you use a dash, your shield will be taken down until the dash is complete. If you are being shot at with low HP, do not dash. You will cause your own destruction.
Homing Boost
The boost is a wonderful tool that can help us with mobility issues. The boost can be used to lock on to an Allie or the beam tomahawk. However, I strongly discourage boosting towards allies as they will often change their location and disrupt your intended boost route. If they are severely injured, and you feel you have a chance of repairing them, I would recommend that you boost them.
I see a lot Sazabi’s tomahawk their opponents and use their boost to get close to them. This may seem like a good idea. You save your dash and get close enough to your opponent to use the shotgun. While a Sazabi might think this is the fastest boost in the world, it is slow to enemies. You are slowly moving towards your teammate in a straight line. No one would want to miss the chance to get a kill.
The best way to make use of the boost is to use your beam tomahawk to act as a beacon to reach higher areas faster than you can ever hope.
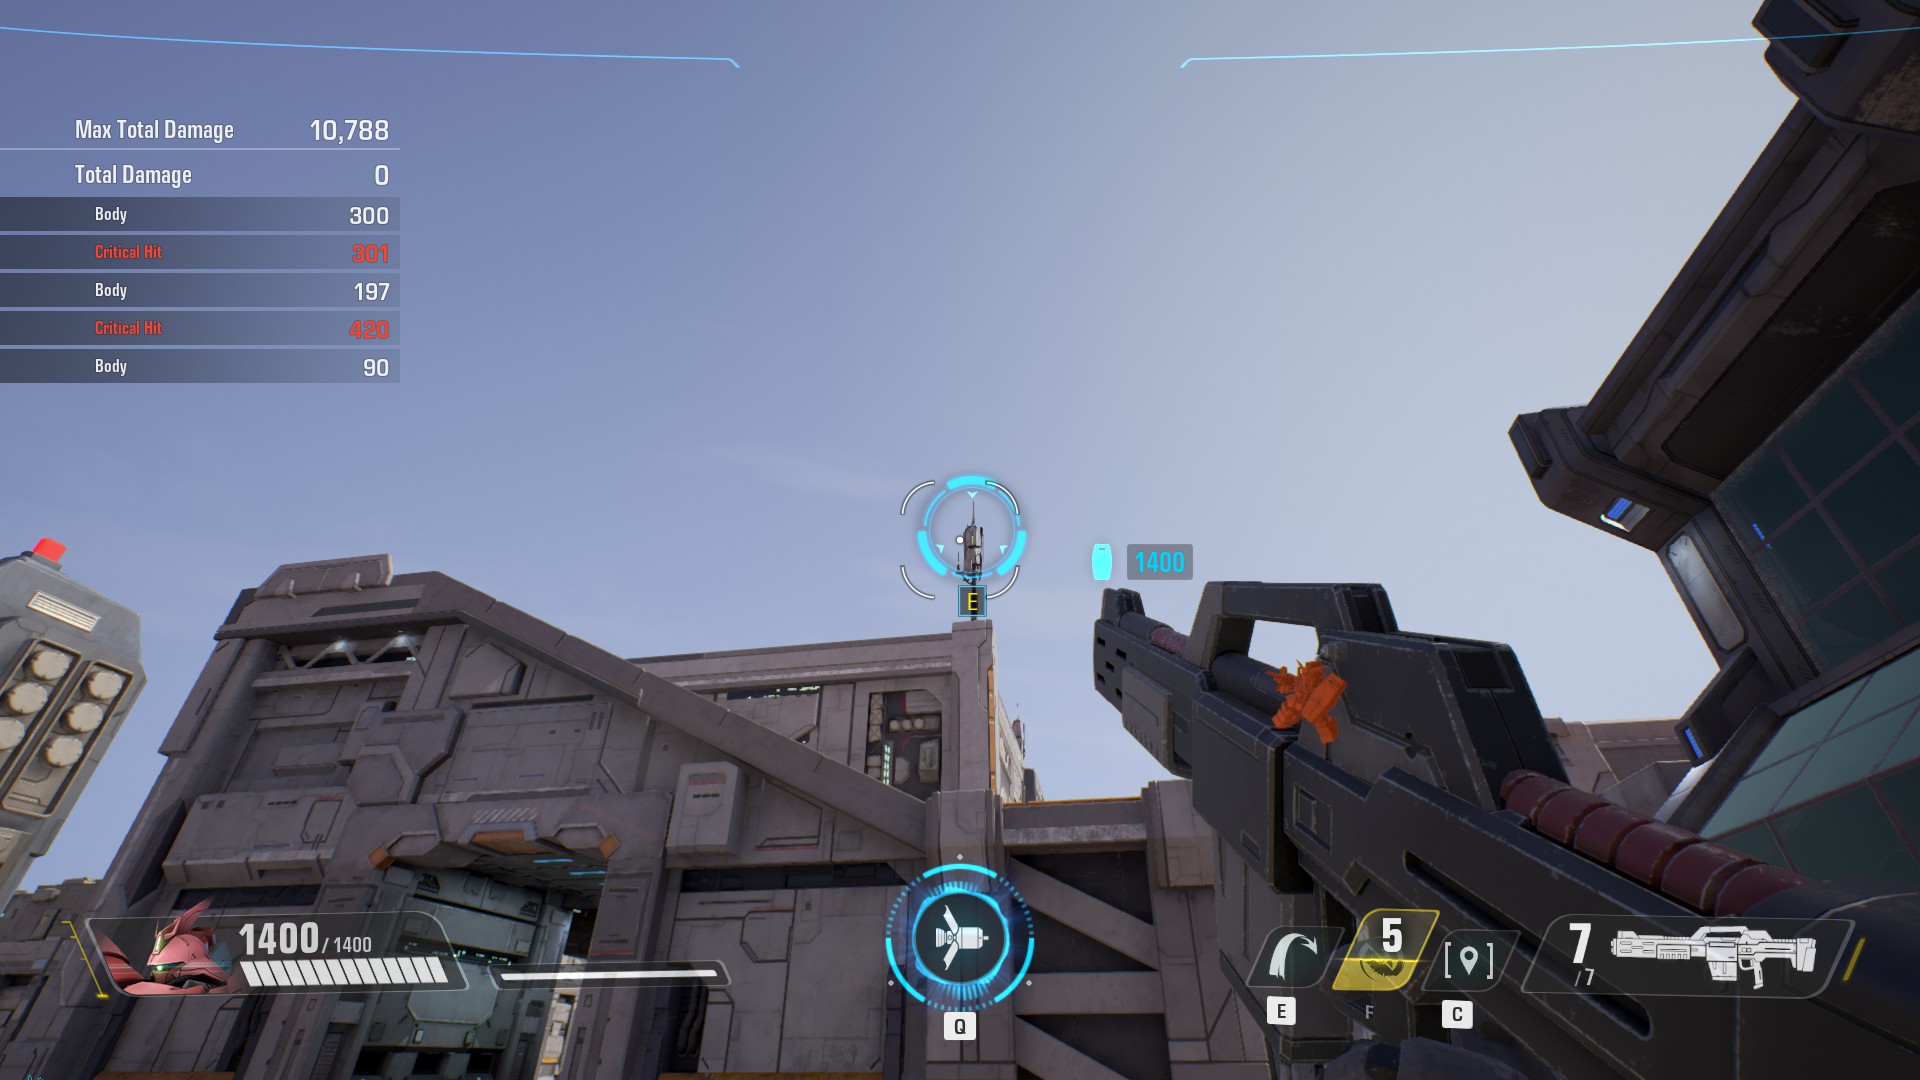
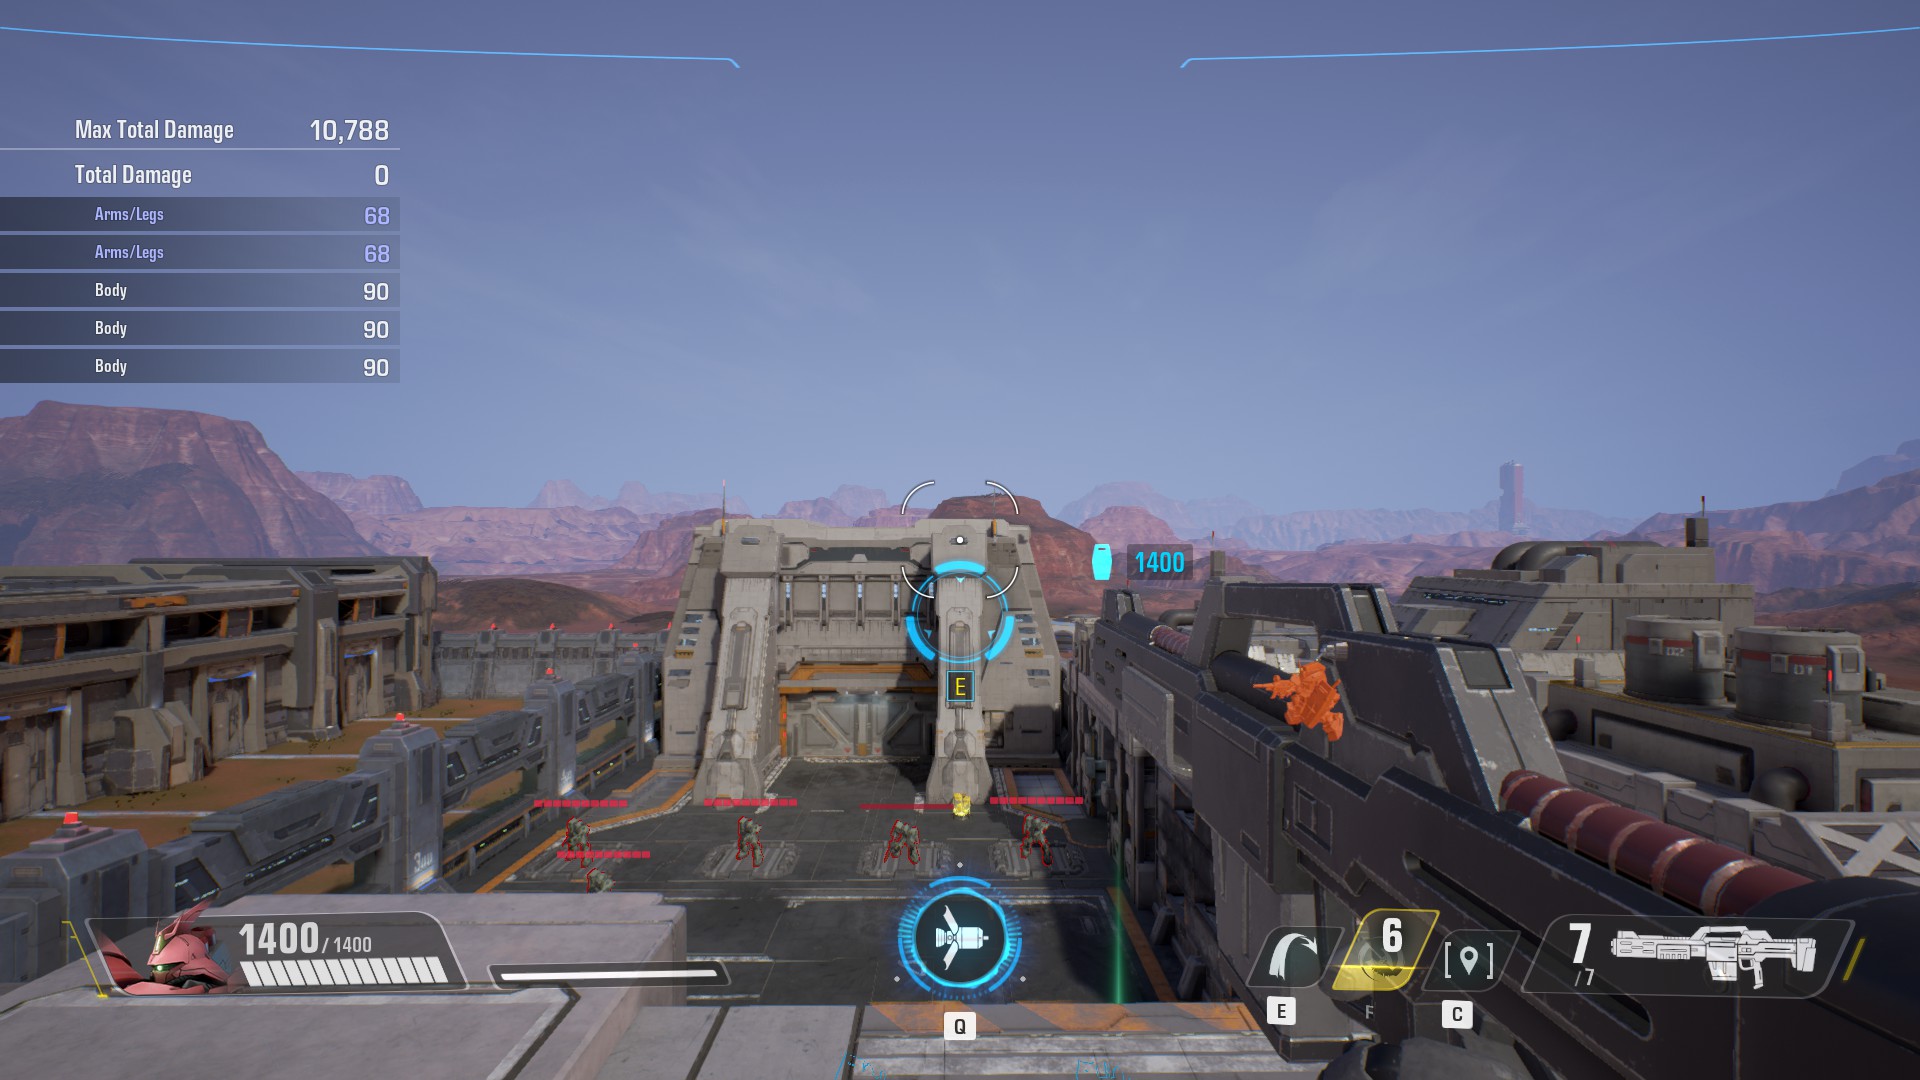
Finally, although the boost has an almost infinite range of lock-on, the boost’s actual distance is only about 1/3 the distance. As you can see in the screenshot below, boost would take you just 1/3 the distance.
Beam Tomahawk
This section will be short because the beam tomahawk isn’t a perfect ability. Its hit box is small and hitting it can be finicky. Because the tomahawk is an ability, you will need to spend a few seconds to shoot or raise your shield. The tomahawk also has a stun. However, this will limit the number of shots you can take as long as they can react well.
The tomahawk can be used in two ways. One is to use it together with the boost of mobility. Two are to deal with enemies who have a shield.
The first section will be brief because it is already covered in the previous section. However, you want to use your tomahawk whenever possible for mobility and not in direct combat situations.
The second is very simple. Most players who play MS units will shield aggressively right next you, especially GMs, because they have a shield bash. You want to hit a player with a tomahawk as soon as they whip out their shield. Most players will spend least 2 seconds holding their shield. You can use this time frame to tomahawk their shield. The tomahawk deals 350 damage which is equal to about 1 of your shots. If you are fighting another Sazabi you will be guaranteed.
There are a few other minor points. One, the tomahawk is dropping. How much? (thrown from the center of crosshairs)
The tomahawk’s cooldown is a mere 6 seconds. You could theoretically rapid fire them but it is so finicky that it is better to spend that time repositioning or shooting.
It is strongly discouraged to trade abilities with MS units with stuns. Most MS units, like Turn A, have hyper-armor during their stun abilities…or just better hit boxes.
Enemy Search
Enemy search, also known as scan, is a unique ability that doesn’t fit with most of Sazabi’s kit at first. It works slightly differently to other scans in the game.
The scan works by looking at the enemy while you have the ability active. After you have looked at them for a few seconds, your enemies will be visible to both you and your allies for 8 seconds. (, assuming that you scanned your enemies within the first). The scan is on a shared cooling down. That is, if you scan an opponent, the scan will be on a shared cooling down. 1 second to your ability
3 seconds into it or 3 seconds into it. They will be both scanned for the same duration which is again the maximum at 8 seconds.
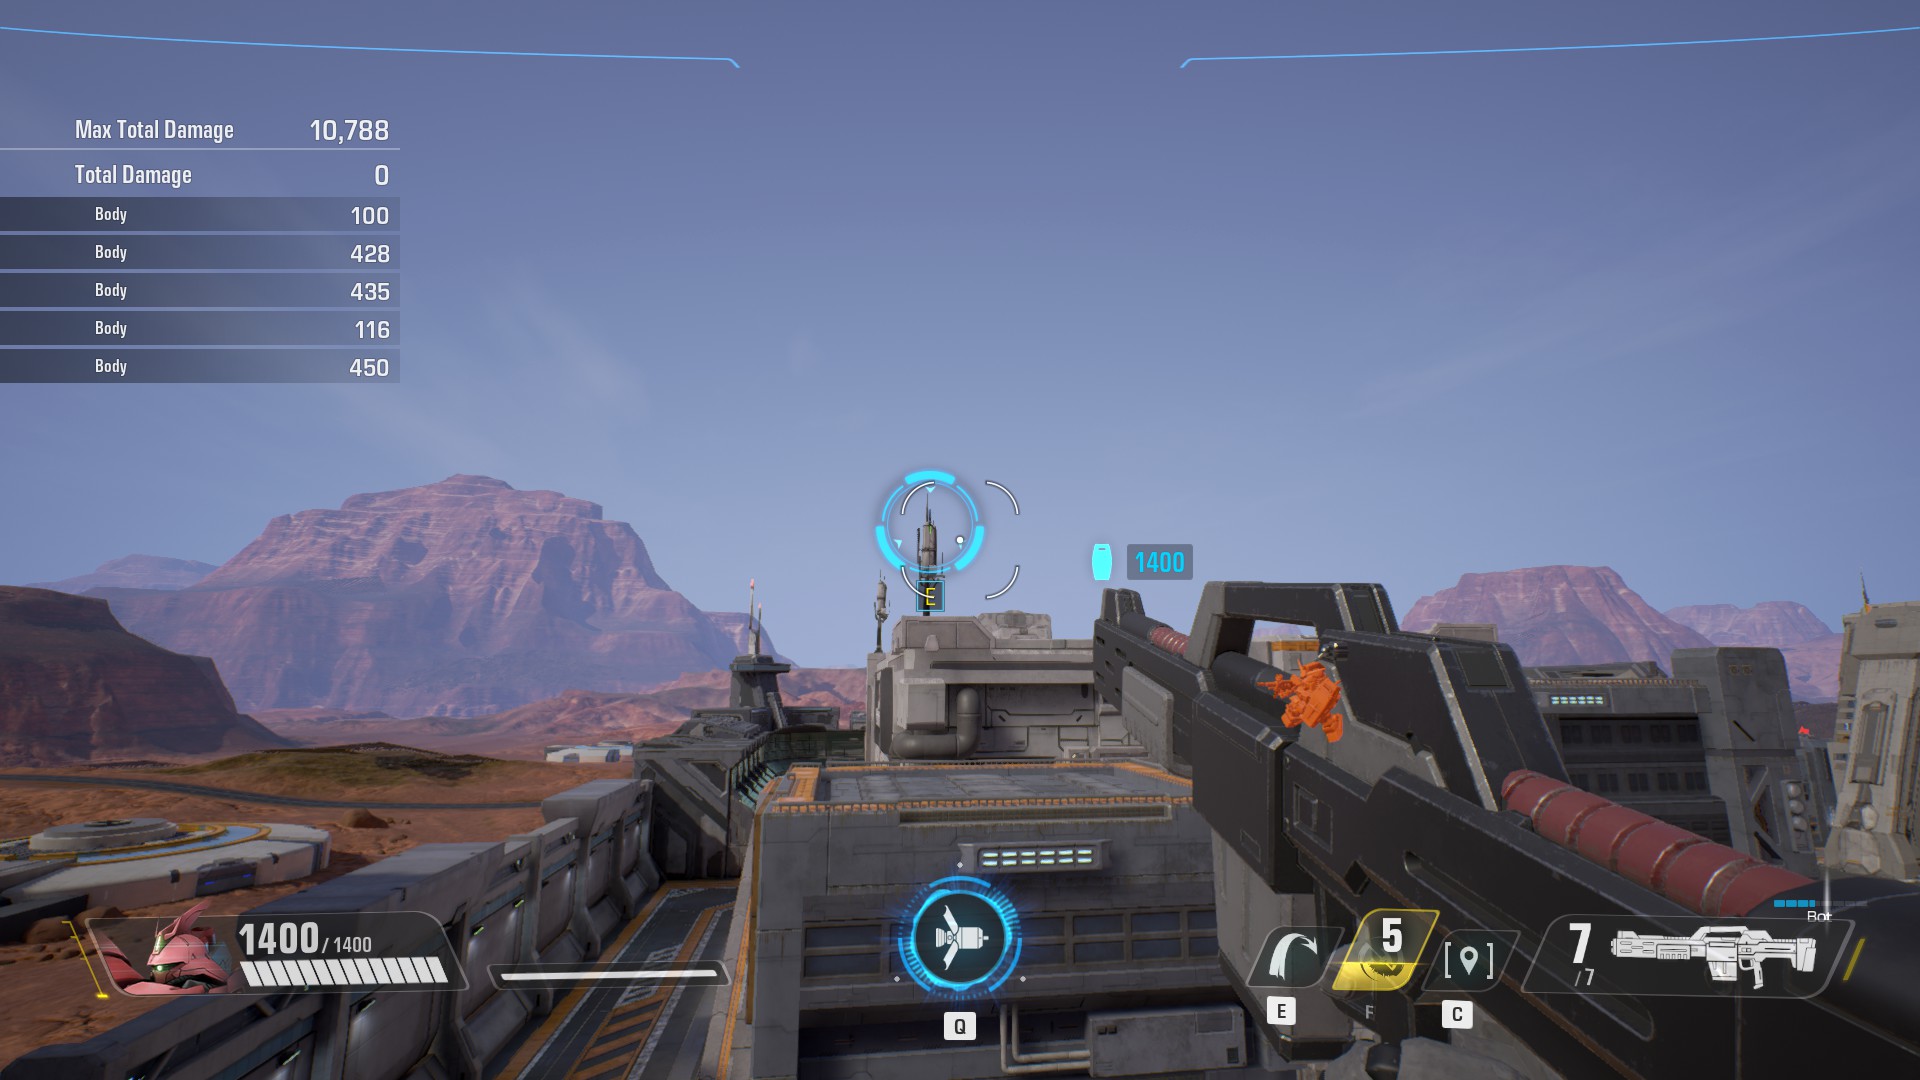
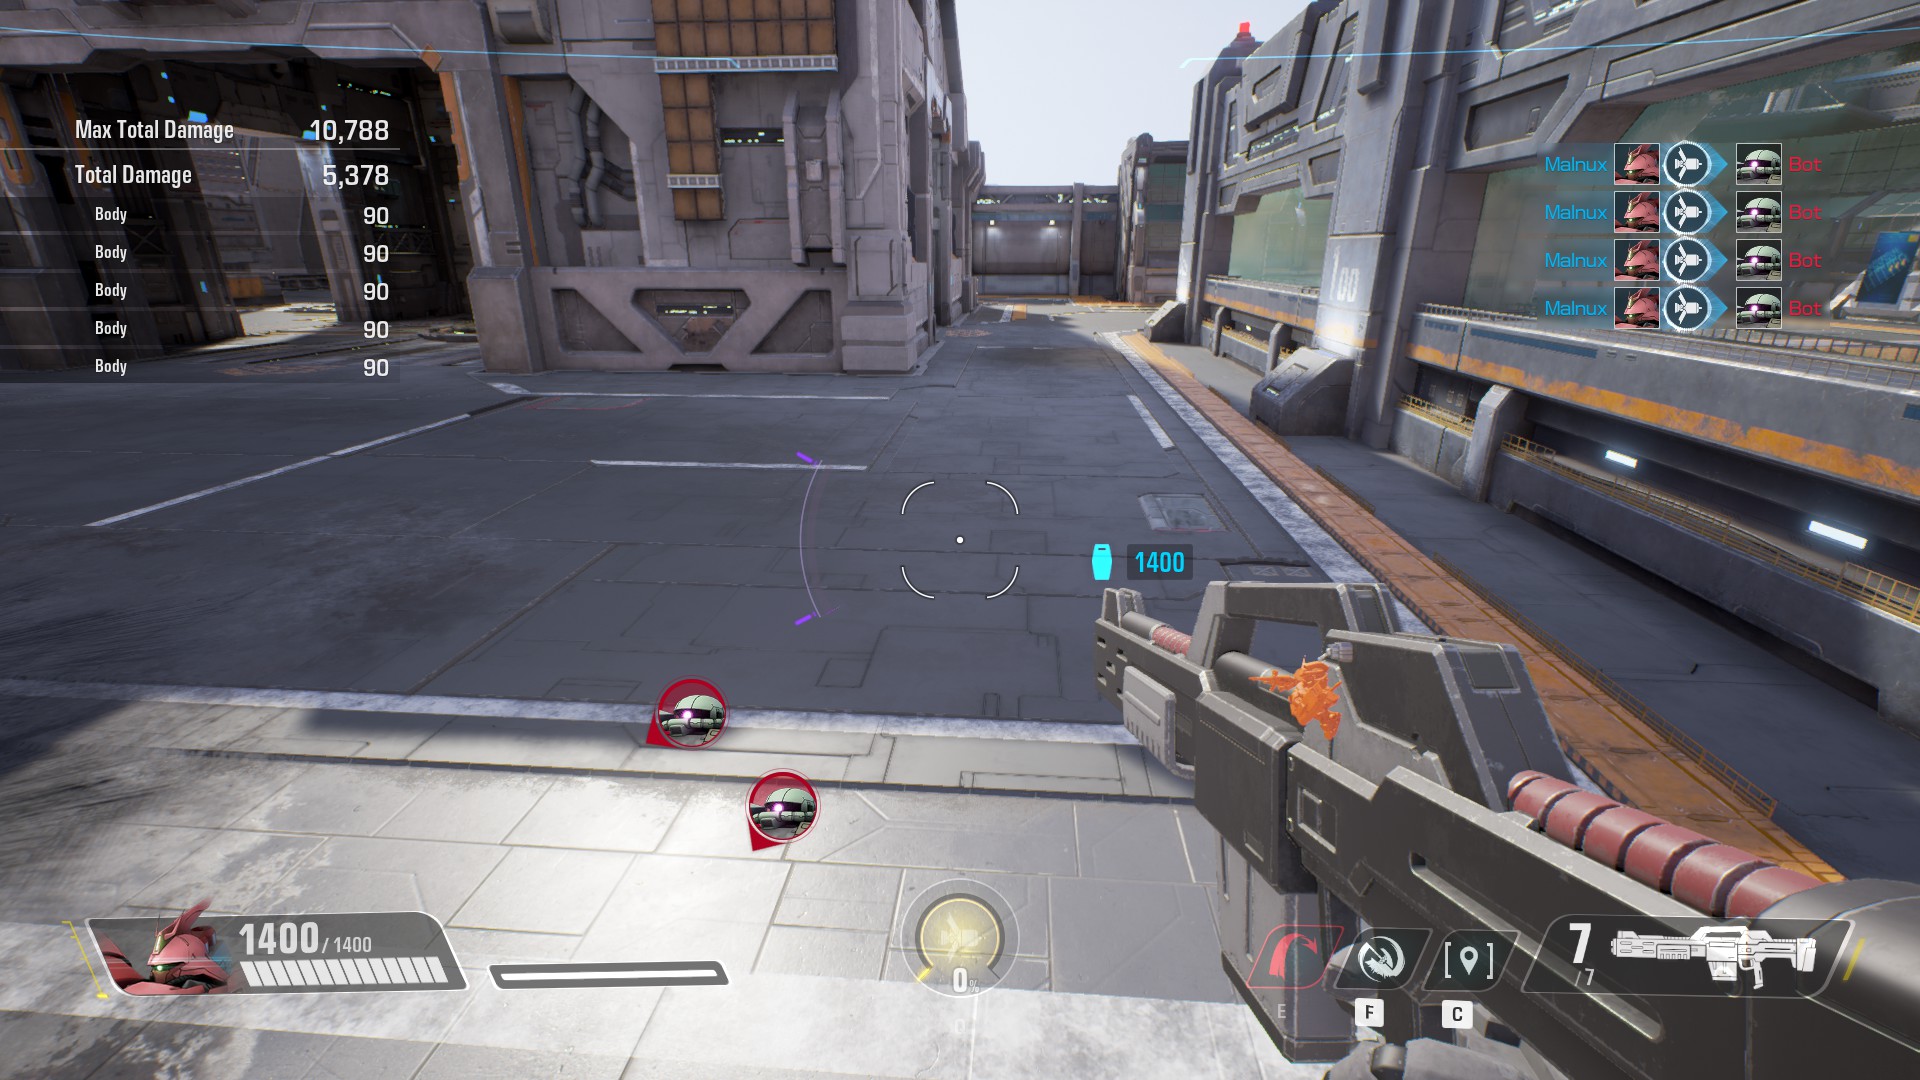
Scanning enemies is easy. It has an almost limitless range of scanning options. To scan them, you just need to see a small portion of the enemy model, as shown below.
Now let’s talk about the actual uses. You can scan at the beginning of a fight to inform your team of enemy locations, but I prefer to use it in conjunction with the abilities I have been discussing.
This is called disengaging. I’m sure many of you have tried to disconnect but were met by one persistent player who will take you three times around the match just to catch up to you. This can be dealt with by using your scan whenever you feel it is time to disengage. (has no animation so it can be popped at any time.) is also protected. You can then disengage. If you see an enemy chasing you, you can try to stuff yourself in a corner or behind the wall and eliminate them in 2 shots. They should be within close range of you with this tactic, and you will likely be exhausted from chasing.
Funnels
We have finally reached our ultimate, the funnels. However, as powerful as they are, they have one weakness: you. As tanky as Sazabi may be, funnels cover him in a bright target telling all enemies to focus fire at you. Unlike other ultimates, you do not receive any damage reduction during an ult. You only have your base kit to protect yourself.
The Funnels offer huge pros that outweigh these cons. As anyone who has ever dealt with a Sazabi can attest, a well-used funnel can easily destroy an entire team. This is due to two reasons.
First, the funnels work on line of sight. However, not your line of vision, but an omni-directional line that is placed on you. As you can see, your funnels will kill your opponents even if you are looking away. However, if there is a wall between your and them, they will stop attacking your opponents.
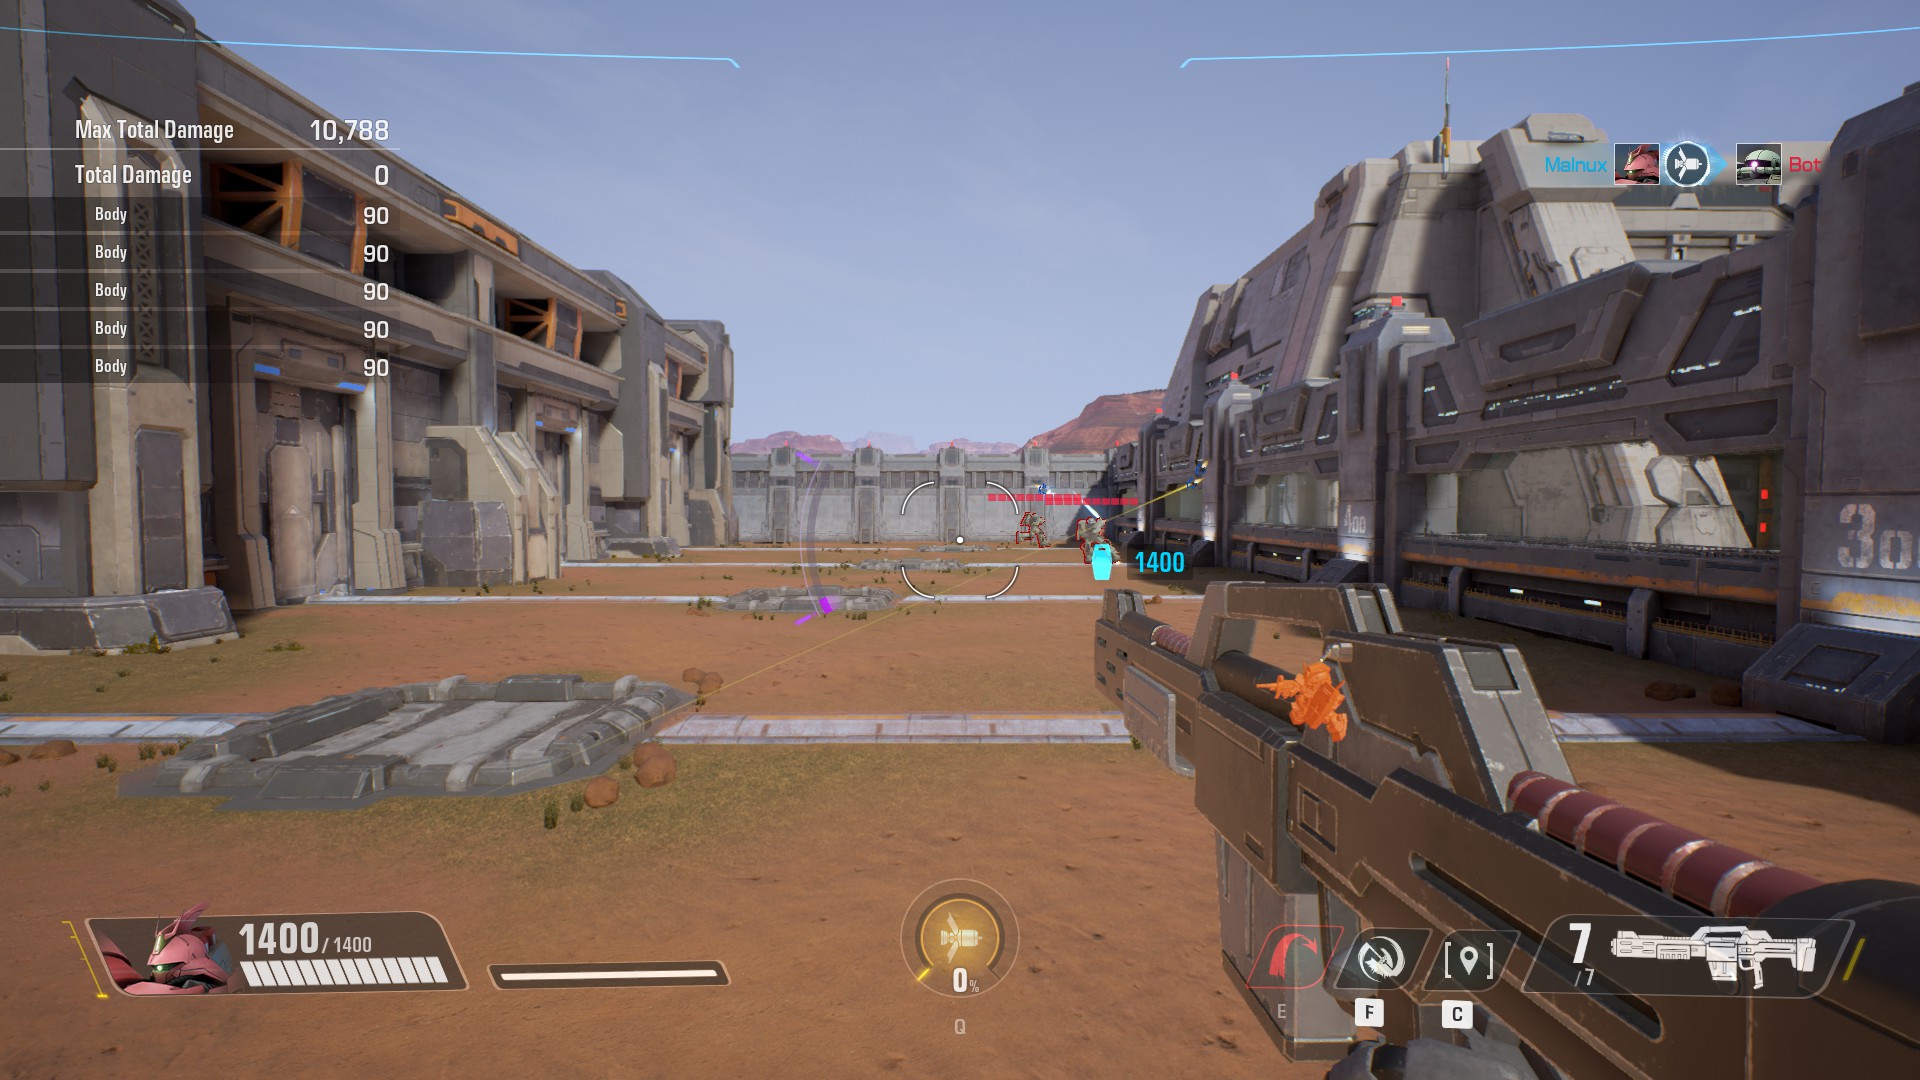
The second benefit of funnels is their deceptively long range. See the screenshot below.
These two factors indicate that the funnels will quickly reduce your enemy’s numbers as long as you remain alive and have vision could. The funnels can be used when your entire team is focused on a push. If the enemy’s focus is on you, then the rest of their team will be destroyed. You can also use the funnels to flank your opponent. Even if you emit a loud notification, it will not be immediately visible to your enemies. This will give you the time you need to destroy them.
Strategies
This section will have some repetition, but it will cover strategies and tactics that will win the game and how to handle difficult matchups.
Defense
If Sazabi is forced to play defensively, it can pose a threat in two situations: the objective and a close-range choke.
If your team does not plan to play offensive defense, it is better to bunker yourself in a choke-point so that enemies can’t get to you or to be placed in an area that is within your best range.
Your presence on the target will become more important as the match reaches its climax. This applies to defense and offense, but it is often more common in defense. This is true even if the objective is to defuse or plant the bomb. You cannot protect yourself. However, you can stand in front of an ally defusing and provide a massive 2800 HP shield for them. A funnel is a great idea because most capture points and bomb sites are located in small, tight rooms.
Offense
Most tankers would argue that Sazabi should lead the charge. However, this can be done with a menthus behind you or armor boosted. But it is often impossible if the enemy is well-intrained with a good sniper or dom mines. Sazabi is a great flanker because of his boost, which allows you to move quickly to difficult spots and your proficiency at close range. Even though it might take some time, a Sazabi at the rear of your team is not something you want to see, especially since most long-range combatants tunnel vision into their choke, allowing an often unobtainable easy tomahawk to their face.
Matchups
After all that, Sazabit can still fight against certain opponents, including himself.
Sazabi Vs Sazabi
Two Sazabi’s meeting becomes more of a fight for mind games than anything else. It comes down to two things: when is he going to throw his tomahawk and how many shots does he have. Sazabi, a slow tank, is an ideal target for his shotgun. If you have 7 shots and can land your tomahawk with them, the other Sazabi will be dead. The problem is, can you land your Tomahawk? Sazabi is an expert on the tomahawk and knows exactly how to throw it at a shielded opponent. So, when you meet another Sazabi, ensure you have your trigger finger on the dash button. The mind games begin. Sometimes the Sazabis will shield up and shoot, other times you might try to gamble and run behind the Sazabi to see if you can score a lucky shot before he turns around. You might place yourself near a medical kit, but he could be thinking exactly the same thing. Or you may just shield up and hope that a teammate will come in to break the tie.
If you don’t want too much to think about, wait for 2 seconds after you see the Sazabi. If he doesn’t dash tomahawk you, or if he does, then pray that you have reloaded your memory before you meet him.
Turn A
Turn A is a huge pain for Sazabi. Their grapple can hard counter you in every sense, but if you are close to the grapple, you are an easy target for them. The grapple has a large enough hitbox that even though you try to run away, you will usually be hit anyways. Tomahawk the turn A! Their grapple gives them super armor to ignore stun and damage. Good luck!
This is the best advice I can offer:
The second you spot a turn A in the distance, immediately throw your tomahawk at it. Do NOT CLOSE IN This tomahawk is used as bait. After using your tomahawk, use your boost to make it appear that you intend to charge them. Then, cancel the boost as quickly as possible and run away. If you are lucky, you will have evaded the grapple.
Asshimar
His transformed mode makes it difficult to get a decent shot as Sazabi. The best advice I can offer is to ensure you get away from his napalm bomb as it passes through your shield. Also, try to block his body as it can be quite difficult but the thrill of blasting an Asshimar blank is unmatched.
Zaku 2 Ranged
Because of his high number of dashes, and his immunity smoke, Zaku 2 ranged can be challenging to deal with. You will likely run out of ammo and have to reload, causing your death. I have found that I can deal with them by placing my back against a wall, forcing them to attack my shield, and then waiting for them to run out before shooting.
Zaku 2 Melee
Another tough matchup. However, if it’s a 1v1, melee-Zaku builds rage from the damage taken and dealt. This means that many allies will shoot him while they are invincible, and thus increase his rage. While it is risky to be in a 1v1 matchup, it is best to avoid him until he can land a tomahawk. Then, quickly kill him. You are dead if you can’t kill the stun before it ends.
Barbatos
It’s very easy to kill him. Just use your dashes to avoid his abilities.
GM Sniper
If you can’t flank him or he is too far away, then just avoid his sight lines. You can also throw a cheeky tomahawk at the guy.
Closing Notes
Here are a few random things:
If I have missed anything, please comment
– You are not invincible, even if Menthus ults against you.
It’s a sucking fight to turn A
If you are able to get a recolor Sazabi, I recommend it. Most people who see a Sazabi in a yellow or blue color rarely consider them to be Sazabi.
– I want a larger tomahawk hitbox
Every time your shield breaks, a zeon soldier falls to his knees.
An emulator can be used to play the Sazabi power fantasy Play Dynasty Gundam Warriors on your PC.
This is all about GUNDAM EVOLUTION – Sazabi Gameplay and Tactics + Abilities; I hope you enjoy reading the Guide! If you feel like we should add more information or we forget/mistake, please let us know via commenting below, and thanks! See you soon!
- All GUNDAM EVOLUTION Posts List



Leave a Reply