Start Game and Character Creation
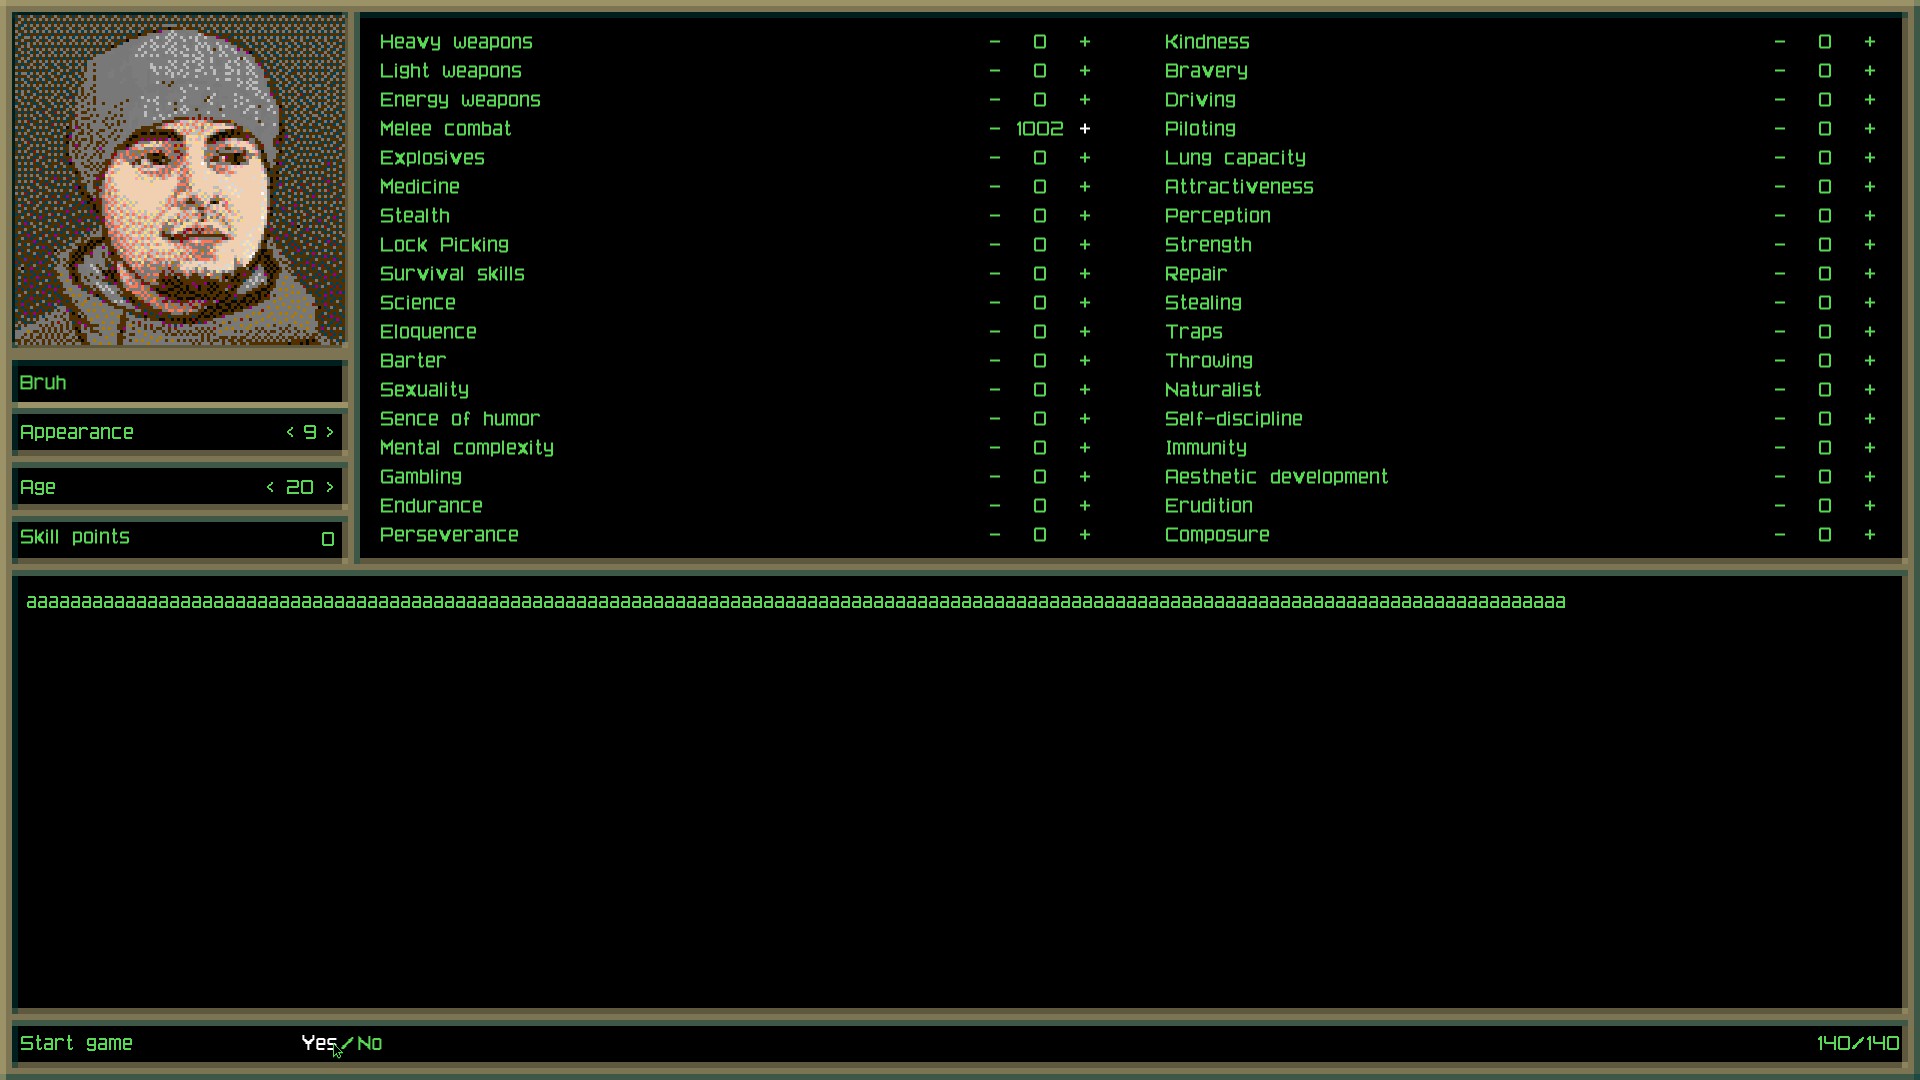
You’re greeted with a character creation screen where you can customize character name, appearance, age, and a vast array of stat options. THESE DO NOT MATTER. (maybe except for character appearance, which will be at the bottom left of the screen for the rest of the game, so you might as well choose a face that you won’t get sick of looking at.)
The only thing you should take note of is the character biography with a minimum of 140 characters. This is important as it comes up later on in the game. My advice is to just fill it up with a singular letter, but if you do write stuff, create a text document at hand for convenient copy+paste. Once that’s done, begin the game by clicking “yes” on the bottom left.
Chapter 1: Underground
You’re underground. There’s a lot of text going on, which can be sped up with left shift.
The Overseer will begin his talk. In the middle of it after mentioning radishes you will be given a chance to respond. Your response won’t matter so type anything then press enter. The overseer will treat your response as an interruption and the talk will continue until he mentions the game name being taken by some company in Poland. He asks if you understand, and as long as the answer contains the word “yes”, the response will be accepted. After another wall of text about the previous people he sent out, he requests payment for the tutorial. Enter “yes”, and when the response isn’t enthusiastic enough, enter “ready”. After yet another wall of text where he gives you a mitten (which is useless) the tutorial will begin. Follow the instructions to go right, left, right, jump a bunch of times, hit a cockroach, and pick up items. Make sure to follow the instructions to a T, and not do anything else until the next instructions are given. It’s a long waste of time and if you fail you have to restart the whole game again, going through walls of text. Finally, you reach the final challenge, to write a 30 character essay review of Eminem’s last album. As long as the character limit is reached the text doesn’t matter. Enter anything you want to, just make sure the text exceeds 30 characters, and the tutorial is complete. In the last wall of text, the overseer takes back the mitten, denies the promised prize, gives you 50 credits and a gun with no bullets, both which are useless since you won’t be using them in the game anyways. You’re pointed towards a bar to begin your search for the corn dog that will save your underground tribe, and off to the surface you go.
Chapter 2: The Capital Wasteland
A lot of walking needs to be done. You’re not in the clear yet – if you die in this chapter the game starts all the way back from the beginning. Harsh consequences just to get the hang of the mechanics, but that’s the way it is. I did say you weren’t going to enjoy this.
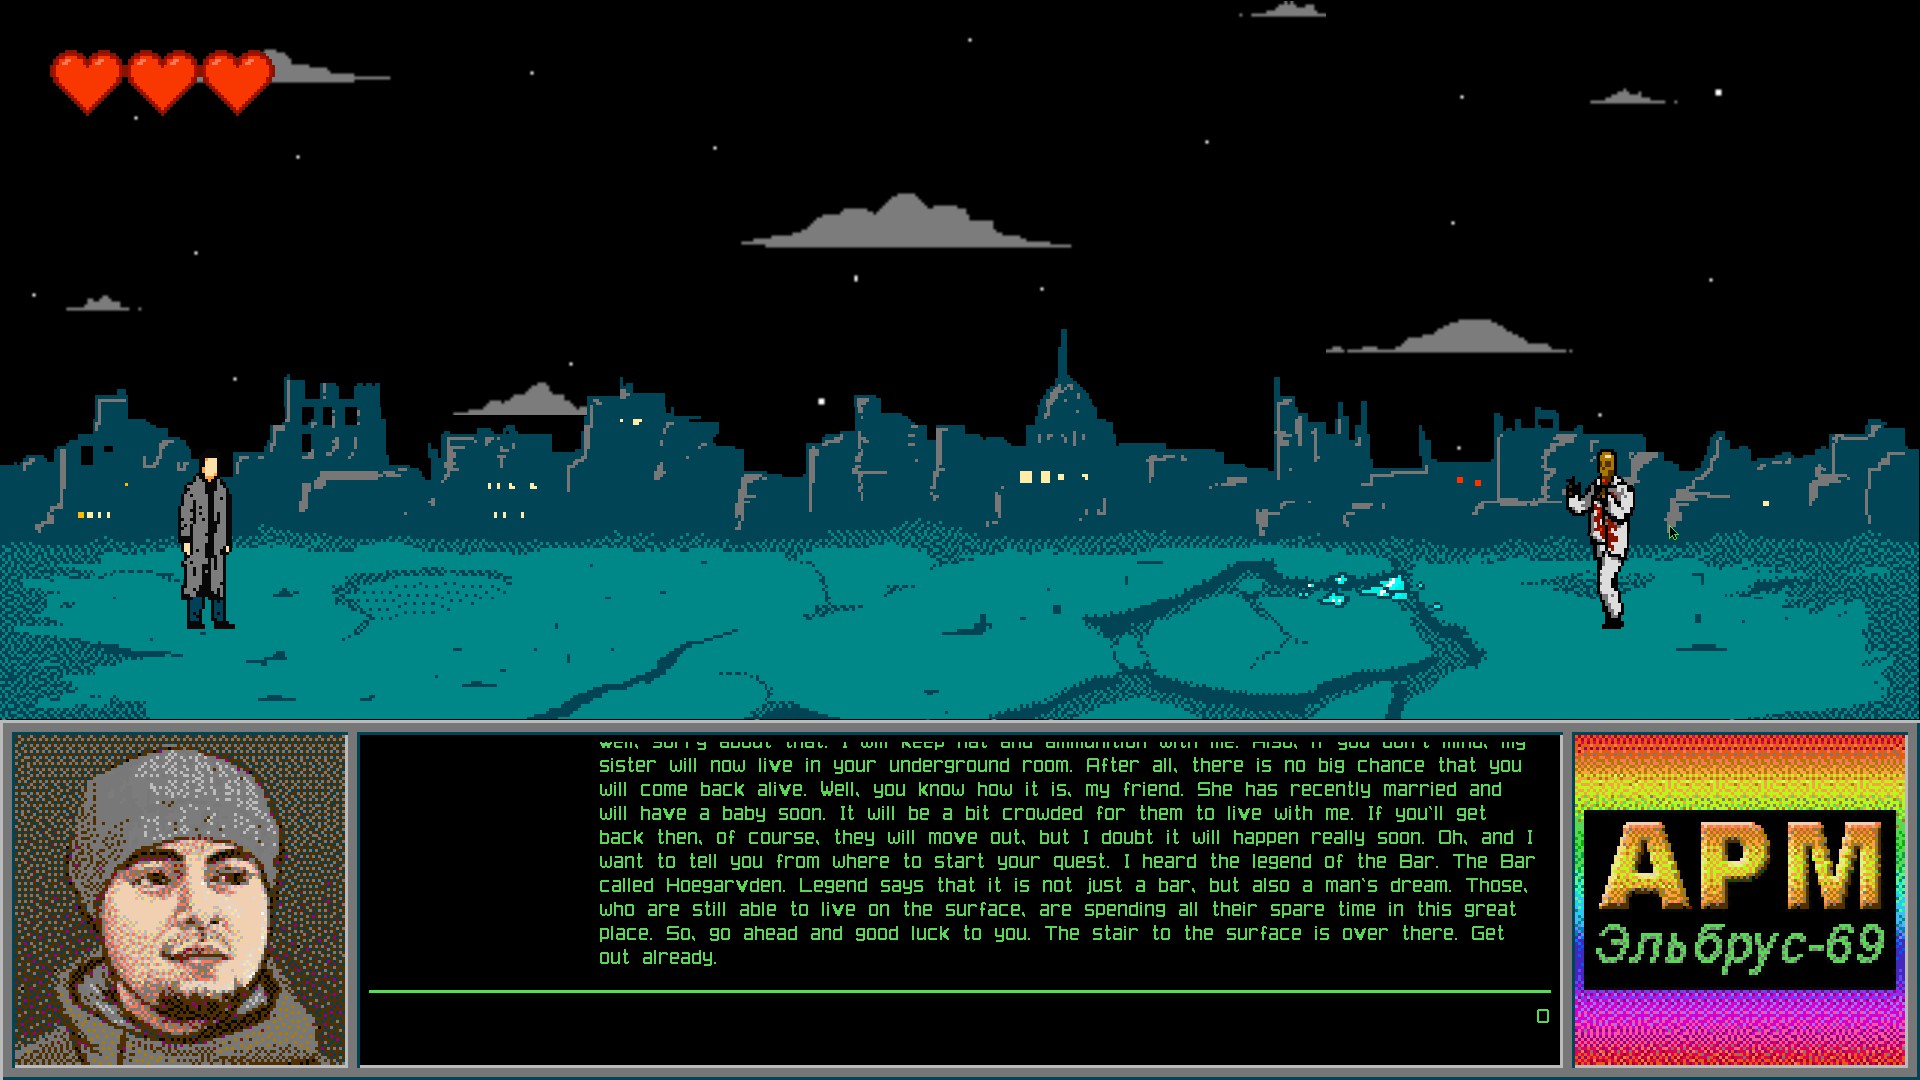
Enemies will appear – the white zombie strangers and yellow tracksuit strangers take 5 hits each to kill while the green strangers take 10 hits. You cannot jump and the only option when an enemy appears is to engage in combat: the recommended way is to strike, strafe back, and strike again until the enemy is dead. Coming into contact with an enemy will result in taking damage.
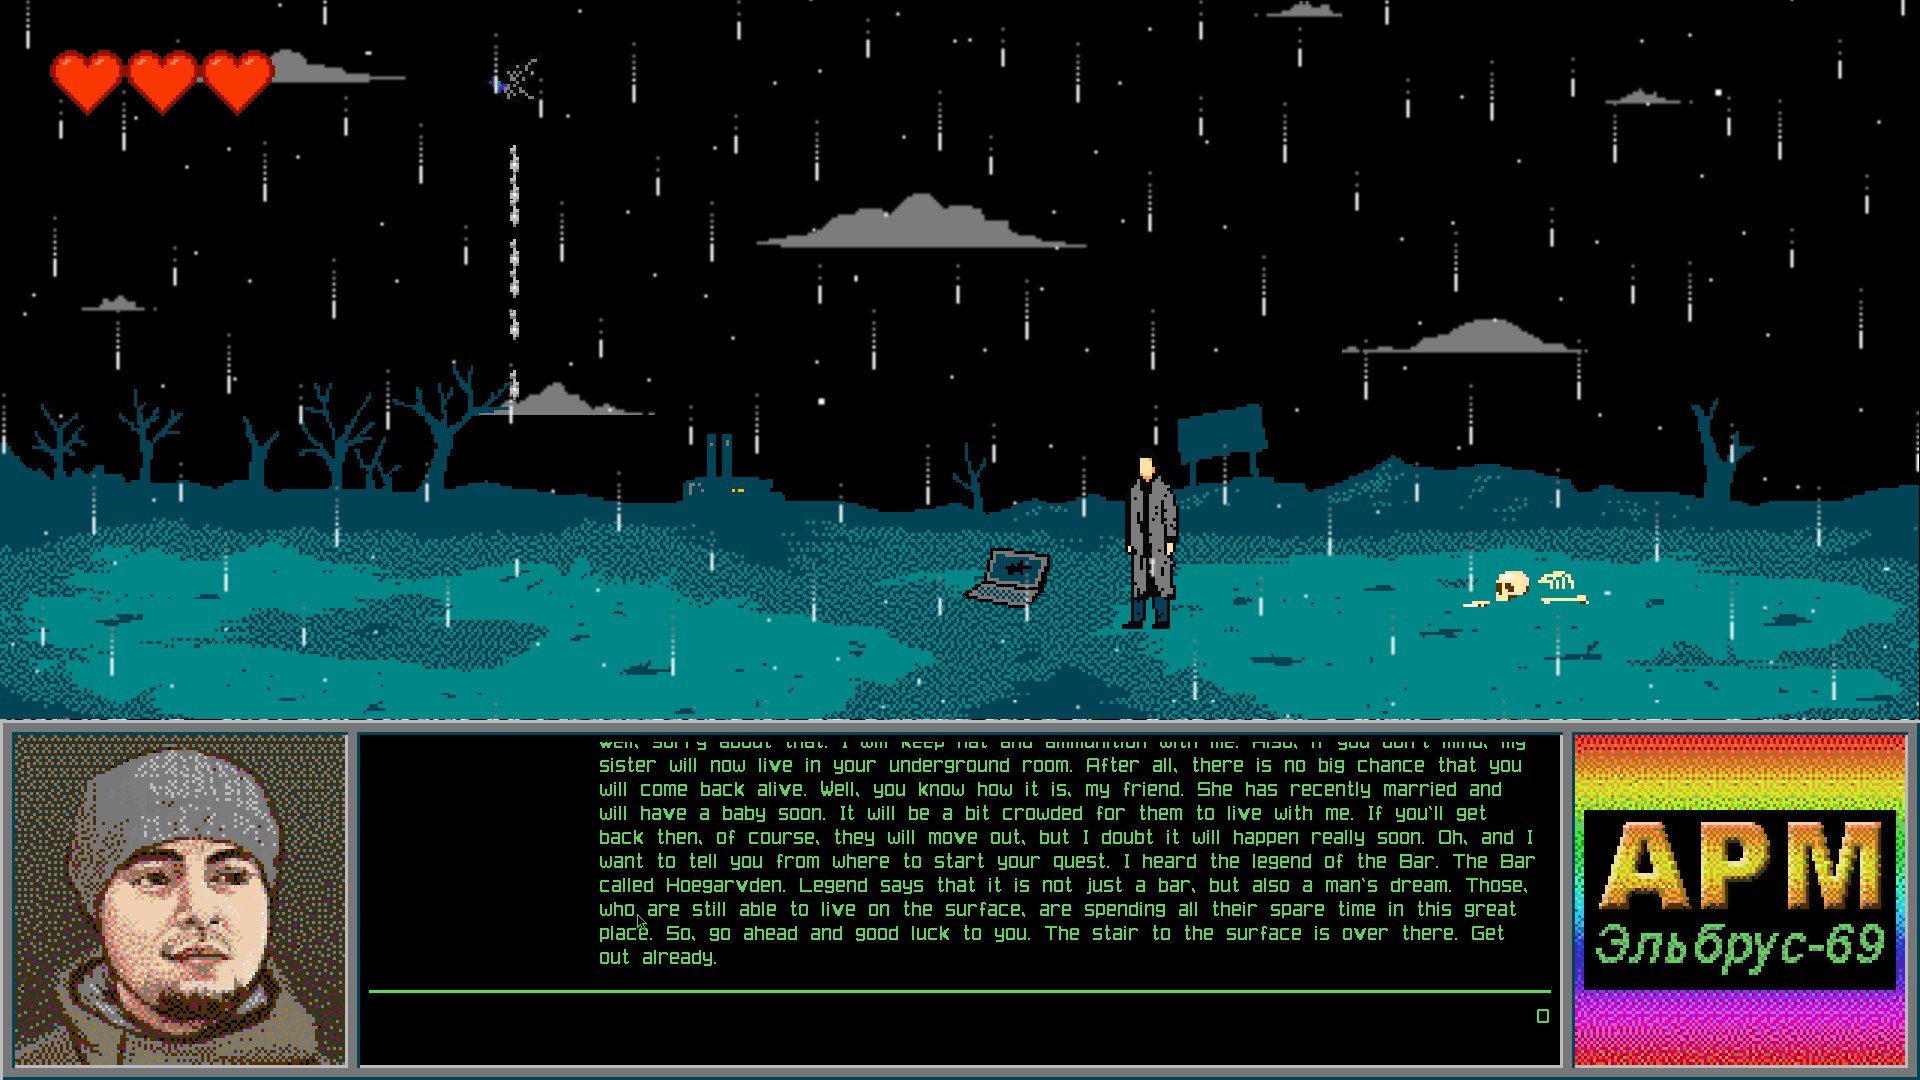
Flying birds will defecate while flying across the top of the screen, and their white excrement also cause damage to you, so time your passing under the falling white streaks. (Rainy weather can make this a bit more difficult.)
Sometimes text events will appear when entering a new screen. They serve no purpose whatsoever, so just ignore them. Everything else in the background is just that – the metal drum barrels, tires, bottles, papers, broken PCs/TVs and shards of glass are purely aesthetic and cannot be interacted with or picked up.
—
After 20 or so screens, title cards appear in the clouds. Ignore them and keep walking, there’s still quite a ways to go.
Around the 35th screen, the twitch streamer and Ghanaian prince should appear in the middle. Press E to start conversation. Talking to them is optional and will not affect the game.
After 40 or so screens, the player should reach the Hoegarvden bar. Enter the door with E.
Chapter 3: First Time in the Bar
Your progress is automatically saved here.
Another long wall of text, describing the atmosphere and the fat owner of the bar. He pours you a drink and asks who you are, Mercenary, Caravan Owner, or Male hooker.
Answer with “Underground Man”.
The bartender dismisses the underground tribe as fairy tale but decides to humor you, asking about your goal. Answer with “corn dog”.
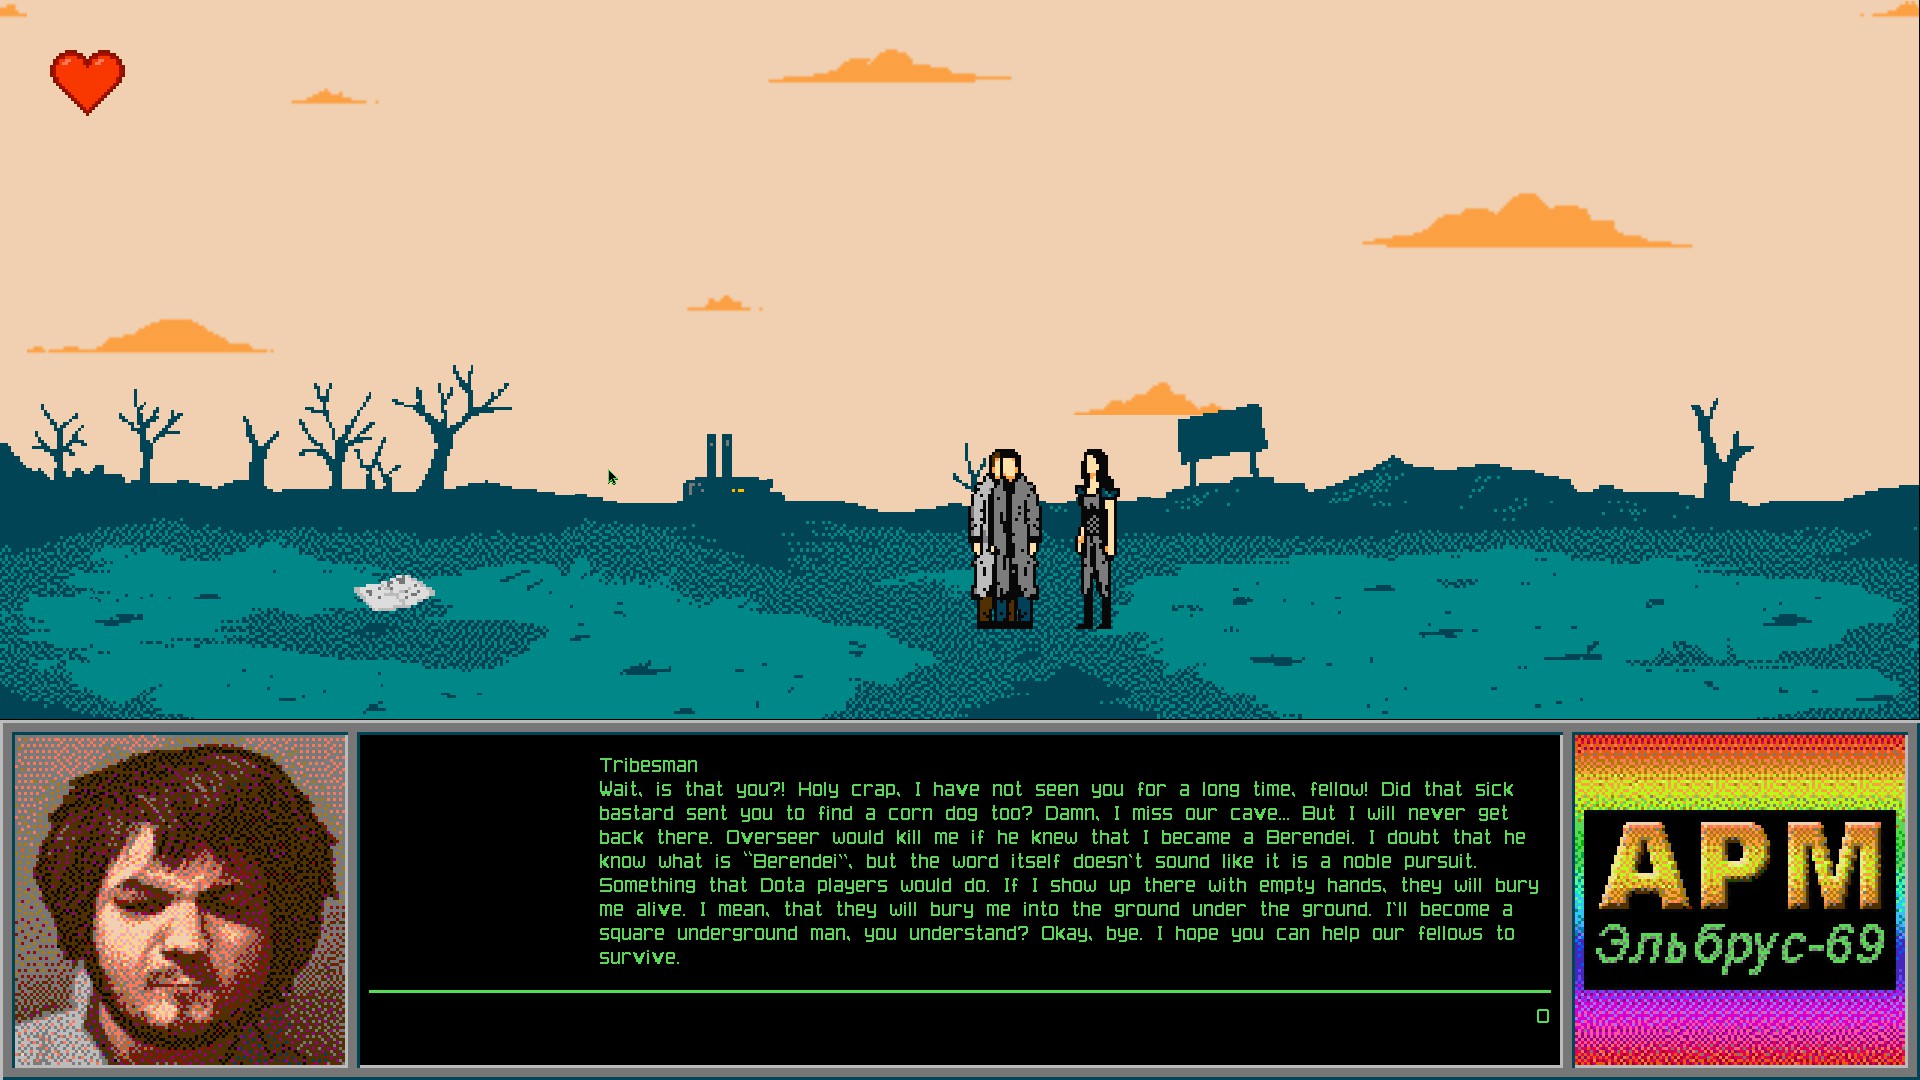
He accepts this answer and offers to help your search if you’re willing to deal with a bandit settlement on his supply route for him. He will offer the choice of three companions: an Asian girl, a “trap”, and a girl with a “big booty”.
If you choose “trap”, they will come over to demonstrate their negotiation skills. Type anything when they ask you to say something rude.
After that, the trap asks you to talk about yourself. Reply with yourcharacter biography(this is where the before-mentioned text document comes in handy, just copy and paste your answer).
They will then ask if you want to hear a story, answer with “yes”.
The trap will explain how they are from a city built in a statue head, and ask where you are from.
Answer with “under”.
Answer the next question about your goal with the answer “corn dog”.
After hearing your reply the trap will join your party. She has an energy gun.
—
If you type “Asian girl”, she will come over and talk.
Reply with “want” to her first question.
For her second question, reply with your character biography (this is where the before-mentioned text document comes in handy, just copy and paste your answer).
After this she will tell you about herself, and about those who refused her services.
Respond with “Why?”, and she will explain more and ask about your goal.
Reply with “corn dog” and she will ask of it’s purpose.
Answer this with “save”, and that seals the deal.
The Asian will become your companion with an AK47.
—
If you type “Big booty”, Kate will come over and talk.
Reply with “take you” to her first question.
For her second question of how to converse with thugs, answer with “sarcasm”.
For her third question about who you are, answer with your character biography (this is where the before-mentioned text document comes in handy, just copy and paste your answer).
After that she will ask about your goal, which should be answered with “corn dog”.
She will then ask if you have money for payment, so just reply with “yes”.
When asked for proof, reply with “♥♥♥♥ you” (fU*K).
That seals the deal for her and now you have Kate as your backup. She wields an AK47 like the Asian Girl.
—
After hiring whichever mercenary of your choosing, exit the bar and hit the road again. A map will show up on screen, click Mitino.
Chapter 4: The road to Mitino
The same deal as Chapter 2, except with the introduced mechanic of having a gun-wielding companion.
Your companions will occasionally speak. Similar to the text events in chapter 2, these are meaningless and can be safely ignored.
Your companions do not take damage from enemies, and have guns of their own which are fired automatically when an enemy appears. The bullets all deal the same damage as one of your punches. Timing your hits is important – if an enemy is hit by a bullet and goes into their damage animation, your character’s punch will not connect and leave you with less time to strafe back, increasing the risk of taking damage.
Around 20 or so screens a hole in the ground will appear. If you press E to climb down there will be a shelter door which you can interact with. The overseer will ask for a password, and it doesn’t matter what you type, he will respond aggressively before noticing you have a female companion. He’ll ask for you to sell your companion to him, and when you answer “no” the first time he will offer even more credits. Refuse with “no” again as his credits are fake money and will result in your death. Leave the hole and continue on, or you can just skip the hole in the first place.
Around 40 or so screens and the player should reach the next chapter.
Chapter 5: Minito
Your progress is automatically saved here.
Note: You can jump in these levels. A recommended tactic is to jump over the heads of enemies when you’re too close to the corners.
Fight and defeat all of the thugs on the first screen, then advance to the screen on the right.
On the second screen, after you defeat the first wave of green tracksuits, the second wave consists of thugs in yellow tracksuits that will start busting out of the windows to attack you in pairs.
Make sure to dodge the glass shards from the windows as they deal damage too.
After that, the boss in a red tracksuit comes out of the door.
Once you have defeated all the thugs, a police car will drive up and take you away.
Chapter 6: Prison
Your cellmate will ask you 4 questions. Answering incorrectly will result in death and an achievement.
First answer:
I will take chiseled spears and cut off jizzed ♥♥♥♥♥
Second answer:
Table is not a soap dish, ♥♥♥♥♥♥♥ is not a breadbox
Third answer:
My a*s is under the lock, and mother is not for sale
Final answer:
No forks in the prison
After answering the four questions your cellmate will leave you alone. You can kill him and get an achievement.
After that you need to answer the questions of the prison guard’s crossword puzzle – some of the questions will be recycled so just use the same answers.
The questions are of the following:
coat of mammals, 3 letters – fur
first USSR hydrogen bomb developer, 8 letters – Sakharov
bomb dropped on nagasaki, 6 letters – Fat man
A device used to augment or replace the braking-system functions, 8 letters – retarder
first and last president of USSR 9 letters – Gorbachev
Last name of the most famous man with savant syndrome, 4 letters – Peek
He’ll let you out after the savant question.
Chapter 7: Back to the Bar
After meeting up with your companion, its another 40- screen journey back to the bar.
Chapter 8: The Bar
Your progress is automatically saved here.
Pick any drink EXCEPT FOR THE HORILKA (It’ll kill you).
Beer is okay, and will lead to the next cutscene, where you and your companion will wake up in the backroom hungover.
Walk out and talk to the bartender, and he’ll direct you to New New York.
Chapter 9: Walk to New New York
Around 20 screens you’ll meet a lady with a broken down car. You can respond with “yes” to help fix her car. This is an event with no effect whatsoever storywise.
After 40 screens or so the player should reach the statue of the head, aka New New York.
Chapter 10: New New York
Your progress is automatically saved here.
when the guard asks for your reason to enter the city, reply with “corn dog”
answer “yes” when he asks to use your companion (gotta do what you gotta do :p)
Chapter 11: ♥♥♥♥♥♥ Place
Your progress is automatically saved here.
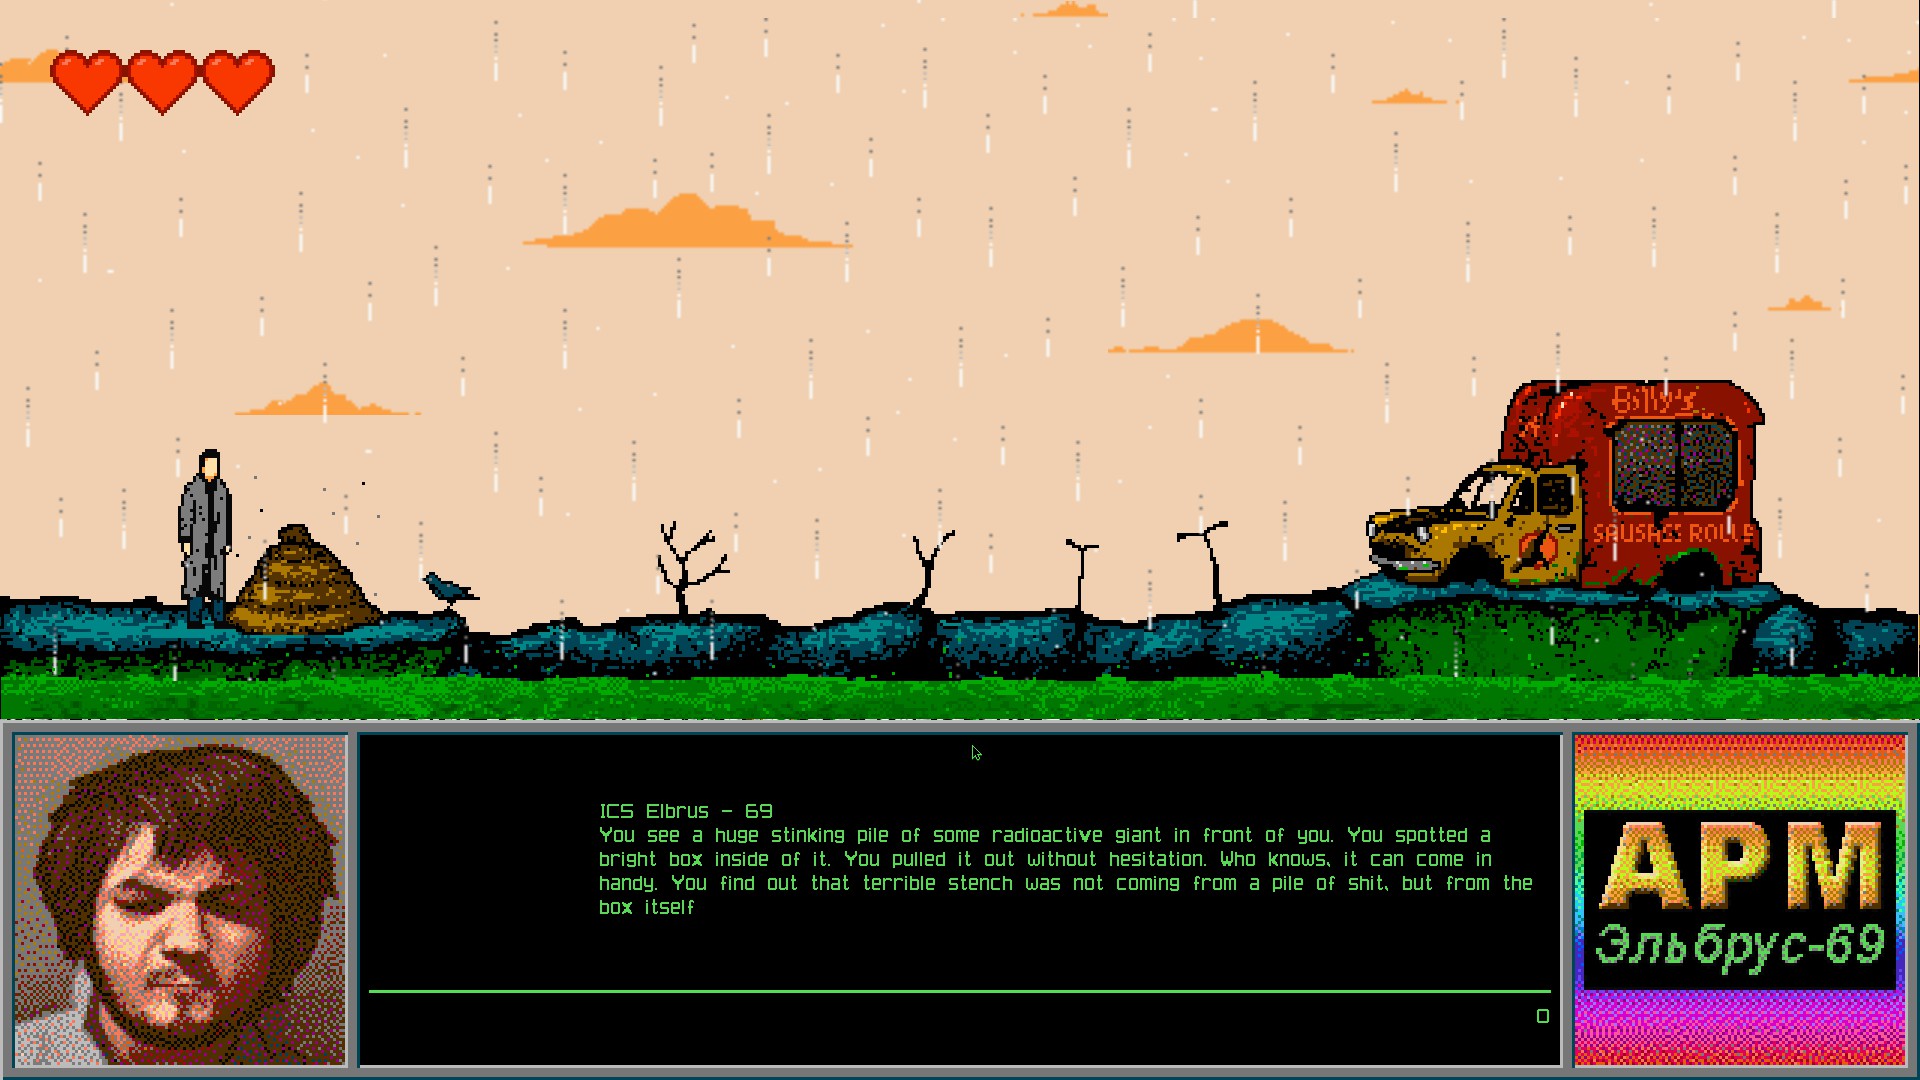
Use your platformer skills and get to the fourth screen, where you’ll startle the bird, causing it to crash into the hotdog van. Approach the giant pile of feces and press E to pick up the video game. (You won’t be able to head back if you don’t pick up the game, but you can head back without startling the bird once it’s picked up.)
After you pick up the video game, you’ll need to go back left and backtrack, so do some more jumping around the swamp.
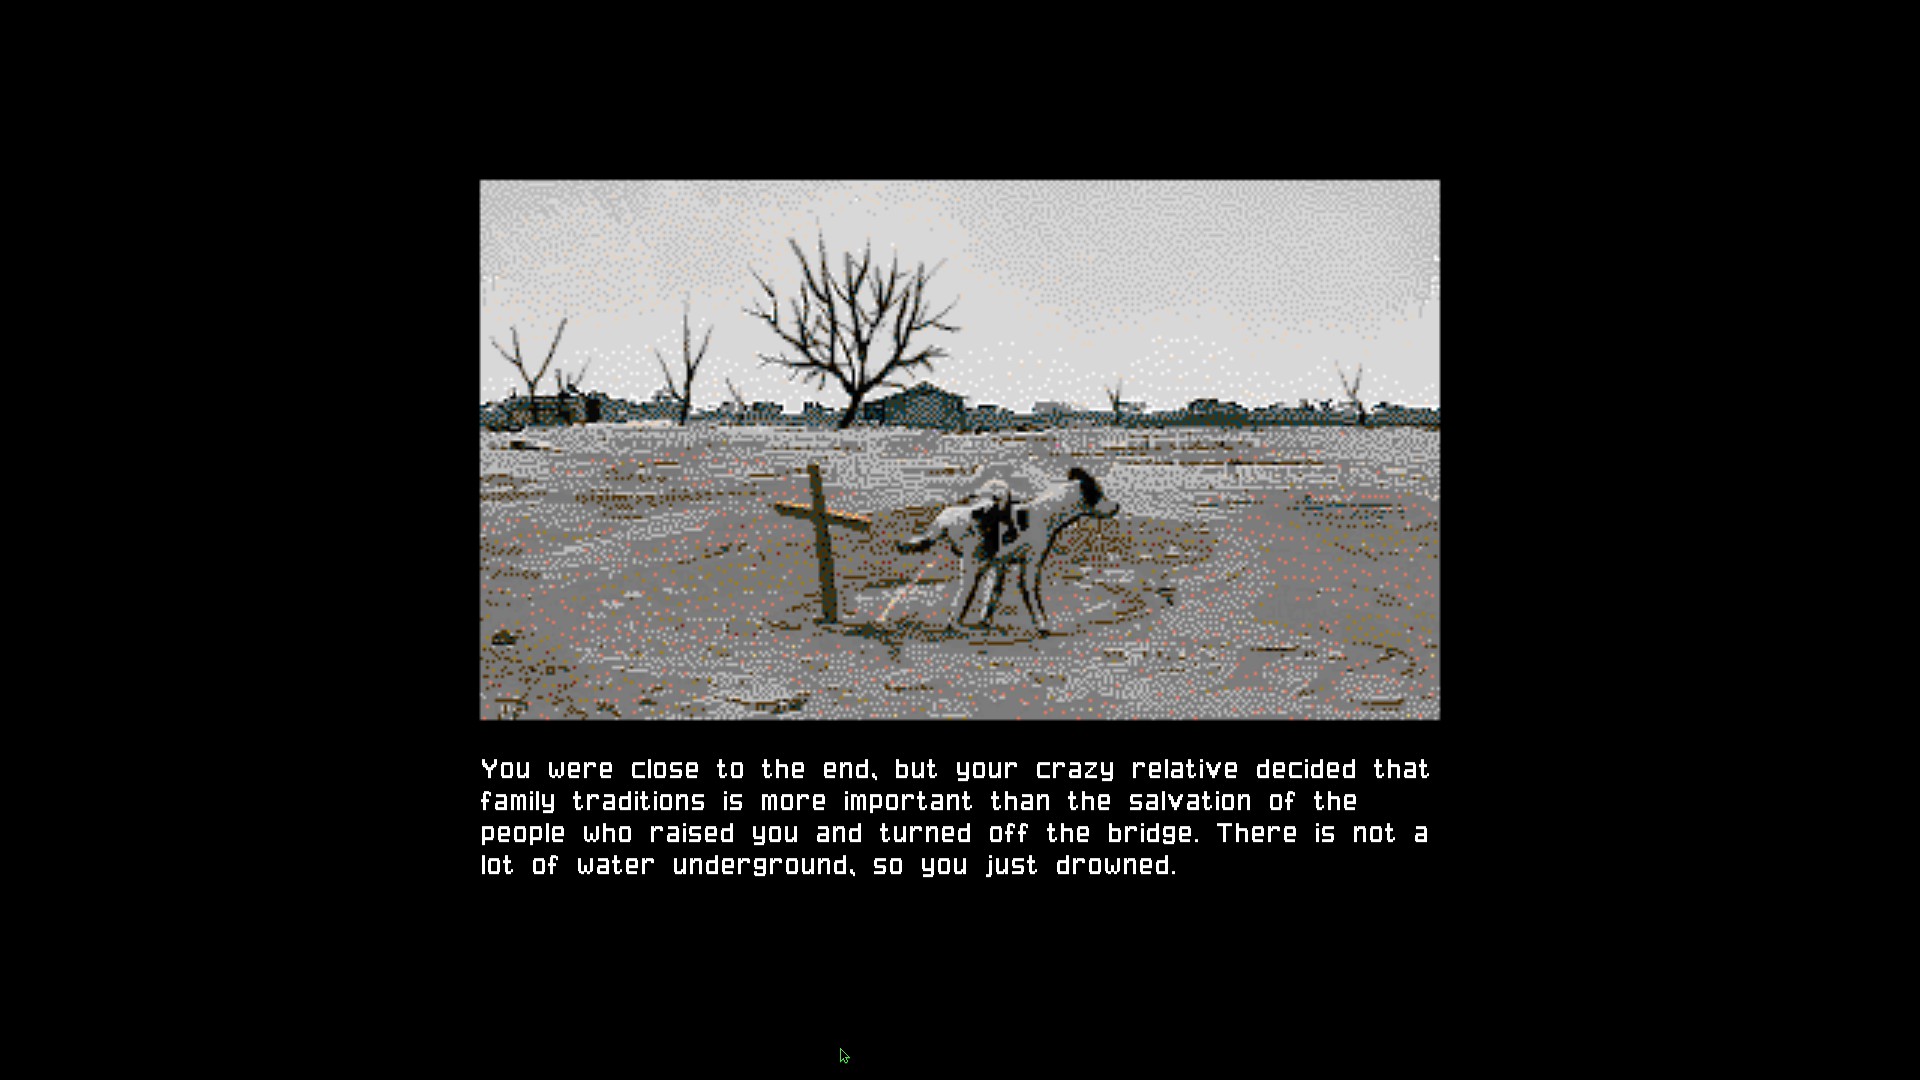
once you come back and the guard asks about why you seem down, answer with “drowned”.
The guard will advise you to ask the bartender about San Francisco, and gives parting advice to joke about “your mum” (which is obviously the wrong thing to say).
Chapter 12: Journey back to the bar
Around the 20th or so screen the player should run into another underground man, sent out before you. If you press E to interact with him, you can learn of his fate and part ways. Of course, this is all optional.
After 40 or so screens, you should arrive at the bar.
Chapter 13: Back in the bar
Your progress is automatically saved here.
The bartender will say something about silicone clones, and require you to answer with your character biography yet again.
After that, answer with either “science“, “center“, “skilkovo“, or “san francisco” to prompt his offer of help.
The bartender will ask you for a gift in return, and answer with “game”, or “disc”. He’ll happily accept the video game you found in Chapter 11, and draw on your map for you.
Chapter 14: Journey to Skillovo
Around 20 or so screens the player should run into Doctor Setupov. Just say whatever you want, it doesn’t affect anything. He’ll give you a pointless diagnosis that you can safely ignore.
After 40 or so screens the player should arrive at the science center.
Chapter 15: Skillovo science center
Your progress is automatically saved here.
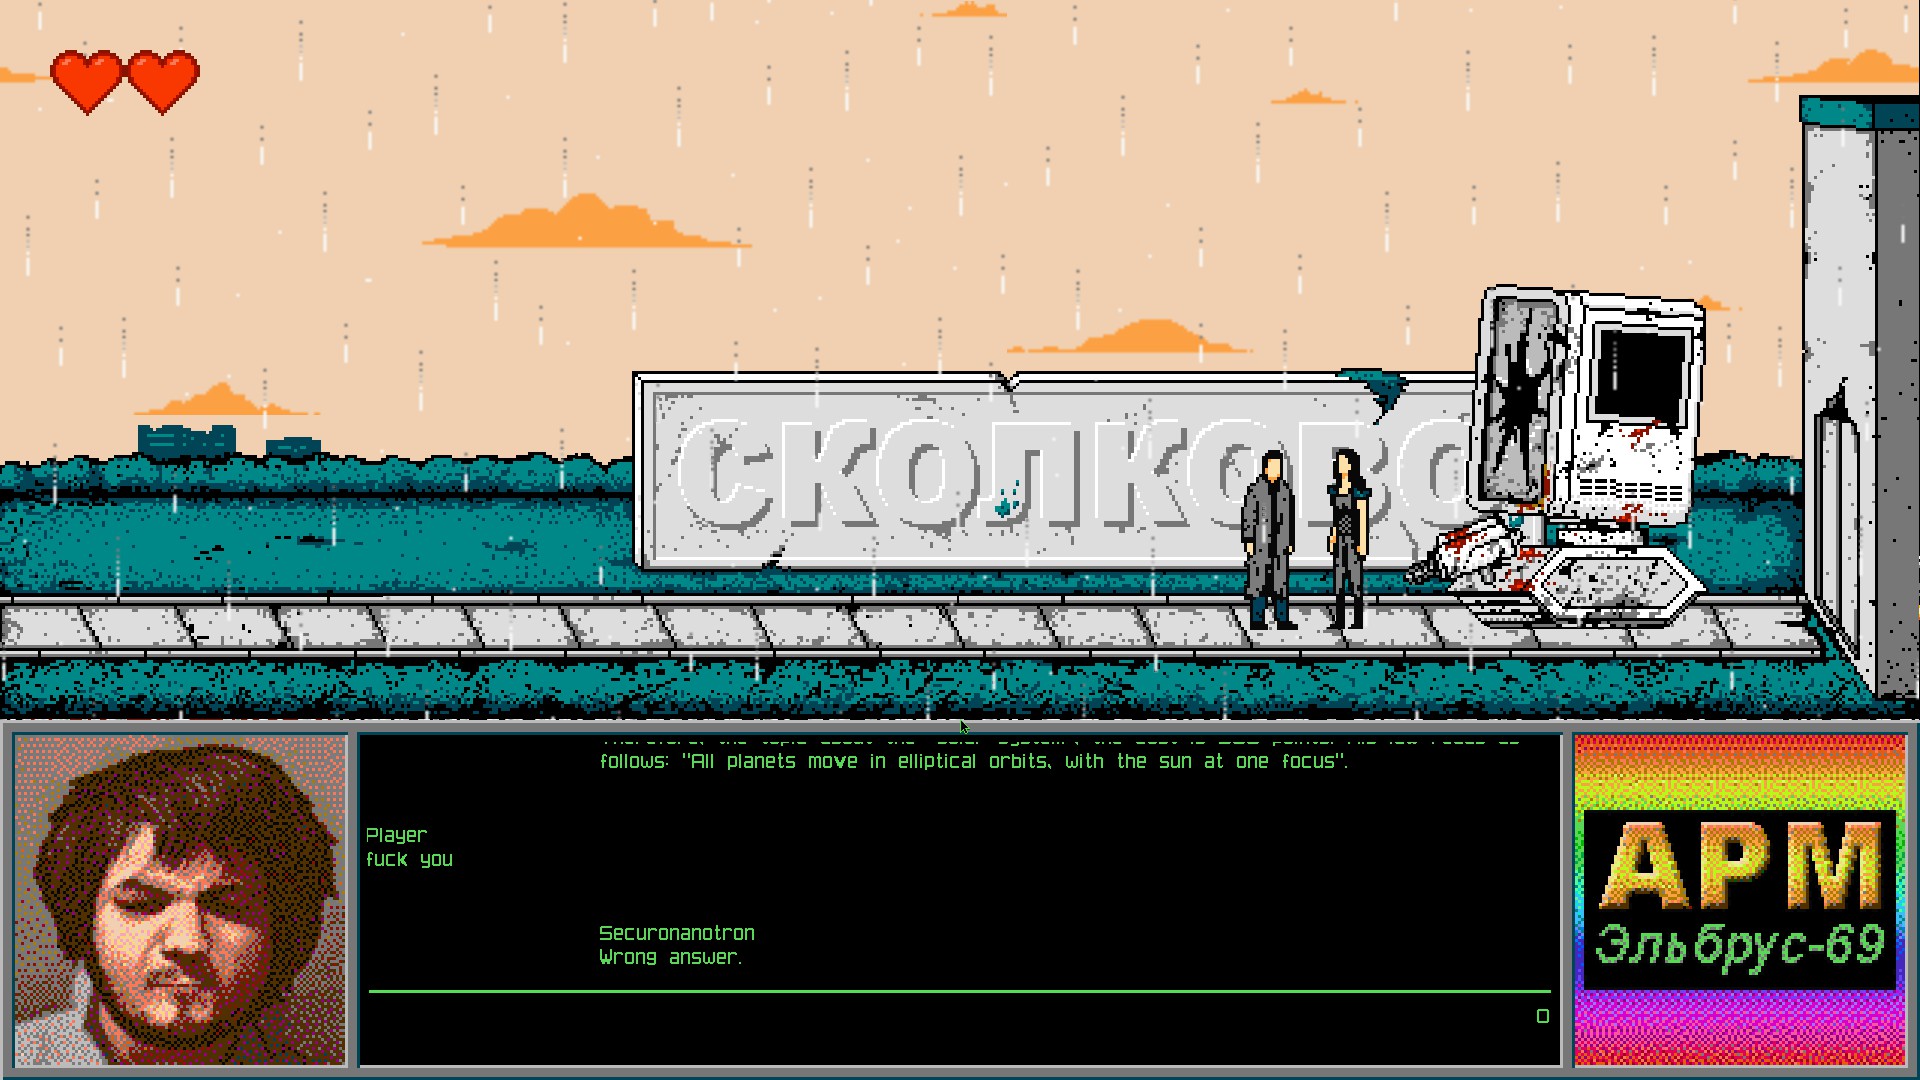
The guard computer Toddler will ask you a couple of questions you need to answer correctly in order to be let into the facility. The three topics are about:
The solar system – answer with “kepler”
Snail on the slope – answer with “gastropoda”
time for song – answer with “give you up” (lmao as if this game isn’t troll enough now we have to get rickrolled?)
After answering the three questions he will let you pass. Alternatively, if you fail to answer any of the questions above, he will go into extermination mode where you can fight him. His attacks include laser beams you need to jump over, a giant drill that he’ll rush you with (so stay on the left hand side of the screen when not attacking), and little bombs that go from the right to the left of the screen which you can destroy by attacking them (however your attack speed isn’t high enough, so it’s recommended to break one and then jump over the rest).
Hit him enough times and he will be defeated.
Getting past him through both ways will earn you different achievements.
After entering the facility, there are an assortment of rooms with laser traps starting from the second room. Navigate your way past them until you reach the fourth room, where pressure plate activated lasers await.
As soon as you reach the middle, interact with the terminal. It will ask for the sum of 26749+47026, which is 73775.
Once the correct answer is given the lasers will shut down, and answering the terminal again will do nothing, whether the answer is right or not.
Reaching the back door, exit the facility and meet up with your companion. Read the sign and write down the quote before you enter the car for chapter 16.
Chapter 16: Race
Your progress is automatically saved here.
The player is in a high-speed race down a highway littered with abandoned cars and watery crevasses. Dodge the cars and jump over the cracks.
It is recommended to press the W and S buttons down all the way when navigating up and down, instead of individually tapping on them.
Chapter 17: Scientist
Your progress is automatically saved here.
The scientist sprouts a wall of text, all just boring plot. He is your father and also your son, your mother and your daughter.
After his tirade go on to the right screen to continue.
Chapter 18: Bridge Building
Build the next block of the nano bridge by pressing E once you get close enough to the edge. Patience is key here, because you’ll be doing this tedious bricklaying for around 10 screens.
At the 10th screen, just before you finish building the bridge, the scientist will interrupt you and ask you to repeat your mother’s (his wife’s) favourite quote (the passage in chapter 15):
“Faith – is things which are hoped for and not seen, therefore, dispute not because ye see not, for ye receive no witness until after the trial of your faith.”
After successfully telling him the quote he will bid you farewell, stating that he still has work to do in Russia and will not join you in America. Finish building the bridge and go on to the final chapter.
Chapter 19: San Francisco
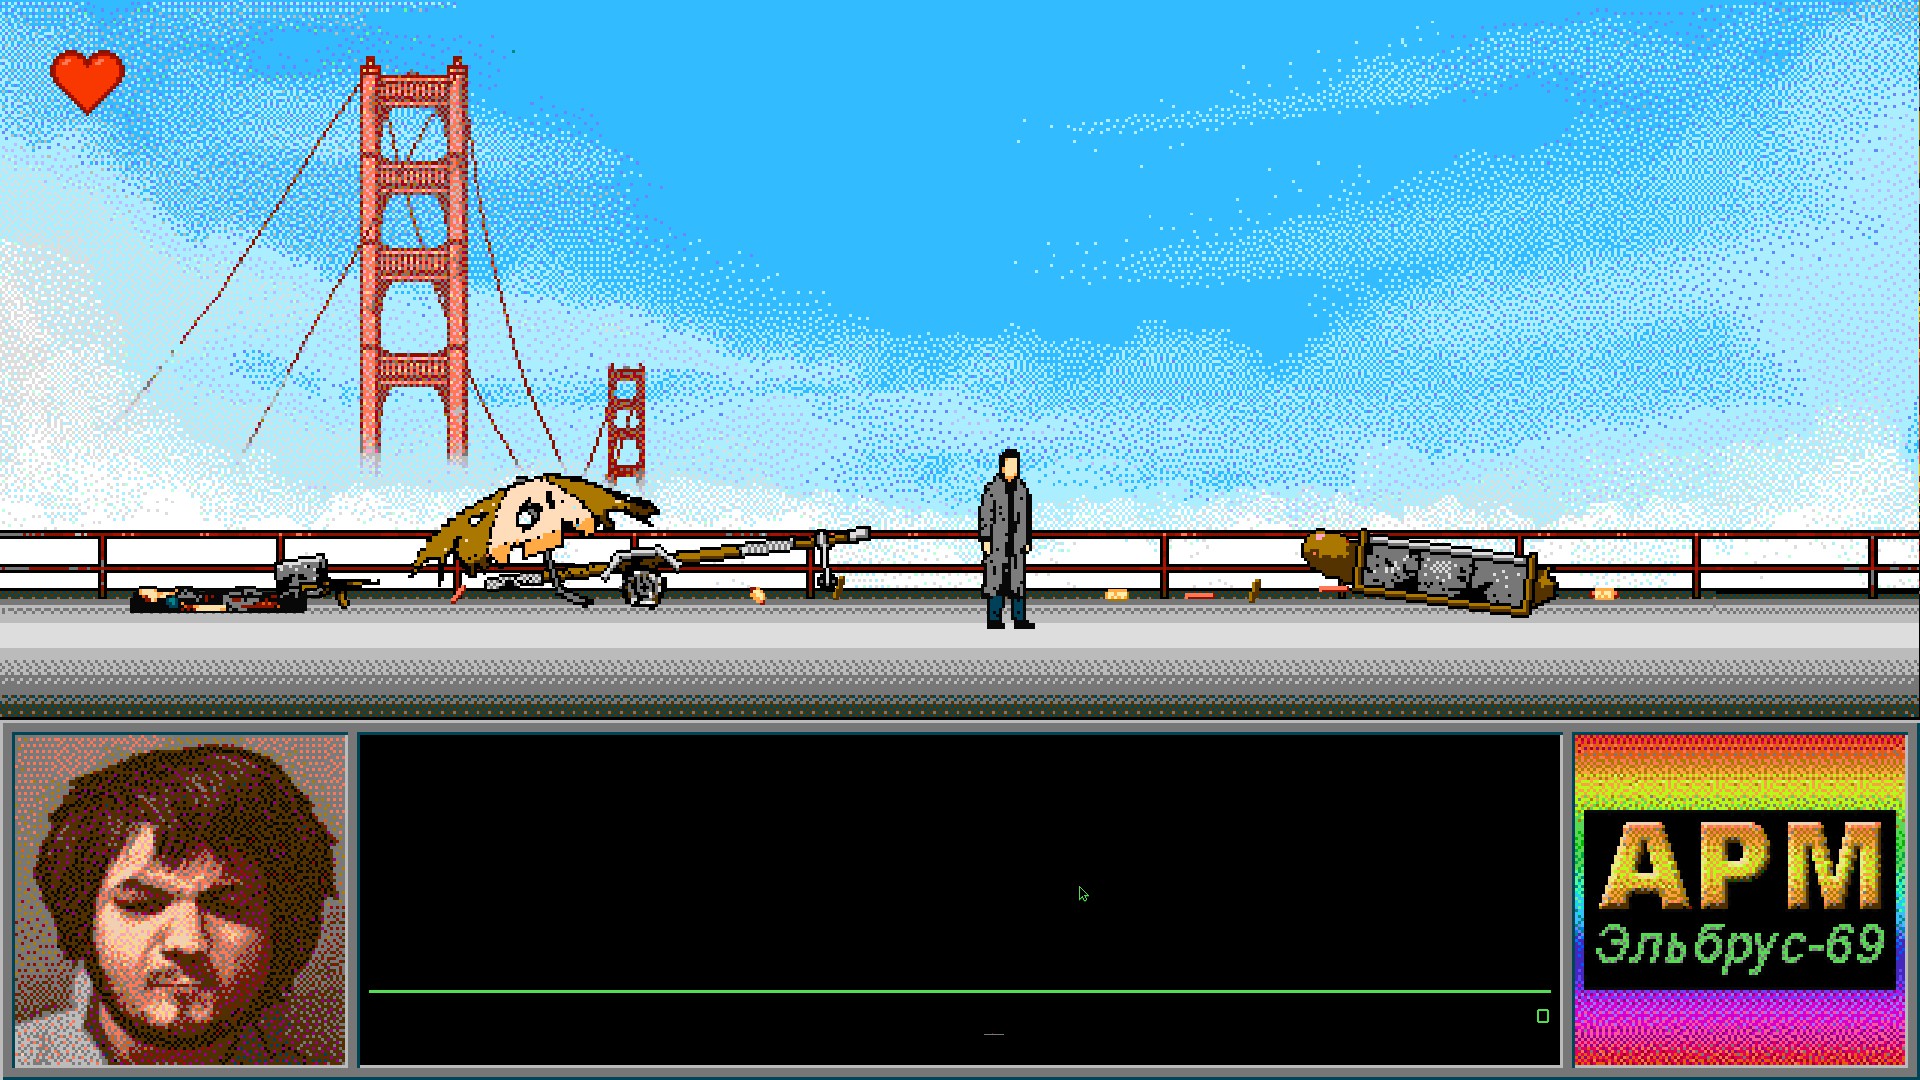
The battle begins very abruptly, your companion moves to the hot dog van and is blown backwards by a missile fired by the helicopter, putting them out of action.
They’ll drop their weapon which you can pick up with E (or not, if you defeat the helicopter bare-handed you’ll get another achievement).
There’s three phases of the helicopter: first phase it lands on the left and right side of the screen and fires its machine gun at you in four shots, after jumping over the shots you have a short time frame to attack it before it takes off again. After around 30 hits it becomes damaged and enters the second phase.
In the second phase the helicopter lands in the same spots on the screen, but fires a missile you need to jump over instead. After jumping over the missile you have a short period of time to attack the helicopter before the missile lands and causes explosion damage on where you were last standing, so make sure to get clear of where it lands. The helicopter will take off and fly across the screen, dropping 3 pieces of debris that can also cause damage. After 25 or so hits to the helicopter, it will enter the third phase.
In the third phase the helicopter will not attack when landed, but will drop 5 pieces of debris across the screen when taking off to change between the two spots. After 20 or so hits it will be defeated and fly off.
Talk to your dying companion, who will reveal their backstory to you. (I’ve only done this run with the Asian girl so I’m not sure about the other two, but she is actually your sister)
They will then instruct you to pick up the sausage and approach the van. Doing so triggers the process of making a corn dog – just keep pressing E repeatedly.
The End
And that’s it, you’ve beat the game. Roll credits. (Press and Hold spacebar to skip credits)
Go write a scathing review about this game, the least you can do about it. Or gift this game to a friend you hate lol.
I’d appreciate a like or comment if this guide helped, thanks for reading!
I hope you enjoy the Guide we share about The Underground Man – Walkthrough; if you think we forget to add or we should add more information, please let us know via commenting below! See you soon!
- All The Underground Man Posts List


Leave a Reply