
Introduction
WANTED posters are hidden in the campaign missions, once found they unlock a challenge mission with a target to assassinate. In total there are 10 challenge missions.
Touching the poster is the only requirement, completing the campaign mission after finding them is not necessary.
Challenges are connected to three Achievements and cosmetic rewards (the hat of the assassinated Worm).
Challenge Accepted
Collect a wanted poster
Call that a Challenge!
Complete 5 Challenges
No Challenge at all
Complete all Challenges
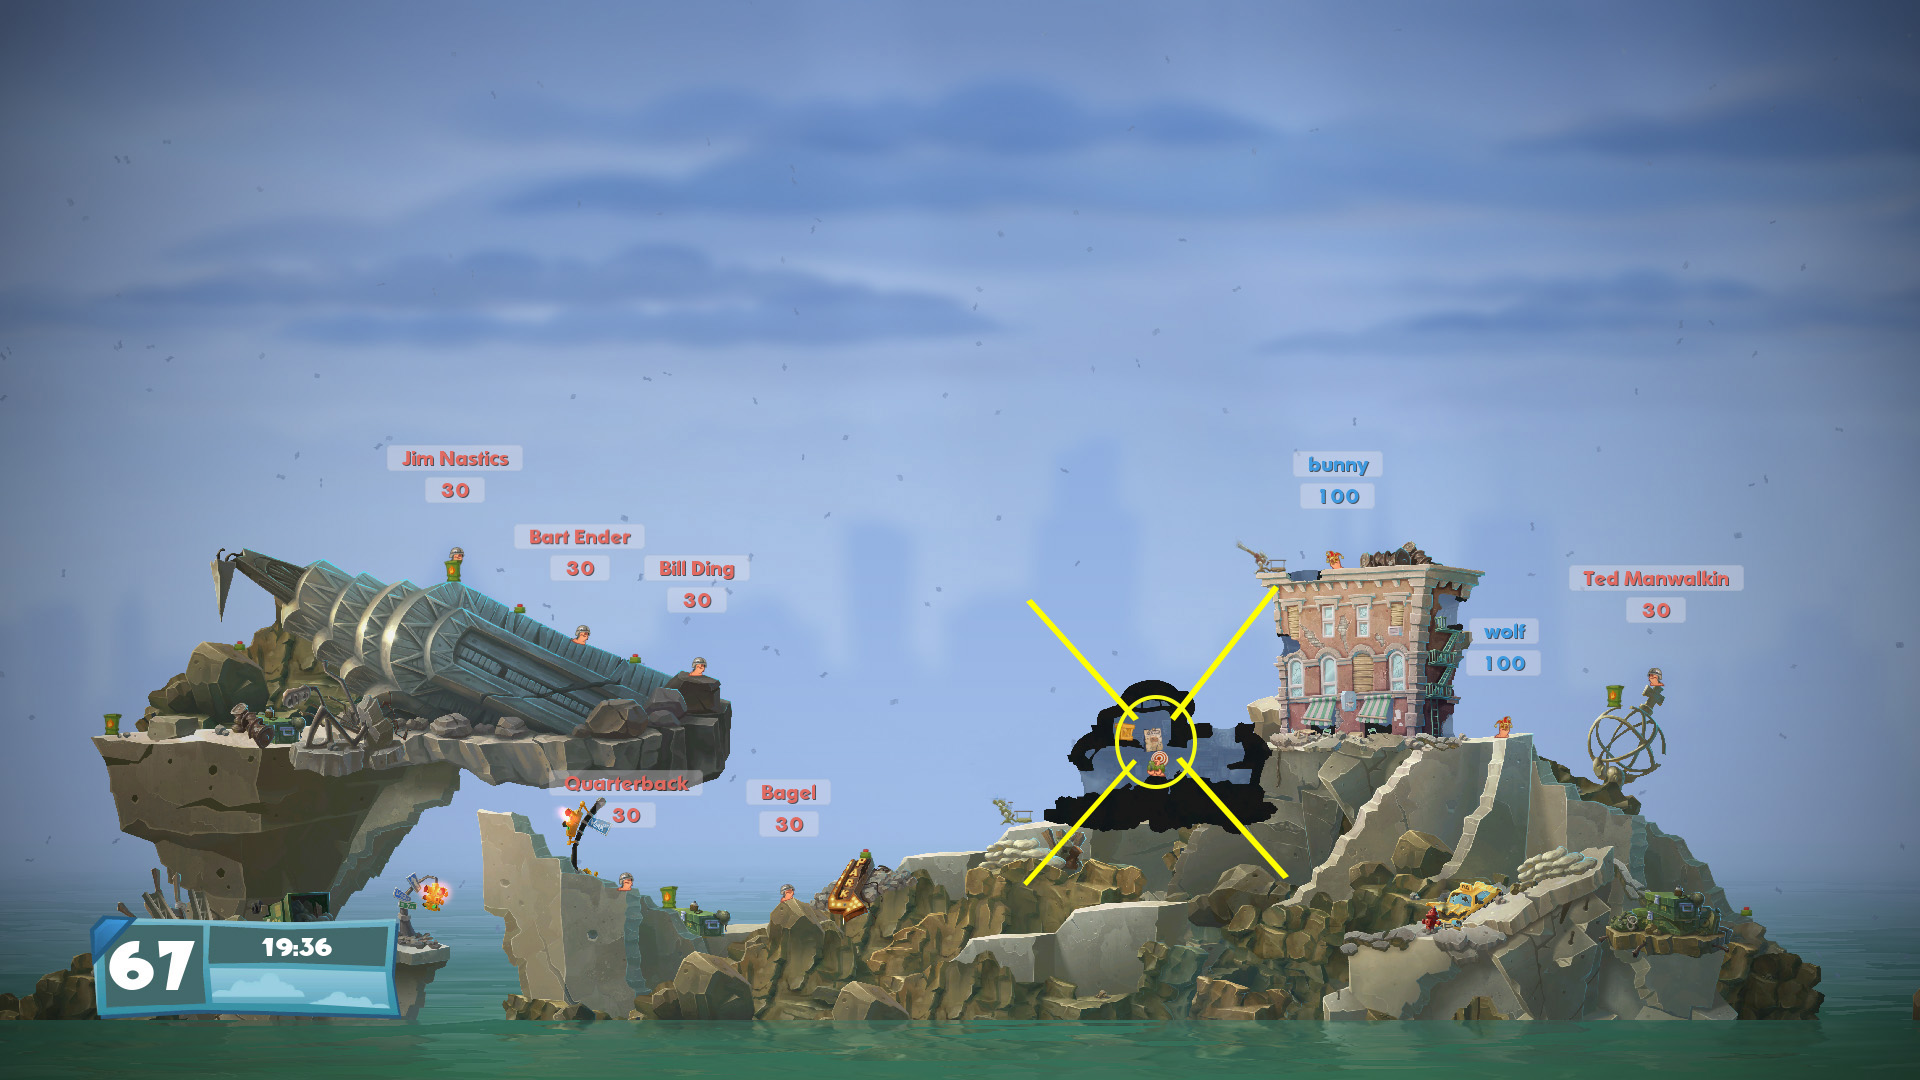
Jetpack to Work! – Defeat FLEI MING
Location
The WANTED poster leading to this level can be found in the diner in Mission 2 – Building for Protection
Walkthrough
- Make the first mine explode to clear a path to the water.
- Make the last mine explode to throw a mine on the magnet.
- Make the mine near FLEI MING explode to throw FLEI MING on the magnetized mine – move out of the way!
- FLEI MING will fly to his last sepulchre.
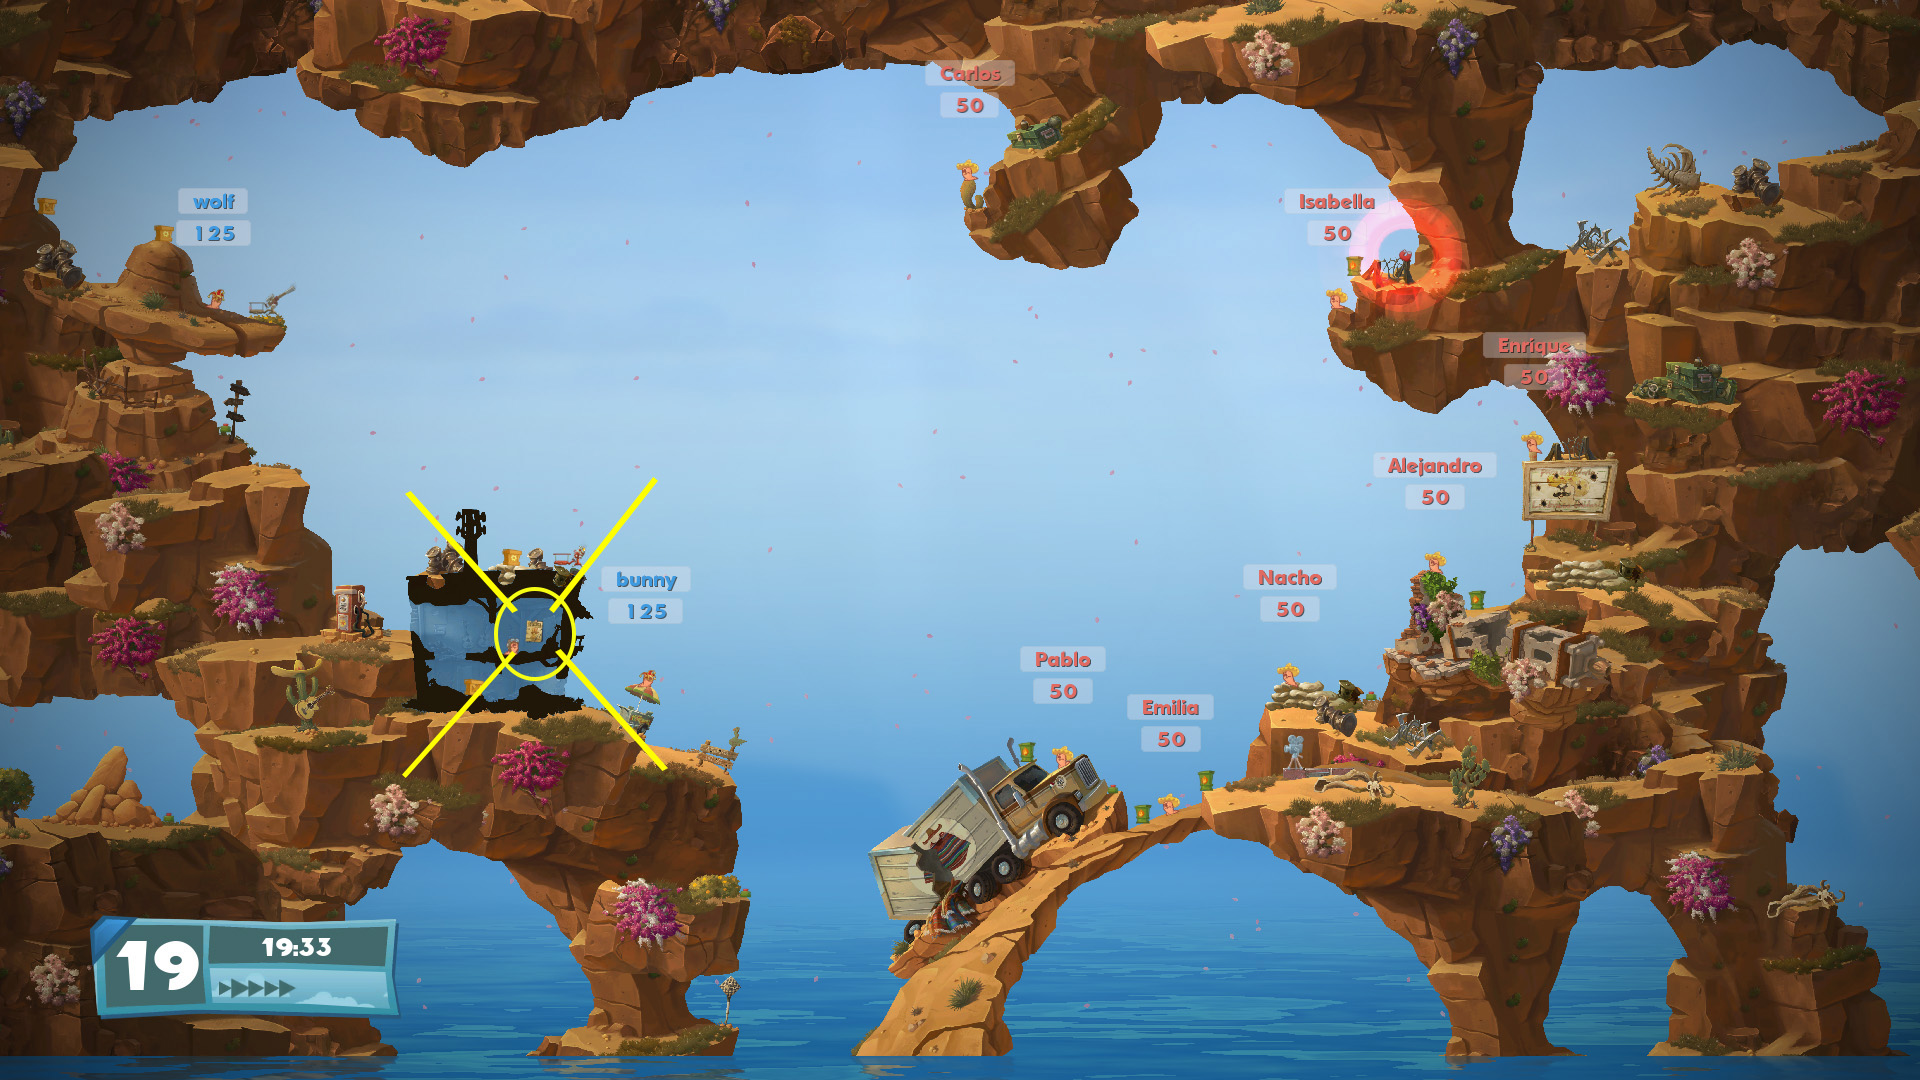
I’m Gonna Mech You Mine – Defeat Sam
Location
The WANTED poster leading to this level can be found in the guitar shop in Mission 6 – Tijuana Dance With Me?
Walkthrough
- Trigger the mine, walk back a little bit then slam the mine towards the bridge.
- Get across the bridge and drop your mine.
- Trigger your mine and get away from it.
- Go up while not lingering near mines.
- Use your thrusters to get across and trigger the mine near Sam.
- Use your thrusters to fly to safety.
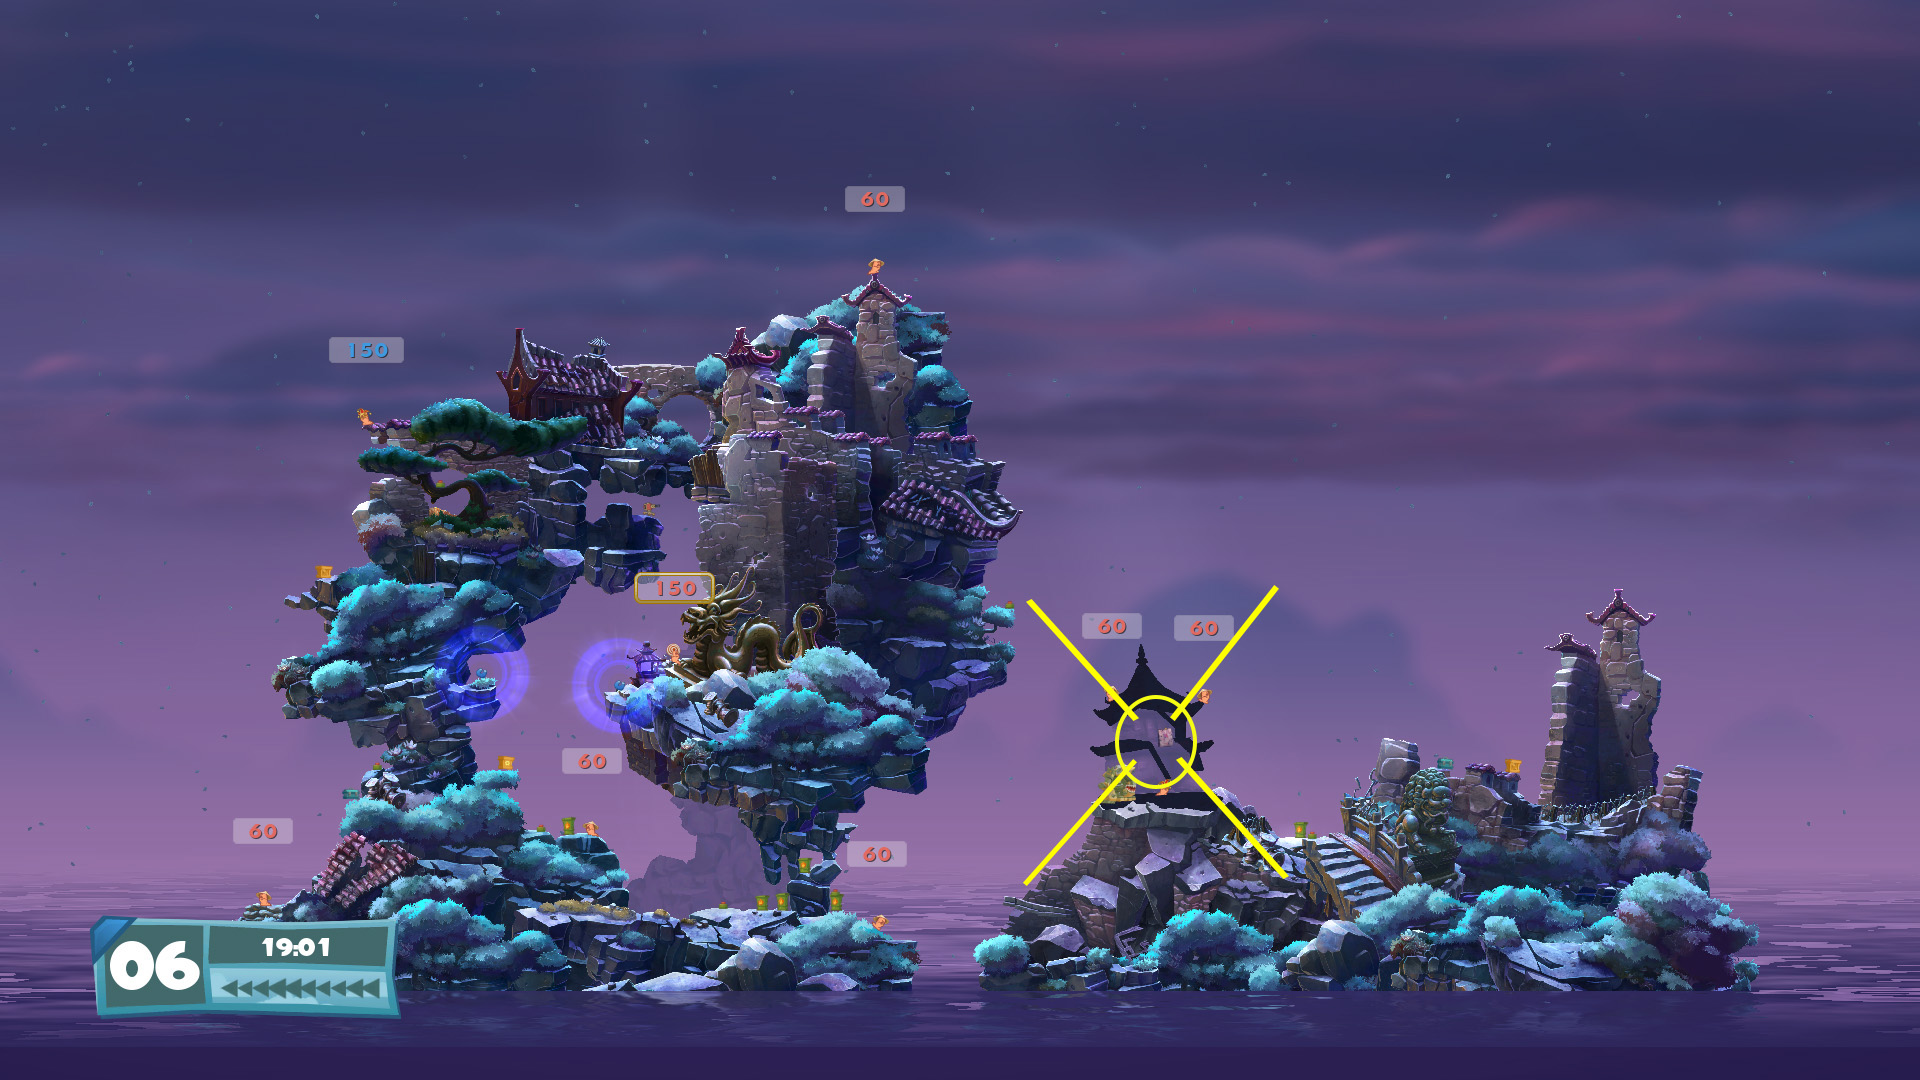
Don’t Be Greedy – Defeat TUTTI
Location
The WANTED poster leading to this level can be found in the little temple in the valley to the right in Mission 11 – Koo and the Gang.
Walkthrough
- Collect the single health crate to the right.
- Go back to the little mount where you started, stand a bit towards the left.
- Shoot the bottom health crate and get projected across.
- Collect the airstrike inside the structure and finish the mission by killing TUTTI.
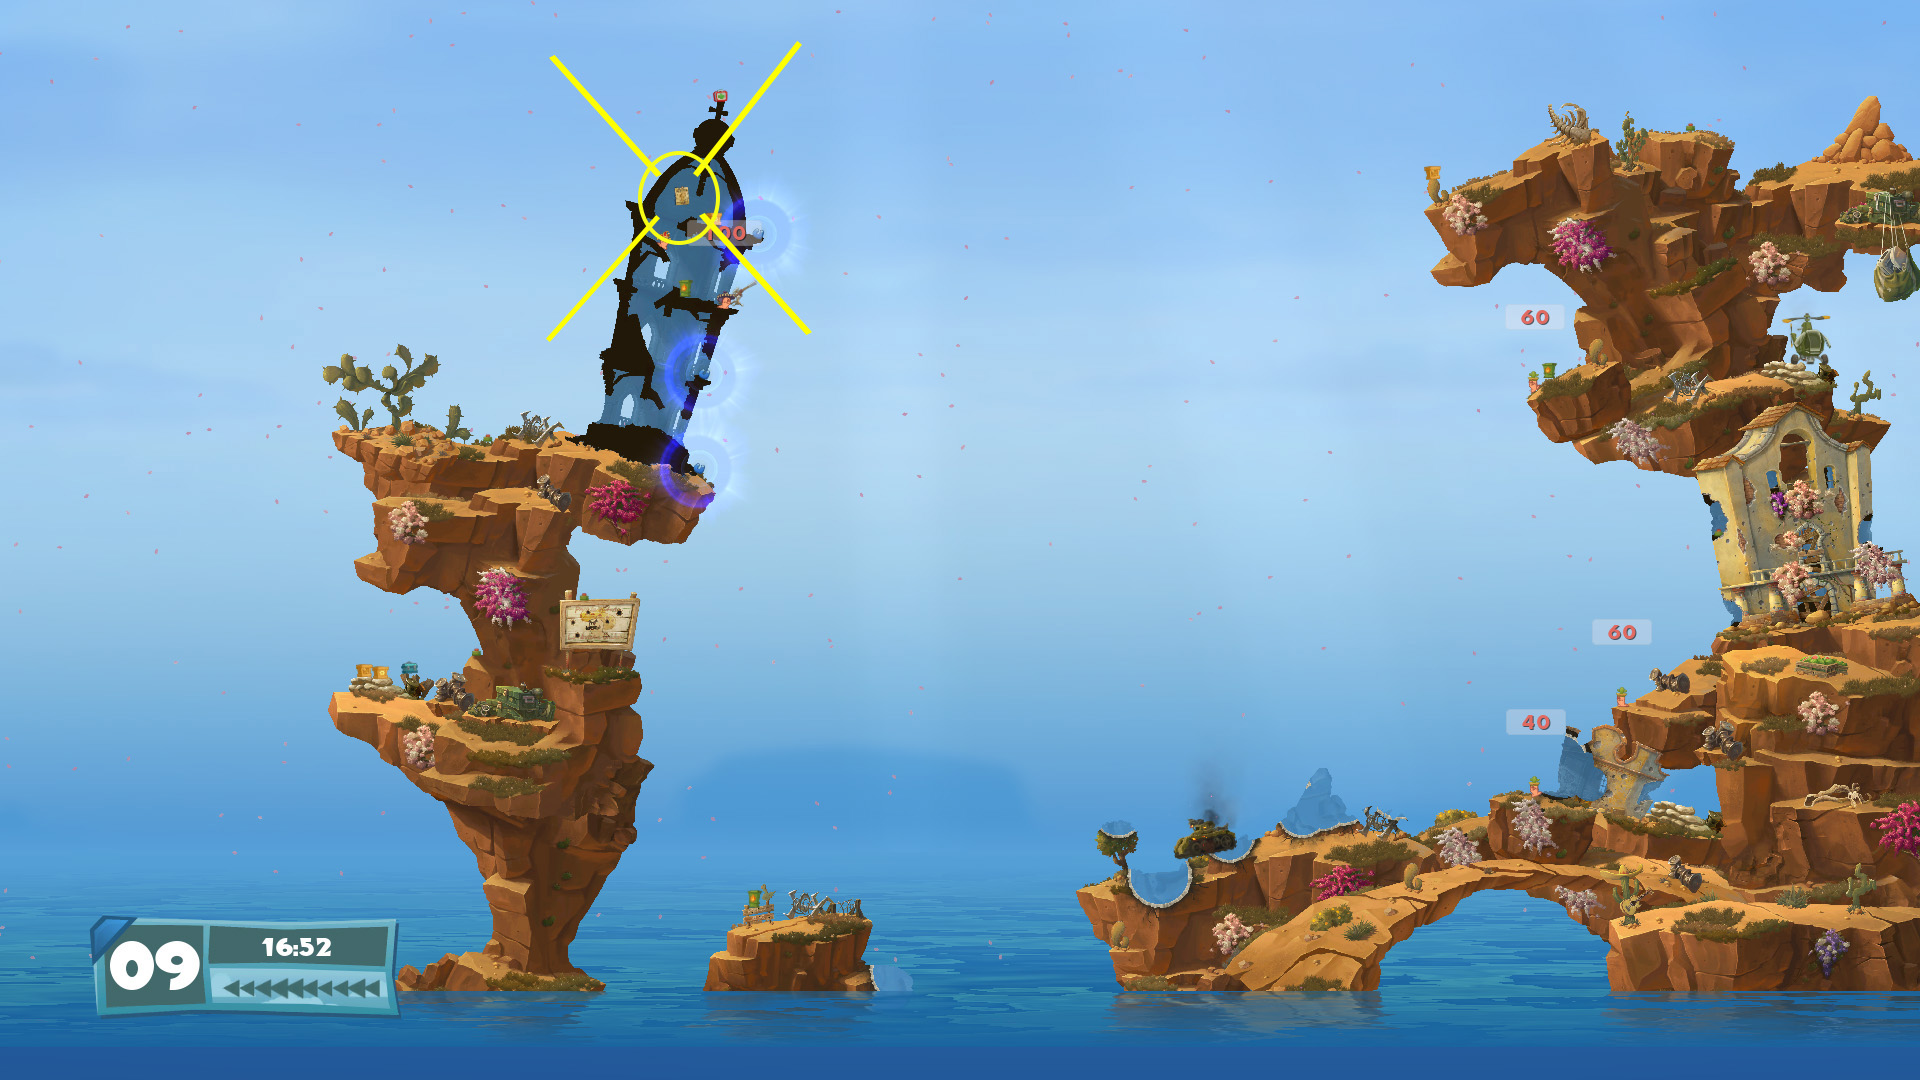
Assault and Battery – Defeat GREASY
Location
The WANTED poster leading to this level can be found in the top left church/tower (with the sniper) in Mission 13 – Juan Shot, Juan Kill.
Walkthrough
- Throw a dodgy phone battery near the guitar cactus in the top right canyon. It will eject a Worm down.
- Throw a dodgy phone battery right of the nearby tree. It will eject a Worm one more layer down and create a perfect chain.
- Throw a dodgy phone battery right of the nearby tree again, or simply down. It will create a chain reaction that will finish off GREASY.
Sharpshooter – Defeat BILLY
Location
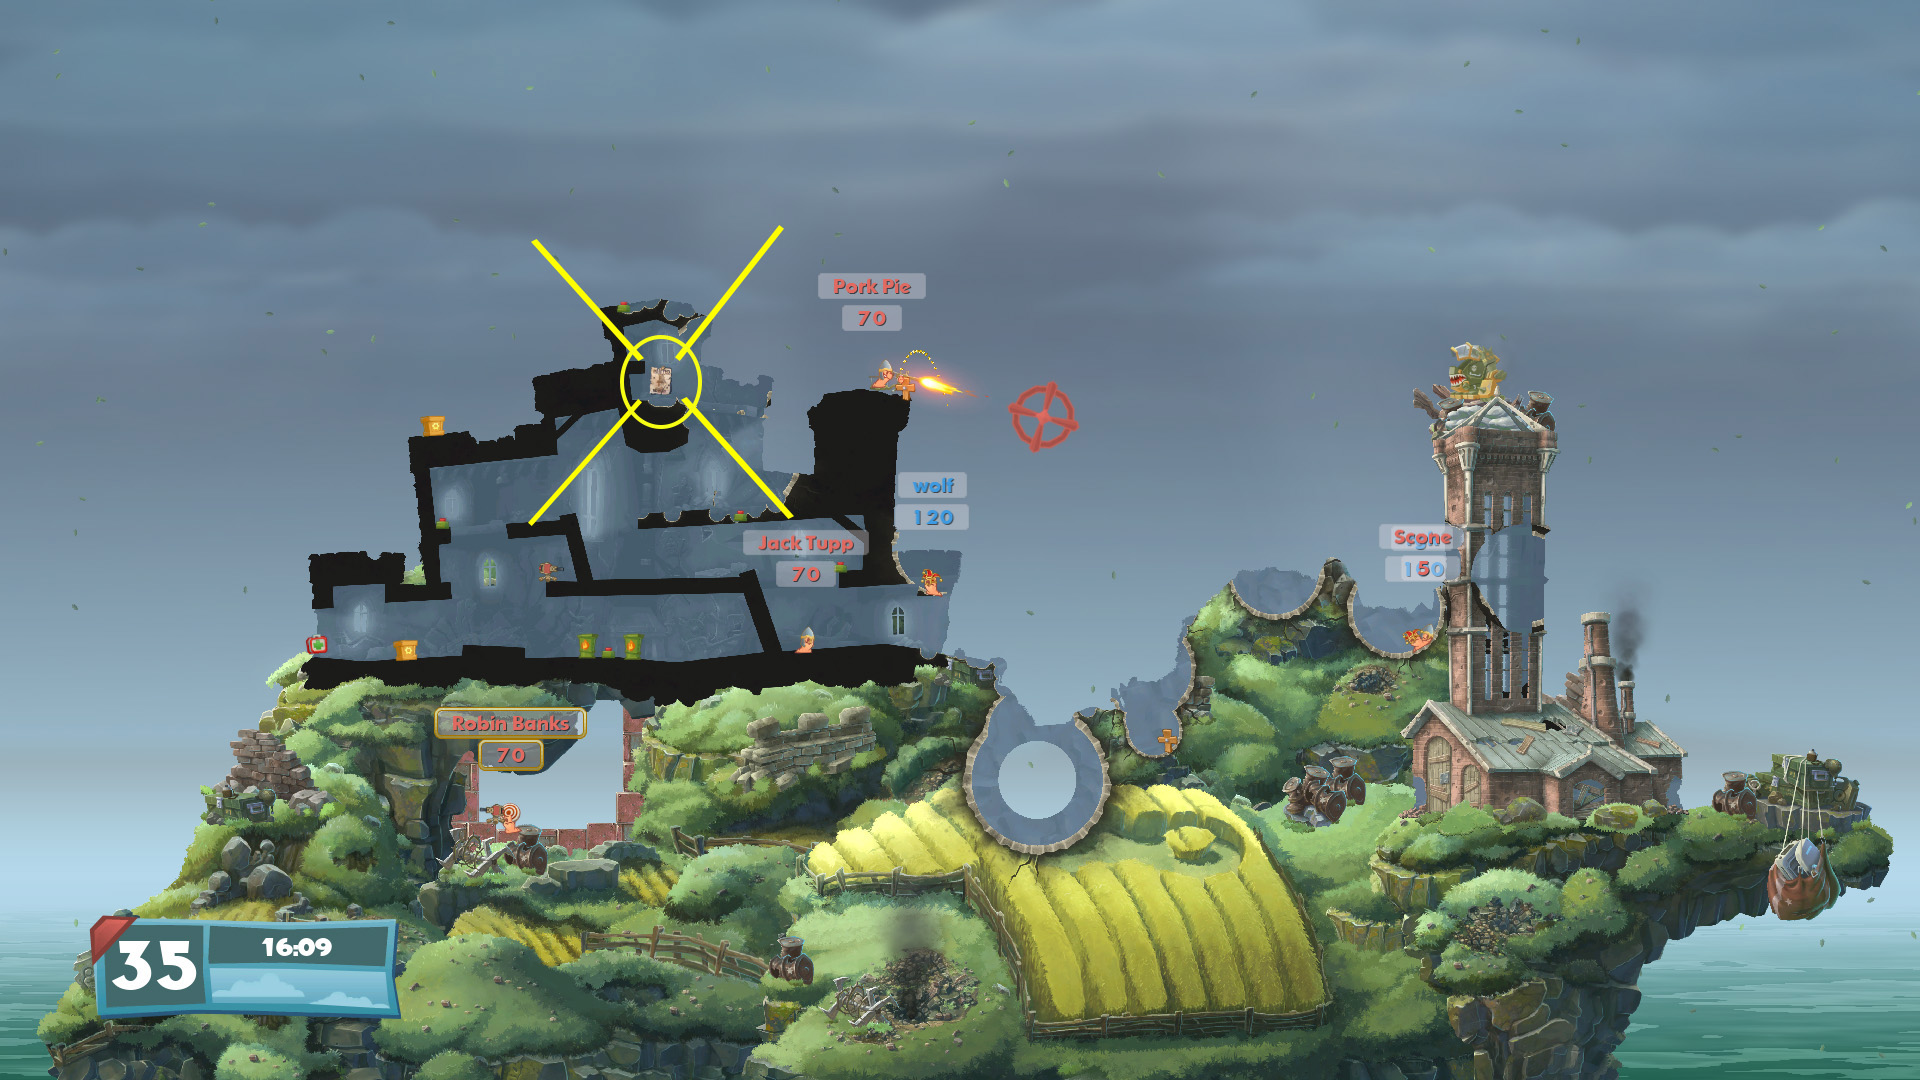
The WANTED poster leading to this level can be found at the top of the big castle in Mission 15 – The Banks of England.
Walkthrough
- Pick up the crate to obtain a teleport.
- Teleport to the top left sniper nest.
- Shoot the barrel near the top right sniper nest.
- Two mines will conveniently fall on poor BILLY’s head, sealing his destiny.
Blast Off! – Defeat Bo Peep
Location
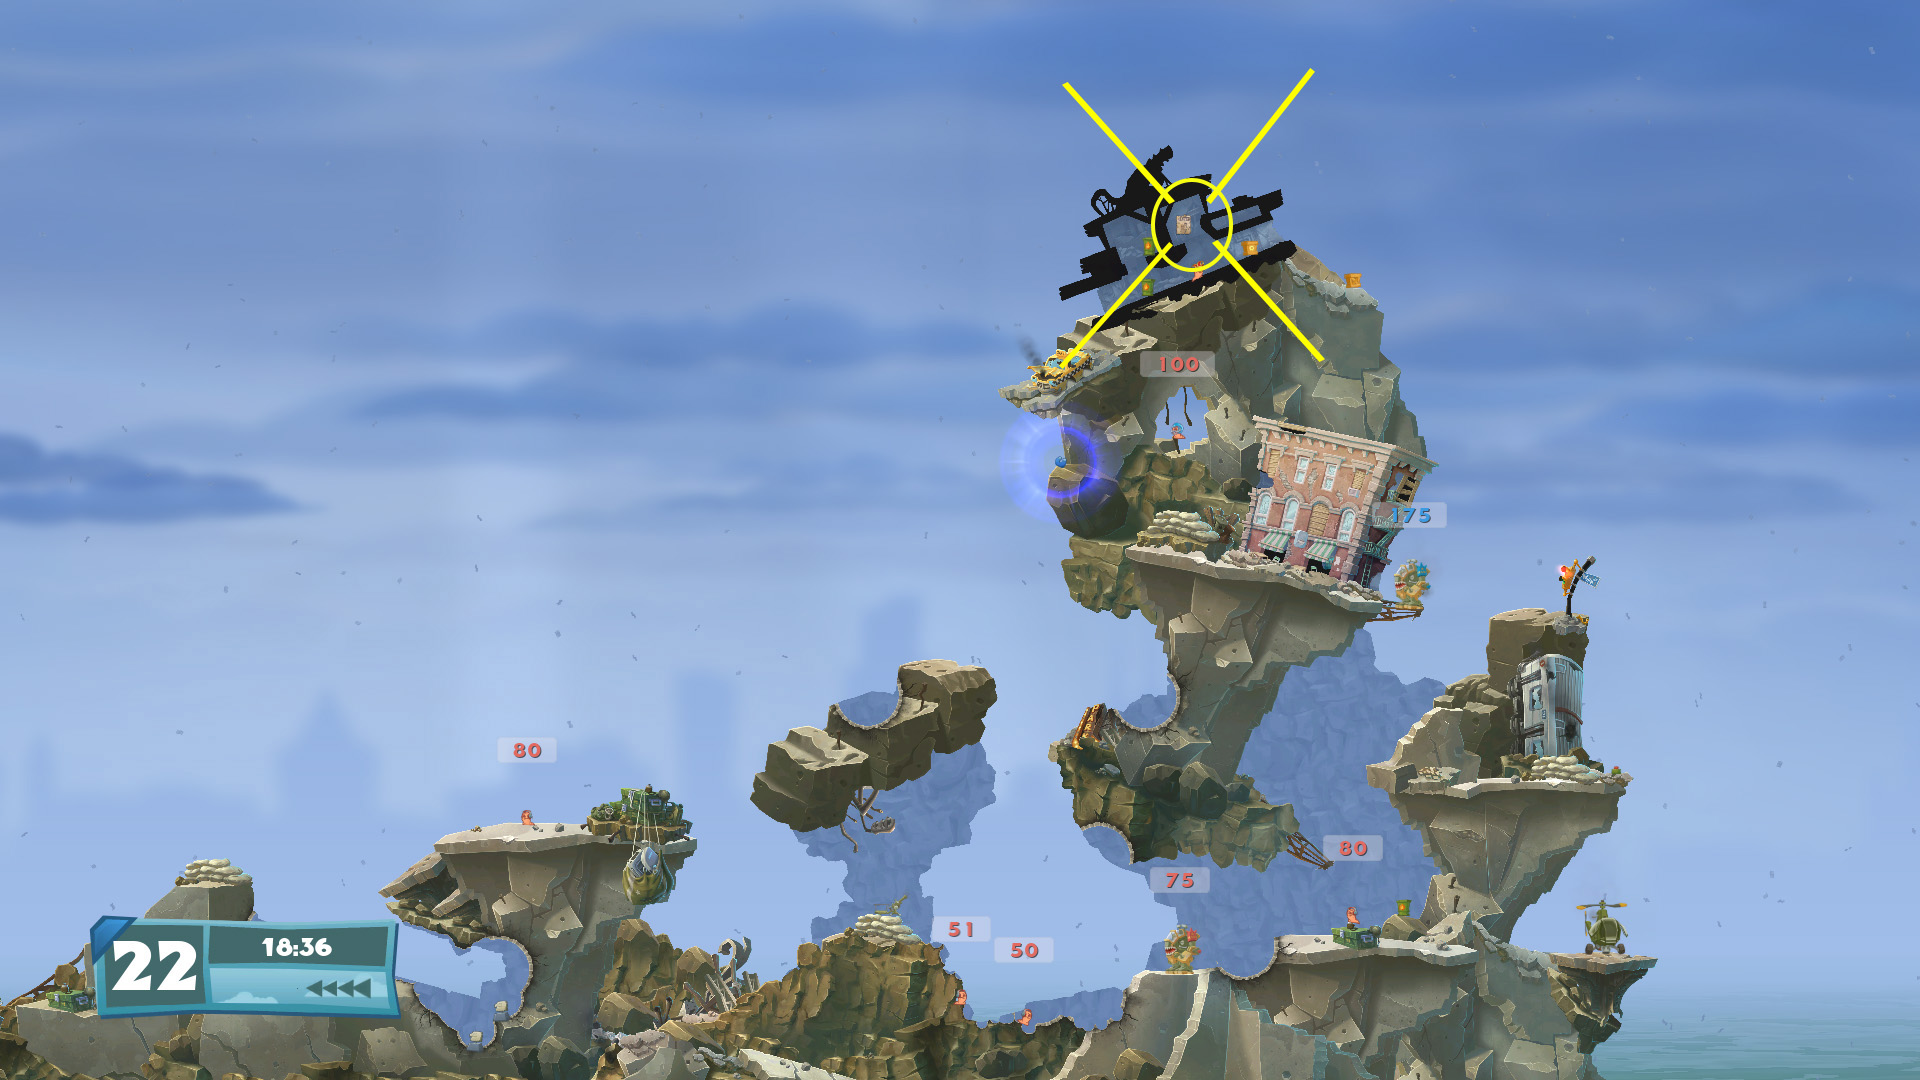
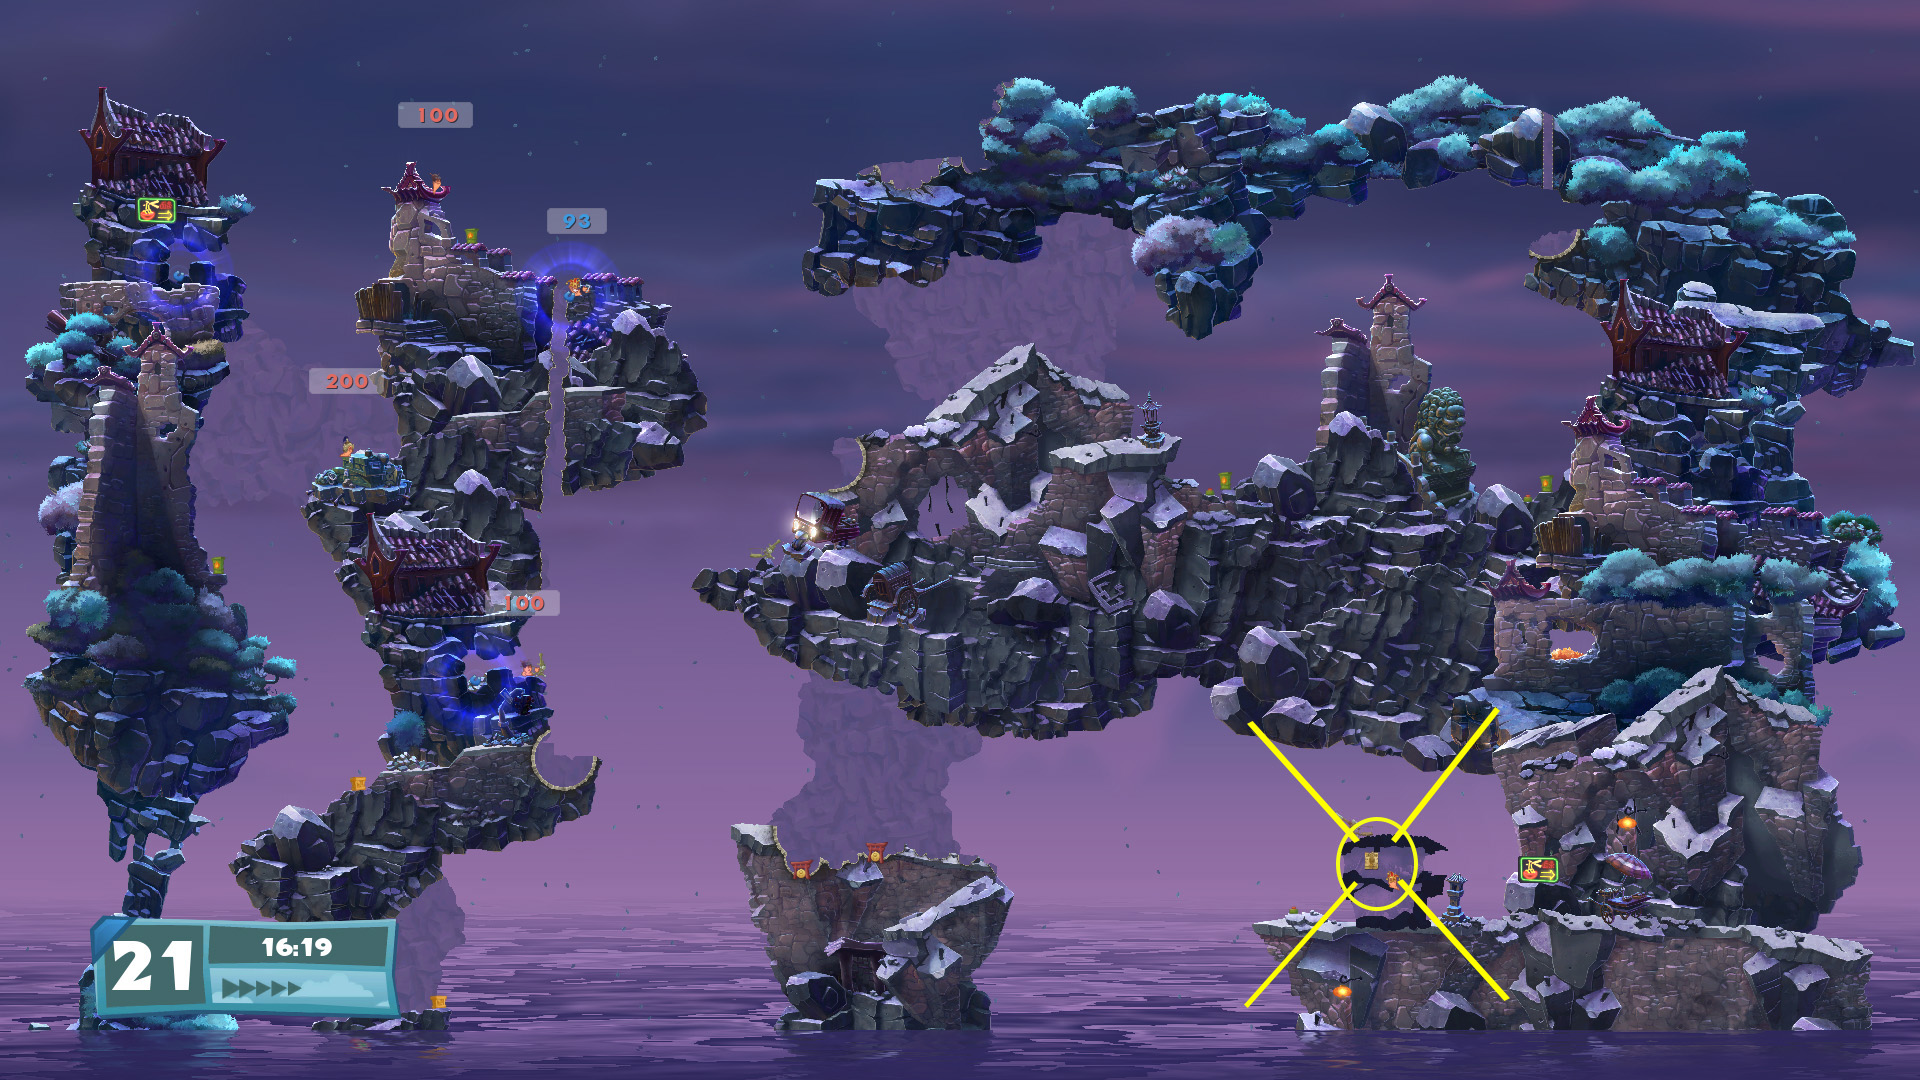
The WANTED poster leading to this level can be found in the structure at the very top of the map in Mission 20 – Mount A Strike.
Walkthrough
- Place the dynamite next to the explosive barrel and position yourself in the bottom right corner of the room.
- Pick up health, get past the lamppost and stand on the broken barrels while staying out of sight from the sentry guns.
- Place a dynamite to your right in order to be throw across the chasm.
- Place a dynamite at the very top of the broken barrels and move away from the blast. The way should be open.
- On the leftmost ledge, jump towards the left to land on the small island.
- Pick up the crates, stand on the top of the broken barrels and place a dynamite on your left to get across.
- Place a dynamite on top of the broken barrels and move away from the blast. The way should be open.
- Stand on the red square and place a dynamite on your left to get across.
- Place a dynamite at the top of the broken barrels and move away from the blast.
- Bo Peep will slide away to count the fish for all eternity.
Batter Up! – Defeat SHAMAN
Location
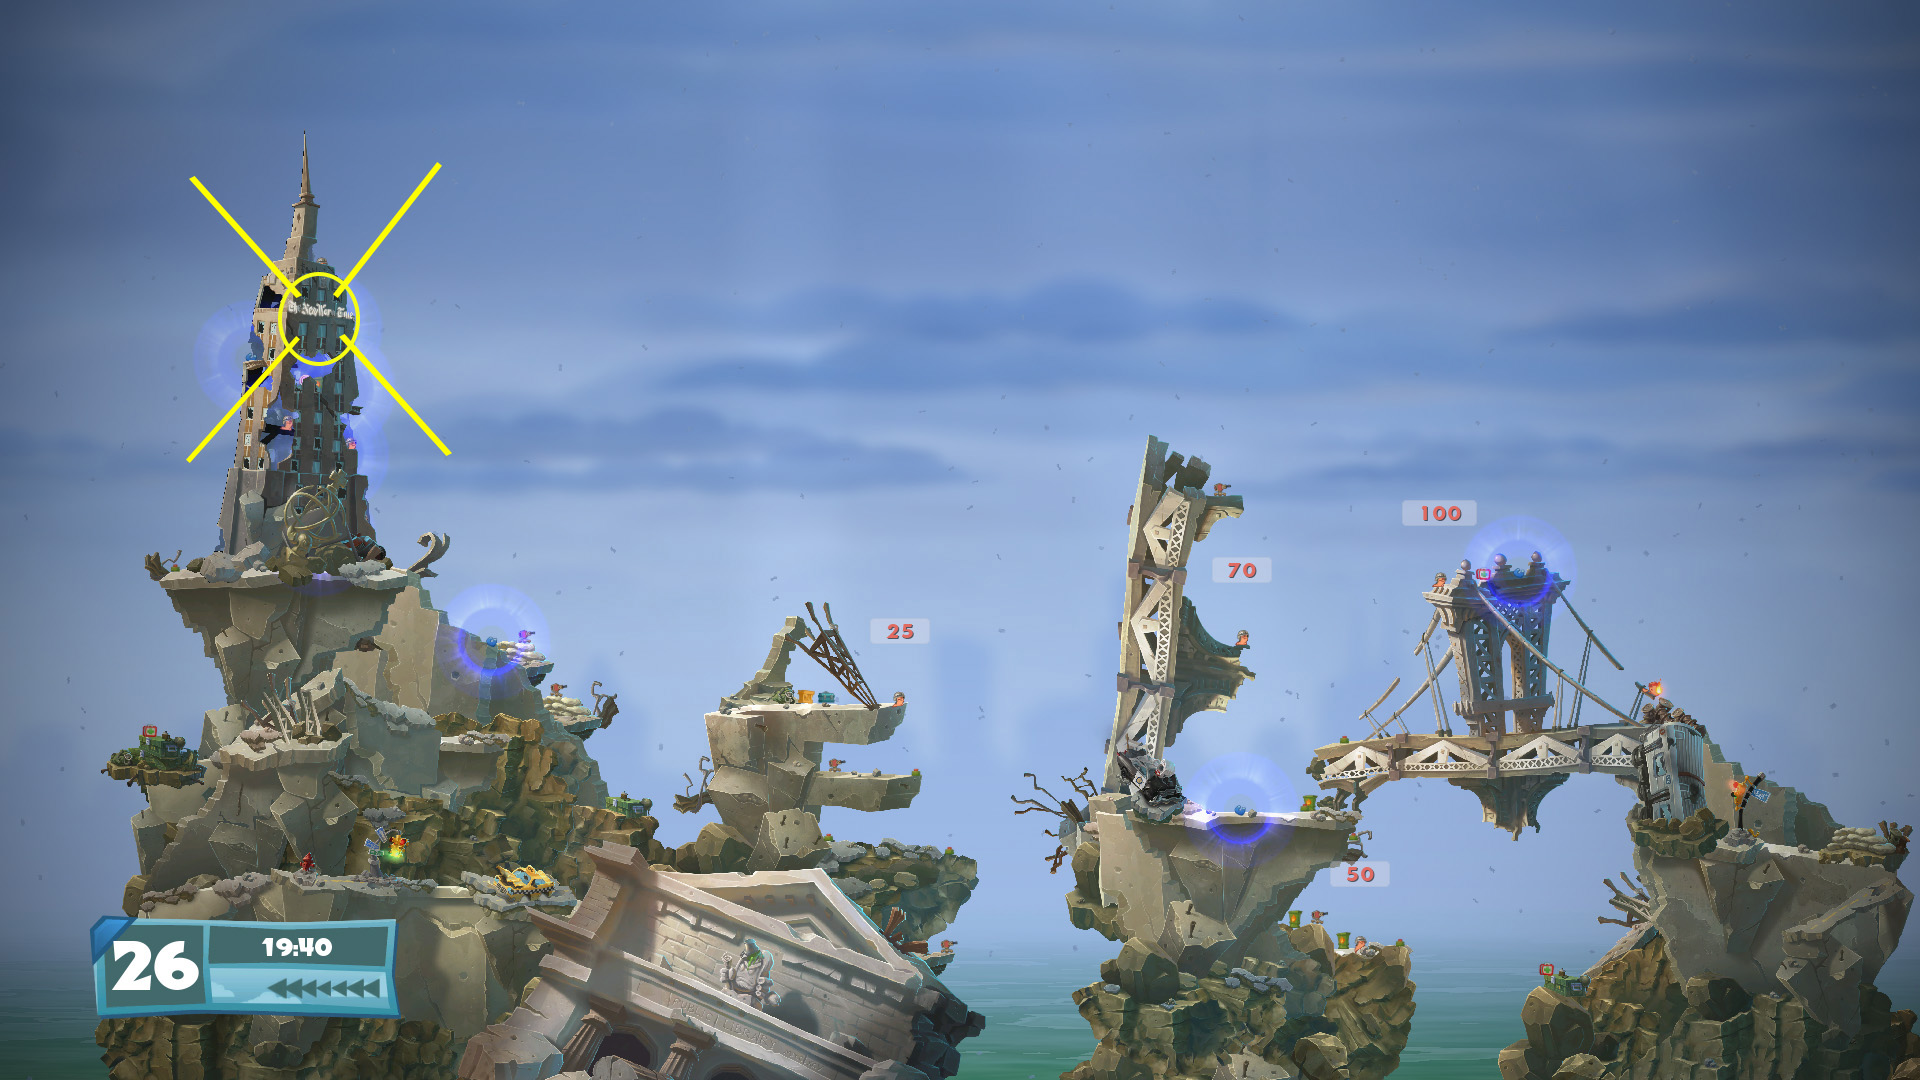
The WANTED poster leading to this level can be found at the top of the huge New Worm Time building in Mission 26 – Blockbuster. Since many struggle with this mission, I included a video guide below the challenge.
Walkthrough
- Hit your healthy worm with the bat in order to make him hit the statue a bit below the mine, effectively triggering it as the Worm rebounds back.
- Pick up the utility crate and stand right where it was then switch turn (select) to your low health Worm.
- Stand right behind the healthy Worm and use the bat to send him a bit upwards to the right, behind the mine without triggering it.
- Switch turn (select) again to play the Worm that stood behind.
- Use the parachute to collect the crate rising above the water.
- Switch turn (select) to the Worm located at the top right.
- Aim a bit up then hit the mine with the baseball bat.
- A magnet will make sure SHAMAN does not escape certain death.
Bonus: Blockbuster
Mi Pun Chu – Defeat ROI AL TEE
Location
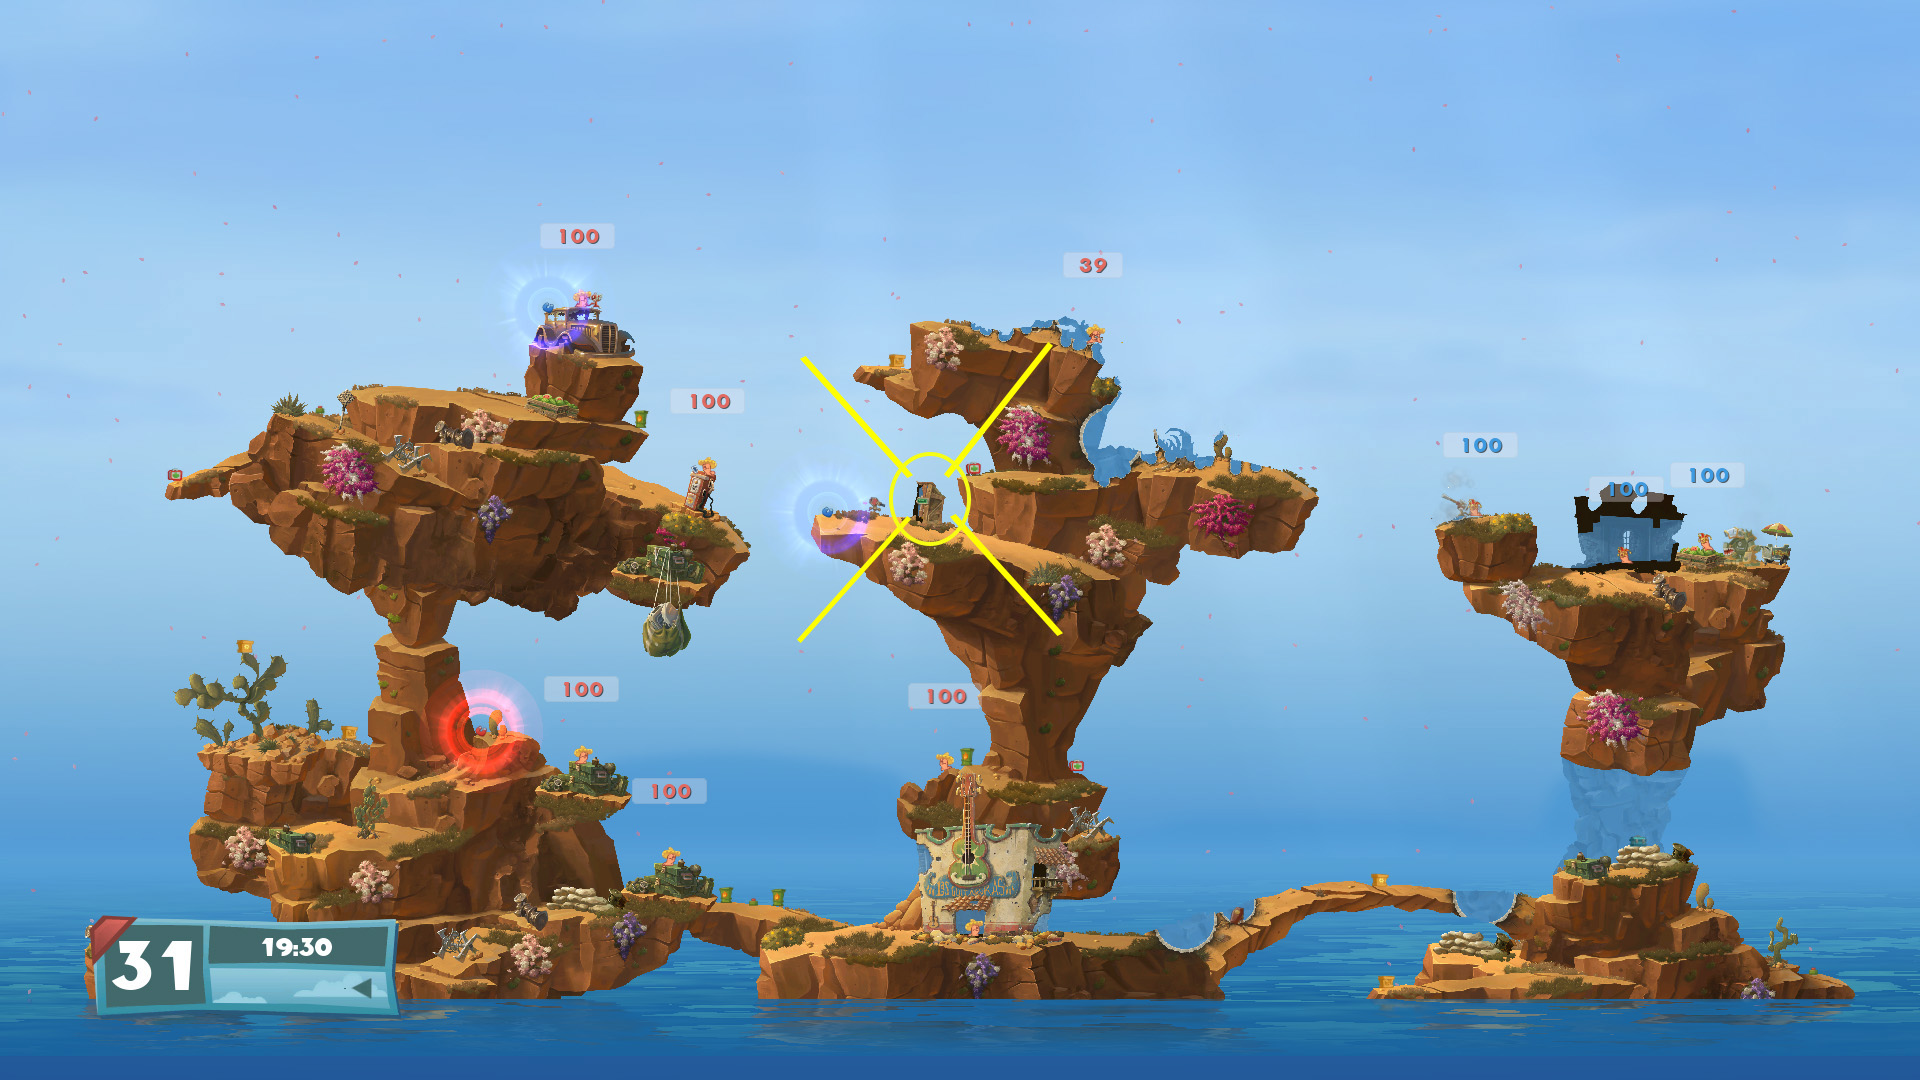
The WANTED poster leading to this level can be found in the small toilets at the exact center of the map in Mission 27 – It’s Nacho’s Fault.
Walkthrough
- Teleport on the enemy Worm past the blockade.
- Place a mine exactly in the middle of the flat rock between the two crevices/piles of rubble.
- Climb on ROI AL TEE’s back a little bit so you do not punch the fuel barrel.
- Smack that rich up.
- ROI AL TEE will now cease to importunate you. For ever.
Tanked Up – Defeat Chinstrap
Location
The WANTED poster leading to this level can be found in the house at the bottom towards the right in Mission 28 – The Legend of Ro Ping.
Walkthrough
- Destroy the top part of the Donkey Knight statue.
- Travel through the minefield, no need to hurry as long as you jump on the statue stand you are safe.
- Get on the other side of the hole. If you can’t manoeuver your tank correctly for a jump, try by turning around before you jump.
- Position the tank as much as possible on top of the hole, with the turret on top of it at least a little bit. Be careful not to fall in.
- Shoot vertically. Four rockets should destroy the top of the map, the two remaining rockets will fall back.
- Move away after you have shot your six rockets and before they come back.
- If you aimed well, Chinstrap won’t be able to hide anymore.
Ice Spy – Defeat Taskmaster
Location
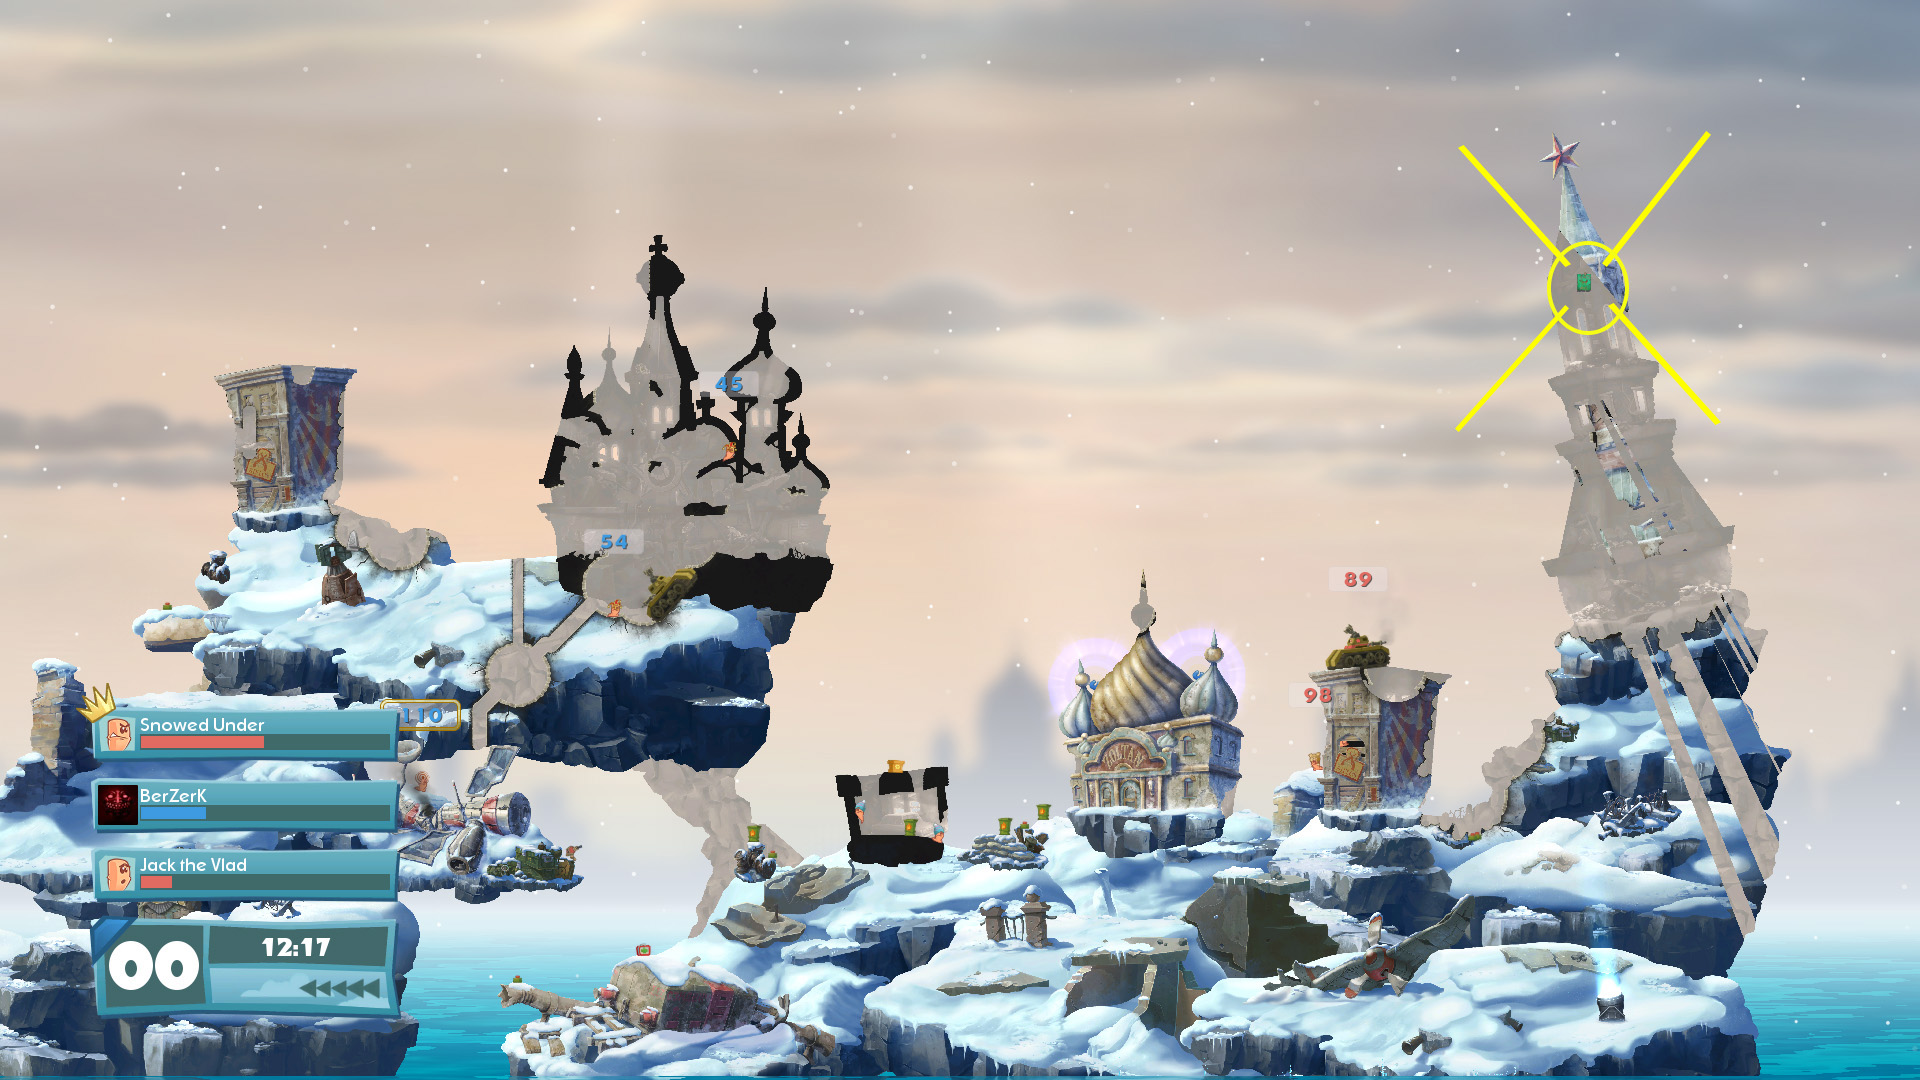
The WANTED poster leading to this level can be found at the very top right, above the sniper, in Mission 30 – Tsarface.
Walkthrough
- Collect the first crate next to you.
- Prepare your ninja rope. Aim up with a slight angle towards the left.
- Drop down then quickly look left and use the rope.
- Collect the second crate.
- Aim the ninja rope horizontally and aim for the tree on the right side.
- Collect the third crate.
- Aim the ninja rope towards the wing of the plane and take shelter under it after triggering both mines.
- Use the bunker buster to dig a path to the cavern below you.
- By using the ninja rope, make your way to the cavern.
- I suggest triggering the right mine then landing in the area. I have had bad surprises on the left side, right is safer.
- Use Armageddon and enjoy the spectacle.
- Taskmaster should have been crashed.
Hope you enjoy the Guide about Worms W.M.D – How to Complete the Challenge Missions + Location Guide in 2021, if you think we should add extra information or forget something, please let us know via comment below, and we will do our best to fix or update as soon as possible!
- All Worms W.M.D Posts List


Leave a Reply