We Were Here Forever – How to Solve Lens Puzzle

We Were Here Forever - How to Solve Lens Puzzle 9 - steamlists.com

We Were Here Forever – How to Solve Lens Puzzle

Hey there, puzzle enthusiasts! Ready to dive into one of the trickiest challenges in “We Were Here Forever”? Let’s unravel the mysteries of the Lens Puzzle together. This brain-teaser had me and my gaming buddy scratching our heads for hours, but boy, was it satisfying when we finally cracked it!

Quick Answer: Solving the Lens Puzzle

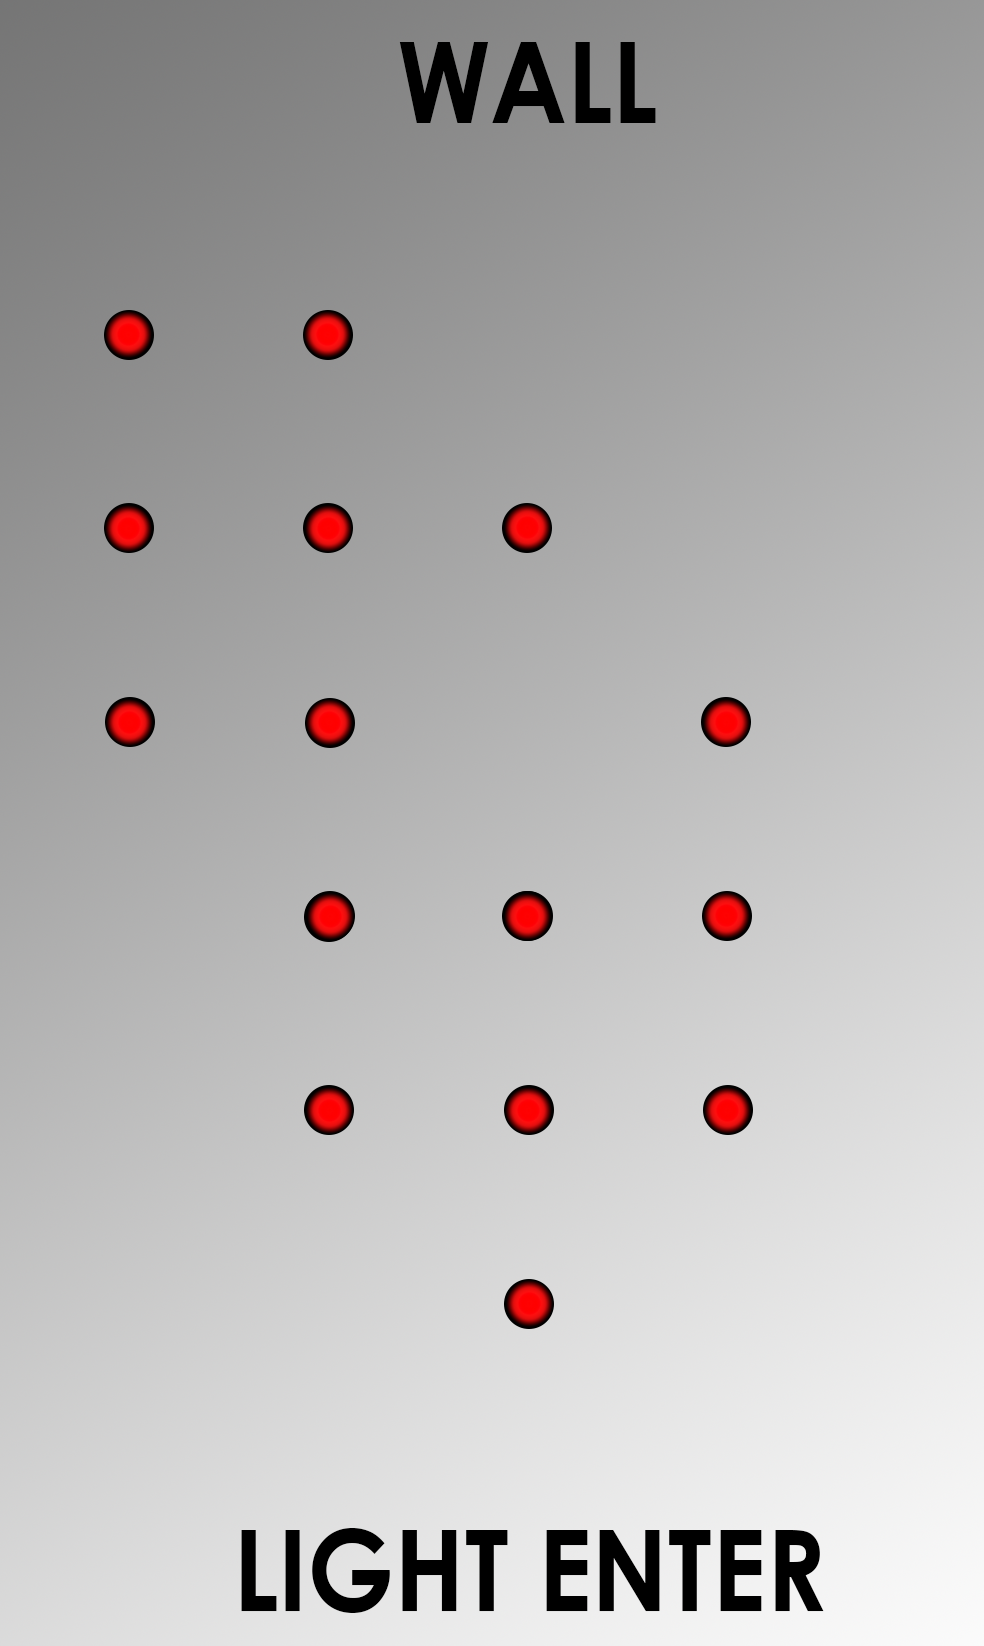
To solve the Lens Puzzle, Player 1 rotates mirrors at the top while Player 2 places 11 lenses (6 mosaic, 5 reflective) in specific slots. Arrange reflective lenses first, then position mosaic lenses to project correct images. Adjust mirrors to direct light properly. Communication between players is key!

Setting the Scene: What’s the Lens Puzzle All About?

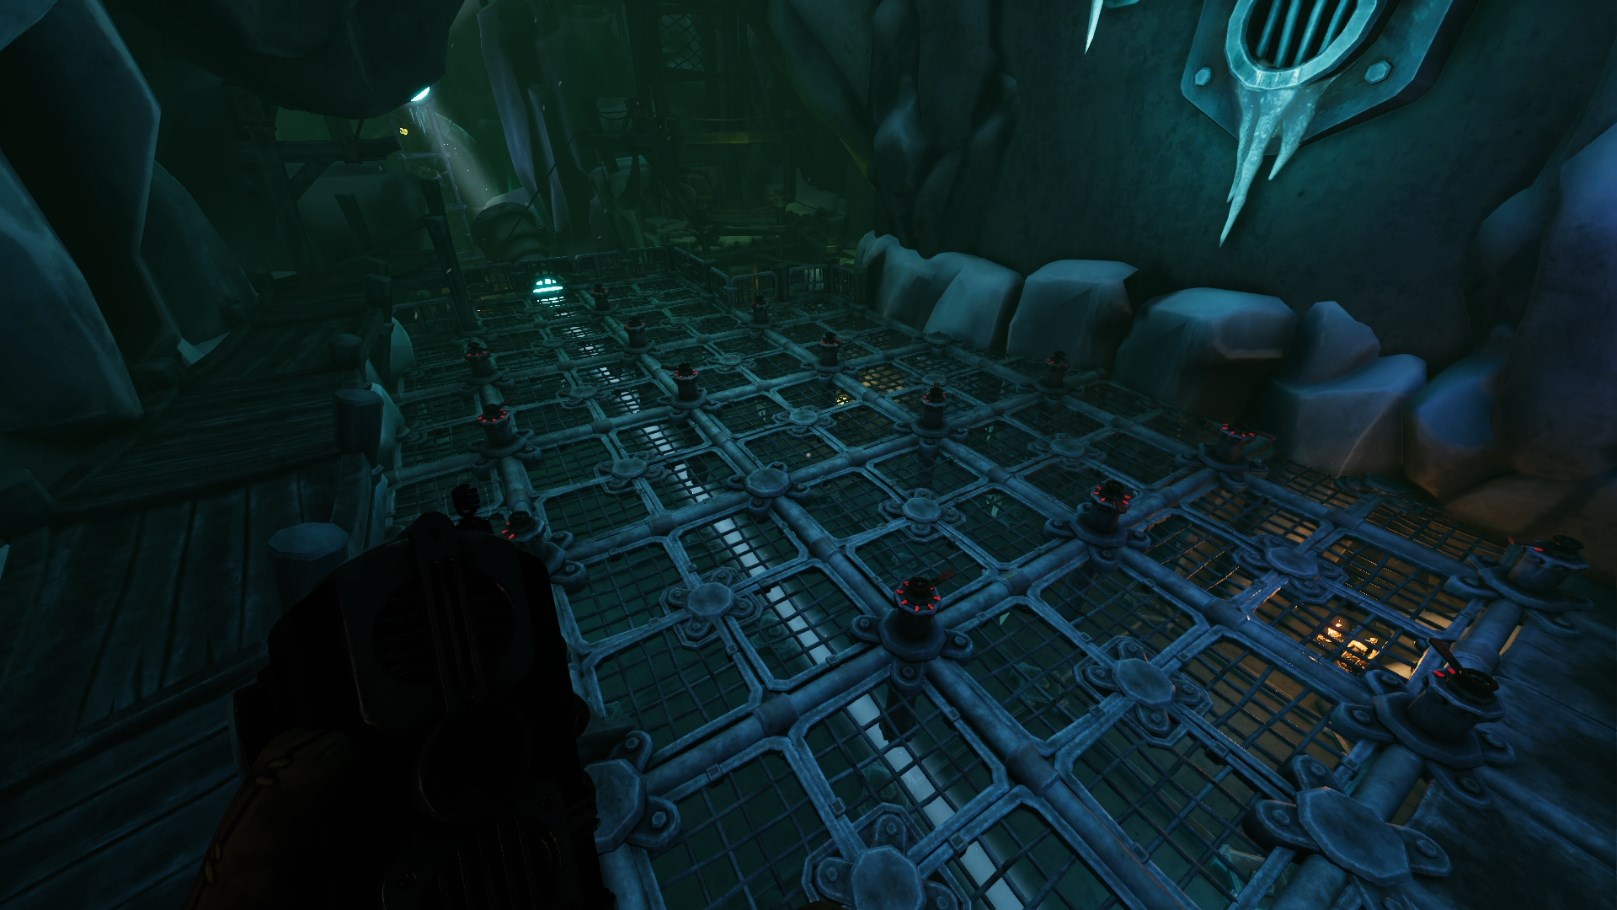
Picture this: you’re trapped in a dimly lit room with your partner, facing a giant contraption of mirrors and lenses. Your goal? To manipulate light and create specific images that’ll unlock the next part of your adventure. Sounds like a real head-scratcher, right? Well, buckle up, because we’re about to break it down step by step!

The Puzzle Setup: Roles and Equipment

Before we jump in, let’s get our bearings straight. This puzzle is a two-player affair, and each of you has a crucial role to play:

  • Player 1 (The Mirror Master): You’re up top, with the power to rotate mirrors horizontally. Your job? Guide that light like a pro!
  • Player 2 (The Lens Wrangler): You’re down below, armed with 11 lenses. You’ve got 6 mosaic lenses and 5 reflective ones, and you’ll need to place them just right in the slots above a cage.

Step-by-Step: Cracking the Code

1. Reflective Lens Placement: Your Foundation

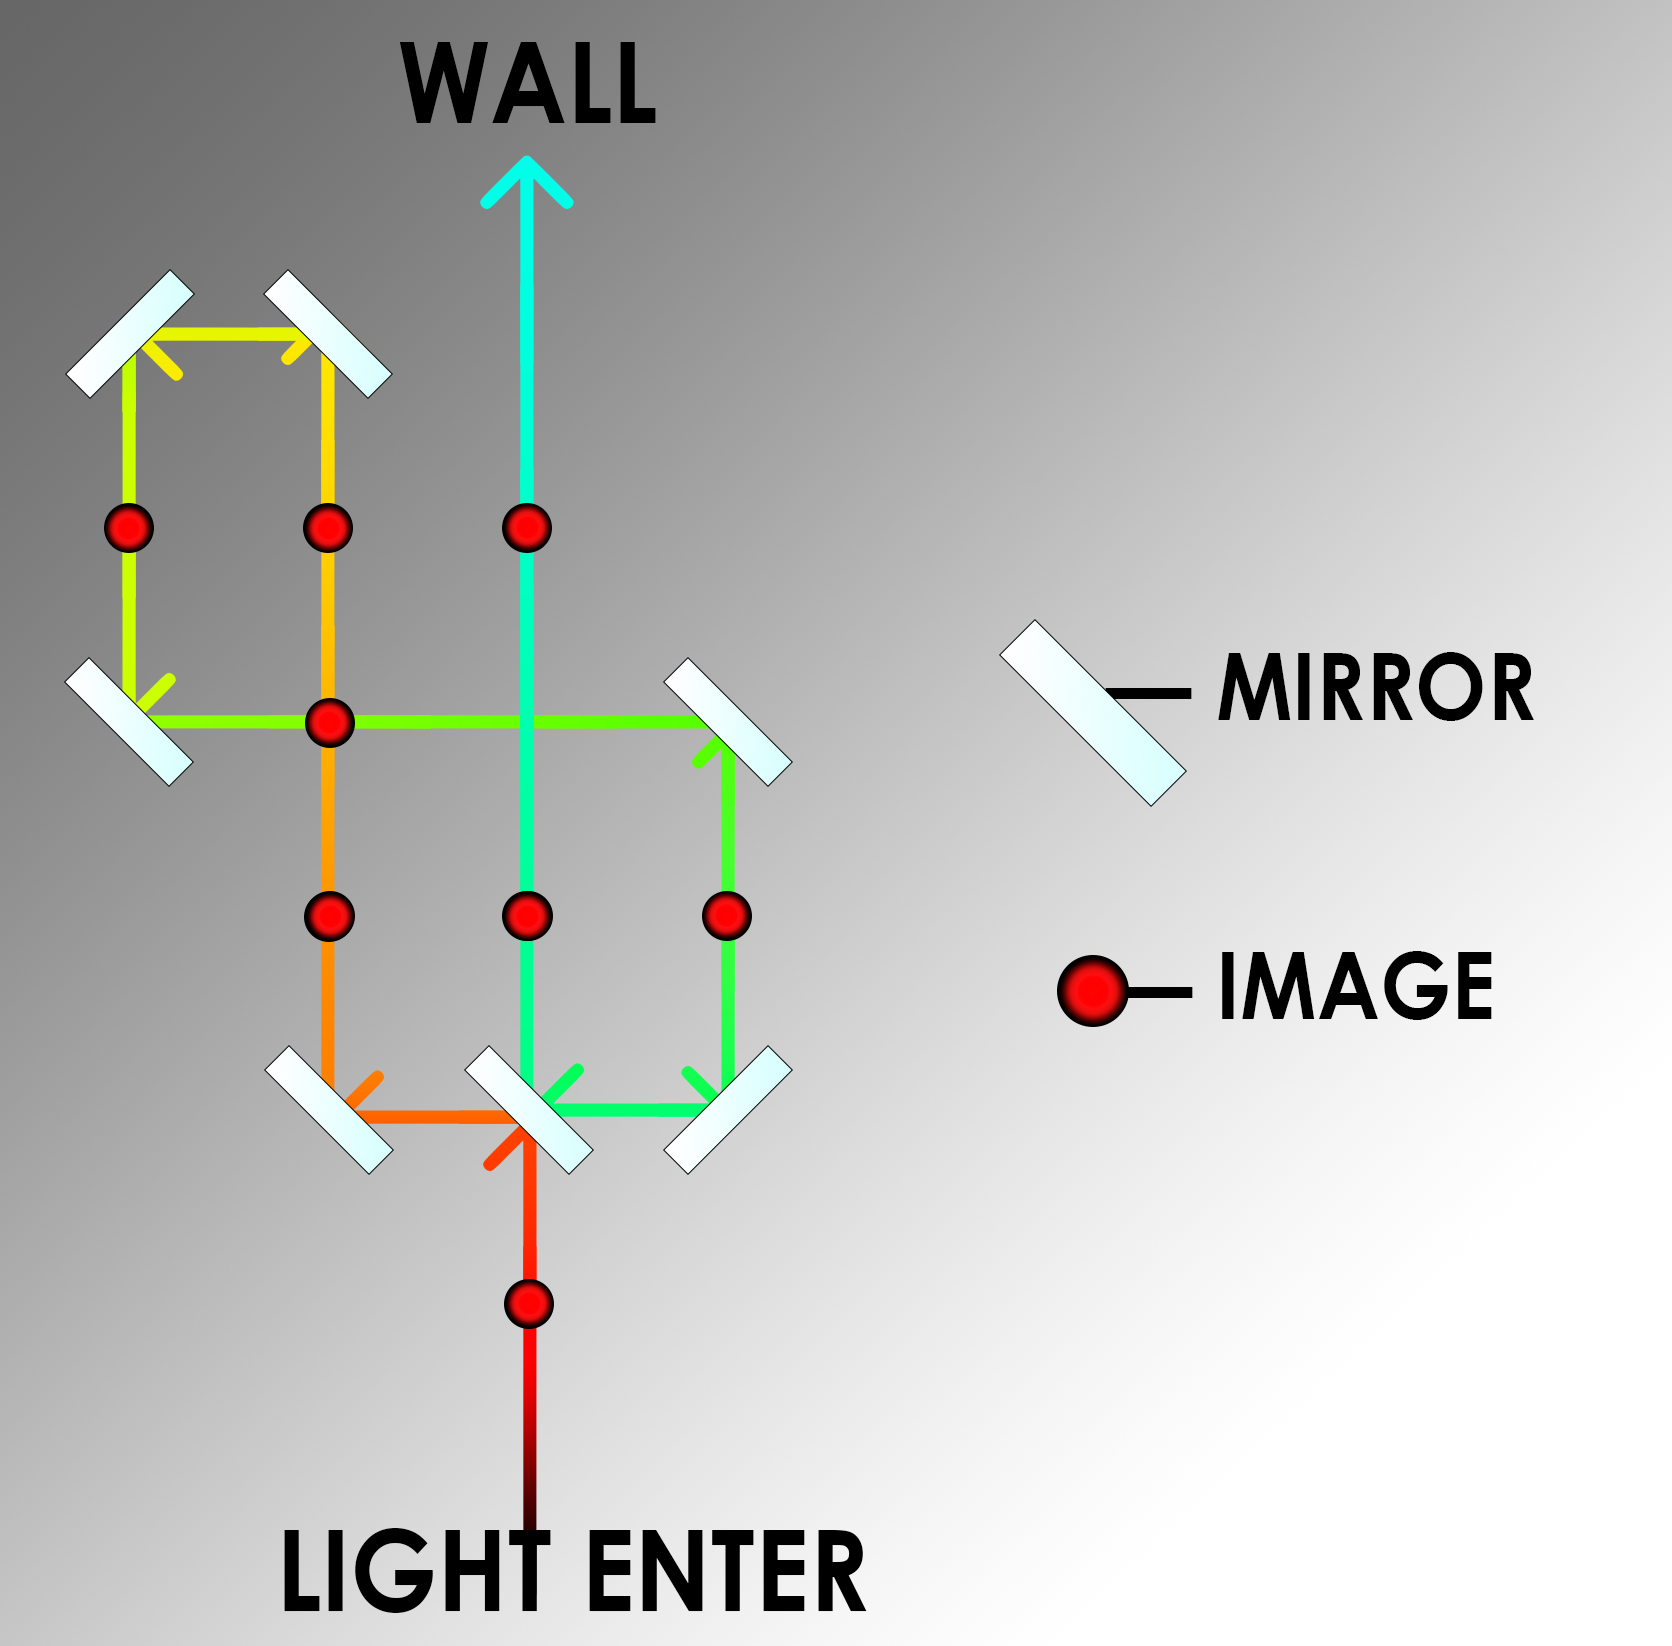
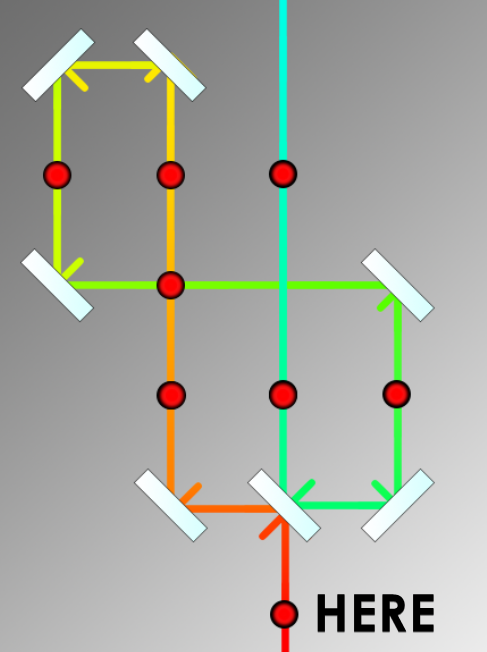
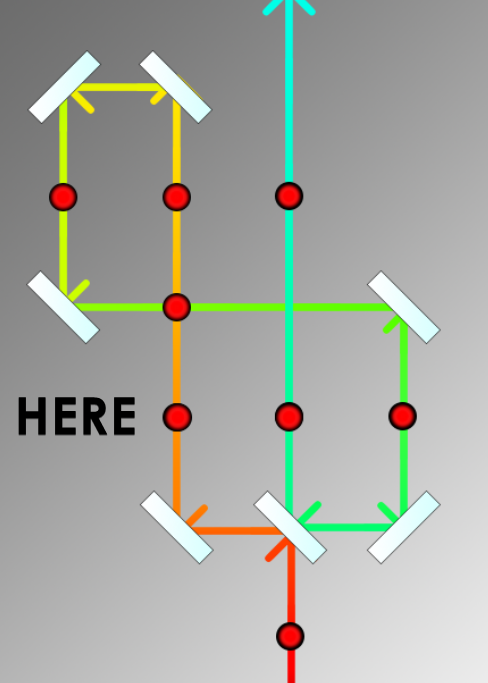
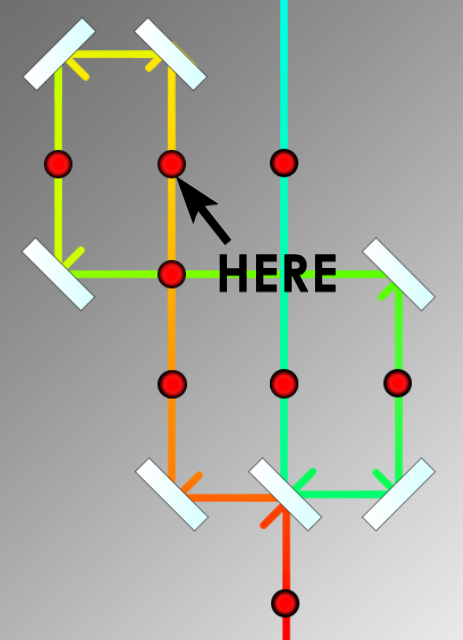
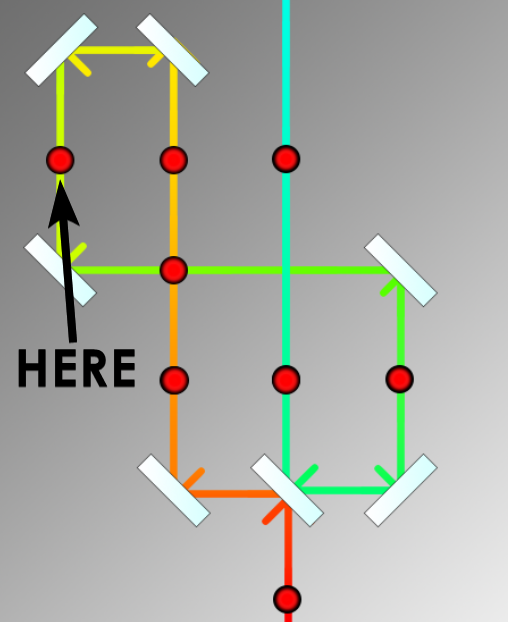
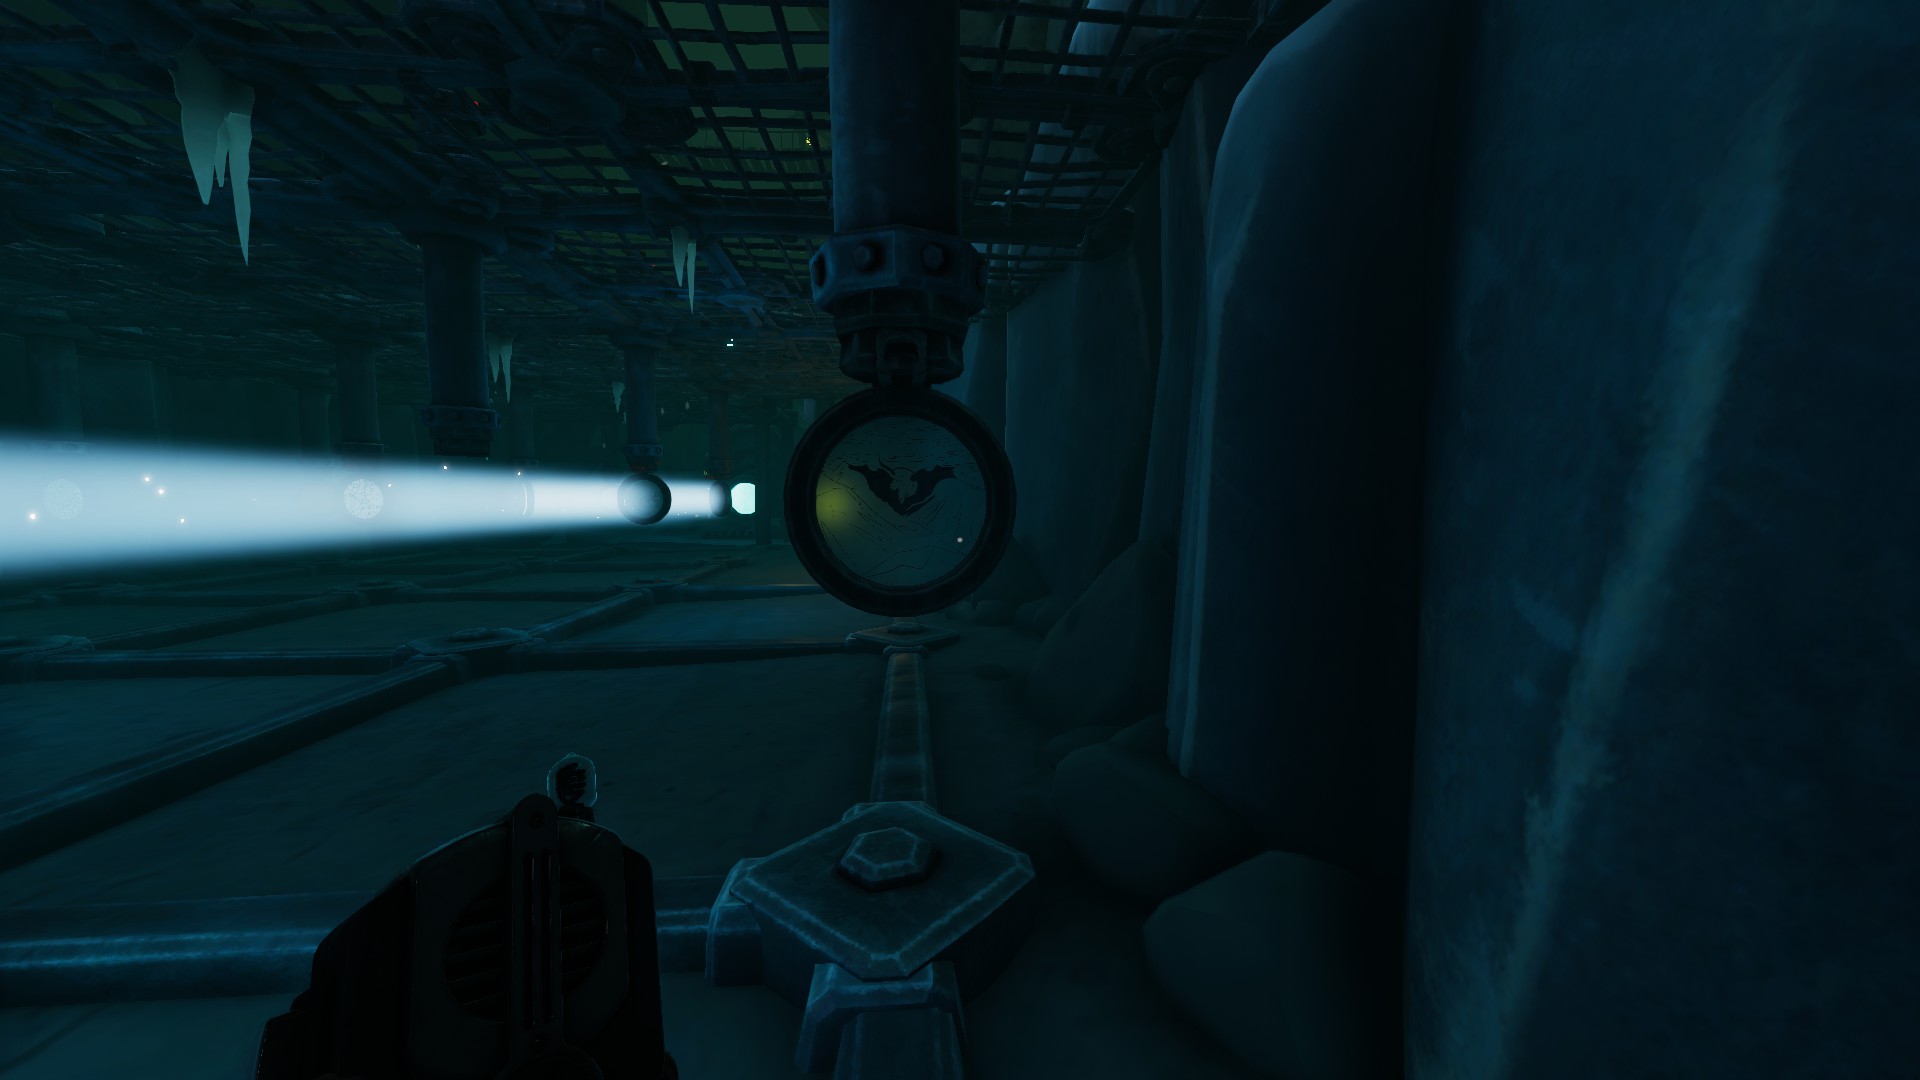
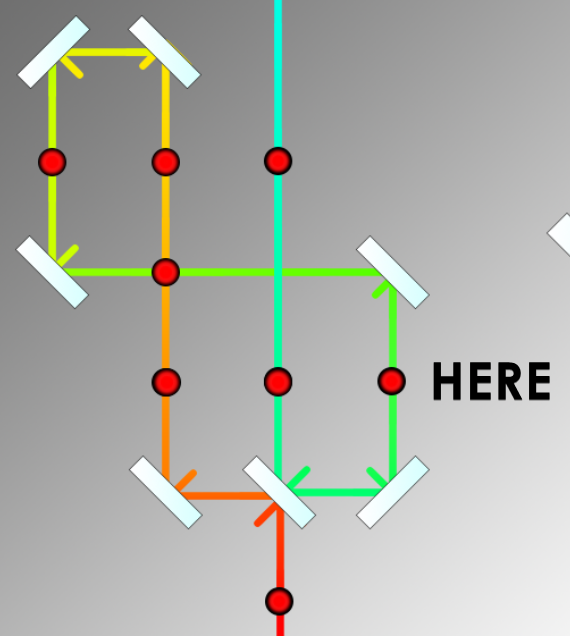
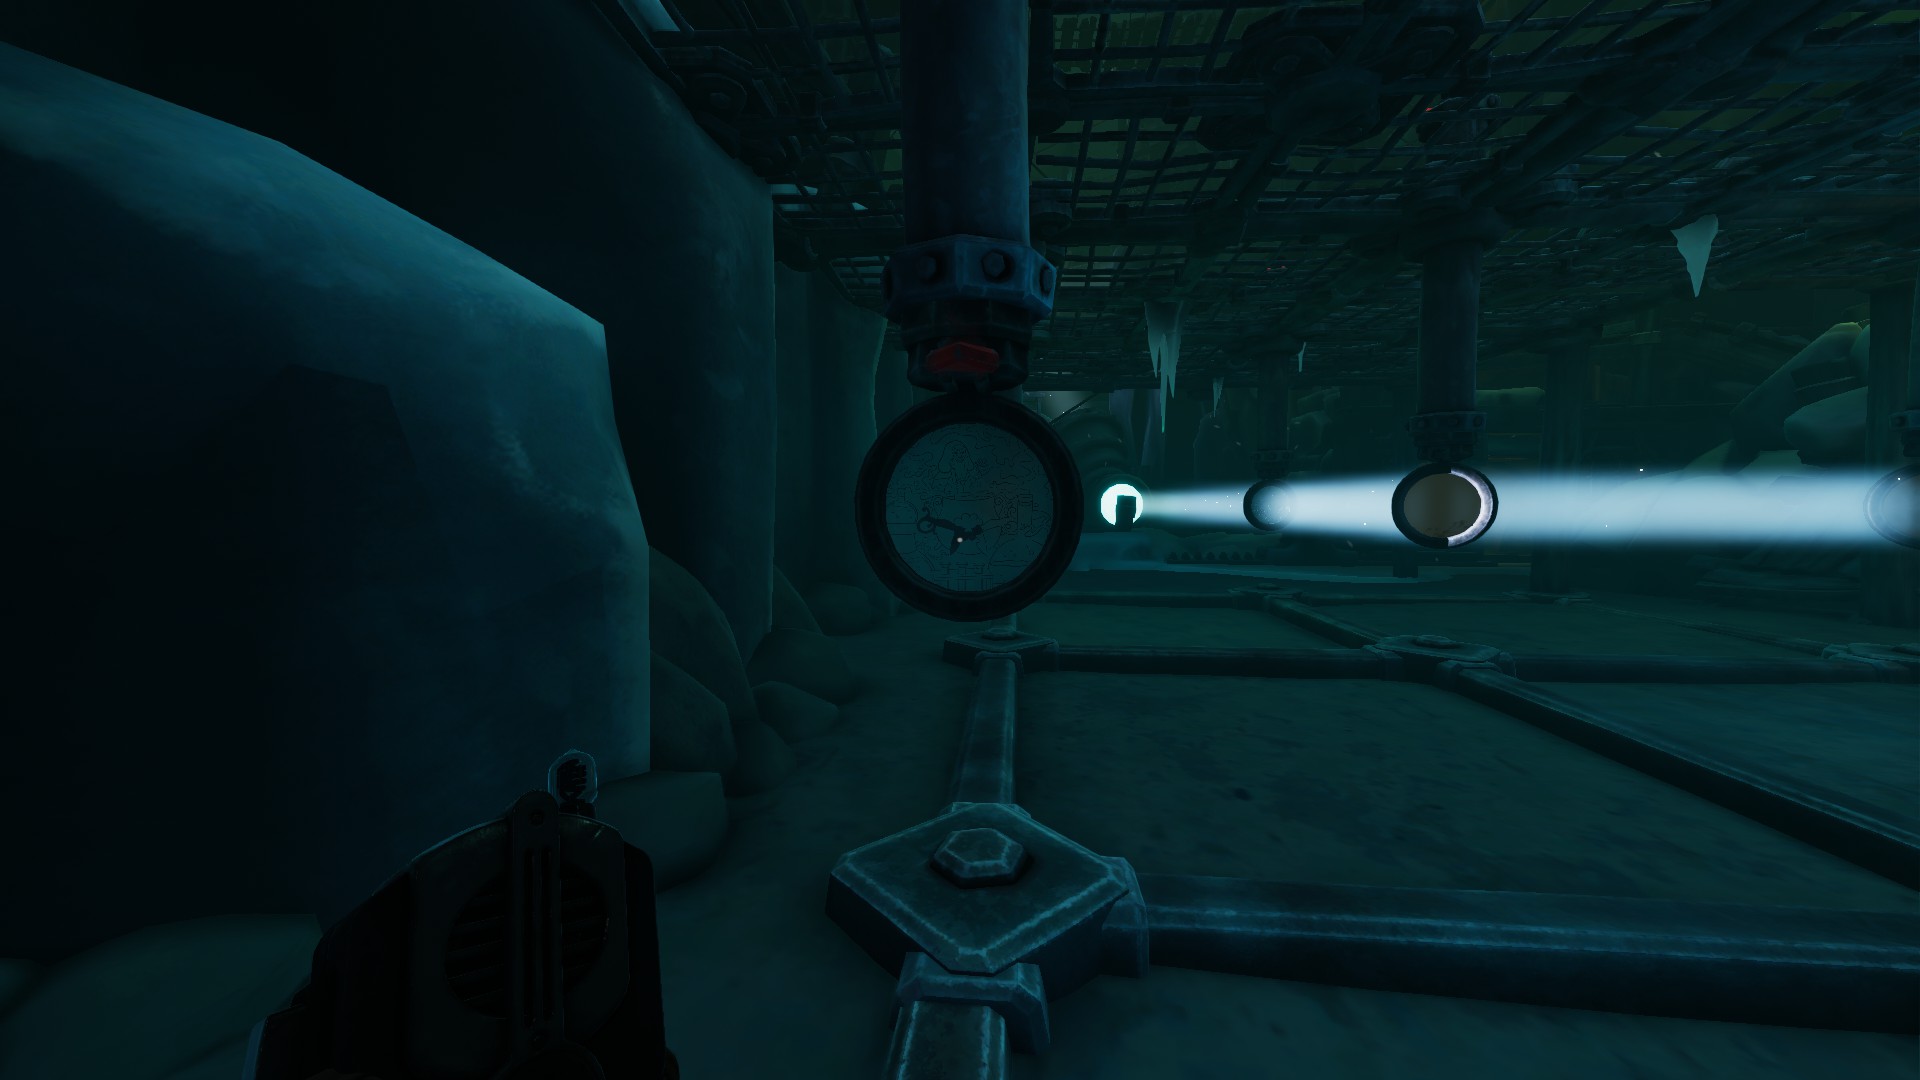
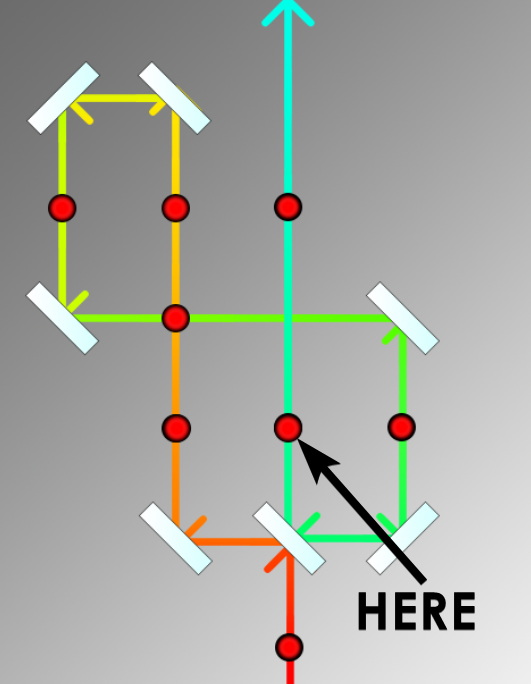
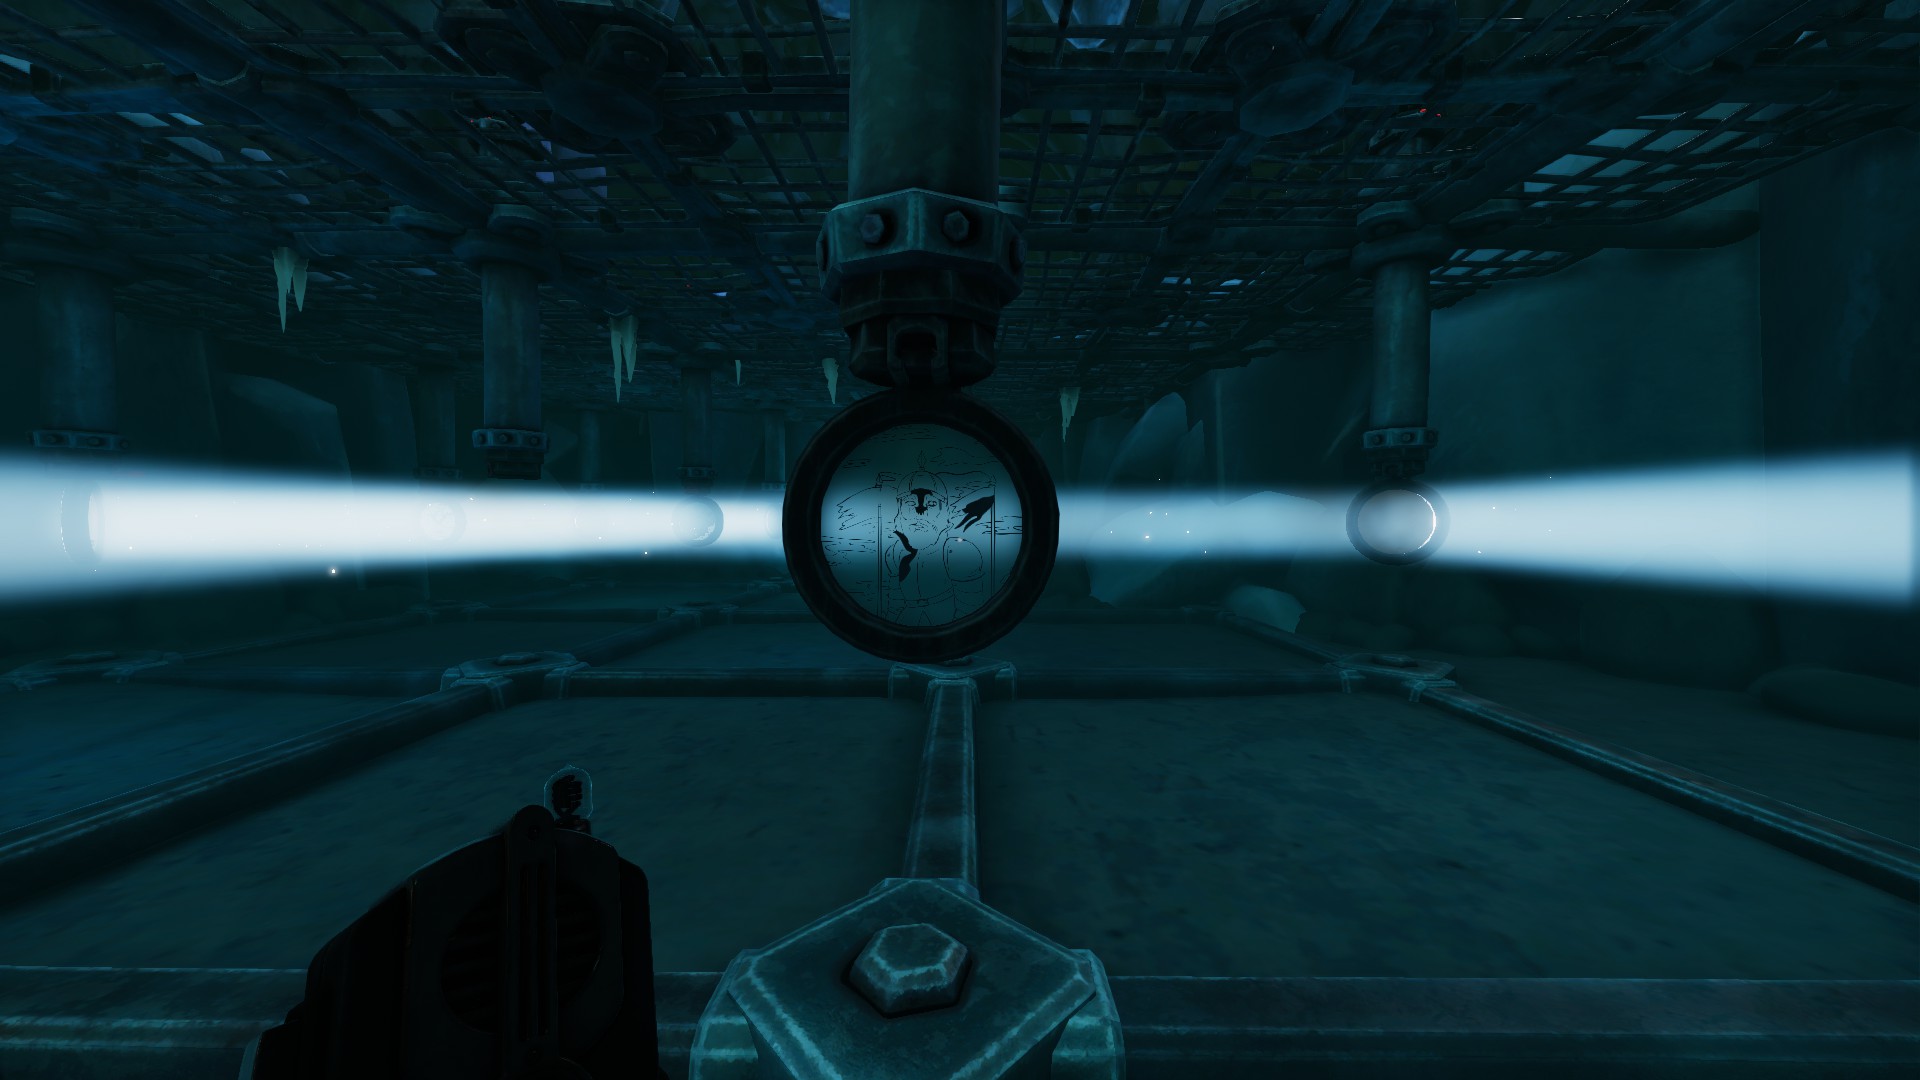
Alright, Player 2, this one’s on you. Your first move is to get those reflective lenses in place. Think of it like setting up dominos – get these right, and the rest will fall into place. Here’s a tip: pay close attention to how each lens affects the light’s path. It’s like creating a light highway!

We Were Here Forever - How to Solve Lens Puzzle 8 - steamlists.com
We Were Here Forever – How to Solve Lens Puzzle 8 – steamlists.com

2. Mosaic Lens Magic: Creating the Images

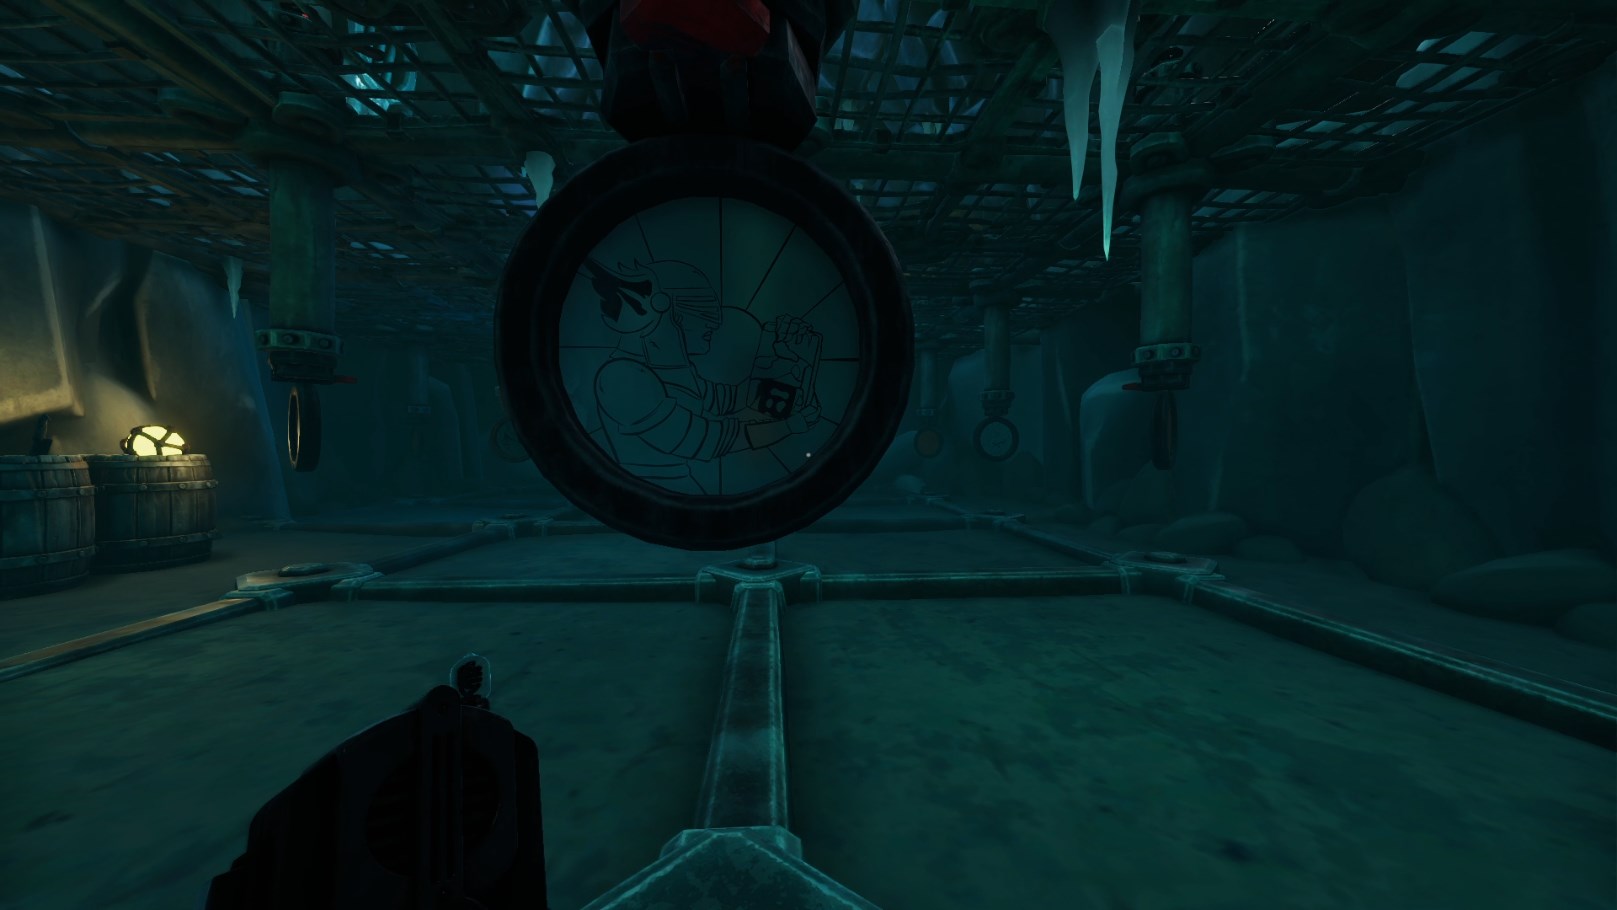
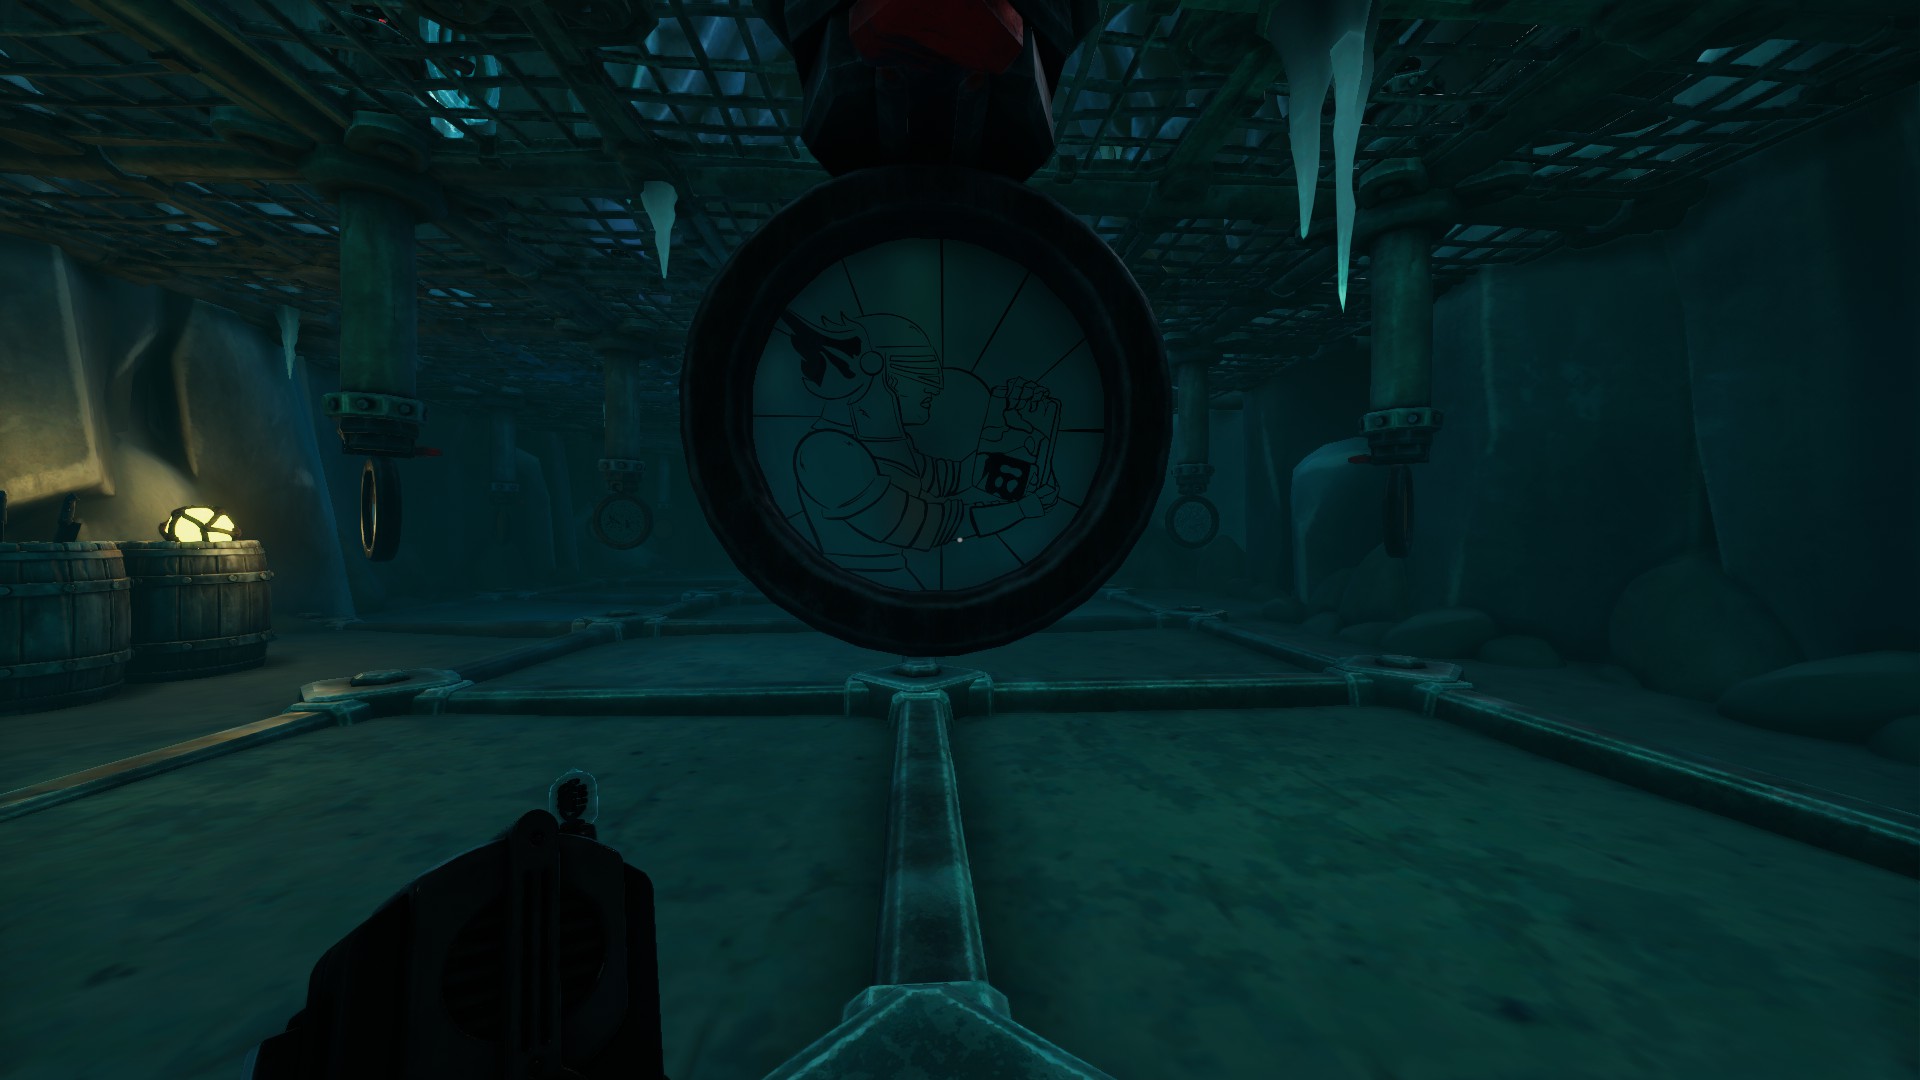
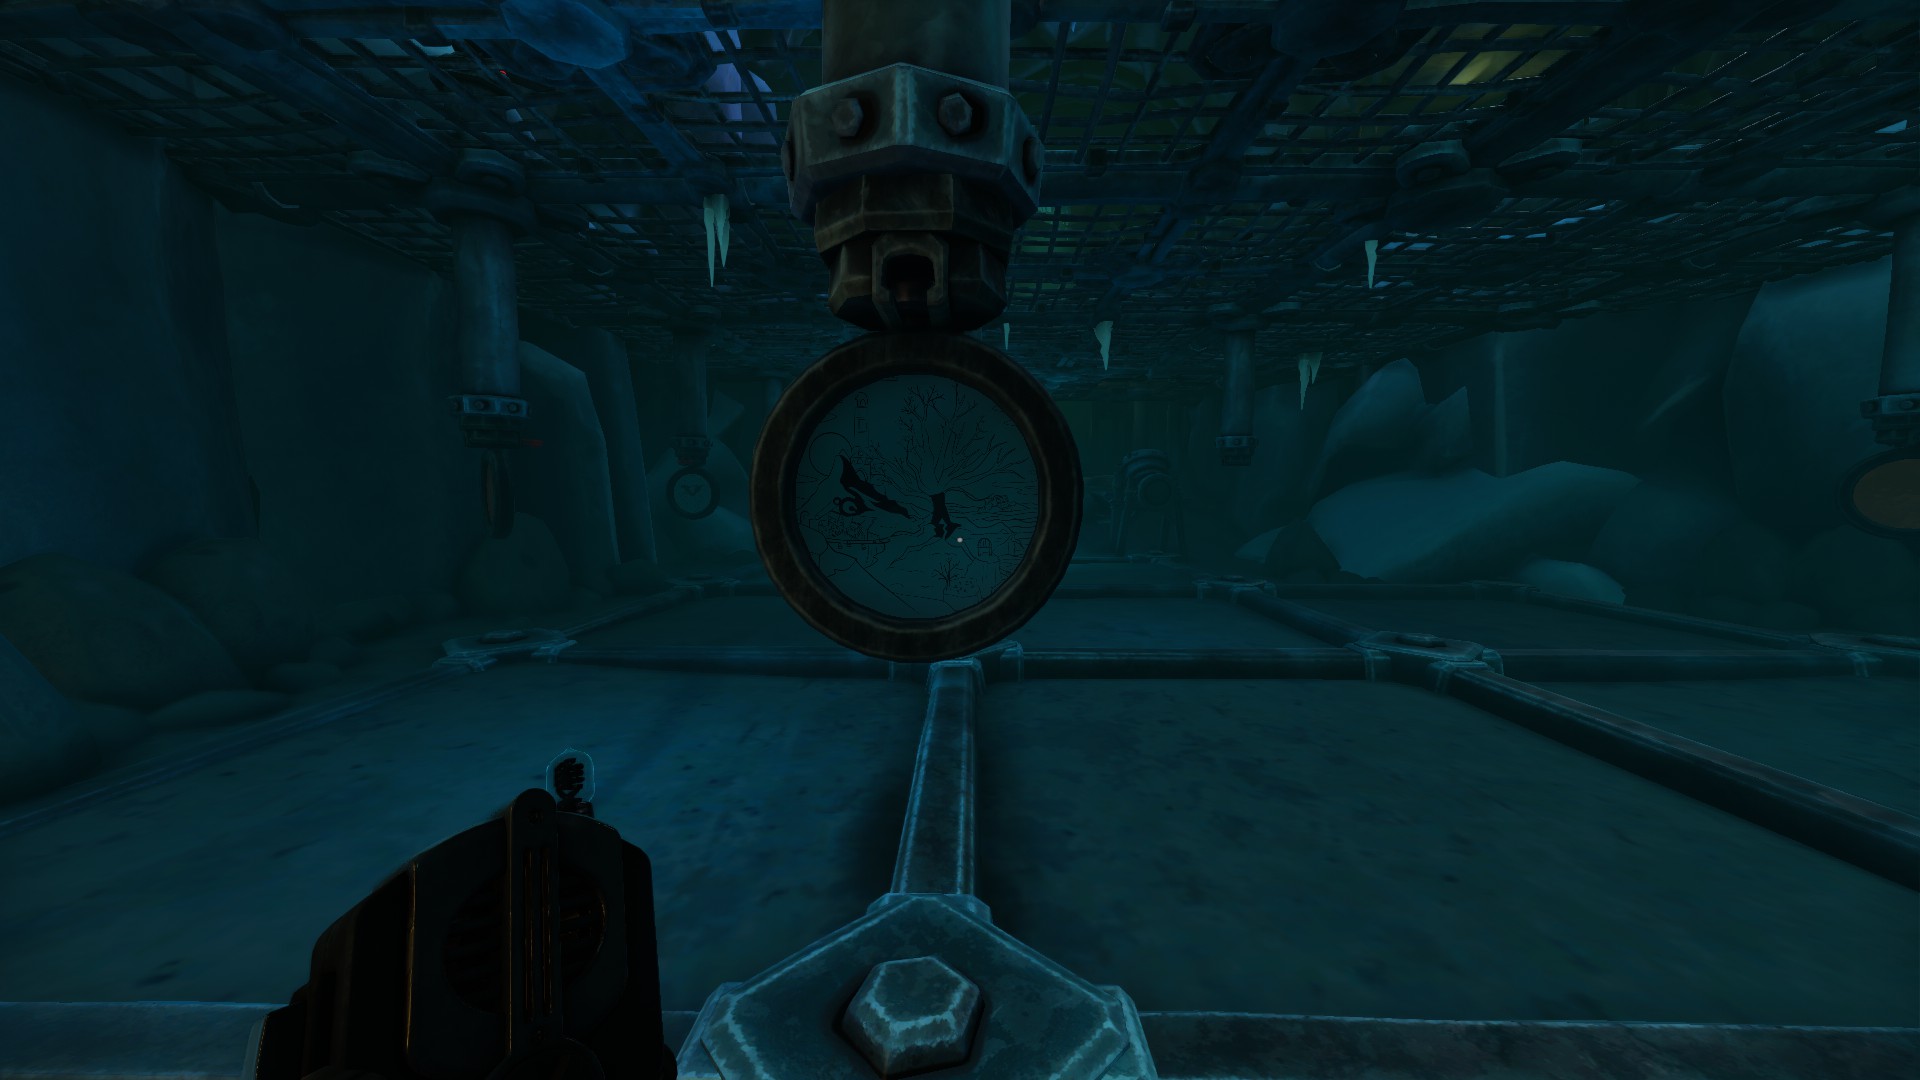
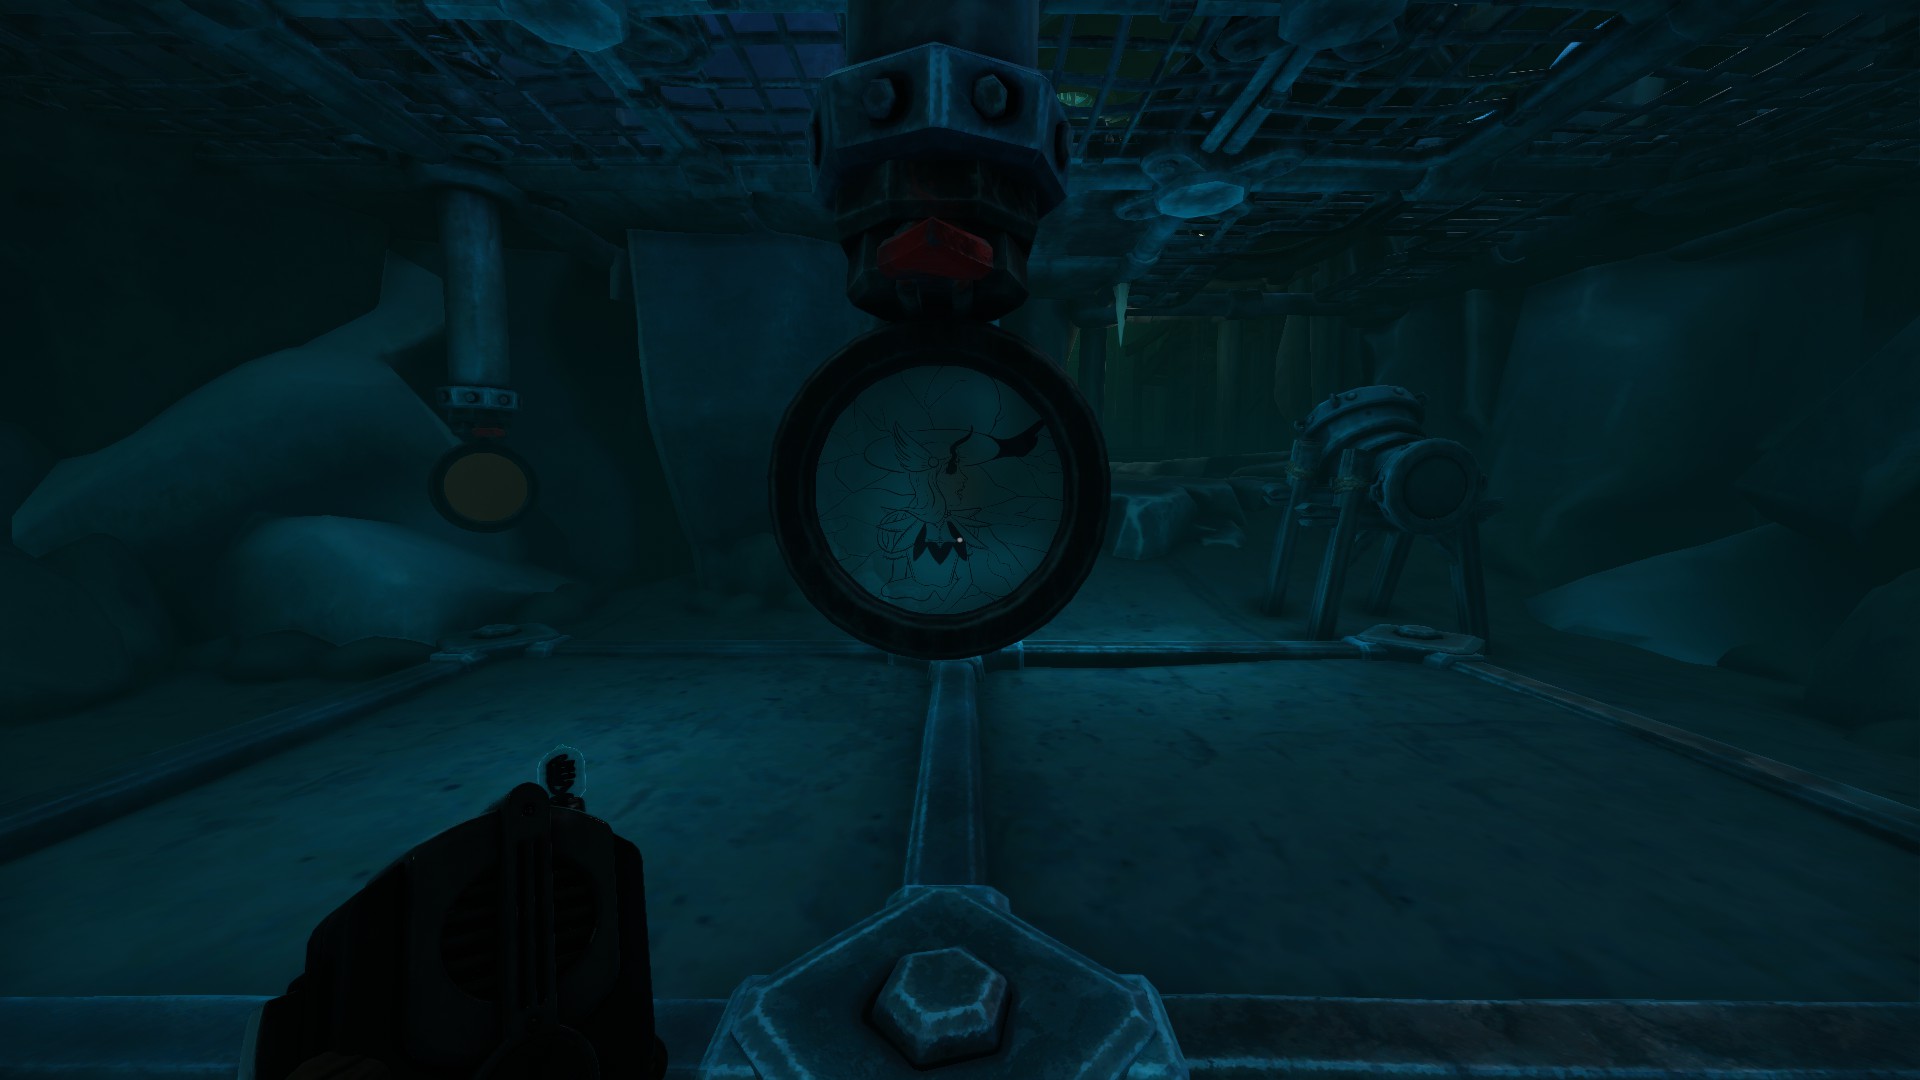
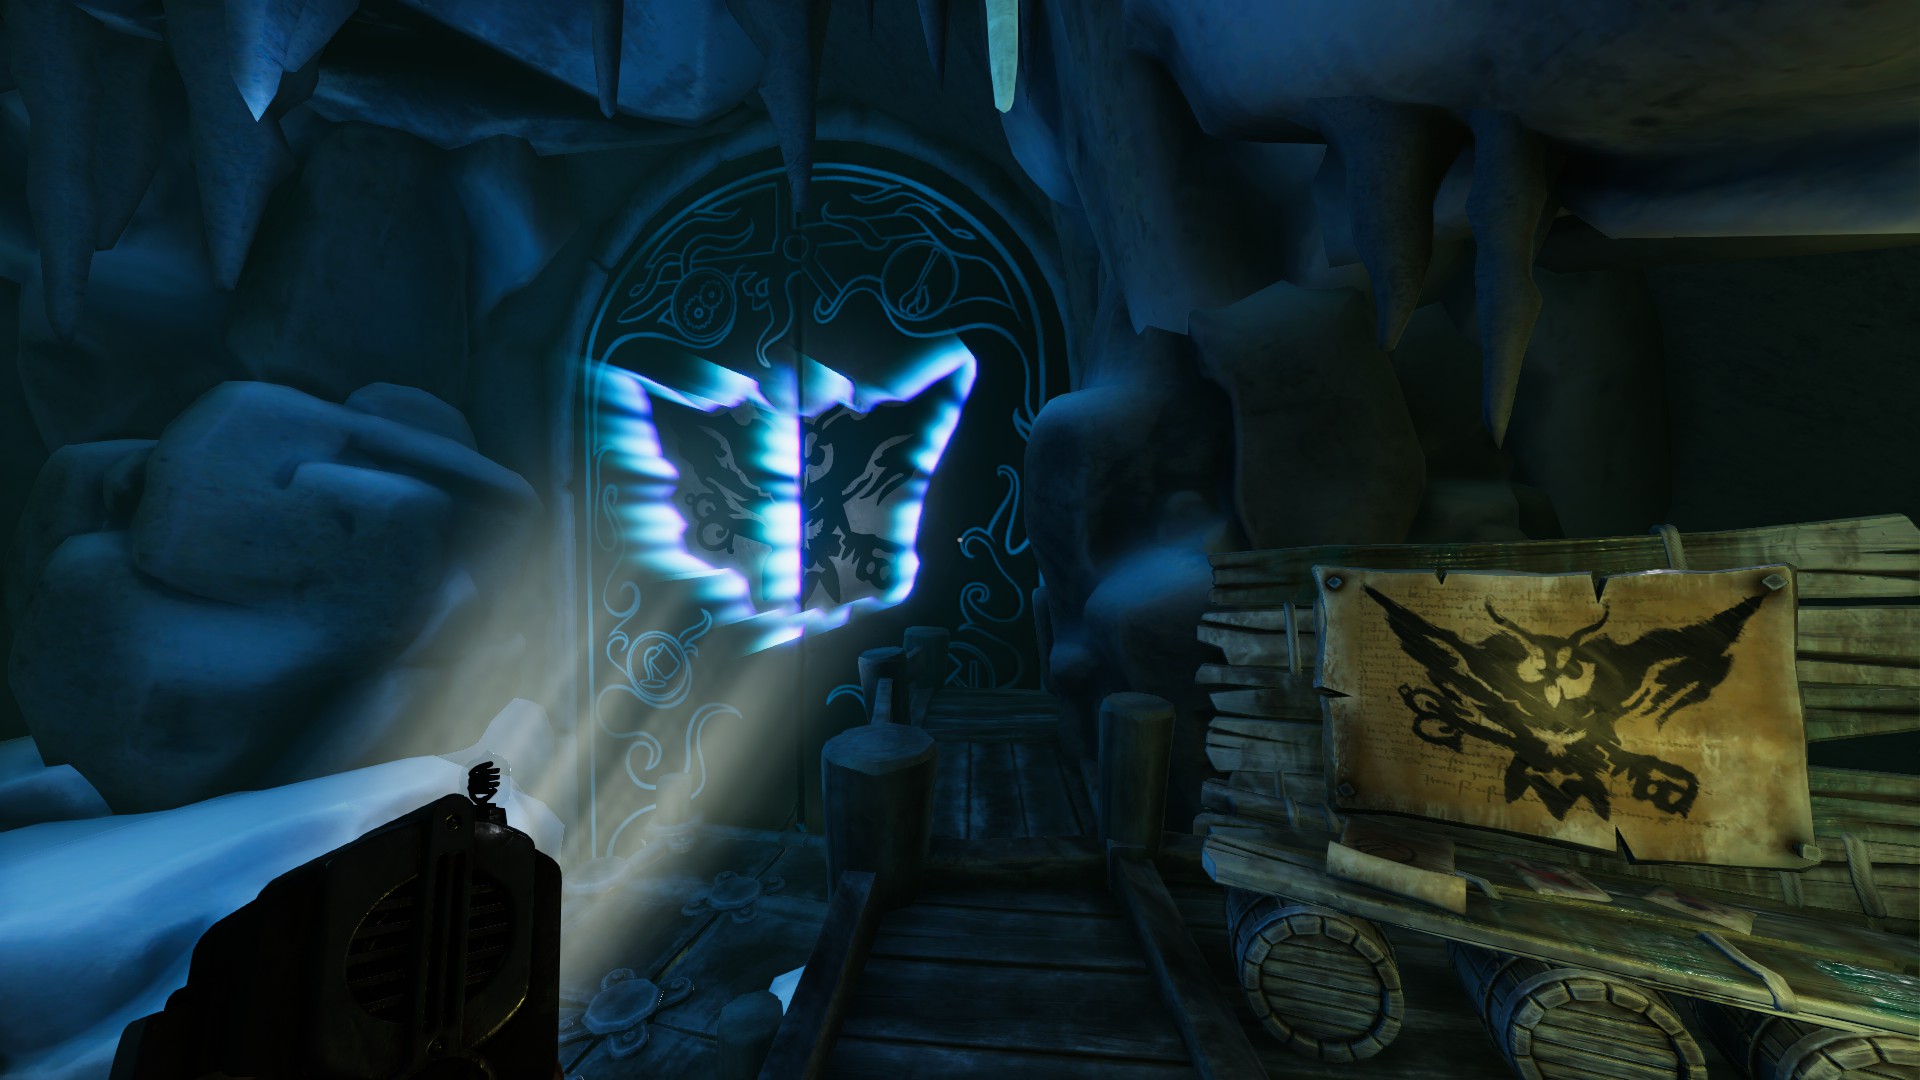
Now comes the tricky part – placing those mosaic lenses. Each one needs to be in just the right spot and orientation. It’s like putting together a jigsaw puzzle, but with light! Here’s a breakdown of what each image should look like:

  • Image 1: Think “starry night” vibes

    We Were Here Forever - How to Solve Lens Puzzle 2 - steamlists.com
    We Were Here Forever – How to Solve Lens Puzzle 2 – steamlists.com
  • Image 2: It’s giving me major “ancient rune” energy

    We Were Here Forever - How to Solve Lens Puzzle 3 - steamlists.com
    We Were Here Forever – How to Solve Lens Puzzle 3 – steamlists.com
  • Image 3: Kinda looks like a funky compass, doesn’t it?

    We Were Here Forever - How to Solve Lens Puzzle 4 - steamlists.com
    We Were Here Forever – How to Solve Lens Puzzle 4 – steamlists.com
  • Image 4: This one’s a bit like a blooming flower

    We Were Here Forever - How to Solve Lens Puzzle 5 - steamlists.com
    We Were Here Forever – How to Solve Lens Puzzle 5 – steamlists.com
  • Image 5: Reminds me of a fancy coat of arms

    We Were Here Forever - How to Solve Lens Puzzle 6 - steamlists.com
    We Were Here Forever – How to Solve Lens Puzzle 6 – steamlists.com
  • Image 6: Picture a celestial map and you’re on the right track

    We Were Here Forever - How to Solve Lens Puzzle 7 - steamlists.com
    We Were Here Forever – How to Solve Lens Puzzle 7 – steamlists.com

3. Mirror, Mirror: Guiding the Light

Player 1, it’s your time to shine! Once those lenses are in place, you’ve got to angle those mirrors just right. It’s like conducting an orchestra of light beams. A little to the left, a smidge to the right – keep adjusting until those images pop!

Teamwork Makes the Dream Work: Communication is Key

Let me tell you a story. When my buddy and I first tackled this puzzle, we were like two cats trying to herd mice. We kept missing each other’s cues, placing lenses willy-nilly, and getting nowhere fast. But then we had an aha moment – we needed to talk it out!

“Hey, try moving that mirror a bit to the right!”
“How’s this? I think I see something forming!”
“Almost there! Just a smidge more…”

Once we got our communication game on point, solving the puzzle became less of a headache and more of a dance. Remember, folks – in “We Were Here Forever,” you’re only as strong as your teamwork!

Pro Tips for Puzzle Masters

  • Keep it crystal clear: Make sure those lenses are squeaky clean. A smudge could throw everything off!
  • Take breaks: If you’re getting frustrated, step back and take a breather. Fresh eyes can work wonders.
  • Map it out: Consider sketching the setup on paper. Sometimes a bird’s-eye view can reveal patterns you might miss.
  • Patience is a virtue: Rome wasn’t built in a day, and this puzzle won’t be solved in a minute. Take your time!

Wrapping It Up: You’ve Got This!

There you have it, fellow adventurers – your roadmap to conquering the Lens Puzzle in “We Were Here Forever.” Remember, every great puzzle-solver was once a beginner. With patience, teamwork, and a dash of creativity, you’ll be basking in the glow of those perfectly aligned light beams in no time.

So, gather your wits, call your gaming buddy, and dive into this light-bending challenge. Who knows? You might just surprise yourself with your puzzle-solving prowess. And hey, even if you hit a few bumps along the way, that’s all part of the fun!

Now go forth and conquer that Lens Puzzle. May the light be with you!


Be the first to comment

Leave a Reply

Your email address will not be published.


*