Introduction
So here I am again with another respawn guide, this time for Warcamp. There’s some wonky checkpoints in this one, so I’m glad I took a look at it. This guide was put together mostly with the help of Craven’s Level debug mod. See it here https://steamcommunity.com/sharedfiles/filedetails/?id=2355163104 The mod page does a very good job of explaining how the game determines where different things happen throughout the levels, so I suggest checking it out.
Ok, on to the respawns!
1st Respawn – Tome Cabin Yard
Overview
Pretty straight forward here, if you take the dropdown you miss this respawn. This one is pretty much only helpful on DWONS or other modded difficulty content.
2nd Respawn – First Dropdown
Overview
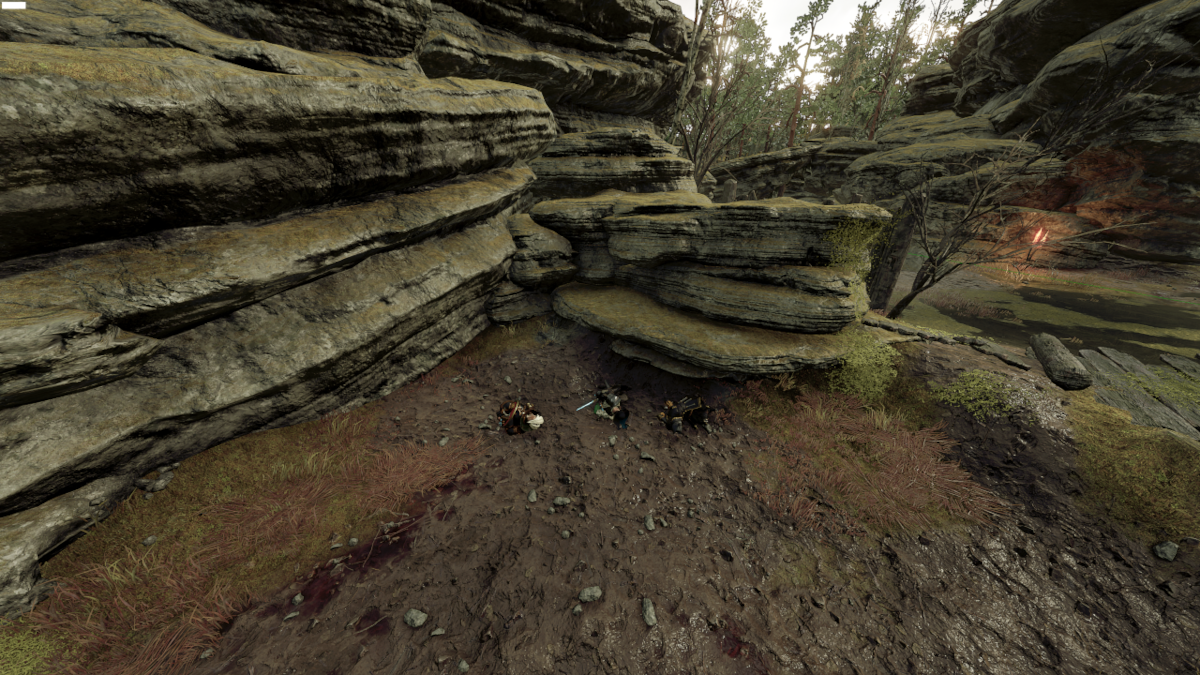
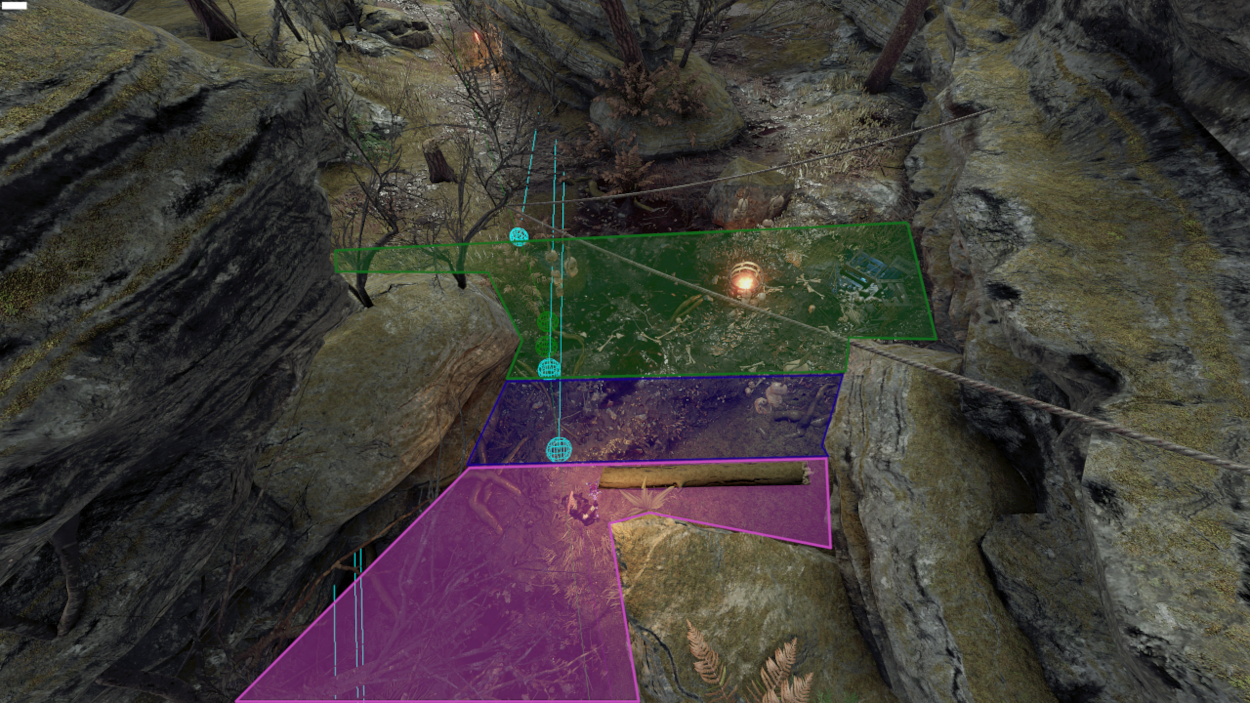
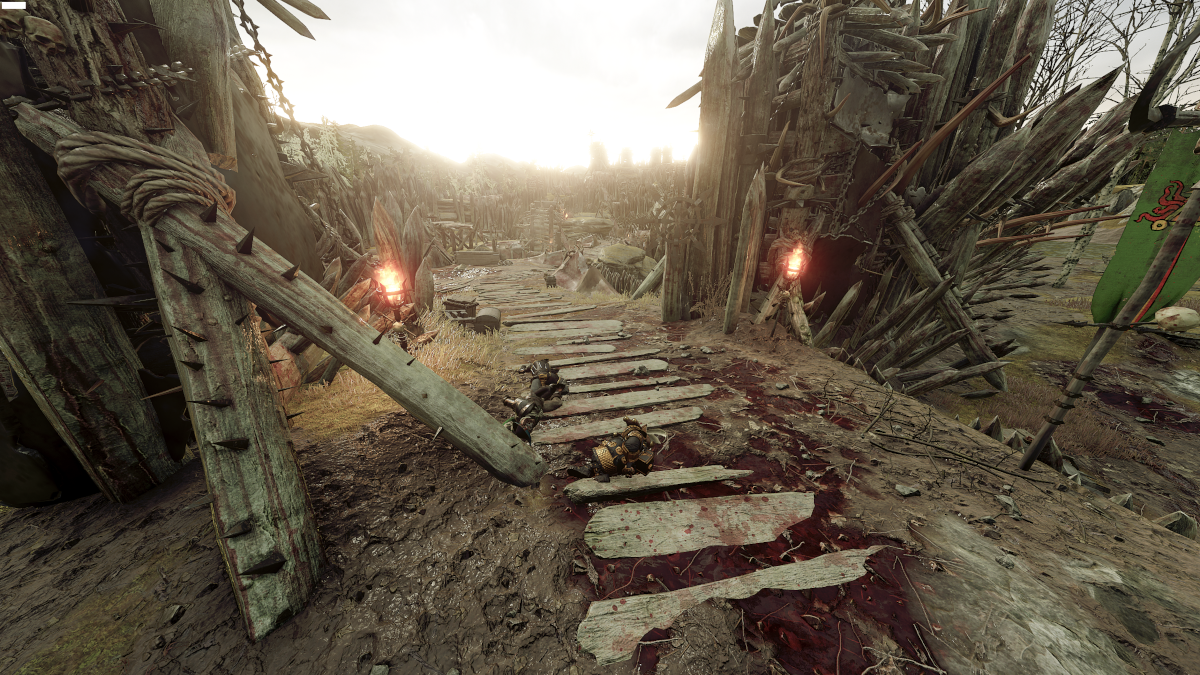
Every once in a while a ninja chaos warrior drops down from above and overheads a teammate. This is the respawn you’ll want to try for if that happens. Stand behind the log mid-way through this canyon area and you’ll guarantee the dropdown spawn for your team. If it’s just 1 respawn you’re waiting for, stand by the brazier (The torch looking thing)
3rd Respawn – Second Dropdown
Overview
This is where the path forks, and each one affects the respawn greatly.
Left Path
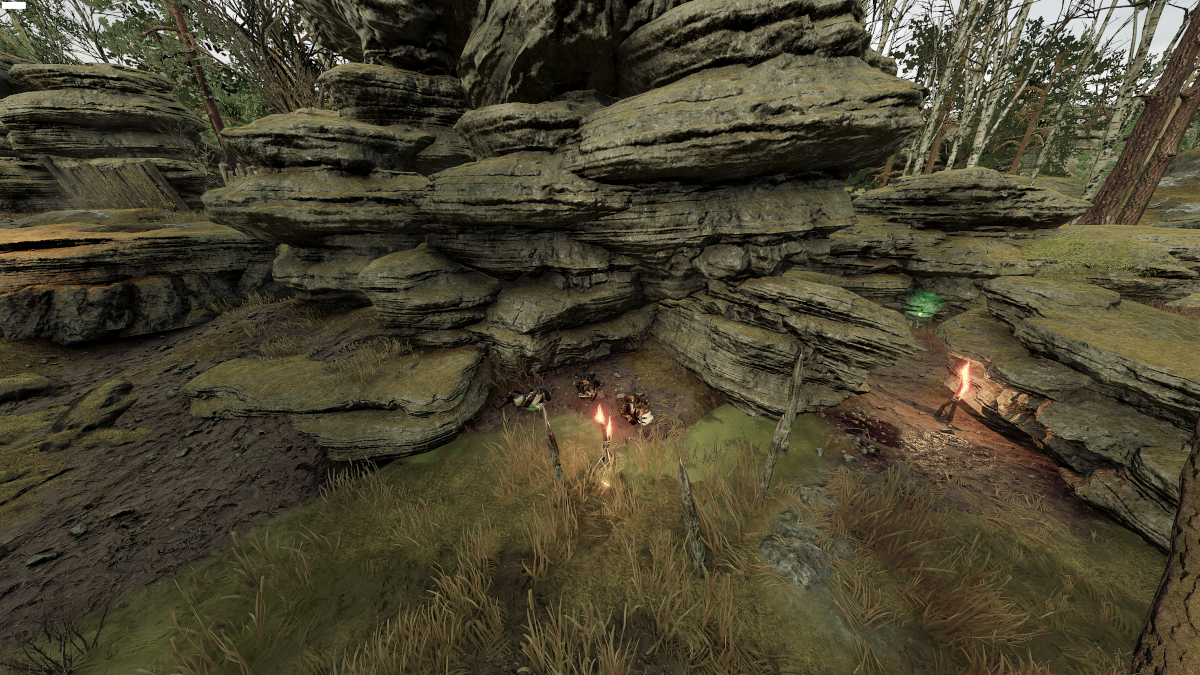
Just entering this pathway puts the respawn at risk. For a 3 person respawn, you’ll want to edge just past the torch, moving slightly more forward for 1-2 person respawns.
Right Path
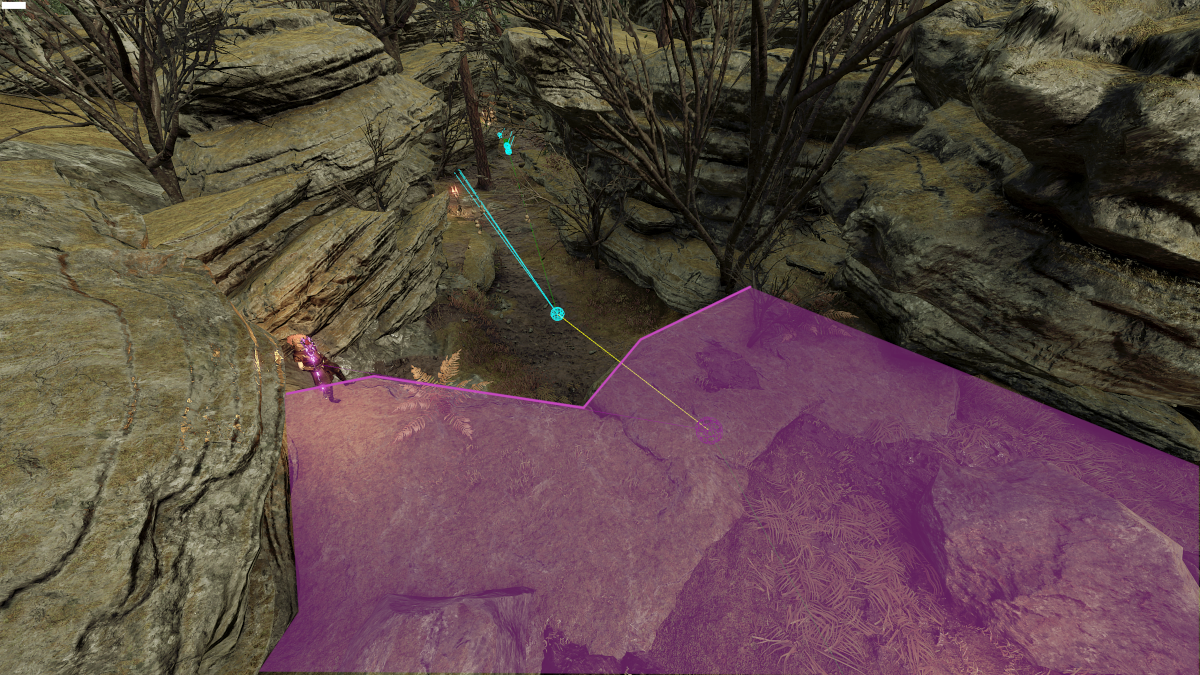
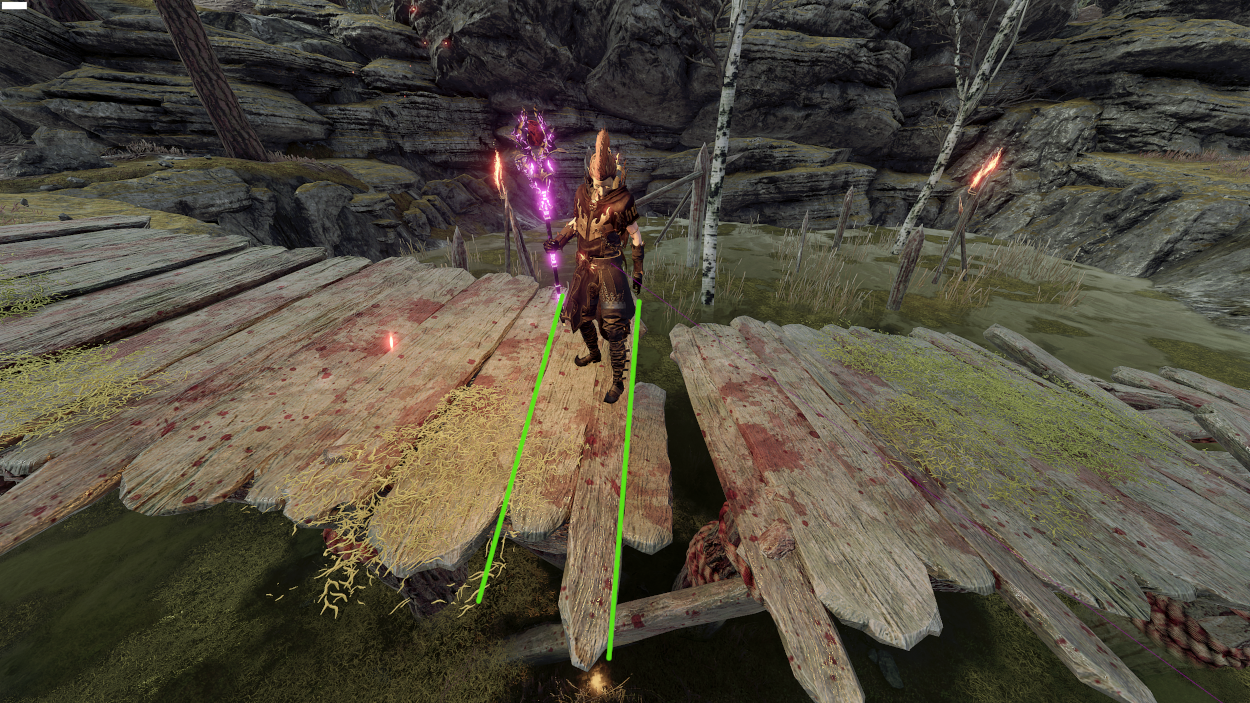
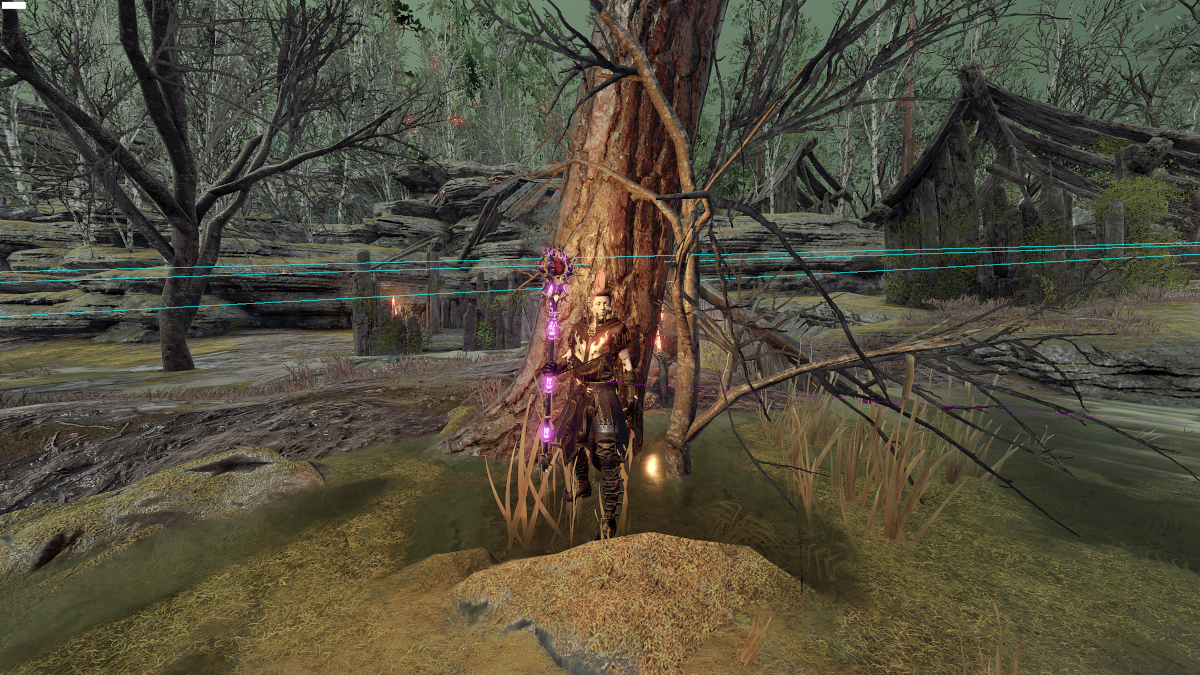
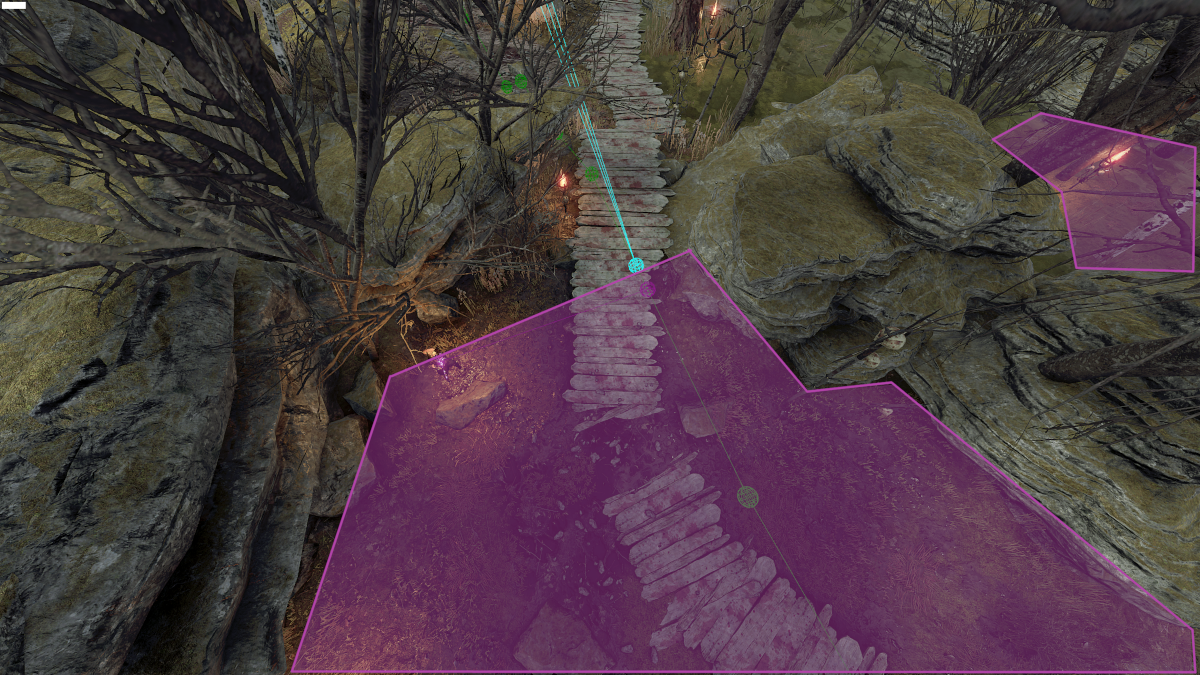
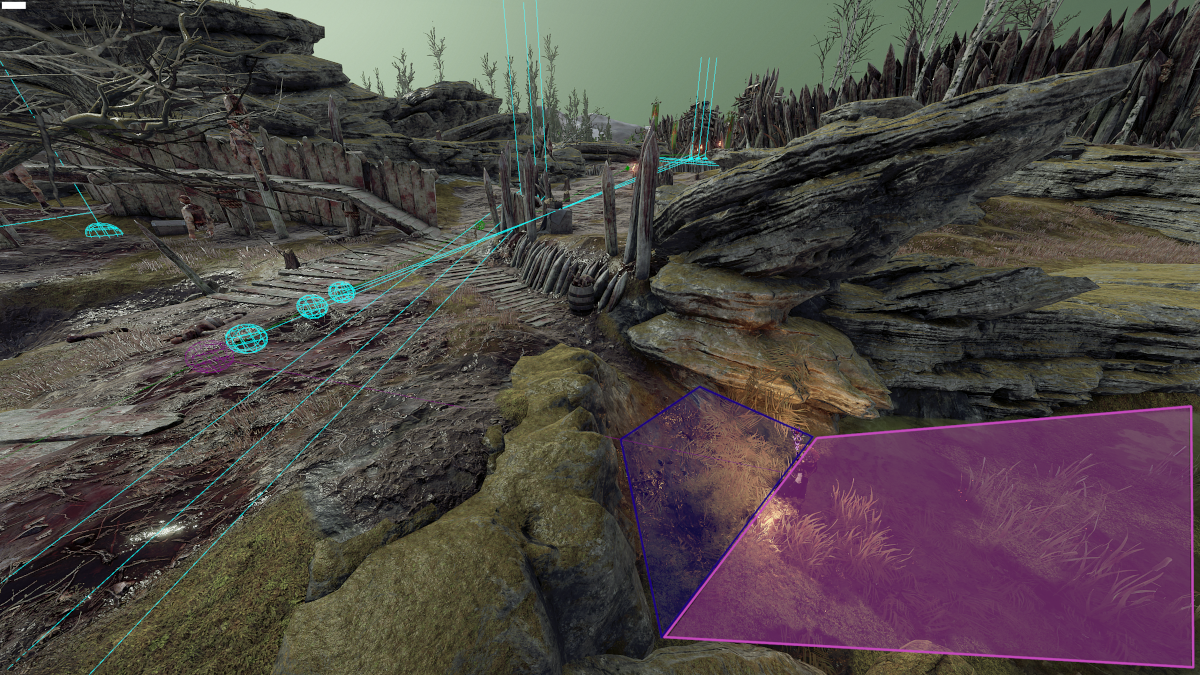
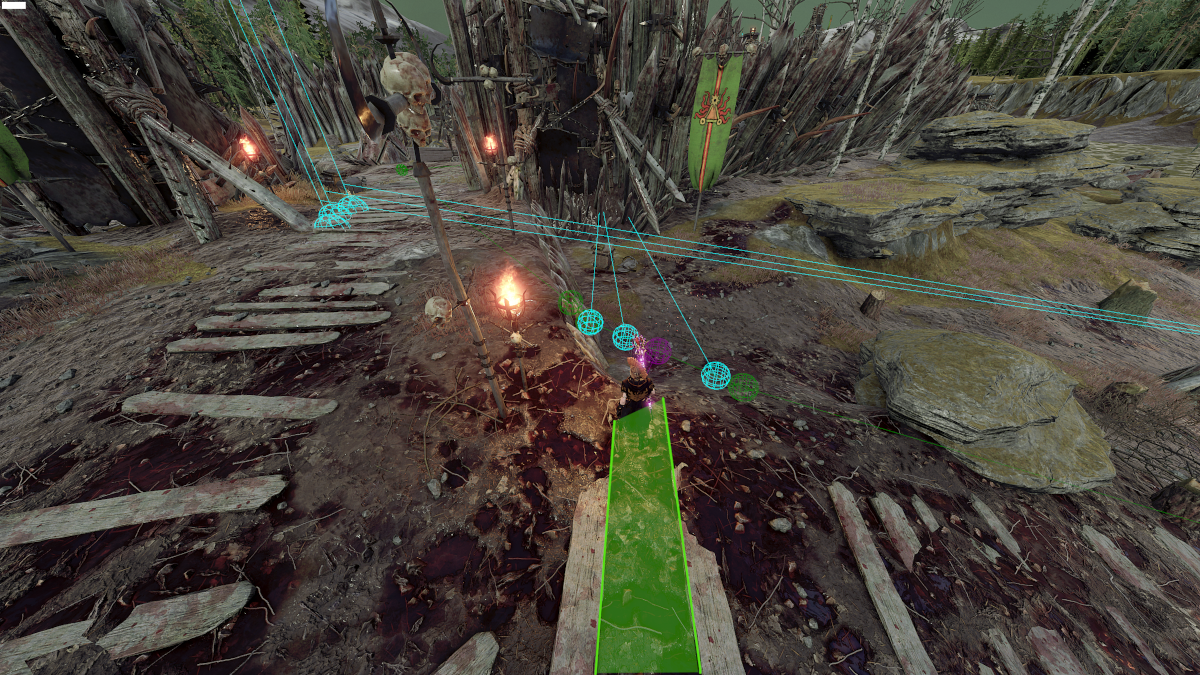
This is where it gets interesting. If you take the right path to the wooden bridge, you can get closer to the respawn, saving time. If a teammate dies before the dropdown, and this path is clear of enemies this is where you want to retreat to. This spot is an about 2-ish seconds faster walk to the respawn than the left path, assuming an unimpeded walk to it. Taking one step further than where my character is here (the landmark, see below) moves your map progression up drastically, missing the respawn.
Landmarks
Stand just after the missing board in the bridge, between it and the moss, (or further back down the bridge) and you’ll get the dropdown respawn for 1-3 people.
4th Respawn – The Destroyed House
Overview
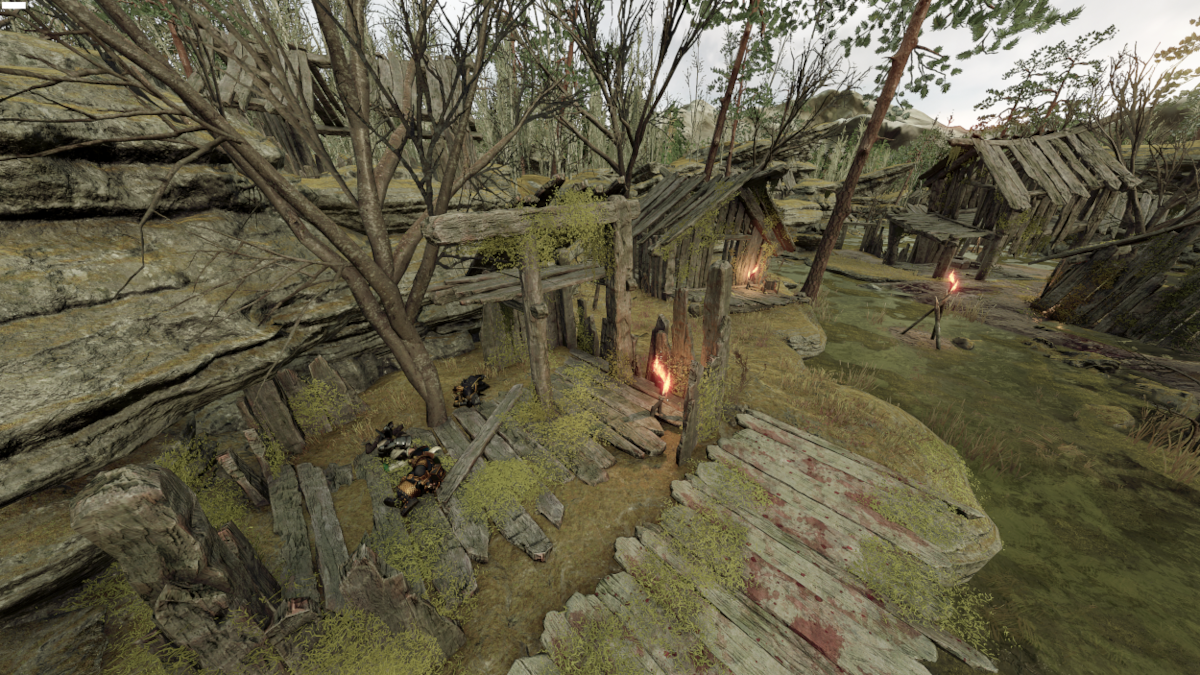
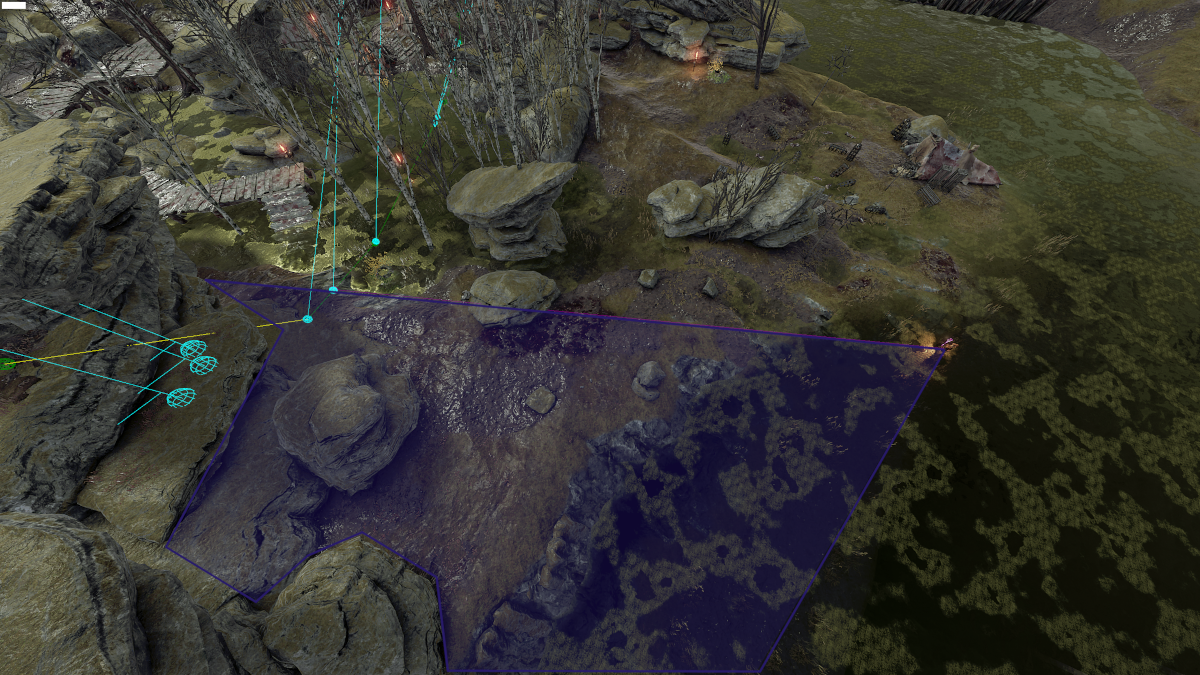
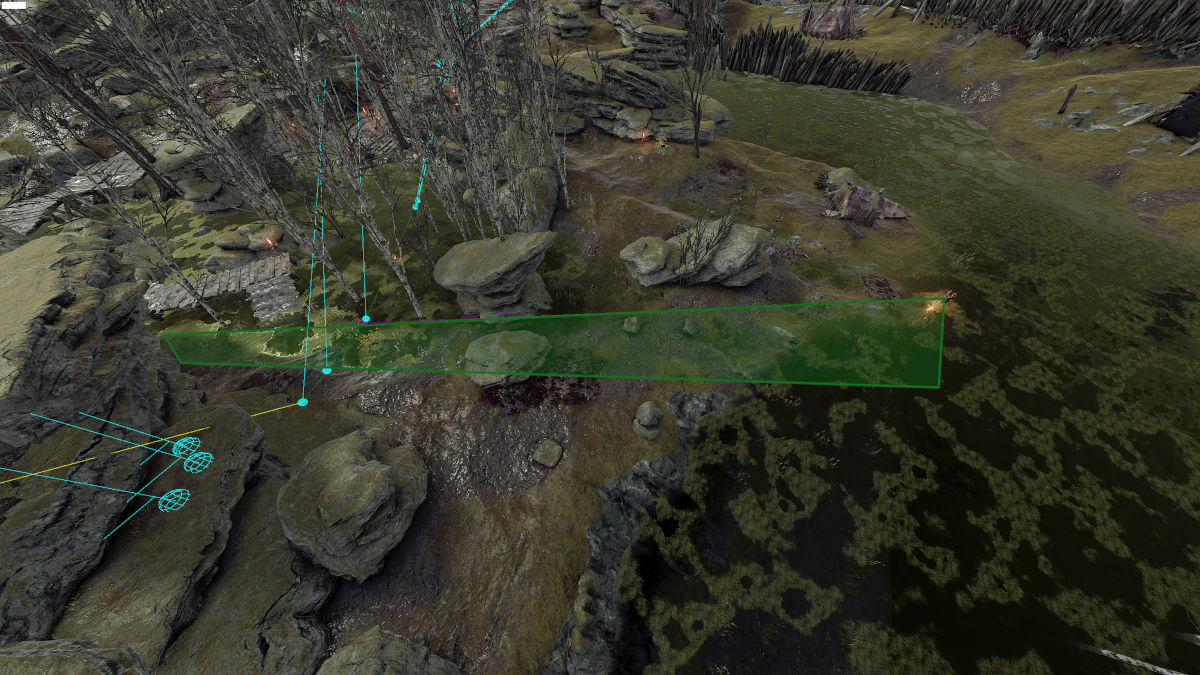
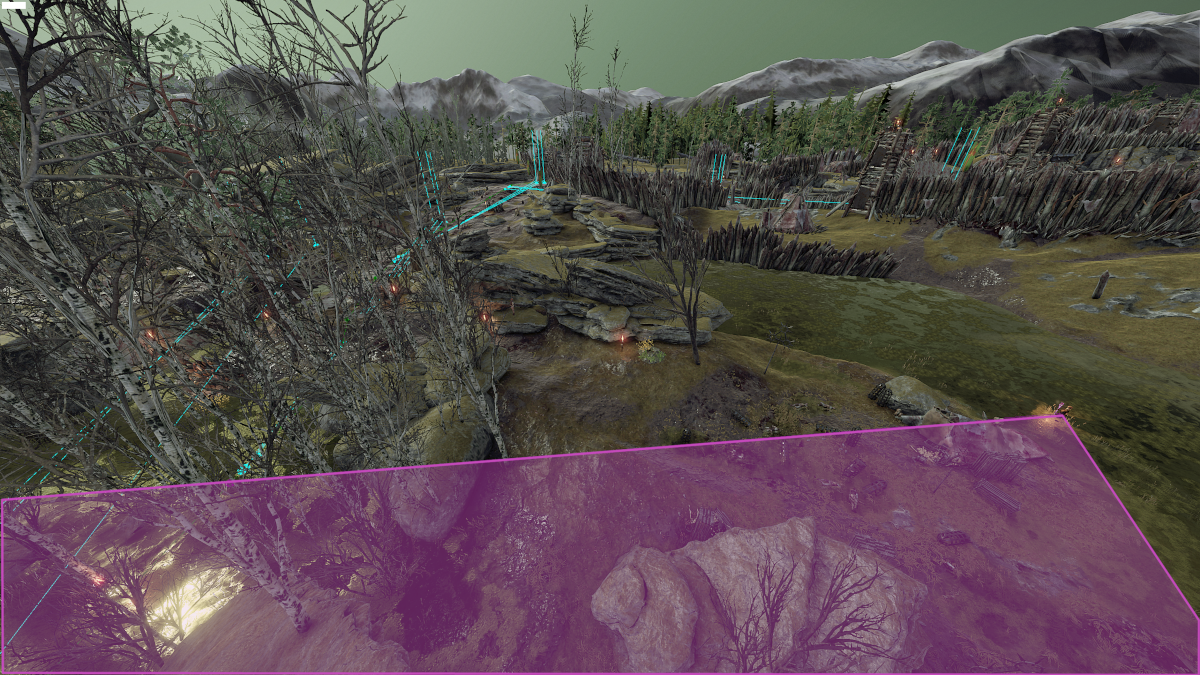
You’re allowed to pretty much sit before the dropdown to get this respawn. For those that don’t know, you can jump back up here from the right-hand side in the water, which can be handy for getting a closer spawn for teammates.
Landmarks
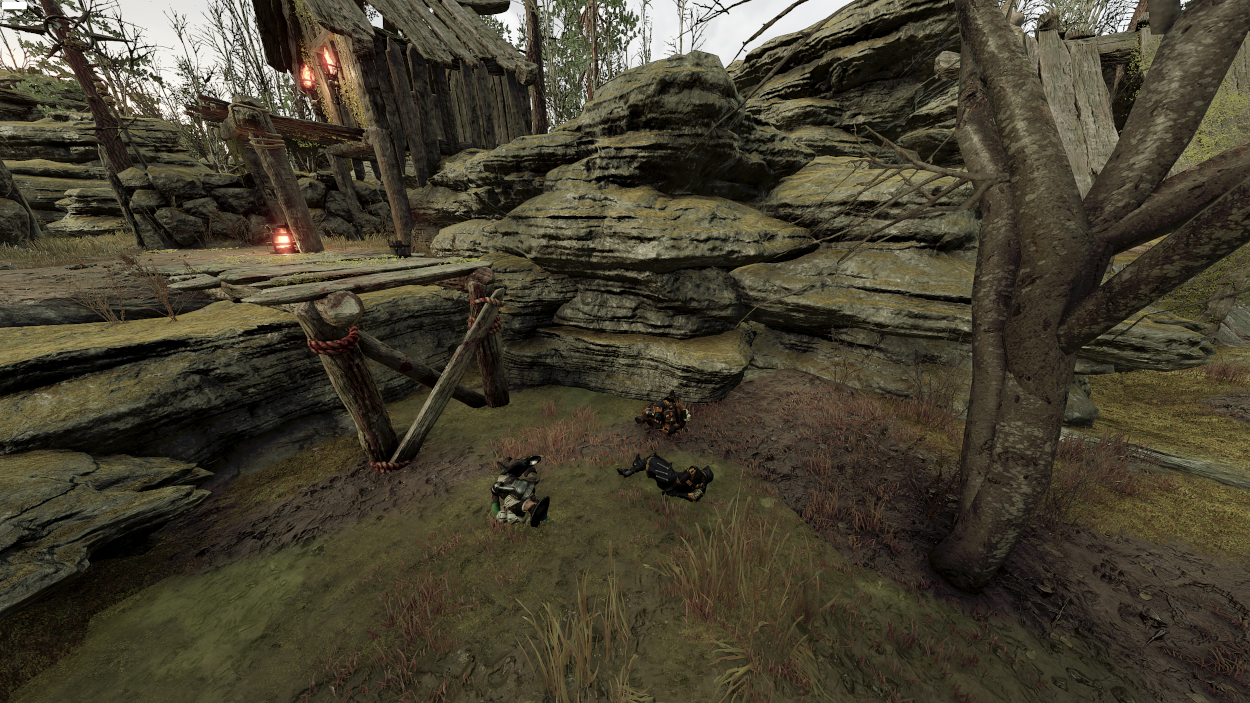
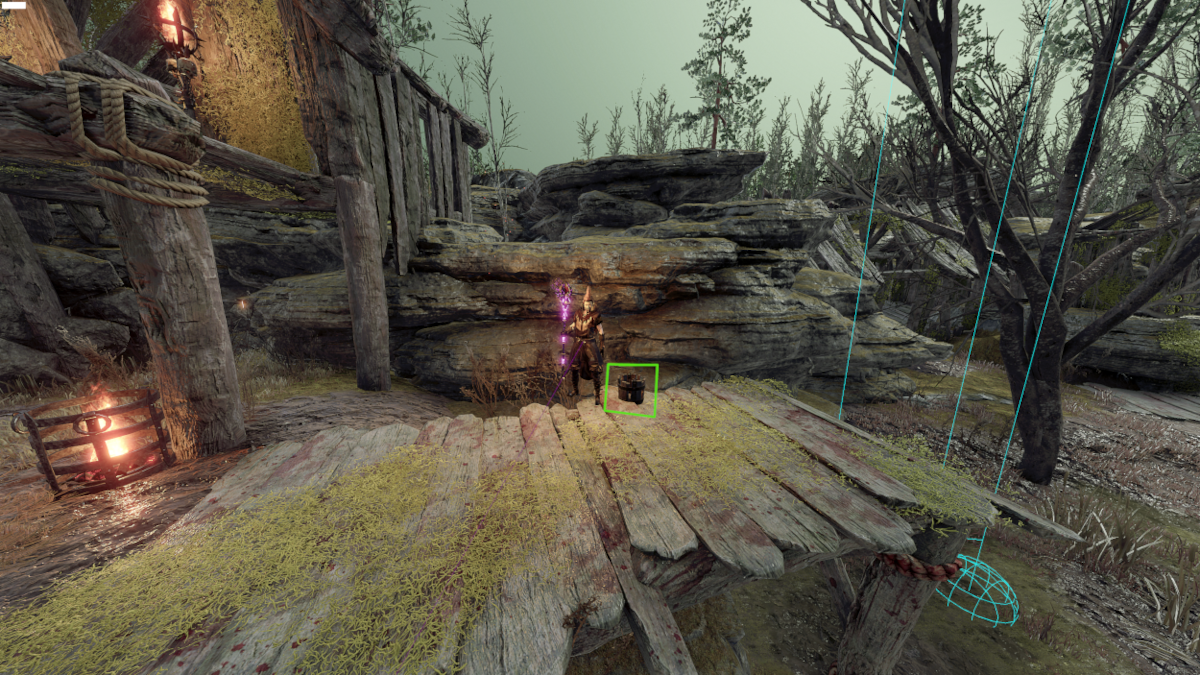
Stand before this bucket and you’re just where you want to be. Easy-peasy.
5th Respawn – The Half-House
If you die to the boss spawn after the grim, this is probably the best respawn you’ll get. It is a bit tricky though.
Overview
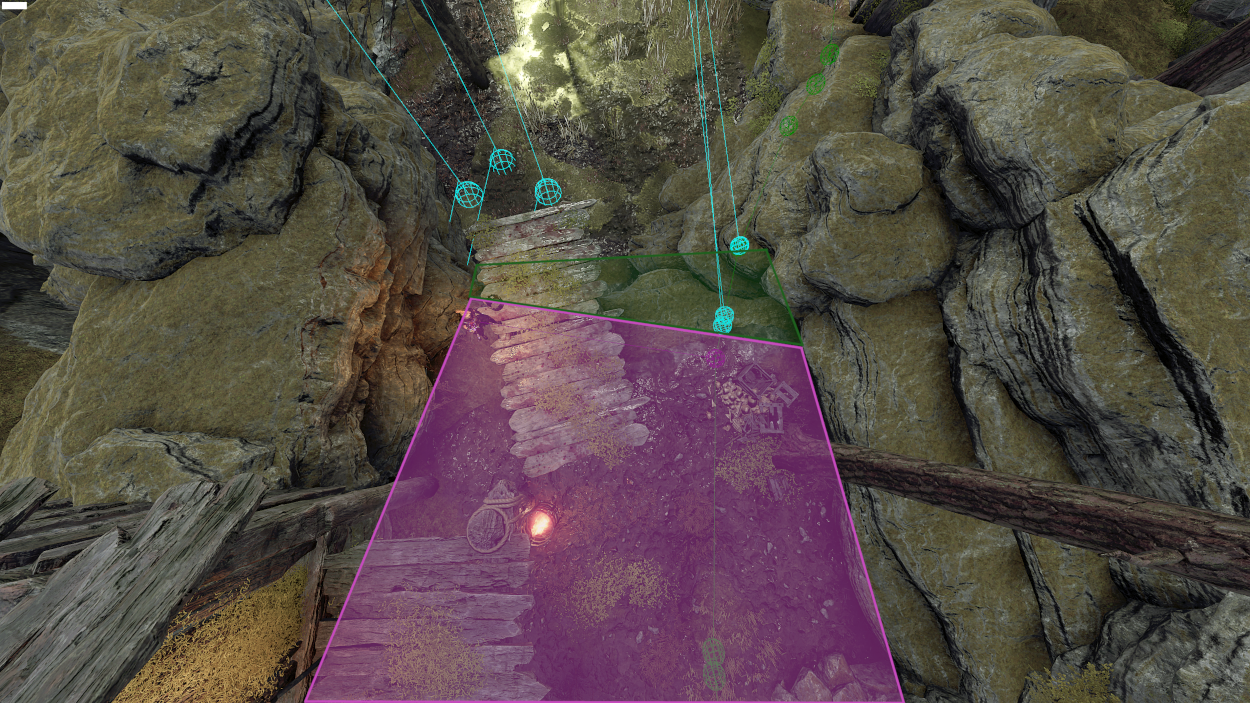
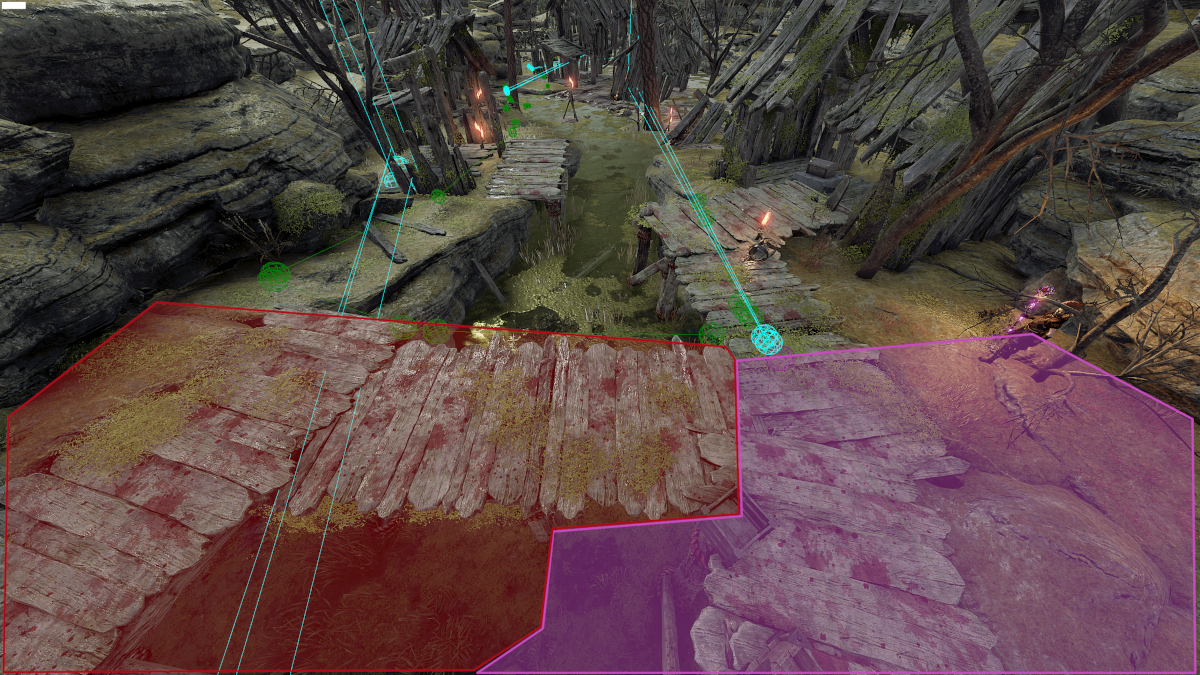
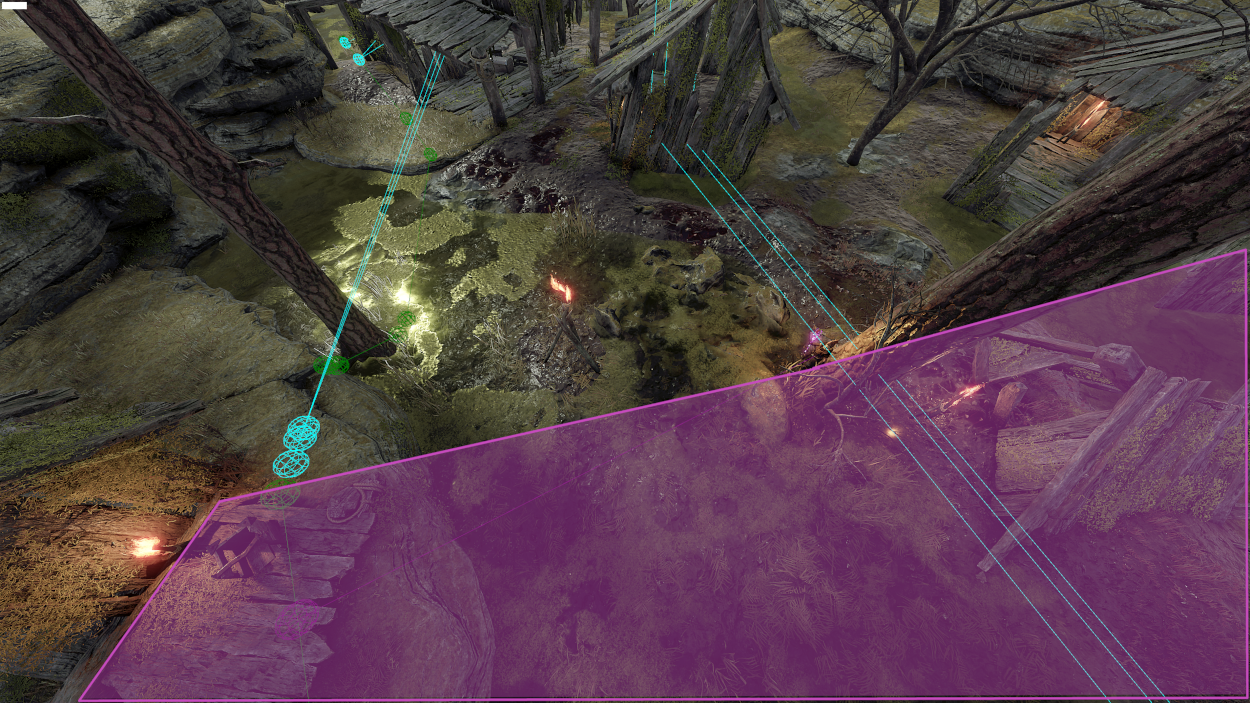
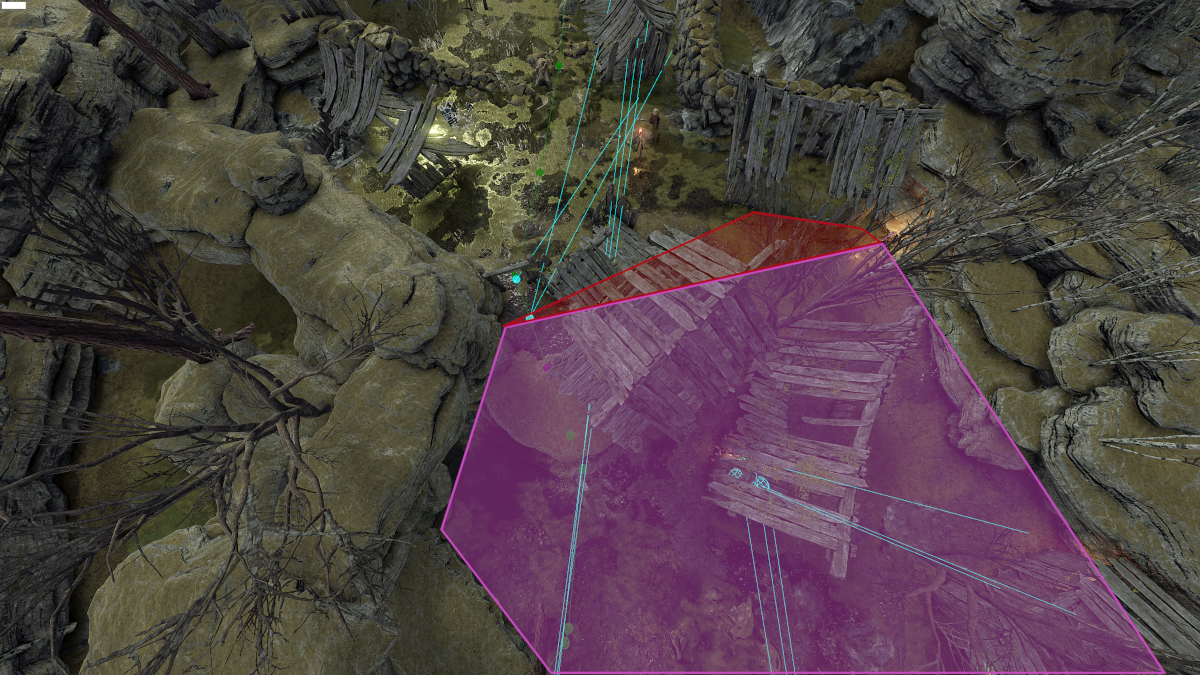
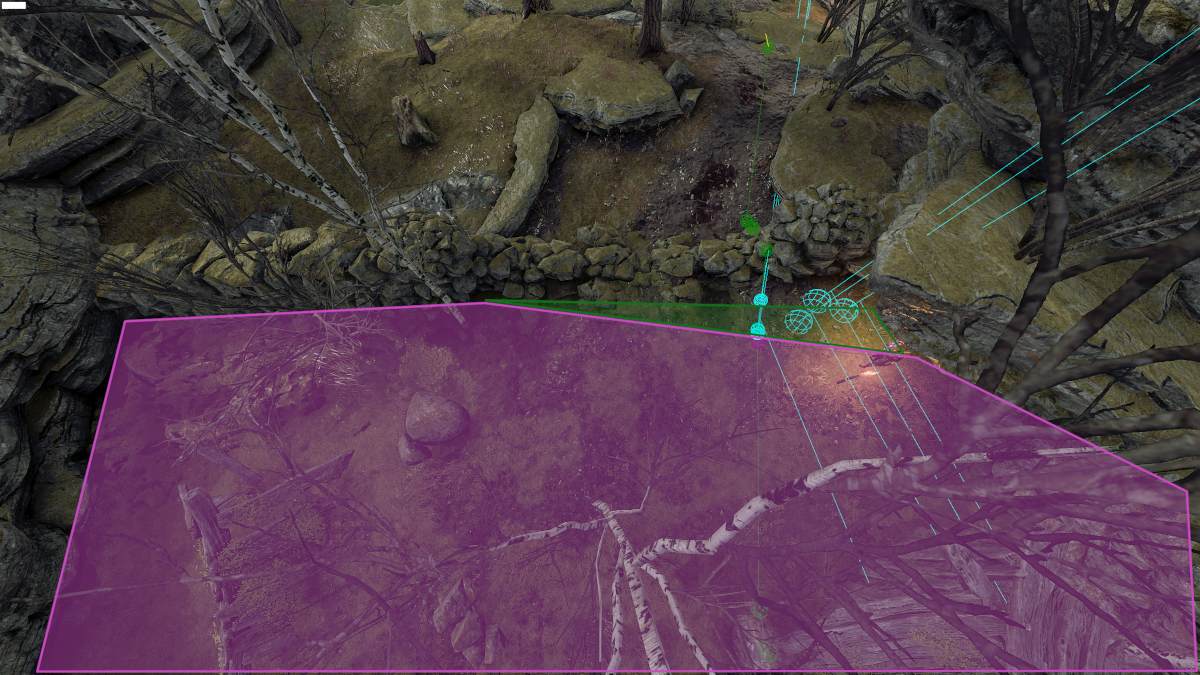
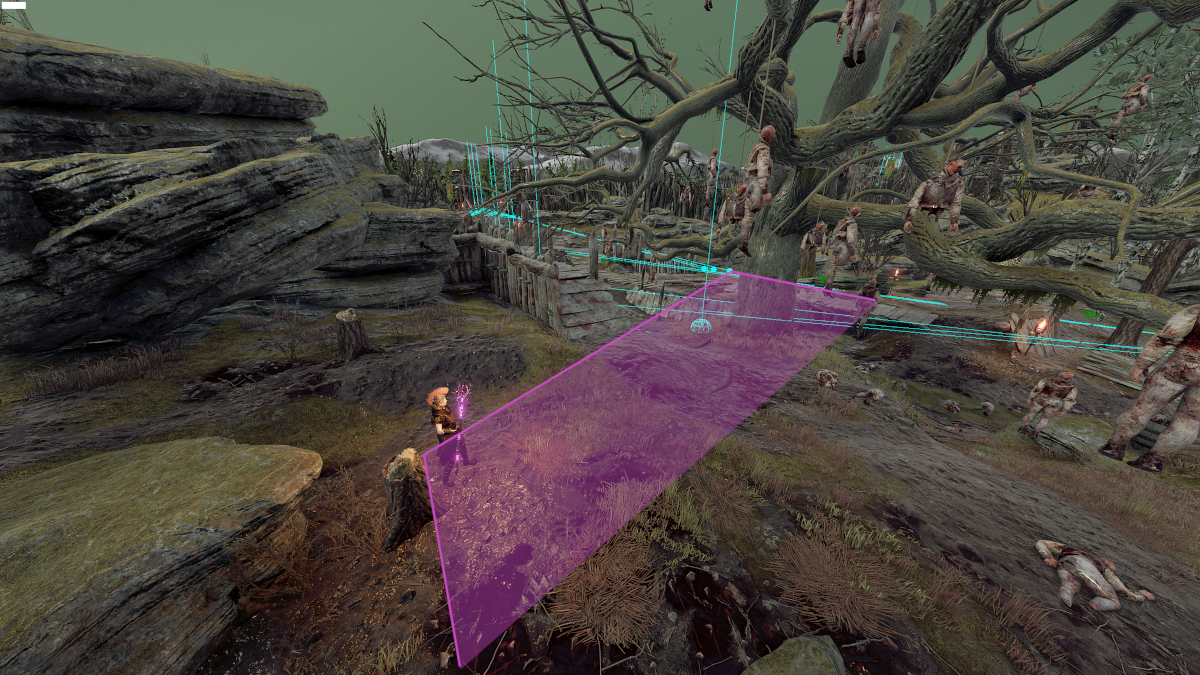
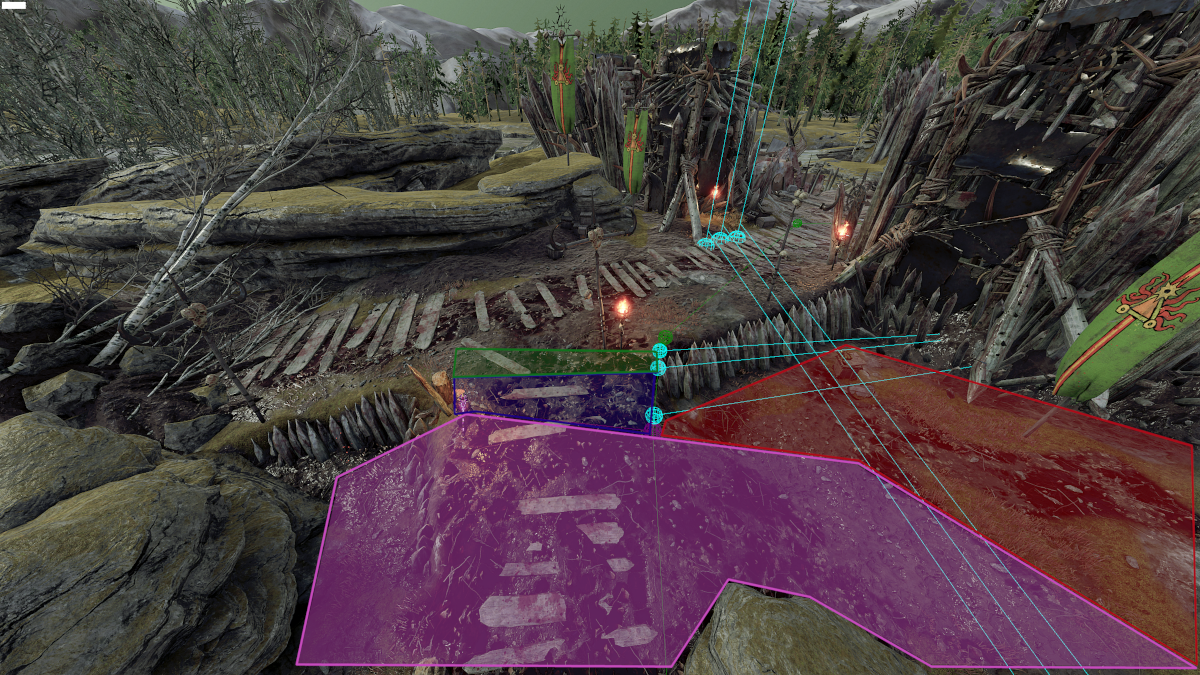
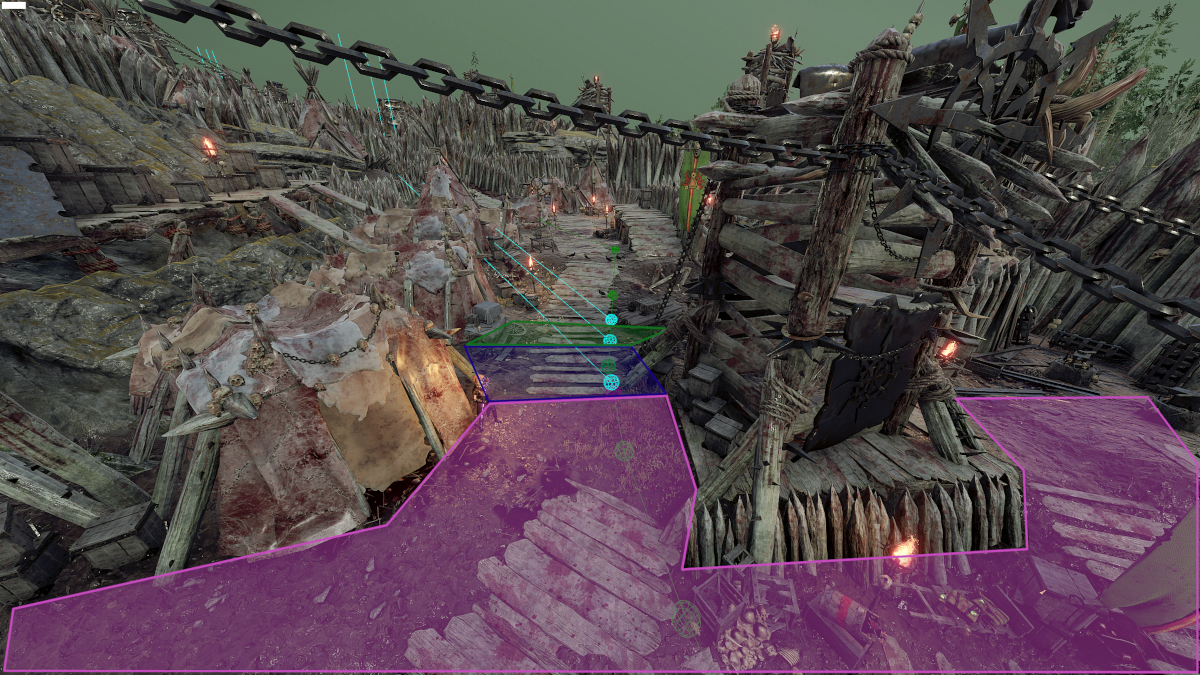
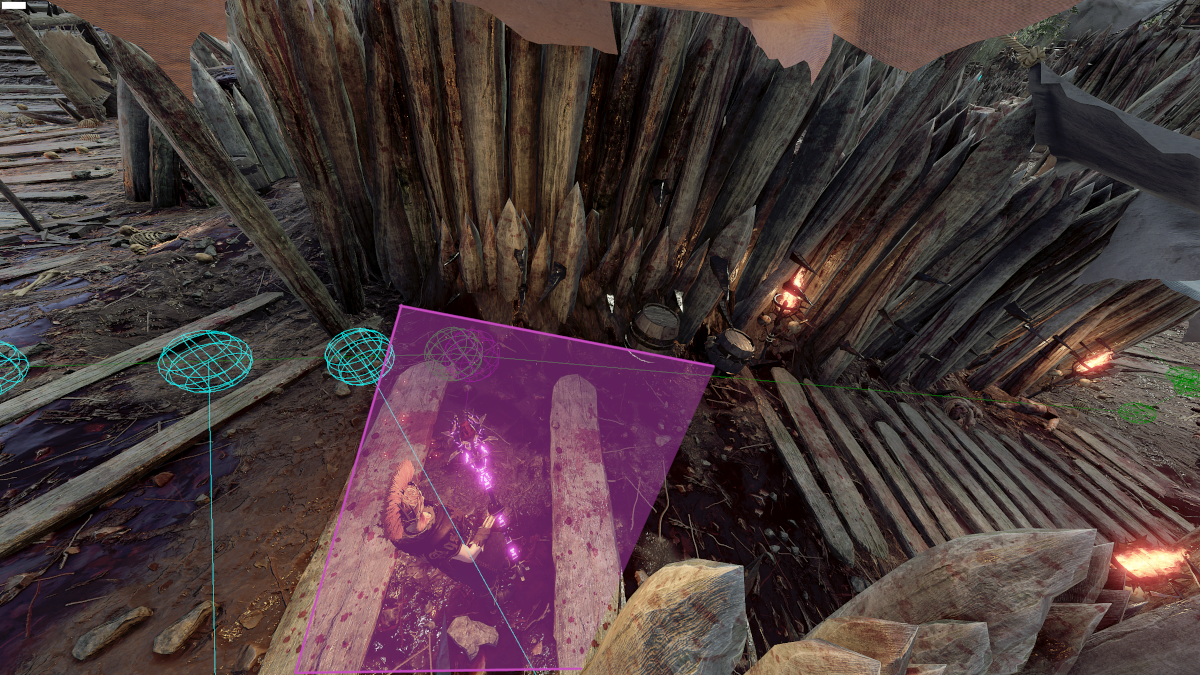
So this bridge is basically the cutoff for this respawn. Stay before the right-edge and you’ll get the half-house spawn just ahead. You can go underneath as well, but you must hug the right side.
The green map progress trail acts very weird here to prevent splitting in 2 directions. It doubles back on itself (you can kind of see this in the picture, on the right side) before crossing the bridge to the left and continuing ahead. This makes the left side of the bridge a no-go.
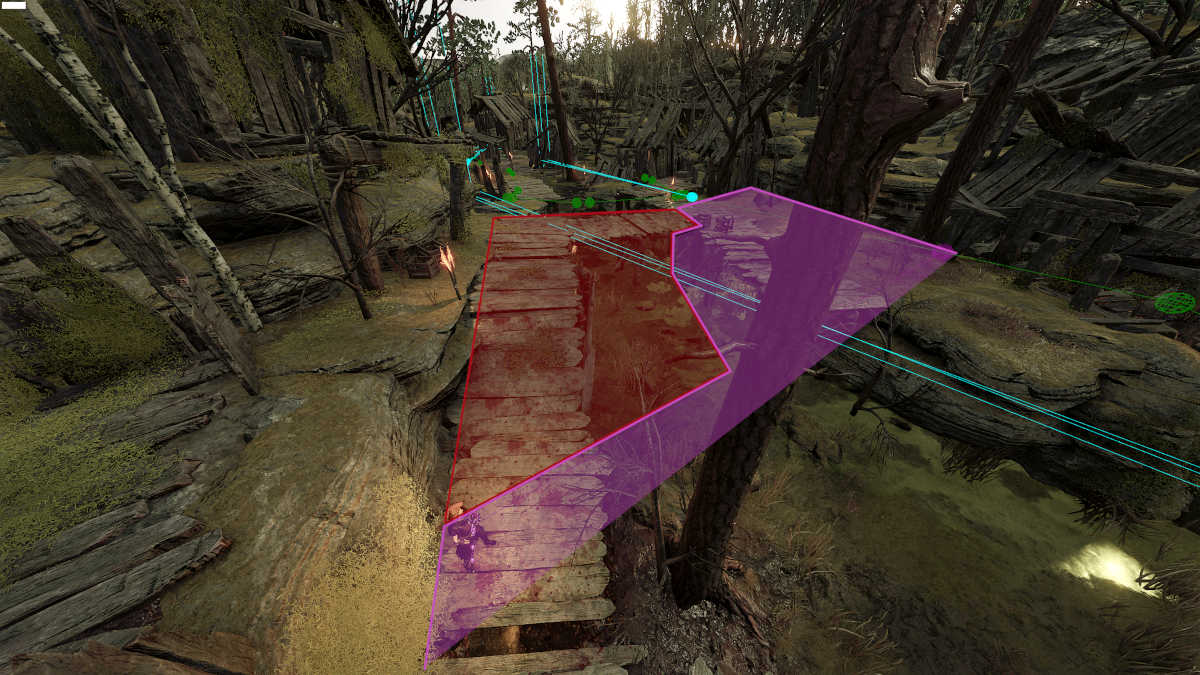
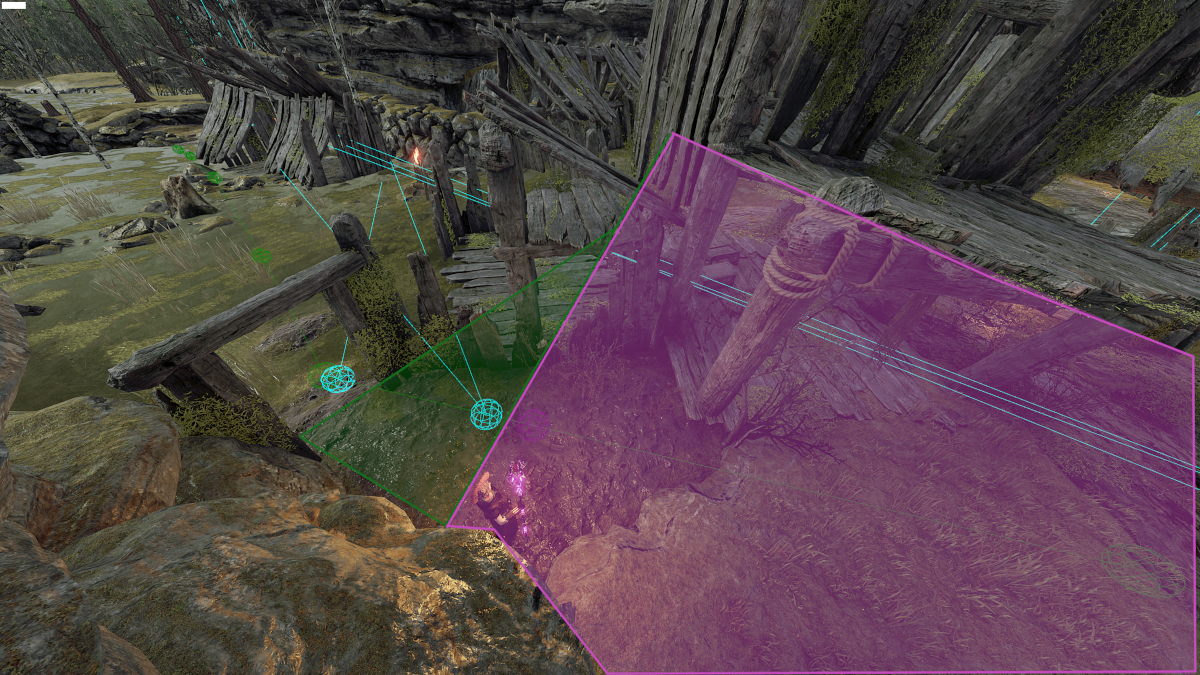
If you’re on the left of the bridge, then you need to stand all the way down near this tree. If you take one step up the ramp further than my character here, it will teleport your map progress ahead of the respawn checkpoints and you’ll get the ones before the dropdown instead of what we’re going for here.
6th Respawn – Before 3rd Dropdown
This is just before the dropdown into the first tent area.
Overview
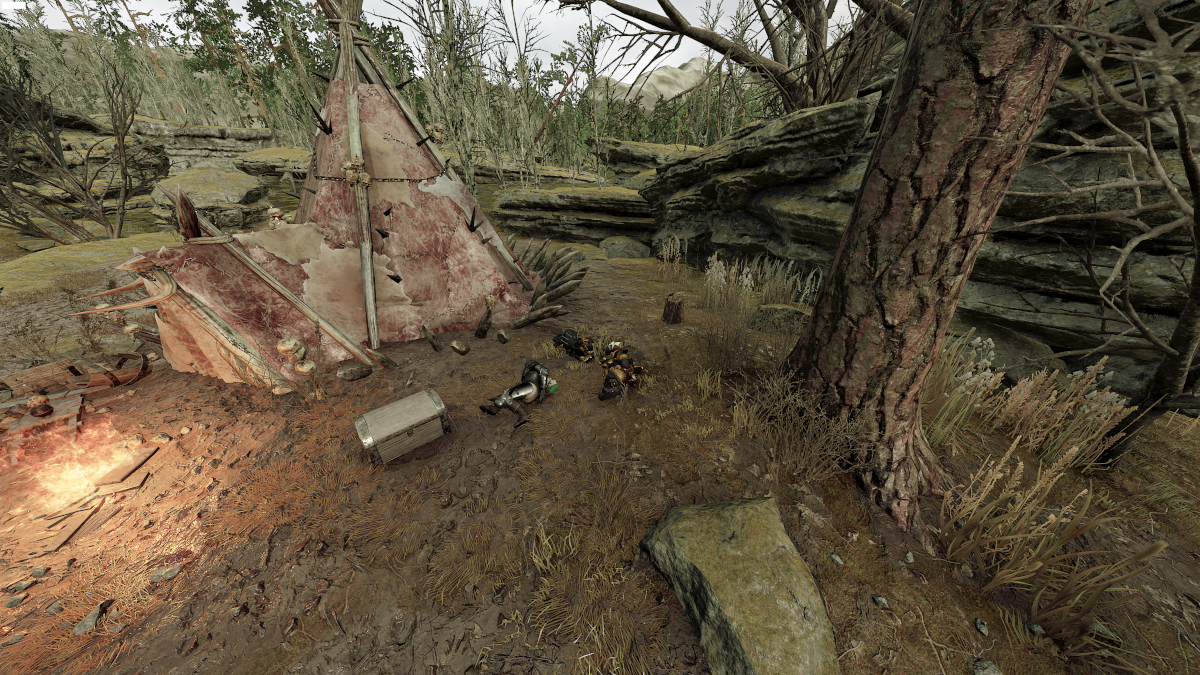
If you’re not able to back up to the wooden bridge, this is your next best bet before the dropdown. Stand near the wooden box if you’re up high on the left, otherwise stay before the tree. If you’re on the very far right, you can stand just after the sunken roof and be safe.
Landmarks
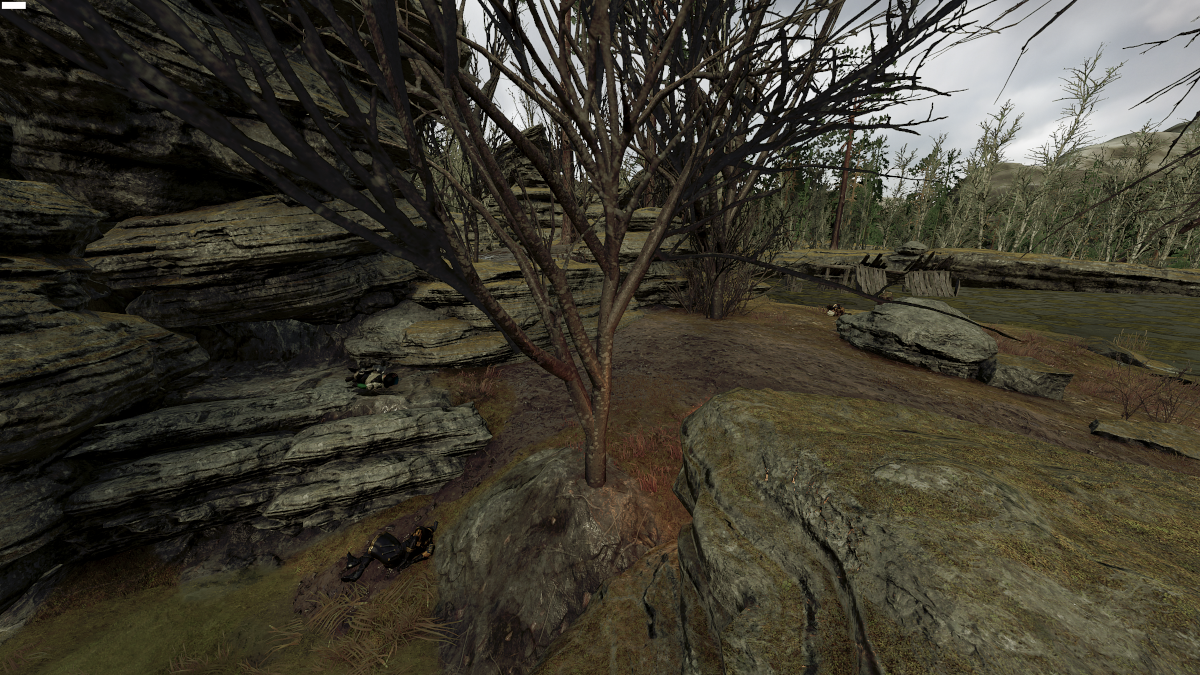
This tree is your best landmark here. Stay behind it and you’ll be fine.
7th Respawn – After 3rd Dropdown
This is kind of a rare respawn to see, since it is so easy to backtrack to the before-dropdown checkpoints. Nevertheless, here is where you can stand in case this is the best you can do.
Overview
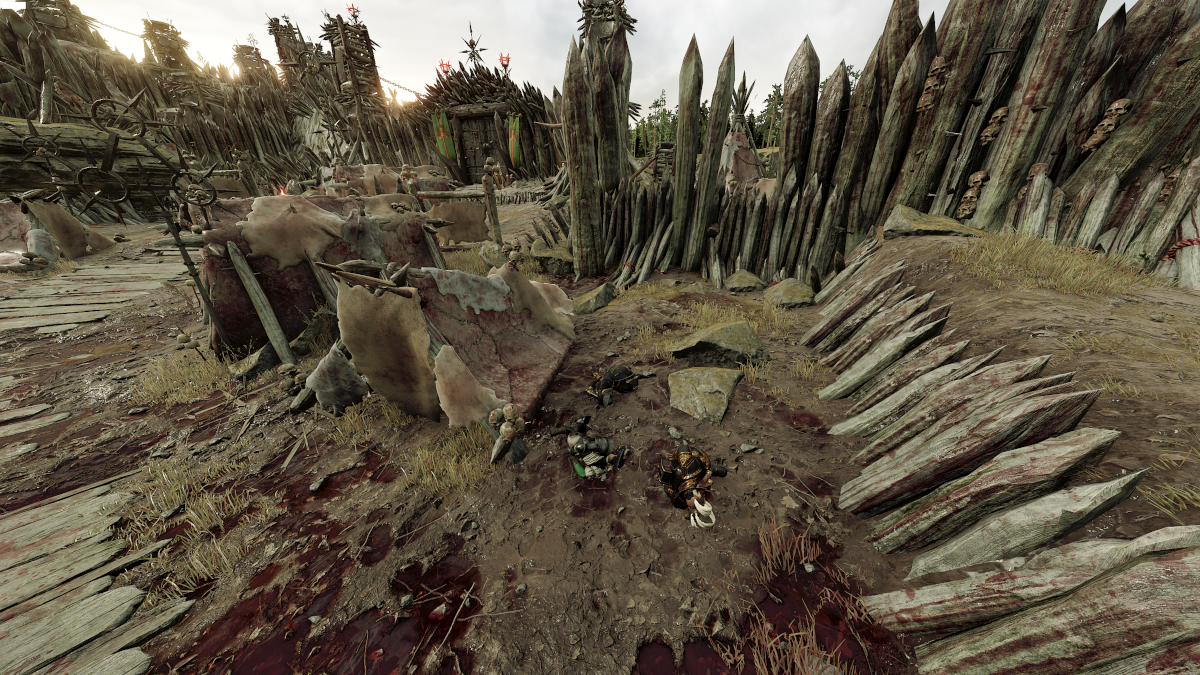
The left side of these houses is a little restrictive, but you basically want to be before the archway for a 1 person respawn, and to be safe, before the ground texture change for 2-3 people.
If you’re on the right side of the houses, you’ve got more room to work with. Just be careful not to walk too far forward, as there is a zone that teleports your map progress forward, past the checkpoint. Stand a couple feet back from the bottom right corner of the house in the top right to avoid it.
8th Respawn – The Lone Tent
The tent! Look at them, they’re just camping.
Important Note: This is the last respawn for a long time, be prepared to play a character down for a while if someone dies in this area.
Overview
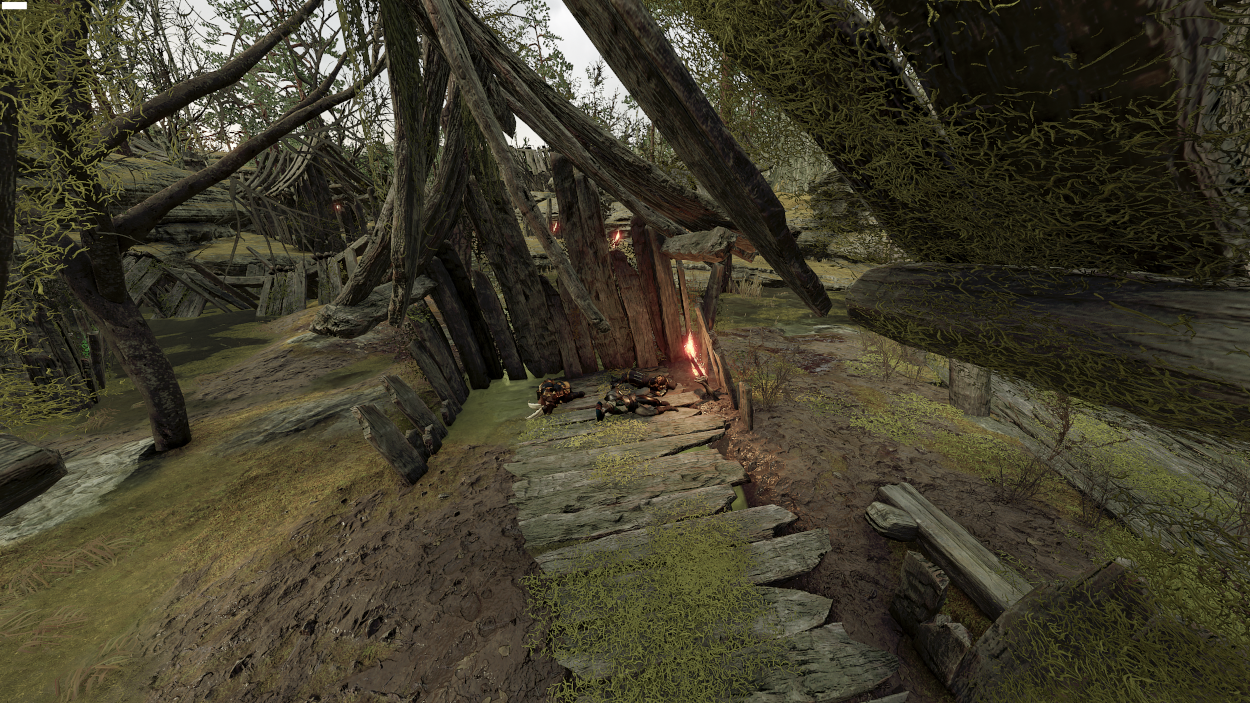
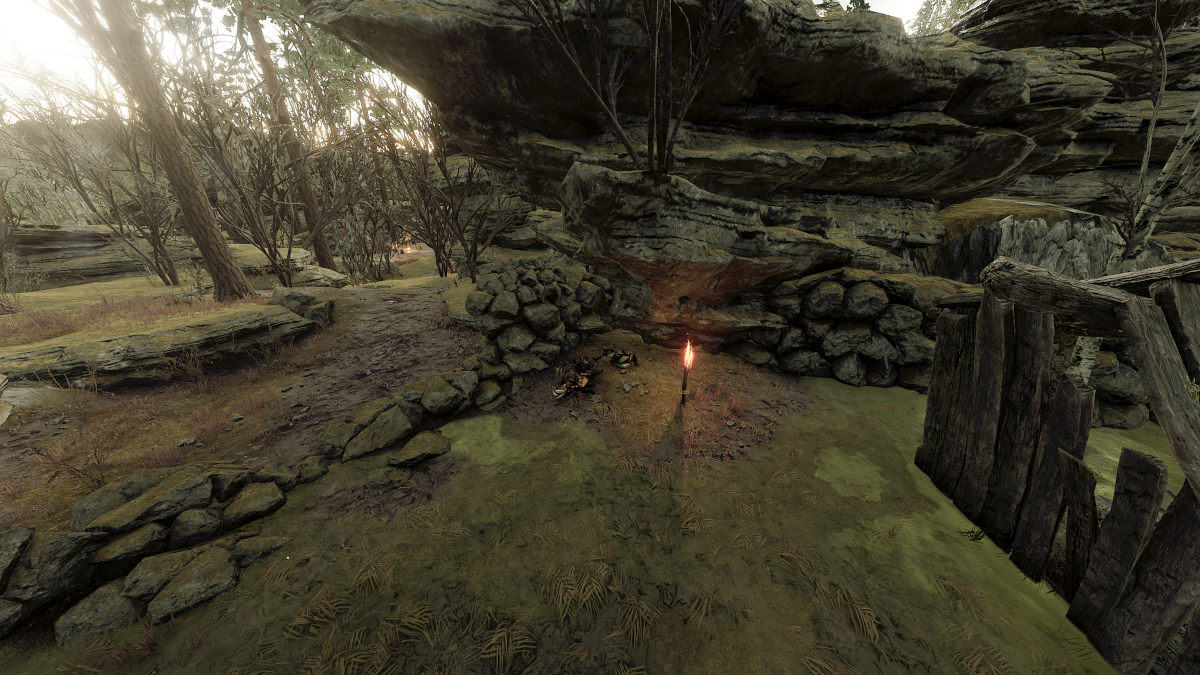
The stone wall before the dropdown is basically your landmark here, with some slight variation for 1-3 people. Stand behind the torch on the right side to be safe.
9th Respawn – 4th Dropdown
This is the dropdown before the 2nd grim area, and it’s kind of an important one. Any death that happens between the 3rd dropdown and the 4th before the grim is affected by this respawn checkpoint.
Overview
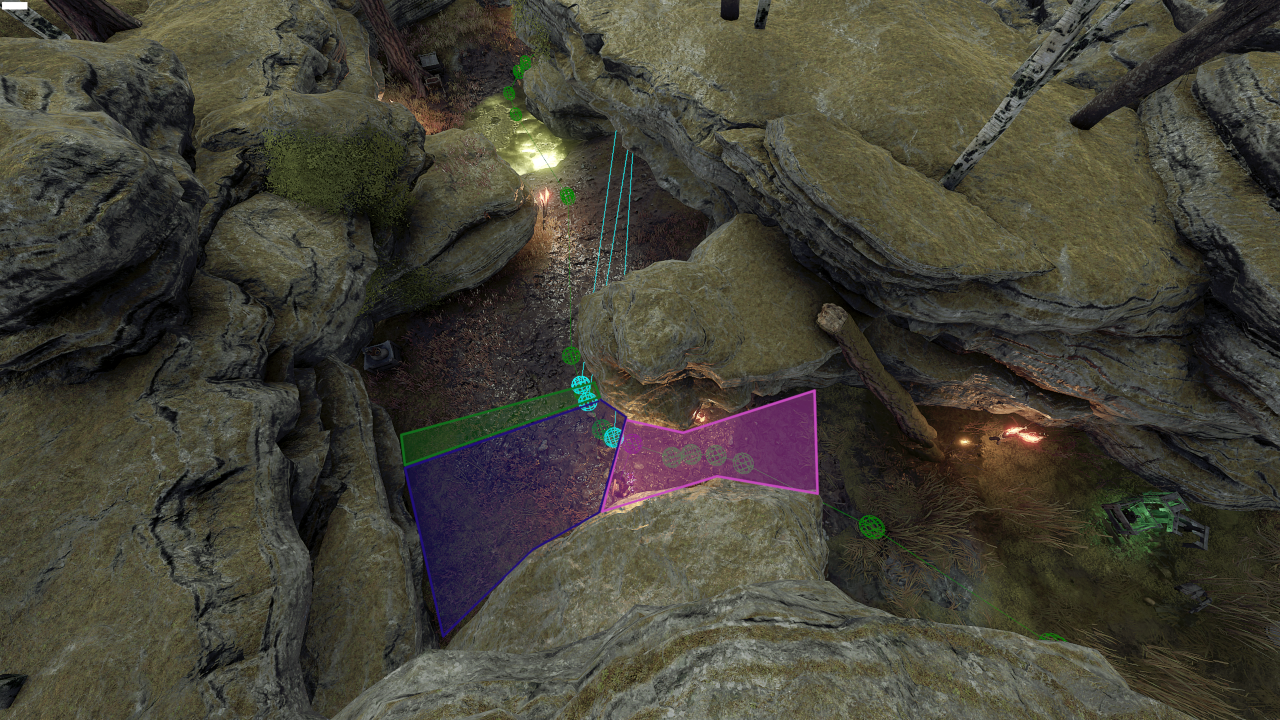
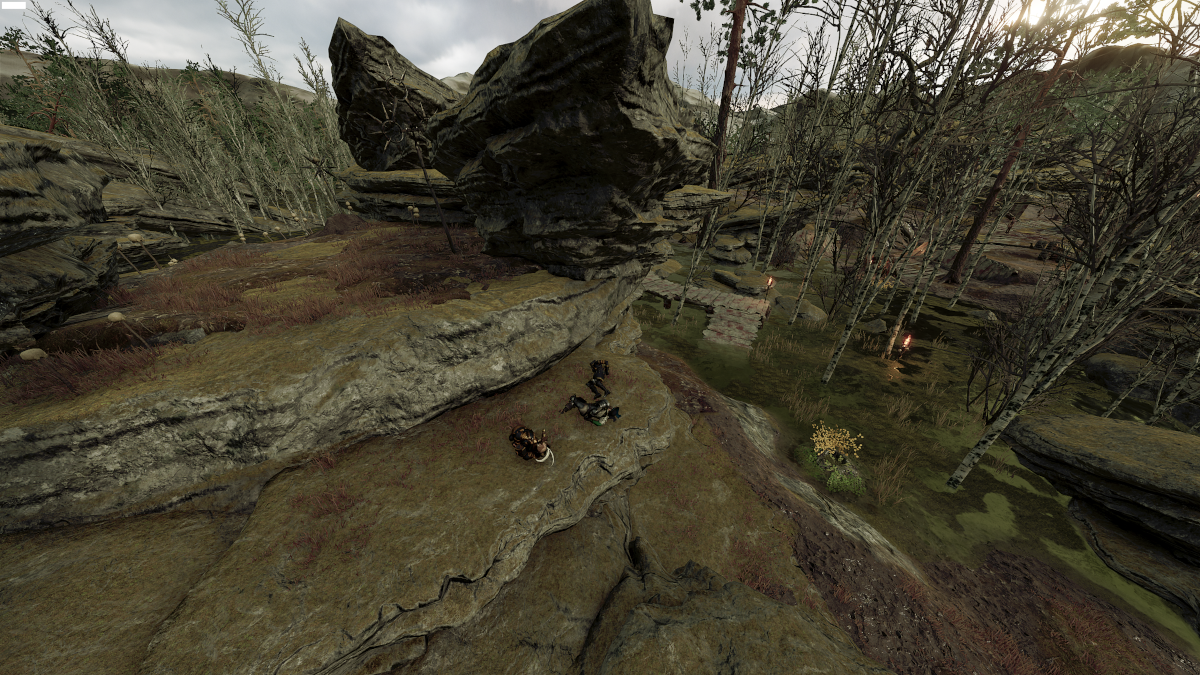
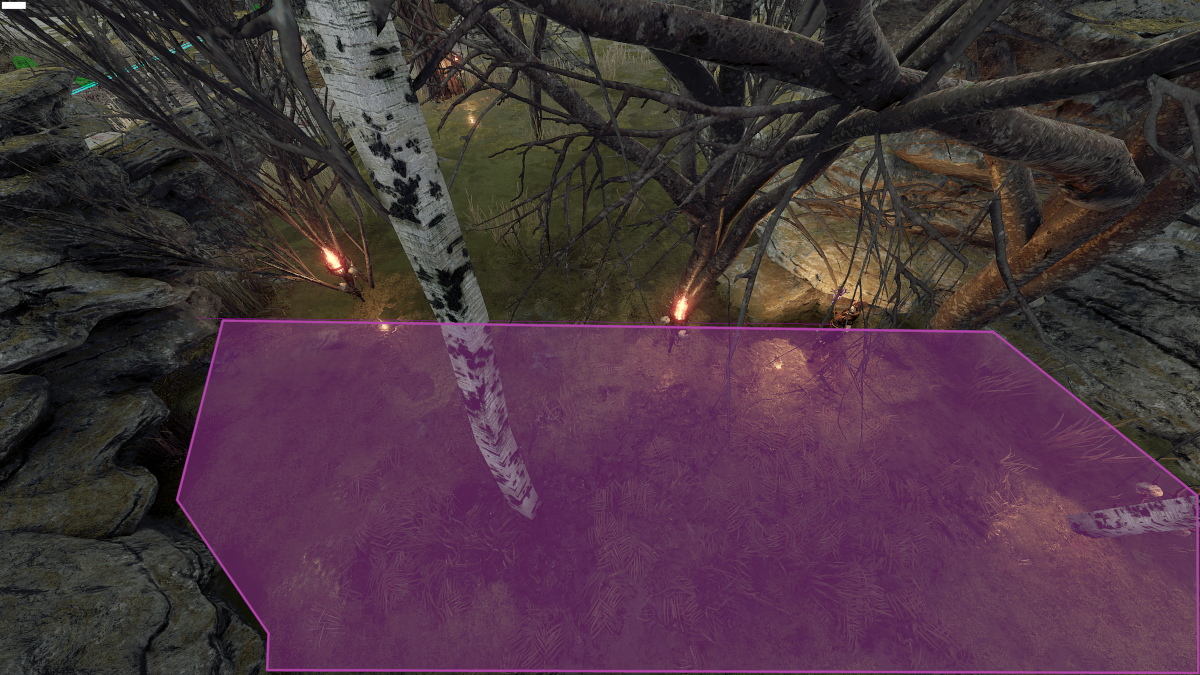
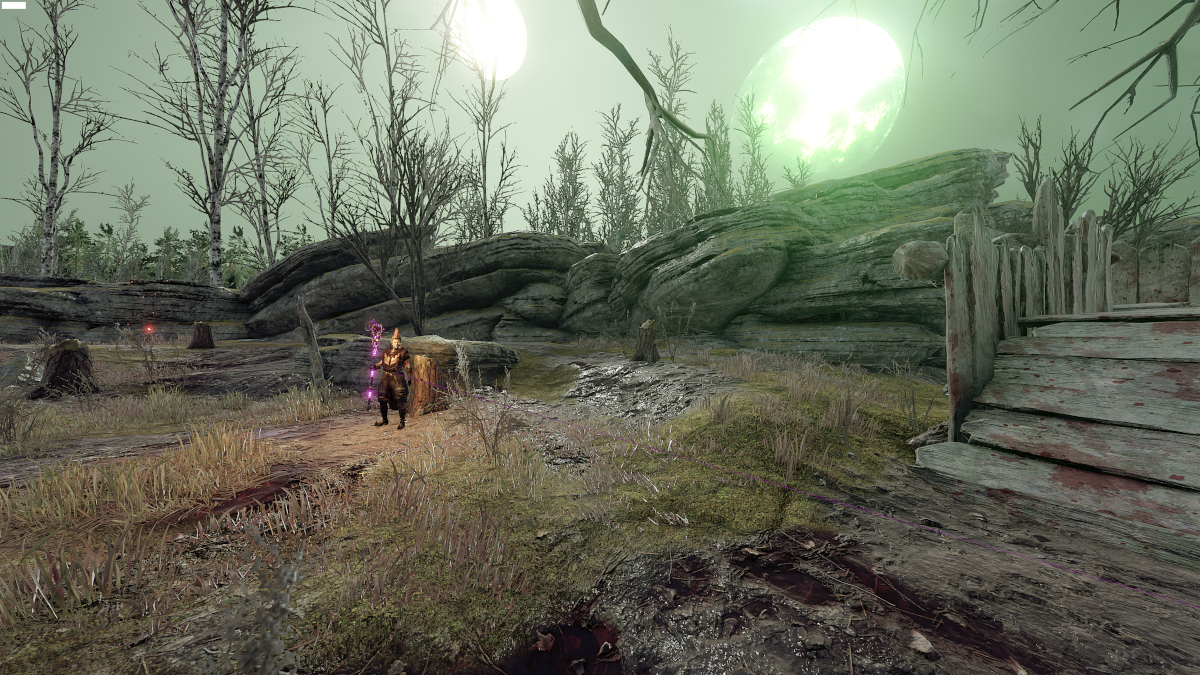
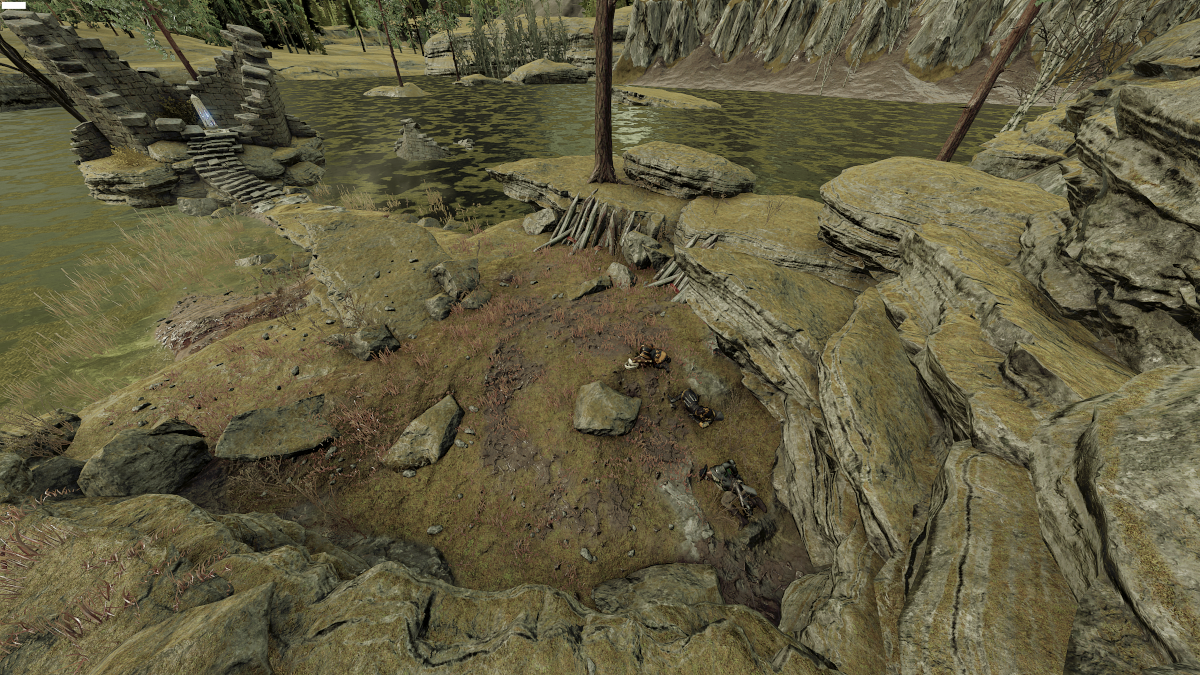
Stand before the choke-point here for the good respawn. The triangle-ish shaped rock on the left is a good landmark here, stand just after or on it and you’ll be safe for a 3 person respawn. Or you can use the broken section of the walkway only loosing 2-3 feet of ground.
If for some reason you’re in the swamp water on the right, near the tome, this is where you can stand. Technically you can go slightly past the white bark trees, but I would use them as your landmarks and stay behind them.
Important Note: After you drop down into this area from the previous respawn, you cannot get a better respawn than this. There is a large distance between the previous dropdown and the chokepoint just after the tent, and it does nothing to backtrack over there. Don’t waste your time.
10th Respawn – Wooden Walkway
I broke this one down a little bit, since there is such a large difference between 1 and 3 person respawns, and there is so much space you can move around in. If you’re looking for the best possible place to stand stay more towards the middle for each of these, since a straight shot to the respawns through the grim/swamp would be the fastest path.
Overview
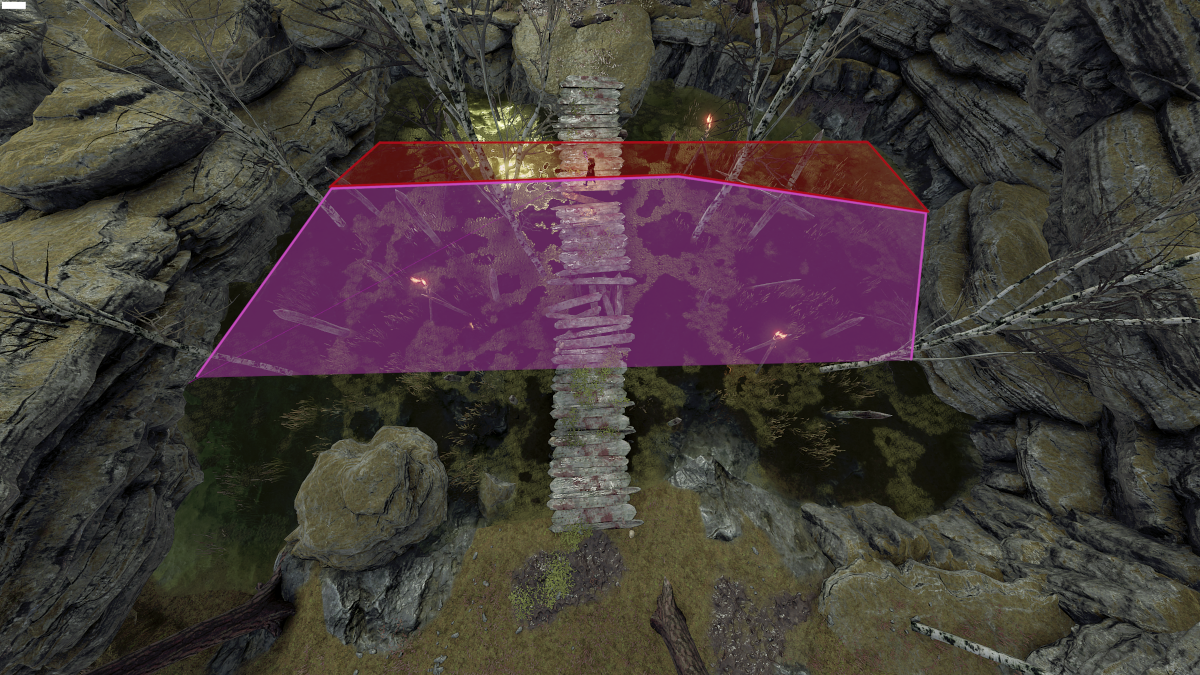
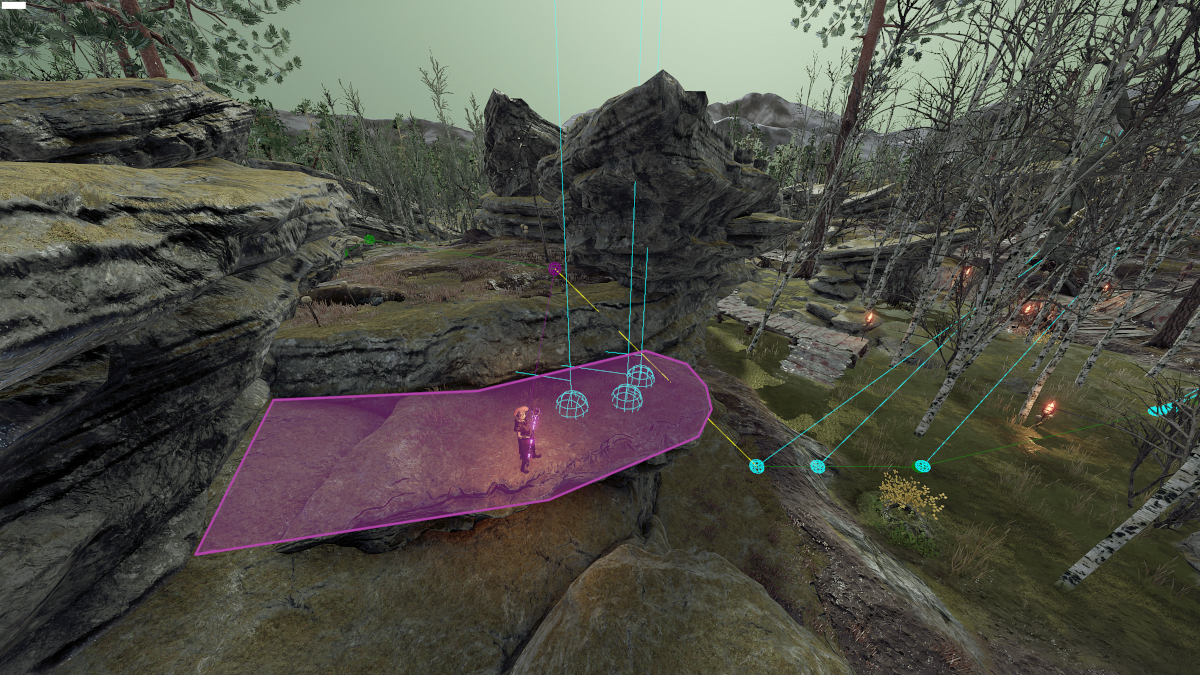
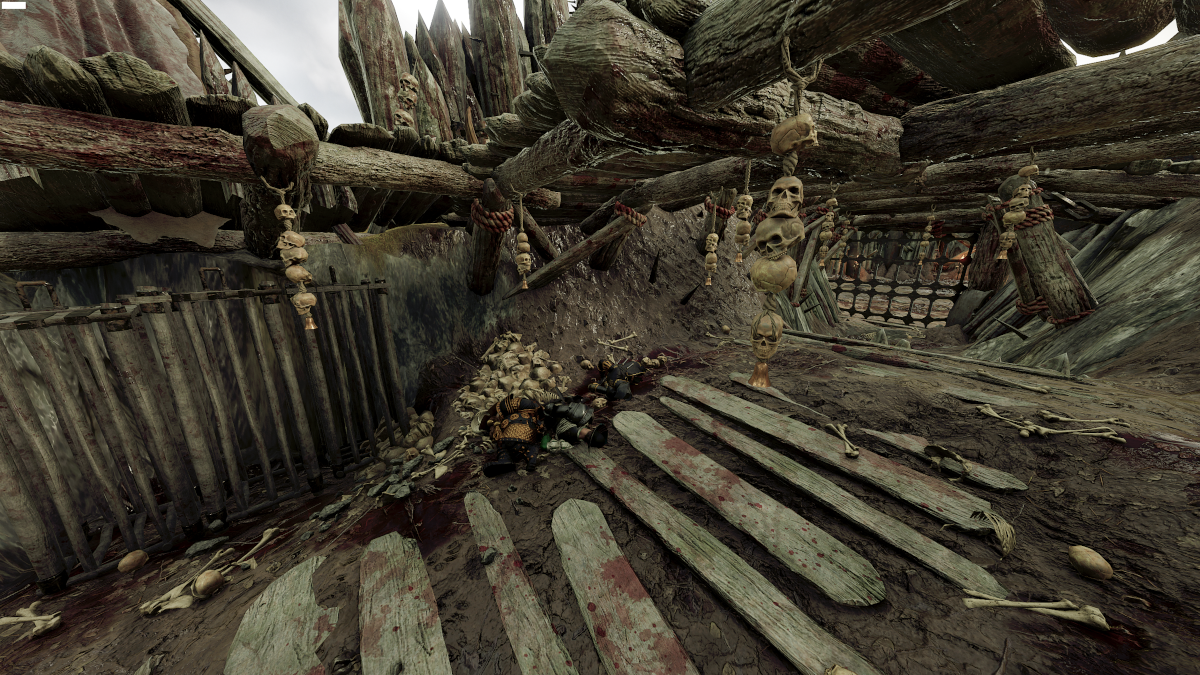
Stand on the ledge here before fully dropping down and you will get a 3 person respawn under the wooden walkway at the end of this area.
Note: You can jump back up here on the left side in case you’ve dropped all the way down. Makes for easier 3 person respawns.
For a 2 person respawn, you’ve got basically the area directly after you drop all the way down. a couple feet away from the start of the swamp-water on the left is a good landmark. If you’re on the right side, stay near the gap where the shore changes from rock to mud.
A 1 person respawn is kind of restrictive. Just dip your feet in the swamp water on the left, run through the path between the 2 rocks in the middle, or stand before the dark section of shoreline on the right.
11th Respawn – Path Up To The Event
Don’t know why you would want this one, since you’re so close to the one before it, but just in case…Like the other respawn in this area, it’s quicker to get your friends up the more centered you are (closer to the grim) so if possible, you’ll want to stand in that area.
Overview
If you’re stuck on the left side of this grim area, this is your restriction. The leg of the bridge I’m standing on here is a good landmark.
If you’re trying to sneak around on the right side you’ve got a little more space to move. Standing behind the tent with the candle, or through the lower path that takes you to the middle from there, will get you the spawn.
12th Respawn – Restock Before Ram Event
Overview
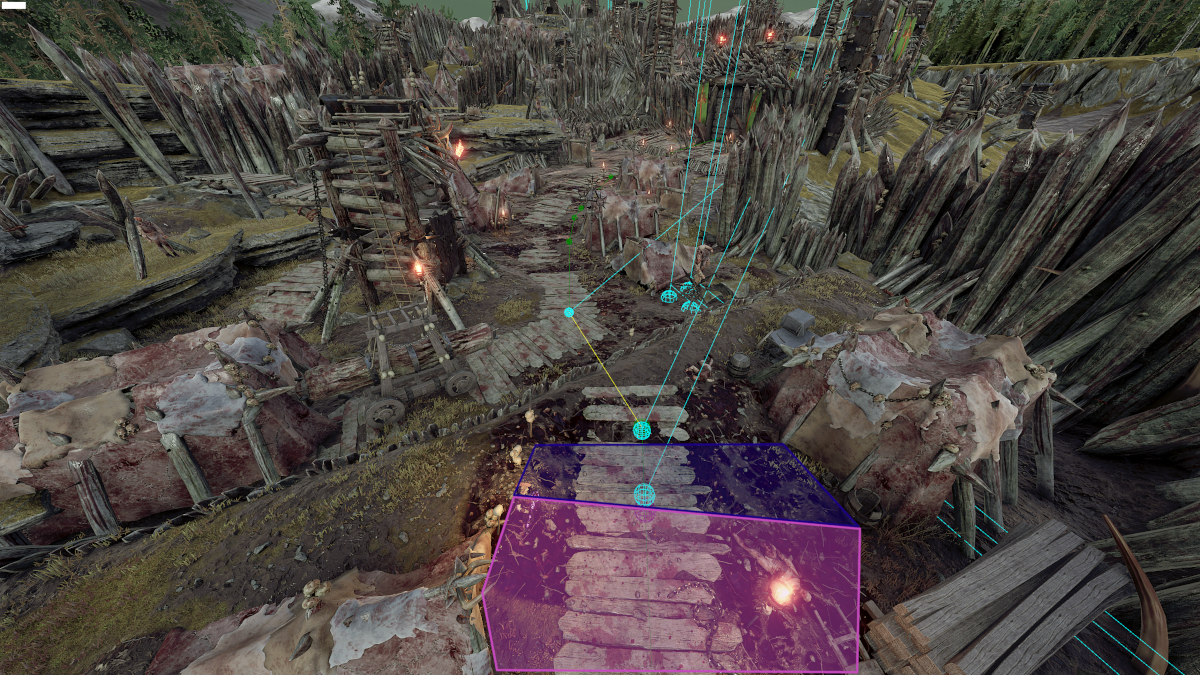
If you’ve snuck around on the right side path and lose someone, you can stand down at the bottom of this ramp to get the respawn at the top of the hill ahead. This avoids pulling un-aggro’d enemies in the rest of the area, but is a little further respawn.
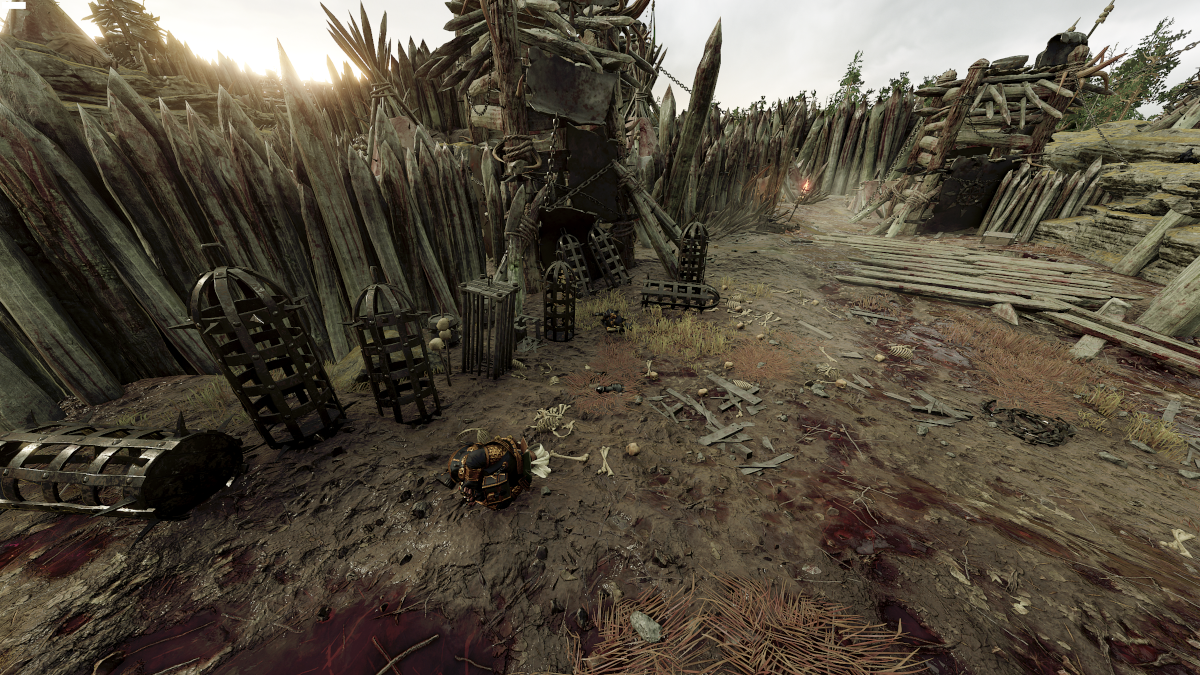
If you’re on the left side and can’t make it further back, this is what you have to work with. If you’re in the middle of the area, the large tree is a good landmark.
Landmarks
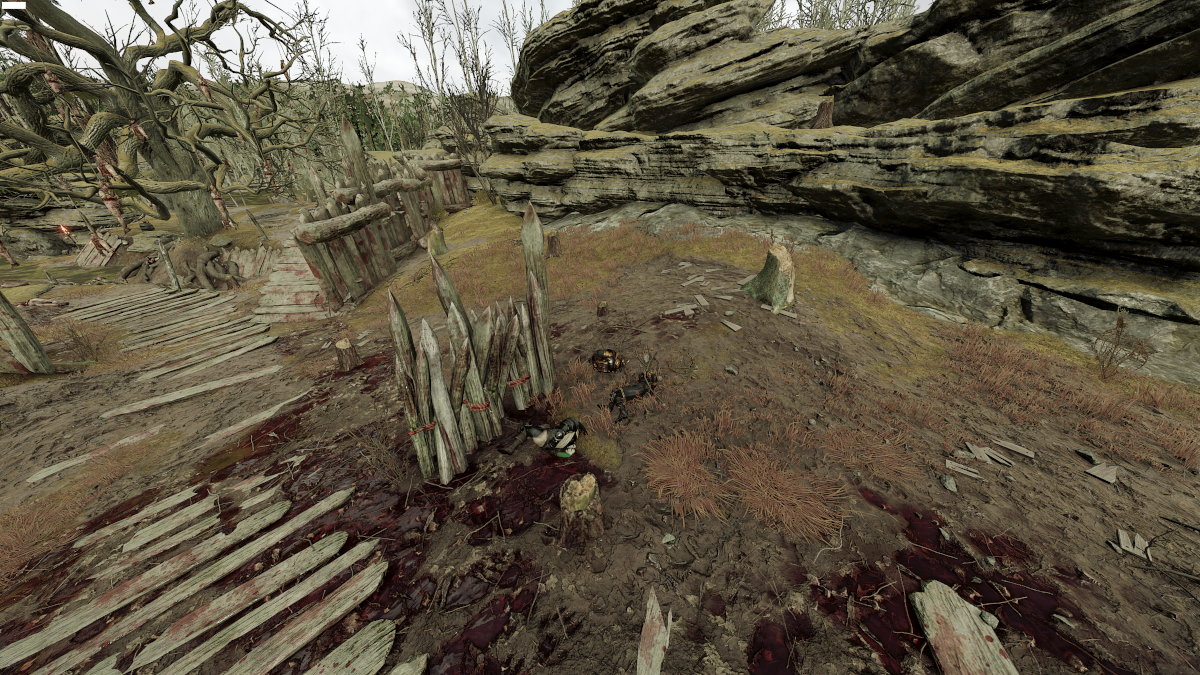
Stand before this tree stump and you’ll be fine.
13th Respawn – The Ram Event
Overview
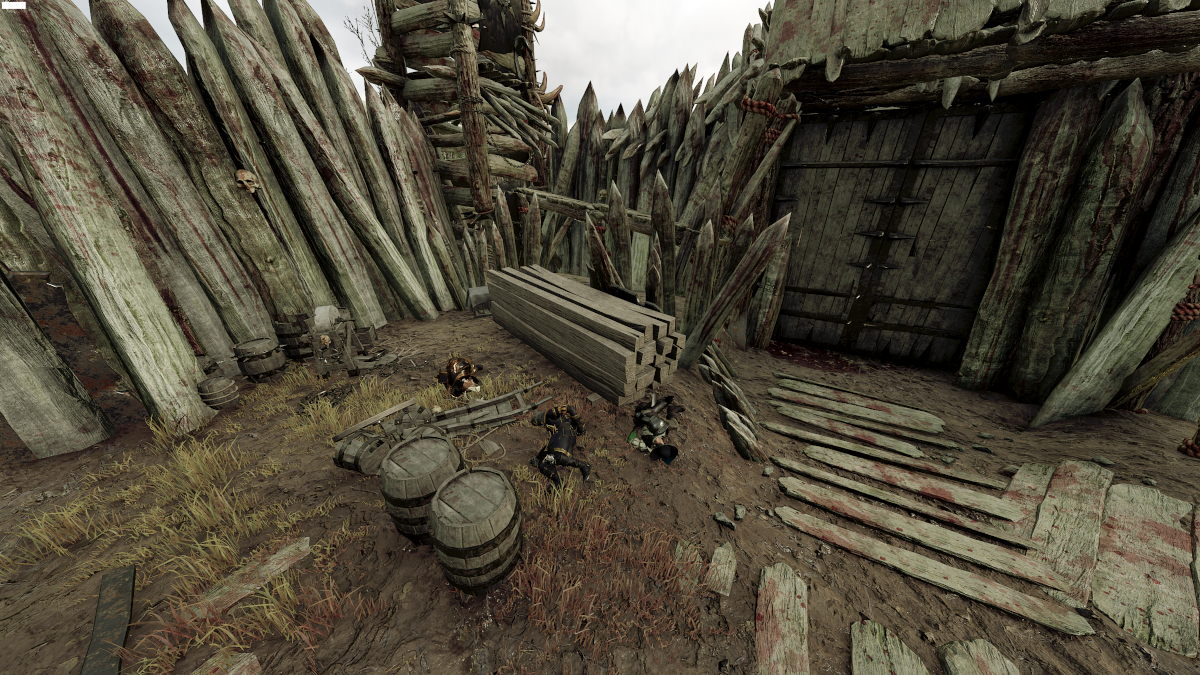
A death before the event dropdown means you have to back up to this point. If you don’t you won’t have your teammate through the entire event. Avoid the area on the right near the wall, as it messes with the respawns. Stay near the top of the ramp up for your respawns.
Landmarks
For a 1-2 people respawn, you can sit between these 2 boards.
14th Respawn – Entering the Camp
If someone is dead and you can’t back up to the restock area, don’t drop into the event, you will regret it.
Overview
Stand before the event to get a respawn after the ram event door. Hopefully you don’t see this respawn often, as you should be able to easily back up to the restock area at the top of the hill.
Important Note: If you don’t get this respawn or the one before it, you will be without a teammate for the entire ram event and the 2 waves of enemies after.
15th Respawn – Middle of the Camp
Overview
So you’ve either dropped into the event with a dead teammate, or they died during the event. Here’s where you want to stand after the door is broken.
Important Note: This is the last good respawn all the way to the boss, take care after this point.
16th Respawn – Before The Boss
Overview
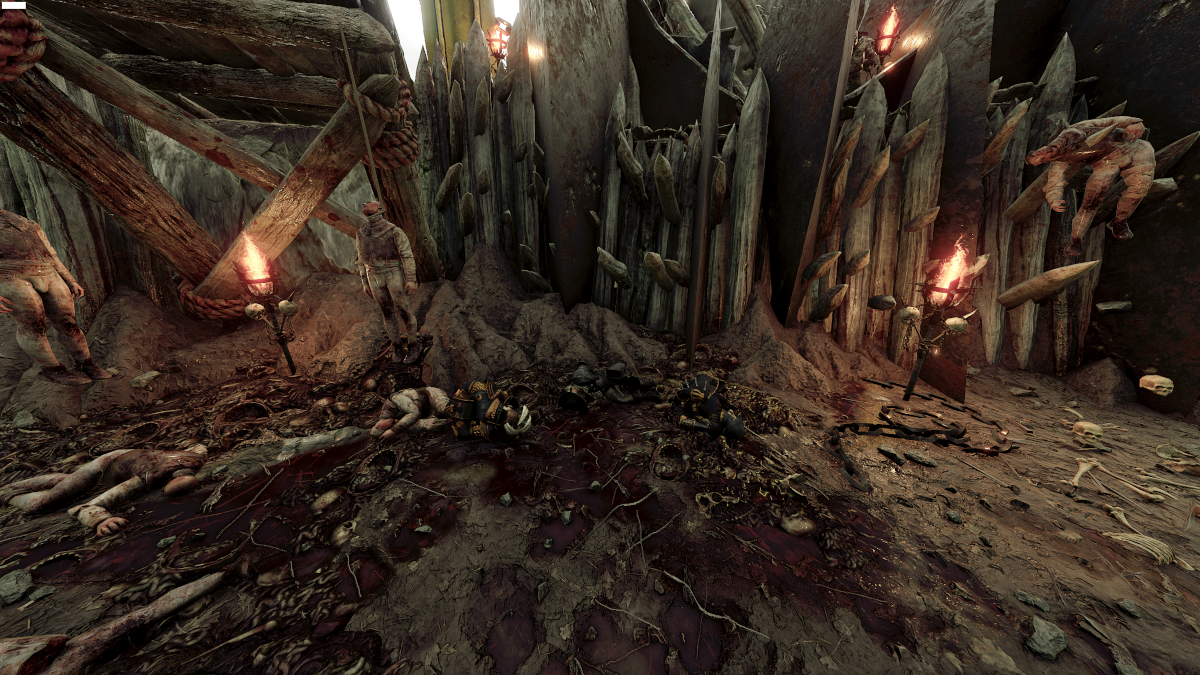
If you want your dead teammates to be able to grab heals before the boss, this is where you need to stand. It’s the hallway before the big campfire. If you go further than this, they will spawn in the event and miss out on the items.
Important Note: You will not make it back to the previous respawn, as it is all the way at the ram door. Do not waste time trying to back-track further if someone dies just before the boss.
17th and 18th Respawn – The Arena and The Escape
Entering the boss arena enables a respawn override. This forces respawns to go no further than inside the boss arena.
Overview
Dying while the boss is still alive give you a respawn in with the boss. Once he is dead, the checkpoint override is removed and you will respawn at the bottom of the escape, just before the portal. Not much for strategy here other than potentially kiting the boss around before killing him, if you have a dead teammate.
Conclusion
You’ve escaped the swamp, congratulations! As always, I’m open to suggestions and feedback, so just leave a comment if there’s something you think I did wrong or I should change. Thanks again to Craven for his Level Debug mod and for looking into some of the more wonky issues with the progression mapping.
Mods I used:
https://steamcommunity.com/sharedfiles/filedetails/?id=2355163104
https://steamcommunity.com/sharedfiles/filedetails/?id=2485160022
(To disable pacing)
https://steamcommunity.com/sharedfiles/filedetails/?id=1497861728&searchtext=photo
https://steamcommunity.com/sharedfiles/filedetails/?id=1384087820&searchtext=true+solo
(To kill those pesky bots)
Hope you enjoy the Guide about Warhammer: Vermintide 2 – Warcamp Respawn Guide, if you think we should add extra information or forget something, please let us know via comment below, and we will do our best to fix or update as soon as possible!
- All Warhammer: Vermintide 2 Posts List




Leave a Reply