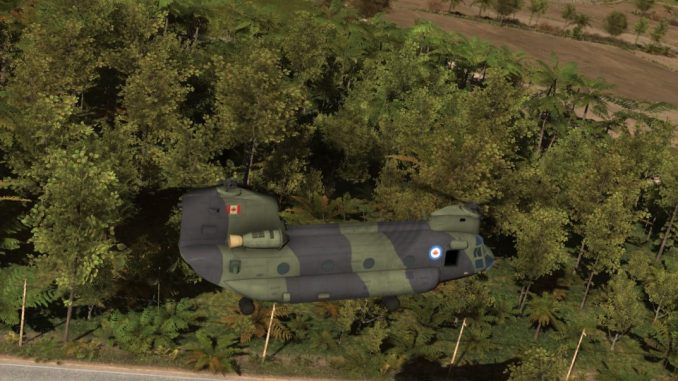
Setting and tactics
The balance of forces in the first battle of Second Korean War looks terrifying on the first glance: the REDFOR has better and more ships, as well as more destruction and reinforcement points.
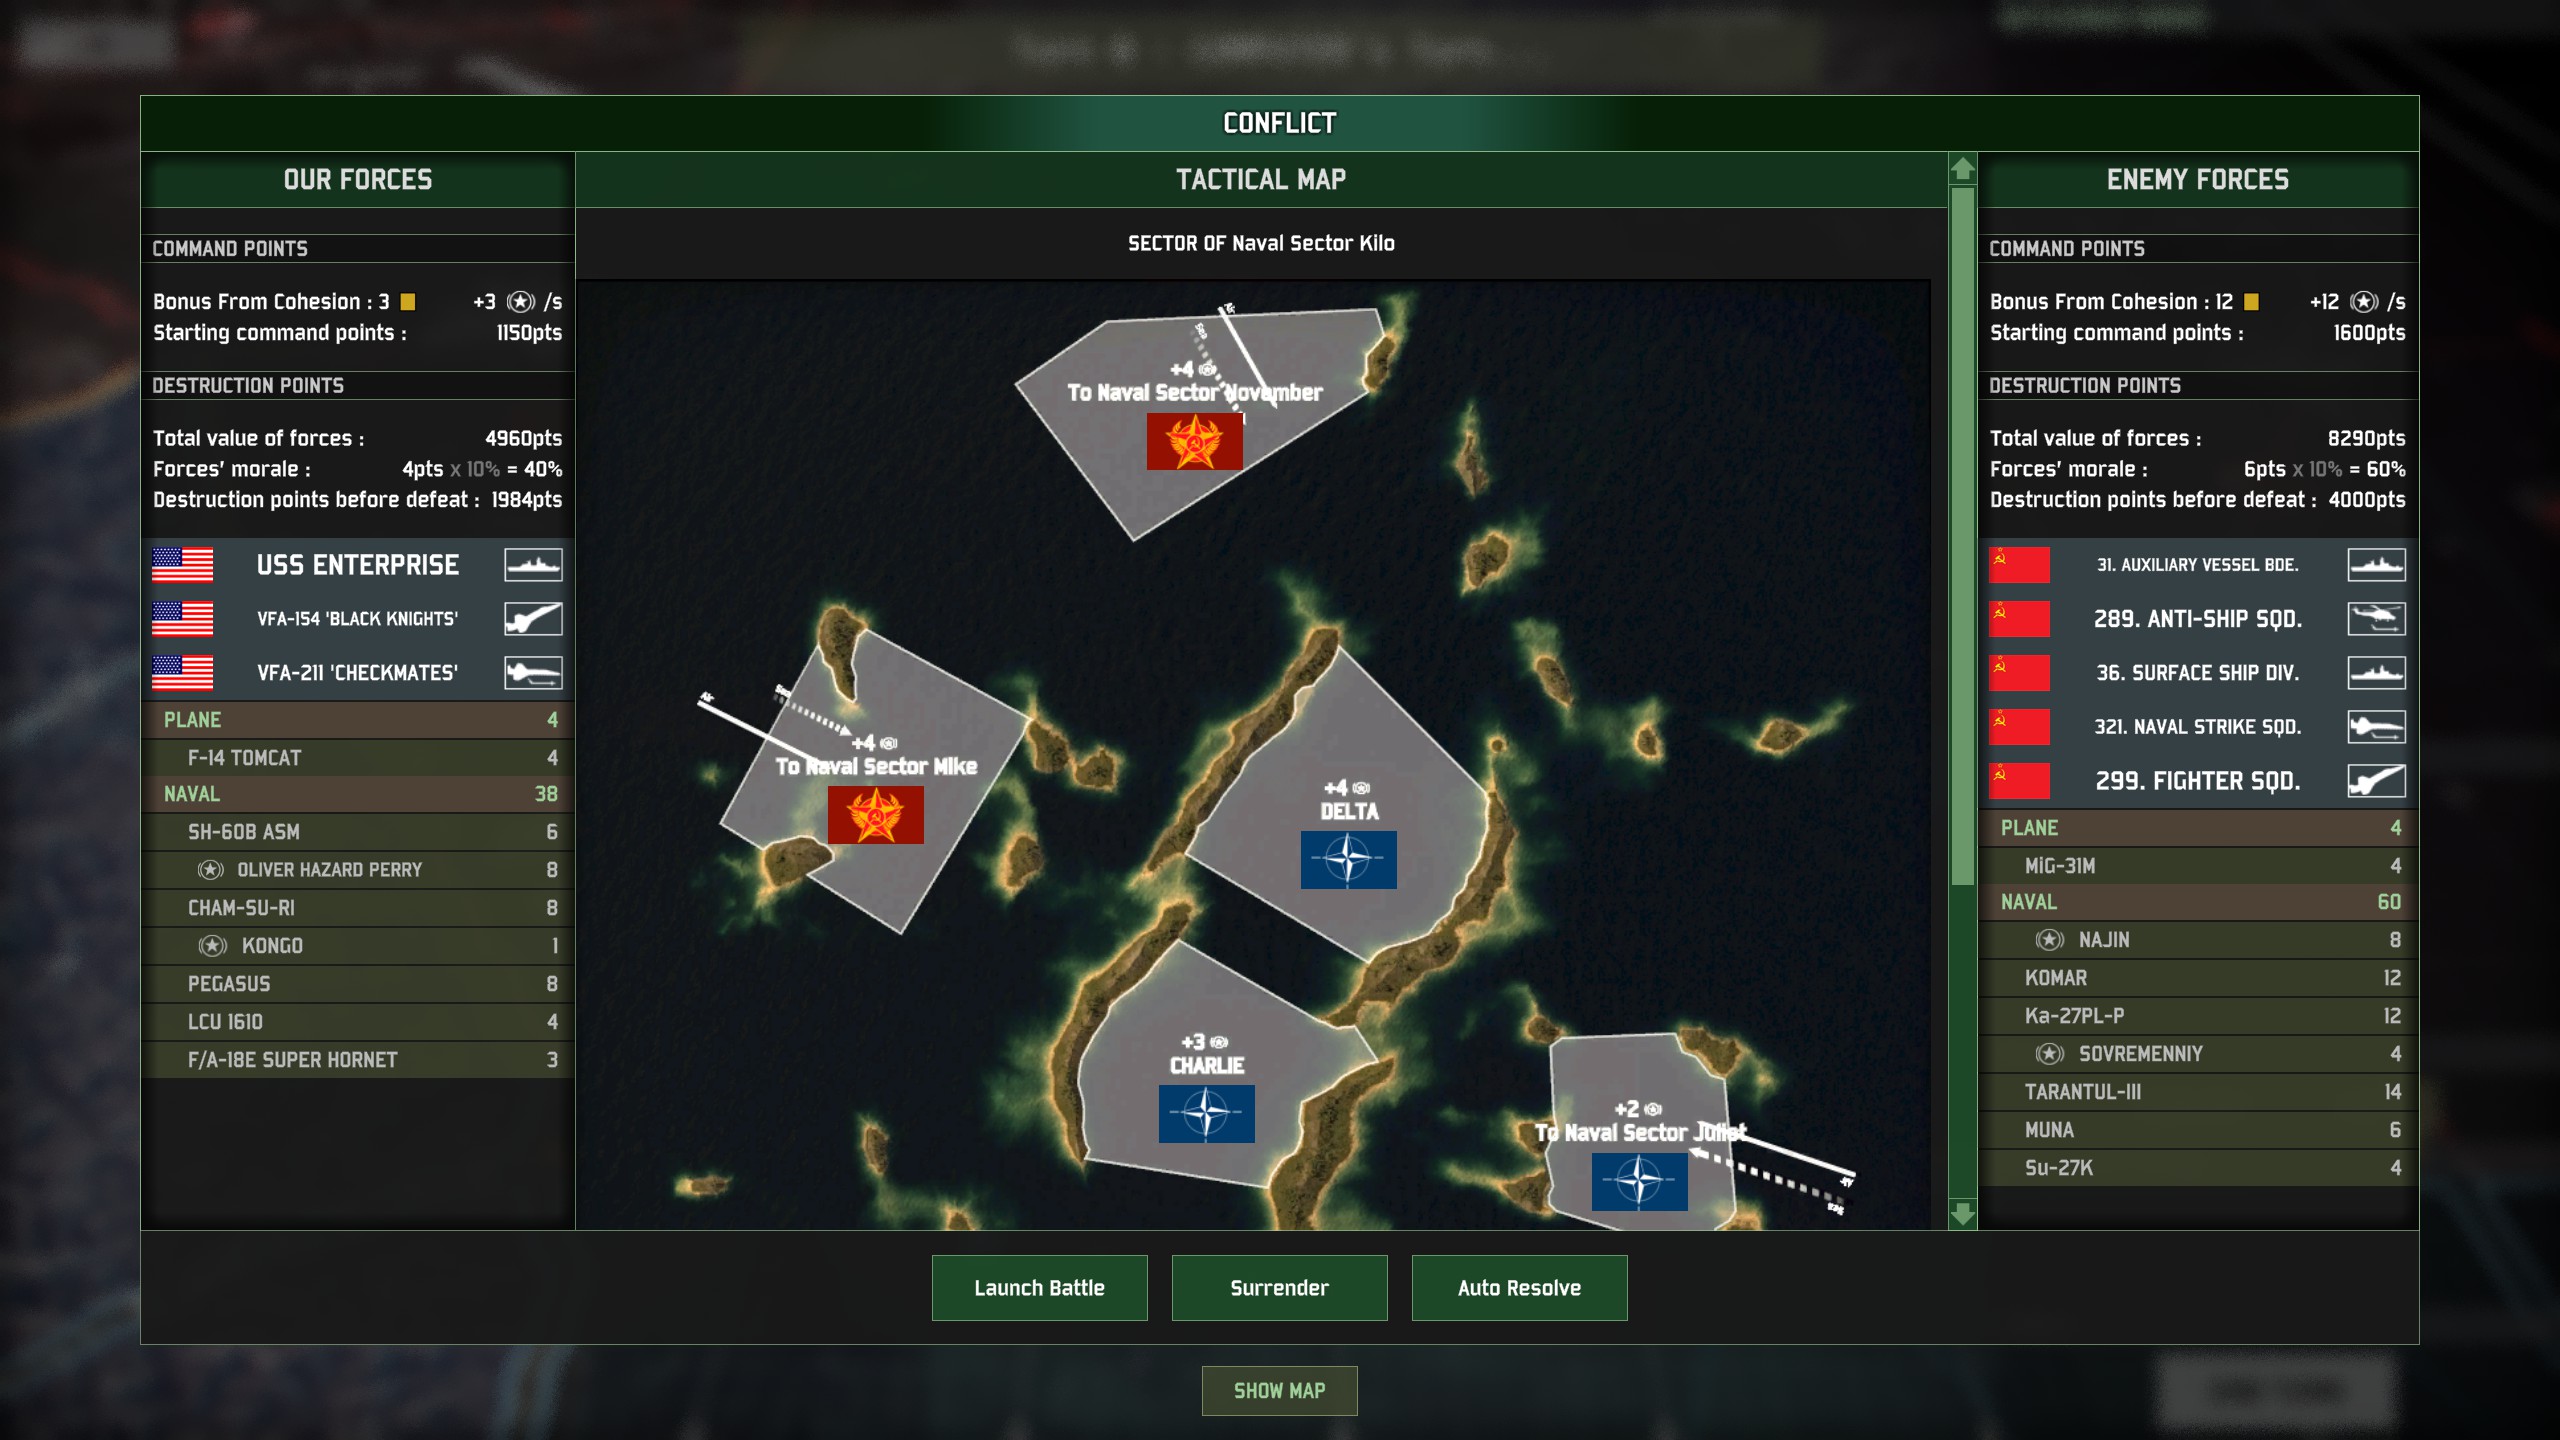
You, however, have three important advantages: you are defending, the map has a lot of islands for hiding, and you are playing against an AI. The latter is the most important as the AI is predictable and makes mistakes.
For example, the REDFOR battle group has 4 Sovremenny’s, and it will spawn all of them pretty early. This is a lot: if it attacked with all 4 at the same time I wouldn’t stand a chance. Thankfully, the AI always caps their 2 spawn sectors with Sovremenny’s, and attacks you with the other two. (This is actually true for all the other naval battles you will have.)
There are several ways to approach naval battles. I like relying on anti-ship missiles (ASM’s), but sometimes guns are called for as well. To help understand the tactics of fighting with ASMs you need to understand how to defend against them. Broadly, there are 3 ways:
- ECM, which acts as a multiplicative reduction to the accuracy of the incoming missiles. The higher ECM on the defending ship, the better
- Defensive missiles and guns. Some ship anti-air missiles and main guns have the [DEF] tag, which means they can be used to intercept incoming missiles. This is generally a feature of larger ships in Wargame: Red Dragon.
- CIWS (Close-in missile system), which targets just ASM’s and is generally fairly short-ranged. The stats are abstracted by a “quality level” from “very bad” to “exceptional”. As far as I know the details of the individual stats of each quality level are not known, but from my observations, the better the quality, the further away it can engage missiles and the faster it can kill them.
Now, here is something that took me a while to understand and, I suspect, many don’t realize: CIWS quality doesn’t matter.Yes, Udaloy’s “exceptional” CIWS looks and sounds really cool, and it seems to kill a lot of missiles, but here’s a thing about CIWS: it can be overwhelmed and it doesn’t protect you against splash damage. If your CIWS kills the missile close enough, your ship will still get a fraction of the damage. You might have seen this if you’ve been relying on Cham-Su-Ris: every now and then they’ll get one block of health damage. Here’s what happens there: the missile didn’t score a direct hit — otherwise the ship would have been dead — but it exploded close enough the ship to deal damage. The “good” CIWS worked, but just not well enough. This is bad for two reasons: enough of these splash hits can kill any ship, and taking damage tends to panic the ship reducing accuracy. The accuracy reduction applies on both offense and defense, so taking damage generally tends to snowball.
You might have also seen CIWS being overwhelmed: send enough ASMs even against Udaloy’s “exceptional” CIWS and some will hit. That’s because all the CIWS guns engage the closest missile, even if there are extra ones coming right behind. Because the CIWS range is so short (once again, I don’t have exact stats, but it looks around 500m to me), by the time it kills the first missile, the following missiles might be too close.
ECM is nice, but also doesn’t matter much. It reduces the number of missiles that can hit you, unlike CIWS and defensive missiles, doesn’t prevent the ship from getting hit. Also, the CIWS and defenses will engage the missiles regardless of whether they would have hit anyway.
On the other hand, the main weapons with the [DEF] tag are fantastic for defense against ASMs: especially the AA missiles. They have much longer range than CIWS: for example, the OHP’s SM1 has a range of 3500m with accuracy of 50%. So, you need just two SM1’s to reliably kill an incoming ASM, and you are guaranteed to not take splash damage.
So the tactic of fighting with ASMs is as follows. On the offense, fire as many ASM’s as possible at the same time while keeping outside the range of their ASM’s (if possible). My rule of thumb is to attack Udaloy’s with at least 6 Harpoons at the same time, Sovremenny’s with at least 4, and Nanuchka’s/Tarantuls with 2-3. Najin’s are actually bad enough they’ll die to individual Harpoons.
On defense, use good defensive AA missiles with CIWS only as a last-effort defense. Important: make sure to keep the AA and anti-ship missiles resupplied. Running out of your defensive AA missiles is very dangerous.
Units
Now that we covered the tactics of using ASMs, let’s talk about which units you should use for it and which you should fear from REDFOR.
The common misconception is that the Kongo is the best asset you have. Indeed, on paper, it is a formidable ship that is comparable to the Sovremenny (and the Udaloy that you will face later). Very good CIWS, great main gun and AA missiles, great ECM, lots of HP and armor. You’ve probably played with it and found that it has high survivability, especially against ASMs, which is a great asset, given the strategy. It is the only unit that has a main gun that can go toe-to-toe with Sovremenny’s or Udaloy’s.
However, the Kongo has two important disadvantages:
- It’s ASMs are fired from the side and in sequential volleys, four at a time. The volley structure makes it particularly problematic, as they are spaced about a second apart which provides enough spacing that Sovremenny’s and Udaloy’s CIWS can usually deal with each without any trouble. Also, once it fired the missiles from one side, it has to rotate (very slowly!), to the other side to fire the other 4. You can sort of prevent the latter from happening if you keep it resupplied while it’s firing, but doesn’t always work. The way it fires makes Kongo really bad on offense. It will waste a lot of ASM’s and, by extension, supplies. In this battle, you start with 4 LCUs, which is barely enough. So, you can’t afford to waste ASM’s
- At 420 points, it’s bad value. Yes, that’s cheaper than the Udaloy or Sovremenny (both at 500 points), but those two are better at both the defense and, especially, the offense (firing two better ASM’s at a time). So, the only reason to take the Kongo is for defense. But is it worth it? Consider why it’s so survivable. Maybe it’s the “very good CIWS”? But we’ve already established that CIWS and ECM doesn’t matter, so there’s got to be another reason. If you look at it’s weapons, you notice it has the great SM2 missile that can be used to intercept ASMs. Moreover, it has a whopping 96 (!) of them. That’s often enough to defend Kongo for the whole battle without resupplying. But should you pay 420 points for, basically, 96 AA missiles when for 405 points you can get 2 Oliver Hazard Perries and an LCU? I think not! Incidentally, the low value of the Kongo is also why I don’t recommend getting the 20pt escort flotilla from Japan — it’s just not worth it!
So what should you get? You might have guessed that I’m partial the Oliver Hazard Perrys. Per point, they are the best value ships BLUFOR and, by extension, the USS Enterprise escort has. For 165 points you get 16 (!) ASMs. No other ship on both sides gets that many. Compare that to Kongo that has 8 missiles, but costs 420 points. Or to the Pegasus, that gets 8 missiles and costs 100 points, but has no defense against ASMs at all. The OHP also gets Medium CIWS (basically enough to intercept individual ASMs) and great AA missiles (SM1, which is virtually as good as SM2). Finally, it has respectable HP and the same armor as the Kongo. And it’s a command ship! Finally, you get 8 of them!
However, it has several downsides:
- It only has 16 SM1 AA missiles. If you’ve played with the OHP before and had it die on you to ASMs, that’s why. They run out of them really quickly when defending against ASMs. Once they run out, they get hit, and it snowballs from there. However, if you promptly resupply them, it’s not a problem
- Their main gun is not very good, compared to Kongo (or Sovremenny and Udaloy), with much lower accuracy and damage. However, you cannot outgun 4 Sovremenny’s if all you have is one Kongo anyway. So, just don’t rely on the gun.
- They only fire one ASM at a time. Between it’s low accuracy (40%) and single missile volley, the are just no match for Sovremenny’s (or, for that matter, Tarantul/Nanuchka’s) defenses. So, you have to use several Perry’s to fire at the same time. Luckily, you have them in large supply and for cheap, so that’s absolutely doable.
Another great asset that you have is the F/A-18E Super Hornet, which is the best anti-ship missile plane in the game. It carries 2 Harpoons, which it fires in quick succession. Furthermore, for some mysterious reason, it’s Harpoons are way more accurate (65%) than those carried by ships (40%). In addition, the are great at air superiority, carrying 6 (!) AMRAAMS and 50% ECM (highest for air-superiority fighters in the game). Arguably, they are your best asset in this battle. However, you can’t win battles with just planes in this game since they can’t hold territory.
Let’s quickly talk about what are the best units on the REDFOR side. If you’ve played this before, you’ve probably been impressed by the Sovremenny. And rightly so: it’s Moskit missiles have a longer range (9450m) and higher accuracy (70%) than Harpoons (8750m and 40% respectively). It’s a truly terrifying weapon, so why are we even trying to compete? Well, because it’s main gun is also terrifying and, as I mentioned before, you don’t have that many good guns. Finally, it has very accurate (60%) AA missiles, and very good CIWS. Really, the only reason it’s possible to win against them is that the AI doesn’t attack with all 4 at the same time.
Another truly scary unit that the enemy has is the Moskit. At 60 points, it’s terrifying. It has 4 low range (~5km) Termit ASMs with decent accuracy (50%), which it fires in very quick succession. It’s a pretty much a guaranteed hit against anything below Very Good CIWS, and it does a ton of damage. It has a dedicated, but mediocre CIWS gun, but that doesn’t matter: because of it’s “Coaster” class, it cannot be targeted by ASMs at all. So the only way to kill it is with guns. And the attacker force gets 12 (!) of them. If the AI just deployed those and used them wisely, it would have been game over. Thankfully, at least in this battle, the AI seems to misuse the Moskits a lot.
Walkthrough Pt. 1
You want to capitalize on the advantages you have:
- the fact that you are defending and have more sectors to start. It’s important to cap all of the sectors from the beginning because you have lower cohesion than the enemy. Without any sectors, the enemy will be getting 12 points per 4 seconds, while you will only be getting 3. Capping all the starting sectors will help you even the playing field a bit.
- use the best units you have: the OHP and the Super Hornet. In particular, take care to mitigate the OHPs’ disadvantages. Keep the well supplied with AA missiles and make sure at least 4 of them fire Harpoons at the same time.
If you are a new player, I recommend you set your speed to Very Slow or Slow initially, as you will have to deal with several things at once in the beginning. Slowing the speed will allow you to manage the focus as well as plan your next steps, which can be overwhelming if you are not used to it.
I recommend having most of your engagements in the middle of the map. It is closed off from two sides, so ships staying there are relatively well protected, while the attacking ships will get funneled in from two sides through relatively narrow opening. I find that most often the enemy attacks from the north, towards sector Delta first. With follow up attacks from the north-west on sector Charlie.
So I place 3 OHPs and 2 LCUs in Charlie, and an OHP each in the rest of the sectors. And that’s basically all you have deployments points for.
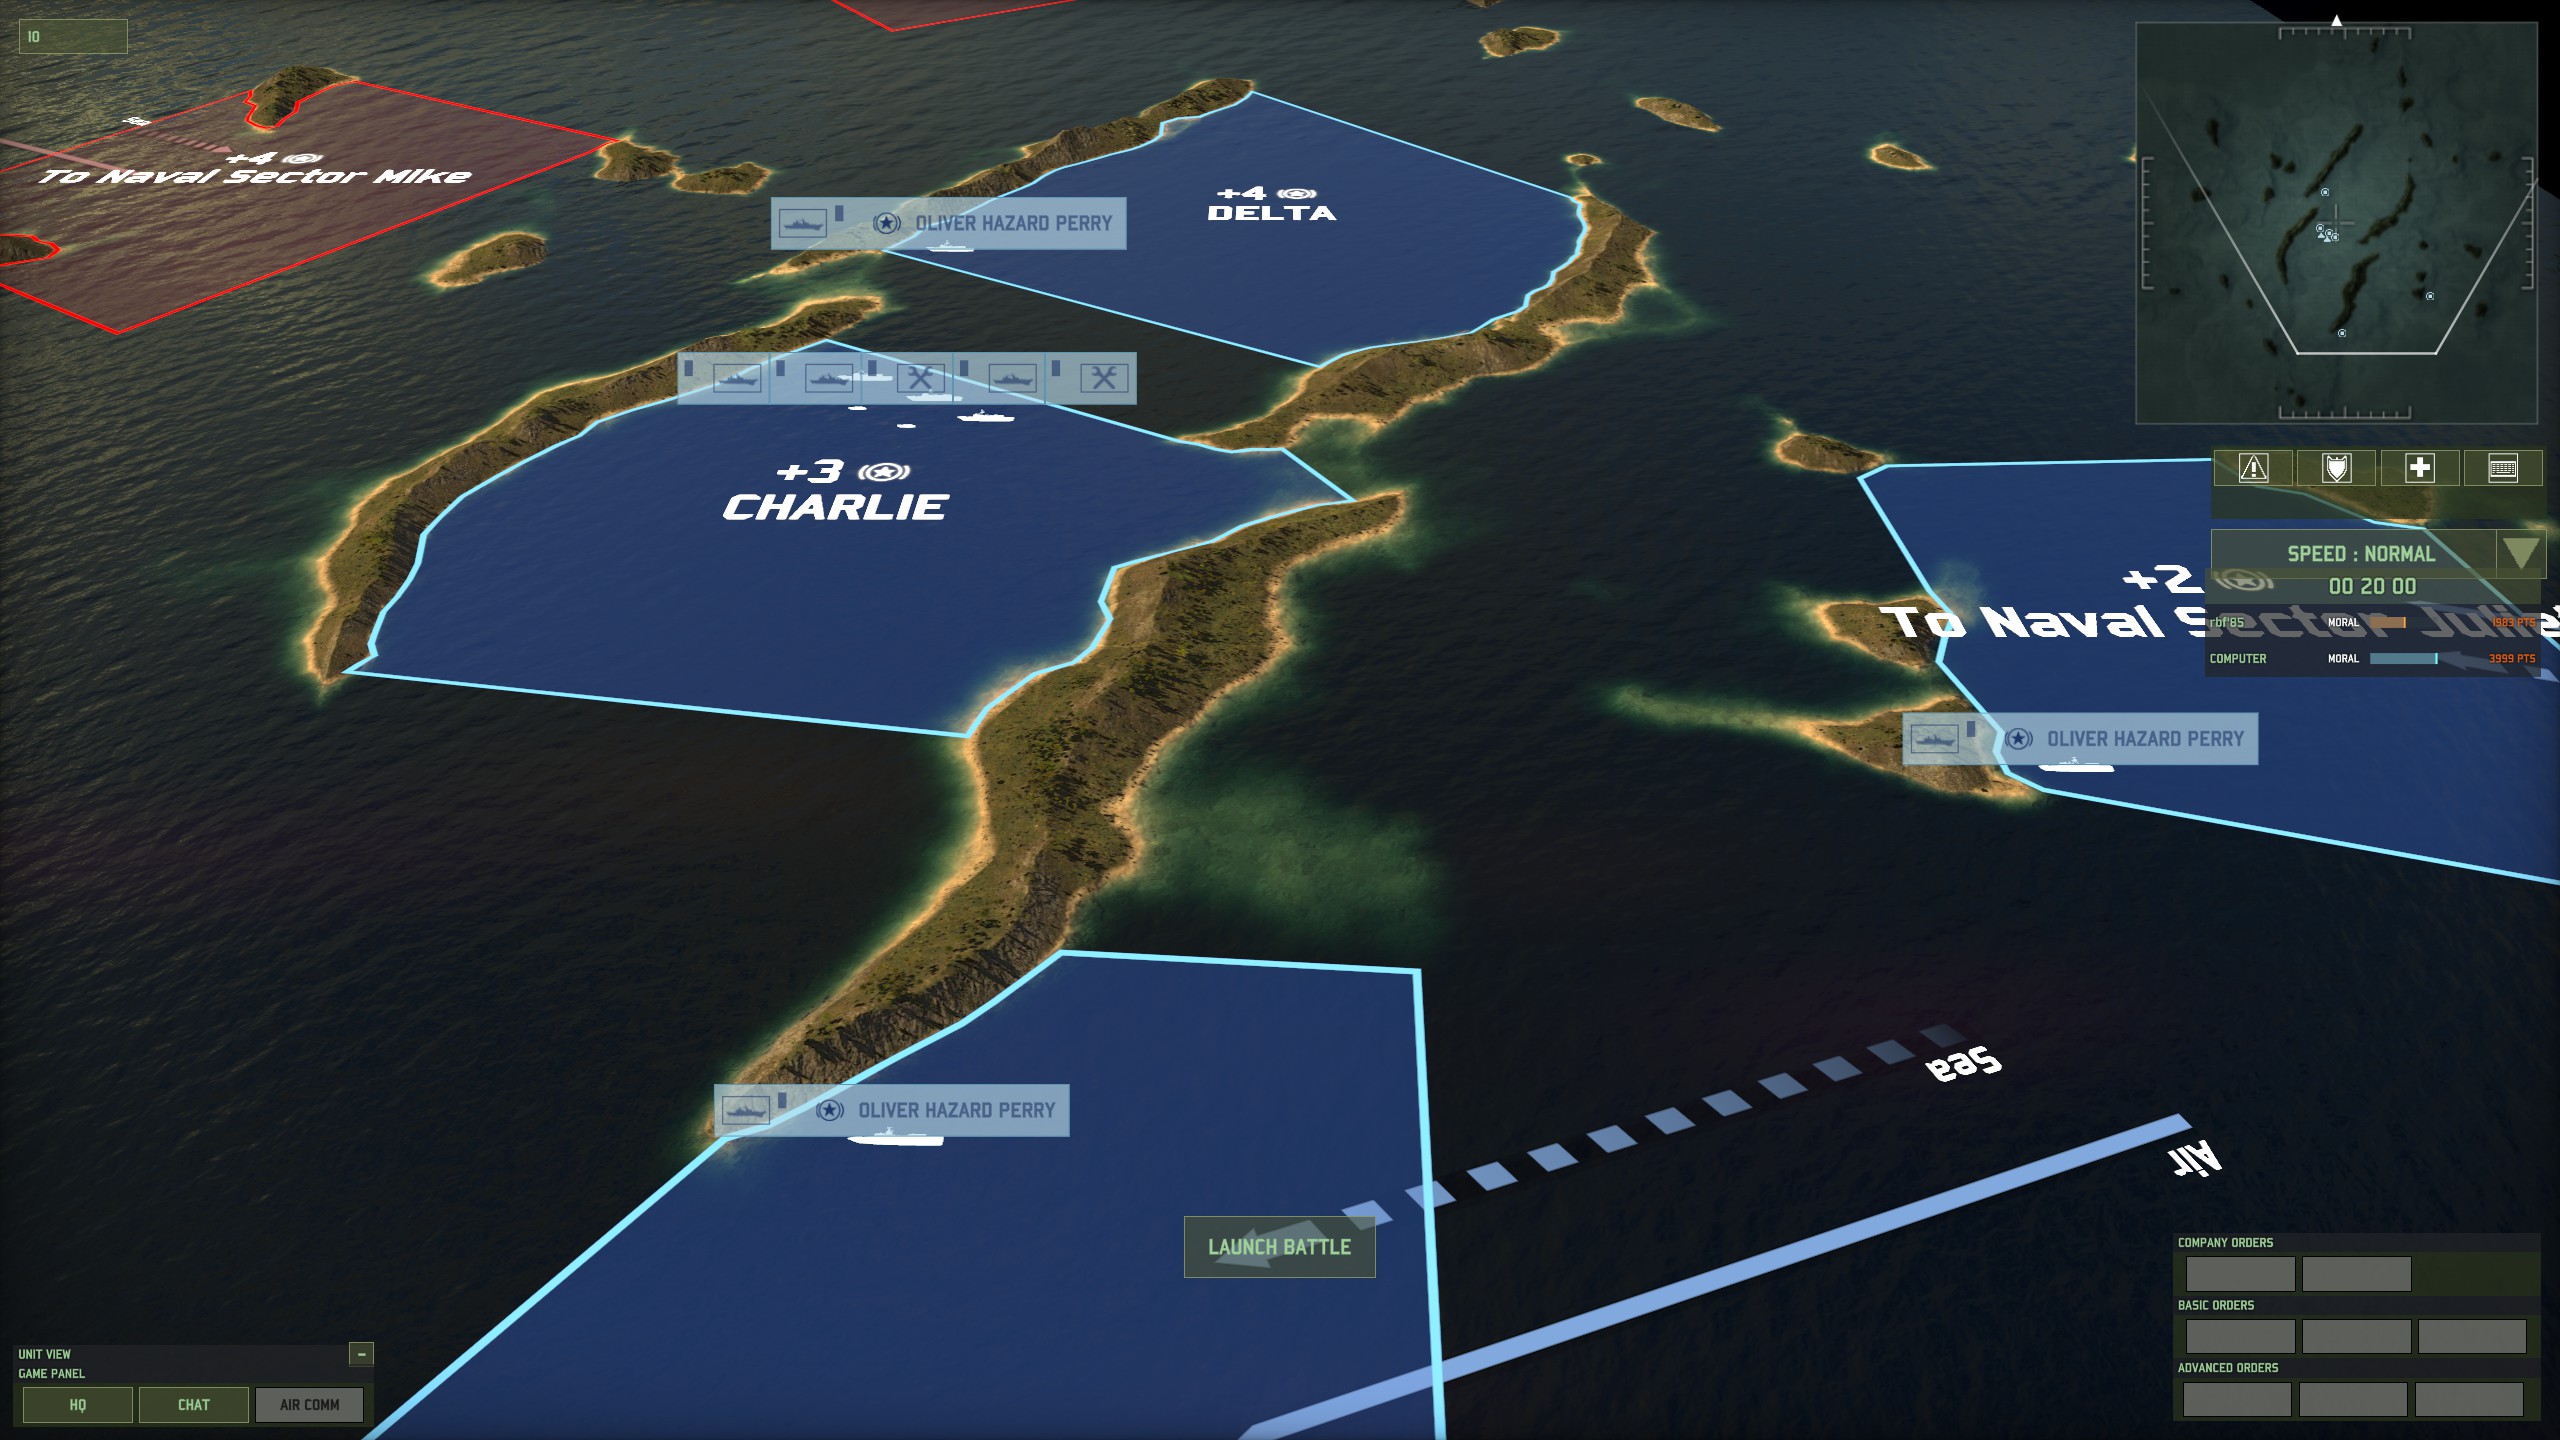
Make sure you keep them away from enemy ships once they start pushing, especially the Sovremenny’s and Nanuchkas, which have very good AA missiles.
Once you spot the enemy attacking Delta, move you lone OHP back to Charlie. Even though you need to abandon it eventually, the temporary cap of Delta is worth about 250 command points.
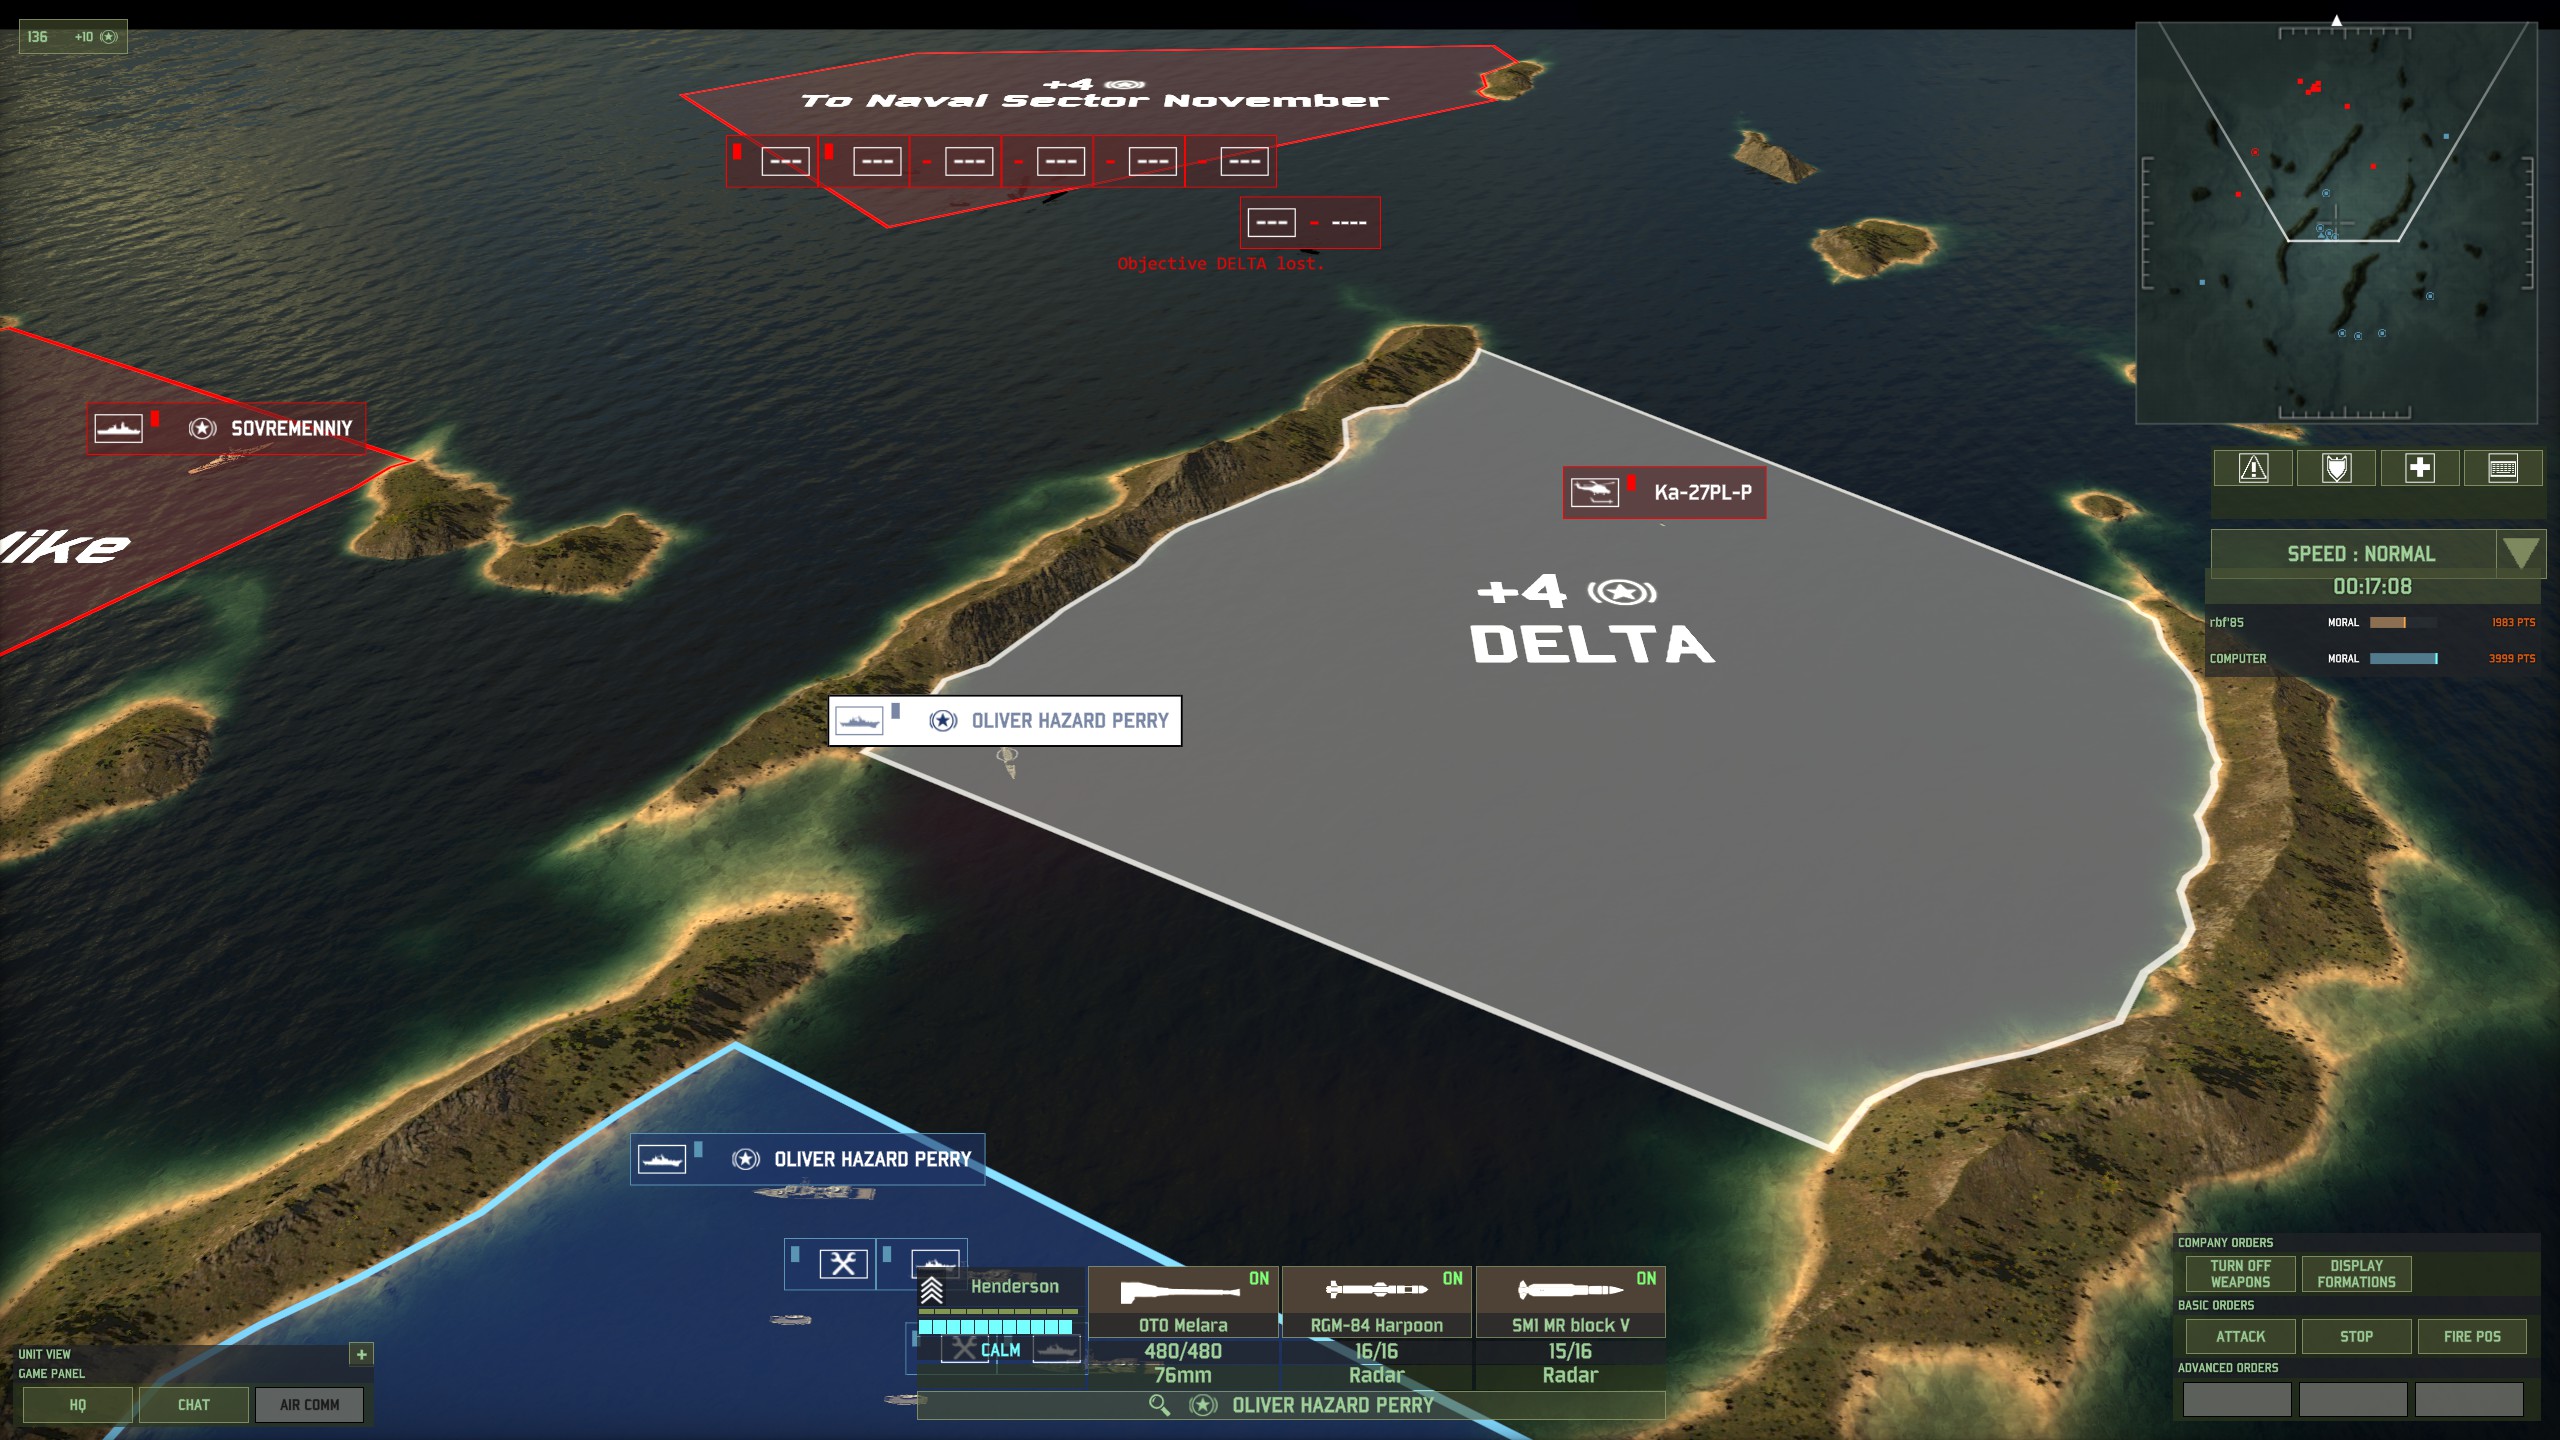
Line up your 4 OHPs and engage the enemy. Make sure they fire at the same time. You might have to temporarily disable the Harpoons while the OHP from delta is returning. Another neat trick is to disable all weapons for a second and enable again. The OHPs should acquire targets and fire at the same time then. Take care not to do this if you are under fire of enemy ASMs, as disabling weapons also disables your AA missiles.
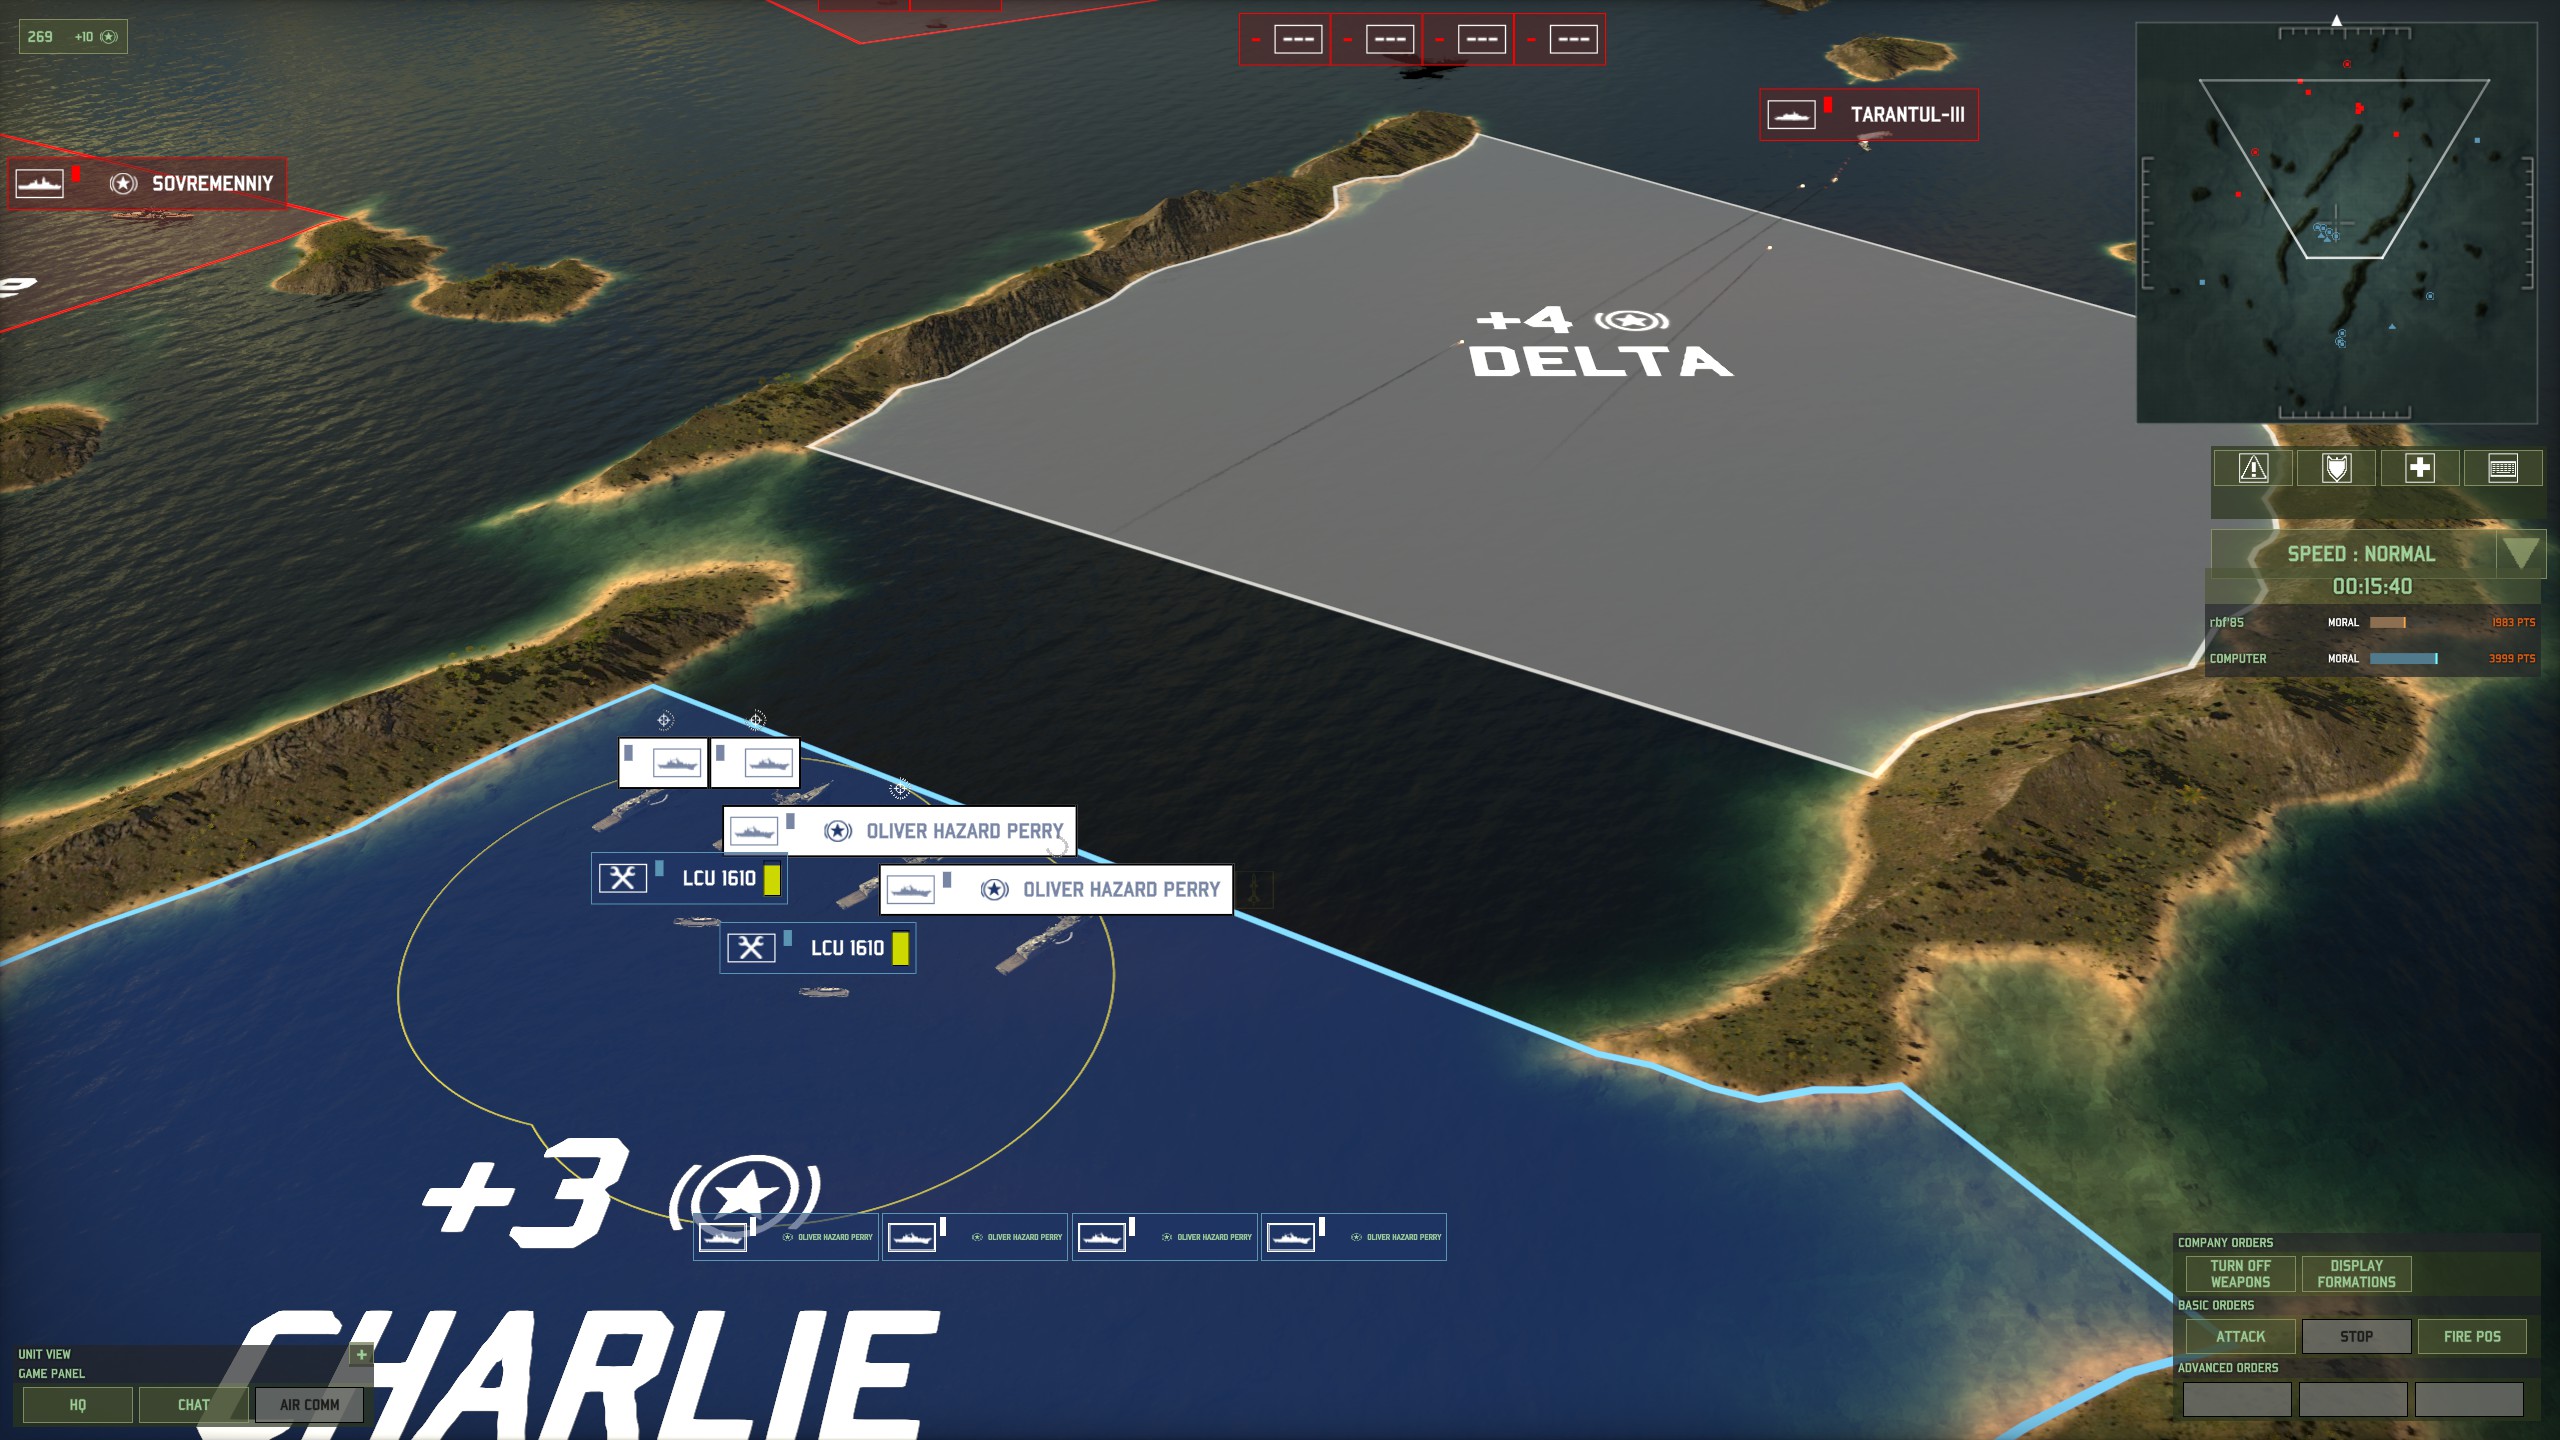
While you are at it, call in the rest of OHPs to cover the west flank (and the rear of your main force).
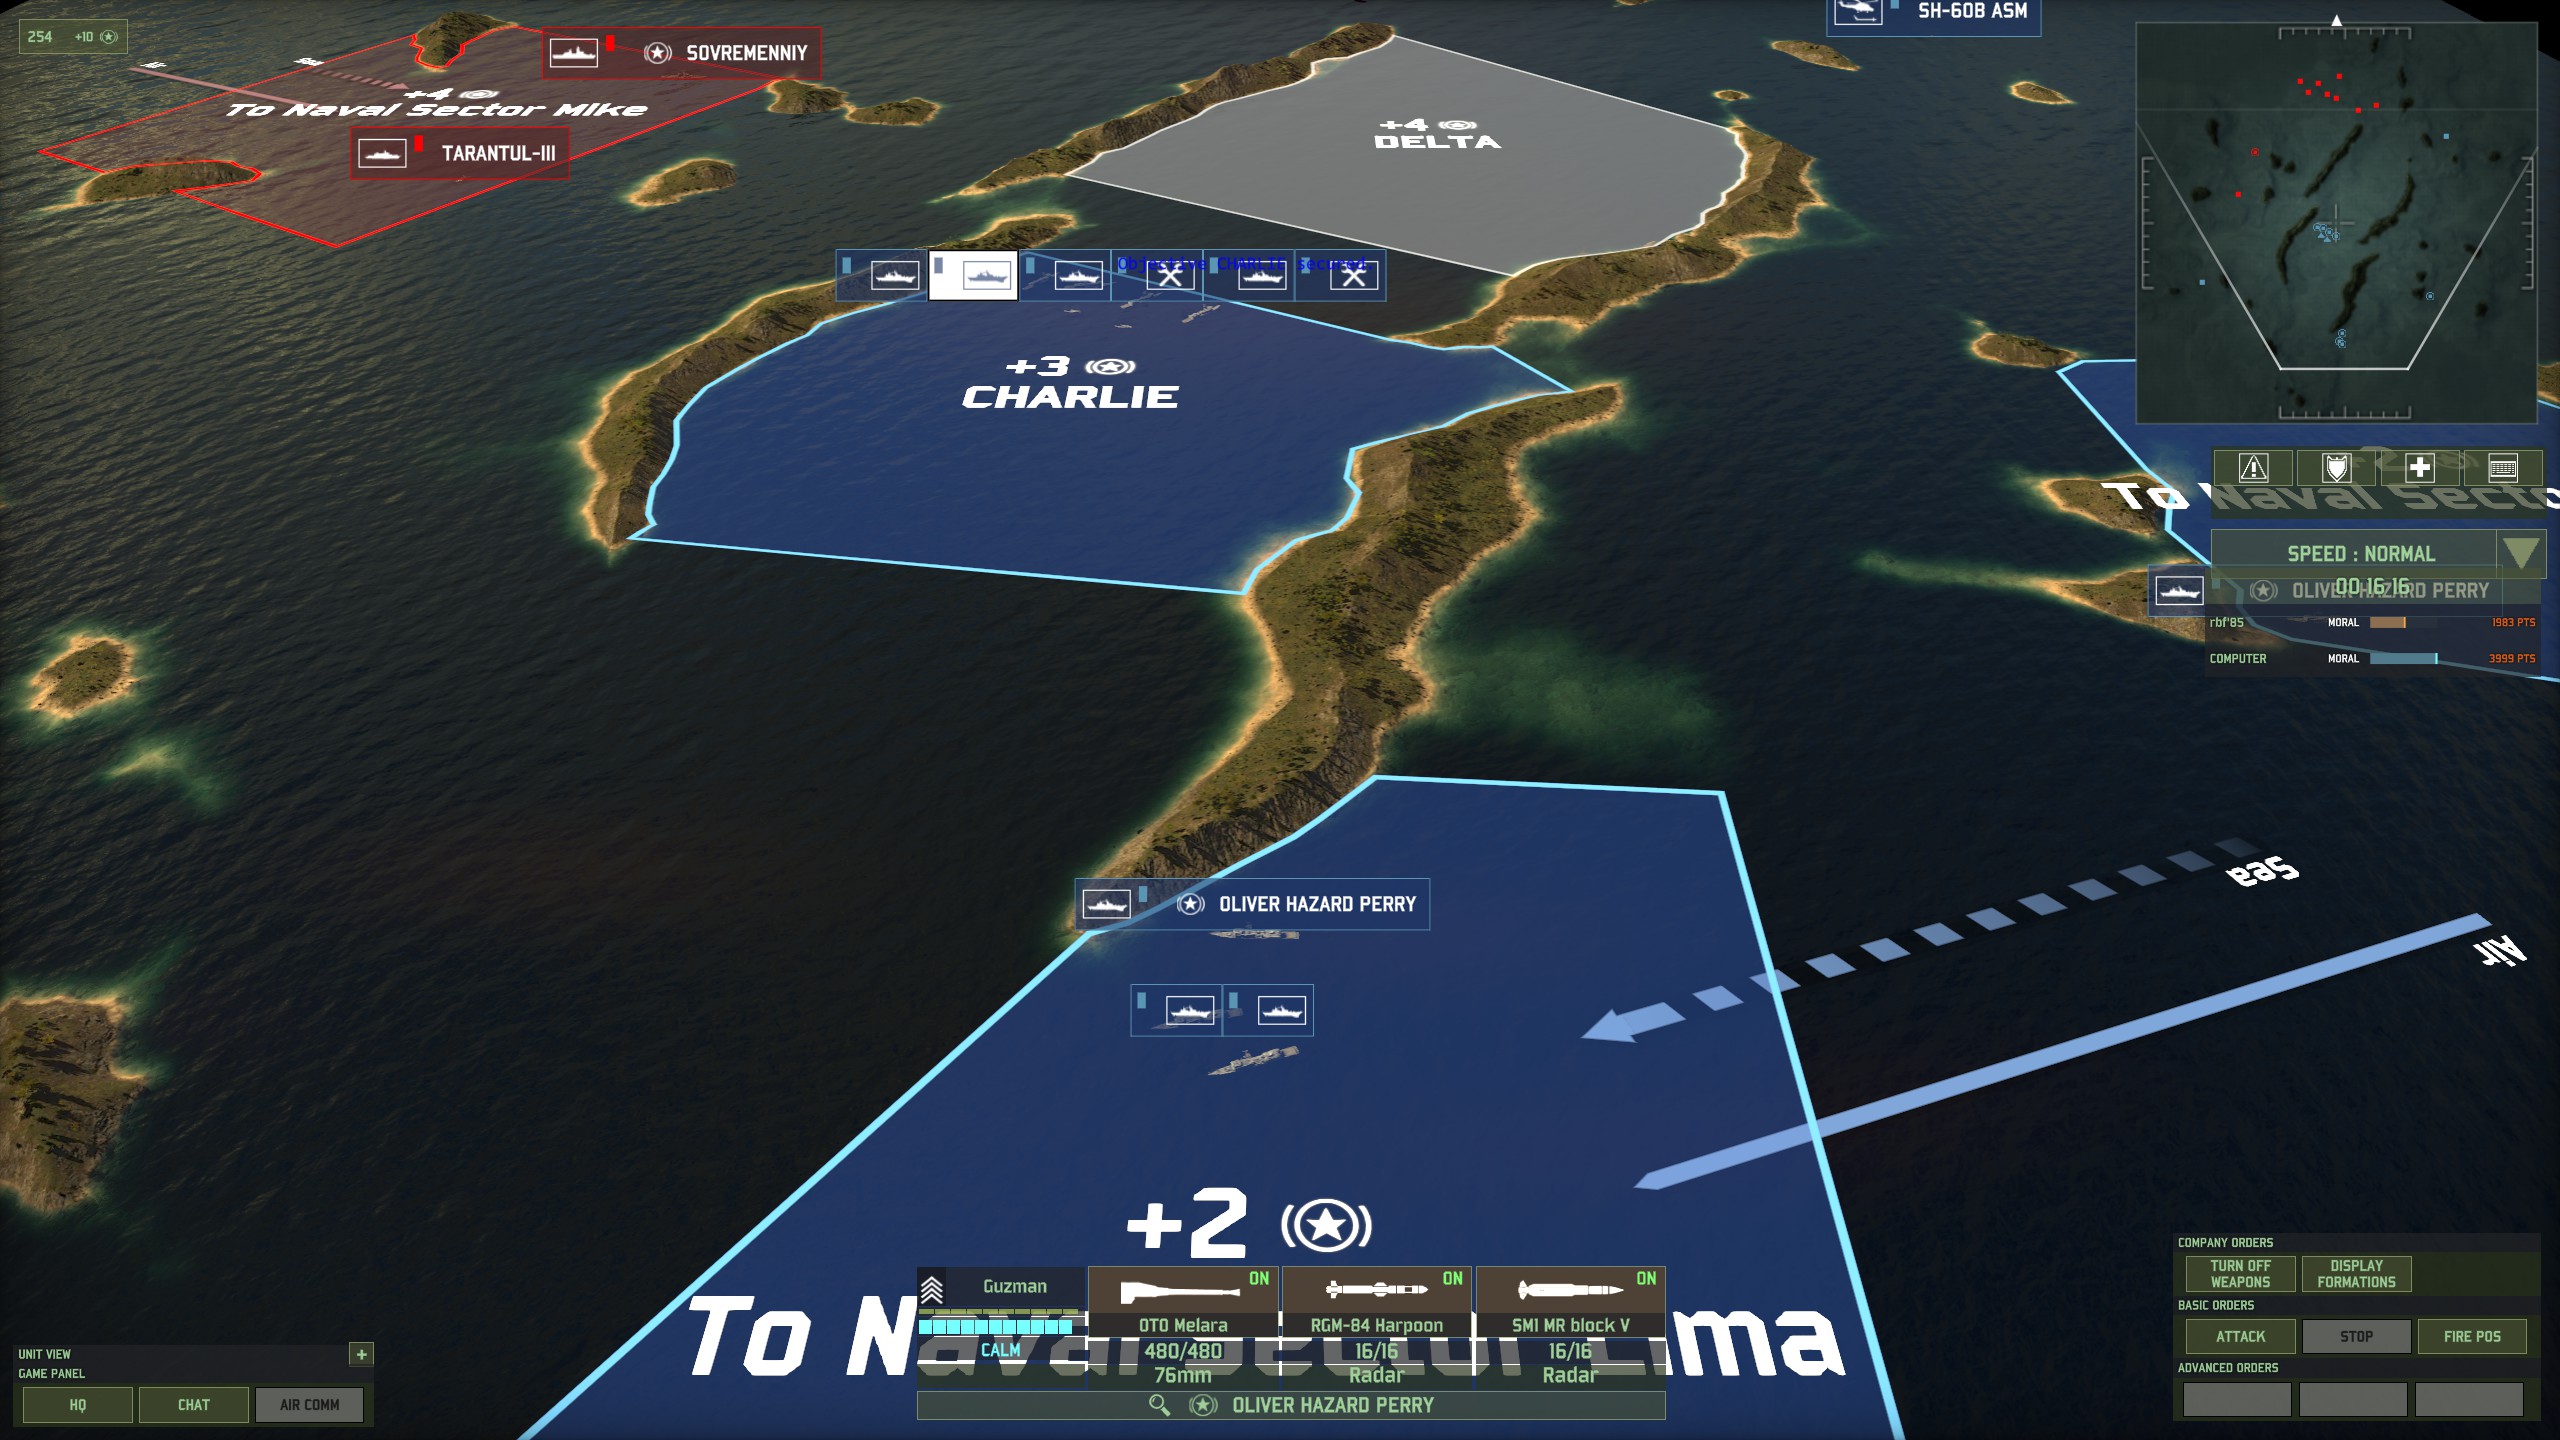
And the Tarantul is down. Easy money.
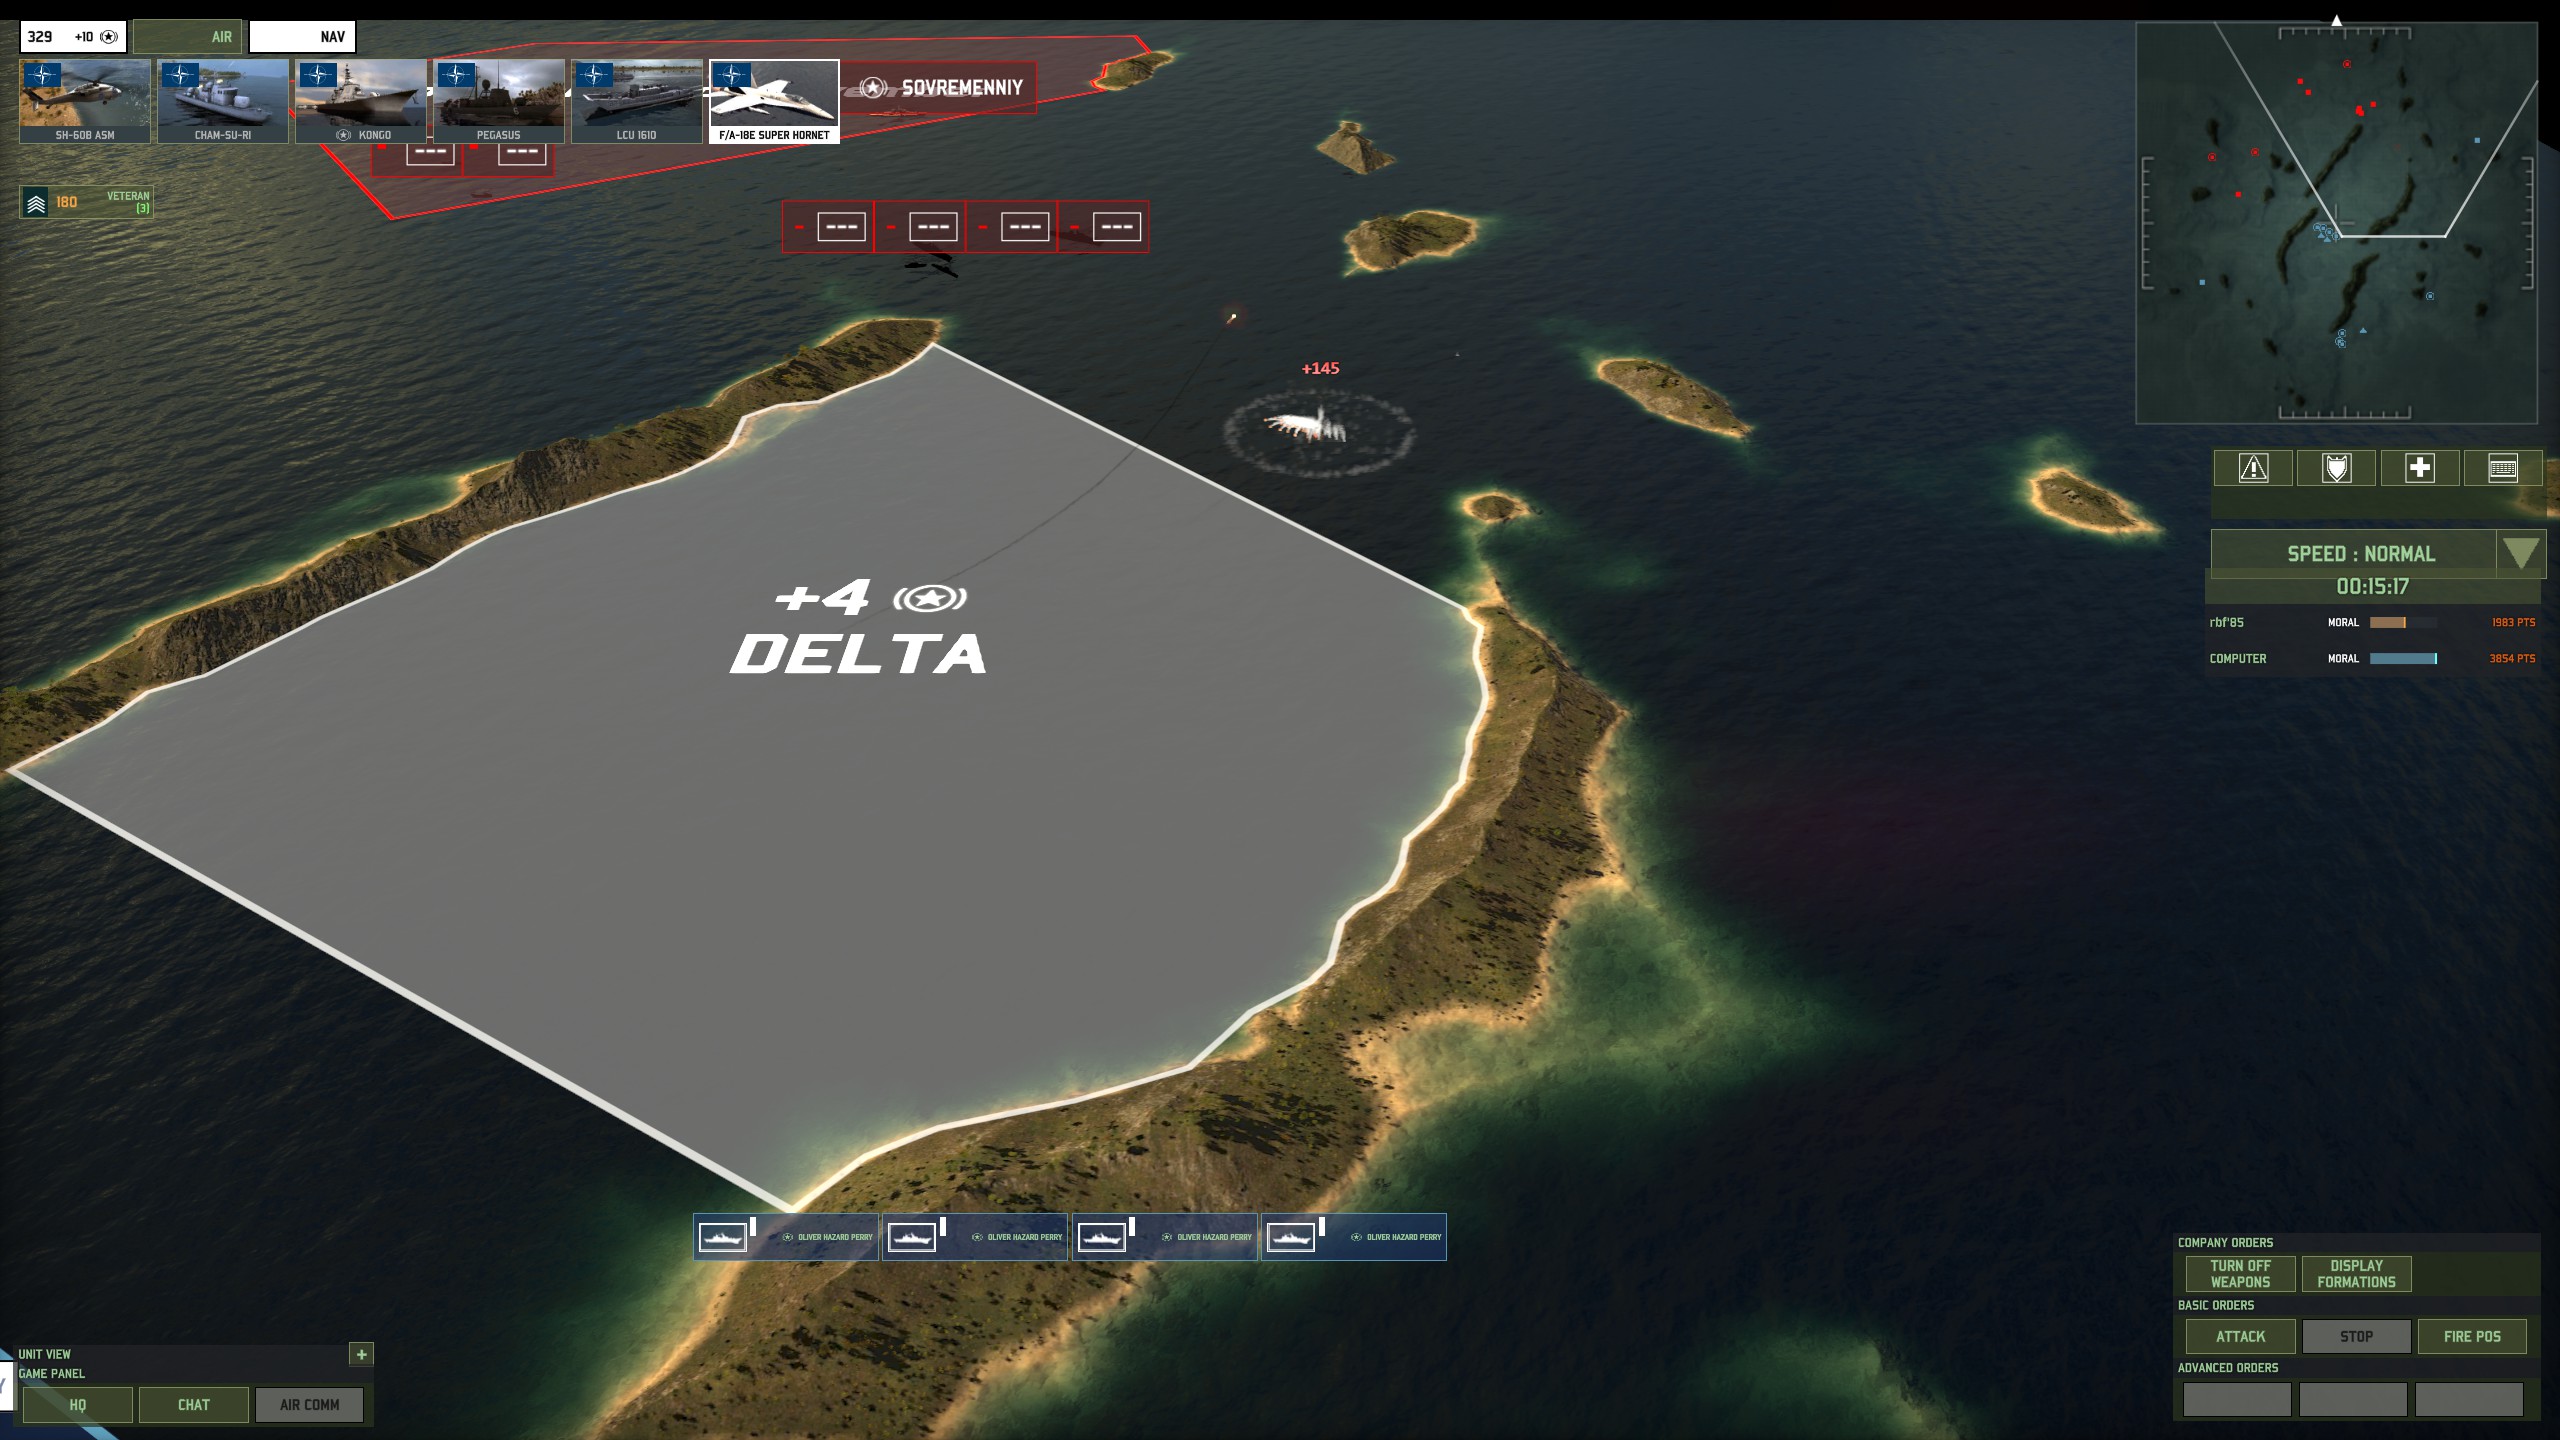
Now for the Sovremenny. Especially against the Sovremenny, I would recommend making sure all your ships fire at the same time. To do this, quickly disable/enable all weapons on the OHPs, then click to attack the Sovremenny. Unfortunately, telling the OHPs to attack a specific target decaps the sector (doesn’t really make sense, but that’s how the game works). Doesn’t matter at this point, though, as we’ve called in most of the ships we are going to use anyway. We also have enough points to buy 2 Super Hornets.
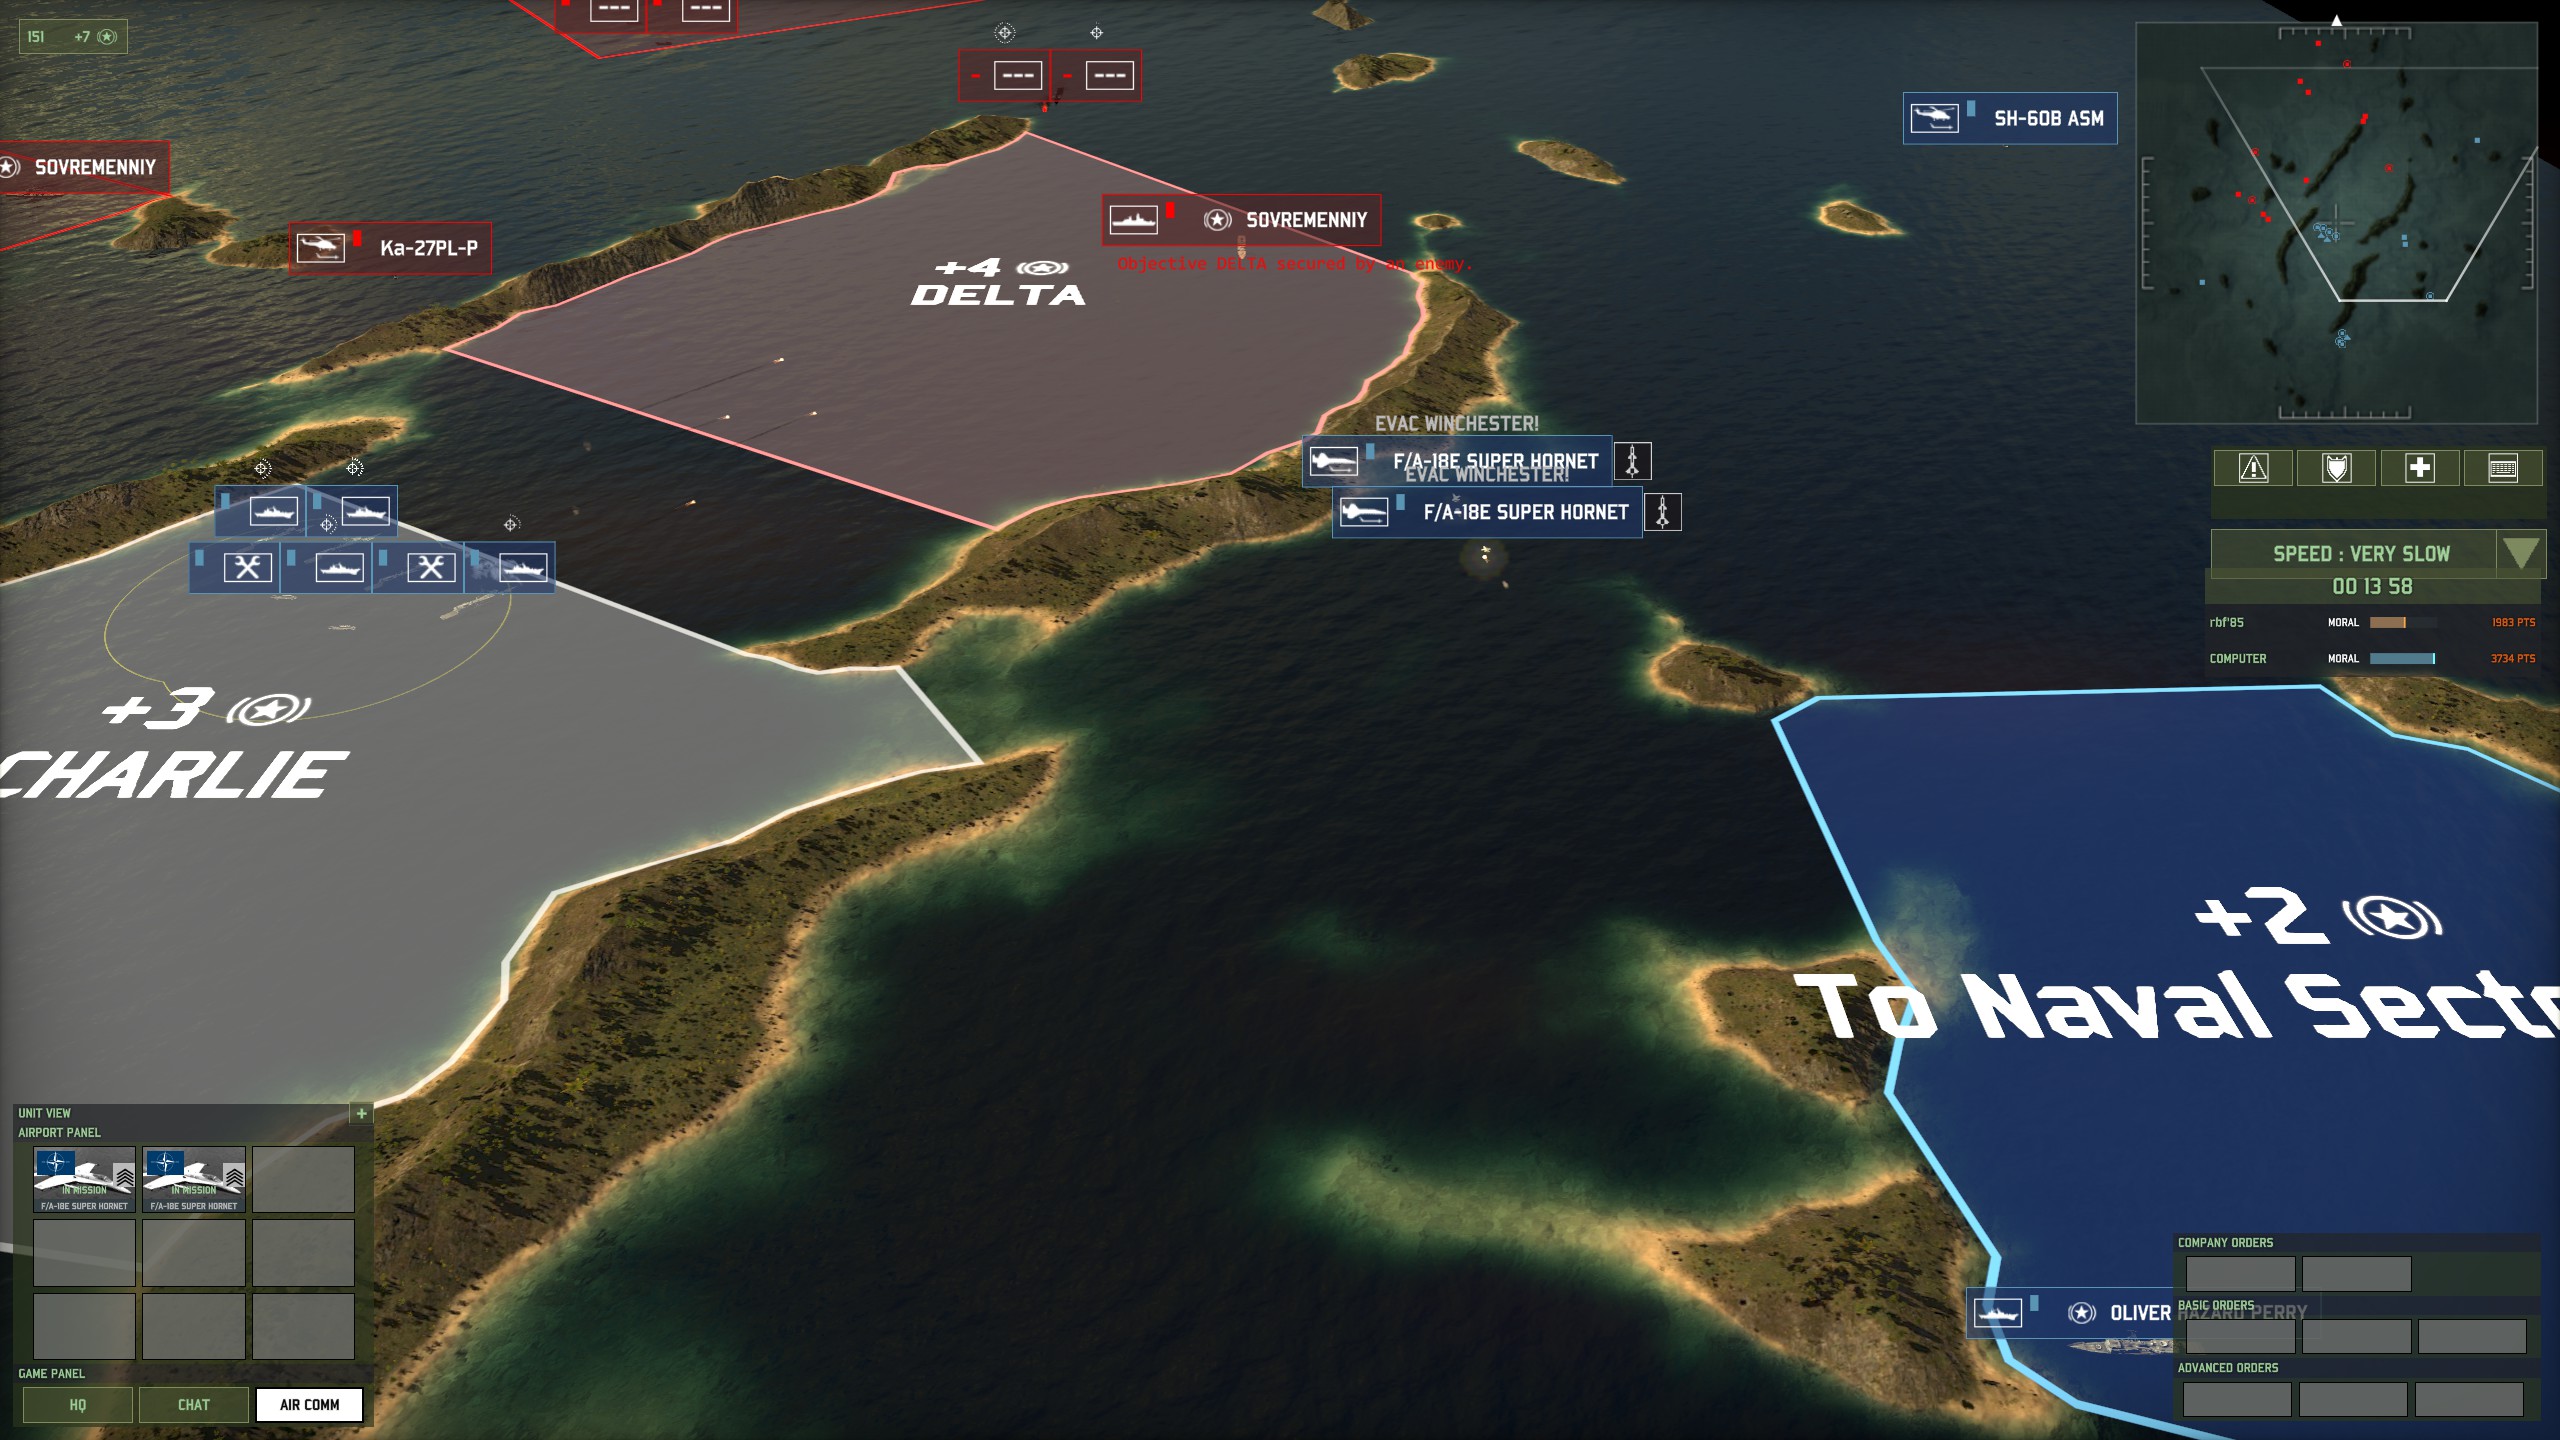
If you time your Super Hornet attack just right, you can double the numbers of missiles that the Sovremenny has to deal with at the same time, completely overwhelming its defenses.
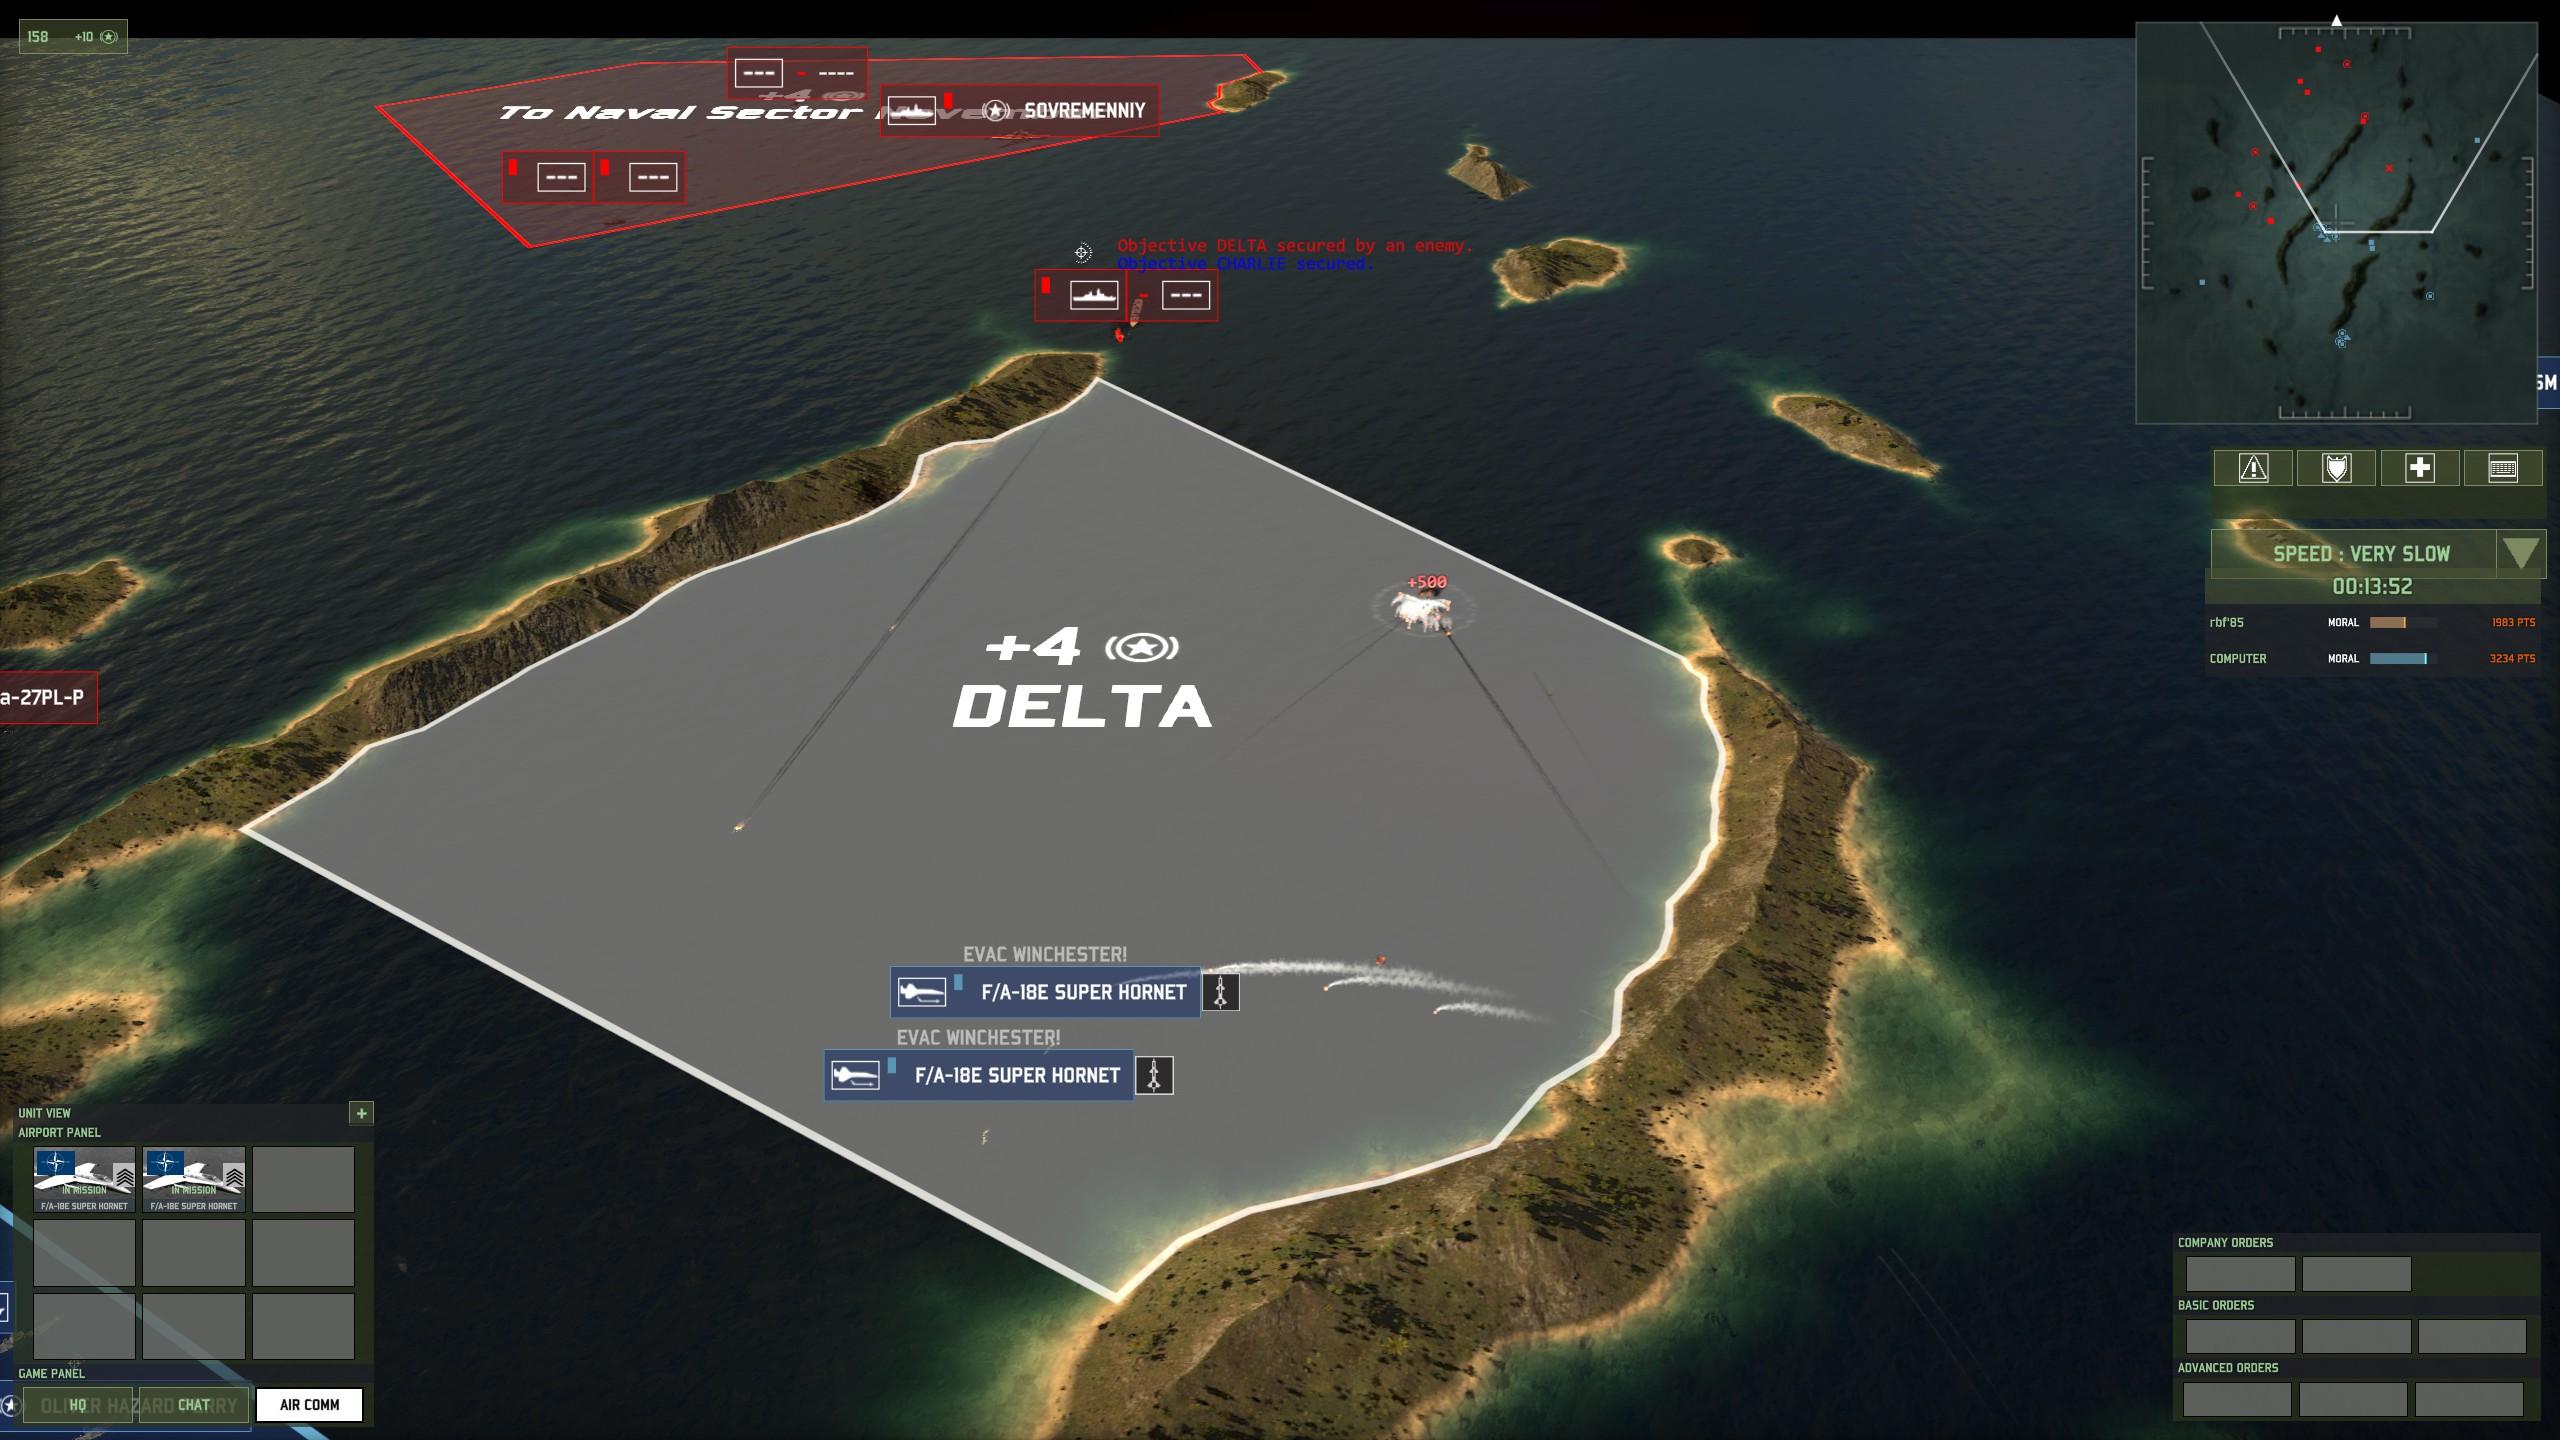
There is one more Sovremenny and a couple of smaller support ships at the entrance to Delta. But what worries me is this group of 4 Komars flanking me.
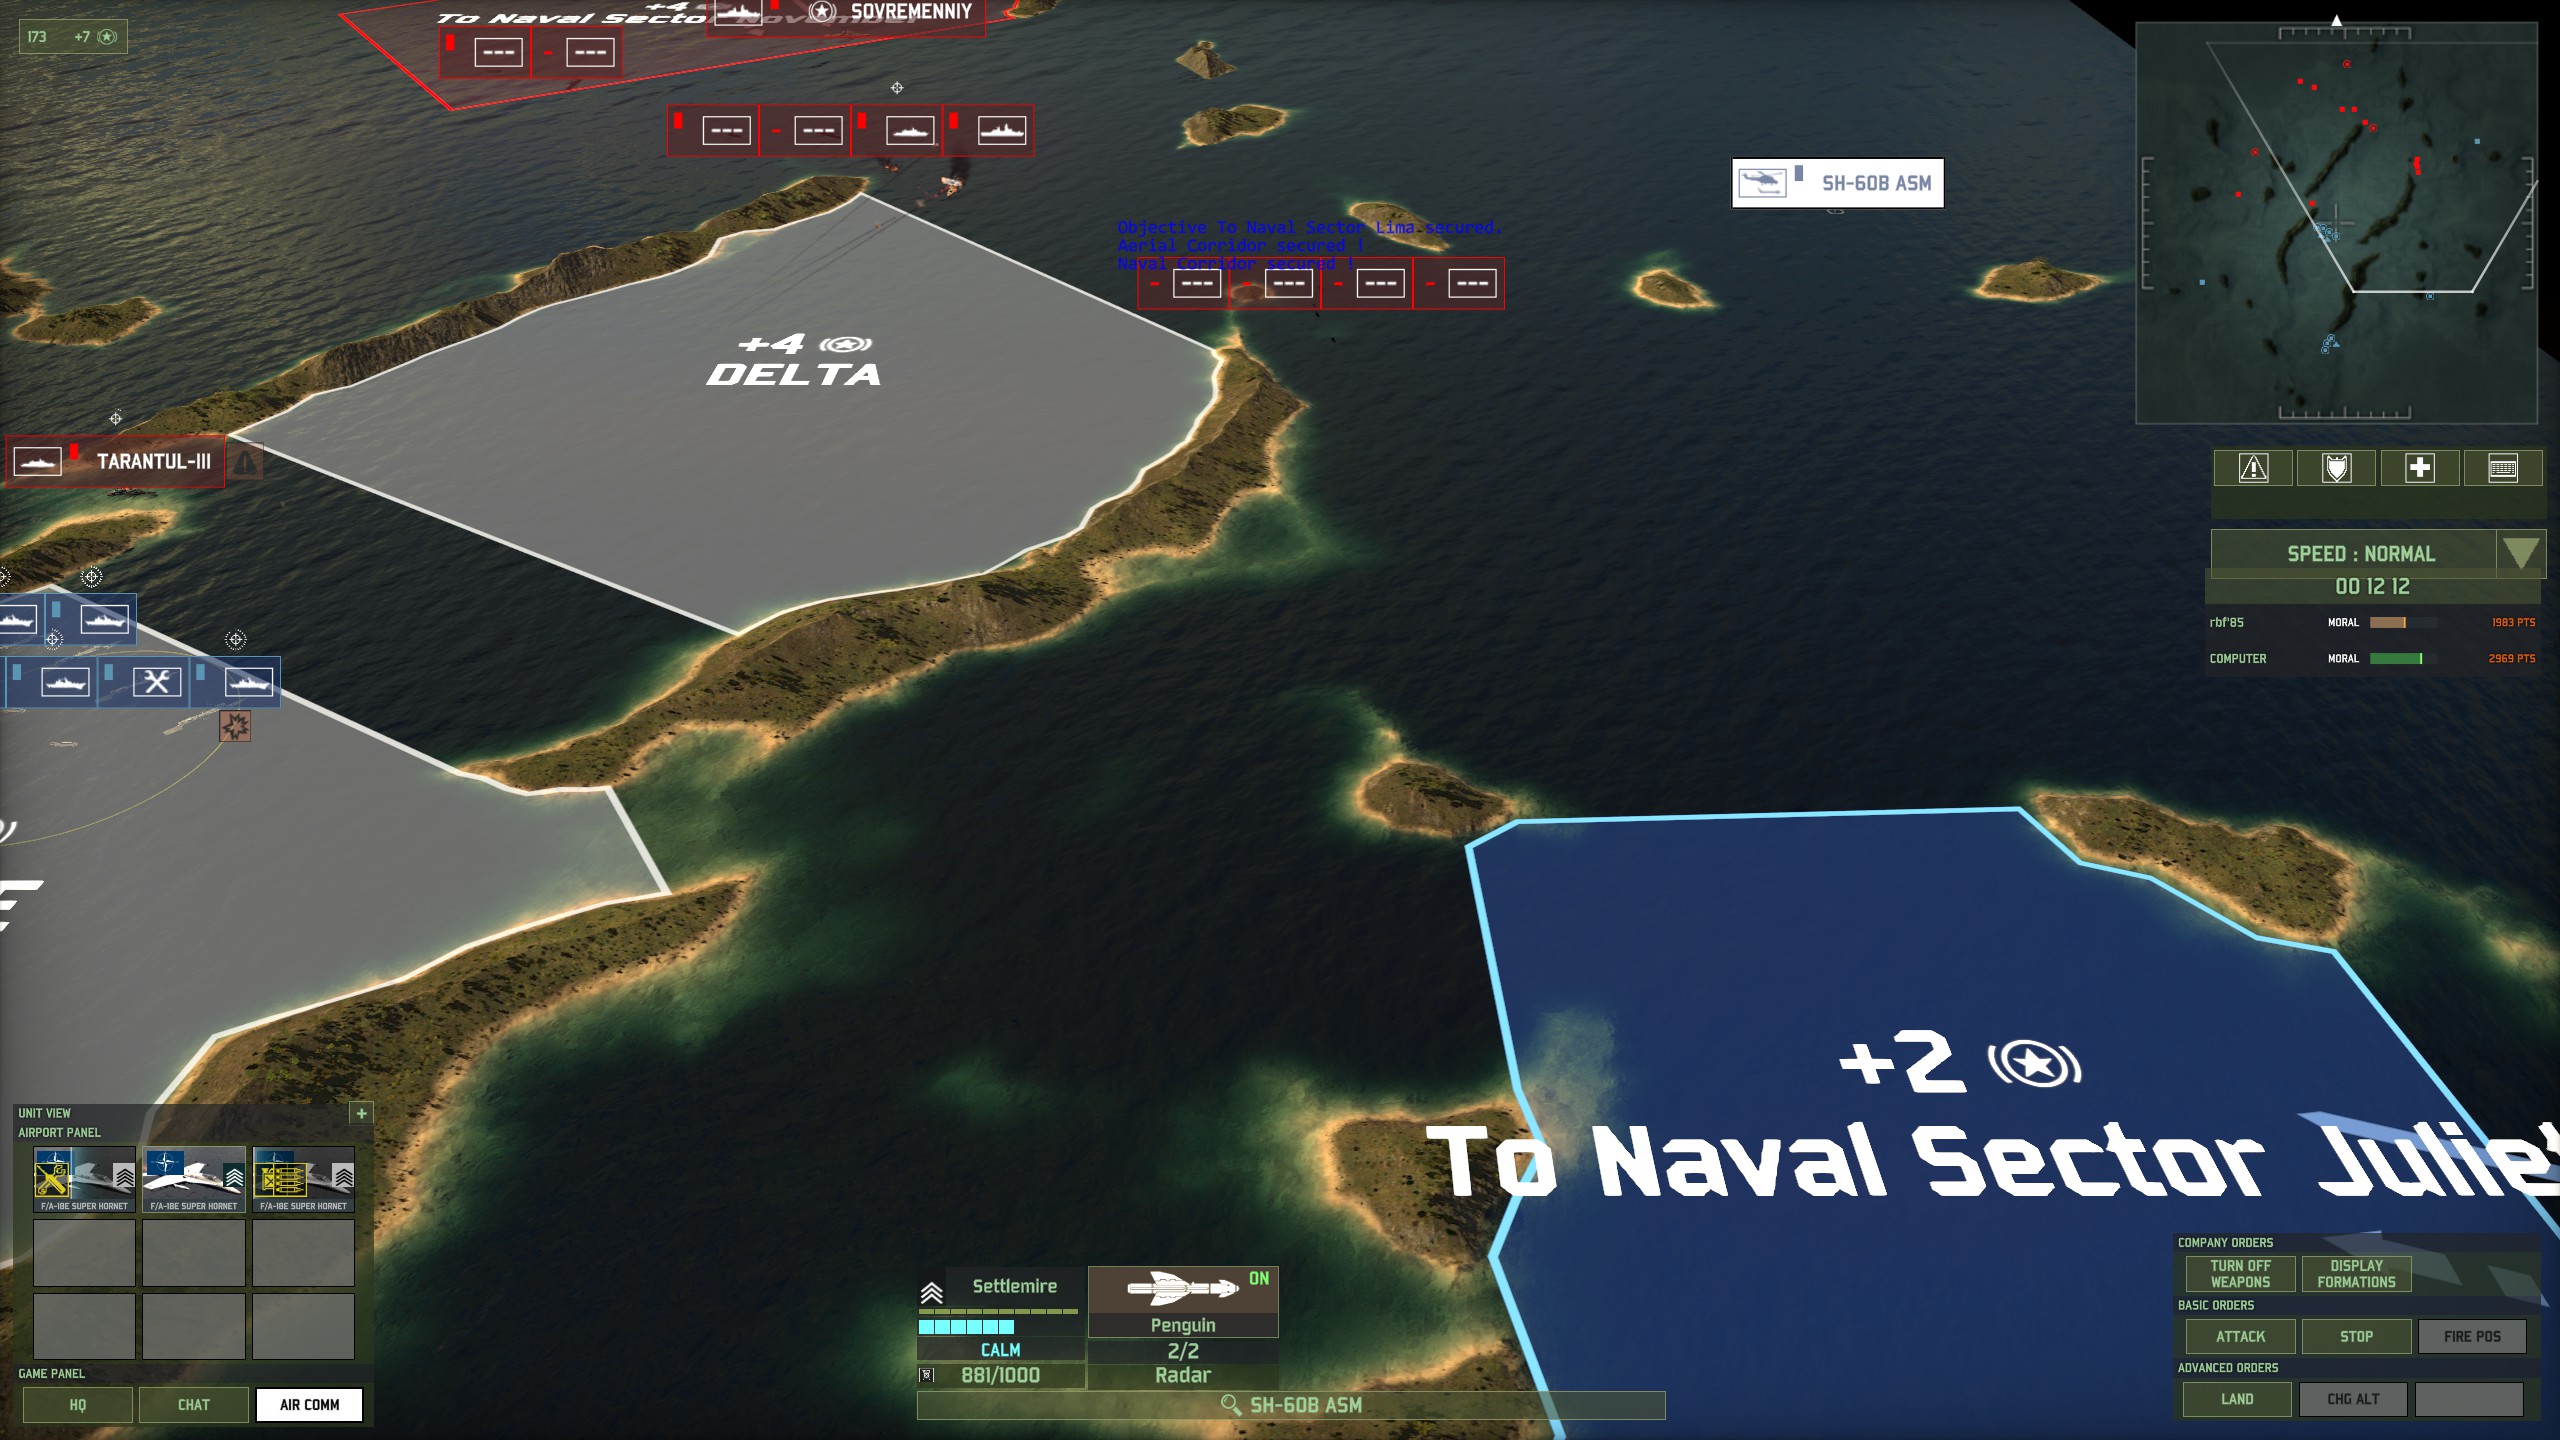
They would be a problem for my OHP that holds “To Naval Sector Juliet”, so I’m moving it out and hiding behind an island. My other reinforcement route is held by 3 OHPs and should be safe. The OHP can then ambush the Komars and engage them with the gun.
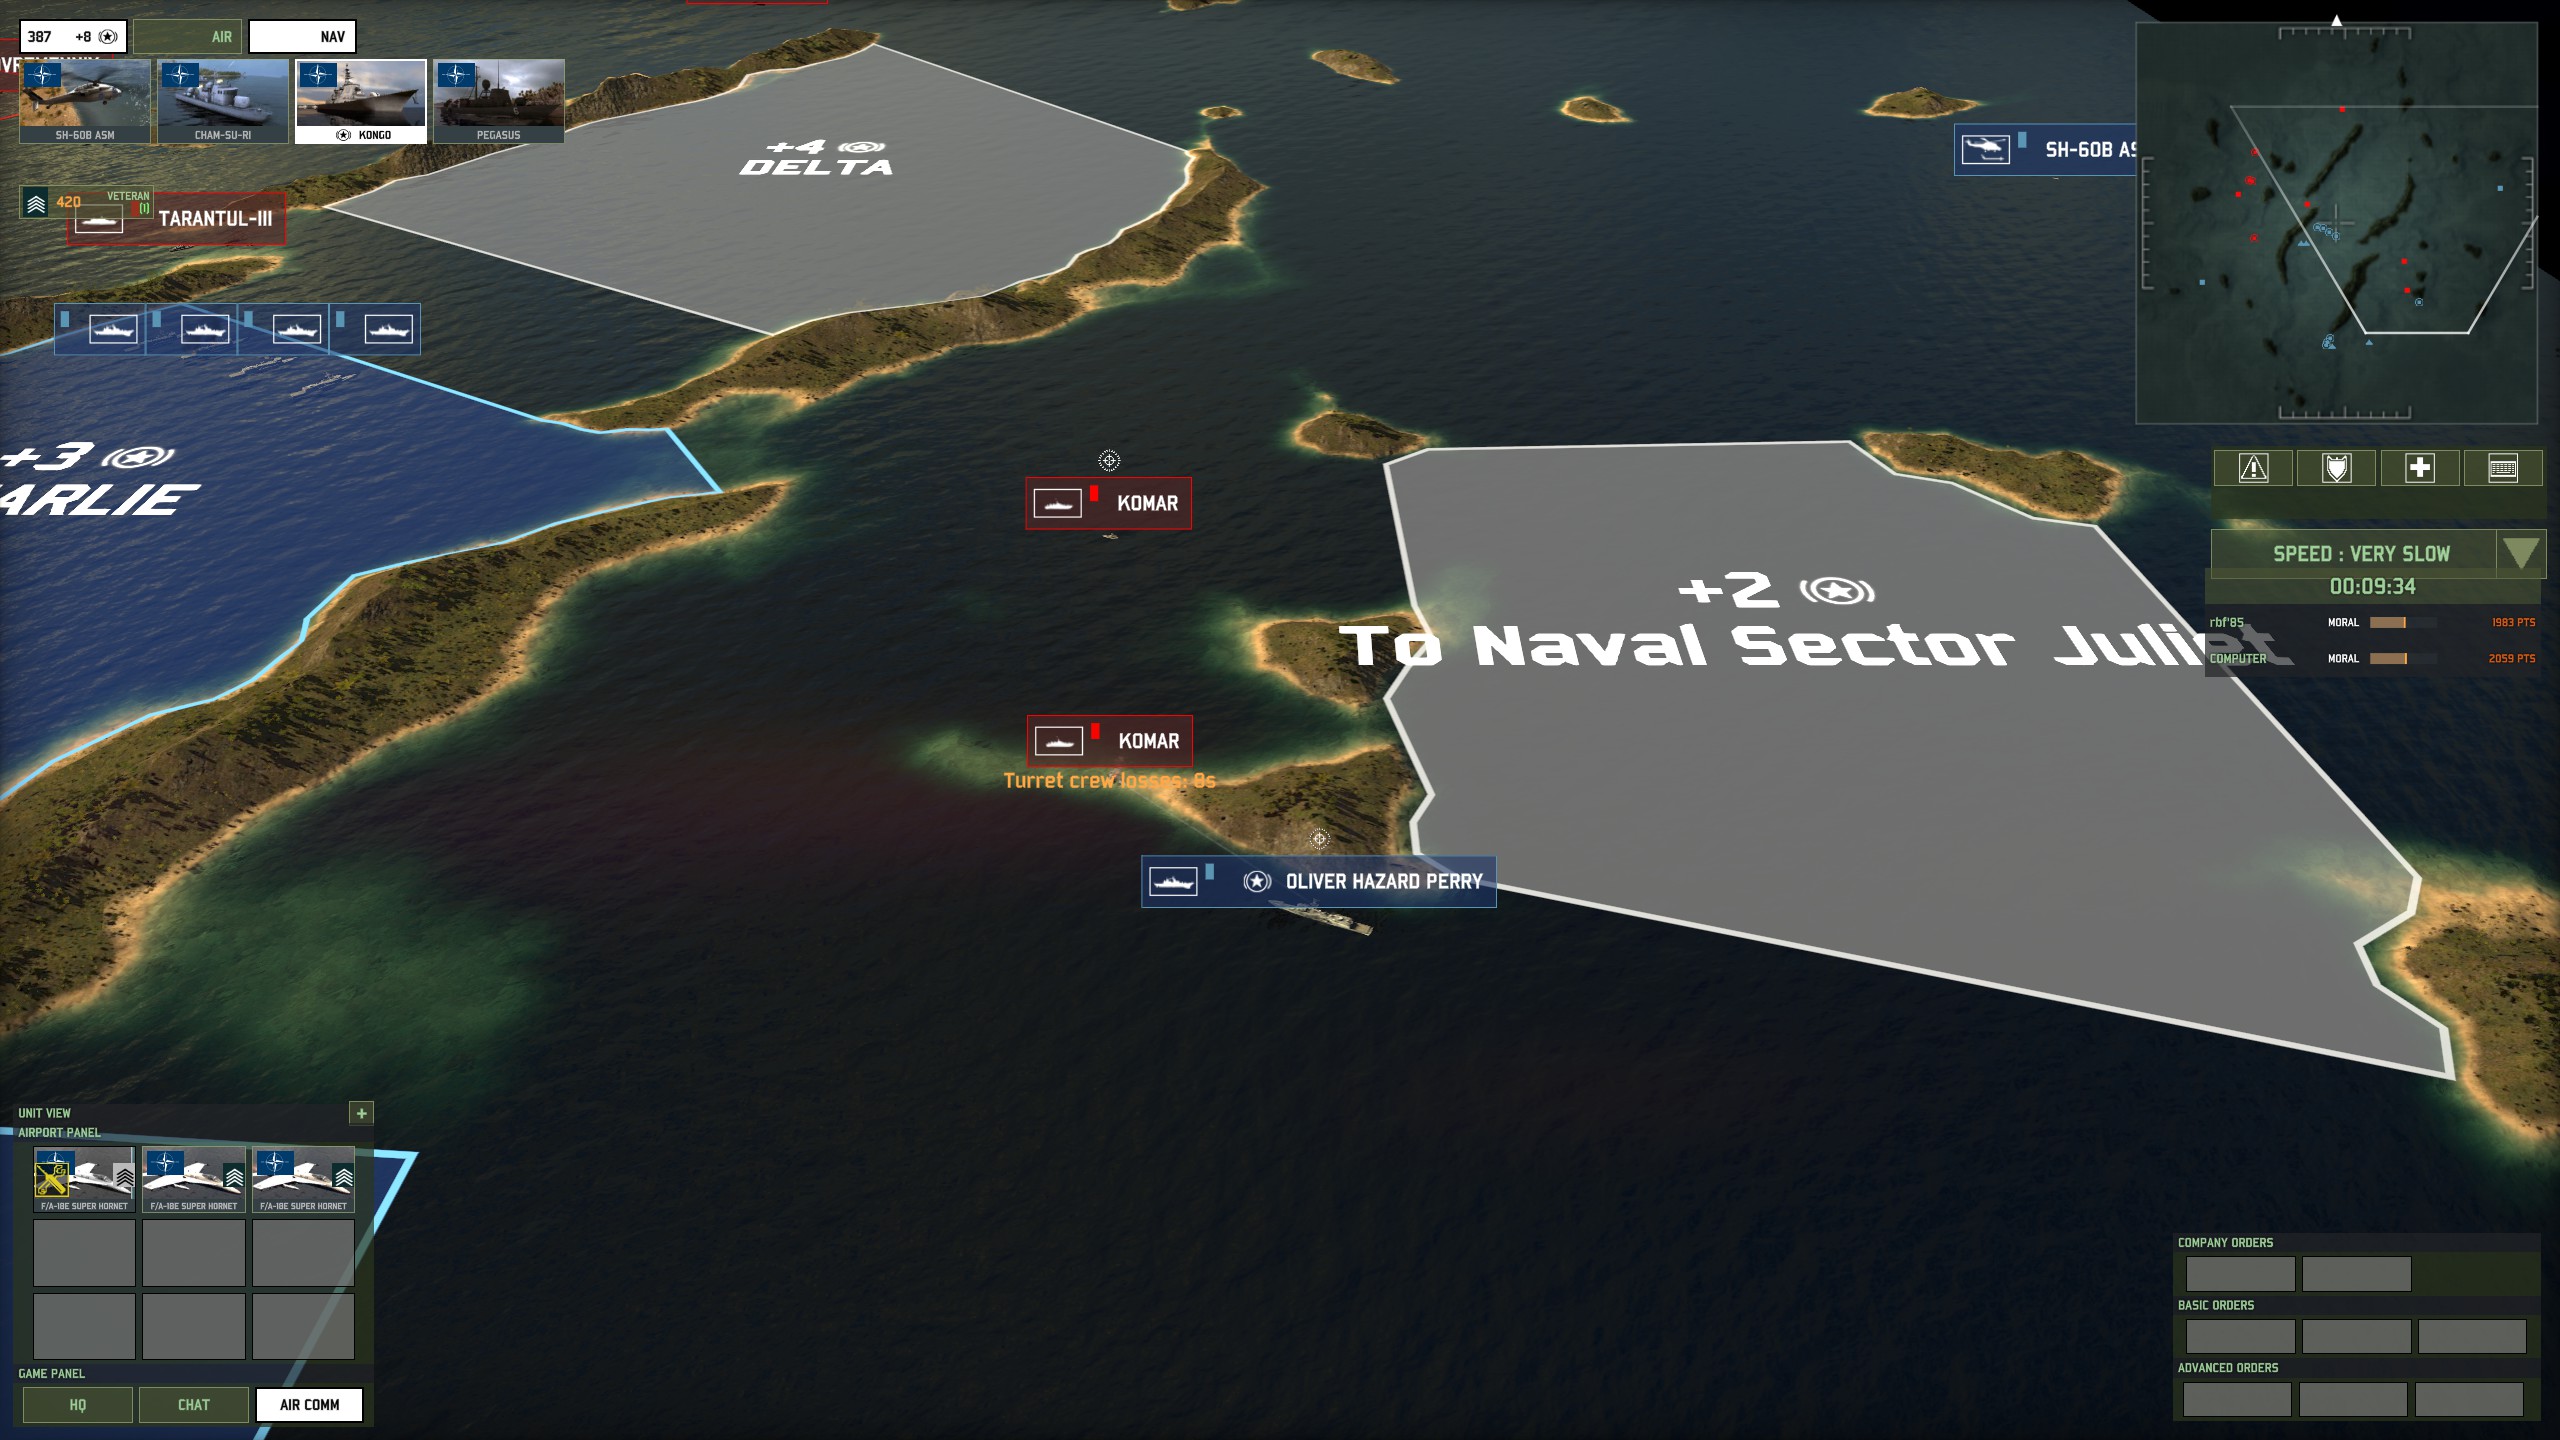
Meanwhile, we buy another Super Hornet, as well 3 Tomcats. When using the Super Hornets, beware of the enemy Mig-31Ms. They have longer range than your Super Hornets, and the AI, no doubt well informed of the danger they pose, will scramble the Mig-31Ms to intercept. So you should first keep the Super Hornets in the rear and only attack a ship if there is no response from Mig-31Ms. If there is, turn them back, so your OHPs are between the Migs and the Hornets, and then evac the Hornets. You can also send your Tomcats to counter-intercept.
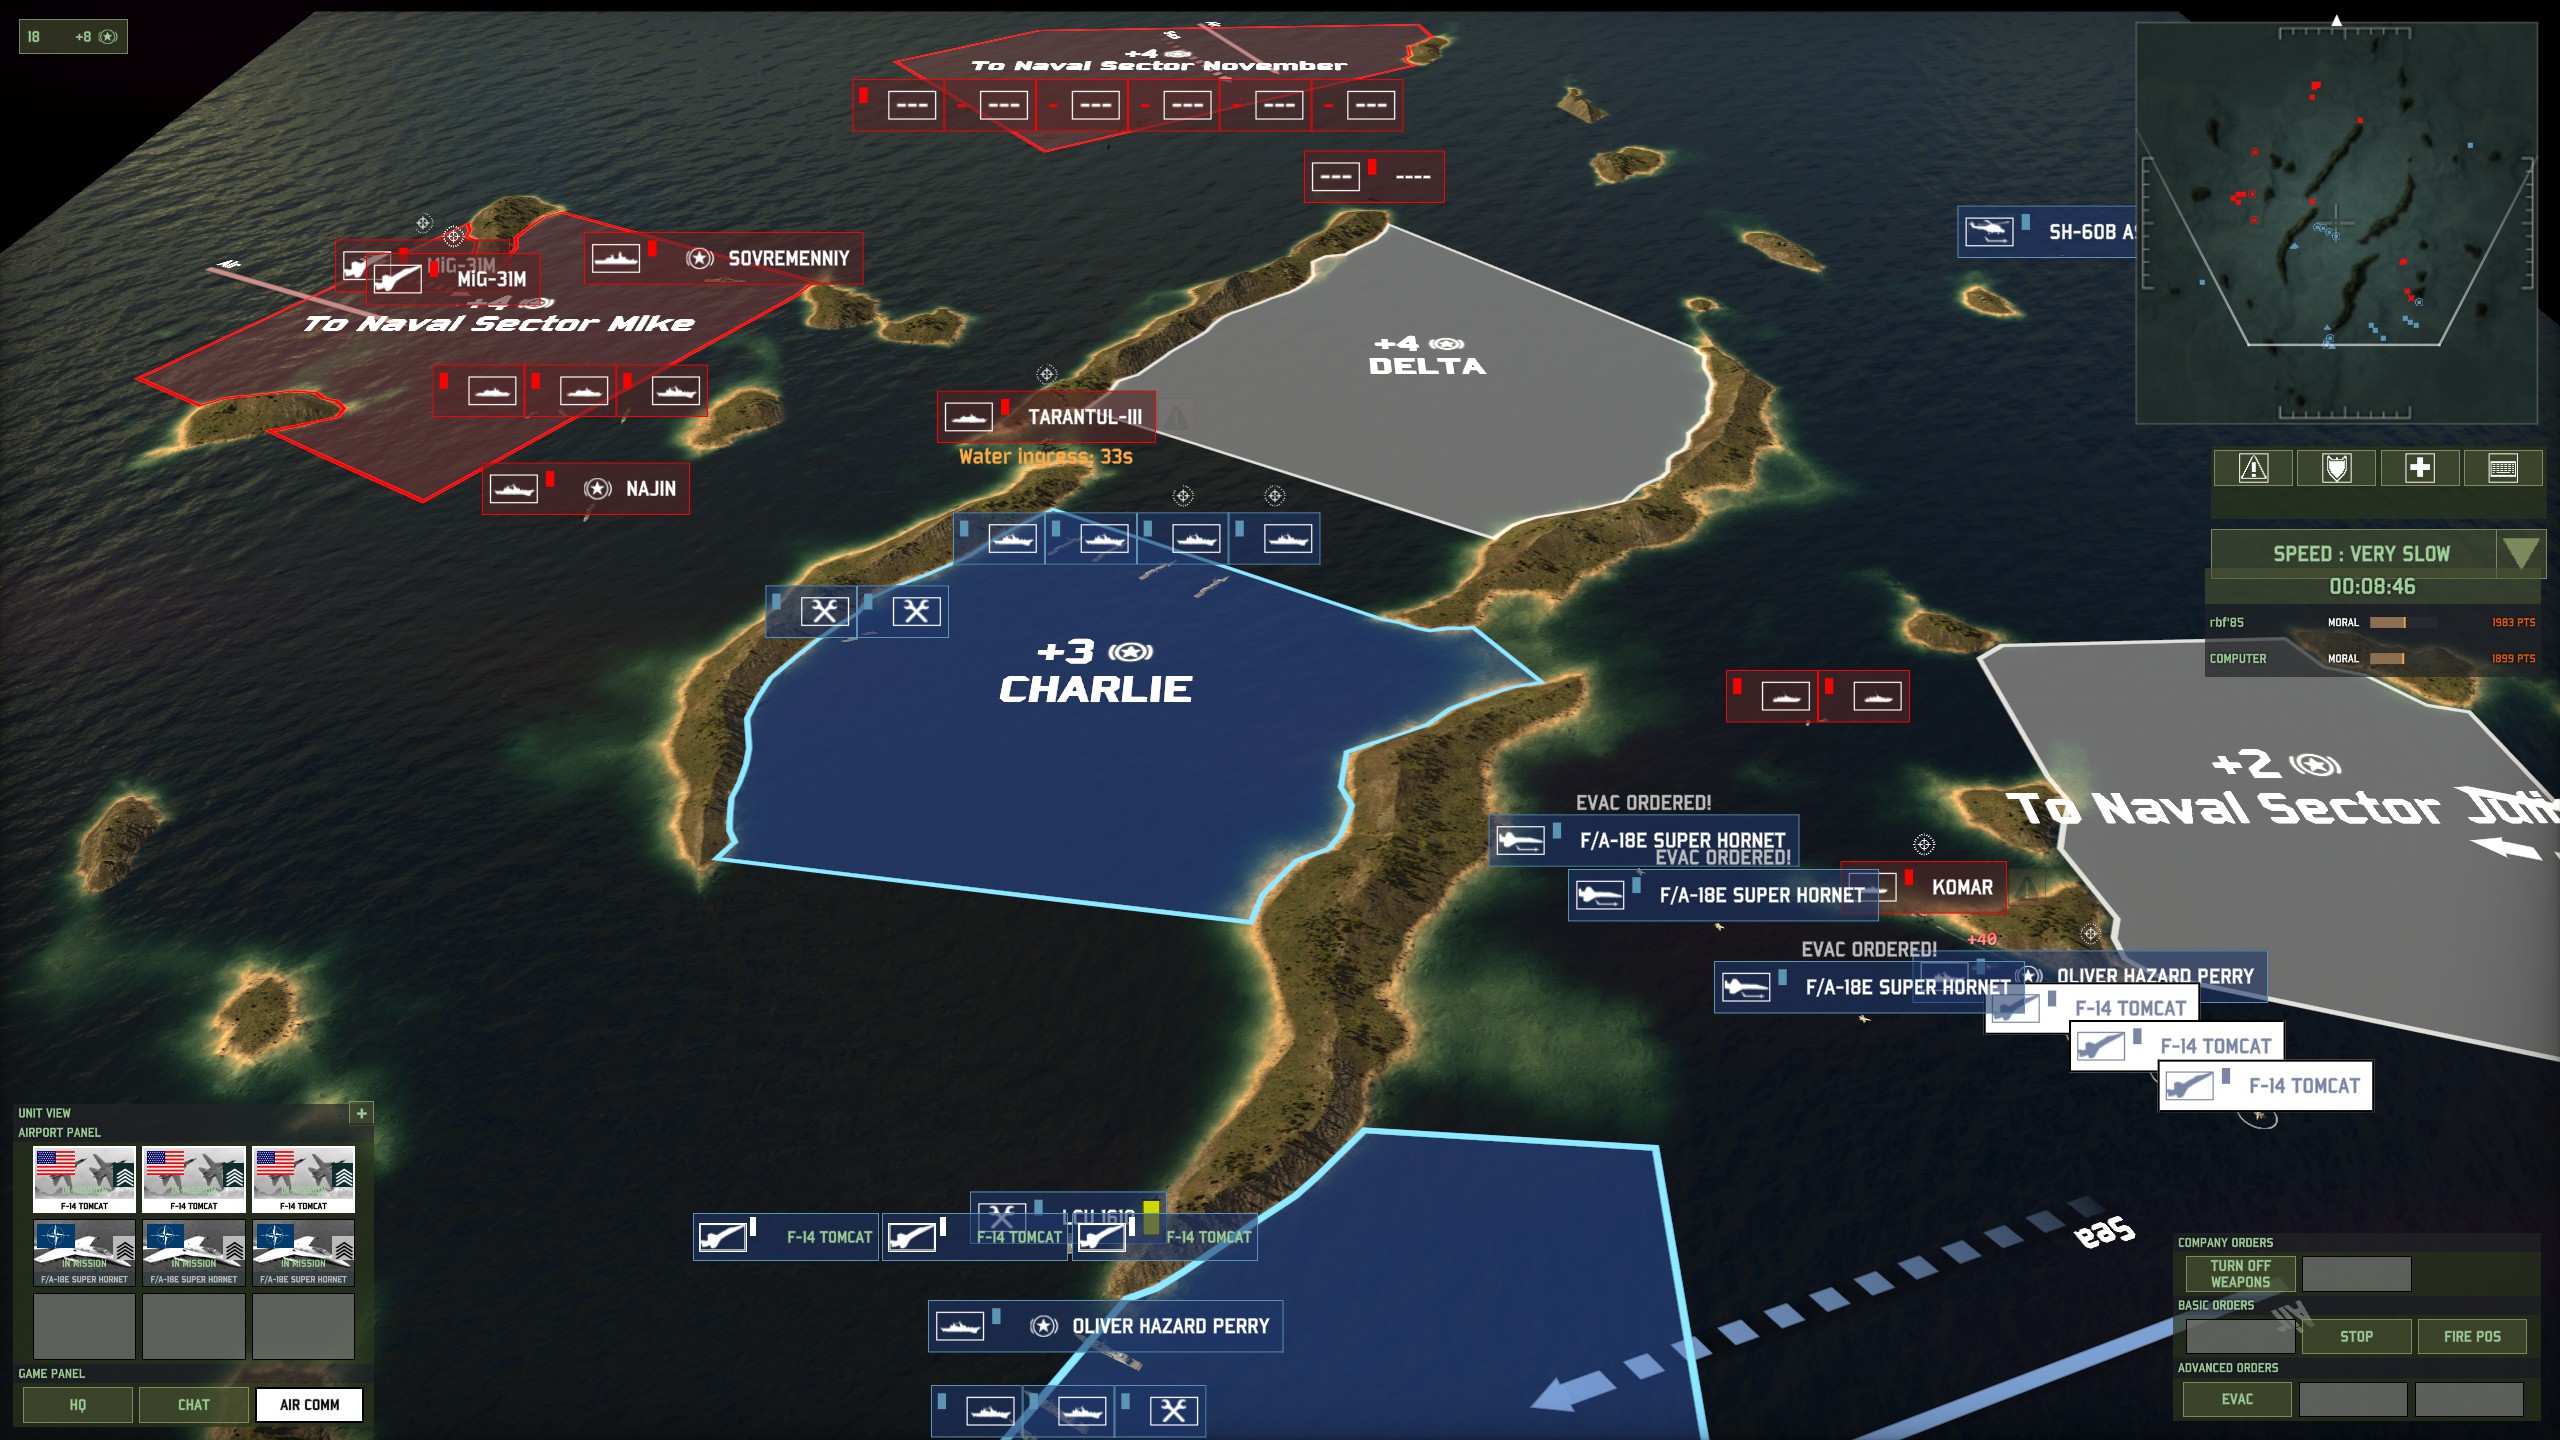
In this case, this netted me to 2 Mig-31M kills. At 150pt each, it’s a decent haul. At this point, we are more than halfway through the kill points we need for total victory.
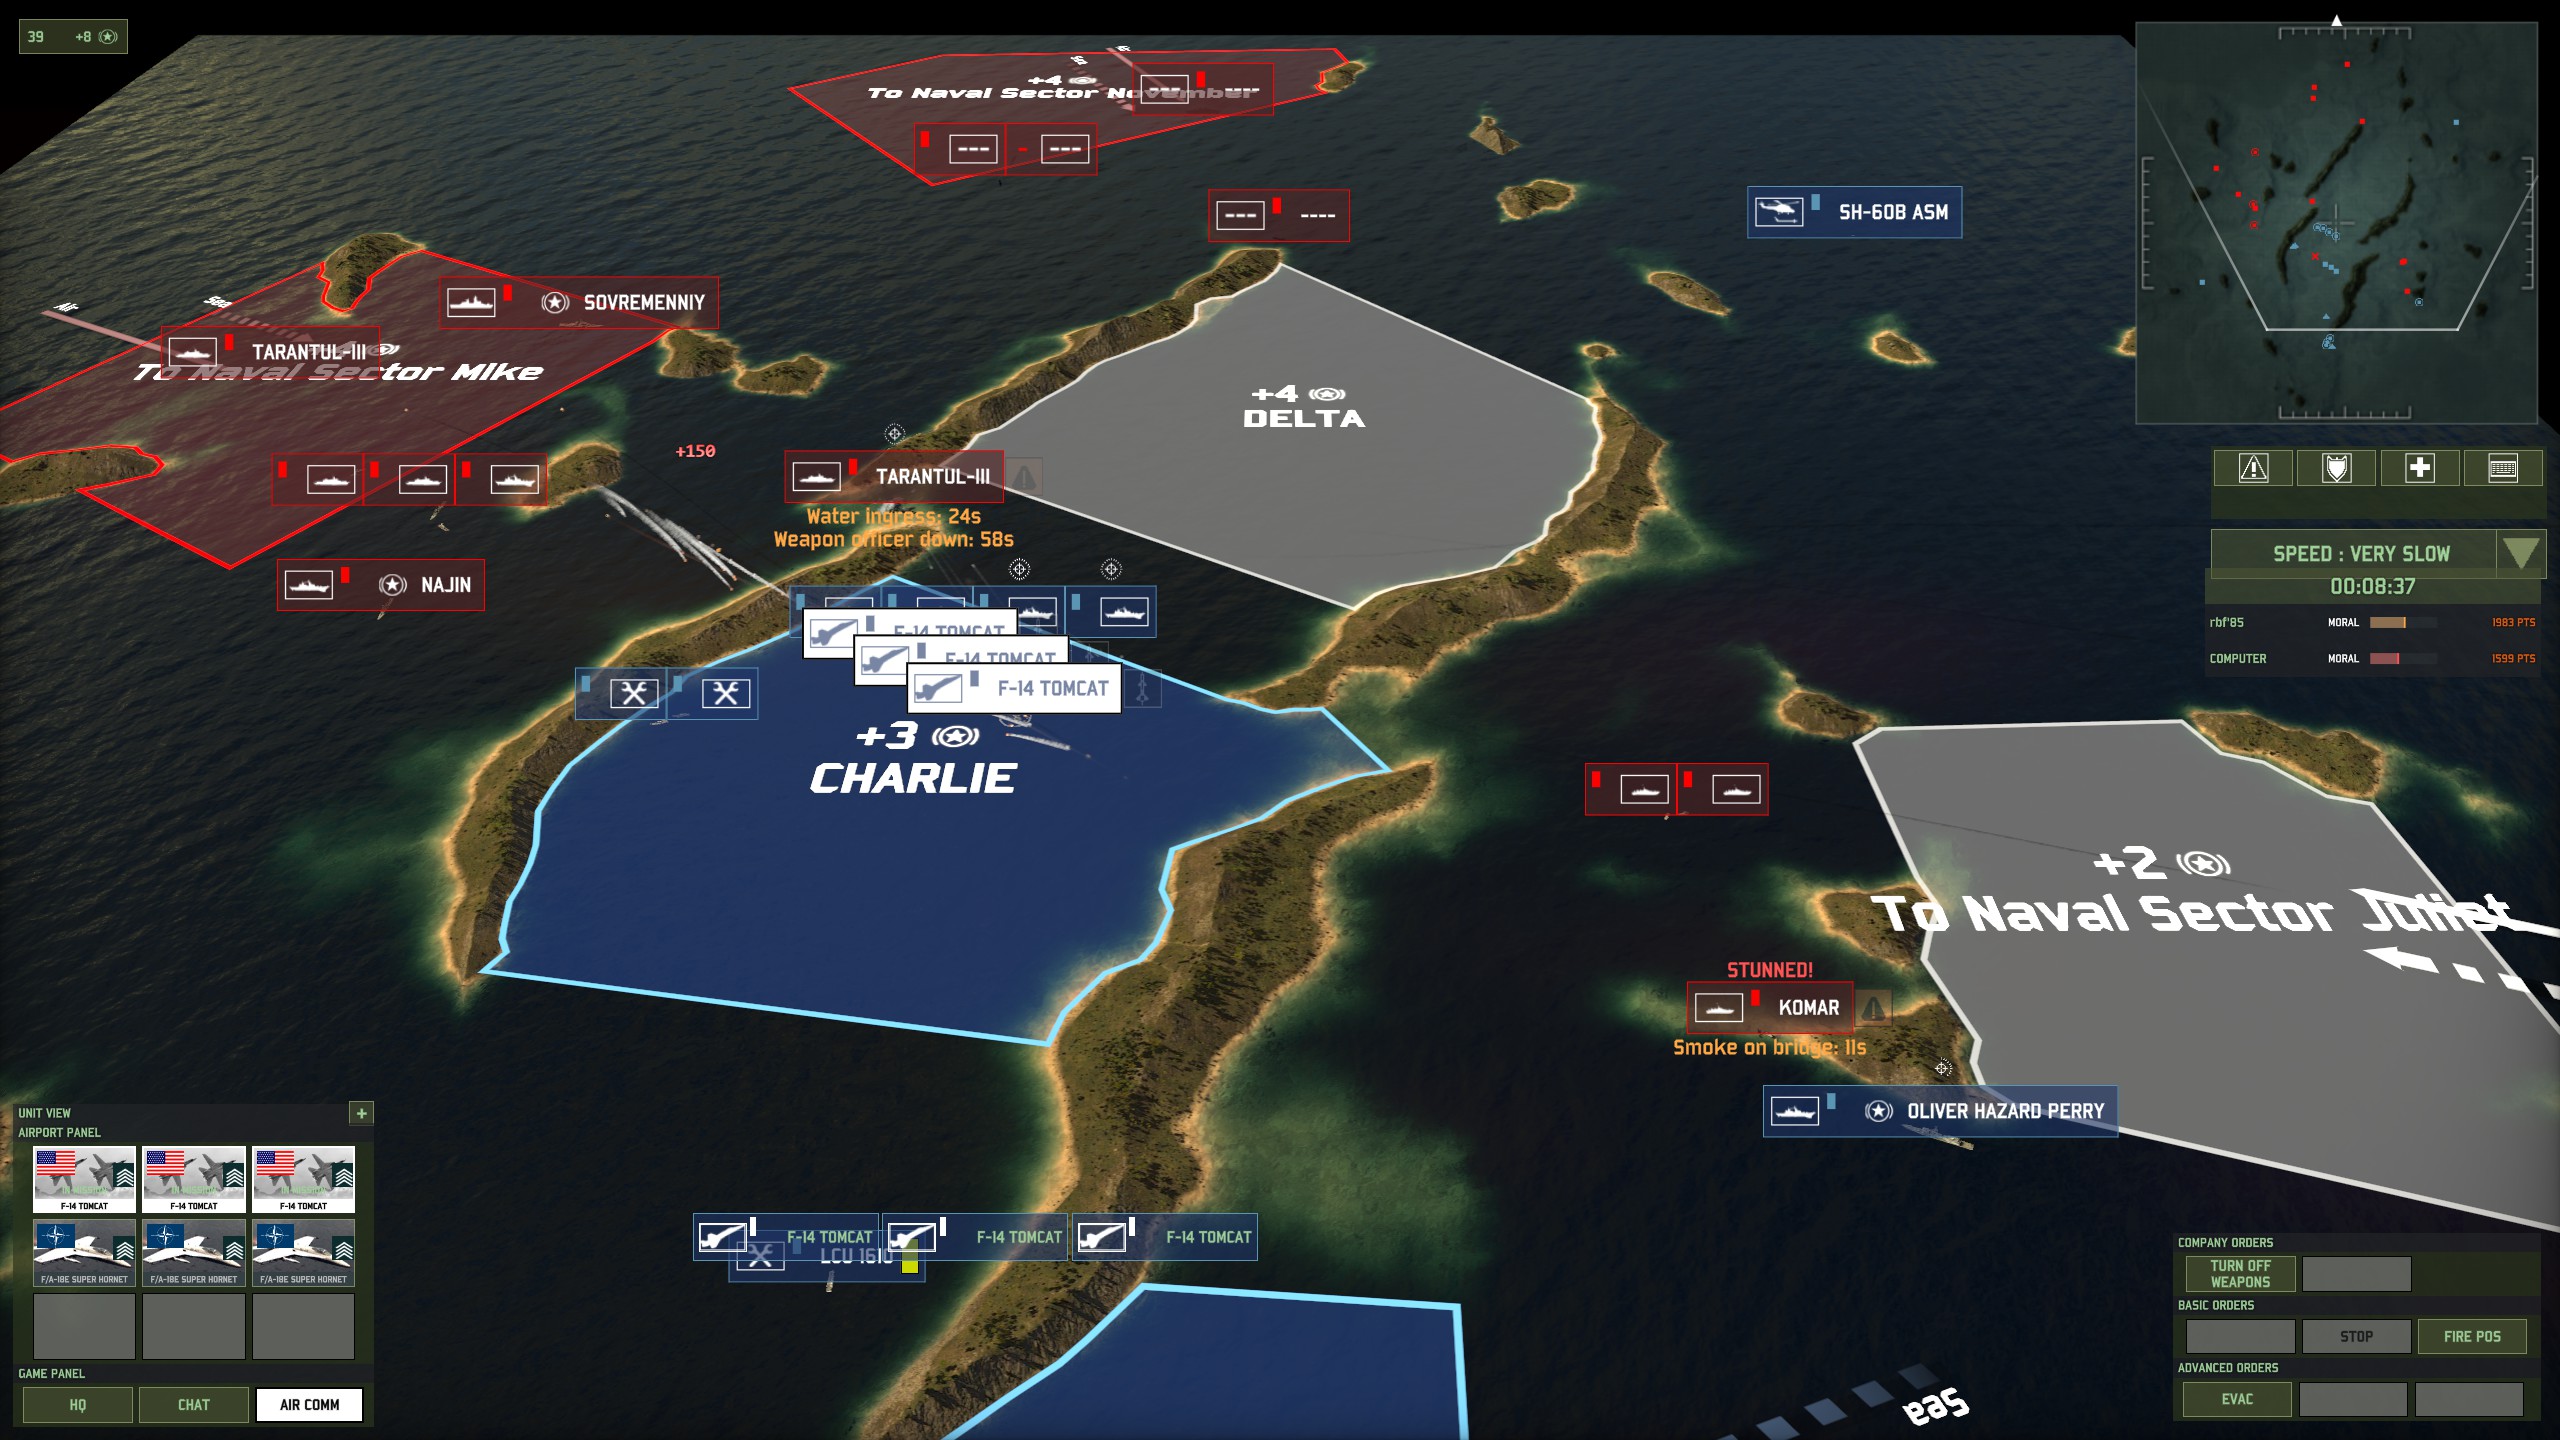
Continue attacking the enemy with Super Hornets. Make sure they don’t fly near other ships with AA though. Generally, the ship they are attacking will be too busy with the incoming ASMs to target your planes, but other ships in the vicinity (e.g. the Nanuchkas) may shoot your planes down.

Walkthrough Pt. 2
Once the Komars have exhausted their ammunition (4 missiles), you can engage them openly. I also got a couple of Pegasi to beef up the left flank, but didn’t have much use for them.
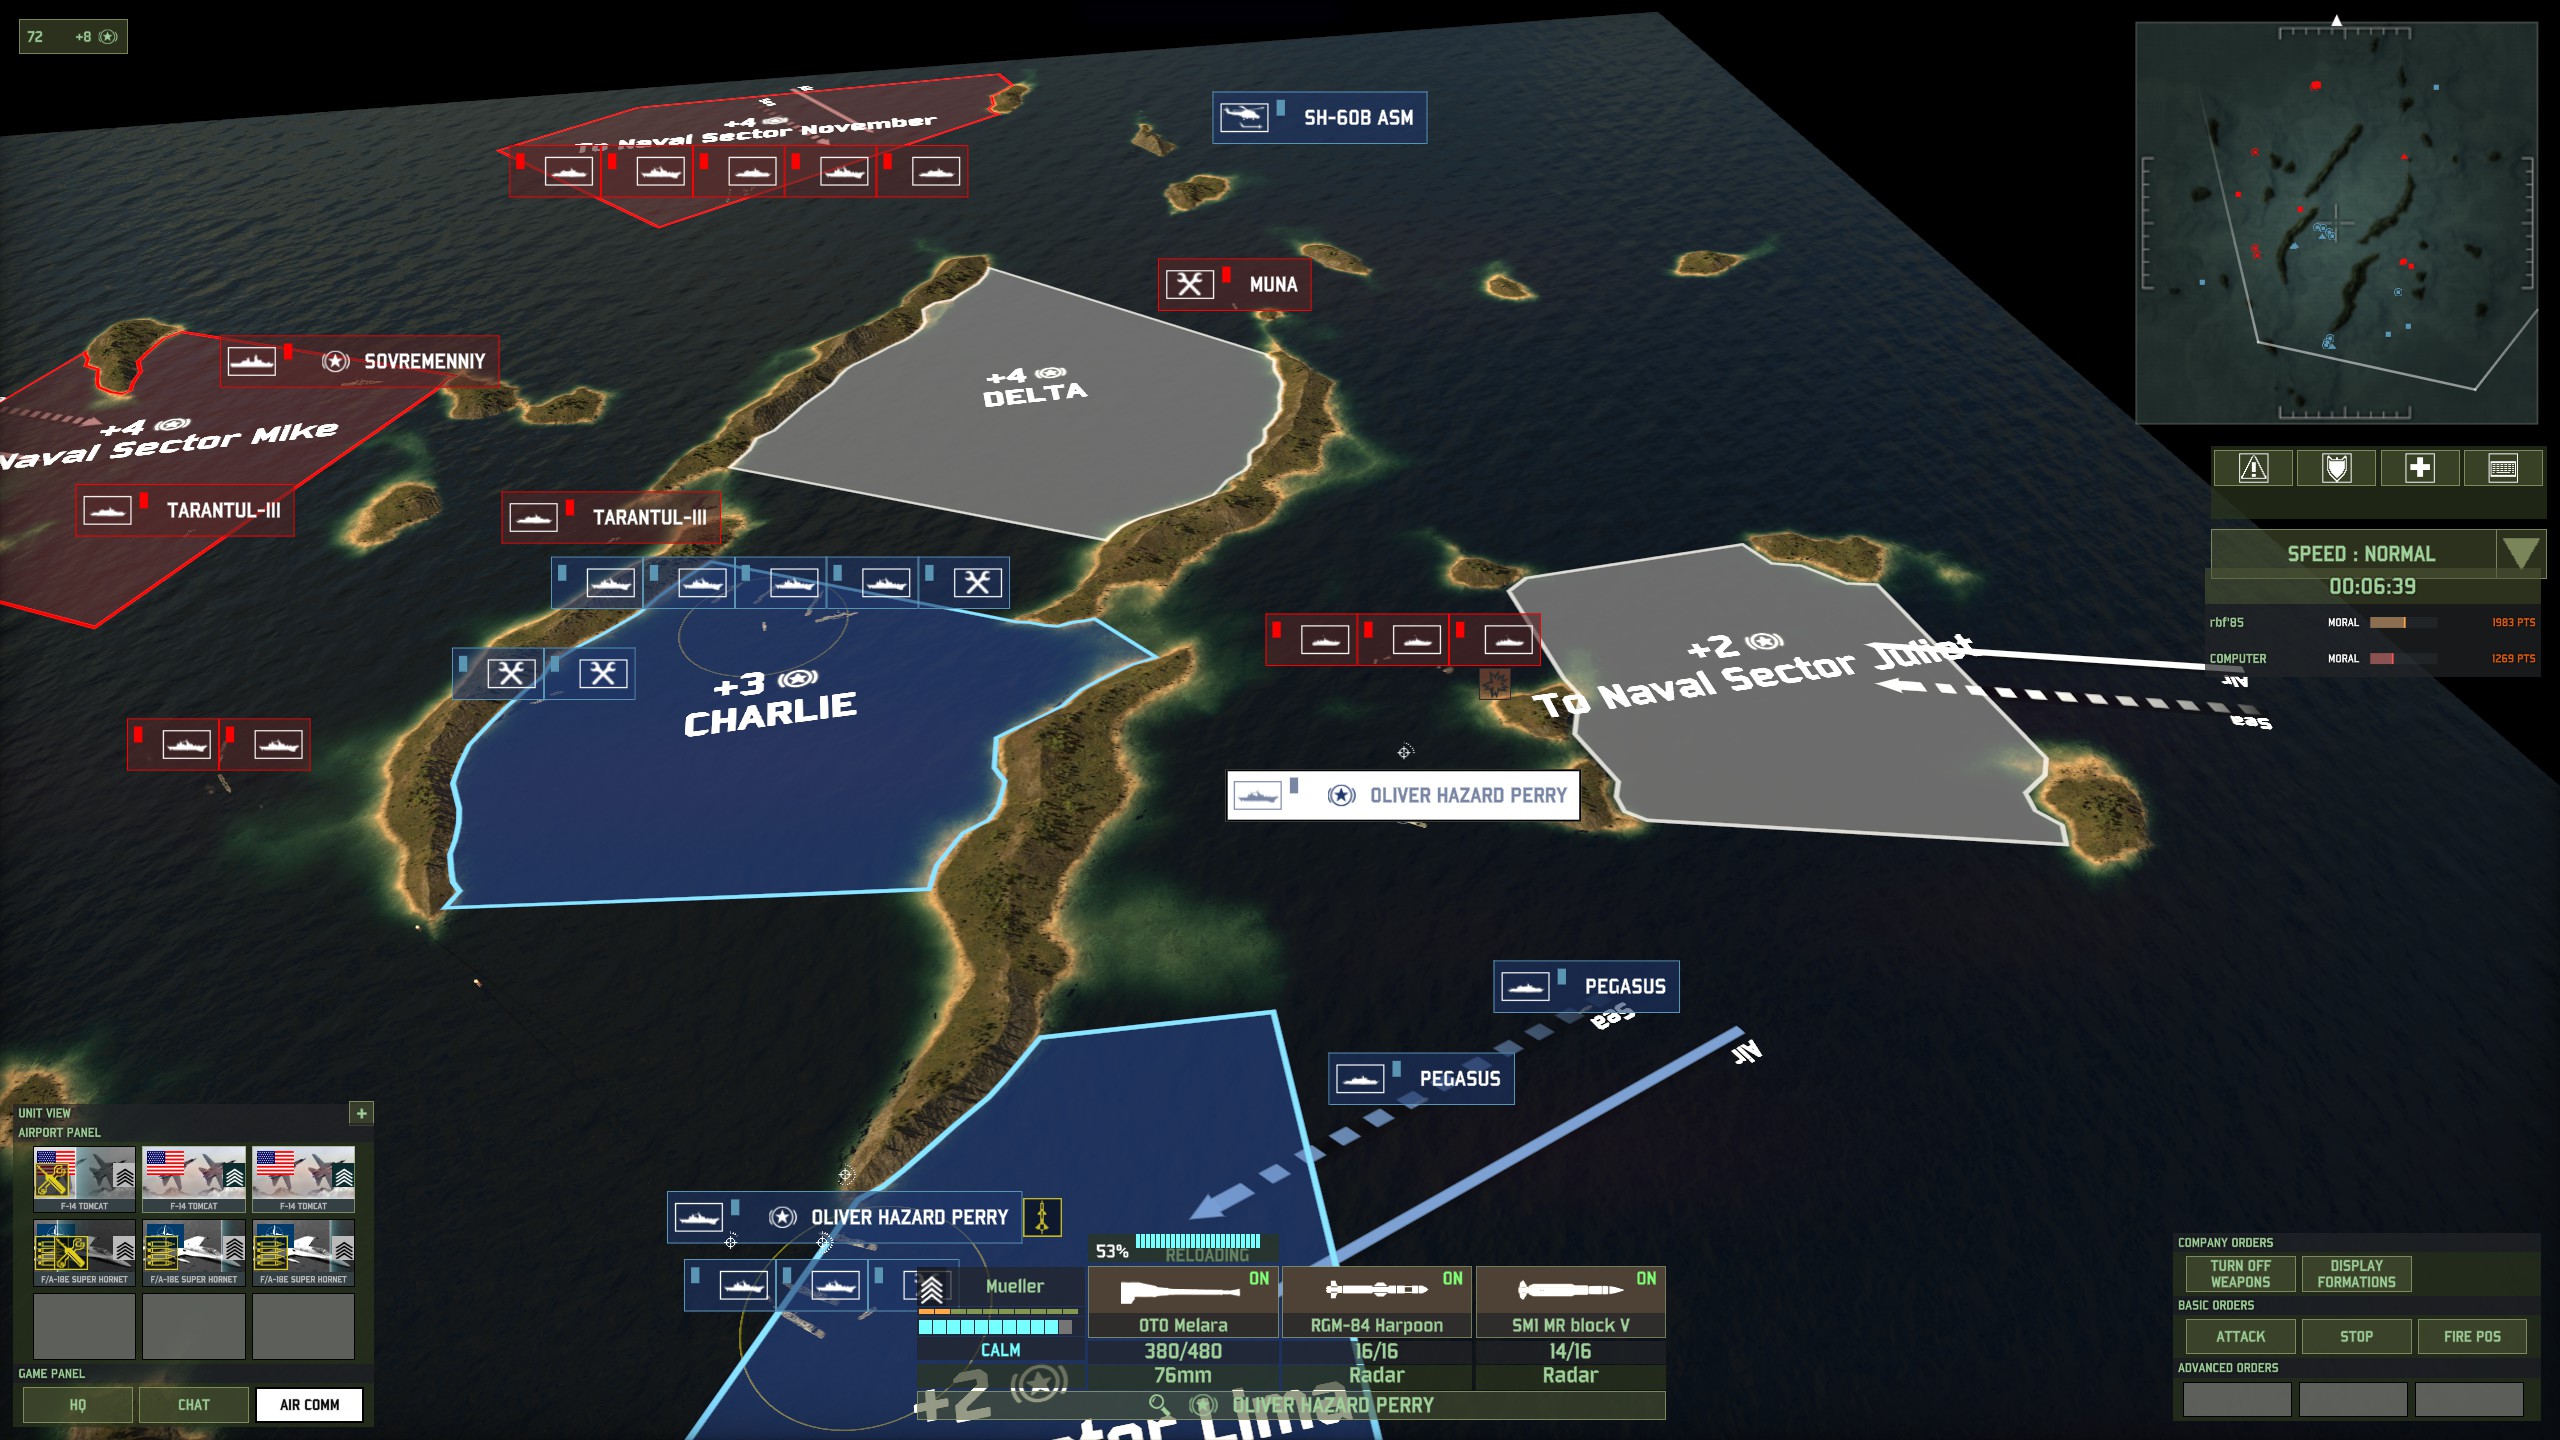
The AI started pushing on the left side with Najins, but the 3 OHPs were more than enough to deal with them.
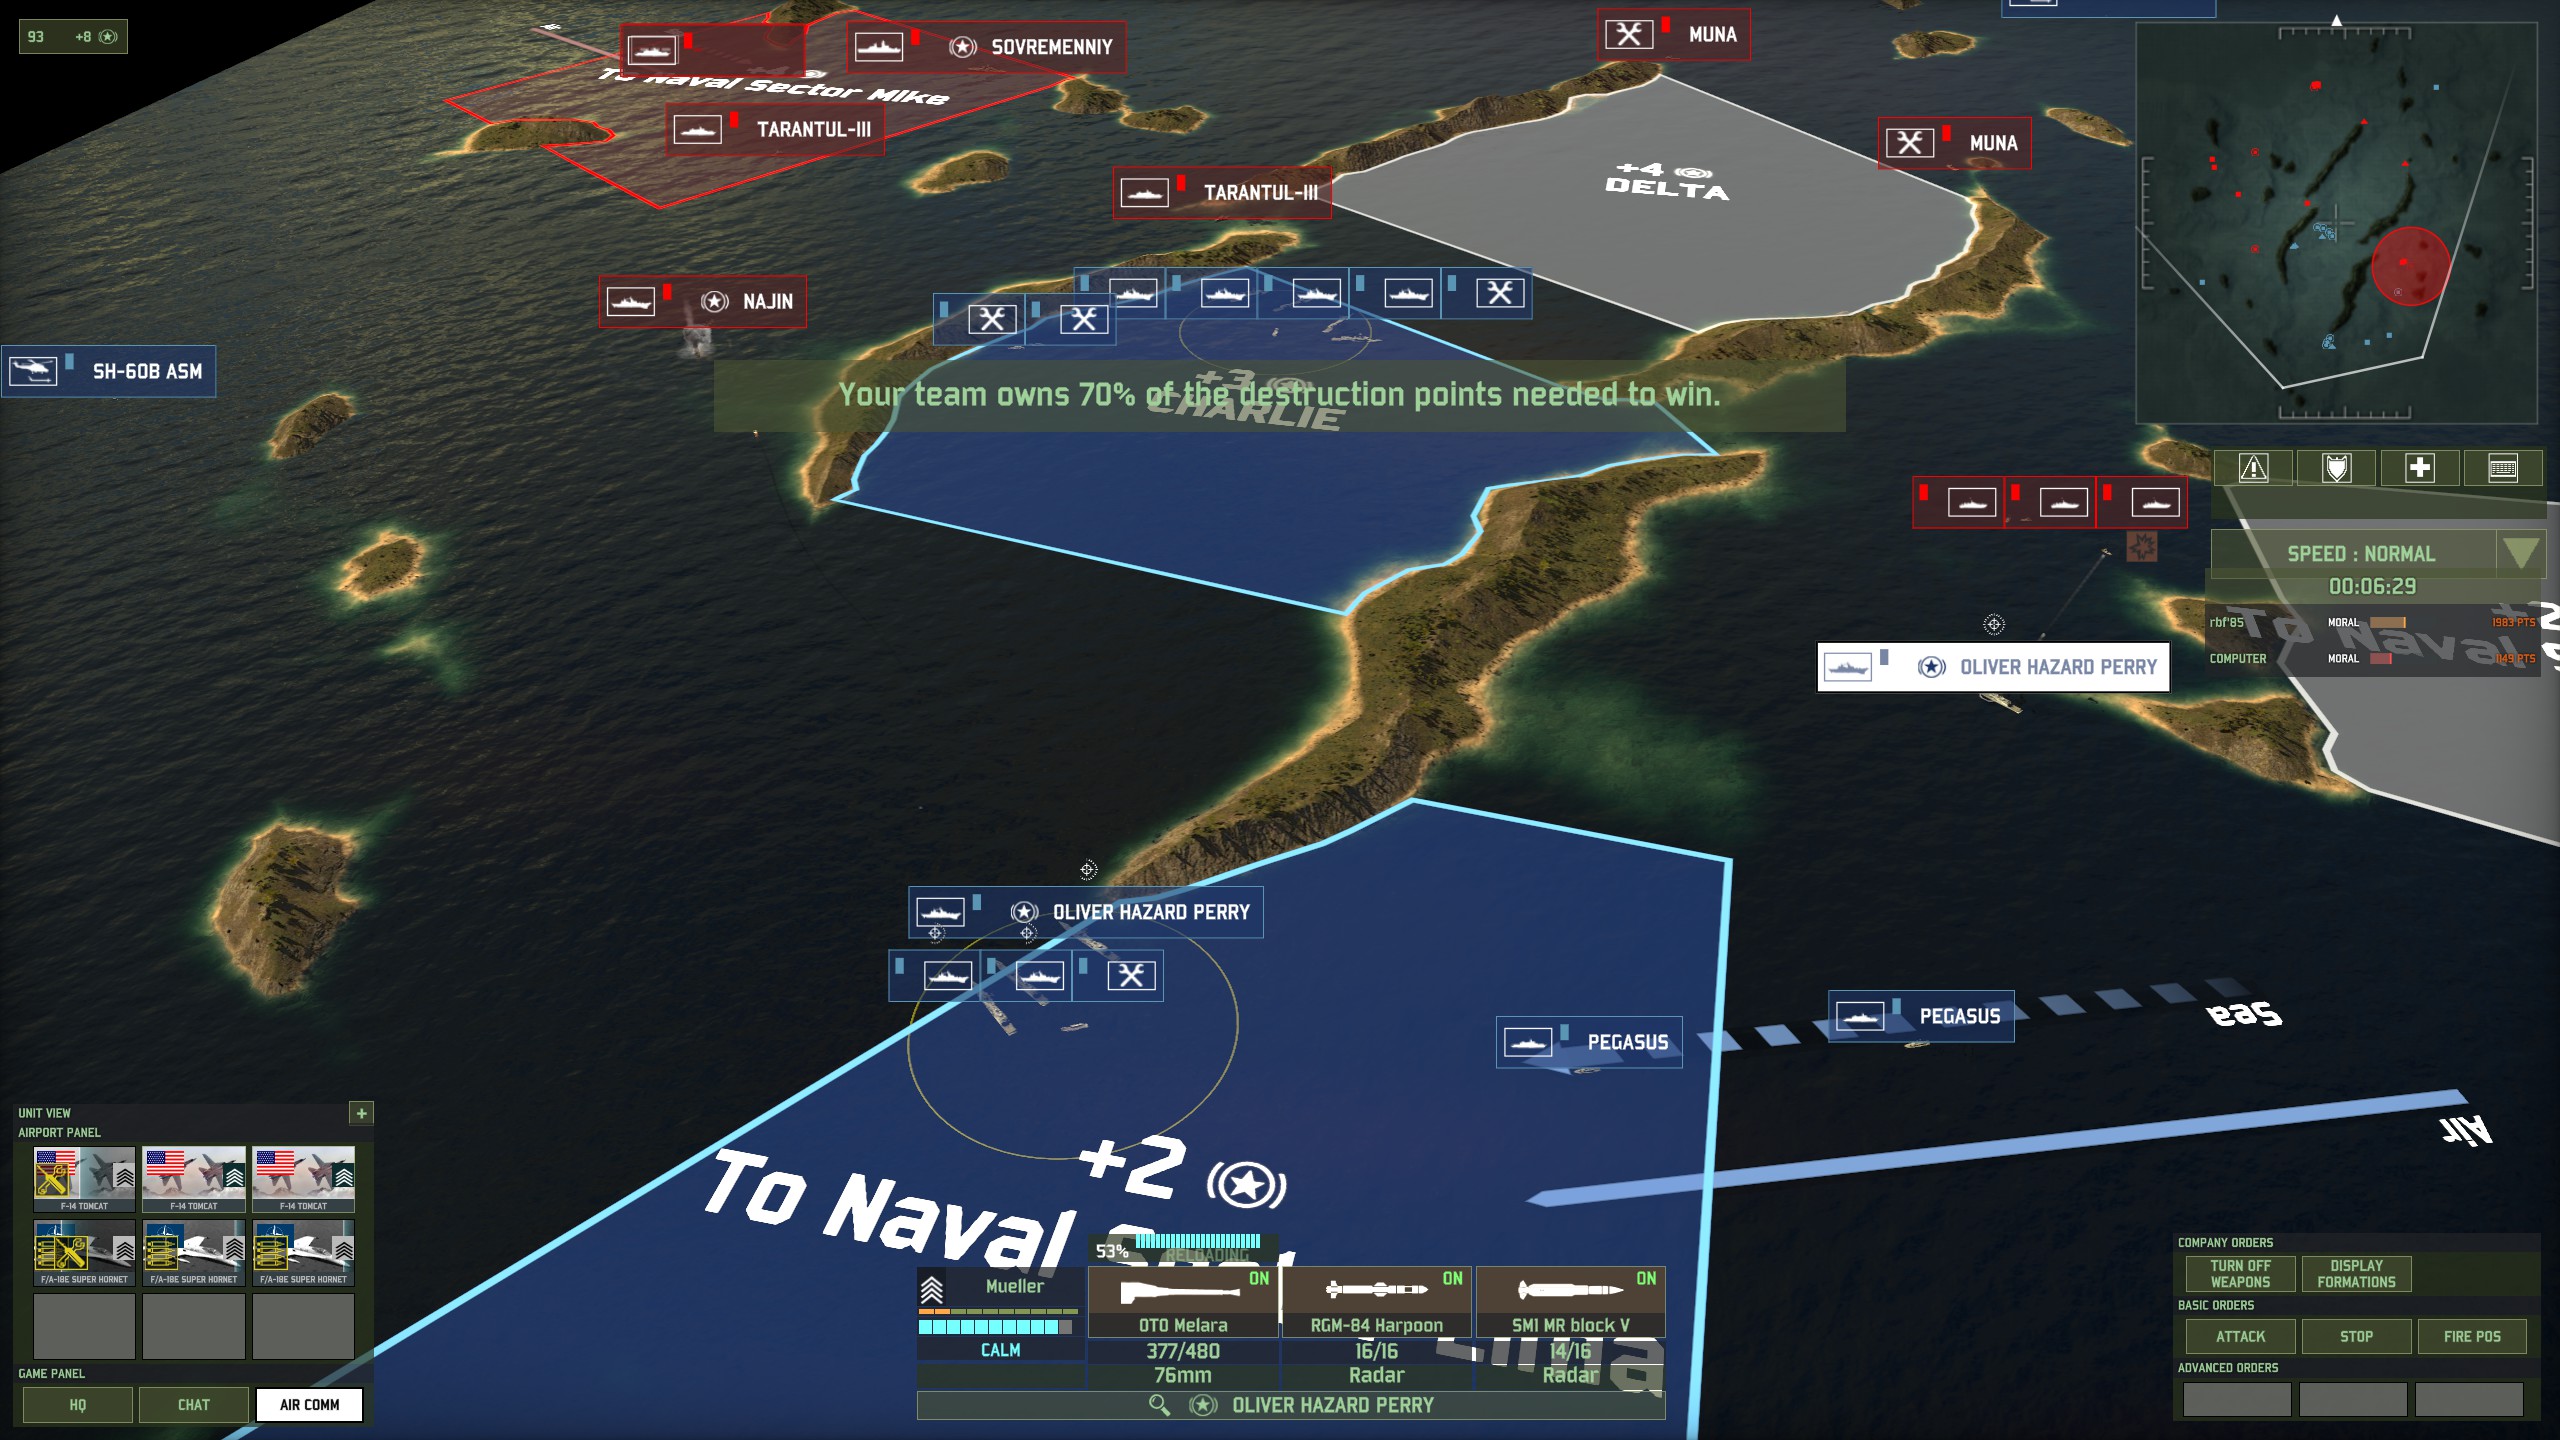
My two LCU’s in the middle were depleted, and I’ve sent another one. Be careful routing it as the enemy will shoot at it. At this point the enemy started sending Nanuchkas, Tarantuls and Komars down the gap between the islands in the middle. (Only the smaller ships can traverse it.) They were promptly stunned and killed by OHPs’ guns.
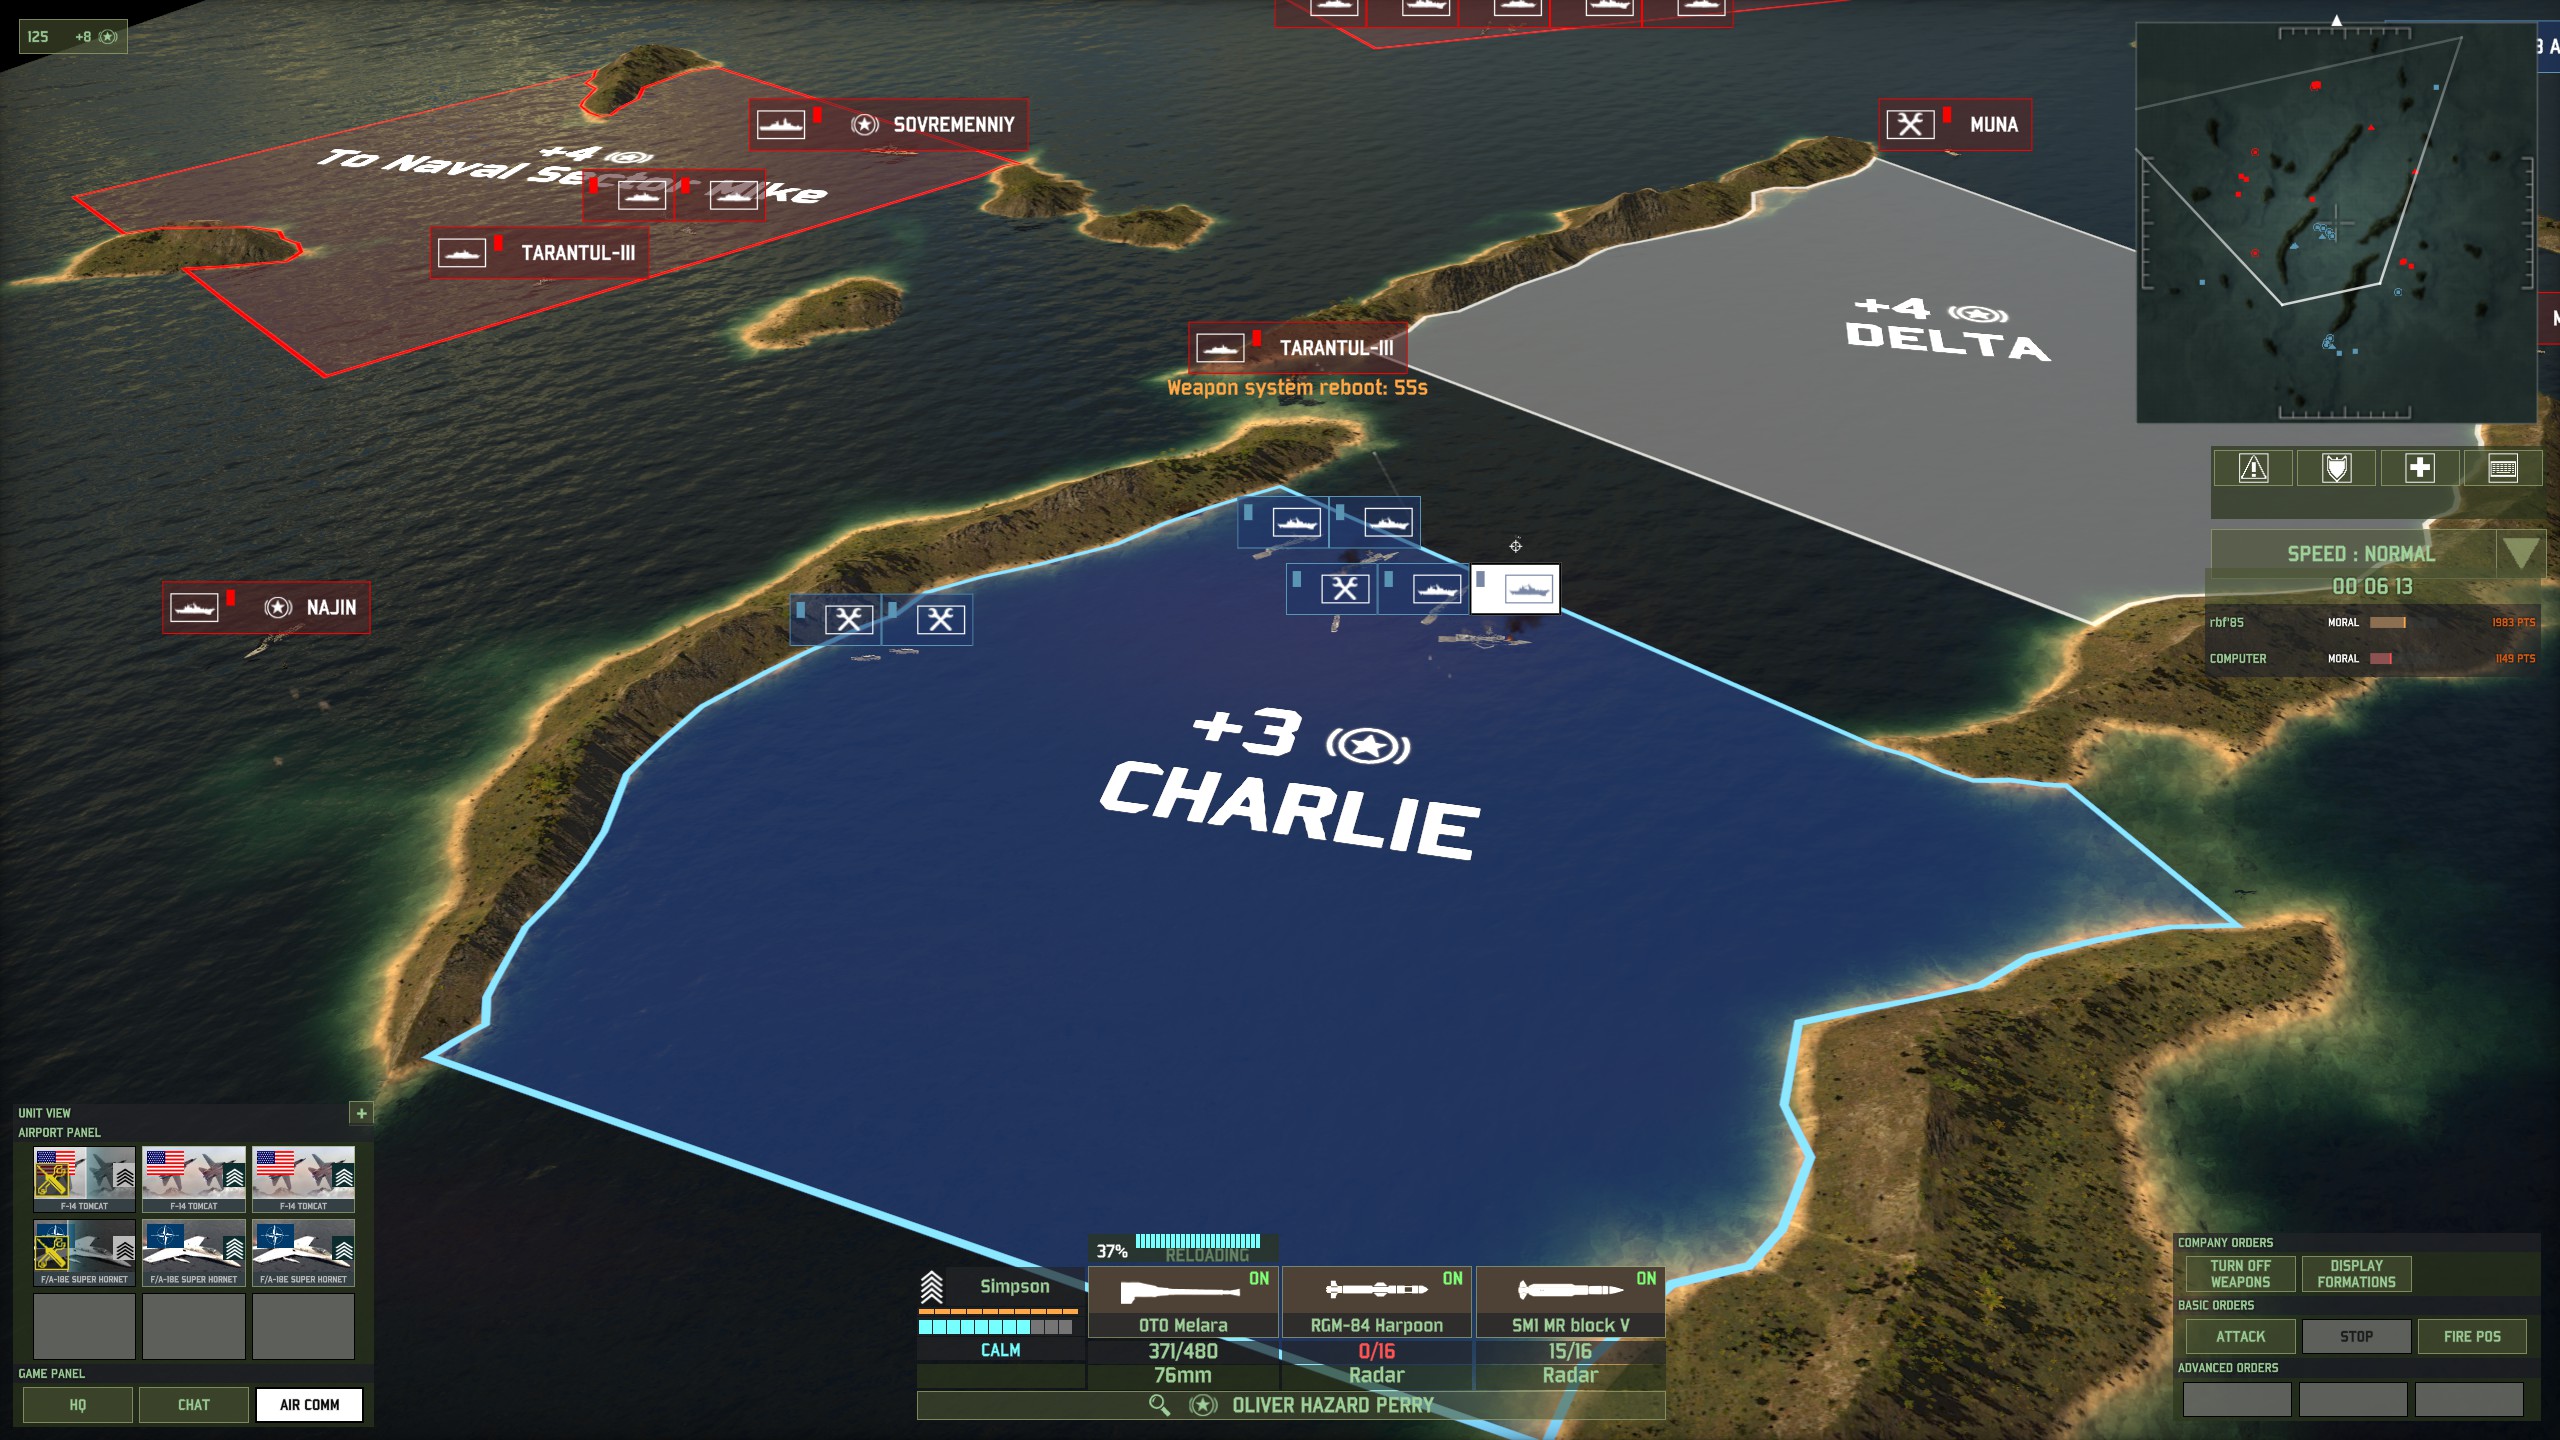
The AI sent a Muna to resupply the Komars, but it sent it unprotected. This is a great example of a mistake the AI routinely makes. You can send a fast ship, e.g. the Pegasus, to capture it. Make sure your setting “Automatically fire on enemy supplies” is turned OFF, and there isn’t anyone who can shoot at the Pegasus.
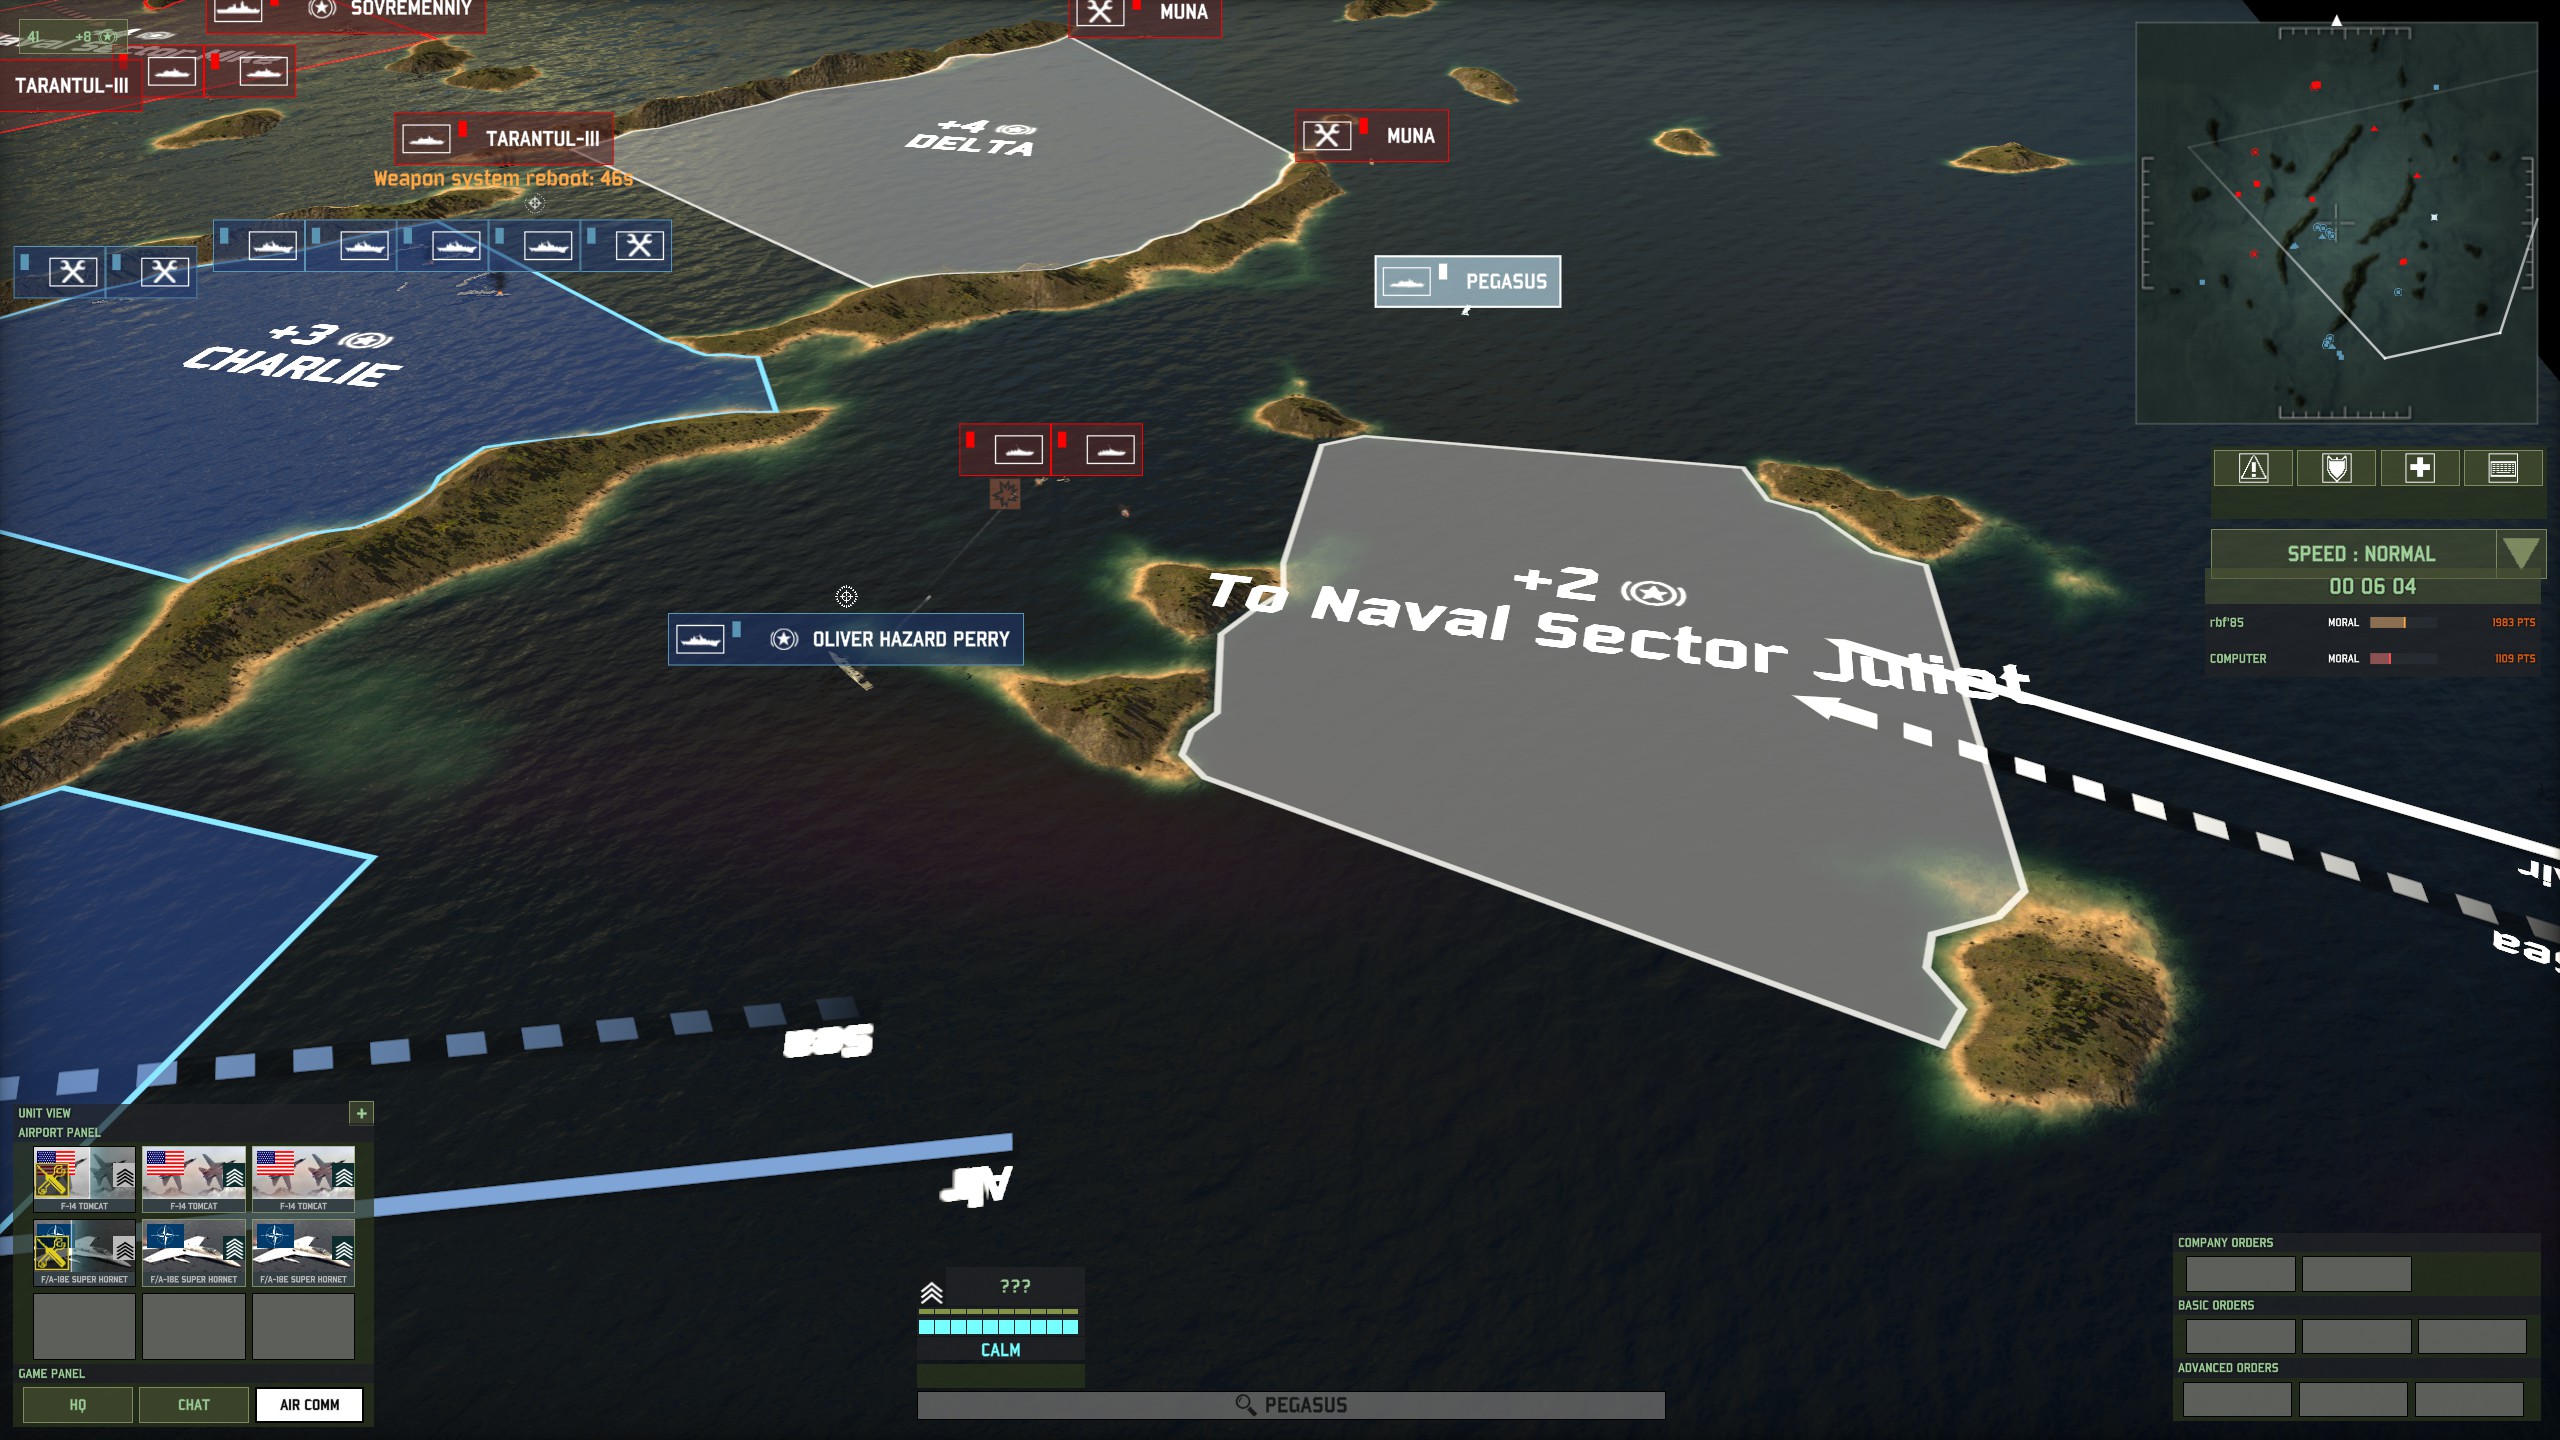
Keep using Hornets to kill off enemy ships out of reach of your OHPs. We are in the home stretch now. While it would be nice to kill one of the two Sovremenny’s that the AI has left, they are far behind in their spawn sectors. With other AA ships in the way, sending Super Hornets is not advisable. Instead, kill off cheaper units.
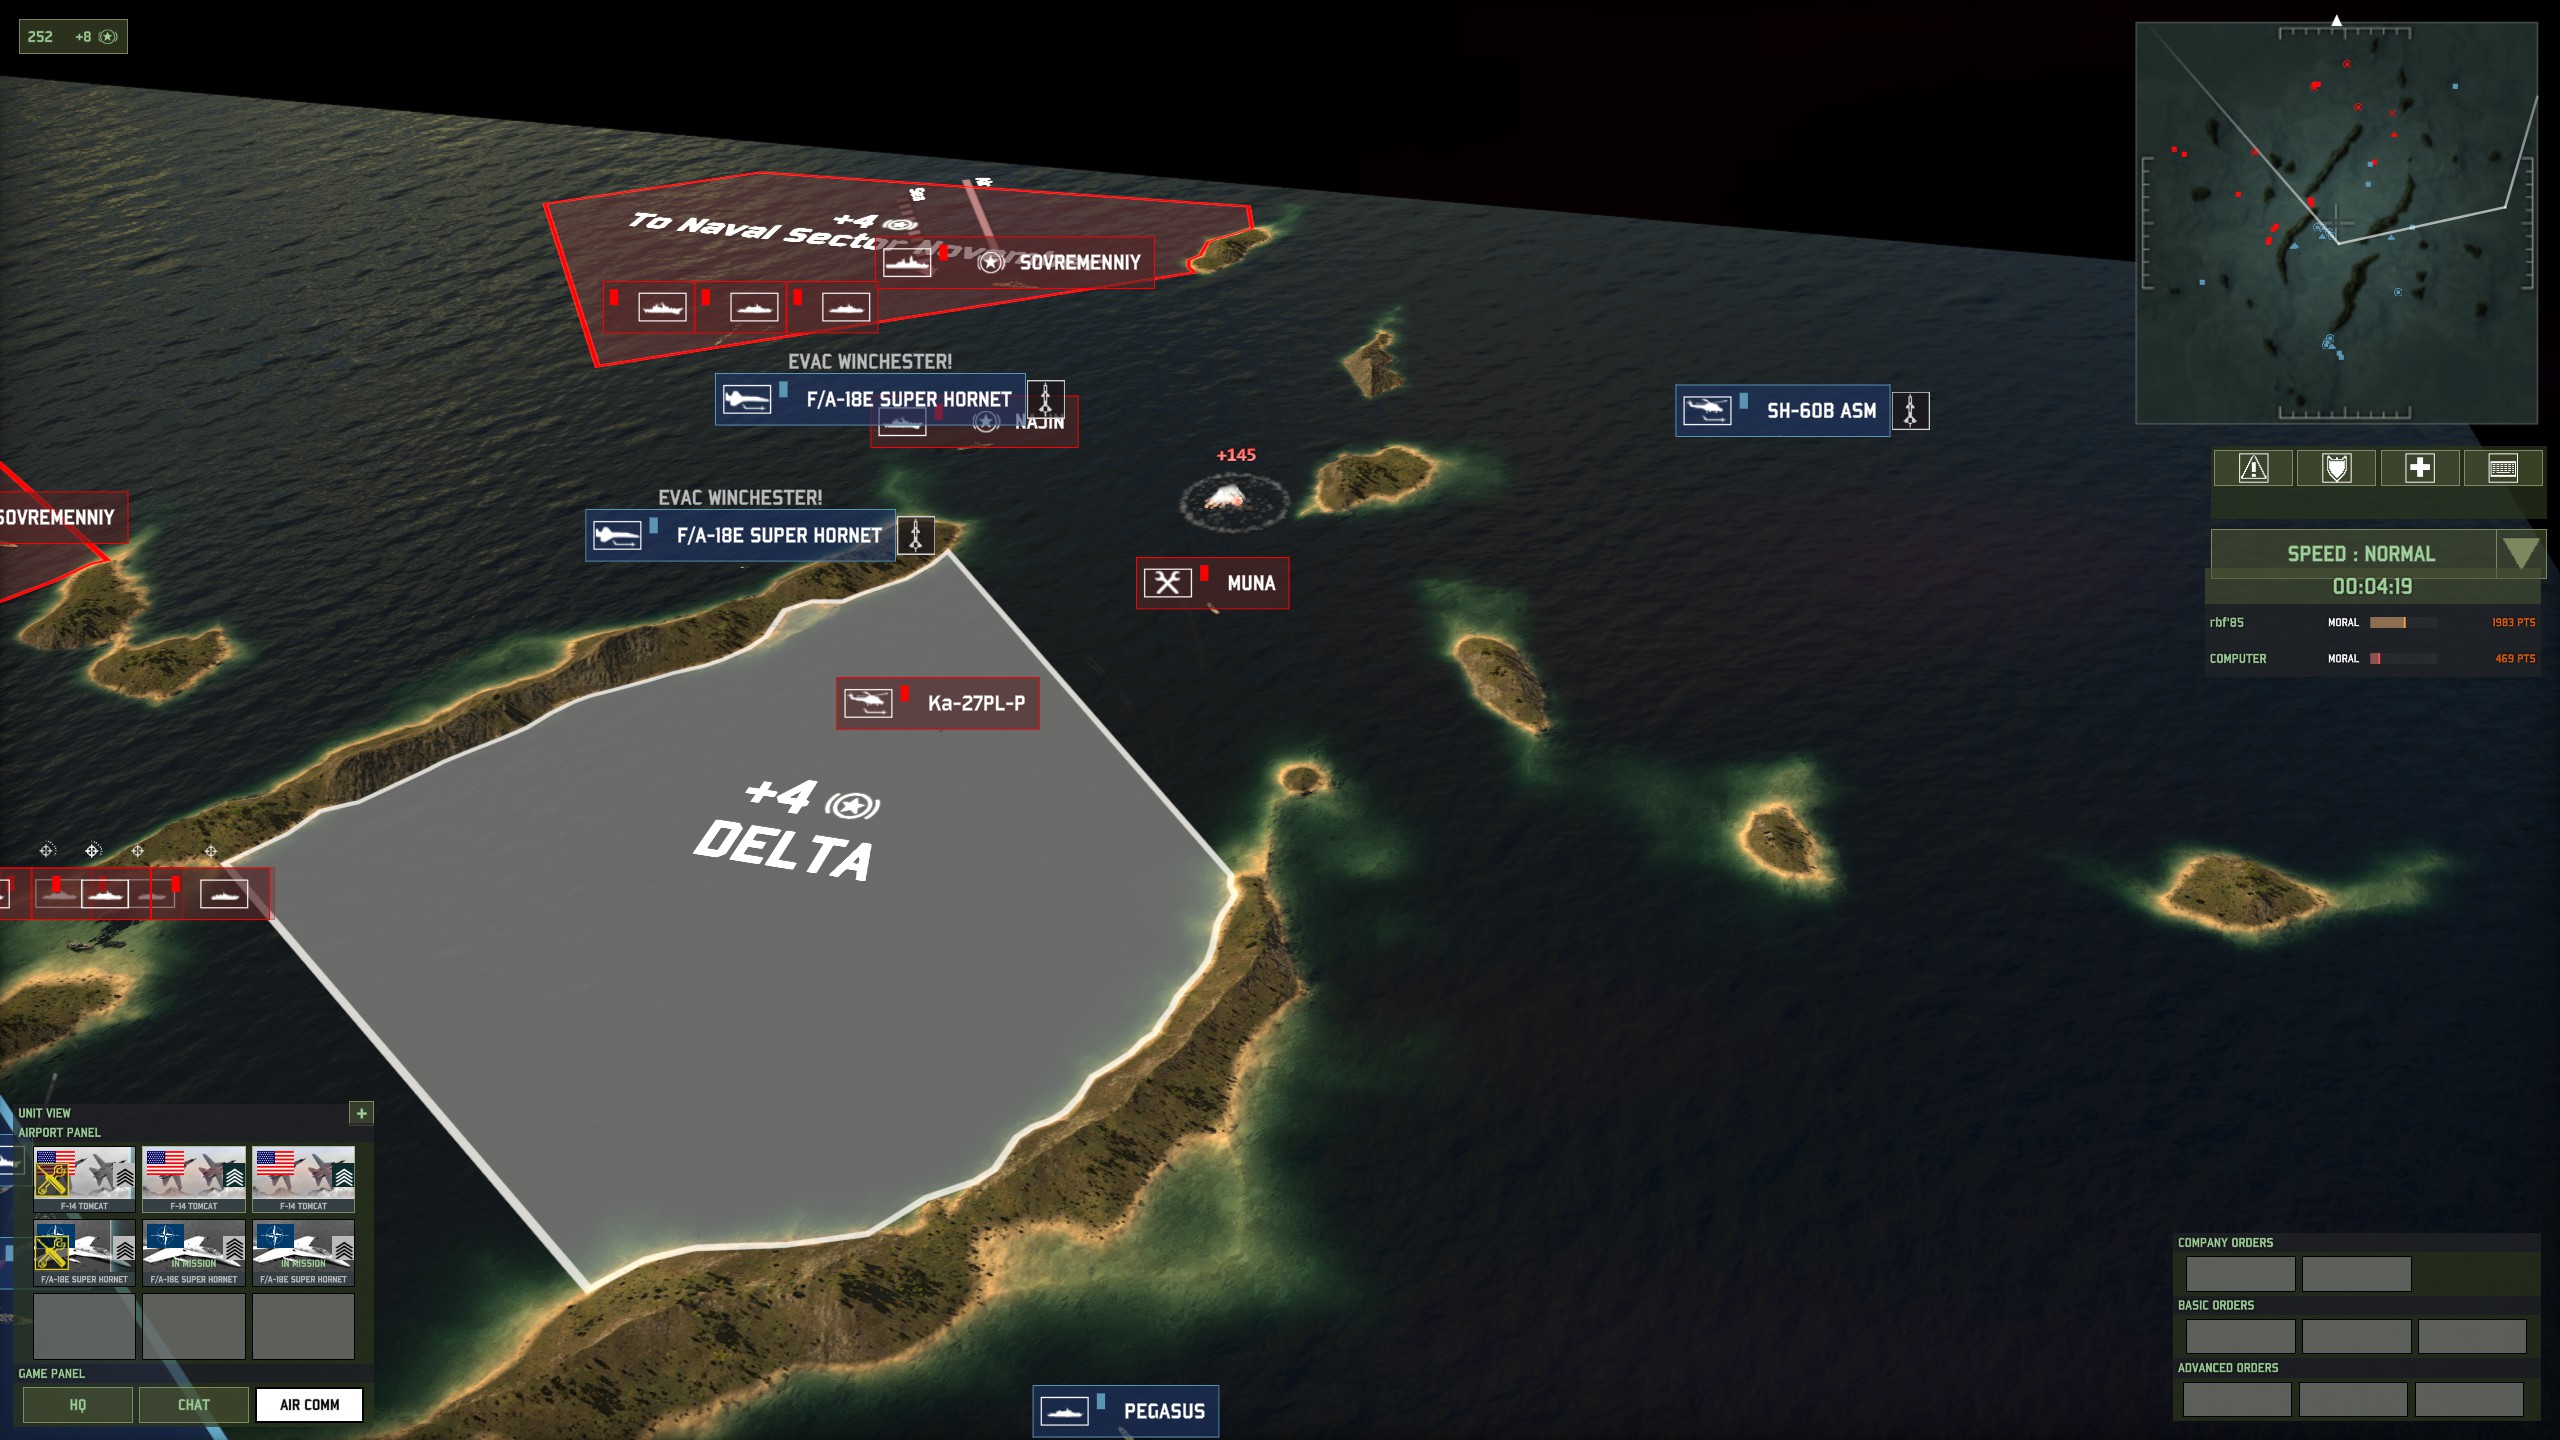
For example, like this Mig-31M that the AI sent in retaliation after my Hornets. I’ve actually managed to kill all of the Mig-31Ms, which resulted in destroying the squadron. This will make operating my Super Hornets in future battles much easier as the AI doesn’t have good any air superiority fighters left on the Eastern naval theater.
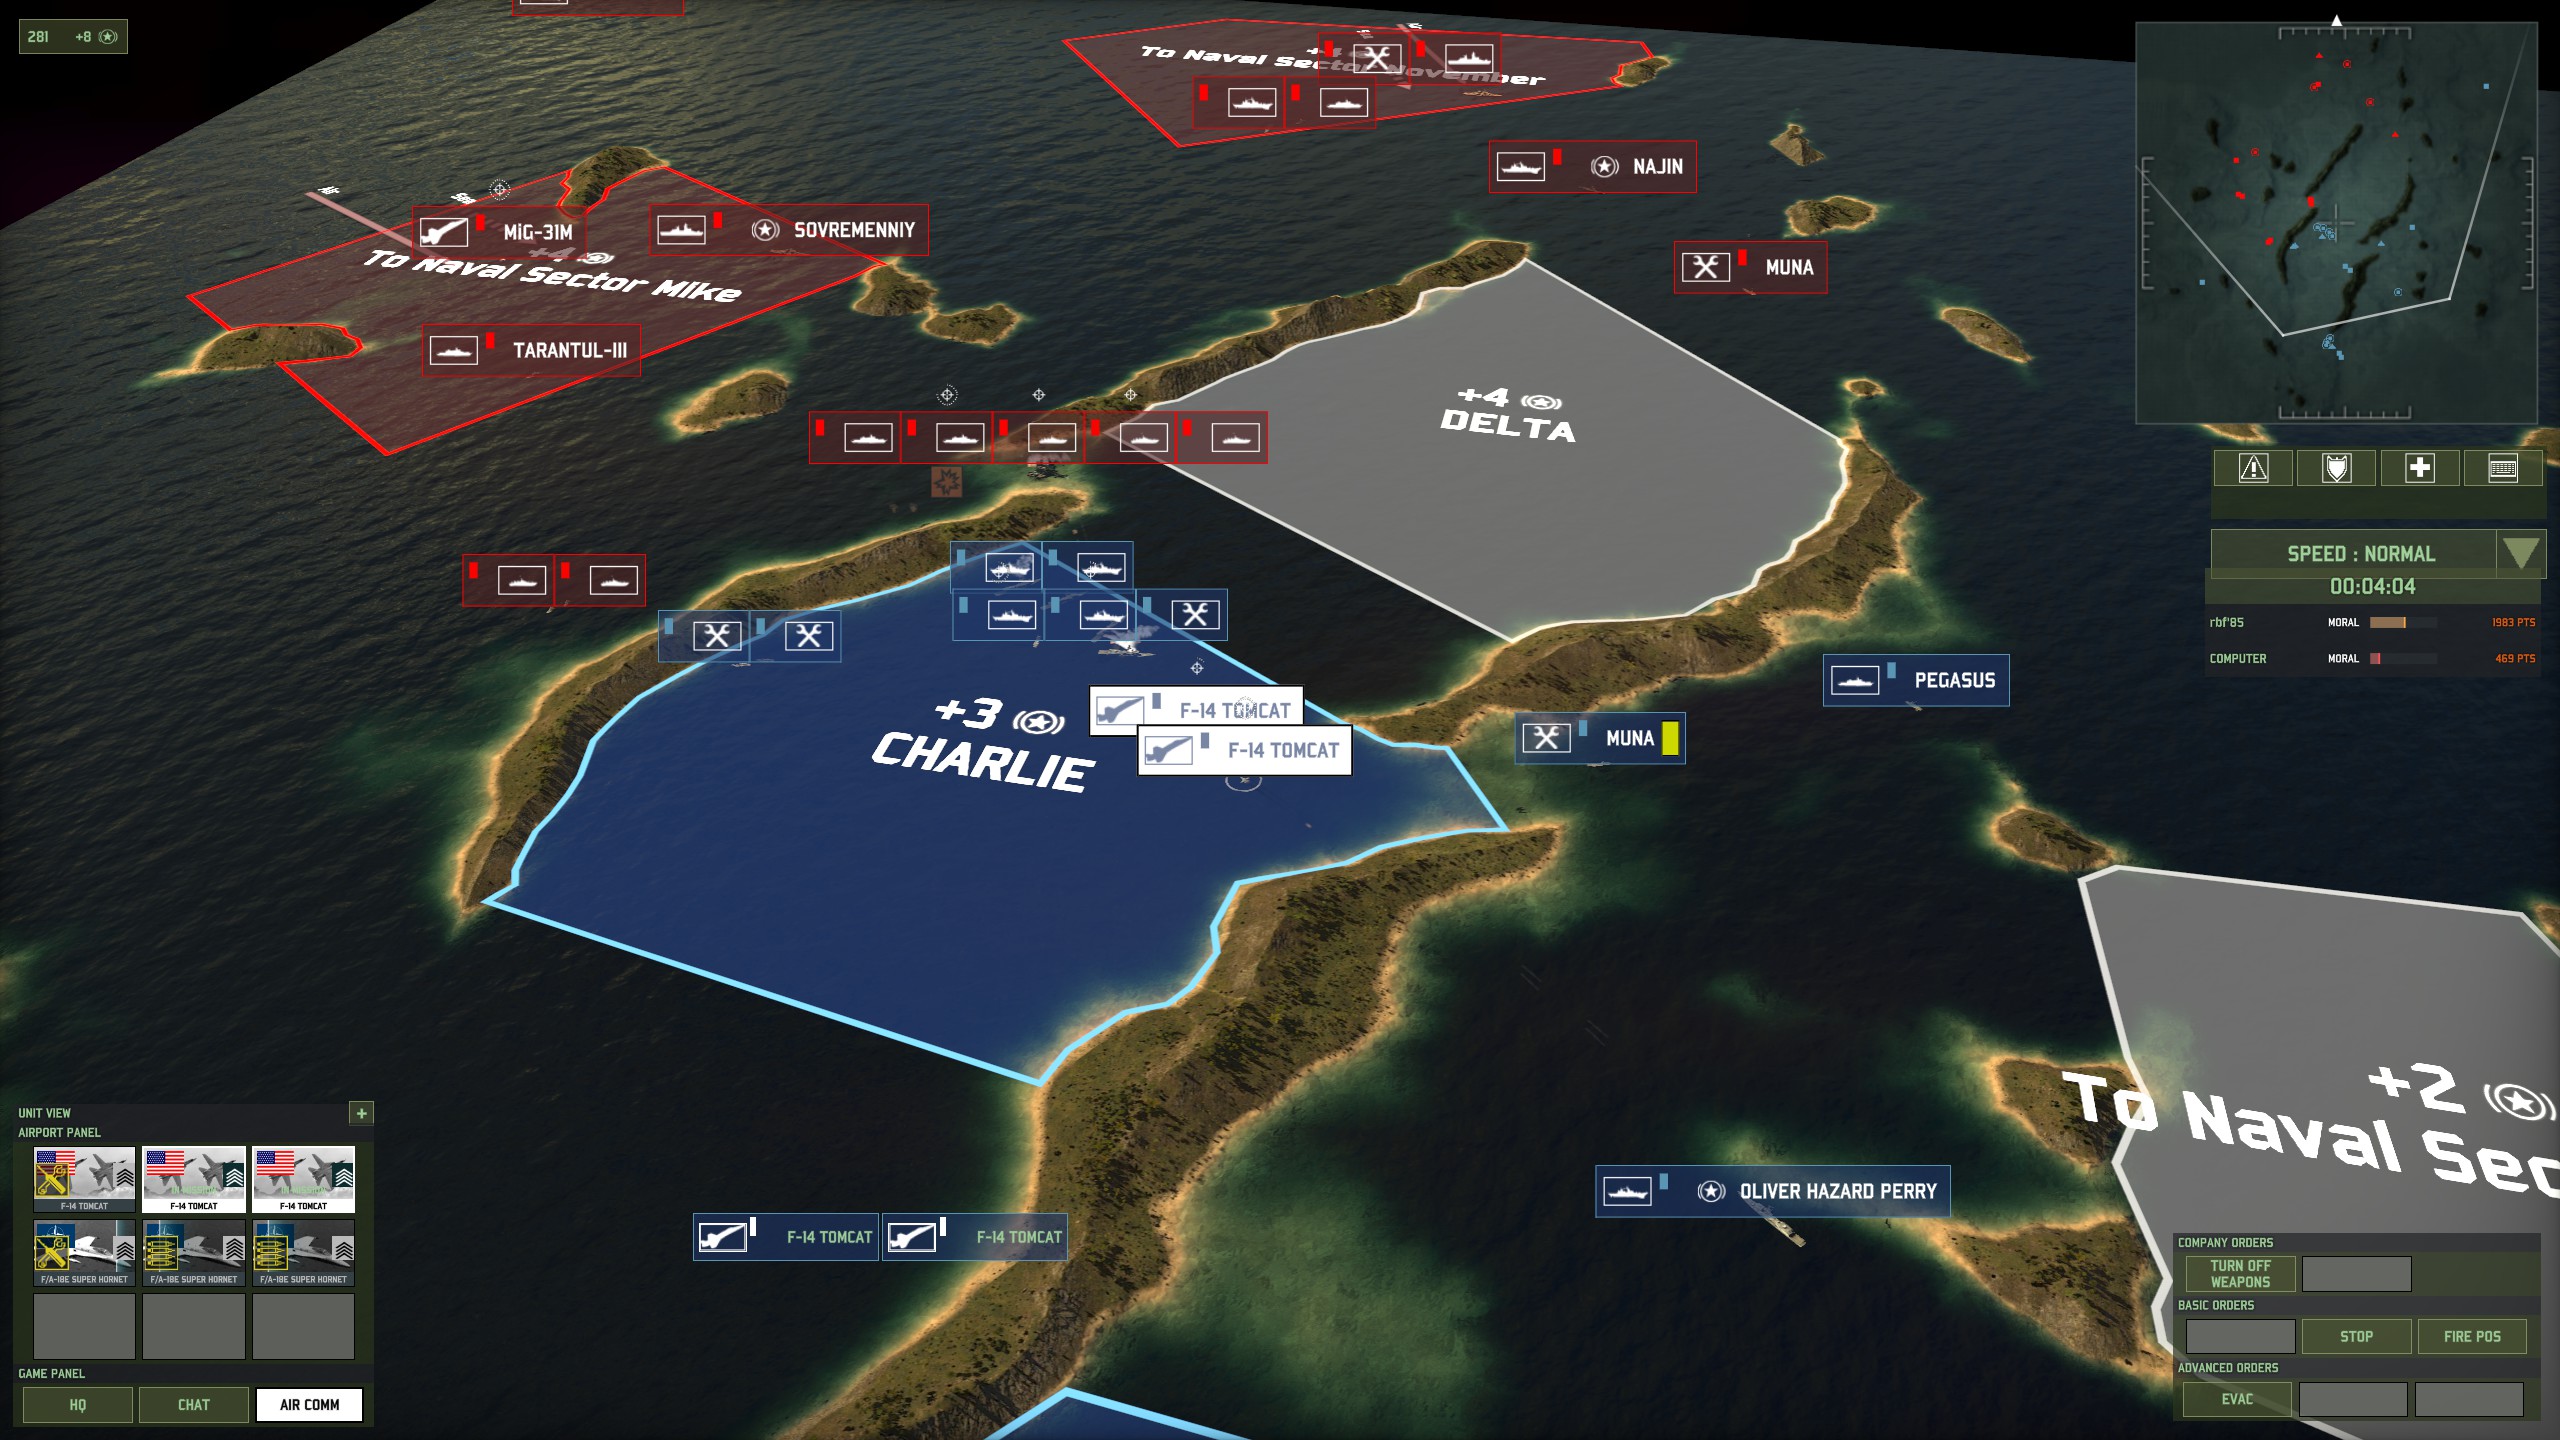
Final moments of the battle. The AI is desperately throwing cheap ships at me, hoping for a miracle that will never come.
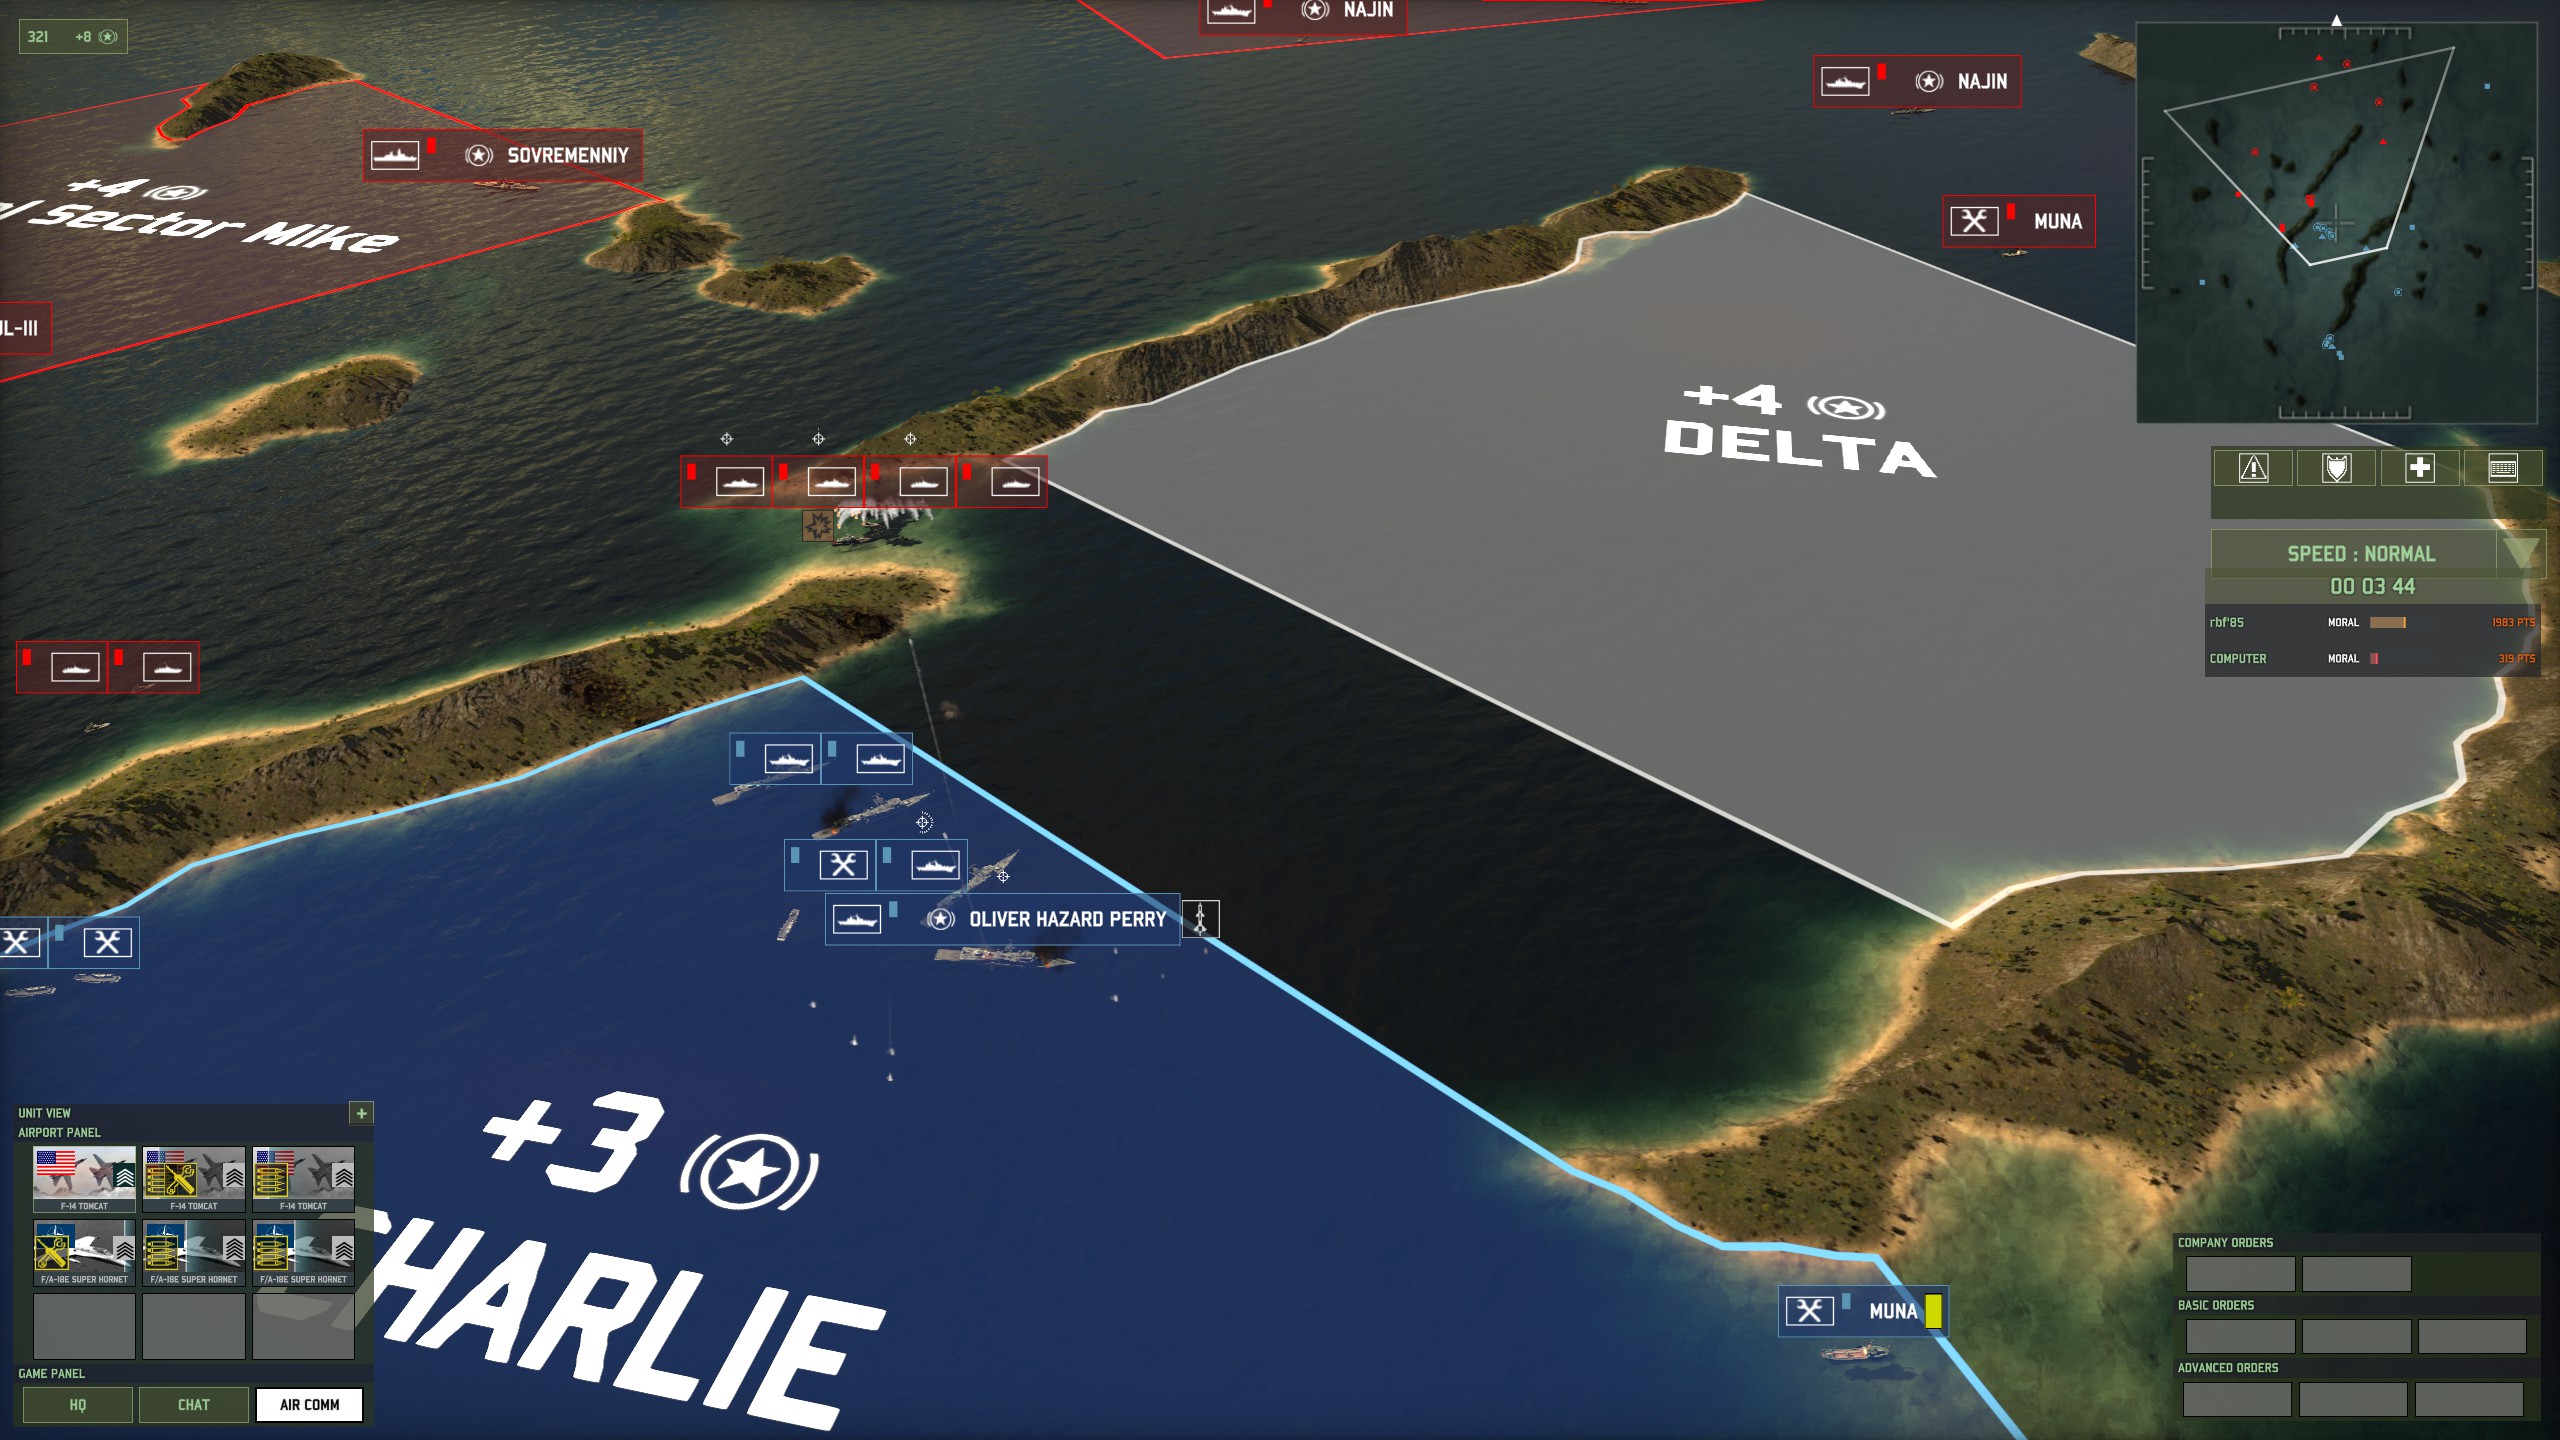
Battle outcome
Despite the odds, we’ve got a Total Victory with zero losses.
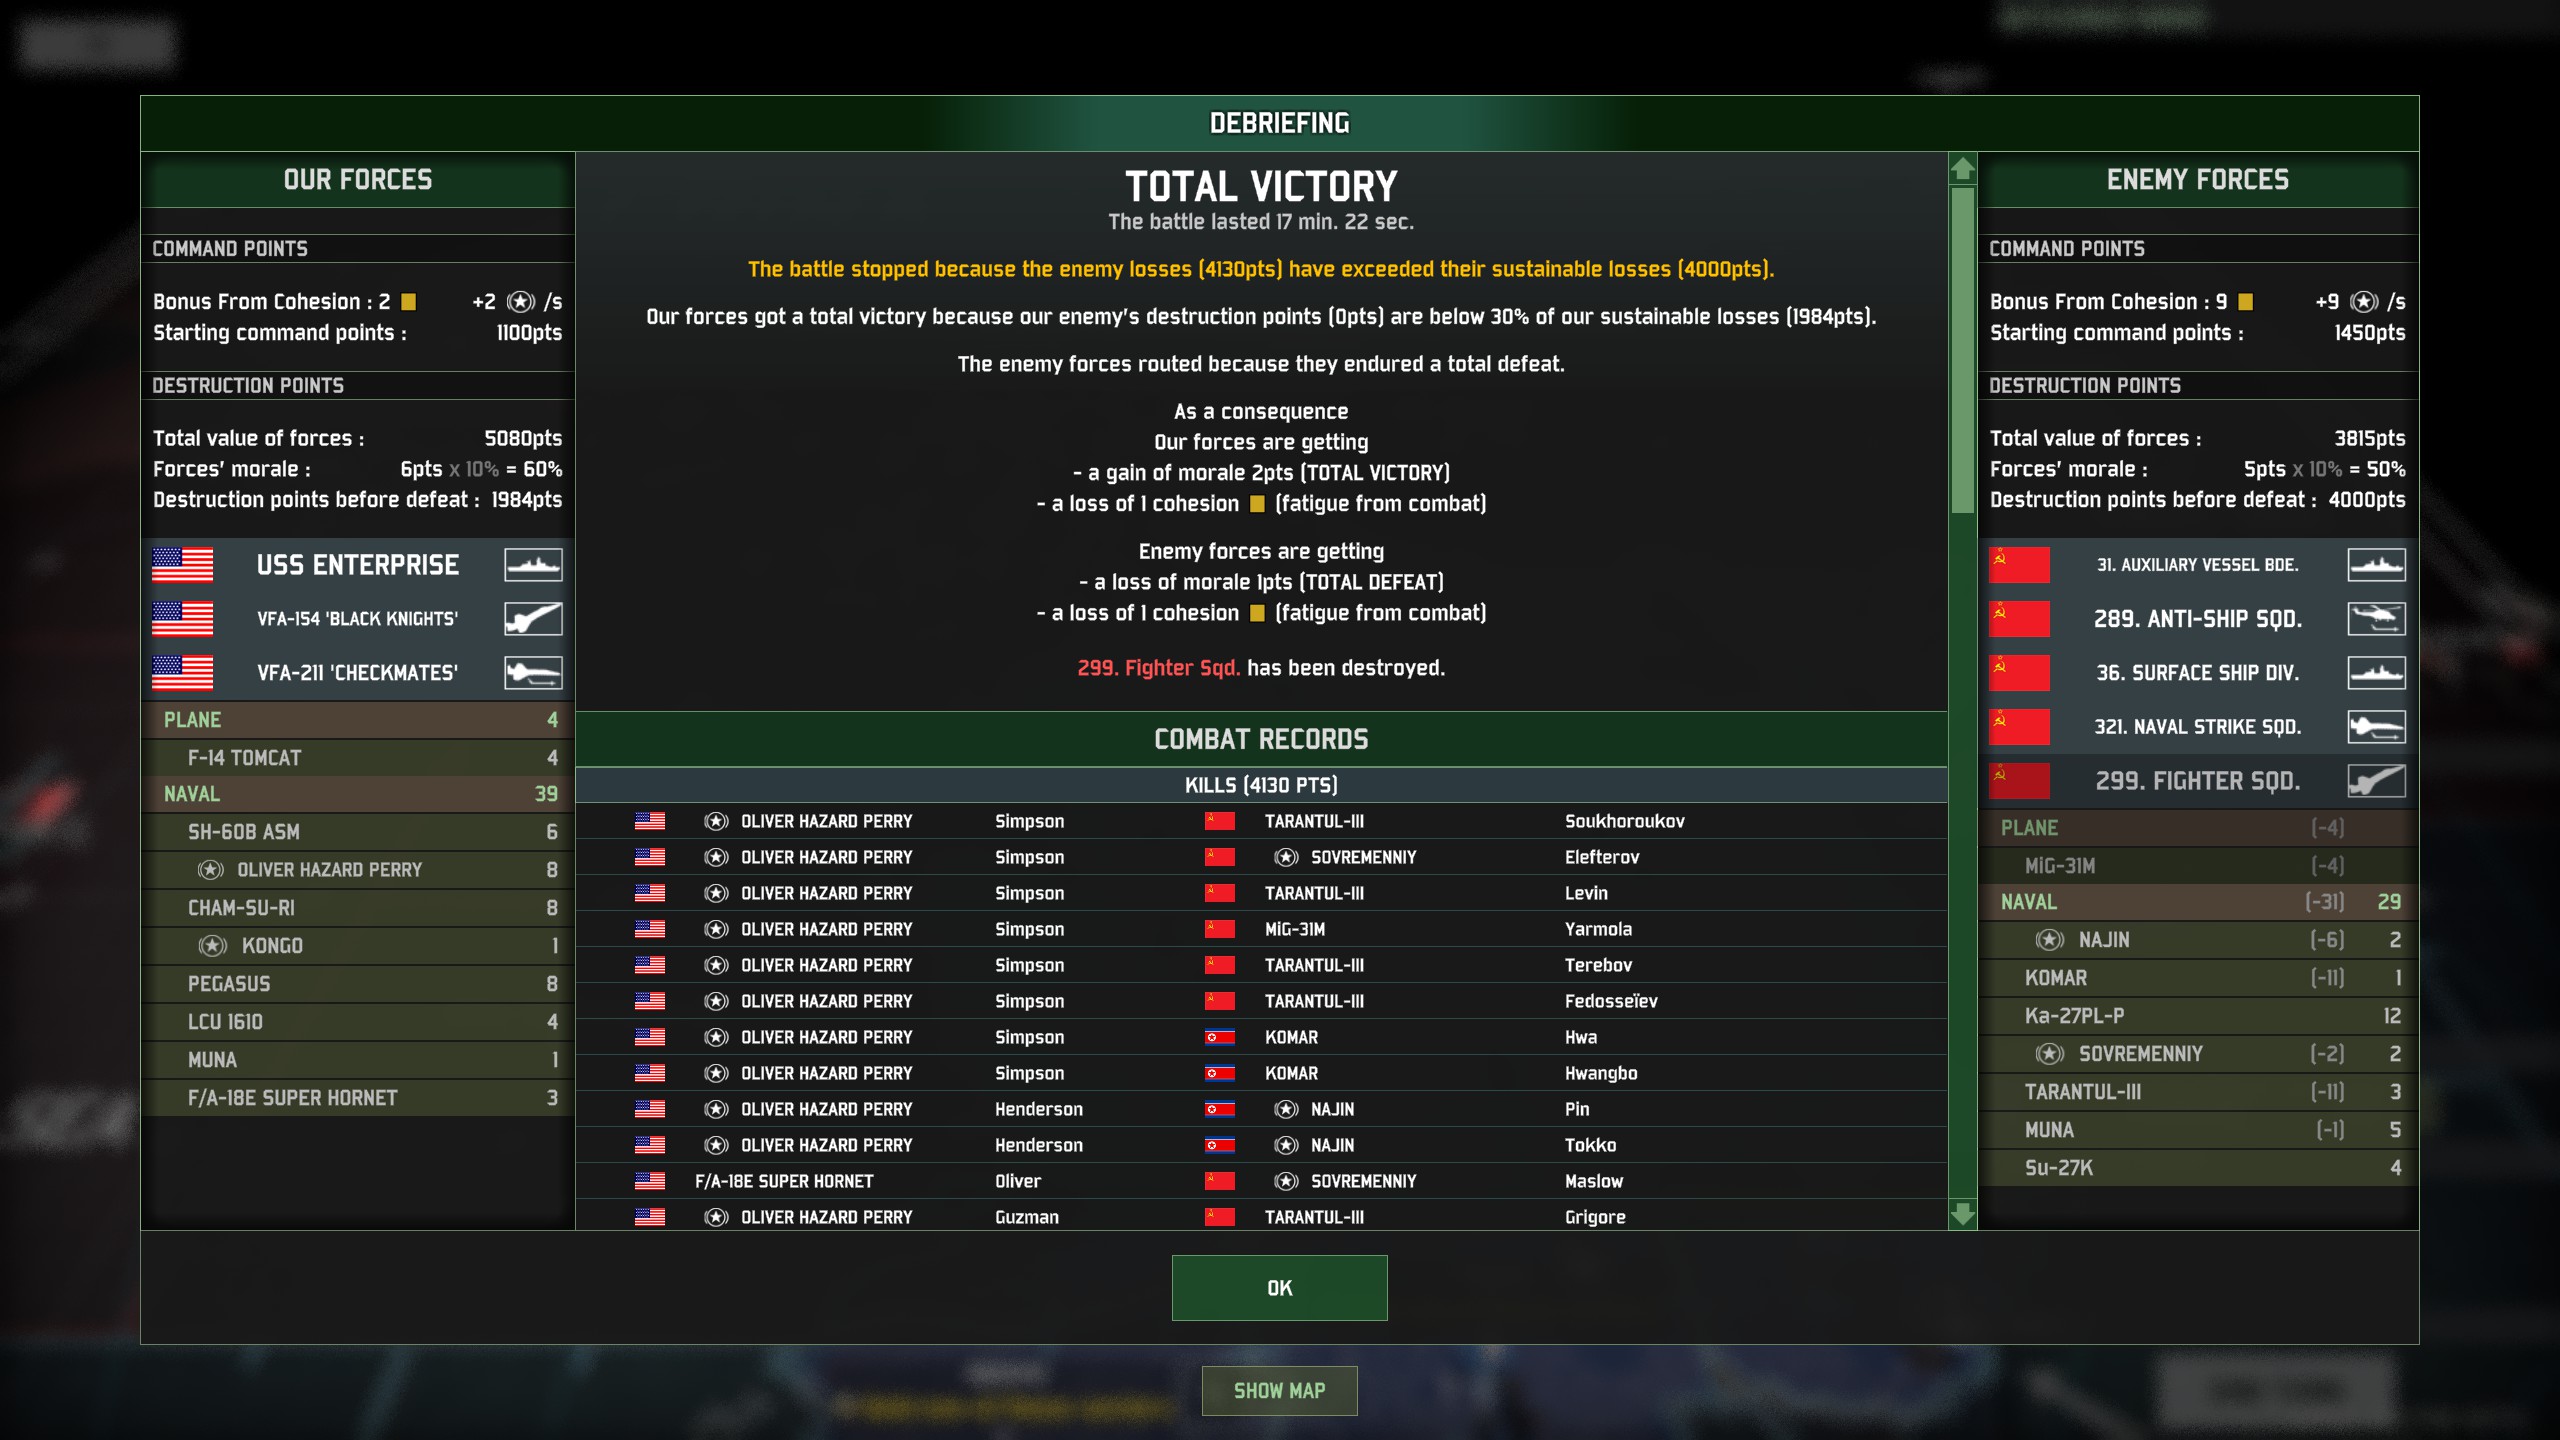
Hopefully, the kill list removes any doubt of the value of the humble OHP.

Once the battle is done, the enemy routs. You can move Enterprise Task force immediately to chase them down. I would recommend doing it since that would let you destroy the two naval squadrons and one helicopter squadron that attacked you.
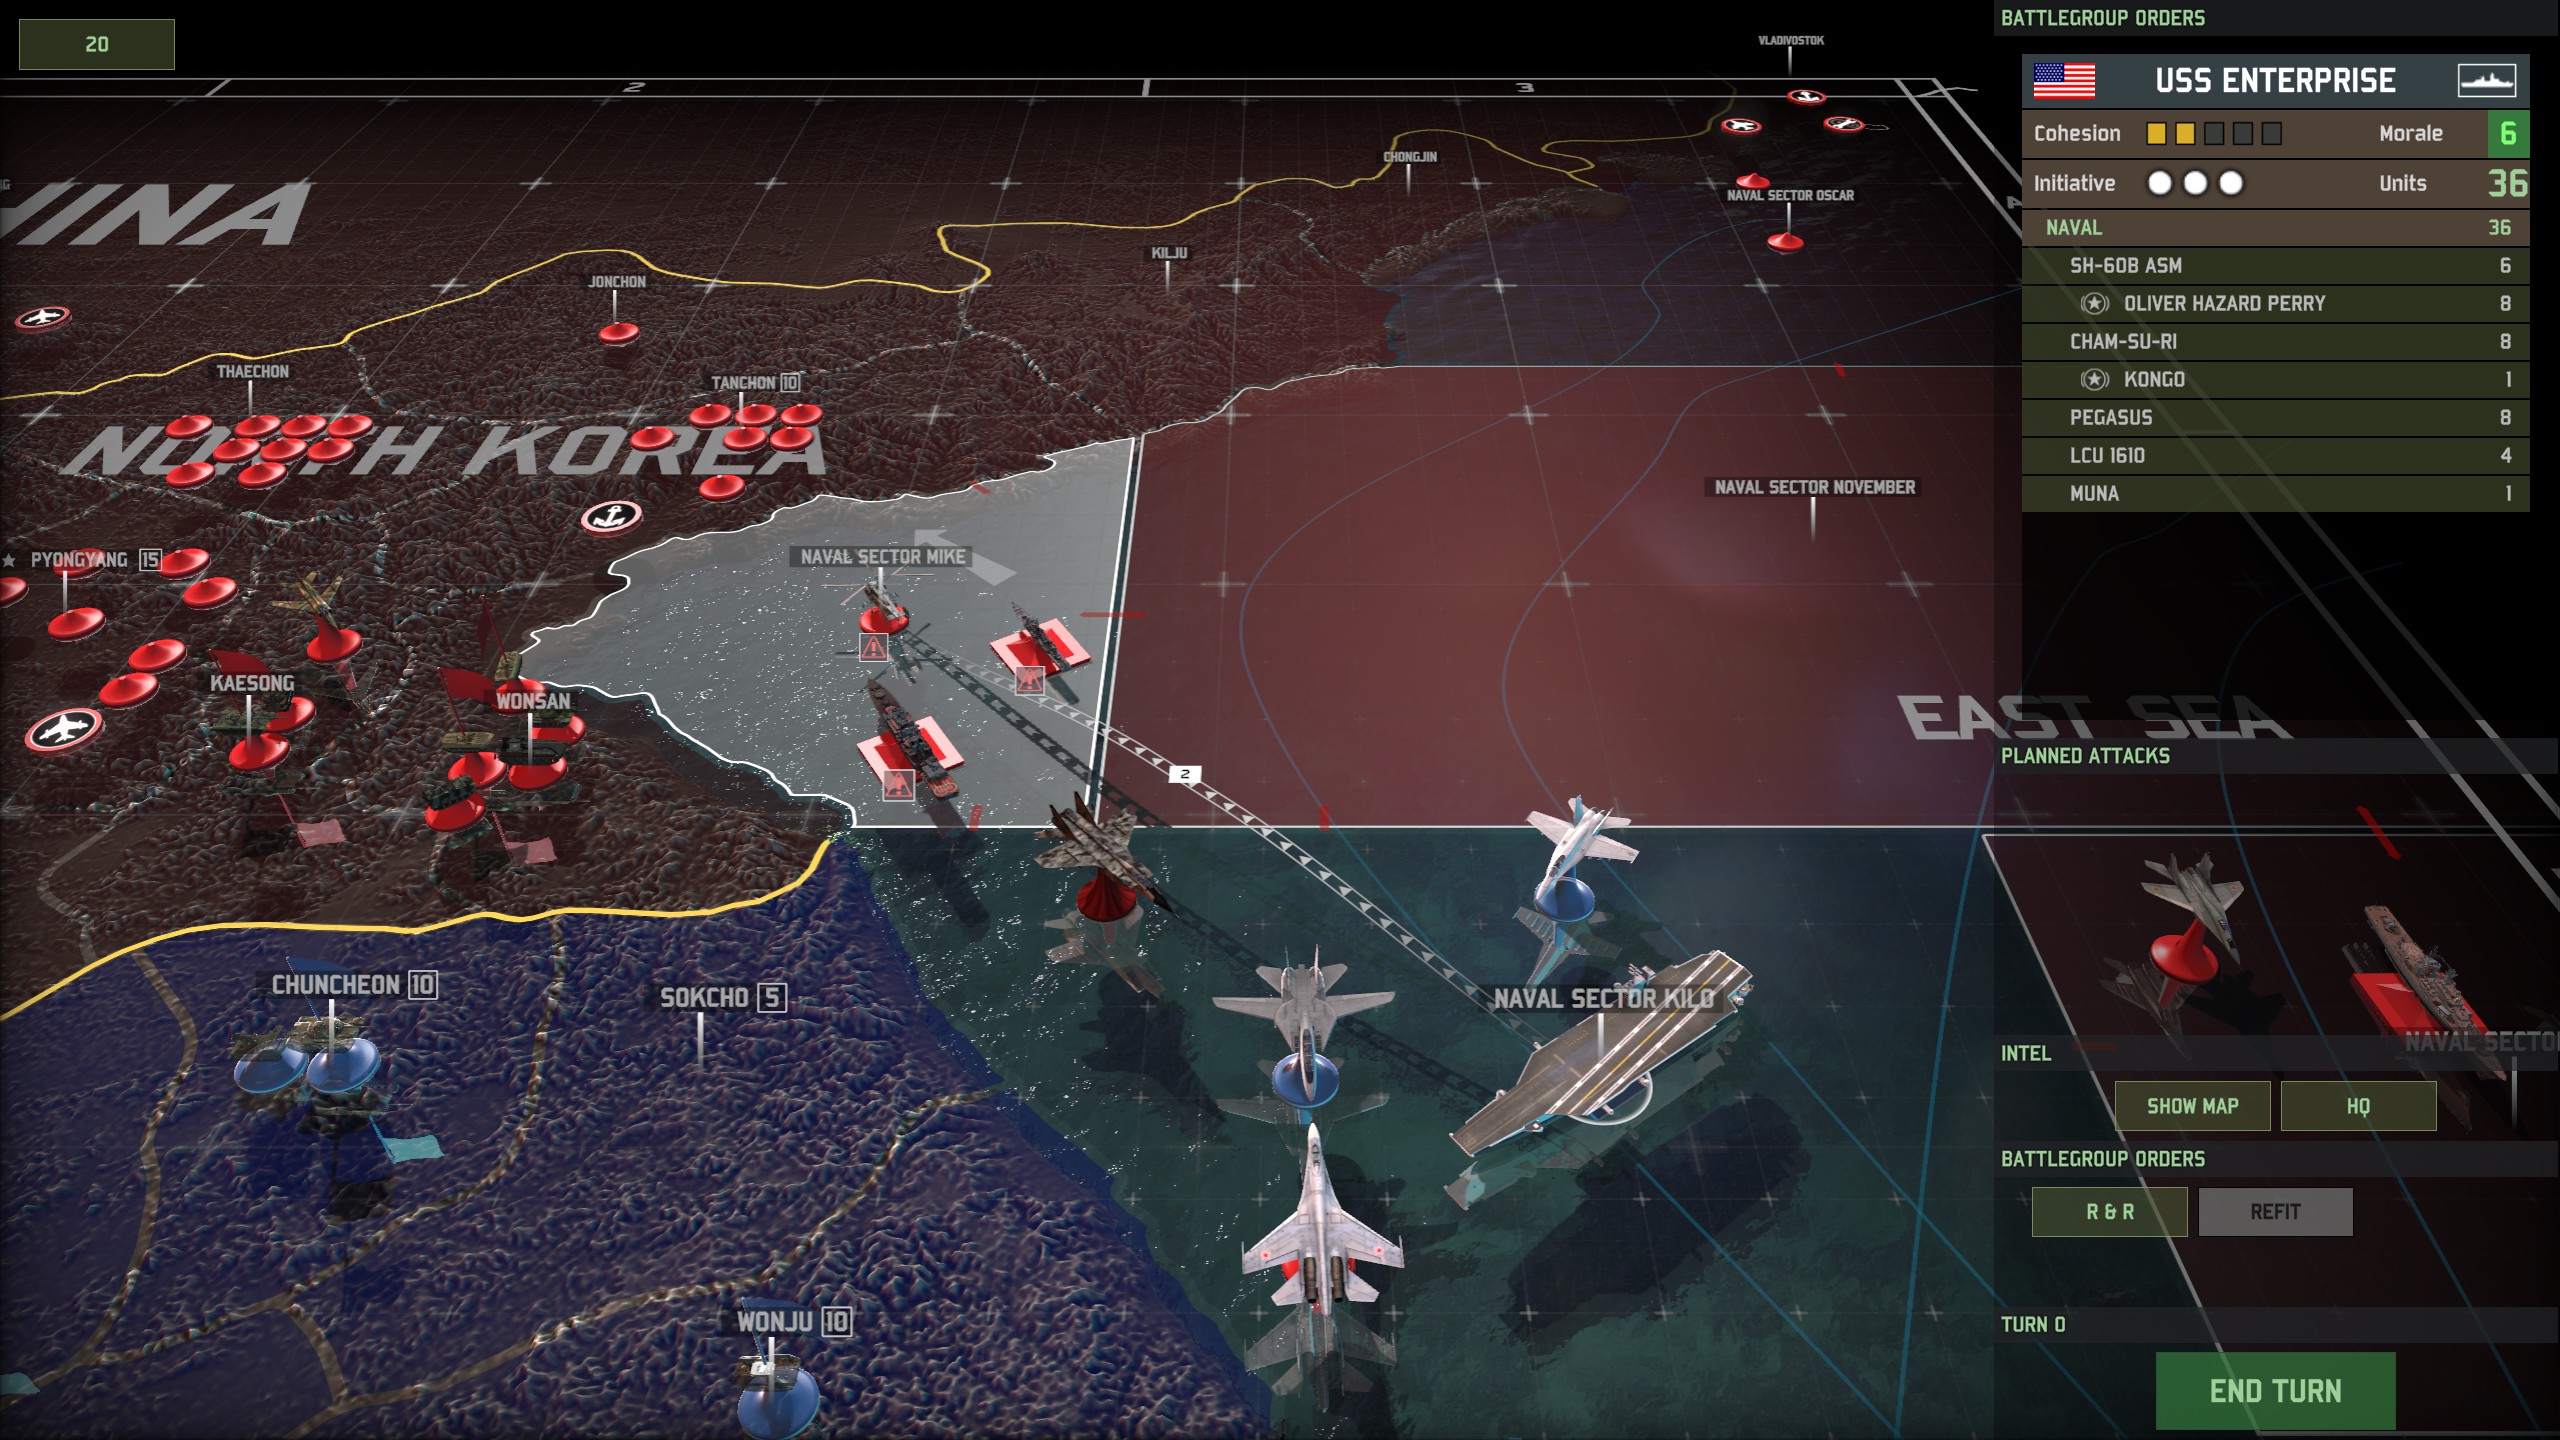
You’re now in a great position to secure the eastern flank and help cover your ground forces with carrier-based aviation. Good luck!
I hope you enjoy the Guide we share about Wargame: Red Dragon – Second Korean War campaign: USS Enterprise defense Total Victory – zero loss Guide; if you think we forget to add or we should add more information, please let us know via commenting below! See you soon!
- All Wargame: Red Dragon Posts List


Leave a Reply