Please note that this guide will only discuss importing modified textures back into Unity Asset Bundles, as importing 3D models into bundles has not been tested yet.
Before we jump into it…
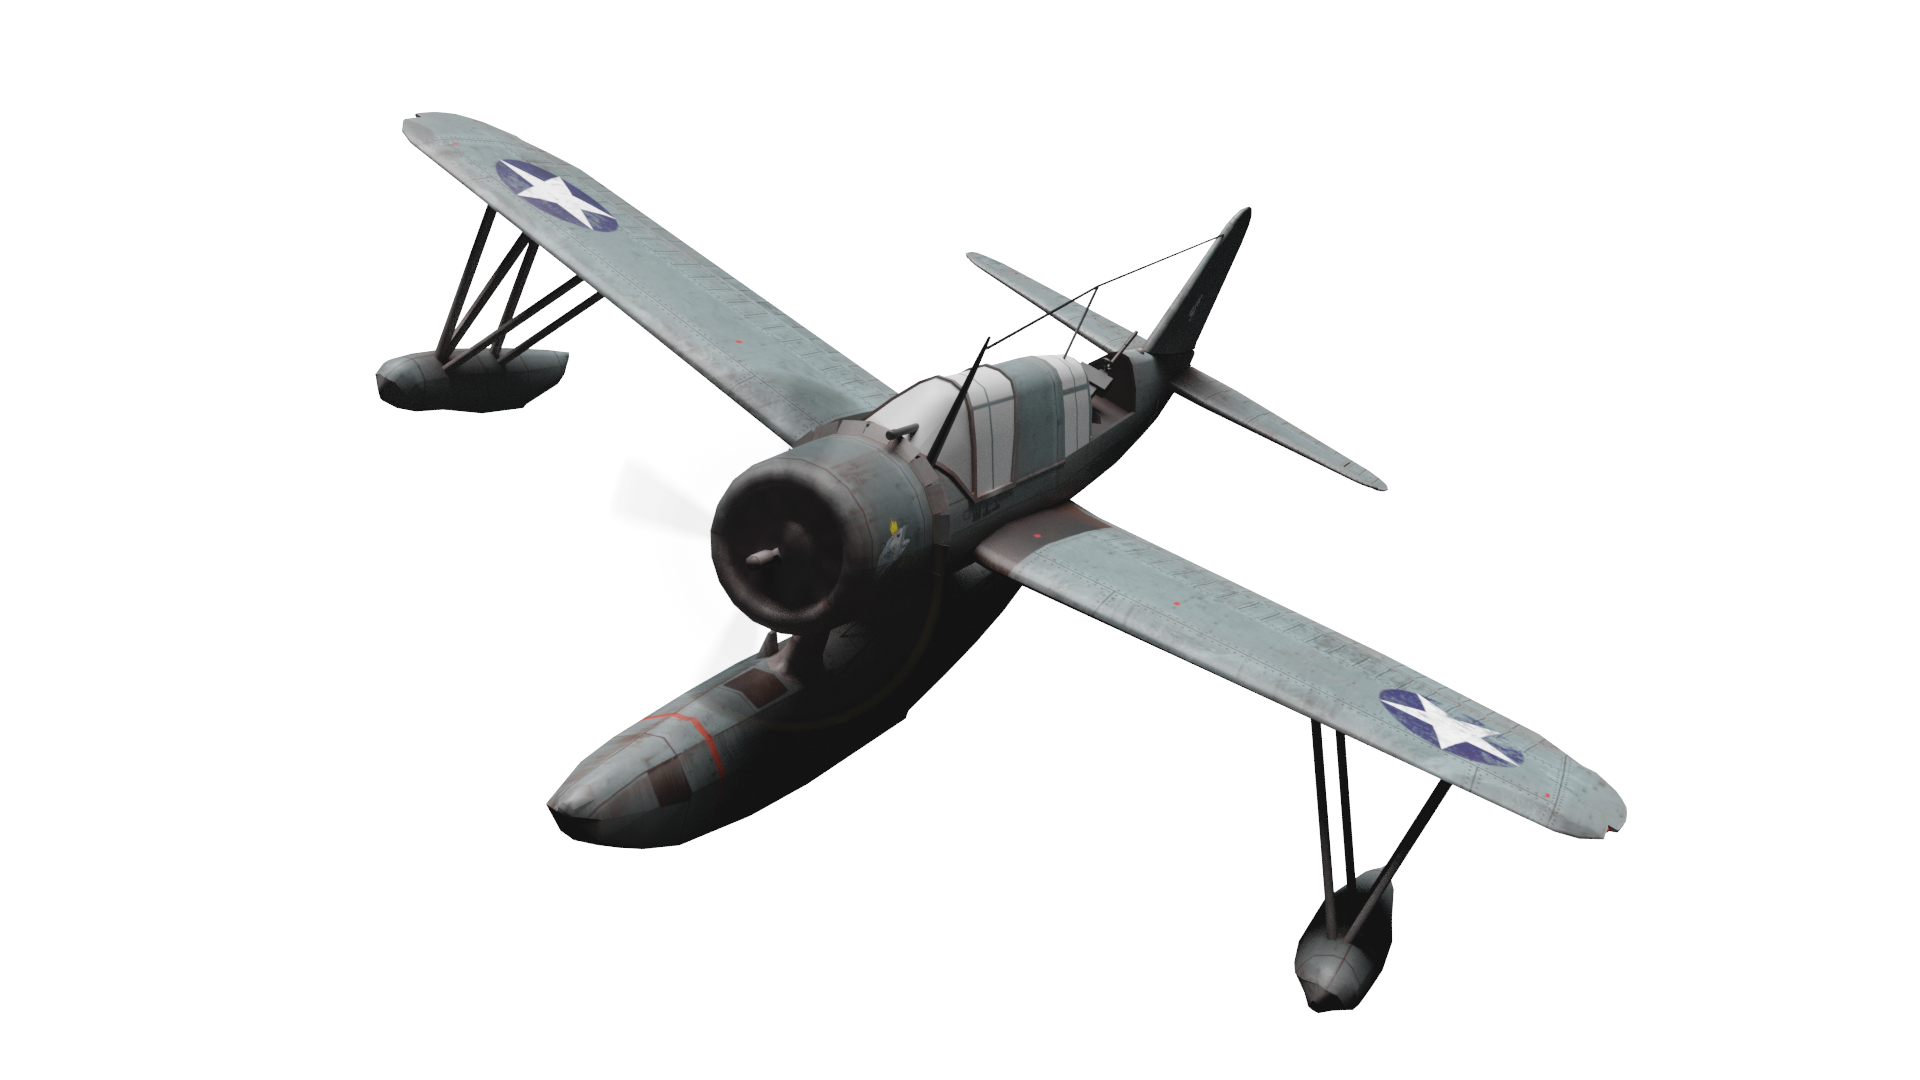
This guide aims to demonstrate the tools necessary for importing/exporting assets within War on the Sea’s unit files and how to modify textures. We will be using everyone’s favorite seaplane (or at least mine), the OS2U Kingfisher, as an example.
Please note that this guide will only discuss importing modified textures back into Unity Asset Bundles, as importing 3D models into bundles has not been tested yet.
1drv.ms – https://1drv.ms/b/s!Aixc5oolAkITgZ4sWIQHteICCgljlA?e=Axqi4c
Necessary items for this guide:
- Windows 10
- War on the Sea (very important)
- Unity Assets Bundle Extractor (UABE) http://(https://github.com/DerPopo/UABE)
- Asset studio http://(https://github.com/Perfare/AssetStudio/releases)
- Image manipulation software (Photoshop, GIMP, MS Paint, etc.)
- 3D modeling software (Blender, etc.) (Optional)
Note: This guide is intended for personal use only. WOTS unity bundles are KillerFishGames assets, so please refrain from distributing modified Unity Bundles.
Also Note: I am not responsible for anything that goes wrong when you modify the game. There are always risks that come with modifying software. Will something bad happen though? Probably not, but please keep it in mind.
Exporting Assets from UAB’s
Step 1: Where is WOTS and its sweet, tasty assets located on my computer?
WOTS is installed to wherever your steam directory is located. In the case of most normal installations, it will be found in C:\Program Files (x86)\Steam\steamapps\common. You should see other games that you have downloaded here too.
From there, proceed to War on the Sea\WarOnTheSea_Data\StreamingAssets\default\unit . You should find 2 folders here labeled “air” and “sea”.
Step 2: Back up
Find the asset you want to work with within the “air” and “sea” folders and create 2 copies of this file. Place one on your desktop, and another in a secure place. If something somehow gets messed up and affects your WOTS installation, you will have an original file to swap back in without having to reinstall.
We will be primarily working with the desktop copy.
Step 3: Finding the Unity Asset Bundles
A Unity Asset Bundle (UAB) is exactly what it sounds like, a bundle of files and code that WOTS and other games use for in game assets. These files are listed in Windows 10 as the “File” file type.
We will need to find the model and texture bundles. The model bundle is the file with the name of the unit, and the texture bundle is the file with “UNIT_tex_XXXX”. In our case it is “kingfisher” and “kingfisher_tex_base” respectively.

Figure 1. The Files.
Step 4: Uncompressing
Note: This step is necessary in order to use UABE and later import modified files into Unity Asset Bundles. If you are only interested in exporting assets skip to Step 5 and use Asset Studio.
Start up Unity Bundle Asset Extractor (UABE). You should have this window pop up:
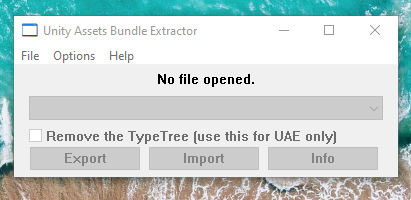
Figure 2. UABS interface
Click on File>Open and select the bundle you want to open. You will be prompted to “unpack” it. Click Yes.
Do this for “kingfisher” and “kingfisher_tex_base” and save the unpacked files to the Kingfisher folder as .unity3D bundle files named “Kingfisher_ModelUnpacked” and “Kingfisher_TextureUnpacked”.
Step 5: Exporting assets
This is where we can either use UABE or Asset Studio. UABE is more direct and will export files as .obj and .png’s. Asset Studio is much easier to use and will export files as .fbx’s and .png’s.
In Asset Studio:
Click File>Load File and open “kingfisher”. Select the Asset List tab and select any asset for a preview. Select the Scene Hierarchy tab. You should see a file in the hierarchy with a nonsensical name. Expand the file and “KingFisher”. Select “Graphic” and Model>Export Selected Objects (split). You now have all the meshes in a single .fbx file!
Now load “kingfisher_tex_base”. At first, it will appear that there is nothing in the hierarchy but click on the Asset List tab and there should be 4 files previewed. Since we only want to extract the texture, we will select “T_OS2U_Kingfisher_D”. Go to Export>Selected Assets and save it. You should now have the texture as a .png!
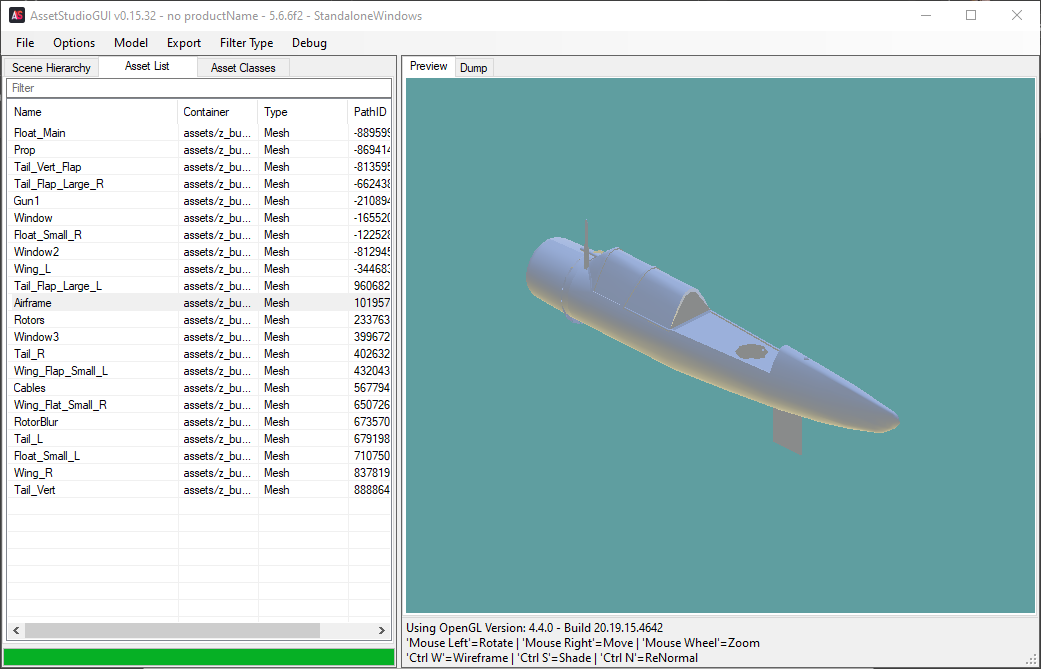
Figure 3. “Kingfisher” in Asset Studio with the Kingfisher Airframe mesh selected.
In UABE:
With the file “Kingfisher_ModelUnpacked.unity3D” opened, click on “info”. A new window will show you the files within the bundle. Click “Type” to sort by file type. Select the mesh you want to export and click on Plugins>Export to .obj. Repeat until you have all the mesh files you need.
Open the file “Kingfisher_TextureUnpacked.unity3D” and repeat. Select “T_OS2U_Kingfisher_D” and click on Plugins>Export to .png . You should now have the texture as a .png!
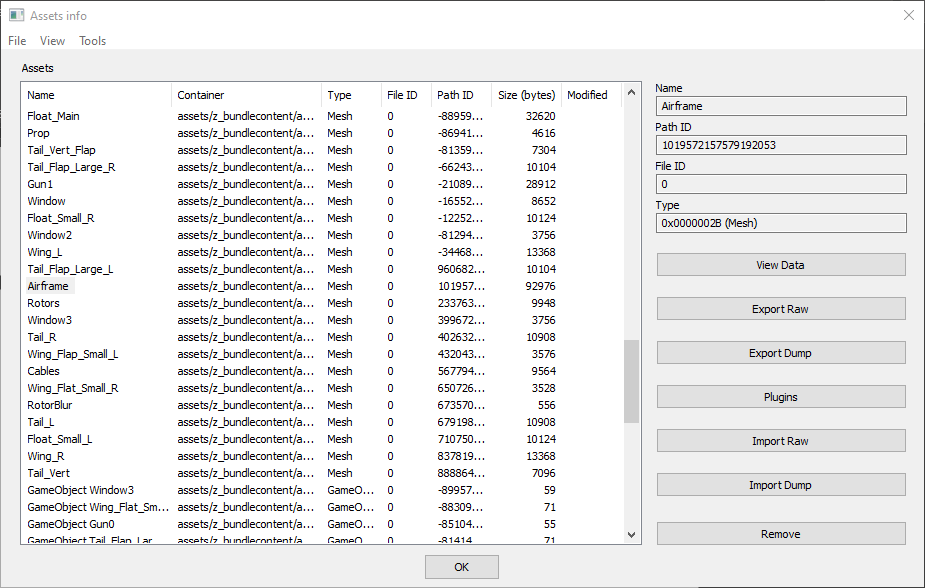
Figure 4.” Kingfisher_ModelUnpacked” opened in UABE, seen through the info window.
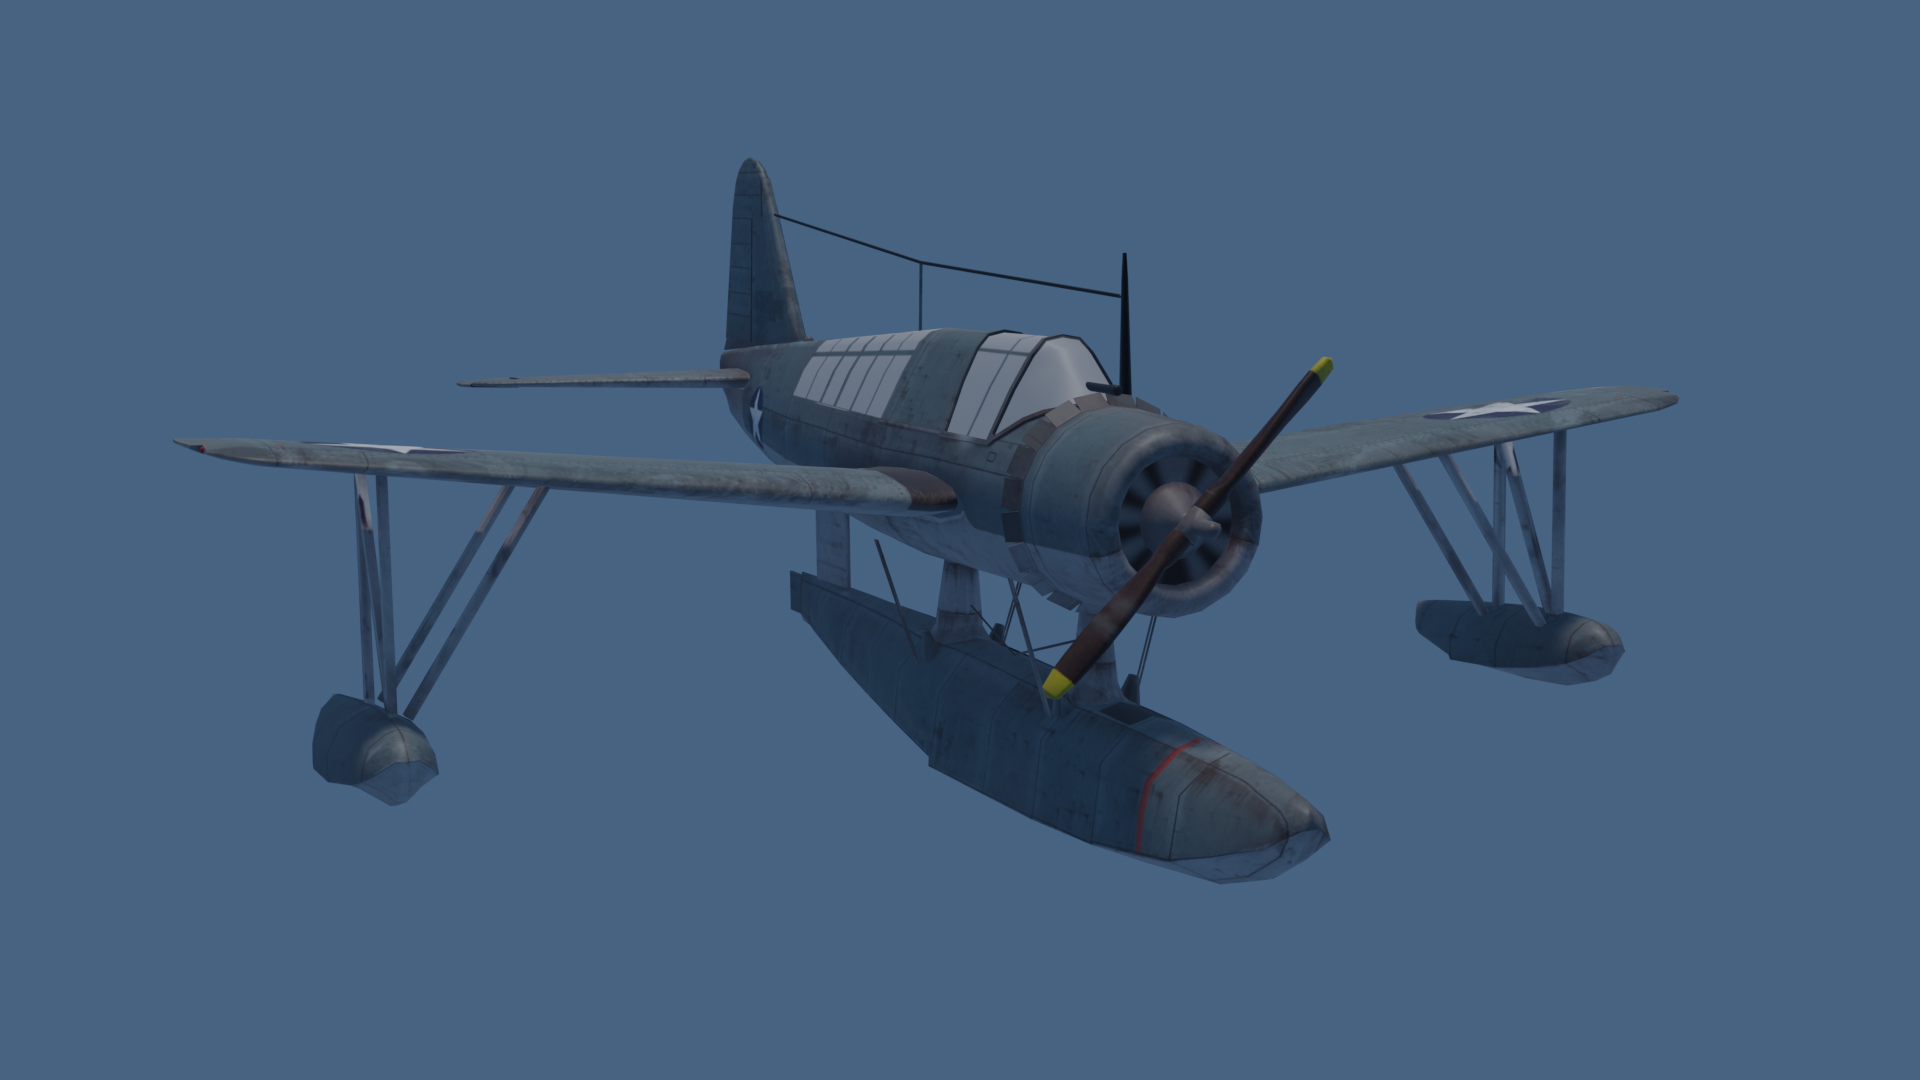
Figure 5. A Blender render of the Kingfisher using extracted files.
Modifying and Importing files back into UAB’s
Once you have exported the files you want, you can begin modifying them to your hearts content. However, we are only going to be modifying textures in this tutorial.
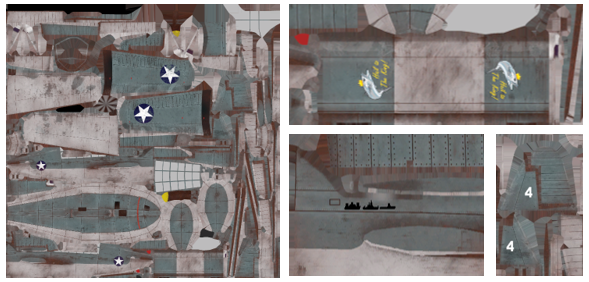
Figure 6. The original texture and the modifications.
To modify the texture, you can use any image manipulation program (even MS Paint!) that can import/export .png’s. In this case I used a program called www.gimp.org – https://www.gimp.org/ to add “Hail to the King!” noseart, some kill (spotting?) tallies, and a number 4 on the tailfin. Using the mesh’s we extracted earlier, we can make a render in Blender of what the new texture will look like.
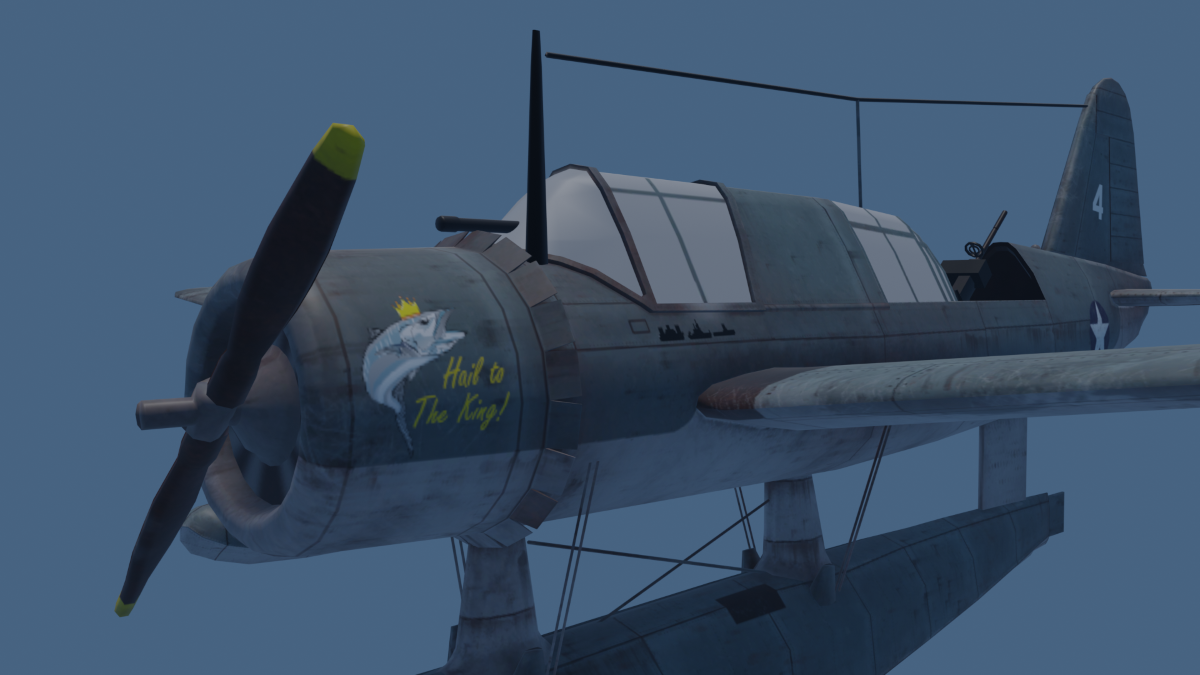
Figure 7. A Blender render of the modified texture.
Now that we have modified the texture, we can import back into the UAB. Make sure that you have followed Step 4 and unpacked the bundles!
Step 1: Replace the original texture within the UAB.
Open “Kingfisher_TextureUnpacked.unity3D” in UABE and click the “info” button. Click on Plugins>Edit>Ok. You should have a new window called “Edit Texture2D”. Click Load and select your modified texture. Click Ok and you will get a quality setting popup. Select Normal (multithreaded) and click Ok. The texture should have been replaced. Click Ok on the info window and save changes.
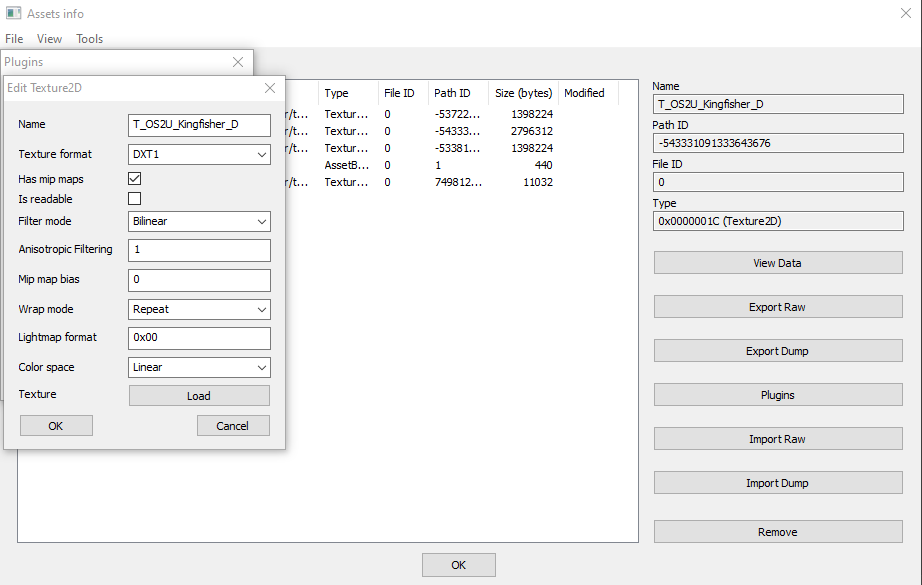
Figure 8. The Edit Texture2D window.
Step 2: Export UAB
To Export as a new UAB, click File>Save. Save as “kingfisher_tex_base” (it is important that the name is exactly the same as the one you are replacing) and set the file type to “all types”. You do not need to recompress it. Check if the Export was successful using preview in Asset Studio.
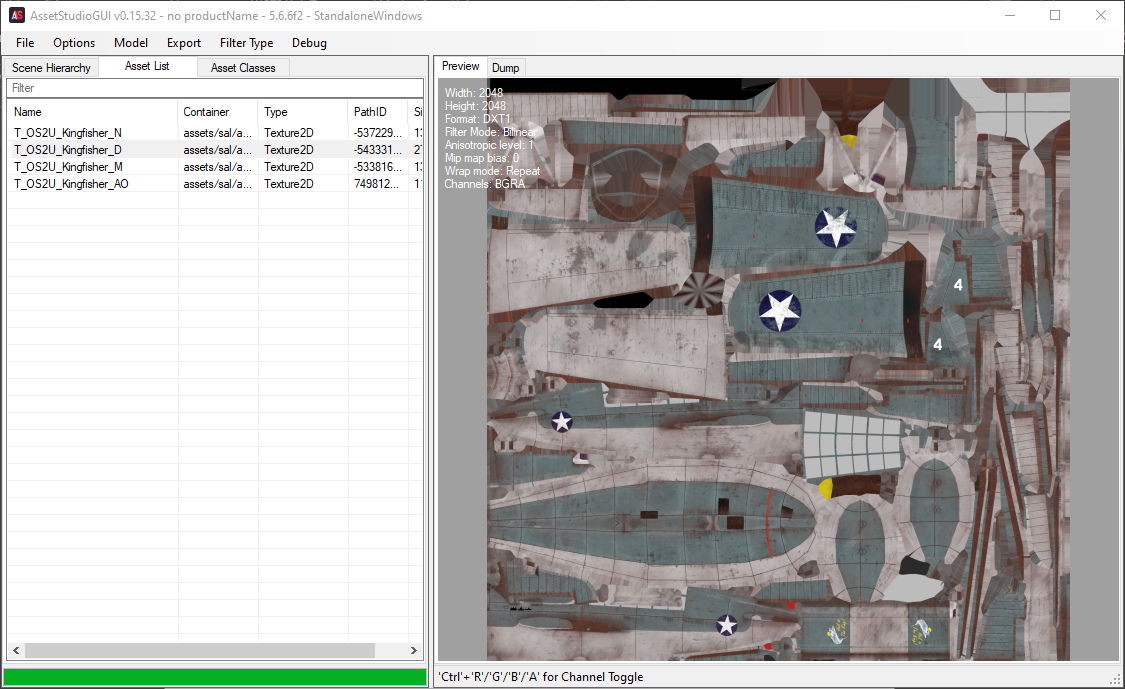
Figure 9. Successful Export!
Step 3: Replace Original File in WOTS Directory
If you did not back up the original Kingfisher folder, do so now. Replace “kingfisher_tex_base” with the new modified version and start up WOTS. Your kingfisher should now have the modified texture!
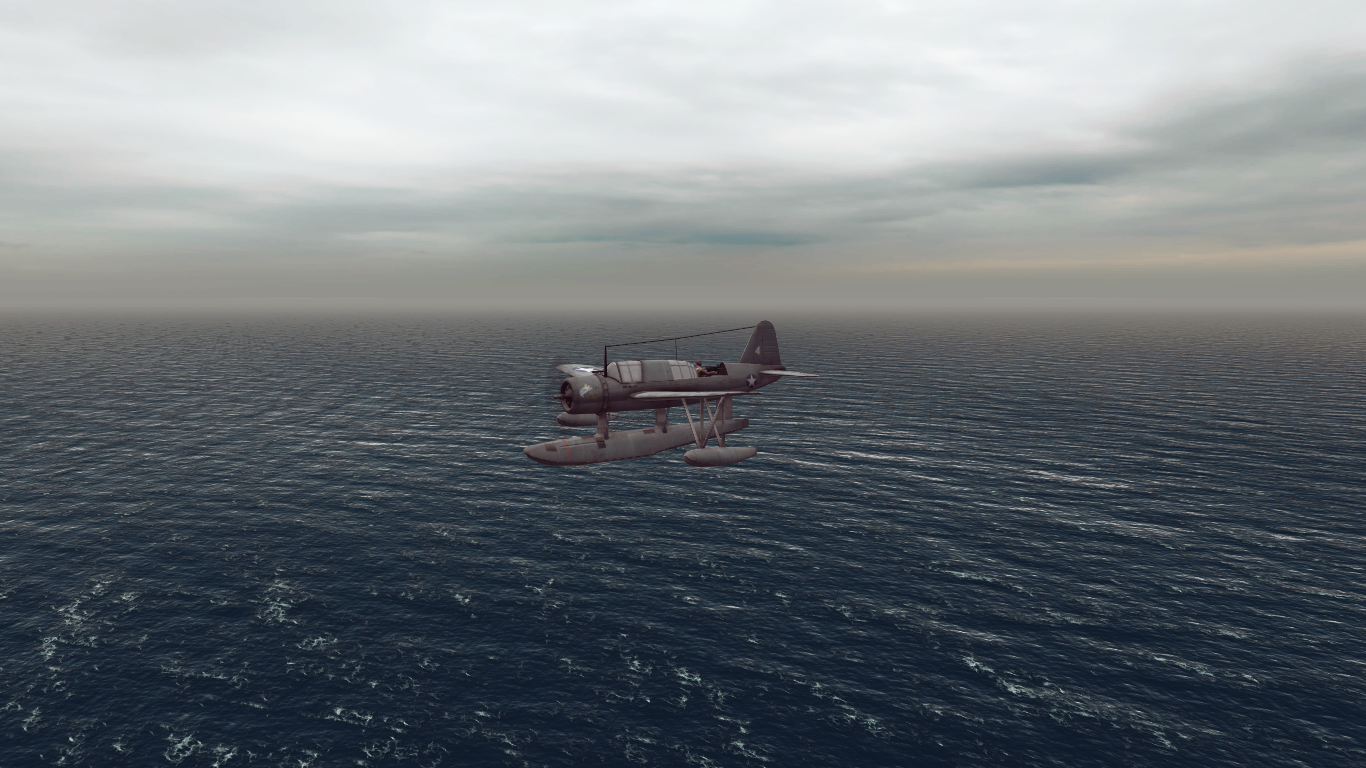
Figure 10. Success!
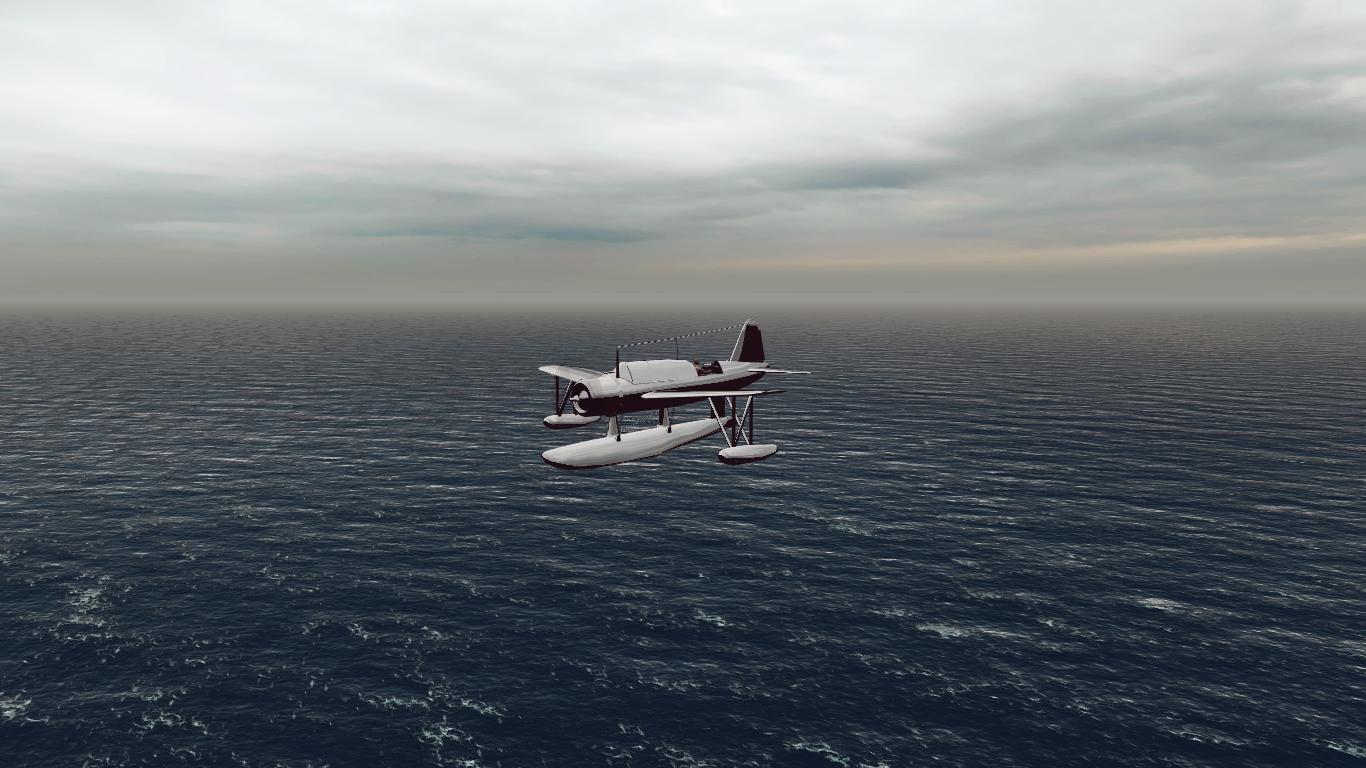
Figure 11. The result if “kingfisher_tex_base” is spelled incorrectly or had other issues while saving.
Relevant Links/Further Reading:
- WOTS steam forum page discussing modifying 3D models and textures: https://steamcommunity.com/app/1280780/discussions/3/3109143313931190508/
- Original UABE page on the 7 Days to Die Forum: https://community.7daystodie.com/topic/1871-unity-assets-bundle-extractor/
Hope you enjoy the Guide about War on the Sea – How to Import and Export Unit Textures and Meshes from within Unity Asset Bundles, if you think we should add extra information or forget something, please let us know via comment below, and we will do our best to fix or update as soon as possible!
- All War on the Sea Posts List


Leave a Reply