
Hey there, welcome to this post, In this guide, we will tell you everything about Total War: WARHAMMER III – Trials Maps & Tactics Mechanics Follow this guide each steps.
Mechanics
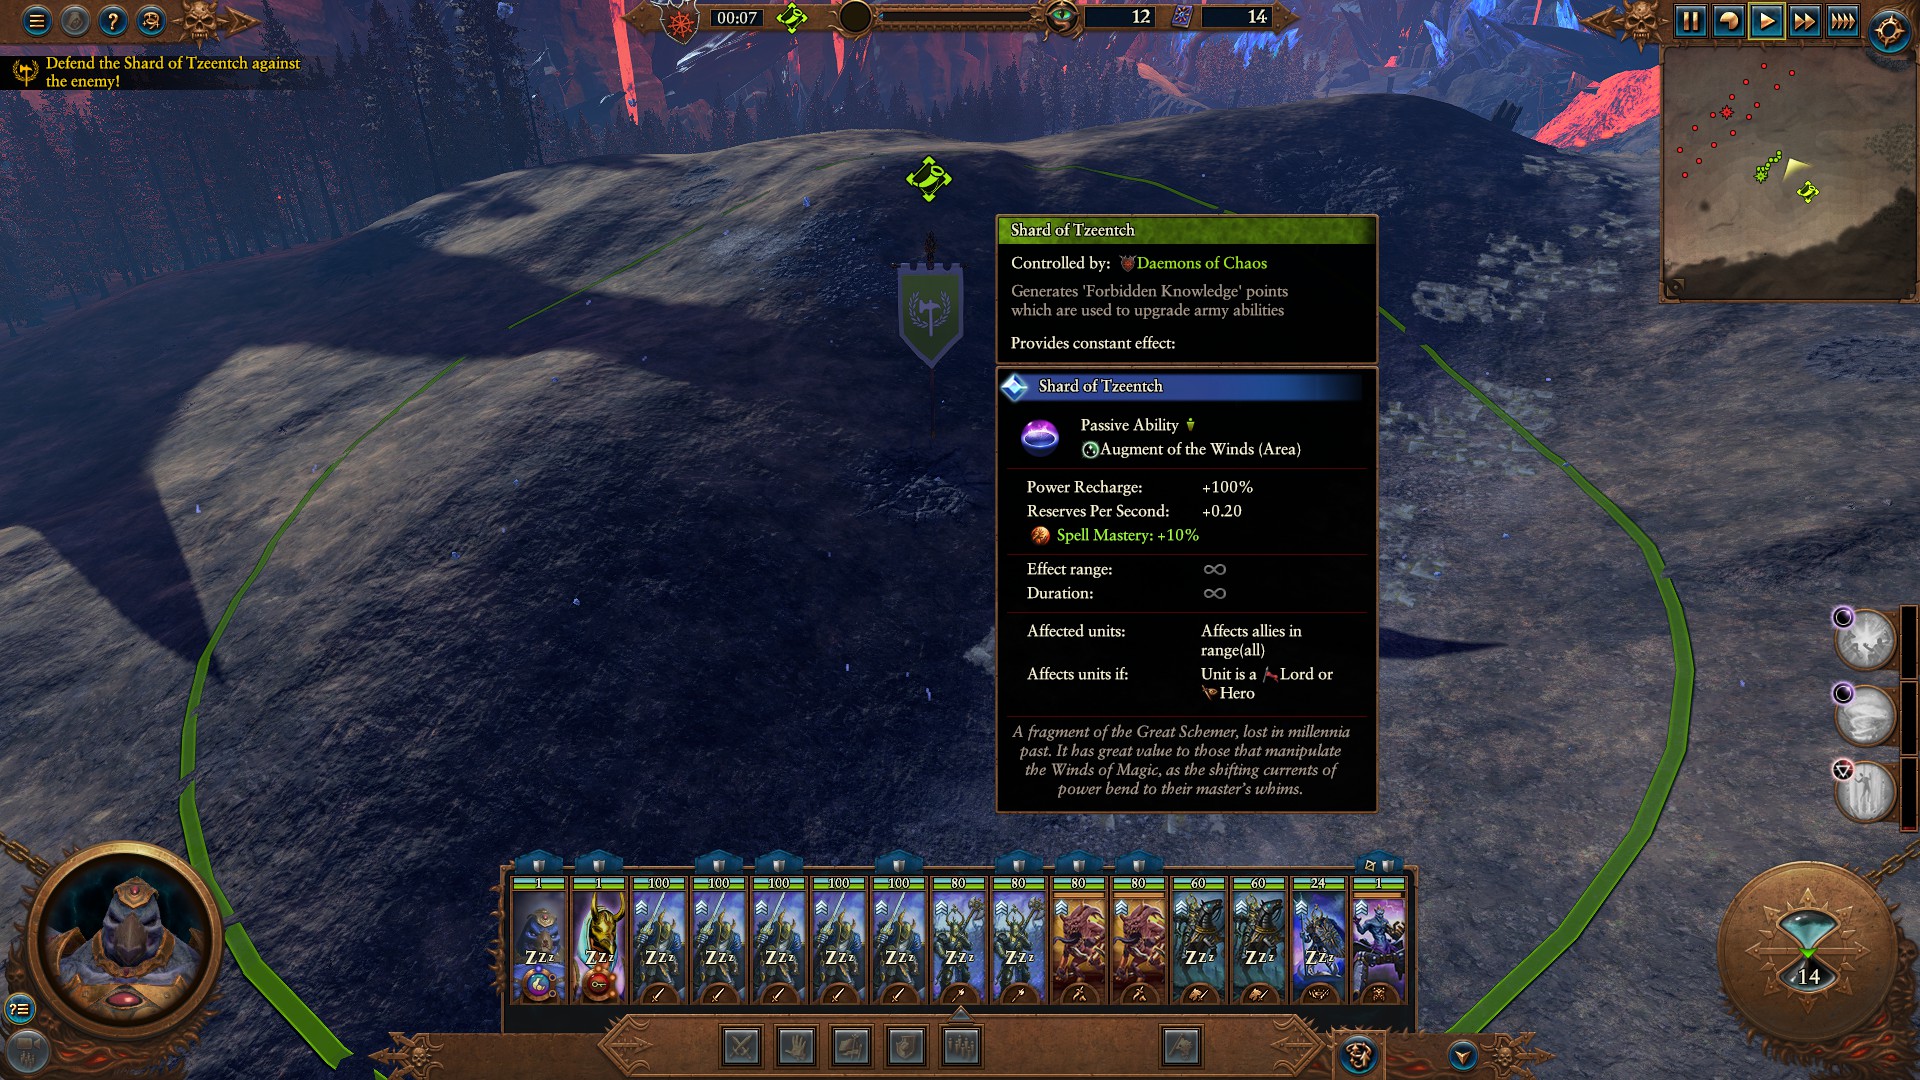
In each trial the deployment area contains an Shard of Tzeentch which you start in control.
You must stop your enemies from capturing this point or you will lose the benefits that it offers.
Each unit, whether it is an ally or an enemy, has a capture weight. The point will be gradually captured by the player with more capture weight.
Due to constant enemy reinforcements, it will be difficult to get the Shard back once you lose it.
The Shard of Tzeentch offers the following features while it is under your control:
You can cast spells quicker with a greatly increased power recharge rate.
You can continue casting indefinitely with the constant regeneration of power reserves.
Increased damage from spells
It also generates points that you can use to improve your army’s abilities.
The absurdly powerful army skills you receive are perhaps the most important tools to clearing Trials of Fate. These abilities can be charged by simply dealing damage to enemy units, spells, unit ability, attacks, or even army abilities themselves.
List of abilities:
Diabolical Puppetry is your weakest ability. Hold enemies in mid-air to prevent them from acting. Useful for stopping dangerous enemies from attacking or keeping enemy units still as you cast spells. Not effective for large units.
Tempest of Blue Flame A powerful vortex that can throw enemies into the air and kill them. When fully upgraded, it can move across the map to kill many enemies. Moves randomly but usually in the direction you point it. Not effective with large units.
You can cast Inevitable Fate to cause most infantry-sized ground units be sucked into the vortex. During the duration, you can move your lord/hero around to absorb more enemies. All units that are caught in the ability will be thrown away and die when it expires. Works on enemy footlords and the majority of heroes. Does not work with large or flying units.
These abilities can be upgraded using the Forbidden Knowledge resources that you gain by controlling the Shard of Tzeentch. The menu for upgrading your army’s abilities is located at the bottom-right of your army panel.
Upgraded abilities are not only stronger and have a reduced cooldown but also reset their cooldown (except for Inevitable Fate which has a 30 second cooldown after upgrading).
Trials Maps & Tactics
The basic tactics that I would recommend to clear these tests are very simple.
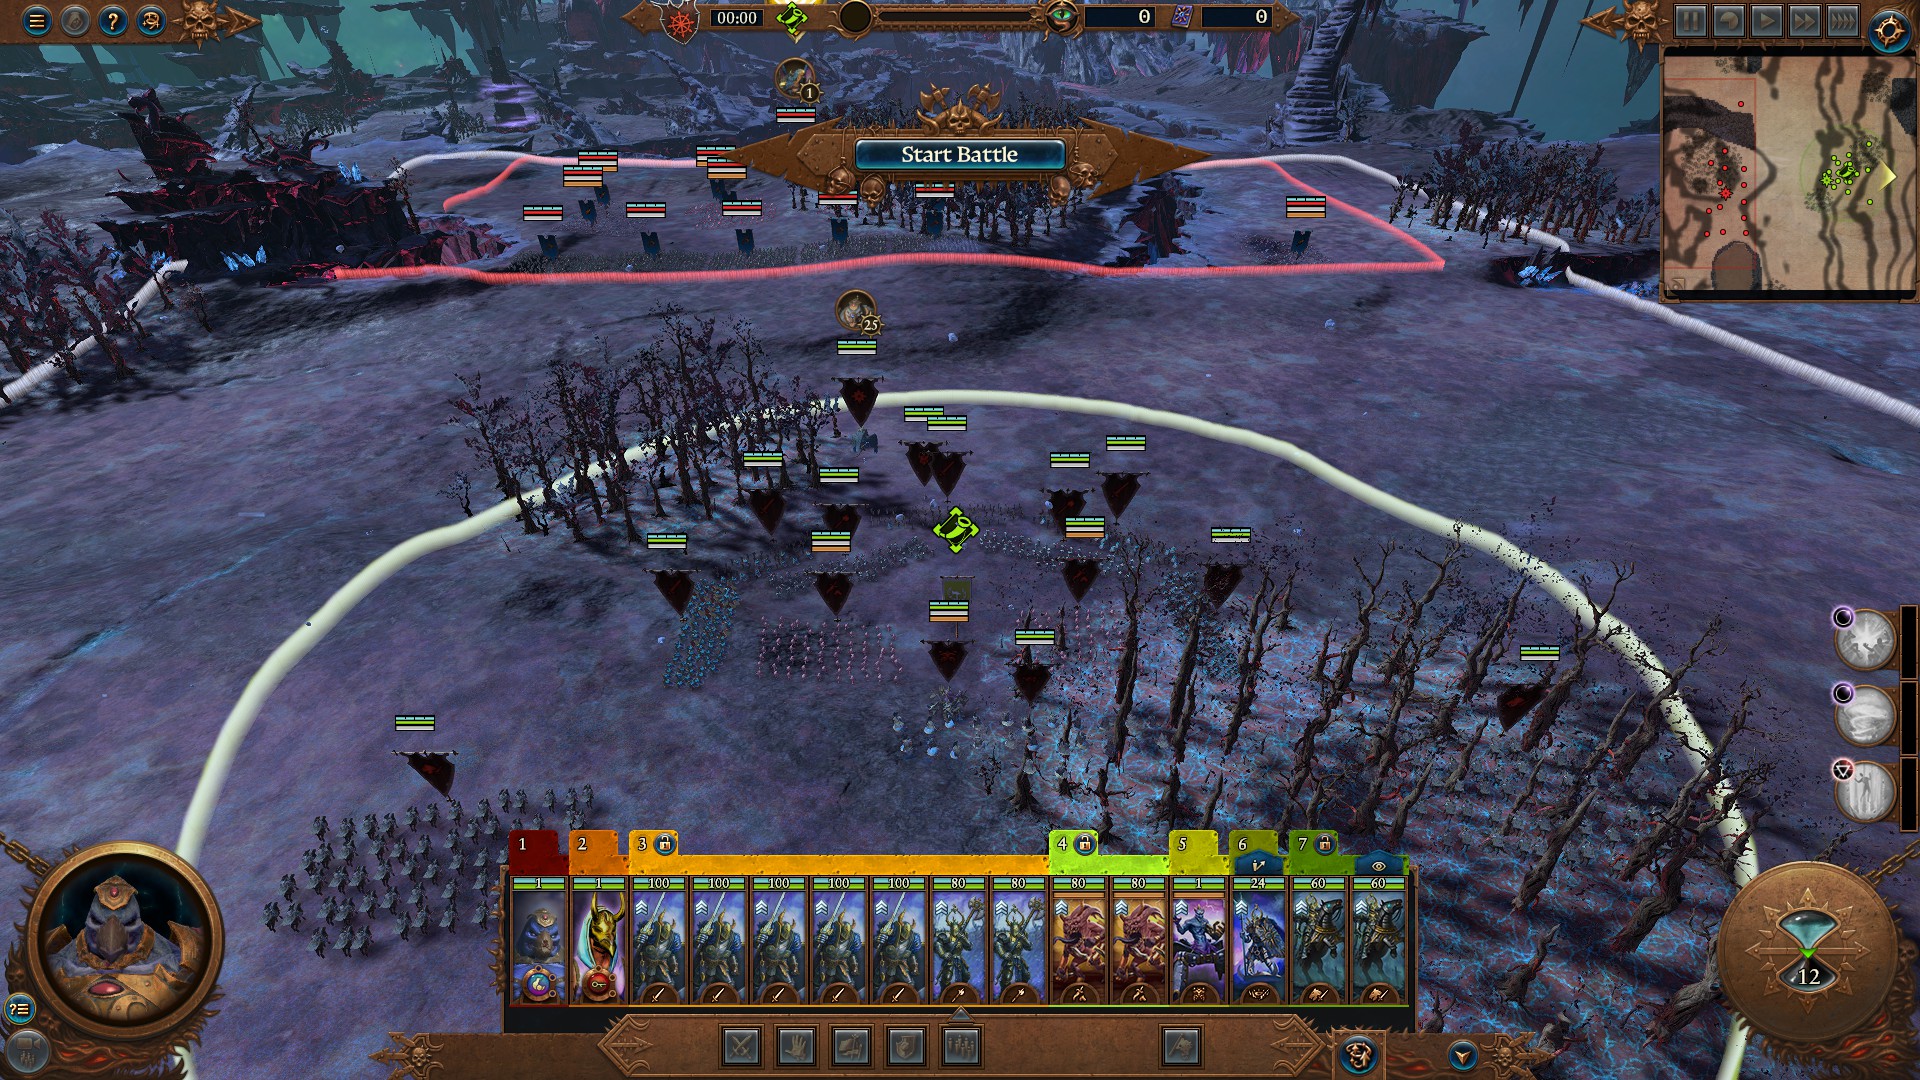
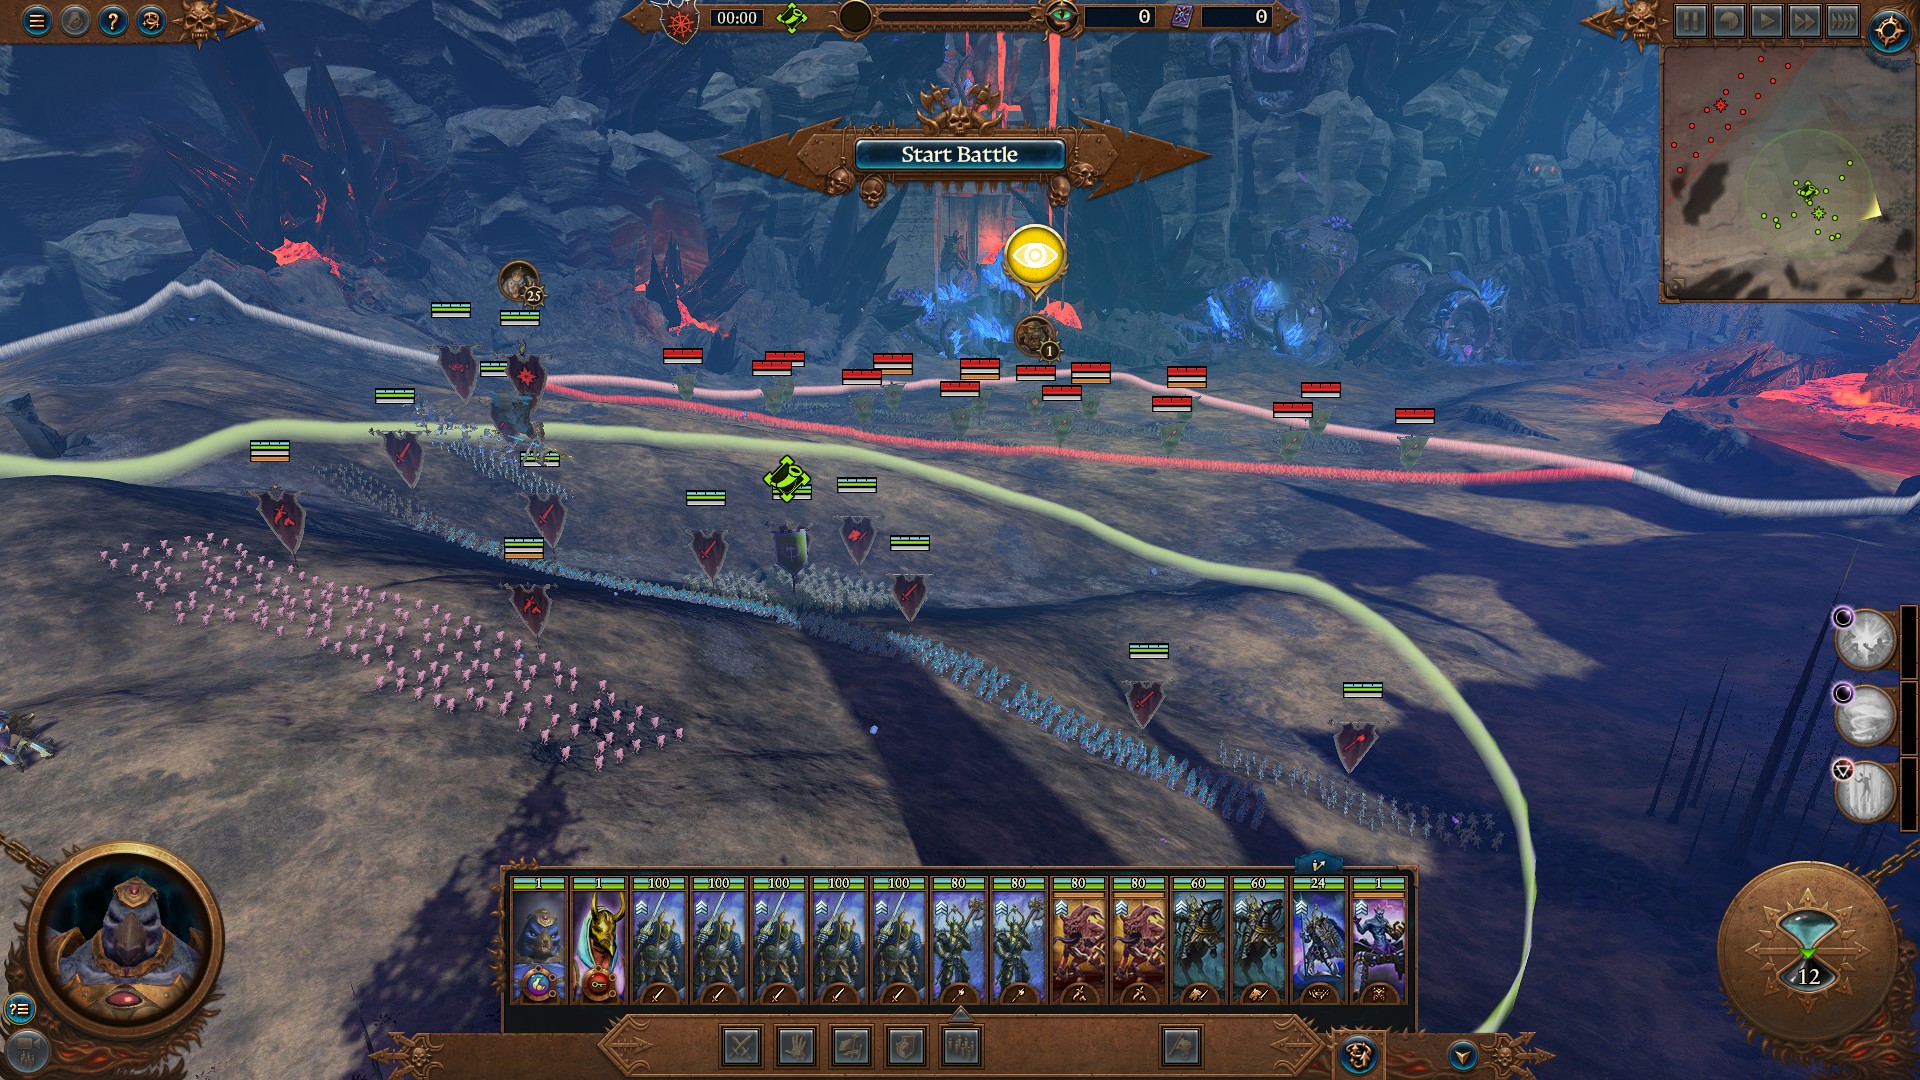
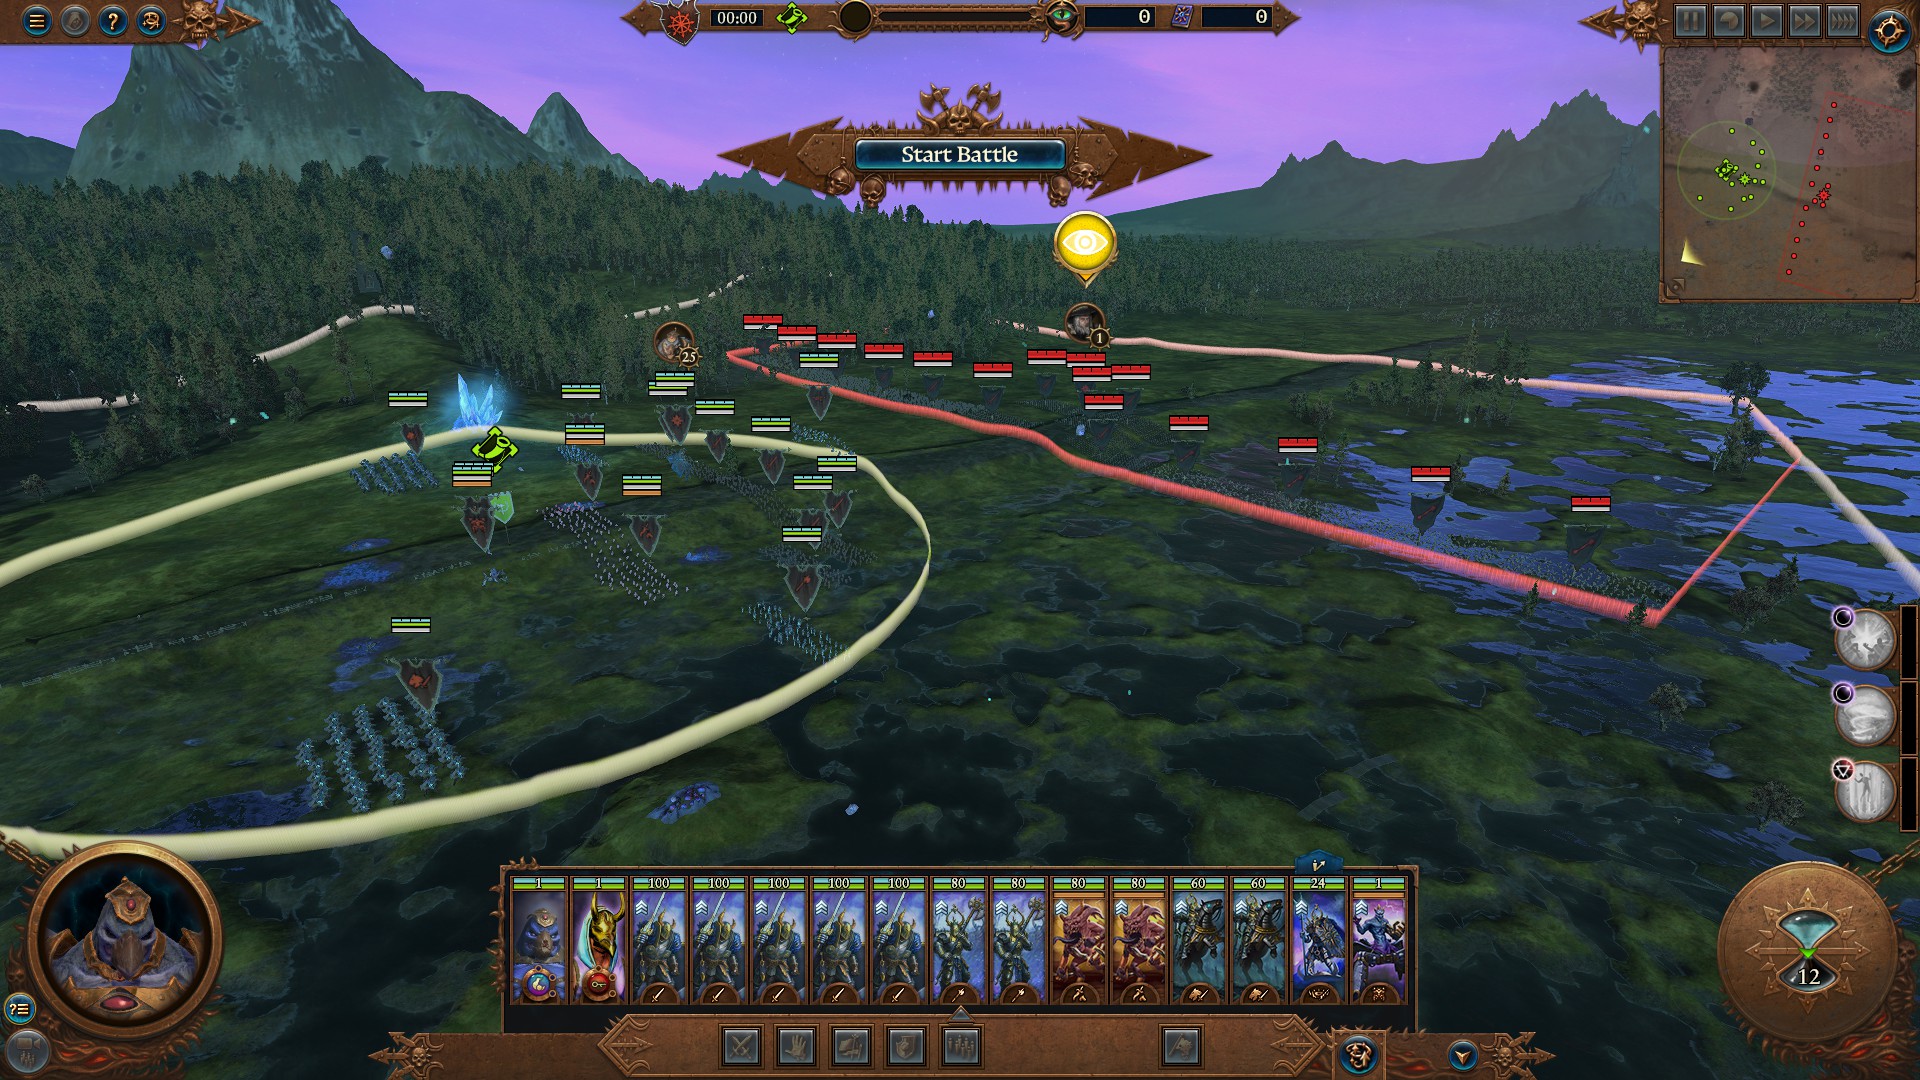
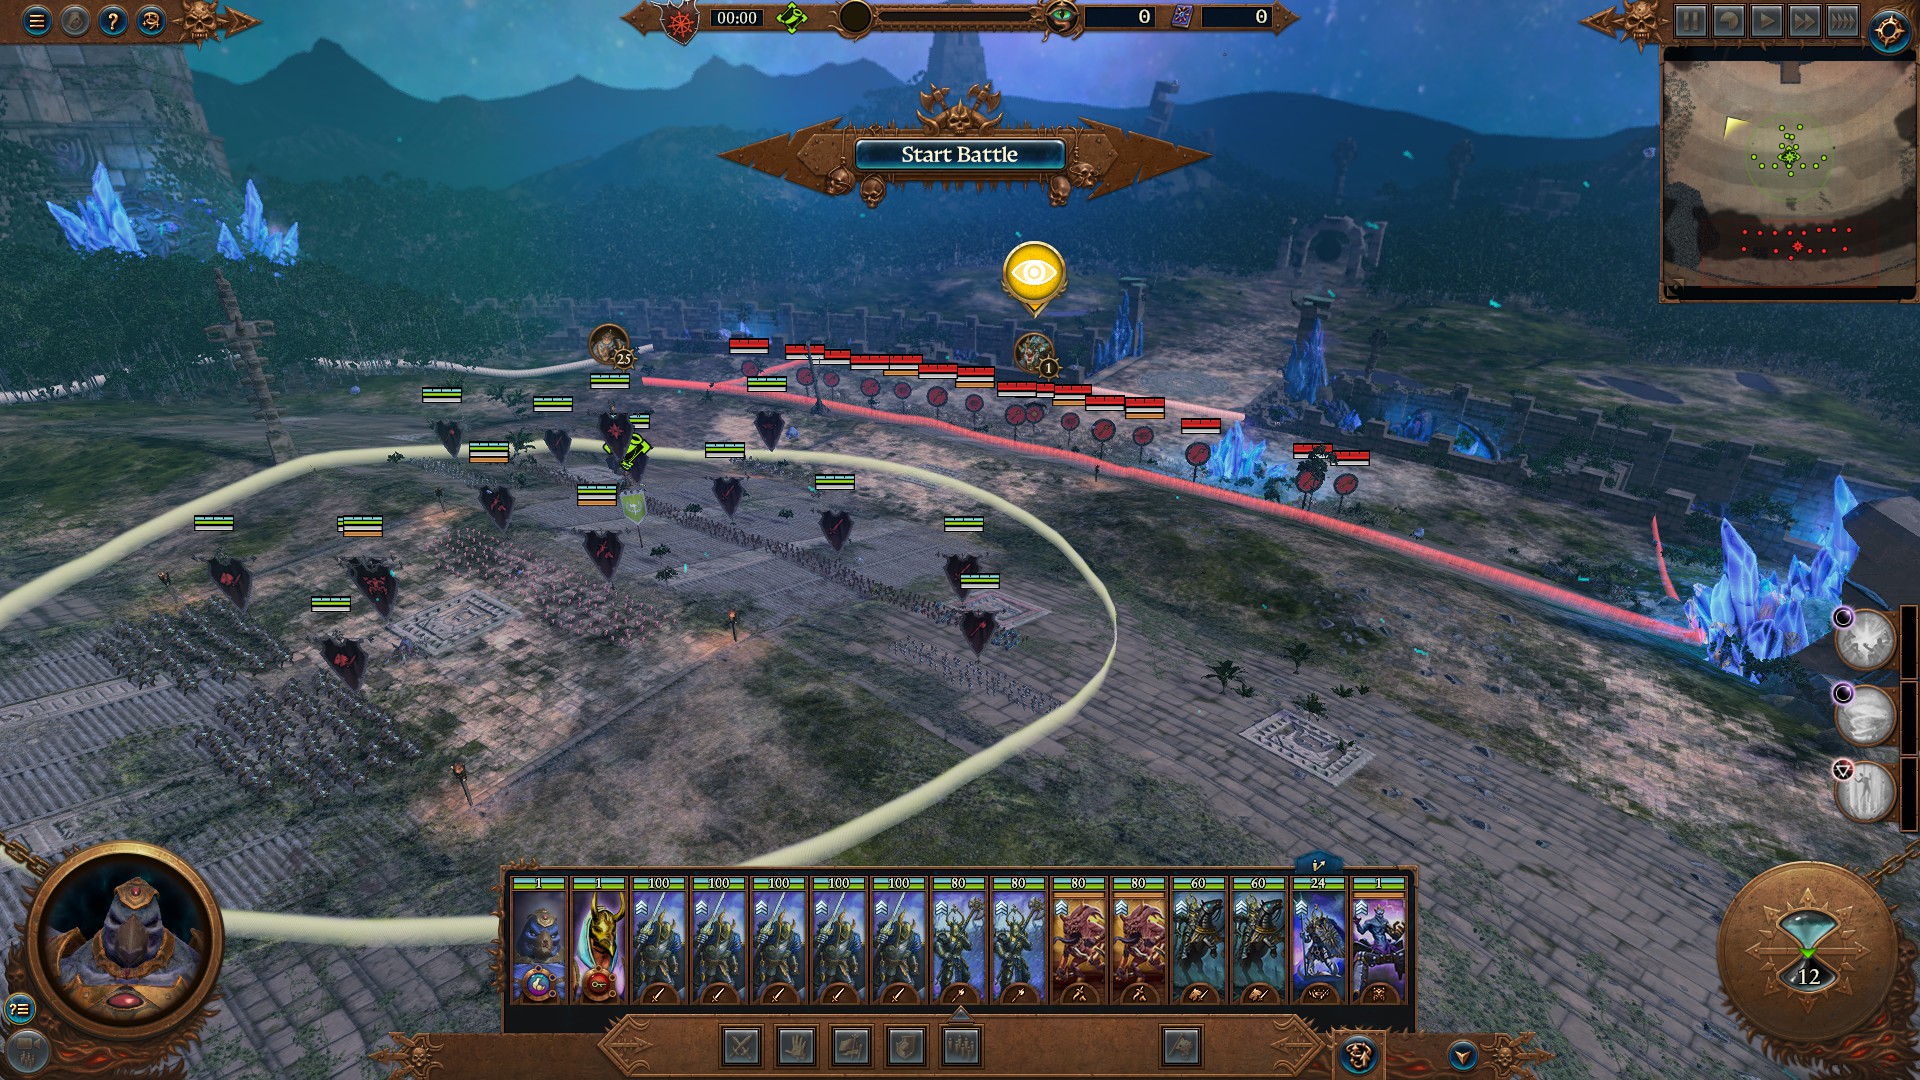
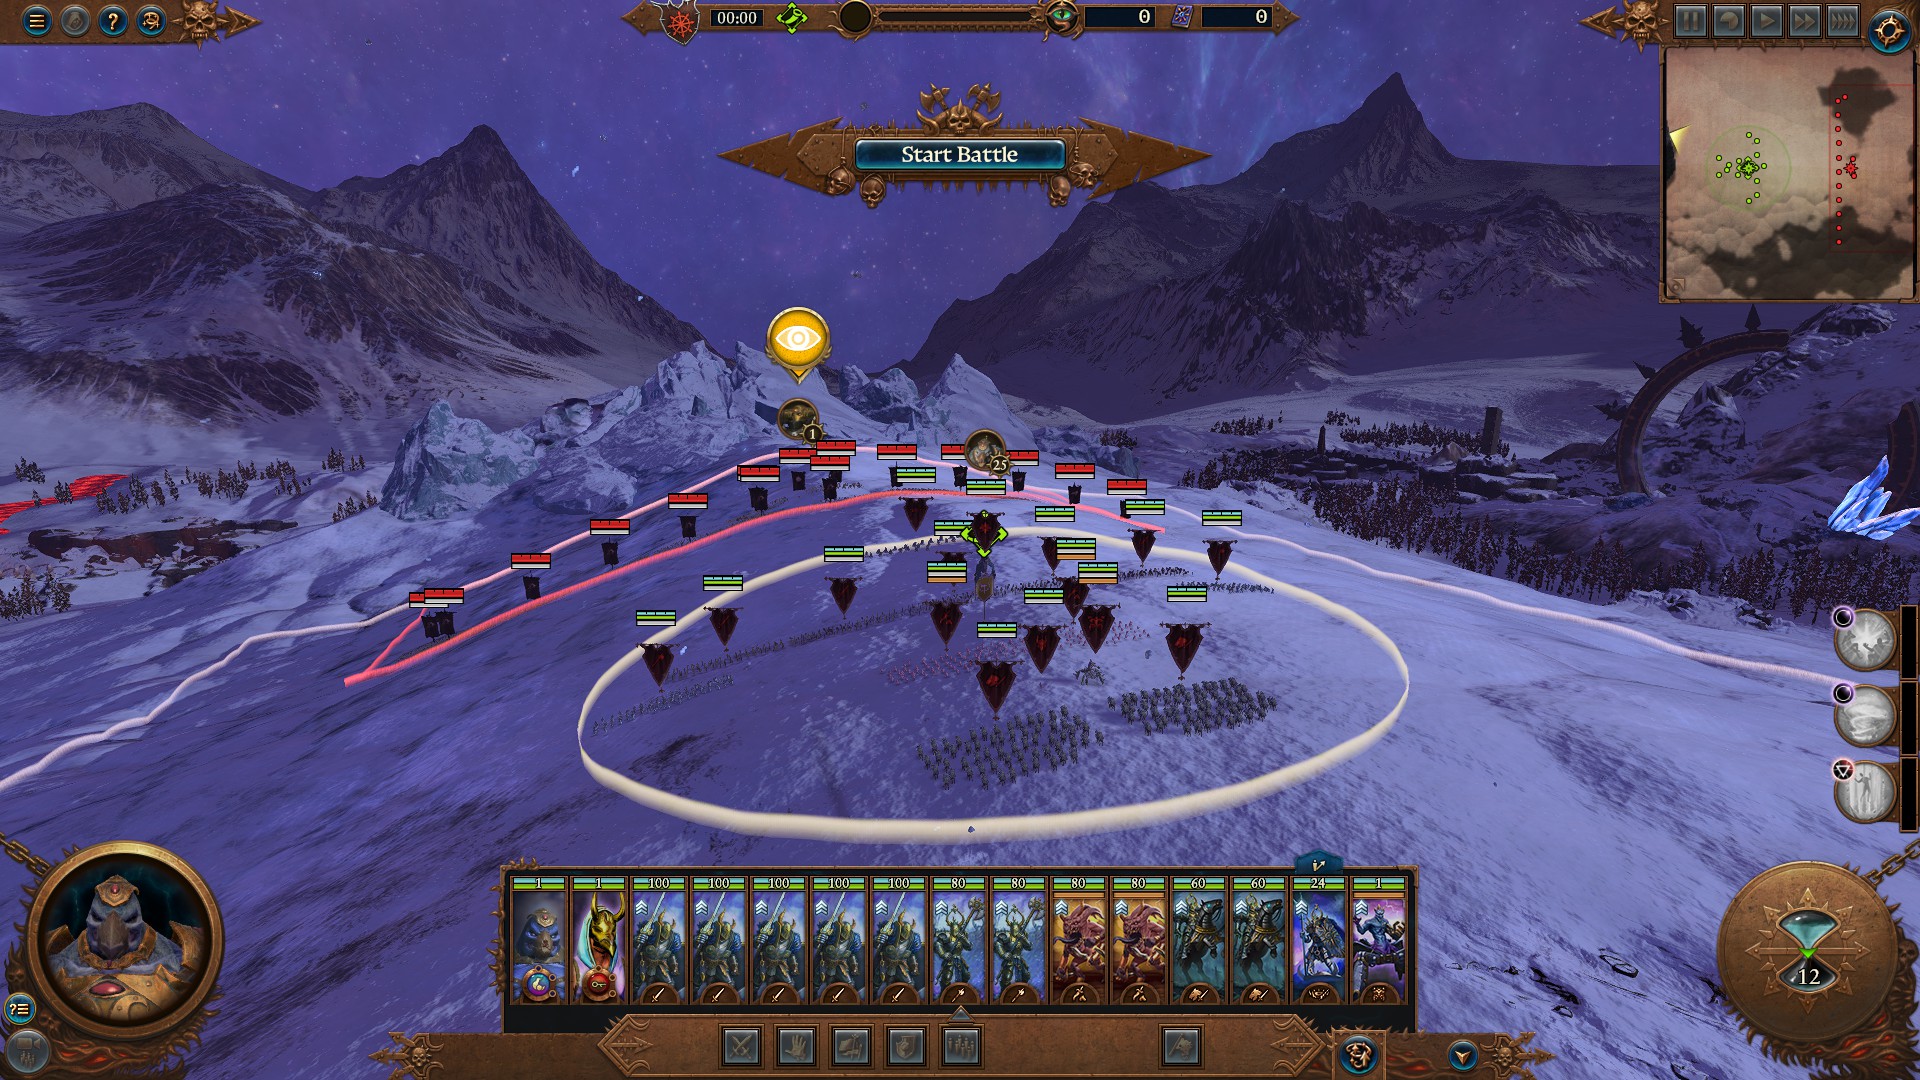
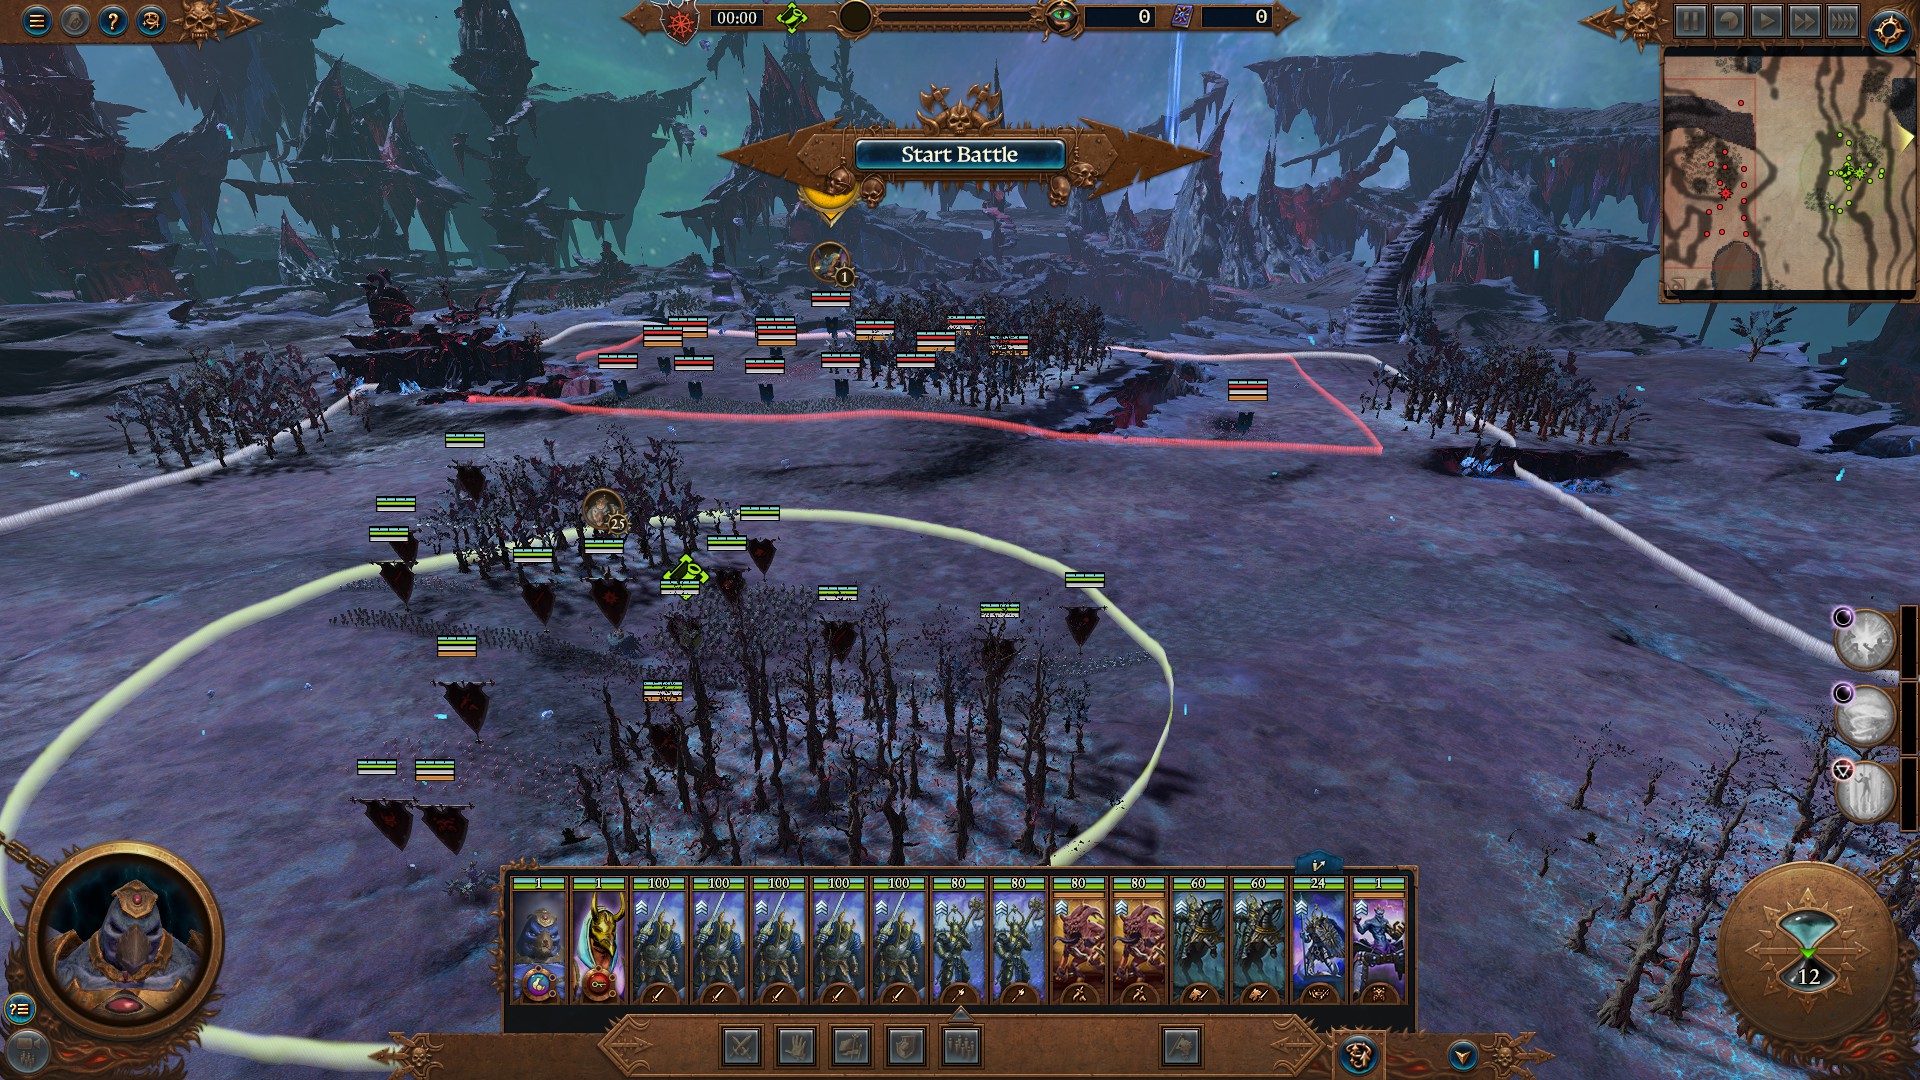
Do not send your army to face the enemy. Make a formation like the one shown above to keep the enemy on the edge of your point. This will not only keep the enemy from capturing your point, but it will also allow you to guard it effectively until you upgrade your army abilities.
In general, you don’t have to guard the rear of your units. You don’t need to guard the back of your units. The enemy will not attack you with ranged or flanked units except for flying ones.
You can also just blob and spam spells. They do the majority of the work.
When upgrading your army abilities, I recommend prioritizing Inevitable Fate and Tempest of Blue Flame First, they are the main way to clear large amounts of infantry during the trials. Do not upgrade them immediately, but use the cooldown resets in order to launch multiple abilities at once.
The enemy initially sends weaker units but as time goes on, more elite units start to appear.
You can use your ranged units’ firepower to quickly charge army capabilities, or you can save ammo to deal with more dangerous monsters, elite Infantry, and flying Units.
You can continue to run away and use army abilities, even if you are unable to stand or fight. Remember that you lose leadership when all your units are in flight. You’re on a clock and must land within a certain time or else you lose.
If the map has trees, it’s possible to hide units to delay for some time. They will eventually be found by the enemies.
Let’s move on to specific maps. Disclaimer All descriptions of races and units are based on the trials. They may not apply to campaign or multiplayer.
The difficulty ratings are not official, they’re just my opinion.
Which is more accurate and better than you?
Black Fire Pass: (Difficulty level: Very Easy).
This map features Greenskins, the enemy race. The starting enemy lord on this map is Grimgor Ironhide. Grimgor, despite being a footlord, is not affected by Inevitable Fate. You will need to kill him using other methods, such as Gaze of Fate with ranged or melee fire.
They have a fairly strong infantry but weak missiles, and no flying units. They also have no other units that are immune to your army’s abilities, except for Grimgor & Rogue Idols. This means that your army’s abilities are very effective, and nothing is able to threaten your lord.
Hel Fenn (Difficulty, Medium):
The enemy on this map is Vampire Counts. You can easily kill Heinrich Kemmler with Inevitable fate.
Both Fell Bats & Vargheists are flying units that your army abilities do not work on. Both units are flying units, which your army’s abilities do not work on. Doom Knights alone will be quickly overrun. You can either lure them on the floor or use ranged weapons. Your army’s abilities can’t affect Banshee Heroes.
Fallen Gates (Difficulty: Hard):
Here, the enemy is called Lizardmen. This was the most difficult map for me.
Inevitable Fate can easily kill Kroq-Gar, the enemy lord that starts the game.
The infantry is decent, but not very challenging. It can be easily killed by the army. There are no huge ground units such as dinosaurs or monstrous infantry.
This trial is made difficult by the abundance of Terradon Riders, and Ripperdactyl Riders. Terradon Riders is a flying unit that has a ranged attack and offers constant but relatively low damage.
Ripperdactyl Riders is a flying unit that has a significant amount of melee attacks, but they are not very durable. Air units are dangerous when combined with the limited options you have to deal with them.
Altar of Ultimate Darkness
(Difficulty: Easy)
This time the enemy is Warriors of Chaos led by Archaon the Neverchosen.
As is fitting for the Neverchosen, Inevitable Fate could be used to kill this man before he has a chance to do anything.
The infantry sent to you may be strong, but they are all equal in comparison to your army’s capabilities. The air units are only Chaos Furies, and Manticores. Doom Knights is able to deal with them well, especially when using ranged support.
Realm of Tzeentch (Difficulty: Medium-)
Here is the mirror match for Tzeentch. Could this be the “Mirror of Madness?”
The enemy lord’s number is Kairos Fateweaver. He can easily be lured, pinned down with Gaze of Fate and shot up. Army abilities will not work on him.
After that, you’ll only face endless amounts of Tzeentch mortal units and horrors. Whether exalted, blue or pink. Also, the occasional caster. This map is only a problem because of the sheer number of ranged units. They don’t do much damage. It’s also helpful that they are arranged in neat lines.
Tempest of Blue Flame
.
Not as easy as Warriors of Chaos but not as difficult Counts and Lizardmen.
Afterword
Subscribe to the newsletter by typing “Like”
I feel that I have put a lot of production value into this guide.
It’s a waste of effort and time, just like Trials of Fate.
I won’t be updating this much, even if the information is outdated. I may not even correct it if there are errors. Cope and seethe.
We sincerely thank you for reading the Total War: WARHAMMER III – Trials Maps & Tactics Mechanics and hope you found them useful. Please feel free to call out any mistakes or offer suggestions for enhancements in the section below, and we will fix them as soon as we can. You have my very best wishes for today. A post that Liminal Boundary made inspired this guide, so a big thank you goes out to him for that! Also, don’t forget to Bookmark Us if you enjoy the post, we add new posts daily with more content, so check us often for more posts!
- All Total War: WARHAMMER III Posts List



Leave a Reply