This is a basic how to do hulls for your creation. It works for everything above a certain size. It Uses Tajin´s image to paint block tool to create templates to build on to achieve a 1:1 hull without much effort.
1 Research
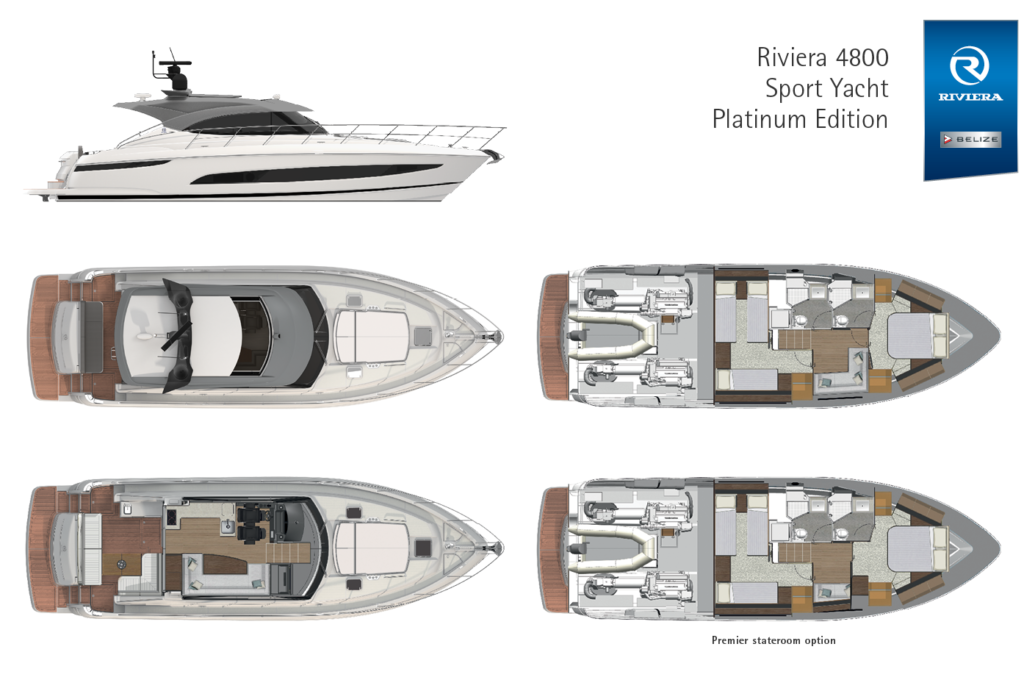
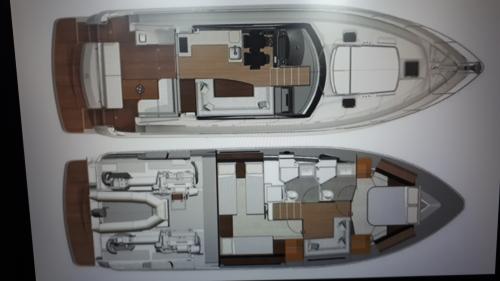
Start your new build by searching the internet untill you find something you want to recreate. In the following you have to figure out the name of the vehicle you found to be able to make further research about it in my case it was a Riviera 4800 sport yacht i found while searching for small yachts. Once you´ve got the name of the vehicle of your choice you have to find the measurements aswell as blueprints which in the best case show the vehicle from the top, the side and the front. If there is a lot of interior in your build you shoud also consider searching for interior layouts or deckplans. Download all the Blueprints you have found and continue searching for pictures from different angles which help you get a feel of the hull form. Sometimes there are even walkaround videos or virtual 360 degree tours which can get pretty helpful along the way.
[/previewimg
2 The Template
This step will convert your blueprints into stormworks xml files which can be spawned in the workbench. Therefore you first have to edit your pictures so that the vehicle goes from one edge to the other so that it´s easyer to calculate the right scaling factor for Tajin´s tool. Once you´ve edited all the pictures you can upload them into the converter tool. There you´ll have to upload your picture and set a Size limit in blocks. Remember that 4 blocks are 1 meter. You can now just take the researched lenght by 4 to get the scaling factor in stormworks blocks. But that only works if the blueprint pictures are edited so the vehicle goes to the sides because then there are no borders to include in the calculation. In my case the original yacht was 15.23 meters so i multiplied it by 4 and got the factor 61. You have to repeat this for the front view aswell as it´s most likely a different scale than the side.
https://rising.at/Stormworks/paint.php – [rising.at]
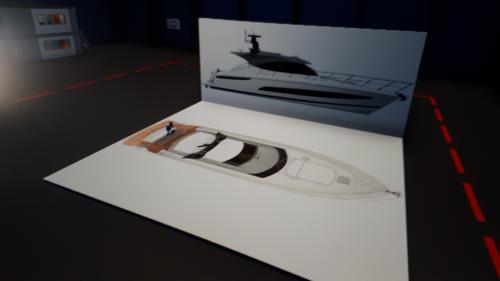
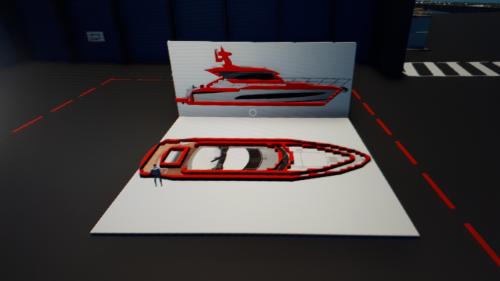
Once you have converted all your blueprints you have to move them in your vehicle folder which can be found under %AppData% / Stormworks / data / vehicles Just put them in there in you´ll be able to spawn them in your workbench. You now only have to arrange them with the selection tool to have them placed like below.
3 The Skeleton
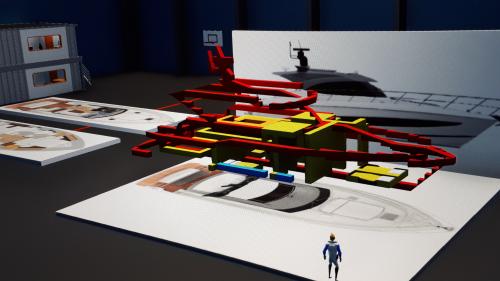
Forming the skeleton is relatively easy compared to the other steps you just have to build onto the outlines of your template with blocks and wedges making as less compromises as possible.You should use Symetry for the top and front to make your creation Symmetric. Note tho that it´s almost impossible to draw the outlines with stormworks wedges and that it´s ok if they are a bit of in some places.
Once you have finished The outlines you have to put them together on their main axle. You might also have to split the lines into different elevation levels like the bridge roof of my jacht or the stern which had to be dropped down to the water level. The side profile aswell as real pictures are required for this seperation in elevation to make it realistic.
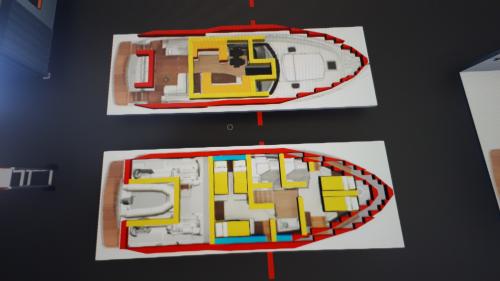
Do the same part again for the interior if needed
Now assemble the interior and the skeleton together to one body where you can then add simple lines and elevation changes.
4 Filling the hull
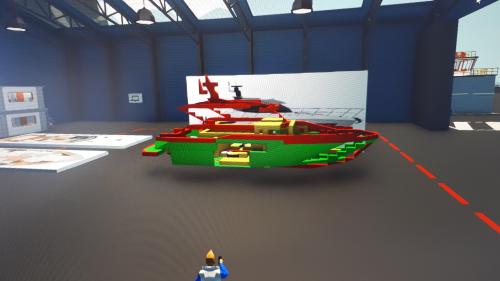
In This step you will fill the skeleton to a hull using real pictures from many angles.
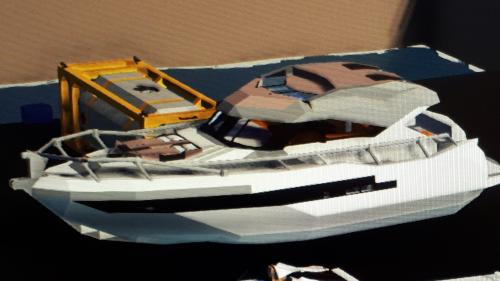
Start by looking through a lot pictures from as many different angles as possible to get yourself an own 3d model in your head to make it easyer to cover the regions where the skeleton is not giving you the form. You now have to puzzle until you are happy with every part of the hull. Always try to maintain a good proportion of depth and details aswell as significant lines.
You now also have to insert all the Windows and doors. Don´t be afraid to Xml some parts or Windows but note that they are not watertight.
5 Painting and detailing
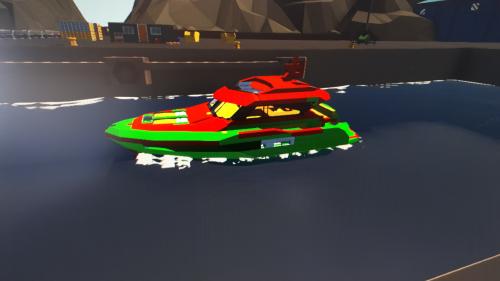
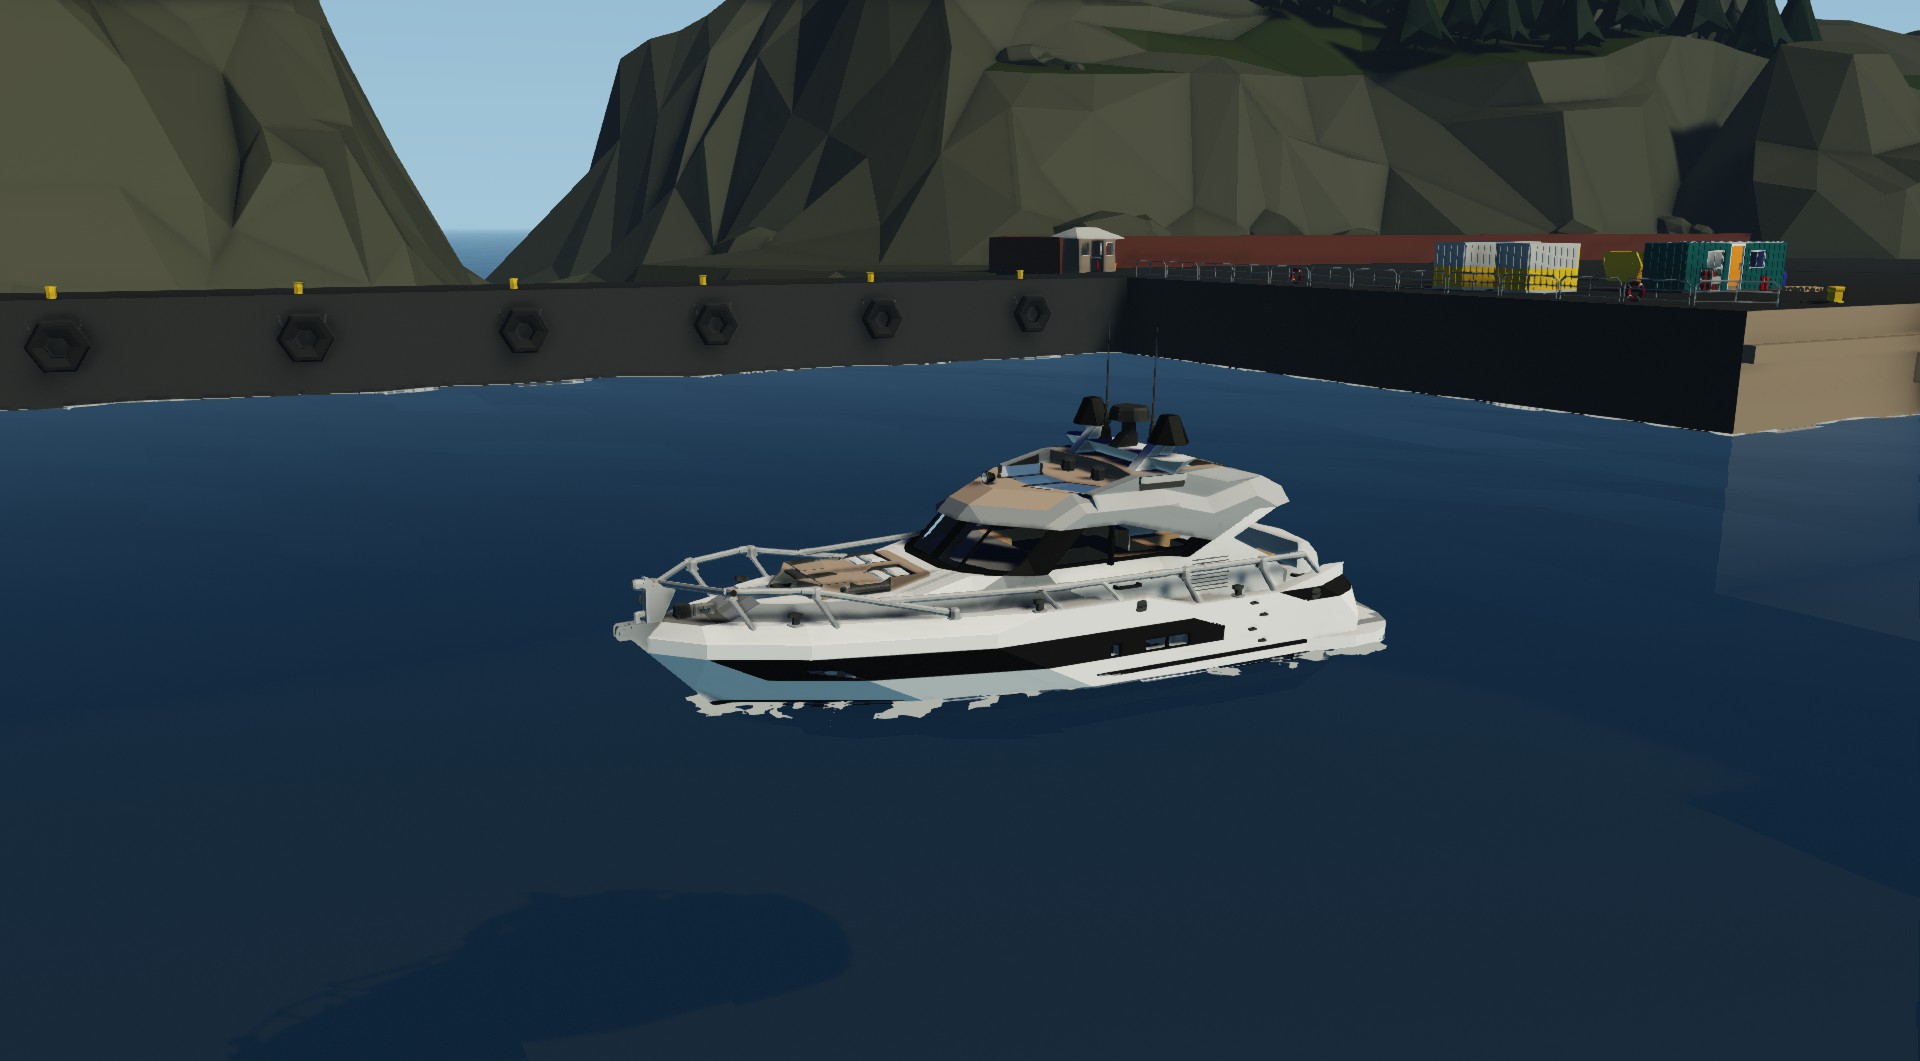
The last step will transform your empty and blank hull to a beautiful vehicle. The easyest way to do this is by recreating a paintjob from any given picture. However you can always come up with your own one. Start by just painting everything in the color which has the biggset proportion and roghly paint the rest with the other colors. You might want to create some extra contrast on some of the recognizable lines to make it look like the real deal. It now is also time to place the big details which have to be implemented in the paintjob such as the railing in my case.
After the basic painting is done you should add as much detail possible by just placing unusual blocks in places where the are anchors or handles etc. try following real pictures again to make it realistic and pretty. Now is also the time to finish of your paintjob with paintblocks. You might also want to use Tajin´s tool again to get textures surfaces like wooden floors or metal sheets. You are now pretty much done but shoul come back the next day to see if you overlooked something and improve if needed.
This is all about Stormworks: Build and Rescue – Basic Crafting Tips + Basic Hull Design; I hope you enjoy reading the Guide! If you feel like we should add more information or we forget/mistake, please let us know via commenting below, and thanks! See you soon!
- All Stormworks: Build and Rescue Posts List


Leave a Reply