Welcome to this post We hope you find this Shatterline – Full Walkthrough and Tips/Tricks guide useful.
This guide still has a lot of work to do. There will be new content like boss walkthroughs, dungeons, and more.
As we know, the new Expedition brought many new things making some old tips obsolete. The new items are:
- Map UI
- Mule
- Threat Level
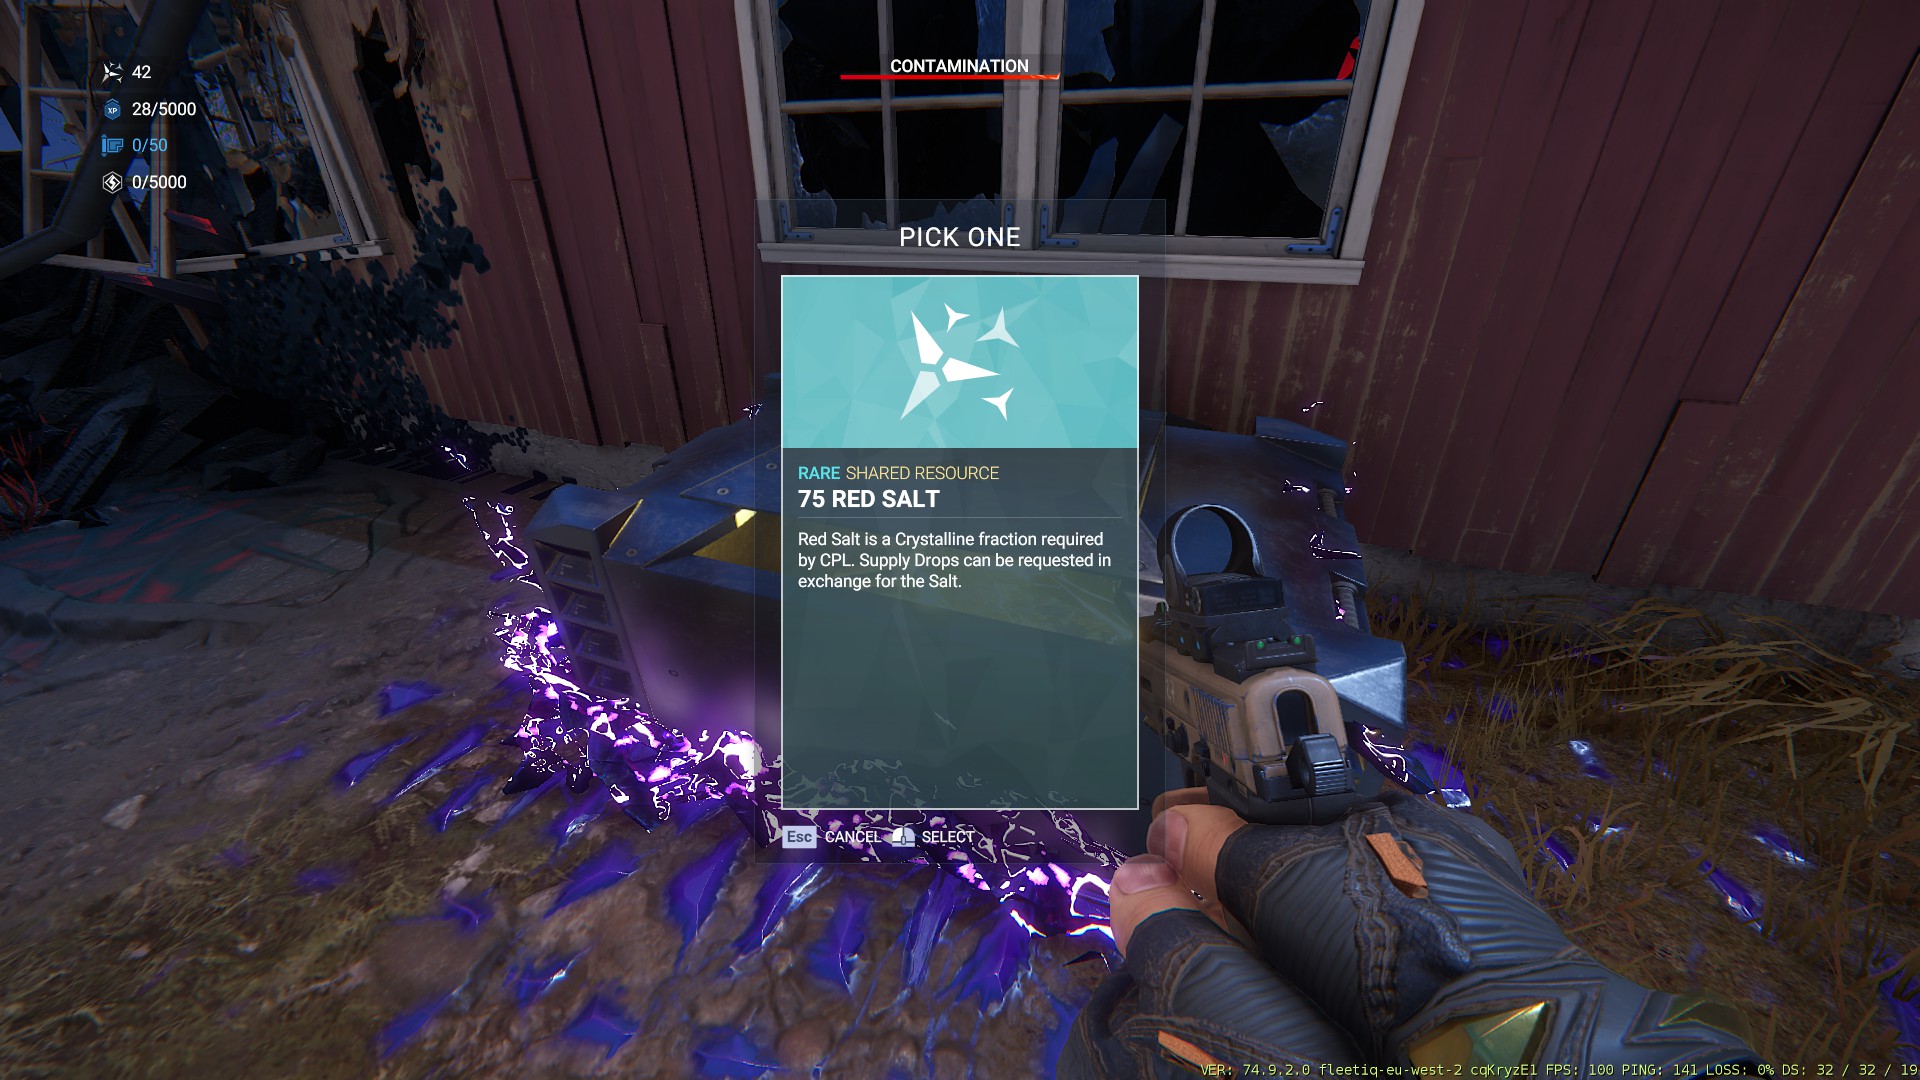
- Salt
- Main Goal
- Contracts
- World Activities
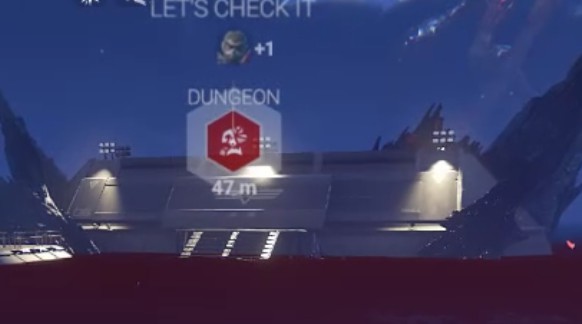
- Dungeons
- Miniboss
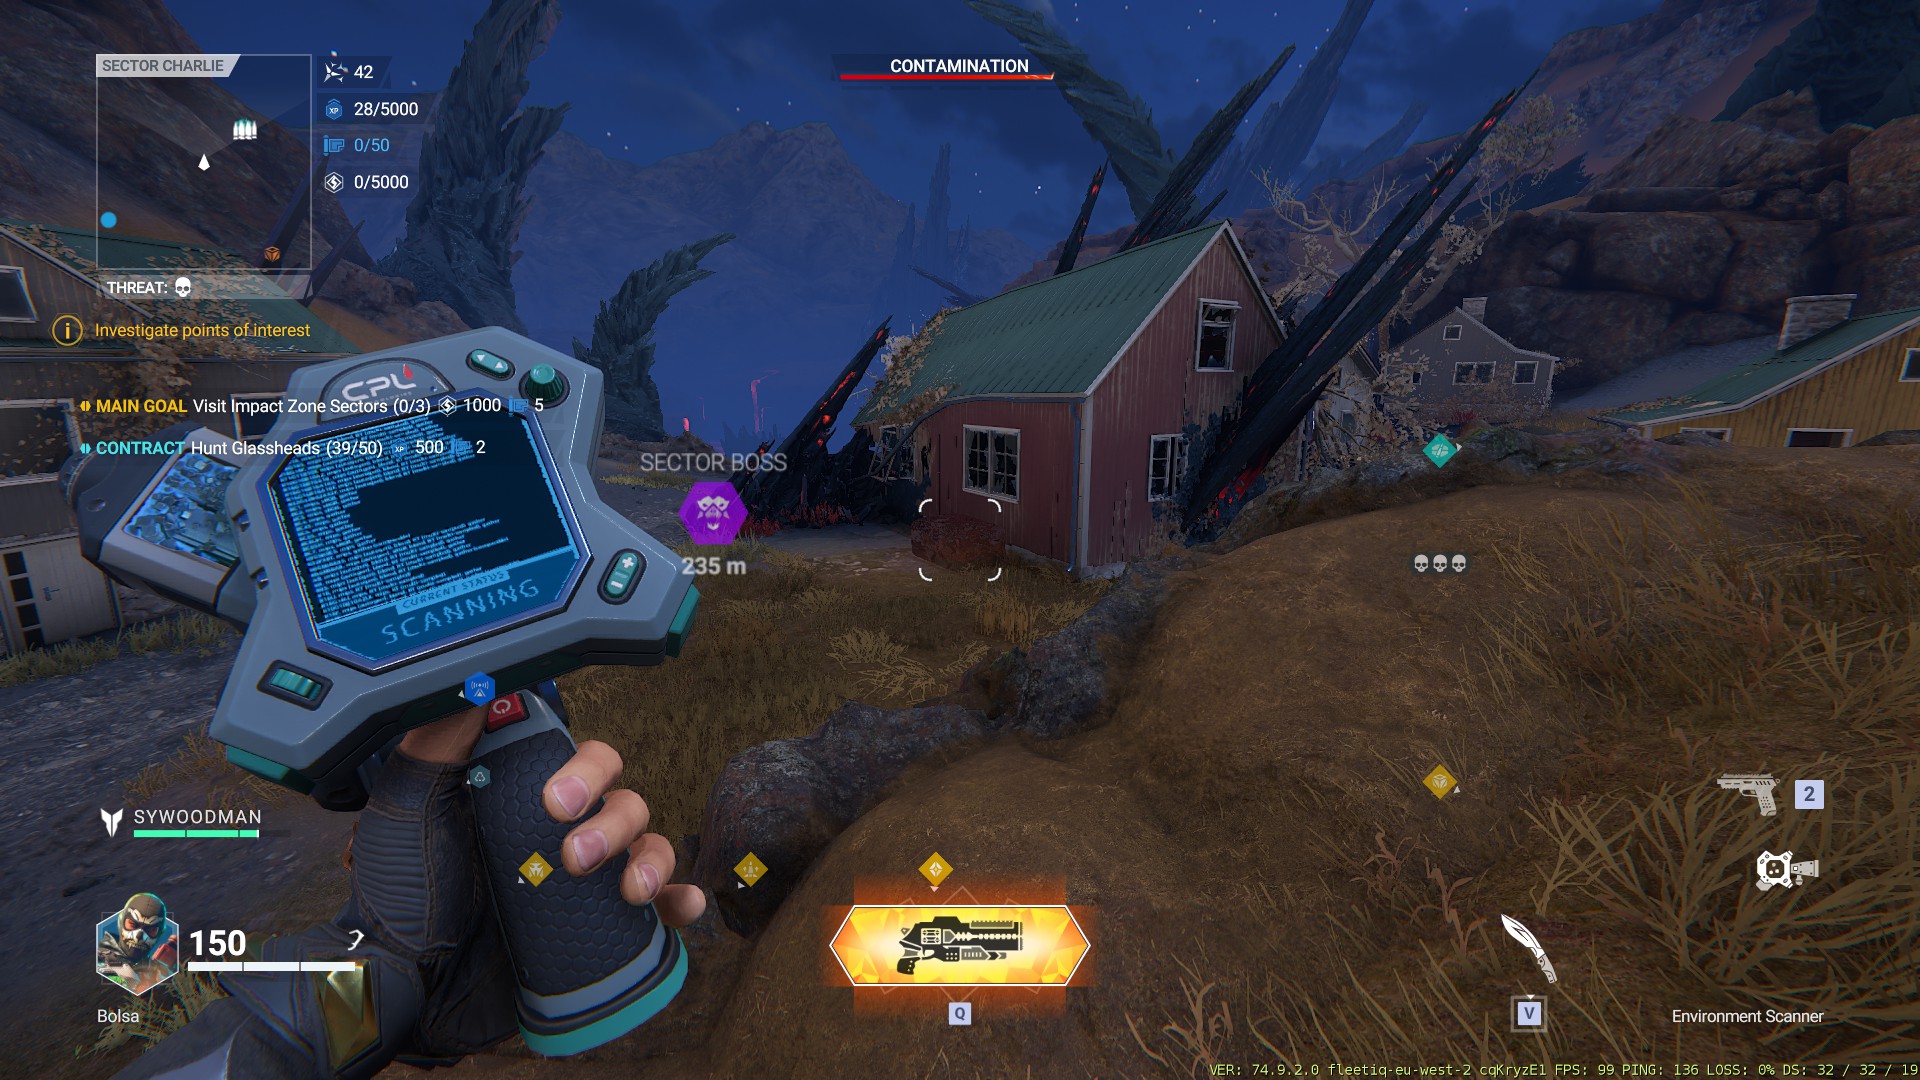
- Sector bosses
- Chosen Stash
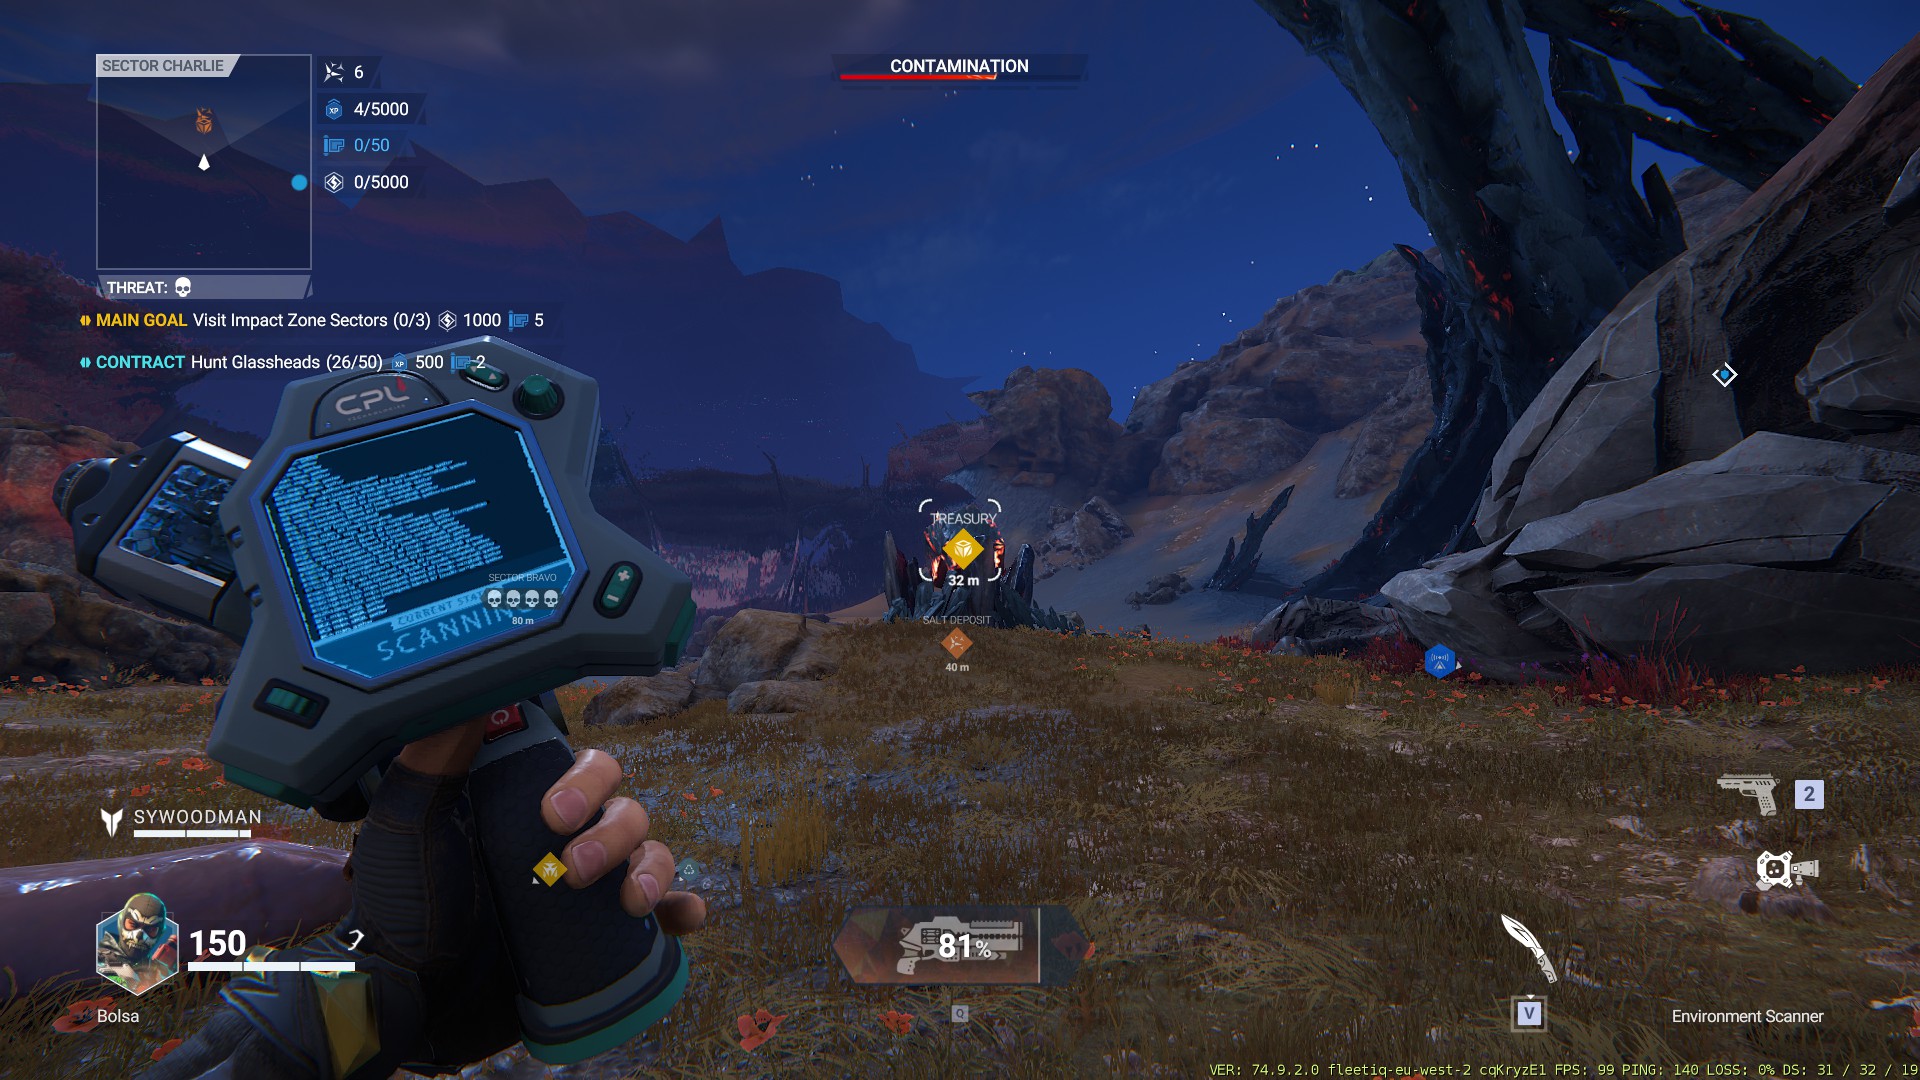
New map UI
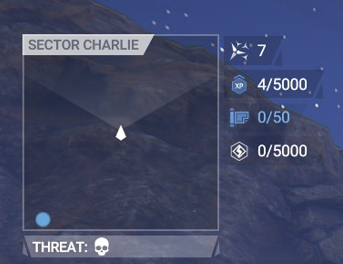
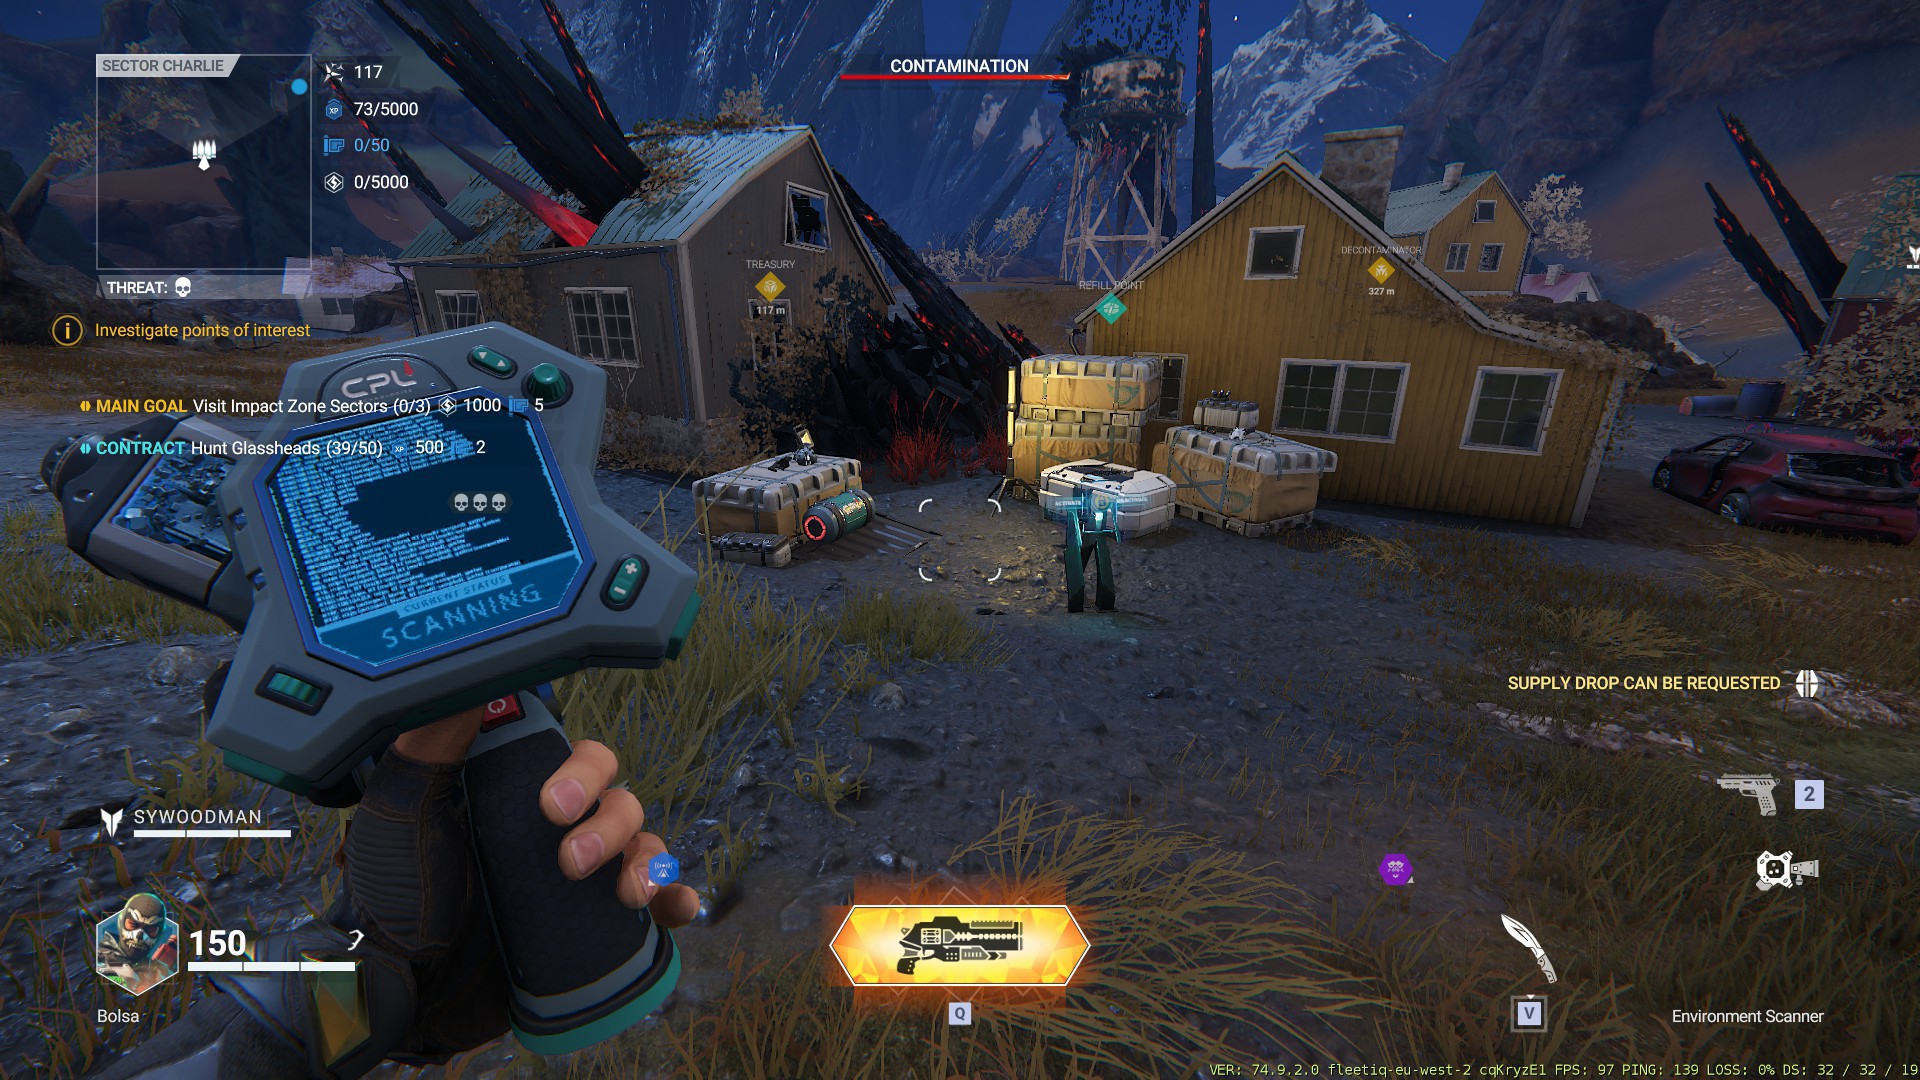
You can now see 4 new additions on the map.
- Salt “Money”
- EXP
- Blueprints
- Credits
You can see that there is a limit for each of them, with Salt being the only one not having a cap.
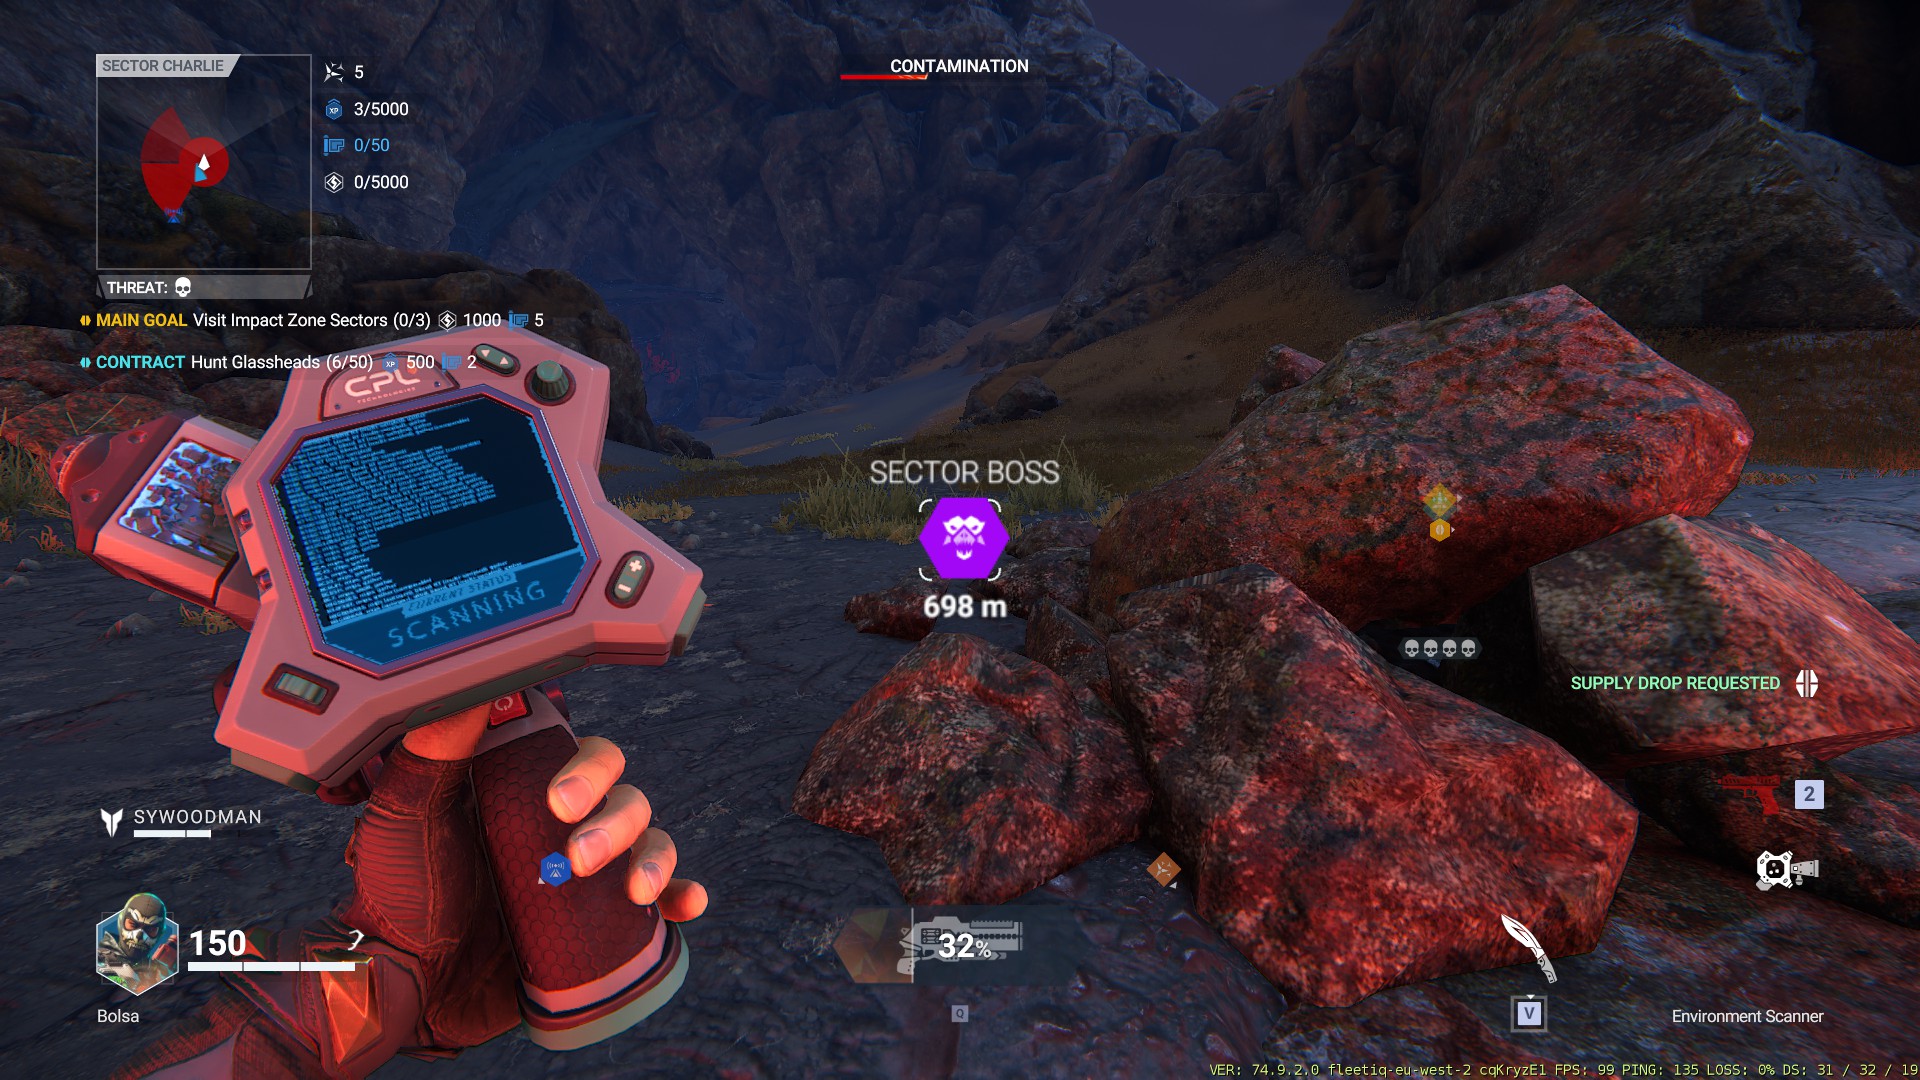
Contamination Gauge
The contamination gauge will fill passively as well as actively.
Passively
The contamination gauge will fill up slowly, and increase depending on sector difficulty.
Active “Triggered”
The gauge fills up faster if:
- You and your teammates are both at risk of death
- Defeating Sector bosses
- Defeating Dungeon Bosses
There is a method to prevent contamination from rising, which is the Decontaminators that i will describe further.
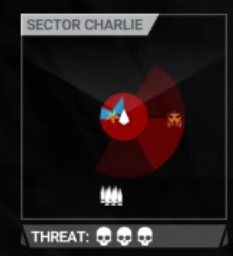
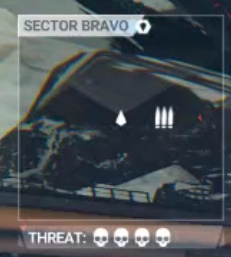
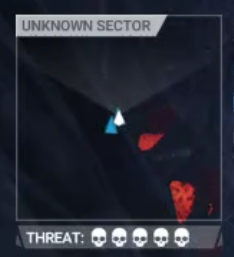
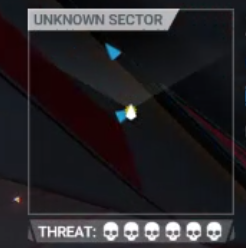
Threat Level
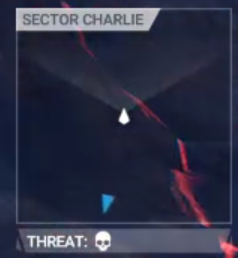
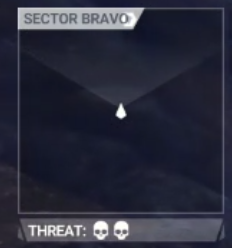
A threat level is a brand new addition to the zone. Each time you enter an expedition, you will be given the lowest level of danger possible, which is one skull.
The more dangerous the sector is, the more damage the enemies do. You’ll also find that they have superior counterparts.
Sector Threat Levels
After you defeat the sector boss, move to another zone that has a higher level of threat for a better reward in Blueprints supply bin grade
Salt
Salt is the new addition to your expedition. You can use it to refill your ammo and ultimate, or to decontaminate (lower the contamination gauge).
Mule
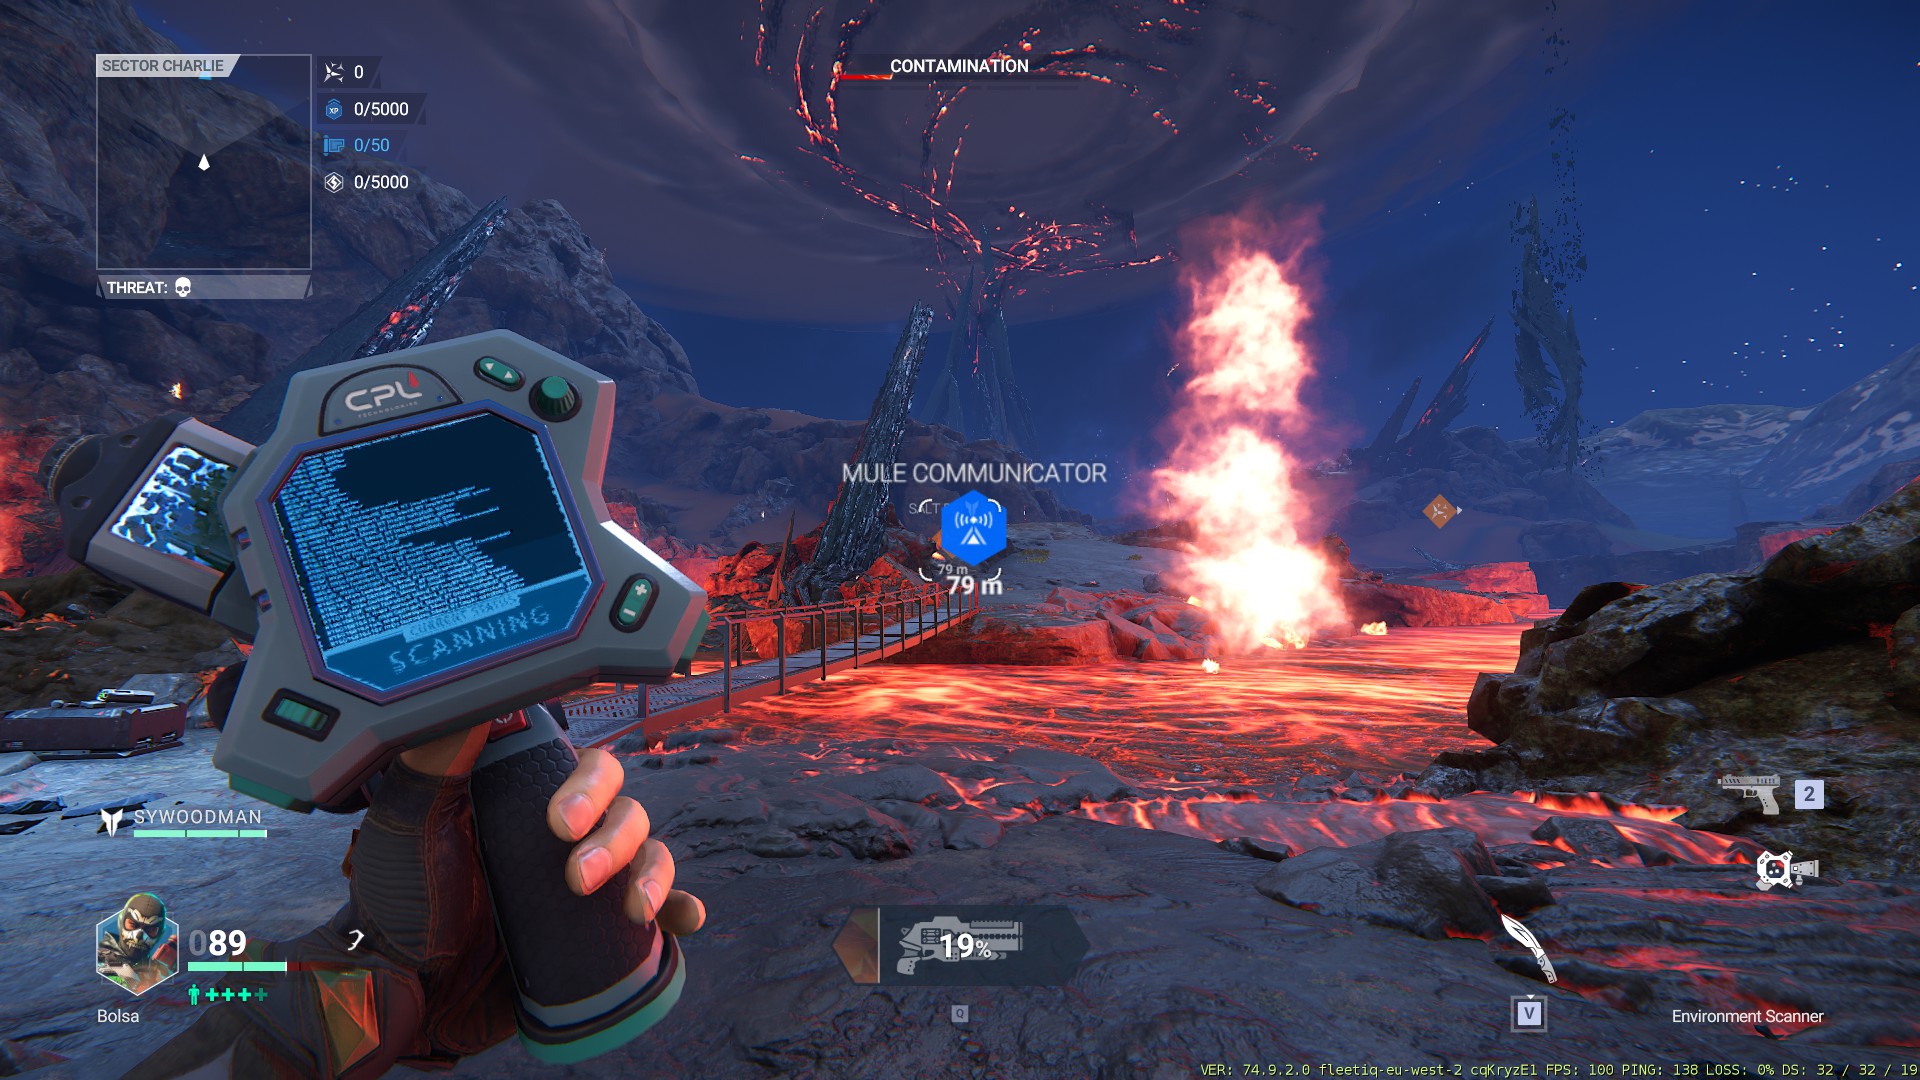
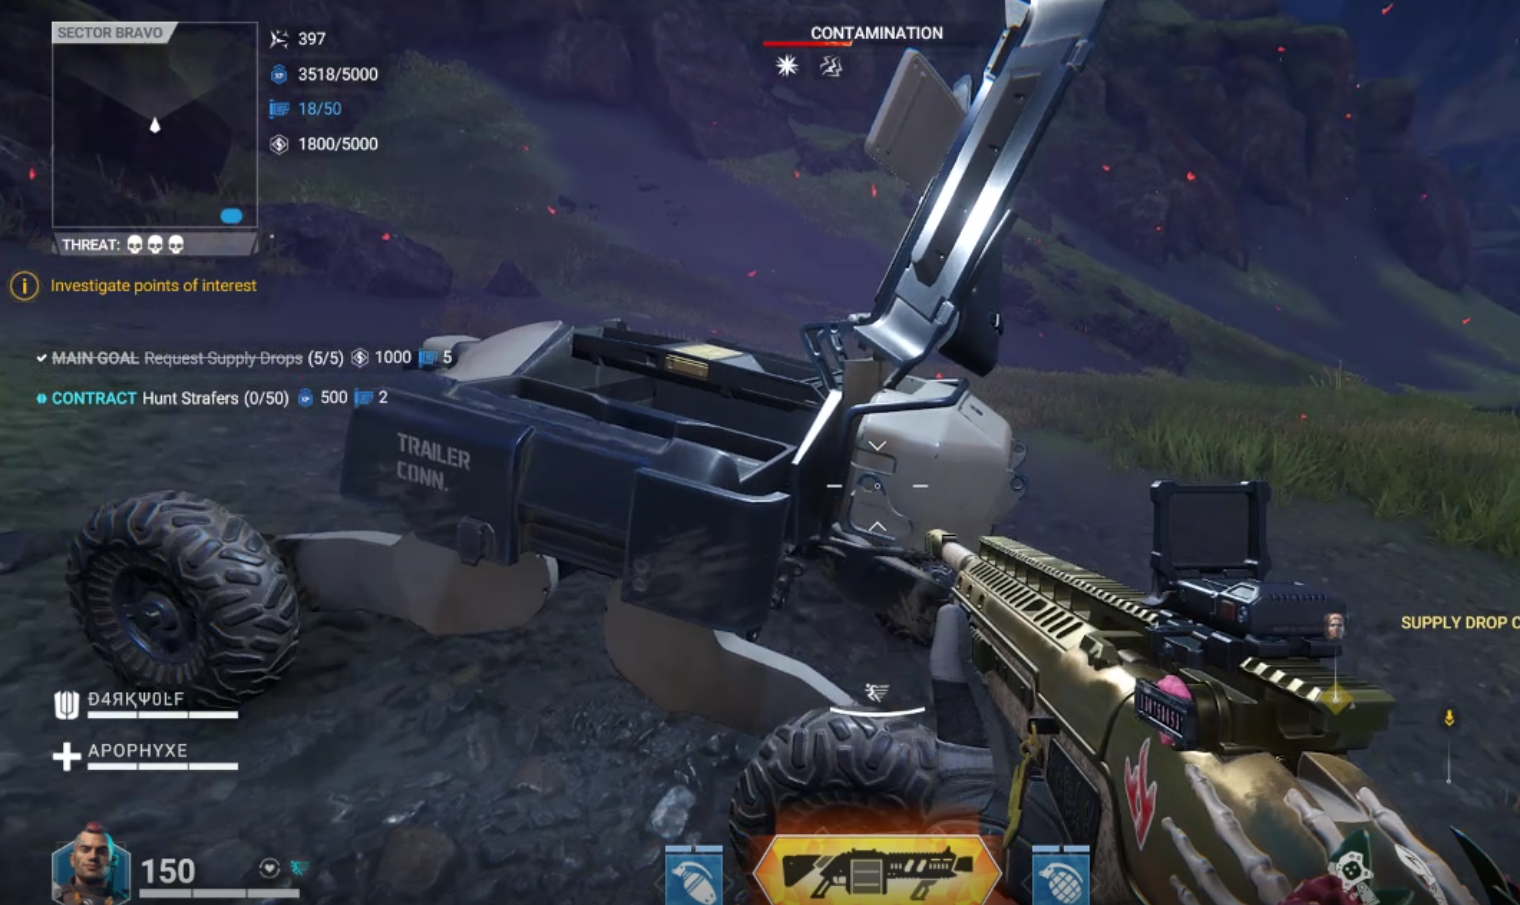
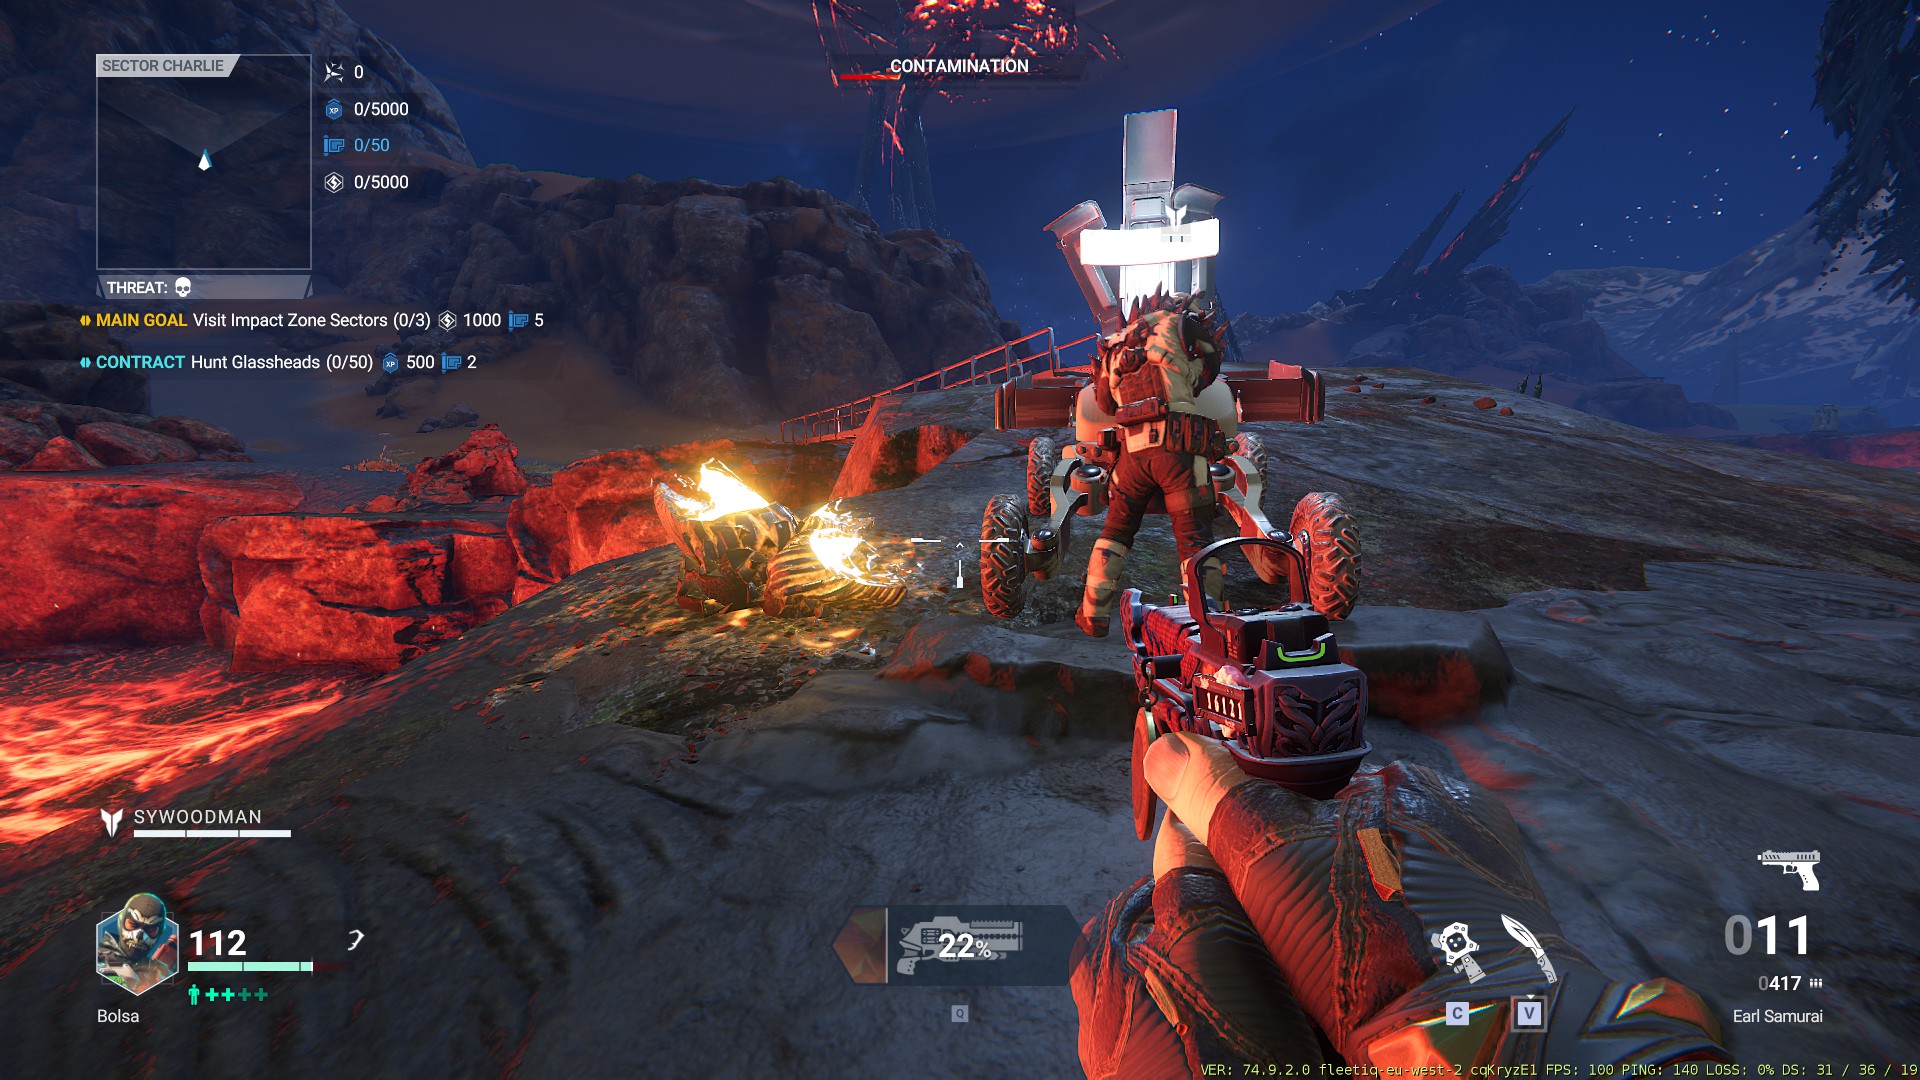
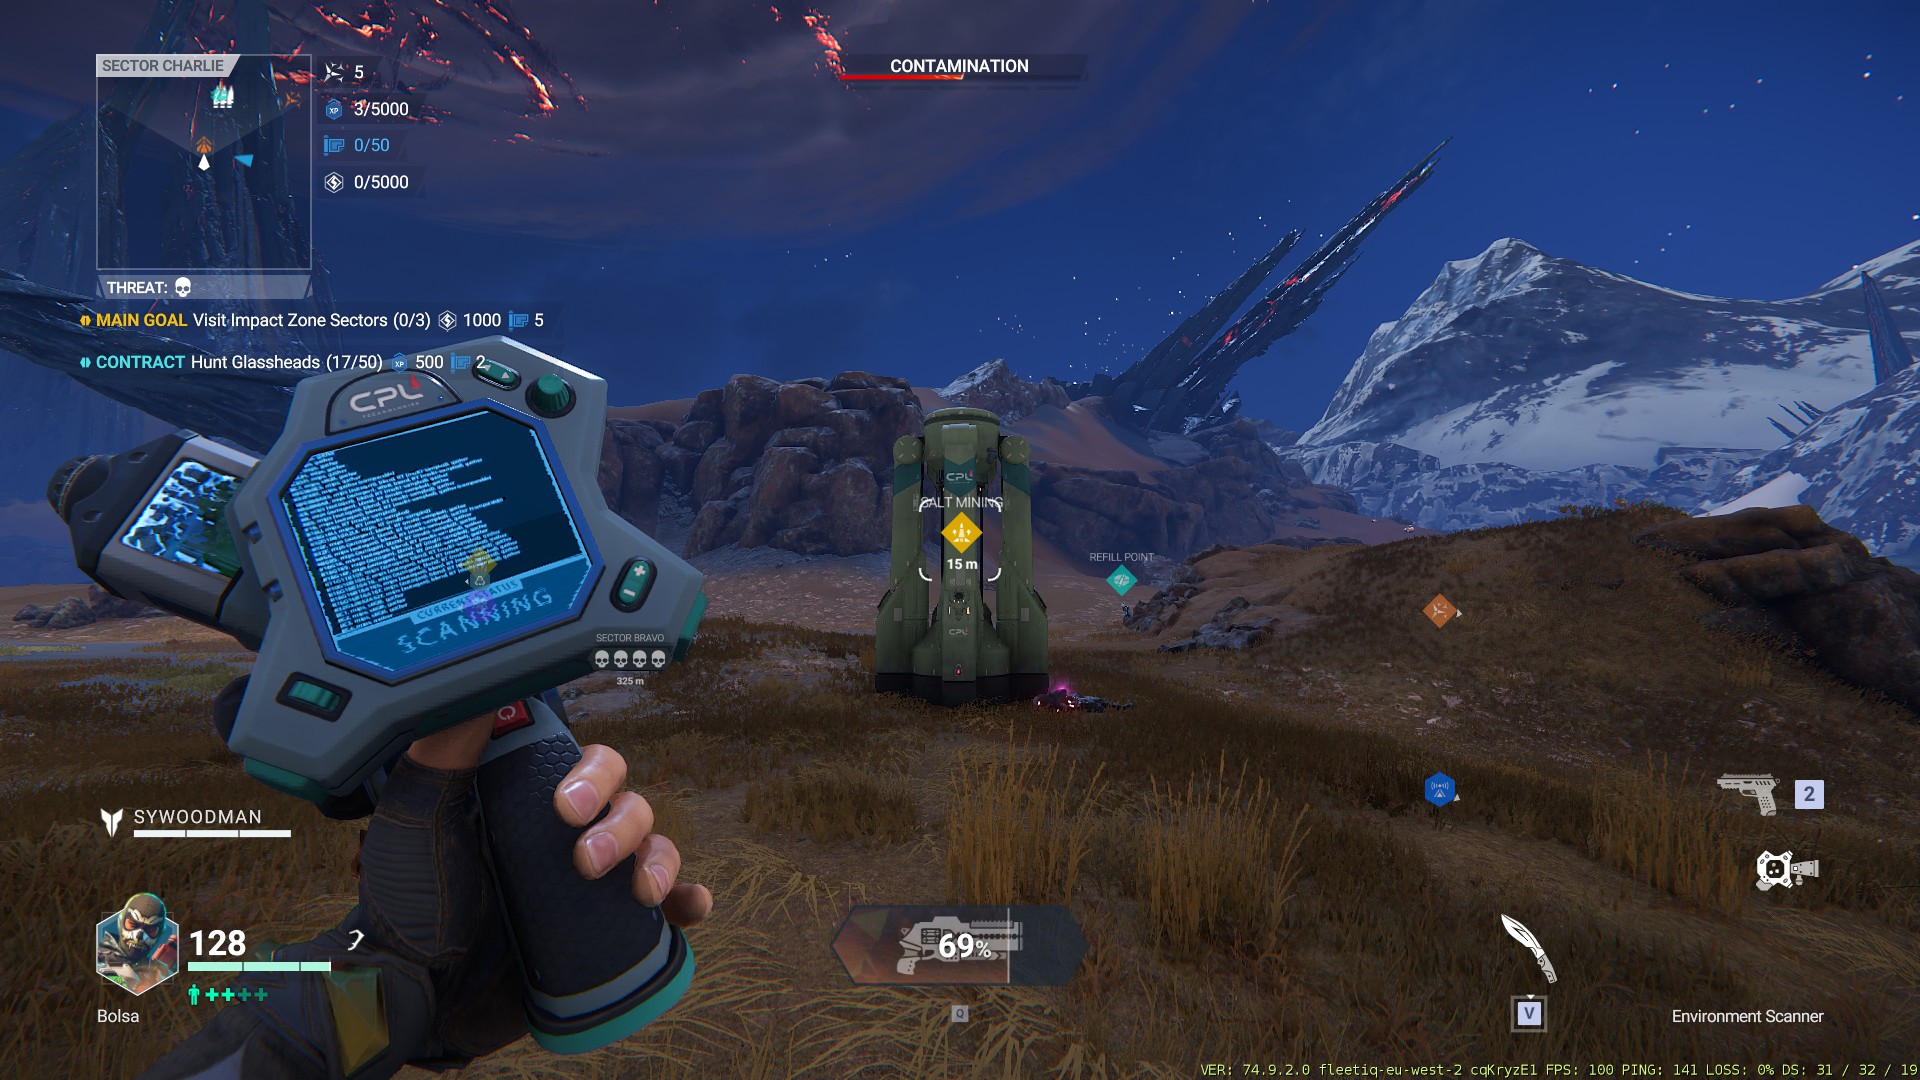
Mule location
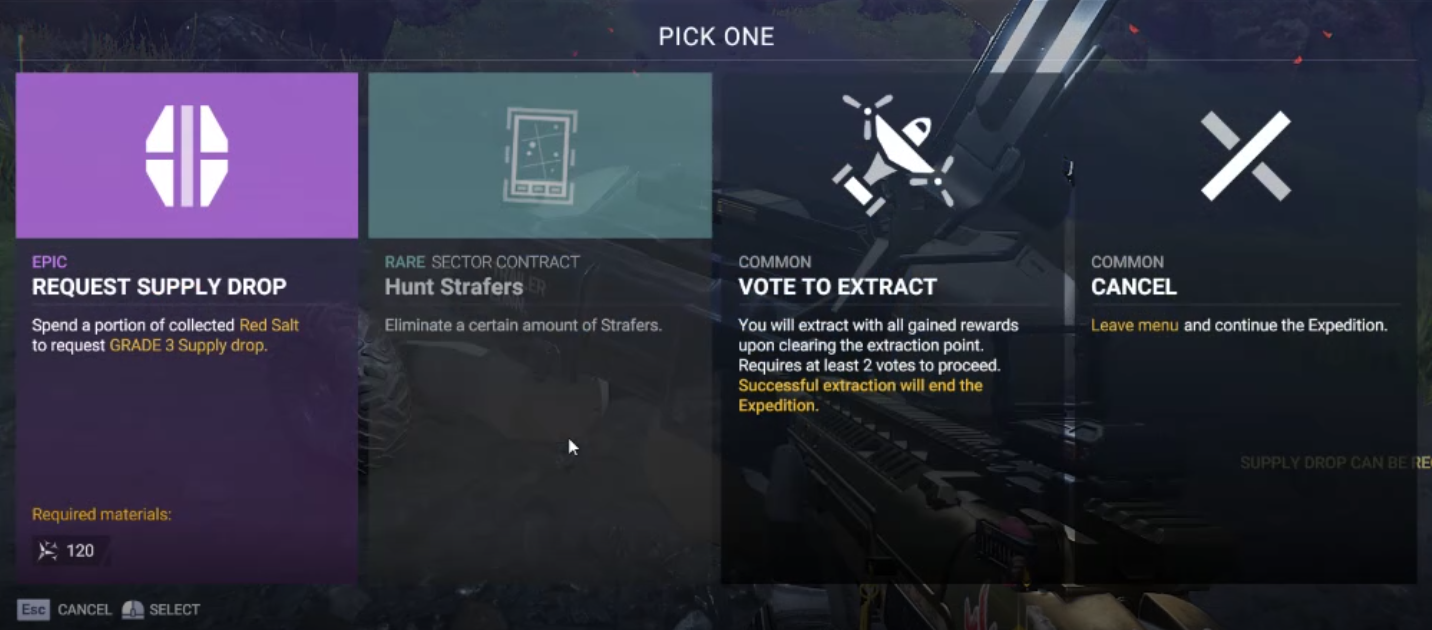
The Mule will let you request a bin of supplies, extract, or activate your contract if it hasn’t been done yet. Every time you start an expedition, a Mule will be nearby. Note that contracts can only be selected one time. They cannot be rerolled.
You can always request your first supply bin or contract by requesting salt at the mule side.
Mule Selection List
After interacting the mule with 4 options, in the first encounter, you have to pick the salt that spawns on the mule. You can then ask for the supply and accept the contract.
Refill Point
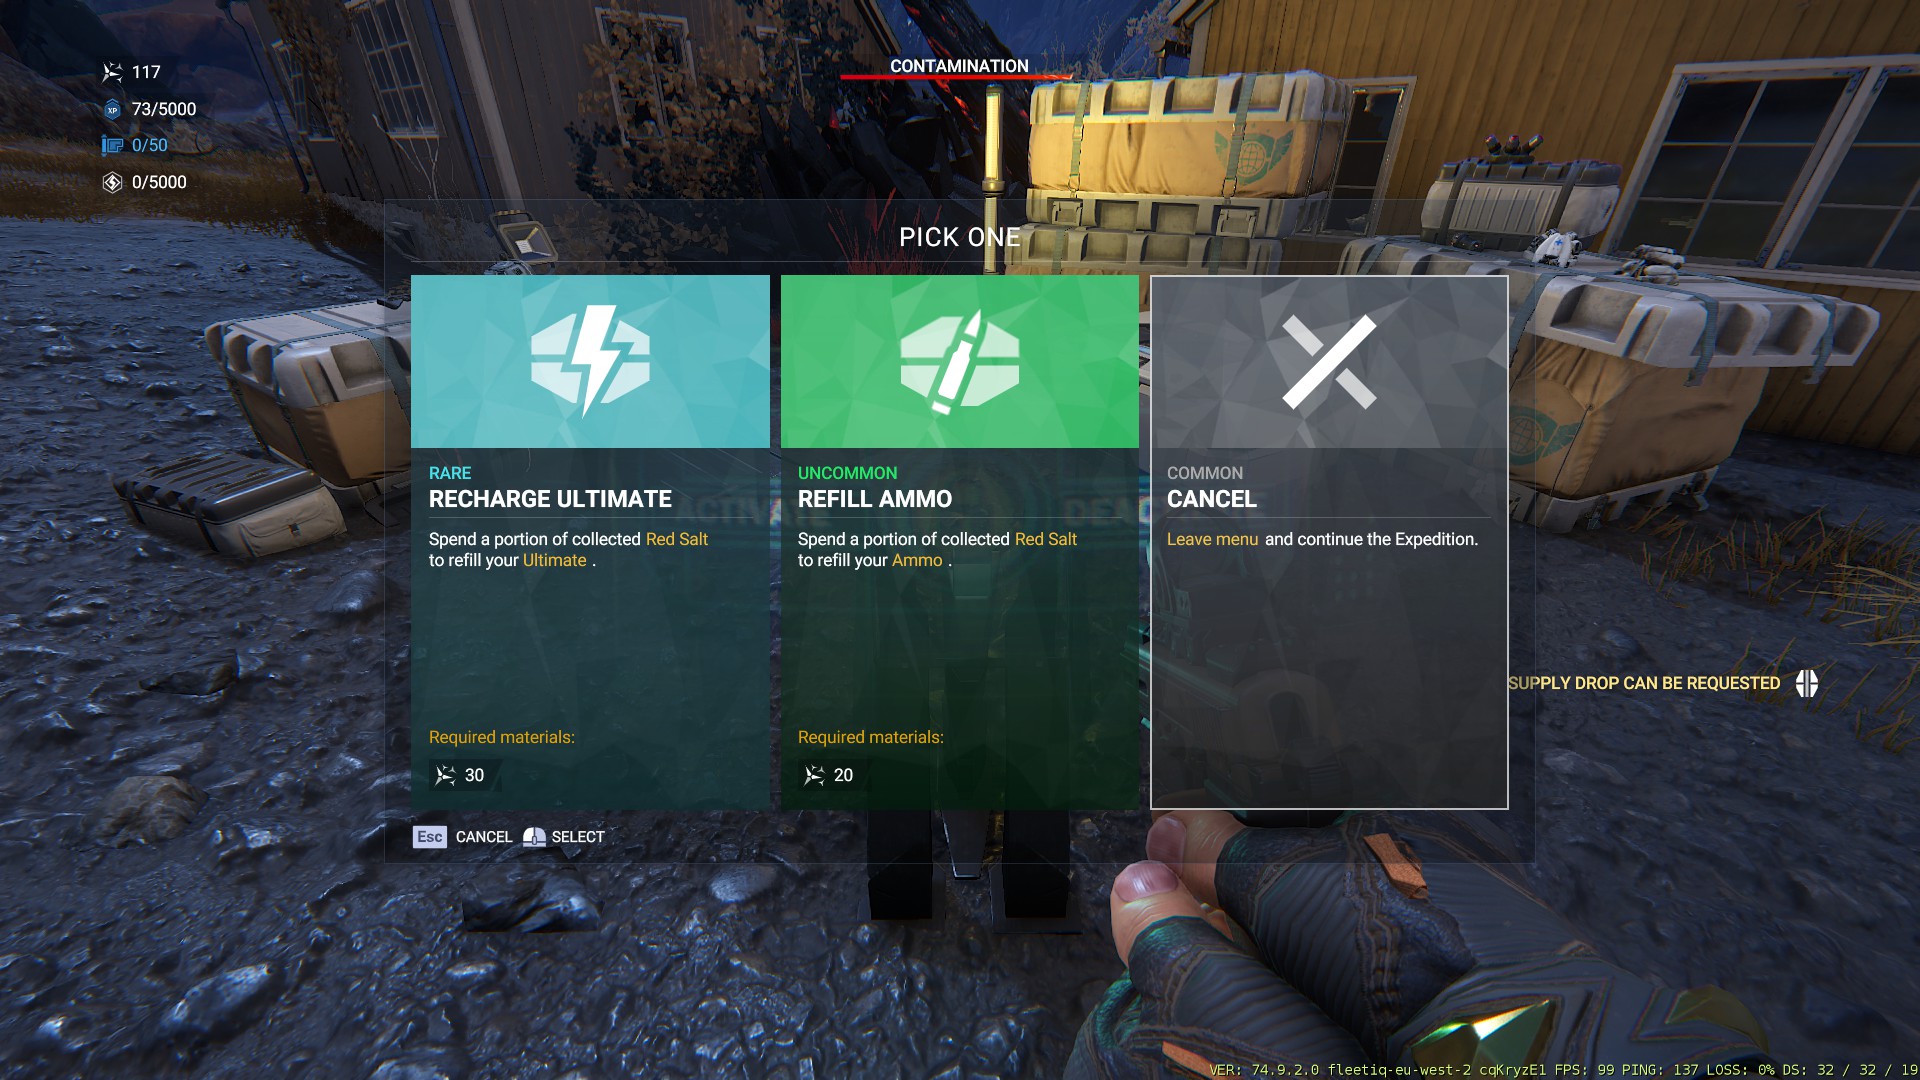
Refill points can be stations where you can reload your ammo, or refill your ultimate using Salt. Your scanner will mark them with a number Green icon.
After interacting, you will get 3 options
Main Goal
These are the first tasks you will be given after entering the zone. They do not disappear when you move to another sector. So, if you want to earn the most Blueprints, it is best to complete these first.
Contracts
Mule, the bot that lets you ask for supply bins when needed and for extraction, is the easiest way to obtain these items.
World Activities
The world activities are a great way to explore the zone. They reward mostly with the Salt “Money”. One of them gives you the location to a Chosen Stash. Some of these are easy while others require your whole team to be there in the higher difficulty sectors.
Activities
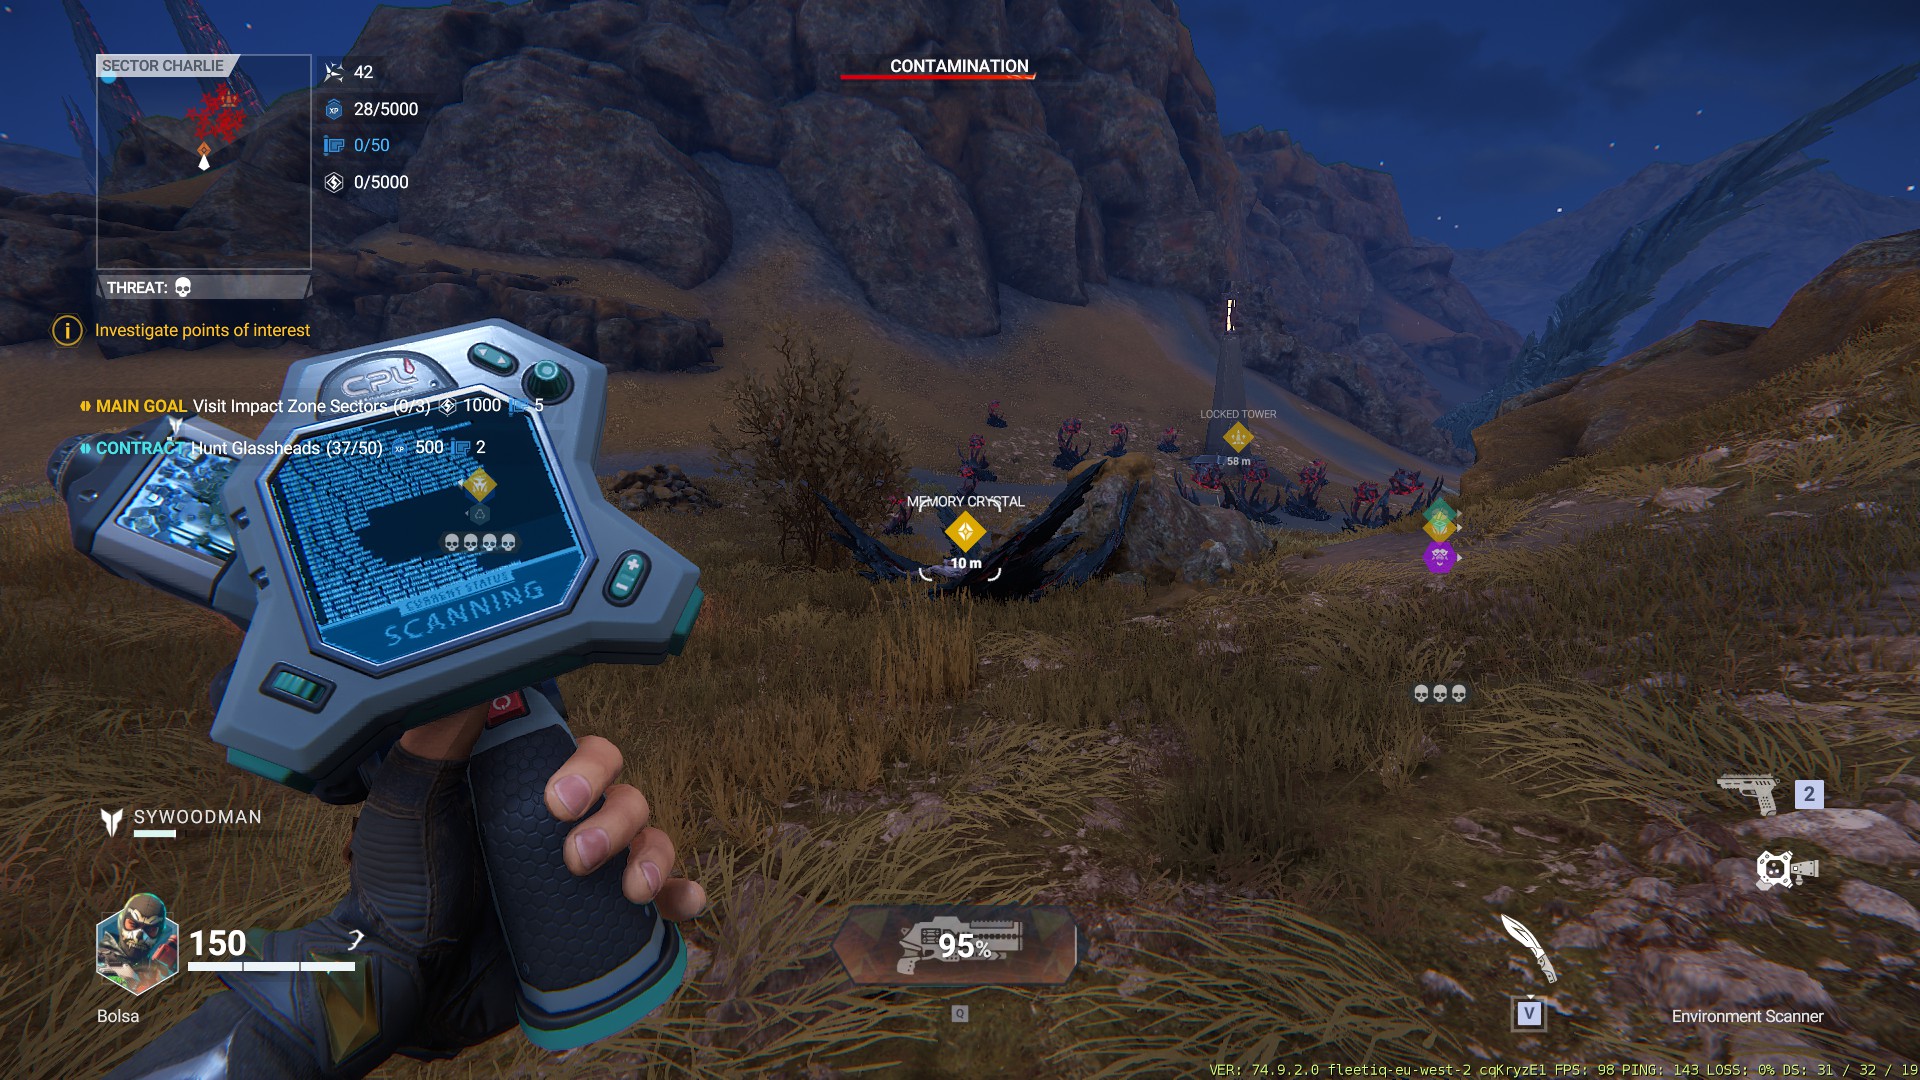
The Memory Cristal will reward you with a selected stash. My advice is to never miss out on one of them
Sector bosses
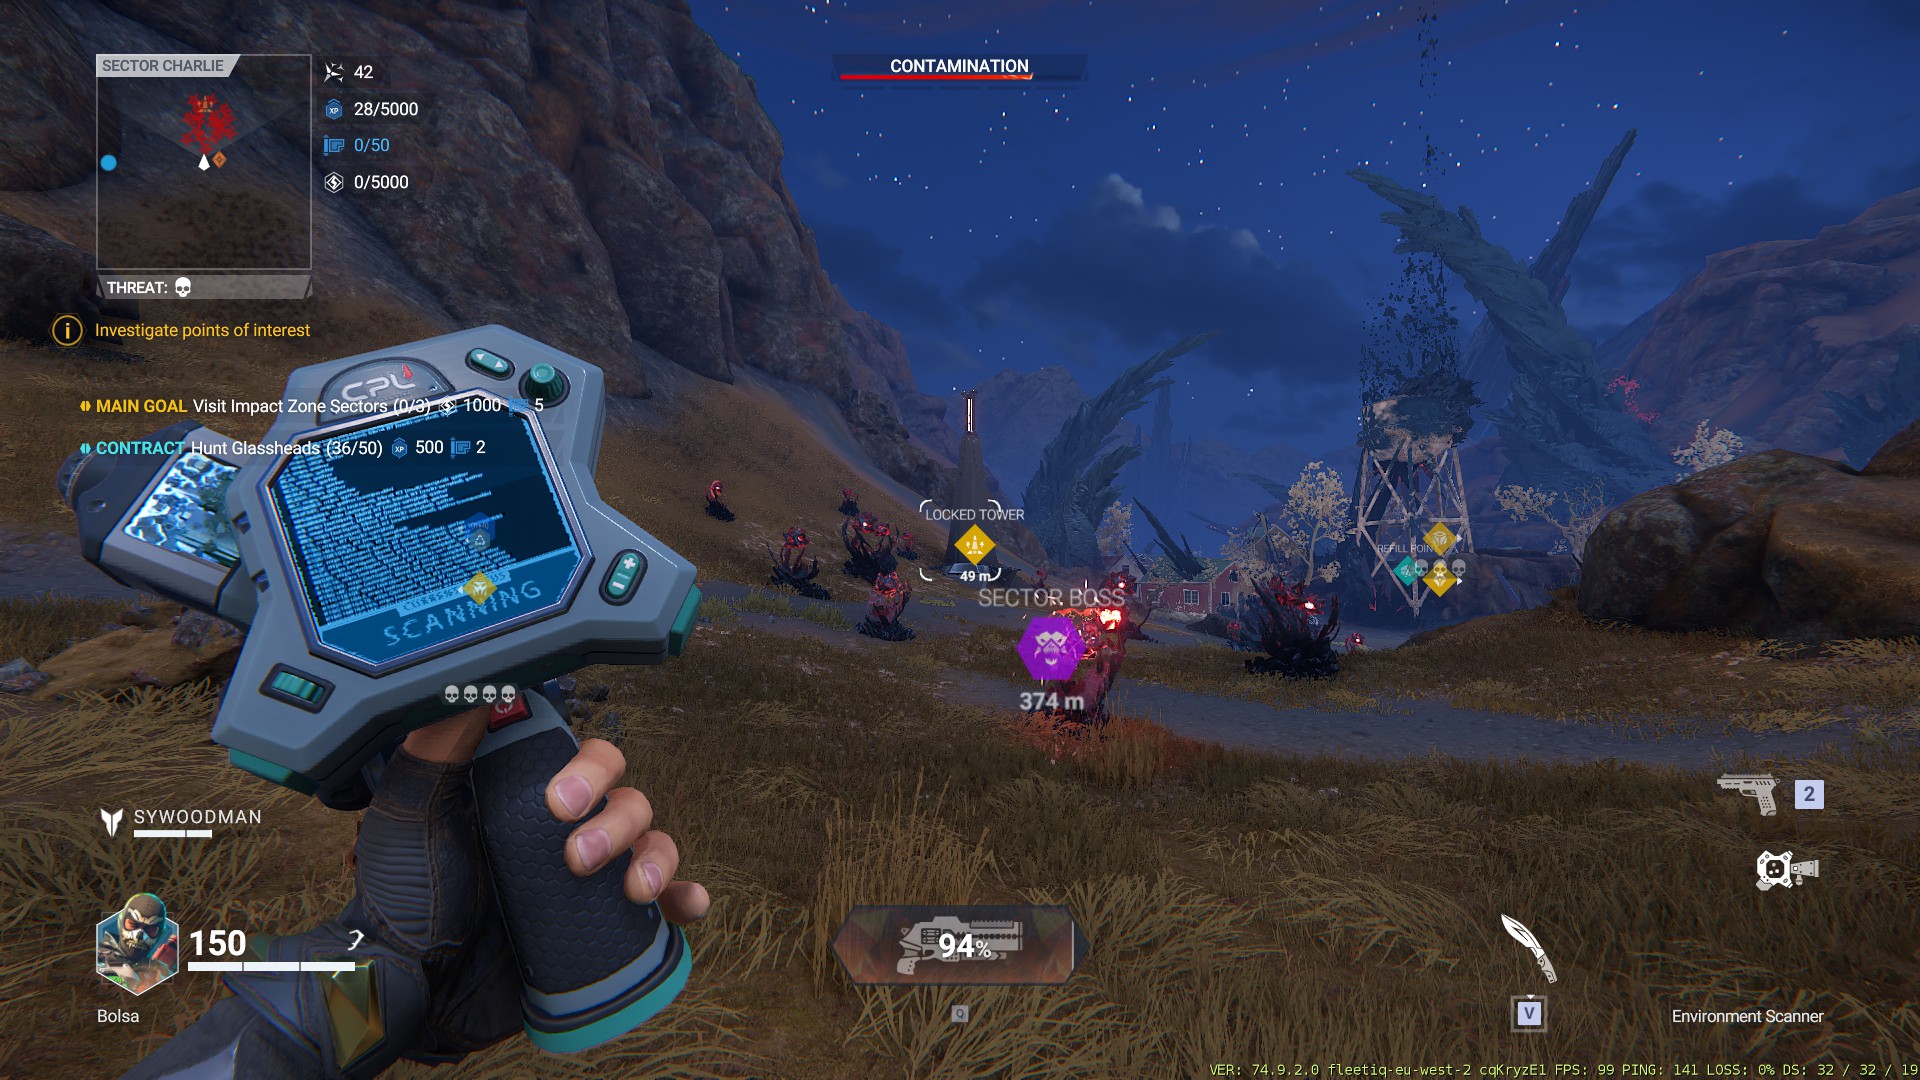
If you played the game prior to the expedition overhaul you will find that the sector bosses have been changed. There are now four sector bosses instead of 3. You can locate them using your scanner, and by looking for a purple icon on a zone. Only one sector boss may be found.
Dungeons
You will be able to fight even more powerful bosses in the dungeons than you did in the sector bosses.
These dungeons will only spawn above the threat level of 1, which means they will never spawn below it.
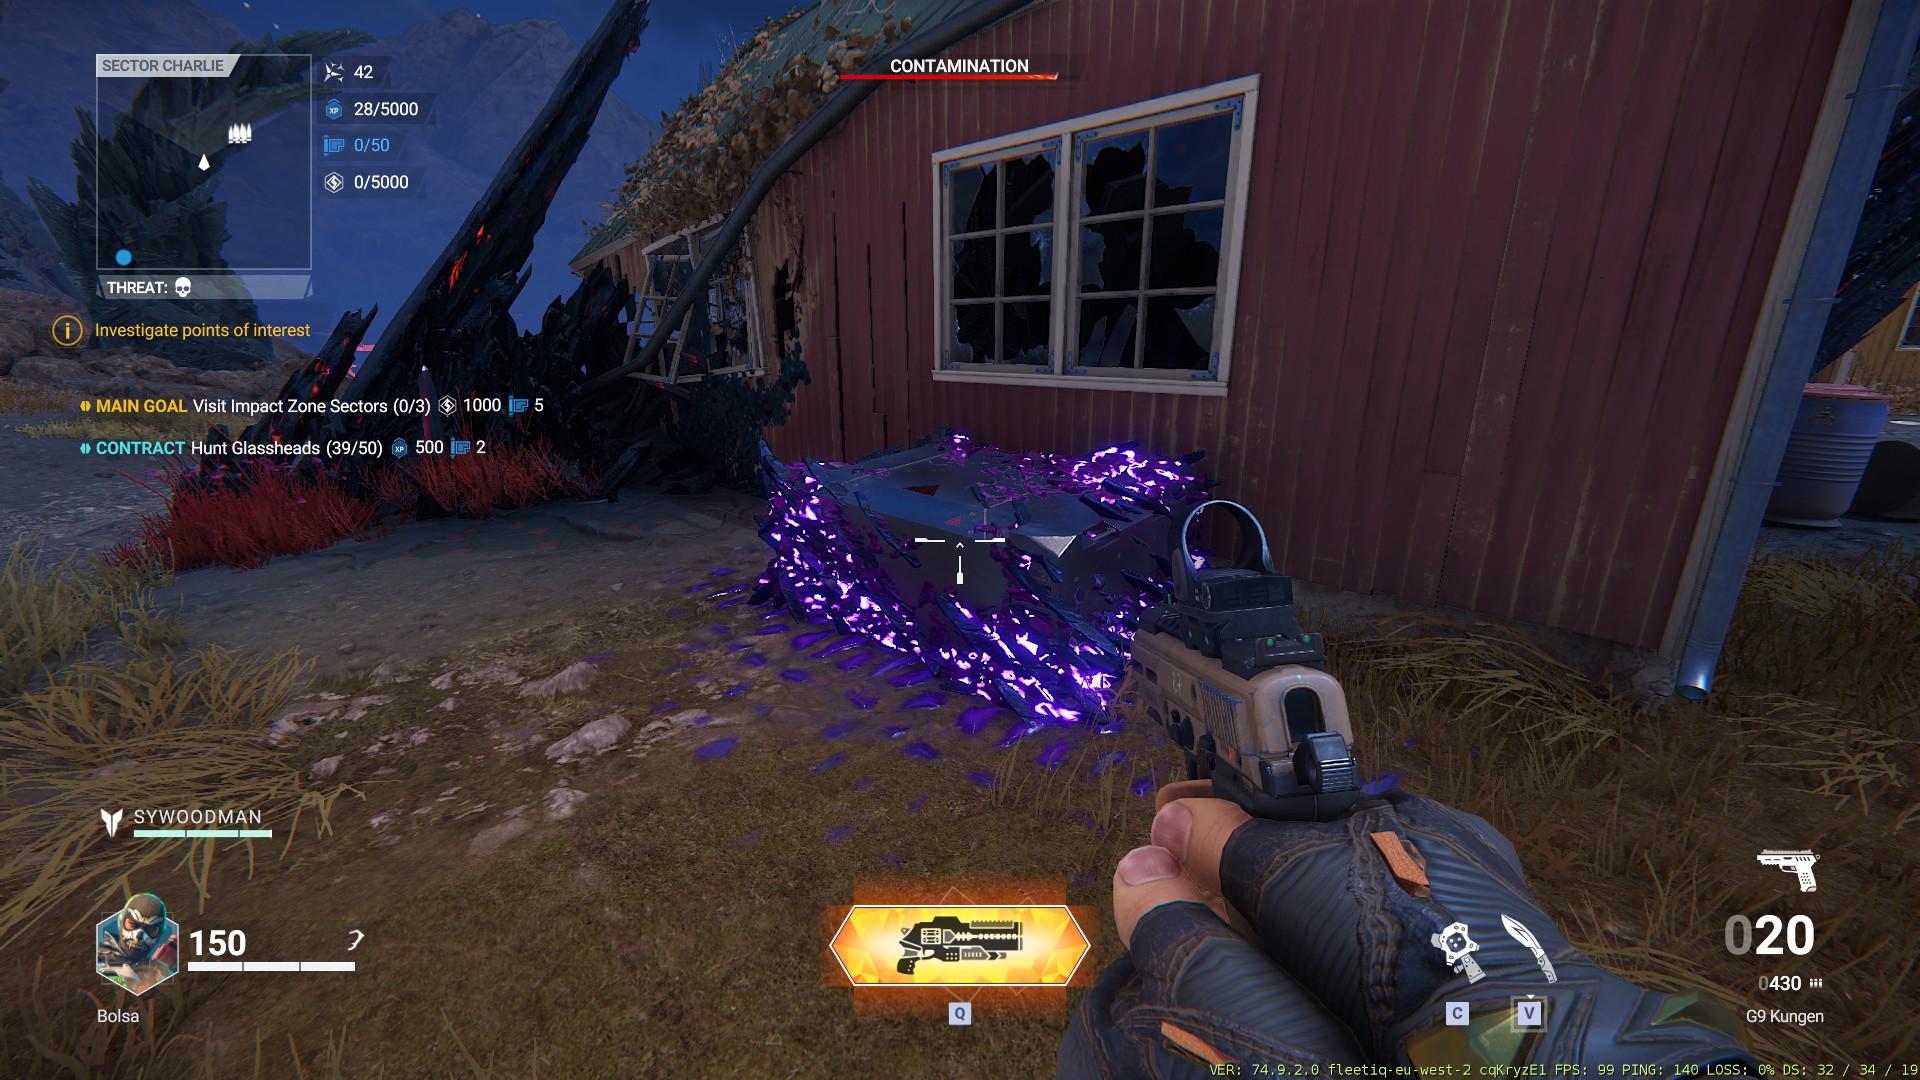
Chosen stash
The chosen stash contains rare and highly valuable items that you cannot miss. You will receive credits, salt, a new glass weapon named the Gomorra, and decontaminator gauges.
The stash is well-hidden and blended into the terrain.
After getting close, the stash will appear. Then you can loot.
The same stash will not give the same loot to all of your teammates.
How to Find the Scanner with Chosen Stock
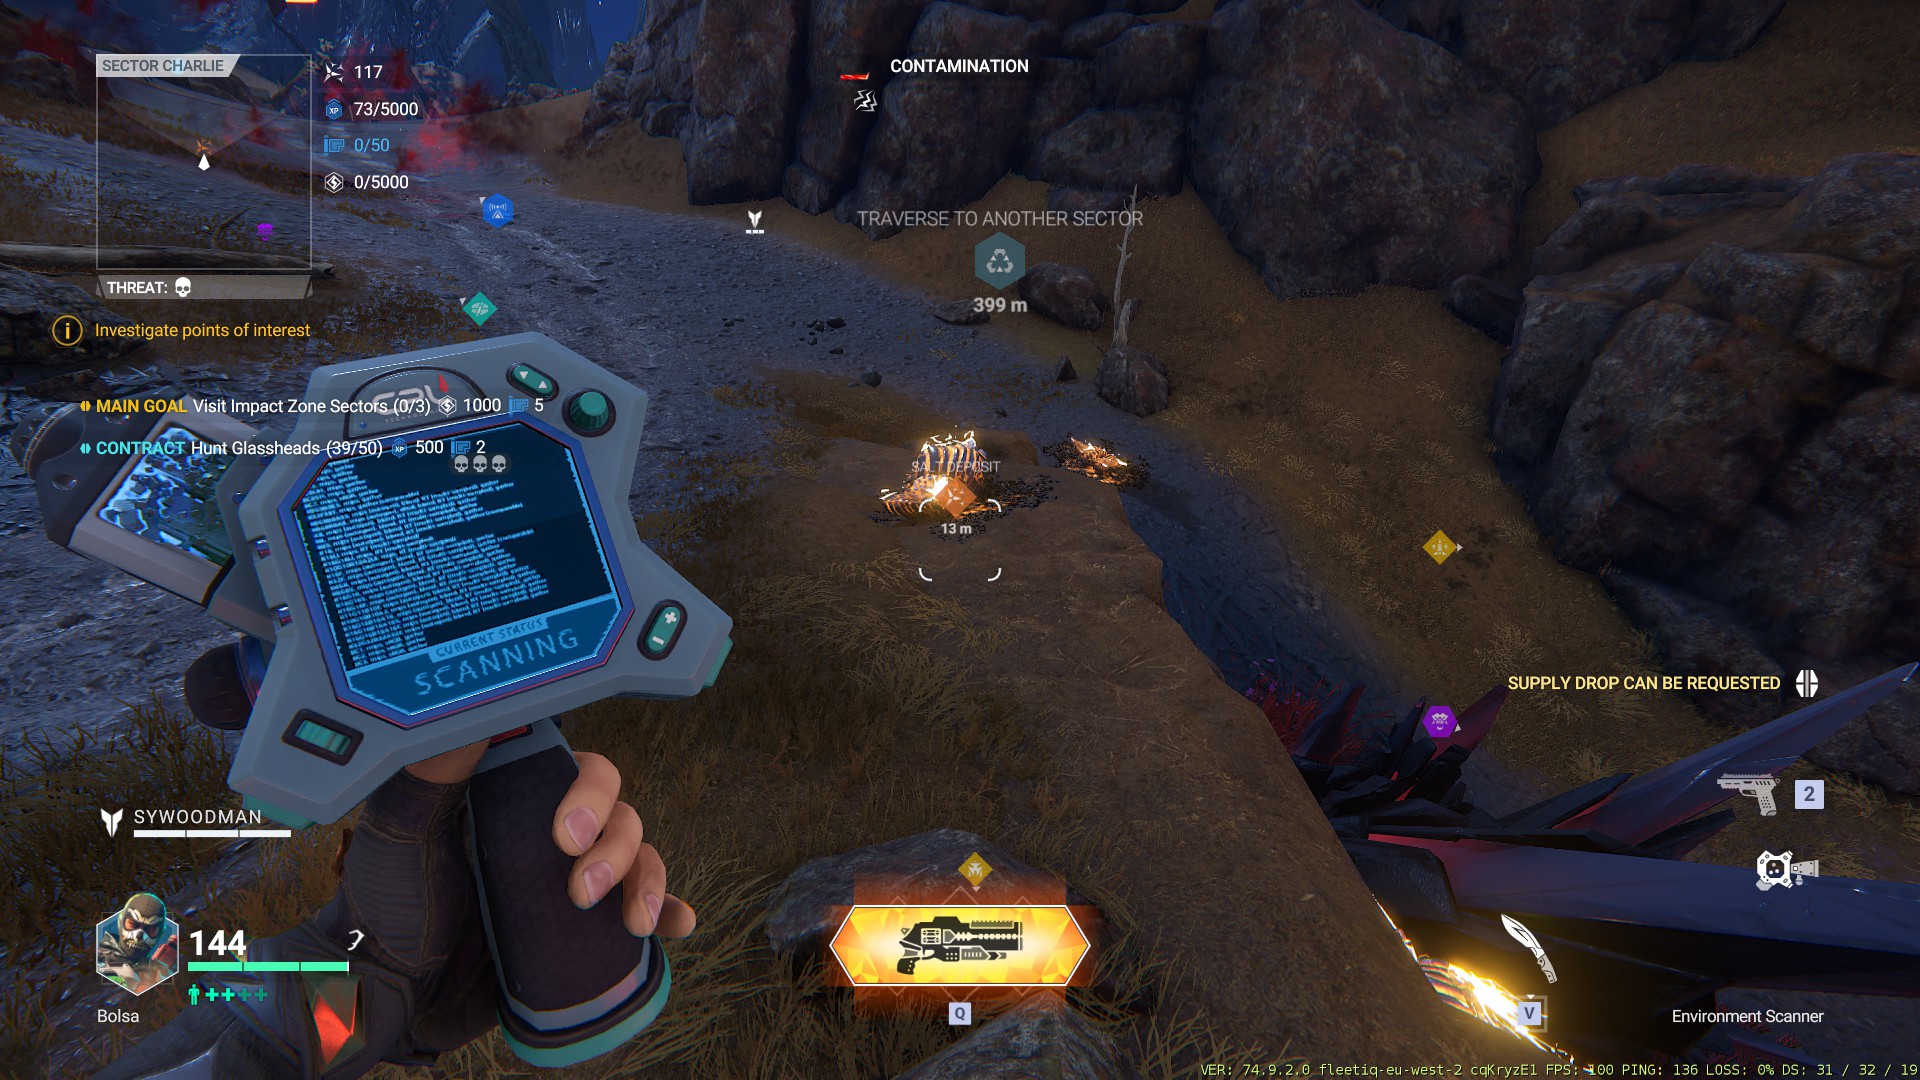
This video shows how to find a selected stash with the scanner. You will notice that the scanner makes an audible resonance sound when it is near the stash, and the sound becomes more prominent as you get closer.
It was a pleasure for us to walk you through the Shatterline – Full Walkthrough and Tips/Tricks, and we sincerely hope that you found the information beneficial. Please let us know in the comments section below if you see any mistakes in this piece or if you have any suggestions for how we can improve it. A tremendous amount of gratitude is for your time and effort, and I hope you have a good day today! Creator and writer Bolsa was the inspiration for this article. Also, if you like the post, don’t forget to add us to your bookmarks; we publish new posts every day with additional material, so be sure to check back with us frequently for more posts.
- All Shatterline Posts List



Leave a Reply