In this official RPG Maker MZ guide, we’ll explore how different Event Priorities and Triggers work, and how to use the right ones to get your events to do the things you need them to do.
Intro
Official Guide from hiddenone
Setting up an event can be simple, but fully understanding the event’s Priority and Trigger options can make certain things feel right to our player, such as making a door open when our player walks into it or having a monster attack while our player tries to escape.
In this tutorial we’ll be focusing on the Priority and Trigger sections of an event, found at the bottom of the event page next to Options. Both are important when it comes to activating our events’ contents, so let’s break down each section.
What is Priority
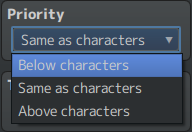
Priority tells the engine which level to place the event compared to other events and the player, along with if the event should appear above or below certain tiles. Changing an event’s Priority can make it easier for our player to move past that event or make sure that our player can interact with an event even if it doesn’t have an image.
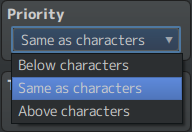
The first option is ‘below characters’, which is the default Priority when the event doesn’t have an image. Choosing this option will place the event below the player and other events.
If we set an event with a sprite to ‘below’, then our player can walk right over the event. Walking on top of an event can look pretty silly (especially if you’re stomping on monsters), but it’s a good option for map transfers or other events where we want our player to stand on that specific spot before the event can activate.
Since choosing the ‘below’ Priority means that our player needs to be on the same tile as the event, setting up an event on a wall or other impassable tiles will mean that our player can’t interact with it. If we want our player to be able to interact with the event on an impassable tile we need to change the Priority to ‘same as characters’.
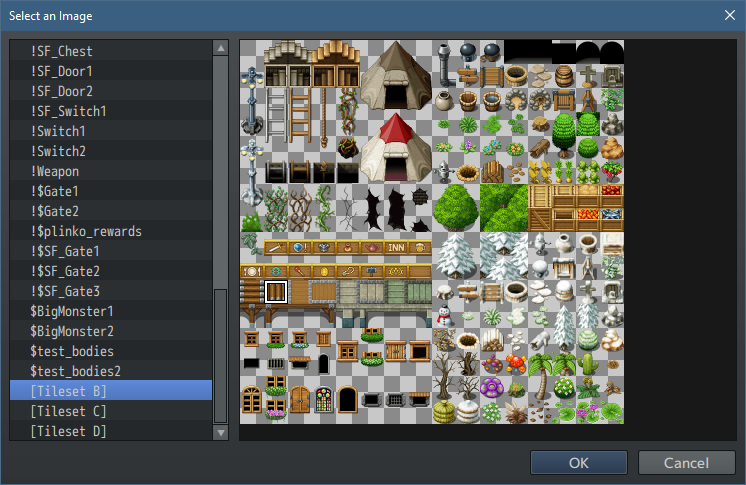
‘Below’ also has a special effect when we select a tile as the event’s image. Instead of being able to walk all over the event, the event will use the passability settings of the tileset. Which means if we chose an impassable rock tile then we would still not be able to walk over the rock event. It also takes the tile’s ‘Passage (4 Dir)’ setting into account, so if we set up a bridge event we could set up the passability to make sure our player can’t walk off the side of the bridge.
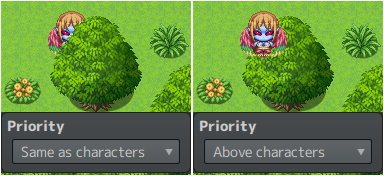
When we add a sprite to our event, the Priority will automatically change to ‘same as characters’, our second option. This sets our event to be at the same level as our player.
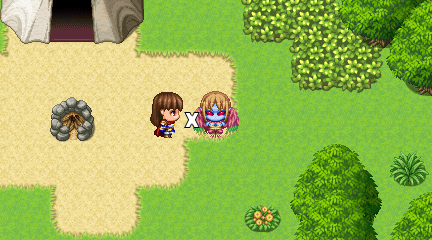
Our ‘same as characters’ event can’t be walked on top of, which makes it great for NPCs and events like doors, where we want our player to be able to stand next to the event and interact with it. Treasure chests, doors, and objects like bookshelves all work well when their Priorities are set to ‘same as characters’.
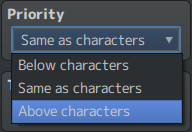
Our last Priority option is ‘above characters’, which is the opposite of ‘below’ and places the event over our player.
When an event is set to ‘above’ our player will end up walking under it. Much like the ‘below’ option, ‘above’ events can only be interacted with when our player is standing on the same tile as the event.
‘Above’ also has a special effect when it comes to tiles that normally appear above events (tiles with the ‘star’ setting). The event will be considered above those tiles, which works well if you wanted to show something like a bird flying high above the trees.
What Does the Event Trigger Do?
The event’s Trigger helps tell the engine when an event’s content should be activated. Choosing the right Trigger for our events can change major gameplay mechanics and even make playing more enjoyable for our player, so understanding each option is a must.
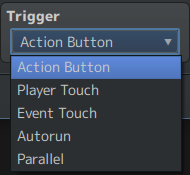
First up is the ‘action button’ option. This one is the default choice, and means that our player needs to hit the ‘ok’ button (spacebar or Z by default) before the event will run.
‘Action button’ puts the most control into our player’s hands, since if they want to interact with the event they need to choose to push a button. This makes it perfect for talking with NPCs and opening treasure chests, or any event where our player may see it and think “I’ll come back to this” without accidentally activating it.
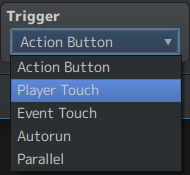
The next Trigger option is ‘player touch’. When our player walks into (or onto) an event then it will activate. Not having to hit the ‘ok’ button can make certain situations feel more natural to our player, such as walking into a door and it opens or stepping onto an event that transfers our player to another map.
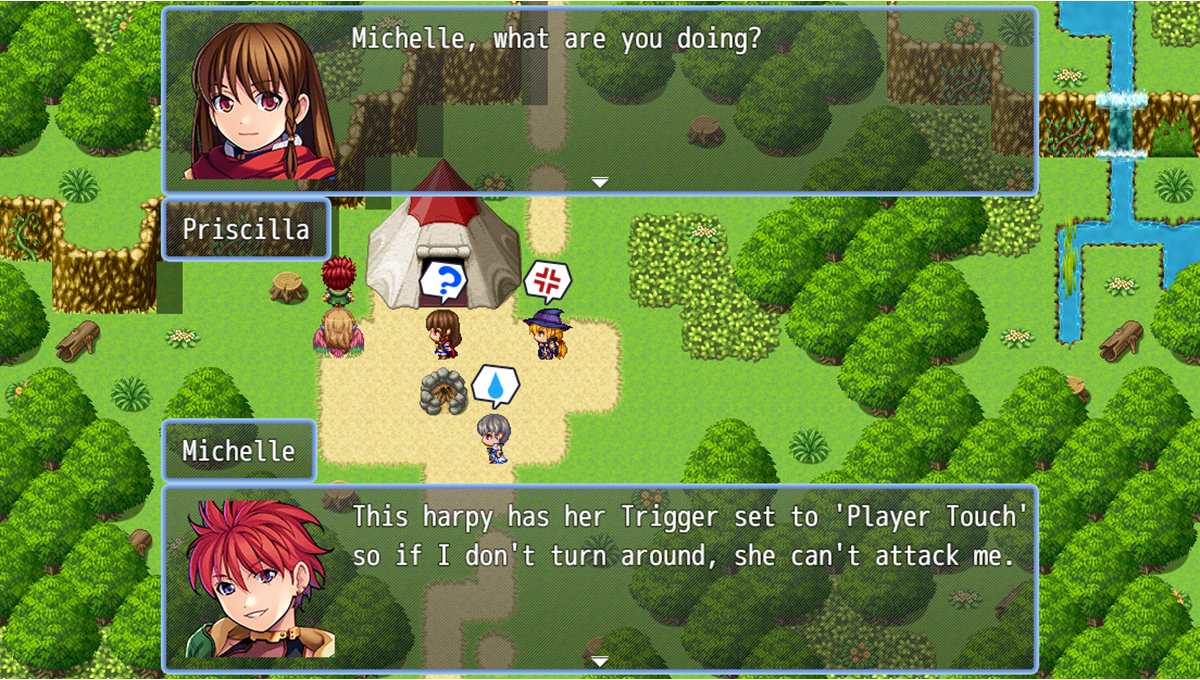
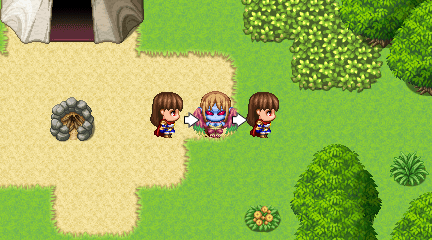
‘Player touch’ with an image-less event is also great to start some cutscenes, such as having dialogue start as our player enters a dungeon’s boss room. While it can work for on-map enemies, there is a major issue with using ‘player touch’ as an enemy event’s Trigger: our player has to be facing the event for it to run, so they can avoid any battles or interactions just by facing away!
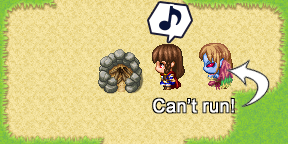
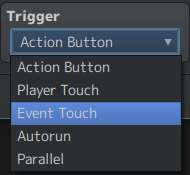
To fix that issue, we need to use the next option, ‘event touch’. In this Trigger, the event will run when it walks into our player, no matter which direction our player is facing. Events where we want it to activate whether the player wants it to or not, such as an enemy starting a battle or a horror monster catching our player, are exactly what the ‘event touch’ Trigger are for.
Now, despite their differences all of the previous Triggers share a rule: the event only can run when our player is next to or on the same tile as the event. The last two Trigger options, ‘autorun’ and ‘parallel’, do not follow that rule which can make them more powerful but also more likely to cause an unexpected issue.
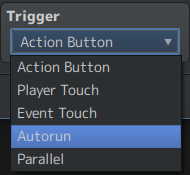
The ‘Autorun’ Trigger lives up to its name: the event will automatically run as long as its conditions are met. While the event is running our player can’t move, and the autorun event will repeat itself when it reaches the end of the contents unless its conditions are changed mid-event or the event is told to switch to another page. Because an autorun event will run even if the player isn’t next to it, it’s useful for moving other events around or running a cutscene right when our player enters a new map.
However, because an autorun event will repeat itself forever if we don’t tell it to end we could end up hard locking our game. If you’re ever playtesting and suddenly seem to be frozen in place and unable to open our menu, there’s a good chance that an autorun event is running continuously so you need to double-check the map and common events to find the trouble-making event.
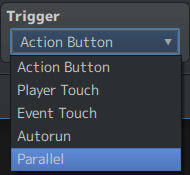
Our last Trigger option is ‘parallel’ is similar to ‘autorun’ with one major difference: our player is still able to move and interact with other events while the parallel event is running. A parallel event will run continuously until it’s told to stop and since our player can keep moving and playing it makes a parallel event great for keeping track of certain things like a timer running out or if our player has enough items for a quest.
Getting too ‘parallel’ Trigger happy can be an issue though. Using parallel events for cutscenes can cause our player to walk away mid-scene (since they can still move during the event) and mess up our timing for move routes, possibly causing our game to freeze if our player is forced to walk into a wall that wouldn’t be in the way if they had not moved during the cutscene. Parallel events can also cause lag because they are trying to repeat the events’ contents up to 60 times a second, which can bring even the most powerful computer to its knees. So it’s important to use these events in moderation, and include Wait commands to limit how often the events run.
And with that, you’re ready to start playing around with your events’ Priorities and Triggers!
This is all about RPG Maker MZ – Exploring how different Event Priorities and Triggers work; I hope you enjoy reading the Guide! If you feel like we should add more information or we forget/mistake, please let us know via commenting below, and thanks! See you soon!
- All RPG Maker MZ Posts List


Leave a Reply