Step 1: Finding the config file
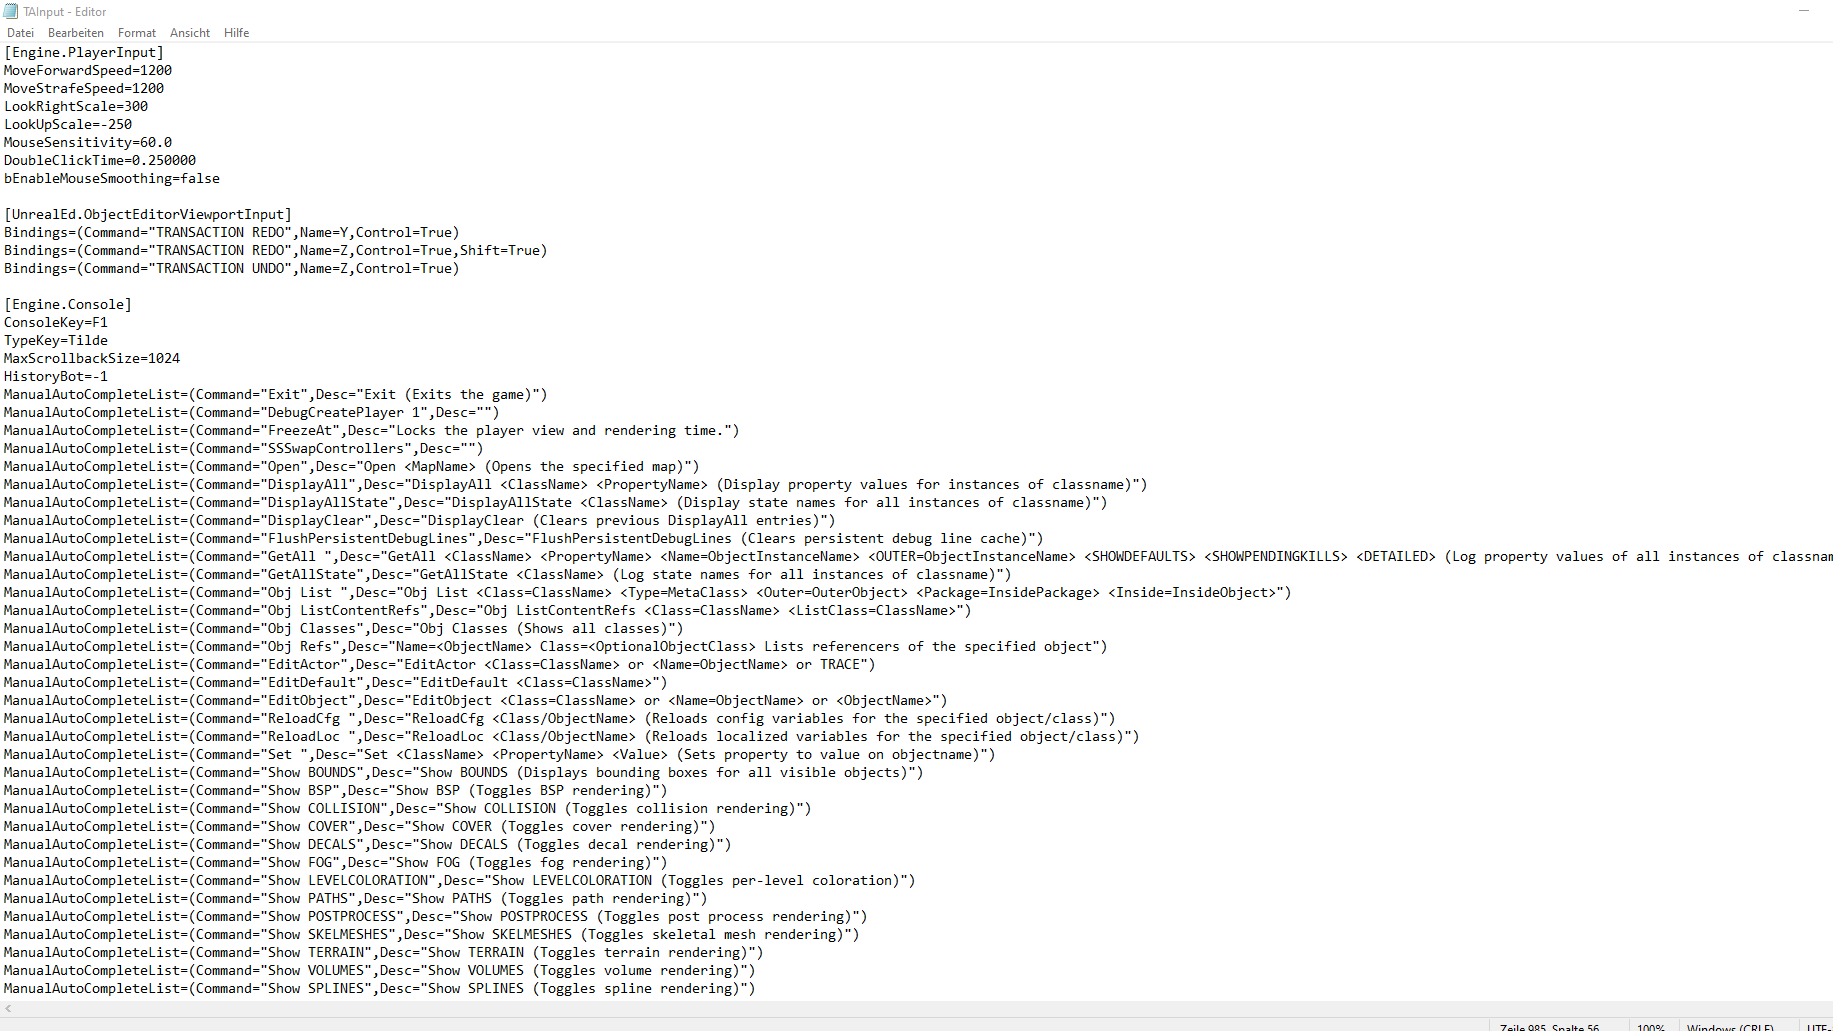
To bind multiple buttons to one action we’ll make small adjustments to the default controller inputs file. Whenever you tell Rocket League to reset your inputs it will search for a specific file which is located in the game’s “Config” folder.
Steam: Documents/My Games/Rocket League/TAGame/Config/TAInput
Epic: Epic Games/rocketleague/TAGame/Config/DefaultInput
If you can’t find the file just search for “TAGame” in your explorer.
I advise you to make a copy of the TAInput.ini (for Steam users) or the DefaultInput.ini (for Epic users) file, just in case you mess up the file.
Let’s move on to step 2!
Step 2: Editing the correct lines

If you open the file it should look something like this. Around a thousand lines of boring code.
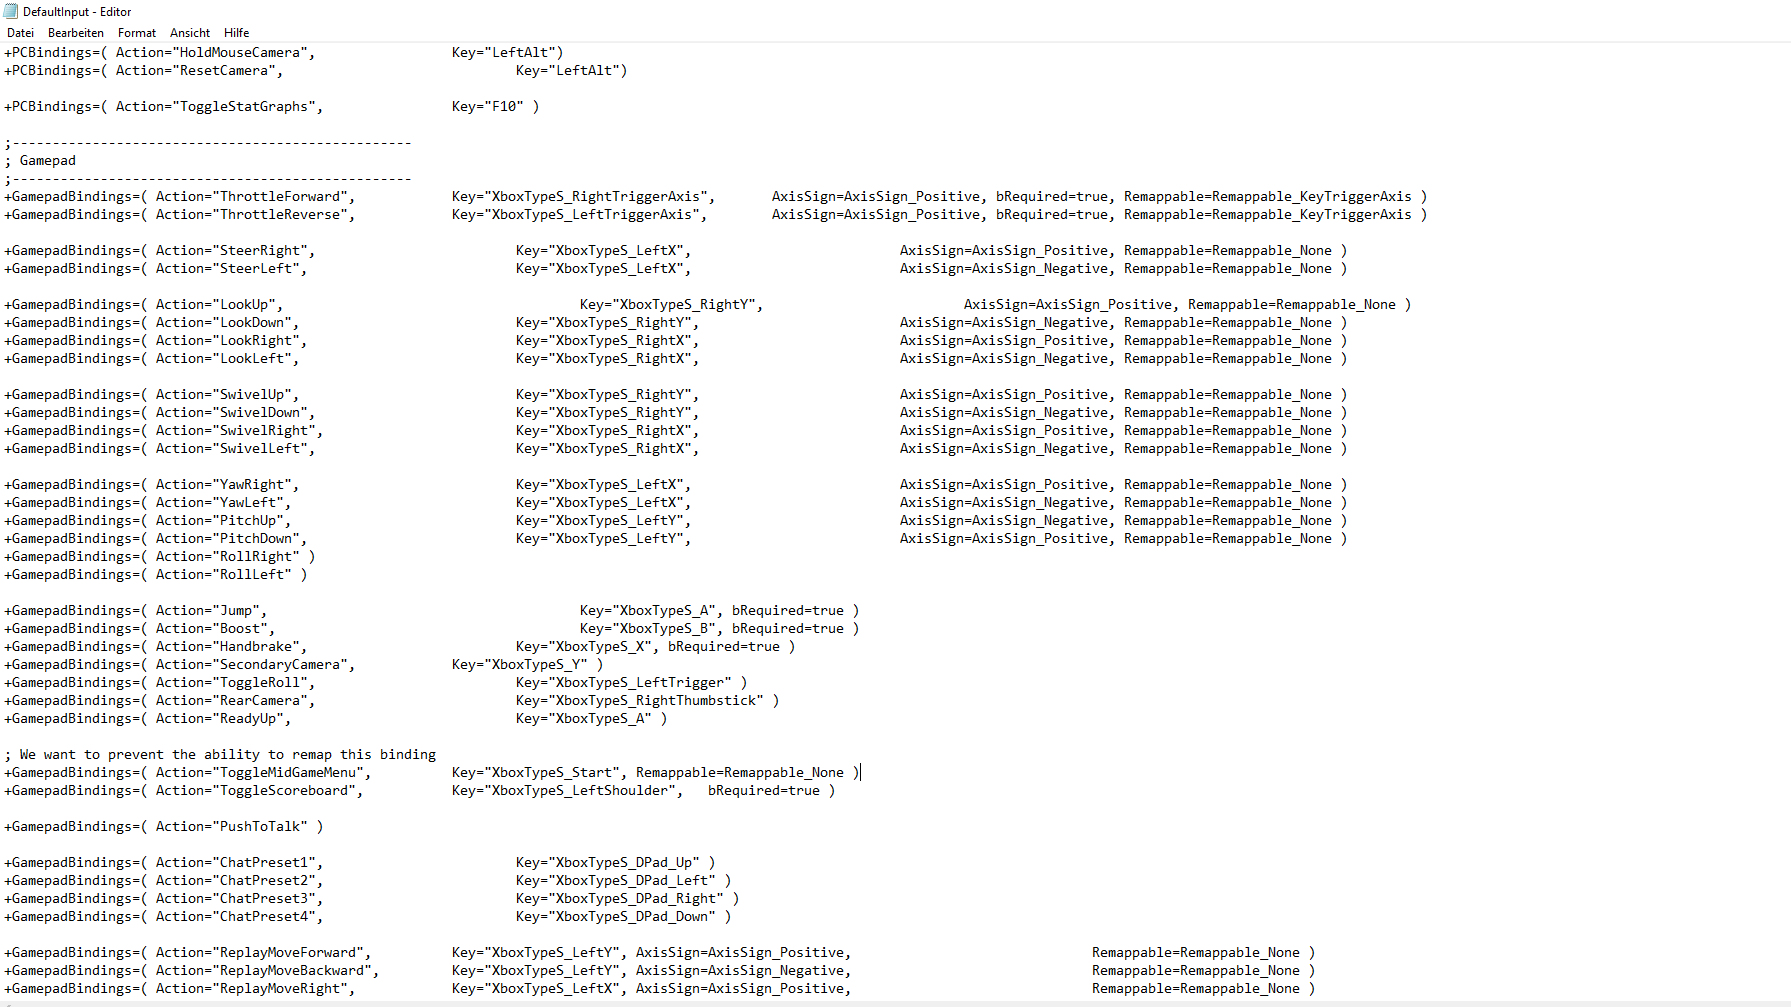
The only part we need for now is the gamepad bindings. Scroll down until you find the part that looks similar to this:

I can’t ensure that the code will look exactly like this. If you’ve found lines that start with “(+)GamepadBindings” you’re good to go.
Example 1: Powerslide on multiple buttons
I’m using my directional air roll buttons (L1 = air roll left; R1 = air roll right) for sideways wavedashes, therefore it makes sense to bind powerslide to the same buttons.
If you want to do the same, search for this line:
“+GamepadBindings=( Action=”Handbrake”, Key=”XboxTypeS_X”, bRequired=true )”
Again, I can’t ensure that the line will look exactly like this.
“Handbrake” is the action you want to map to a button (in this case powerslide) and “XboxTypeS_X” is the button the action will be mapped to if you reset your inputs in Rocket League.
Let’s change this line of code so that L1 (my air roll left button) becomes the powerslide button.
+GamepadBindings=( Action=”Handbrake”, Key=”XboxTypeS_LeftShoulder”, bRequired=true )
If you’re like me and you’re using a Playstation controller don’t panic, just use the names of the equivalent Xbox buttons –> X on playstation = XboxTypeS_A
Congratulations, you just changed your powerslide button. Easy, isn’t it?
In order to bind another button to powerslide, all you have to do is duplicate the line and change the key. This would look something like this:
+GamepadBindings=( Action=”Handbrake”, Key=”XboxTypeS_LeftShoulder”, bRequired=true )
+GamepadBindings=( Action=”Handbrake”, Key=”XboxTypeS_RightShoulder”, bRequired=true )
Example 2: one button stalling
First of all, let me clarify something. I know there are plenty of people who see one button stalling as cheating and technically they’re kinda right. If you think it’s cheating just don’t do it, as simple as that. I don’t want to encourage players to “cheat”, I just want to share my knowledge to help those who don’t care about “cheating” at stalls.
A stall consists of three inputs: air roll left (or right), pushing the left joystick in the opposite direction & jumping simultaneously. Therefore you have to duplicate the following lines:
+GamepadBindings=( Action=”Jump”, Key=”XboxTypeS_A”, bRequired=true )
+GamepadBindings=( Action=”Jump”, Key=”XboxTypeS_X”, bRequired=true )
+GamepadBindings=( Action=”RollLeft”, Key=”XboxTypeS_LeftShoulder”, AxisSign=AxisSign_Negative, Remappable=Remappable_None )
+GamepadBindings=( Action=”RollLeft”, Key=”XboxTypeS_X”, AxisSign=AxisSign_Negative, Remappable=Remappable_None )
+GamepadBindings=( Action=”YawRight”, Key=”XboxTypeS_LeftX”, AxisSign=AxisSign_Positive, Remappable=Remappable_None )
+GamepadBindings=( Action=”YawRight”, Key=”XboxTypeS_X“, AxisSign=AxisSign_Positive, Remappable=Remappable_None )
In this case I’m using my square button (x on Xbox) to stall.
Please don’t forget to save the file 🙂
Step 3: Reseting your Rocket League bindings
Now you’re ready to fire up Rocket League!
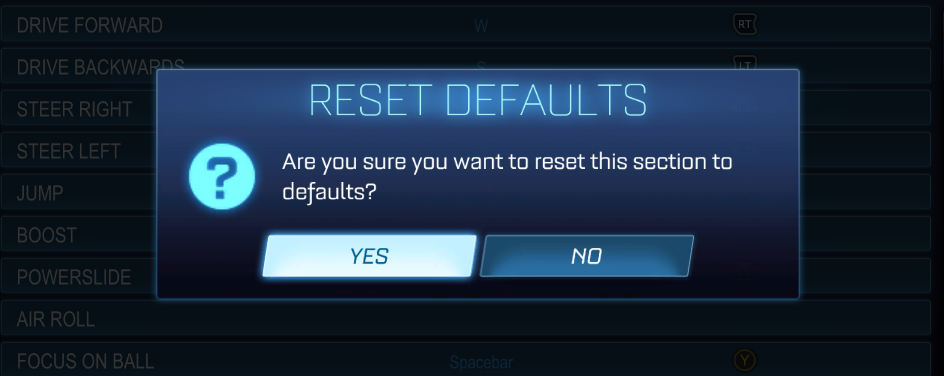
Click on: Settings/Controls/ViewChangeBindings/Default

This annoying box will pop up. If you somehow feel guilty because you’re very close to unlocking the ability to stall with one button click on “no”. Just kidding, don’t click on “no”.
Voilà, you just changed the default inputs by slightly adjusting a file!
You can still change the inputs in game, just don’t change the inputs you have already changed in the file.
If anything doesn’t work or you have questions, hit me up!
I hope that I was able to help some of you guys <3
Hope you enjoy the Guide about Rocket League – How to bind multiple buttons to one input & one button stall – Epic & Steam, if you think we should add extra information or forget something, please let us know via comment below, and we will do our best to fix or update as soon as possible!
- All Rocket League Posts List


Hi i cant get this to work. my “GamepadBindings=( Action=”RollLeft” )” doesnt have anything after it