
Shrine of Combat
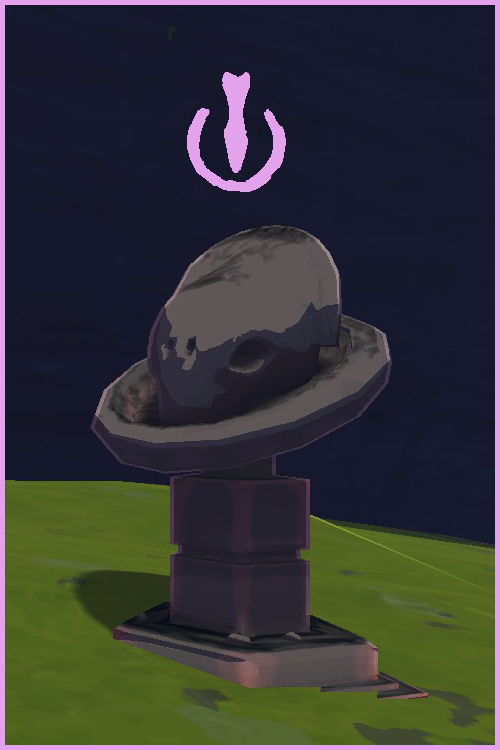
The Shrine of Combat is free to activate, and spawns a swarm of a certain type of enemy to fight, but the enemy must already be able to naturally spawn in that environment. These can be risky to use, as they provide gold and, with the Artifact of Sacrifice, possibly item drops. Even so, alot of the times it spawns Elite enemies. It is a good source of drops early, but after looping, it is more risky because multiple Malachite or Celestial Elites could spawn, and they could possibly kill you.
Shrine of Blood
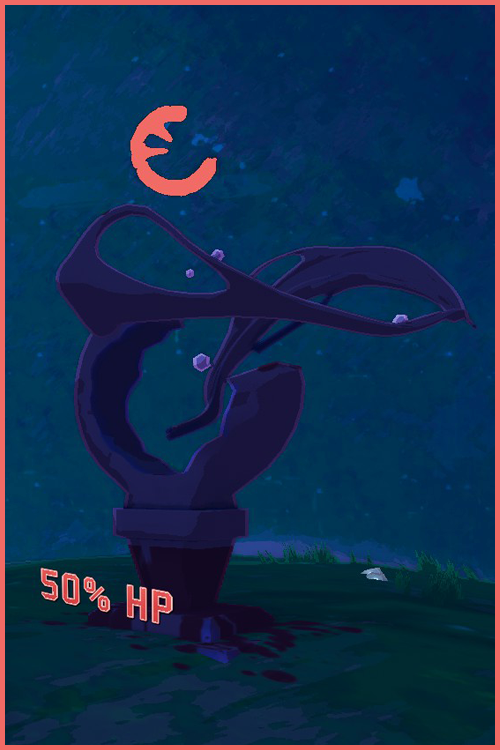
Shrine of Blood will exchange some of your HP for Gold. This Shrine may be activated 3 times, and the amount of Hp it takes increase the more times you use it.
First use — 50% Max HP
Second use — 75% Max HP
Third use — 93% Max HP
The amount of gold you get depends on how much total HP you lose. The formula is h/2 = g where h is the HP lost and g is the gold you get.
Shrine of Chance
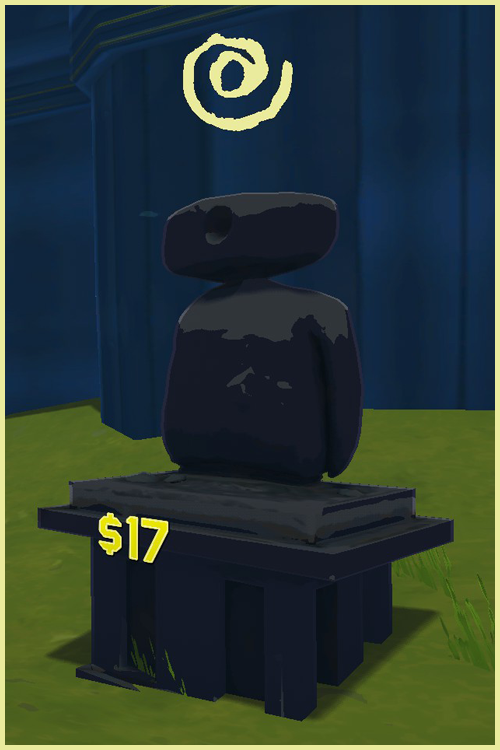
The Shrine of Chance is a risky Shrine to use, as there are chances whether or not you will get an item from it. The chances are:
Nothing — 45%
Tier 1 Item — 36%
Tier 2 Item — 9%
Tier 3 Item — 1%
Equipment — 9%
You cannot get Boss or Lunar items from the Shrine. Upon activation, you pay the set amount shown. If you cannot pay, you cannot use the Shrine. You will get one of the above drops, and you may only get 2 items or equipment before the Shrine becomes un-useable. Other than this limitation, you can use it as many times as you want to get items. The price increases 40% each time you use the Shrine, making it harder to continue using.
Shrine of the Mountain
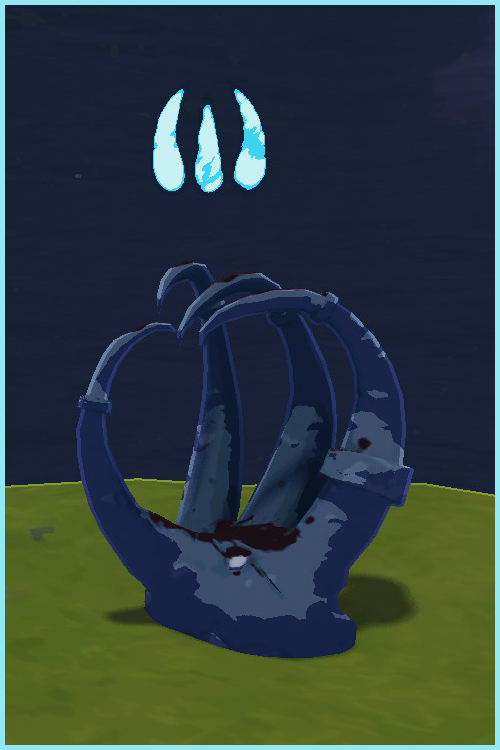
This Shrine is free to use, but makes double the amount of bosses spawn during the tele event. If you defeat these bosses, though, you will get a bonus item drop. (The formula for the number of items dropped is number of players * (1 + number of activated shrine of the mountains)) All these items will be the same, unless the boss can drop a Boss item, and therefore some of the items may be Boss items instead. This is very useful early game to farm items as the bosses are not very powerful.
Shrine of the Woods
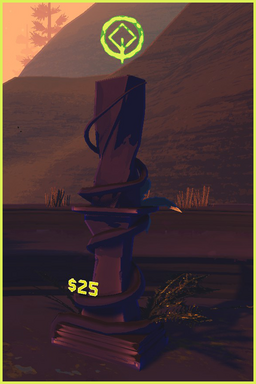
The Shrine of the Woods creates a healing area around it in a circle. You may upgrade it twice after purchasing, increasing the size of the healing area. Each upgrade increases the cost by 50% for the next upgrade. The healing effect is similar to the Bustling Fungus’ heal rift.
Shrine of Order

To activate this Shrine, you must pay 1 Lunar Coin. This Shrine, upon activating, will:
1. Select 1 item you already have of each Tier.
2. Turn all other items of that Tier into the selected item, so you will only have 1 type of each Tier item.
This is a risky Shrine because it may turn all of your items into something you don’t want, such as Red Whips, because that would make you extremely fast and make it hard to play.
Newt Alter
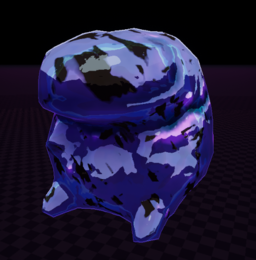
Newt Alters can be found on any level (other than secret areas), usually hidden in a hard to reach area. You may pay a Lunar Coin to this Alter to make a Blue Orb appear, and on fully charging the tele, a Blue Portal will appear, using it will take you to the Bazaar Between Time. There are 3 – 5 spawn locations possible for each stage.
Alter of Gold
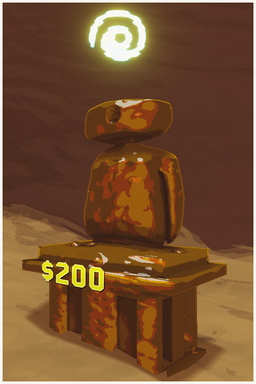
The Alter of Gold is a rare, expensive Shrine that you can use to make a Gold Orb spawn. Similar to a Blue Orb, this will make a Gold Portal Spawn after fully charging the tele. Using this portal will take you to the Gilded Coast. This Shrine has no restriction to minimum stage count. If multiple of these appear on one stage, activating one will disable itself and all the others.
This is all about Risk of Rain 2 – Shrines Explained; I hope you enjoy reading the Guide! If you feel like we should add more information or we forget/mistake, please let us know via commenting below, and thanks! See you soon!
- All Risk of Rain 2 Posts List


Leave a Reply