This guide will go through a run-down of the Armor and Munitions system in Ready or Not.
Introduction
Armor & Munitions Walk-Through In-Depth
– Ghost of Kyiv
Armor-Kit Types
Currently, at the time this guide was made, there are 3 main armor types in RoN.
- Anti-Stab
- Light Armor
- Heavy Armor
Each armor type has their own pros and cons that come with using them.
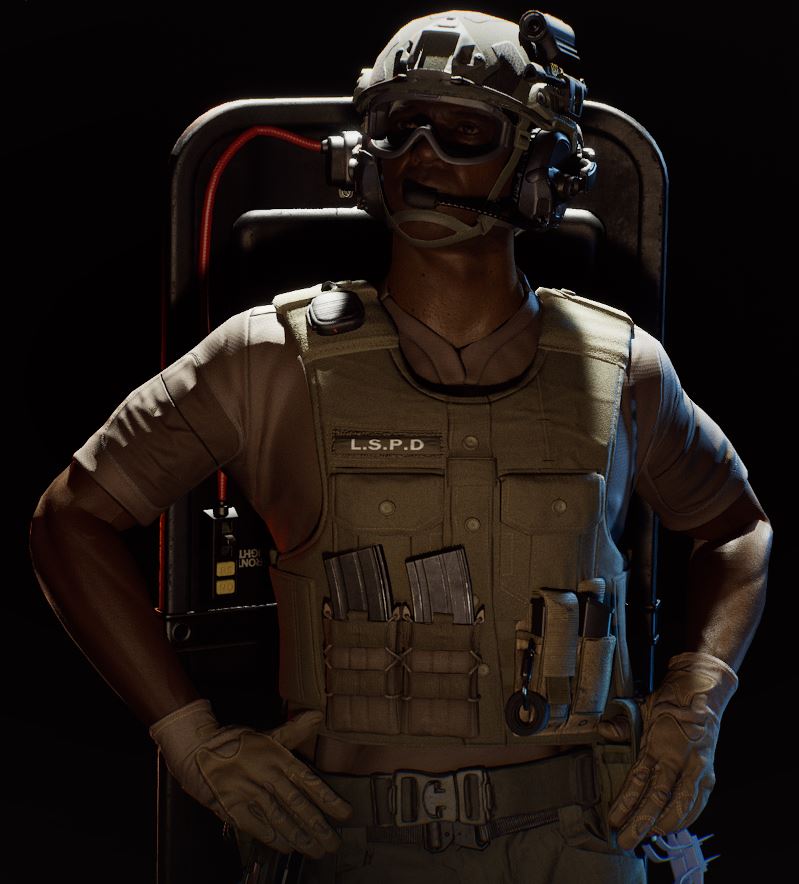
Anti-Stab Vest
As you would expect, this armor is the weakest- however it’s lighter material and its capacity allows for better mobility and more equipment for your player. No armor-material can be selected when wearing the stab-vest.
- Most mobility
- Most equipment capacity (15x)
- Least protection
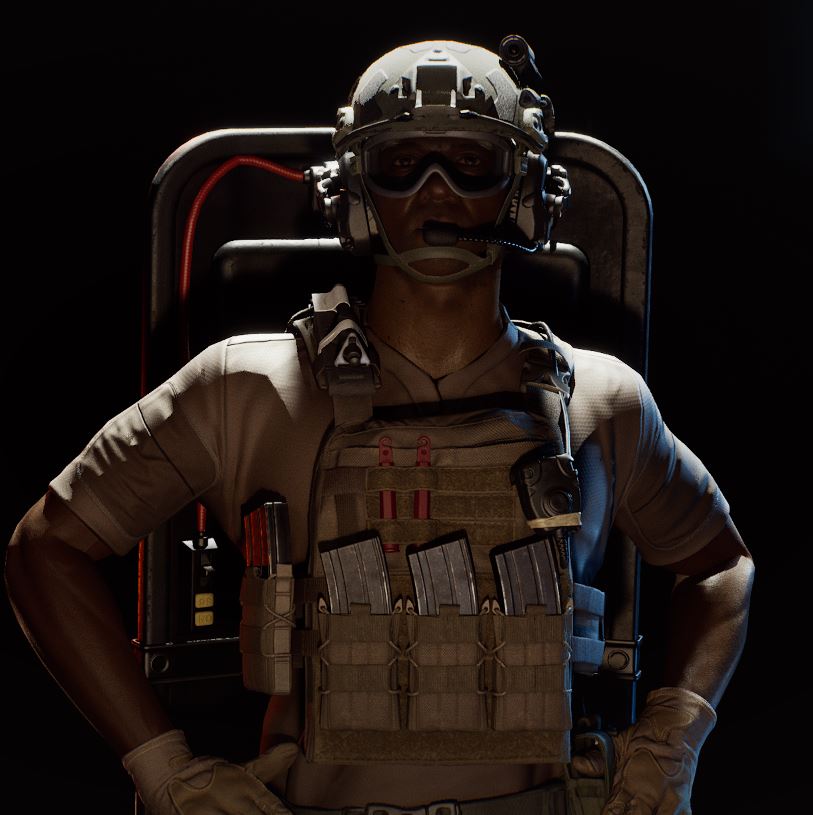
Light Armor
This kit is a good in-between type for all players. It does not have too much cut-back on capacity or mobility, whilst still giving decent protection.
- Good mobility
- Decent equipment capacity (x13)
- Decent protection
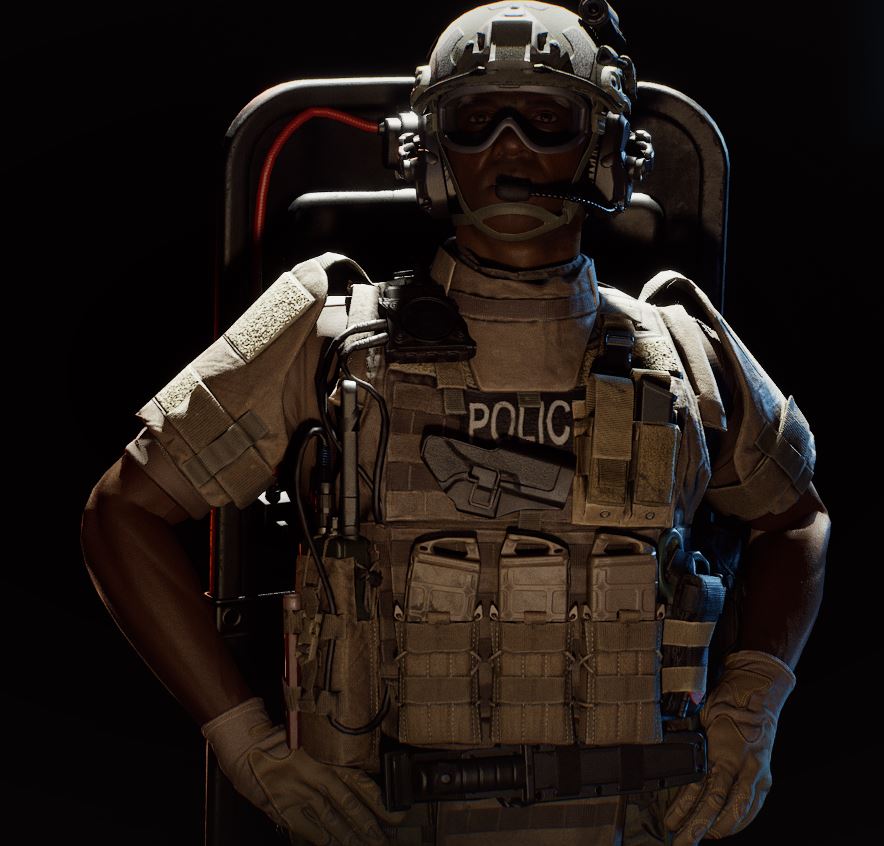
Heavy Armor
The heavy armor kit is as the name implies, heavier, more beefy, and provides the most protection. This kit has the biggest cutback on equipment capacity and mobility. This is the only armor kit that gives you the ability to have side-protection.
- Worst mobility
- Worst equipment capacity (x11)
- Best protection (+ Offers side protection)
The Run-Down
The anti-stab vest is the best armor if you wish to carry more equipment and have the best mobility of your squad. The light armor is best if you are an all-around player and do not worry about taking direct fire 24-7. The heavy armor is a paranoid players best friend, if you are worried about taking fire from all angles, then this is your best option.
Armor Material Types
At the time of this guide’s creation there are only 3 armor material types.
- Kevlar
- Steel
- Ceramic
Armor material does not apply to the anti-stab vest.
Kevlar
Kevlar provides the worst protection out of the 3 options but can still protect against small caliber rounds, direct fire is enough to penetrate this material in one quick firing.
Steel
Steel plating provides the best overall protection out of the 3 options, however- steel increases the suppression affect you experience when getting hit by direct fire, as it does not absorb and properly disperse the energy of the bullet the same way ceramic does (see below). Steel is also the heaviest of the 3 options, as you would expect.
Ceramic
Ceramic plates provide the best in-between for players while leaning more toward protection without the weight or suppression effects that you get with steel plating. Ceramic however, unlike steel has a faster breaking-point and after enough rounds can finally allow bullets to pass right through the armor and be deadly.
The Run-Down
Ceramic plates is the go-to protection for players who do not necessarily care too much about mobility or plate penetration. Kevlar, is the weakest option but provides the worst protection. Steel provides most protection against direct fire but can disorient the player more.
Ammunition Type (AP & JHP)
Armor Piercing
The armor piercing round is best when dealing with heavily armored suspects, or for players who cannot aim for the head quickly.
- Better penetration
- Less deadly
Jacketed Hollow Point
The Jacketed Hollow Point round is most efficient when trying to put down a lightly armored suspect quickly. As per IRL, the JHP round is best at shrouding upon penetration and stopping any pesky suspects very quickly.
The Run-Down
Overall, I would recommend using JHP, as long as you are trying to hit their sides (suspects are less-likely to be armored on their side) or their head, although sometimes this is tricky- which is why AP rounds are good for shredding through armor like butter, however, it is probably going to take a bit more bullets to neutralize a target this way. (In a good amount of scenarios).
Ammunition Type (Buckshot & Slug)
Slug
The slug is more efficient at virtually pounding a suspect into the dirt at close to medium distance. As per IRL, the slug does not consist of pellets like buckshot, and requires a bit more accuracy to be effective.
Buckshot
Buckshot is best at close quarters but can somewhat be used at medium distance, as stated above- this consists of pellets flying at a suspect. Suspects with armor will probably take more than one shot to be neutralized.
The Run-Down
I would probably say that this one is 50/50, if you are a player that clears close-quarters areas more often than open areas, you are definitely going to want to use the buckshot. If you are a player that likes clearing long hallways with shotguns for whatever reason, use the slug.
Grenades
There are 3 grenades currently available in RoN.
- Flashbang
- CS Gas
- Stinger Grenade
Flashbang
Flashbangs are best used when cracking a door open and chucking it in through the doorway, turning away, and then entering to subdue disoriented suspects.
- Turn away or wear anti-flash goggles
- Stuns & Disorients suspects for a short time
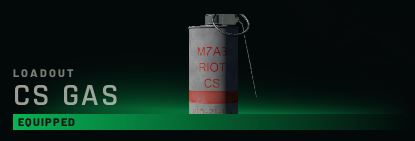
CS Gas
Best used in a planned/strategized situation and not on the spot, officers should be wearing a gasmask or else they will become disoriented and will be prone to getting shot during this period.
- Disorients suspects for a long amount of time
- Officers must wear gasmasks to efficiently use this
Stinger Grenade
Best used by an officer who is taking cover from heavily armed suspects, extremely disorients suspects.
- Severely disorients suspects
- Officer must be taking cover or they will suffer the effects as well
The Run-Down
Personally, I would use the flashbang as it is more versatile in far more situations than the other two options, unless you have a specific need for the other two, definitely run flashbangs.
Deployables
At the moment, RoN comes with 4 standard deployables / tacticals.
- Door Wedge
- Lockpick Gun
- Pepper Spray
- C2 Explosives
Door Wedge
The door wedge is best used in scenarios where you are clearing rooms and there are multiple doors surrounding you. The door wedge will prevent any suspects from walking through the door that you place it on.
Lockpick Gun
The lockpicking device is for officers who want a quiet, stealth-like entry, which will also allow you to peek doors instead of blowing their hinges off. The likelihood of suspects being alerted to your presence by using this method is limited.
Pepper Spray
Pepper spray can be used to quickly but directly disorient a target at close range, and also get civilians to comply faster. Pepper spray can also be used to disarm in a suspect at close range, however take that info with a grain of salt.
C2 Explosives
Ah yes, the run and gun’s favorite piece of equipment. C2 is best used when wanting to make a startling and sudden entry into a room, this can even disorient some suspects and lead them to put their gun down without firing a shot.
The Run-Down
Basically, you will want to diversify this equipment amongst your team, or.. if you want to blow open every door you come across, have everyone run C2, up to you. However, at this moment- pepper spray has not proven too affective in the game.
This is all about Ready or Not – Armor & Munitions Info & Walkthrough; I hope you enjoy reading the Guide! If you feel like we should add more information or we forget/mistake, please let us know via commenting below, and thanks! See you soon!
- All Ready or Not Posts List






Leave a Reply