Hello! This is a guide to help you complete Raft Chapter 3 (Varuna Point, Temperance and Utopia + ALL notes location + Achievements)
Welcome
This Guide Is a work in progress, Feel Free to tell me what is missing or how can I improve the gudie.
Everything in the new update (Chapter 3)
– New story destinations: Varuna Point, Temperance and ???
– 3 new small islands
– 14 new achievements
– Trading Posts on large islands
– food and drinks buff system with 6 different buffs
– 4 new playable characters
– 30 alternate outfits
– New enemies: Angler Fish, Scuttler, Polar Bear, Hyena, ??? and ???
– New items: Juicer, Drinking Glass, Electrical Grill, Electrical Smelter, Advanced Stationary Anchor, Advanced Biofuel Extractor, Wind Turbine, Recycler, Titanium Axe, Titanium Arrow, Titanium Hook, Titanium Sword, Water Canteen, Advanced Headlight, Electrical Zipline Tool, Advanced Battery, Advanced Crop Plots in 3 sizes, Advanced Scarecrow, Big Backpack, Advanced Collection Net, 8 new hats, Trading Post Cassette, 5 new enemy trophies, 3 placeable honk horns with different sounds, Foundation Counter, Tic-Tac-Toe, Fridge, Compass, Wardrobe, 28 vending machine decorational items
– New recipes: Turmeric, Juniper, Chili
– Engine Controls: added anchor lever
– New building pieces: Horizontal pillar, detail plank, draw bridge in 2 sizes
– Fishing bait menu and 3 different fishing baits
– voice playback for story notes
– Notebook displays different first page depending on which character you play as
– Added sort button to storages
– Seagull functionality has been rewritten
– Bonus thirst / Bonus health
– Big islands start spawning without receiver
– Recipes now say Cooking Pot or Juicer at the top
– Adjusted Cooking Pot recipes ingredients and outputs
– Each battery slot now has a charge indicator
– Bow shot can be cancelled by pressing RMB
– You now have to hold RMB to pour liquid from cup and bottle
– Scarecrows remove themselves after being destroyed
– While in a storage, crafting takes into account items in the storage
– Fuel Tank can now receive fuel through the pipe socket
– Adjusted Easy and Peaceful damage multipliers
– Renamed Tangaroa Tokens to Vending Machine Token
– Flower seeds now have 100% drop chance
– Updated UI for oxygen
– Auto run toggle button
– seagulls should not fly through walls or ignore scarecrows anymore
NOTE: A lot of this information was borrowed from Hyslyne’s Guide “Raft – Complete Guide”
link for the guide – [steamcommunity.com]
Let’s Begin With The Guide!
~Table Of Contents~
Varuna Point
~~~~~~~~~~~~~~~~~~~~~~~~DESCRIPTION~~~~~~~~~~~~~~~~~~~~~~~~
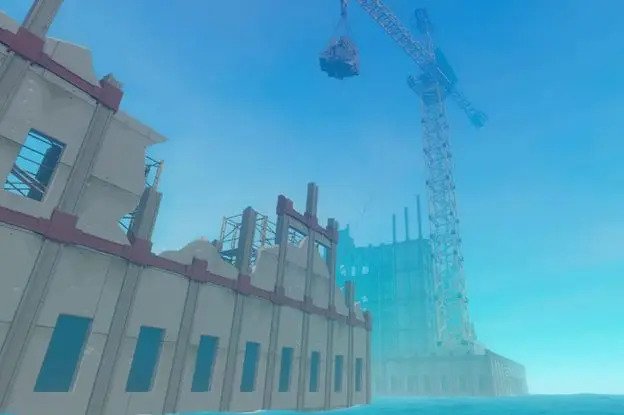
Two partially submerged buildings and a soaring crane can be seen at Varuna Point, a sixth floor island in Raft. As you balance ocean life and your oxygen levels underwater, you’ll quickly lose your sense of direction.
~~Necessary Tools~~
For Varuna Point, you’ll need a
- Zipline Tool
- Oxygen Bottle
- Flippers
Once You Get All of the tools that are listed above you can begin your journey
SEARCH FOR THE SPOTLIGHT PARTS
When you get to Varuna Point, dive between the two buildings to discover a hole that is obstructed by jellyfish. Watch for the jellyfish to split apart and enter the gap. Move to the air bubbles or breach the air pockets if you’re losing oxygen so that you may get more. Find the four spotlight components by exploring each floor, but watch out for the anglers that live in some of the rooms. After locating four, proceed to the broken spotlight that requires four spotlight components before leaving. To reveal a different opening, a flashlight will be shone on a school of jellyfish.
Where To Find The 4 Spotlight Parts
First Spotlight Part in Raft
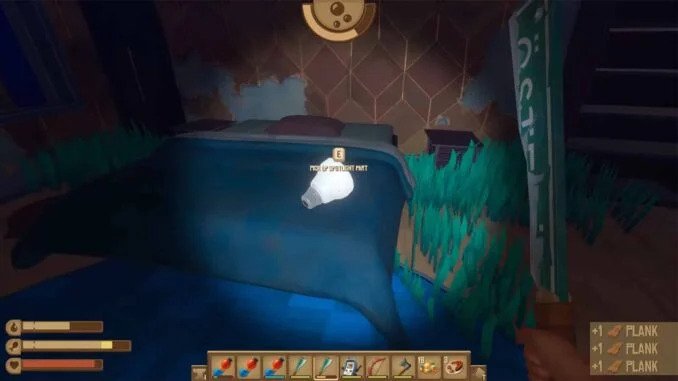
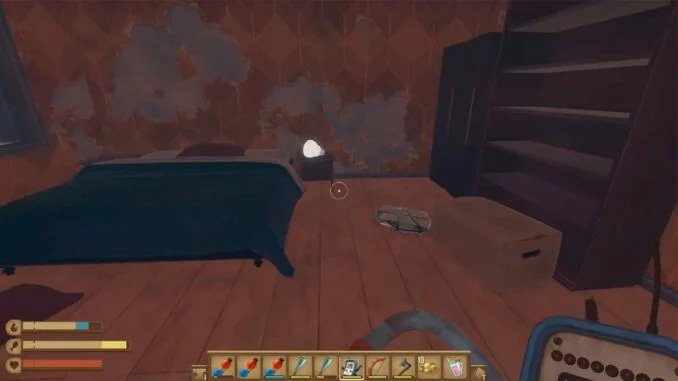
- Enter the corridor that’s entrance is guarded by jellyfish. Reach the end and then turn right. You will see the door. Enter it, and it will lead you to the back, where there is a room with a spotlight part on a bed inside.
Second Spotlight Part
- Now that you’ve obtained the first spotlight part, head back down and turn left in the hallway. You will see a room with an anglerfish – avoid it. Go inside the room on your right where you will find the second spotlight part on a desk.
Third Spotlight Part
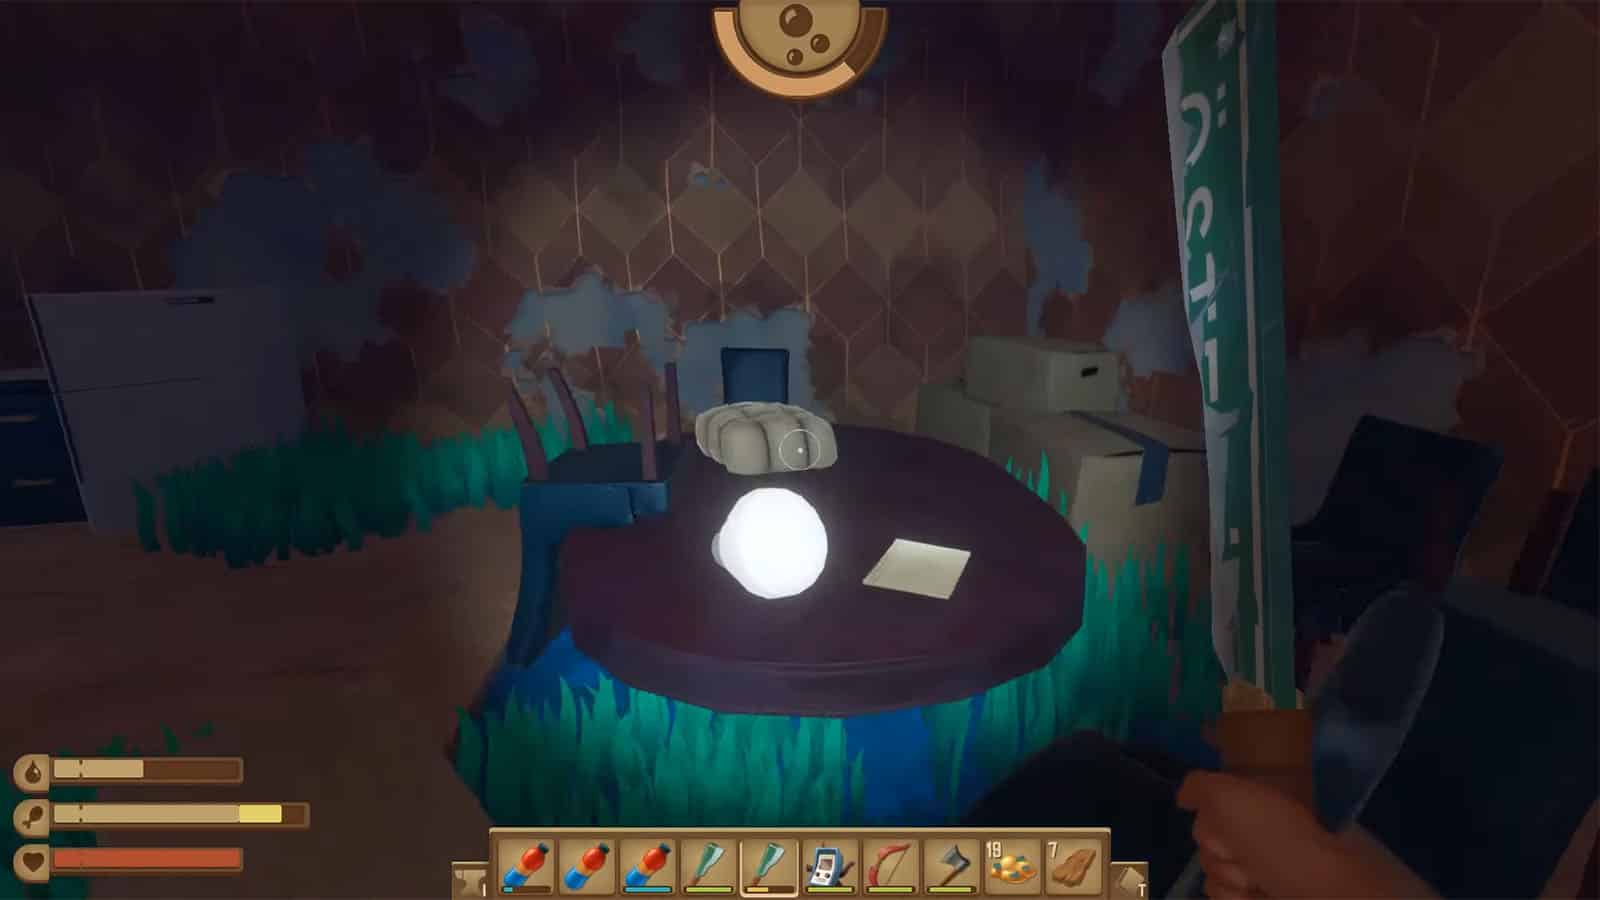
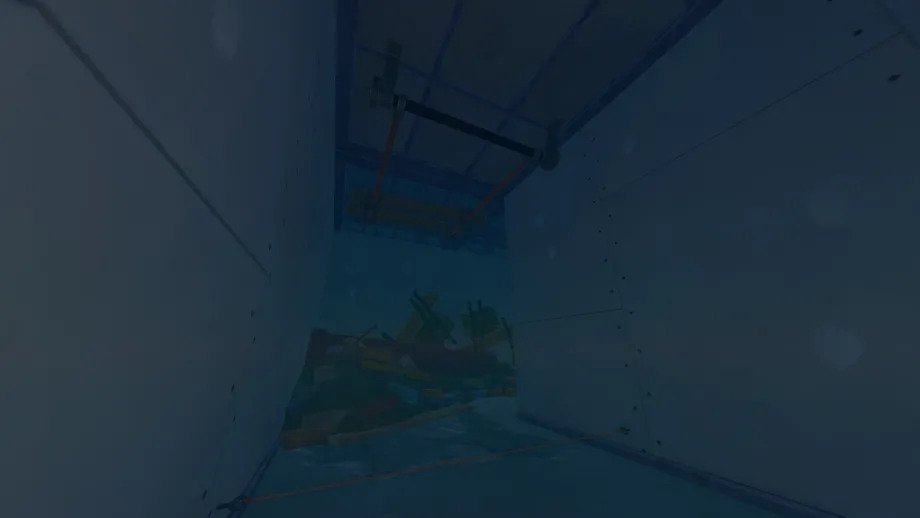
- Under the jellyfish at the entrance, you will find a hole in the wall. Once in, turn left, and you will be in an elevator shaft. Jump on the ledge and go left. Now, go through the hallway, and at its end, go through more doors. You will see the third spotlight part on the table here.
Fourth Spotlight Part
- The fourth spotlight part is in the same area as the previous one. However, you will need to climb above the water through the scaffolding instead of following the hallway. Turn left and enter the first room on your left. Reach the end of the room, where you will see another room. This one is your goal. The fourth spotlight part is in the dresser.
IMAGE NOT AVAILABLE
!WATCH OUT FOR NAILS AND TRAPS!
Nails and traps are spread all over the place and can kill you if you fall into them many times so BE CAREFUL
The Motherlode Key
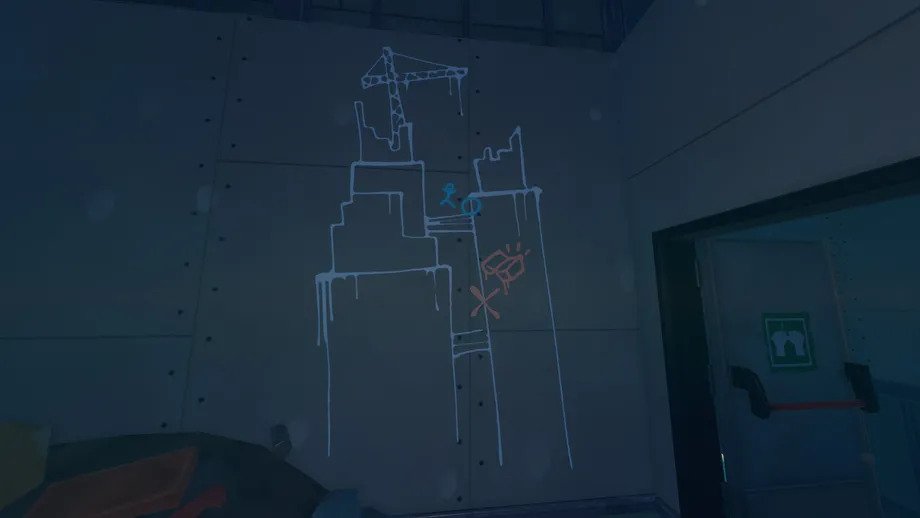
Once you reach the second air pocket, you will breach and walk across it. Continue moving through the new opening. Avoid the spikes, and keep an eye out for the low-hanging tripwires. Up until the room containing the Motherlode Key and Advanced Head Light Blueprint, explore the rest of the structure. Gather both goods, then scale the side crates to reach the exit and a painting indicating your next course of action. Enter the double doors, then exit and submerge yourself. Follow the vibrant coral around the building’s side to a gate that needs the Motherlode Key.
The Rhino Shark
Descend the submerged building and fight anglers along the way. You’ll reach another glass walkway with a gate at the end. As you approach, the Rhino Shark will crash through the gate, leaving an opening for you to come through.
Before you head off to fight the shark, I strongly recommend that you have both an
- Oxygen Bottle and Flippers
. Both of these can be made with various debris found in the ocean and Vine Goo. While you’re down there, make use of the bubbles coming from the vents to replenish your oxygen.
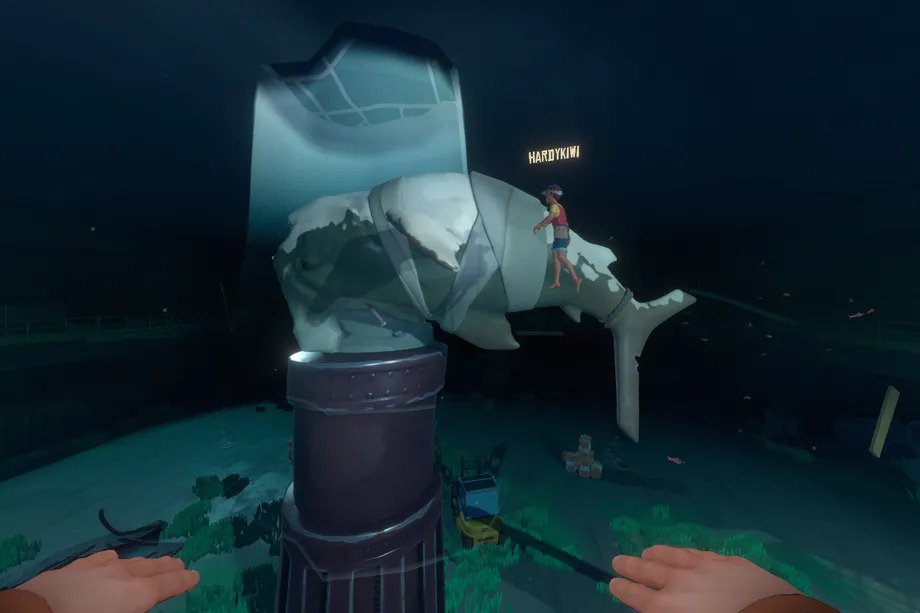
*Preview Of The Rhino Shark (After Being Deafeted)
- Once you get to the shark, you’ll need to stand between it and one of the four pillars. The shark will charge at you, so once it aims its head down, you should move out of the way, forcing the shark to hit the pillar.
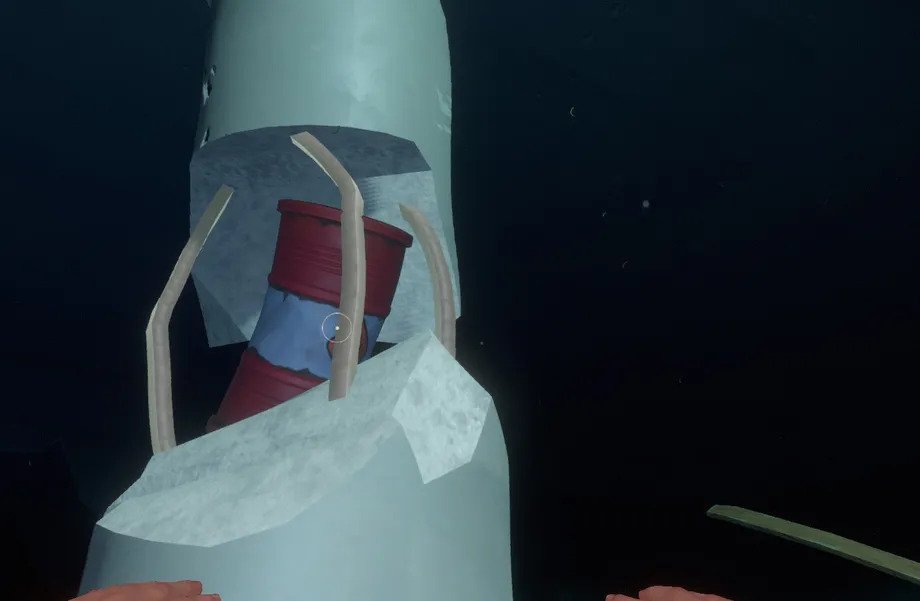
- After hitting the pillar, it will open up, allowing you to place one of the nearby explosive barrels in the metal pillar framing. Bait the shark into ramming into the pillar again to blow up the pillar and create an opening in the ceiling.
- Head through the opening to see another two pillars and the shark, which moved up from below. These pillars will have a metal base, so you’ll need to specifically get the shark to ram into the upper, unprotected part. Repeat the process with the pillars and explosive barrels. When another hole in the ceiling opens up, head up to find one more pillar.
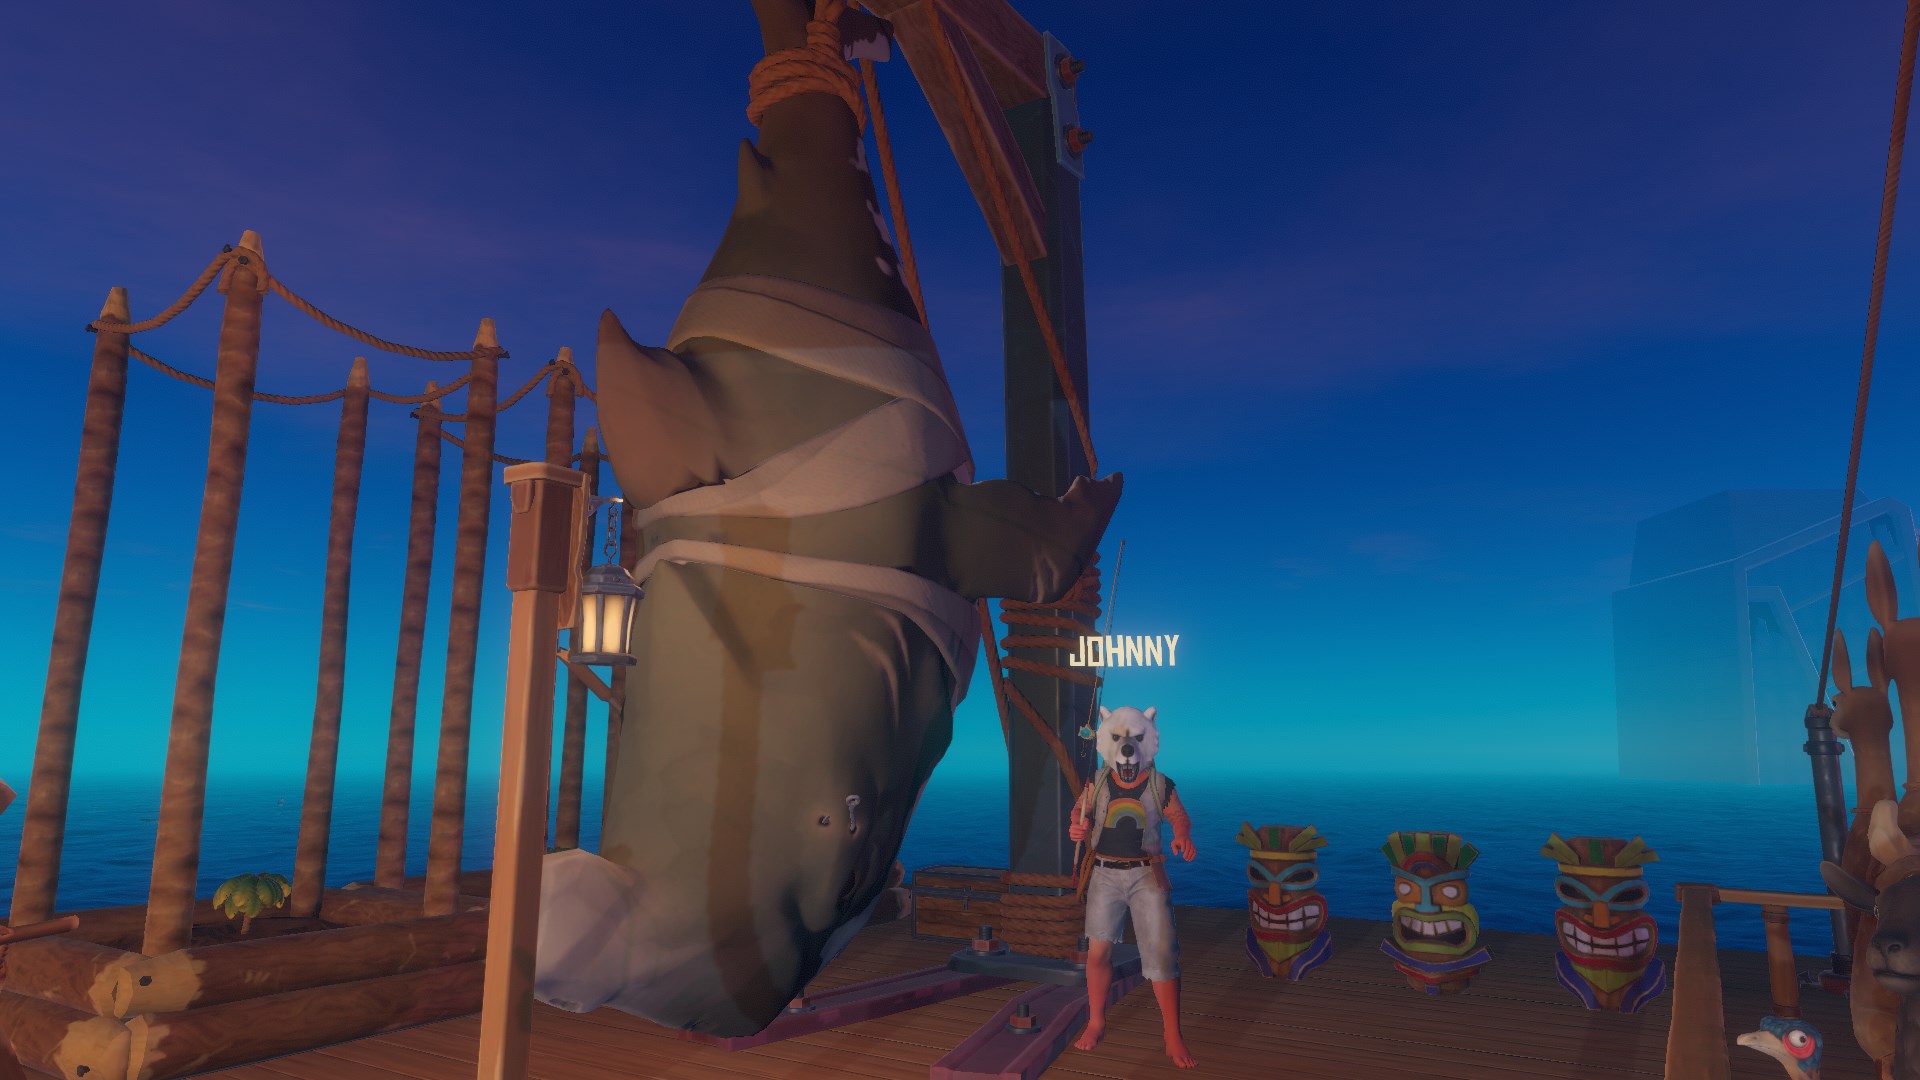
- After repeating the process again, the shark will die, allowing you to harvest it for tons of Raw Sharkmeat and a special trophy, which you can see below.
- Progress onward to find a Crane Key and Wind Turbine Blueprint. Jump up the ladder to discover an exit and return to the surface.
ATTENTION !!! We’ve seen some reports about players somehow accidentally killing the shark through other means before it breaks the pillars. Make sure not to attack it or make attempts to kill it without using the method below, as the Rhino Shark has to open paths for you to continue. If you kill it before it opens all of the paths, you will be unable to proceed in the game. !!!!
Jump To The Top Of The Crane
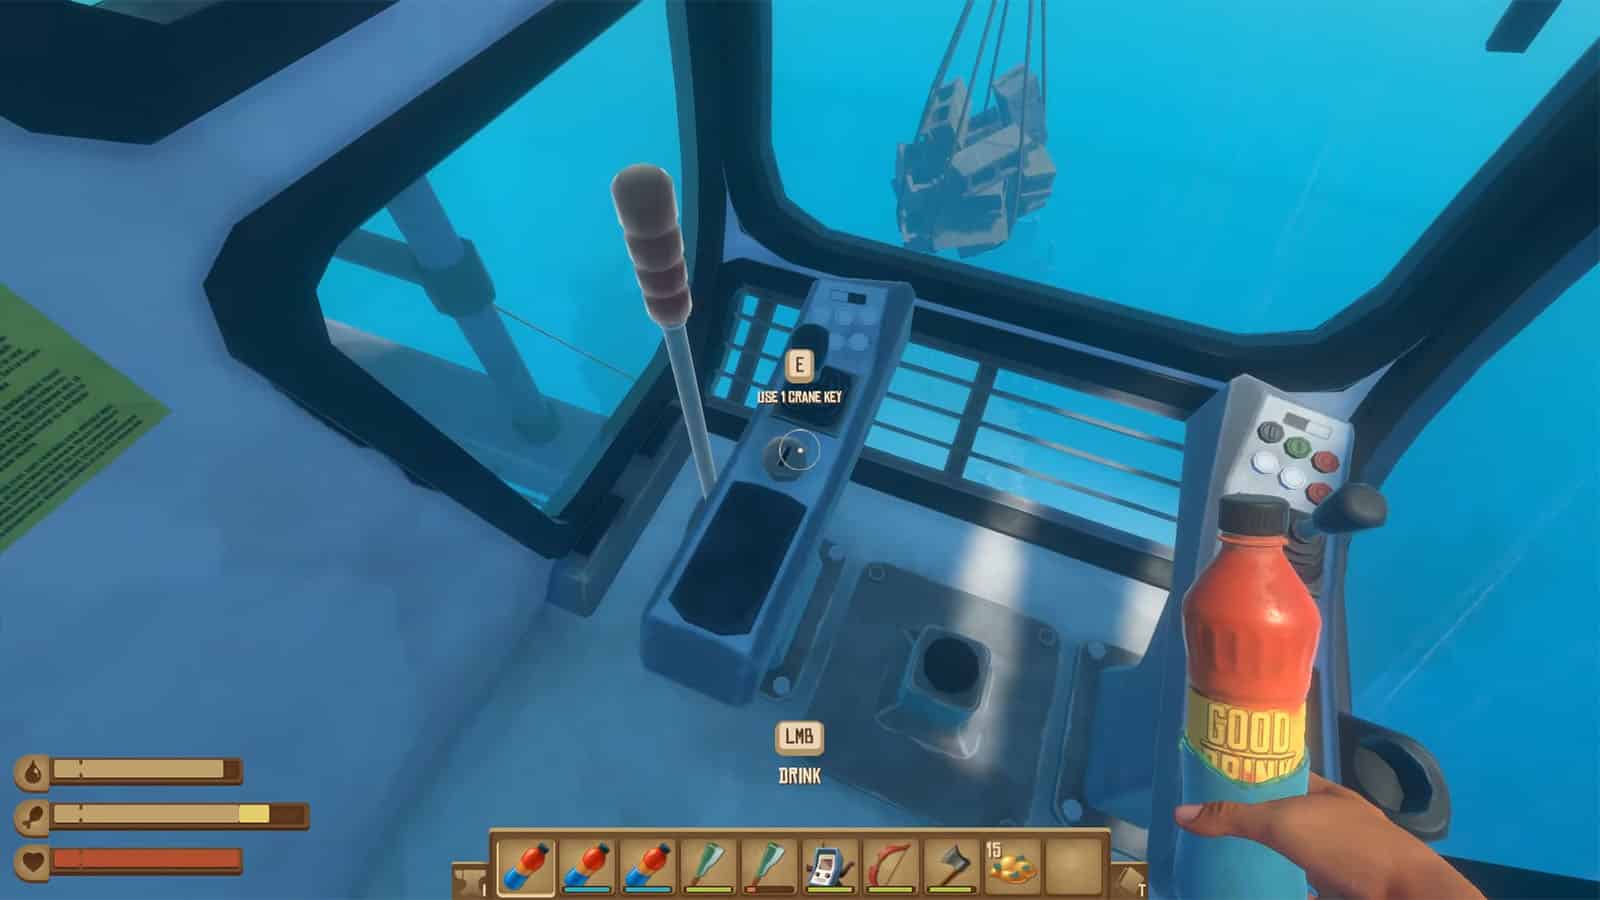
- After Defeating The Rhino Shark head back up to the surface and Climb the scaffolding on the side of the building to reach the base floor of the crane building. Keep a weapon handy as there are roaming lurkers as you ascend the tower. Make your way to the top of the red, modular building to arrive at the second floor. Jump on top of the yellow crane, and hop across the pillars to the third floor. Progress through the scaffolding on the side of the building, and climb up the crane’s ladder. Inside the driver’s compartment, insert the Crane Key to unlock the lever, and pull it to drop the boxes onto the second building. Before you zipline to the second building, grab the Electric Grill Blueprint on the second floor of the crane.
Finish of with Varuna Point
- Zipline down to the second building and traverse through the opening. At the bottom of the hole, you’ll find the Advanced Battery Blueprint and your Temperance Island Code. Exit through the pipes in the floor and start your journey to the next story island.
~~VARUNA POINT NOTES~~
Varuna Point ALL NOTES LOCATION GUIDE
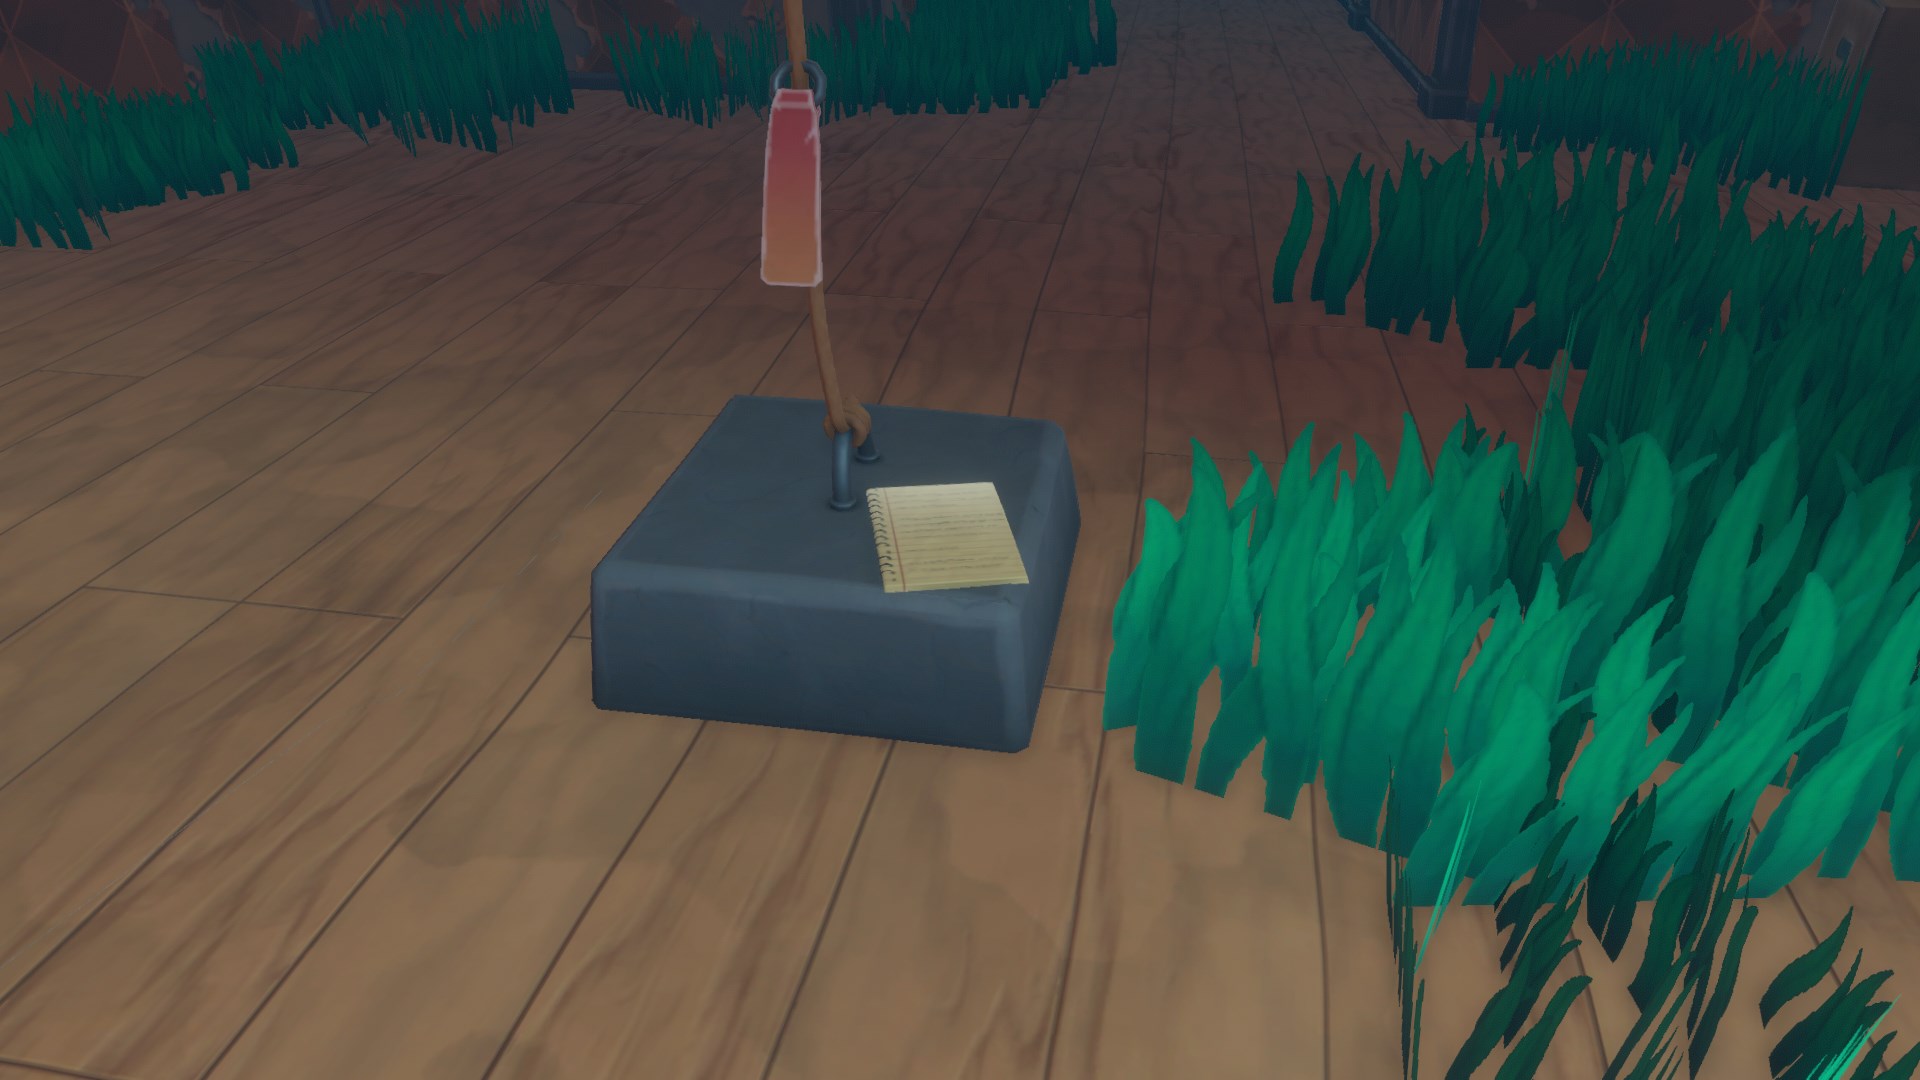
VARUNA POINT NOTE #1 (“VARUNA POINT HAS ALL …”) LOCATION
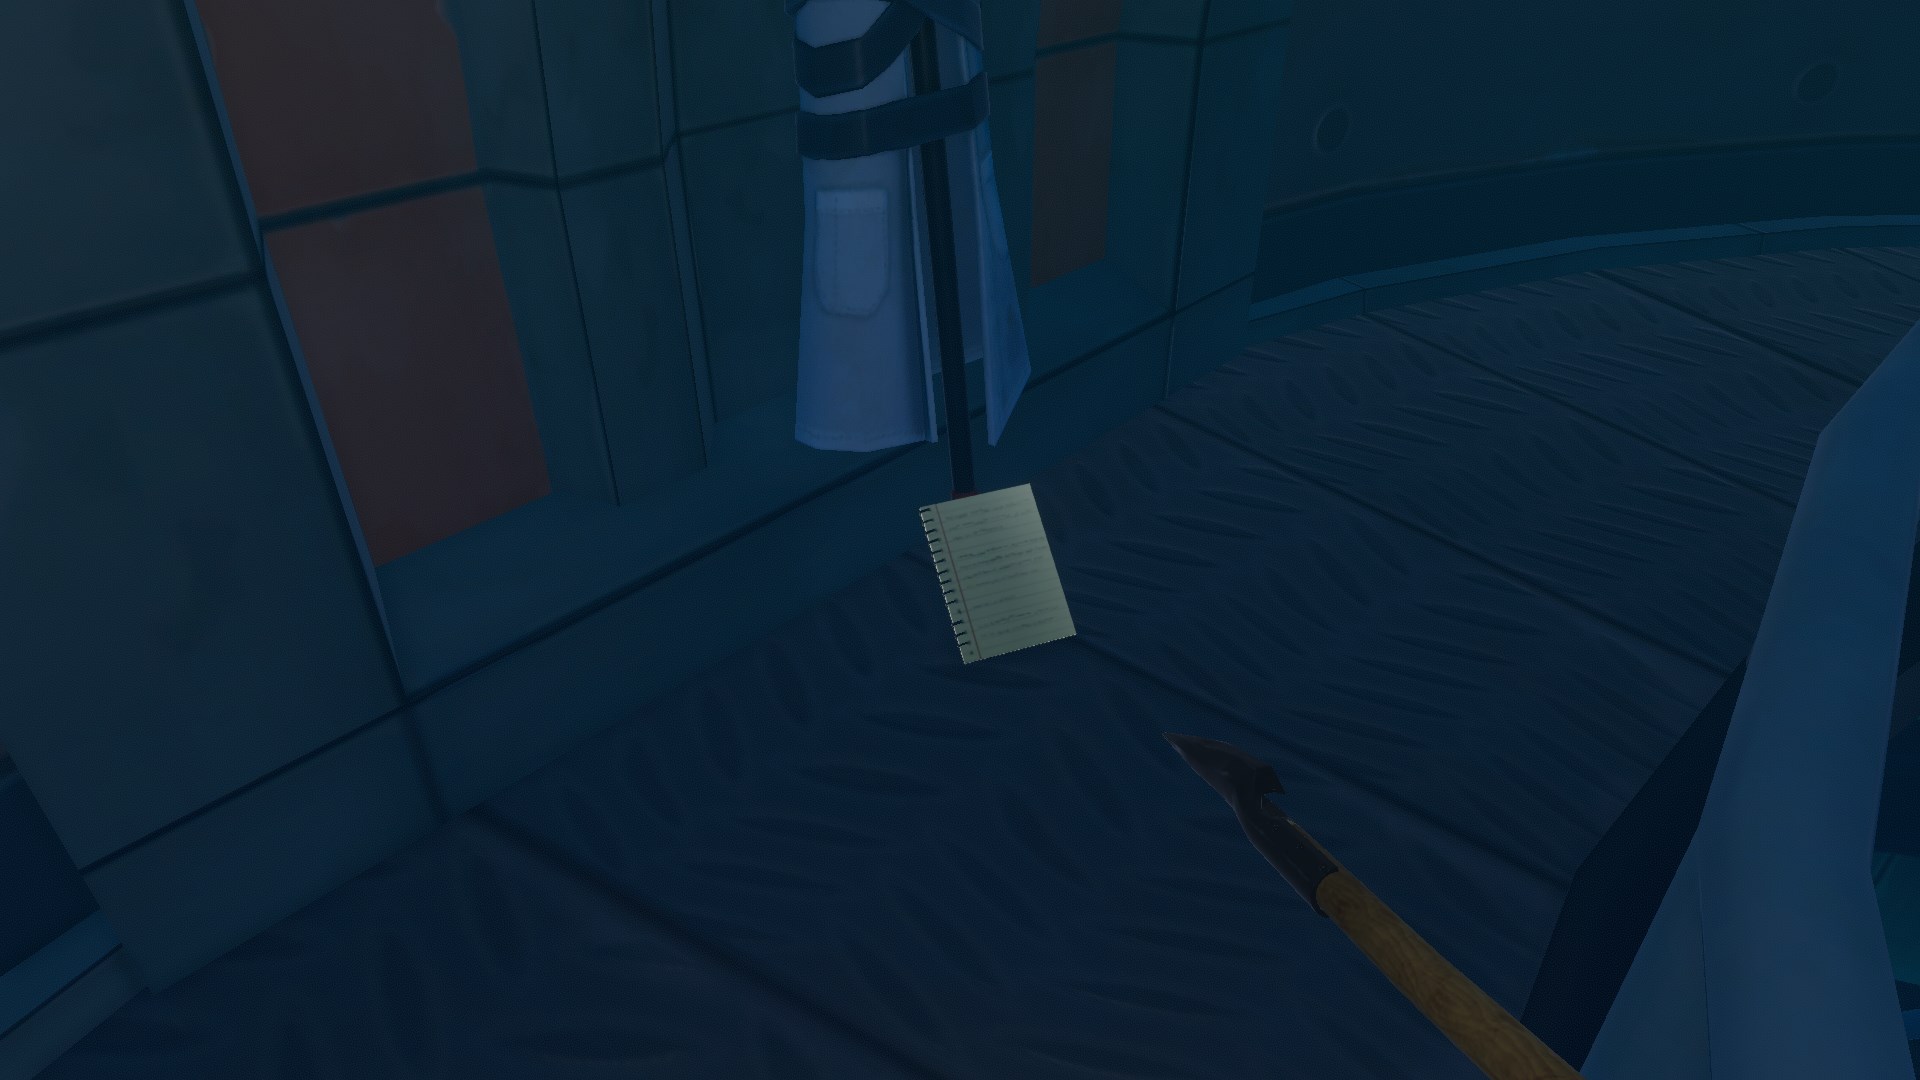
The first note is on a weight underwater, right past the glowing jellyfish. These jellyfish will be covering an opening into the building underwater, but will move when the light shines on them.
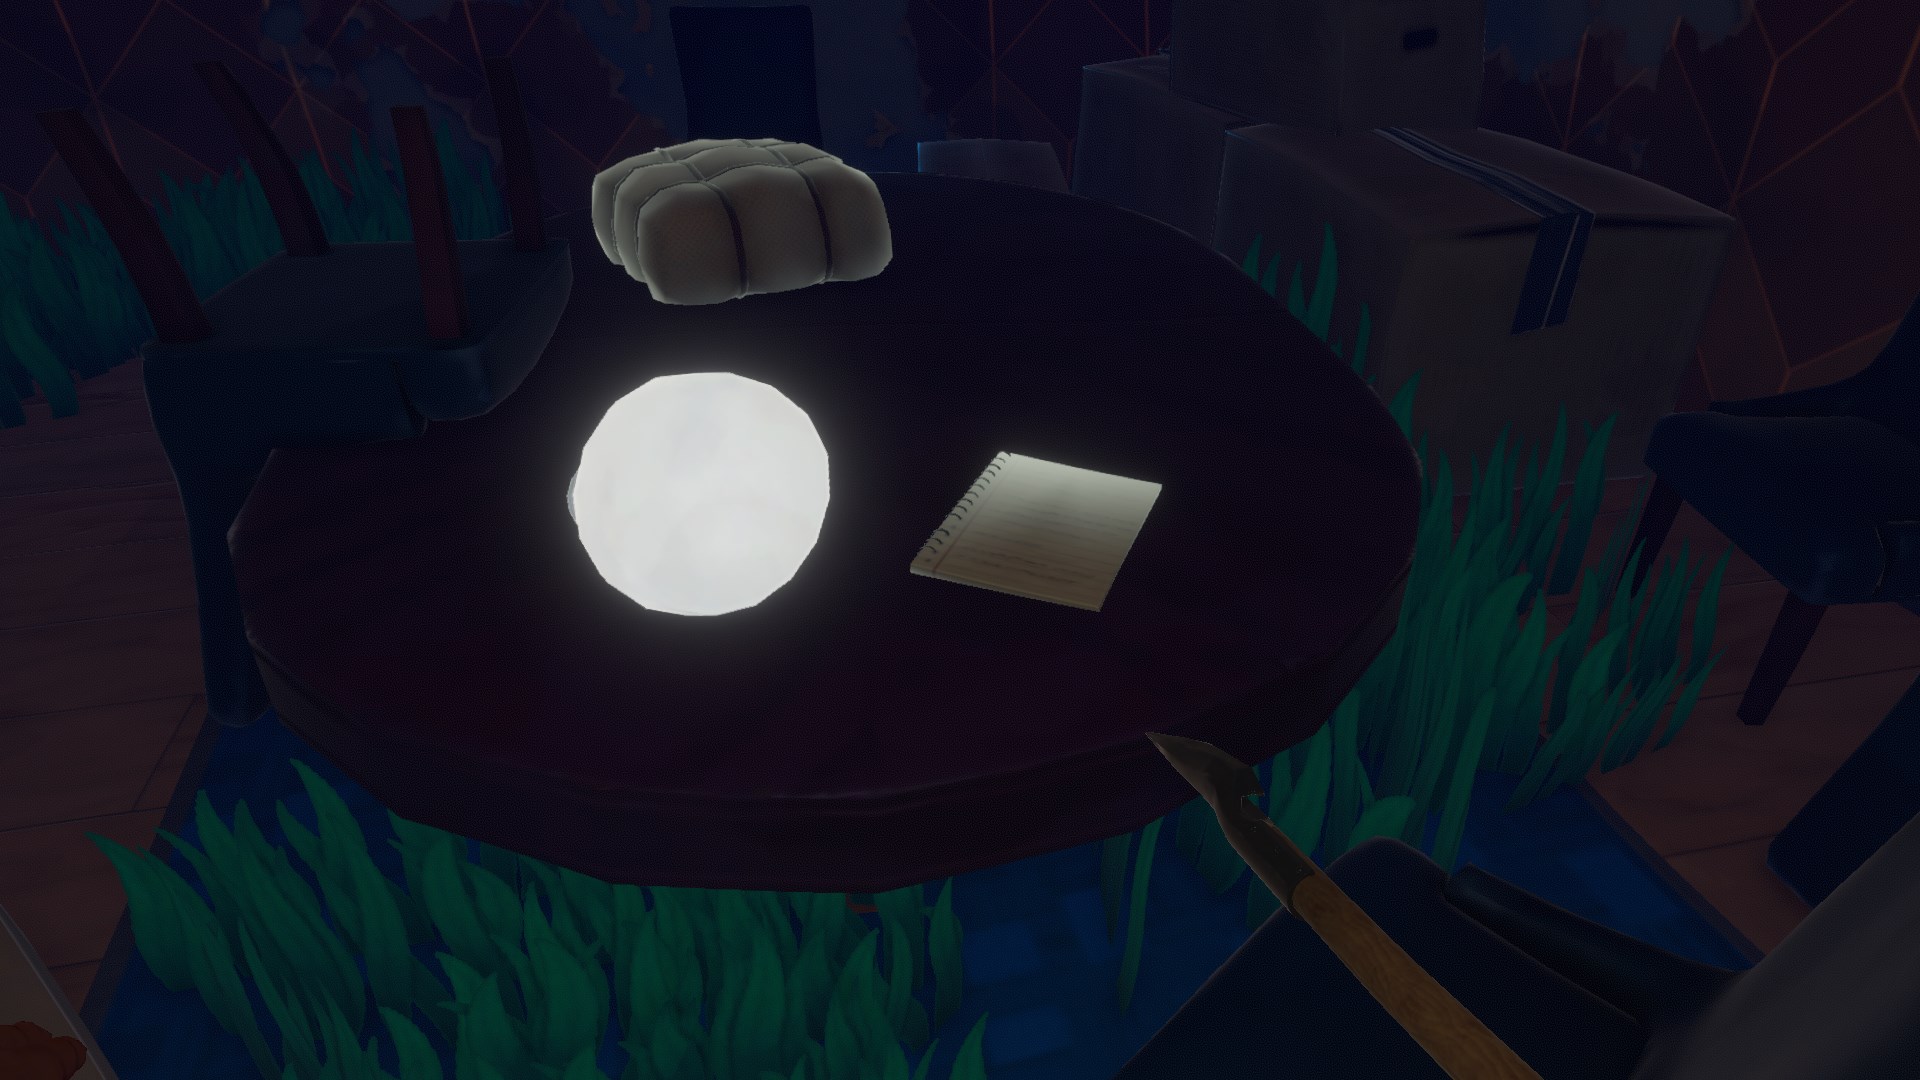
VARUNA POINT NOTE #2 (“I HEARD THEM TALKING ABOUT ME …”) LOCATION
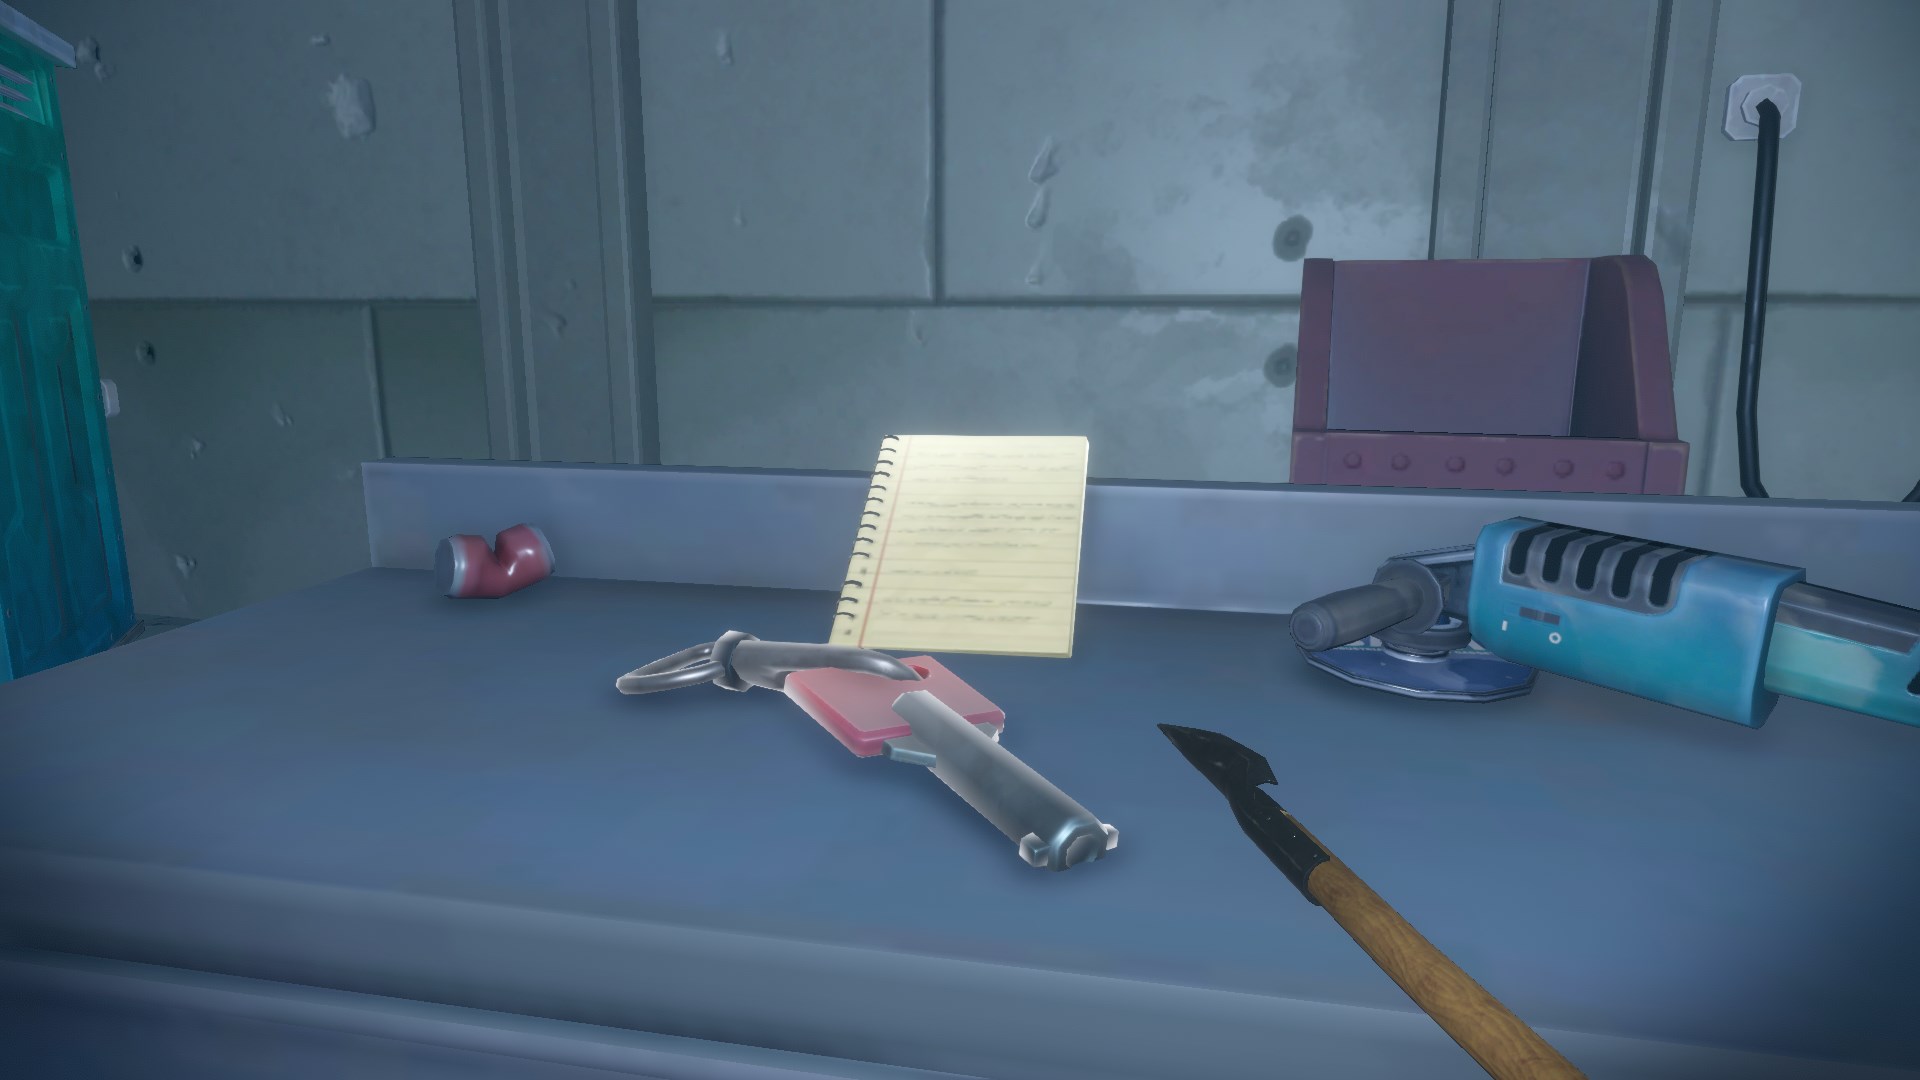
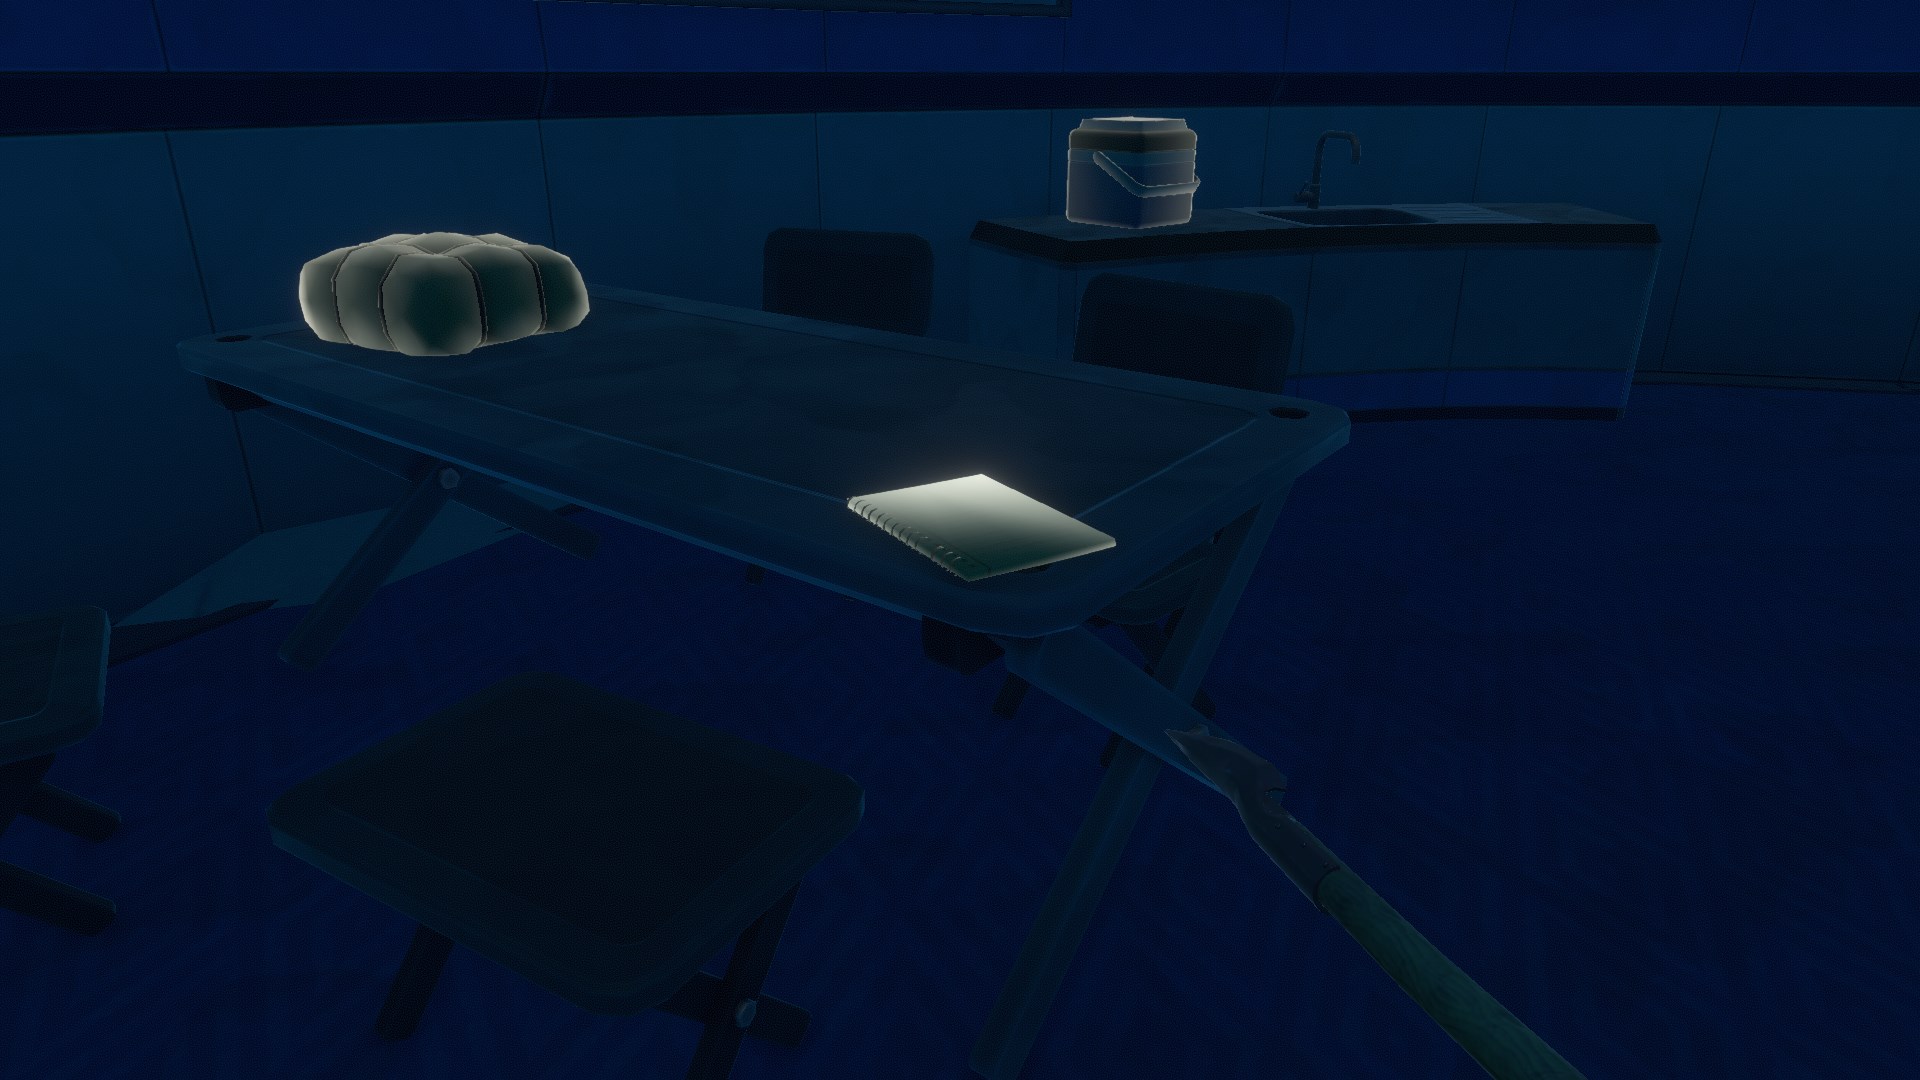
The second note is past the first one. Head up the elevator shaft and into the backmost room to find it on a table next to a spotlight part.
VARUNA POINT NOTE #3 (“WE DON’T WORK ON …”) LOCATION
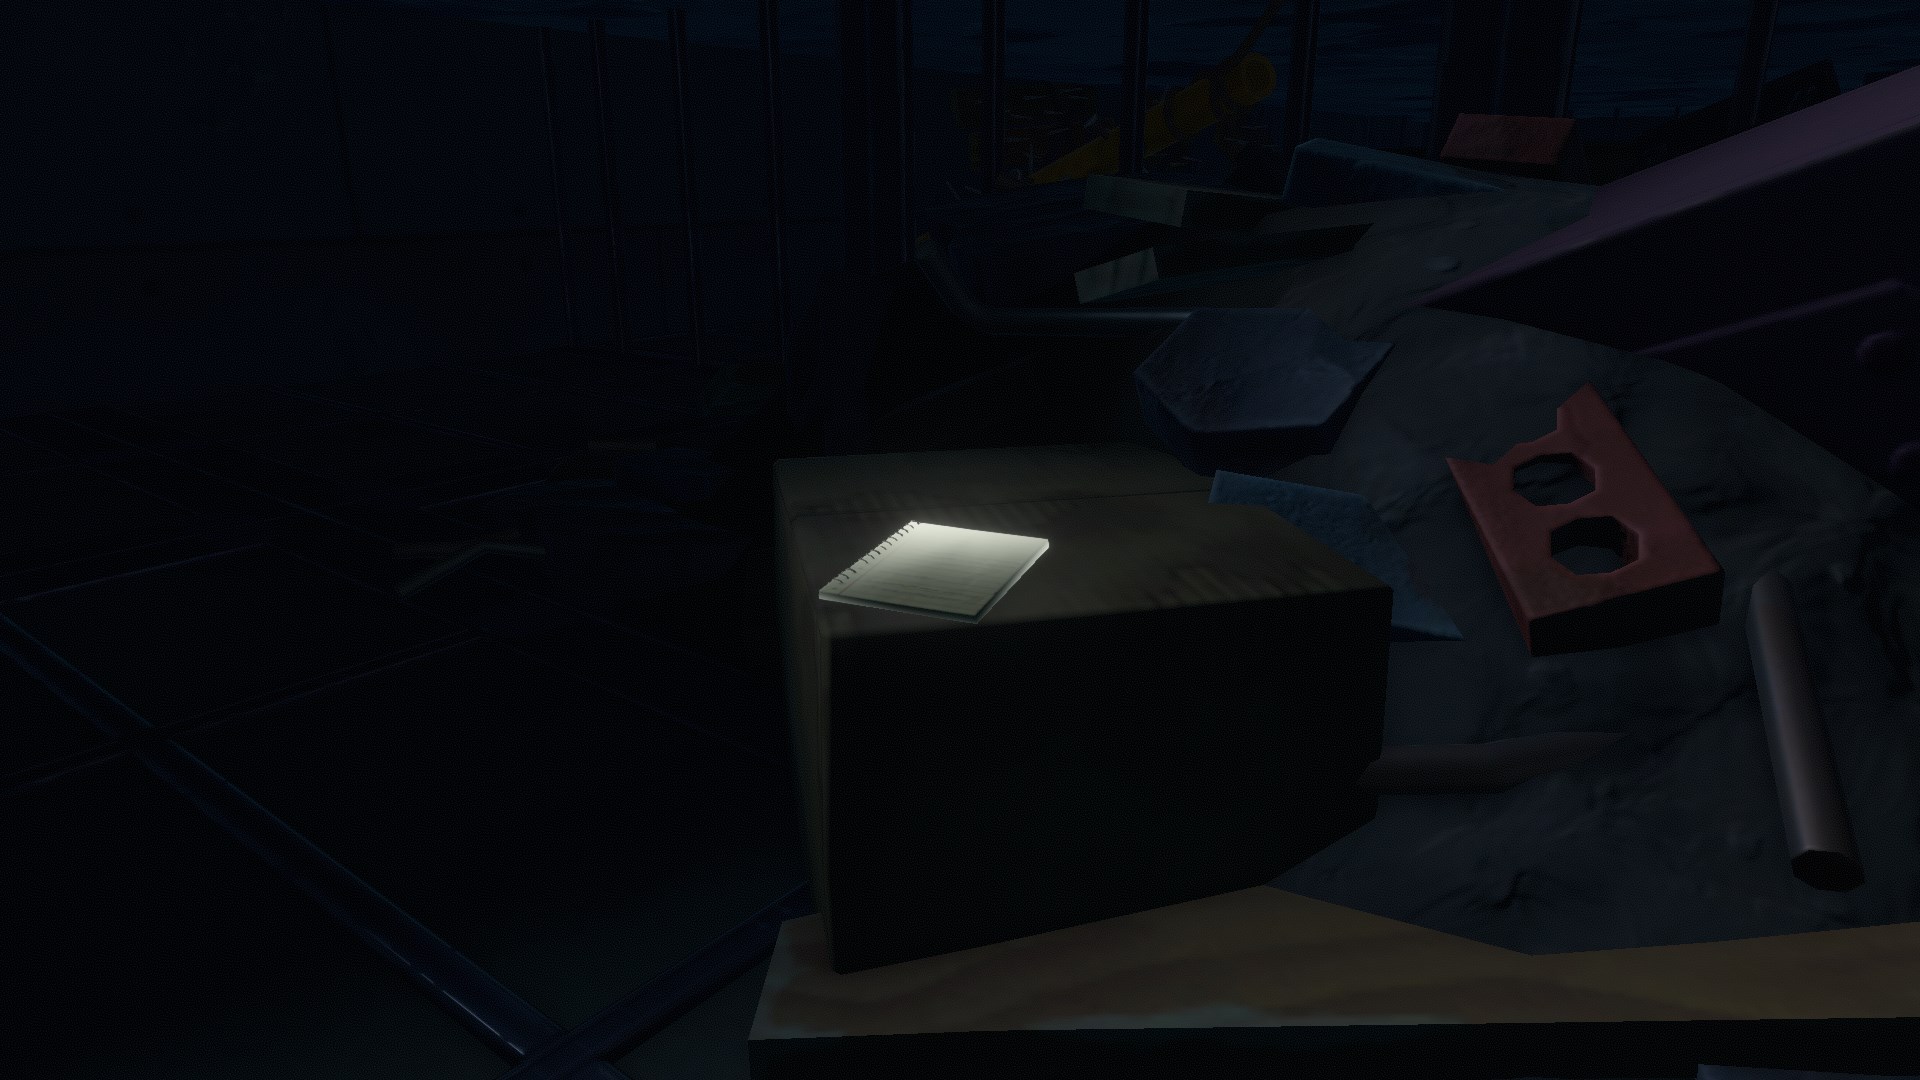
This note is on a box with some rubble on it, found shortly after entering the tunnel originally blocked by jellyfish. It’s right before the Grabber’s traps and spikes.
VARUNA POINT NOTE #4 (“WHEN PEOPLE COME BY …”) LOCATION
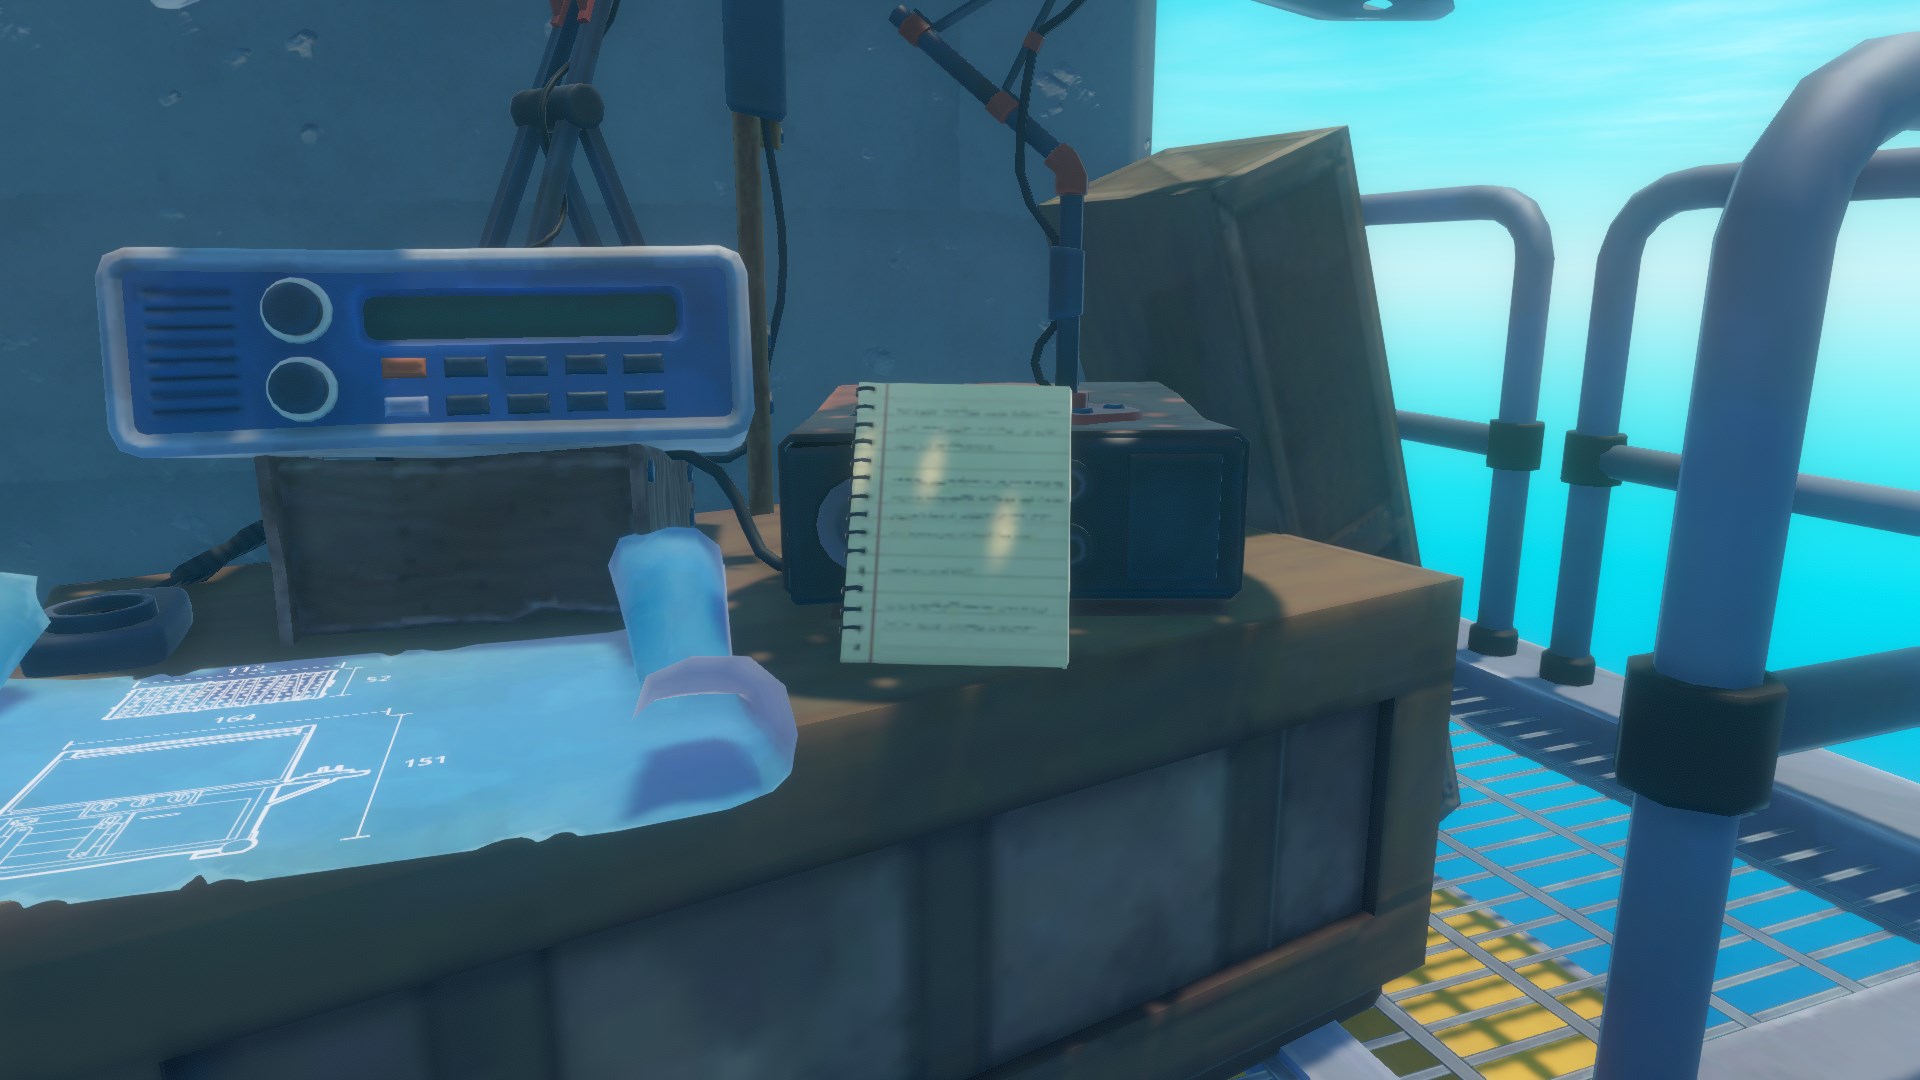
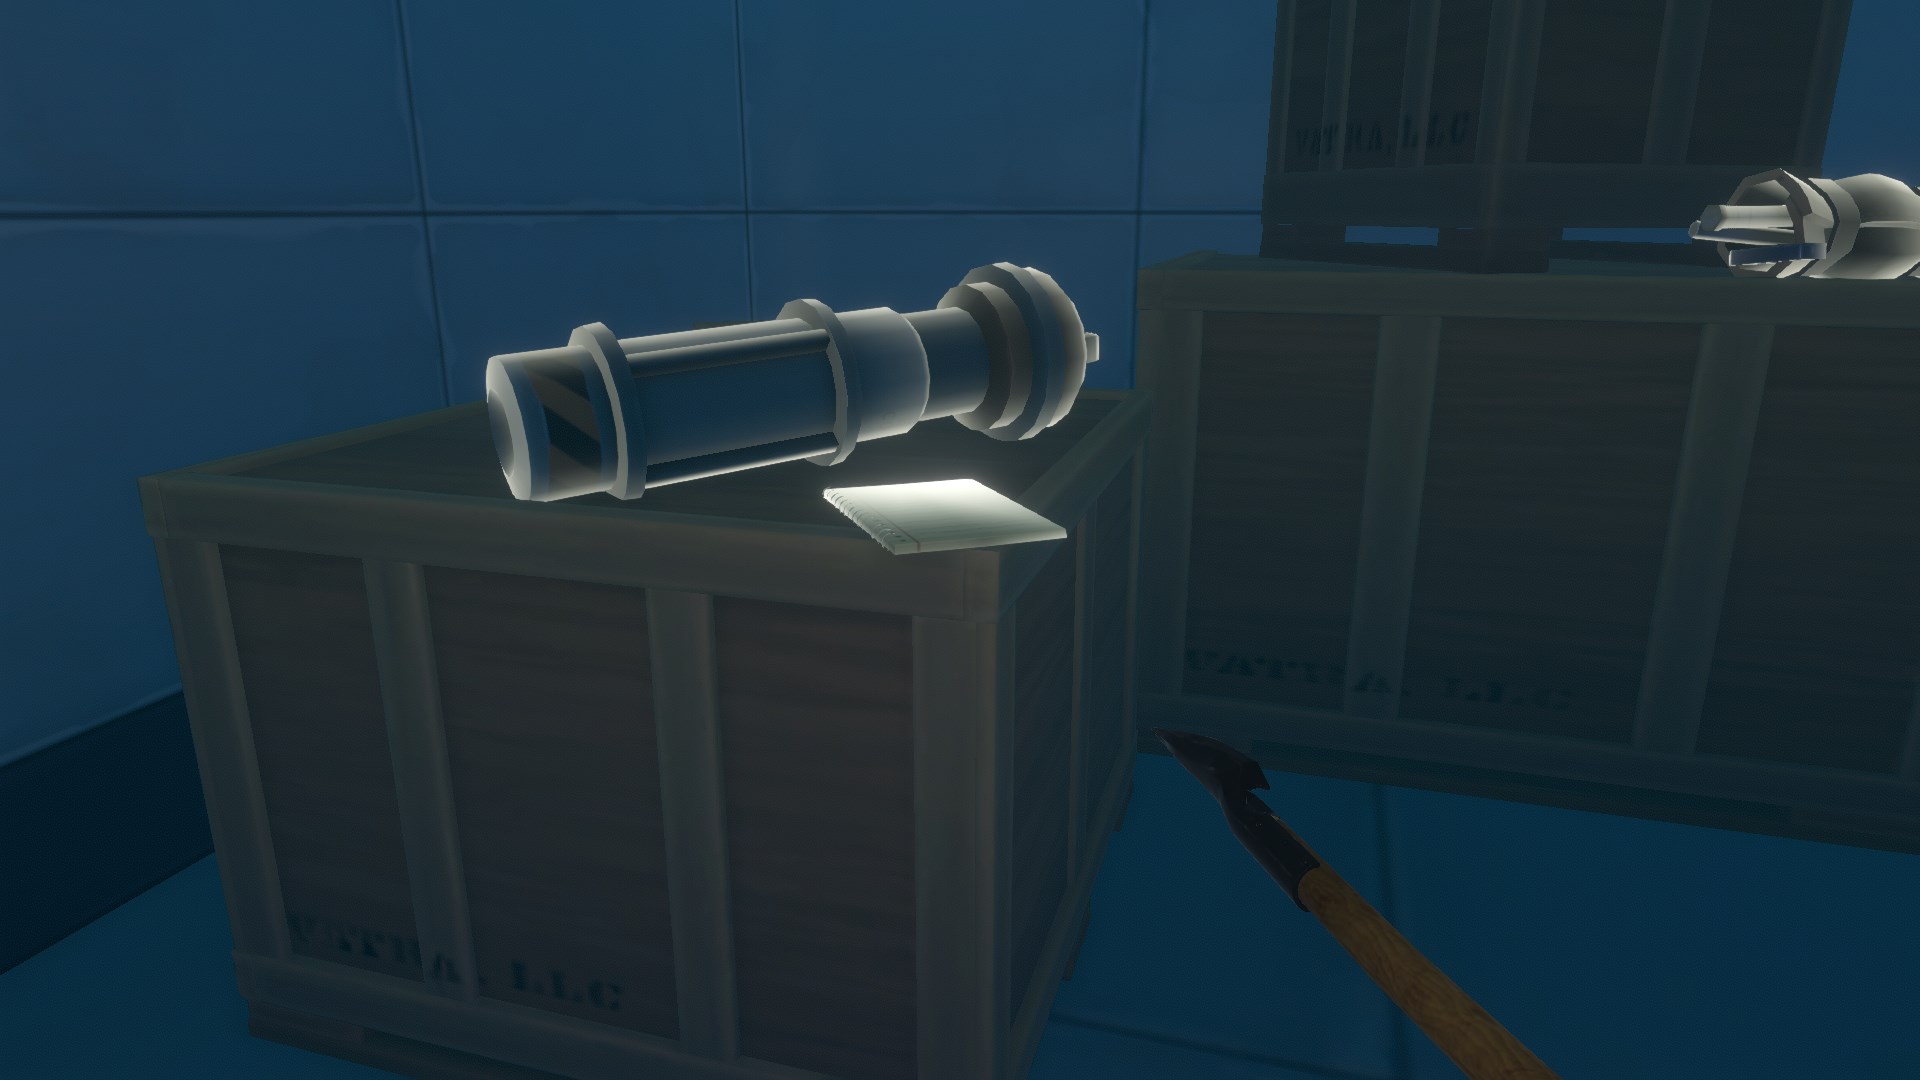
This note is at the top of the crane on a crate next to a blueprint for an electric grill.
VARUNA POINT NOTE #5 (“A MAN TALKING TO DOLLS …”) LOCATION
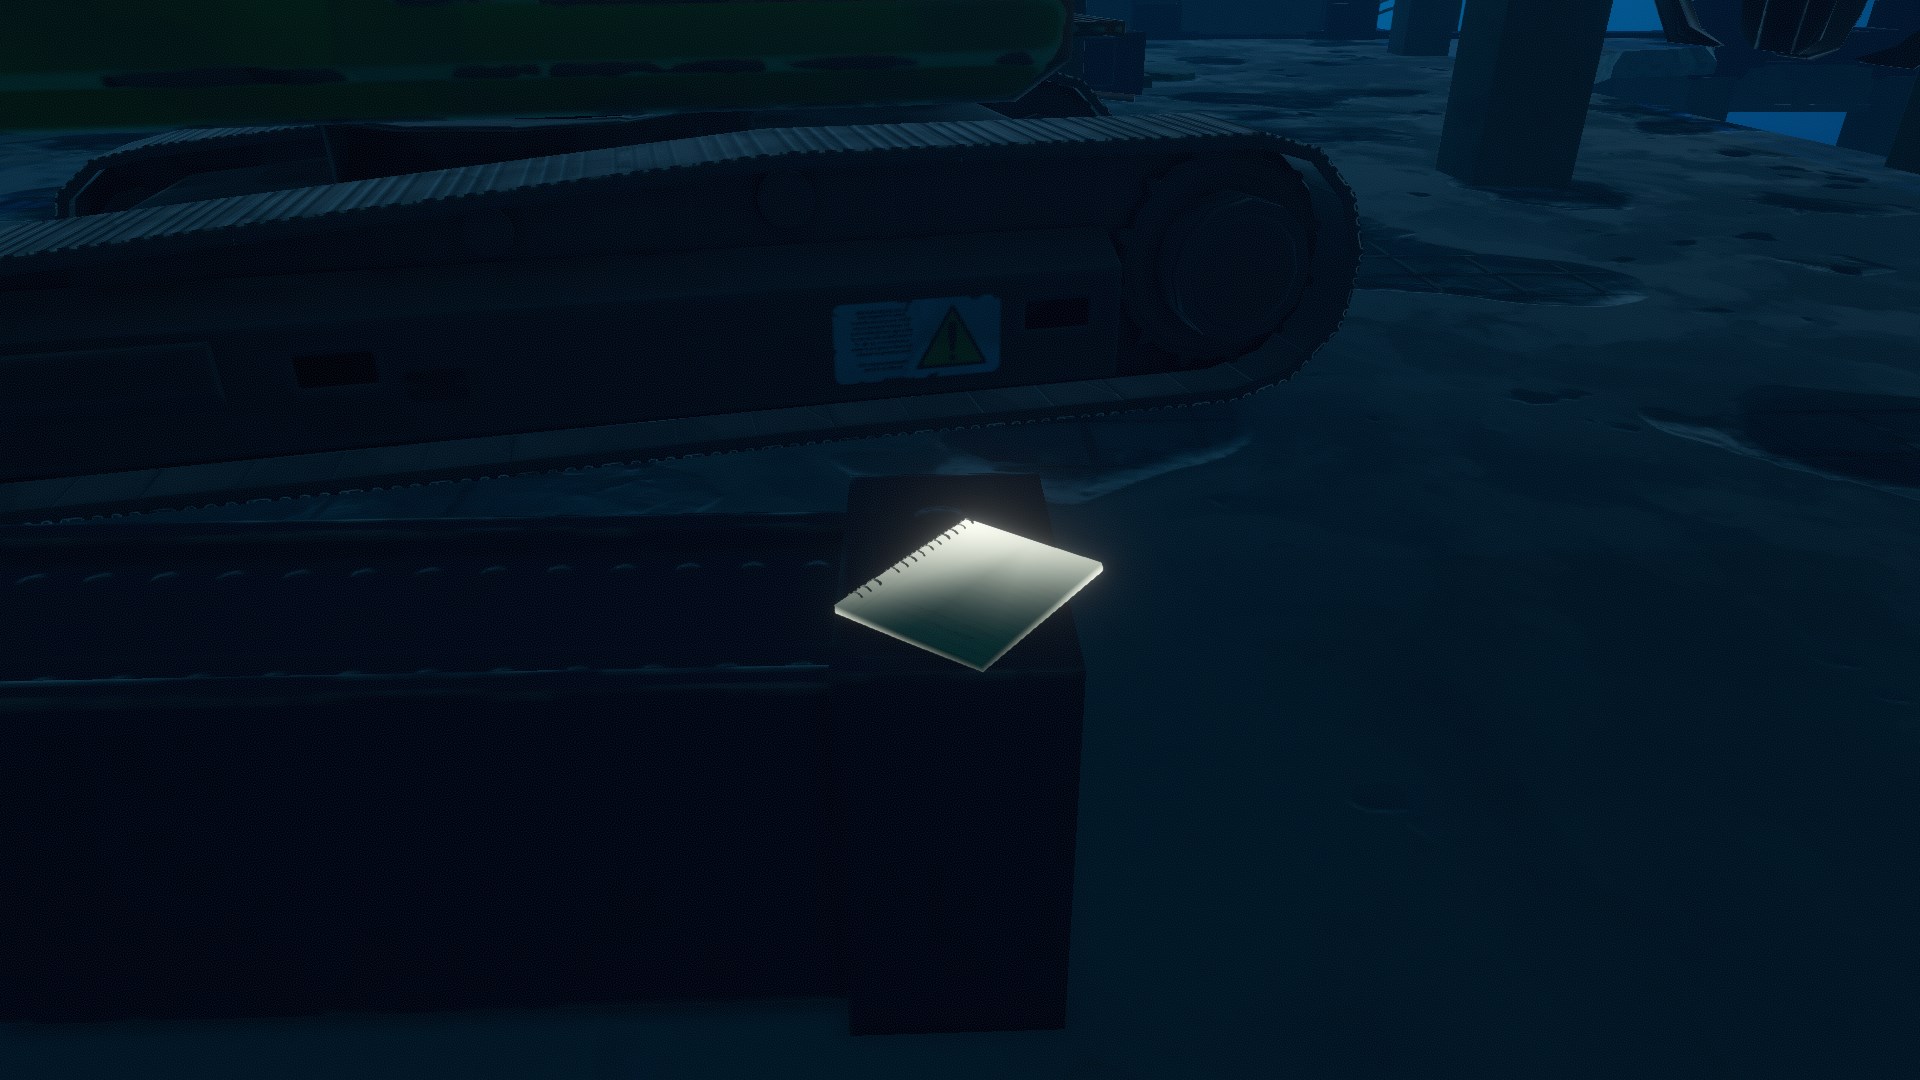
This note is on the parkour (or jump puzzle) side of Varuna Point, above the water. It’s sitting on a piece of metal by a smaller crane machine.
VARUNA POINT NOTE #6 (“I WOULD BE BORED …”) LOCATION
This note is at the end of the spiked path and behind the Motherlode Key.
VARUNA POINT NOTE #7 (TEMPERANCE CODE) LOCATION
The last note of Varuna Point is the Temperancecode, and it’s at the bottom of the building you must take the crane to. It is not skippable if you want to continue the story.
~~~~~~~~~~~~~~————————-~~~~~~~~~~~~~~
Temperance Island
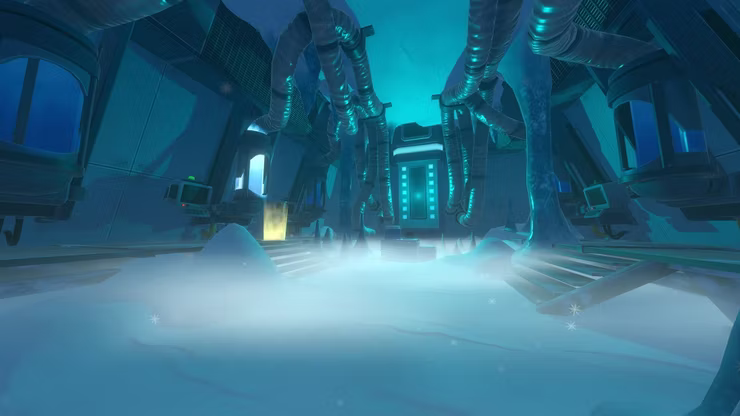
- Temperance, a desolate area that appears to be frozen, is one of the various places that Raft offers. Polar bears patrol the area, and all that remain are the skeletal remains of those who came before you. You can visit a deserted village, an observatory, a mystery research lab, and other areas.
- Your main goal here is to successfully enter the underground facility and learn the identity of the malicious AI. The facility itself is loaded with deadly gas and a startlingly high number of irate beetles, thus there are many dangers here. Along the way, you’ll light up an entire hamlet, ride a snowmobile around, and enjoy some stargazing at your very own observatory.
How To Get Electrical Wires
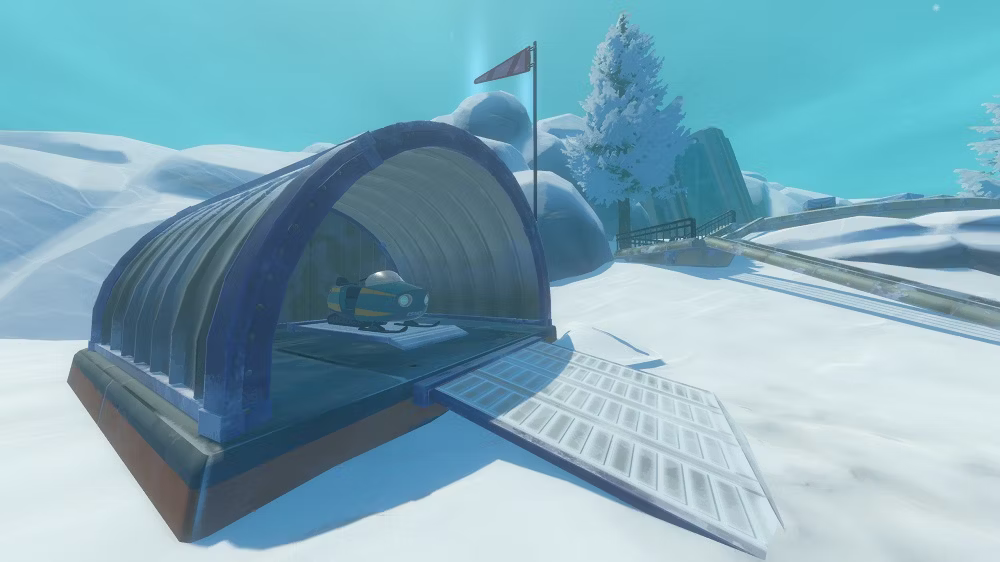
- As you approach the island, you’ll notice that it’s quite large and completely covered in snow. This may seem obvious, but it’s also something that hasn’t turned up in Raft before. Such a large area requires a more efficient mode of transportation, so depending on which side of the island you moored at, just keep your eyes peeled for one of the many small shelters that house snowmobiles. These little beauties enable you to zip around the island with ease, and also make dodging the many polar bears a doddle.
- Driving around, you’ll notice several radio towers with blinking lights. You need to find each one of these and take electric wires from the base (the reason for these wires will be apparent later), just note that there is usually a polar bear guarding each tower, so be careful.
- Once you have collected the wires from all the towers you should have eight in your inventory. Head towards the polar village to collect the ninth, and final, wire.
Powering The Polar Village
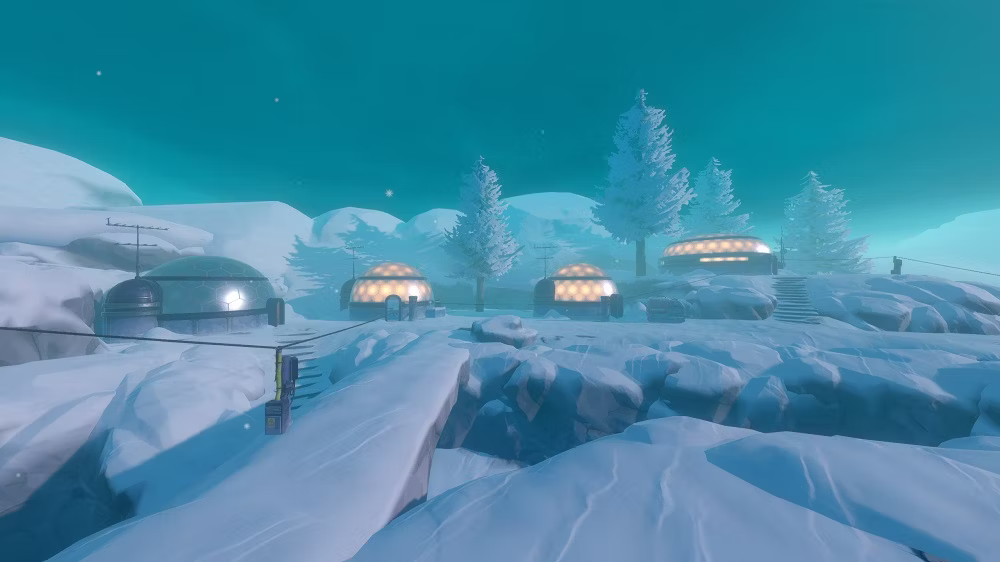
- The reason you’ve been darting across the map collecting bits of junk is that this abandoned village is without power, and it’s now your job to fix that.
- You’ll notice at the entrance to the village an electrical outlet, if you approach this you’ll be given a prompt to start dragging an electrical wire. The idea here is to find a route from outlet to outlet; there is only one real way of doing this as the wires only stretch so far. Make your way from house to house, making sure to loot any resources from the powered-up, now unlocked, abodes.
- The central building is your main goal, not only does it contain a boat-load (raft-load?) of valuable resources but also a blowtorch that we need to gain access to the facility later on.
Opening The Locker In The Observatory
Just off the path near the village, you’ll see a quite impressive observatory. As you head towards the entrance of the building, the floor will collapse beneath your feet, and you’ll find yourself in the caverns below. Make your way through this linear path, dodging or killing the angler fish, and climb the ladder into the observatory. Once you’re inside, take a moment to search around to find all the notes scattered about the place. They depict various constellations and are something that will help you solve the puzzle upstairs.
There is a locked box upstairs that needs a code to open.
If you can’t or don’t want to figure out the code yourself, it is as follows: 5-9-6-4
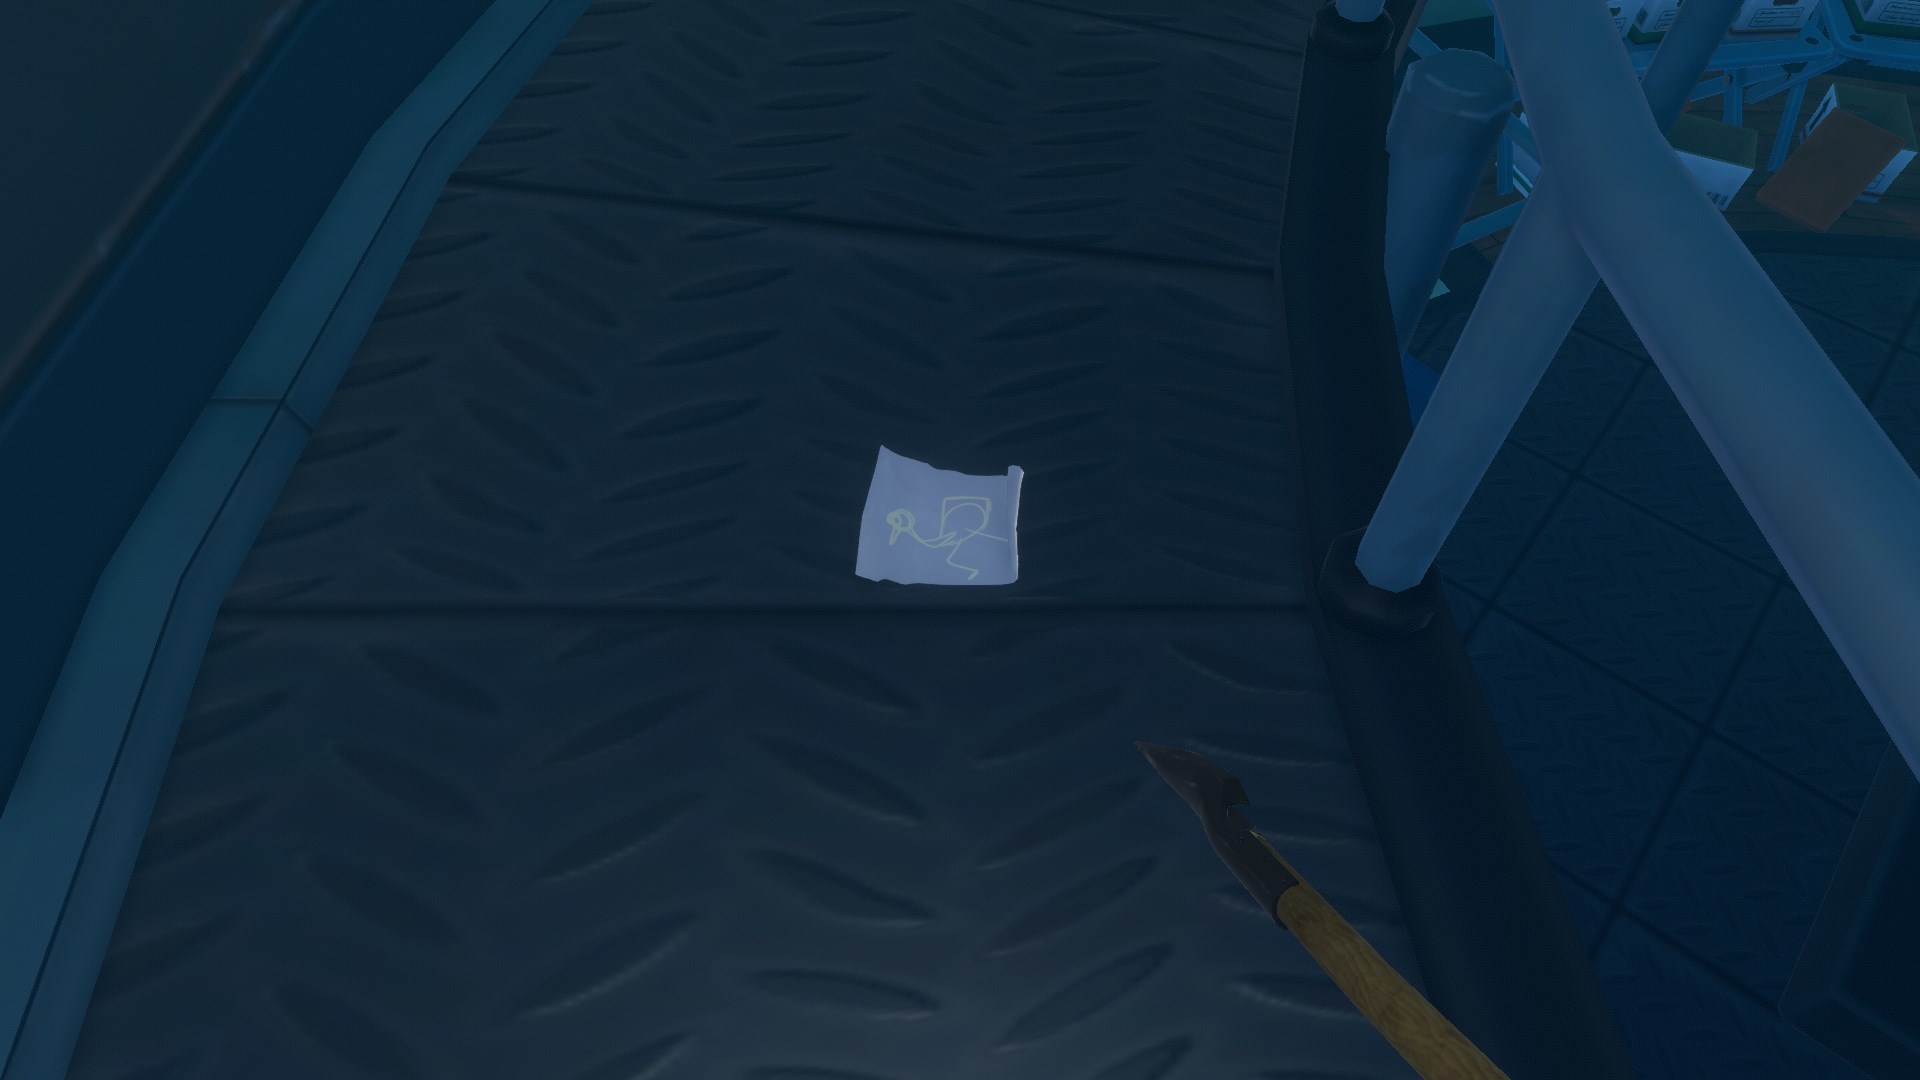
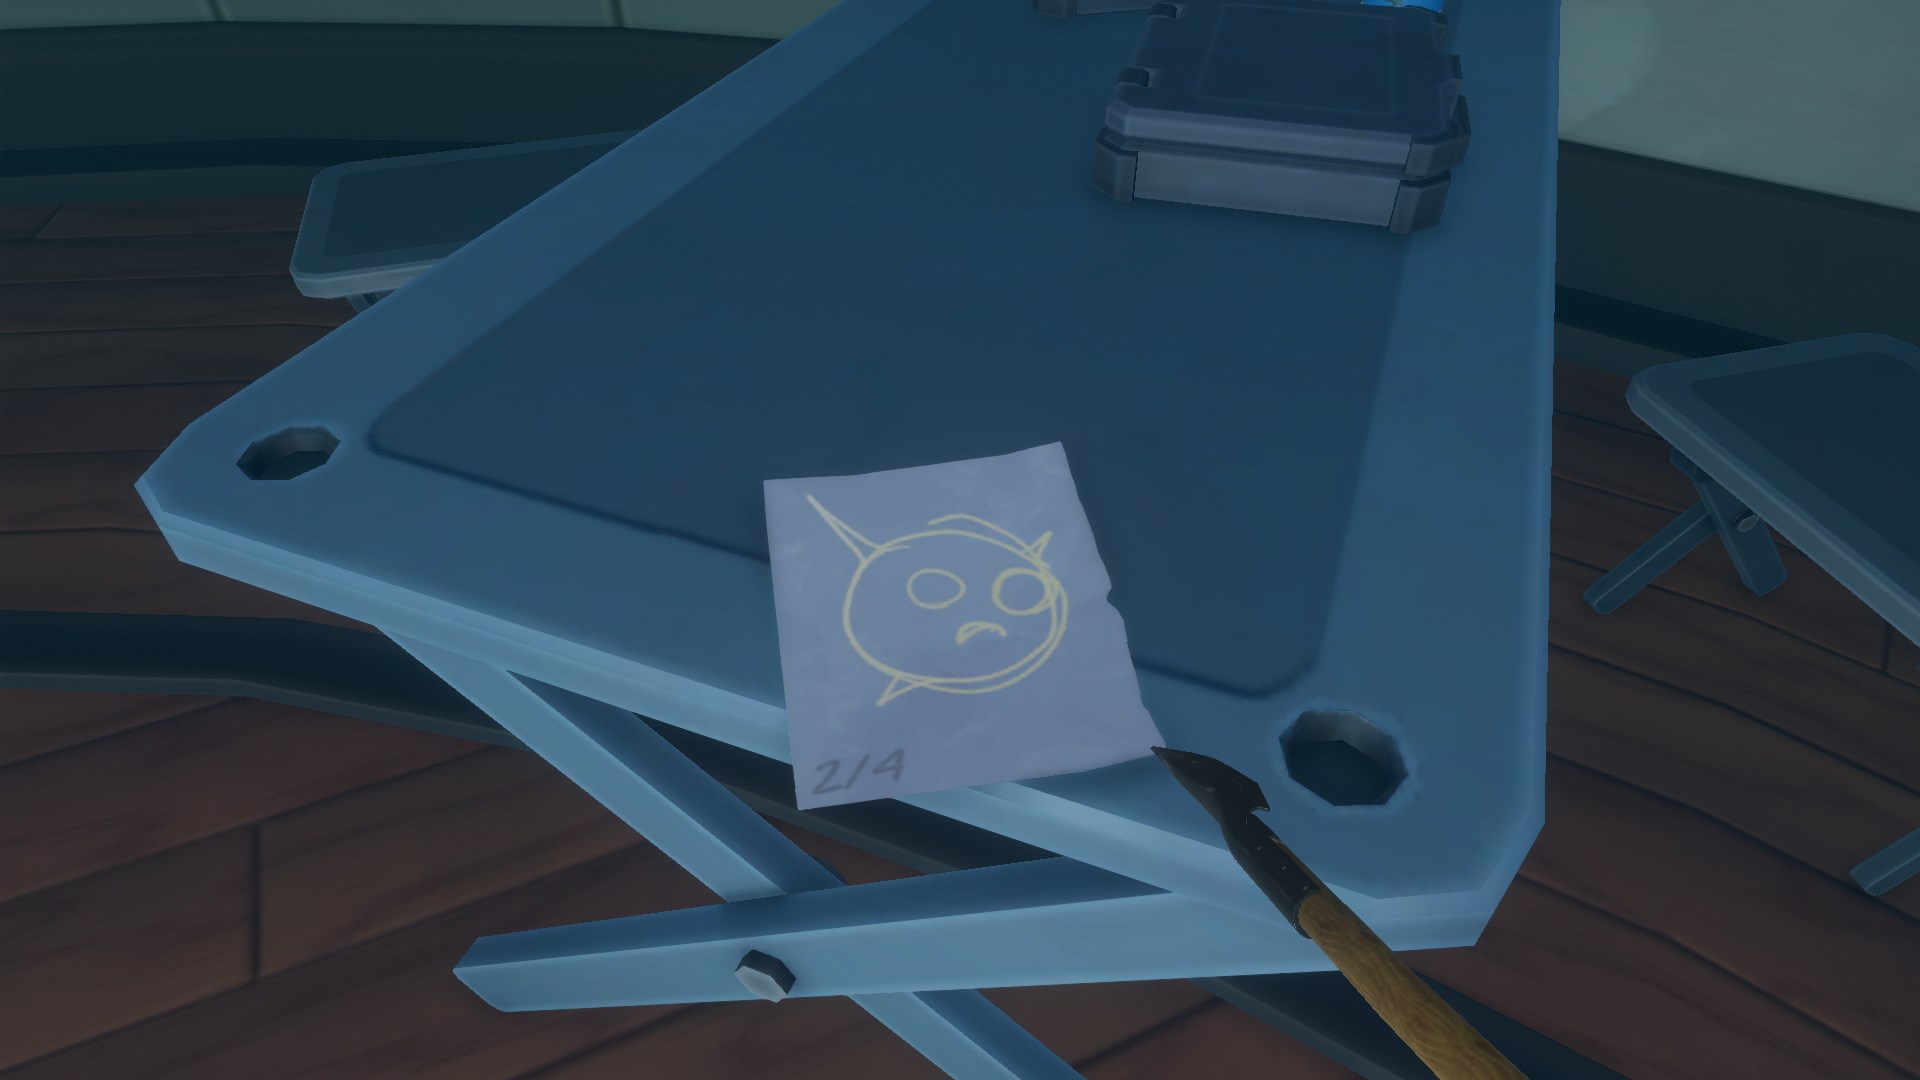
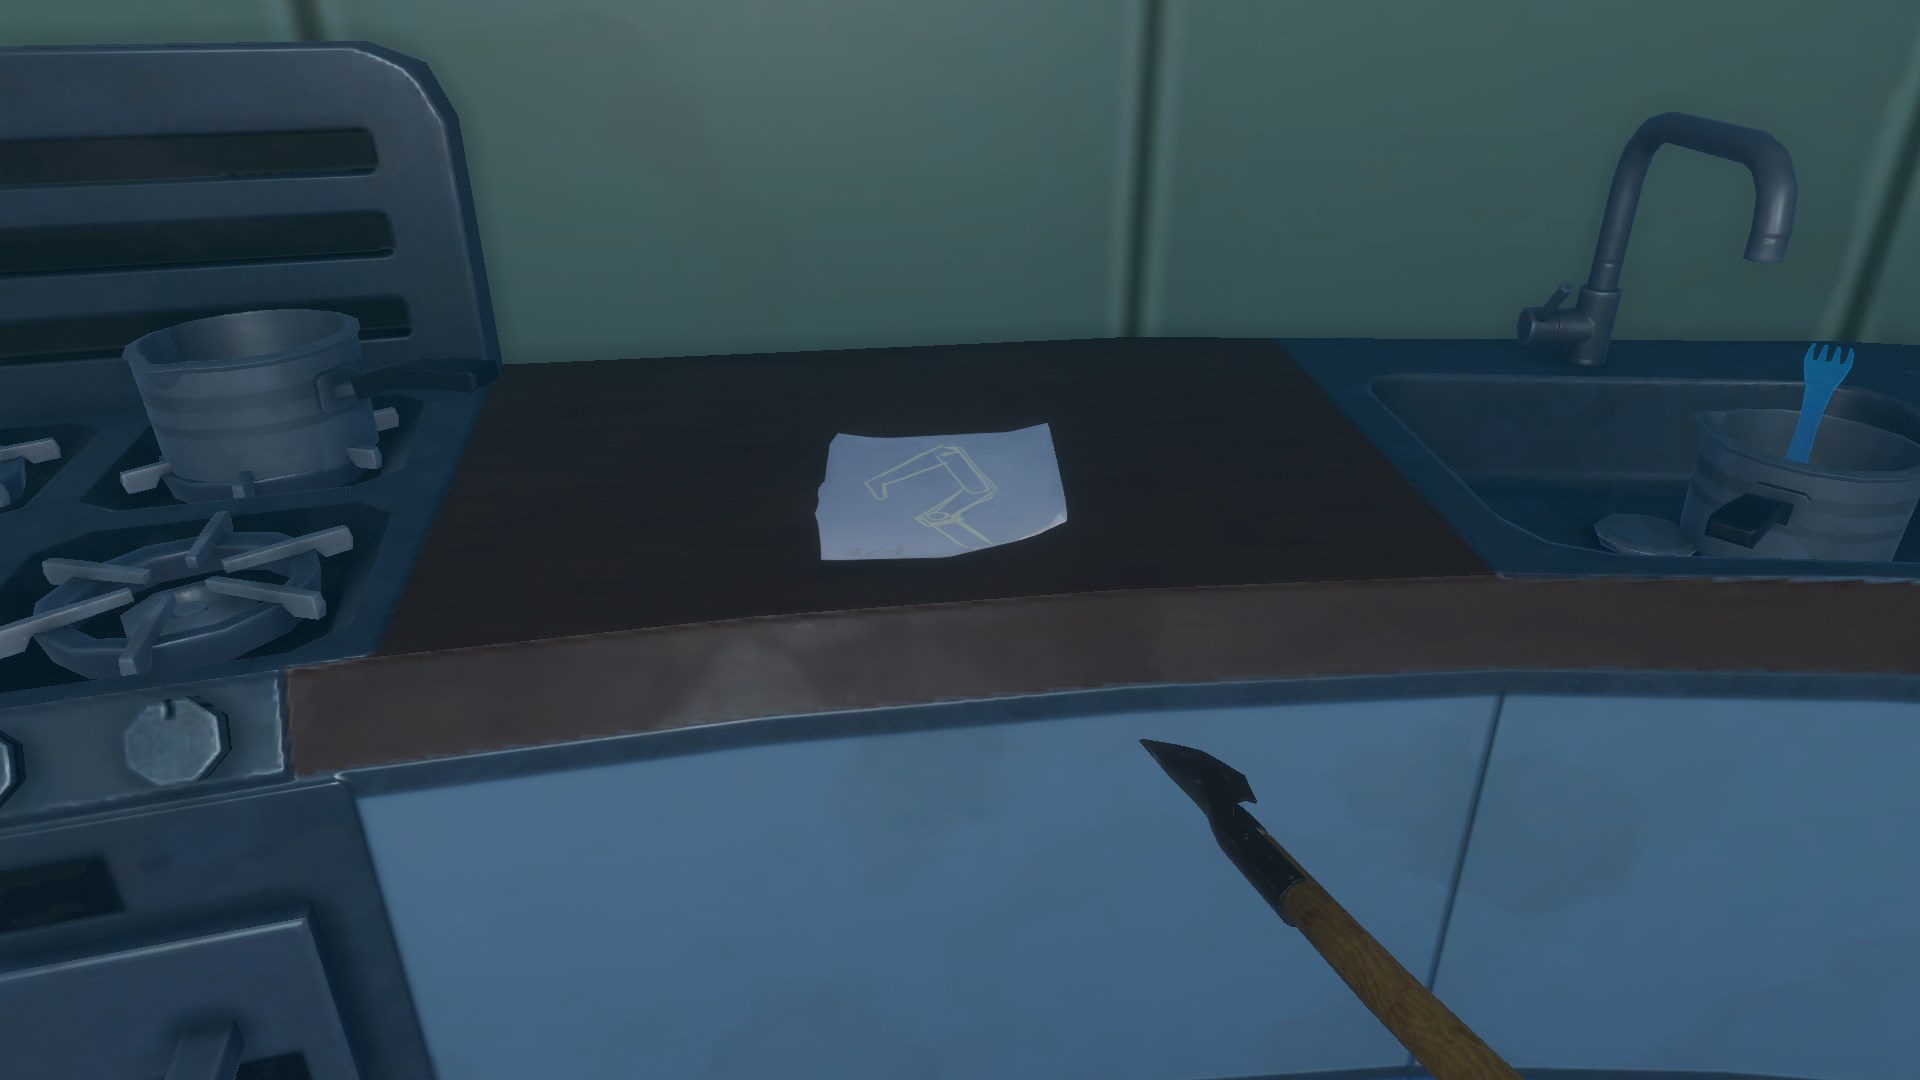
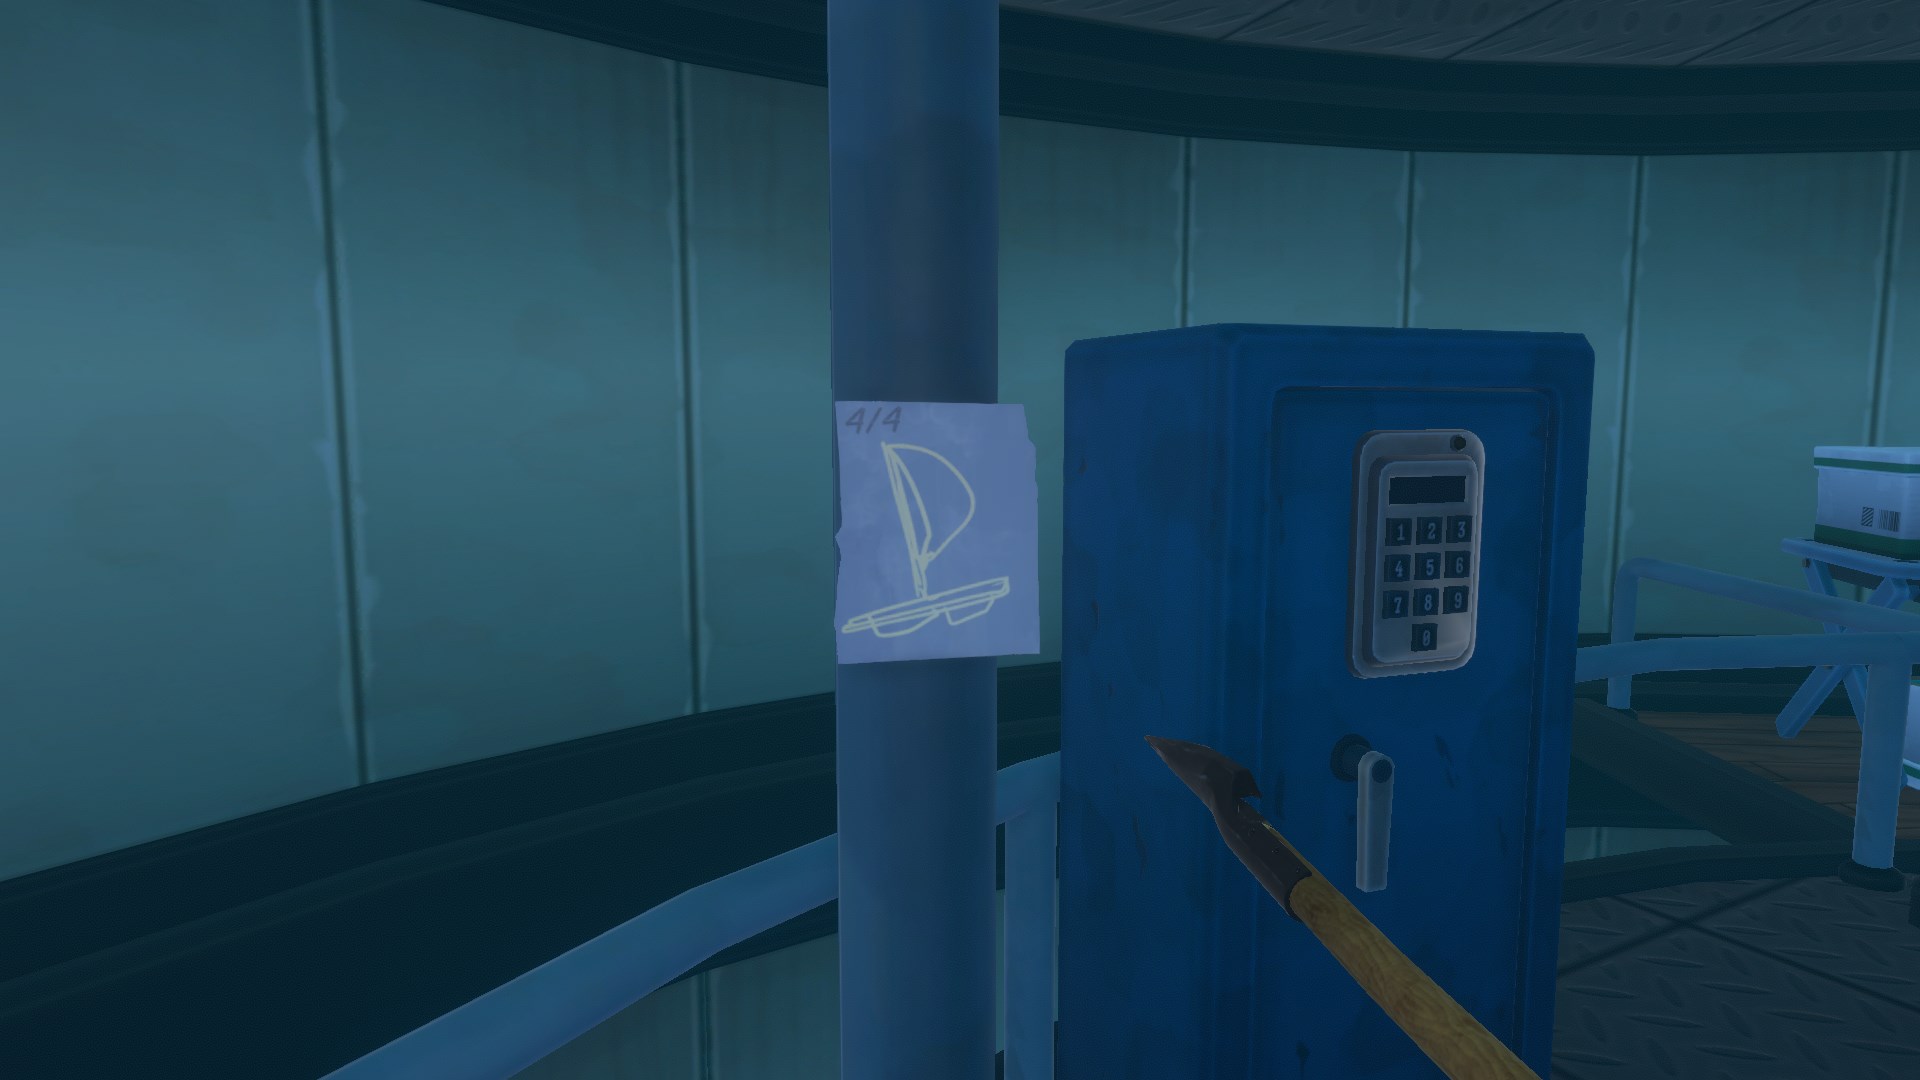
You can figure out this code by looking at the constellation notes you found downstairs and counting the number of stars in each constellation, using the telescope interface. The order of constellations is
- Bird
- Puffer
- Hook
- Raft
Inside the locker, you’ll find the selene key and the blueprint for an advanced anchor.
Getting Into The Labratory
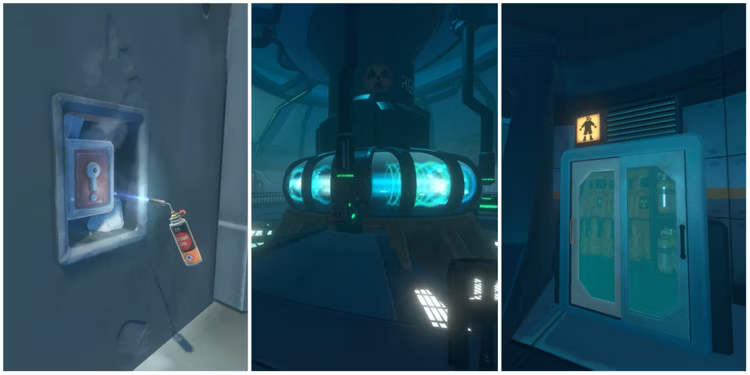
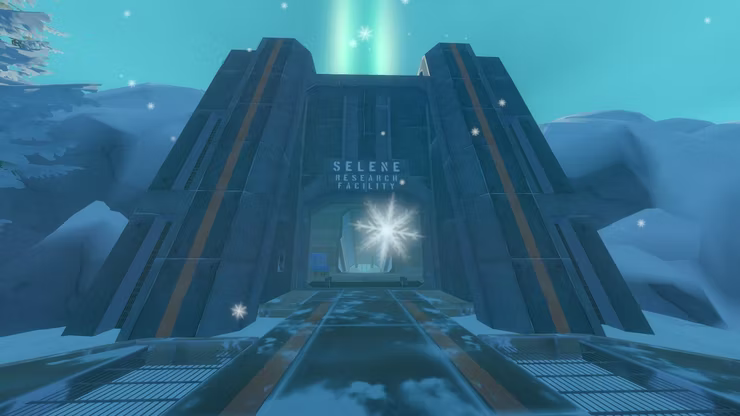
- With the blowtorch and the selene key in your inventory, it’s time to enter the facility. The entrance can be found by following the two beams of light in the sky until you reach the locked door. Use the blowtorch and then the key to open the door and head down. You’ll be told that you need three control rods to proceed further into the laboratory; they’re in the rooms surrounding the main area you’re in right now, the only issue being that those rooms are also flooded with poisonous gas
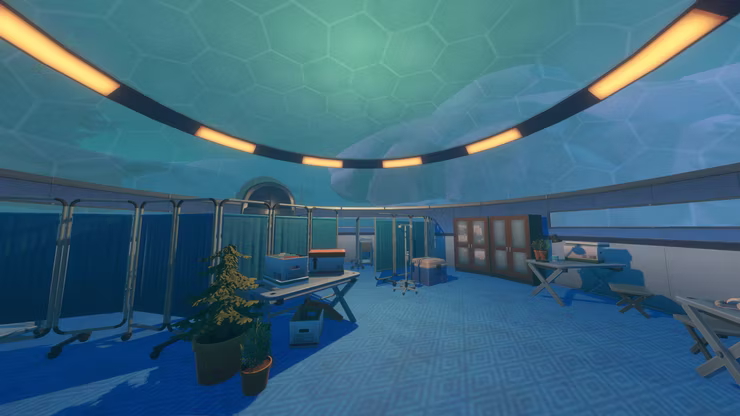
- You’ll need a hazmat suit to survive the poison gas, so interact with the closet and immediately go through into the next room. This puzzle involves you inputting the atomic numbers on the elements depicted on the three computer terminals. The numbers are all on posters adorning the three internal rooms. Input one, and you have a limited time to find the poster for the next element and input the number.
- If you’re struggling to find the correct numbers, they are:
- Cl: 17
- Pm: 61
- Rb: 37
[/b]
[/list]
Collect the control rod and get ready for the next test.
Releasing The Valves
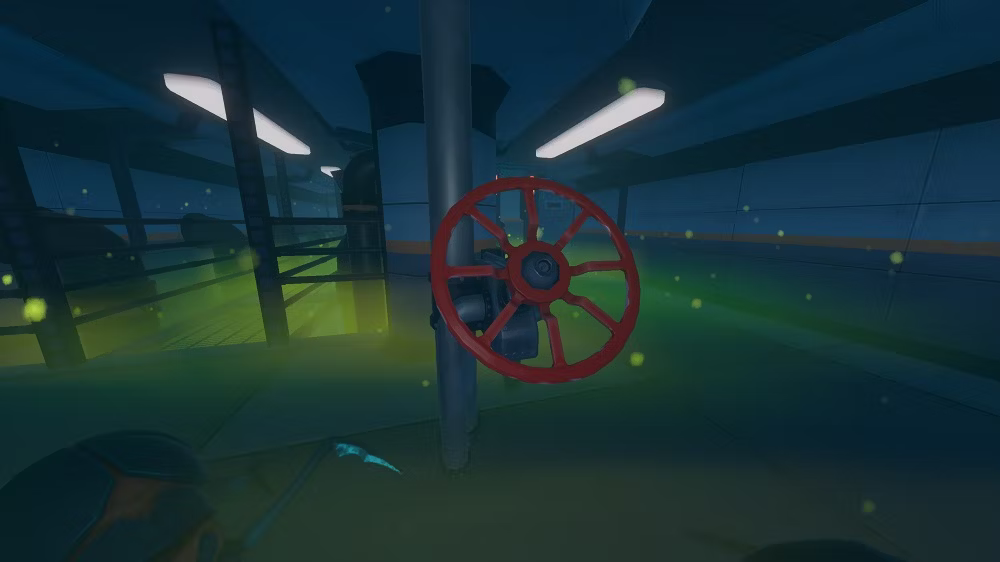
By comparison, this room is very straightforward. You have to release each valve in the area in order to proceed. The only wrinkle is that you’re presented with several beetles as you enter, and every time you begin to turn a valve, another drops from the ceiling. Dispatch these however you like, finish with the valves, and collect the control rod from the next corridor
The Laser Puzzle
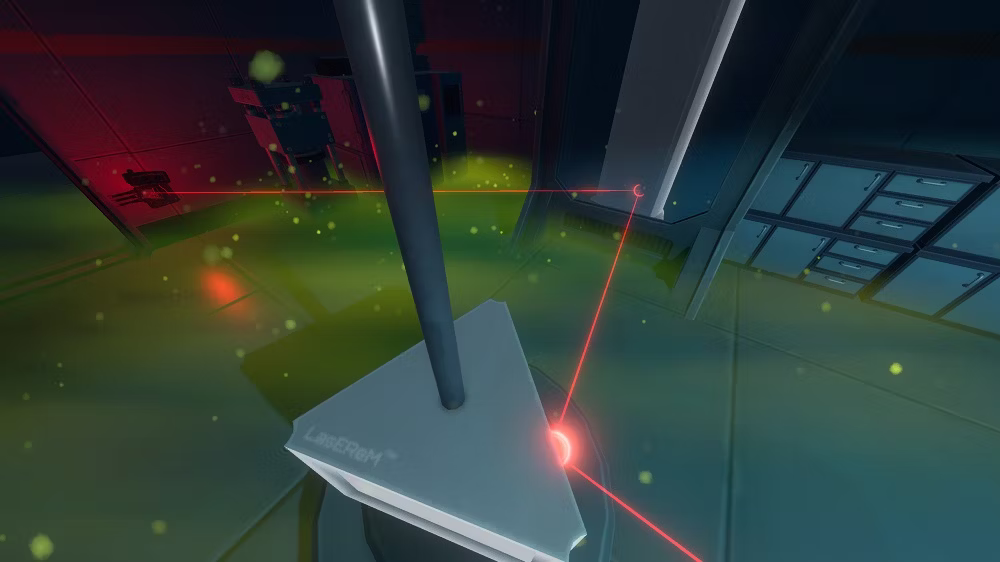
- This area is all about lasers, and mirrors. The first bit teaches you how redirecting the beam works, you want to angle the triangular mirror so the laser damages the controls on the door, giving you access to the next area.
- The next room can be tricky, as a small angle change at the beginning can mean a massive change at the end of the redirect. Each mirror in this room is used, and it may feel strange to go back on yourself with the laser, but this is how it’s done. It may take a little trial and error, but there is only one way to get the beam to the door controls.
- Collect the final control rod from the next corridor and head back into the main control room; insert each control rod and pull the level on the main computer. You’ll gain access to the reactor key.
Accessing The Reactor Room
- Once you have the reactor key, put on another hazmat suit and enter the reactor room. Inside you’ll have to release more valves and deal with more radioactive beetles.
WARNING!!! Don’t forget that a beetle drops as you turn each valve, so make sure you have your weapon equipped as you begin. - The next room presents you with several cryo chambers. Most of them are broken, but there is one that still houses a person. Interact with the centre panel on the left, and you’ll unlock a new playable character, Shogo. This room also contains the coordinates for Utopia and the blueprint for an electric smelter.
~~TEMPERANCE ISLAND NOTES~~
Temperance Island ALL NOTES LOCATION GUIDE
In Raft, you can find notes about civilization around the different story islands, including Temperance. The snowy area has lots of notes, but they can be hard to see due to the white landscape. Our Raft Temperance note guide lists out where to find every note in on the Temperance story island.
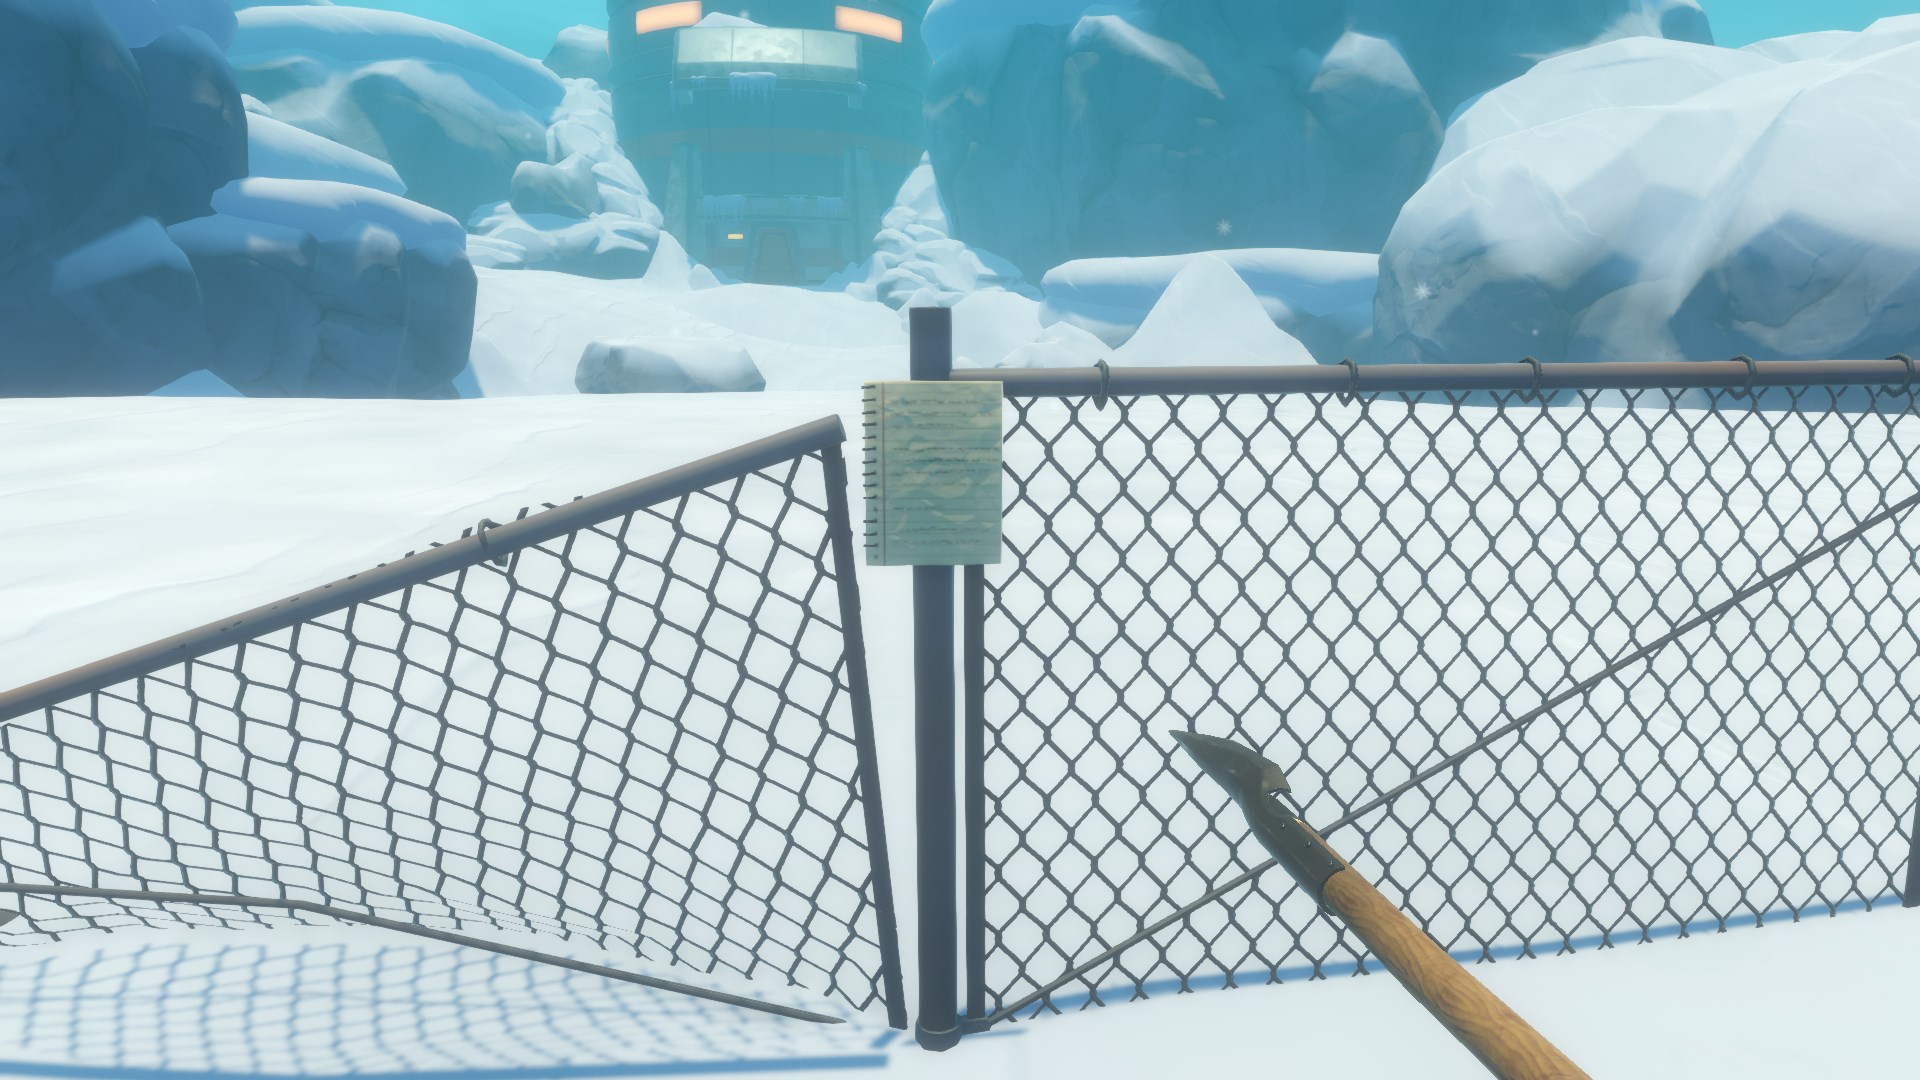
TEMPERANCE NOTE #1 (“I’VE ALREADY LOST MIRANDA …”) LOCATION
The first note is on the fence outside the observatory. It’s pinned against the center of the fence.
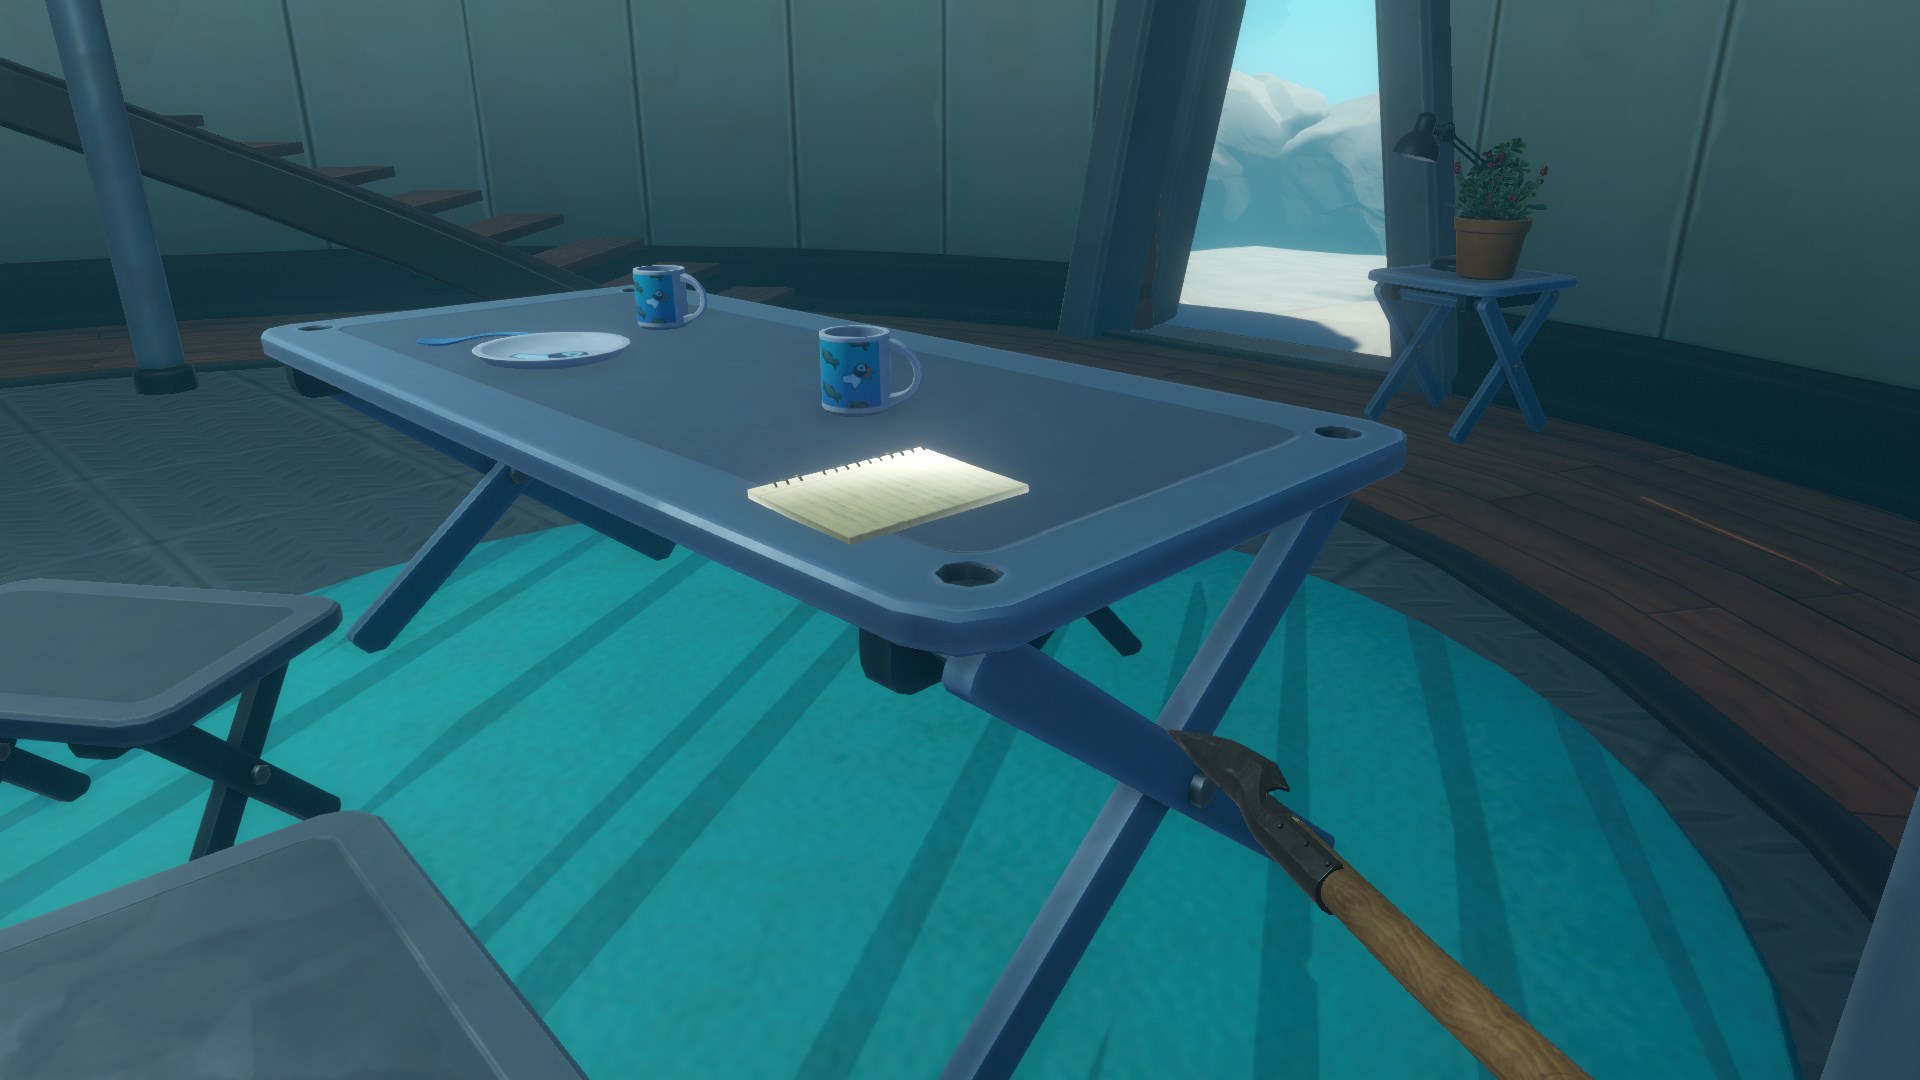
TEMPERANCE NOTE #2 (“THERE’S BEARS ALL OVER …”) LOCATION
The second note is on the table on the bottom floor of the observatory.
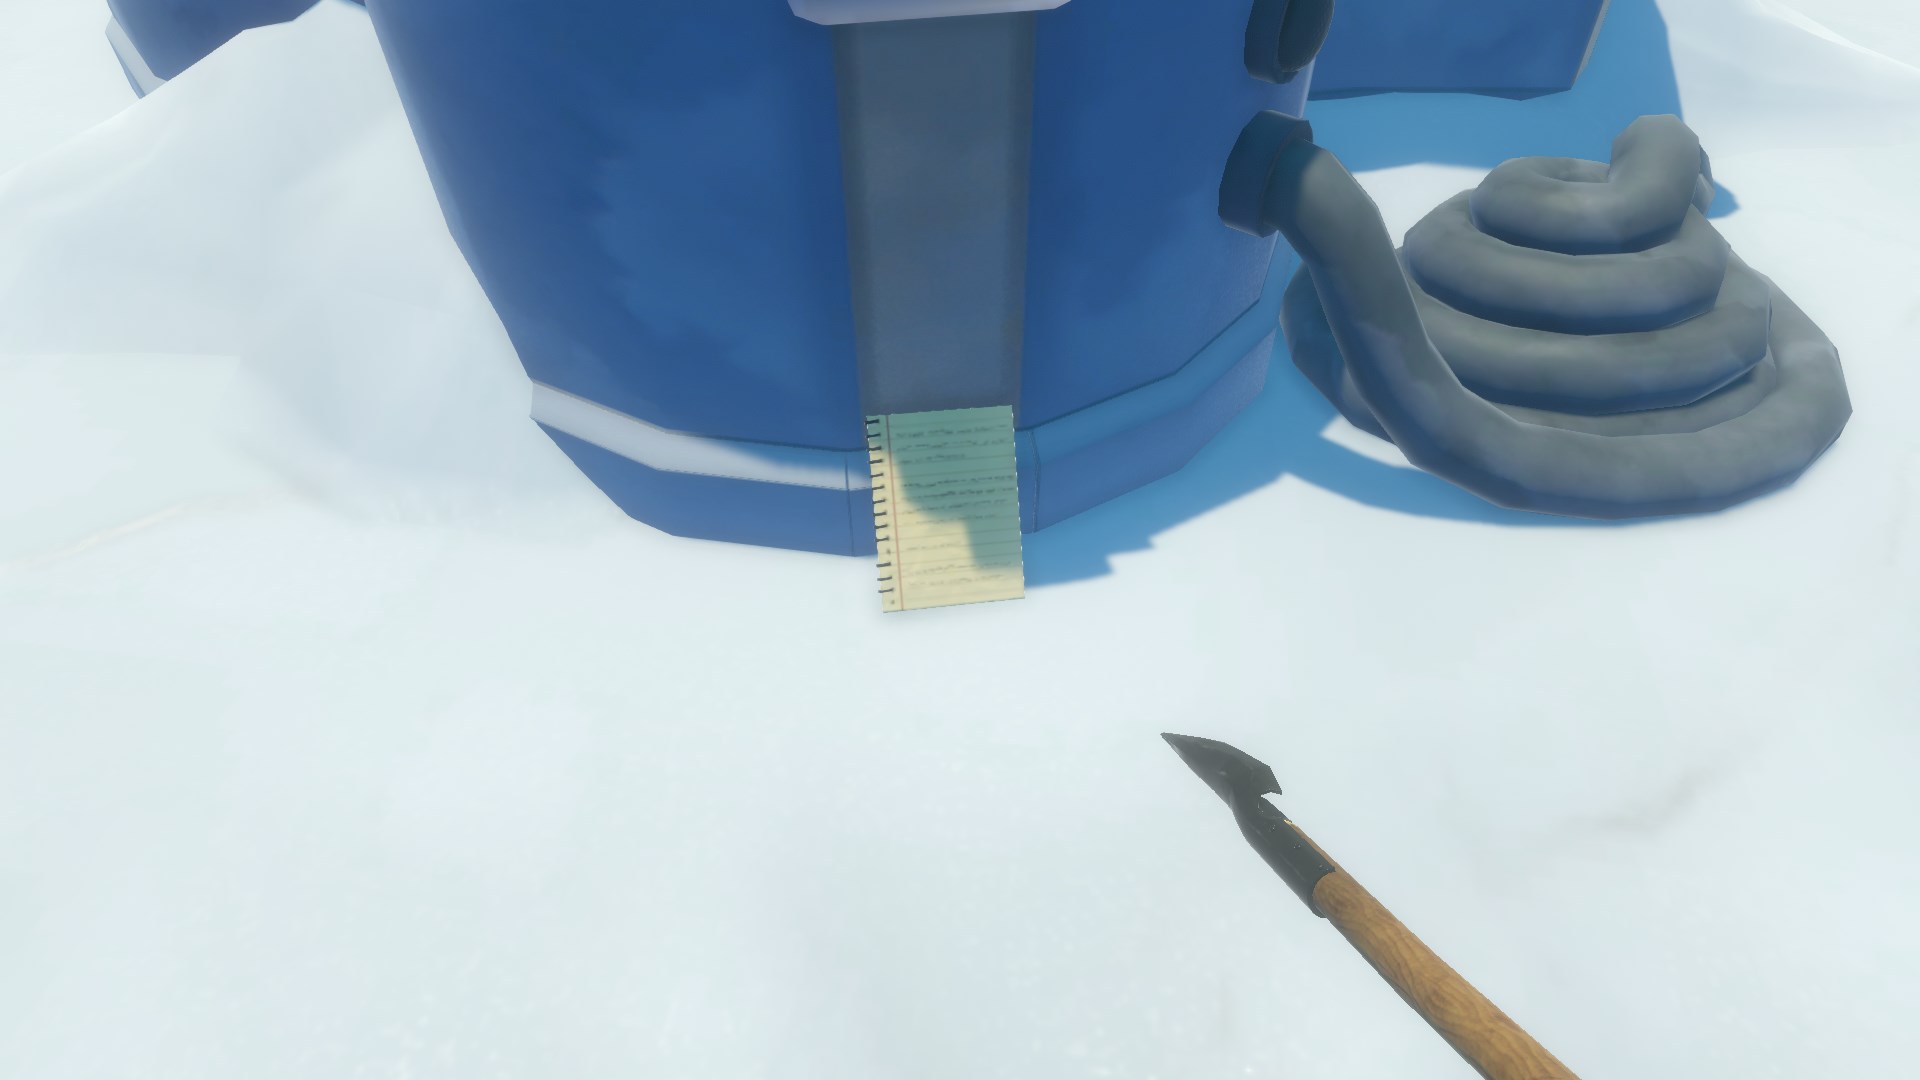
TEMPERANCE NOTE #3 (“DETTO SHOWED ME …”) LOCATION
The third note is on the floor by the electrical generator in the igloo village.
TEMPERANCE NOTE #4 (“THAT KID DETTO …”) LOCATION
This note is inside one of the igloo infirmary at the town on a table.
TEMPERANCE NOTE #5 (“THE BOAT IS READY TO GO …”) LOCATION
Note #5 is leaning against “Henry,” a man made of sticks and tape on the topmost floor of the observatory.
TEMPERANCE NOTE #6 (“I AM CALLED SPARROW … ”) LOCATION
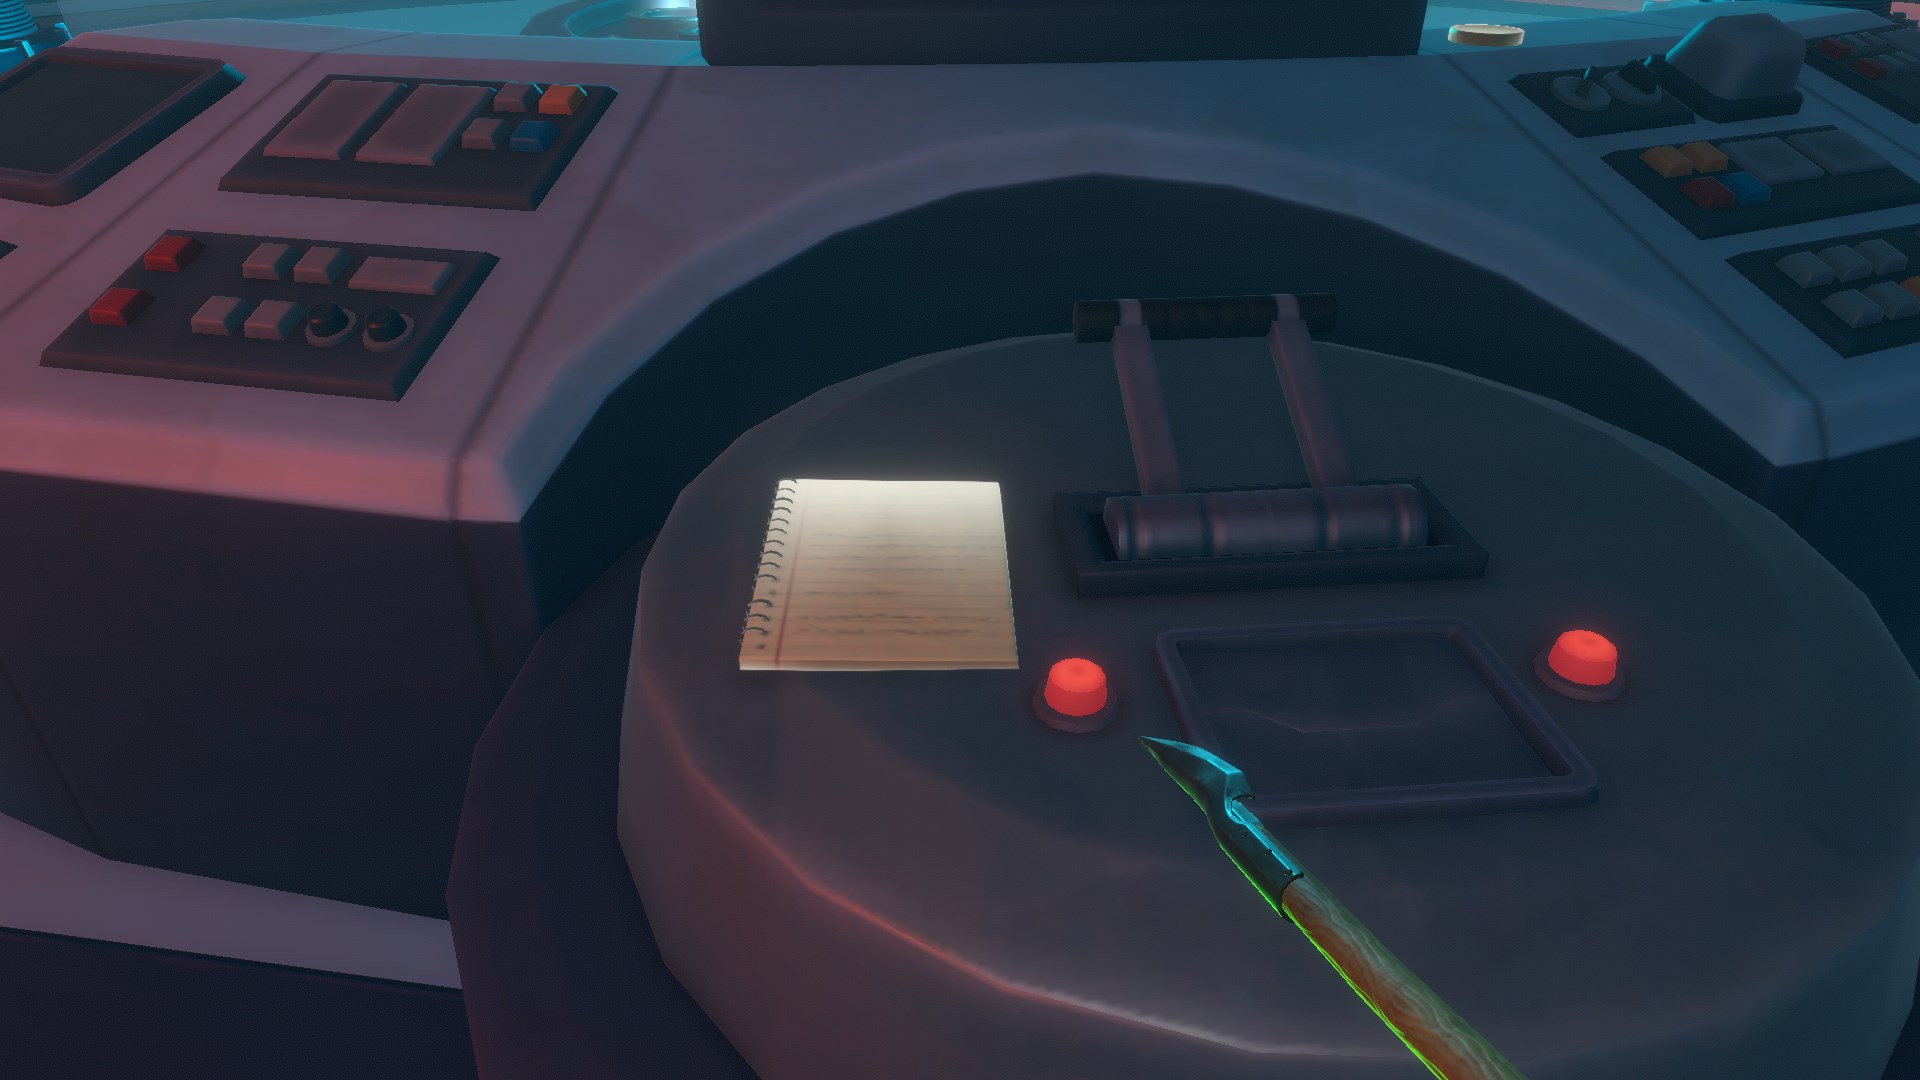
Note #6 is next to a lever near where you need to insert the control rods at the Selene Facility.
TEMPERANCE NOTE #7 (“THE SELENE FACILITY WAS BUILT …”) LOCATION
This note is on top of a box inside the Selene facility. You can find it before the entrance to the main room from Laboratory 1.
TEMPERANCE NOTE #8 (BIRD 1/4) LOCATION
This note is on the top floor of the observatory, on the ledge you need to climb the ladder up to.
TEMPERANCE NOTE #9 (POISON-PUFFER 2/4) LOCATION
This note is on the second floor of the observatory on a table.
TEMPERANCE NOTE #10 (HOOK 3/4) LOCATION
This note is found on the stove counter in the observatory.
TEMPERANCE NOTE #11 (RAFT 4/4) LOCATION
This note is found on a pillar near the locker on the top floor of the observatory.
TEMPERANCE NOTE #12 (UTOPIA CODE) LOCATION
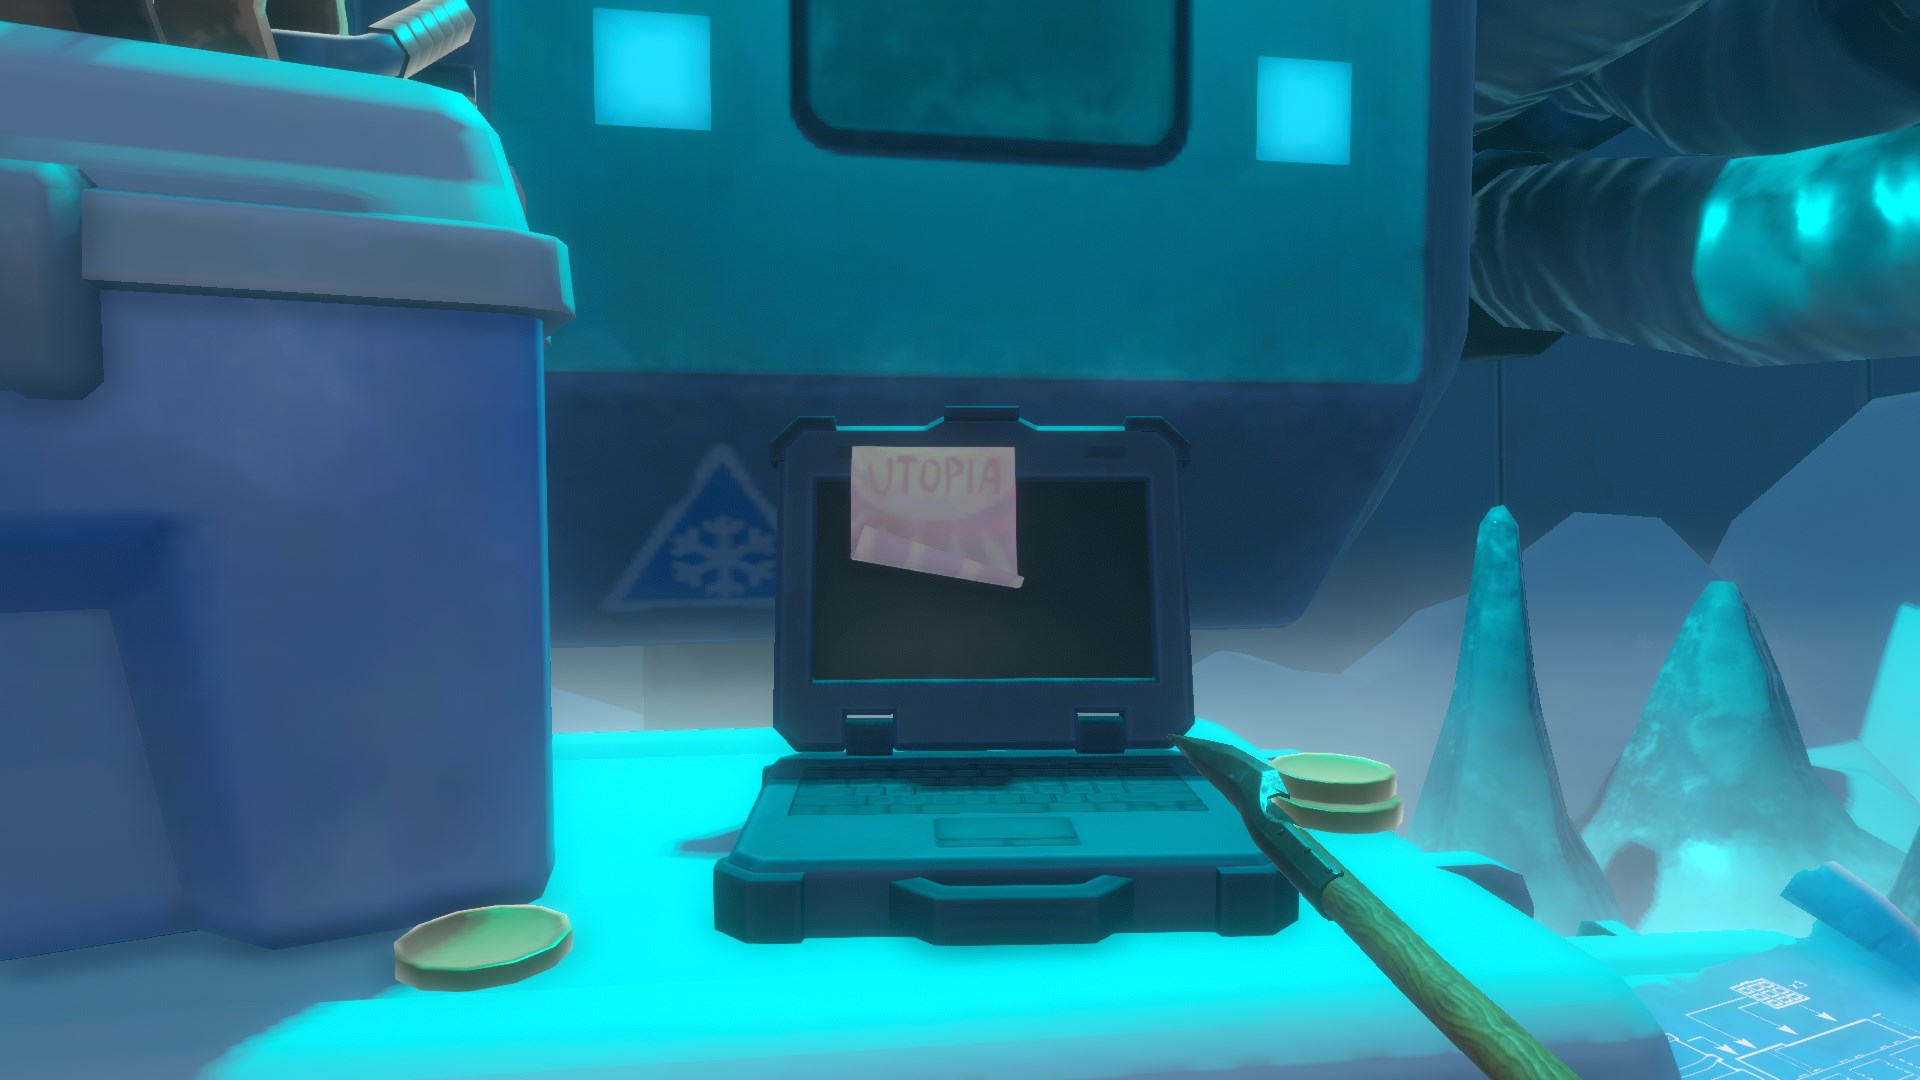
The last note, which will have the coordinates to Utopia, is stuck to a laptop in the final reactor room.
The coordinate code for Utopia is different in every game, so make sure to check your journal for the specific code.
~~~~~~~~~~~~~~————————-~~~~~~~~~~~~~~
UTOPIA
You can find a total of 3 blueprints and 2 notes in Utopia. Let’s start with the blueprints first and their locations:
Utopia part one: Find Detto’s code and the harpoon
First, go to Detto’s House near the docks. It has a tower and is surrounded by agricultural fields. The door is locked, but you’ll find a shovel and a map outside. There are three small red circles drawn on the map; Dig up the piles of dirt at these locations to find the three parts of Detto’s Code, which will allow you to open the door to his house.
Be careful though, because if you dig in the wrong place, the bugs will crawl and do damage. You can avoid damage by taking a step back right after digging. Inside Detto’s House, you’ll find the Big Backpack blueprint and a key item: the Harpoon.
Utopia part two: electric cable puzzle
If you turn your back to Detto’s House, you’ll see a bunch of huts on the right. This is where you’ll find the power generator. Be careful, this area is full of hyenas that will try to drag you across Utopia. Better bring a gun!
Your task is to connect one generator to another using electrical cables – there are five in total, all on top of the buildings. Use the crates to reach the roofs, then use the Zipline Tool to go from one roof to the next. Be sure to drag the electrical cord towards an accessible building with boxes as you cannot use the zipline at the same time. Use the image as a reference for the first four electrical cable connections.
Utopia part three: water tank puzzle
Now that the power is on, the water pump near Detto’s house is working. Next task: turn the three wheels until the water from the pump reaches the water tank. There’s a trick that will make this simple: when turning the outer wheel, make sure the tubes are connecting on the inlet and outlet side, then work towards the middle.
Utopia part four: Entry keys
After that, walk to the Water Tank and get the second key item: the Carbon Dioxide Canister. Go to the tower at Detto’s House and use the Canister and Harpoon to shoot a zip line into the water. Grab the entry key and use the other zipline to find a locked door. This door requires a second entry key to open, but don’t worry; if you walk a little further you will find the second lying on the stairs in front of the big cabin.
After using the elevator, you need to complete the obstacle course in Bamboo Tower. This will take you to the Hammer. Grab it and head back to the beginning of the obstacle course (you can walk on the safety nets), then use the hammer to open the locked door.
Utopia part five: Sprocket puzzle
See the pile of cogs on the floor? You can’t jump while carrying them, but you can put them in crates. If you keep doing this (put them up as high as you can, then climb up yourself) you can place the wheel on the platform lift on the right.
To take the lift platform to the second level, you need to use the weights on the left side of the room in the following order:
- Use the stairs on the left to reach the other platform, then place the weight with the ‘3’ on the platform.
- Go down and place weight 1 on the platform. Then remove weight 3.
- Place weight 2 on the platform and remove weight 1.
- Go to the other side, grab a cog from the platform and use it to lower the drawbridge.
- Bring the cog with you to the next room because you have to solve another elevator puzzle. Here’s a step by step:
- Go to the sixth (upper) floor, add weight 5.
- Add weight 1, remove weight 5.
- Add weight 4, remove weight 1.
- Add weight 2, remove weight 4.
- Add weight 3, remove weight 2.
- Use a sprocket to lower the next drawbridge, then carry a new sprocket to the transport platform below. Make sure the sprocket is transported to the other side, where the broken elevator is, before going through the obstacle course once more.
Utopia part six: Olof boss fight
After taking the elevator, use the crates to get to the top floor. It takes a stack of five boxes to get to where Olof is. Be careful though, as he will be throwing firebombs at you. When Olof runs away, go after him, but don’t neglect the Electric Zipline Tool blueprint and Warehouse Key.
Then go down and take out the hyenas, then stack the crates again to get to the highest floor (the biggest stack needs six crates). Make sure you have a good weapon and some Healing Salve, because your next fight is against a much larger (and deadlier) hyena boss named Alpha. Here are the cliff notes for the Alpha fight:
Whenever you hit Alpha, a poisonous puddle will form on the ground.
After Olof throws food at him, Alpha becomes invincible for a short time (he will have a greenish glow).
Watch out for Alpha’s grab and jump special attacks after his immunity ends.
Alpha will occasionally throw rocks at you.
When Alpha is gone, use the elevator and approach Olof. Jump after him to find the final project: Titanium Tools. Take the Master Key from Olof and take the elevator down. As soon as you exit, you’ll find the building with all the locks on your right.
You can probably guess what comes next… Use the Master Key, free Utopia and enjoy the final scene in Raft. Congratulations on winning the game! If you missed any Raft characters during the game, head over to our guide to finding them.
**COMING SOON**
Utopia Blueprints
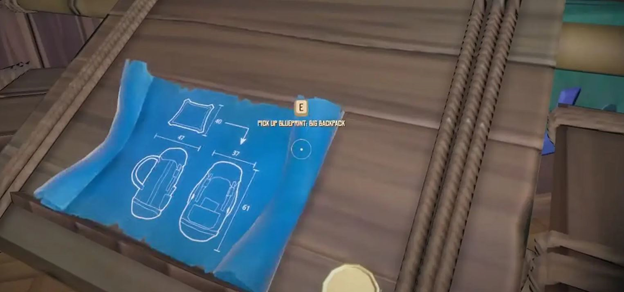
Big Backpack Blueprint
The first blueprint is for the big backpack which is on the table inside Detto’s house. To get to this area, you need to find 3 Detto codes hidden throughout Utopia’s digging spots. The locations for these digging spots are marked on the note you can find outside of Detto’s house. After getting all three codes, you can now go inside the house to get the blueprint.
Electric Zipline Tool Blueprint
The second blueprint is for the electric zipline tool which is on the platform where you first encounter Olof throwing bombs. Head inside the room to find the blueprint right next to the warehouse key on the table.
Titanium Tools Blueprint
The last blueprint is for the titanium tools which you can find on the table to the left of Olof. You need to reach the end of the game to do this.
~~Utopia Notes~~
Utopia ALL NOTES LOCATION GUIDE
The 1st Note Utopia
The 1st Note is outside of the main house near the pipe & water puzzle. Right outside and is located on top of a wooden crate.
The 2nd Note Utopia
The 2nd Note is located outside of the locked building that requires Master Key to open. Just outside is the note and an entrance key.
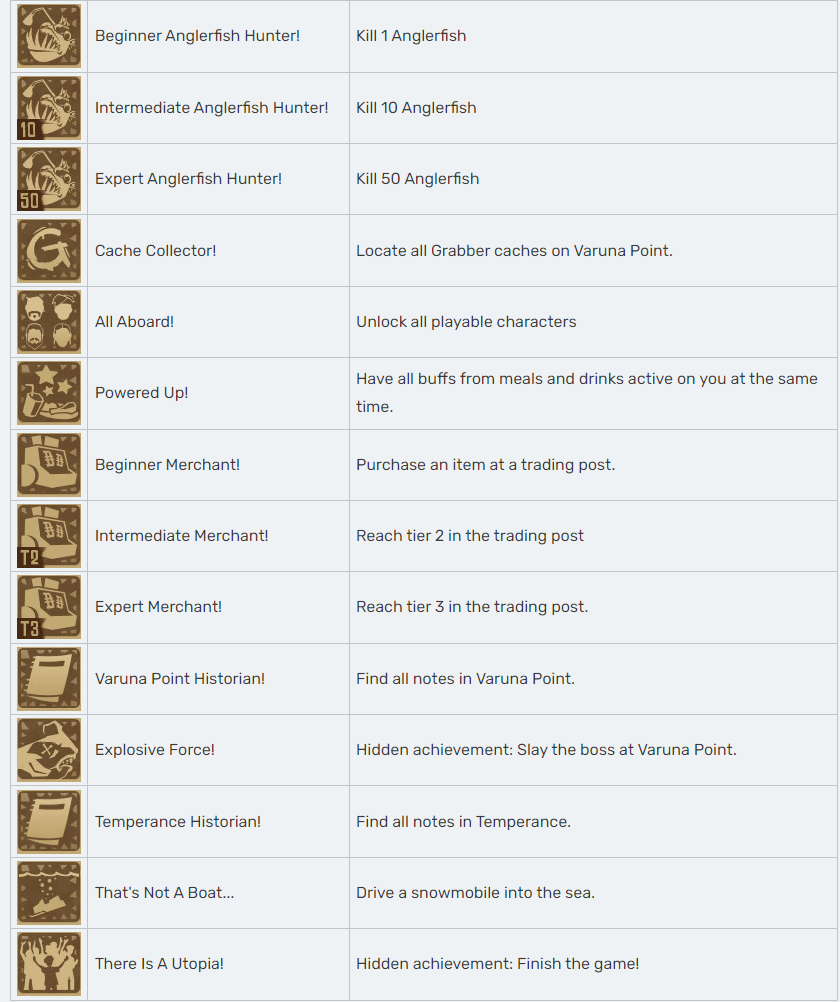
GET ALL ACHIEVEMENTS
Raft 1.0 Trade Post Achievements
- For achievement 1, you need to buy something
- For 2 and 3, you need to increase the tier (level) of the trade post to 2 and 3, then new goods will be available for purchase
Raft 1.0 Explosive Force Achievement!
Story achievement, you can’t miss it, get to the 3rd floor of the arena and break a huge column, then put a barrel in it so that the fish will blow it up and die from it, no matter how many columns were blown up before, it is guaranteed to die from the last one
Raft 1.0 Achievement Powered up
You need to hit the soup and smoothie at the same time so that their scales go beyond your thirst and hunger
Raft 1.0 Achievement That’s Not A Boat…
The achievement can only be unlocked on the 7th story island – Temperance, all you need to do is sink any of the snowmobiles on the location in the water
Raft 1.0 Varuna point / Temperance historian achievements!
Get all notes for both locations
Raft 1.0 Cache collector achievement!
To complete the achievement, you need to find the so-called Grabber marks, I won’t be surprised if people mainly come because of this achievement, because finding it is more difficult than collecting all the paintings and tiki fragments from the treasure, I won’t show their places, even though everyone has screenshots I have, just so you understand, I have more than 100 repeated screens with the same tags. See the symbol that you will have to look for throughout the Varuna point: I will do all the grabber marks only if I want to, but it’s far from a fact that I will still do it
Raft 1.0 Achievement All Aboard!
- To get the achievement, you need to find all the characters in the raft
- Their location:
- The character Tala is located on the 1 story island of the Radio Tower
- and will be waiting for you on its top next to the white board
- The character Johnny is on the 3 story island of Balboa
- and will be waiting for you on the tower x6 lying on the mattress (on me)
- tower x6 – where you need a machete
- Elaine’s character is on the 5th story island of Tangaroa
- and will be waiting for you in the main tower that flies away after
- activating the code
- Shogo’s character is on the 7th story island of Temperance
- and will be waiting for you after turning off the reactor in the room with coordinates
- utopia, he will be in a frozen capsule, go to it and press E
Raft 1.0 Achievement There is Utopia!
The achievement that is given for the complete passage of the plot, in order to get it you need to go through all the boss fights with hyenas, alpha, etc., then come to the antagonist’s office, after which he will fall from the window, go down after him, pick up the key to the prison and go to open it yourself prison.
After that, the cutscene will begin and at the end of it you will be given an achievement, also after its end there will be a lot of food from the inhabitants on the utopia that you can take
That’s it for this Raft Chapter 3 Achievement Guide (Raft 1.0 Achievement List)
ALL ACHIEVEMENTS
I hope you enjoy the Guide we share about Raft – Chapter 3 Complete Guide; if you think we forget to add or we should add more information, please let us know via commenting below! See you soon!
- All Raft Posts List



Leave a Reply