Screenshot assisted guide for locating all the secrets in MP #1 by Hipnotic.
Start: Command HQ
This level contains only a single (unmarked) secret.
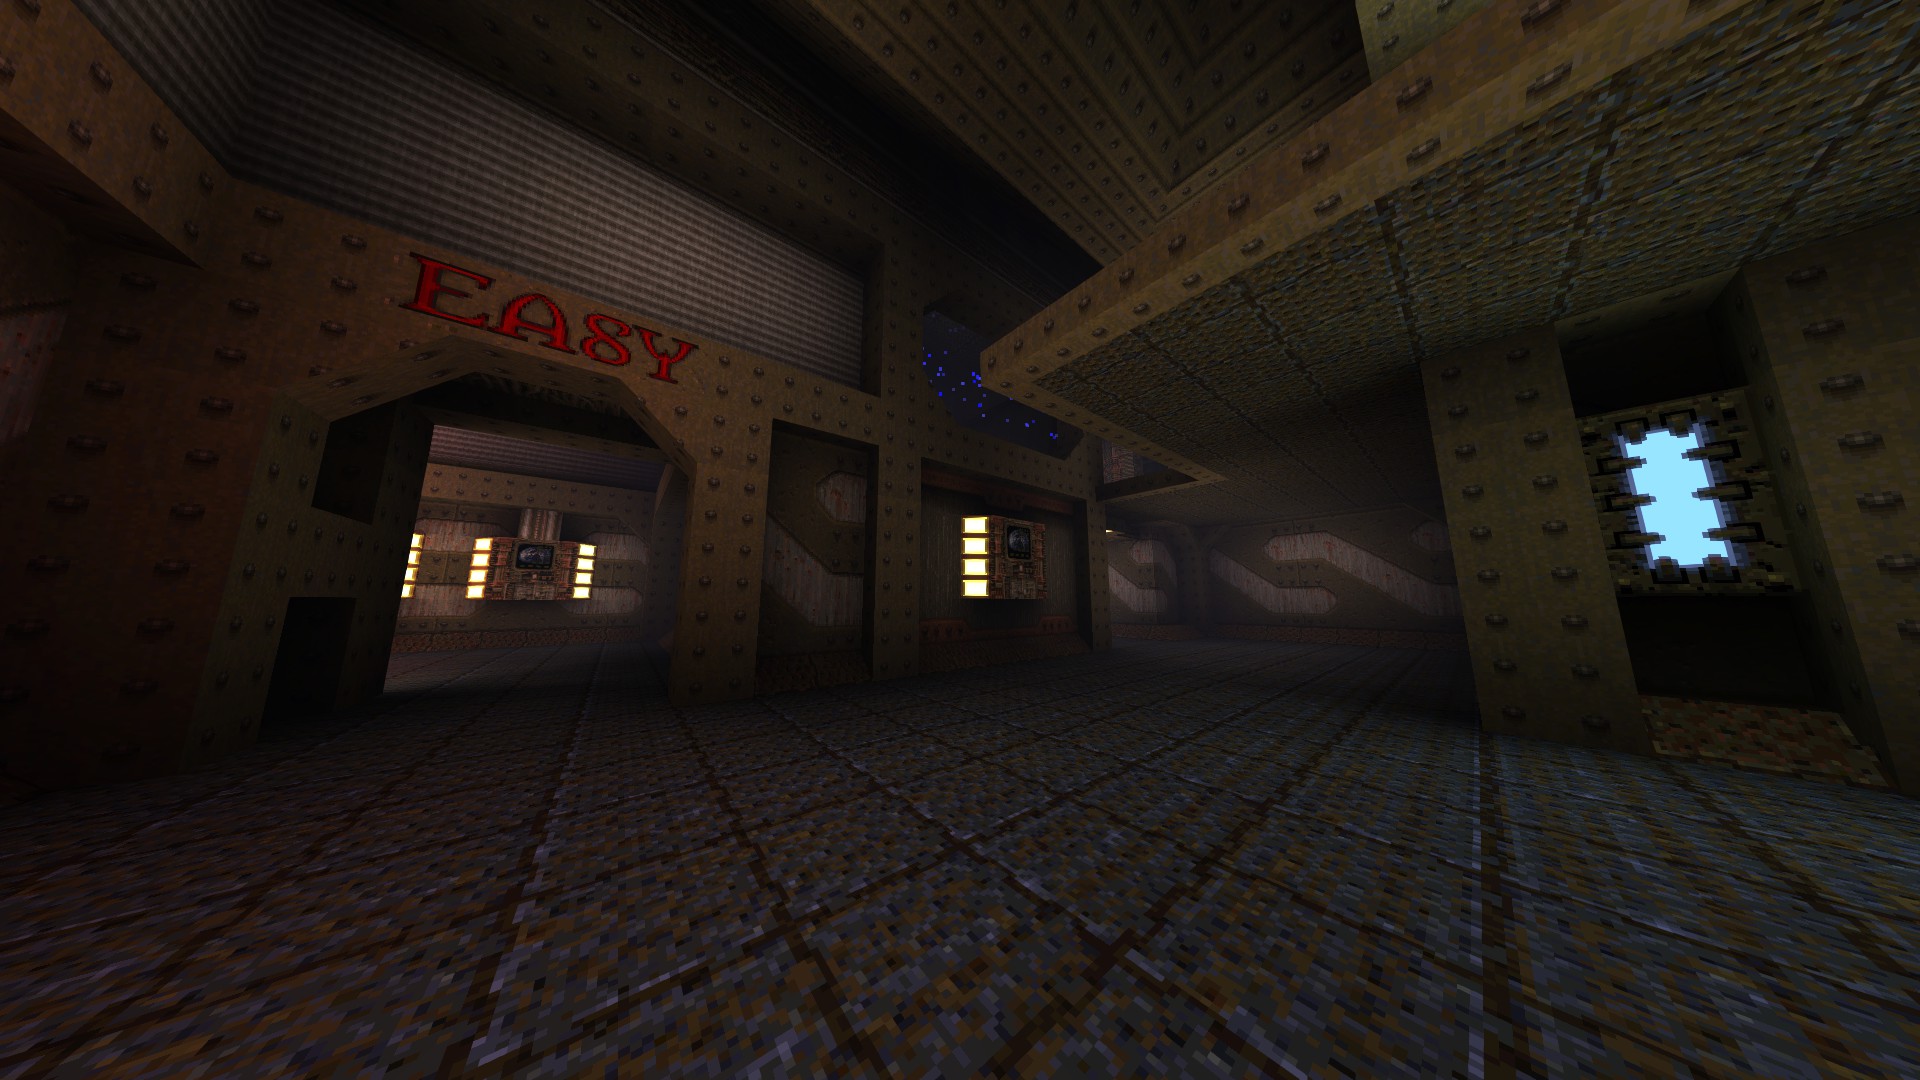
1/1 – As per Quake fashion, Scourge of Armagon has a start map of its own where you select the difficulty level you like to play on by going through the appropriate slipgate. Likewise, the highest difficulty level, Nightmare (which, in its modernized form, equals to Hard with 50 HP cap), is reached via an out of sight one.
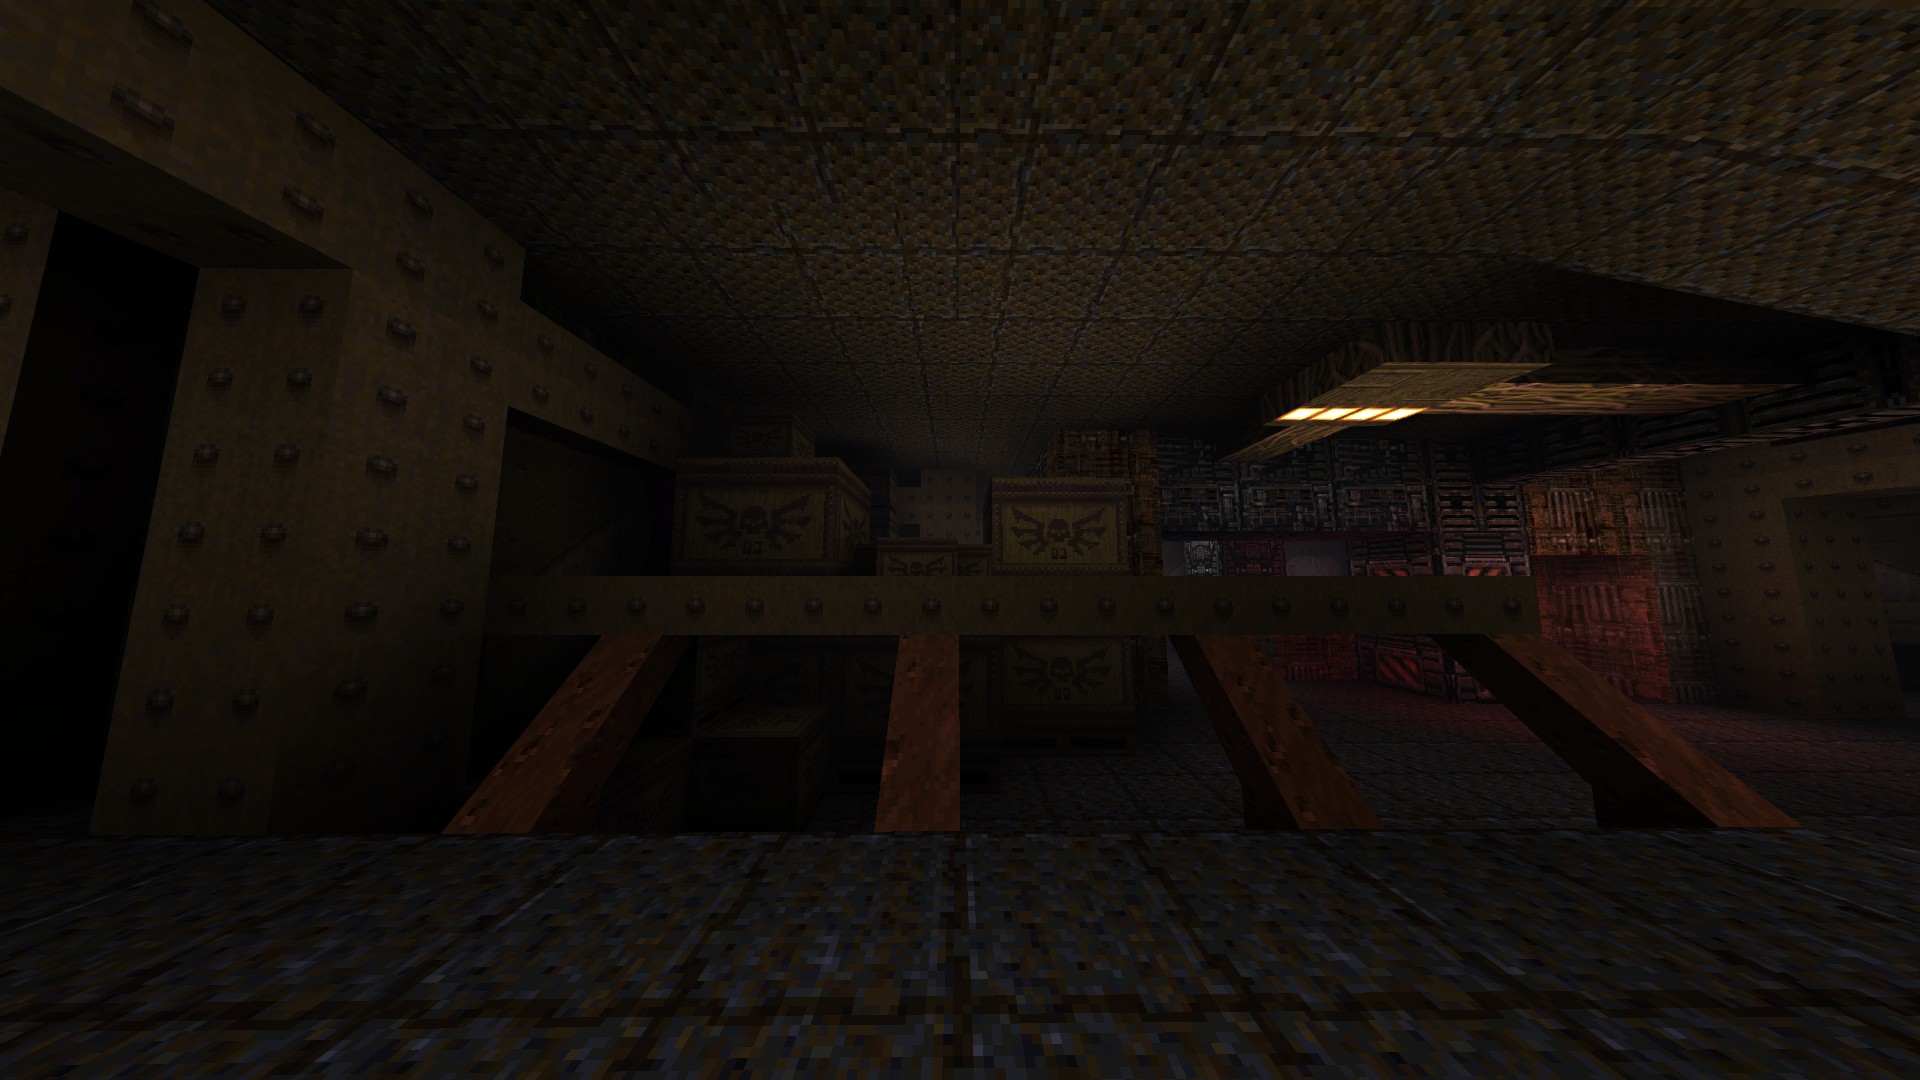
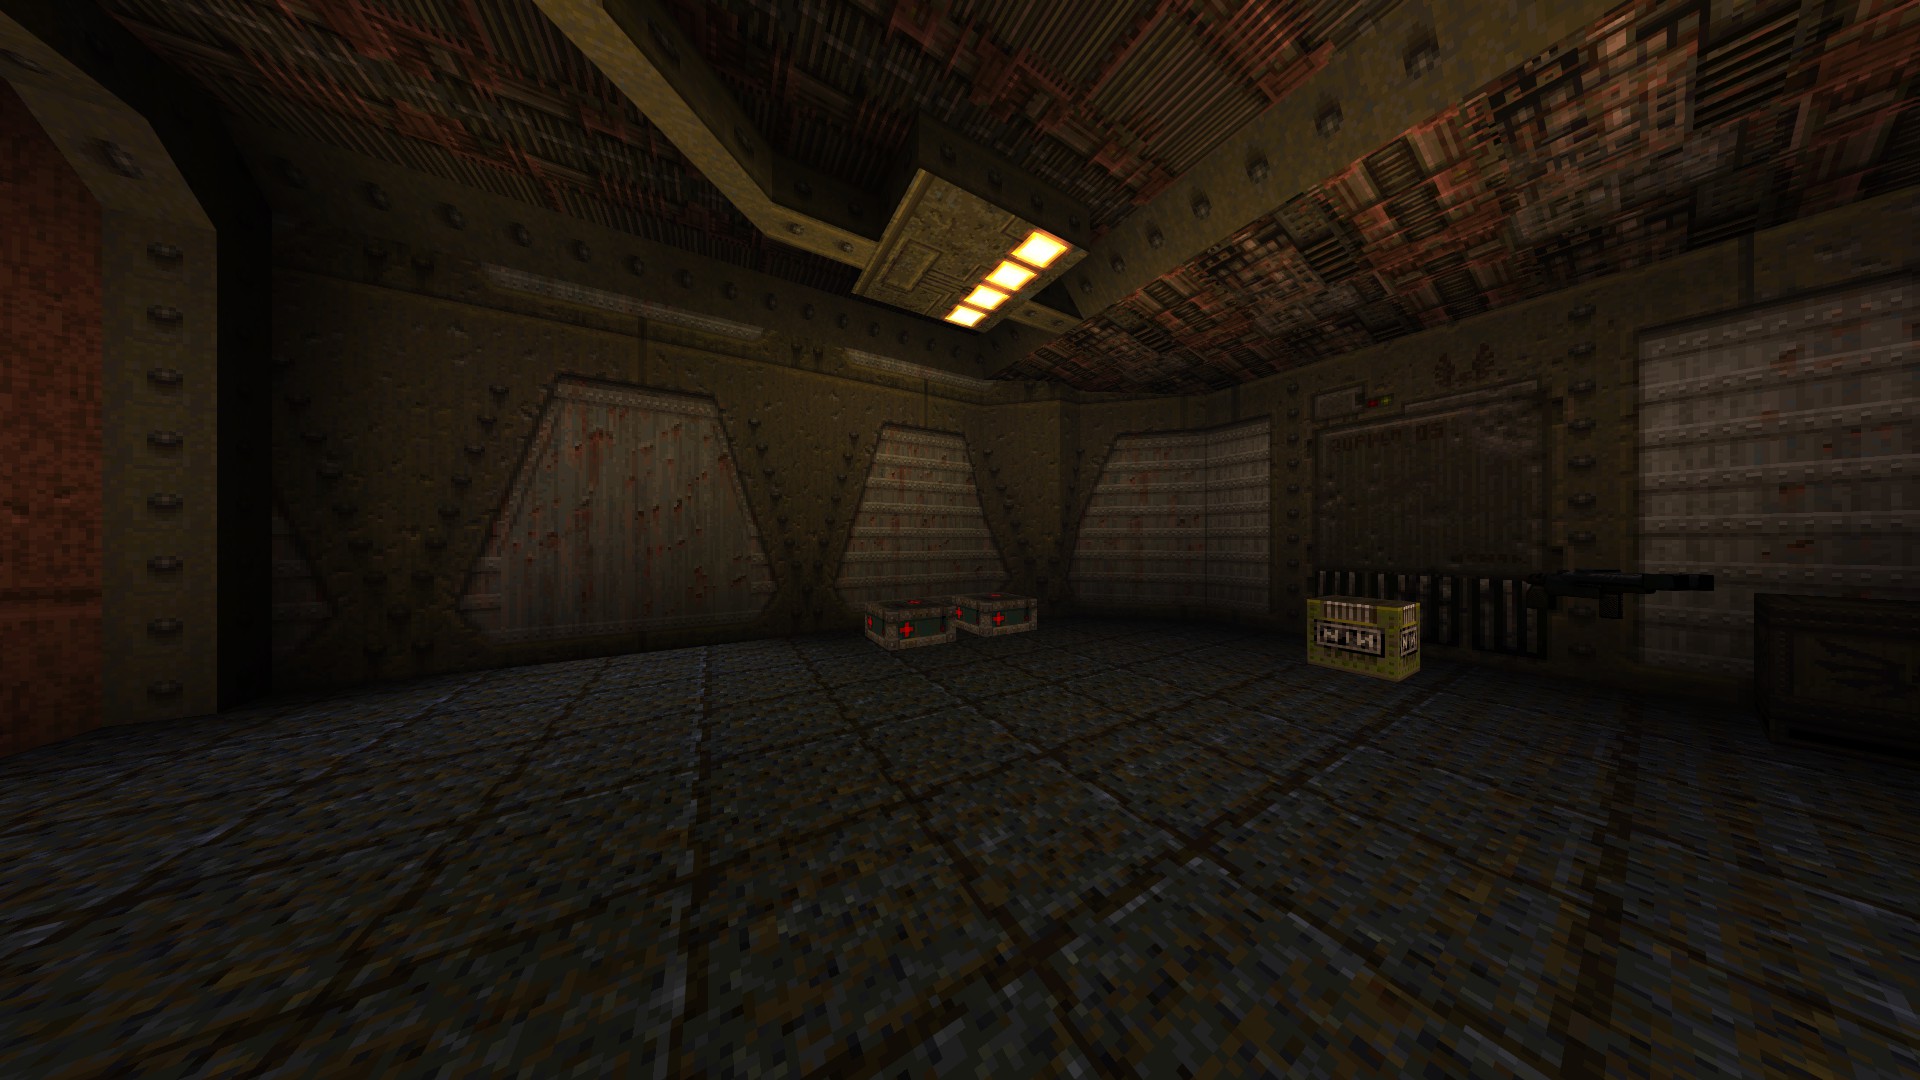
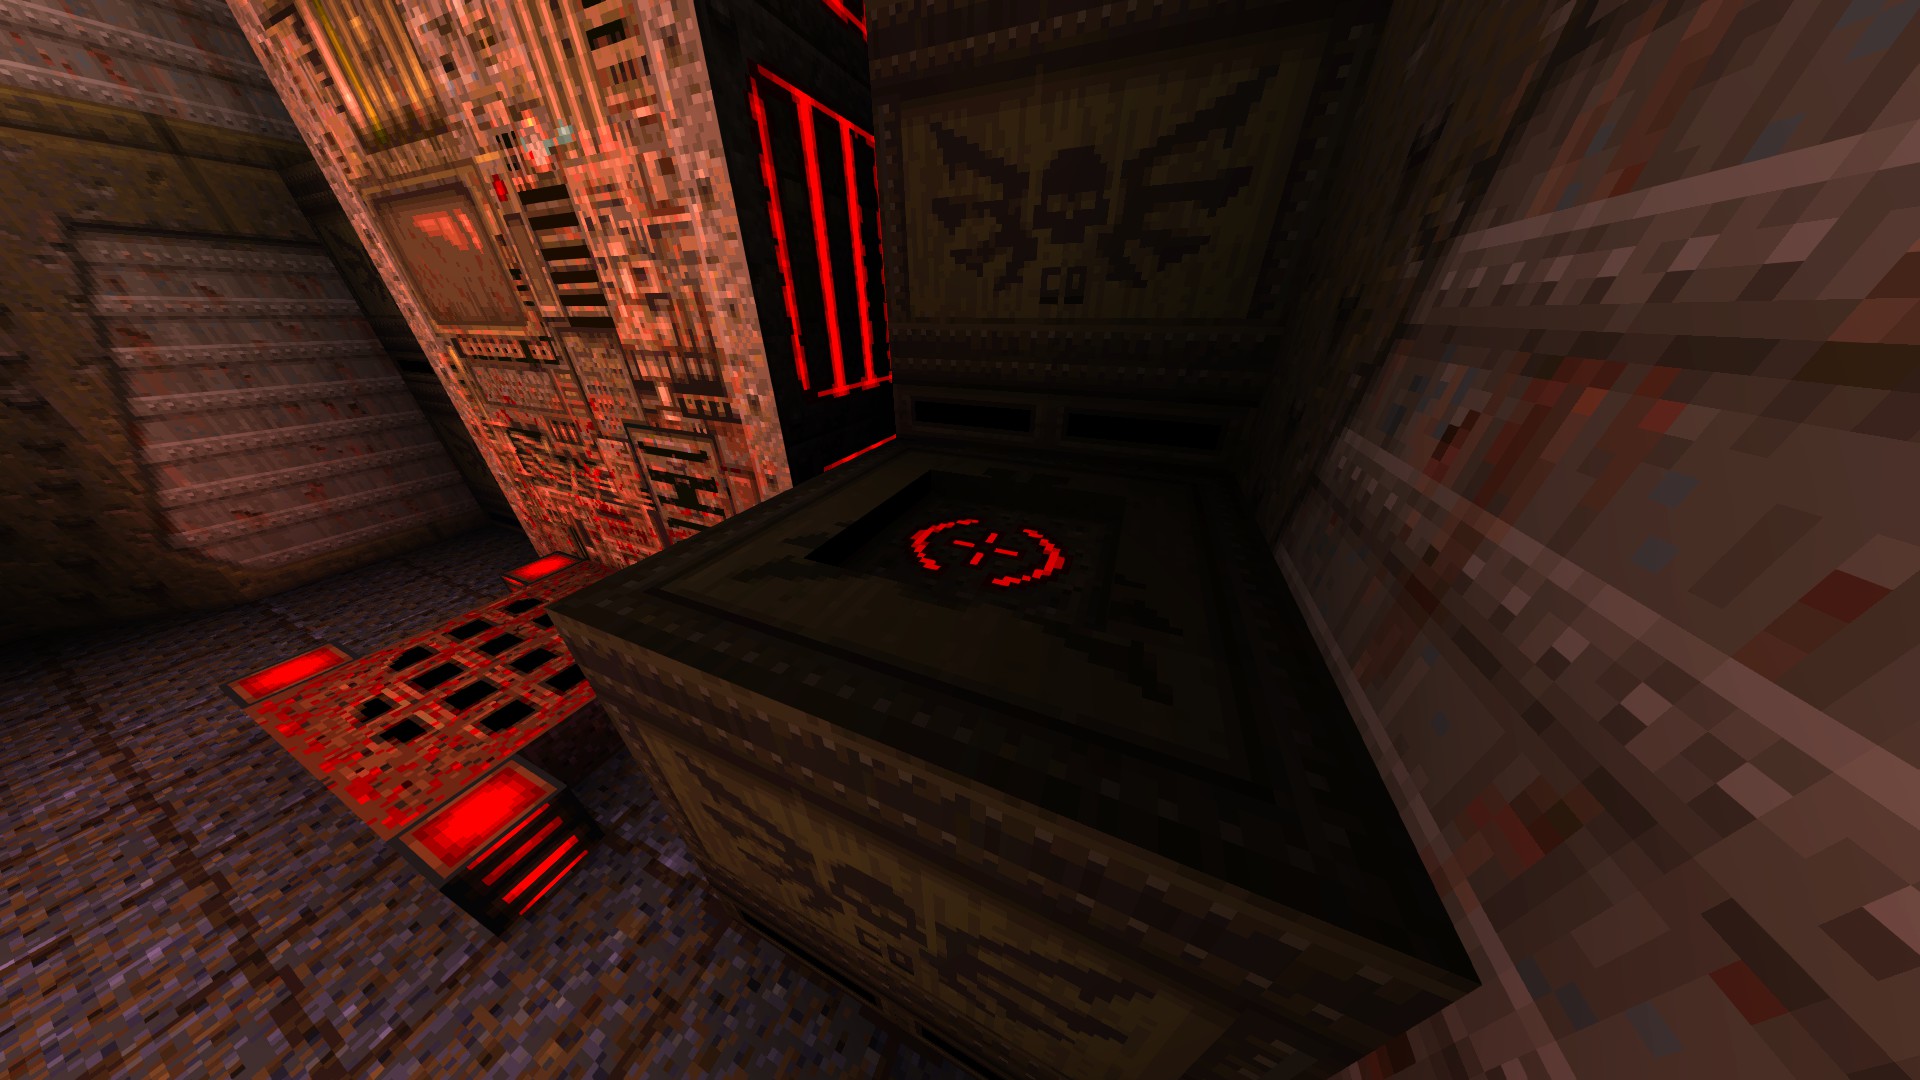
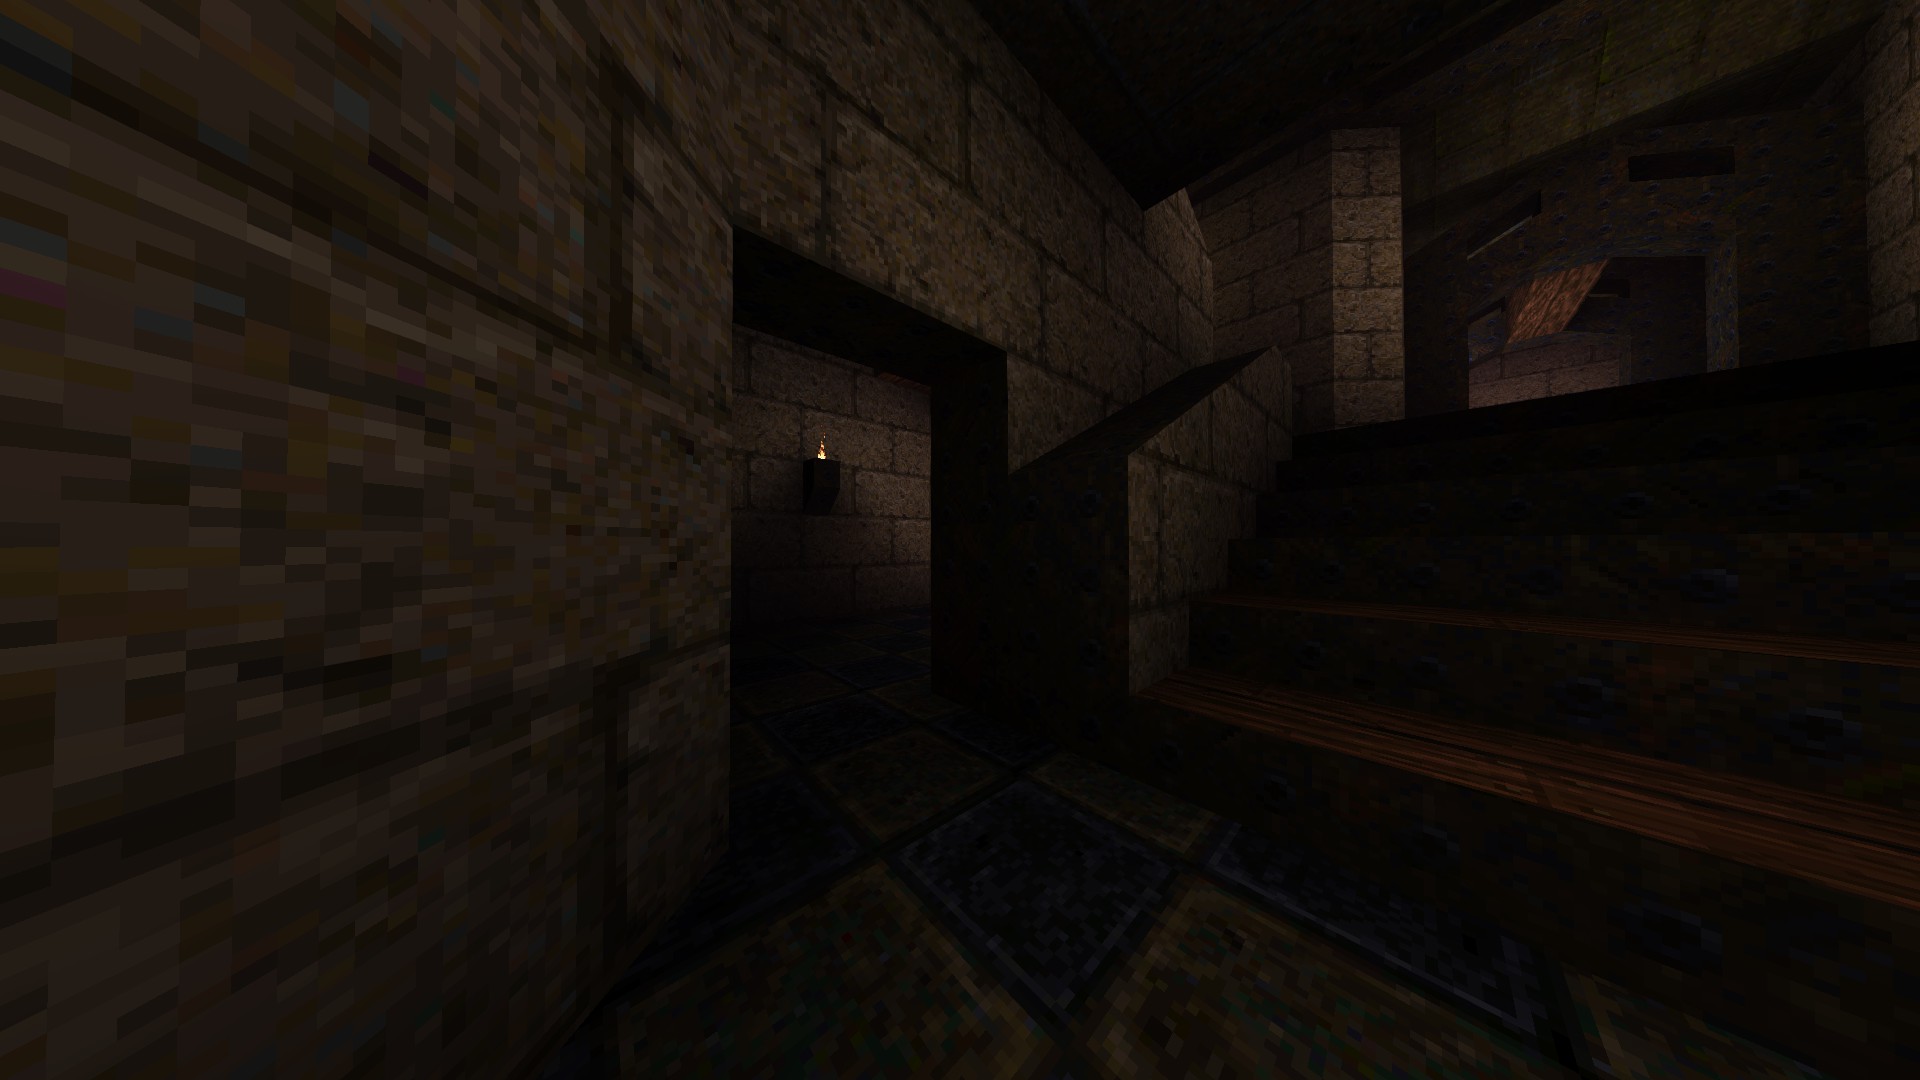
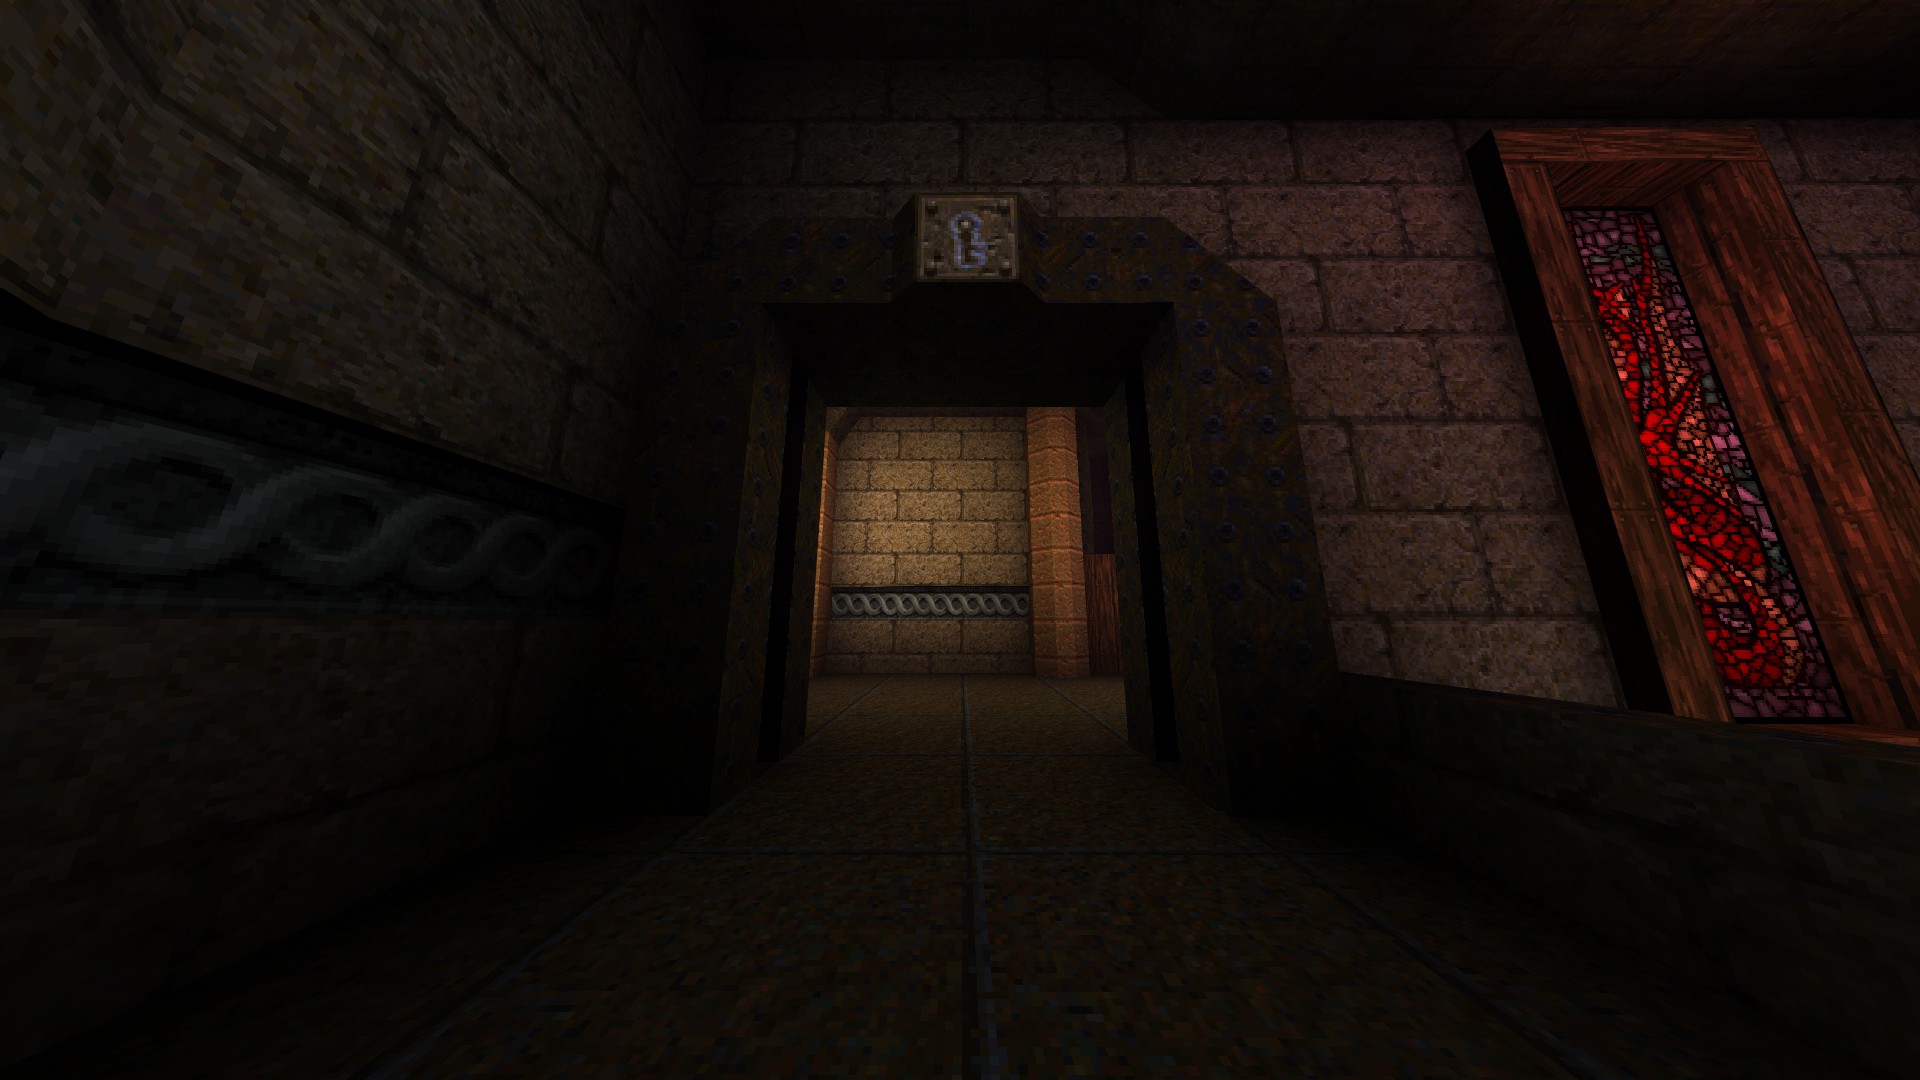
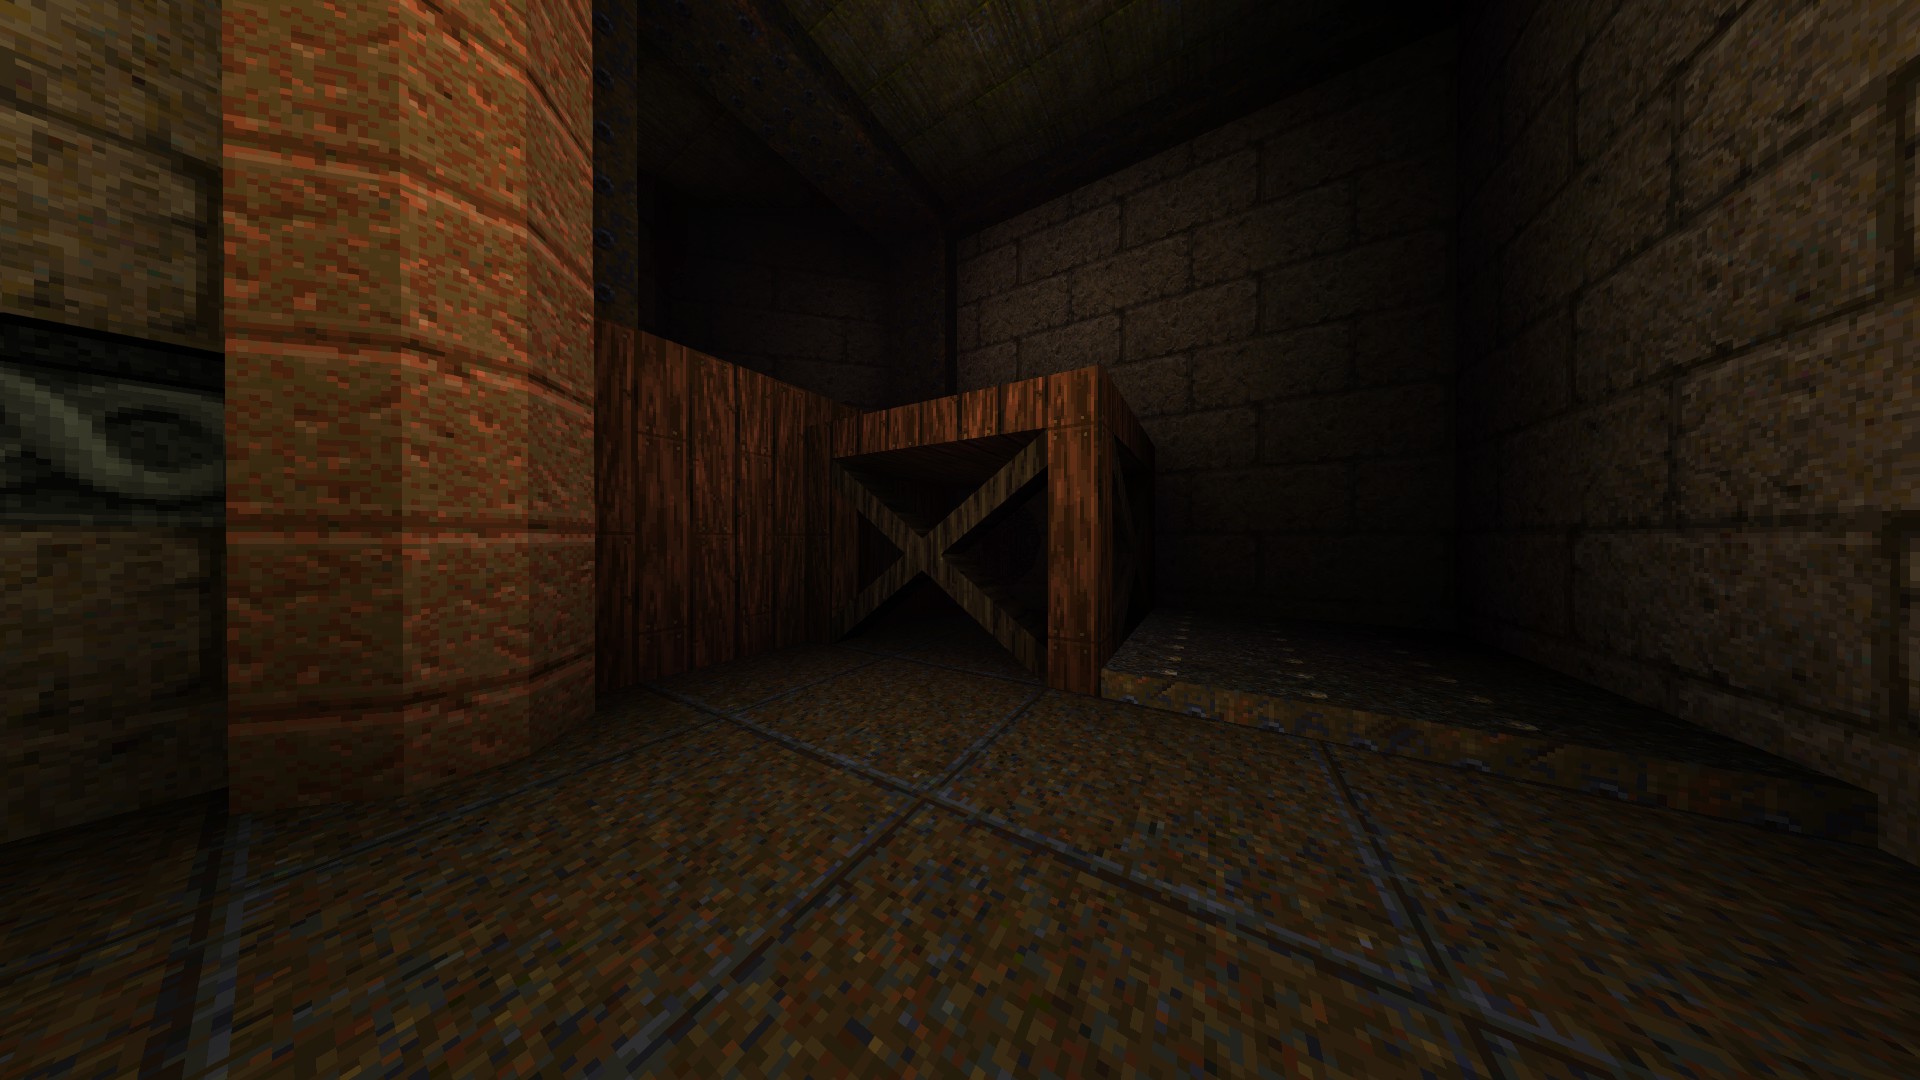
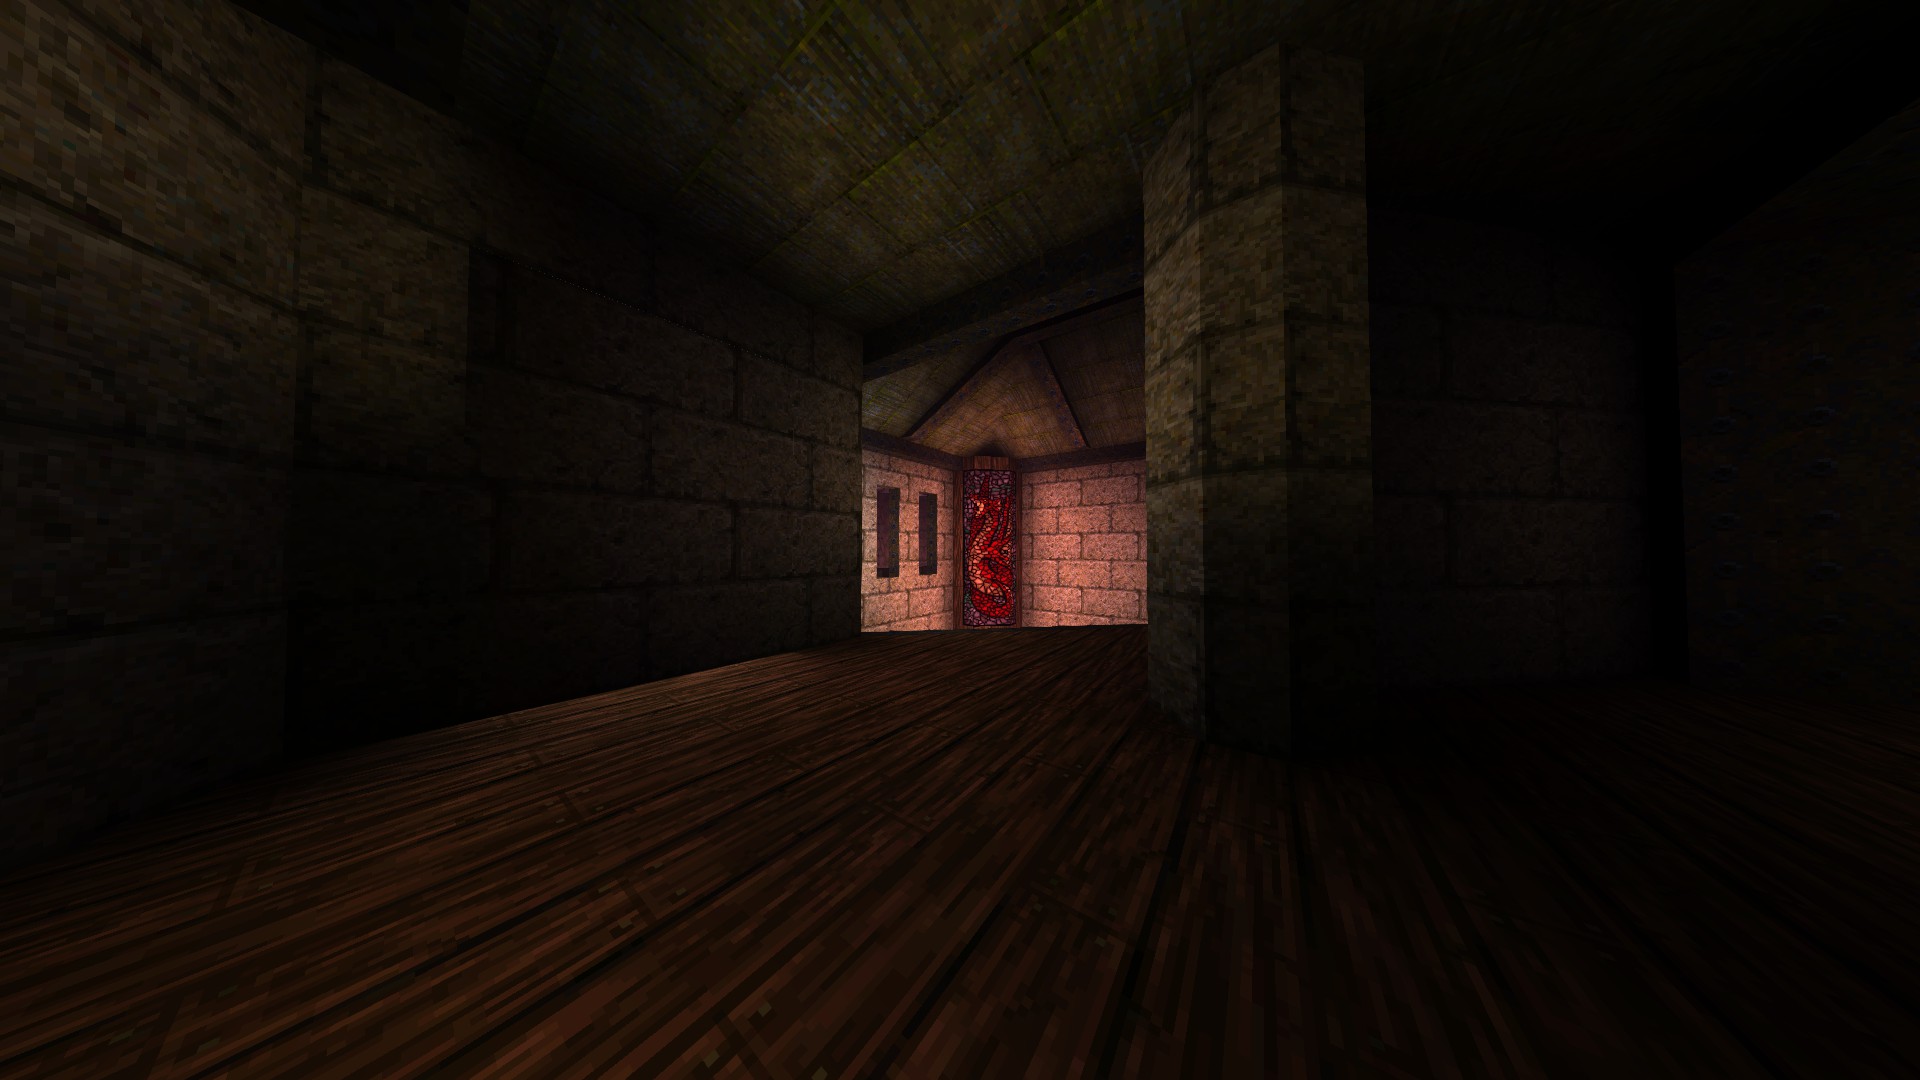
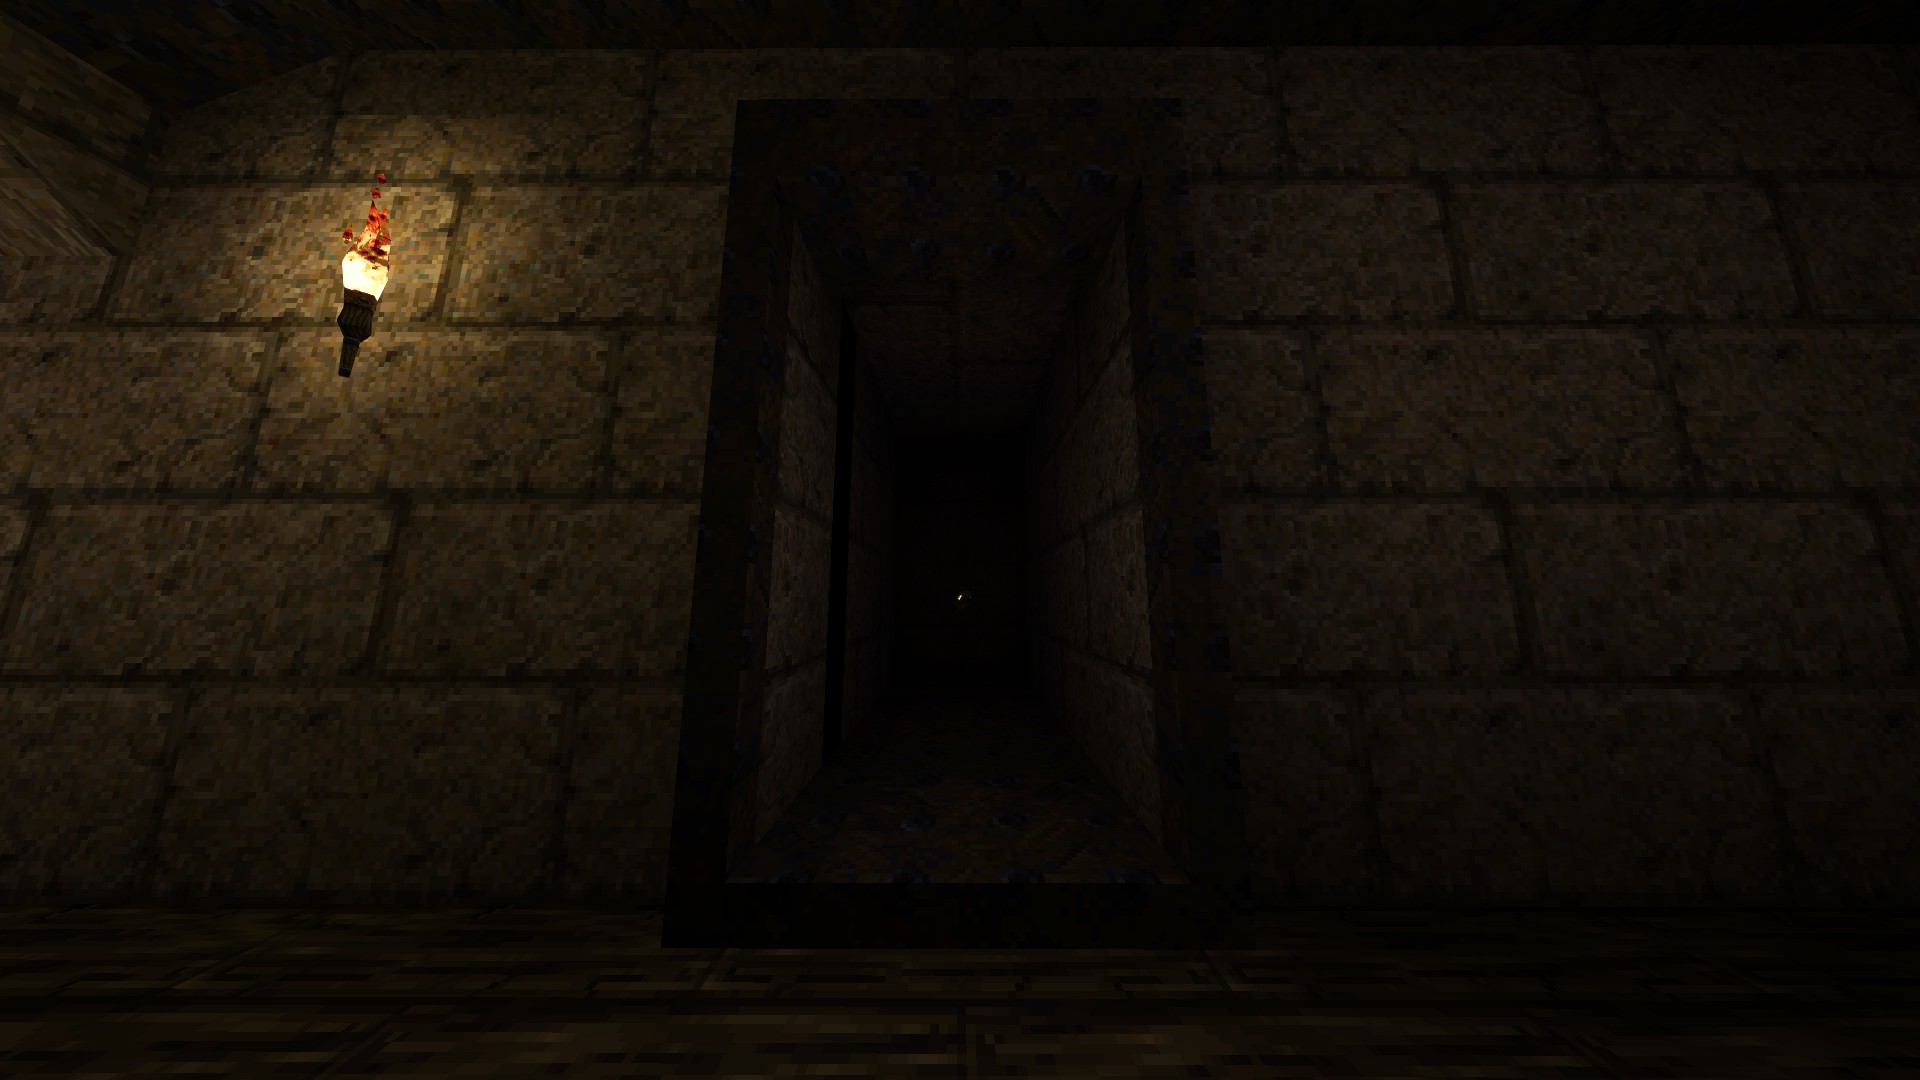
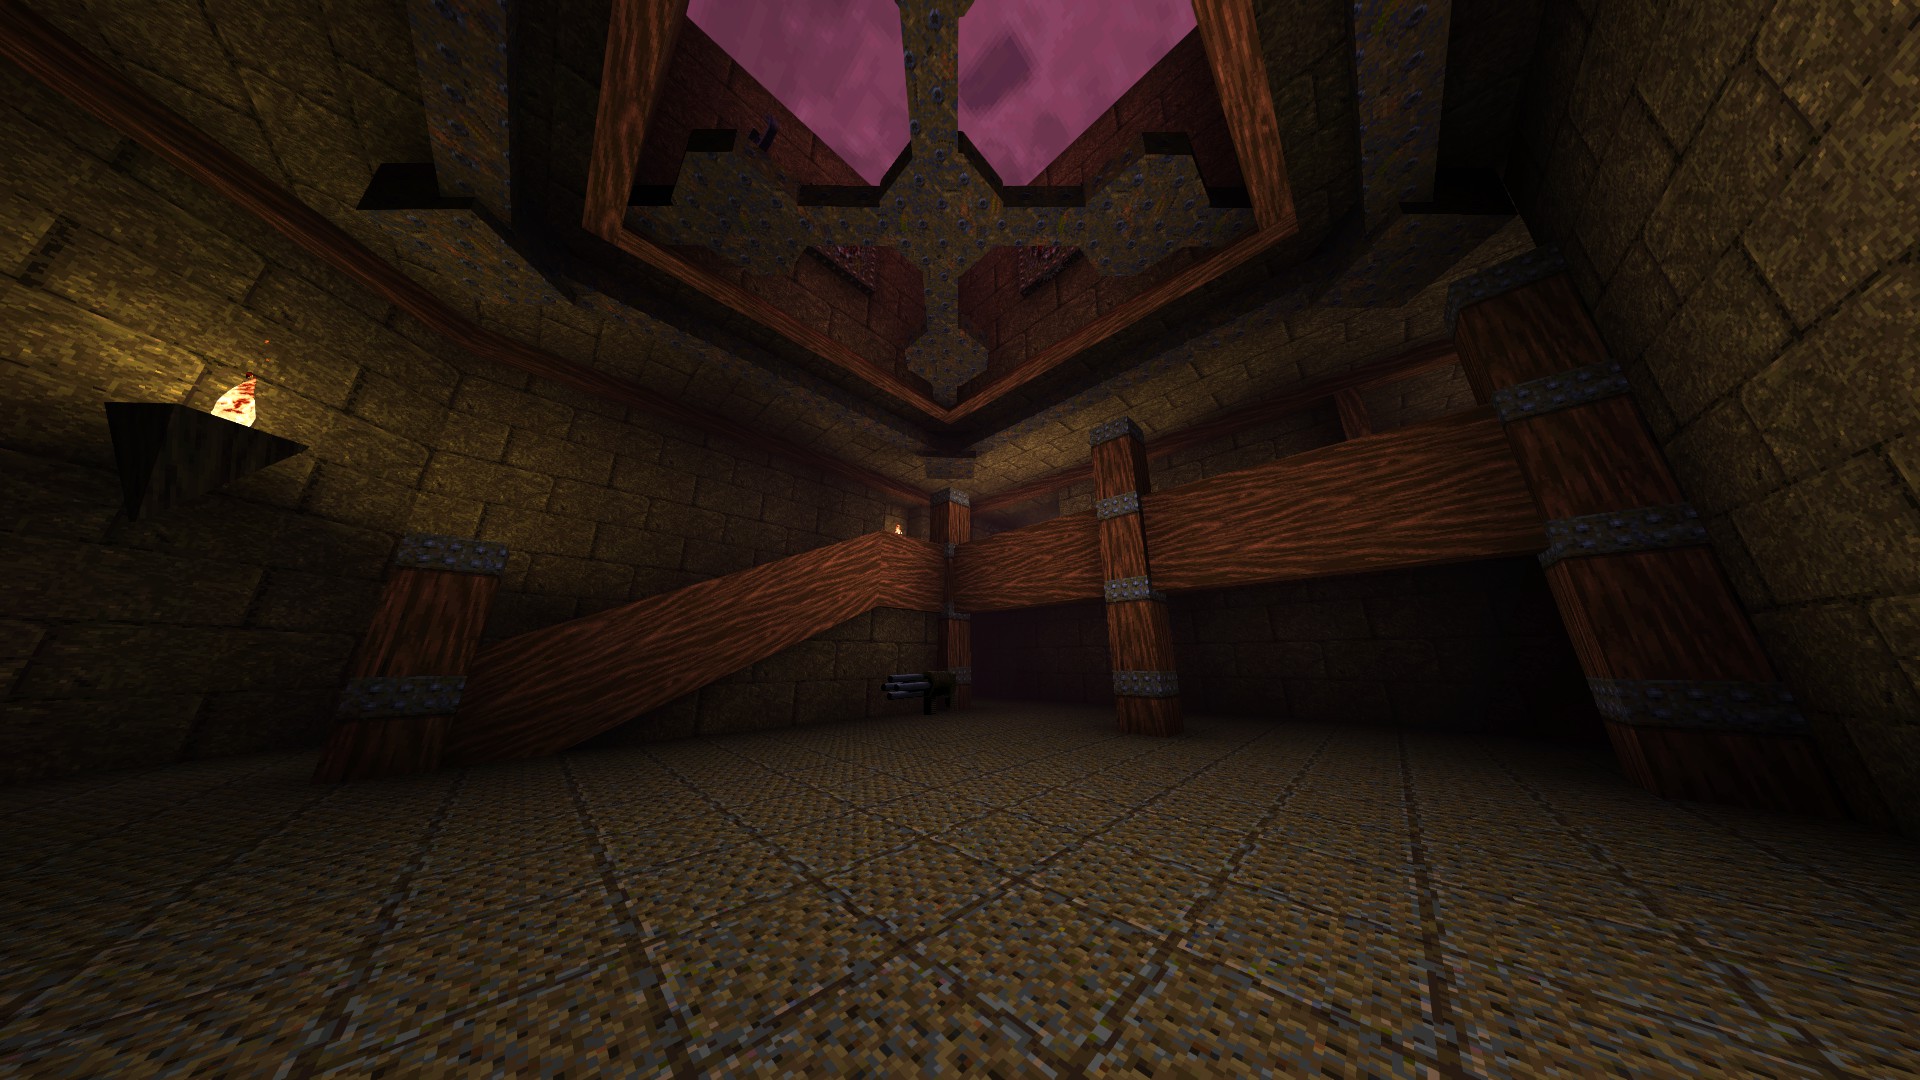
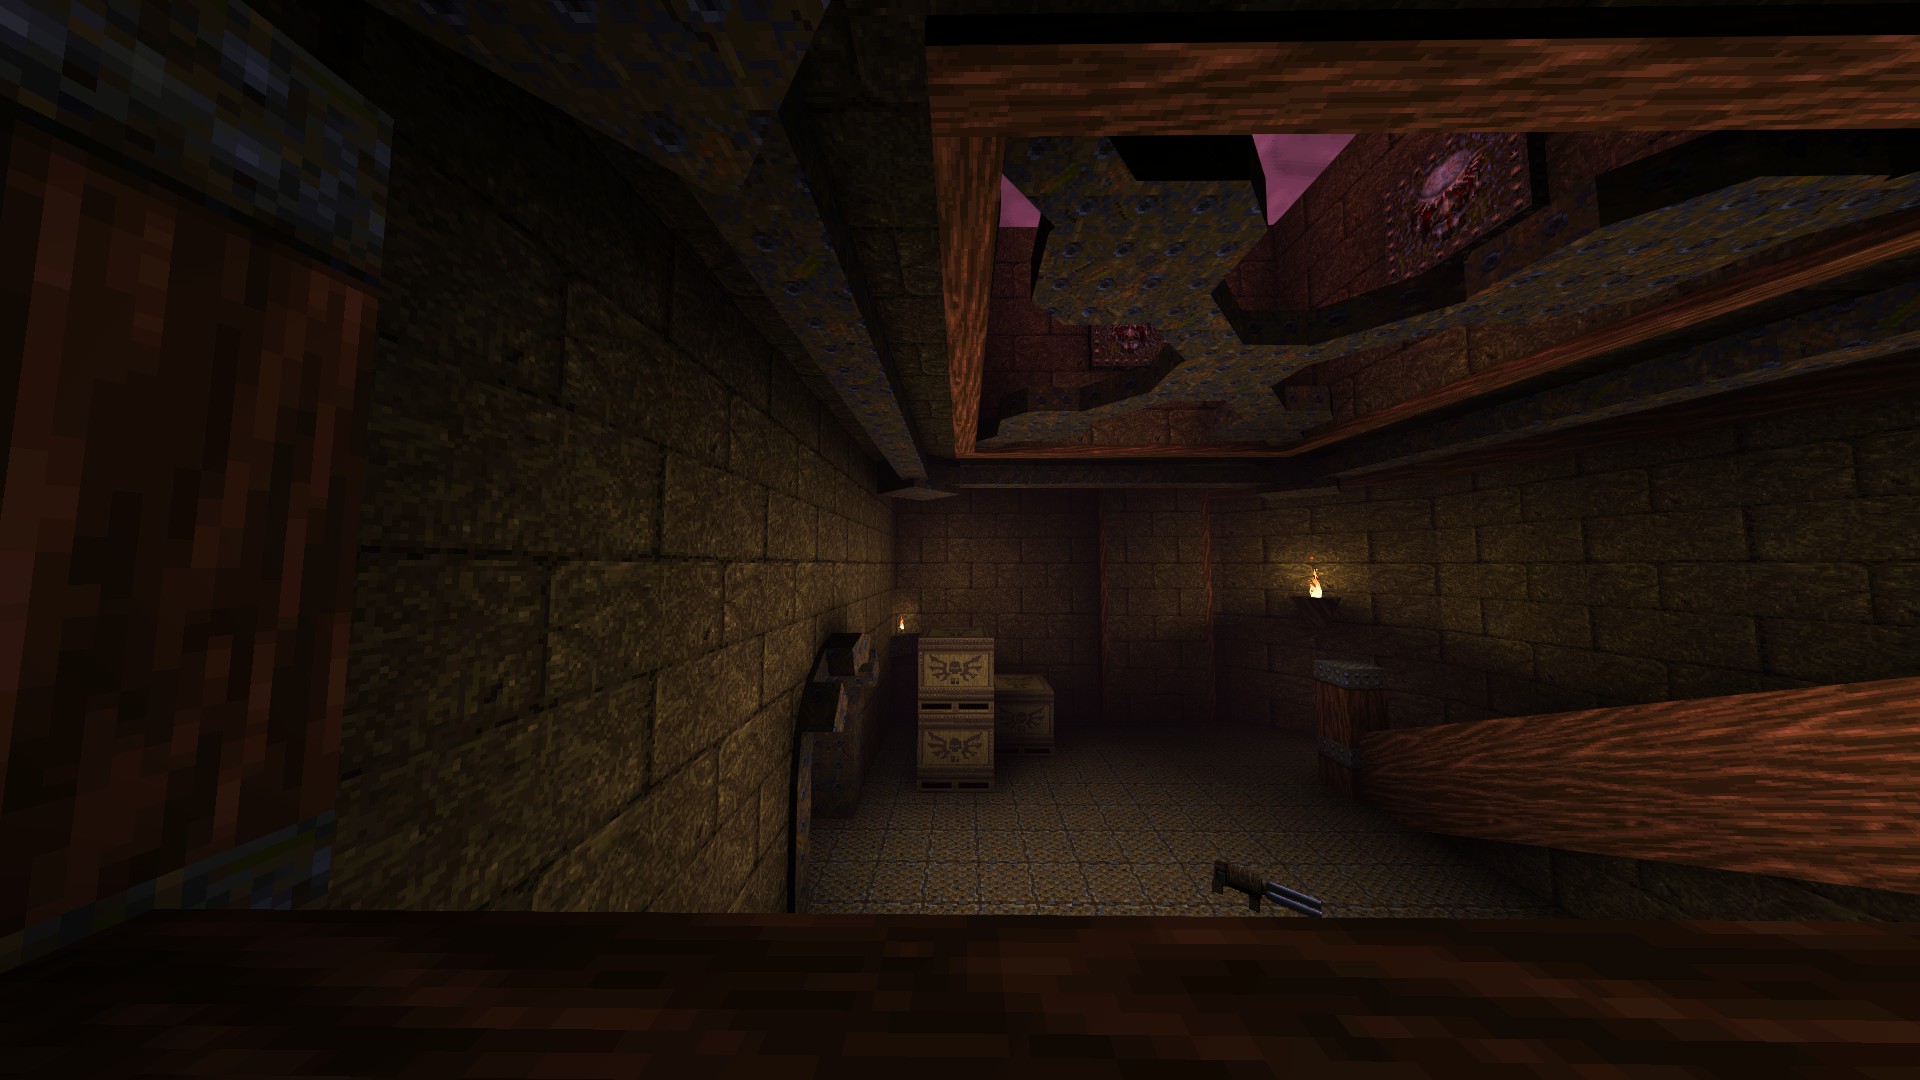
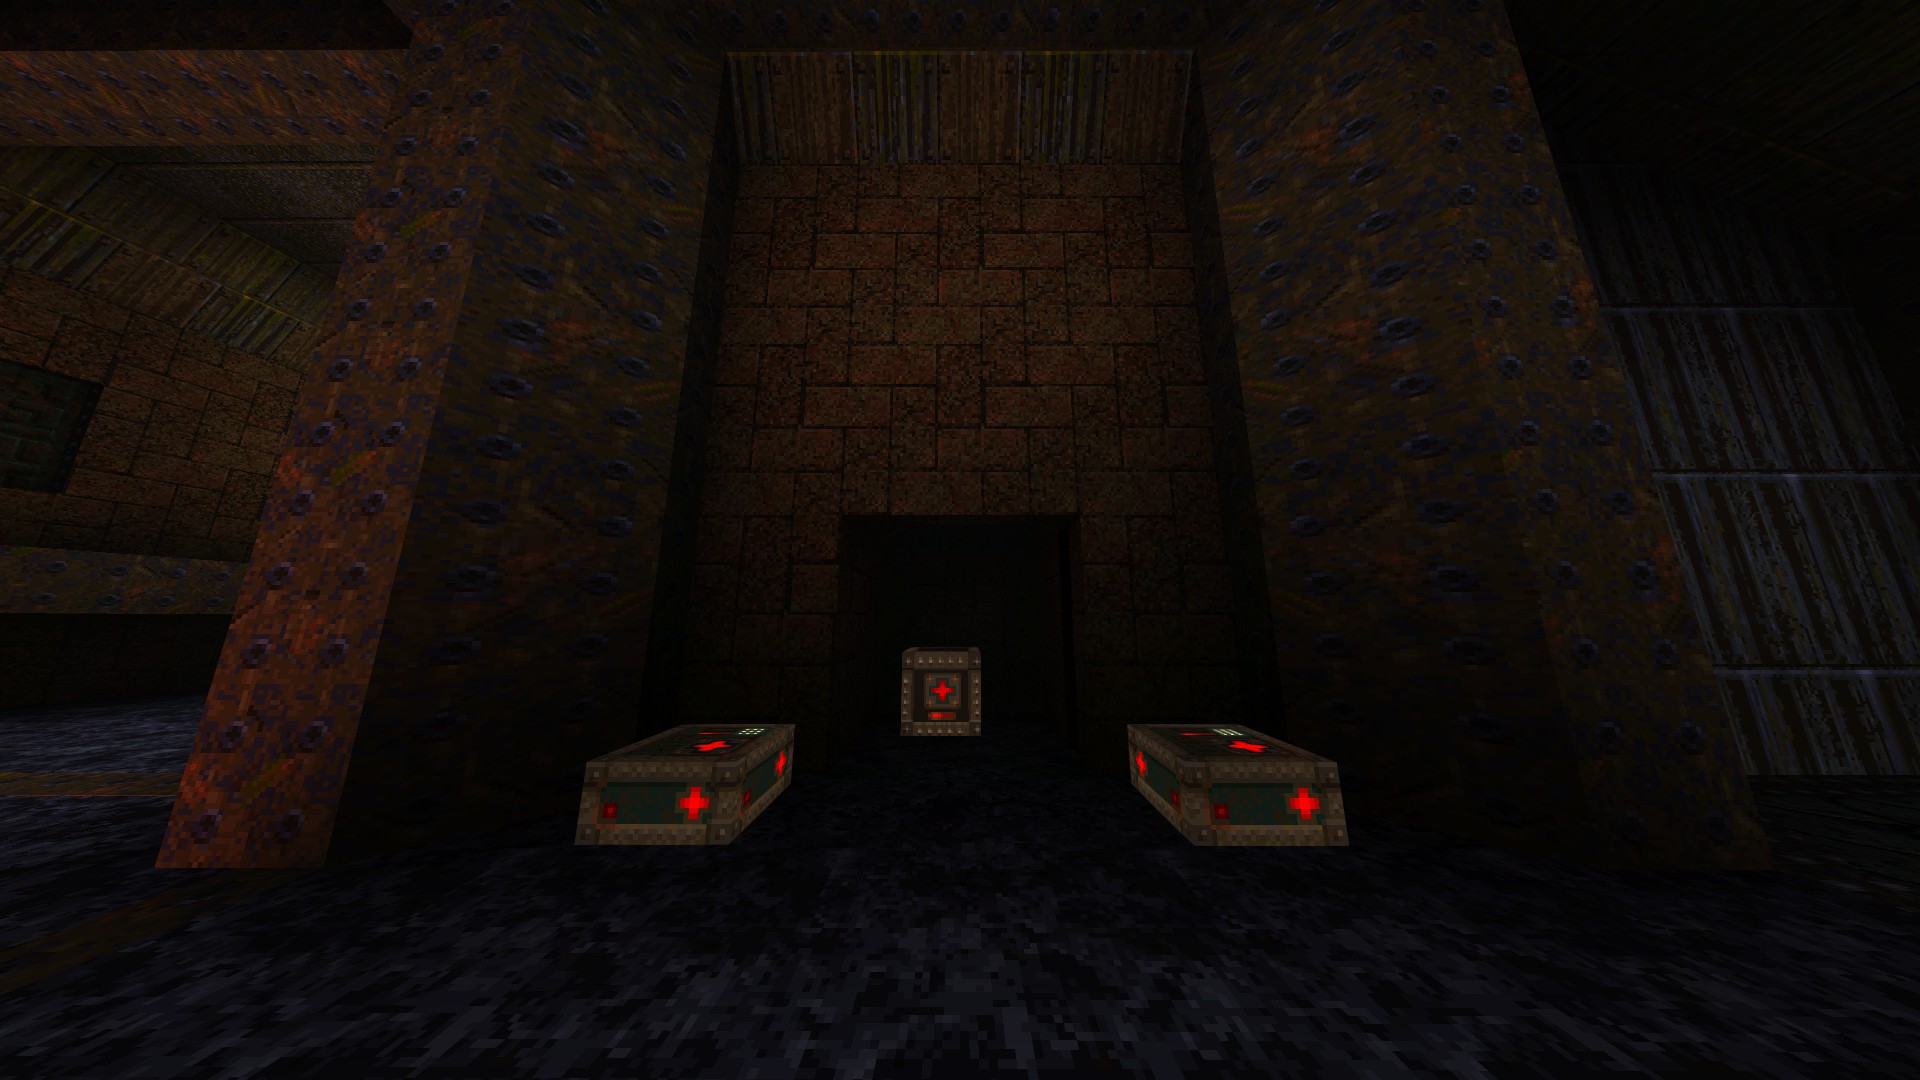
To access Nightmare difficulty, first go towards the slipgate that leads to Easy difficulty. Instead of stepping onto that one, take the hall to its right and follow it until you see a pile of crates in the corner. Make your way around and take the lift behind them to find the related slipgate on the second floor.
E1: Fortress of the Dead
This episode consists of five levels that contain a total of 21 secrets.
—
HIP1M1: THE PUMPING STATION
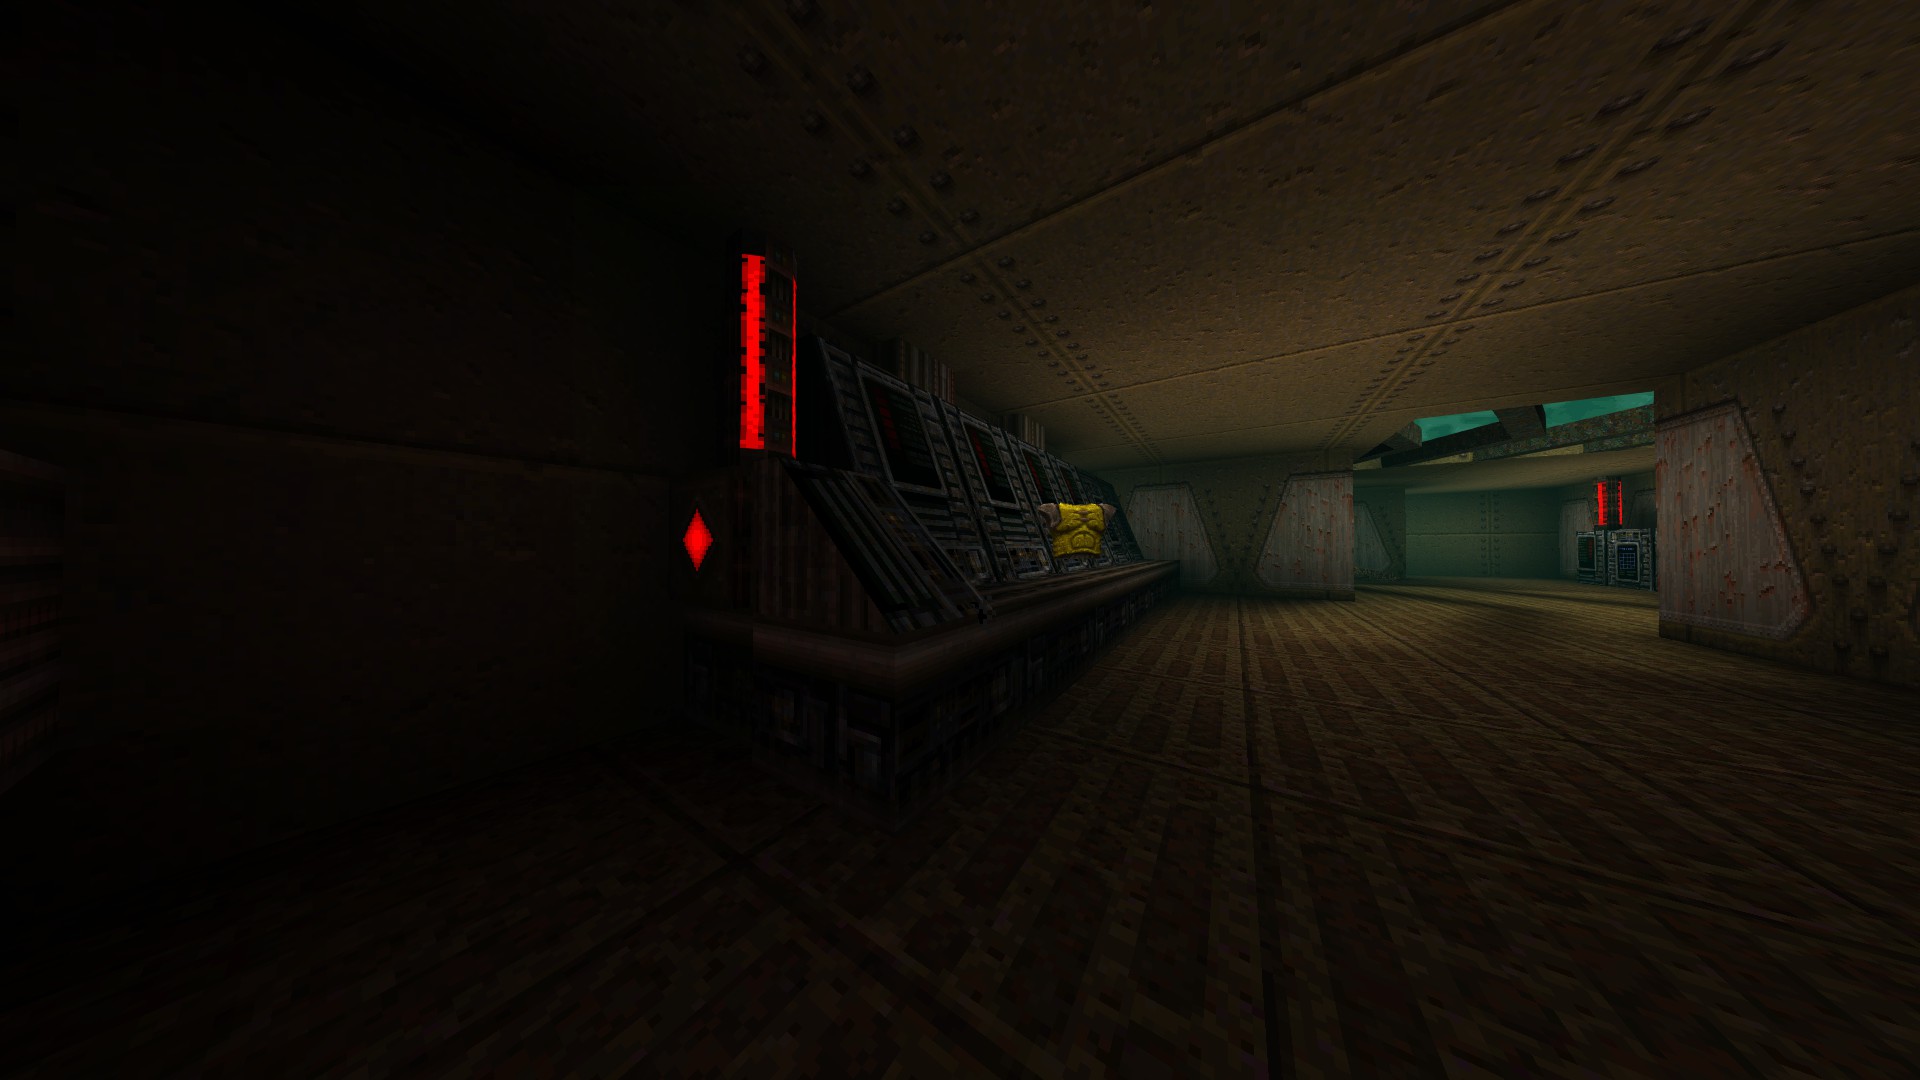
1/5 – Upon start, pass the first door on the stairs and head towards the lower room where you pick up a nailgun. Shoot the panel with the different texturing to your left to reveal a hidden armor.
2/5 – In the two-storied room with water underneath, look for a button above the stairs and shoot it to reveal a hidden lift that takes you to a megahealth.
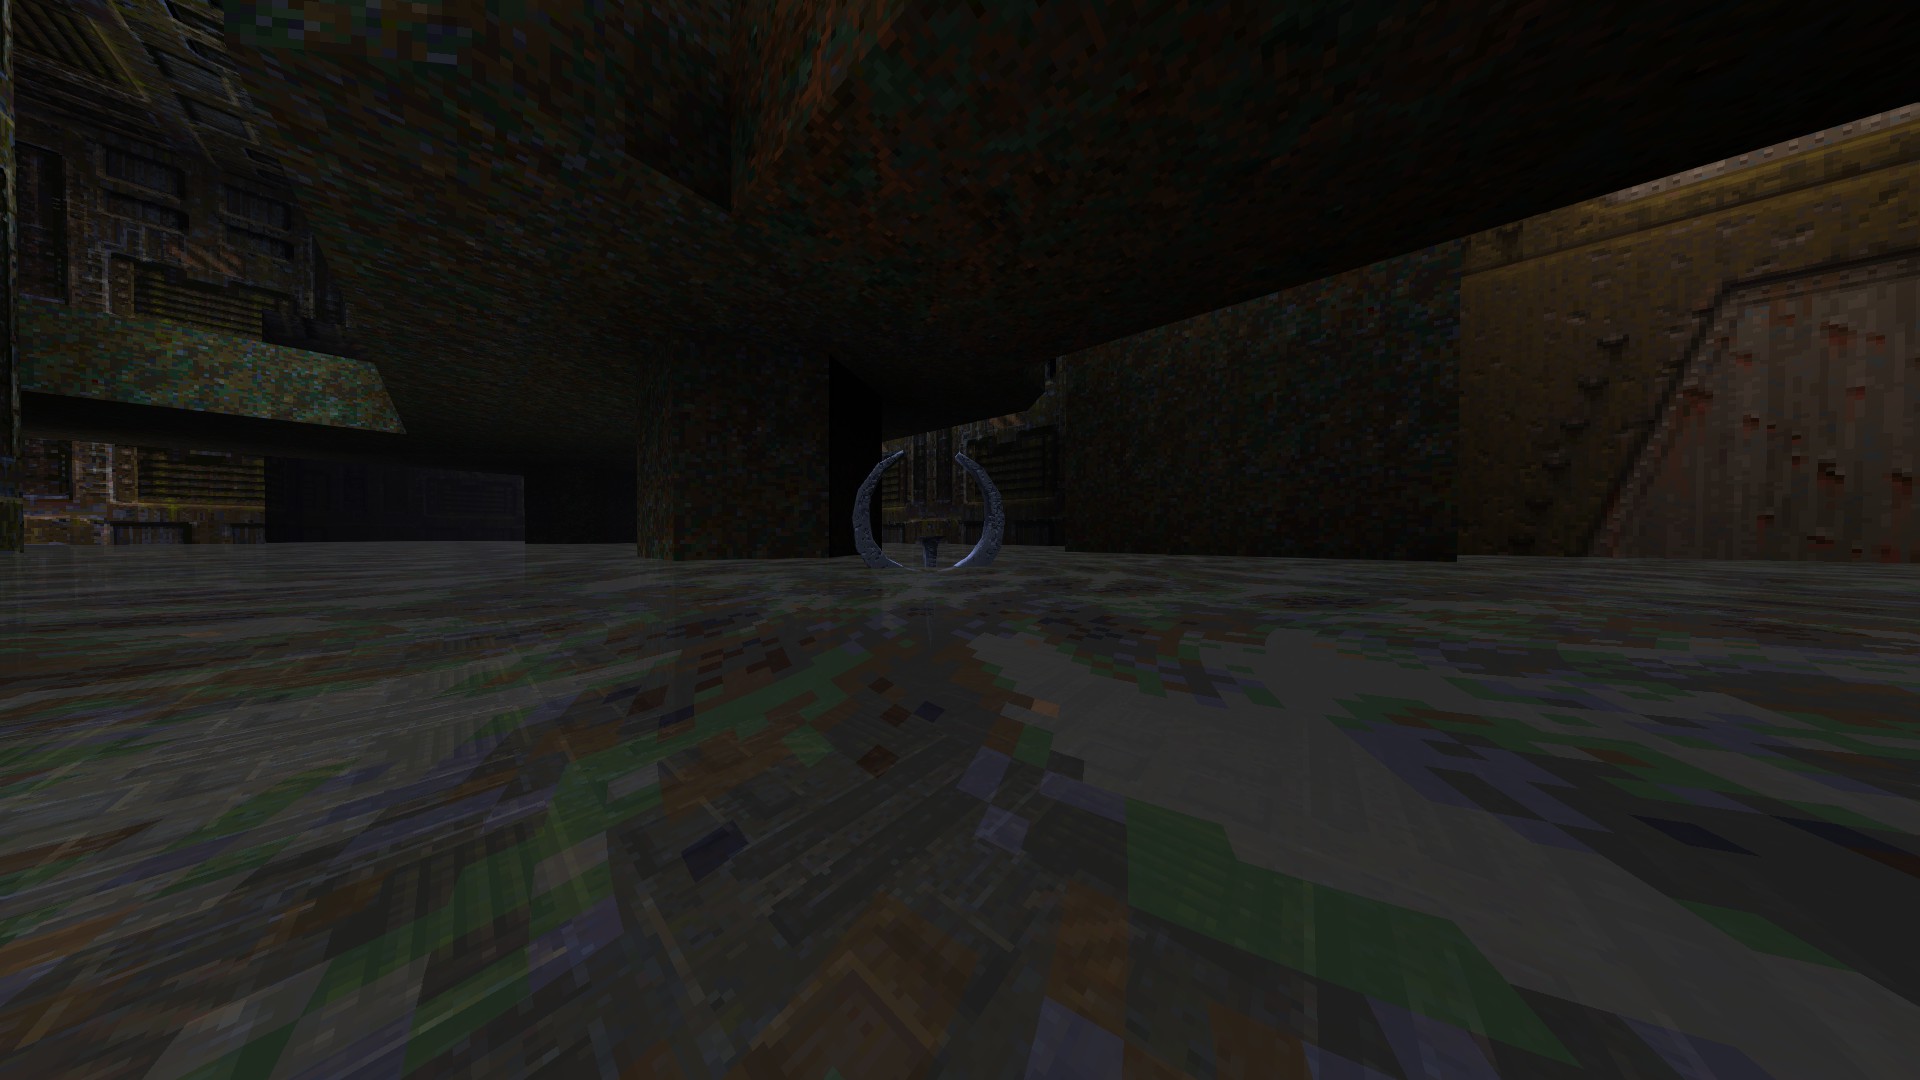
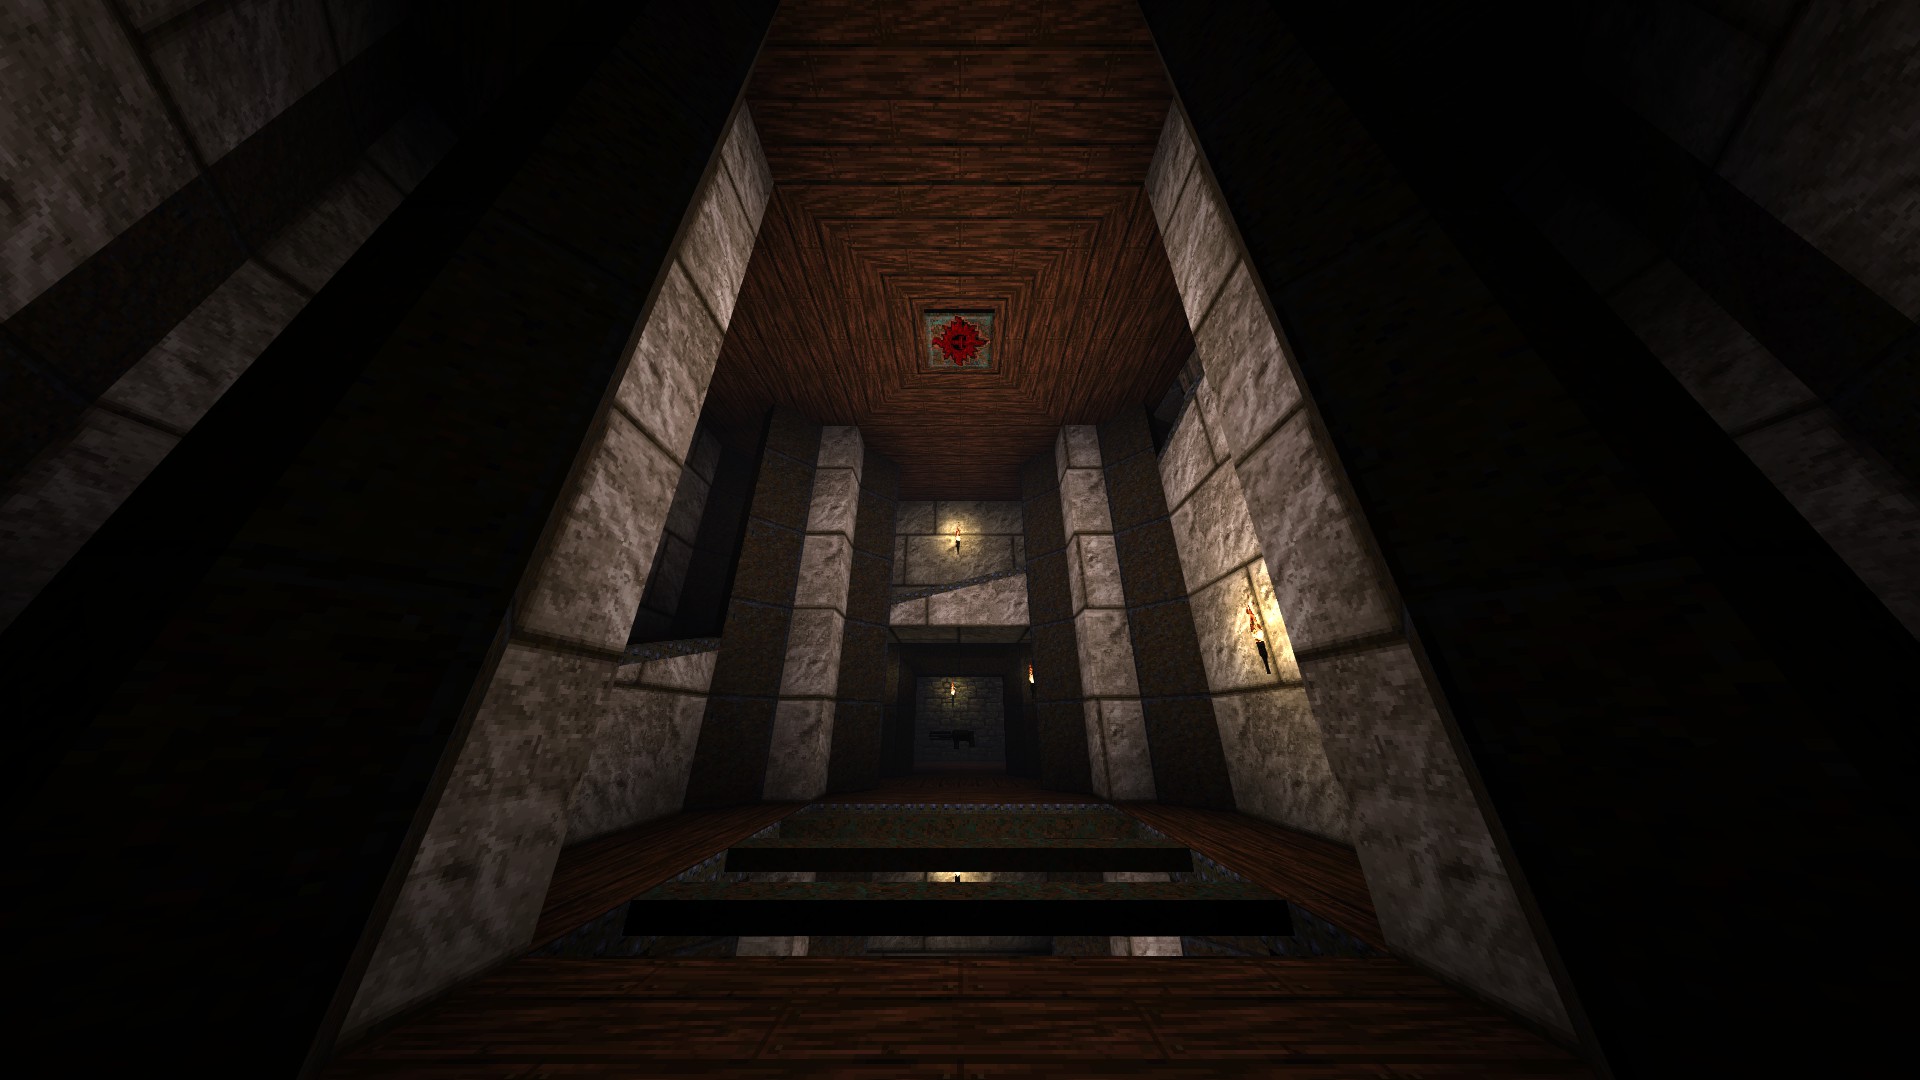
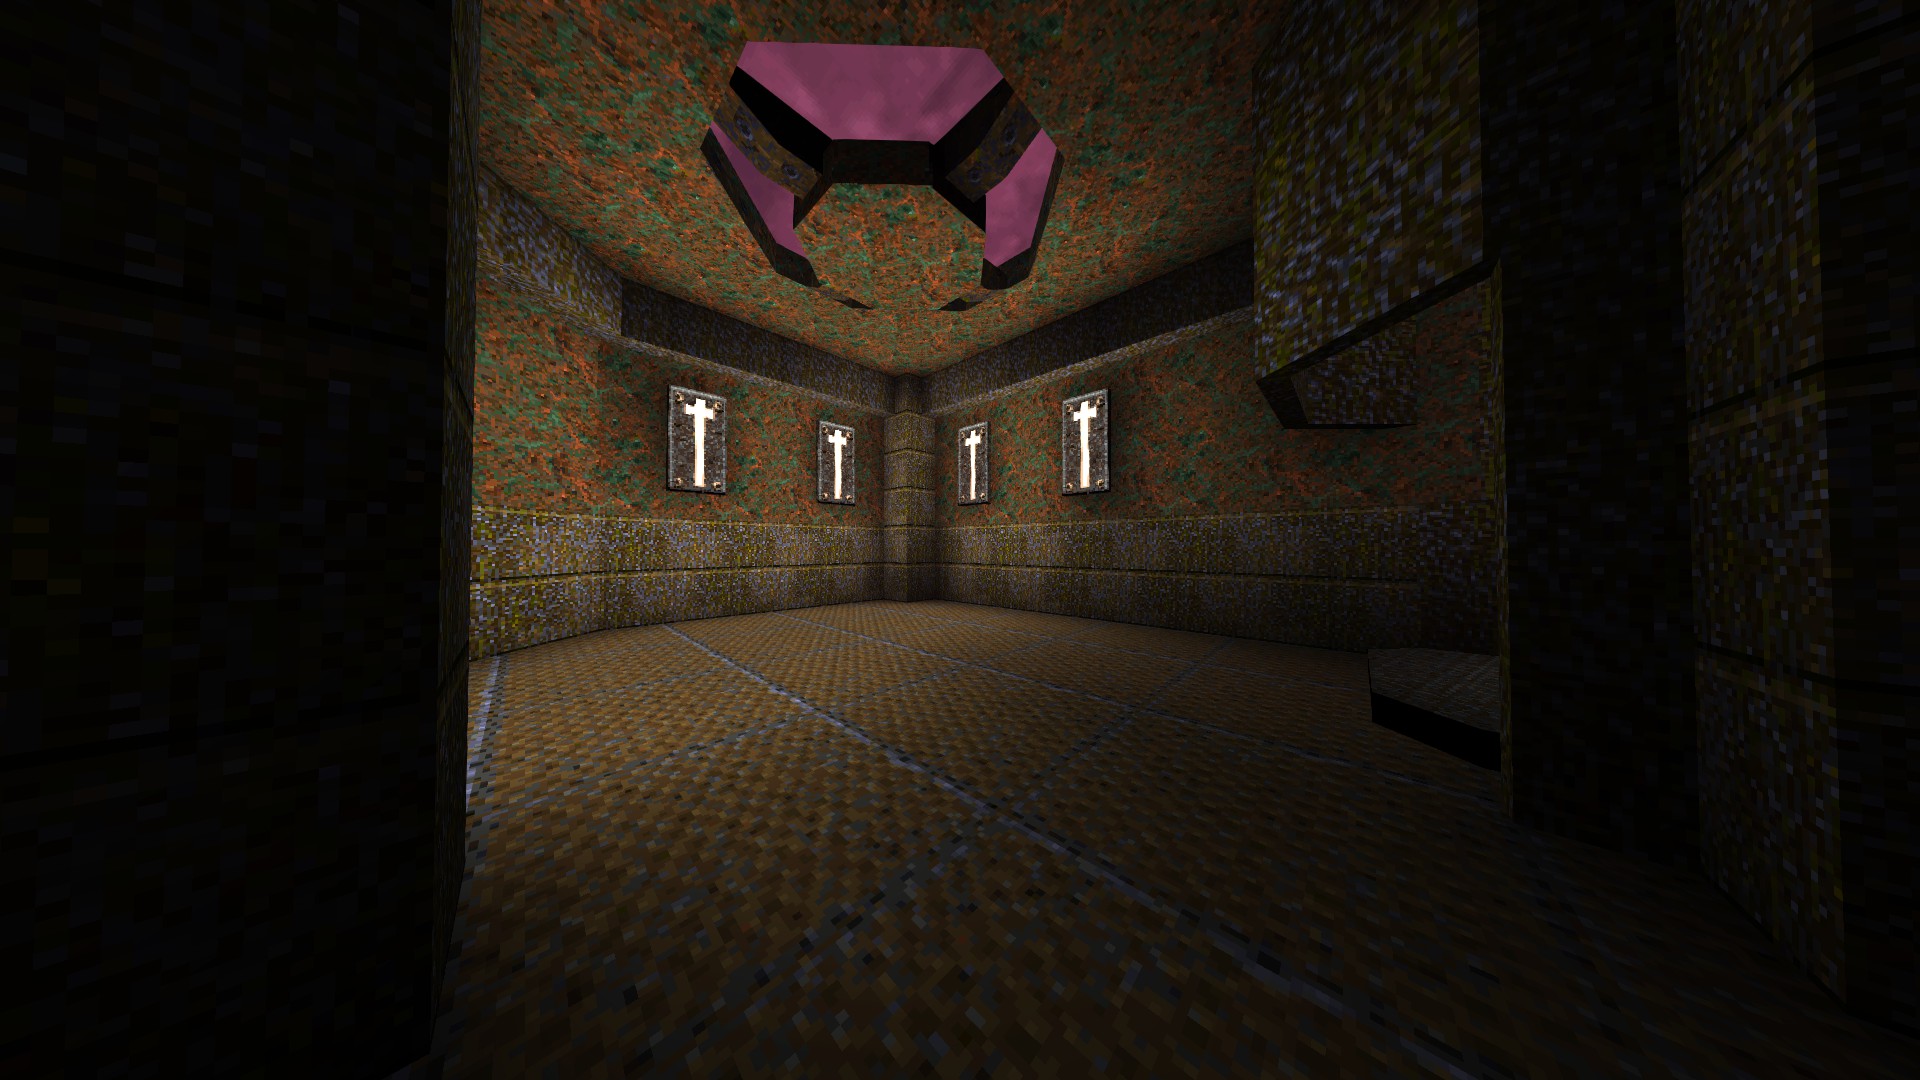
3/5 – In the room before the one housing the slipgate, shoot the slightly darker part of the light fixture on the ceiling to reveal a ring of shadows.
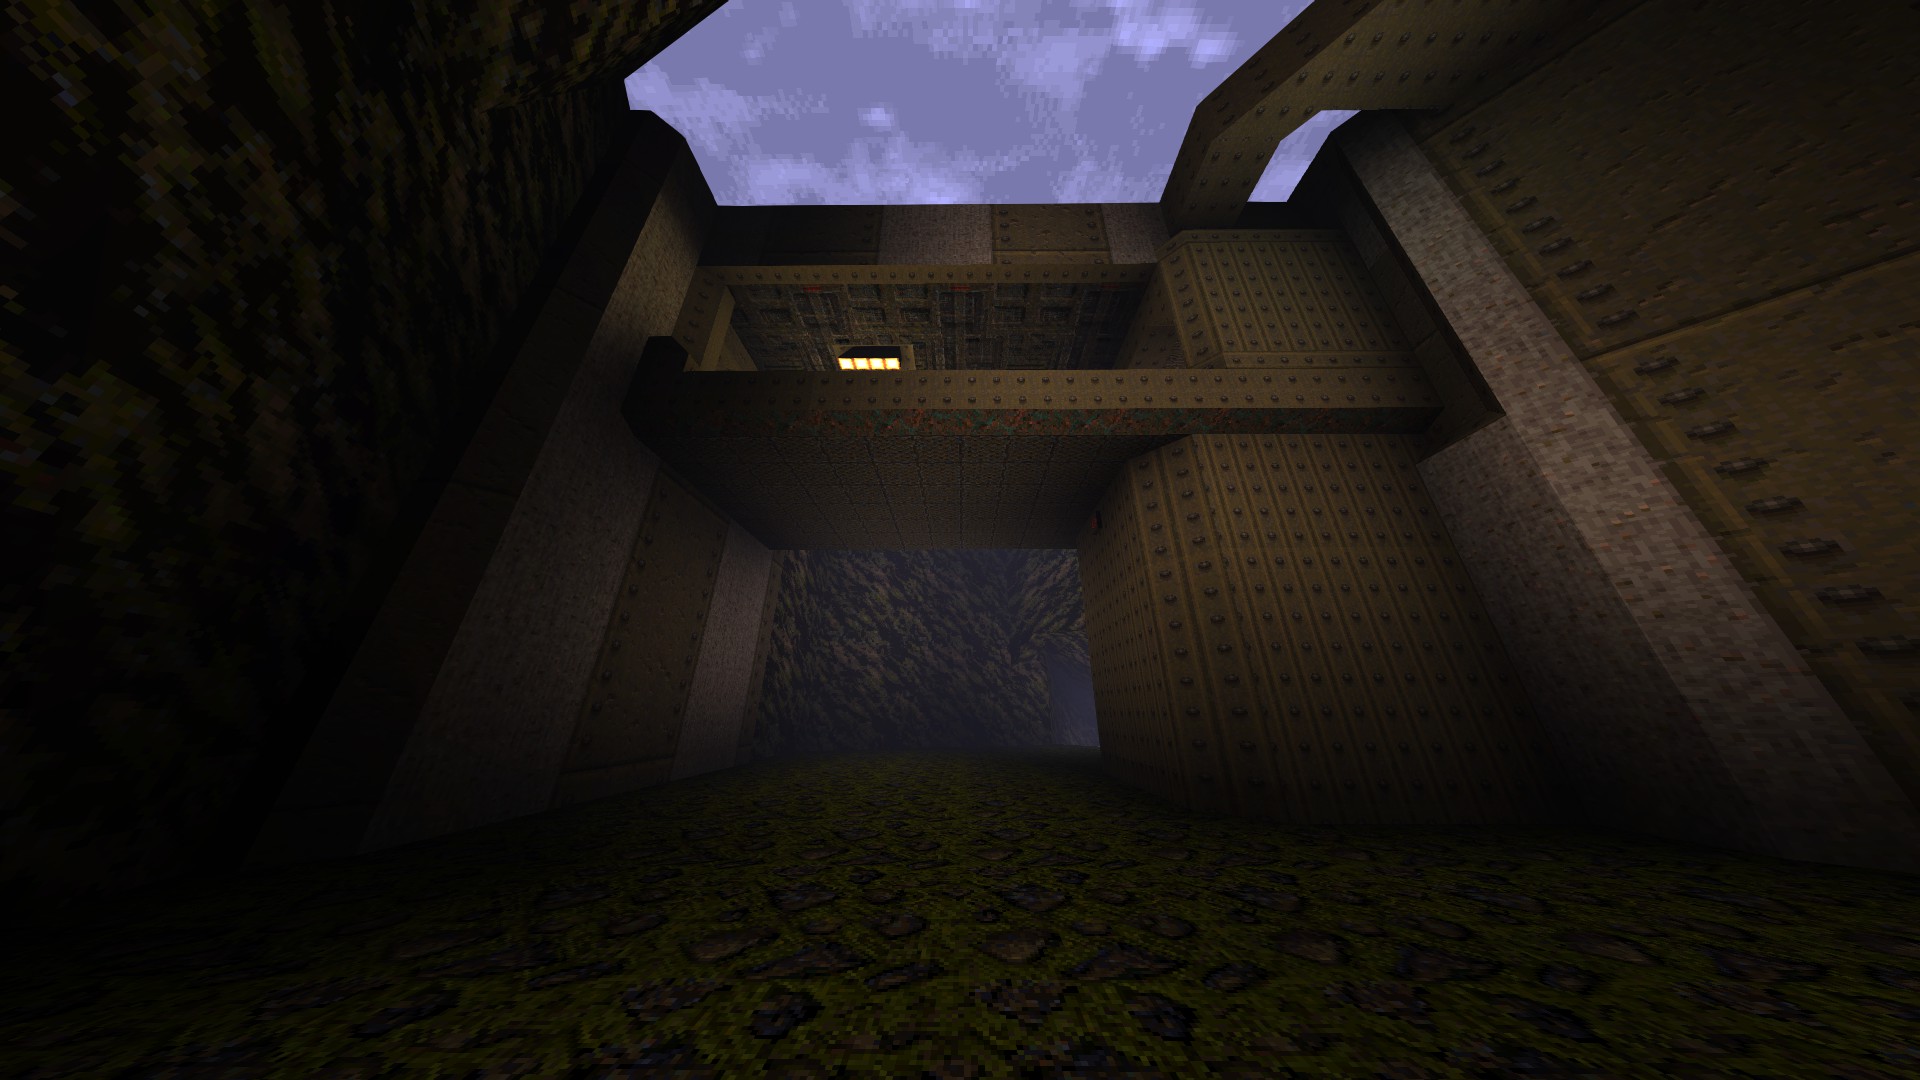
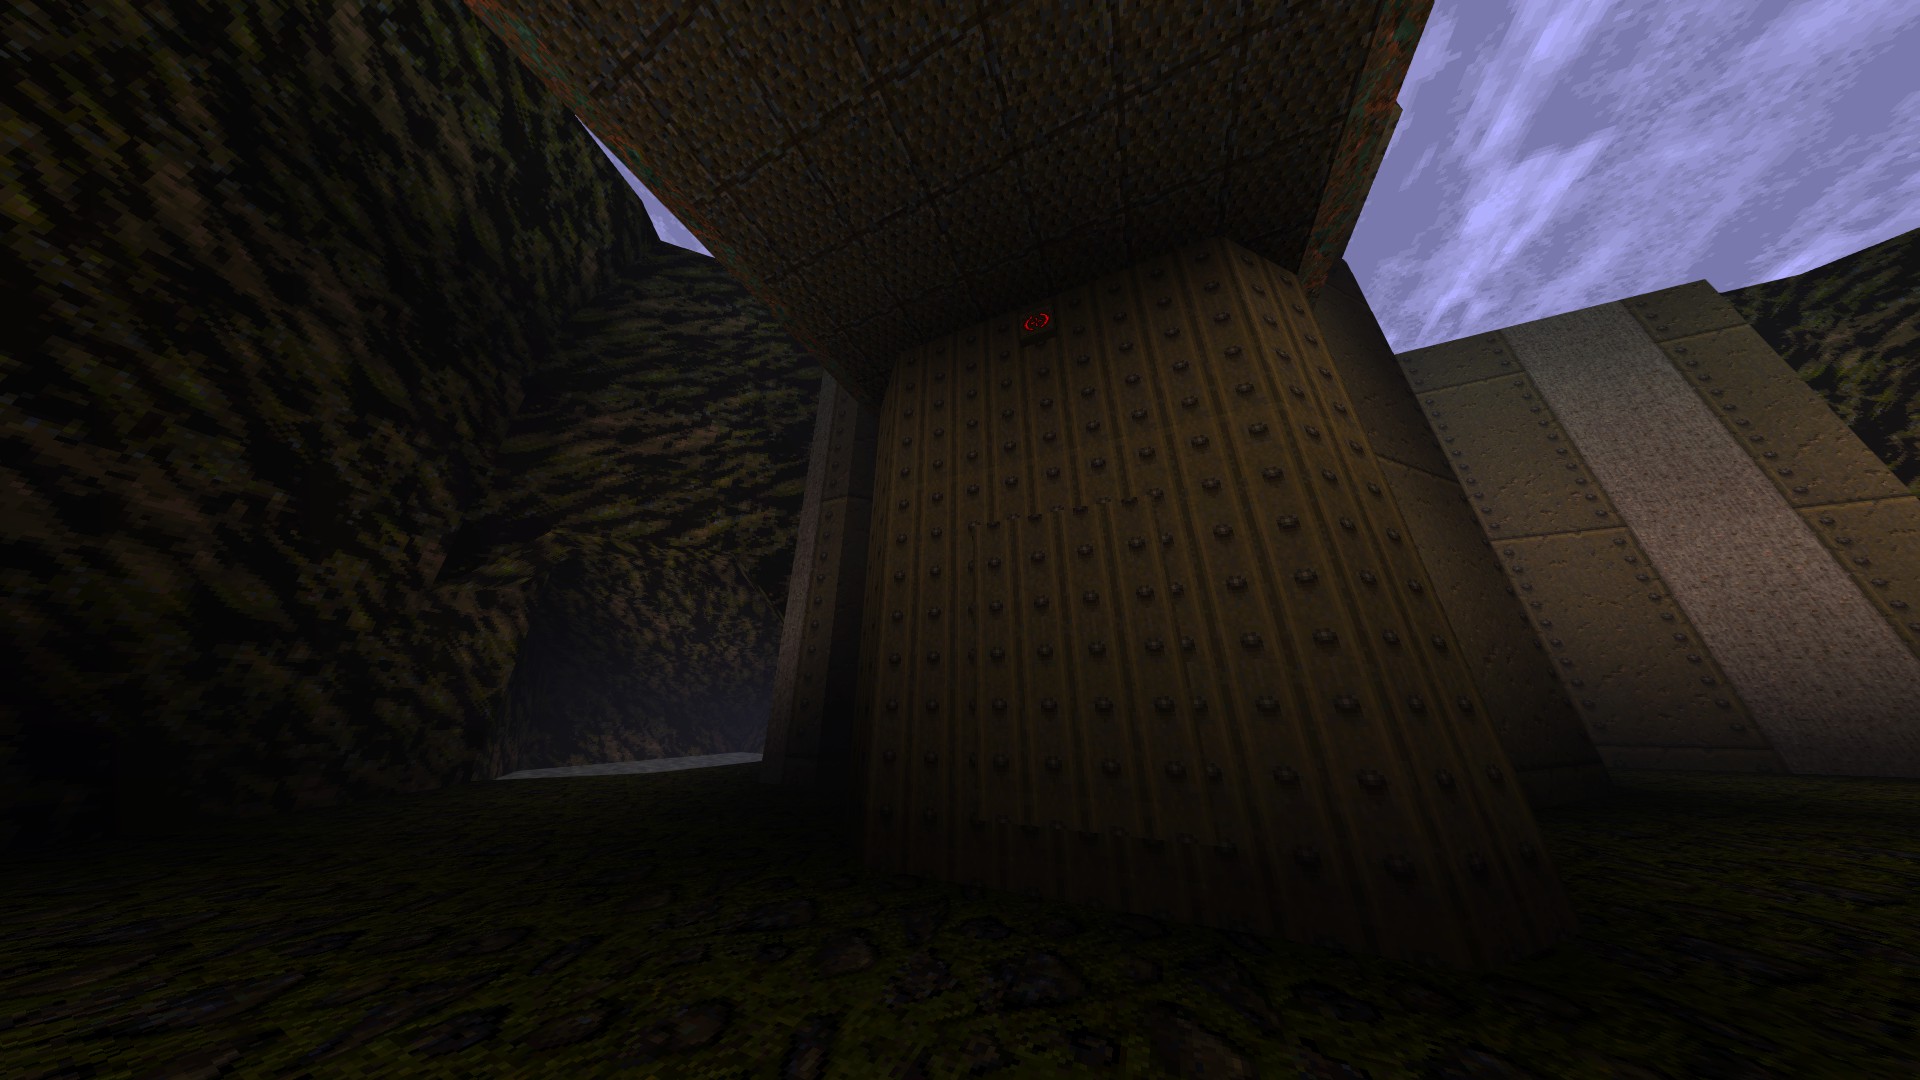
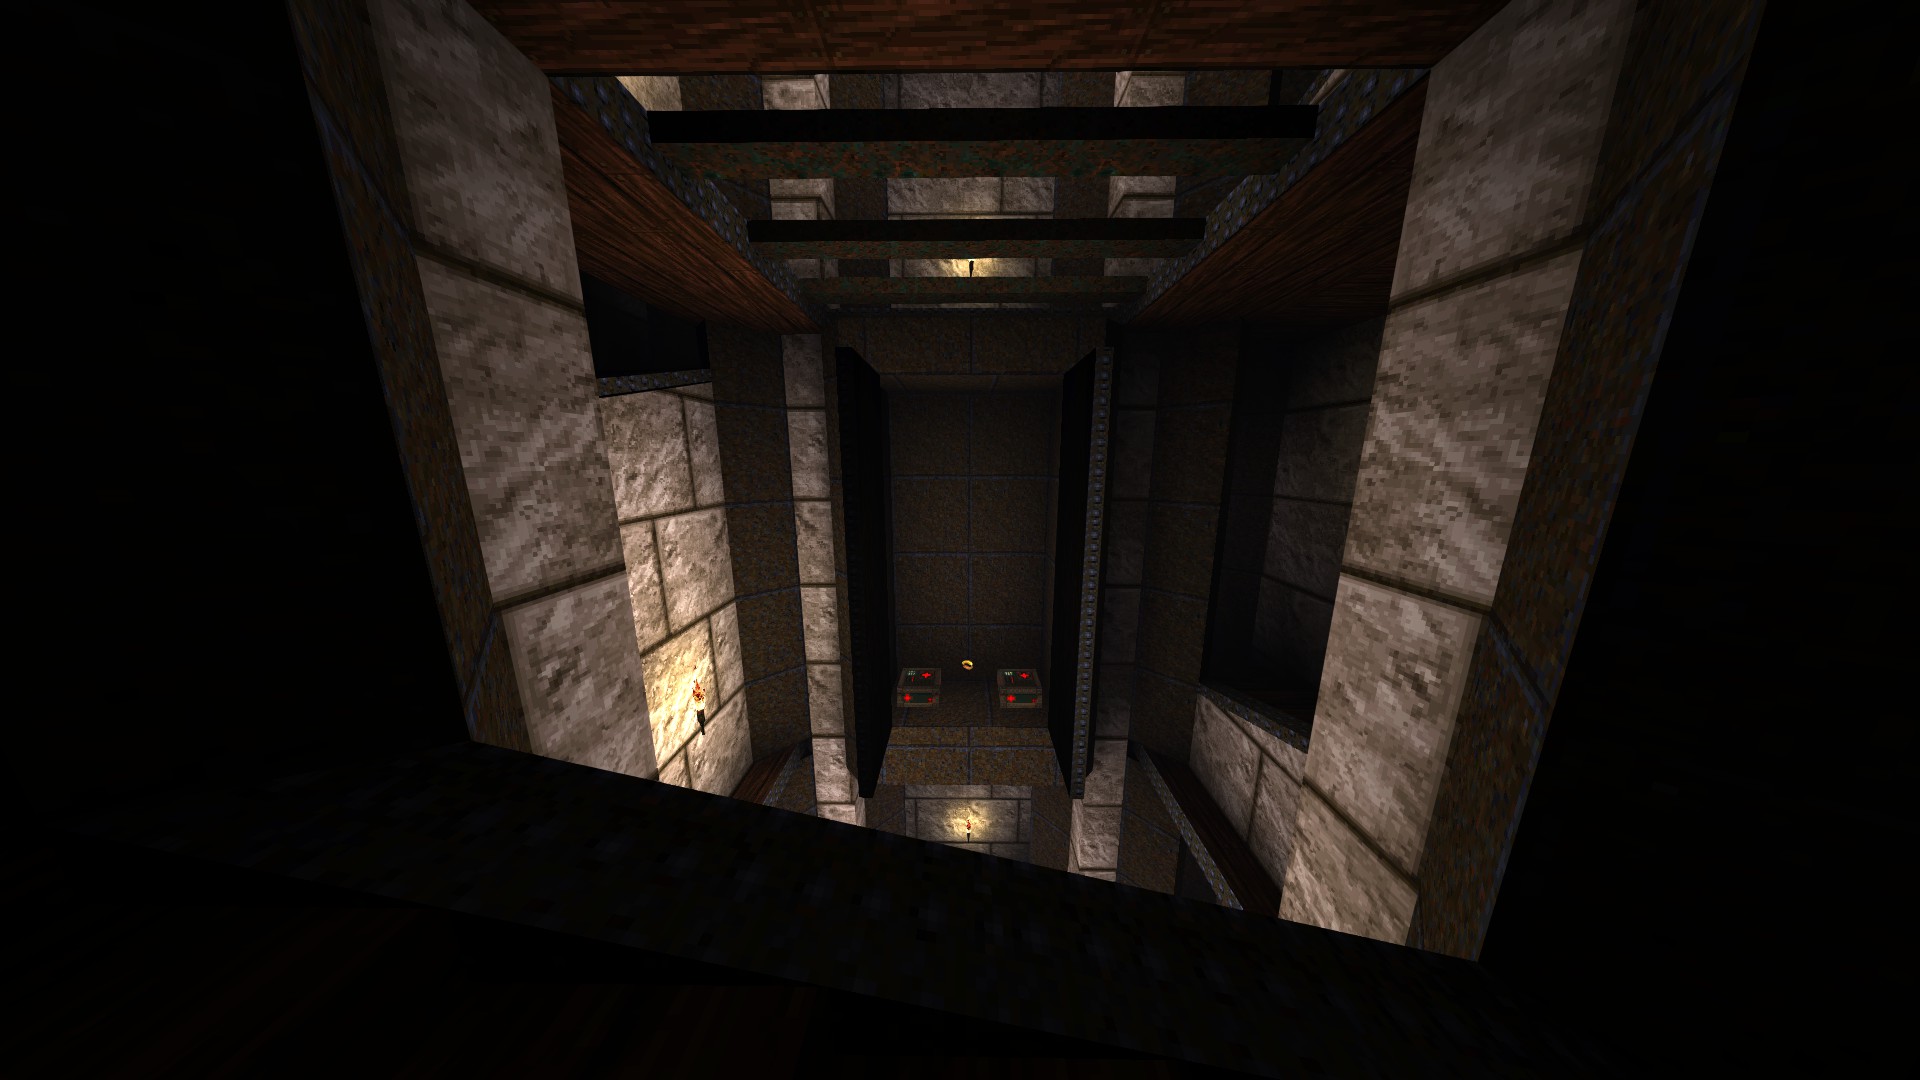
4/5 – As you traverse the courtyard, look above for a button under the bridge and shoot it to reveal a hidden compartment.
5/5 – Just before leaving via the slipgate, get next to the crate in the corner and jump-shoot the hidden button on the topside to reveal a set of smaller crates to lead you to another megahealth.
—
HIP1M2: STORAGE FACILITY
1/3 – As you go over the walkway overlooking the entrance, follow the beam to the other side and hit the part of the wall leaking light from below to reveal a hidden quad damage.
2/3 – In the gold key room, drop down from the upper walkway onto the crates near the key and turn around to find an armor.
3/3 – Instead of leaving via the slipgate reached through the gold key door, return to the entrance hall. Lob a proximity grenade right on the button found above the doorway and cross the holobridge once more to reach the ledge where you picked up the silver key before. Wait for the walkway to extend and get across to find another slipgate that leads to the first secret level, Military Complex.
—
HIP1M5: MILITARY COMPLEX
1/7 – As you wade through the pipe at the beginning, look above at the corner and shoot the button to get lifted to a hidden megahealth.
2/7 – While exploring the outdoors, shoot the button that can be seen through the window of the platform in the corner to activate the lift that helps you inside.
3/7 – Following from the previous secret, jump off the bridge to find some ammo below.
4/7 – When you find the third button required for progression, get on the railing to the side and jump across to the ledge where a perforator resides.
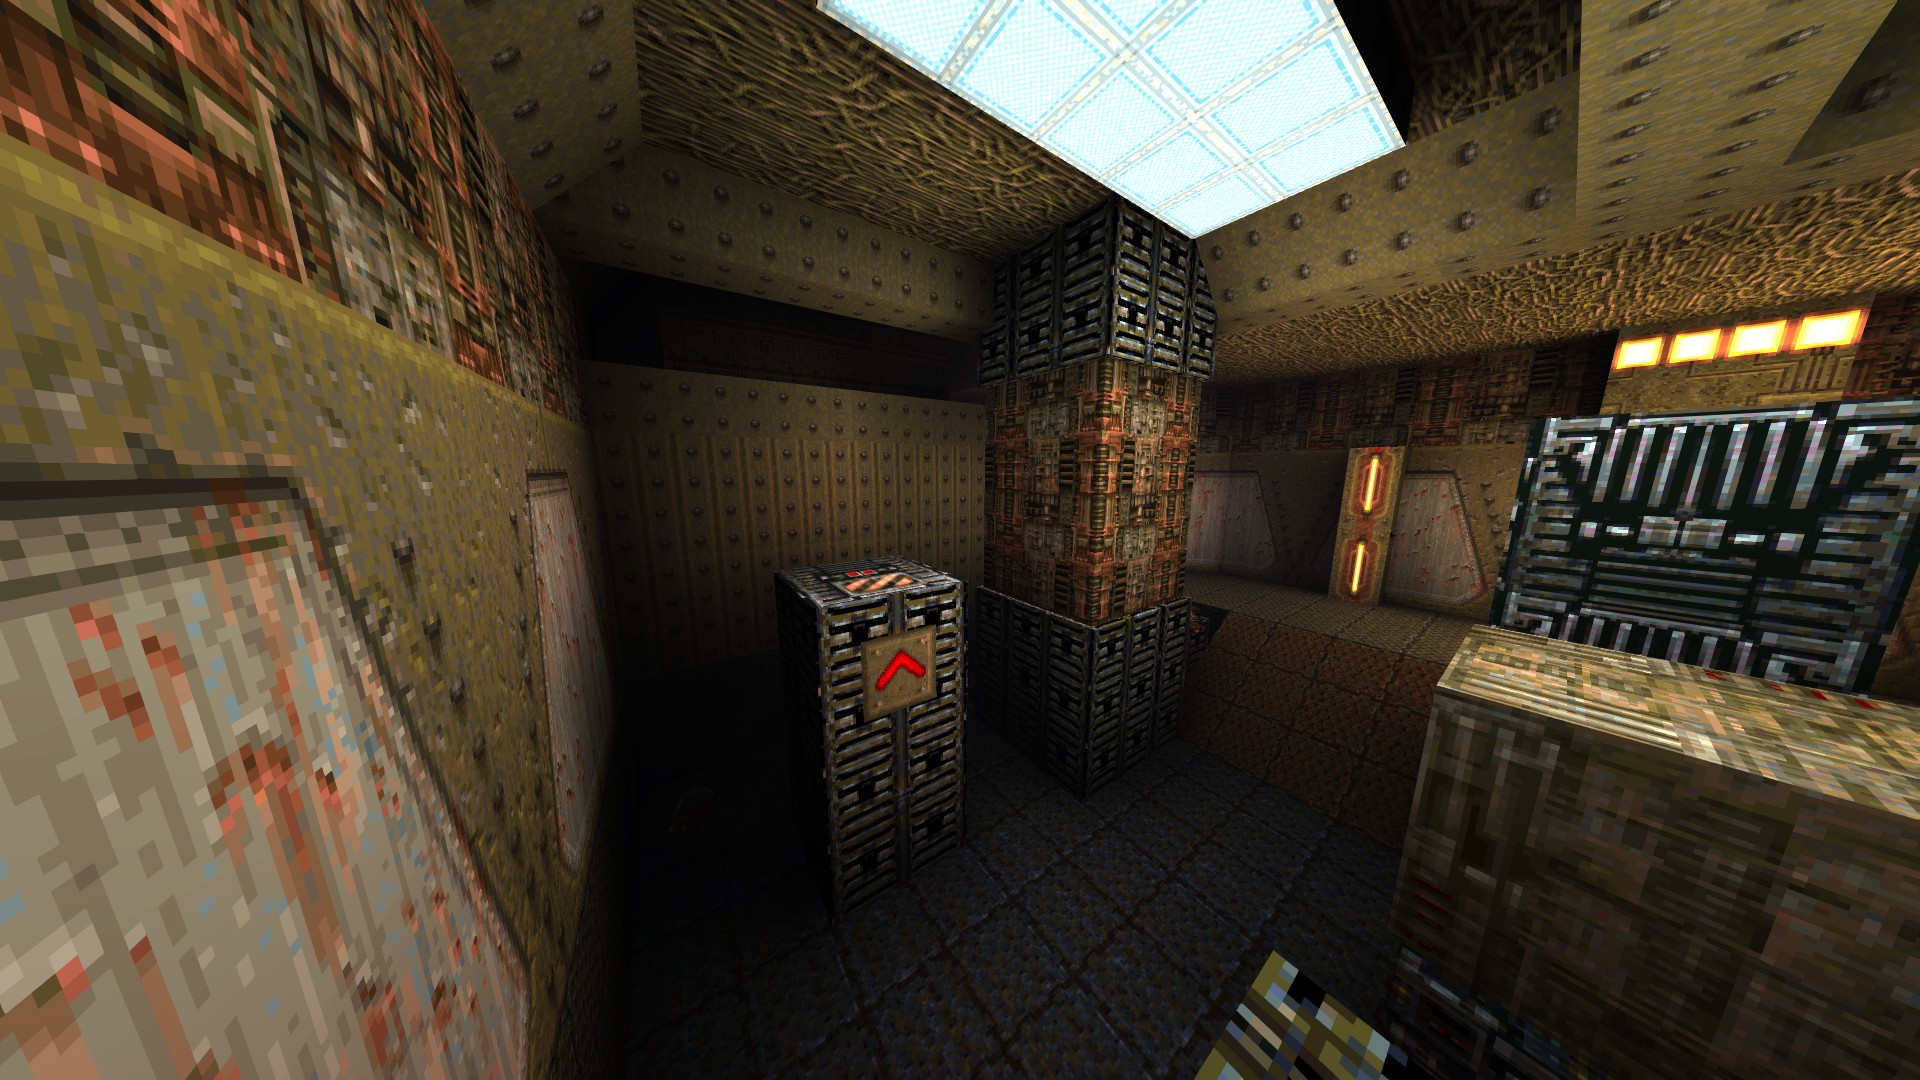
5/7 – In the server room, get on top of the one marked by an arrow fixture to reveal a hidden armor right next to it.
6/7 – Upon accessing the sewer system, drop down from the walkway to find a quad damage underneath it.
7/7 – Once you reach the ledge overlooking the gold key door, find the part of the wall with misaligned texturing and hit it to open up a hidden compartment.
—
HIP1M3: THE LOST MINE
1/3 – As you descend into the mine, get on top of the pipe to your left and follow it all the way to its corner to find an out of sight armor.
2/3 – Following from the previous secret, get on top of the rock next to the explosive crates to reveal a ring of shadows by the nearby console.
3/3 – Once inside the complex, press the button located near the control panels, make your way up via the newly-formed steps and follow the cabling to find a megahealth.
—
HIP1M4: RESEARCH FACILITY
1/3 – Shoot the blue-coloured light fixture found near the gold key door to reveal a hidden compartment.
2/3 – In the room housing the silver key, after taking the ramp to its very end, quickly drop down to the lower floor through the opening ahead and check underneath the ramp to find a hidden compartment.
3/3 – In the control room that lies beyond the silver key door, hit the button on the side of the console to reveal another hidden compartment.
—
Easter Egg
Rocket-jump at the ledge overlooking the entrance to find an otherwise unreachable armor and receive a message from the developers.
E2: Dominion of Darkness – Part I
This section covers the first three levels of E2 that contain a total of 19 secrets.
—
HIP2M1: ANCIENT REALMS
1/8 – Upon start, shoot the button by the entrance and dive into the opening found in the pond to access a hidden cave.
2/8 – After dealing with the ambushing enemies inside, hit the metal plate under the walkway to reveal a hidden room.
3/8 – Following from the previous secret, open the door in the same area and jump on top of it from the ledge. Press the brick that slightly juts out to open up another hidden room next to it.
4/8 – Look for a smaller button next to one of the three you need for progression on the bend of one the stairways in the area and shoot it to reveal a quad damage nearby.
5/8 – Near another one of the three buttons needed for progression, shoot the smaller button on the ceiling to open up a hidden room by the end of the stairs.
6/8 – Lob a grenade at the wooden beams by the lift found right behind the silver key door to get the empathy shield within.
7/8 – Following from the previous secret, turn around as you cross the walkway and shoot the blue-tinted windowpane to reveal a ring of shadows.
8/8 – Instead of leaving through the archway at the end of the level, shoot the button located right above it and return to the hidden room revealed by the third secret. Now that the barrier encountered before is lowered, take the lift inside to reach the portal that leads to the second secret level, The Gremlin’s Domain.
—
HIP2M6: THE GREMLIN’S DOMAIN
1/6 – In the first room by the entrance, hit the part of the wall next to the archway to reveal a hidden lift and take it to reach the armor inside the caged corner.
2/6 – In the same room with the button that lowers the next barrier on your path, look for a button in the connecting corridor and shoot it to reveal a megahealth at the center of the adjacent room. Look above as you get the megahealth and shoot another button to reveal a set of stairs that takes you to the ledge above the barrier, where a lightning gun resides.
3/6 – Following from the previous secret, hit the stained glass window opposite the silver key door to reveal a teleporter that takes you to an otherwise unreachable area.
4/6 – Right after you get the wetsuit, shoot the button above the doorway as you go for a dive to open up a hidden compartment at the end of the tunnel.
5/6 – Following from the previous secret, shoot the framed part of the wall next to the silver key and take the opening to find the Mjölnir at the end of the path.
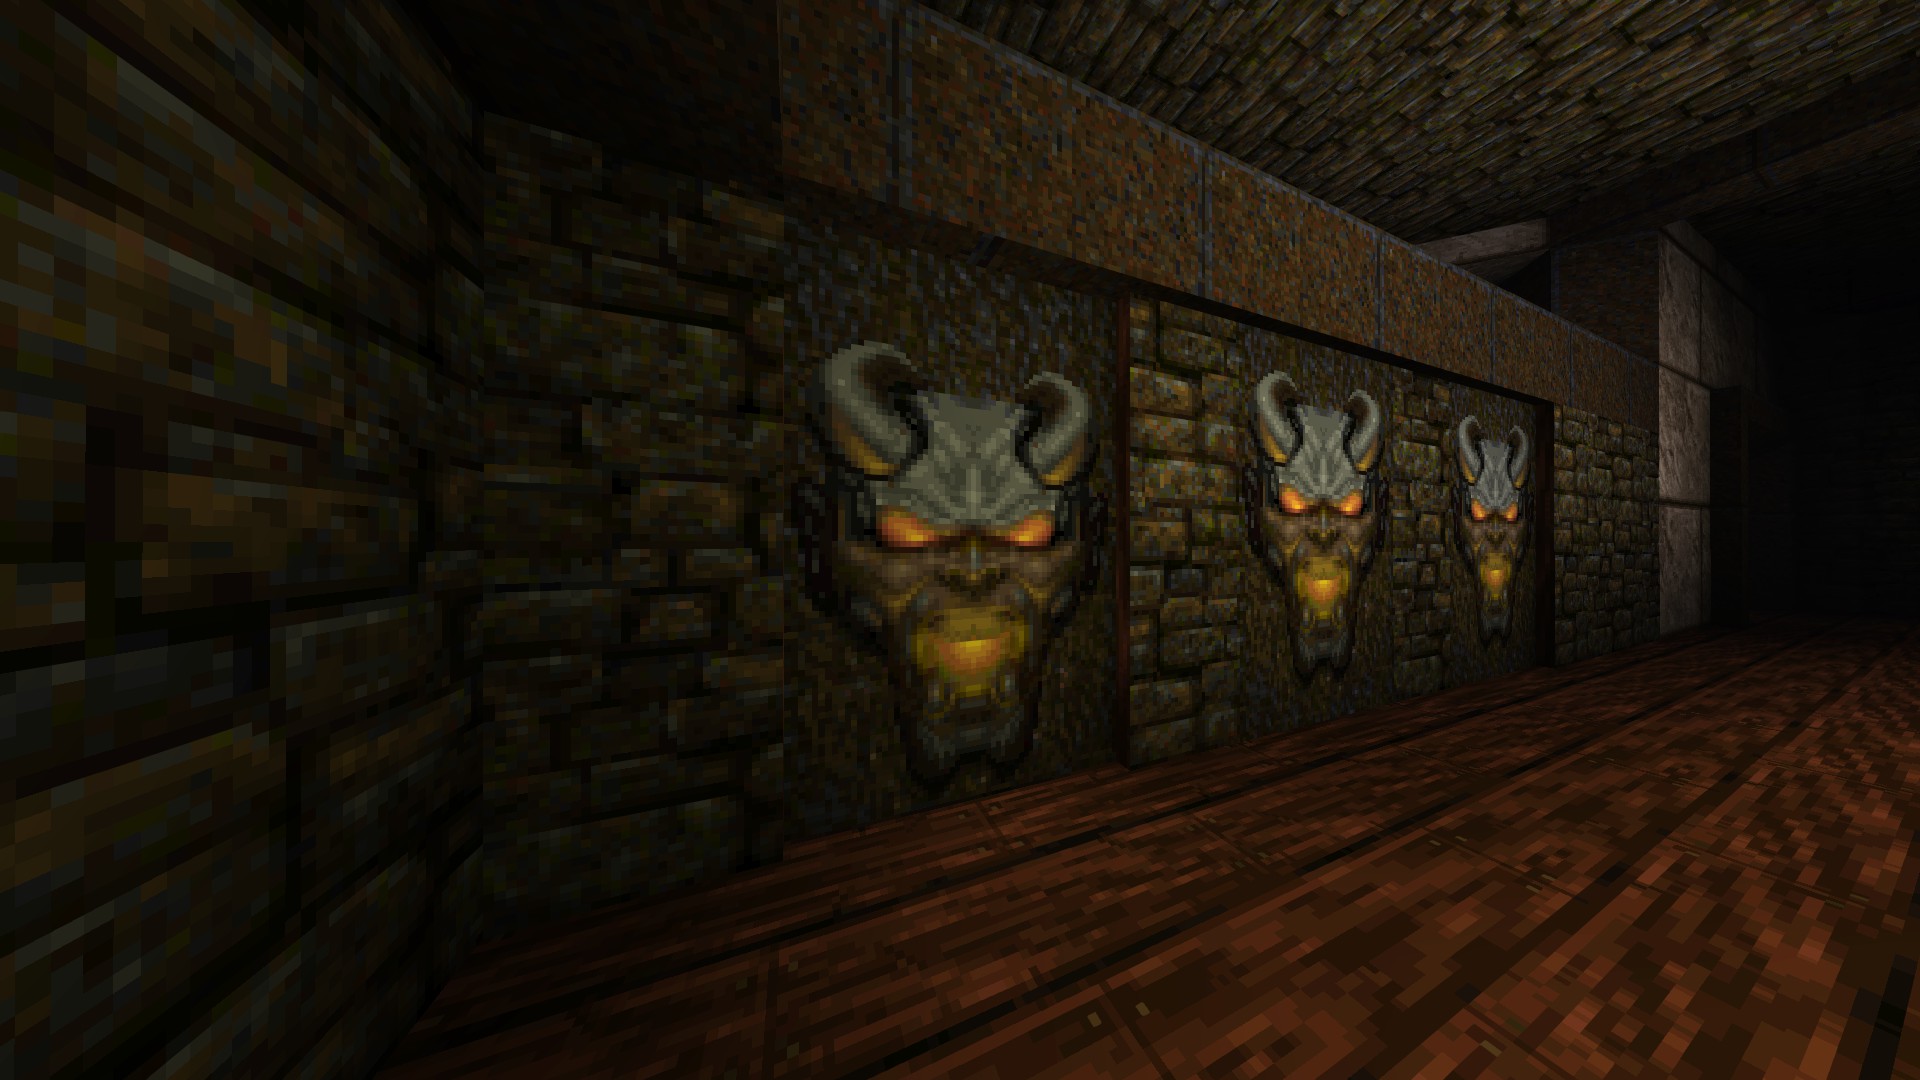
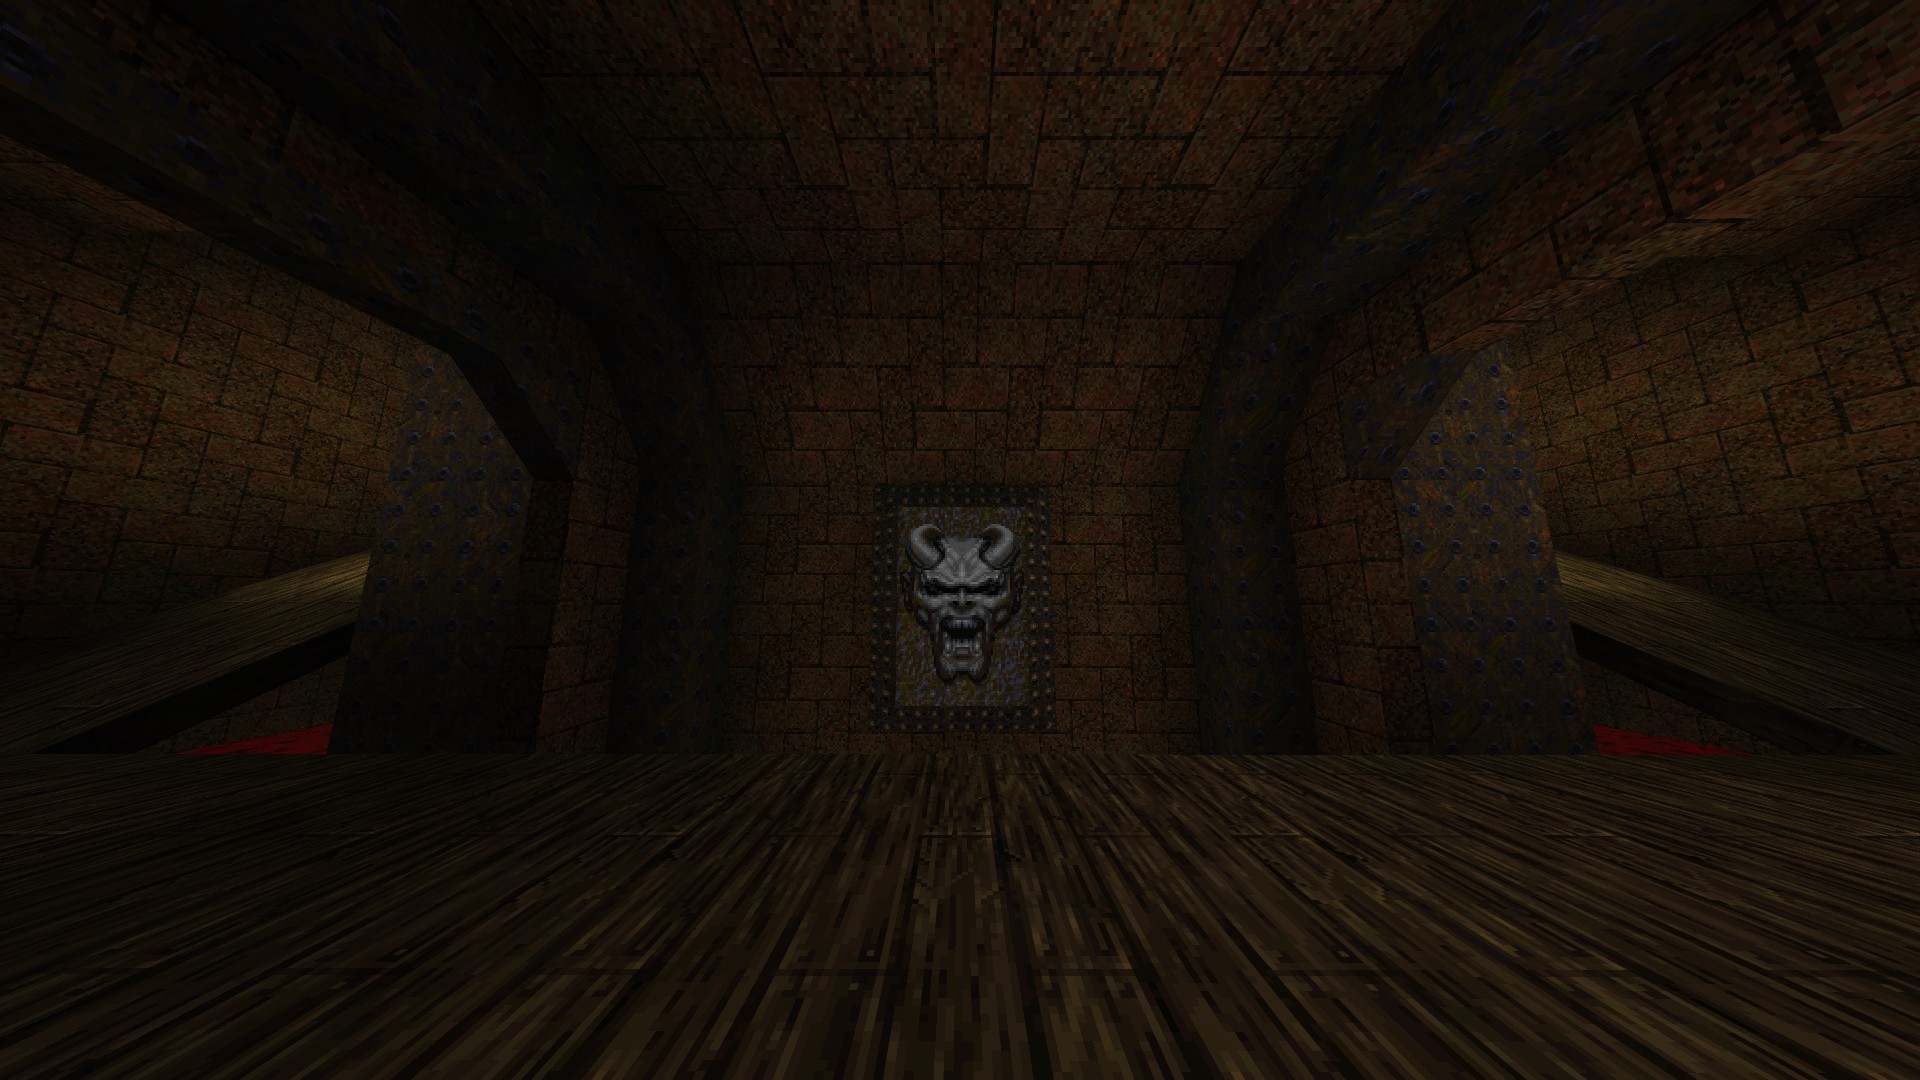
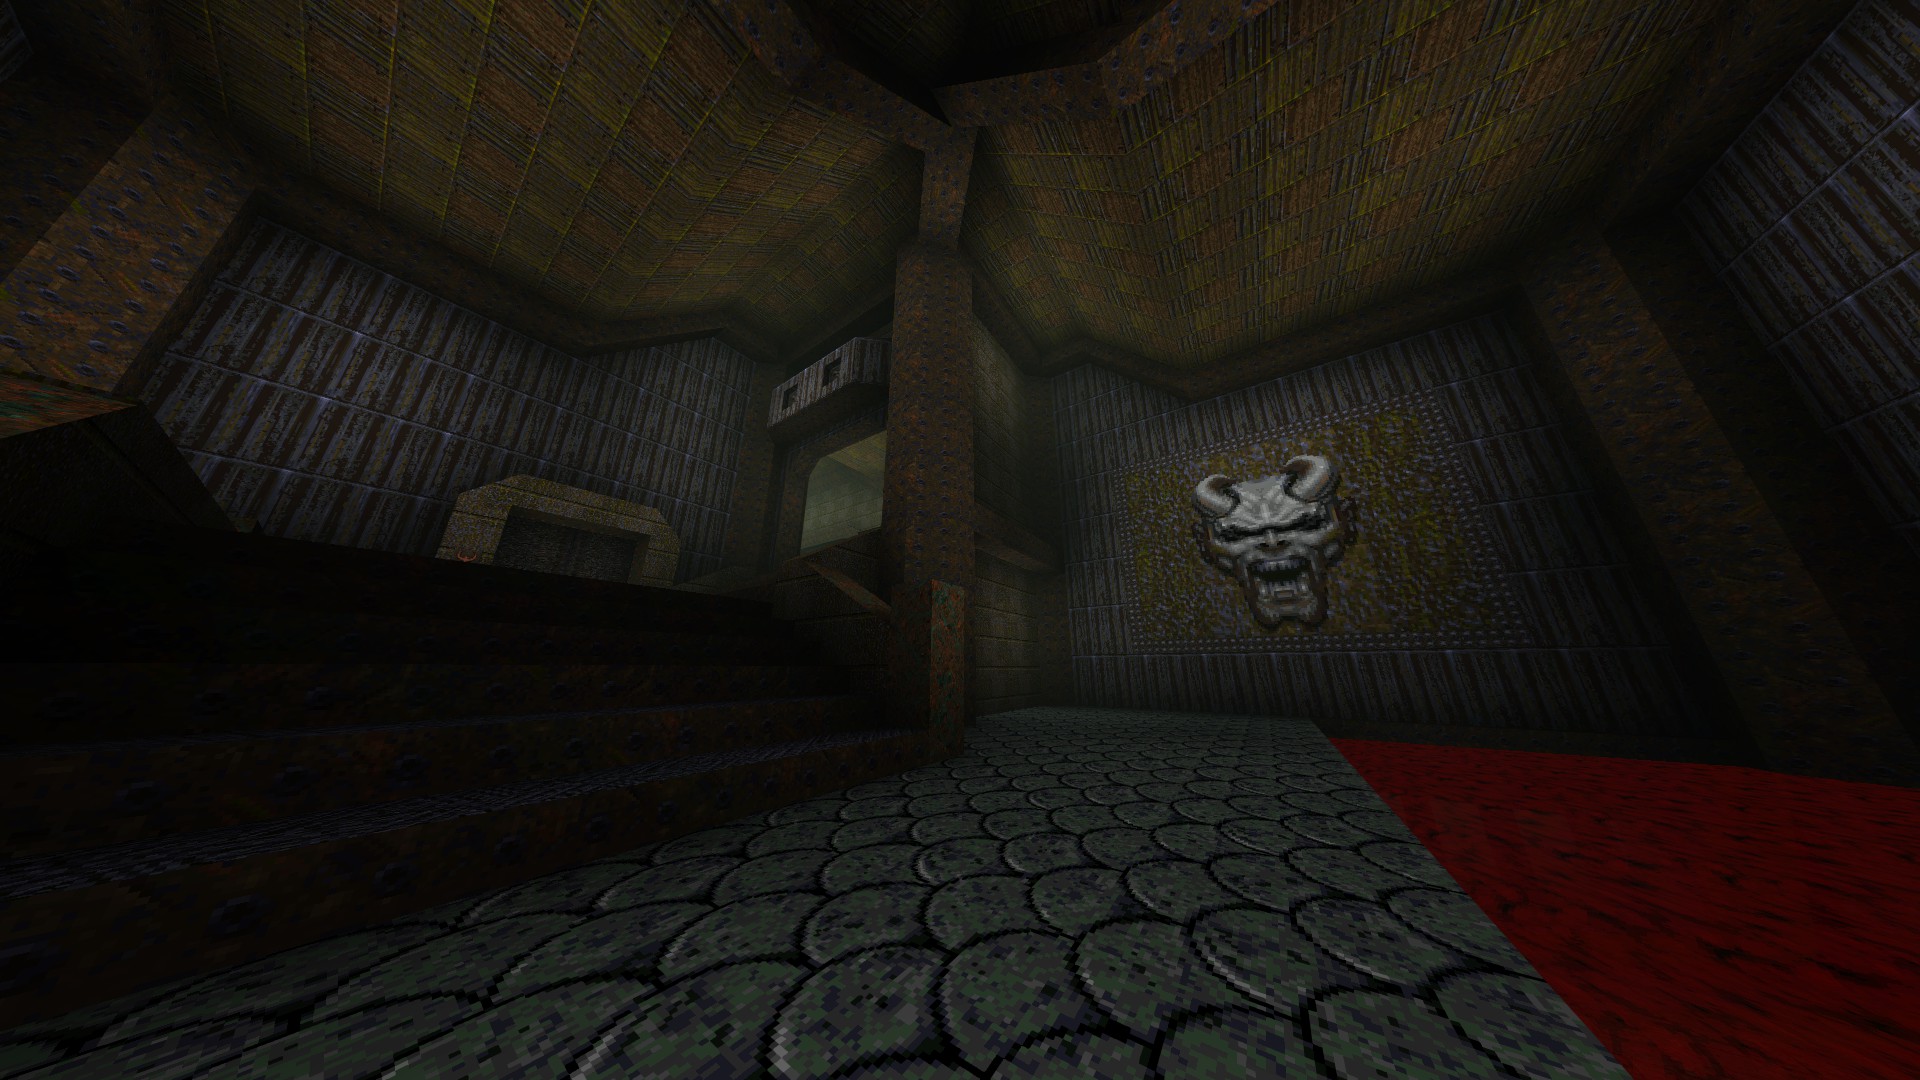
6/6 – After going through the gold key door, hit the demon plate in the next room to reveal a ring of shadows.
—
HIP2M2: THE BLACK CATHEDRAL
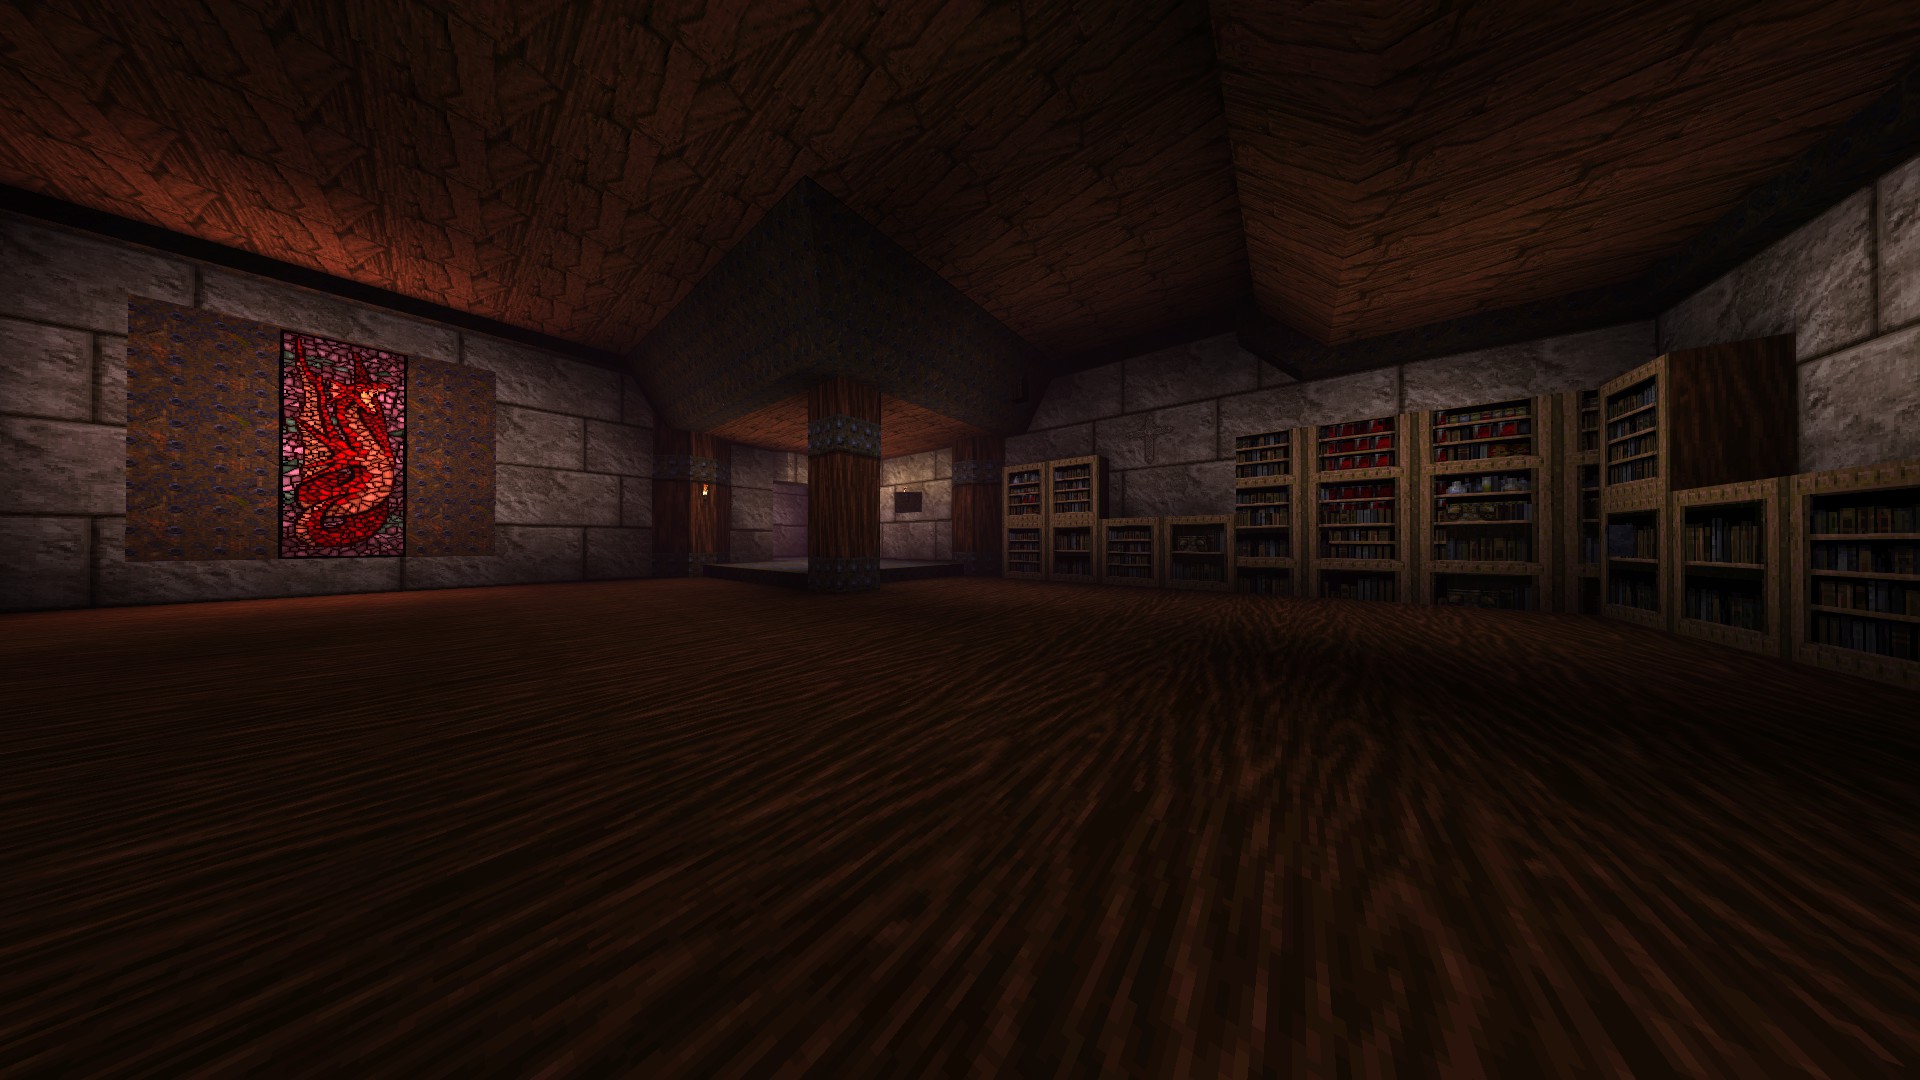
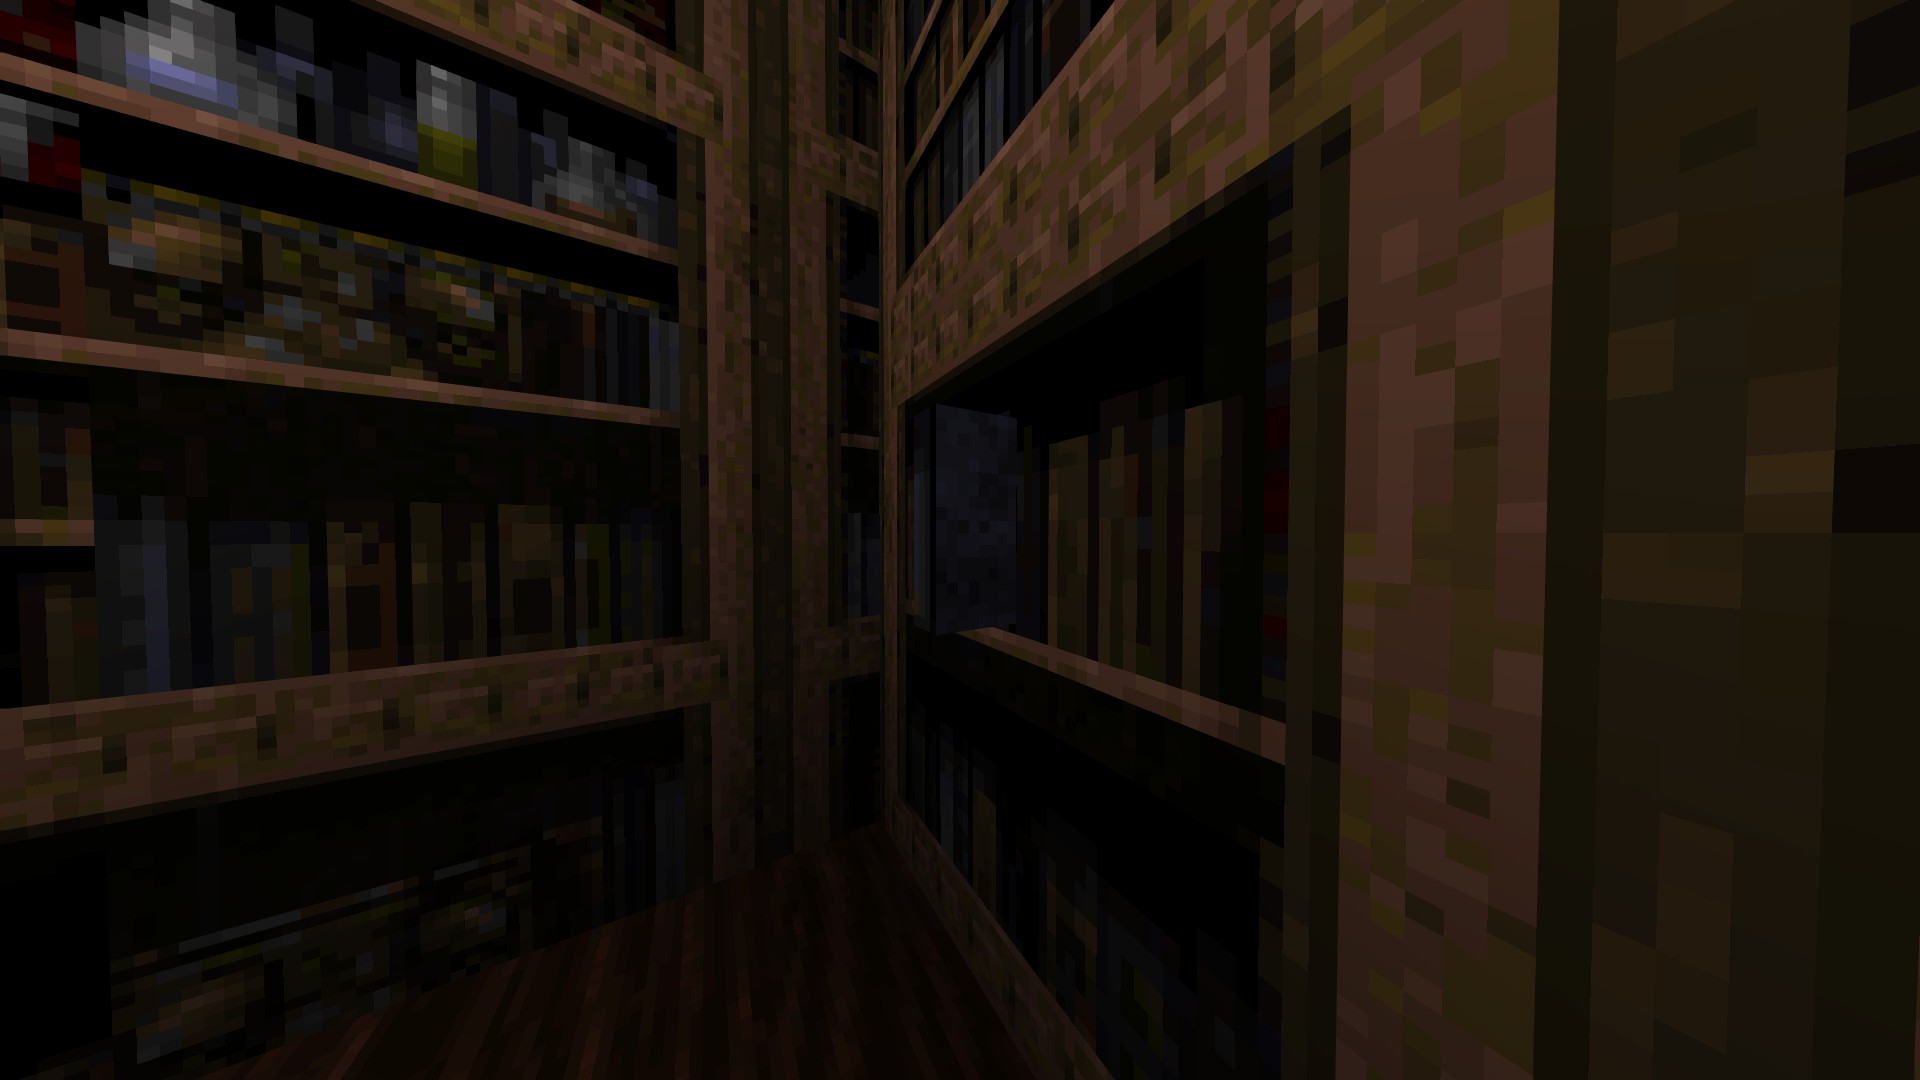
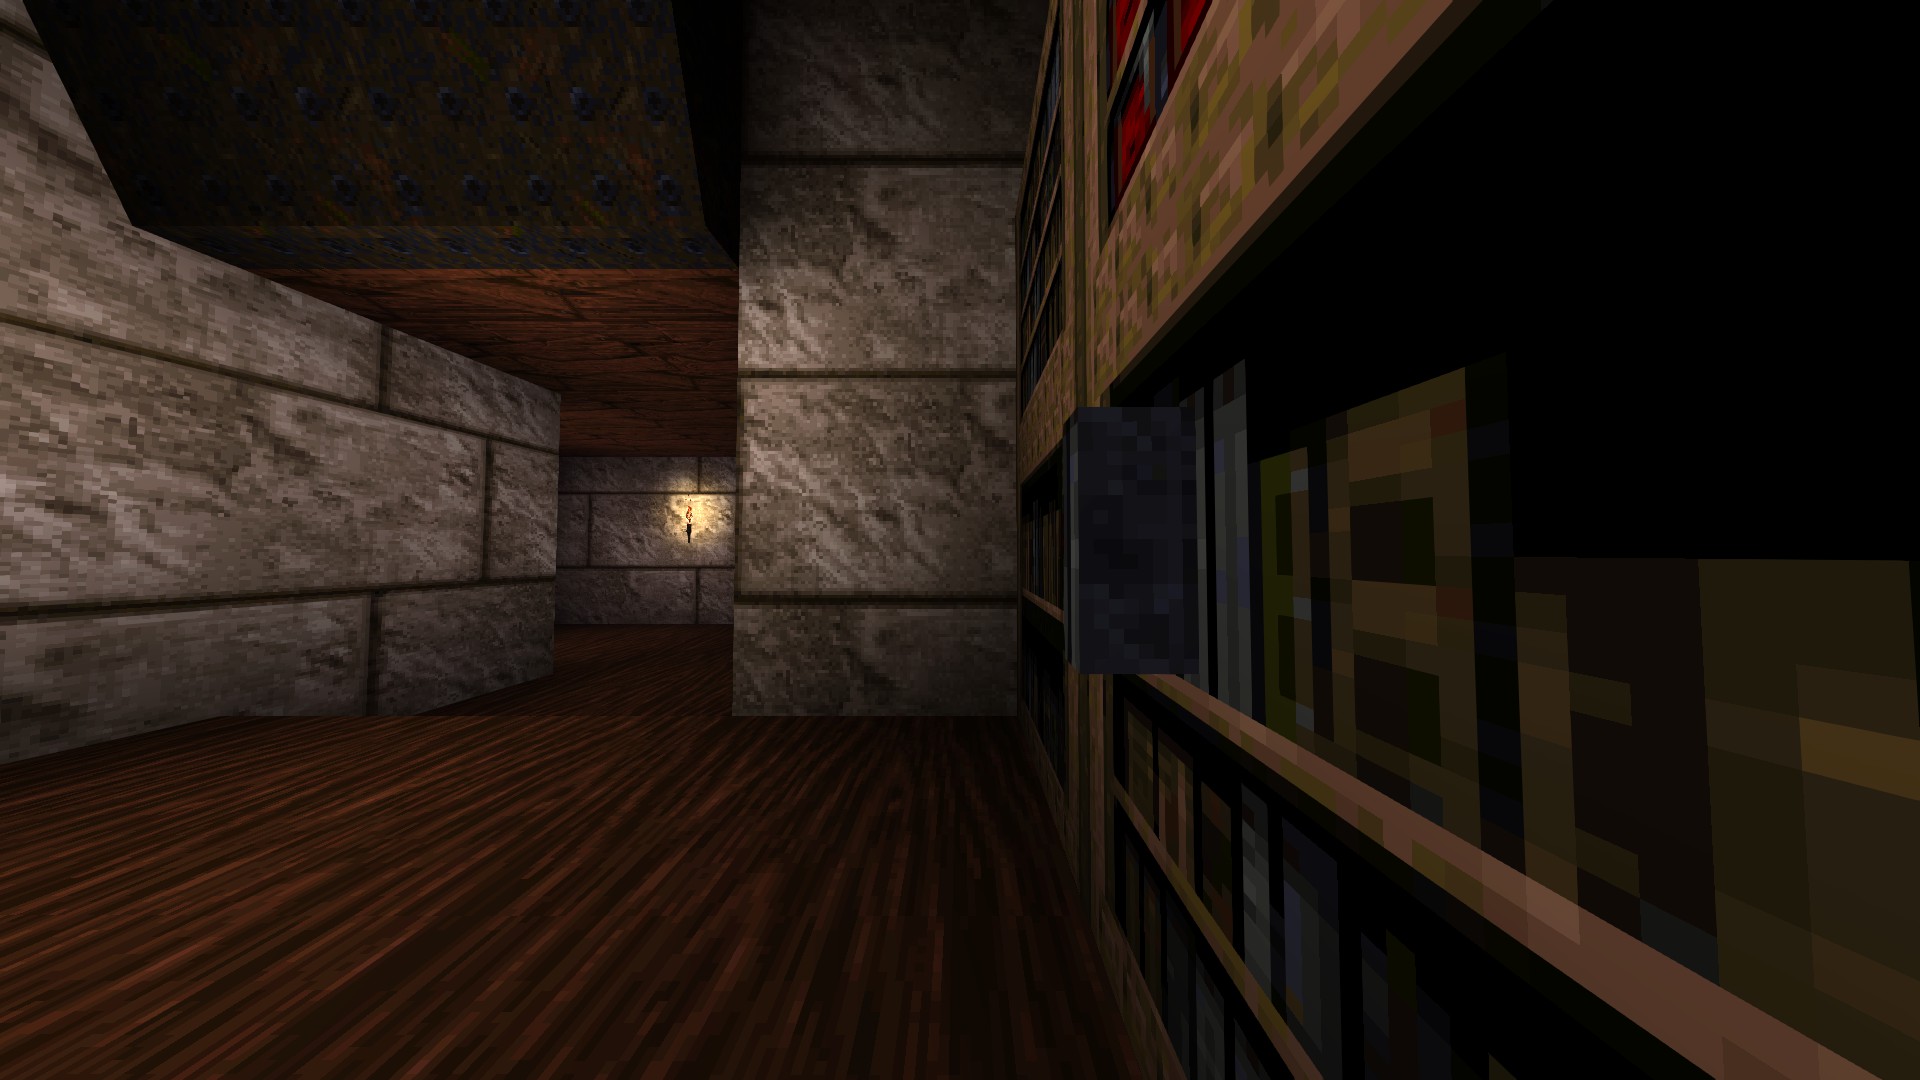
1/5 – In the library on the lower floor, look for a book in the corner that slightly juts out from the shelves and press it to access a hidden study.
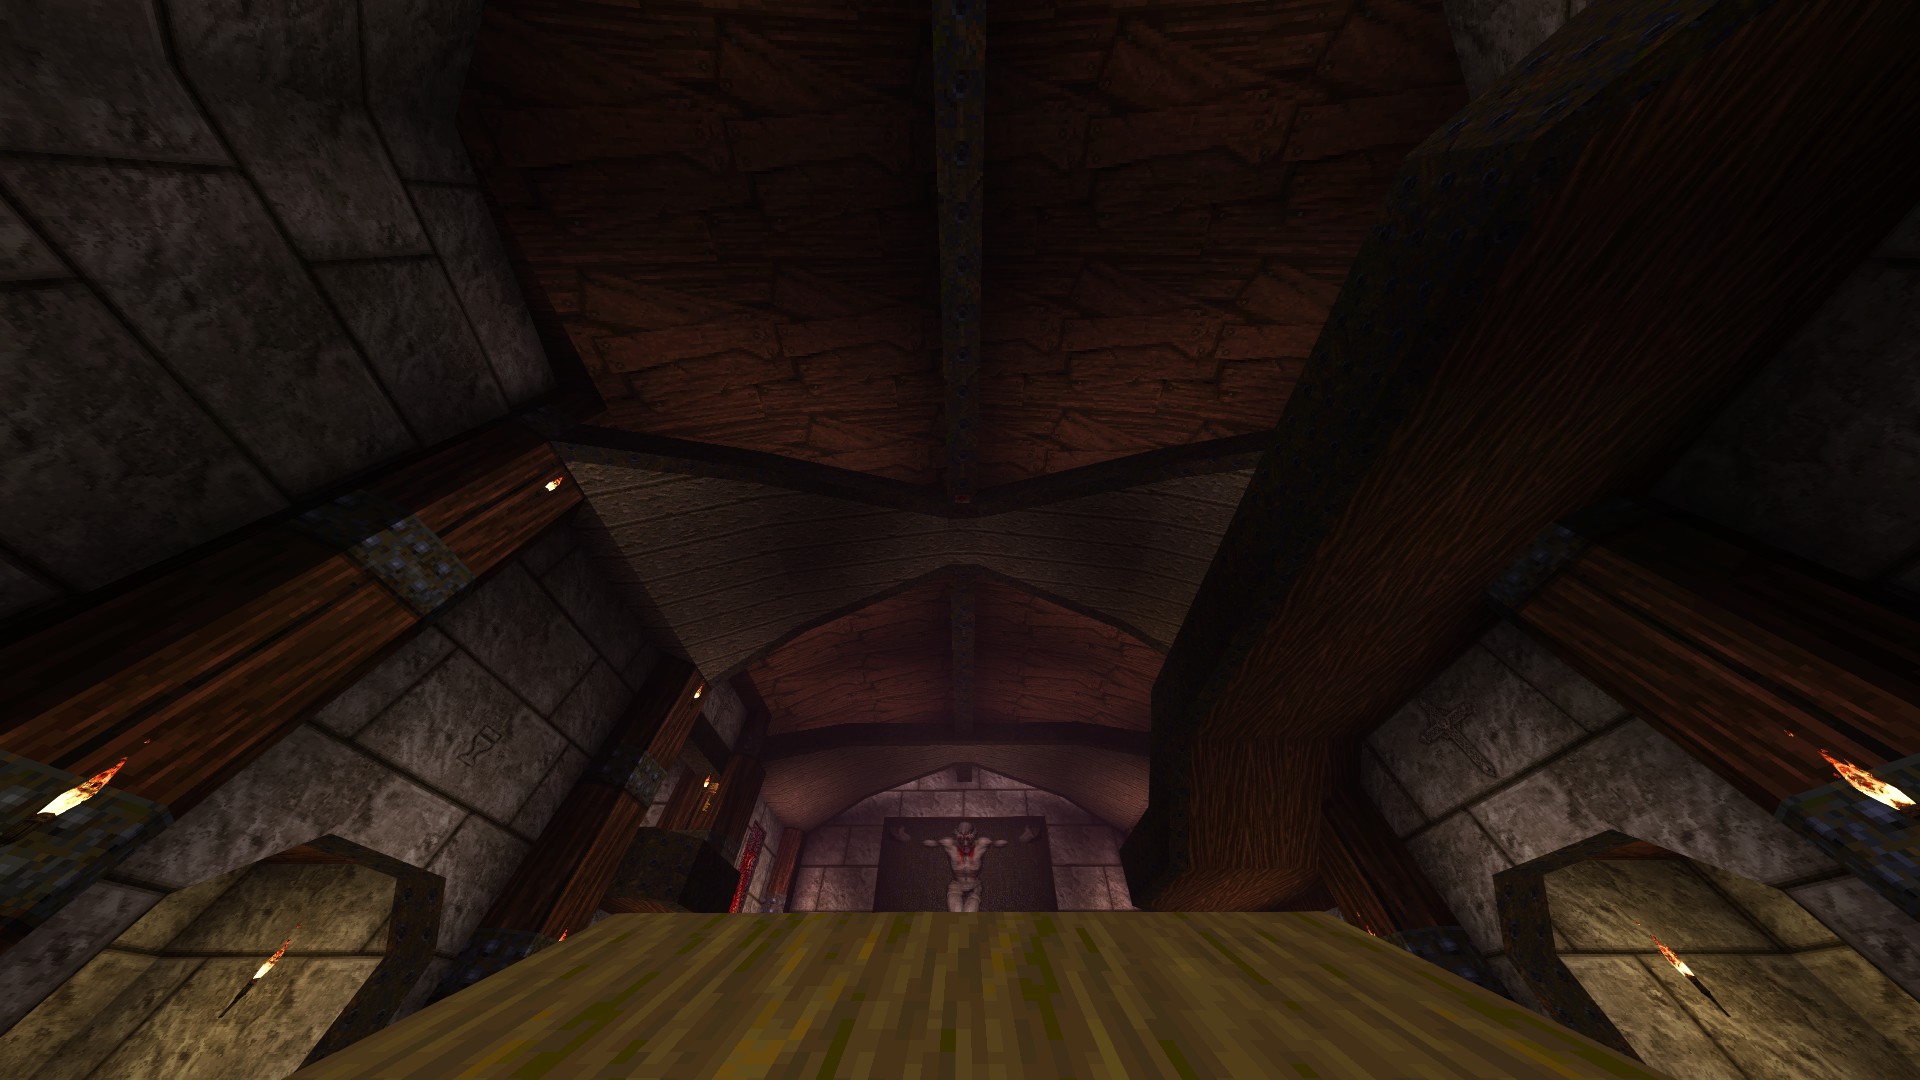
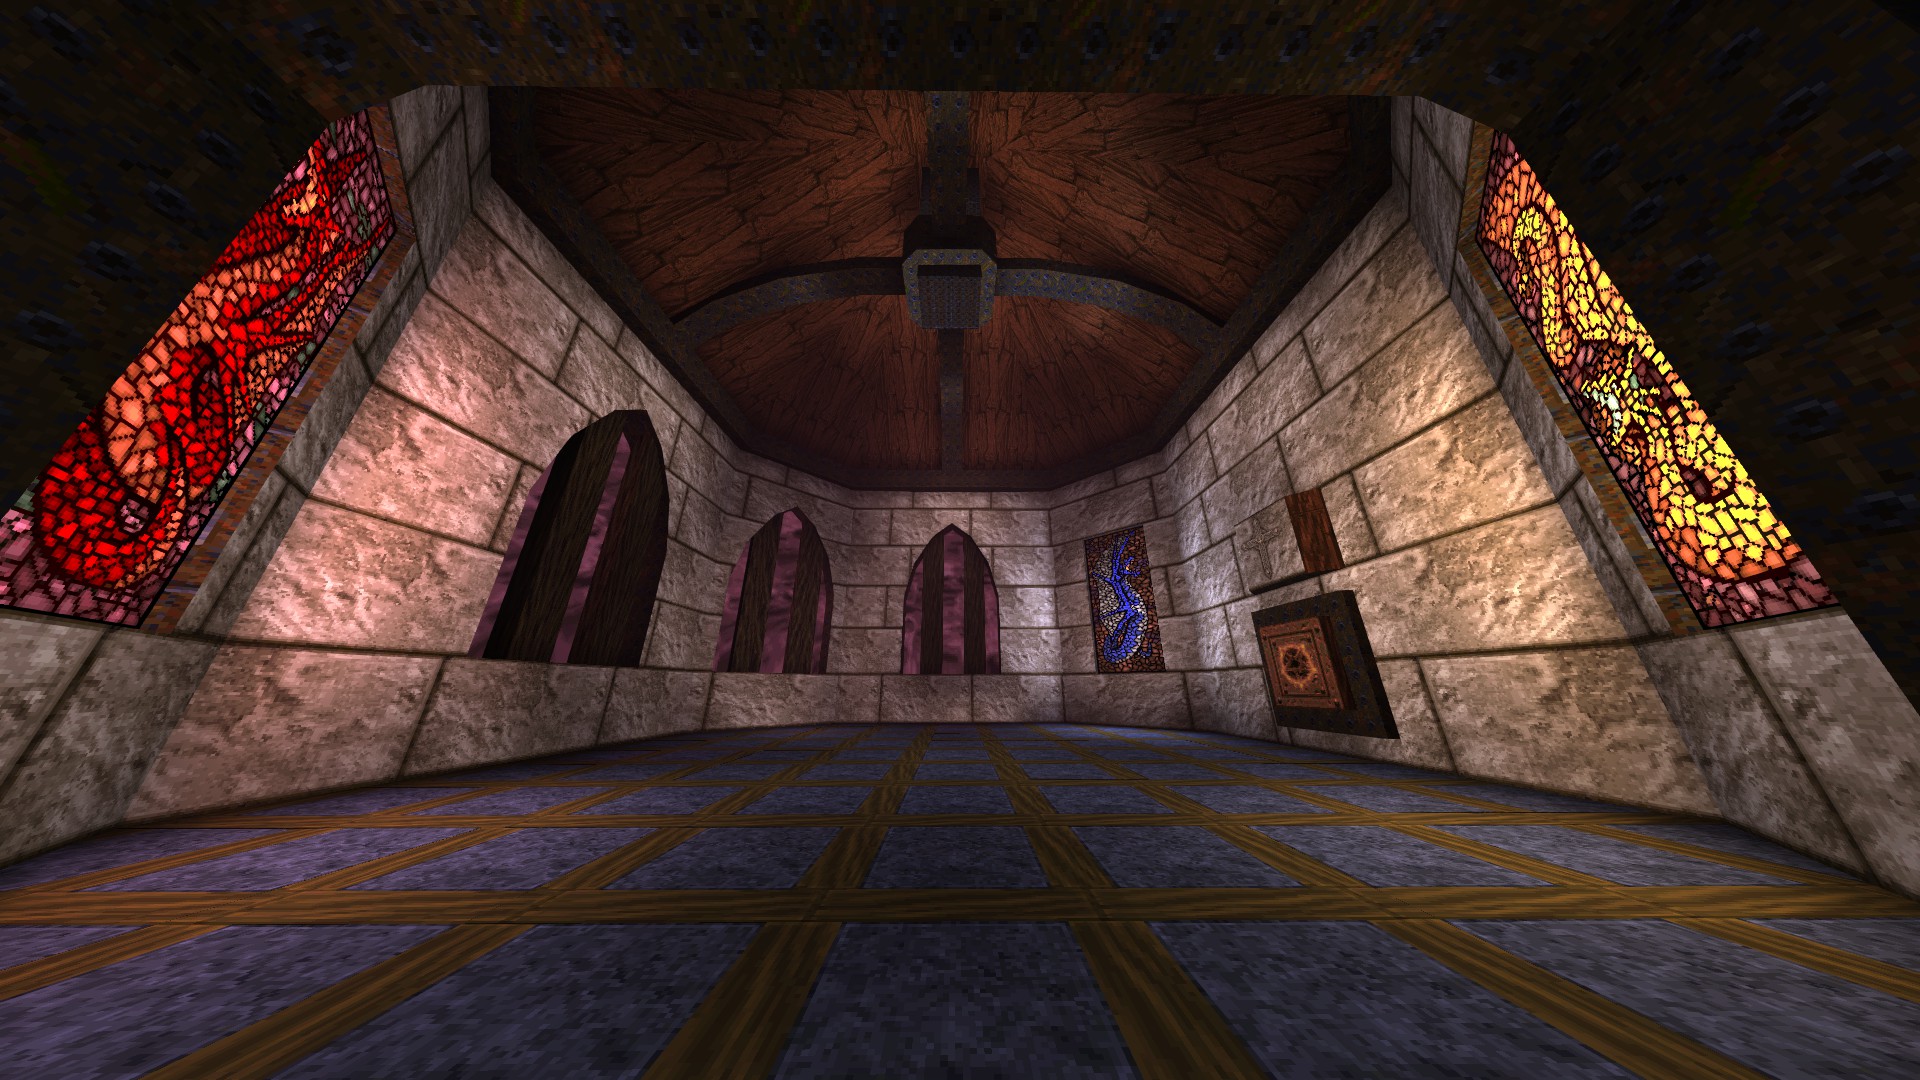
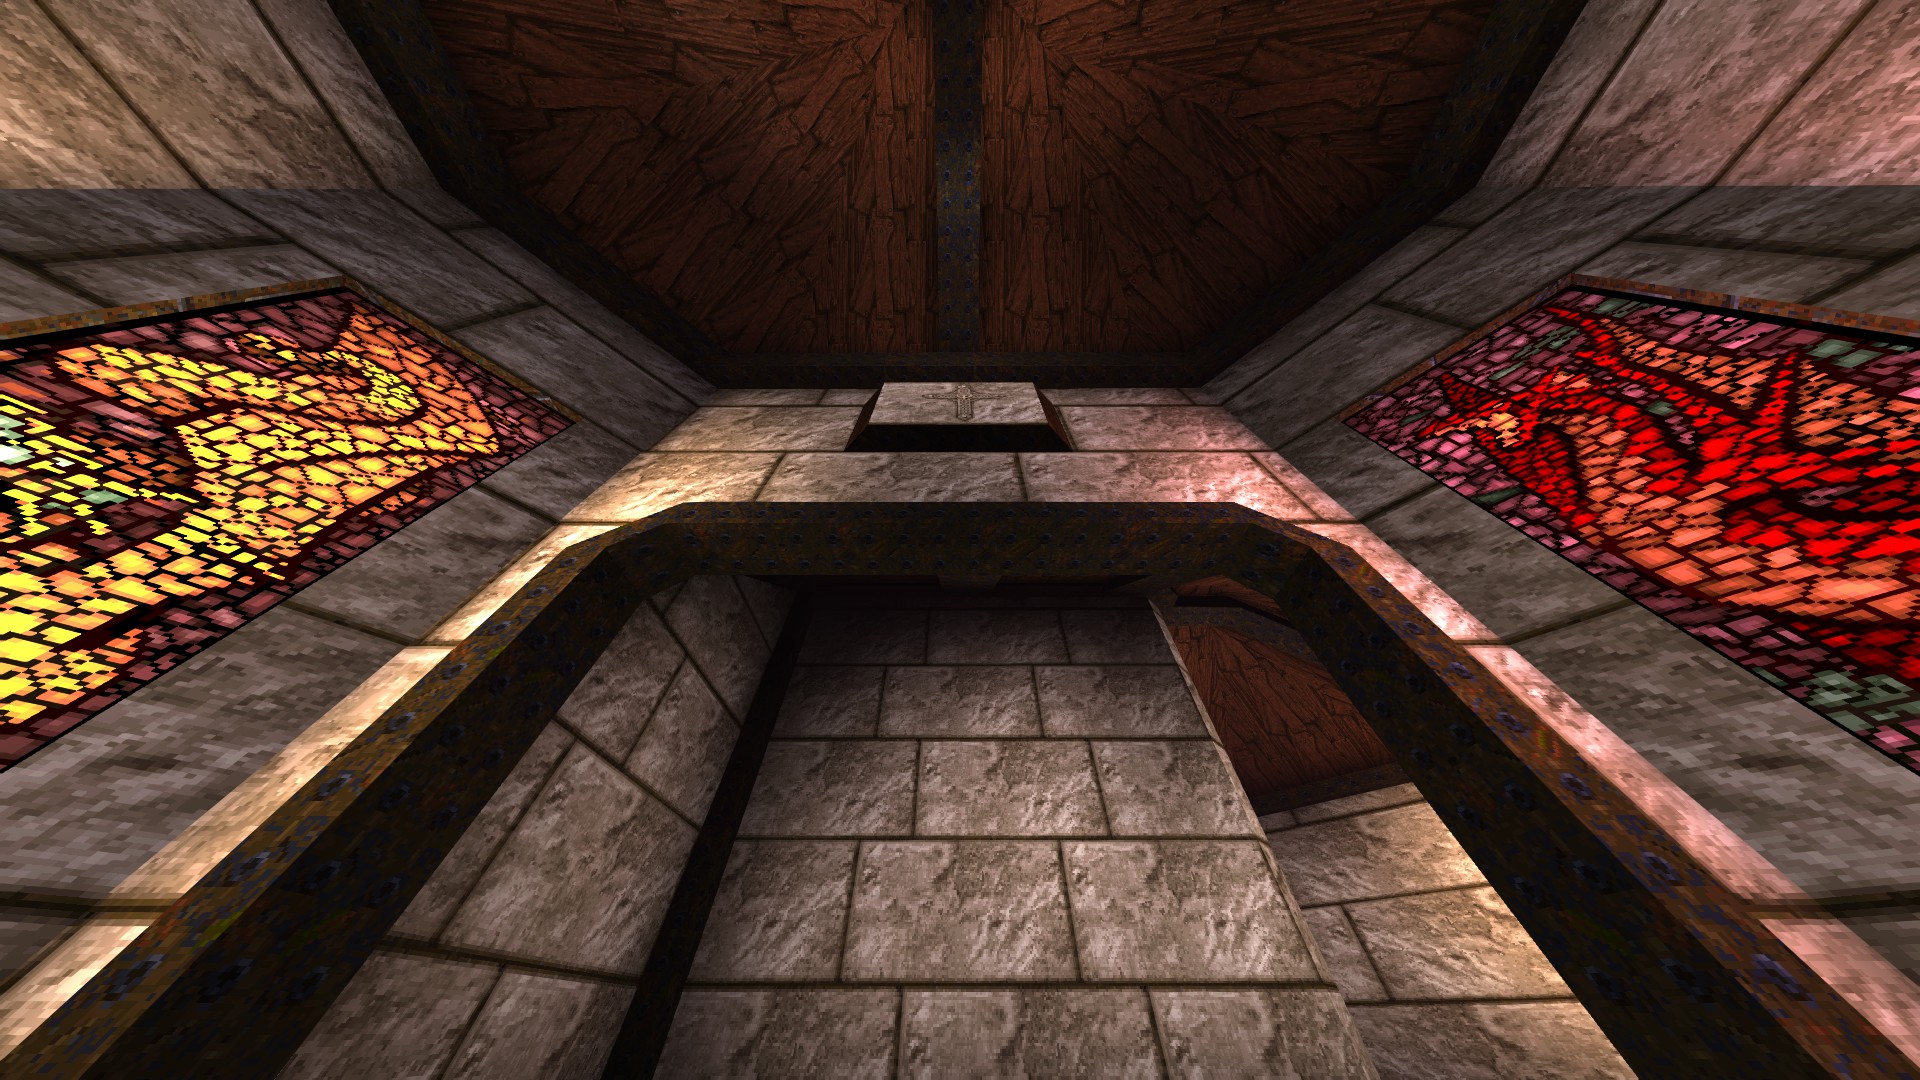
2/5 – Approach the lectern in the church to receive a message and reveal a button in the middle of ceiling. Shoot the button and go towards the pews at the other end to find a teleporter that gets you on top of the beams at the entrance, where a megahealth resides.
Easter Egg – Shoot the icona on the church wall and see what happens.
3/5 – In the room with the button that grants tower access, hit the part of the wall breaking the texture pattern to reveal a hidden room under the stairs.
4/5 – Look for another book that juts out from the shelves in the side hall connecting the first and second floors via the overlook and press it to open up a hidden compartment.
5/5 – After you press the button in the trap room, turn around and shoot the cross decoration above the doorway to reveal a hidden passage nearby that contains a megahealth and doubles as a shortcut to the exit portal.
E2: Dominion of Darkness – Part II
This section covers the remaining three levels of E2 that contain a total of 16 secrets.
—
HIP2M3: THE CATACOMBS
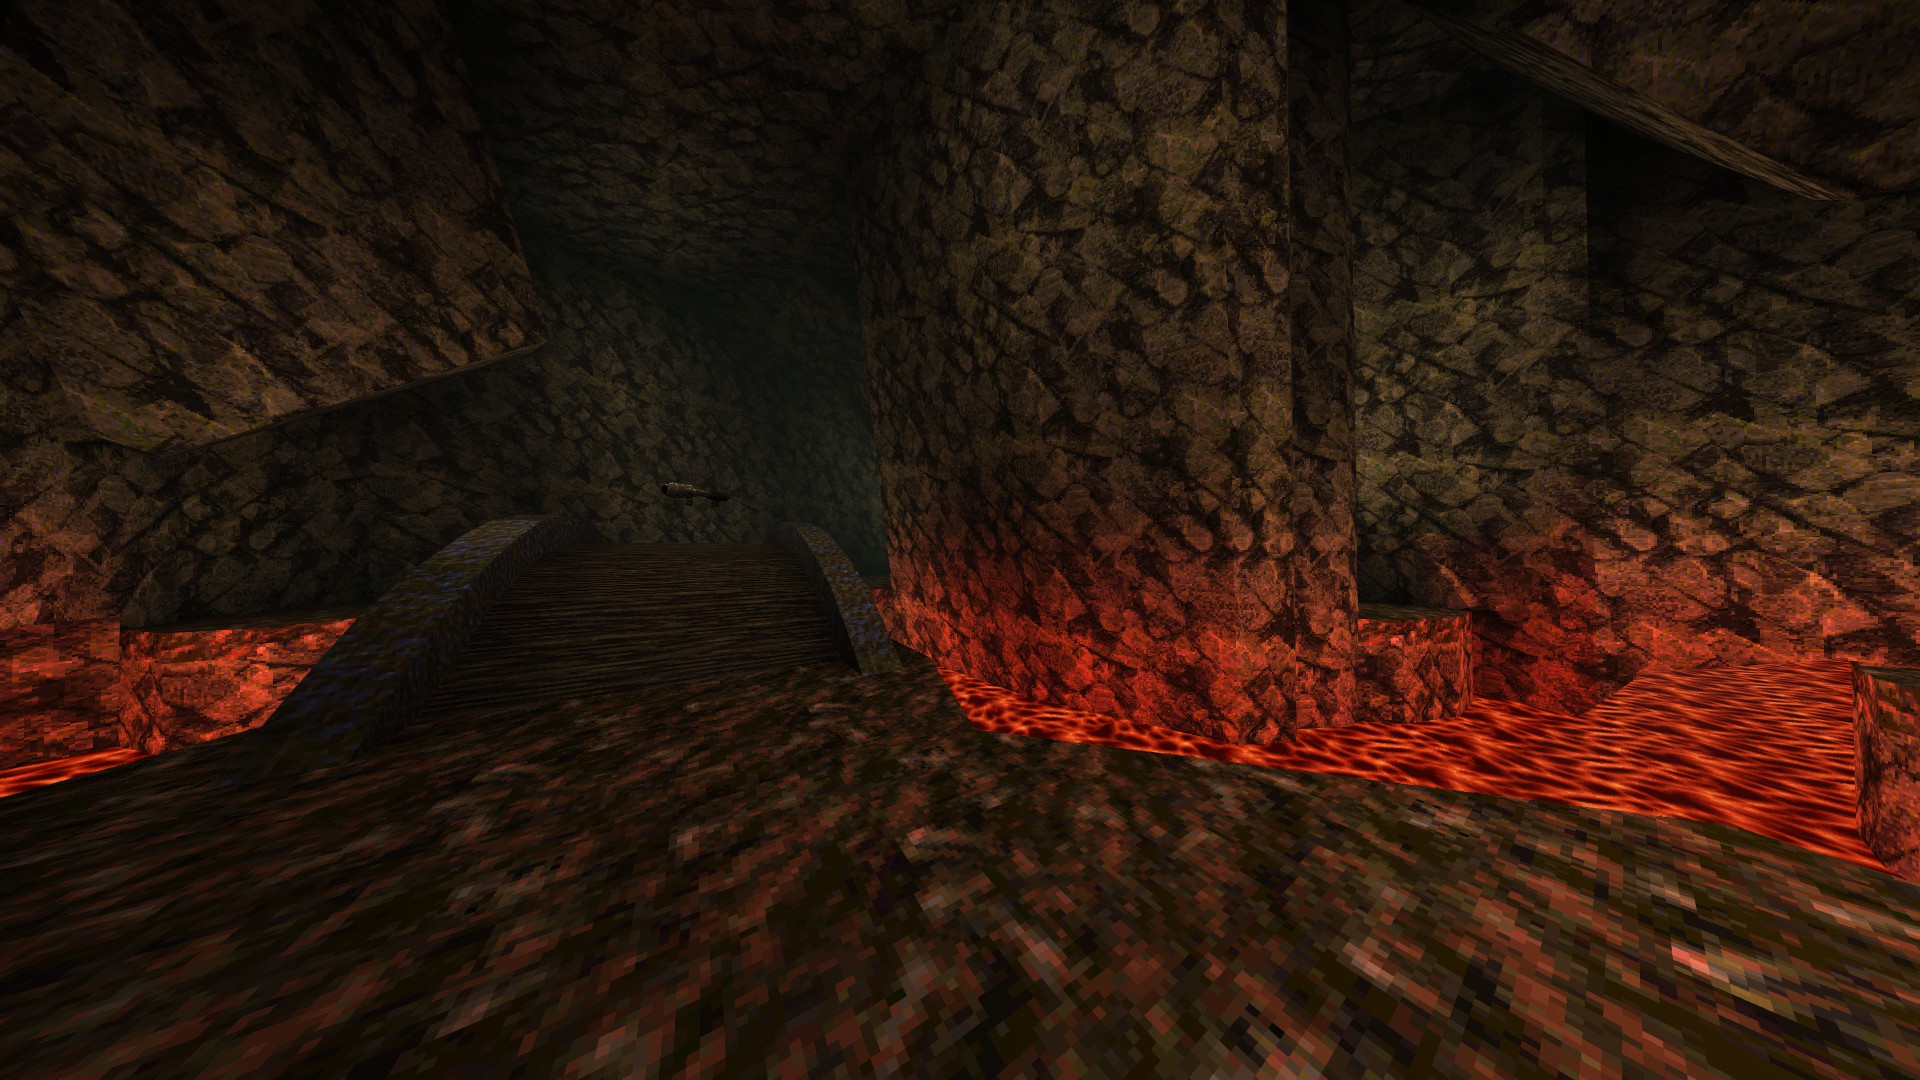
1/4 – In the initial area, make your way up to the cells residing on the ledge near the bridge via the steps that jut out from the cave wall.
2/4 – Once inside the underground castle, jump-touch the torch found at the very end of the hall to reveal a hidden teleporter nearby.
3/4 – As you enter the catacombs proper, shoot the inverted cross next to the gold key door to get a megahealth.
4/4 – As you turn the first corner after the silver key door, a flight of stairs gets revealed behind you. So turn around for a second and follow that path to reach a side room.
—
HIP2M4: THE CRYPT
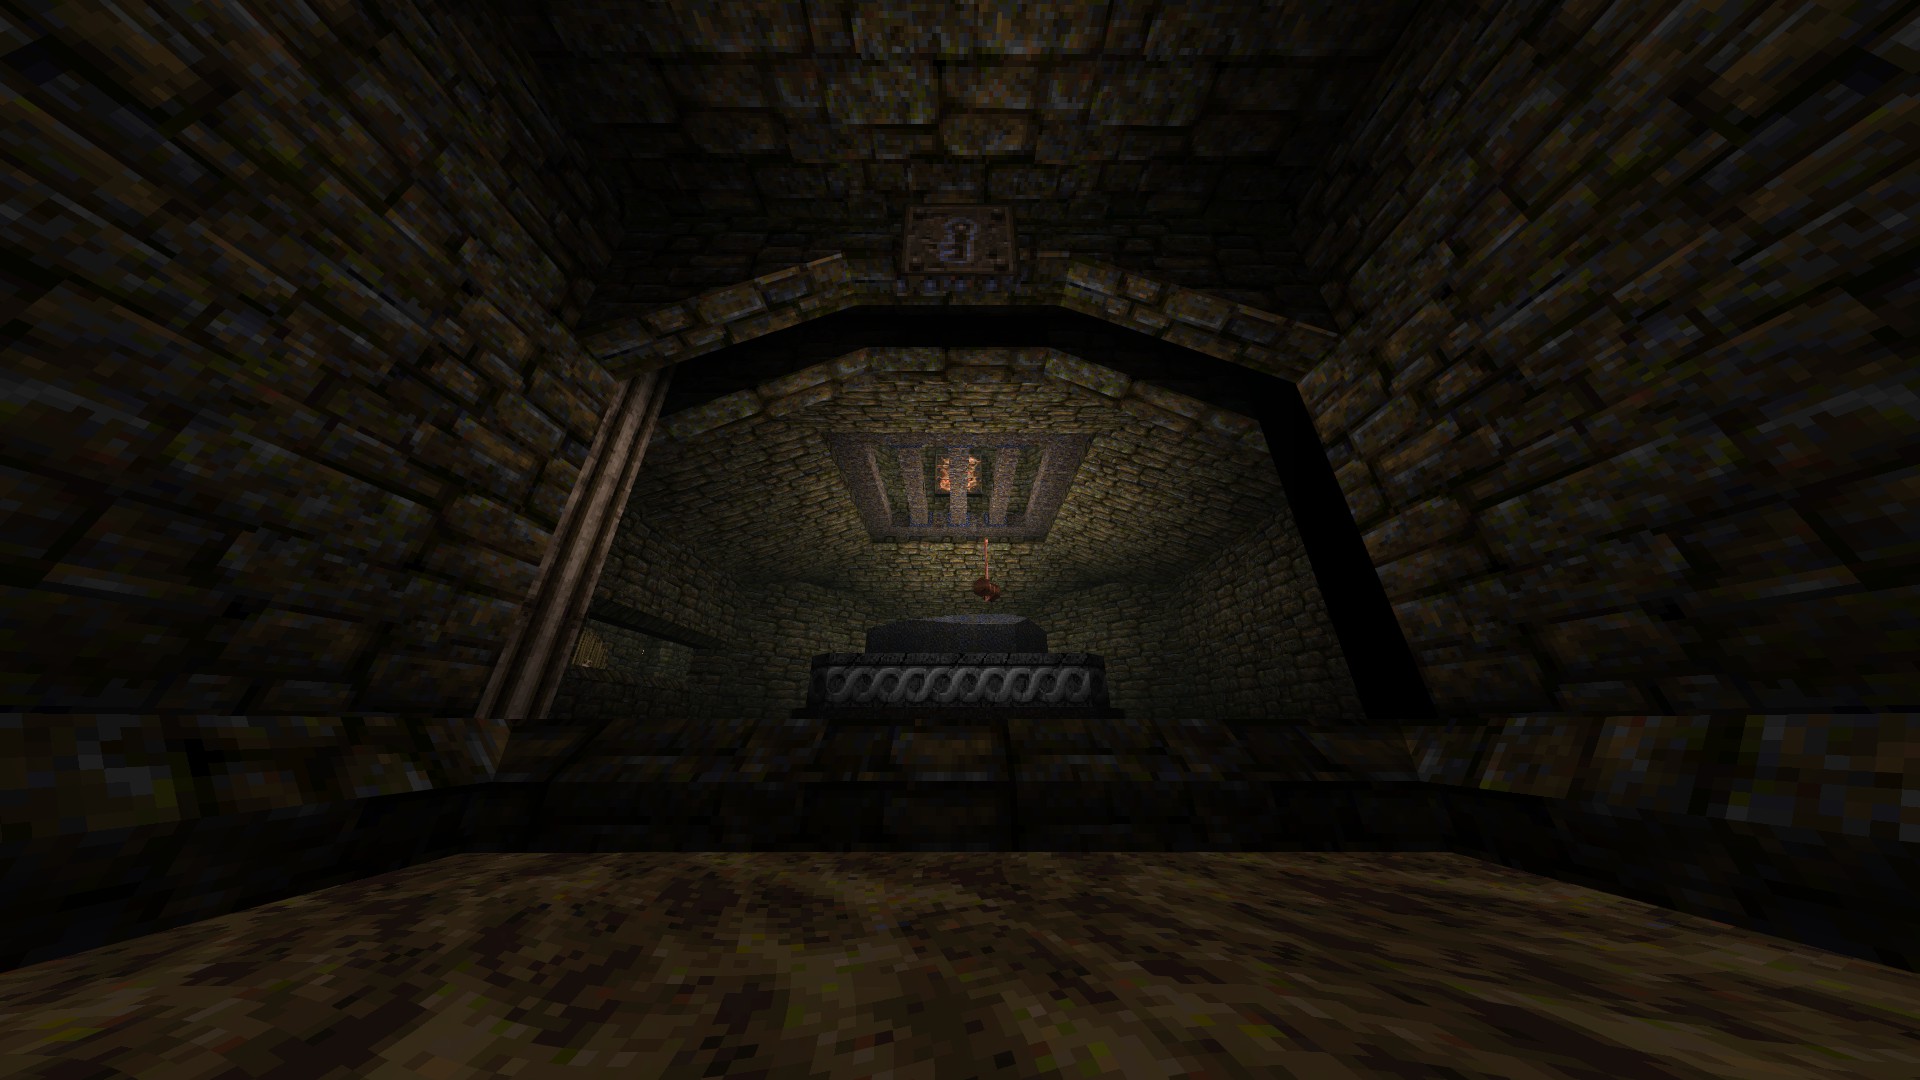
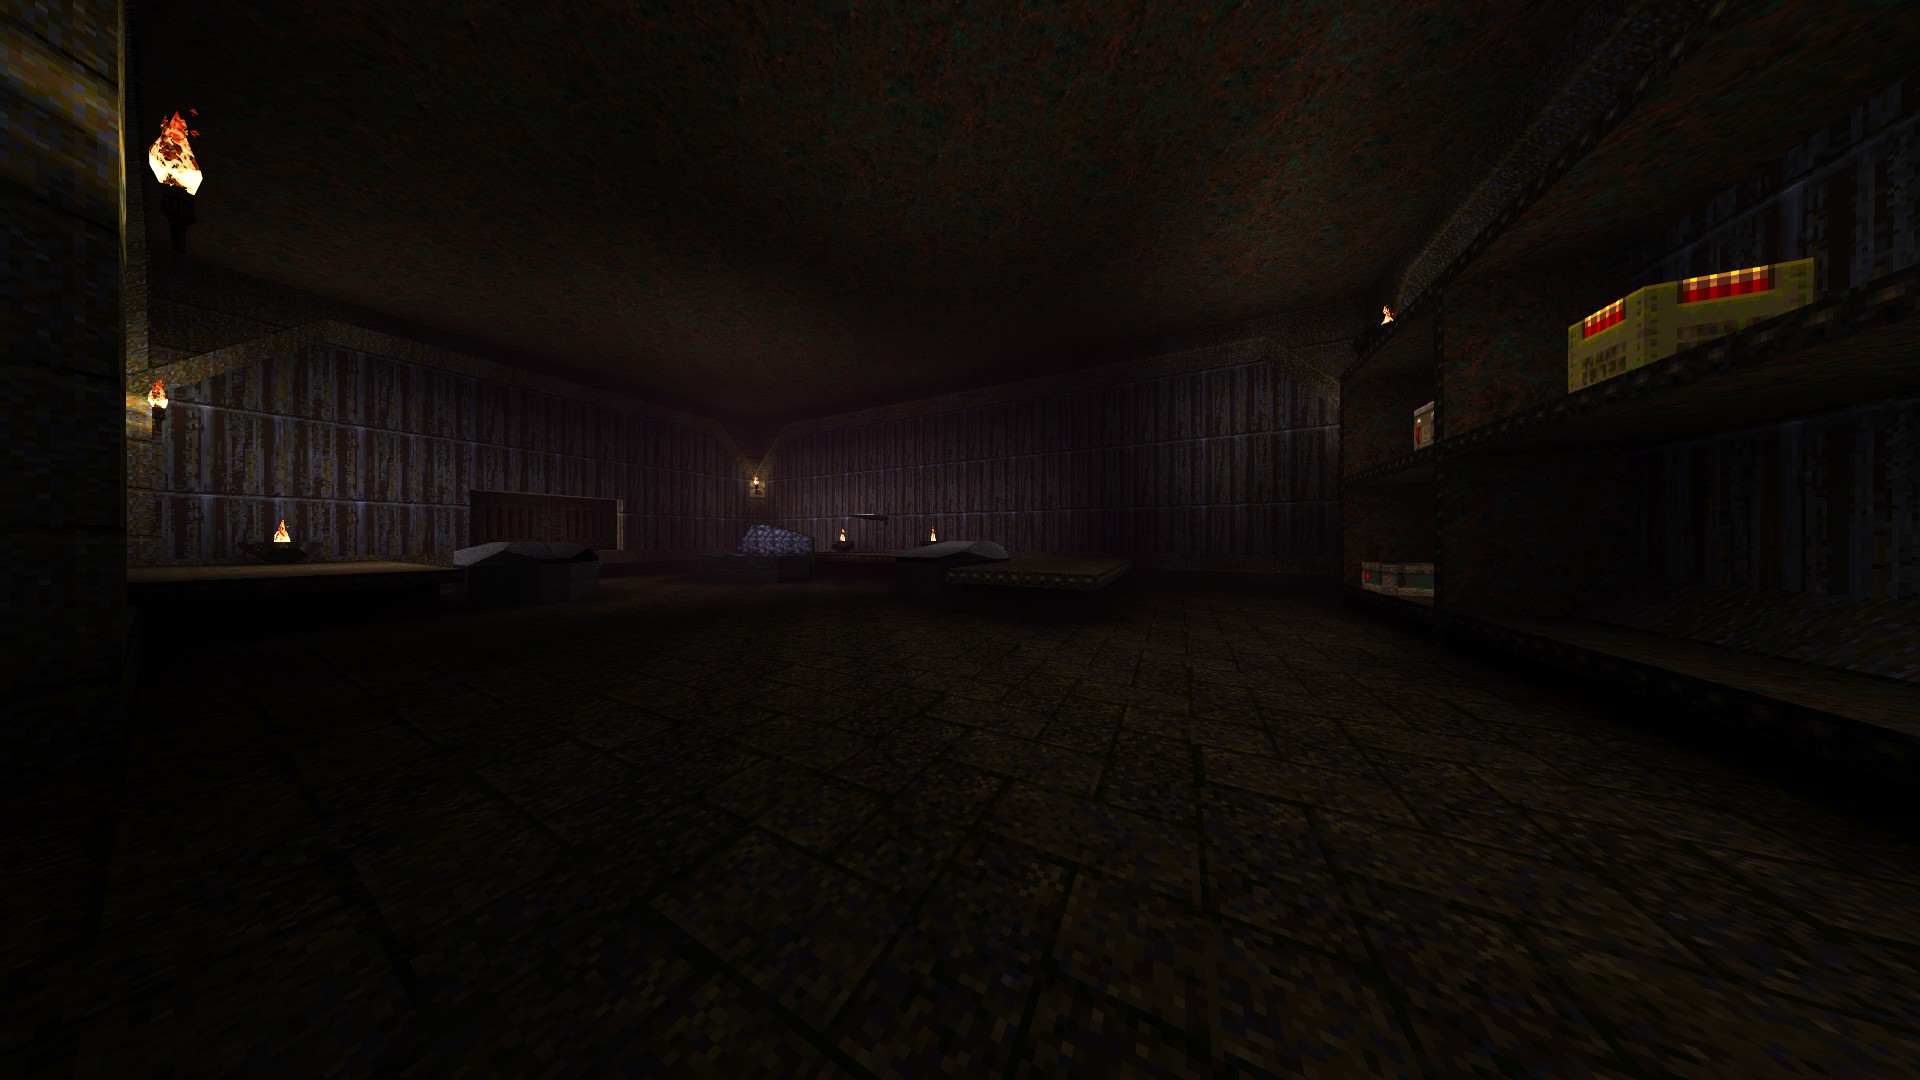
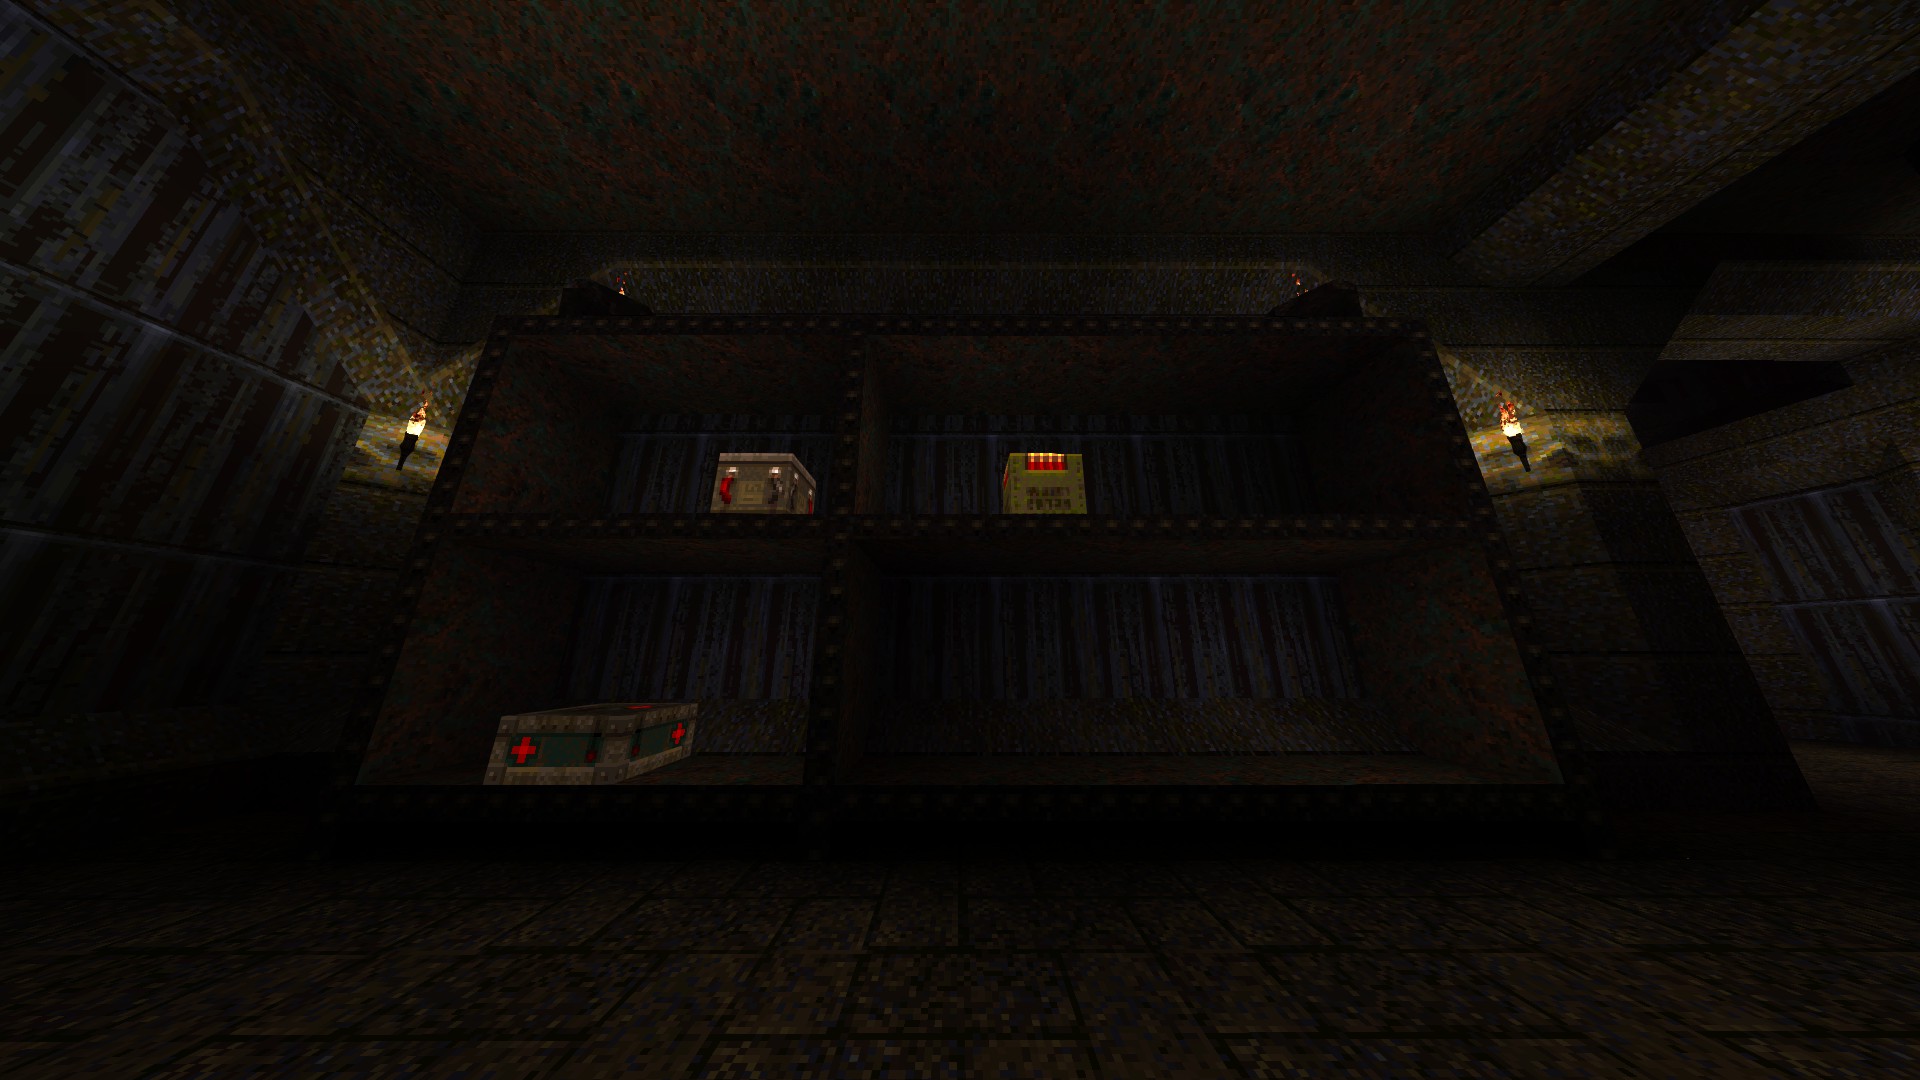
1/6 – Rocket-jump to the top of the shelves found in the side room near the entrance to open up the compartment on the opposite wall.
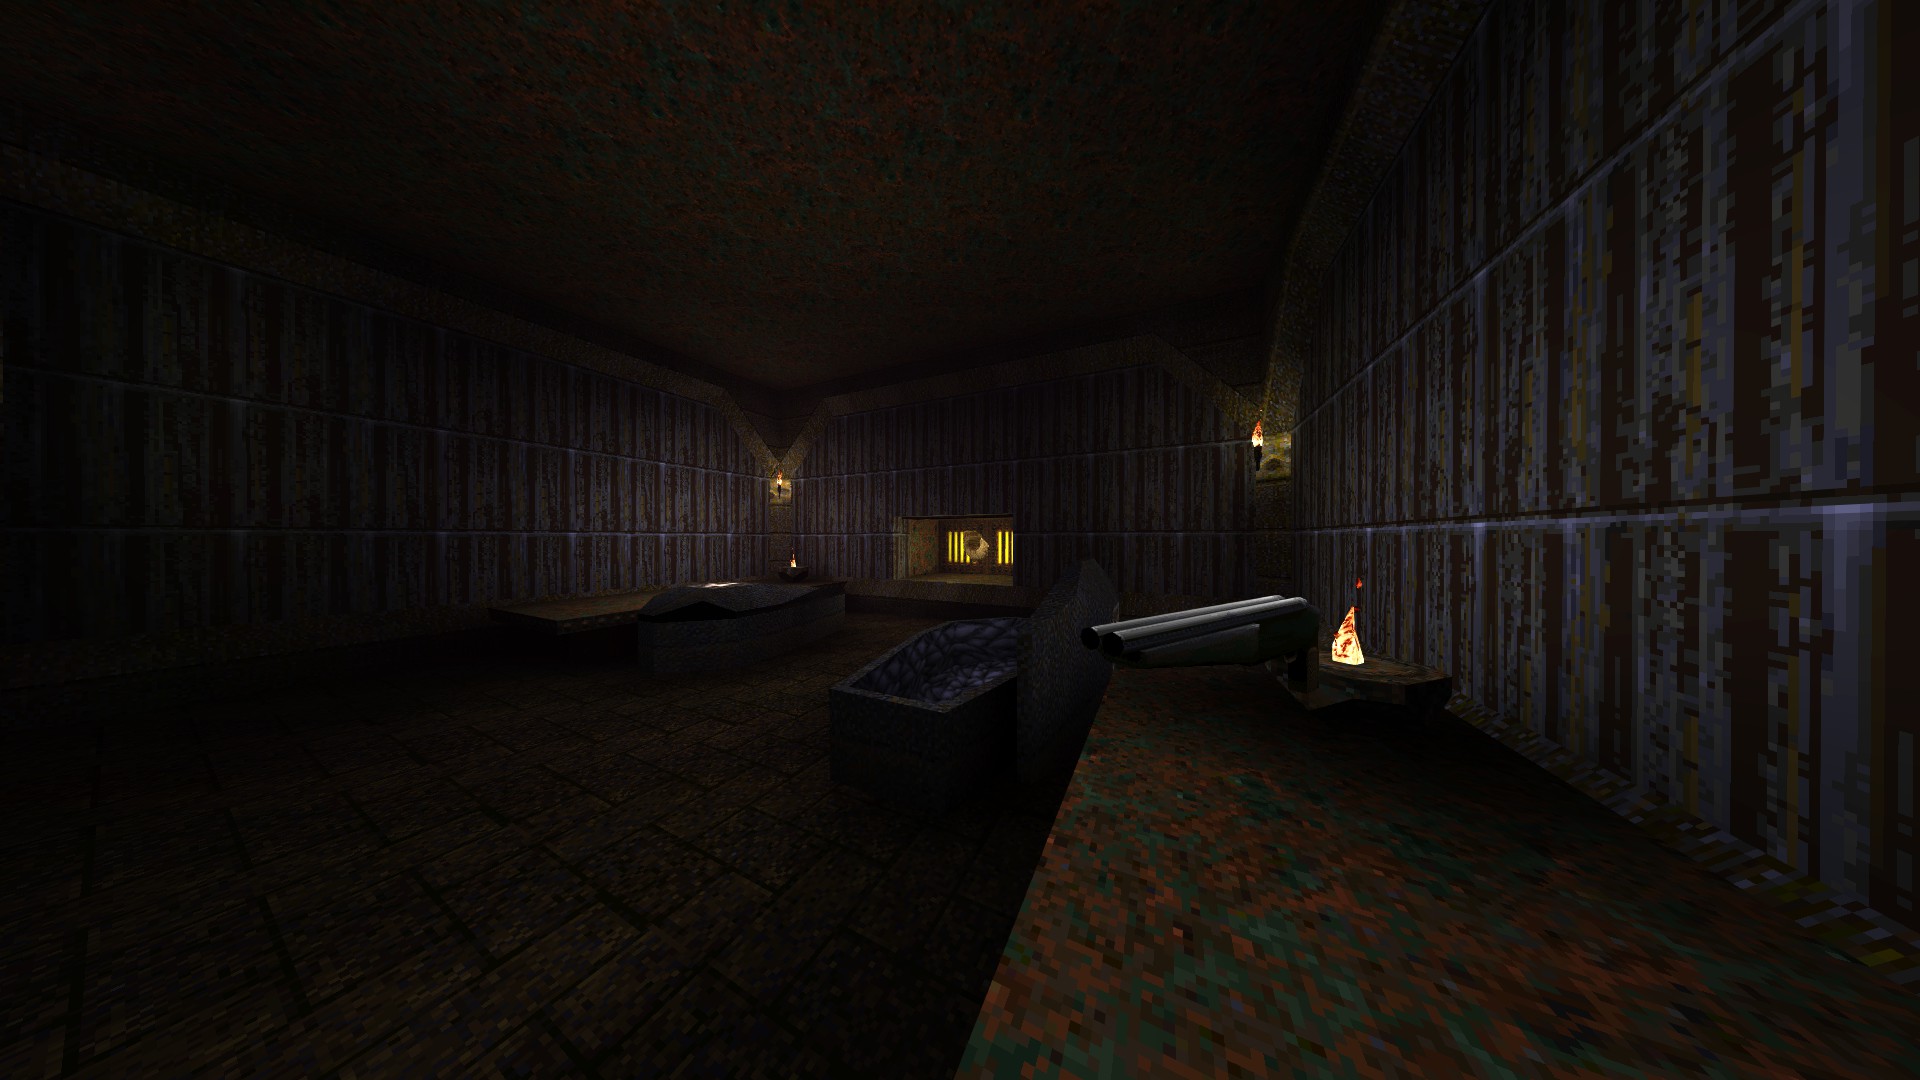
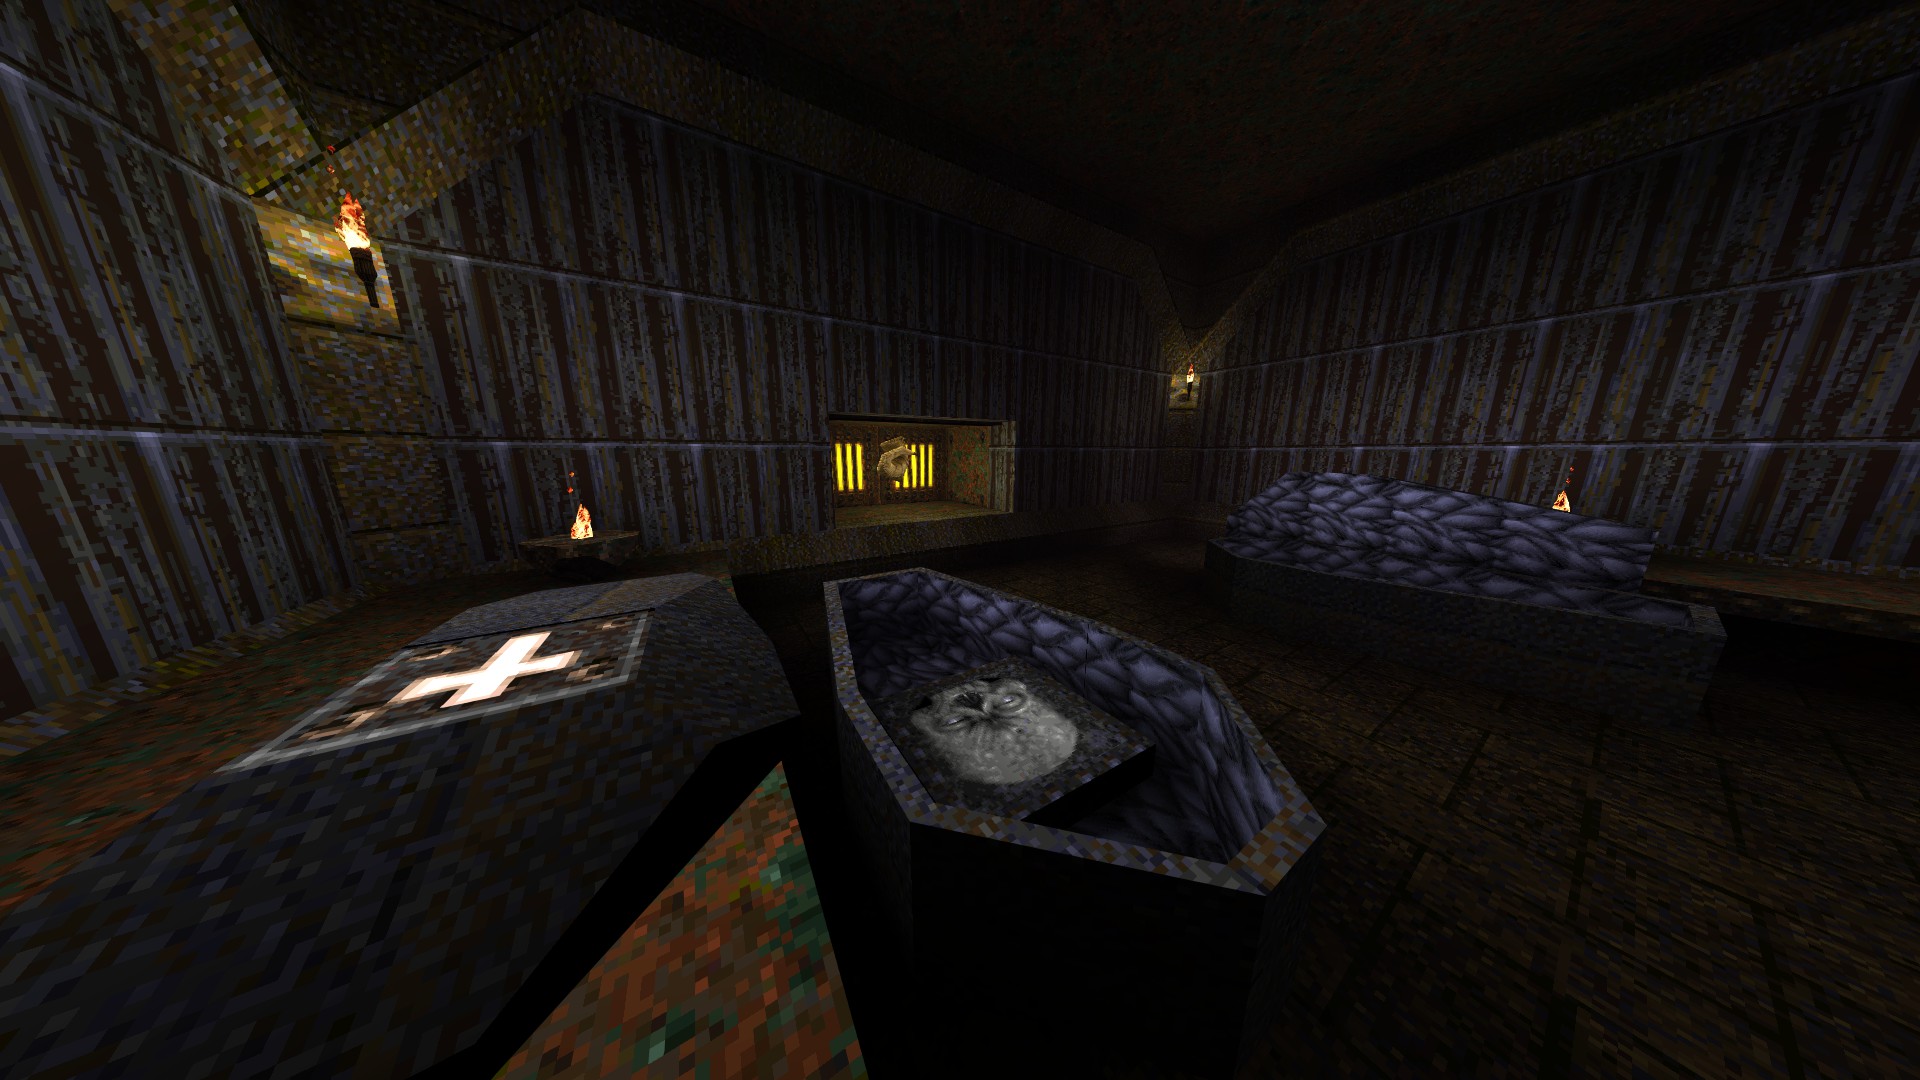
2/6 – Still in the same room, pick up the super shotgun to open up the coffins. Deal with the enemies and step onto the skull plate found in one of the coffins to get teleported to a side area.
3/6 – Following from the previous secret, get lifted to the ledge on the right path via the grating in the corner. Jump on top of the nearby beam and approach the wall on the other side to find some ammo.
4/6 – Following from the previous secret, get up on the ledge once more and pull the lever access the pentagram of protection in the corner. Upon picking up the pentagram, turn around and jump off from the second corner of the walkway hanging over the lava. Turning once more, approach the slightly indented part of the wall to find a megahealth and get congratulated by Richard Gray (aka The Levelord) himself.
5/6 – In the room that houses the teleporter to the gold key, jump on top of the stone blocks in the corner to reveal an empathy shield.
6/6 – Following from the previous secret, move along the ledge above the silver key door towards the part of the wall of that breaks the texture pattern to access an otherwise out of reach area.
—
HIP2M5: MORTUM’S KEEP
1/6 – Near the gold key door, shoot the demon plate to open up the container that holds some ammo.
2/6 – Still in the same area, shoot the demon plate once more to close the container. Before shooting it for the third time, position yourself so that you can jump on top of the lid as it opens. Once on top, jumps towards the slightly indented part of the wall to your right to find a hidden armor.
3/6 – In the room before the one that houses the silver key, land on top of the uppermost crate by way of jumping from the walkway and using the door frame as a midpoint. Go through the newly-revealed teleporter to get the quad damage residing on the ceiling beams.
4/6 – As you cross the walkway over the entrance, jump down to the top of the archway to reveal a hidden compartment.
5/6 – In the room right after the overpass, get on top of the wooden fixture in the middle to open up a hidden door that leads to the megahealth in one of the alcoves.
6/6 – After going through the gold key door, look for a part of the wall that slightly juts out under the walkway and press it to reveal a hidden compartment on the opposite side.
—
Easter Egg
Before exiting the level, rocket-jump your way to the ledge in the corner overlooking the power generator to receive another message from The Levelord.
E3: The Rift – Part I
This section covers the first three levels of E3 that contain a total of 15 secrets.
—
HIP3M1: TUR TORMENT
1/6 – Upon start, check the corner of the structure you are on before moving any further to find some ammo. There is also an out of sight armor near the base of the structure, at the back corner outside.
2/6 – As the lift starts moving forward, turn around and jump onto the roof. Get the ammo lying around and follow the ledge to find some more (and to trigger the actual secret).
—
Easter Egg
Continue following the ledge until you reach the topmost point to receive a message from the developers coupled with a nasty surprise. Note that you miss a lot of kills at the end of the level if you do not trigger this event.
—
3/6 – Following the previous secret, return to the roof and look for a ledge to drop down on the other side where a megahealth resides.
4/6 – At the upper floor of the tower, shoot the button on the ceiling to reveal a hidden compartment behind the demon plate below and jump in there to get the goodies.
5/6 – Following from the previous secret, hit the unaligned demon plate in the corner across the silver key door to find a hidden quad damage.
6/6 – Right after opening the silver key door, turn right and shoot the decorated brick that slightly juts out in the corner and use the temporary steps to jump your way across to the megahealth that appears on the ledge.
—
HIP3M2: PANDEMONIUM
1/5 – Upon start, shoot the yellow-coloured light fixture to your left to reveal a hidden compartment in the same room.
2/5 – Following from the previous secret, hit the light fixture found in the next room to access the caged section seen around the corner.
3/5 – After opening the barrier on your path, hit the hardly-seen metal plate in the corner to reach a hidden lightning gun.
4/5 – In the room where the silver key resides, hit the wall directly behind the said key to reveal a hidden teleporter.
5/5 – In the section with the gold key, look down from the ledge you are on and shoot the button found below to open up a hidden compartment nearby.
—
HIP3M3: LIMBO
1/4 – Down the stairs to the right of the entrance, turn around and shoot the cross-shaped light fixture by the demon plates to open up a hidden compartment.
2/4 – Shoot the rune plate found above the pipe in the silver key room as it is needed for the fourth secret. After picking up the key in question, continue along the path and hit the flat textured part of the wall underwater to find a hidden megahealth.
3/4 – Hit the part of the wall right behind the gold key to reveal a hidden armor.
4/4 – Still in the same area, turn around and shoot the cross-shaped light fixture found above the grate. Assuming you also shot the rune plate found in the second secret, doing so gets the grate out of your way. Jump in and swim through the opening at the bottom to find the portal that takes you to the third secret level, The Edge of Oblivion.
E3: The Rift – Part II
This section covers the remaining two levels of E3 as well as the end level that contain a total of 6 secrets.
—
HIPDM1: THE EDGE OF OBLIVION
This level does not contain any secrets.
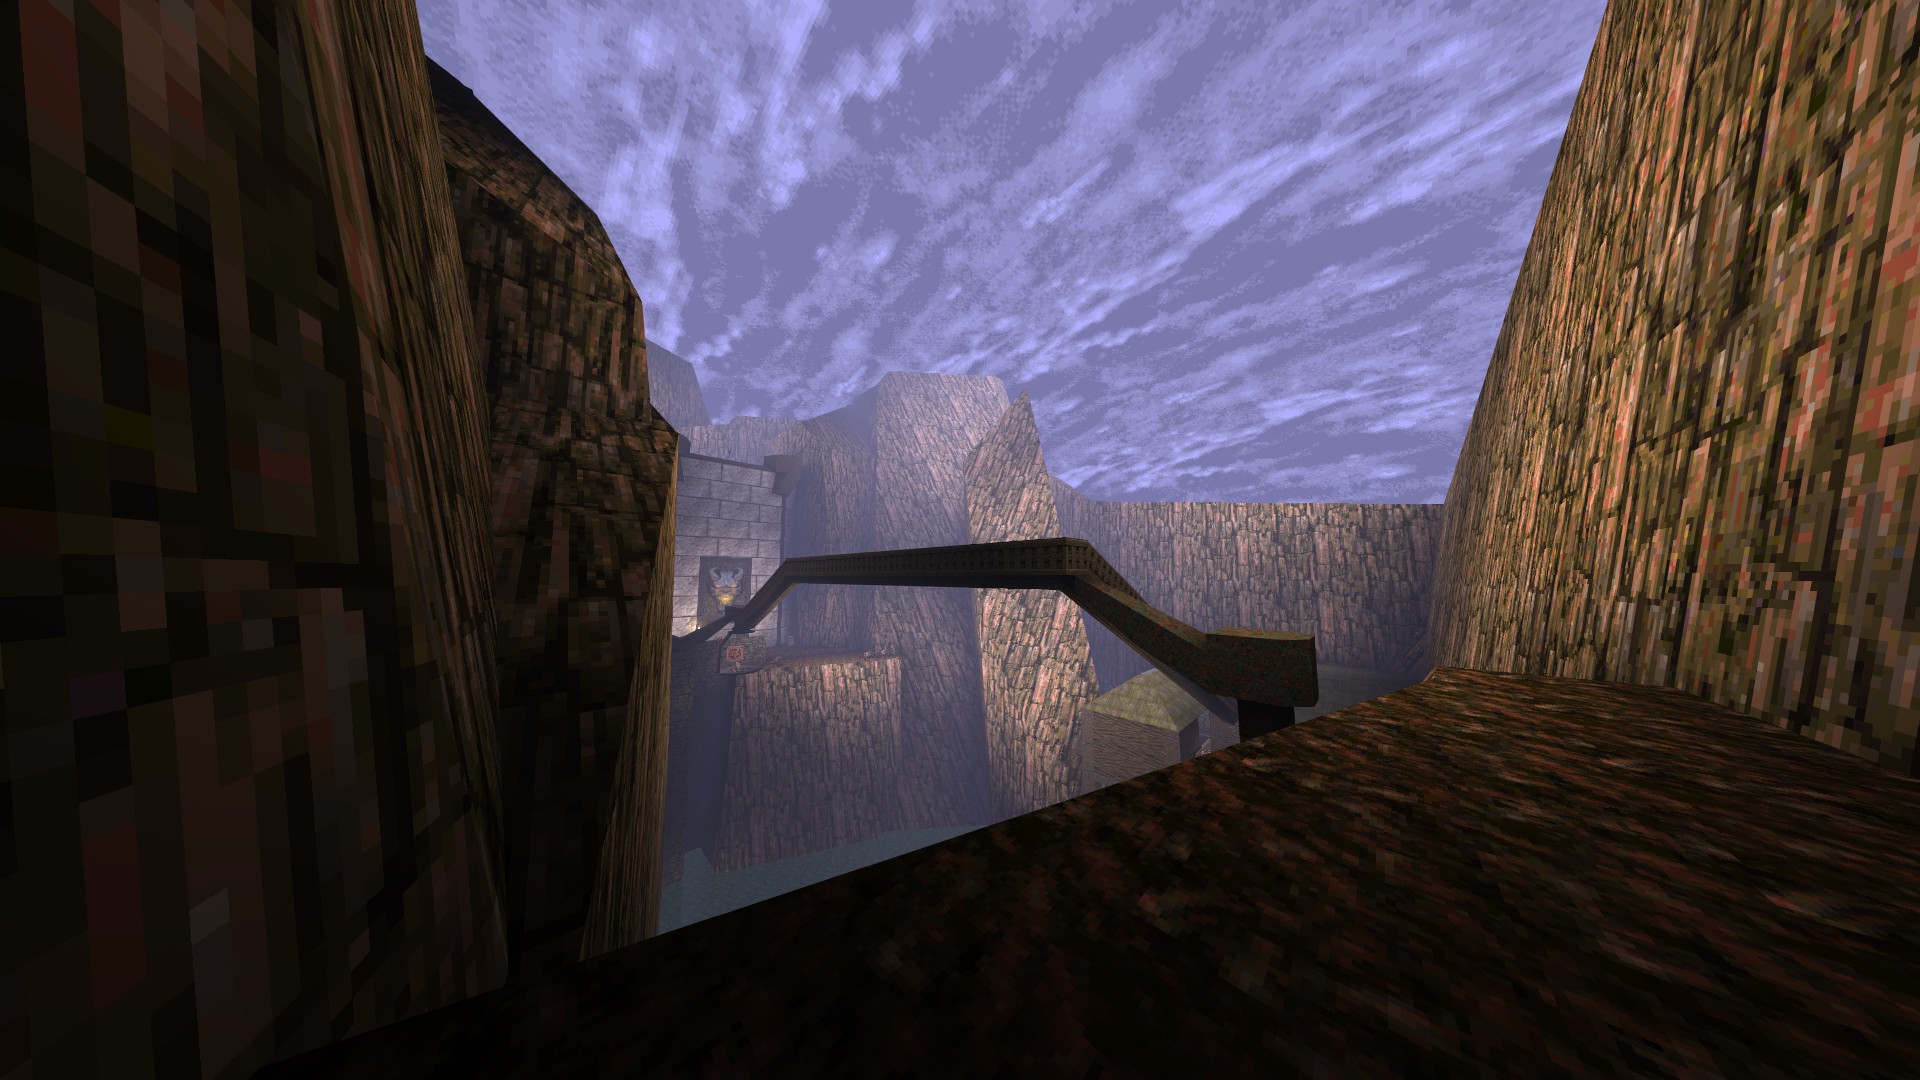
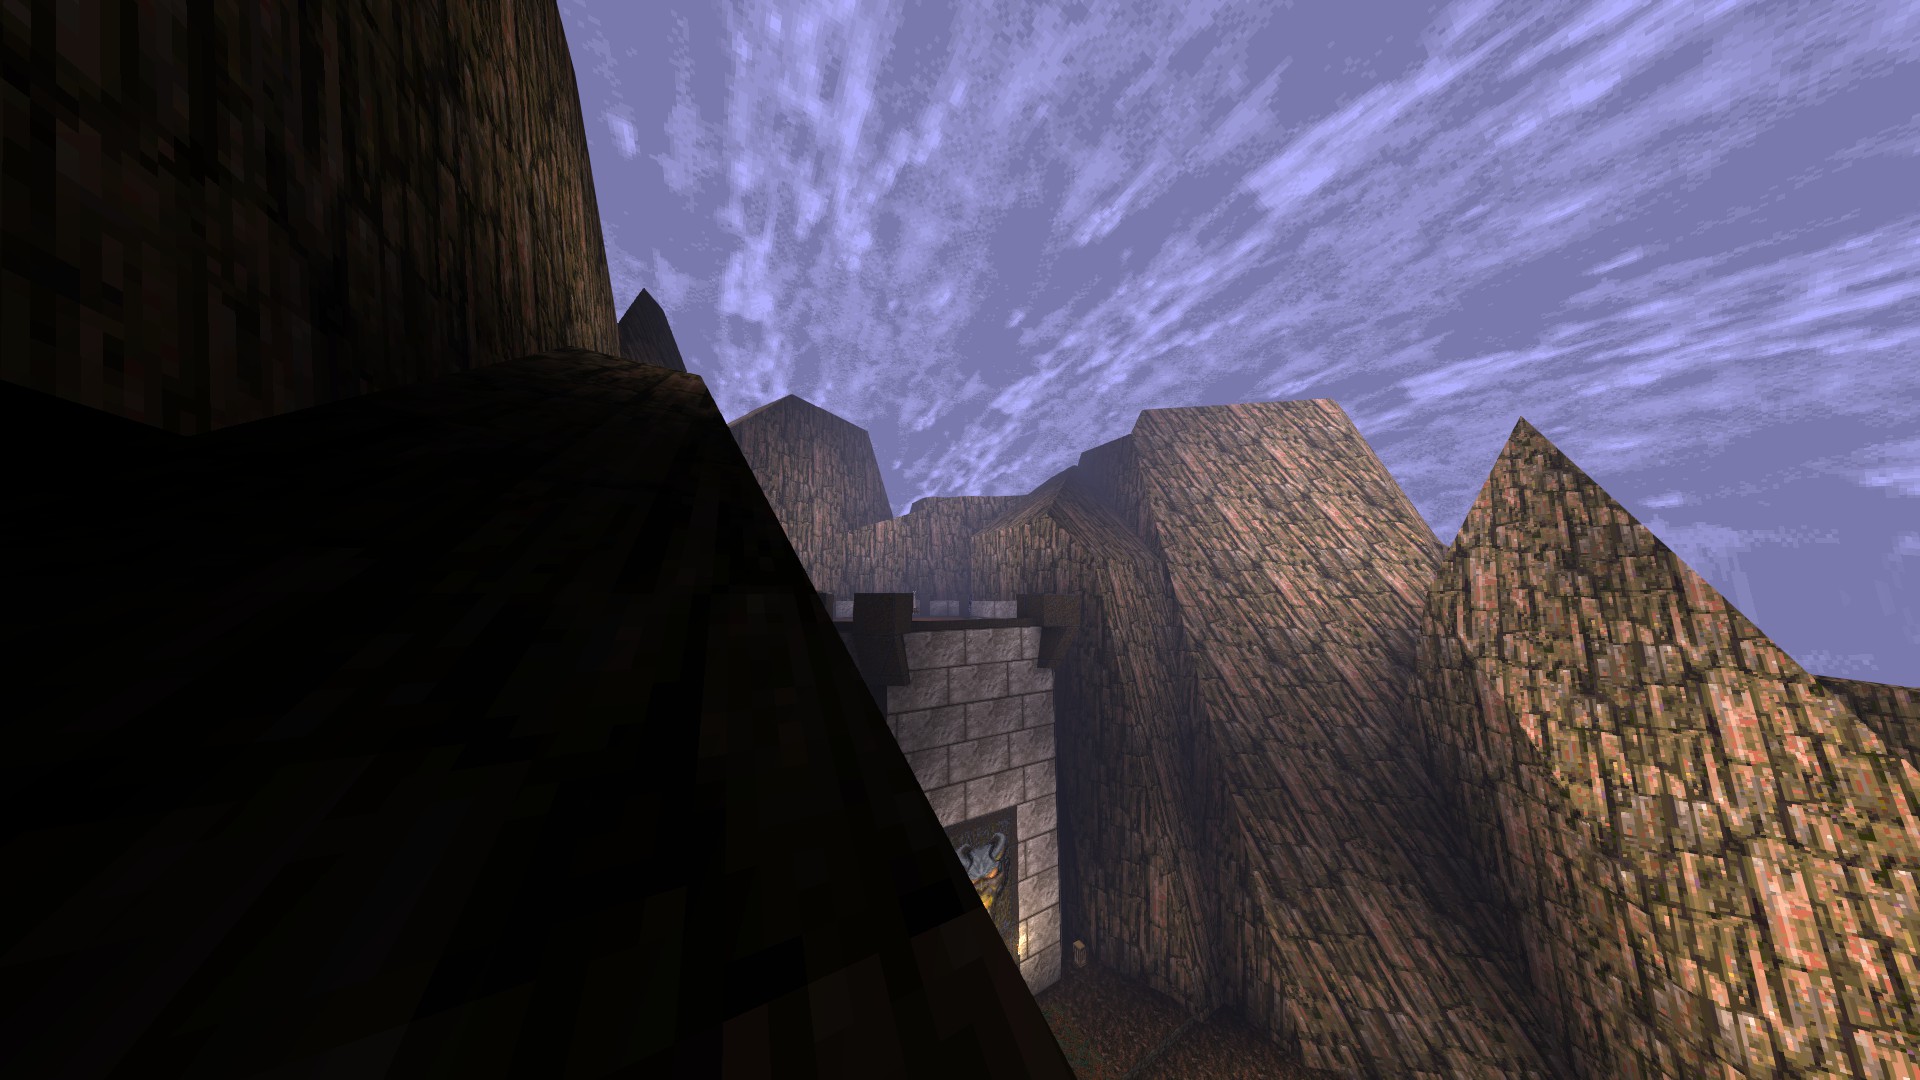
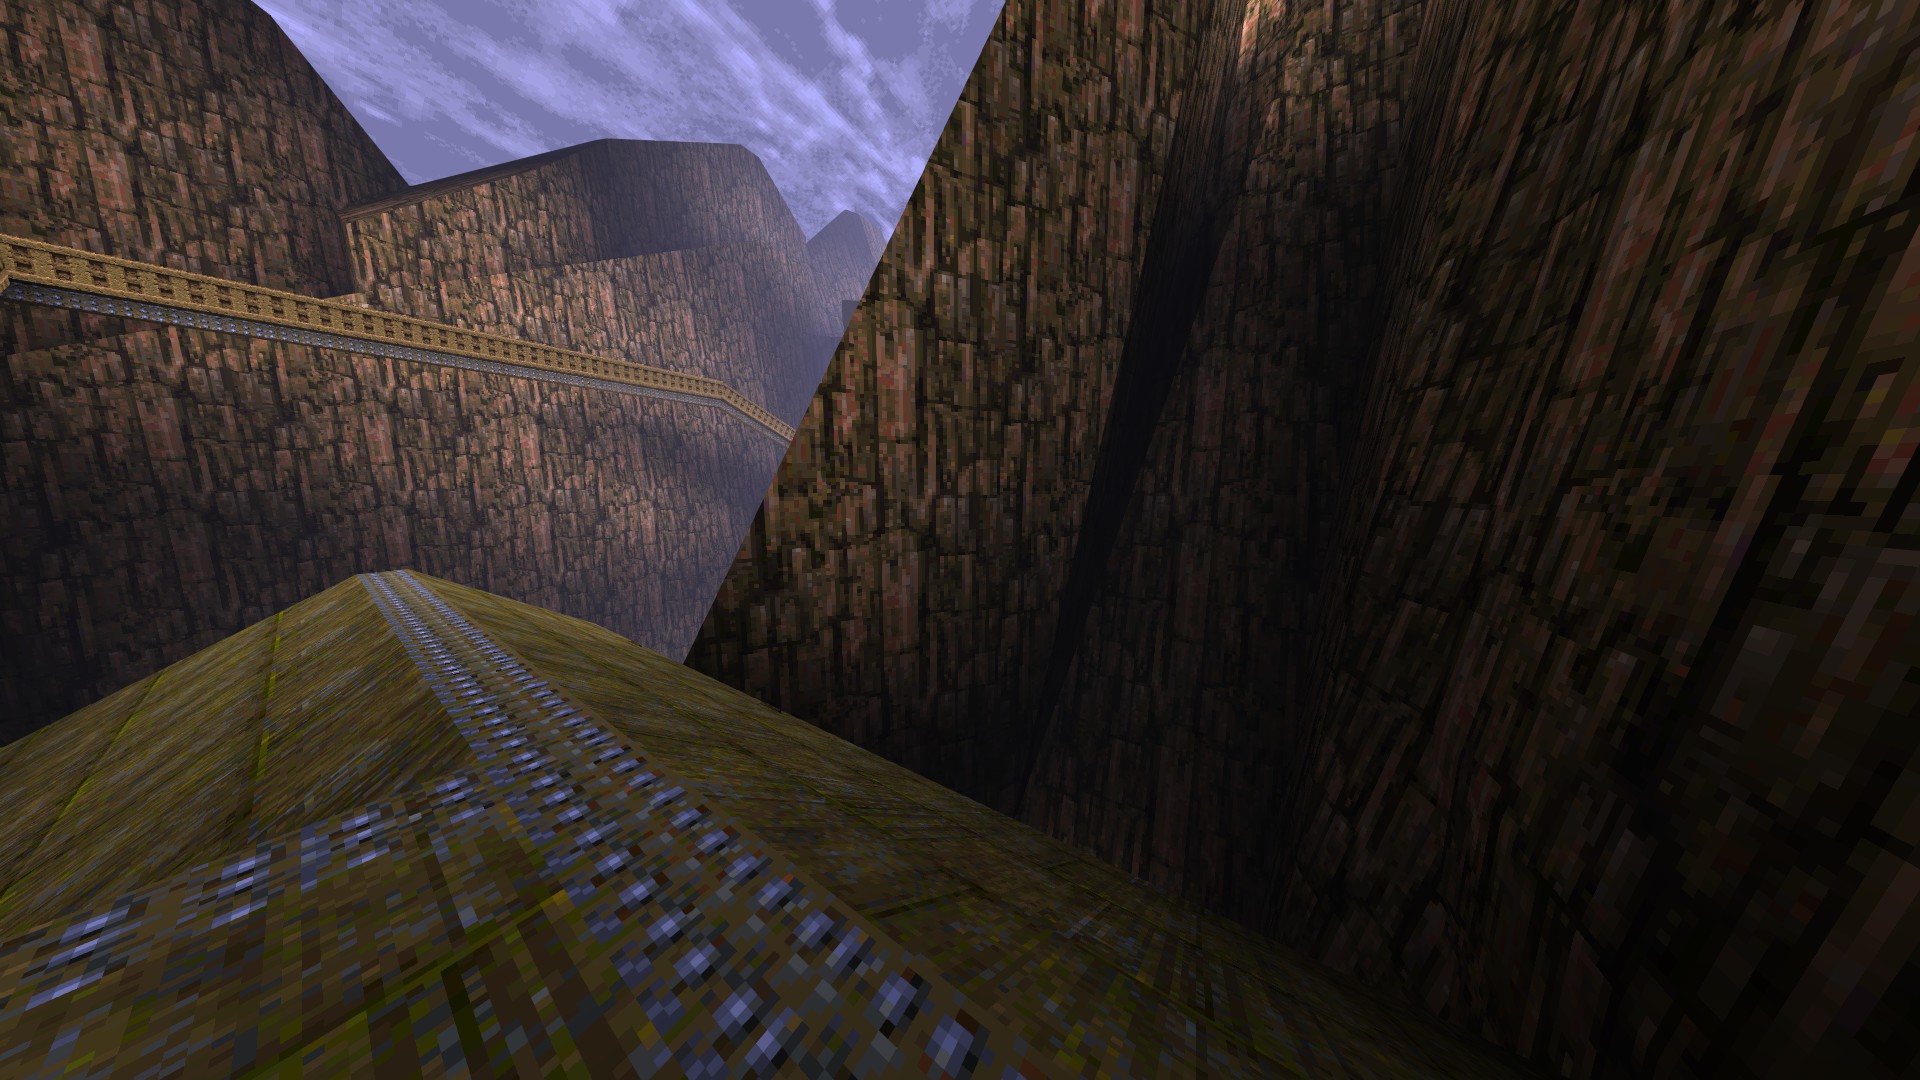
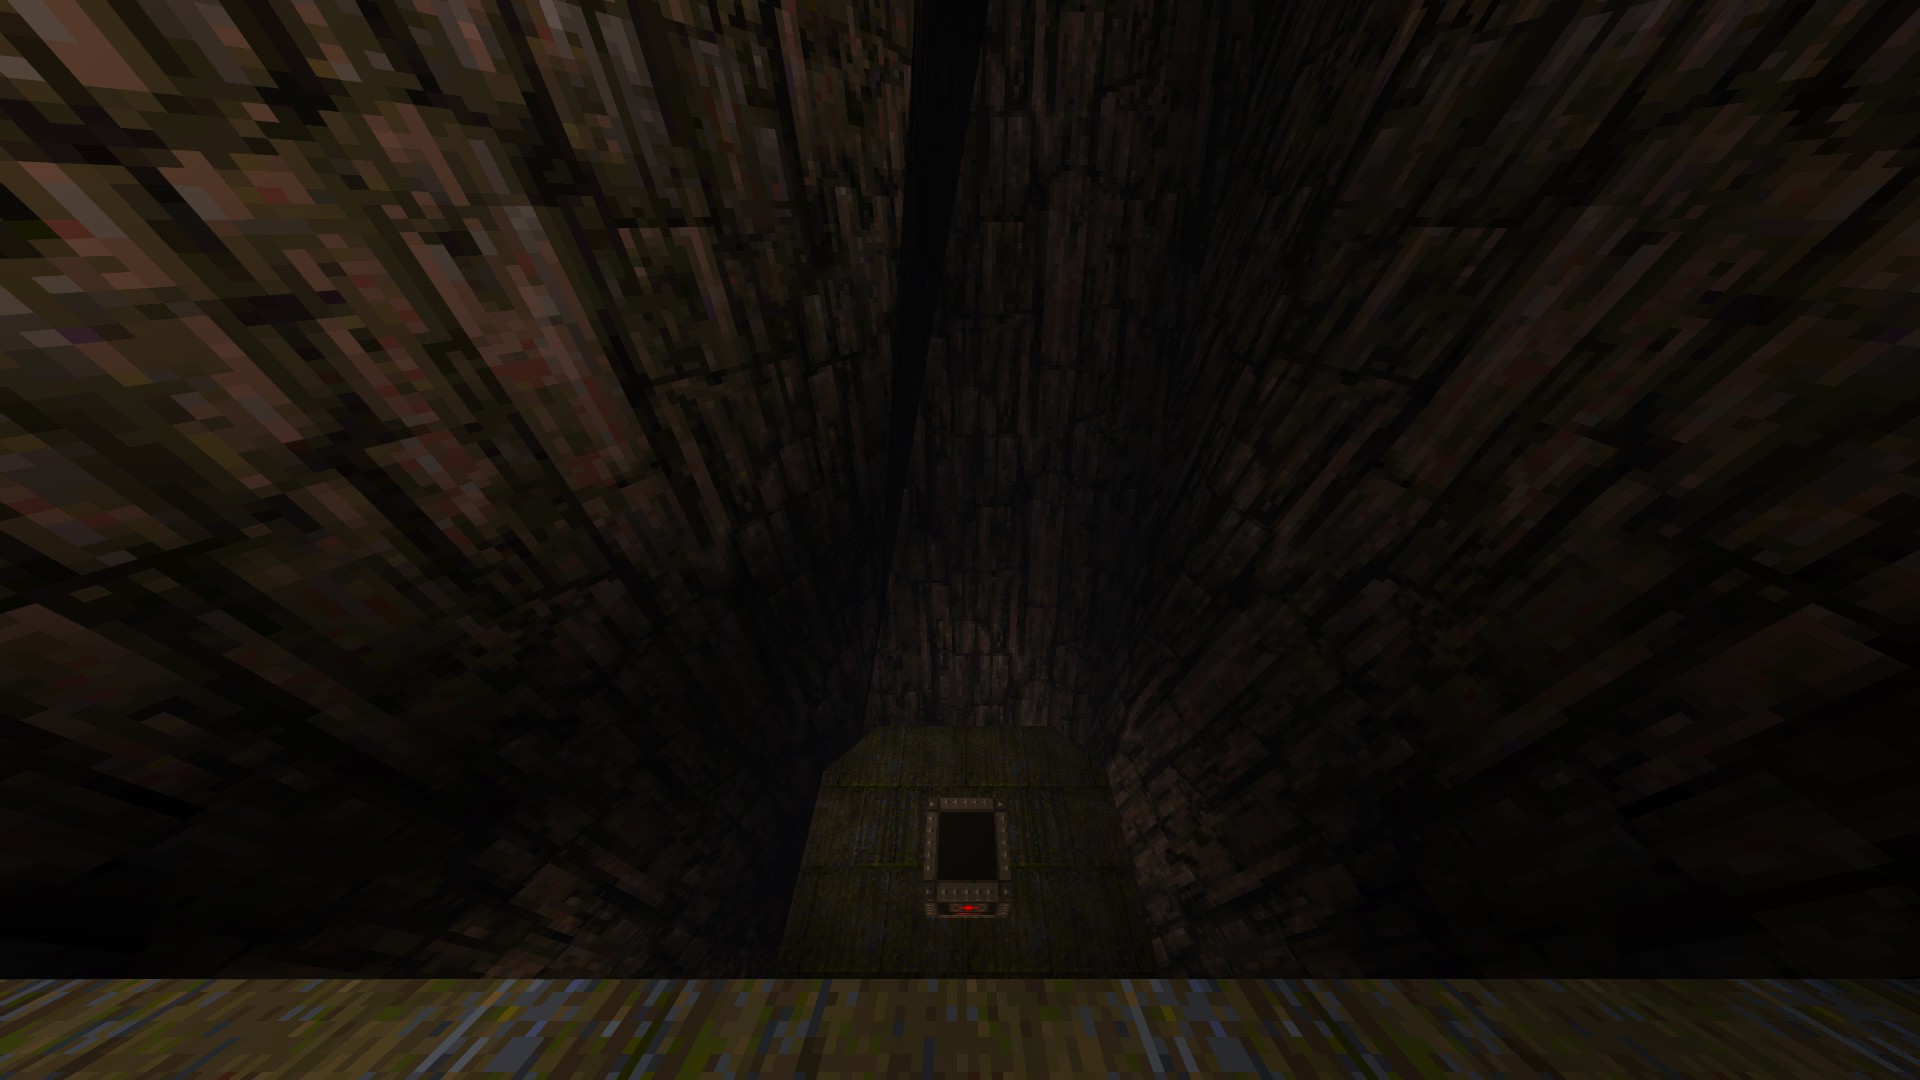
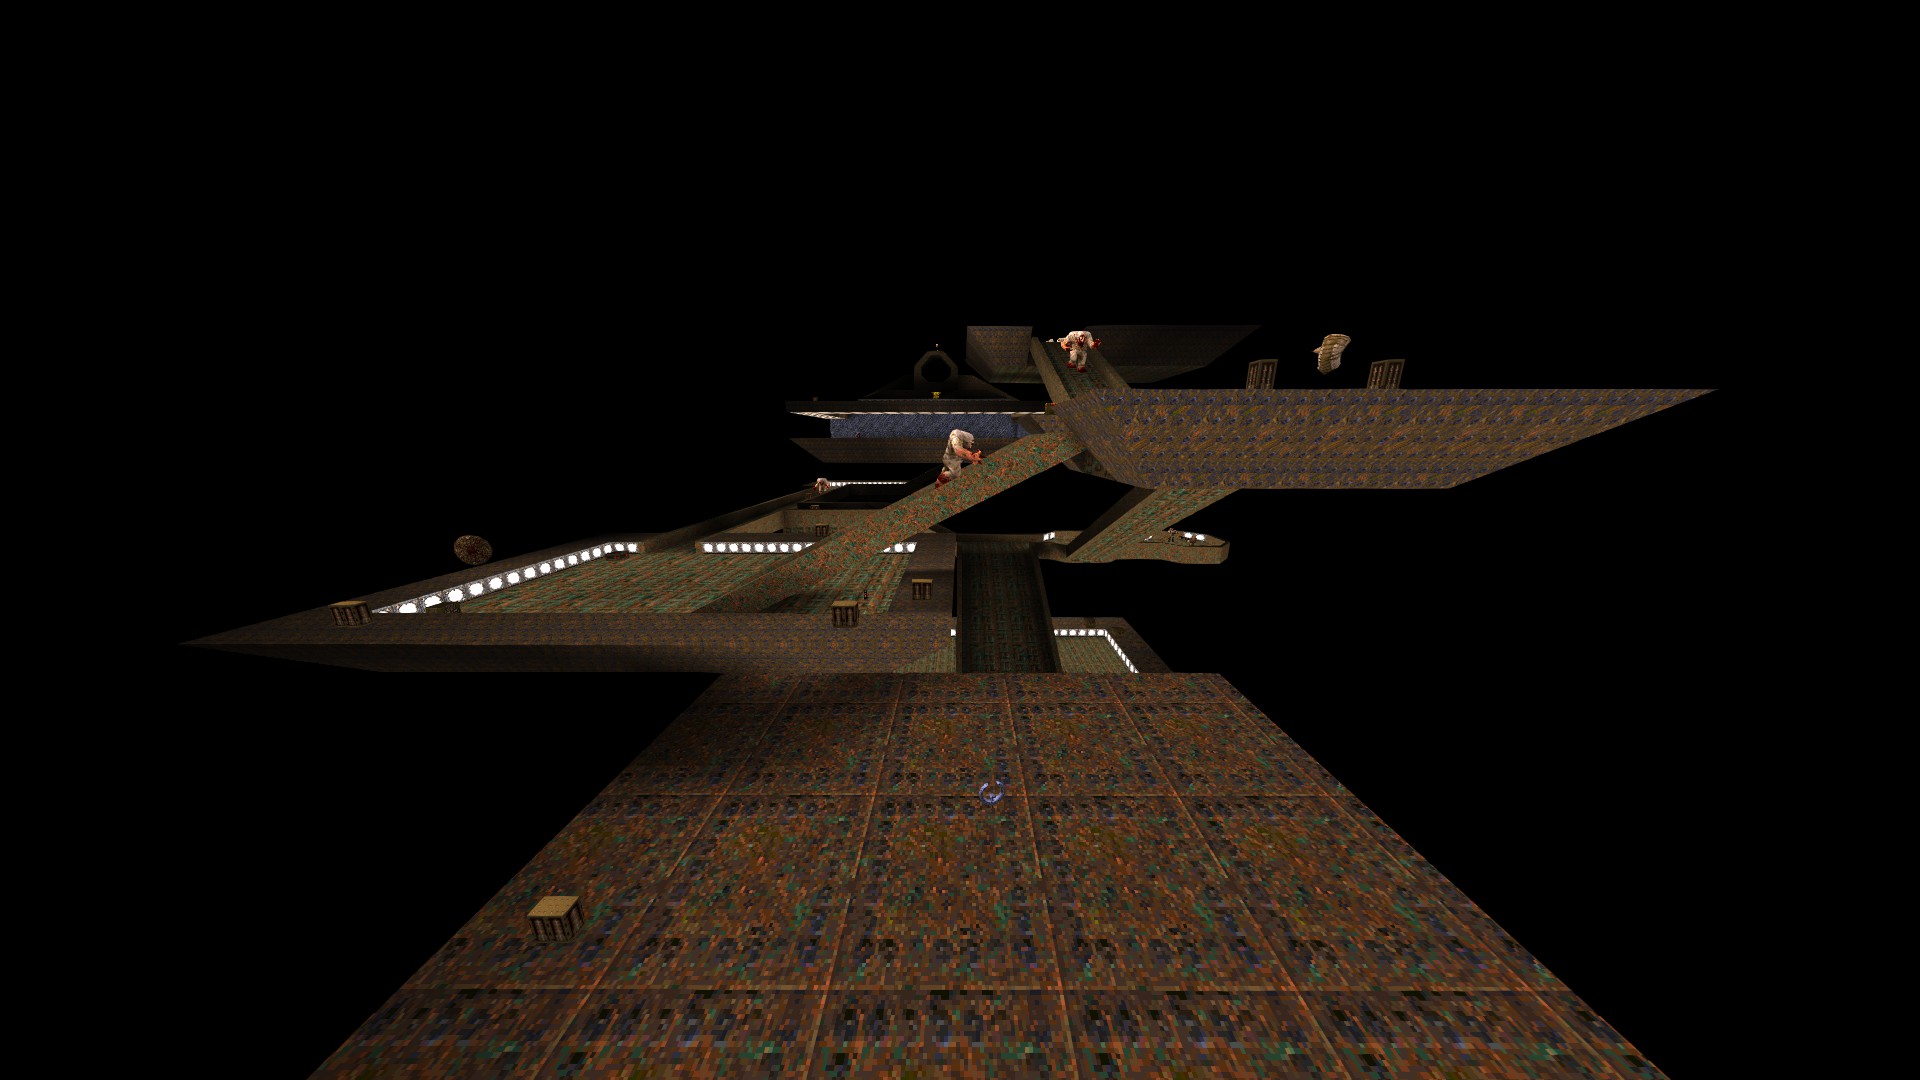
Since there are no secrets to be found in this one, here is a bit of trivia instead: designed by The Levelord with primarily DM in mind, The Edge of Oblivion is the world’s first ‘void’ themed shooter level (i.e. platforms hovering against a pitch-black backdrop, made famous two and half years later by Quake III Arena).
P.S. Make good use of the quad damage found on the roof of the first platform.
—
HIP3M4: THE GAUNTLET
1/6 – Shoot all of the four demon plates found within the first room and step onto the floor button that appears afterwards to reveal a hidden armor.
2/6 – As you step out of the elevator, shoot the demon plate to your left to reveal a hidden compartment on the opposite wall.
Extra – As you traverse the pit of blood, drop down from the walkway near the demon plate on your path, dive in and resurface on the other side to find a ring of shadows.
3/6 – Right after going through the silver door, hit the slightly indented part of the wall next to the stairs to reveal a teleporter that takes you to the quad damage residing above.
4/6 – Still in the same room, jump from top of the stairs to the ledge above the silver key door and press the brick that slightly juts out from the wall to reveal a hidden room you can jump into. Once inside the room itself, shoot the button on the ceiling to get the full effect. RIP Hipnotic.
5/6 – Following from the previous secret, dive into the pool of blood as you cross the bridge and swim through the opening to find a hidden alcove.
6/6 – As you get out of the river of blood, press against the wall in the corner to reveal a hidden room.
—
HIPEND: ARMAGON’ LAIR
This level does not contain any secrets.
‘Is this the last you will see of Quake’s hellions? Only time will tell…’
Hope you enjoy the Guide about Quake – Locations of All Secrets in Game Tips, if you think we should add extra information or forget something, please let us know via comment below, and we will do our best to fix or update as soon as possible!
- All Quake Posts List



Leave a Reply