Create your simple map and import in workshop!
Introduction
Everyone has ever wanted to create their own map! Your time has come.
To create a map, you can use the default hamer found in source sdk/bin.
But for convenience, we will use Hamer++ from my previous tutorial.
The first thing we need to do is open hamer++.
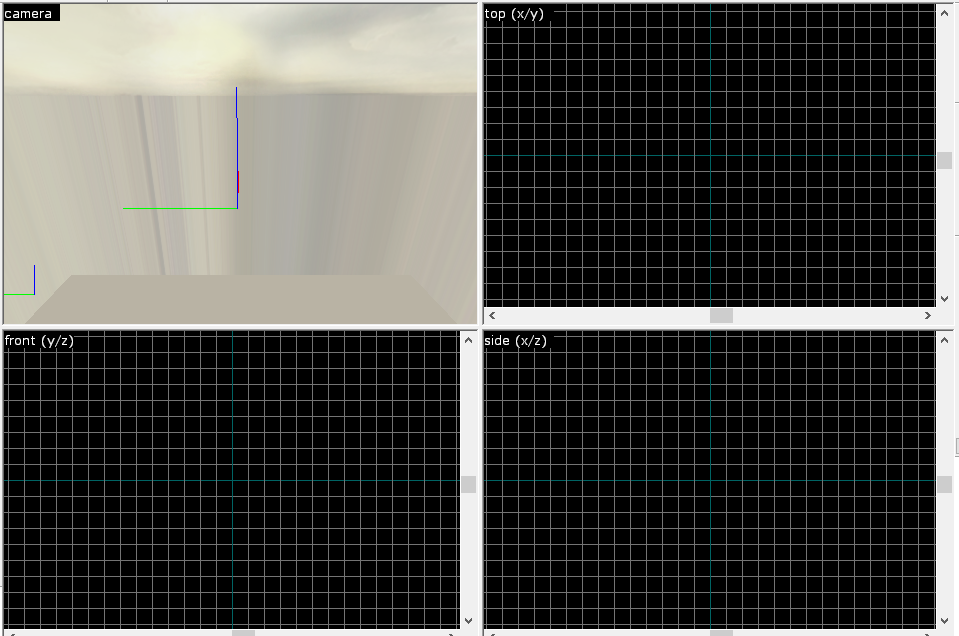
We will be immediately greeted by a seemingly complicated interface.
There are 4 areas for working with the map.
The first is the camera, with the help of which you will see all the changes on the map.
2 – Top view of the map.
3 – Map side view
4 – Front view of the map.
Let’s talk a little about tools.
The red pointer is a tool for selecting objects.
The red magnify – magnify tool for map
Camera – Camera positioning tool
The white light bulb is a tool for creating an entity (we’ll talk a little later)
The white cube is a tool for creating blocks.
A cube with different textures is a tool for replacing textures and materials on map objects
A cube with a material is a tool for installing the selected material on an object
Cube with spray – A tool for creating sprays on a texture
An overlay cube is a tool for creating an overlay on a texture (similar to a banner)
A cube with a cut-off part is a tool for cutting objects
A block similar to atomic compounds is a tool for managing object vertexes
Circle in the form of a hoop – a tool for transforming polygons of objects
Sprinkle tool – a tool for creating sprinkles on the surface of objects
Physicist Tool is a tool for simulating physics in the hammeritself!
For a start, that’s all for now
The main part
Step1
So, the first thing we need to do is create a completely externally closed map with a skybox.
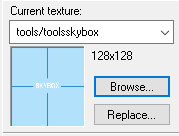
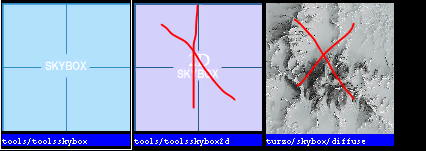
In the open menu, find the Filter field and enter skybox there
important! It is necessary to find toolskybox at the very bottom of the list, otherwise the map will not compile!
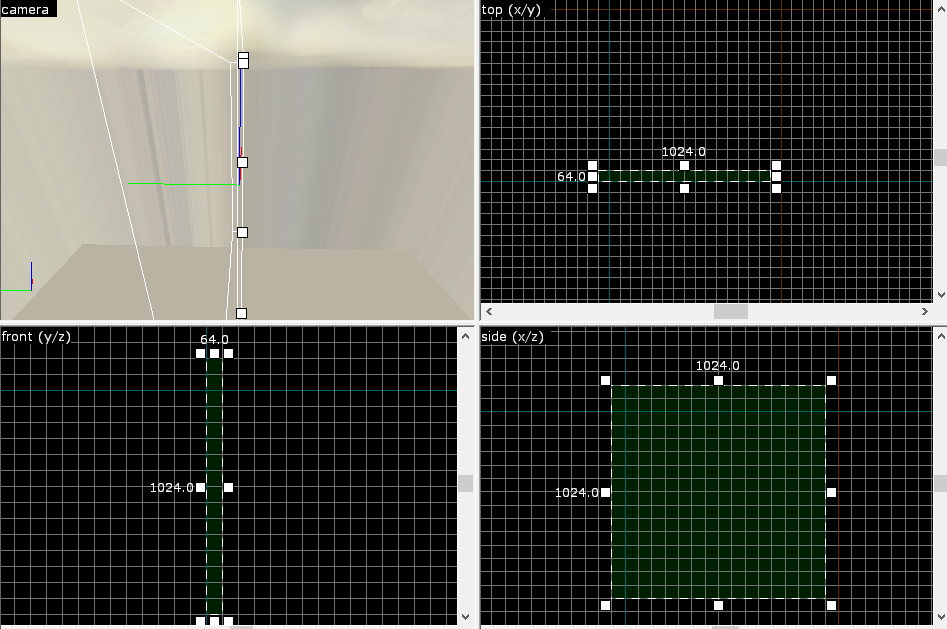
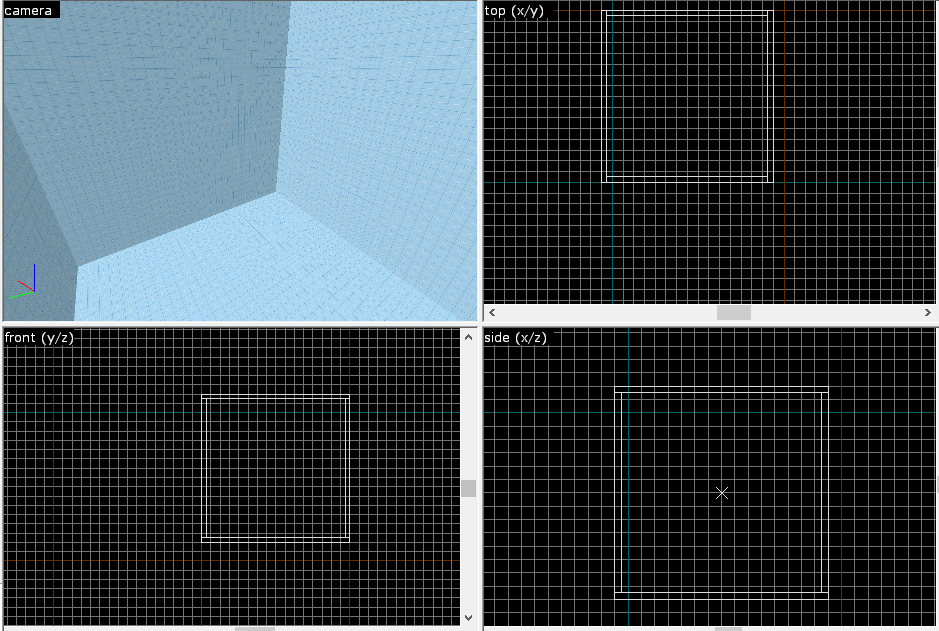
Next, we move on to the workspace. Let’s make a small cube on the 4th window. For convenience, you can hold down the space bar and LMB
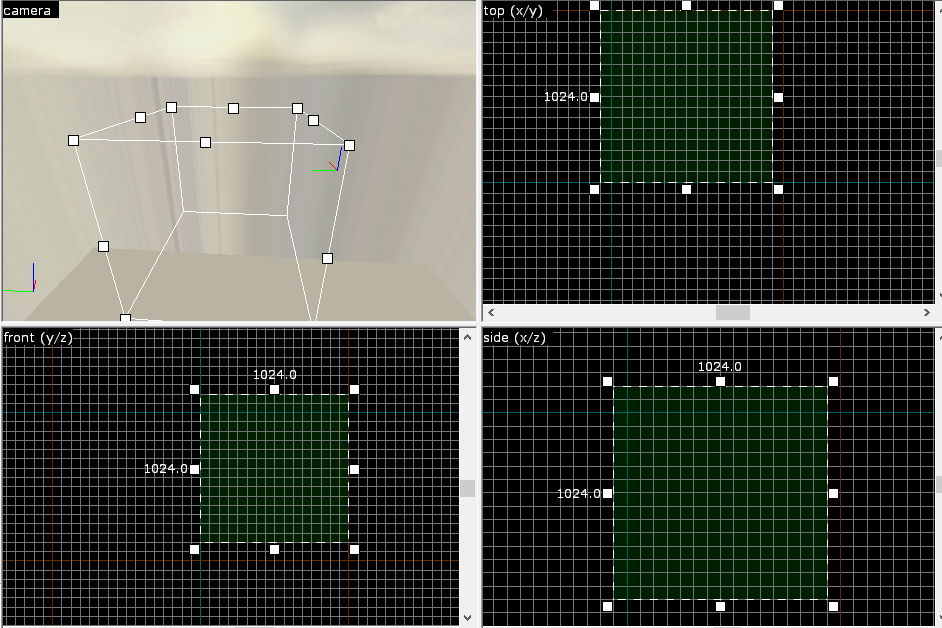
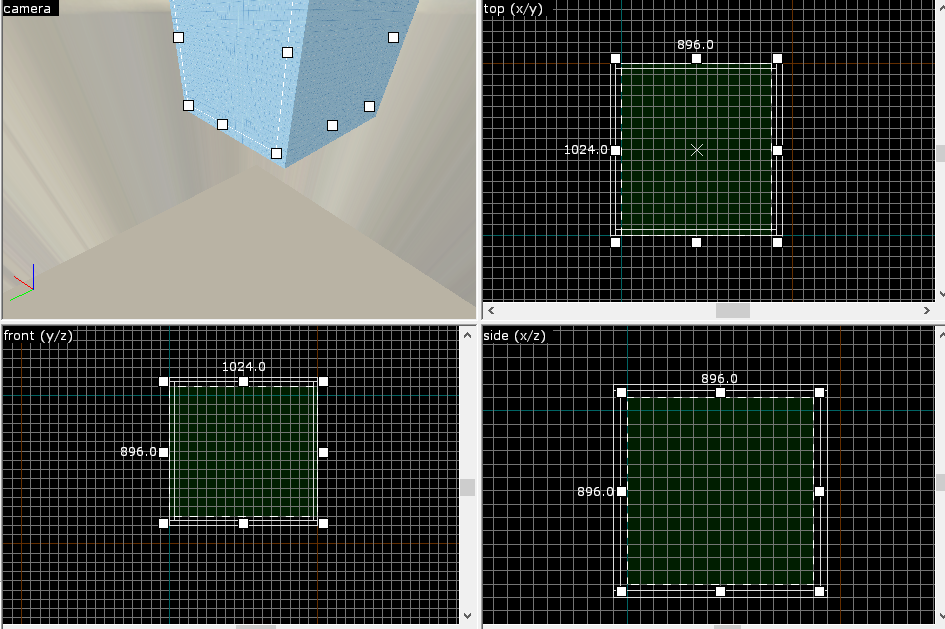
As we can see, it turned out not quite a cube. Let’s fix this by stretching our sides in other windows
That’s better!
Click enter. Now, as we can see, a cube has appeared, but it is not empty inside, how can we fix it?
To move around the map in map mode, press Z.
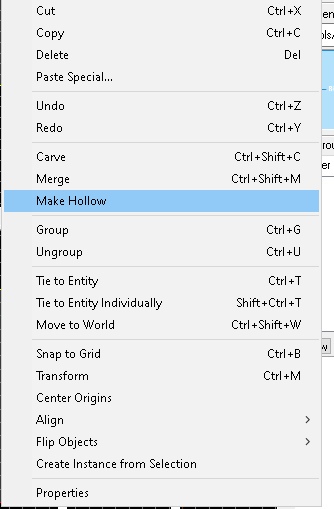
Select the red pointer tool (selection tool). Click on our LMB club. Then go to any of the windows except for the camera and click RMB,
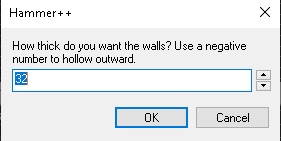
select make hollow and click Ok.
Our club has become hollow
Step 2
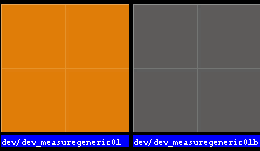
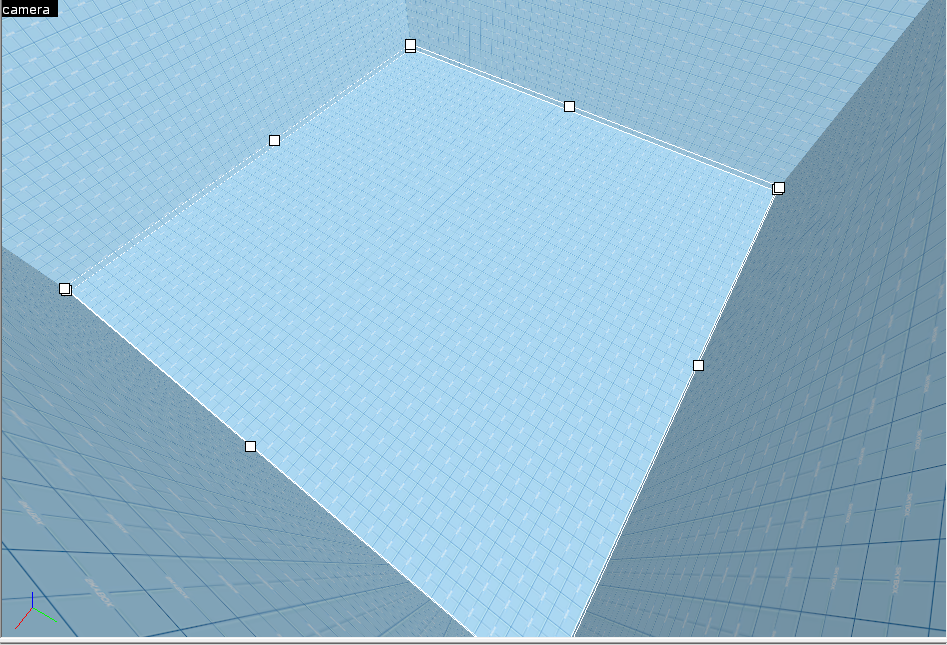
Let’s create something that our players will stand on. Click browse and write dev (You can use any texture).
Now let’s go to the workspace. Let’s choose the block creation tool, and create an area inside our cube.
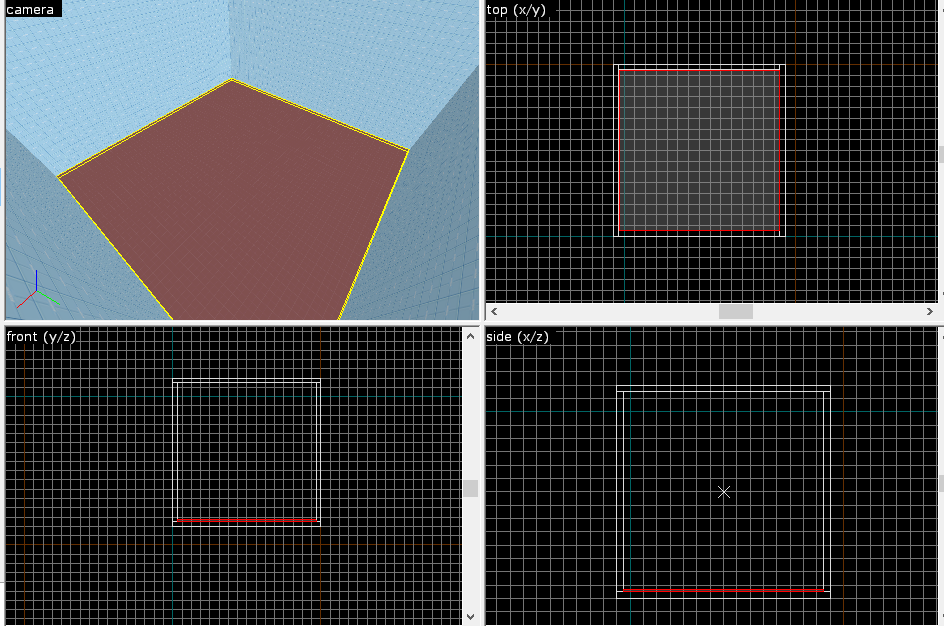
Well, as we can see, our gender turned out not to be what we need. He must not get out of the boundaries of our club, otherwise there will be a leak. But what if, when trying to slightly move the floor away from the cube, it moves too far away?
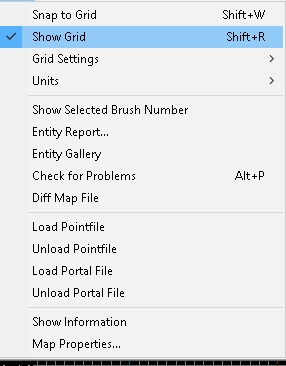
It’s simple, click Map on top, and uncheck Snap to grid. Now we can transform our gender as we want.
Now let’s set up our floor as it is convenient for us. It should turn out something like this.
Click enter and we got the following: Great!
Step 3
Lets create spawn players.
To do this, click on the “white light bulb”.
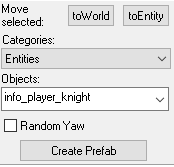
A window with settings will appear on the right. In it we have to choose info_player_knight or viking or pirates (depending on the idea of the map).
For the convenience of searching, these fields support the input function
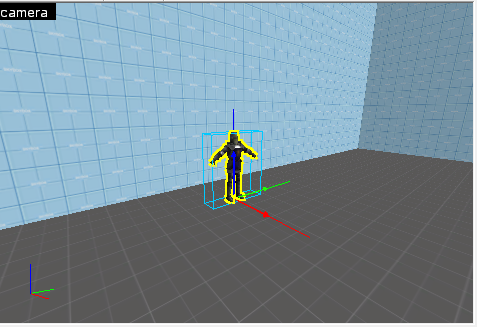
Then, place the entity at the intended spawn location.
Do the same for the Pirates and Vikings team if you want 3 teams. In my case, there will be 2 teams.
Great, now we’re going to start creating a small play area.
STEP 4
Determining the game mode, creating a game territory.
Let’s decide on the game mode. The most popular modes are DM – deathmatch, and bt – booty. Well, let’s create a map with booty mode.
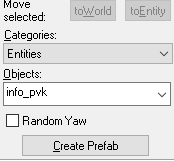
To do this, we need a “white light bulb”.
Let’s select it and find info_pvk
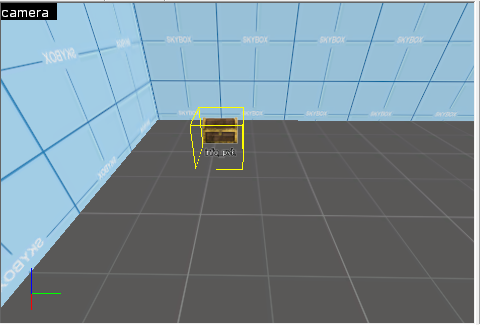
Now let’s place this entity somewhere on the map.
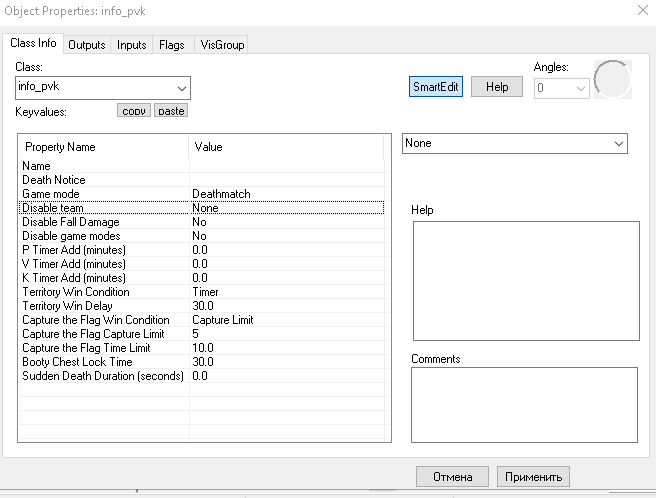
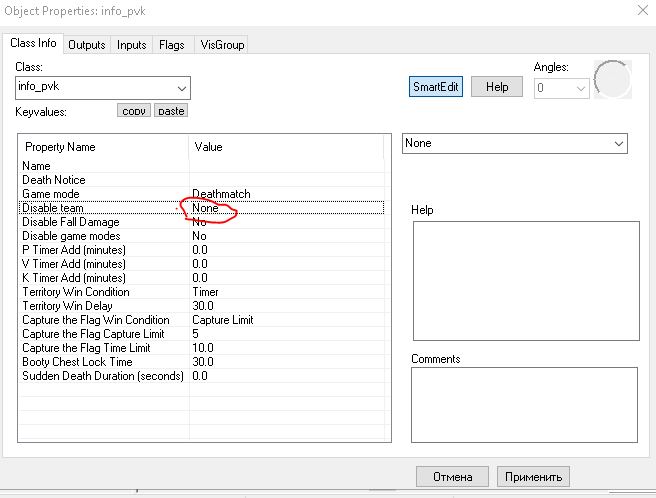
Now select the selection tool and click twice with the left mouse button on our newly created entity. We will see the following menu that is still incomprehensible to us:
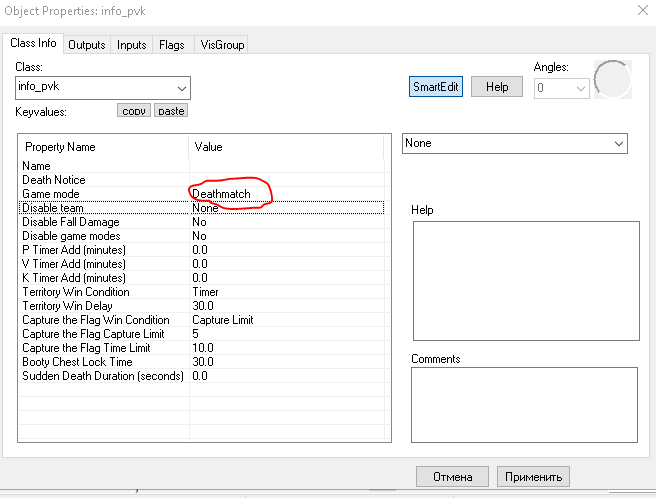
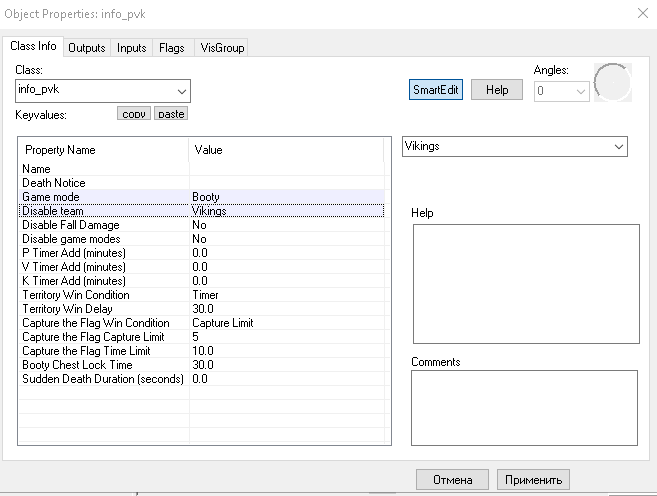
Here we are interested in the Game mode and disable team fields:
Let’s make changes according to our ideas
Great, now you can close this menu and move on to creating our game zone.
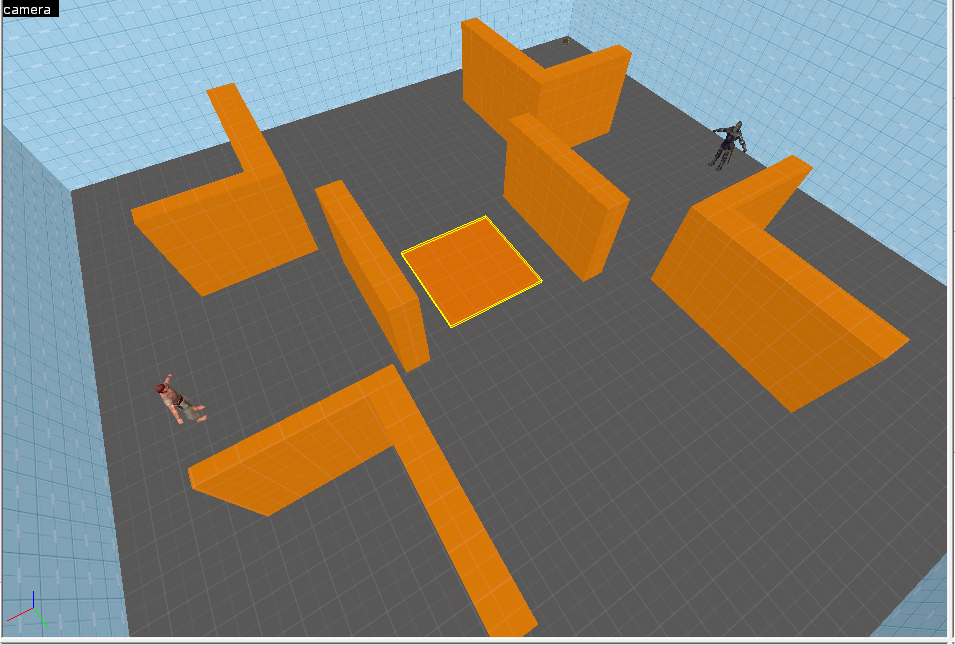
You can repeat after me, or you can do it your own way. But the result should be the same. We should have a comfortable, convenient, practical play area thought out to the smallest detail, to every thread.
So after several hours of hard work, I managed to create this map
STEP 5
Now let’s talk about the other aspects. We should have a chest, because the game mode is Booty. We should also have 2 zones that belong to our two teams. (Where the players will carry the chest to capture). Let’s choose a light bulb and find weapon_chest. We will place it in the center of our map (or where you will have chests)
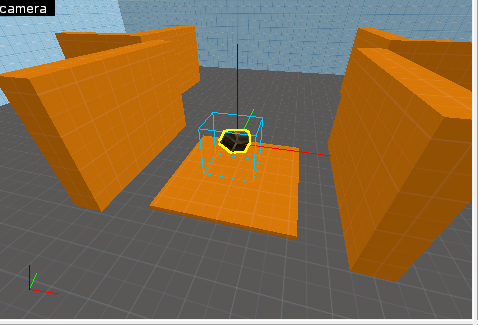
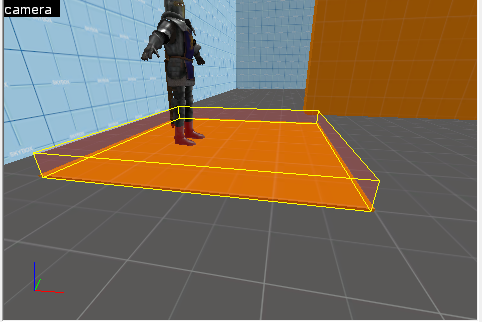
We will create two platforms where players will carry the chest. And on top of them there are two more platforms. It should turn out like this: ( 2 platforms per team)
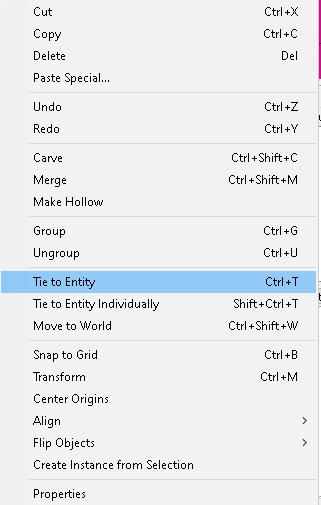
Now select our newly created platform and go to any of the windows. Click the PCM and select Tie to entity. The following window will appear:
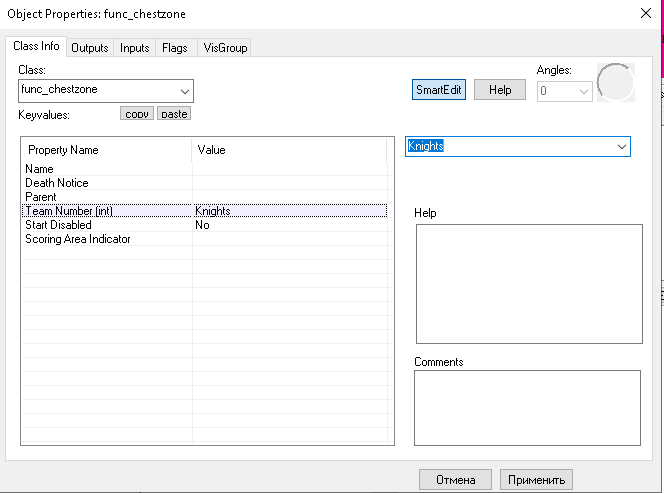
Now we have to find the func_chestzone and configure it as follows:
In the line team number int, select the team to which this zone belongs*
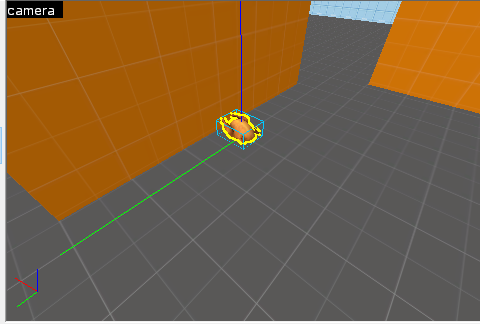
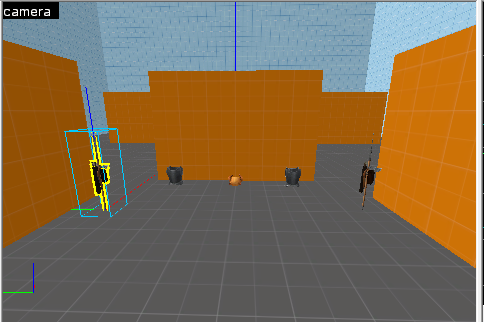
Well, we have an almost ready-made map. We just need to add ammo, armor and our favorite fried chicken!
Again, select the white light bulb and select item_food
Now we have the following:
Now let’s move on to the main keys and the convenience of work. Yes, yes, it should be at the beginning, but it’s here.
Keybinds,tricks, amenities
Lets go
Well, let’s think about how much faster we can work.
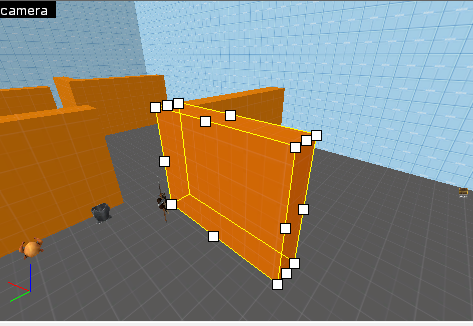
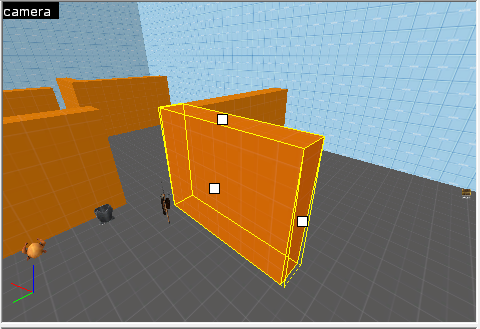
To begin with, we create an object and selecting it through the selection tool, we won’t see anything special, except that our object has turned a little red.
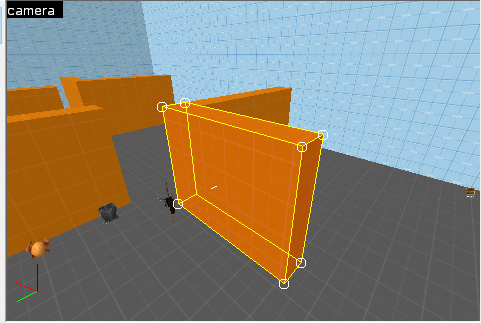
Let’s press the X key. Lo and behold, we have the opportunity to transform our object.
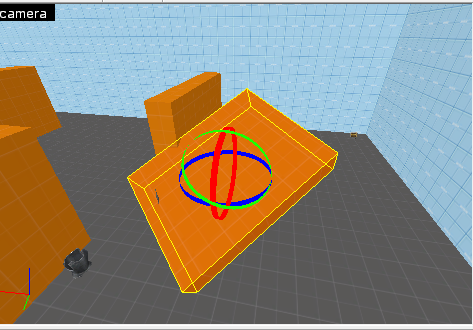
If we click the LMB on the object, we will have something else.. Now we can rotate the object!
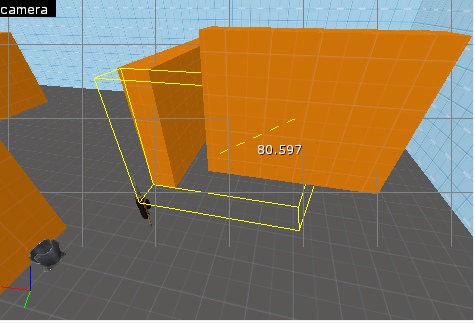
Click again, and now we can stretch our subject.
To remove this, press X again.
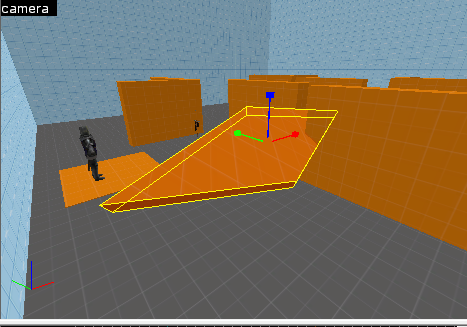
Press G, now we can freely move the object in the plane.
R – rotate
E – scaling
In the end, we can switch between these modes on the PCM.
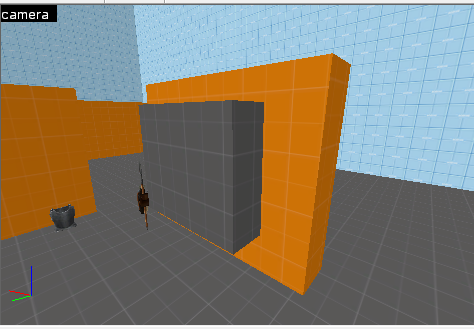
How to make a hole in another object ? A very useful feature is Carve. Let’s try to do it.
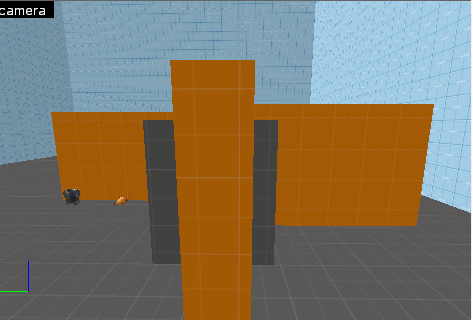
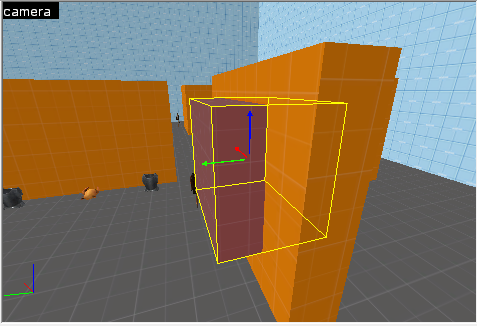
If we want to make a hole, the object that we placed in the other must necessarily come out from the other side as shown here.
Now select the object that will make the hole. In my case, this object is a Gray rectangle.
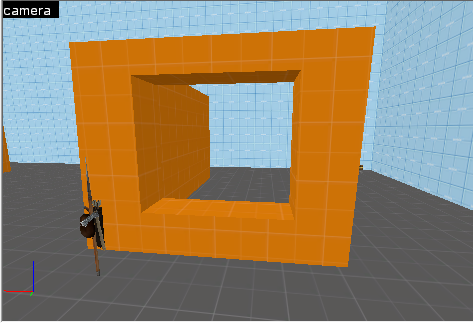
Press Ctrl + shift + C and Wo – a -lya, our hole is ready, it remains to delete this object. Press Del.
How do I create objects of a different shape?
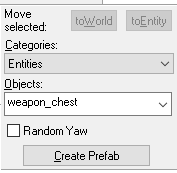
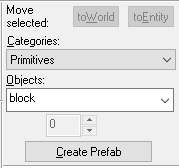
Very simple! Use this window on the right. In the objects field, select the object of the desired shape and place it.
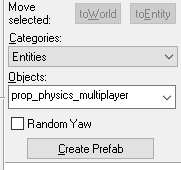
How to place the model’s entity on the map? Let’s use the same white light bulb. Select it, then select prop_physics_multiplayer and put it where you need it.
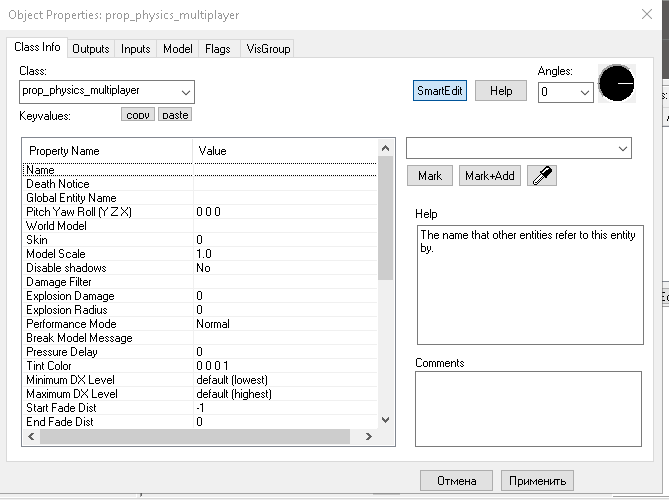
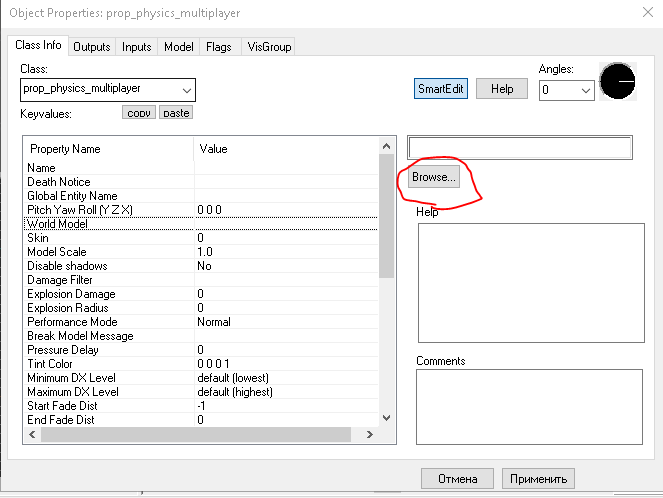
Then take the selection tool and click on our red cube twice with the left mouse button. This menu will open:
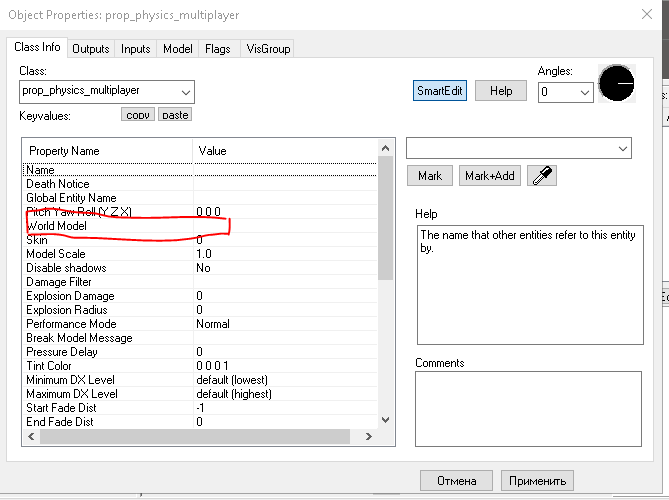
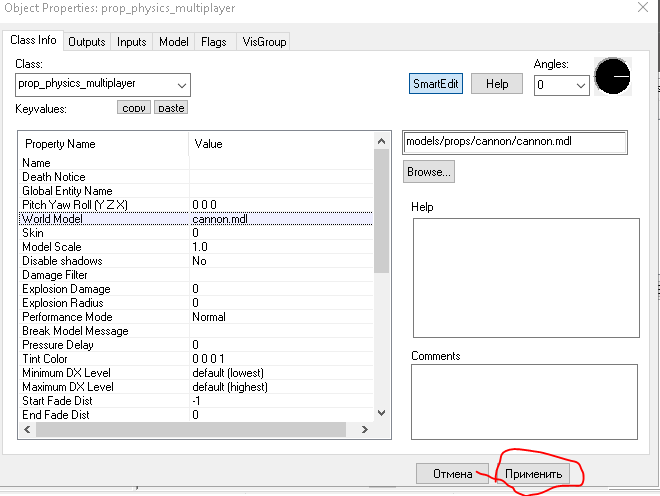
We are interested in the World Model field. Click on it, then click Browse.
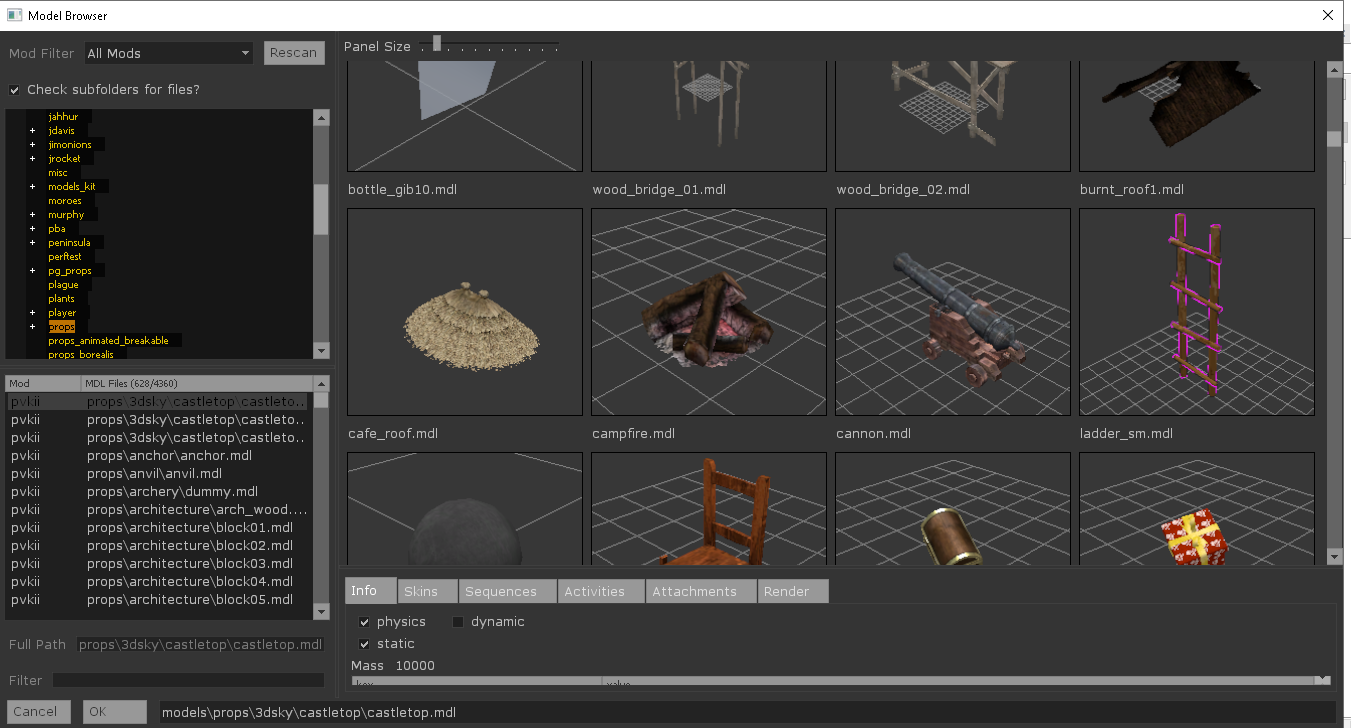
This menu has opened, in which you can select any object that you want and place it on the map. To select an object, click on it, and then click on it twice with the LMB
Don’t forget to click Apply.
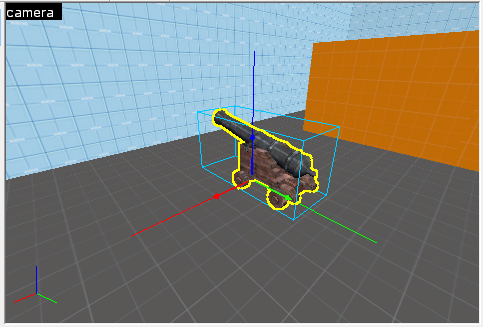
What did we get:
Perfectly!
Compilation
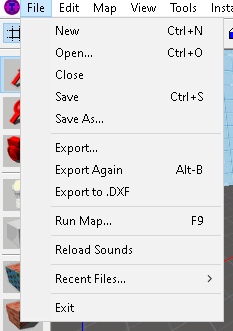
How do I upload our map to the game? Let’s see how to do it. After you have finished working with the map, click File > save.
Great, we saved the map, it remains to compile it.
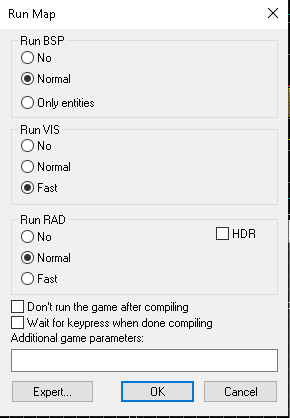
Then press F9, this map compilation window will appear.
To optimize the terrain map, set VIS to slow. But there will be excellent optimization. But in my case, I’ll put Fast for speed. Don’t touch the rest. Now click Ok. Your map will compile and run, good luck, viking, pirate and knight!
End. Other information
Thank you so much for watching this guide.
I am pleased. If you need this card, the link will be below. You can open it in your Hamer++ and do whatever you want with it.
Download link:
https://drive.google.com/file/d/1wNAgDcuRnI0mub3QyeZLWnUWR_qKKTqW/view?usp=sharing – [google.com]
I hope you enjoy the Guide we share about Pirates, Vikings, & Knights II – How to Create Simple Map Tutorial; if you think we forget to add or we should add more information, please let us know via commenting below! See you soon!
- All Pirates Vikings & Knights II Posts List




Leave a Reply