First I’d like to say this is still unfinished! This is just an aggregation of information already verified via mods/etc on the steps towards the ending. It is rather complicated, and from what the community knows there is at least one more step missing. THAT MEANS YOU CANNOT CURRENTLY GET THIS ACHIEVEMENT LEGITIMATELY. I will update once we can get the achievement legitimately, but do know that currently it isn’t possible. When you read this guide it’ll make sense.
Read at your OWN discretion. I will keep the spoils to a minimum, however, things need to be spoiled for the proper actions to be taken.
PRECEDE AT YOUR OWN RISK.
Intro/Act 1
I will be breaking up the actions per act. We know everything up until the final act currently. I will update the guide when this information comes to light. Most of these steps are required those that aren’t bolded. As stated in the preface, nobody has gotten this achievement yet. I made this guide in an attempt to make game ending spoilers less common in the discord/those who aren’t on the discord also have access to this information.
Therefore, do not expect to get it unless you get incredibly lucky with the last requirement which is a date requirement (or so it appears). If that is the case, please leave a comment and I will update the guide
I will add pictures as I do my second run through. However, if you are willing to send me pictures to place in, please leave a comment. I’ll add you to the contributors/give you credits at the end.
Two things that must be addressed.
DO NOT PICK THE FOLLOWING MYTHICS AS THEY EITHER DO NOT ALLOW IT, OR ARE NOT TESTED YET. TEST THEM AT YOUR OWN DESIRE.
LEGEND
SWARM
LICH (UNKNOWN, NOT TESTED)
DEVIL (UNKNOWN, NOT TESTED)
THE SECOND IS DO NOT TURN ON AUTO CRUSADE AT ANY POINT UNTIL THE FOUR RESEARCHABLES ARE DONE. AFTERWARDS IS FINE
Step 1:
When you are given the option to fight or use a protective spell choose to fight. (this occurs within the first ten or so minutes of the game)
Step 2:
In the Market Square, where you start the game is an interact able knife. Pick it up/keep it. This is theorized to be required but is unknown. It seems to be a bug that locks you out of all the endings currently unless you do the Aeon ending (as when I added this item to my inventory at the end of the game, I got my proper ending. If this is intentional or not I do not know.) There is also an arrow sticking into an archery target, Pick this up. It will be required much later in act 4, do not get rid of it! You can find more, but this is such an easy one to get. They’re good, but you only get about 3-4 throughout the game.
Step 3:
When deciding about the wardstone, choose any options other than the Aeon one. Only pick the Aeon one if you desire to continue doing the Aeon Mythic. Otherwise you can cheat in another dagger via toybox and it is called “crystaldagger”. If you’re using toybox make sure to check “allow achievements”.
Act 2: Welcome To Kingdom Management 1.0
Step 4: (Steps 4-6 are not necessarily required given you get the required research one way or the other, but is required for a much later decision to save a group of people and killed a named character while getting a required item)
When you finish fighting a boss at Leper’s Smile, go to Nurah’s tent and pass a difficult Perception check.
Step 5:
When you get ambushed by flying Gargoyles, go out your main tent and go left where the queen normally stays if you convinced her to stay. Nurah is there and pass yet another perception check.
Step 6:
After Lost Chapel confront her. Make her your Ally.
Step 7:
There is a certain named crusader you rescue in the Battle of Drezen. Free them. They should be unmissable. They will then show you a secret path and pose you a question. Respond with either the evil or neutral answer.
Act 3: Kingdom Management 2.0
Step 8:
When you get your Mythic, decide anything other than the mentioned previous Mythics. Afterwards you will be able to finish the banner research. You must research the banner and I would recommend doing this right away. There are three other researches that must be finished but are not able to be researched until later.
Step 9:
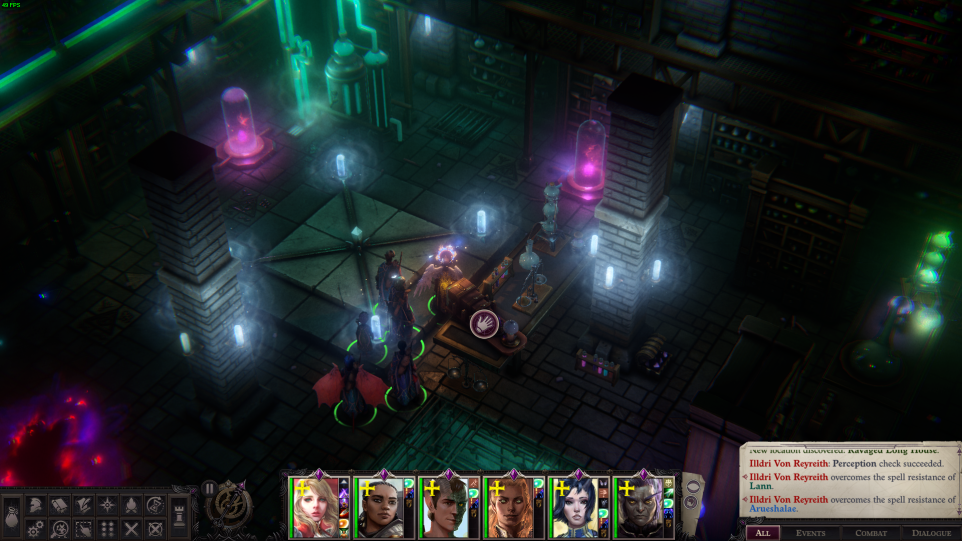
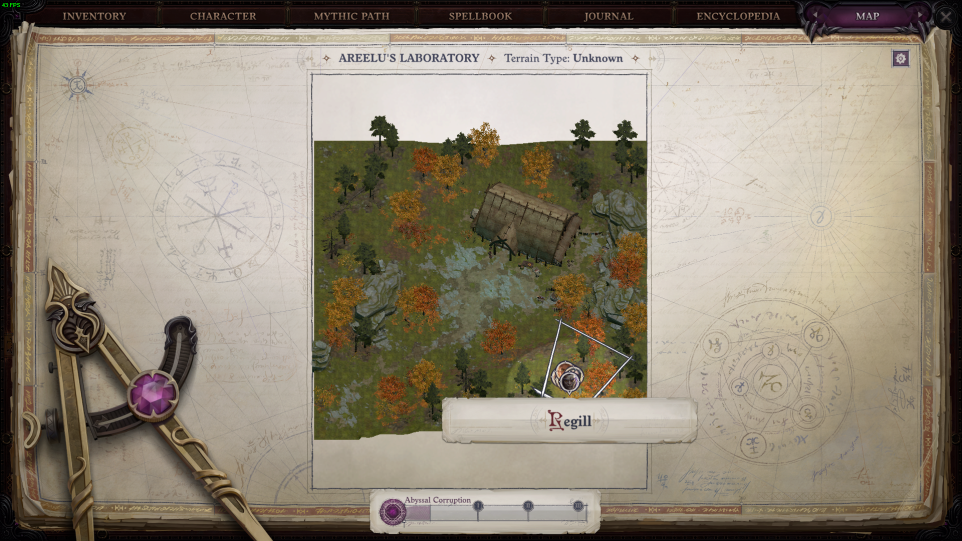
You are required to visit Areelu’s lab, and therefore is unmissable. There is another Midnight Bolt here if you used the other one. When there, dig through everything. Being nice to the person there may be required or may not be required. Just be nice, he’s a swell guy imo. You must find a cloak there. It is located in the room with the rat swarm. This can be repaired by the storyteller, who can be found after hunting down a dragon with Greybor. I personally had to cheat in the remaining hides required, as I do not know where they all are. Once more info has been put up, I will add it in. It is possibly fixable pre act 5, but i may not be as well. I am not sure.
Step 10:
Free the prisoners once you get the key, and make sure to pick up the Lexicon. NEVER GIVE THIS AWAY TO ANYONE. Using the projectors are not required, but I would personally. It gives very useful lore.
Act 4: Welcome To The Land Of Wonder.
Except, not really.
Step 11:
There is a certain named character that you met in Areelu’s lab in the slave market. Free him by fighting his slave owner. This is a rather difficult fight in my experience but is possible.
If you wish to avoid this, you can simply talk to the slave master in front of him and choose to buy him. Apologize, then offer money.
Step 12:
Obtain the second part of the lexicon in Noc’s palace once you have been allowed passage in. It is the first passage on the left into a room with a projector. It is hidden behind a difficult perception check (dc 40 I believe). There’s another bolt here in case you need one. Once you have both halves, use them. Simply right click in your inv. This is followed by some *very* difficult checks, they must all be passed.
Step 13:
When talking to Areelu, reveal that you saved the person from step 11 and ask about him.
Step 14:
When fighting the boss in the mines, who is not the first person you fight but rather the second who rips someone’s heart out, use the midnight bolt on him. When talking about the crystal to somebody after this fight, take it. Even if they threaten you. No harm will befall you.
Act 5: Endgame
IF YOU ARE LOOKING FOR THE SECRET ENDING ON YOUR FIRST RUN, WAIT UNTIL DOING ACT 5. ITS CURRENTLY VERY JANKY FOR MANY FOLKS. IT WILL BE FIXED SO DO NOT DESPAIR And as stated previously, there might be more than the last requirement but it doesn’t seem like it.
Step 15:
Go to Plura’s falls, somebody you know sent a ton of demons at them which is mentioned in act 4. When prompted between killing the man there, or saving the hostages. Kill him if you did not ally with Nurah all the way back in act 2, it is required to make sure he does not escape. This gives you another researchable. Research it.
Step 15:
Make sure the cape that you got in Areelu’s lab is repaired before you go to Iz. Once there you will encounter Areelu. Bring up the cape you repaired earlier. (honestly it’s pretty baller at least for me anyways and I kept using it) Also, make sure to research the Crystal you obtained at the end of act 4 after using the midnight bolt.
Step 16:
Immediately go to the ruins to the right in Iz. It’s a passage way down. There you will encounter Anemoa, make sure she is dead once you fight here. To the left of the room is a crystal key, pick it up. In the same basement, to the right of where you came down, there is a hidden passage way behind a perception check. The unlock chest contains another “glass key” take it.
Step 17:
After you defeat the boss in Iz, you can use a midnight bolt on him if you want as well to get a crystal I believe. However, it must be picked up before the boss is defeated. Return to Areelu’s lab. The project where you picked up the Lexicon needs to be interacted with.
Step 18:
When you see somebody summon a Balor, explore the woods to the right of the house. There should be a window in the middle of nowhere, use the key. There’s Areelu’s notes on the second “story” right hand book shelf.. Once you get out, make sure to research Areelu’s notes. Quick save before continuing. Location of the window is below.
Step 19:
You encounter Areelu one more time in this area. The previous two choices with the ghosts change what you must select. The first one is always the same. Play the game of asking questions. Being Golden Dragon isn’t required. Don’t smash the projector then leave.
If you forgive Both the correct answers are;
1. Sadness or Anger
2. His guilt is indisputable, but he had already suffered enough. (if forgiven)
3. He deserved death.
If you refuse both it is
1. Sadness/Anger
2. For the sake of Justice
3. Betrayal deserves punishment
The first ghost is always the second question, and the second ghost is always the third. Feel free to interchange the two if you desire.
Step 20:
You must free the person teleported away by the second boss you fought at the end of act 4. Once you do so, there is a hidden passage way the leads outside of the labyrinth (yet still in the map). this is once again, hidden by a high d/c perception check. Go straight once you exit and pass two athletic checks. This will lead you to a pile of gems in the middle. This leads to a boss fight with worms, beat them.
Step 21:
When you exited the hidden passage, instead of going straight, immediately go right. There is another athletic check. Here is somebody you fought previously, exhaust all dialogue. Lich mythic information is not required.
This is all the information that is completely correct. T
Act 5: Continued.
This next section easily the most incorrect section, so take it with a grain of salt as nobody has actually gotten this achievement yet legitimately. The rest of the game can be played normally until you enter the Threshold.
Step ??:
At the Threshold, when the game makes you set up camp, there is a small Desna-like shrine near the entrance the building you’re about to go in. Activate it, and green lights should show up around you.
Step ??:
Clear through the dungeon as normal. When you speak to Areelu, exhaust all dialogue then fight her. After defeating her, the option below the perception check (or the top one if you failed it) should lead to a dialogue where you speak about the previous actions. Such as; Shooting the crossbow back in act 1. etc.
Step ??:
Convince Areelu to summon one of the demon lords.
Step ??:
Theoretically at this point you should have the achievement.
If you have gotten the achievement, please leave a comment so I can update it so the rest of us can.
This is all about Pathfinder: Wrath of the Righteous – WIP Guide – ACT 1-5 Detailed Information + Ascension Achievement ; I hope you enjoy reading the Guide! If you feel like we should add more information or we forget/mistake, please let us know via commenting below, and thanks! See you soon!
- All Pathfinder: Wrath of the Righteous Posts List


Leave a Reply