
Introduction
So you finally got Nioh 2. Perhaps you’ve heard raving reviews but otherwise don’t know anything about it, perhaps you’re a fellow Souls fan that obsessively collect anything with a stamina bar and estus flasks, or perhaps you have a fleeting interest in japanese history and getting the game as a more entertaining alternative to a textbook on the Sengoku era.
In either case, you stand before the game, with one question burning in the back of your mind: “how the heck do I play this thing?!” Well, I’ve got you covered. I think.
This guide will cover the “basics” of the game, but considering how there’s a million different mechanics in it, it’ll still get a bit complicated. You don’t need to read it all in one go, feel free to bookmark it for later.
So What Is Nioh 2?
If you’ve been on the internet in the last decade, you’ve probably seen the Souls gameplay loop being reused a couple times by now: a 3D metroidvania swordfighting game with high difficulty, high skill ceiling, and the risk of losing all your collected resources always breathing down your neck. Your low health is offset with a rechargeable healing potion, giving you all the healing you need as long as you know when to use it (rather than relying on resource farming), and player skill is always considerably more important than equipment statistics or levelups for success.
Nioh 2 departs from the normal Souls route pretty significantly by being a stage-based action game, but otherwise has a very similar combat loop. Main missions still are long affairs that can have multiple bosses and take more than one session to clear, but there’s plenty of shorter filler content, like daily challenge missions and randomized boss rushes, letting you mix and match content as you please.
The “real” game starts in the postgame, where the new harder difficulties makes every mission optional and you can plot out your own course based on mission rewards and playstyle as you try to build up the perfect set of equipment to tackle impossible odds.
Ki Pulse, Stances and the Core Combat Loop
Nioh 2 is first and foremost a game about exploring a 3D space filled with ambushes and patrolling enemies, trying to reach a boss at the far end of the gauntlet. There are stealth, ranged weapons, magic, demon abilities, and ninjitsu to help even the odds, but melee weapons is a large part of the core combat loop.
I recommend using a gamepad, with the “B” layout (melee attacks on shoulder buttons), especially if you’ve played Souls games before and have some muscle memory.
Light and Heavy attacks
There are two attack buttons: Light and Heavy.
- Light attacks are faster, and generally what you will use most of the time.
- Heavy attacks are slower and have a much higher stamina cost. They deal a bit more damage, though they’re generally out-damaged by light attacks most of the time in terms of damage per second. However, they deal considerably more Ki damage to enemies and will not be cancelled by striking a blocking enemy, making them perfect to set up guardbreaks and finishers when the opportunity arises.
Ki and Ki Pulse
Ki is the bar under your HP, and equivalent to your stamina. Most attack actions, running and dodging will consume Ki, and you are unable to do these actions if your Ki is empty.
Taking damage will also damage your Ki; if your Ki is reduced below zero because of this, you enter a staggered state where you can’t move, every attack that hits you is a critical hit, and enemies can perform devastating finishers on you.
However, human enemies play by the same rules! Striking an enemy at the right time to empty their Ki and set them up for finishers is a powerful strategy.
After you finish a combo, a white pulse will cross your stamina bar. Pressing the “Change” button (default L1) while this pulse is active will instantly restore all the stamina the pulse covers. This is called a “Ki pulse”. Performing the pulse perfectly and restoring all the lost stamina can trigger certain buff effects, and will cleanse demon puddles.
Performing any attack action will cancel the current Ki Pulse (but the current pulseable ki can be included in the next pulse), which means you need to hold your attack for a bit if you want to recover the lost ki. Enemies can use this opening to counterattack, which aborts the Ki Pulse altogether and risks leaving you staggered if you’re low on Ki. Be mindful of this risk.
There’s also unlockable skills that allows you to trigger Ki Pulse with dodges and demon abilities, allowing for a more aggressive playstyle.
Backstabs
Attacks from behind deal increased damage, regardless of circumstances. Furthermore, sneaking up on an enemy from behind while they’re unaware of you allows you to perform a stealth takedown, which deals a ton of damage. (You need to unlock this skill in the skill tree, though)
Stances
There are four stances, which can be changed by holding the Change Button and pressing a face button. Stance information is shown in the bottom-right corner of the screen.
- Lower stance increases your attack speed at the expense of power. Dodges also are improved in this stance. Perfect for dodging tricky boss combos, building up ailments through an elementally infused / poisoned weapon, or maximize mobility when running past enemies you do not intend to fight. Perfect for countering enemies in high stance.
- Mid stance increases blocking ability, and generally have wide sweeping attacks that excel at crowd control. The sturdy blocking ability is perfect for countering enemies in low stance.
- High stance is an offensive stance that trades speed and reach for power, focused on vertical attacks that are easily dodged but hits hard if they connect. Easily breaks through blocking enemies, making this perfect for countering enemies in mid stance.
- While your weapon is sheathed, you move slightly faster. You will instantly draw your weapon if you block or attack so there is no need to manually un-sheathe before an encounter.
Consumables
Consumables are used with the D-pad. Remember to equip them, or you can’t use them! (You can use consumables from the menu, sure, but that’s not easy in the middle of a boss fight). Notable consumables include the Elixirs and antidotes, but there’s also bombs, elemental talismans, and Spirit Stones. Most consumables are available in large quantities so don’t hesitate to use them in a pinch.
The Onmyo Magic and Ninja skill trees have plenty of spell / jutsu skills. These skills will, when you’ve equipped them at a shrine (“Ready jutsu” menu), give you a number of consumable spell / jutsu items which are equipped and used like normal consumables; the main difference being that they are automatically refilled to max every time you rest at a shrine.
By default you have two sets of consumables, but there’s an option to increase this to 4 – great if you’ve invested heavily in ninjutsu or magic.
The Change Button
Change + D-Pad up changes your current ranged weapon.
Change + D-Pad down changes your current melee weapon.
Change + D-Pad left/right changes your current consumable set. By default you have two sets of consumables, but there’s an option to increase this to 4.
Change + face button changes your stance. (A – lower stance, X – mid stance, Y – upper stance, B – sheathe weapon).
Levelling Up
There are several ways to get stronger in Nioh 2:
Character Level
Pretty straightforward: select LEVEL UP from the shrine menu to spend your collected souls on additional stat points. The stats are all explained in-game so I won’t go into detail here, but the gist of it is that you get diminishing returns the higher a stat gets.
All weapons scale with 3 different stats, and there are weapons that scale with every stat, so even a HP / equip load – focused build can benefit from weapon scaling.
Skill Levels
As you use a weapon, spells, demon abilities or ninjutsu to damage enemies, you gain skill points for the corresponding field. At certain thresholds, you get a skill point for that skill tree, which can be spent on passive abilities, combo skills for weapons, or new spells.
Skill point gain is based on enemy strength: hitting a stronger enemy (such as a boss, or enemies in a challenge mission you’re underlevelled for) will grant more skill points.
Skill trees initially start out with most skills inaccessible; you unlock these by clearing Dojo challenge missions which unlock as you progress through the story. These missions require certain weapon / magic / ninja skill levels to be attempted, so there’s no point in skimping on practice for later!
Every story mission and some side missions will also have collectible locks of hair, which gives you a skillpoint for free when obtained.
Some guides claim you can farm magic/ninja skill points quickly by spamming the consumable buttons to apply weapon buffs over and over; this is false. You need to hit enemies to get skill points (every hit counts, not just killing blows). Also, having a weapon buff applied seems to transfer the entire skill point gain to magic / ninja instead of sharing it with the weapon.
There is initially a cap of Lv.50 skills, but this gets increased when you unlock NG++ difficulty (Dream of the Demon).
Prestige Levels
This is the most obtuse system, and easily missed if you’re not aware of it. Prestige Levels can be obtained under the “Titles” menu, which is the game’s in-game achievement tracker. (It has many lesser achievement which aren’t actually tied to Steam achievements) Every Title is worth a certain number of points, and every 20 points gives you a Prestige Level. These can be cashed in for miscellaneous small boosts (which can stack up to pretty noticeable amounts later on).
There are two pages of Titles, roughly corresponding to “human” and “yokai” achievements.
If you find it hard to get human kills for the weapon master titles, don’t forget that Revenants (bloody graves) also count as humans.
Magic and Ninjutsu
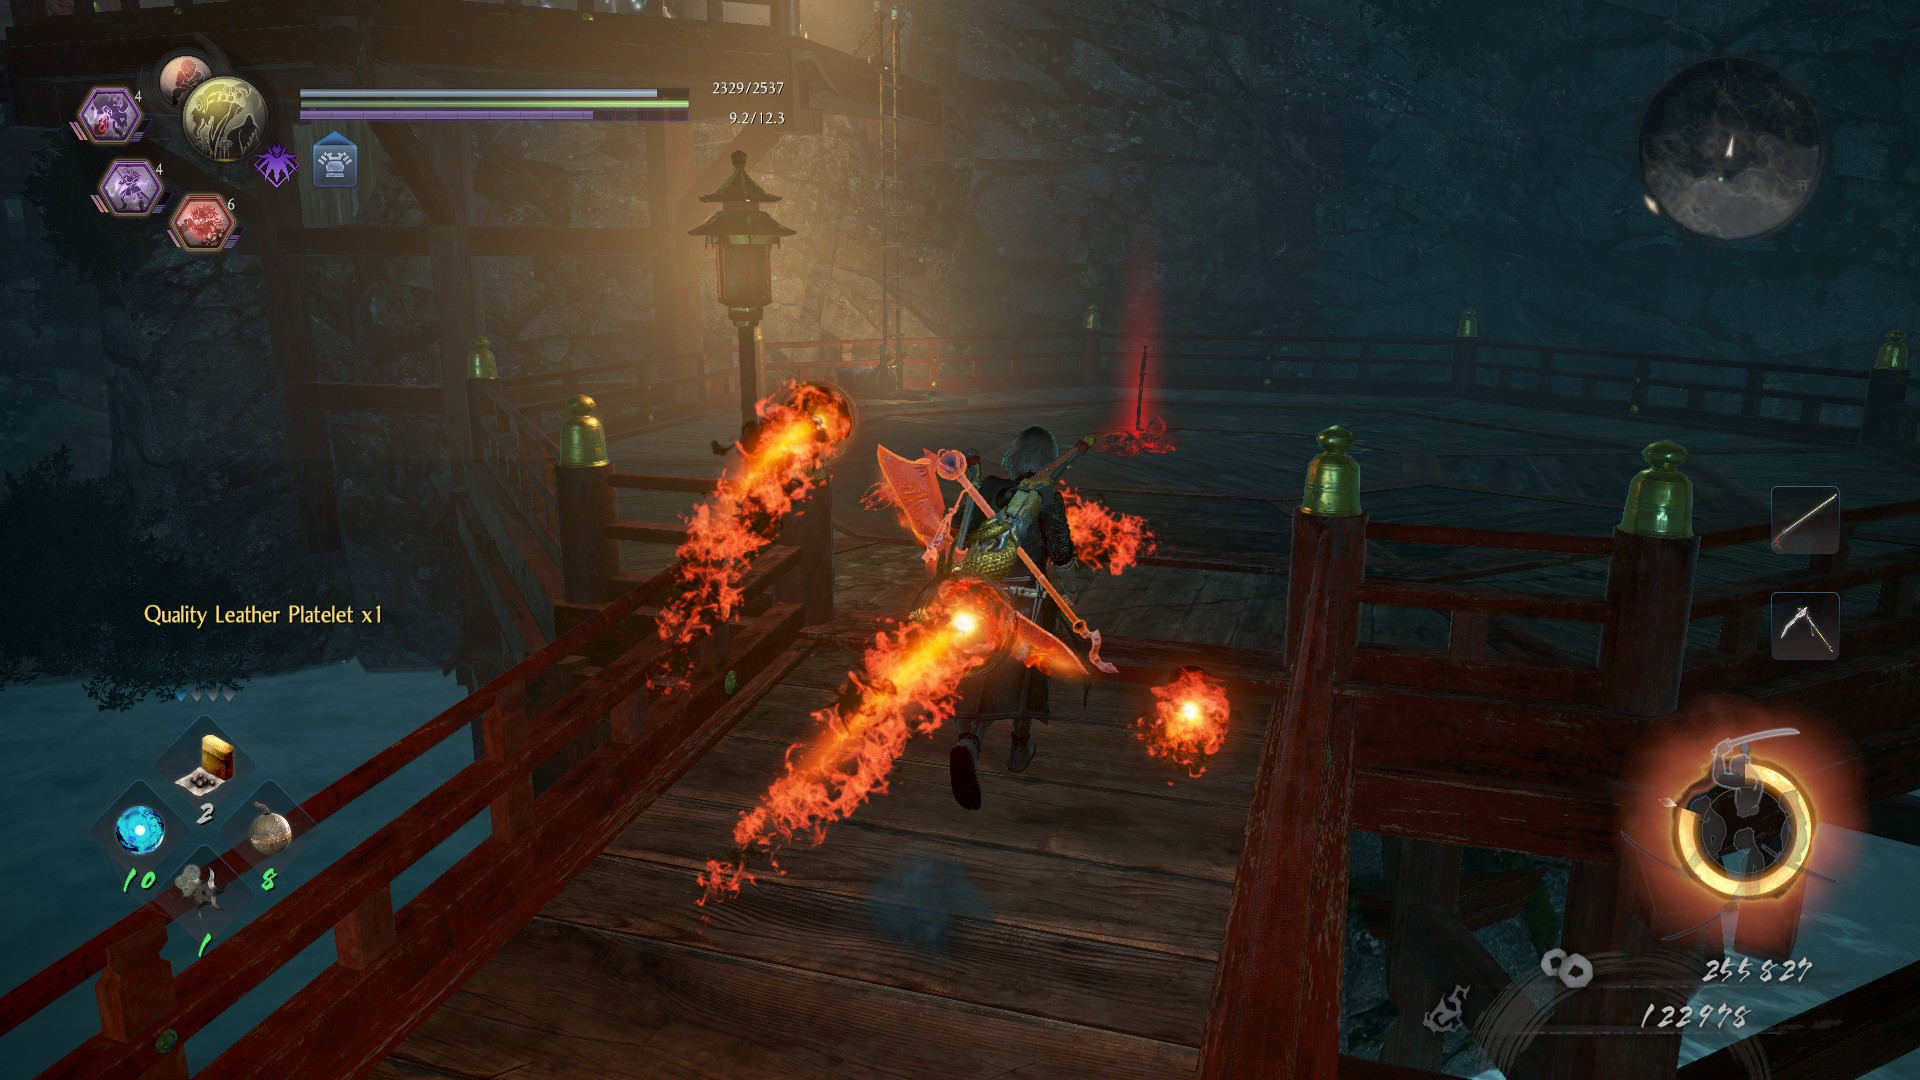
Magic and ninjutsu both fall in pretty similar niches: supporting you with infinite-use consumables to give you buffs and ranged options.
Getting started with them is a catch-22 situation early in the game, since you need Magic / Ninja skill points to unlock a spell / jutsu, and can’t get skill points unless you use spells / jutsus. However, the ordinary bombs and elemental talismans you find will grant ninja/magic skill points, so go wild with these whenever possible (preferably when fighting groups, minibosses and bosses to maximize skillpoint gain).
Onmyo Magic
Onmyo magic is what is commonly known as “elemental magic” in the west, harnessing the power of the five three-and-a-half elements (Fire, Electric, Water and Purity). It starts off with simple elemental weapon buffs, but later on, you will also get access to magical projectiles, healing spells, defensive buffs, and a spell which gives you temporary hitpoints.
Hitting enemies enough with elemental attacks will give them an elemental debuff:
- Fire: Takes damage over time.
- Electric: Movement is slowed down.
- Water: Damage from all sources is increased.
- Purity: Impedes stamina recovery. Effect is much stronger for yokai.
- Corruption: Increases stamina damage, and the surplus is transferred to the attacker. Effect is much stronger for humans.
Since all bombs deal fire damage and cause fire buildup, I’d recommend waiting with fire spells for last if you plan to use all elements of magic.
Ninja Skills
Ninjitsu starts off with shurikens and bombs, but also includes medical buffs, passive improvements to ranged weapons, the Ninja Log which revives you once if you’re killed, and Naruto-style elemental spells.
For most of the game, throwing bombs will be faster than casting spells, making them a viable option in a pinch. (This changes if you unlock the “faster casting” Mystic Art for onmyo magic, which will remove casting time entirely).
Also note that bombs deal both physical damage and fire damage, so they can be used even on enemies like Enrera and Kasha which are normally immune to fire damage!
Calthrops deserve special mention – they slow down enemy movement speed (which makes it easier to dodge bosses/minibosses) and despite their flimsy 1 damage, they have a high amount of stopping power, making most enemies stagger when they step on them. Throwing some calthrops in the face of an enemy to stagger them out of their attack is a valid strategy.
Demon Abilities, Burst Counters and Soul Cores
Anima
Demon abilities use the Anima bar, the purple gauge under your stamina bar.
Anima is refilled when you attack enemies, collect Soul Cores, and purify demon puddles.
Enemy yokai also have an anima bar, which is to say their stamina bar is purple.
Enemy yokai can’t recover stamina on their own, only when they are in demon puddles or the Dark Realm. When their stamina is exhausted, ANY attack will hitstun them, even if they’re a boss! The key to defeating a yokai is exhausting their stamina, then wailing on them with impunity.
Guardian Spirits and Yokai Shift
You generally always have a guardian spirit equipped. (They’re guarding your grave if you die, which removes their projection until the grave is retrieved). Your guardian spirit gives you a number of powerful buffs, which can drastically affect your playstyle.
The icon in the top-left corner of the screen (showing your guardian spirit) also doubles as the charge meter for Yokai Shift, your super mode. Activating Yokai Shift temporarily makes you immune to hitstun, and temporarily replaces HP, Ki and Anima gauges with a demonic energy meter; this means you have infinite HP, infinite Ki and infinite anima until it runs out (but it runs out faster if you get hurt, attack or use demon abilities). This is your super move, meant to be used right before you get killed, or right after you knock a boss down so you can finish them off before they get up.
Your demon transformation is different depending on the guardian spirit’s type: Brute turns you into an oni wielding a club, Phantom into a ghost with ranged attacks, and Feral into a kitsune with dual knives.
Burst Counters
Pressing the Demon and Block buttons together makes you perform a Burst Counter. Burst Counters consume 1 point of anima, and are meant to counter enemy desperation attacks.
Enemy desperation attacks have a special audio cue, and feature a red smoke effect. They’re devastating if they hit you and will additionally spawn a demon puddle if not countered, which allows the demon to recover all their stamina.
Some enemies also use desperation GRAB attacks, which cannot be burst-countered, only dodged. They have the same audio cue but feature black smoke instead of red smoke.
The type of guardian spirit affects how your burst counter works:
- Brute spirits: the Burst Counter is a uppercut which is easy to use and can counter at any point during the enemy attack, but it doesn’t make you invincible during the animation. It’s the easiest to use, but you can easily get yourself killed if you mistime it. Can’t block projectiles.
- Phantom spirits: the Burst Counter temporarily makes you invincible. If an attack hits you during this time, it’s countered. If you mistime it, you might still block the attack but not counter it. Can counter projectiles.
- Feral spirits: you dodge in a direction, leaving behind an afterimage. If the enemy hits the afterimage, the attack is countered. The hardest burst counter to use by far, but it can counter projectiles AND grabs.
Soul Cores
Killing a yokai enemy occasionally makes them drop a soul core. You can equip your guardian spirit with these to increase the stat bonus they give you while active, and unlock demon abilities.
Demon abilities are used with the demon button + light or heavy attack. They consume anima to use and cannot be used if you don’t have enough. (The demon core icons in the top-left corner are grayed out if you don’t have enough, and have little tickmarks if you can use it more than once) They wildly range in anima cost, animation and power so there’s a lot of room to experiment… would you rather have a laser that hits everything in the room but needs a full anima bar to use, or a simple projectile you can use a dozen times?
Picking up a Soul Core will instantly fill your Anima gauge to max, so if you’re fighting something and are almost full, it could be worth just throwing your demon attacks out there to finish it off before getting the free refill.
Demon Cats
When a demon cat is following you around, your Anima will slowly regenerate, allowing you to be much more reckless with yokai ability use. You can have up to three following you at a time!
Most levels have at least one hidden demon cat, and you can also use a “Clay Bell of Beckoning” consumable to instantly summon one.
Stealth
Nioh 2 doesn’t really have a fleshed-out stealth system, but there’s a number of auxiliary mechanics regarding stealth.
- Enemies that are unaware of you will take double damage. They are made aware of you once you hit them, so make that first count! (Say, a headshot with a hand cannon)
- Moving slowly will make enemies unable to hear you, which means they only detect you if they’re looking directly at you. This effect is amplified if you’re wearing light armor.
- There is an unlockable backstab skill which lets you do a free finisher if you can get right behind an unaware enemy.
- Headshots with a ranged weapon deals massive amounts of damage. You can often take out large numbers of enemies without even having to enter the area they’re guarding if you just pay attention to patrol paths.
The aiming indicator’s center point turns red if you’re aiming at the enemy’s weak spot, and the outer circle turns red if you’re aiming at the enemy or yellow if you’re aiming at the enemy but are at such a great distance the projectile won’t deal full damage. - Being in tall grass will render you invisible to enemies. There’s a special buff icon when this happens, and your character will turn invisible. The same effect can also be achieved by the Sneak Thief Scroll ninjutsu item.
Cheesing your way through a difficult area with some stealthy headshots is a perfectly valid strategy! Just keep track of your limited ammunition stock.
Weapon Types
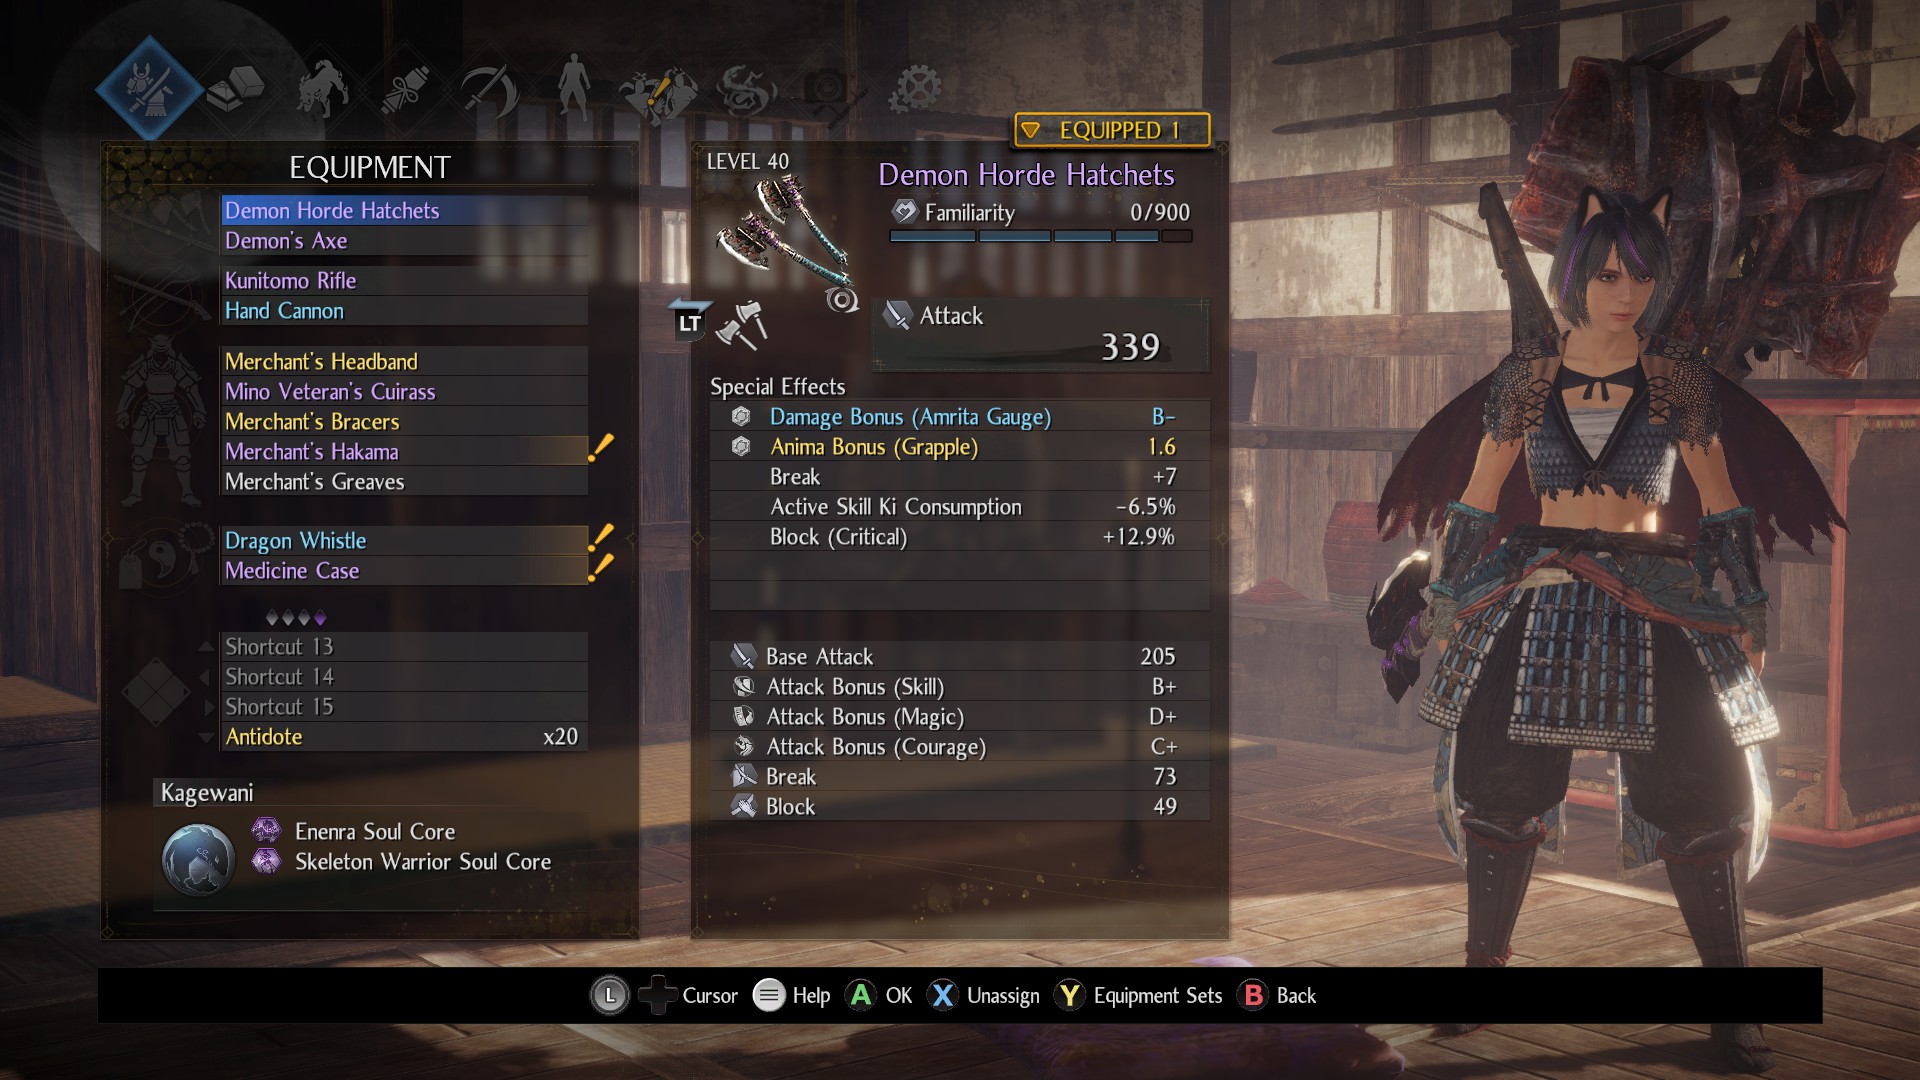
There’s a pretty daunting number of weapons in the game, so this is just a quick-start guide.
Weapons of the same category are essentially all interchangeable with each other, and only differ in stats and abilities.
Sword
An all-round weapon with no strengths or weaknesses.
Features an unique Iaido quickdraw skill tree, which turns “sheathed weapon” into a stance in its own right, and the Sword Ki area-of-effect blast.
Primary scaling stat: Heart
Dual Swords
A fast weapon with low power, focused on hit-and-run tactics.
Low stance has an ability that increases dodge invincibility frames, which is useful if you have a dodge-based playstyle.
There’s an ability that makes you do an attack while you do ki pulses, allowing you to keep up the pressure against a single enemy.
Primary scaling stat: Skill
Switchglaive
Has the most pronounced stance effects of all weapons, drastically changing in reach, speed and power based on stance, with very few cross-stance skills. Probably the easiest weapon to learn the stance effects with as a result: low stance for rushdown hitstun cleaver, mid stance for crowd control polearm, and high stance for guardbreak scythe.
The long range makes it excellent when fighting human bosses, allowing you to attack them with less risk of retaliation.
Primary scaling stat: Magic
Spear
A slower weapon with a focus on long range thrusting attacks.
Also has weak side sweep crowd control attacks, and special jump-dodges to get past enemies. Versatile, with a focus on defensive play.
Since it primarily scales with Vitality, it’s a good choice if you focus on increasing your HP.
Primary scaling stat: Vitality
Splitstaff
Long-range martial arts weapon. Holding an attack button down will detach the end of the staff and spin it around, hitting multiple times. This makes it great for elemental weapon buffs, but take care not to leave yourself vulnerable when extending attacks like this.
Splitstaves has an unique skill line that increases elemental damage, which also works with elemental weapon buffs.
Additionally, has special dodging boosts for fluid monk fighting styles, allowing you to propel yourself with the staff.
Primary scaling stat: Magic
Odachi
Curved greatsword which is slow and stamina-intensive but has great reach. However, it’s easy to perform Ki Pulses.
The skill tree is focused on smoothly flowing from one stance to another, allowing you to form infinite combos.
Primary scaling stat: Strength
Axe
The slowest but most powerful weapon.
Constantly puts you at risk of counterattacks, especially since it has low reach, but gives hyper-armor to poise through enemy attacks. Encourages running out of stamina with special power boosts for hits that empty your stamina.
Very powerful early on, especially against human enemies, but later on the low speed makes it very difficult to use.
Primary scaling stat: Strength, Vitality
Hatchets
Dual throwing axes. The type of throw changes with stance. If you don’t focus on magic or ninjutsu, this is another way you could get ranged options.
Also very similar to dual swords when you don’t throw them, allowing for fast-paced movement and hit-and -run tactics but lacking in raw power.
Primary scaling stat: Skill
Kusarigama
An unorthodox ninja weapon with a hook and a weight on a chain.
Has long-range throwing attacks and can be used as a grappling hook, short fast sickle slashes, and fast spin attacks using both ends of the chain. The weird timing and hitboxes makes it hard to master, but it has great range and stunlock potential.
It’s important to use Active Skills when fighting with a Kusarigama, since most of the moveset variety (and the fast attacks with high stunlock potential) comes from these and not from basic attacks.
Primary scaling stat: Dexterity
Tonfa
A fast martial arts weapon with a focus on flow, mixing fast but weak attacks with slow charged attacks and combo moves that flow between heavy and light attacks seamlessly. The many focused strikes are perfect for knocking enemies off ledges, especially if you get a pair of Gun Tonfa so you can also extend some attacks with gunpowder explosions.
Primary scaling stat: Dexterity, Skill
Fists
The fastest of all weapons, focusing on sheer volume of attacks over all else. While initially weak, the damage quickly ramps up if you focus on guardbreaking enemies to use finishers. Many moves move you around, allowing for hit-and-run tactics.
Has a special ability to cancel moves which all other weapons lack, which greatly contributes to the flowing movement.
Primary scaling stat: Strength
Tempering, Item Sinks and Equipment Effects
Equipment effects is a major part of the strategy, especially in higher difficulties. The right preparations can make a challenge considerably easier.
Rarity and Abilities
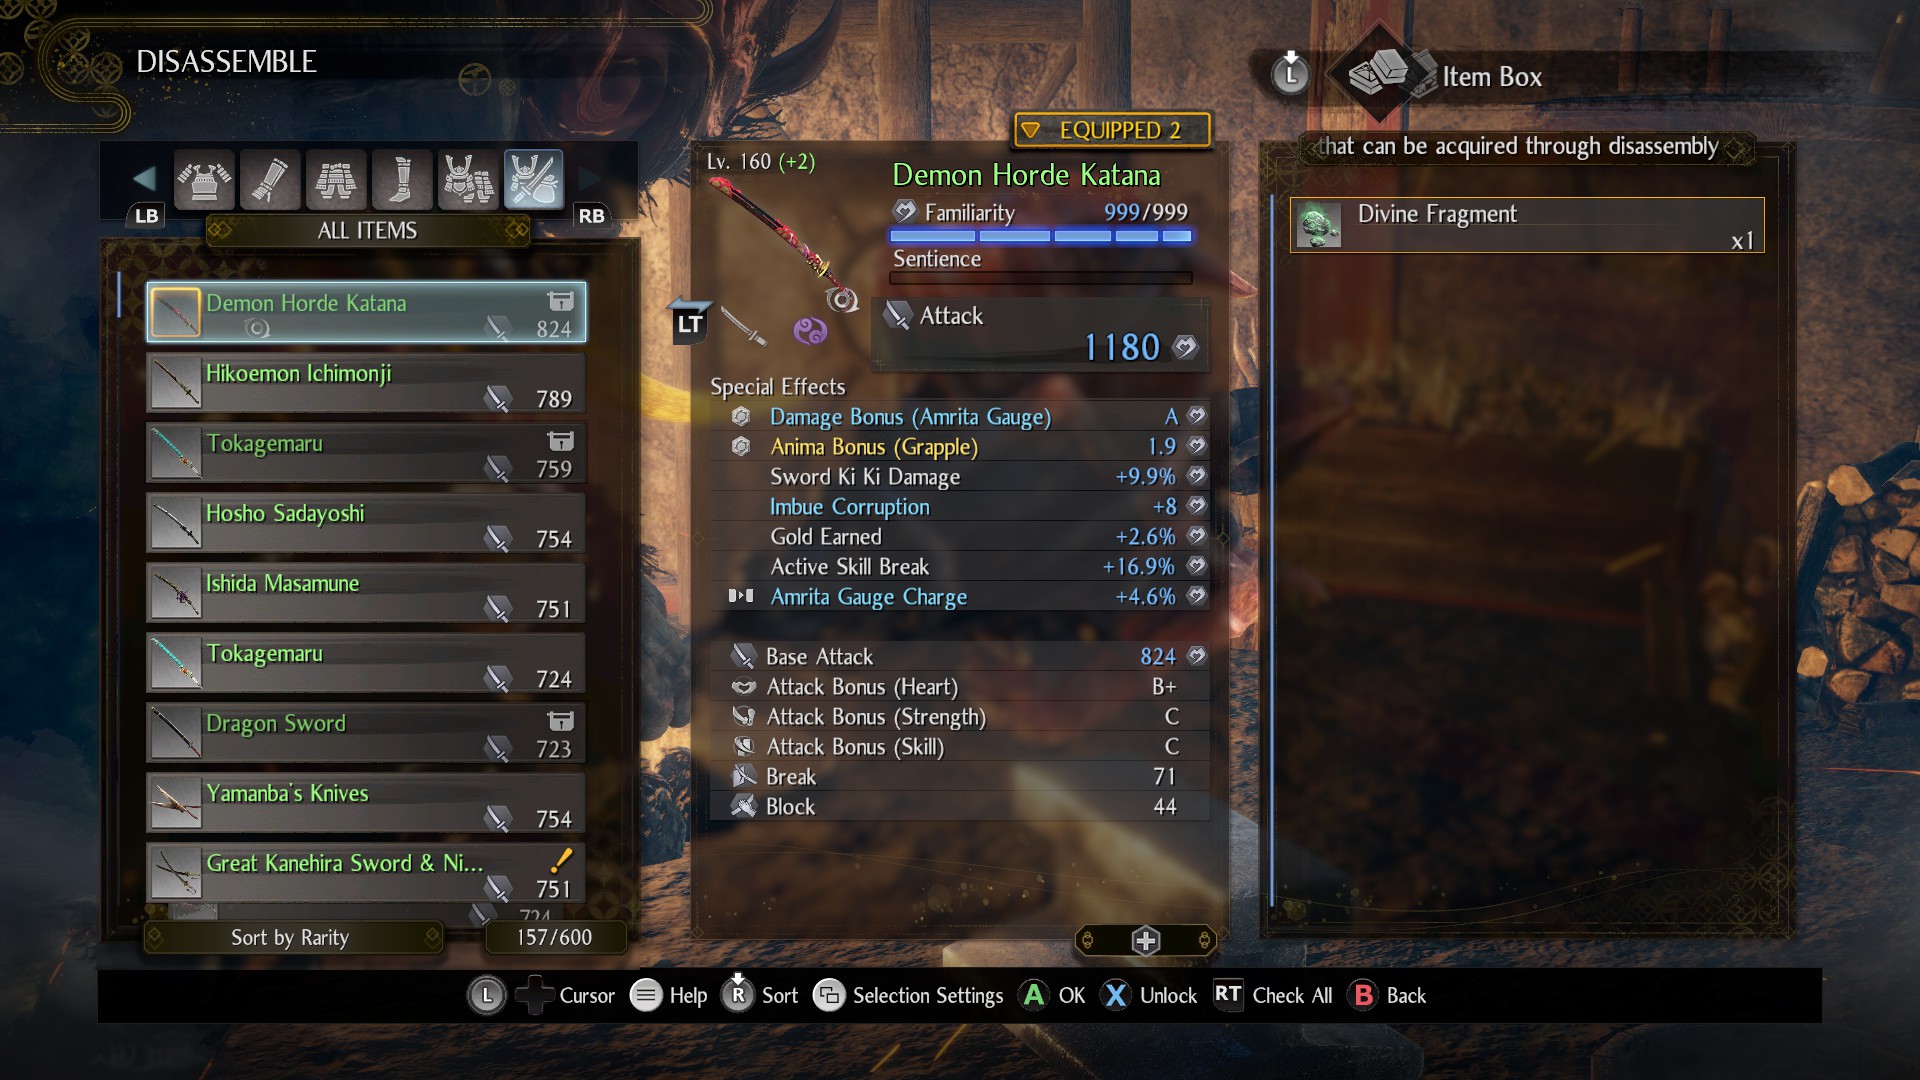
The color of a weapon (or armor) indicates its rarity: white is common, yellow is uncommon, blue is rare, and purple is exotic. Later on, you find items with even higher rarities. Higher rarity items have more ability slots, higher stats, and access to more powerful abilities.
Equipment have a “familiarity” stat, which increases as you use it. Maxed-out familiarity adds 10 levels’ worth of stat points, and may strengthen certain abilities around 30%.
Abilities with a hexagon icon are innate and cannot be replaced. These are typically powerful, defining the main use of the item, such as the Ferryman set healing you when you deal water-elemental damage.
Items occasionally are part of a set, which is indicated by a green-colored innate ability and an additional info page listing the set bonuses. Wearing at least 2 items of a set will grant special abilities, with more powerful abilities the more pieces you wear (such as 6 pieces of the Hayabusa Ninja set giving you infinite shurikens).
Armor Weight
A lot of people miss this! Heavy armor have a percentage damage reduction (typically 7%), which is applied FIRST, before the “defense” value is used. Heavy armor will protect noticeably better than light armor, even if the defense values are the same. Medium armor is somewhere in the middle. Pay attention to the “physical damage reduction” stat!
Weapons have no weight, only armor does. The total weight of your gear will affect your mobility. If you go above 100% equip load, stamina costs skyrocket and you can’t dodge at all, which is never worth the extra stats of heavier armor.
Heavy armor also have a higher Toughness stat, which increases blocking efficiency. The details aren’t super-important.
Yokai Weapons
Yokai weapons are alive, which means they have a charge meter that goes up when they are used: when fully charged, they get an attack buff and a free Corruption weapon buff. Since this buff overwrites your currently affected weapon buff, it could interfere with onmyo talismans / ninja weapon poison.
Yokai weapons can be Soul Matched with Soul Cores, allowing you to transfer inheritable passive abilities from a soul core to a weapon.
Tempering
Item abilities are random, which means you probably don’t have a lot of really good ones on your gear by default. Tempering allows you to spend Umbracite and gold to replace abilities, and is accessible as soon as you unlock the blacksmith.
Each time you Temper, all temperable abilities are re-rolled; repeatedly tempering will eventually add a good ability to the mix.
Abilities are color-coded by rarity, with more powerful abilities having the “rare” / “exotic” colors.
Higher quality umbracite have a higher chance to provide better abilities. Ordinary umbracite can be obtained by breaking down equipment into umbracite fragments (10 fragments can be used to craft 1 ordinary umbracite), while Quality, Fabled and Divine umbracite are obtained as quest rewards for the daily challenge missions (and later on, as quest rewards for story quests).
Since tempering can consume a lot of resources, only do it when you know you have gear you’ll want to keep for a long time (but which has boring / weak abilities that’s worth upgrading).
Soul Matching
Soul Matching is another type of upgrade, which increases your gear’s level. You use one item as a “material”, which will turn the “base” item’s level into the material’s level, allowing you to retain lower-level items with great abilities even after it outlives its level range.
Exotic and above items also has a “soul level”, which is a second number after the level (e.g. “Lv 50 (+1)“. If the material has the same (or higher) soul level than the base item, one soul level will be transferred when soul matching. Each Soul Level is worth 10 regular levels of power.
Item Sinks
You can carry up to 600 items, and will not be able to pick up surplus gear when you hit this cap. Therefore, it’s important to dispose of stuff you don’t use occasionally. There’s three main ways to do it:
- Donating it at a shrine, which gives Amrita and Divine Rice. Useful when you’re close to a levelup, and the Divine Rice can be used to buy refills of ammunition and elixirs mid-mission (you can schedule this to happen automatically, too).
- Dismantling it at the blacksmith, which gives crafting materials and Umbracite.
- Donating it at the Hidden Teahouse, which gives Glory (a currency for buying rare items) and covenant standing (which increases covenant buffs).
It’s possible to auto-ignore items below a certain rarity, but I prefer picking up everything and then cashing the garbage in for resources. Your choice.
Co-Op, Graves and the Hidden Teahouse
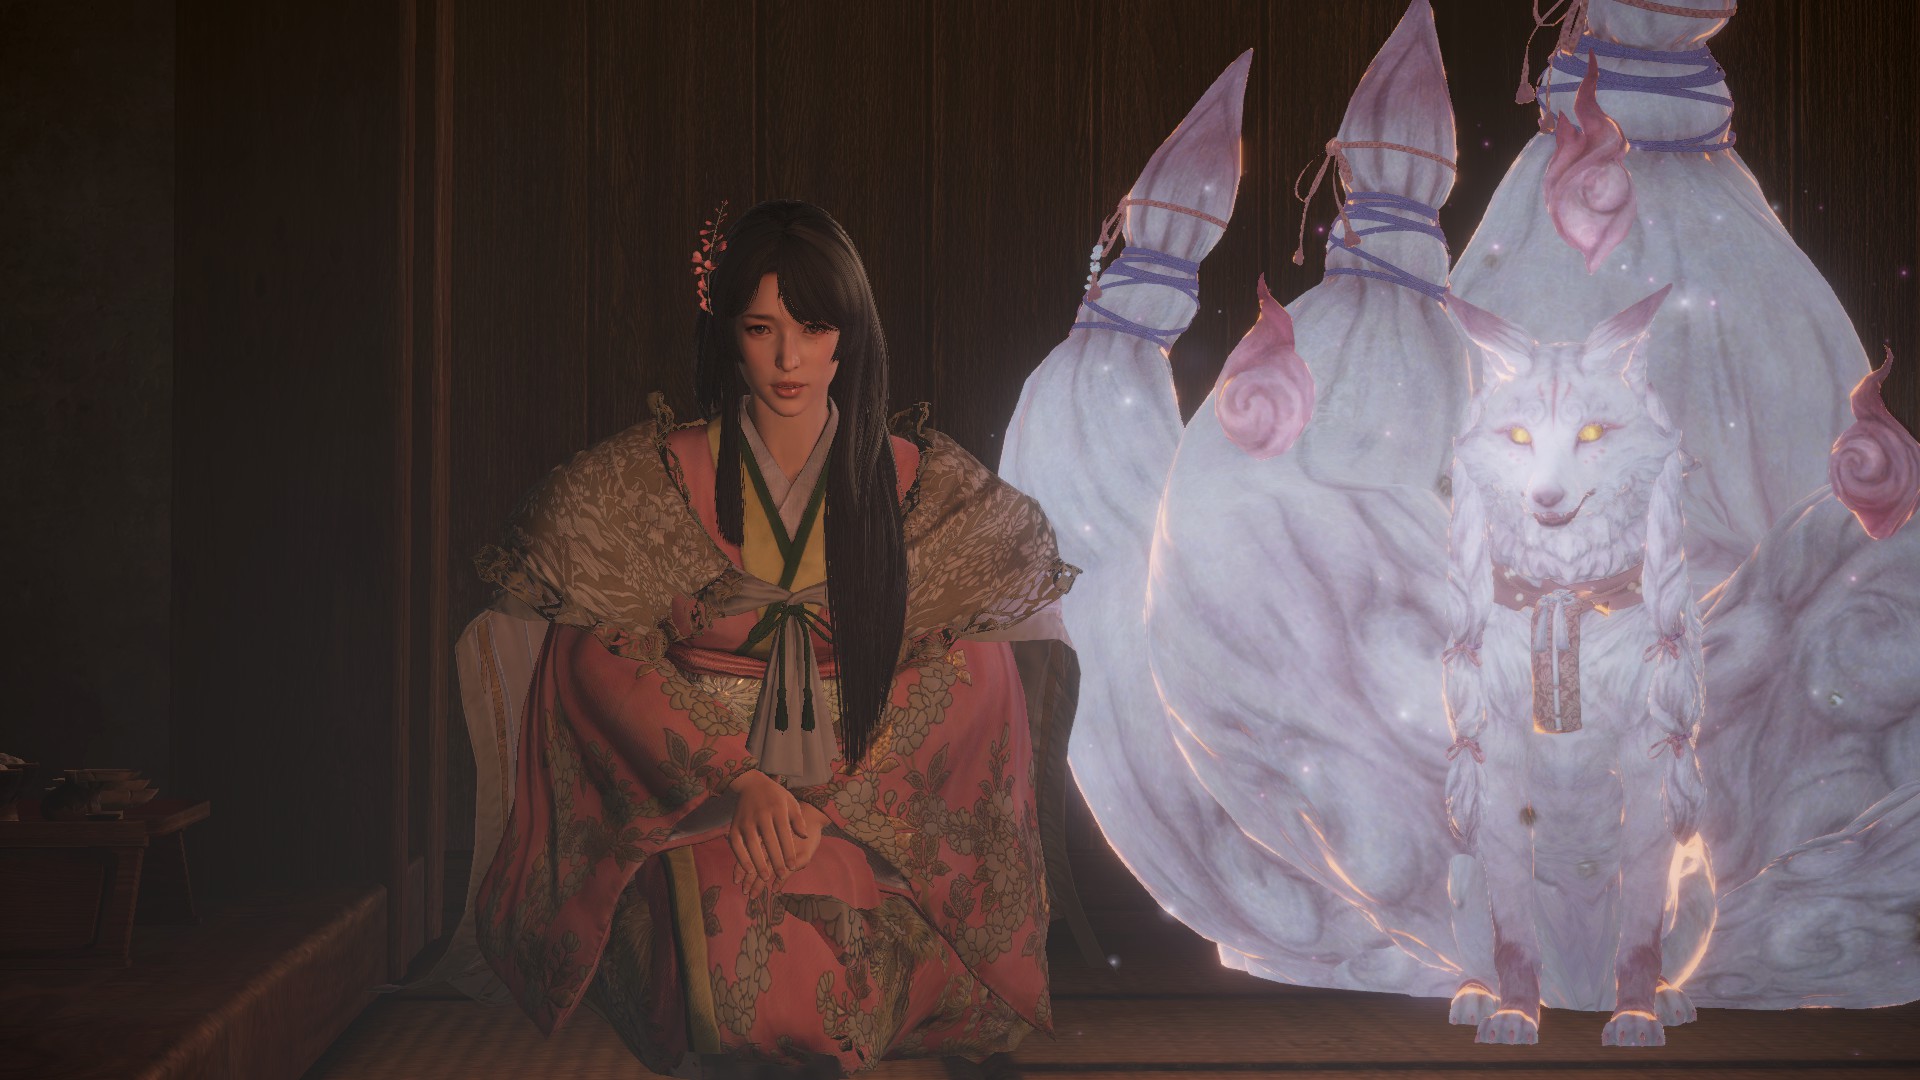
The Hidden Teahouse is unlocked after you progress to a certain point in the story, and is where you access the game’s counterpart to Souls Covenants. The game is on a weekly cycle where covenants are assigned a side, and whichever side collects the most glory when the cycle ends get bonus rewards.
Glory is awarded for donating items, killing revenants, and doing co-op. It’s also used as a currency, which can be spent on rare items, gestures, and other miscellaneous doodads.
Co-op
There’s two forms of co-op: Random Encounters (which works like standard Souls co-op, with summonable phantoms that aid the host, can’t interact with doors or loot anything, and are just removed from the session if they die), and Expeditions, where two players that are equals cooperate, with the ability to revive each other if one dies. Both types can be played with strangers or with friends.
Your Grave
If you die, your Guardian Spirit will guard your grave, which is loaded with all collected amrita and unpurified soul cores. If you die again, it’s lost forever. Touch the grave to retrieve it.
When you die with a lot of amrita in a dangerous zone, it might be a really risky endeavour to collect it again. Luckily, there’s a rare consumable called Summoner’s Candle which retrieves it. There’s also a passive accessory / guardian spirit effect called “Auto Grave Recovery” which has a chance to instantly retrieve the grave after you die.
Note that your stats are lowered when your guardian spirit is guarding your grave, since the guardian-spirit-specific buffs are gone.
Bloody Graves
Graves where another player died. They can give a hint about nearby dangers.
You can touch these graves to fight the player’s zombie, called a Revenant. Killing them will drop some Ochoko Cups (needed for co-op) and random pieces of the gear they were wearing when they died. The gear will be an exact copy of the player’s gear, with all adjustments and abilities they were using. (Each grave appears to have set loot drops, so resting at a shrine to reset the grave and fighting the same revenant repeatedly will give you the same item every time instead of eventually giving you their full set.)
High-level Revenants are a great source of powerful gear… if you’re strong enough to take them down.
Benevolent Graves
They’re like Bloody Graves, except the zombie player will help you. You need to spend some Ochoko Cups to summon the player, but having some help around makes a lot of battles easier. The friendly revenant is AI-controlled and not actually another player, but the player placing the grave gets rewarded depending on how many times the grave was used.
The friendly revenant only stays a limited time (or rather, until you kill a certain number of enemies), keep an eye on the purple gauge next to their name.
Stage Collectibles
Every mission has a number of collectibles, which are shared between all difficulties and can only be collected once per map.
Kodama
Friendly spirits that hide in the most obscure of places. Finding them will upgrade the blessings you can get from shrines in that region of the map, and the selection in the Kodama Bazaar.
Kodamas make a special sound cue, so if you listen closely you can find them even if they’re hidden. Alternatively, equipment with the “Kodama Sensor” effect will indicate them as green dots on your minimap.
Dark Realms
Not really a collectible, but the game tracks them for chevo purposes.
While inside the dark realm, your stamina recovery speed is greatly reduced (the same effect as when you stand in a demon puddle).
Dark Realms are maintained by a strong demon; engaging in combat with them will start a special boss music. Killing the demon will dispel the dark realm, which stays permanently gone for the duration of the mission. Most of the yokai enemies in the dark realm will also be permanently gone after you dispel it.
Shrines and treasure chests in the dark realm are sealed and can’t be used until the realm is dispelled.
Hot Springs
Resting in a hot spring fully heals you and gives you temporary health regen. They’re usually hidden behind wall mimics, so be on your lookout for walls with eyes.
Locks of Hair
Most story missions has two of these. Finding them gives you extra skill points. They’re usually hidden in out-of-the-way places, either in treasure chests or on corpses.
Closing Words
I hope this guide was informative! You’ll still have to git gud yourself, but hopefully the mechanics feels a bit less obtuse with all of these explanations.
Good luck and praise the sun!

Hope you enjoy the Guide about Nioh 2 – The Complete Edition – Nioh 2 Beginner’s Guide, if you think we should add extra information or forget something, please let us know via comment below, and we will do our best to fix or update as soon as possible!
- All Nioh 2 – The Complete Edition Posts List


Leave a Reply