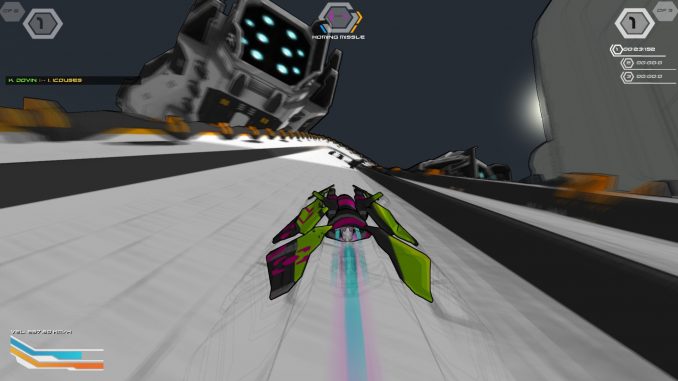
Creating your Custom Model
Currently Metric only supports *.obj files. Any other type of file can be brought into a modeling program such as Blender and then exported from there.
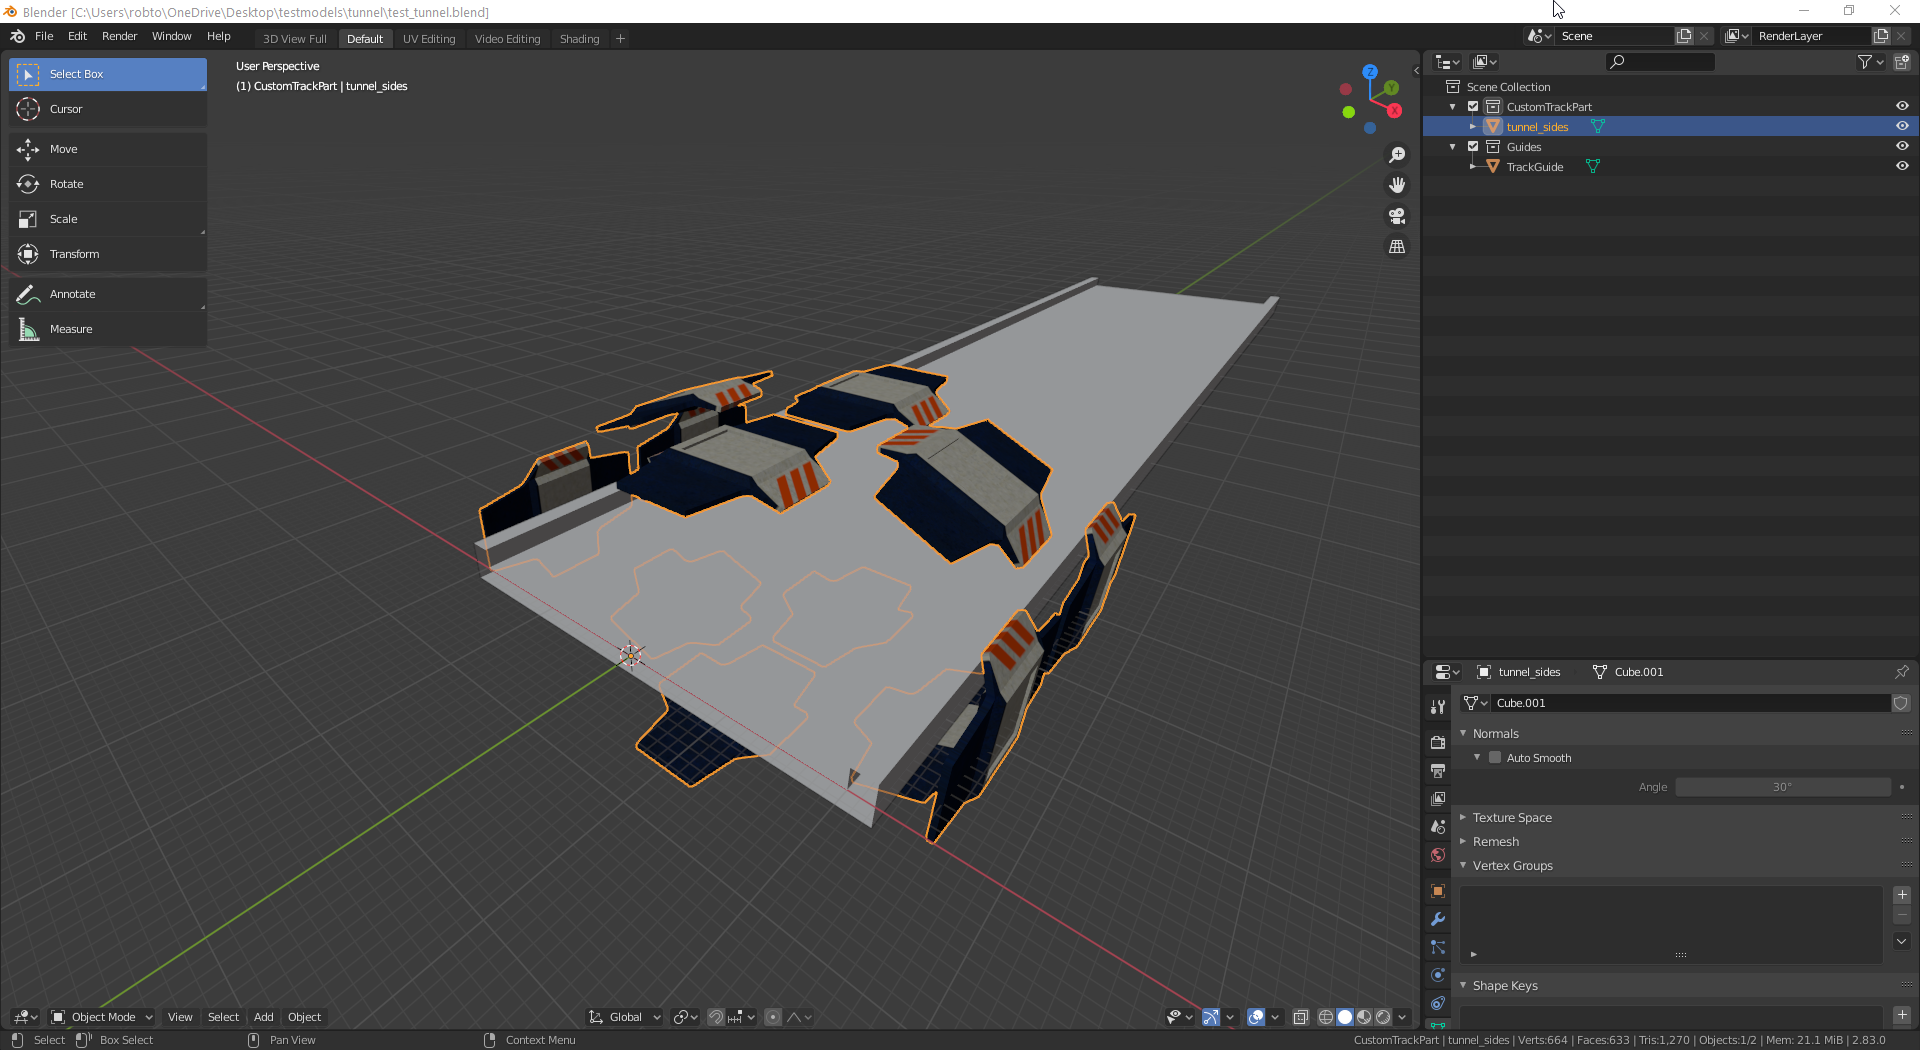
For this example I’ll be creating a model that goes around the track, and then importing it into Metric. You’ll want to edit all of your geometry, setup your UVs with your textures.
Metric’s models import their textures based off of a naming convention. The model mesh name should correpsond to the textures which it will use. These are:
modelname_dds.png – Diffuse Albedo texture
modelname_nm.png – Normal Map
modelname_sm.png – RMA Map, Alpha Channel holds Emissivity
modelname_dm.png – Distortion Map
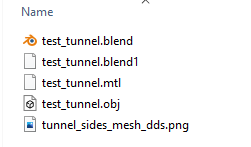
When thing to note is that when Blender exports your obj file, it will append the mesh name to your model name as well, so the following model tree will export as the following:

So following the naming convention above, the file name should be:
Exporting the OBJ file
Once you’re happy with your model and textures, you can then export it to an obj.
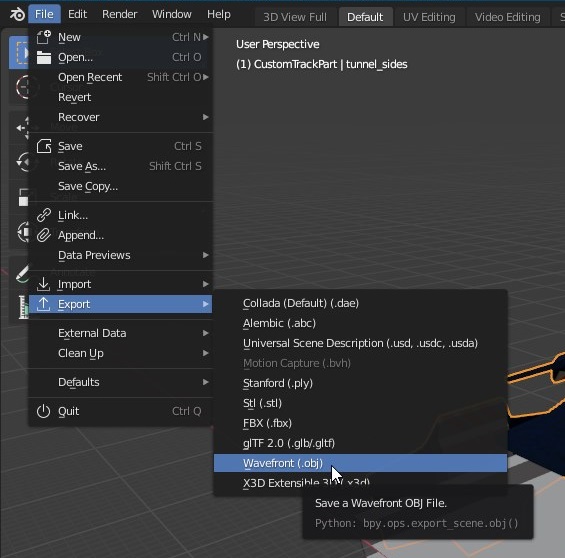
Currently you can only have a single mesh per obj file. When exporting your file also there are two settings you must make sure are checked, Selected Objects at the top, and Triangulate Faces under the Geometry section.
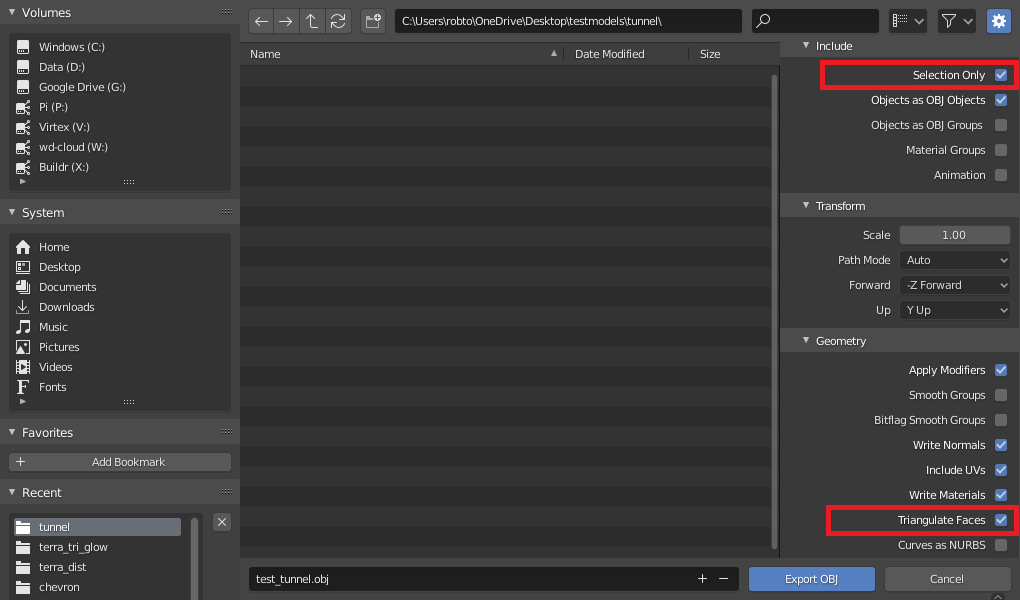
Exporting the file will create an obj file and a mtl material file.
Importing into Metric
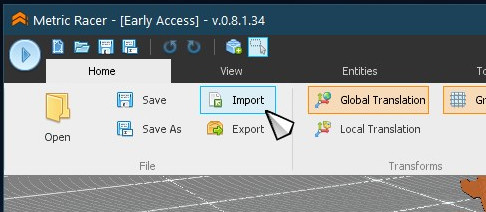
Now that we have an OBJ file, we can now import it into any custom sandbox file. Open up a sandbox scene and then click the ‘Import’ button on the top of the Ribbon.
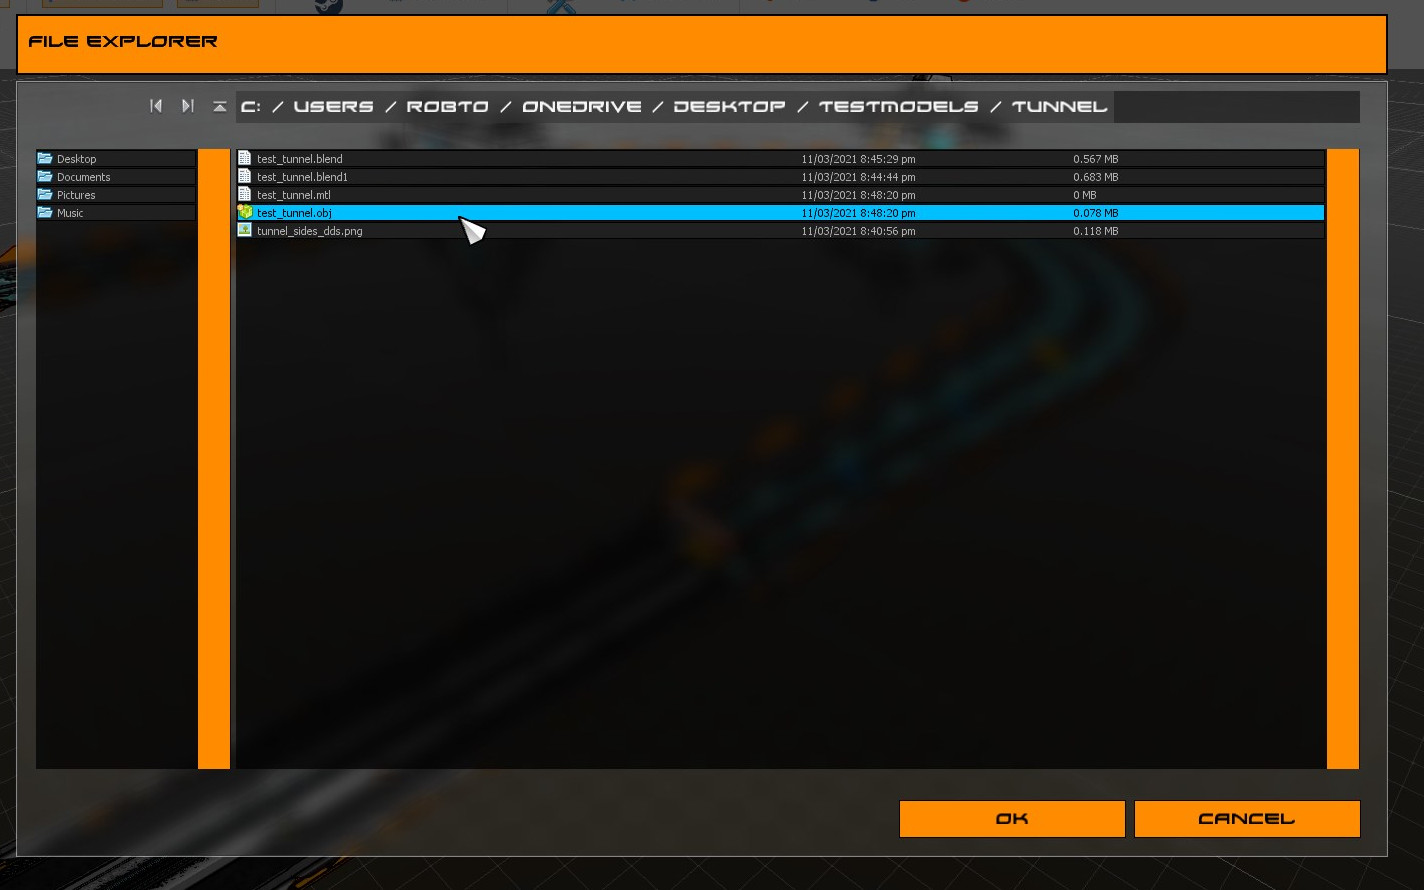
This will open up a file dialog, navigate to your custom model and open the file. Currently it only supports opening files from the C drive. This will be expanded upon in a future update.
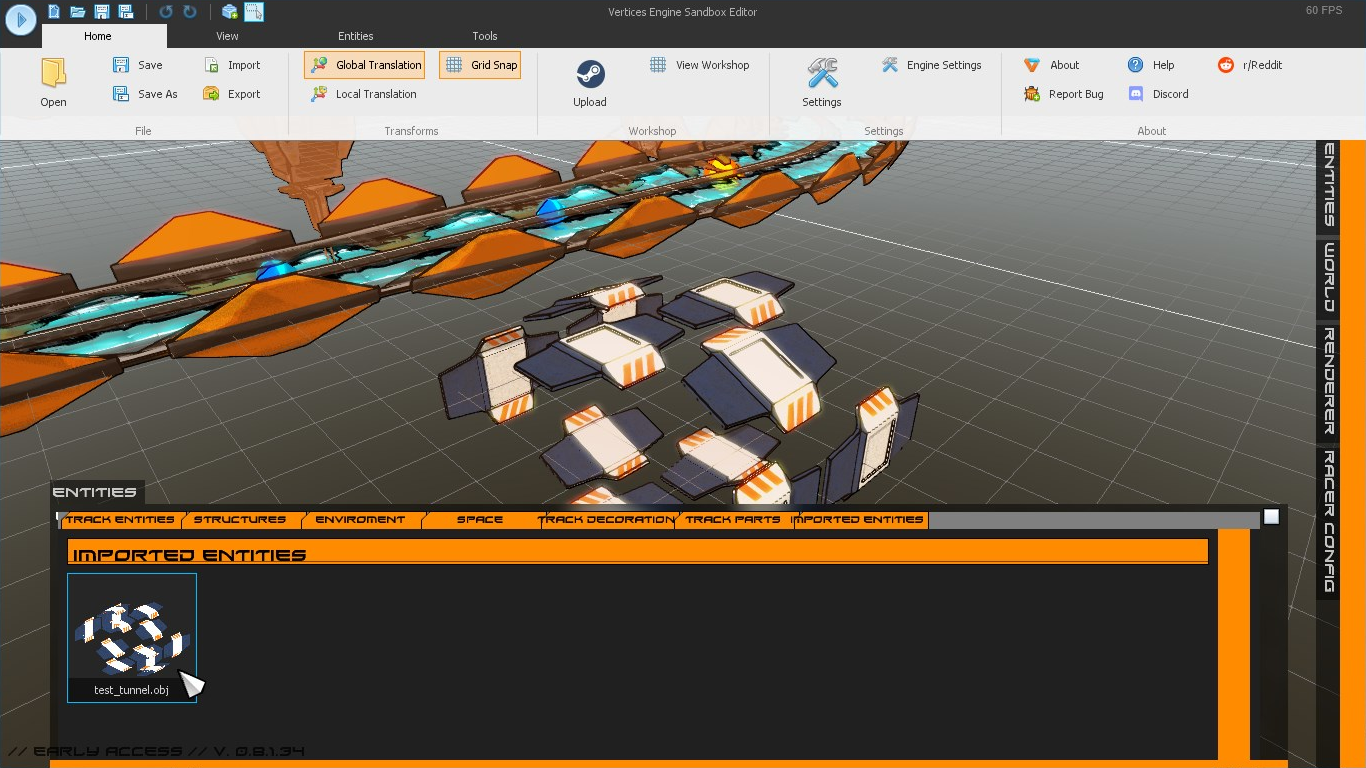
Now click import and you should now find your file in the game. You can create multiple version of your imported object as well by clicking on it’s corresponding button in the ‘Import Entities’ tab.
Managing Custom Models
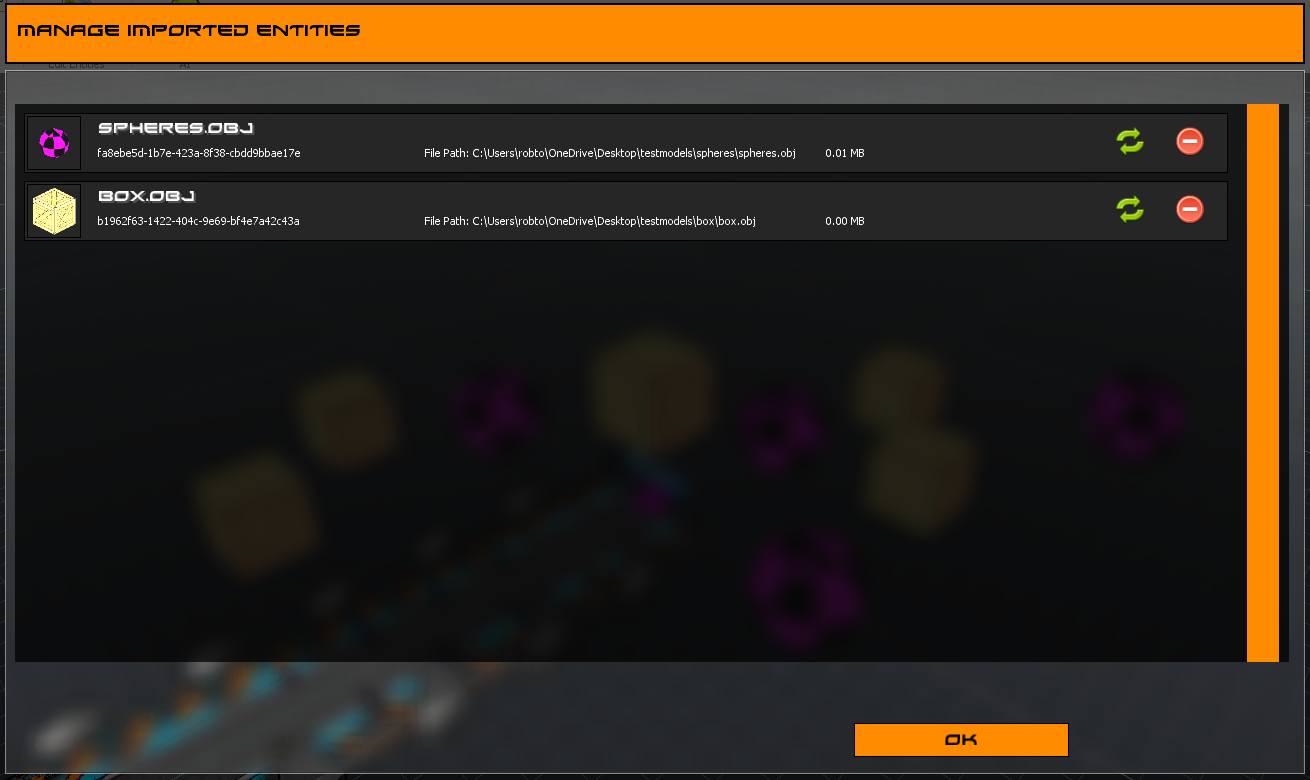
When you import a model it is copied into your sandbox file so that it is always available. If you need to update an imported file or delete it you can do so with the Manage Imported Entities dialog. This dialog shows information about each imported file along with allowing you to refresh or delete imported entities in your sandbox file.
Exporting from Metric
The export button in the sandbox ribbon control will output an *.stl file of your current sandbox file. This is useful for having a reference to work off of when creating custom models to eventually re-import.

Hope you enjoy the Guide about Metric Racer – Importing & Using Custom Models in your Levels, if you think we should add extra information or forget something, please let us know via comment below, and we will do our best to fix or update as soon as possible!
- All Metric Racer Posts List


Leave a Reply