This guide is a work in progress as I go through the game and new things get discovered! The aim of this guide is to provide details on the systems and mechanics of the game as well as a reference for weapon/item stats and usage.
Introduction
Hey, welcome to my guide!
This is a big work-in-progress at the moment but as there is already some useful information here on the weapon stats etc, so I thought it would be a good idea to publish it despite having not too much content. I’ll be adding to this continually over time and as the game receives new updates! I’m hoping to add a lot more stuff to this over the next couple of days 😀
The aim of this guide is to provide details on the systems and mechanics of the game as well as a reference for weapon/item stats and usage, without being a full walkthrough – exploration is a big aspect of this game and I wouldn’t want to spoil that with “go down this corridor, turn left, pick up the torch” etc.
Controls
Quick reference for game controls on keyboard and controller. Can also be found in-game by opening the menu and viewing the game manual.
This guide will use the keyboard controls occasionally when describing specific actions, though I’ll be making an effort to refer to the “Action” rather than the “Key/Button” so its readable for both Keyboard and Controller users.
| Movement | [W][A][S][D] / Left Stick |
| Look Around | Mouse / Right Stick |
| Attack | [LMB] / Right Trigger |
| Block | [RMB] / Left Trigger |
| Jump | [Space] / Button South |
| Run/Walk | Hold: [SHIFT] / Button East |
| Open/Close Menus | [TAB] / i / Select Button |
| Use Left Magic Ring | Hold: [C] / Left Bumper |
| Use Right Magic Ring | Hold: [V] / Right Bumper |
| Swap Weapon | [Q] / DPAD Down / Button North |
| Interact | [E] / Button West |
| Use Quick Item | [2] / Dpad Up |
| Swap Quick Items | [1] and [3] / Dpad Left and Dpad Right |
Game Mechanics
There are a lot of hostile creatures hanging around in the various subterranean zones that make up the Great Well – expect a lot of combat.
Attacking
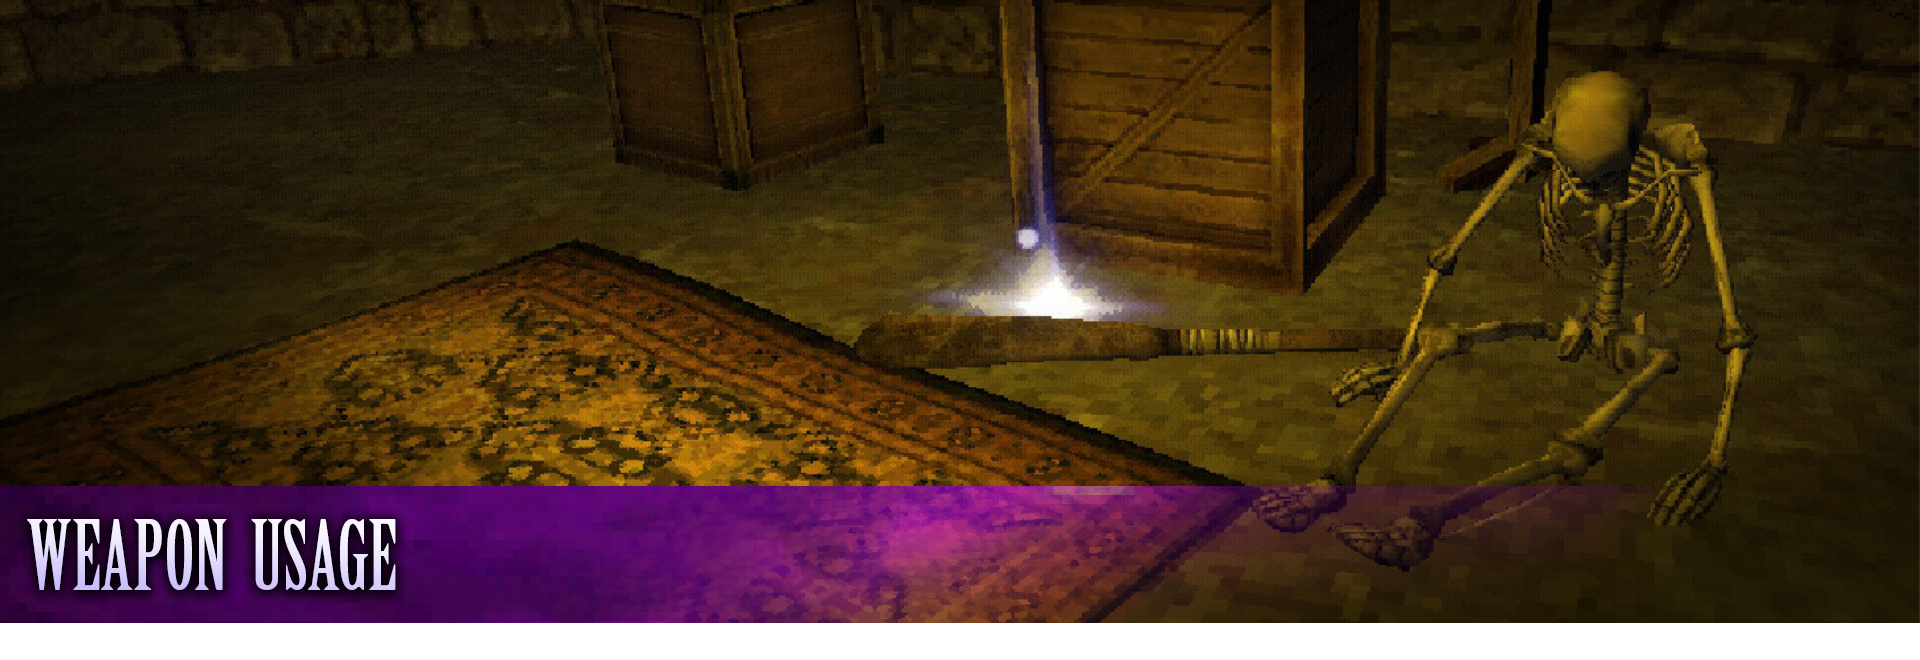
With a weapon equipped, click [LMB] for a fast, but low damage attack. This is fine for beating up plants and barrels, but for fighting more dangerous foes you’ll usually want to charge up your attack. Hold [LMB] to charge your weapon attack – the higher the charge, the more damage you’ll deal. At full charge your weapon may also affect your movement depending on its Lunge stat.
Charging Ranged Weapons will increase the accuracy of the shot and bring up a more opaque crosshairs for better aiming.
The speed of your attacks, and the time it takes to fully charge an attack is dependant on the weapon’s Speed stat.
{ Control Ref: Tap [LMB] for quick attack. Hold [LMB] then release at any point for charged attack }
Guarding
Guarding with your weapon reduces damage received from an enemy attack by a percentage value. This value is determined by the Guard stat on your equipped weapon.
If your equipped weapon has a Backstep stat value, your character will also hop backwards a certain distance (determined by the stat value) whenever you guard. You can use this strategically to try and evade enemy attacks – whilst having the safety-net of reducing the incoming damage with a guard if you aren’t far enough away to complete avoid it.
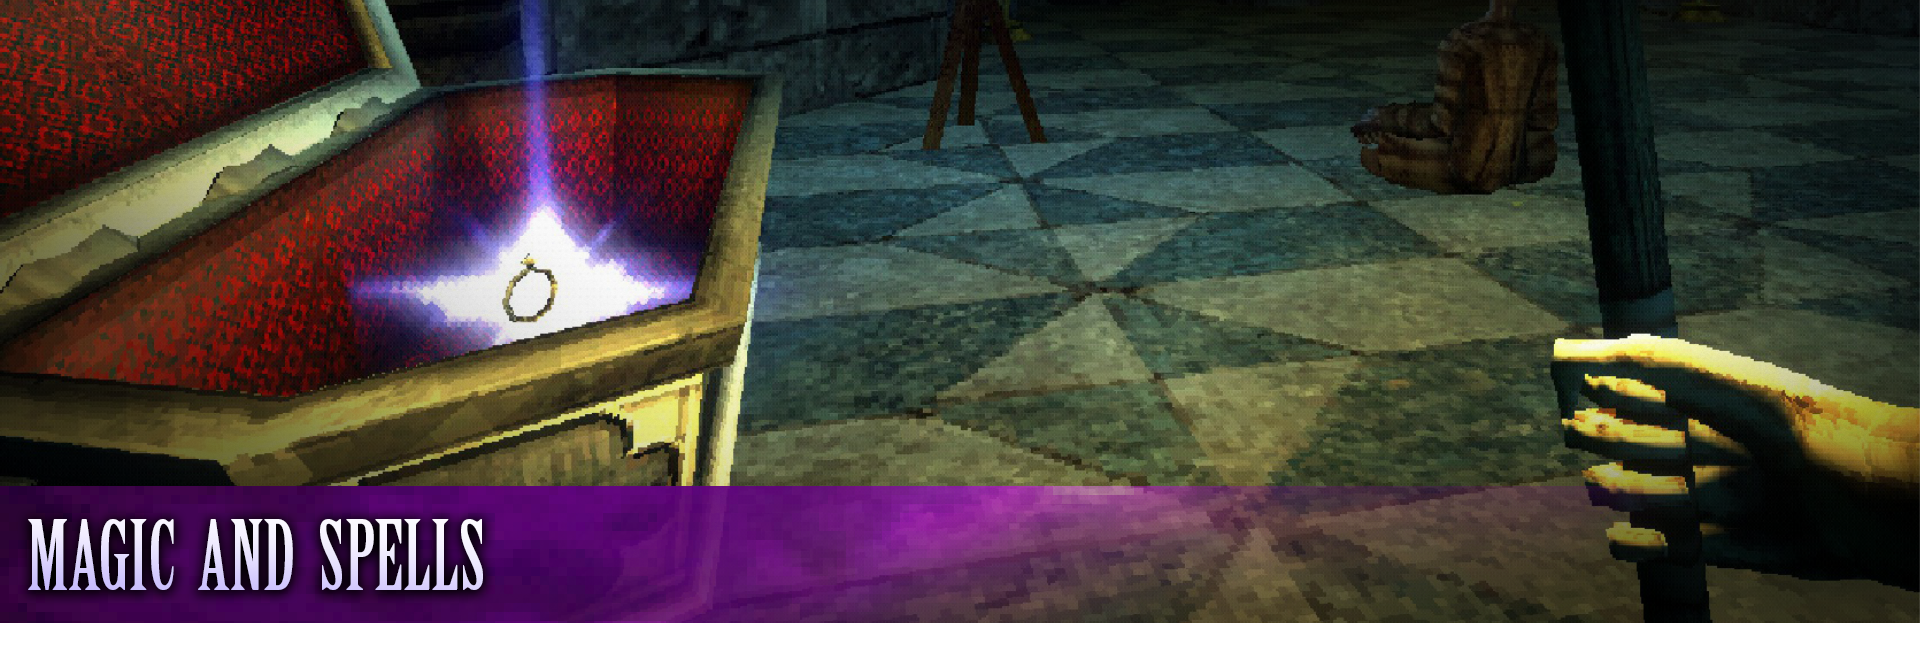
In addition to your Ranged and Melee weapons, you can equip a wide range of interesting, beneficial or spooky spells! To be able to cast spells you’ll need to find Magic Rings throughout the game world. Like with weapons, you can equip two of these at a time.
Casting Magic
Unlike Weapons, Spells need to be fully charged before they can be cast, and not all are aggresive. With Magic Rings equipped, hold down [C] or [V] to charge the spell in Slot 1 or 2 respectively – the corresponding spell icons in the top right will charge. Once fully charged, release the key and the spell will cast.
Both equipped spells can be charged at once, then fired off individually or together at will.
Most spells will cost Mana to cast, but some will require other resources…
{ Control Ref: Hold [C] / [V] (for Spell 1 / 2 respectively) until Spell is fully charged, then release to cast }
Lunacy
When casting spells, you’ll increase a special status called Lunacy. Having high amounts of Lunacy does a few interesting things…
– Increases the amount of XP received from defeating enemies
– Causes you to take more damage from enemy attacks
– Causes your Magic attacks to deal more damage
The rate of Lunacy build-up from spell casting is also affected by the real-world time of day (more specifically the time your PC is set to).
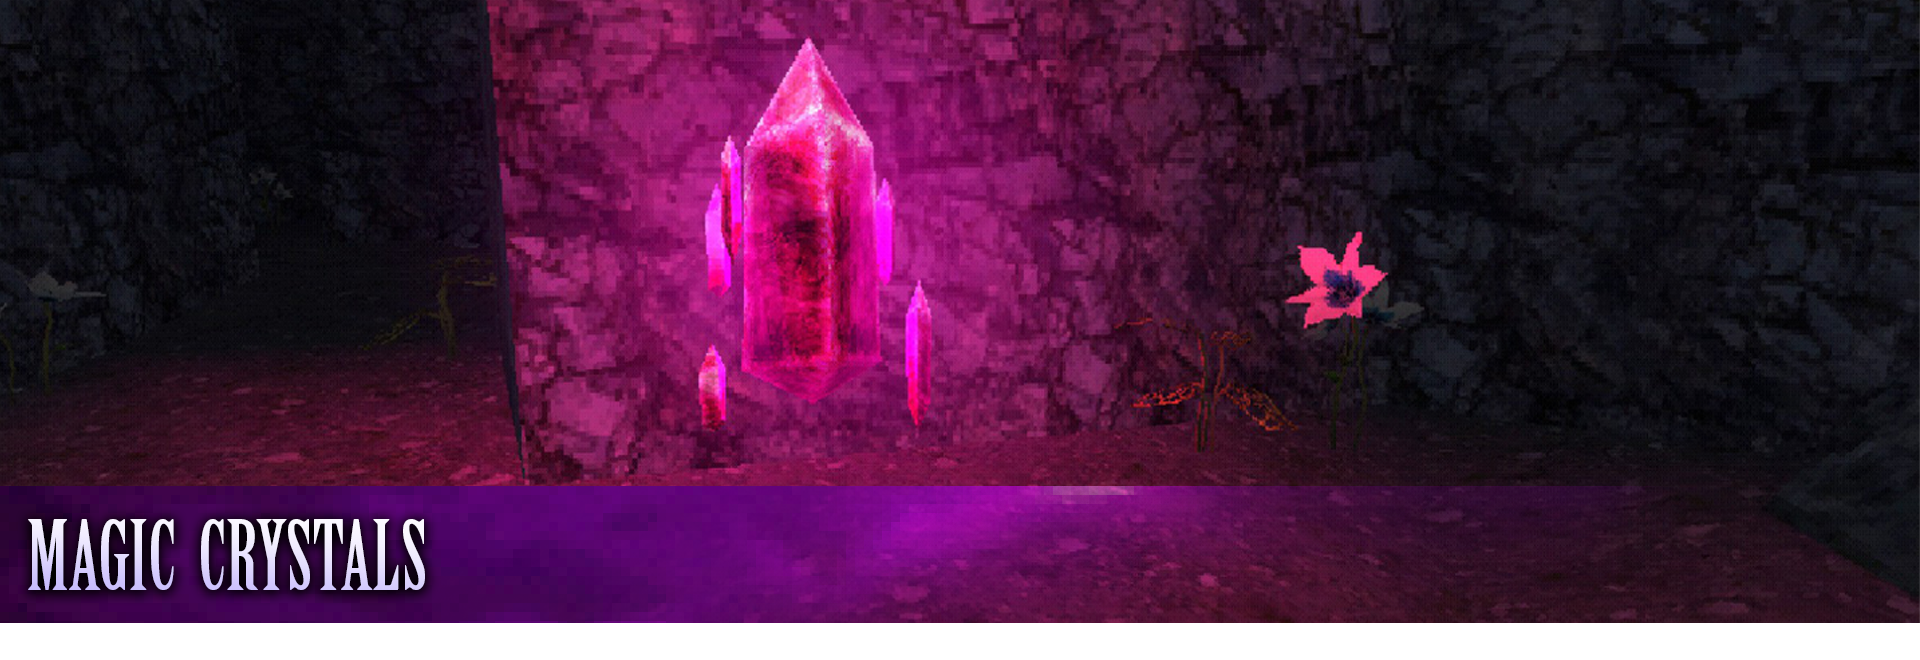
These are your checkpoints – interacting with a Magic Crystal will fully restore both your Health and Mana. Within their interact menu you can also level up and save your game.
Level Resets
Upon leaving a level through a door transition or by warping out via a Magic Crystal, all enemies and breakables will respawn. This keeps areas challenging and useful upon returning to them and allows you to farm XP and Materials infinitely.
Status Effects
Exploration
Many scenic objects found throughout the world can be broken to search for items within. Such breakable objects include specific plants, crates, coffins, urns, etc! As a general rule you should always break these as you make your way through the levels – it’ll help you build up a great stash of Silver (for purchasing items at Sheryl’s Shop) and Materials (for Alchemy with Etna).
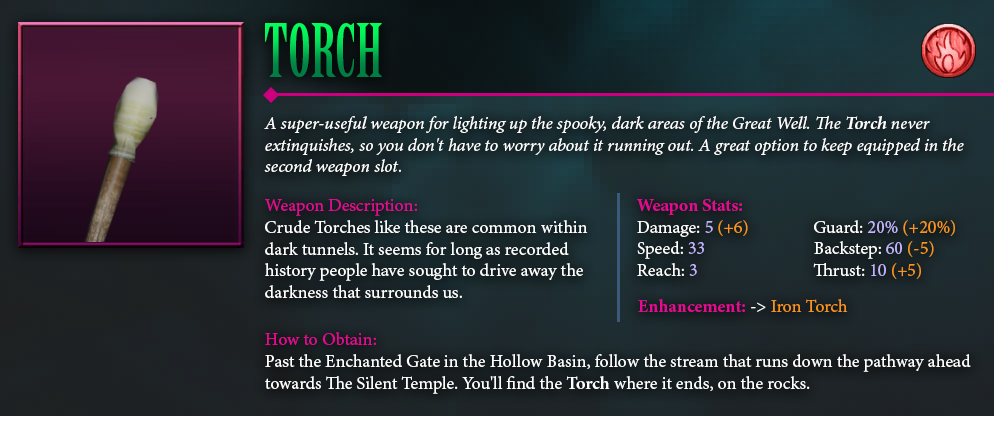
Many of the locations within the Great Well can get pretty dark at times. There are usually destructible light sources that can help guide you through, but ideally you’ll want to be equipping and using the Torch or making use of the Ghost Light magic ring.
The Torch doesn’t cost any Mana but you’ll have to put it away to properly engage in combat (you can attach with the Torch and it is capable of setting enemies alight, but it does very little damage overall). Be careful fighting nearby preset light-sources like lanterns and torches though, as they can be broken easily.
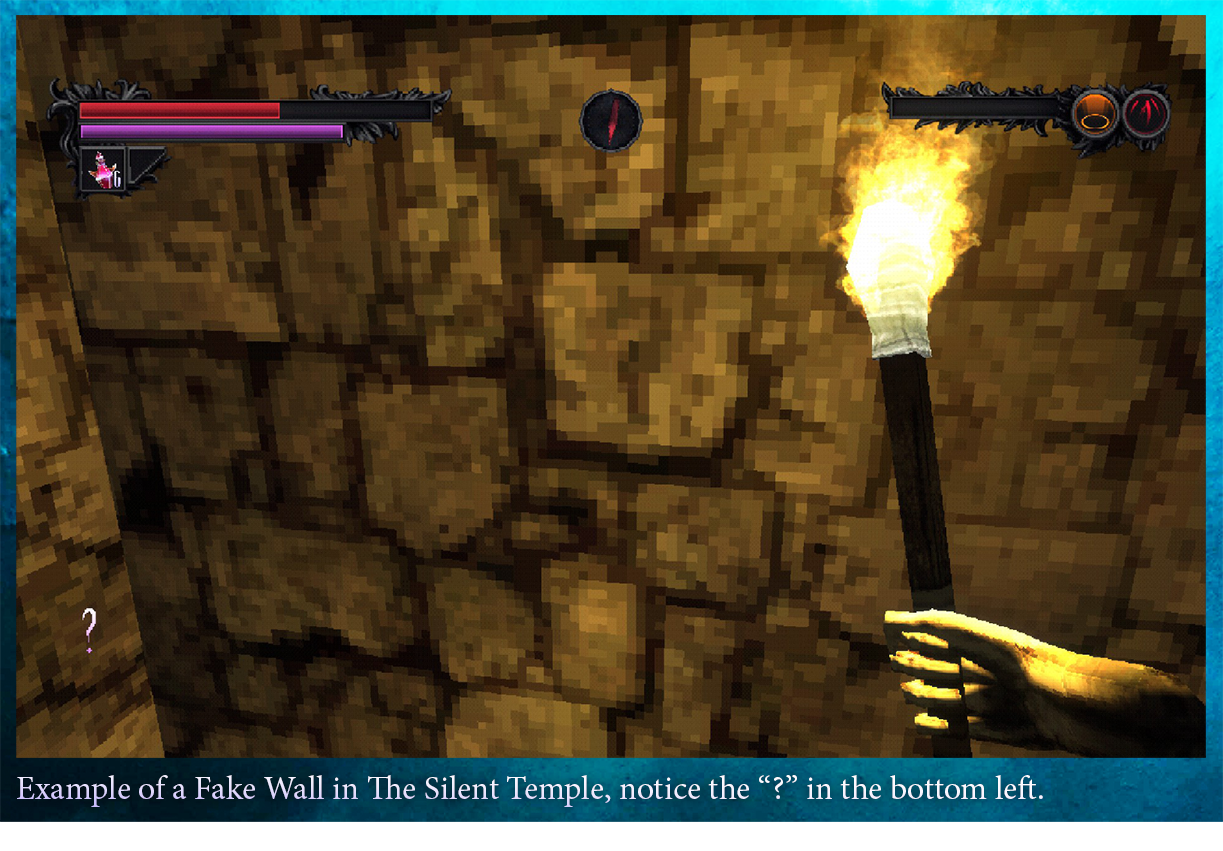
Sometimes you can encounter certain walls that look a little… suspicious. Perhaps the texture looks a little wrong, or there’s a short offshoot corridor that ends in an abrupt dead-end. You might have just found yourself a Fake Wall.
These usually lead to something valuable, like a stash of restorative items or even Magic Rings and Weapons. Fake Walls aren’t completely undetectable, and you can usually spot a slight seam or break in the wall texture – additionally, when facing a Fake Wall, a small “?” will appear in the bottom left corner of the screen prompting you to interact with it. Fake Walls will close automatically after a little while but you can always open them again.
Weapon Info
Each weapon you’ll discover in the game has a unique set of stats. Whilst most are fairly self explanatory, this section will detail how the stats affect the weapon’s handling.
——————————————————————————————————-
| Stat | Description |
|---|---|
| Damage | This stat shows the base damage of the weapon. Damage is further affected by your Character Stats. |
| Speed | This dictates how fast a weapon can be swung as well as how long it takes to charge up a max-damage weapon strike. |
| Reach | Essentially the length of the weapon, dictates the weapon’s reach in a swing. The longer the reach, the further back you can hit an enemy from. |
| Guard | The Guard percentage represents the amount of damage reduction blocking an attack will provide. |
| Backstep | This stat dictates how much your character will move backwards when blocking. The backstep movement is pretty quick so it can be a good defensive technique on weapons with a high stat for it. |
| Thrust | The Thrust stat dictates how far forwards or backwards your character will move when performing a fully-charged attack. Weapons with high Thrust values can be a little tricky to get used to. Positive values allow you to begin the attack from a safer distance, whilst negative values function similarly to a backstep when attacking. |
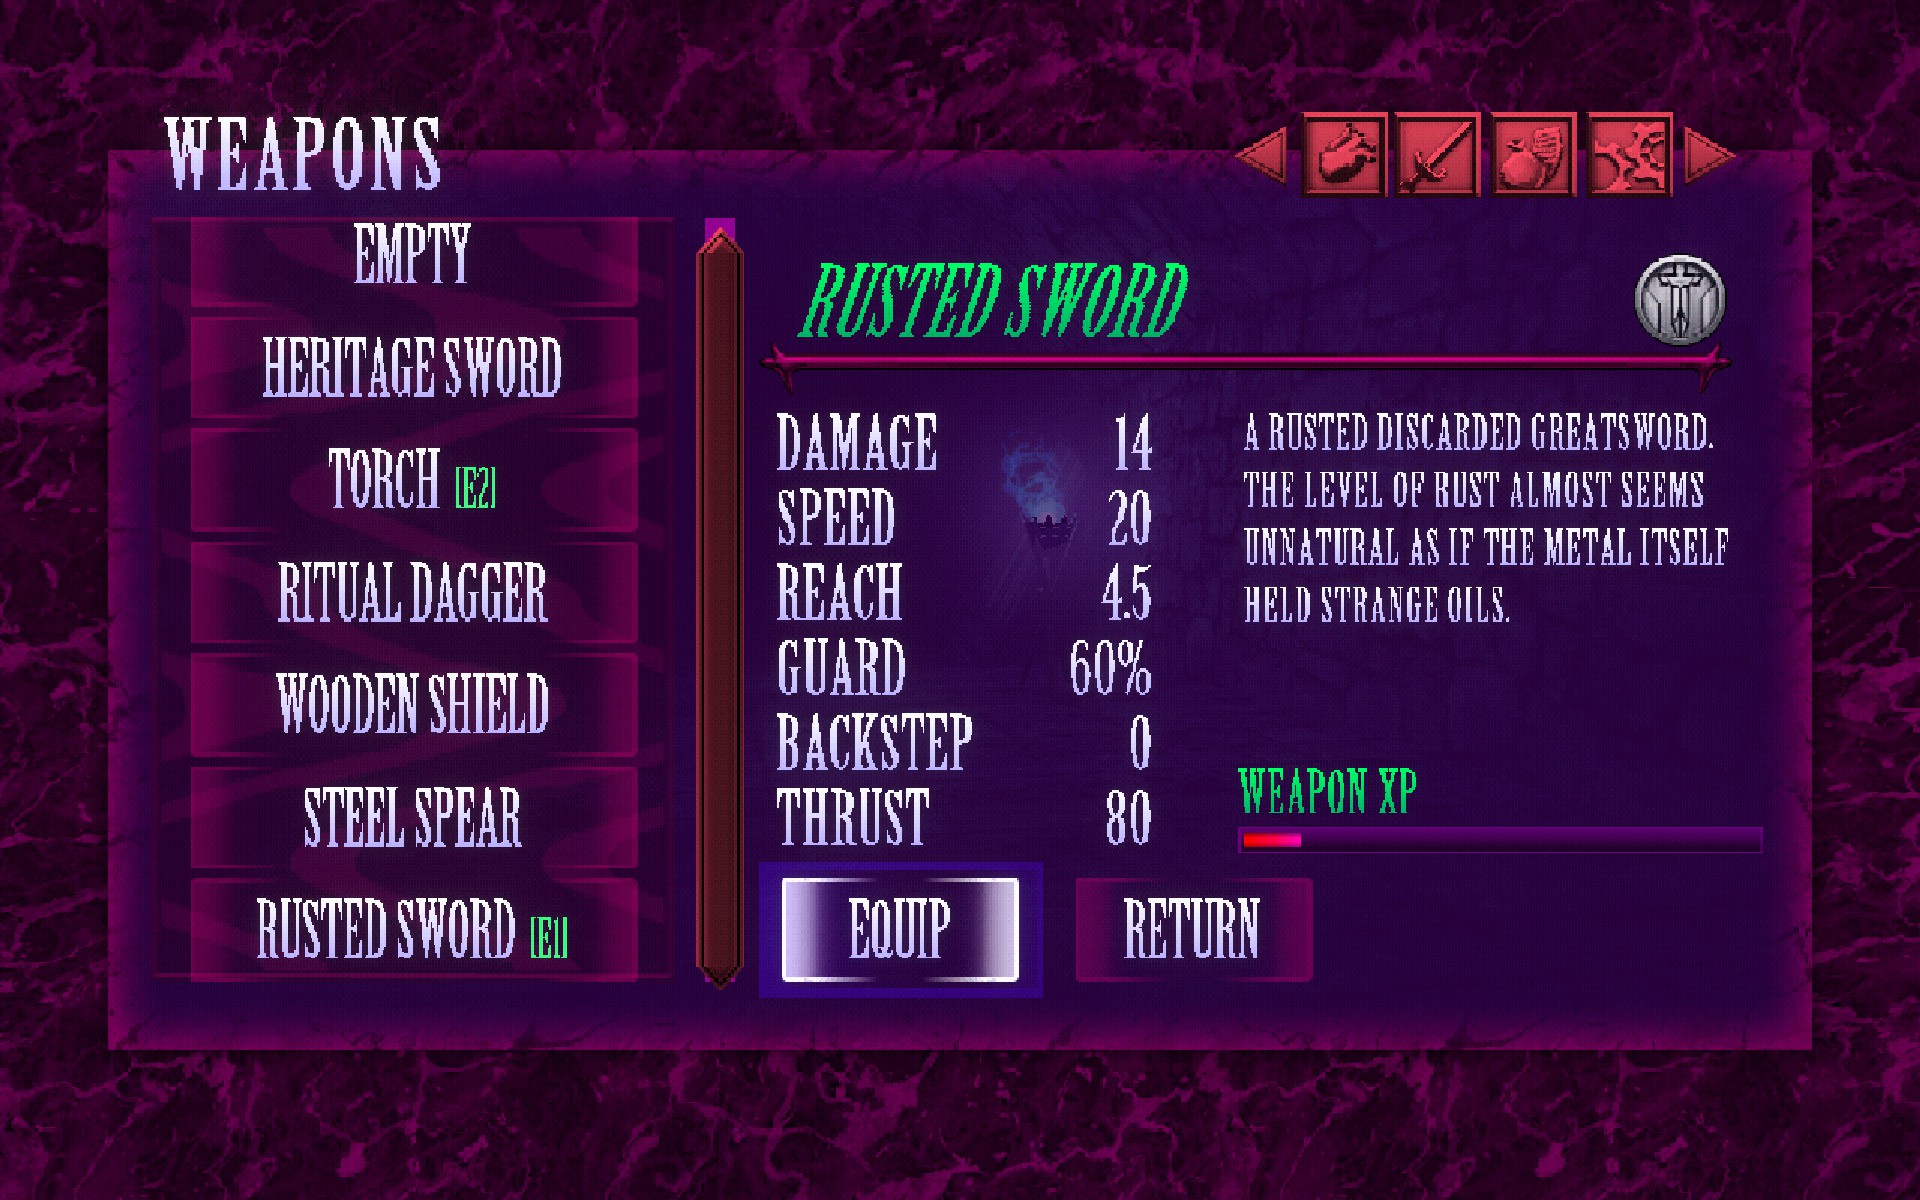
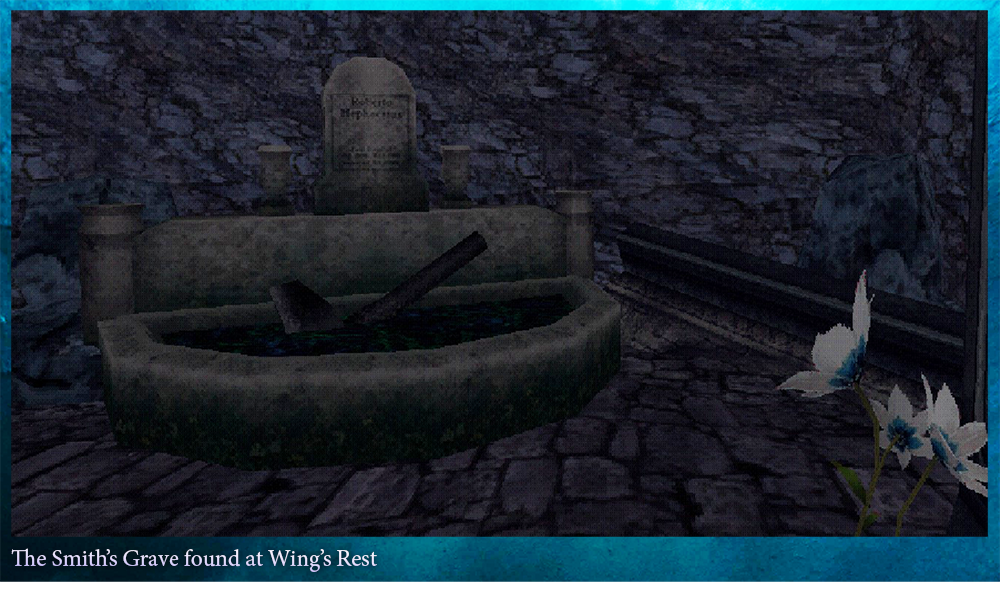
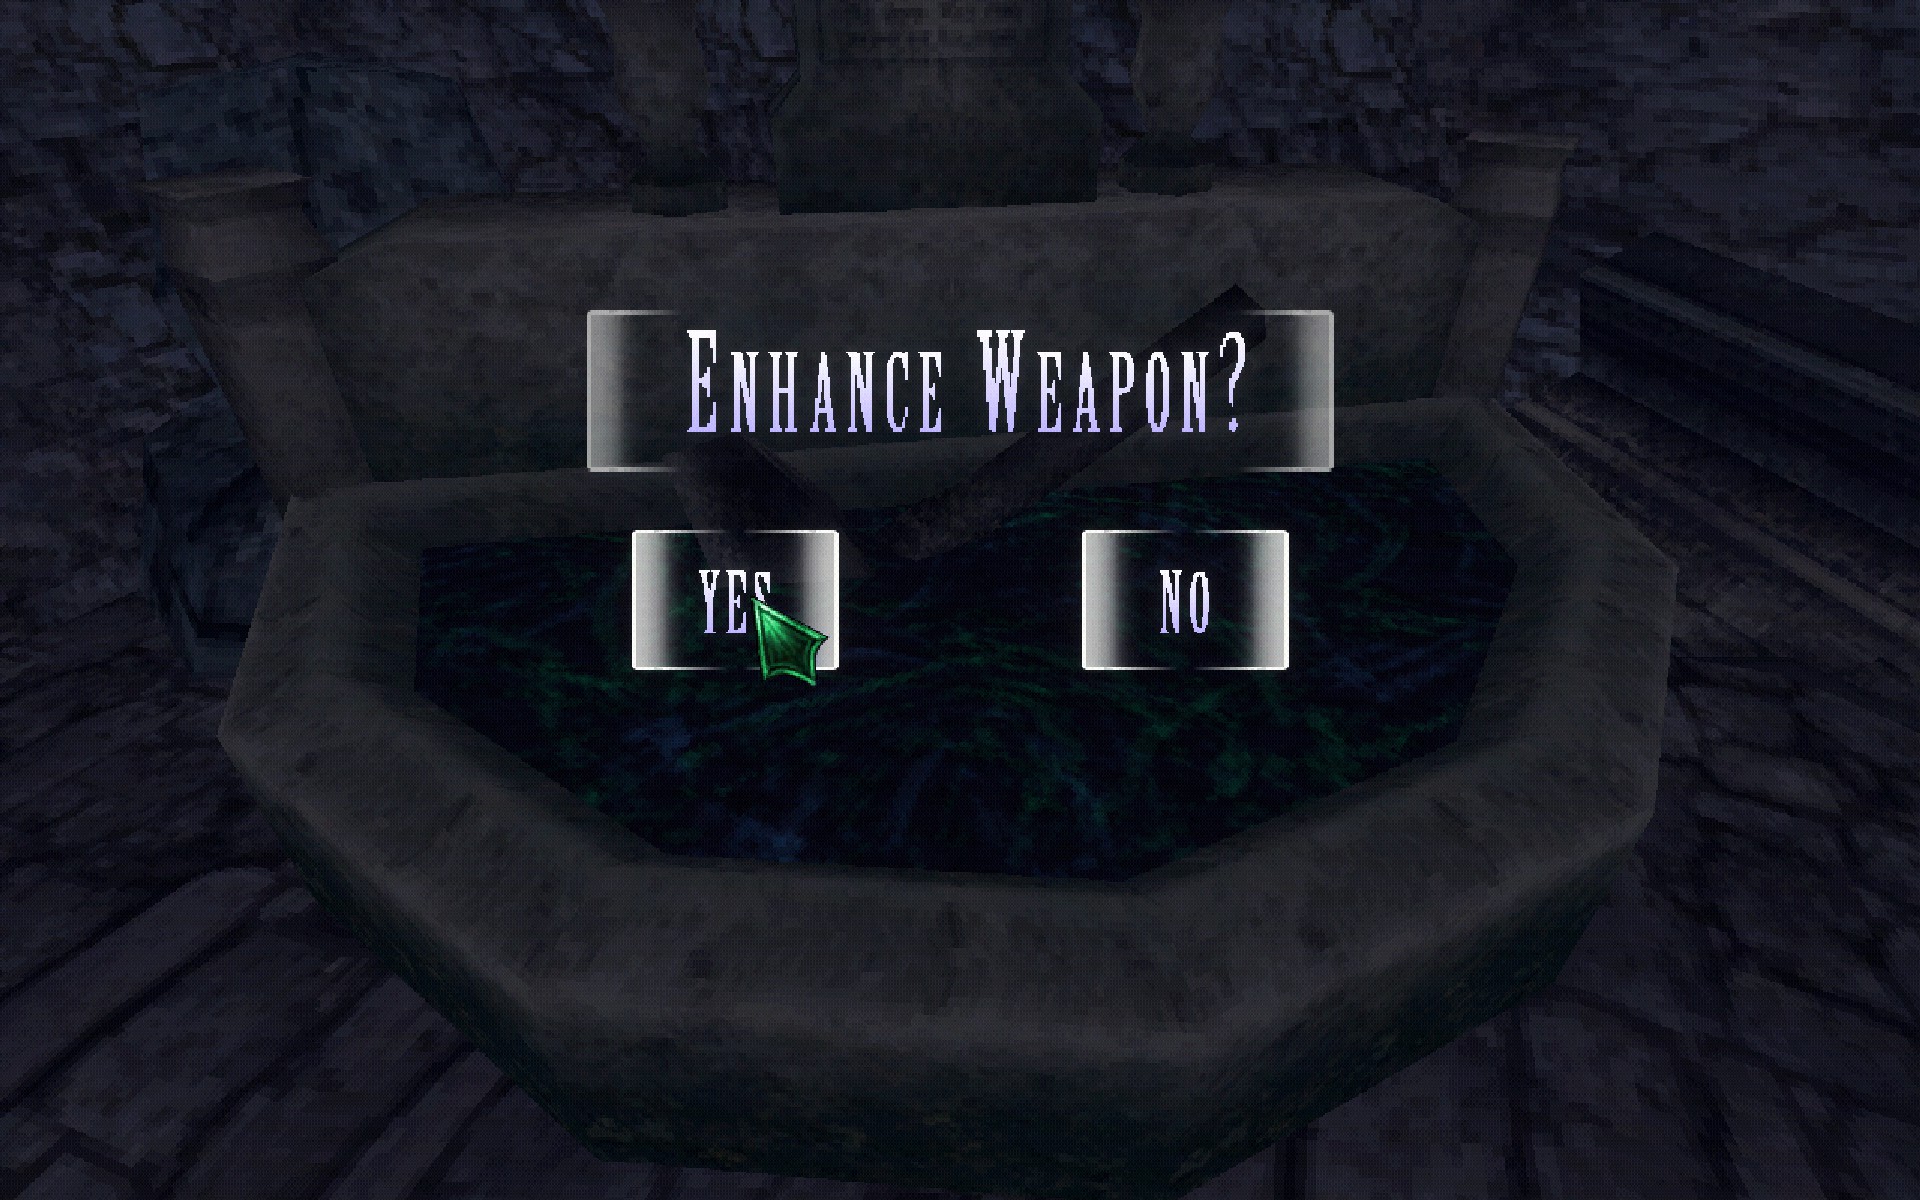
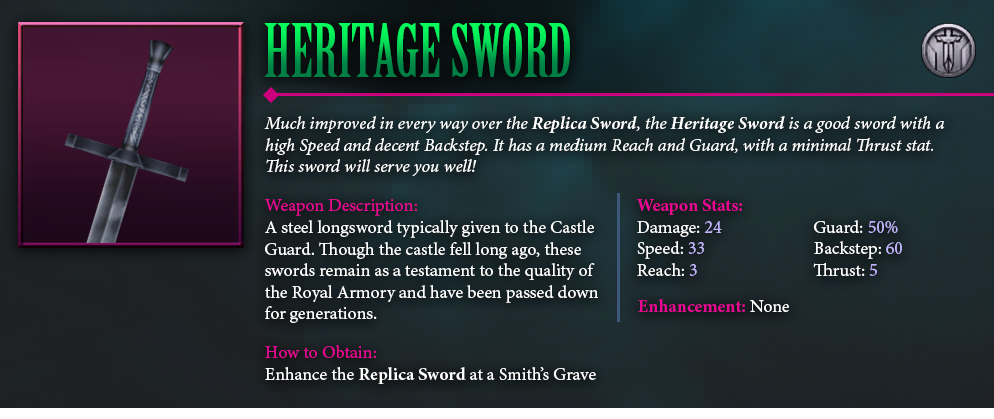
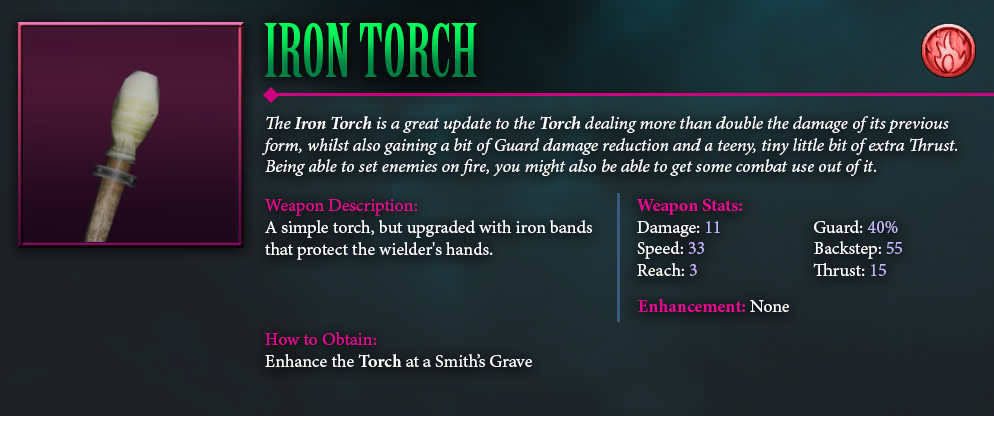
Through dealing damage to enemies or breakables, some weapons will gain Weapon XP. This is represented by a very colourful gauge below the weapon description. Once the Weapon XP bar is full, you can take the weapon to a Smith’s Grave (found in Wing’s Rest), interact with the grave and it will allow you to enhance the weapon into a new form!
It should be noted however that whilst these are typically just a straight upgrade, some stats may also decrease in exchange for boosting others. For example, the Rusted Sword has a Thrust stat of 80, but once you upgrade it to the Dark Greatsword, it only has a Thrust stat of 50. Despite any decreases, the boosts to Damage and Guard; 14 -> 28 and 60% – 70% respectively, are well worth it.
Weapon Elements
Thrust and Backstep
Stats and Levelling
| Strength (STR) | Strength defines maximum Health and damage done with Melee Weapons. |
|---|---|
| Defense (DEF) | Defense defines maximum Health and how much can be blocked before your Guard is broken. |
| Speed (SPD) | Speed defines maximum running speed. |
| Dexterity (DEX) | Dexterity defines Jump Height and damage done with Ranged Weapons. |
| Intelligence (INT) | Intelligence defines maximum Mana, Spell Damage and how fast Spells charge. |
| Resistance (RES) | Resistance defines how long Status Effects take to wear off. |
Through defeating enemies, you’ll earn XP, or Experience Points, which you can put towards levelling up your character at any Magic Crystal. Each level up will give you Skill Points which you can spend to level up your individual stats (seen above).
Getting your character’s movement speed up to 5 is a good idea early on as it will help make exploration a little faster, whilst also helping you to better avoid enemy attacks. Apart from that levelling up a weapon damage stat is almost always a great investment with the increases to both your Health and Damage.
Wing’s Rest
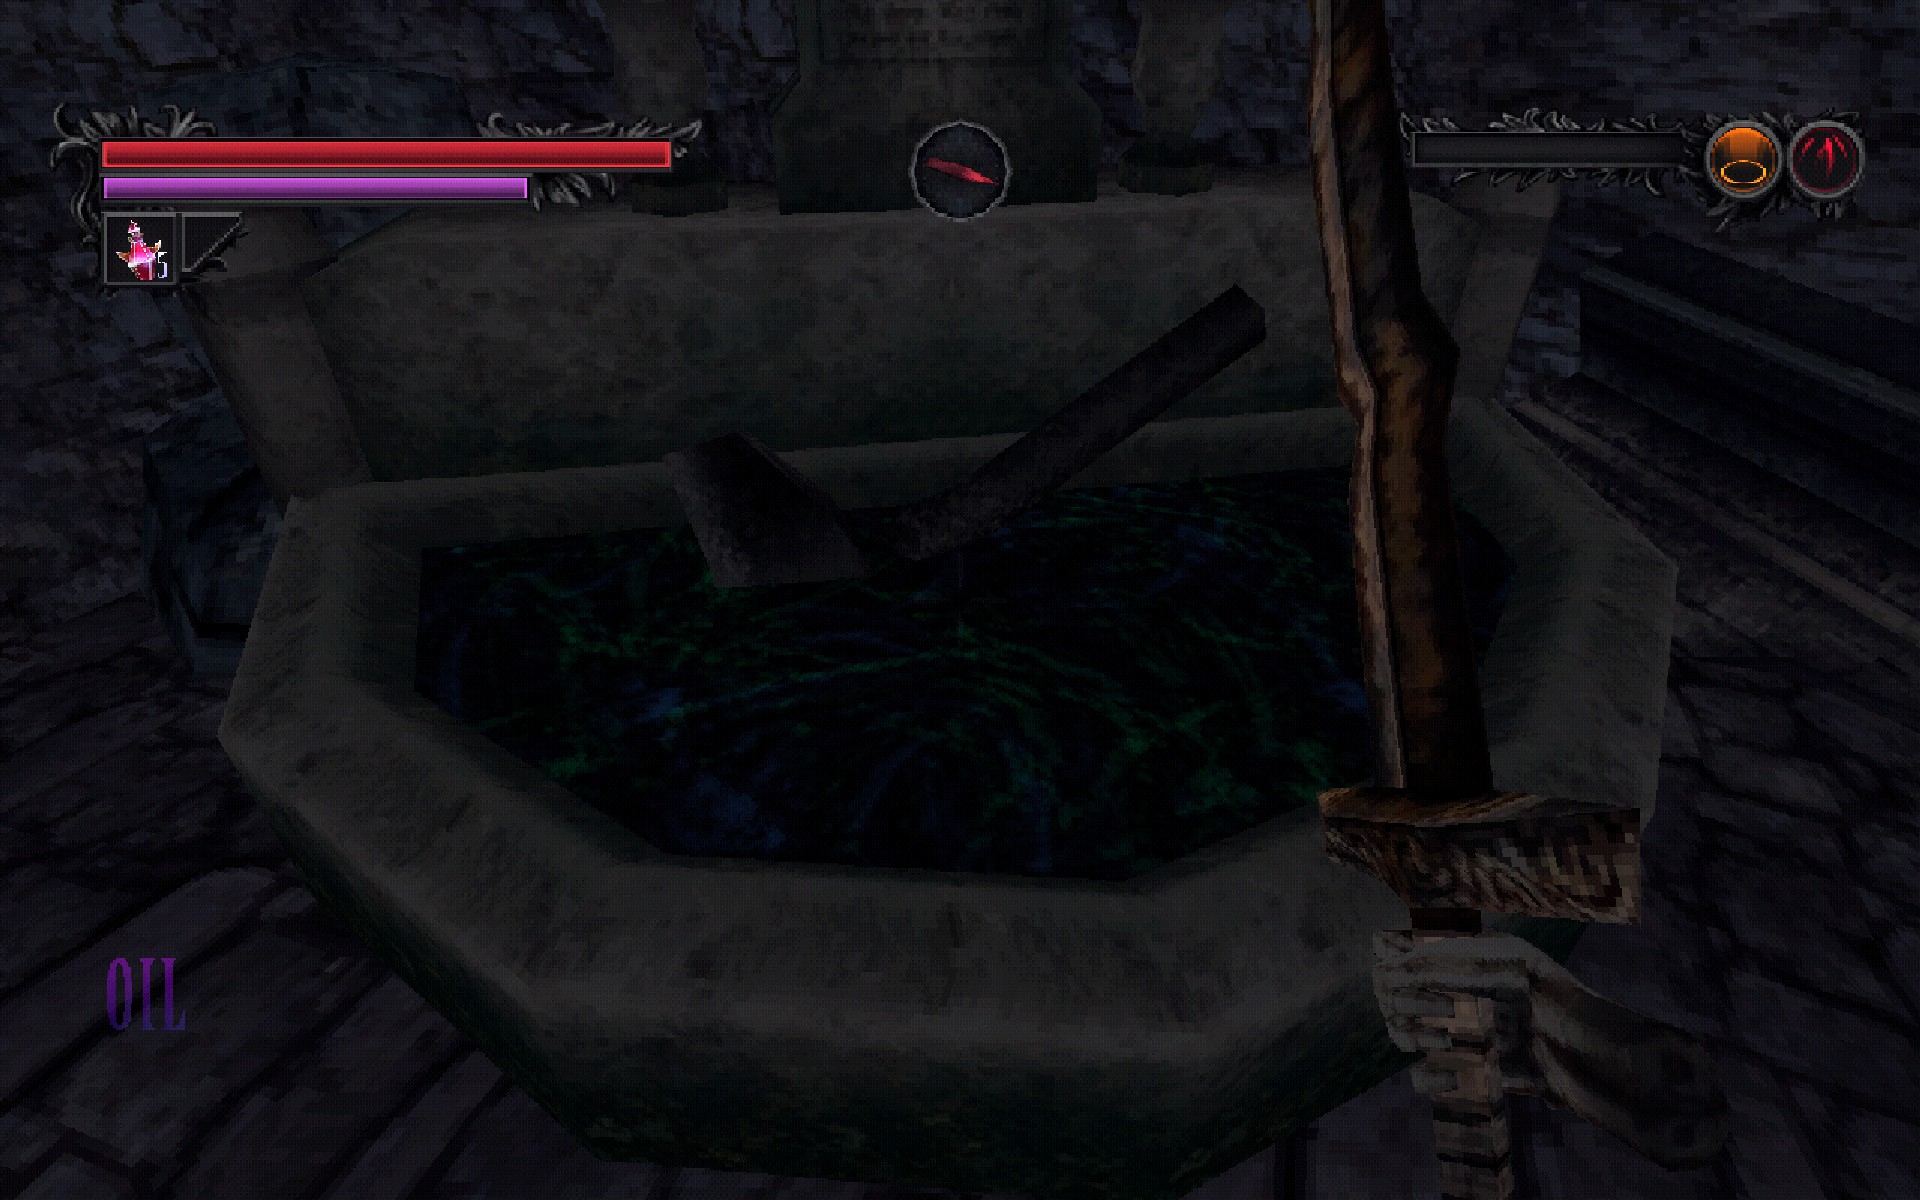
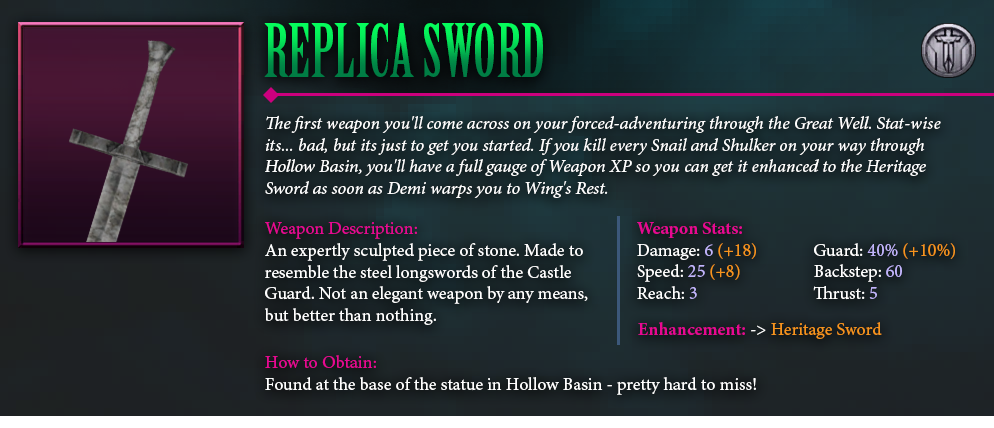
After fighting your way through the Hollow Basin at the start of the game and looping back to where you found the Replica Sword, you’ll run into Demi. She kindly offers to warp you to Wing’s Rest, accept her offer and you’ll find yourself at the game’s hub and safe haven.
There are several NPCs or points of interest found here and they offer a variety of services.
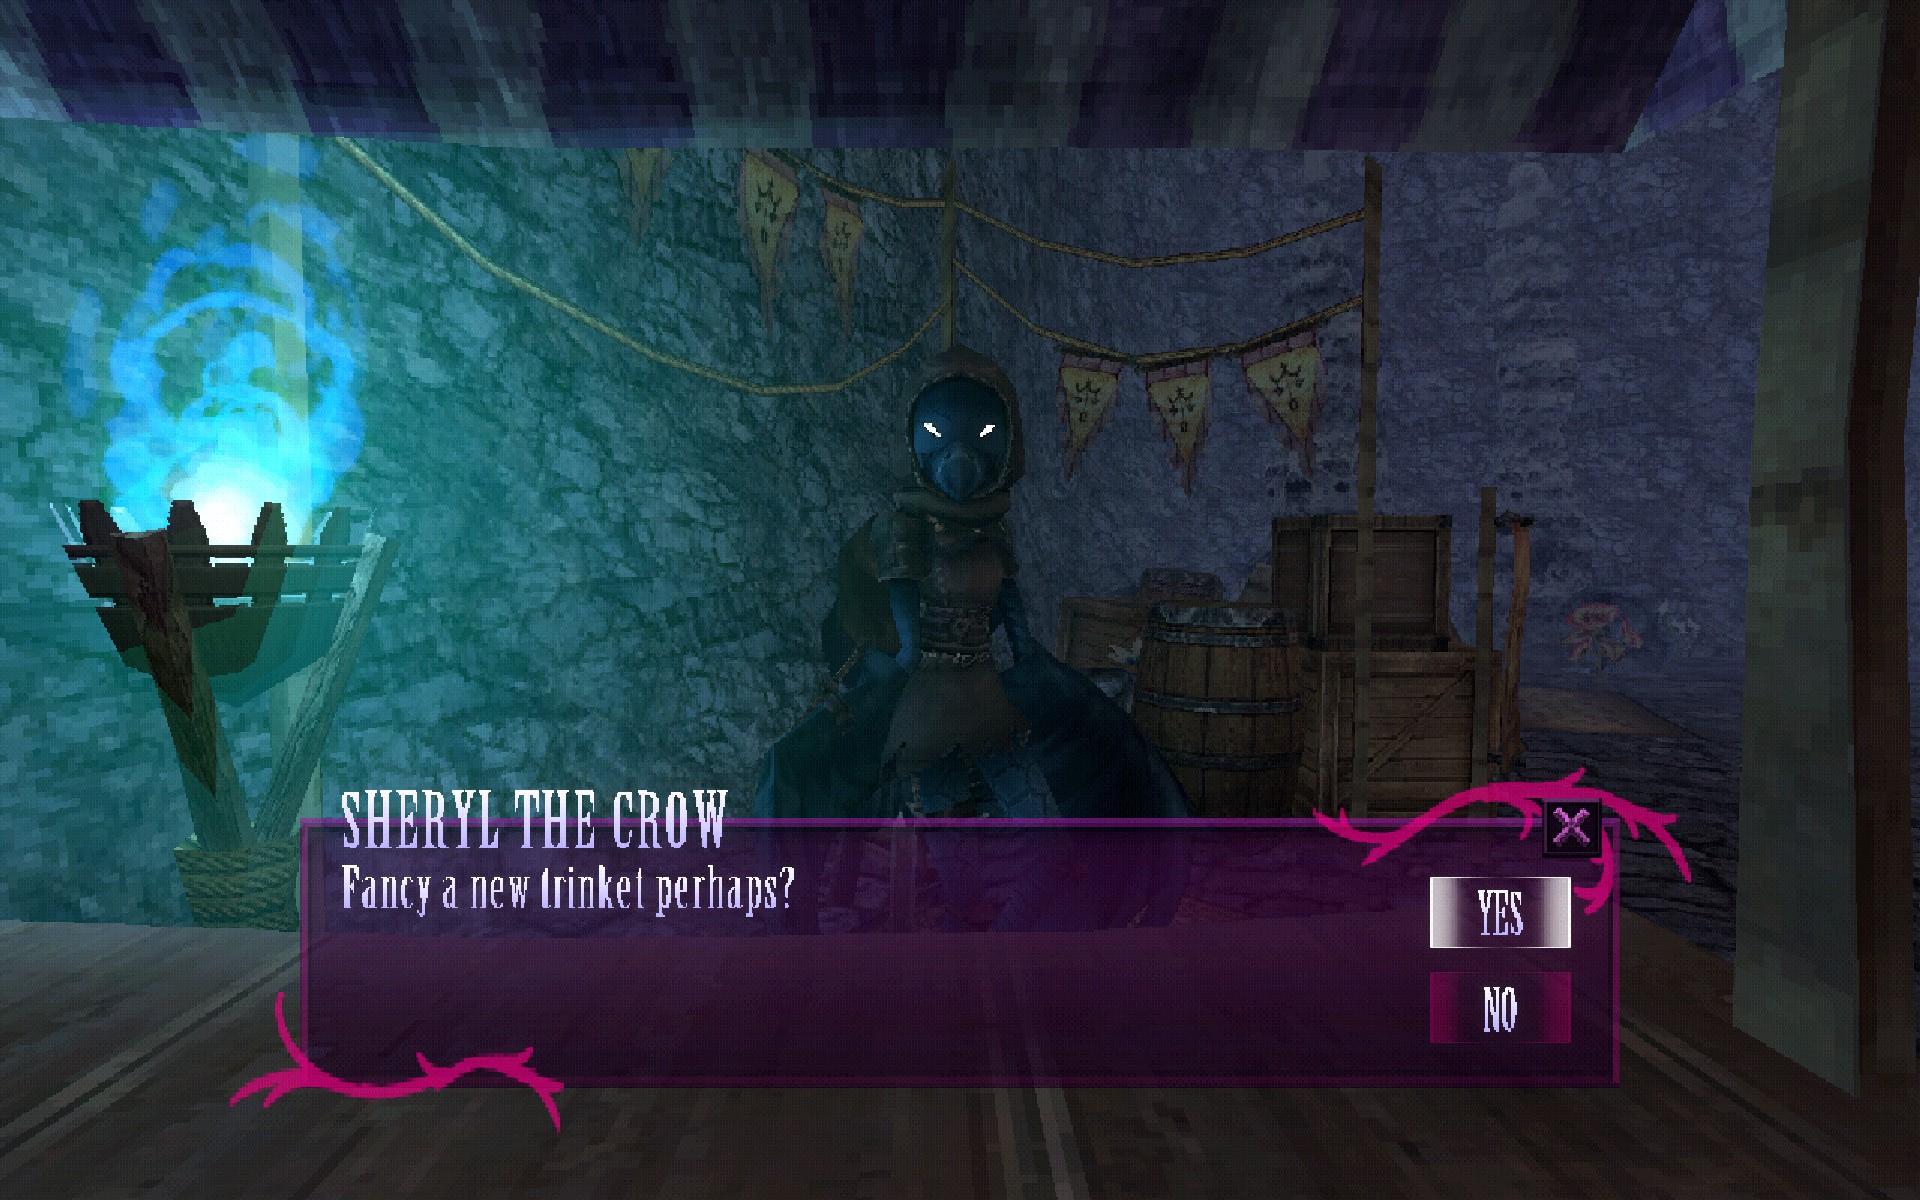
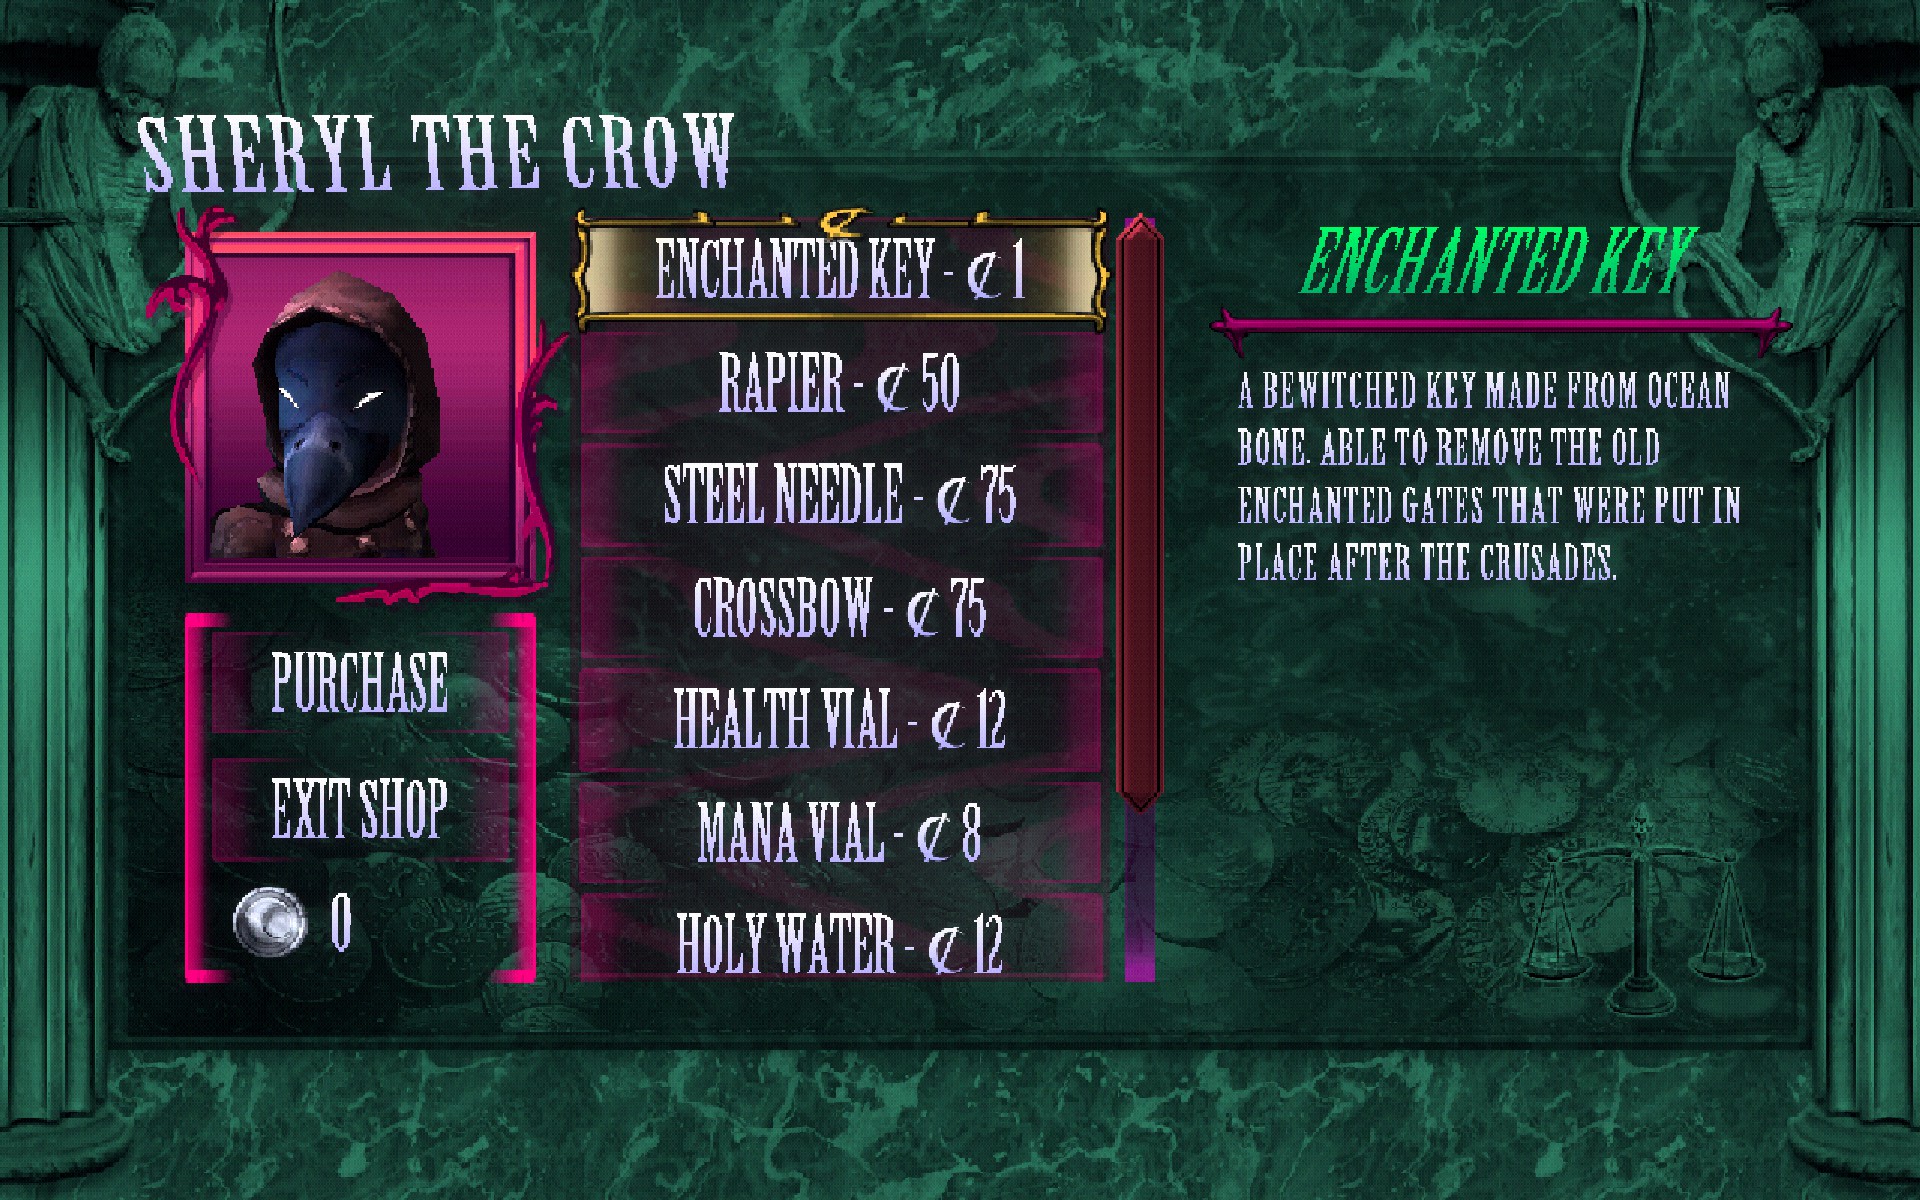
Shop ~ Sheryl the Crow
Sheryl runs a shop at Wing’s Ruin where you can trade the Silver you find; scrounging and breaking pots out in the world, for various items and equipment. You should immediately buy the Enchanted Key item for 1 Silver to unlock the path to The Silent Church near the start of the game. Of particular note in her stock is the Crossbow, a powerful ranged weapon.
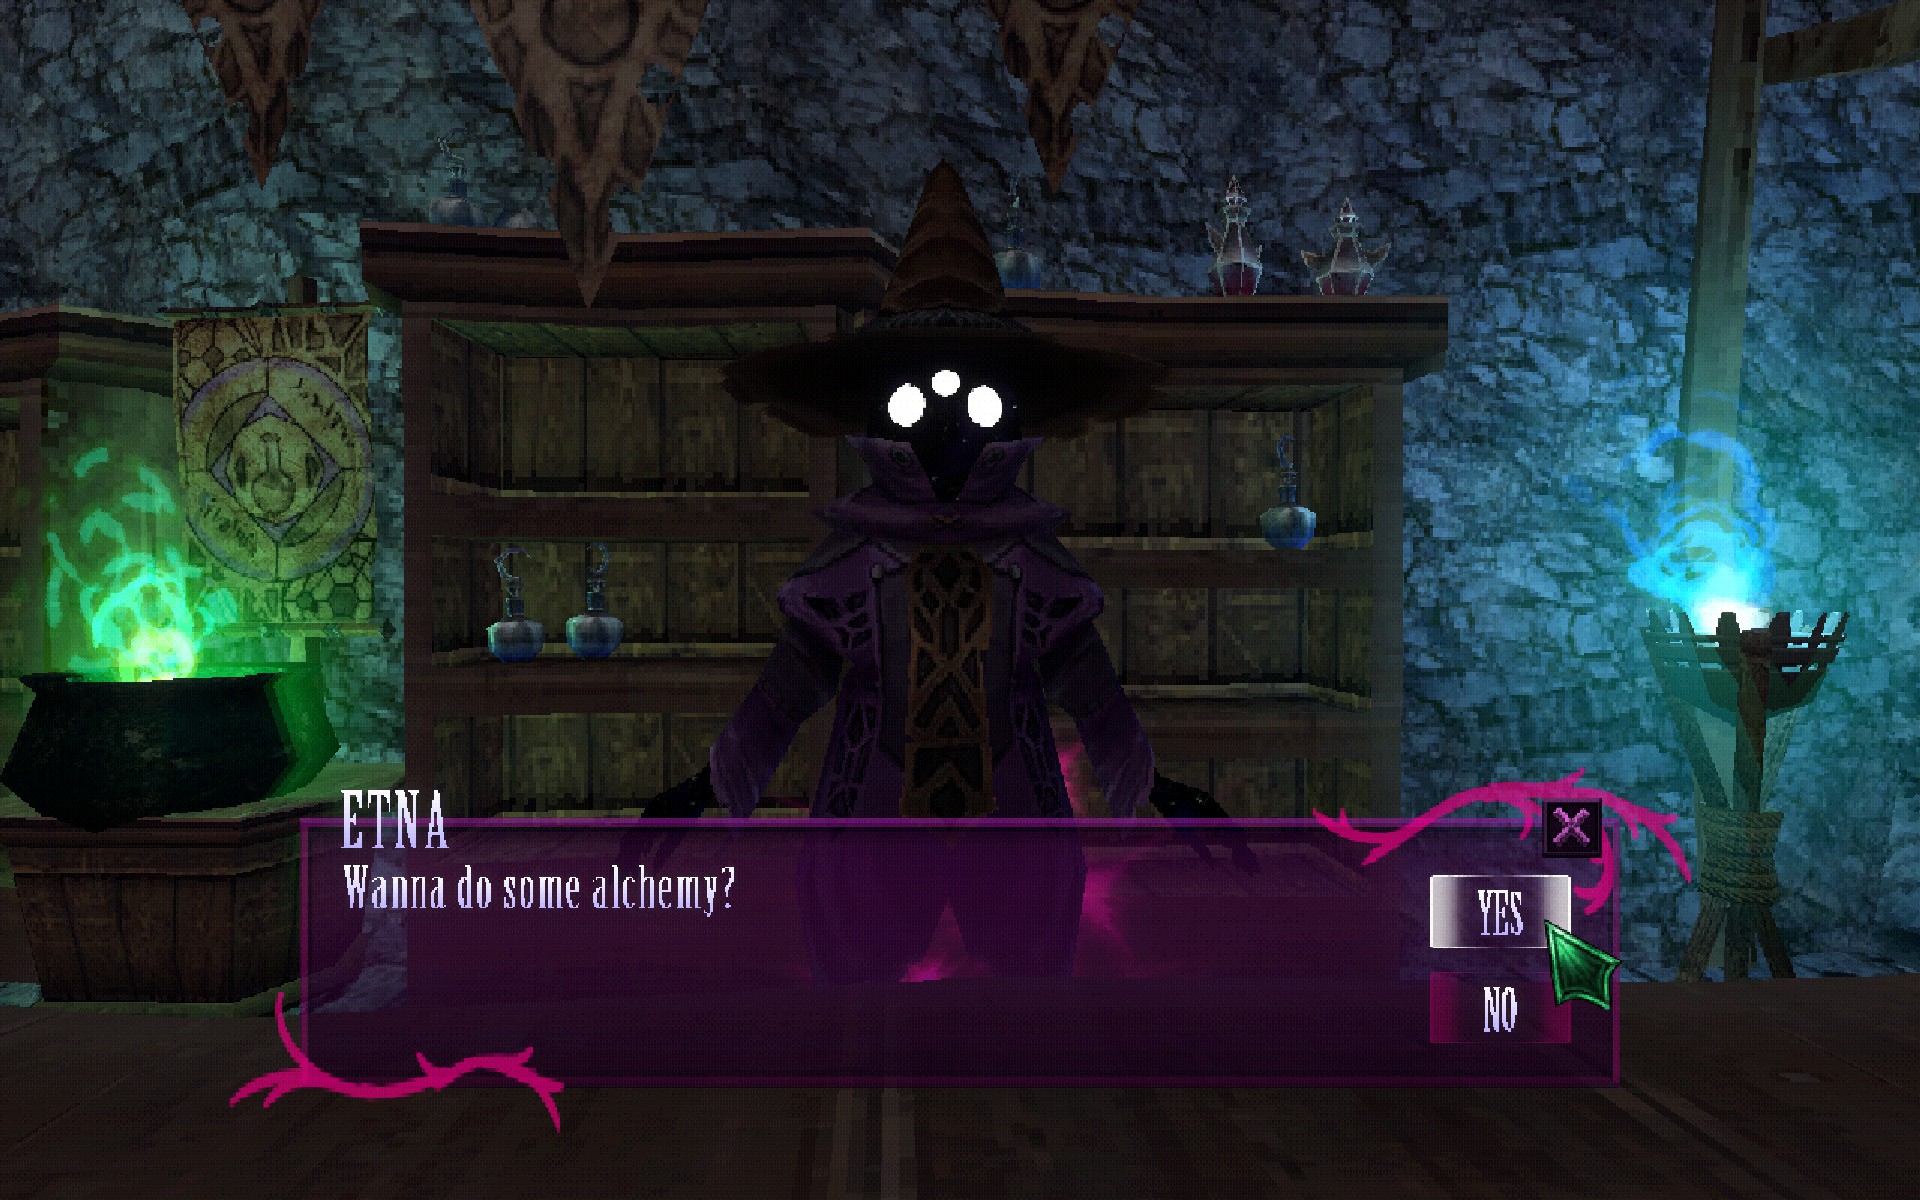
Alchemy ~ Etna
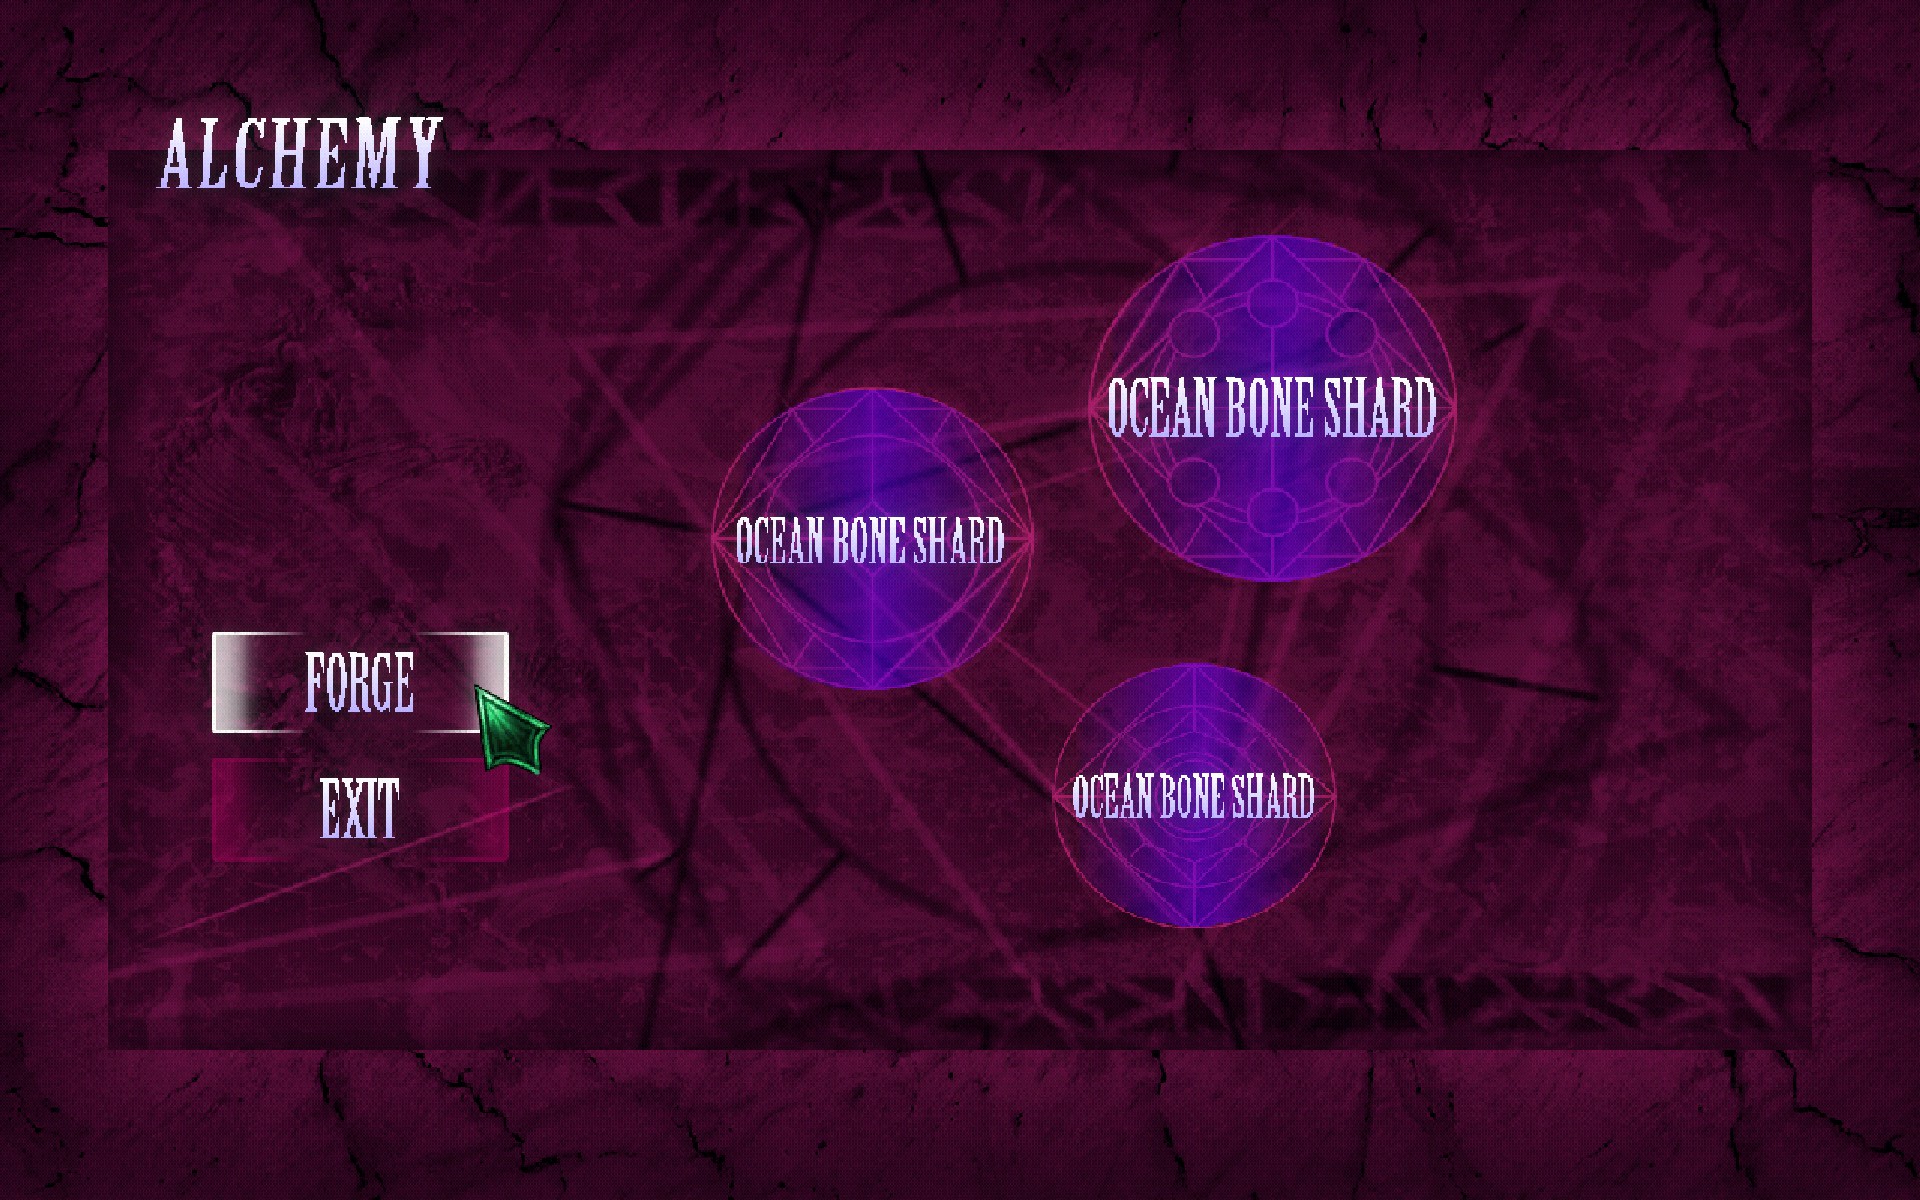
You can go to Etna to perform Alchemy, crafting items from Materials that you gather out in the worlds. For more information on Alchemy Recipes, visit the Item Reference section of the guide – or, just experiment yourself! You won’t lose anything by trying out potential combinations, as the game won’t let you complete it without a correct combo of items.
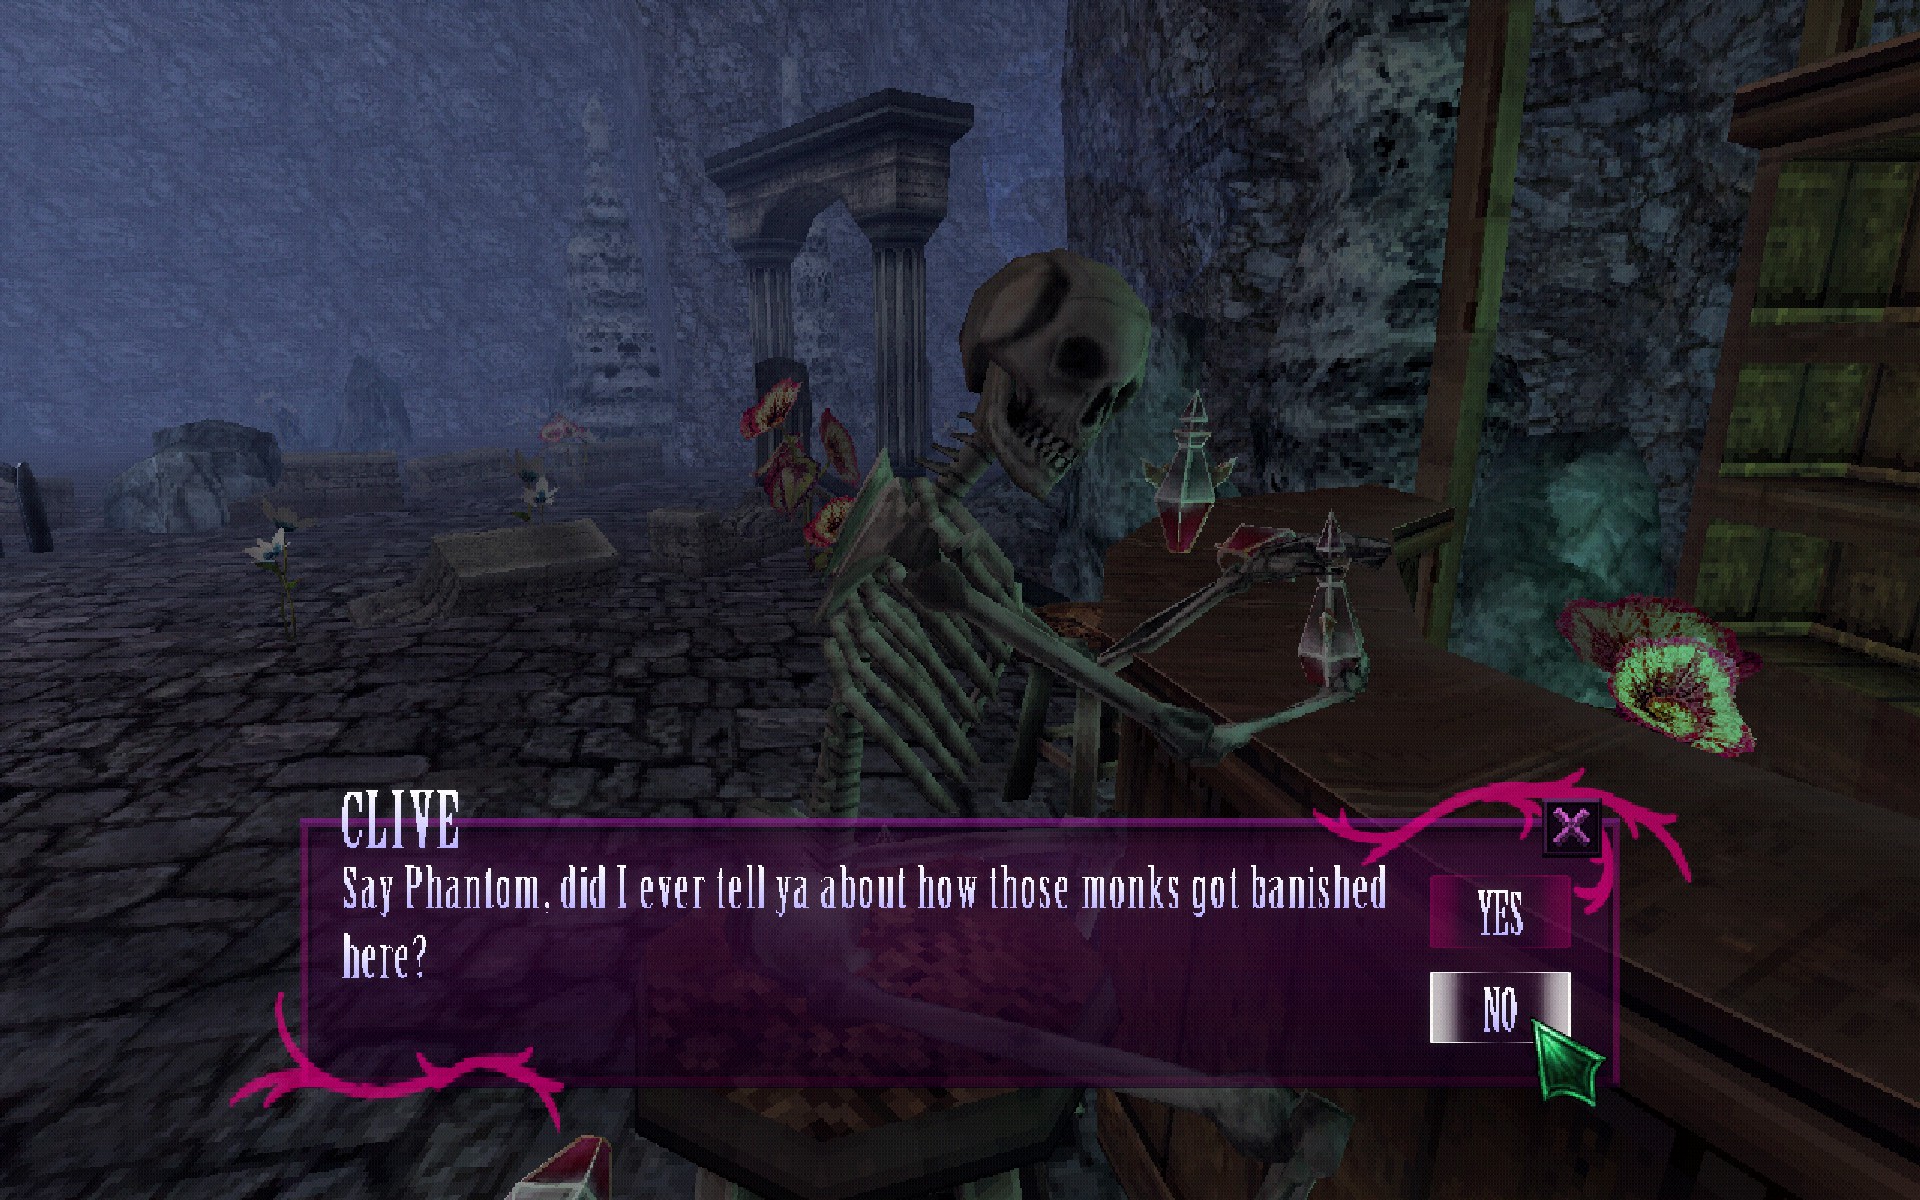
Rumours ~ Clive
Clive doesn’t have any particular special function, but he does have a lot of gossip he’s willing to share! He’ll tell you more about the world you find yourself in, as well as the peculiar cast of characters down there with you. But take it with a pinch of salt… his memory’s not what it used to be!
Weapon Enhancement ~ Smith’s Grave
Some weapons have the potential to be enhanced to all-new versions once you’ve gathered enough XP with them. This is done at the Smith’s Grave in Wing’s Rest – for more information on Weapon Enhancement, check out the Weapon Info section.
Equipment Info
Melee Weapons
Ranged Weapons
Magic Rings
Equipment – Weapons
Ritual Dagger
~
Description: A strange wicked looking instrument. Seems to not do much damage, as it was intended to make victims suffer by inflicting tiny piercing wounds which got infected from a poison coating the blade.
How to Obtain:Temple of Silence – Found on a stone table just before the room containing the lever that opens all the metal gates in the temple. Very hard to miss.
Wooden Shield
~
Description: A typical Wooden Shield, normally used in the offhand and paired with a sword or thrusting weapon. Provides ample defence if timed well.
How to Obtain: Temple of Silence – Found by a skeleton along a passage behind a fake wall – in the area to the east of the room that contains a short jumping puzzle to collect a Health Vial.
Equipment ~ Magic Rings
Summon Snail
Summons a Snail ally that will follow you around and attack enemies. Doesn’t do that much damage but can be surprisingly helpful early on when it isn’t getting underfoot.
Description: Summons a Snail as a temporary familiar. Prevalent in moist areas, these snails have grown larger from the seeping moonlight. Although fairly useless in a fight, some magical practitioner thought of a use for them.
How to Obtain: Random drop from killing snails. You monster.
| Type | Conjuring |
|---|---|
| Cost | 25 Mana |
| Cast Time | 2.65s |
| Damage | N/A – but summoned Snail-bro does attack for low damage |
Ghost Light
Summons a floating ghost orb that will follow the player and help light up their immediate surroundings. A cheap spell that can help whilst navigating dark areas – though its best use is providing a light source whilst in combat (outside of combat its much more resource efficient just to have the Torch equipped).
Description: Summons a spectral orb of light that follows the caster for 45 seconds. Useful for illuminating the depths of the well.
How to Obtain: Hollow Basin – Found in the flooded areas of the Hollow Basin, guarded by a Shulker.
| Type | Conjuring |
|---|---|
| Cost | 10 Mana |
| Cast Time | 1.29s |
| Damage | N/A – 0 |
Flame Spear
Fires a javelin of fire directly ahead, a simple but useful ranged spell. Sacrifices damage for being easy and relatively safe to use from range.
Description: Fires a flaming javelin. A weaponized form of pyromancy created by the Fire Witch Ashley.
How to Obtain: Hollow Basin – Found in a treasure chest at the end of the Hollow Basin area, just before meeting Demi for the first time.
| Type | Agressive |
|---|---|
| Cost | 10 Mana |
| Cast Time | 1.29s |
| Damage | 14 (Fire) |
Lithomancy
~
Description: A forbidden Blood Magic that gives life to the inanimate. Unable to comprehend existance, the objects only scream. Created by Mad Wizard Abdul before his exile. It is unknown what the purpose of this spell was.
How to Obtain: Temple of Silence – Found within a Treasure Chest in the room containing the lever that opens all of the metal gates in the area.
Blood Strike
~
Description: A weaponized form of Blood Magic. Some warriors sought these forms of magic to rely on their vitality rather than magical power.
How to Obtain: Temple of Silence – Travel through the area to the east of the room that contains a short jumping puzzle to collect a Health Vial, go through a Fake Wall there and continue onwards in the newly opened route. To the east of a more open room is another Fake Wall, behind the second fake wall is a short corridor leading to the magic ring.
Flame Flare
Conjures a little ball of flame that stays in place for 45 seconds, burning and dealing damage consistantly to anything standing on it (and yeah, thats including you!). Its not as safe to cast as Flame Spear but much more efficient on a damage to mana cost ratio.
Description: Summons a flaming light that stays where it is cast for 45 seconds. A simple form of Pyromancy created by Fire Witch Ashley.
How to Obtain: The Silent Temple – Found to the east side of the second bridge-room, next to the jumping puzzle for a Health Vial
| Type | Conjuring |
|---|---|
| Cost | 10 Mana |
| Cast Time | 1.29s |
| Damage | 29 (Fire) |
Ice Spear
Fires a javelin of ice directly ahead, a simple but useful ranged spell. Sacrifices damage for being easy and relatively safe to use from range.
Description: Fires a javelin made of ice.
How to Obtain: The Fetid Mire – Found behind a Fake Wall near the start of the Lower Passage, past the first Slimes.
| Type | Agressive |
|---|---|
| Cost | 10 Mana |
| Cast Time | 1.29s |
| Damage | 14 (Ice) |
I hope you enjoy the Guide we share about Lunacid – Adventure Guide Playthrough; if you think we forget to add or we should add more information, please let us know via commenting below! See you soon!
- All Lunacid Posts List










Leave a Reply