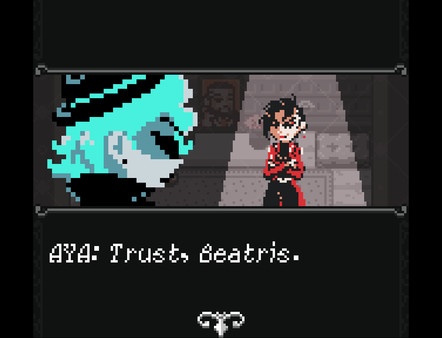
Introduction
This guide will try its best to guide you to get the good ending of the game. It will also act as a walkthrough.
To keep it simple, I did not include the additional stuff like talking to the maids or inspecting environmental objects such as unrelated bookshelves, furniture, etc. And because the game is pretty self-explanatory until the breaking point, I ALWAYS chose the fastest route to get to the point.
I, personally, divided the story into two segments because a “breaking point” happens in between them. The things you do in that breaking point segment will determine which ending you will get. You may either end up with the bad one or the good one. (According to the developer “The Painter” ending is the good ending of the game.)
I used the directional movement words how you see them on screen, like a birds-eye. Meaning that when I say “north” it means to go literally “up”. I decided to use this method to be more clear about where you should head to.
I will also make this guide as spoiler-free as possible, and I will warn you to stop scrolling when an important scene is about to happen. So please DO NOT scroll past a section if you’re not done with the section itself.
Beginning
Playing as ???, head right and then go past the kitchen.
The phone will start to ring. Evan will want you to pick it up, do so. After the conversation ends, head towards the kitchen again and take the knife from the table.
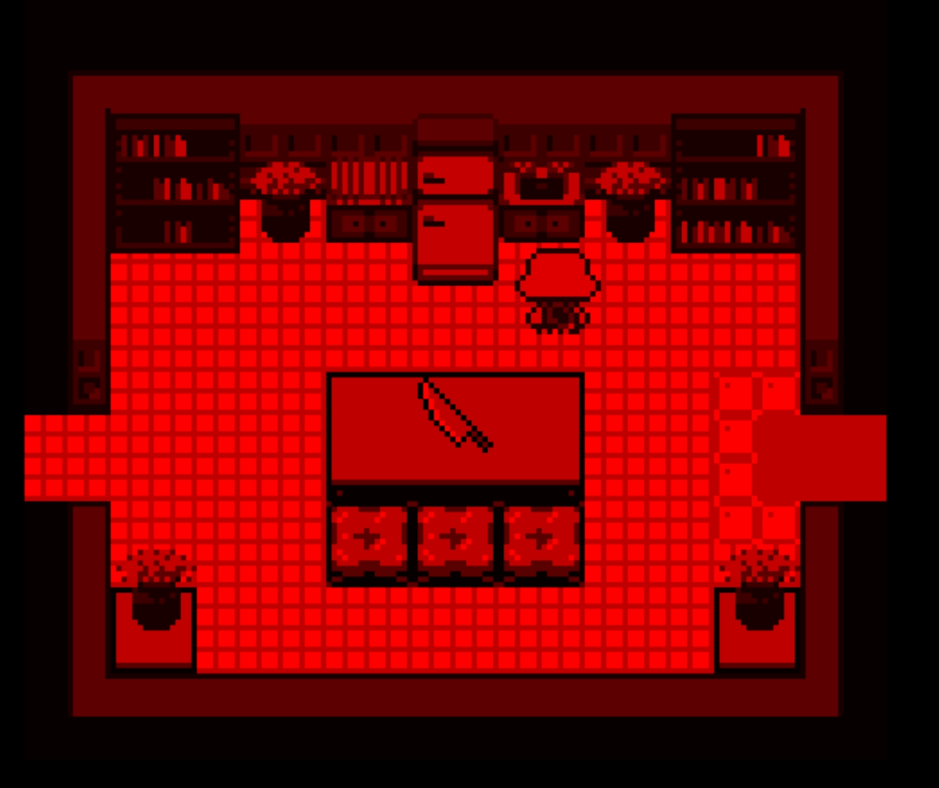
Exit by the right door, and then head right from the corridor. In the cinema room, take a look at the testament on the south of the room. Then head towards the right door. A scene will start.
The Crime Unfolds
After the scene ends, you’re now playing as a private detective, Beatris Summers, who’s a cyan-turquoise-haired chick.
After having a conversation with the butler, head up and enter the mansion. Aya (lady in red) will greet you. After the conversation, you can either go talk to her in her study room or go right and collect evidence. This guide will collect some evidence before talking to her.
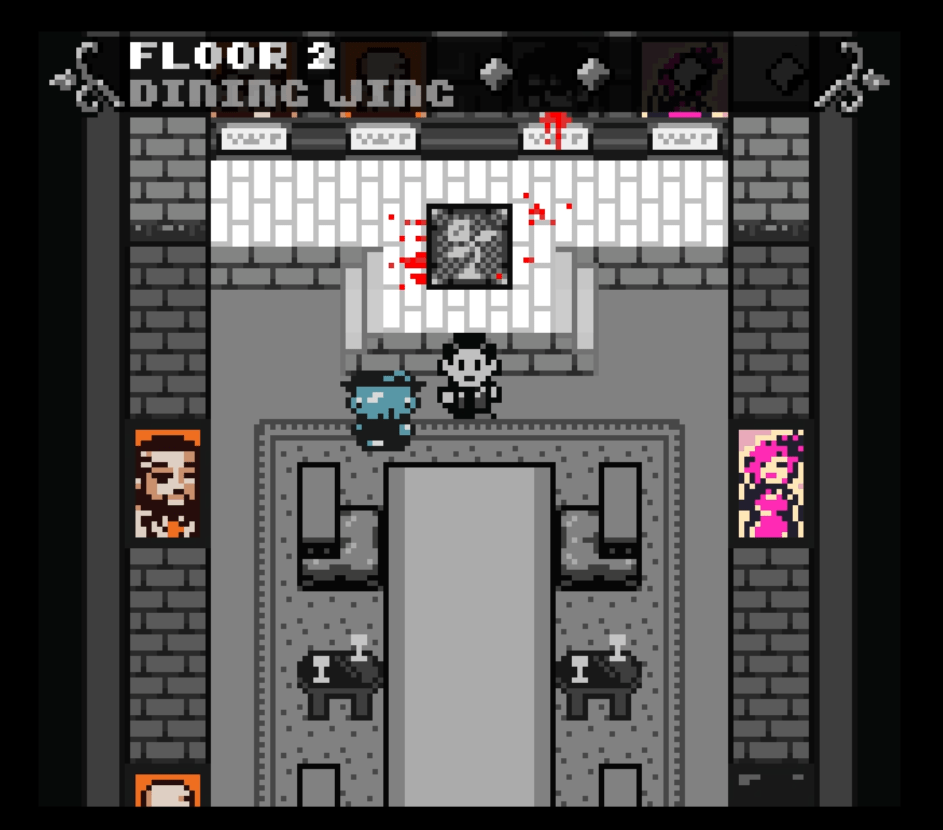
Go right, follow the bloodstains on the floor. When you see two maids and a stairway going down, go towards the door up above (Dining Wing) and talk to the maid near the blood. They will give you a witness testimony, stating that Lloyd found the body first. This will be your first evidence.
Head towards Aya’s study room and have a talk with her.
HUD:
(you may read the character first)
then select FACTS and choose “Witness”
After the chit-chat, she will give you a set of wireless earphones and open the door on the left (Study Wing). Head inside the room and pick up the Gate Key.
Go outside and head right, unlock the gate on the main lobby with the Gate Key. Go upstairs to the right. Head right on the corridor and watch the scene with Yvon.
When the scene ends, head north. You may also do two different things here, the order RIGHT NOW does not make a difference. You can either move the boxes and make your way to the left side of the room OR go up, using the stairs on your right, explore the attic a little bit and find Yvon’s Will. And read the note on the east part of the attic. Going through the second route will save you time, so this guide will use that instead.
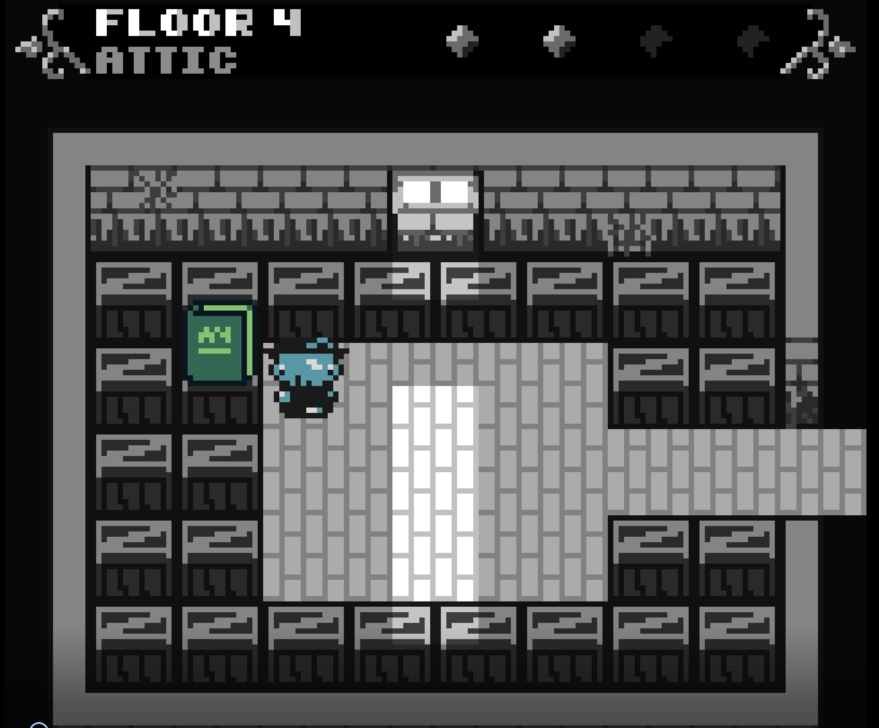
Go up, to move the box in front of you, push it to left. And then head left and enter that room to reset the previous room with the box. You’re now in a room full of boxes. Inspect the boxes and a book will pop up. Read it. (Note: This area locks itself after the breaking point. So you should read the book before that.)
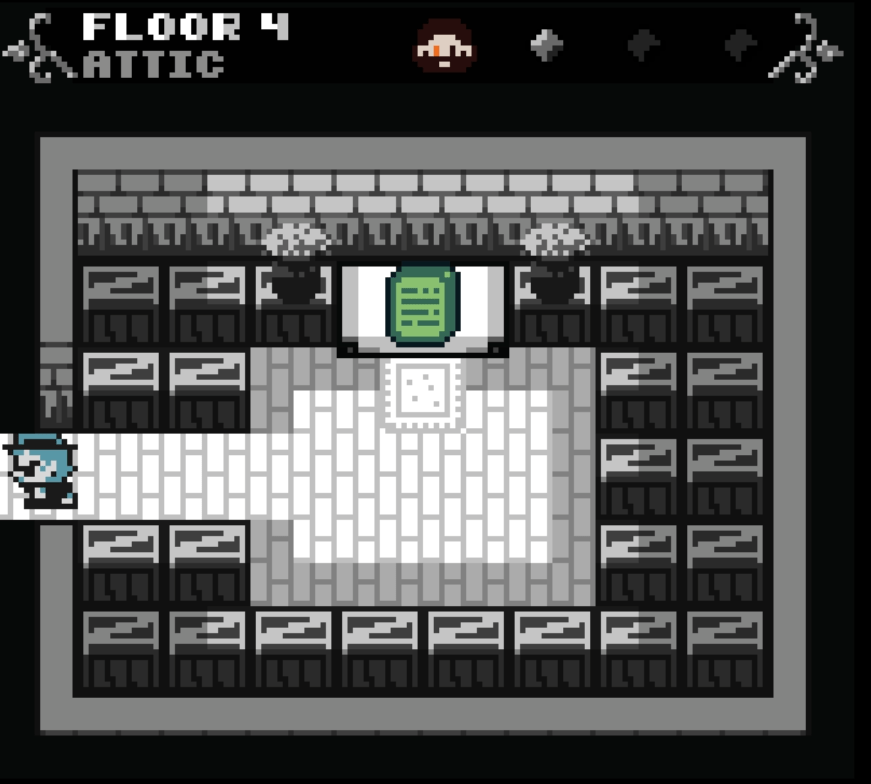
When you’re done with that, go to the right part of the attic and read Yvon’s Will. It will add into your evidences as “Yvon’s Will”.
After that, head downstairs and push the boxes, make your way to the door on the left. When you get inside, push the boxes and talk to Lloyd.
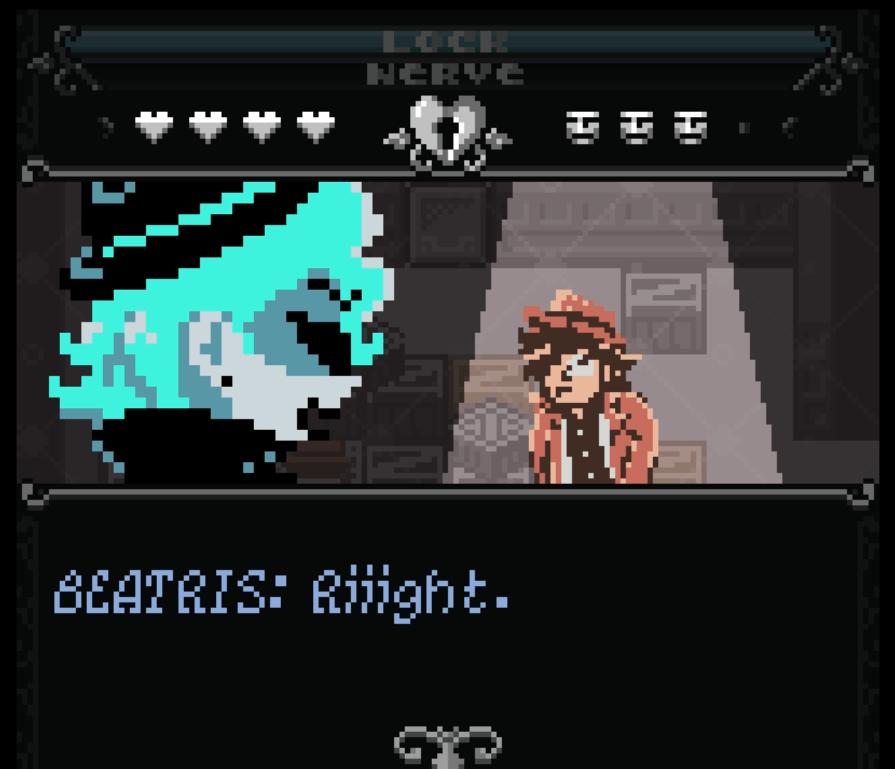
HUD:
(you may read the character first)
>FACTS
-Witness
Persuasion starts.
[POWER]
>Hurt Ego
-Gossip
[HEART]
>Their Point of View
-Empathy
“Witness” evidence will be upgraded.
Go up and pick up the “Business Key.”

Move the boxes and return back to the main lobby now. Follow the blood stains going to the west staircase. Go upstairs and follow the blood stains.
(OPTIONAL) You can unlock the blue gate on the main hall right now. You will eventually unlock those gates anyways but If you’d like to explore a bit more, unlock the blue gate and continue left or right from Yvon’s Office. Head downstairs and step into the manufactory. You can exit from the south door and enter the Lower Hall. Doing this will not add anything to our gameplay right now.
If you trace back the blood stains, you’ll step into the Doc’s Ward. The door will lock behind you.
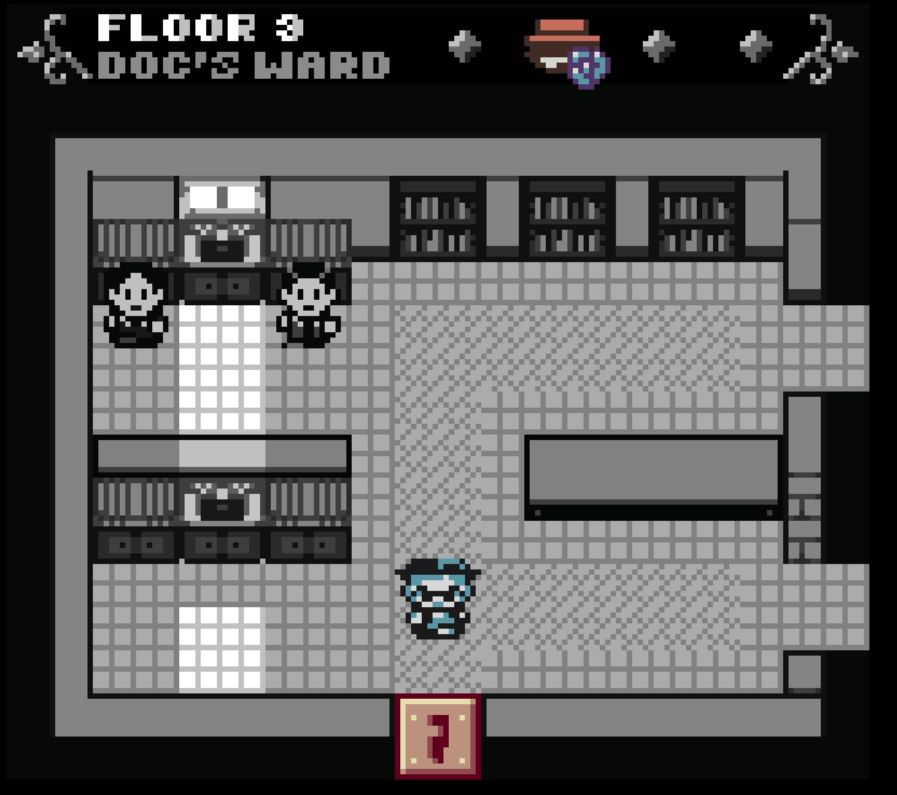
Go east and find Keit. He’s a doc. You can only read him right now because Beatris doesn’t have a fact to interrogate him with. Go east and you’ll find yourself in a room with a box in the middle. Push the box and move forward to the south side of the room. Push the door to the right, get inside the little morgue-ish room and inspect Evan’s corpse.
After that, you’ll get an evidence. “Cause of Death.” Now we can interrogate the doctor.
HUD:
(you may read the character first)
[FACTS]
>Cause of Death
[POWER]
>Your Point of View
-Press
[HEART]
>Flatter Ego
-Work Ethic
The door on your left will be opened. Head inside, take the “Crafty Key”.

Unlock the door that locked behind you with the Crafty Key.
Head to the main lobby. Remember the blood stain we followed through the east wing to get to the Dining Wing? Go through the same hallway again. Right across the Dining Wing, there should be a locked door. Unlock it with the Crafty Key and talk to the Painter. Go out and go down the stairs. When you’re in the Lower Hall, unlock the door with your Crafty Key.
It’s the room where the murder took place.
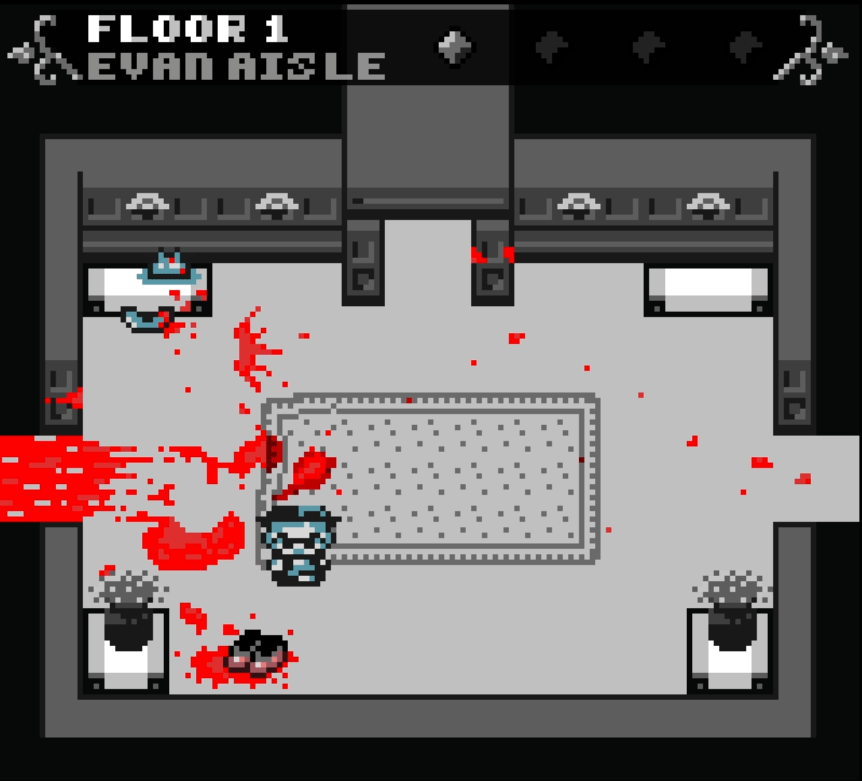
Inspect the whole place. Don’t forget to look at the shiv in the bathtub. Your evidence will be updated to “Cause of Death Lv.2”.
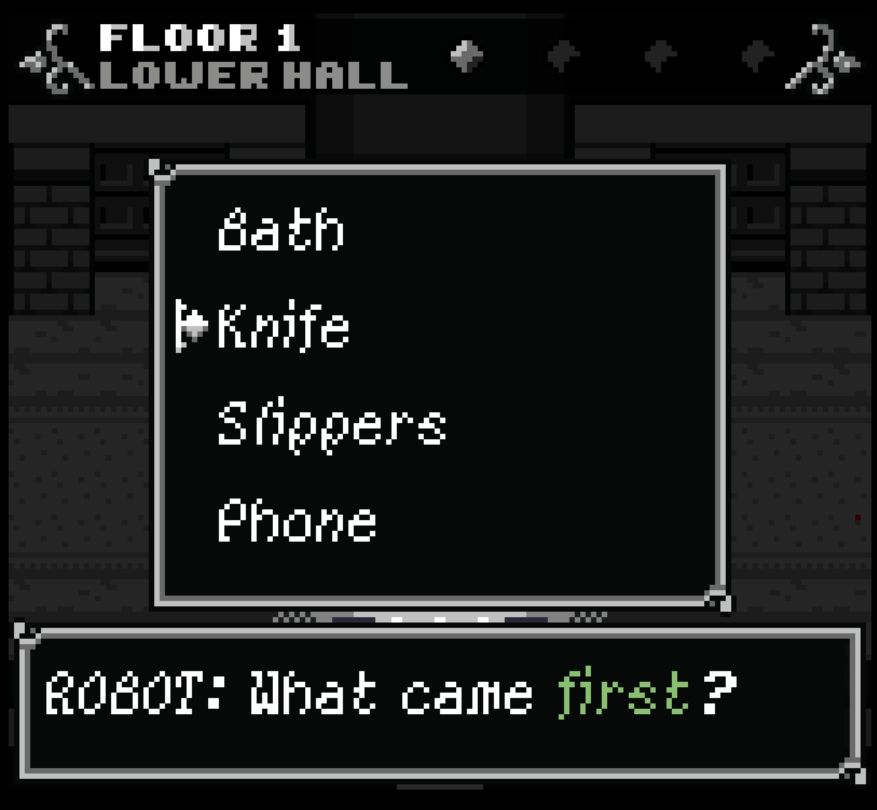
When you’re about to step out, the robots will ask the order of the murder to you. The order is:
- Knife
- Phone
- Bath
- Slippers
Who Did It?
Head to the main hall. The Painter will be in the middle of the hallway. Talk to him. (2nd time) Then he gets teleported into the right side of the hall, looking at a painting on the wall. Talk to him again. (3rd time)
Head south a bit and take either the left or the right-wing from Yvon’s Office Wing. Then go downstairs to the manufactory. Continue going west. You’ll see Schmitd.
HUD:
(you may read the character first)
[FACTS]
>Cause of Death Lv.2
[POWER]
>Hurt Ego
-Belittle
>Your Point of View
-Proximity
When the door opens, head there and just follow the road. When “something” happens, turn back and pick up the Chic Key from the ground. You can also unlock the Crafty Door with the key you have.
Head to the Yvon’s Office. Unlock the door with the Chic Key. But before talking to him, head east and enter the room. You’ll see a book in the middle of the little cells. Just play with the doors a little bit, they eventually get into place.
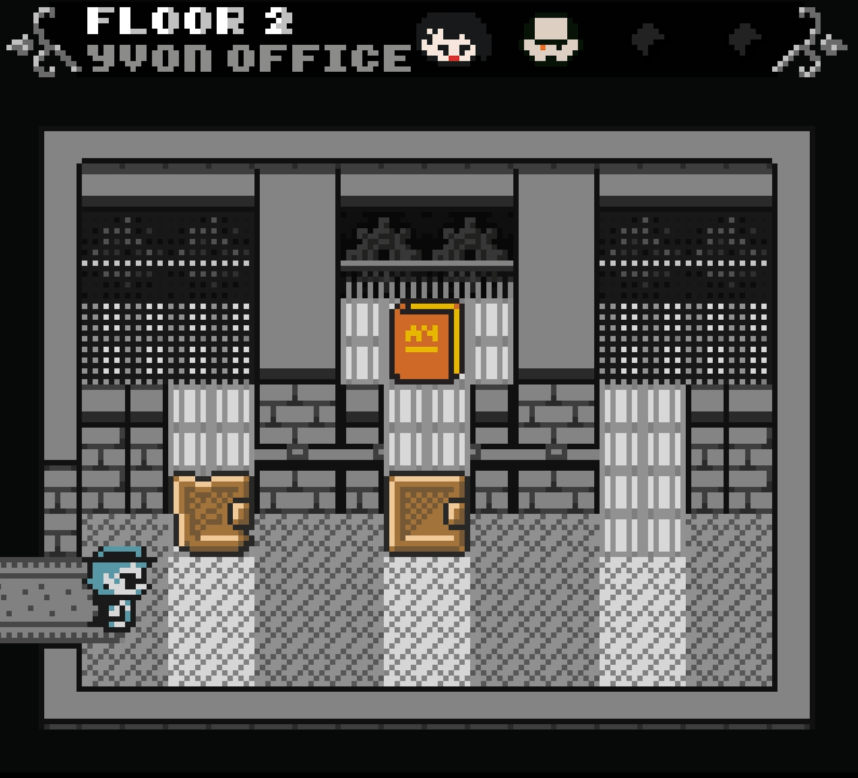
I learned Chapter 1: “Empower” and “Authority”. But I believe the other way around would also work out somehow.
HUD:
(you may read the character first)
[FACTS]
>Cause of Death Lv.3
[POWER]
>Hurt Ego
-Fatherhood
[HEART}
>Empower
>Their Point of View
-Strength
After the scene ends, you can check the room on the west to see ??? in one of the cells. When you go out from the office and the ???’s scene end, you should save, and if you go back and check the cell ??? was kept in, you find a book that gives you an upgrade.
We’re getting near to the breaking point now.
If you haven’t went to the attic to read the book I mentioned, nor read Yvon’s Will, you should do so now.
The fourth time we see The Painter will be on the upper hall, third floor. Right next to Ivan’s office wing. Again, he’s looking at a painting. Talk to him. Take the stairs on the right and step into Ivan’s office. You’ll see The Painter again, talk to him. Head on the Ivan’s room. Follow the road, when you see Ivan, talk to him.
HUD:
[FACTS]
>Yvon’s Will
After the conversation ends, a door will open in front of you. Step in the room and take the Old Key from the ground.
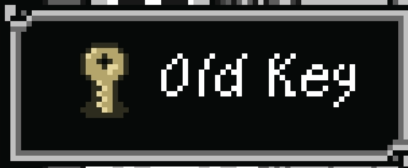
When you step out, Aya will be waiting you.
HUD:
(you may read the character)
[POWER]
>Authority
-Original Plan
>Hurt Ego
-Suspect
[HEART]
>Their Point of View
-Mistrust
After the conversation end, you can just head to the upper hall again and then unlock the Old Door. Read “Evan’s Will” and add it to your evidences. You can also upgrade your max hit points by reading the yellow book. I also suggest you to check the bookshelves in this room, they reveal pretty interesting info related to the lore.
After all that, head to the Manufactory and take the right exit. Unlock the Old Door with your Old Key. You’ll see an upgrade book in the right corner of the room. Go and take it. Read the chapter you haven’t read before.
Breaking Point
Now, depending on what you do here, the story will end in two different ways. If you don’t want to get the good ending, you can skip this section. But if you do, don’t go into the Archives yet. If you do, you will be locked on target with the bad ending (if you haven’t done the things below of course) Archives is on the other end of the Doctor’s Wing.
What you need to do is to find every single “ghost” of The Painter before the robot chases start. When they start, pretty much the whole main hall area and some of the upper levels gets shut down. You won’t be able to enter the garden later on. (I tried, there are two killer-robots that await you on the entrance. )
The sixth time you see The Painter , he will be on the Nursing. It’s the left staircase from the Doc’s Wing.
The seventh is in front of Yvon’s Painting on Yvon Office Wing.
The eight one will be in the Study Wing, behind Aya. The Painter will drop Ghost’s Bow. Take it.
The Garden of Graves
Even if you did or did not follow the Good Ending guideline, you still need to take the Garden Key.
You can try to talk to Ivan again but he left his room and is nowhere to be found. Instead, leave Ivan’s office wing. While walking on the upper hall corridor to the left, get into the middle room with an Old Door in the middle. Unlock that, check Nasha, twice.
nbsp;
Step outside to the balcony and head left a bit. Try to take the green Garden Key from a sculpture’s hands, but it falls into the garden instead.
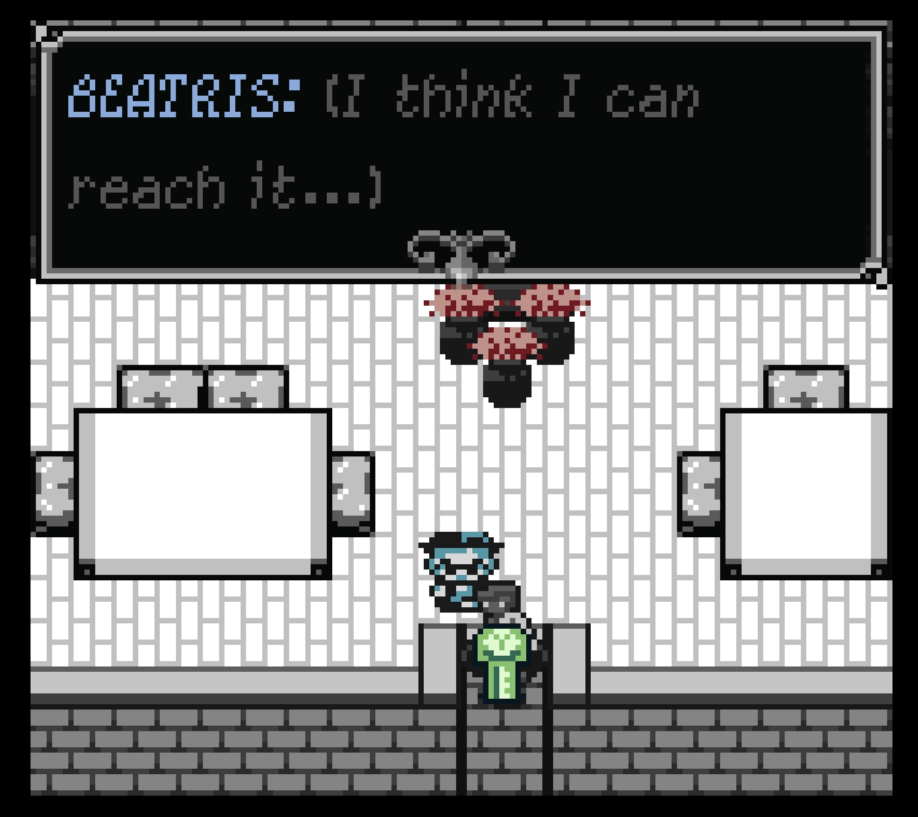
Take the Garden Key from the left side of small garden, key’s behind a blossom tree.
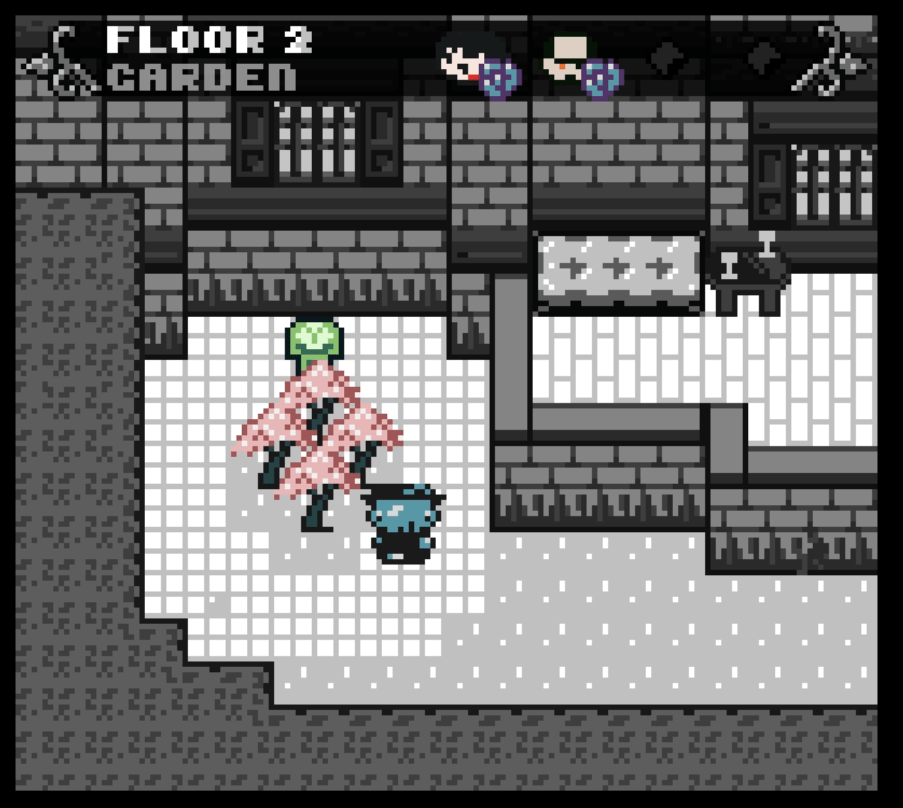
If you followed the Good End route:
Follow the path in the garden. When you see the Garden Door on your left, unlock it with your Garden Key. You’ll see someone. Talk to them. Be sure you have both of the Chapter upgrades on you, otherwise you won’t have enough persuasion options to finish the conversation. In order for the Good Ending path to unlock, this conversation must end.
Then you will see The Painter once again, in front of the mansion’s enterance door, and he will vanish after talking with you. Beatris will question her sanity.
Getting Closer to the Truth
After that, go to the Archives, it’s the room at the other end of the Doc’s Wing. When you step in, the door gets locked behind you.
Talk to Margaret.
HUD:
[FACTS]
>Evan’s Will
[POWER]
>Hold Responsible
-Assistance
>Your Point of View
-Press
>Authority
After that, read the green book on the table titled “Mr.Carroll”. A chase will start. Head up to the Garden Door and run to the second one on your right. Act fast. Aya will save your a*s on this one, then grab the Bird Crest Key that is right behind you.

You may go left and meet up with Aya, but she will tell you to find a Pastel Key. So you don’t really need to go there now, instead, head down. Be careful while doing so. Unlock the door with the Bird’s Crest Key. You must be in the Aviary now.
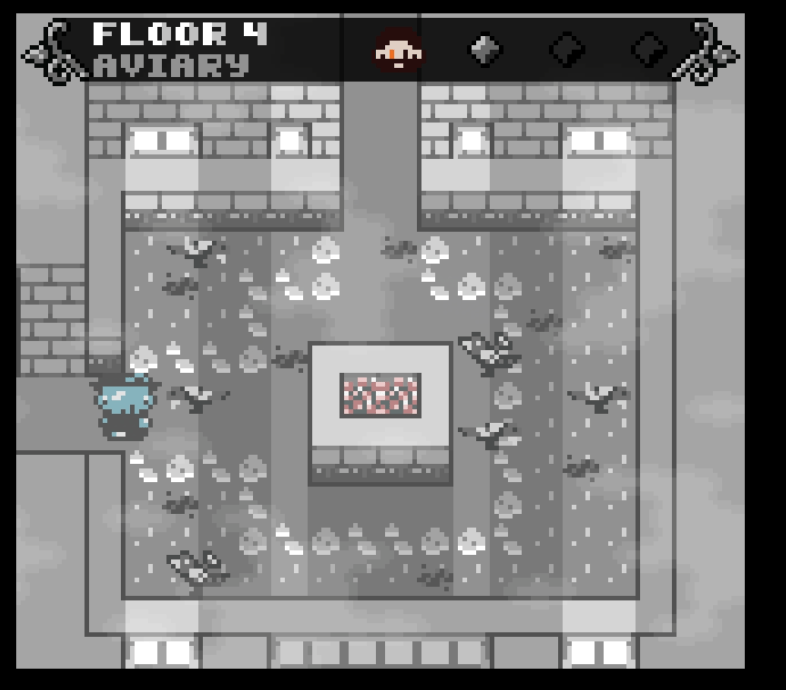
Head left. Quickly grab the Pastel Key.
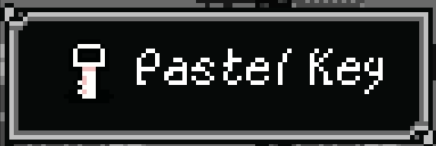
You can also ring-around-the-rosie two rooms next to each other, to grab the upgrade. You may have the maximum status of both of your abilities right now, but even then you will have the chance to read the bookshelves there, they have important clues about the lore.
Meet up with Aya again, in Nasha’s lab. Unlock the Pastel Door with Pastel Key. Head in and then turn right. Talk to Jacob.
HUD:
[FACTS]
>The Client
[POWER]
>Authority
-Protection
>Hold Responsible
-Agency
[HEART]
>Flatter Ego
-Smart
>Their Point of View
-Sheepish
Go into the room Jacob unlocked and get the Creepy Key.

After all these, run to Yvon’s Office entrance in the main hallway and then go downstairs to Manufactory. Go right, there must be a Creepy Door. (A tip: Don’t try to outrun robots if it’s very hard to do so. It’s the games way of telling you not to go there. Believe me, I tried. Even if you do it, you get killed or stuck between walls.)
Jacob and Aya will catch up to you. Unlock all the locked doors and go left, take the Volkov Master Keycard from the ground. Go right, if you did not follow the Good Ending, you will see Evan’s ghost covered in blood, in agony. You may also want to check the bookshelves here, they hold important clues.
After that, you just need to follow Aya’s instructions, there’s not much to talk about. When the whole conversation end with Aya and she says “…..what’s left of it.” head back to the Attic. Go to the room where we found Yvon’s Will. Do not enter that room, instead, push the boxes and get to the black splattered wall on the left. Inspect it. Beatris will scratch the wall and a door will appear. You should save here. Proceed walking down the bridge.
Ending
STOP SCROLLING IF YOU ARE NOT DONE WITH THE SECTIONS ABOVE
!!!!!!!!!!!STOP SCROLLING IF YOU ARE NOT DONE WITH THE SECTIONS ABOVE!!!!!!!!!!!!!!!!!
SPOILER
Talk to Ivan. He’ll slap you in the face.
HUD:
[POWER]
>Hold Responsible
-Cause of Death Lv.3
–Witness Lv.2
>Authority
-Yvon’s Will
–The Client
>Hurt Ego
Focus on: NASHA
-Belittle
>Your Point of View
Focus on: IVAN
-Provoke
[HEART]
>Their Points of View
Focus on: NASHA
-Revenge
>Flatter Ego
Focus on: IVAN
-Give Victory
AFTER THE PERSUASION
1. Cover up
2. Kill Nasha
The Painter Ending (Good Ending)
According to the dev, this is the good ending. This after-credits and ending was introduced in the “1919” update.
After the credits, a photo will pop up.
There’s no need for any guidance here but if you couldn’t figure out what the password is, it’s: 1910
Outro
Feel free to point out any mistake I’ve made. I feel like this game did not get the attention it deserved, so I thought I’d try to give it a boost. And I’m a blue-haired chick. I had to write a guide about a cyan-haired detective.
I’m actually shocked that there are two different endings, one being very hidden. I suggested two of my friends to play this game, solely because of the terrifying after-credits scene. They played it, and they were not so surprised about the ending. My only reply was: “How?” Then we realized there are two separate endings and no guides showing how to get them.
I hope I helped you guys out. I believe the Good Ending is what gives this game an authentic vibe, other than the beautiful 8-bit pixel art and it’s mechanics of course. Kudos to the dev, wish I didn’t miss out on the test runs.
Hope you enjoy the Guide about Lockheart Indigo – Walkthrough, if you think we should add extra information or forget something, please let us know via comment below, and we will do our best to fix or update as soon as possible!
- All Lockheart Indigo Posts List


Leave a Reply