
Strongholds and World Boss
Welcome to Katsu Dungeoneering Guide
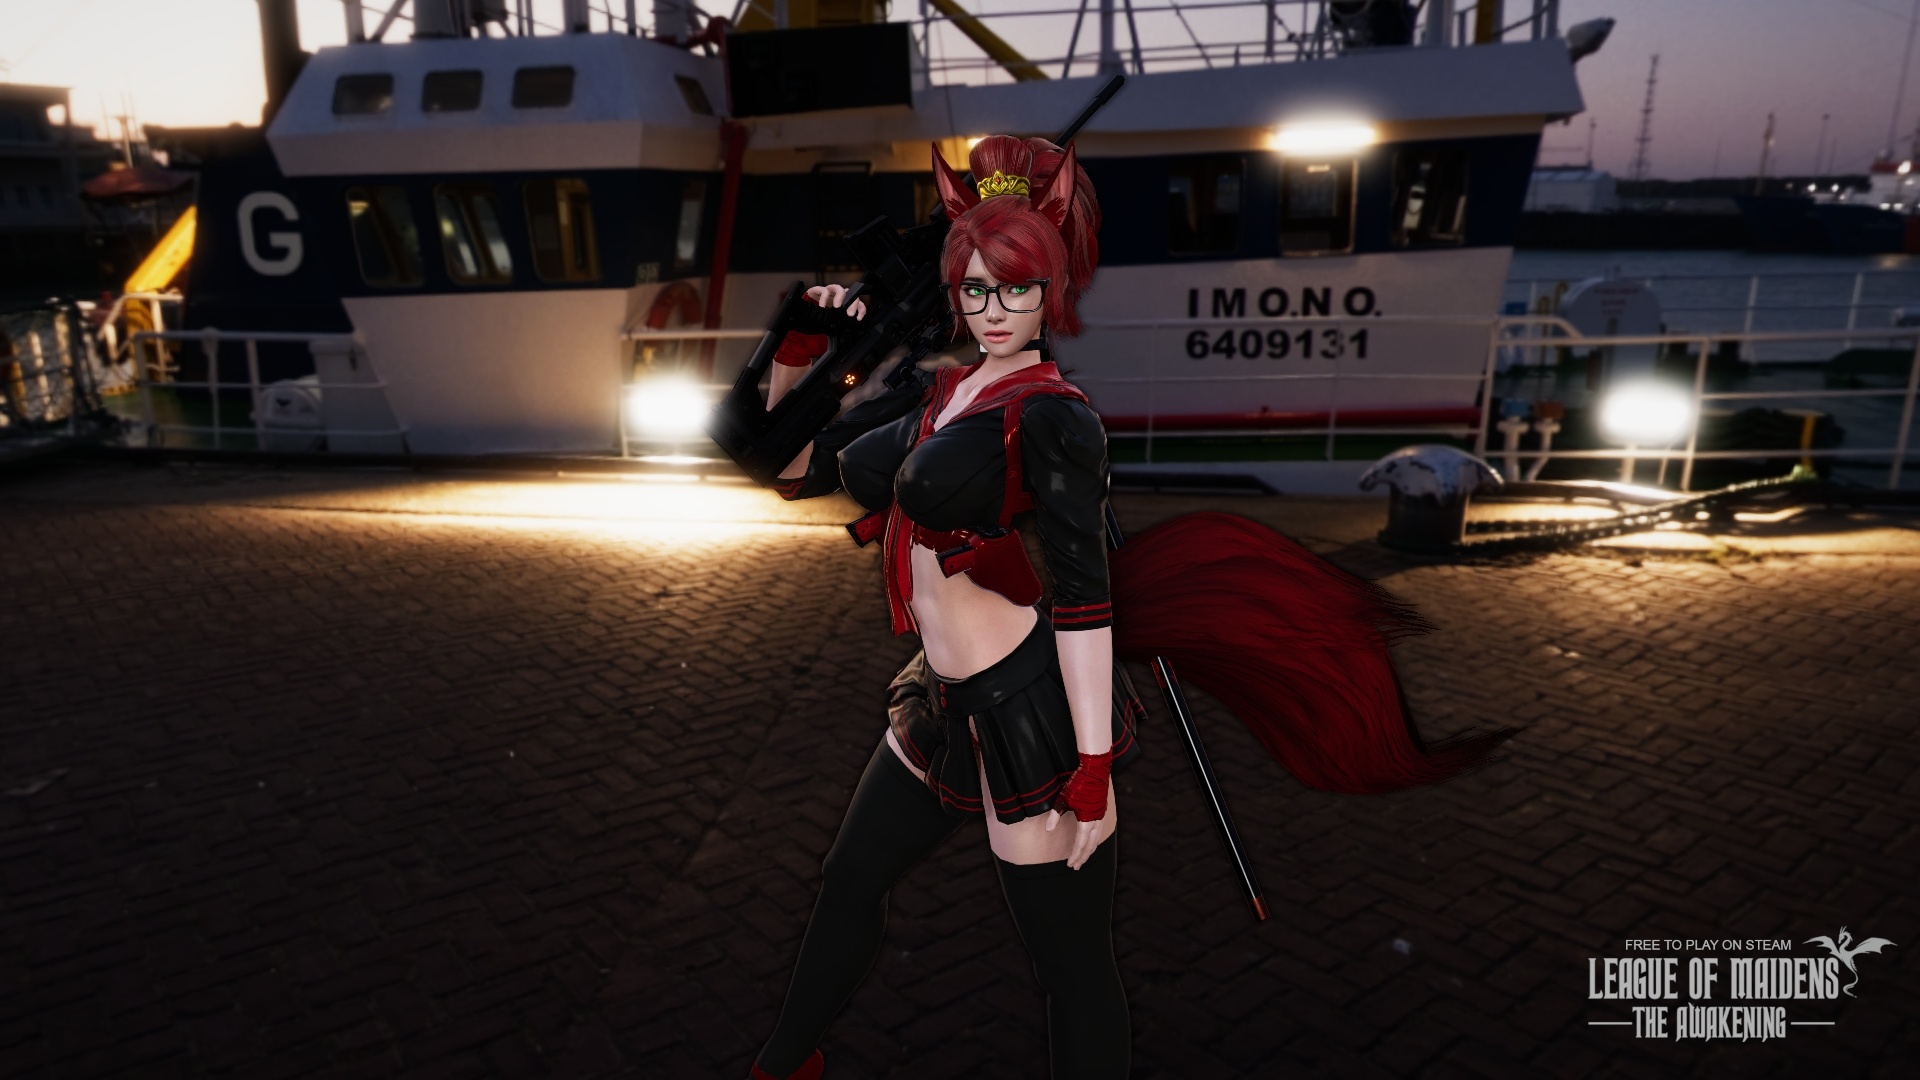
This guide is going to cover what are Strongholds and worlds bosses. This cover the mechanics of the bosses, symbols to look for on the map, and what to do against the boss. In the current state of the game you have a limit of ten runs a day for strongholds and world bosses combined. World bosses are event that take place at a certain time that will cause a pillar of fire beaming in the sky that you can go to and summon the boss. Strongholds are Dungeon with a boss that will spawn instead of a mini boss. Getting your daily run in is very important as this nets in a lot of shards, light cubes and treasure that you can sell as well.
In order to make a large net return there is a item in the game called Death Invitation that will make the difficulty and the quality of loot drop increases. With each difficulty increase the more loot and the pool increases. The cap for death invitation is 15 for loot. Pushing any further then 15 is solely just for more of a challenge.
Lastly Reward Drop’s showed at the bottom are Atonement Drops which as loot that only come from the boss itself! Death Invitations won’t increase the loot percentages of Atonement.
Seraph The Demon
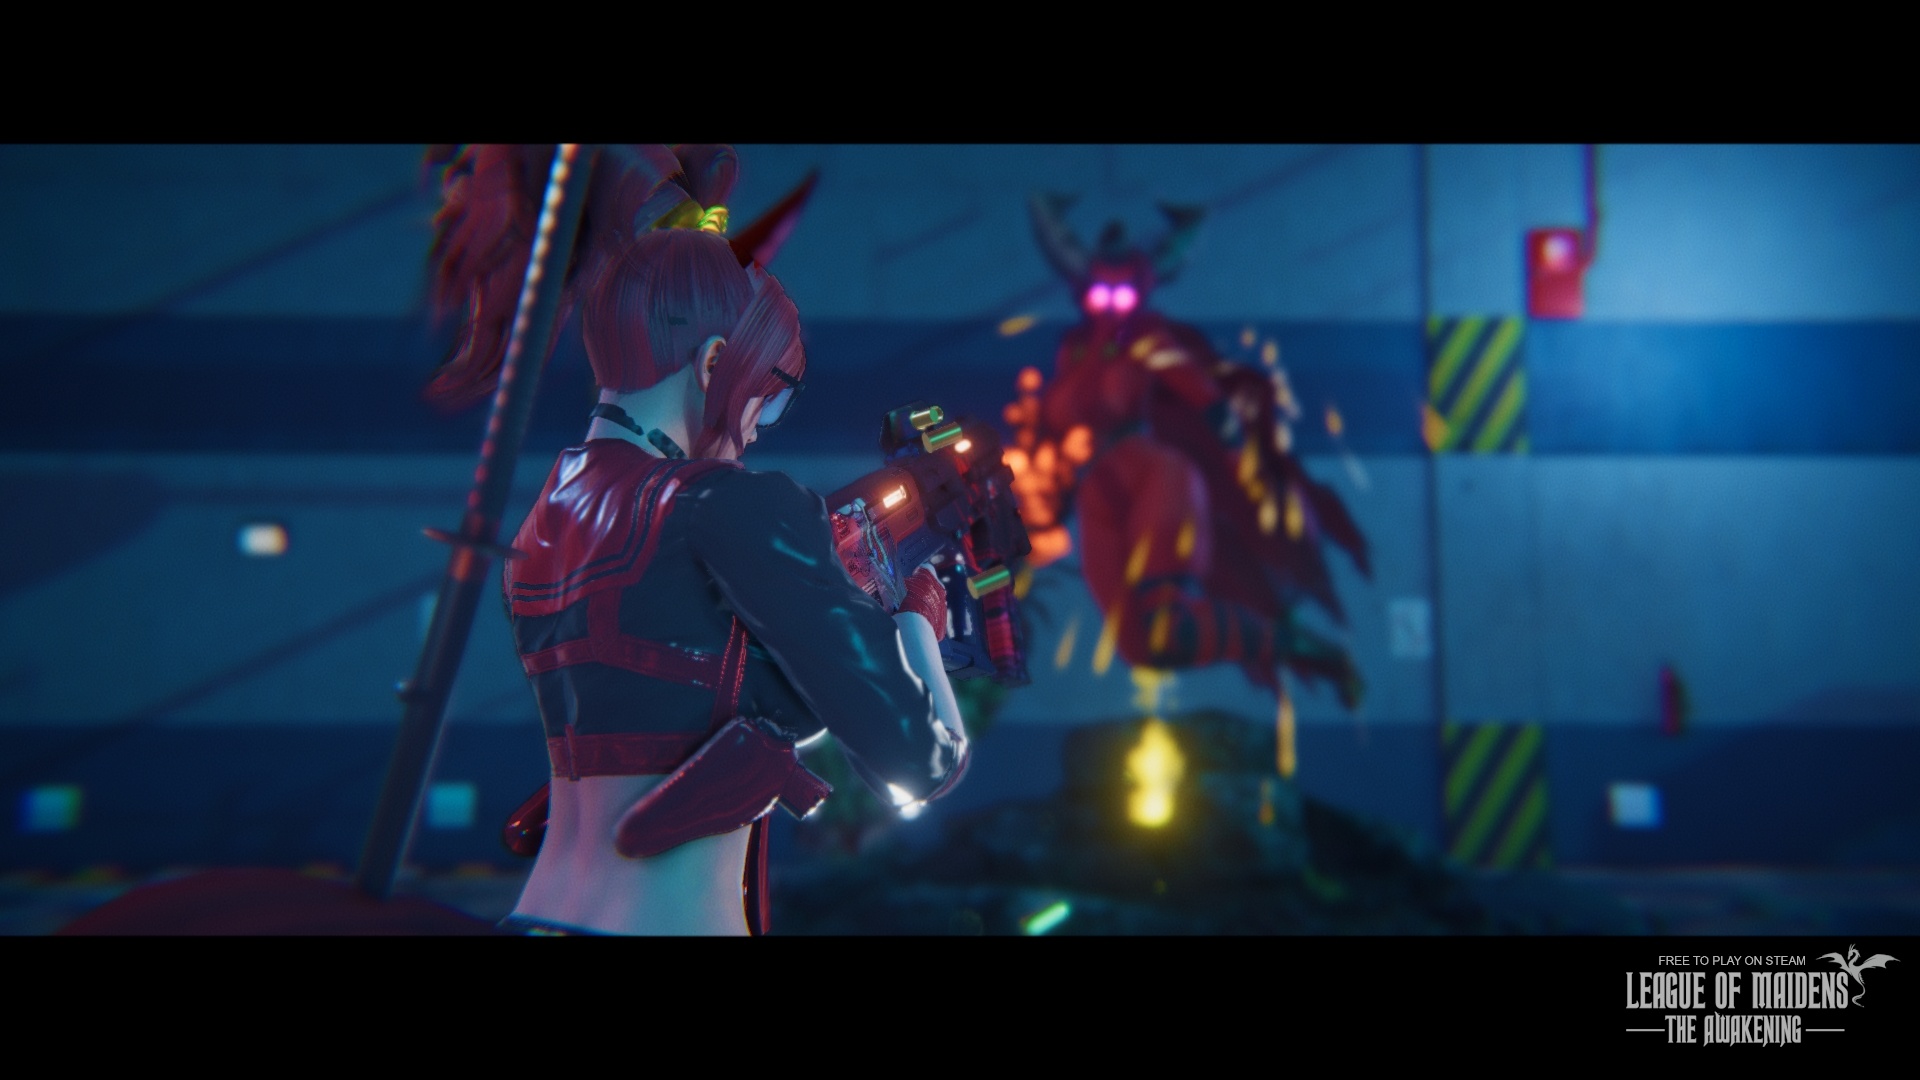
Seraph The Demon (Stronghold)
“Tower Of The Fallen, as a new threat emerges the Champions of the world fall and it is up to legends of tomorrow to stand up and fight for mankind’s survival. Your goal is to find and defeat this Harbinger in the Strongholds inside Freedom City” Seraph can be found in the Yellow Stronghold which can be found around the map with a biohazard icon color with skull on it.
Seraph mechanics are kinda like the beginning boss in Dark Souls 3 Gundyr but with a lot of forward movement in her abilities. Her kit include a triple stab, a leap, slow charged heavy hit, and a cleave 180 swing. Most of her attacks can be kited or counter with a simple parry attack or dodge. When you get to the final room starting the fight she will summon ads which is free DPS down time with your rifle. When the ads come up you’ll want to focus clearing all the ads kiting around the room before focusing the Seraph. This will give you a easier time on focusing the boss which means you can parry easier.
Rewards
Dark Cube T1 30%
Lore Scroll 25%
Red Incarnate 25%
Eng.Plans 12%
Empty Scroll 4%
Fire Essence 1.5%
Seraph Headgear 1%
Seraph 1%
Seraph Gauntlet 0.5%
Corrupted Artemis
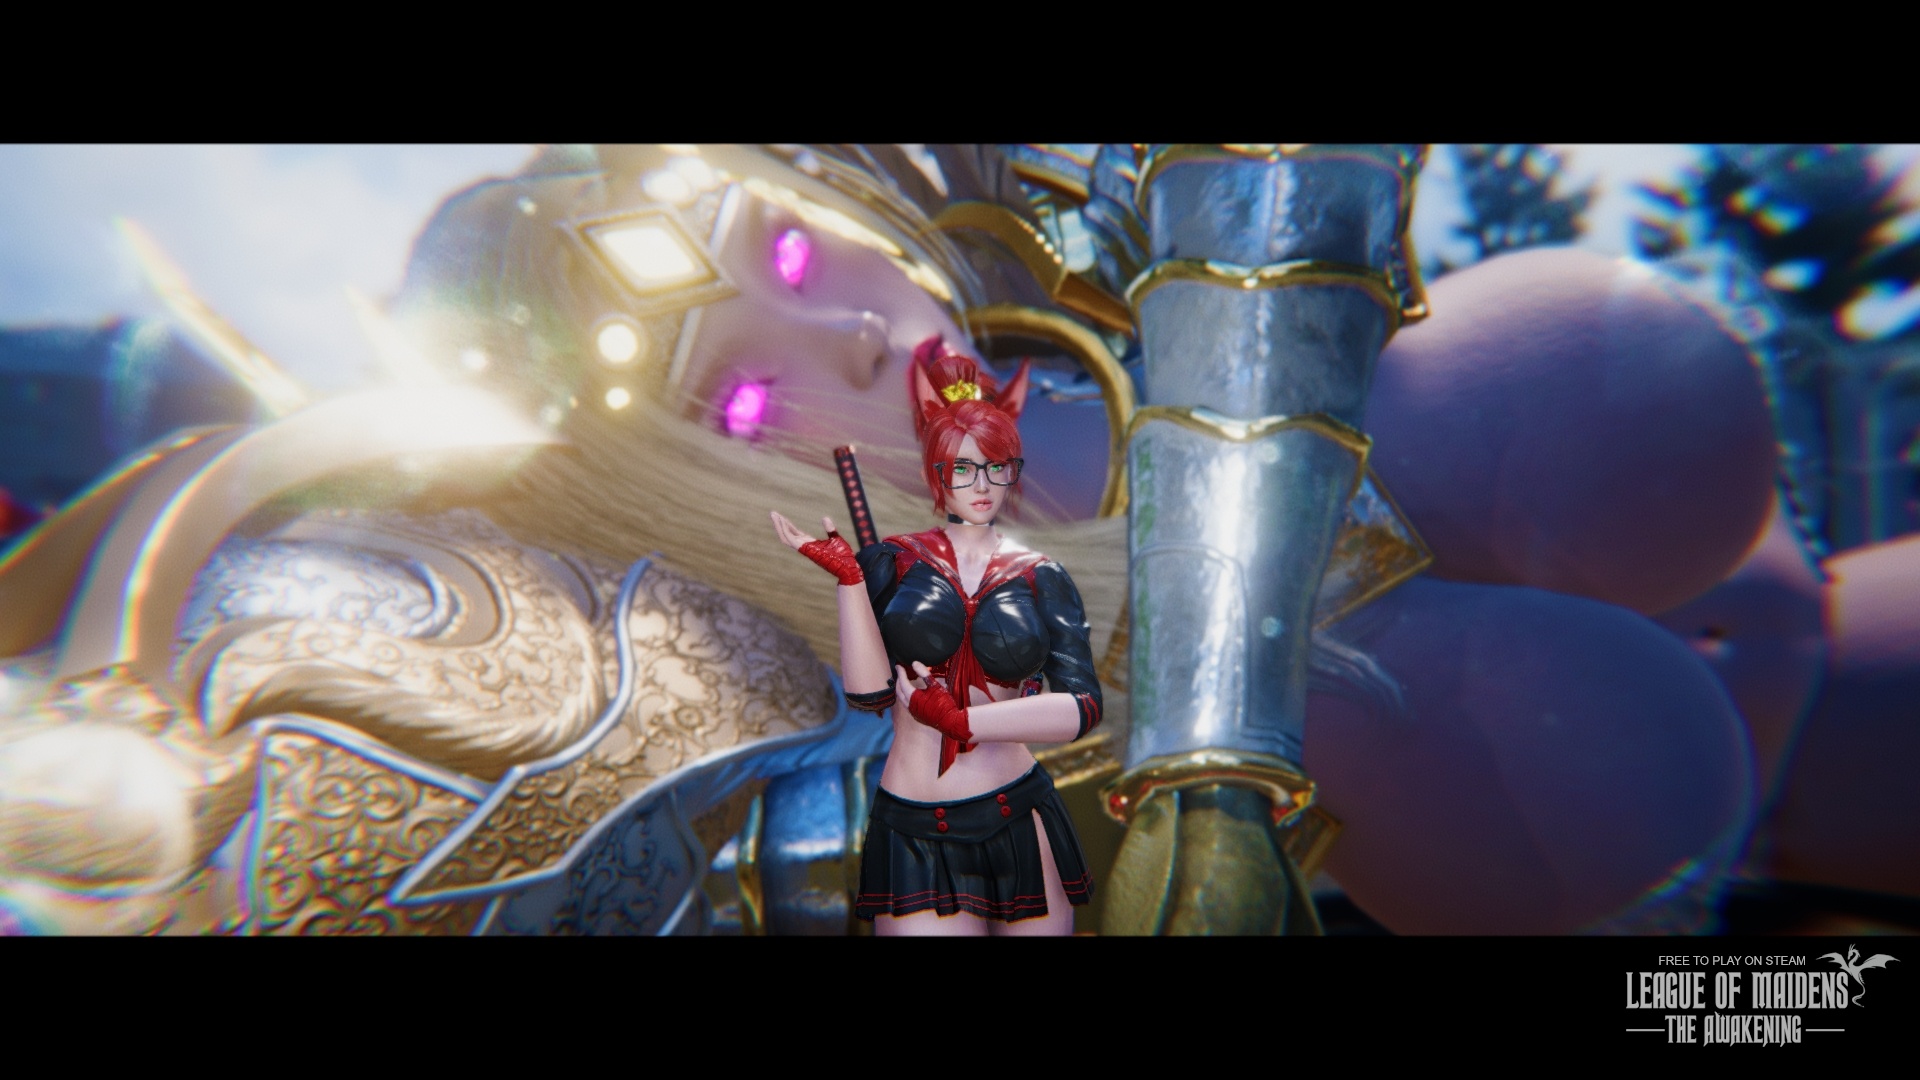
Artemis The Corrupted (World Boss)
“Death From Above as a new threat emerges the Champions of the world fall and it is up to the legends of tomorrow to stand up and fight for mankind’s survival. Your goal is to find and defeat Titan in Freedom City” Artemis is a world boss that spawn within a allotted time blocks.
Artemis is fairly easy in its current state. The closest thing to make a reference to her mechanics is the A.O.T (Attack on Titan) Beast Titan. She will spawn by coming through a portal landing on to the ground which is free dps time as she falling you can damage her. Artemis will throw cars at you which will have a 50% chance to blow on impact when you are on top of a building or to far away from her. She can charge at you full speed if you’re also to far. Lastly the final mechanic she has in her kit is a aoe pulse wave. Another niche thing about Artemis is that the armor on her will make a difference where you shoot her. The armored plated area will take reduce damage if you try to shoot her there so always try to aim where she not armored. Artemis is fairly easy as all her skill can be blocked by your shield and take no damage. If your playing a class that doesn’t have a lot of defense make sure you block the aoe pulse wave pulse wave as the orange wave does a fairly hefty amount. If Artemis takes damage to the head a decent amount she will stagger going in a stun covering her face with the armored plated gauntlets. Using building to your advantage like getting the higher ground or when she charging at your if she runs into a building she will stagger as well giving a free window to attack.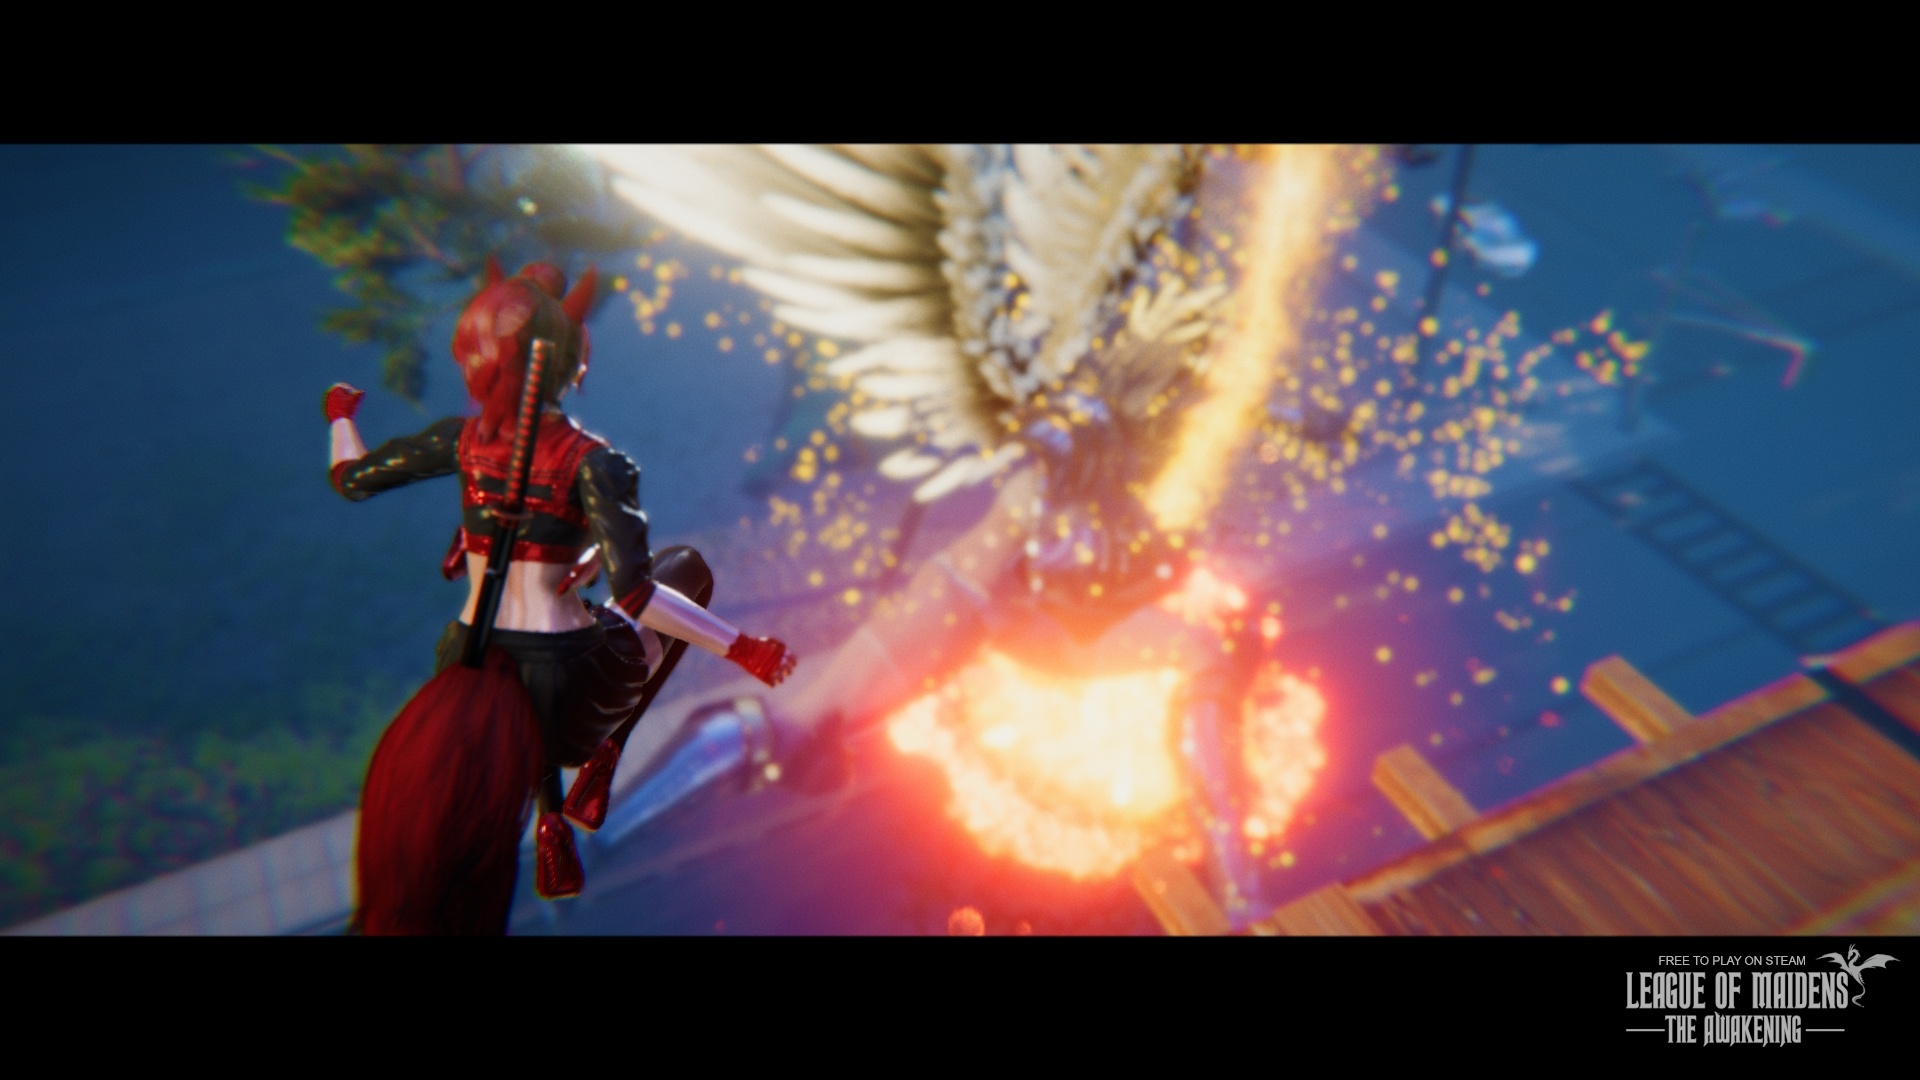
Rewards
Dark Cub T1 30%
Green Arcane 25%
Blue Incarnate 25%
Eng. plans 15%
Empty Scroll 4%
Ice Essence 1.5%
Artemis Header 1%
Artemis Cape 1%
Artmis Gauntlet 0.5%
Size (realy) Matters
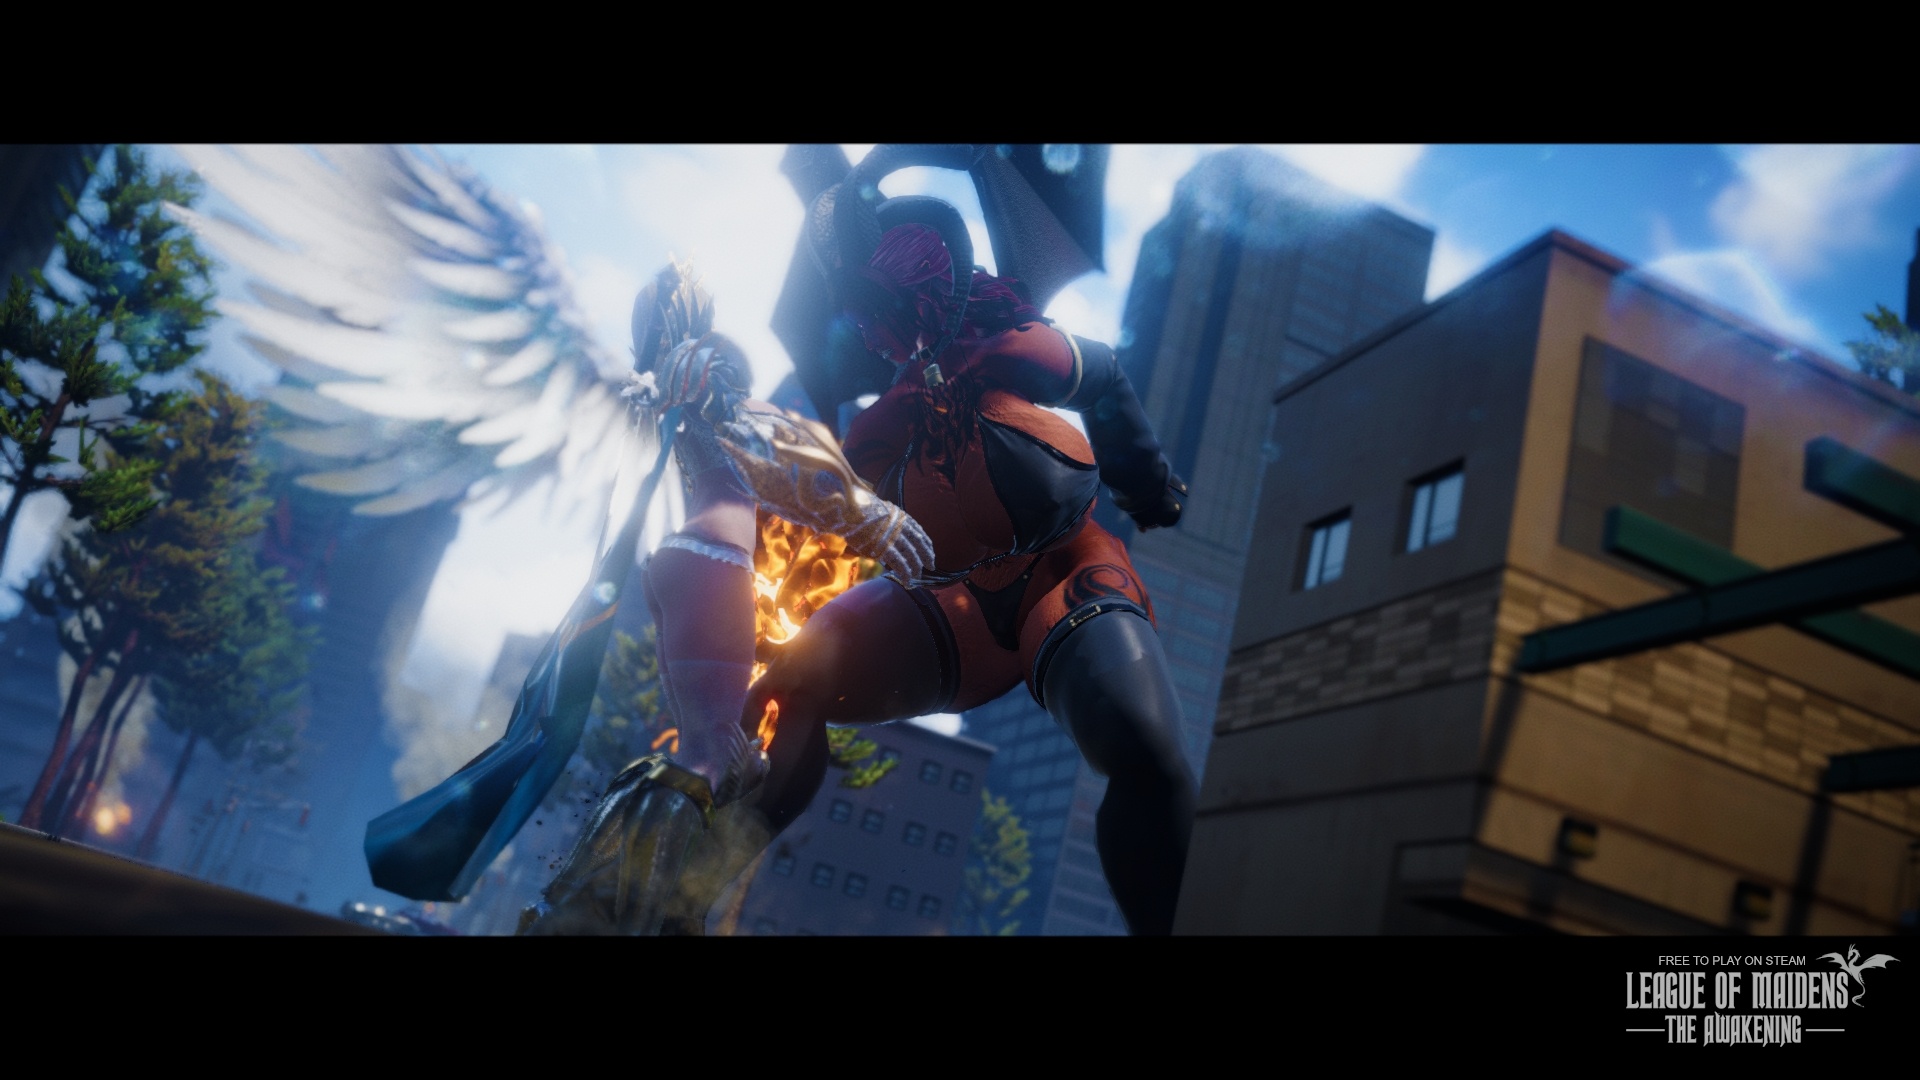
If you play as a Tank or have the Skill “Size Matters” unlocked and in usage, the whole fight changes.
Her attacks lock herself into an animation which makes it easy to just casually walk outside of the attack. Additionally to the scaling of your Character, her attacks mostly miss or can’t reach you. The best tactic is to just walk or run circles around Artemis so her attacks are pointing away from you and let the AoEs of your walking do their job. Since in this tactic you are always fairly close to her she never engages her pulse wave nor starts charging at you. It also seems that she gets really confused by not being the tallest at the battlefield which throws off her aim when she tries to hit you with (toy)cars; meaning the cars she throws towards you misses a lot. Since the Skill seems to negate all mechanics of the Bossfight there is no reason to not use that tactic.
Isis
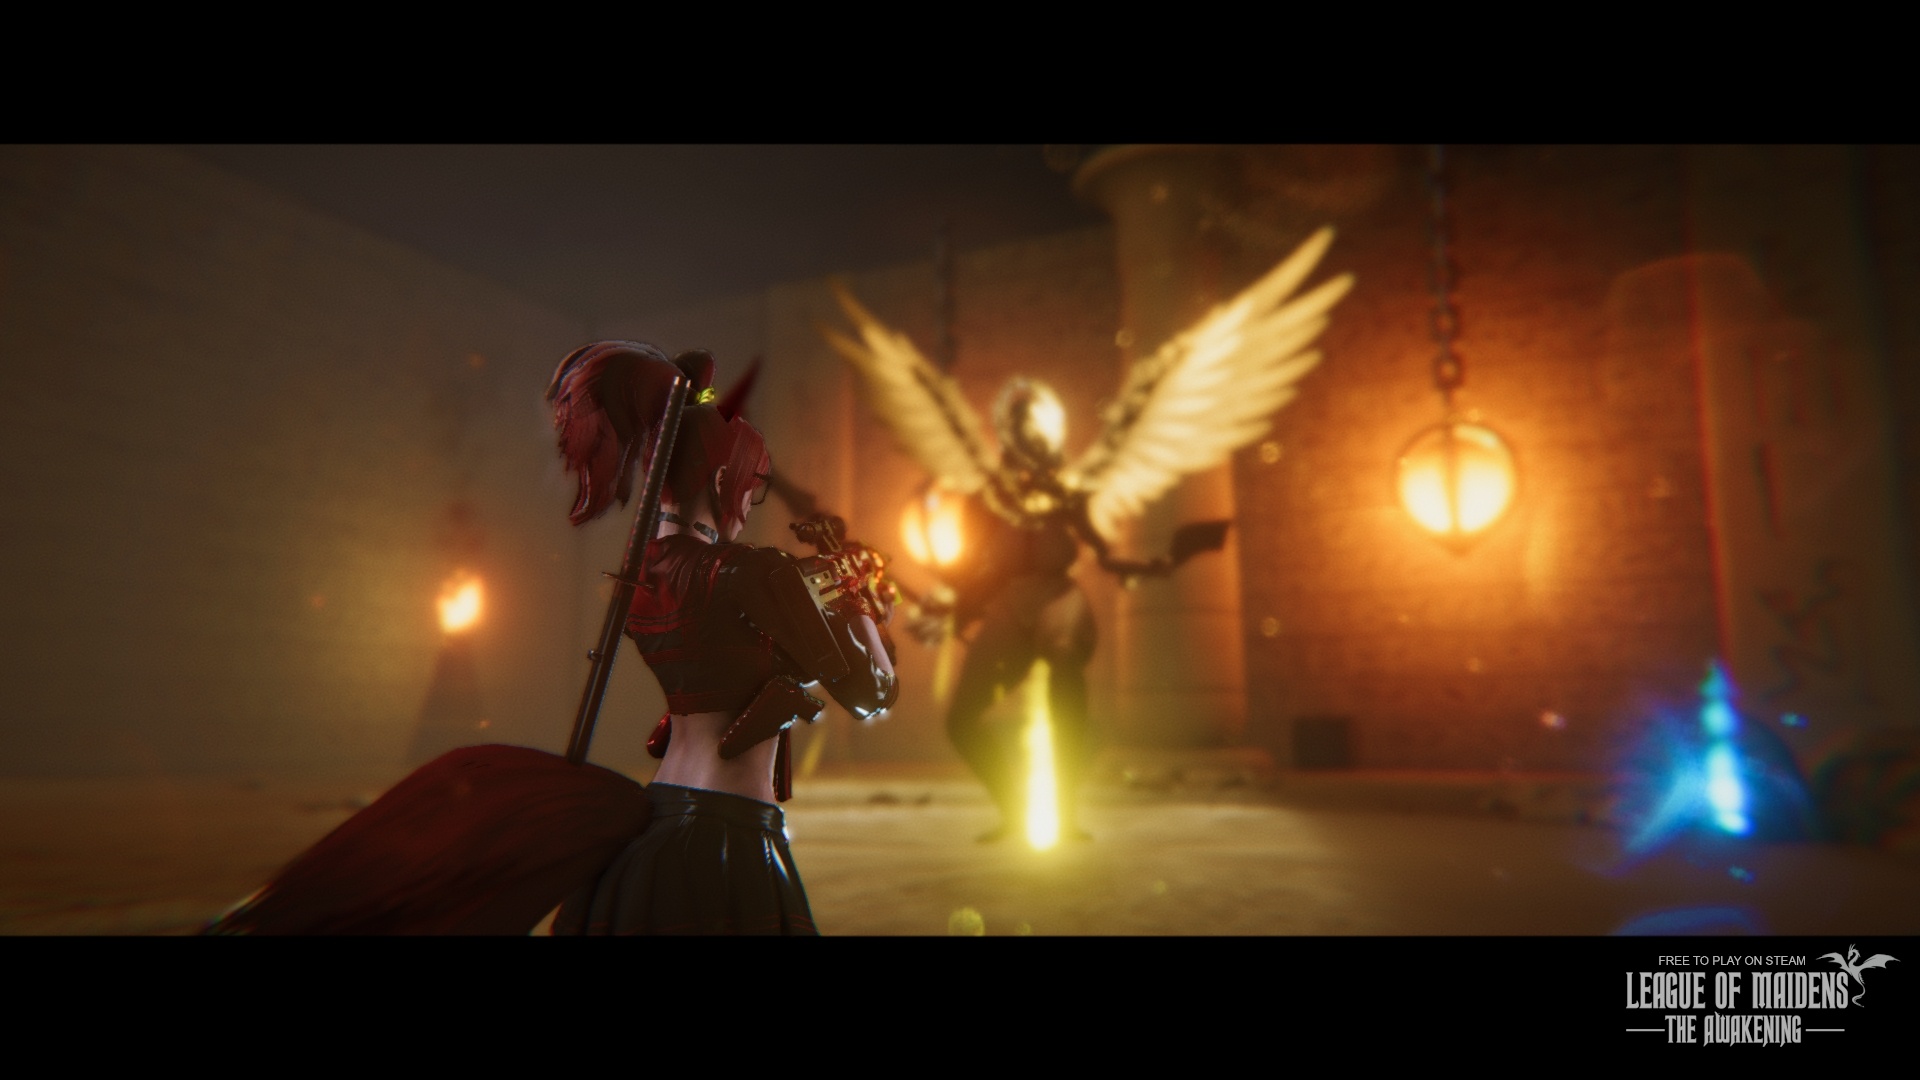
Isis (Stronghold)
“Temple of Lost Souls as a new threat emerges the champions of the world fall and it is up to the legends of tomorrow to stand up and fight for mankind’s survival. Your goal is to find and defeat this Harbinger in the Strongholds inside of Necropolis Desert.” Just like how Seraph was in the Freedom City Isis is the Necropolis Desert stronghold boss which can be found in the yellow symbols around the desert.
Isis fights a lot like Seraph but jump’s a lot more often then Seraph. Isis room is also a lot larger giving you a lot more space to move around and kite. Isis will spawn a lot more mobs then Seraph and will tend to spawn them more frequently if all the ads are killed. if the ads are not cleared out she will only summon the ones that have died. Just like Seraph you’ll want to clear all the ads out before fighting her however you could ignore the elemental as the elemental is very slow and the boss room being rather very big and generous of it’s space the first things you’ll want to kill is the feral’s followed up by the seeker as the very move fast and the creepers move slightly slower but also does a lot of damage. Isis plays to be a rather more aggressive jump version of Seraph. she rather a bit slower then Seraph as she prefers to leap rather then charging at you.
Rewards
Dark Cube T2 30%
Lore Scroll 25%
Green Incarnate 25%
Eng. Plans 12%
Empty Scroll 4%
Order Essence 1.5%
Isis Headgear 1%
Isis Cape 1%
Isis Gauntlet 0.5%
The Unholy Union
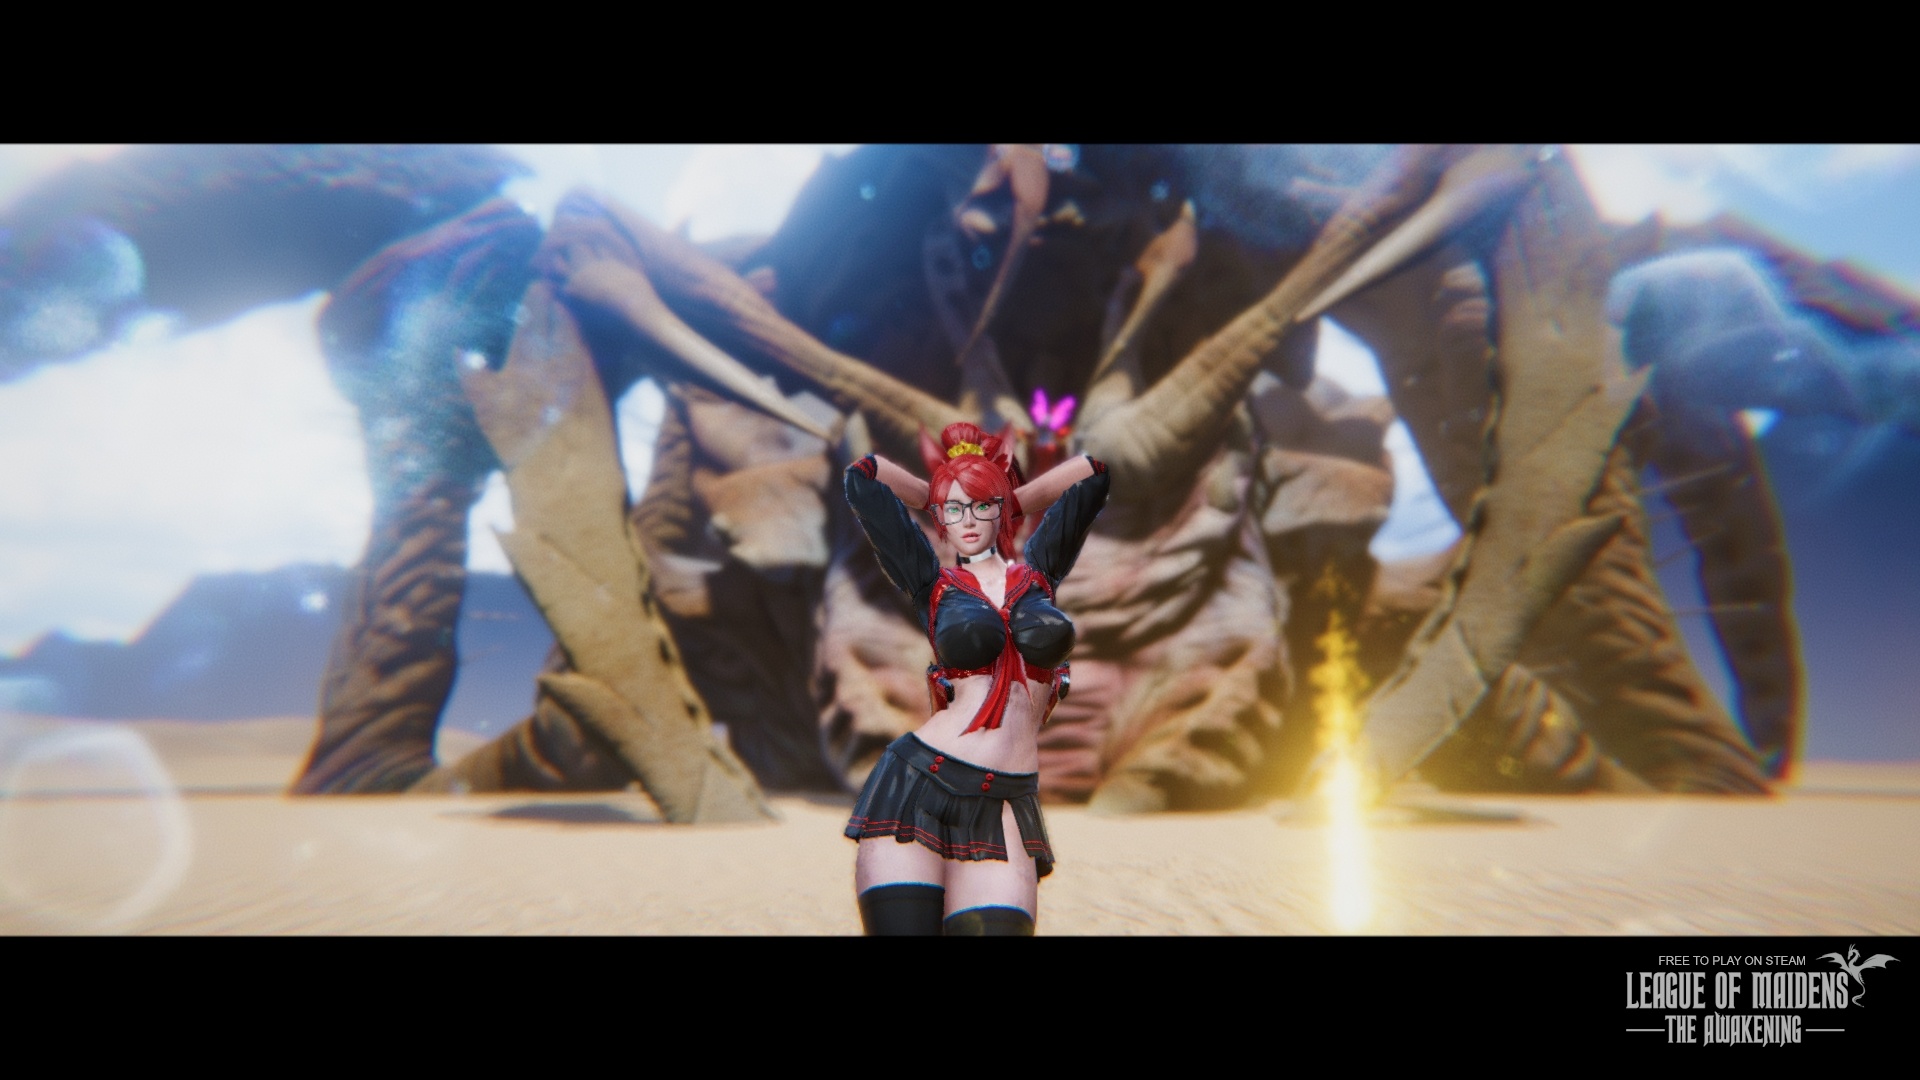
Union (World Boss)
“The Unholy Union as a new threat emerges the champions of the world fall and it is to the legends of tomorrow to stand up and fight for mankind’s survival. Your goal is to find and defeat this Destroyer in the Necropolis Desert.
Union is currently the Final boss as of right now in the game. Union has many mechanics and has 3 phases while fighting. Union is a giant arachnoid with a lady in the middle of the chest. With union i’ll be breaking this down fully as the union is also rather very tricky when going in blind first time doing it.
Tips
I highly recommend that you have small shield potions and small health potions as these potion will the only ones you can take safely with out having to cancel as the flask will take 10 seconds to fully consume.The interval that take for union to attack again is roughly about 7 seconds.
This fight is also recommended not to fly fighting in the air as the Union will swap to white which the down time to land and get your shield will take way to long and will cause you to get heavily punished or dying right away.
If you have died and you’r trying to go back in to rematch union you won’t be able to resummon the boss as its already spawn so you’ll wanna run in or walk in as union uses a lot of white phases causing you to have to push up to a certain distance.
When Union does the white phase you’ll want to prioritize this over DPS/clearing pods as white happens almost instantly which gives you a very small window to but your shield up.
When Union jumps in the air during phase transitioning I’d also recommend that you jump as there has been few report that maidens have been taking damage as well from the transition phase jump.
Mechanics
For these mechanics you’ll wanna pay attention to the belly on the arachnoid as this will indicate the move that he will do to attack.
Red When Union belly turn red it means that union is going to jump when union jumps into the air you’ll wanna jump right when it lands to avoid taking damage from union.
Yellow When Union belly turns yellow you’ll want to run around as it’s like a torpedo chasing behind you this happens roughly about 6-8 times before stopping.
white Union belly will turn white and doing a screech during the screech you’ll want to block with your shield facing directly
Green Aura Union releases a aura around her which you can’t attack the boss trying to damage the boss will negate damage and returned back to union as healing
Red Aura Union releases a red aura which will cause pods to emerge out of the ground
Orange Union will mark the Ground with a huge orange circle mark that you’ll wanna dodge or run to get out. This mark will do a huge explosion damage.
Yellow+Red This mechanic is found near the end of phase two of Union where she starts off with yellow right when yellow end’s with the last few 2-3 burrows left union will show red and jump at the same time you’ll want to run around union until this
Melee Getting to close to union will cause the front claws to attack as well making a swiping attack with the left going right and the right going left. You’ll most likely wanna run out and double jump to get out range
Phase 1
Phase 1 is rather very simple this will consist of Yellow,Red,and White mechanics to DPS union you’ll have to break the crystal off of union head first. This will expose the red glowing spot on union head from time to time making Union vulnerable. When head doesn’t glow you wont be able to dps and just have to focus on surviving and paying attention the mechanics. If you have dropped the boss a certain thresh hold there’s a chance Union might do Green and Red Aura
Phase 2
Phase 2 Union head will no longer be target-able to damage instead the legs will crystallize which you will have to rotate around breaking all the crystallized legs which will also expose the leg in a hot red which you also want to DPS until the leg re-husk itself. Union will preform mechanics Yellow,Red,White,Aura Red,Aura Green after a certain threshold getting near to phase 3 you’ll get a view Orange Mechanics as well. Lastly you’ll have to watch out for Red+Yellow Mechanic which combines Yellow going first and roughly after the 5-7 burrow Union will jump in the air making you have to jump.
Phase 3
Lastly we get into phase 3 which is fairly the most easiest part this will consist of all the mechanic that was taught already and just finishing off the boss. Just like the first stage but instead of the head crystallizing its the center mass where Union her self is the weak spot is Union herself but shooting anyone in the pool of red center mass will also do damage. With this in mind union doesn’t have any new mechanics and its just all previous mechanics from the other stages. With that in mind once understanding all the mechanics from the previous stage the last stage become easy as it just finishing off the boss ^^
Rewards
Dark Cube T3 30%
Green Arcane 25%
Purple Incarnate 25%
Eng.Plan 12%
Empty Scroll 4%
Chaos Essence 1.5%
Union Headgear 1%
Union Cape 1%
Union Gauntlet 0.5%
Atonia Raid T.B.A (Currently Unavailable)
Outro
Outro
With this I’d love to give a shout-out to Sapphicubus for the amazing fan-art! I also love when fan-art comes through my way give me a very good emotional boost to continue to work on what I enjoy doing as a Hobby if anyone would like to join the community it’s https://discord.gg/DRUQZQXAU3 . If you want to support my works go ahead and leave a rating,award,like as well as this really help get the guide out there!
Credits
Yuuki – Size Matters Section and Image
AngelEyes – Editor
Spahhicubus – Fan Art!
This is all about League of Maidens – Katsu Guide To Dungeoneering/Bosses; I hope you enjoy reading the Guide! If you feel like we should add more information or we forget/mistake, please let us know via commenting below, and thanks! See you soon!
- All League of Maidens Posts List


Leave a Reply