Hoodlum Dolls – Level 1 – Sweet Angel
Stash #1
⠀
⠀
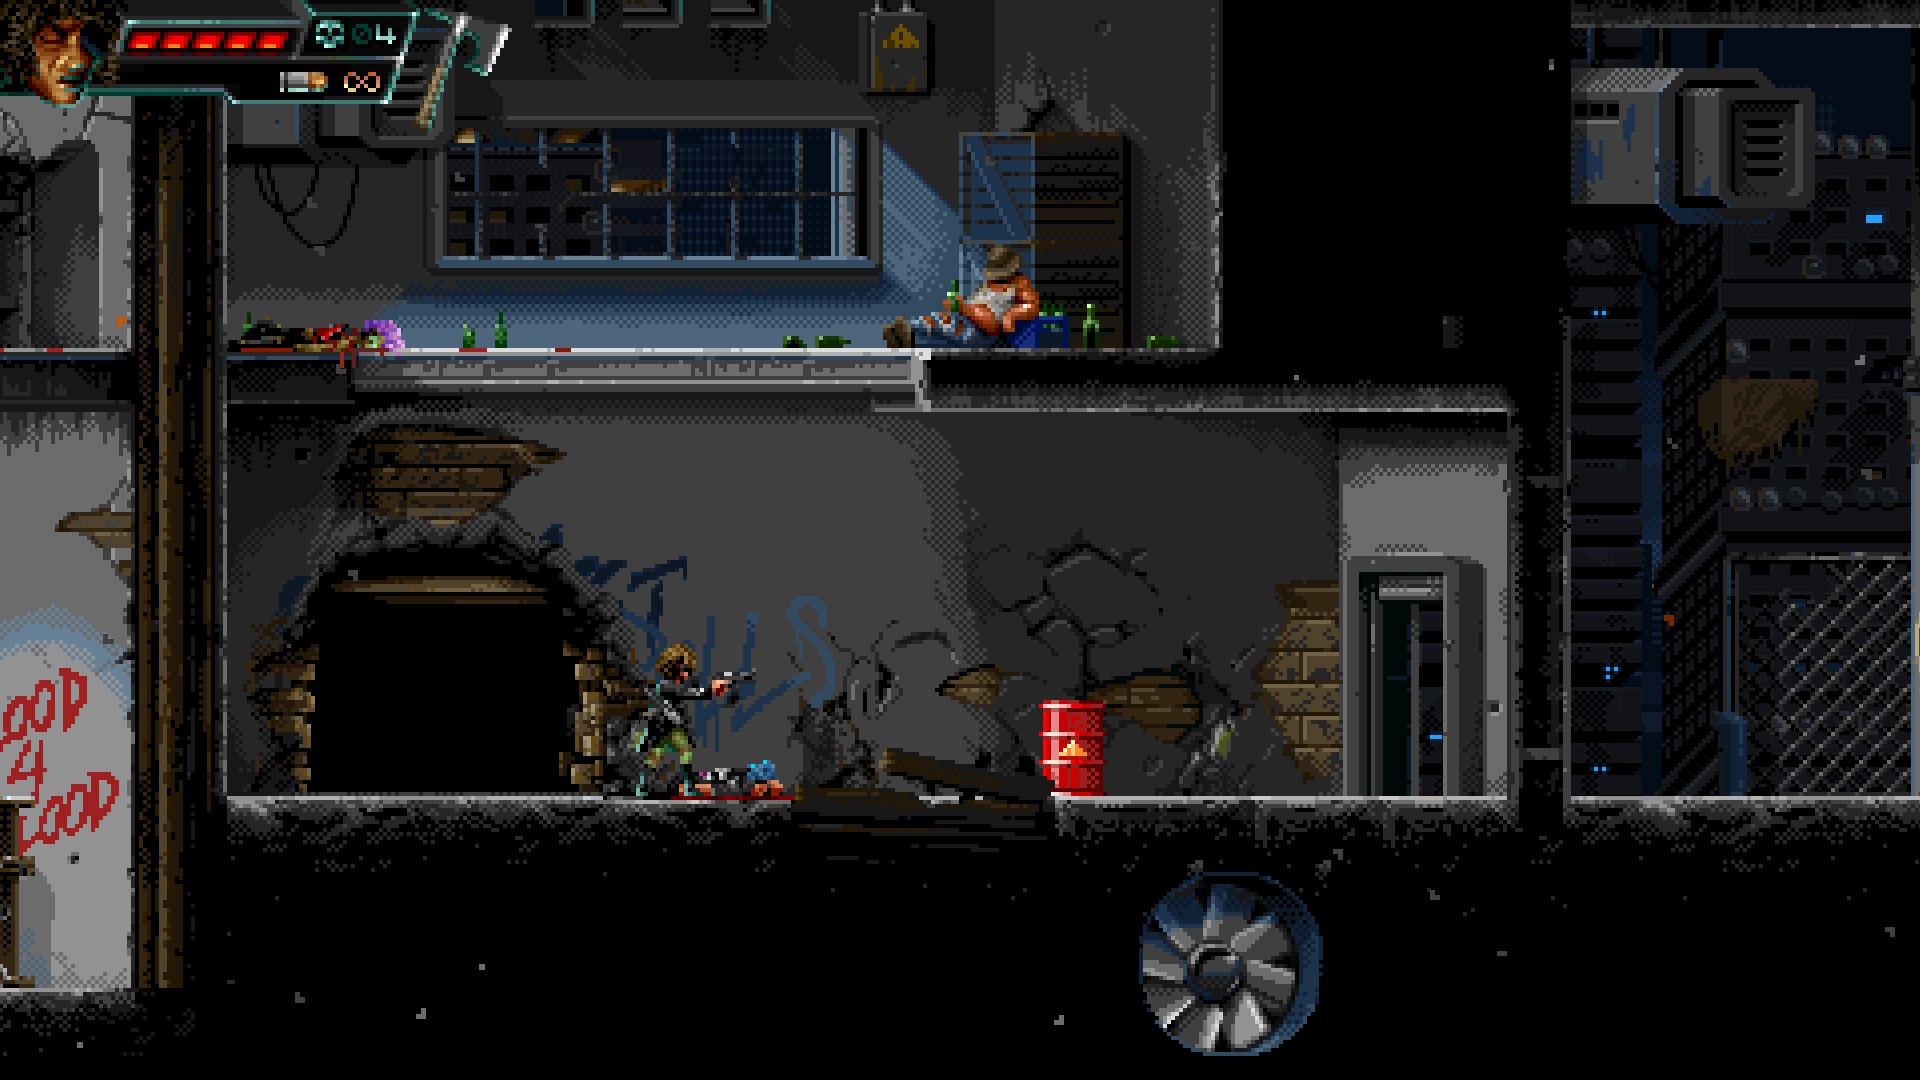
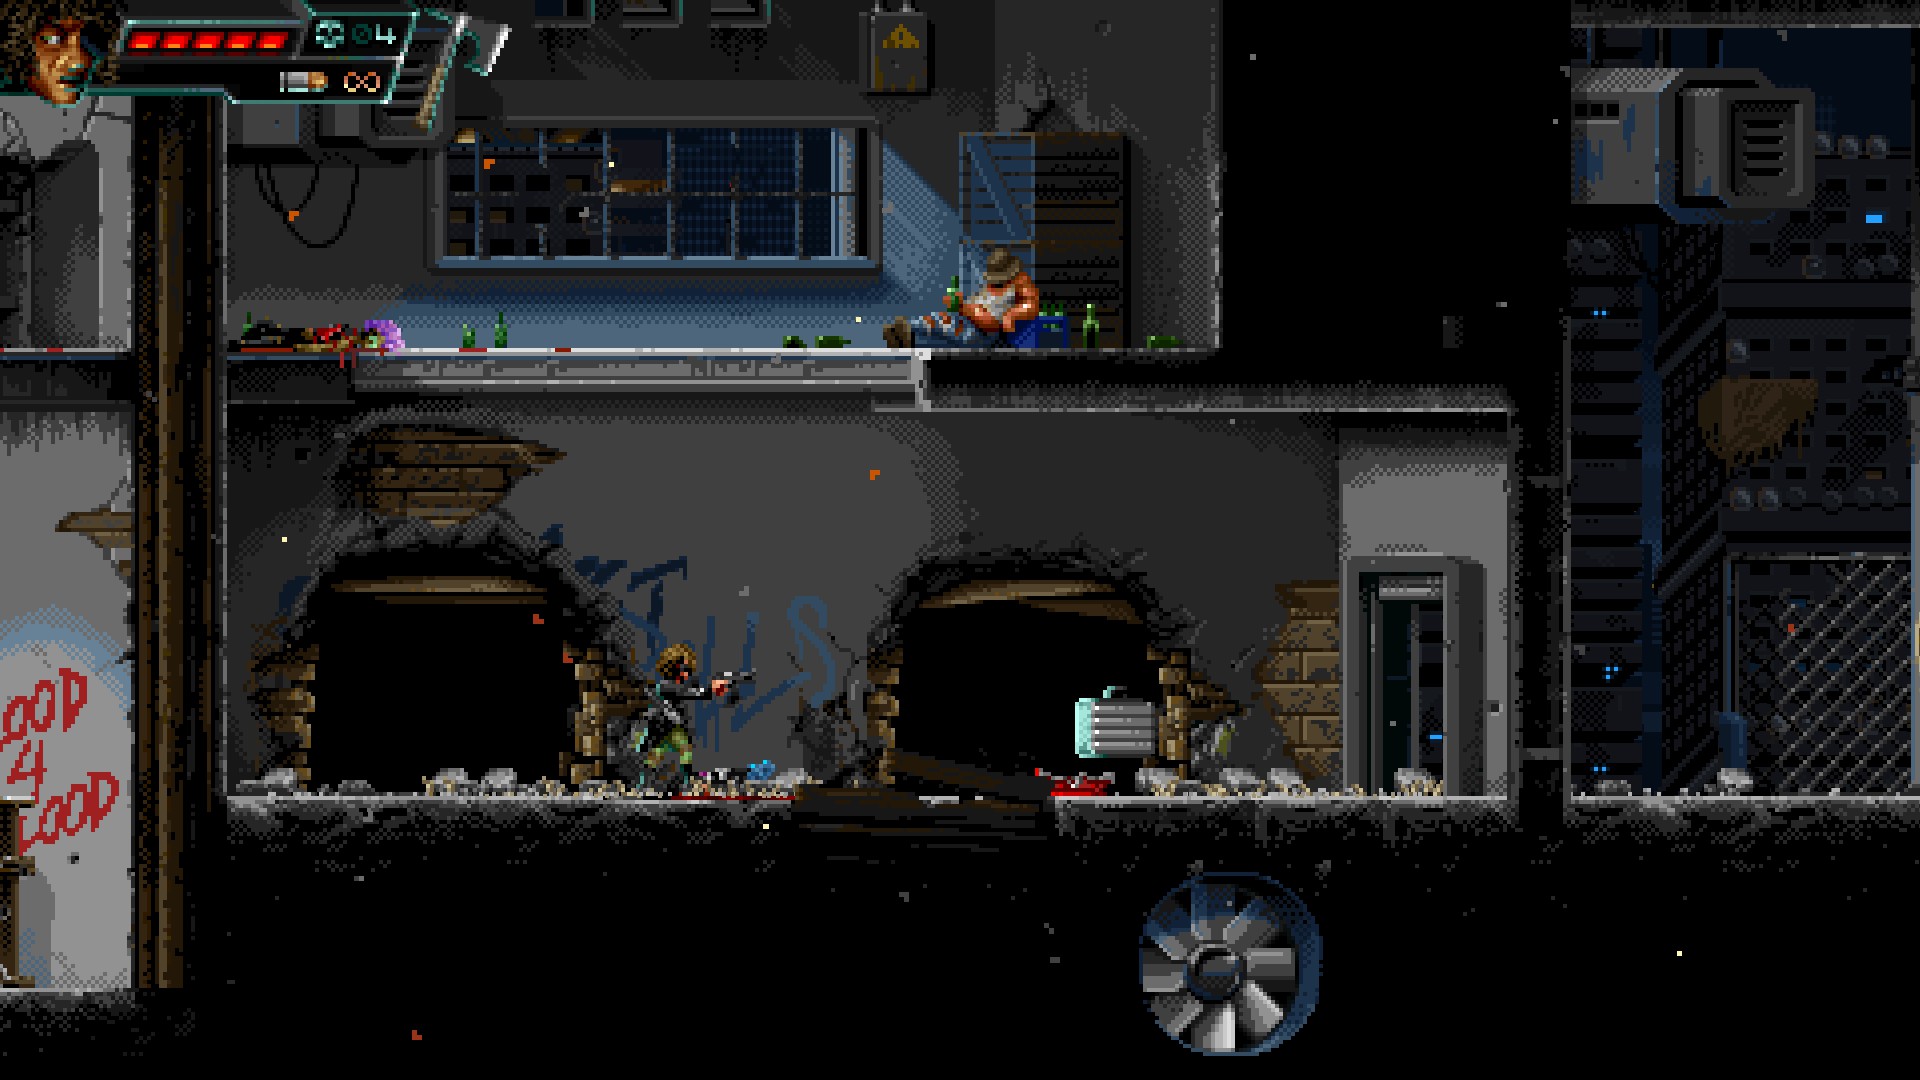
Blow up the barrel, crack open the wall and pick up stash #1.
⠀
⠀
⠀
⠀
Stash #2
⠀
⠀
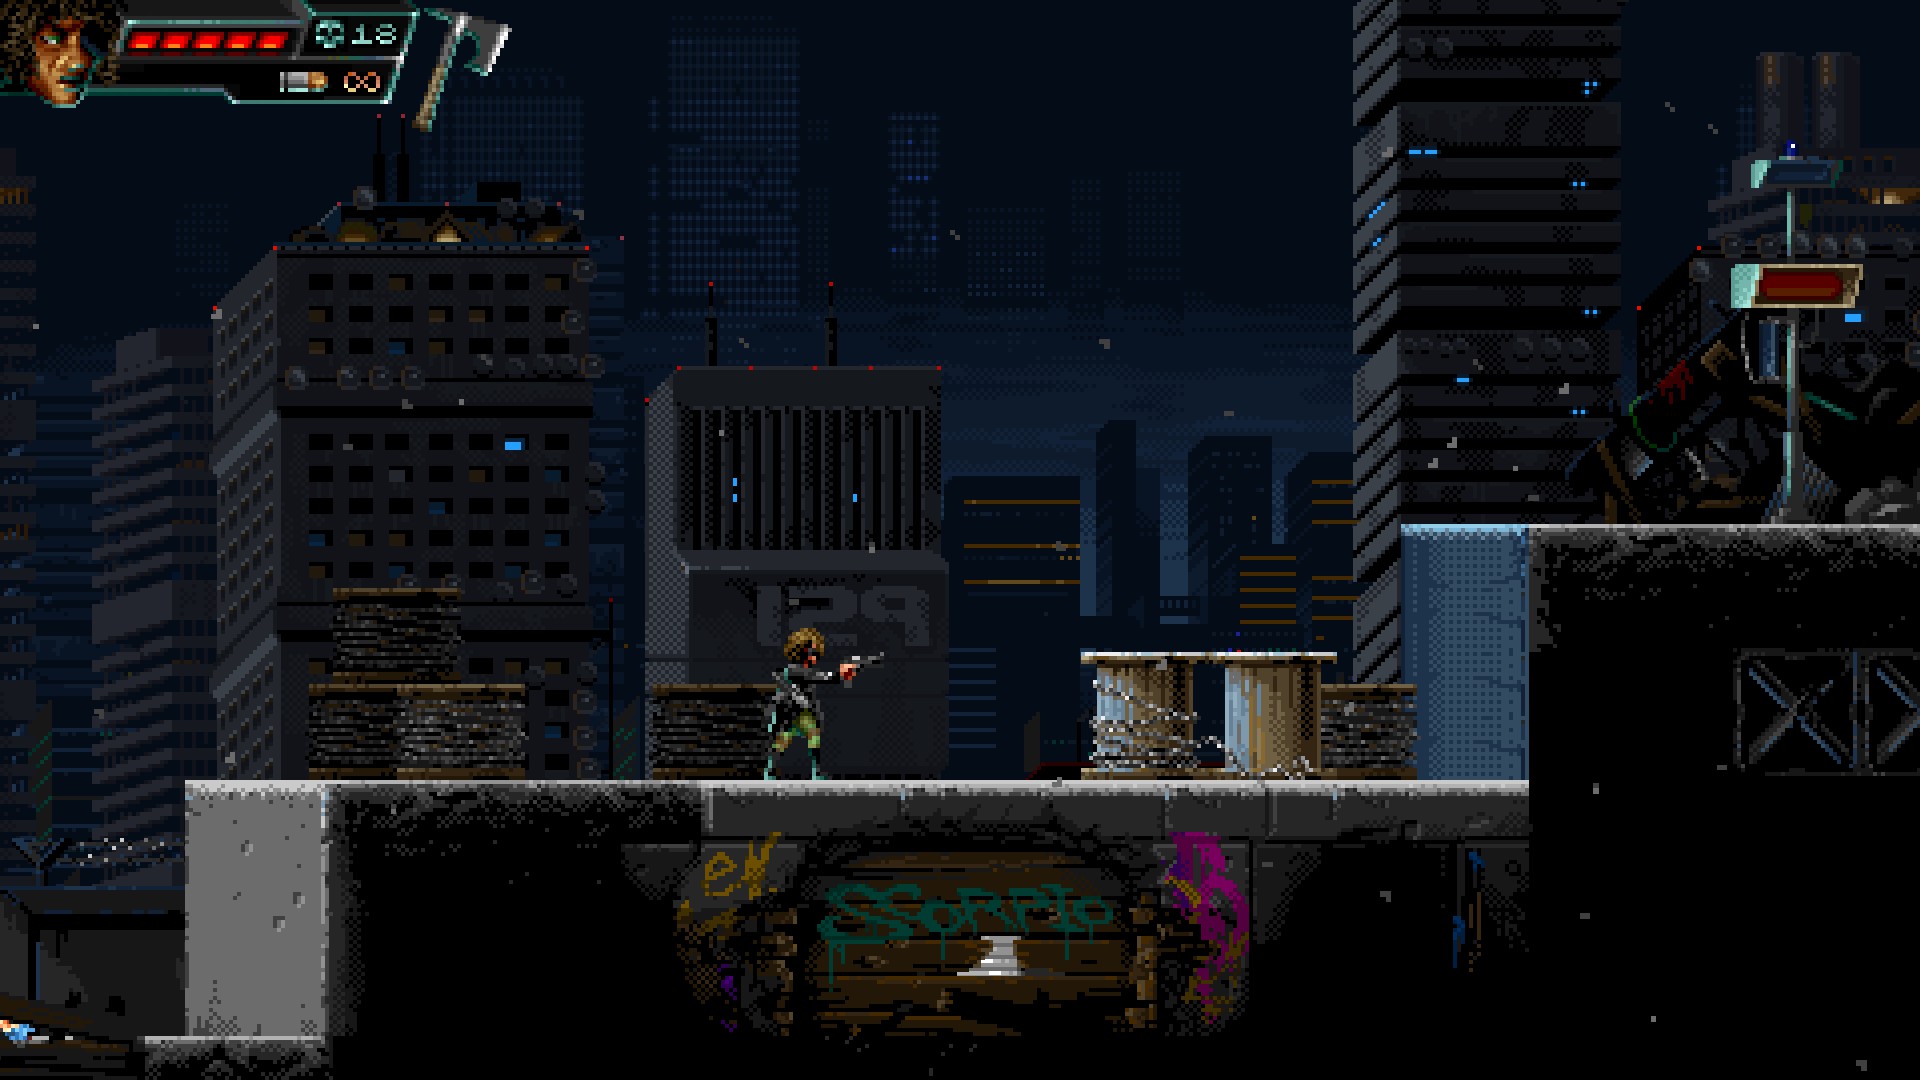
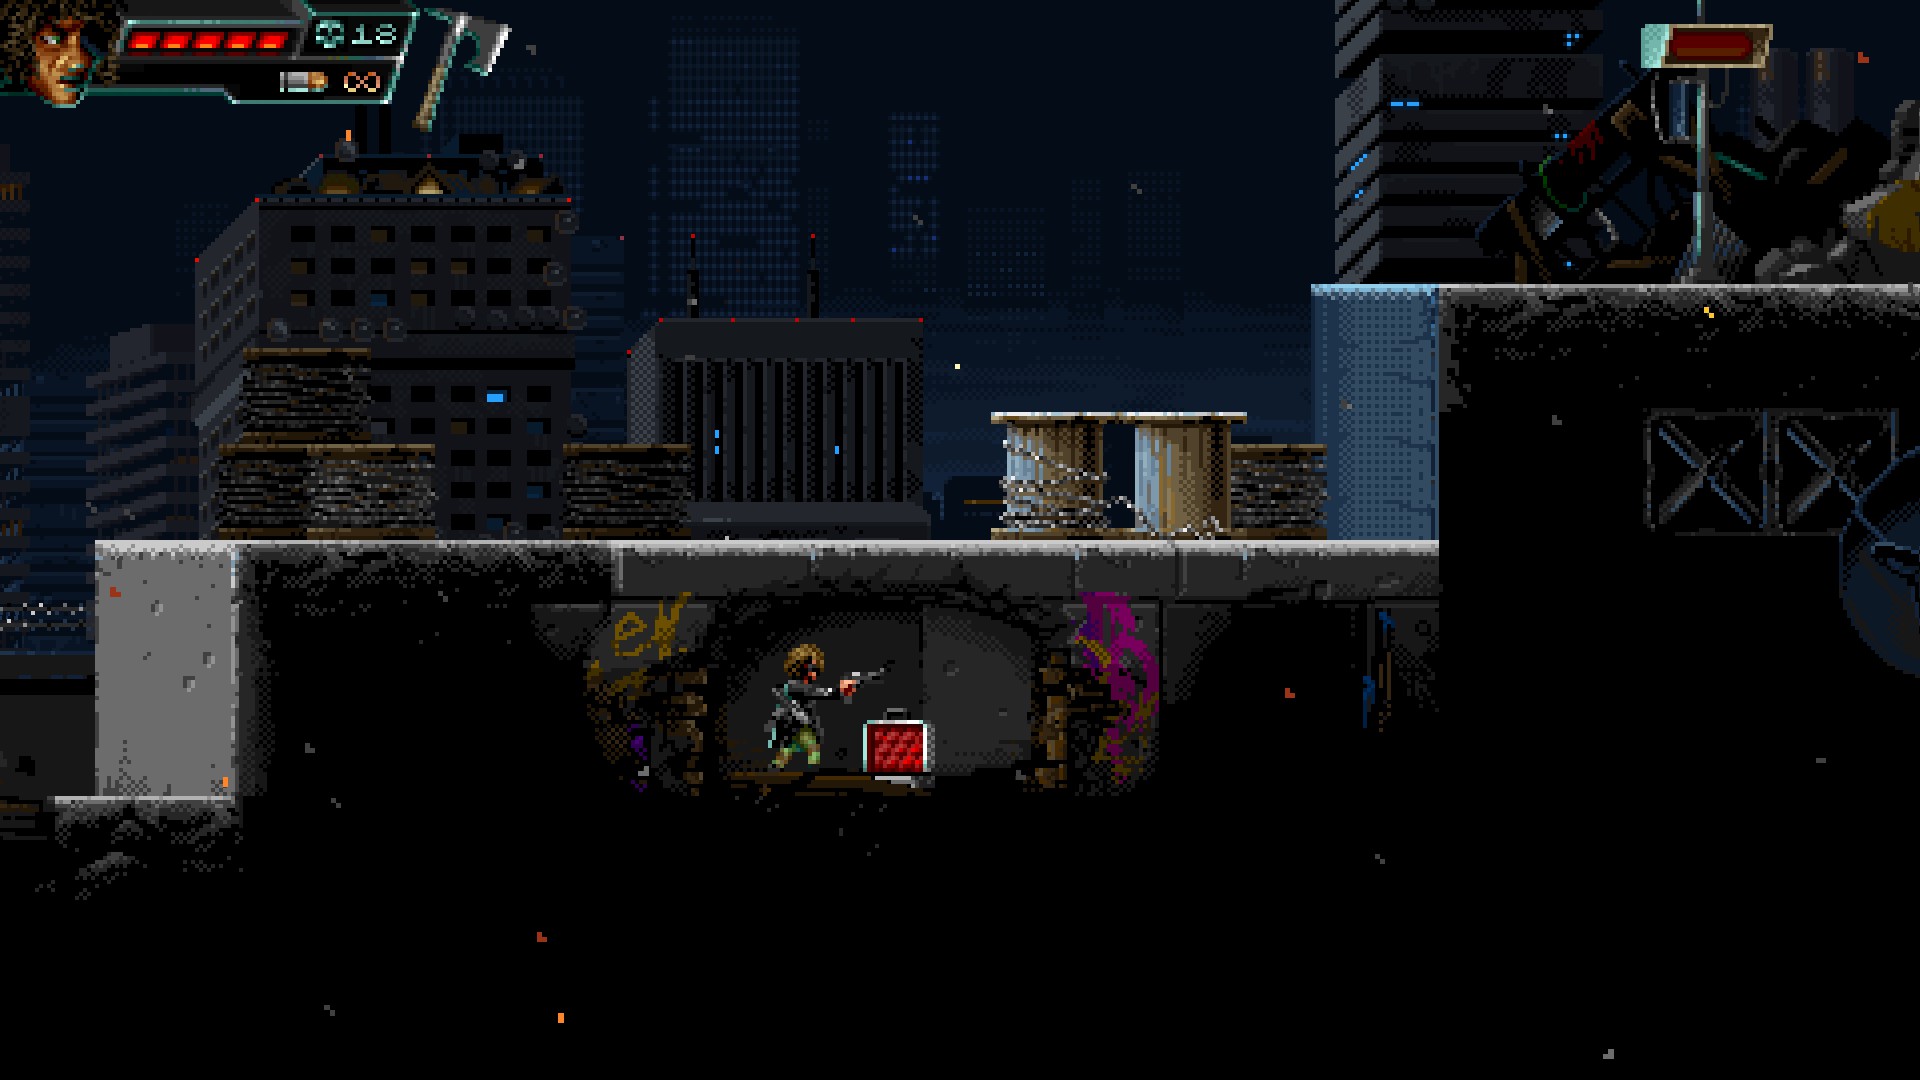
Drop down into the concealed area and pick up stash #2.
⠀
⠀
⠀
⠀
Stash #3
⠀
⠀
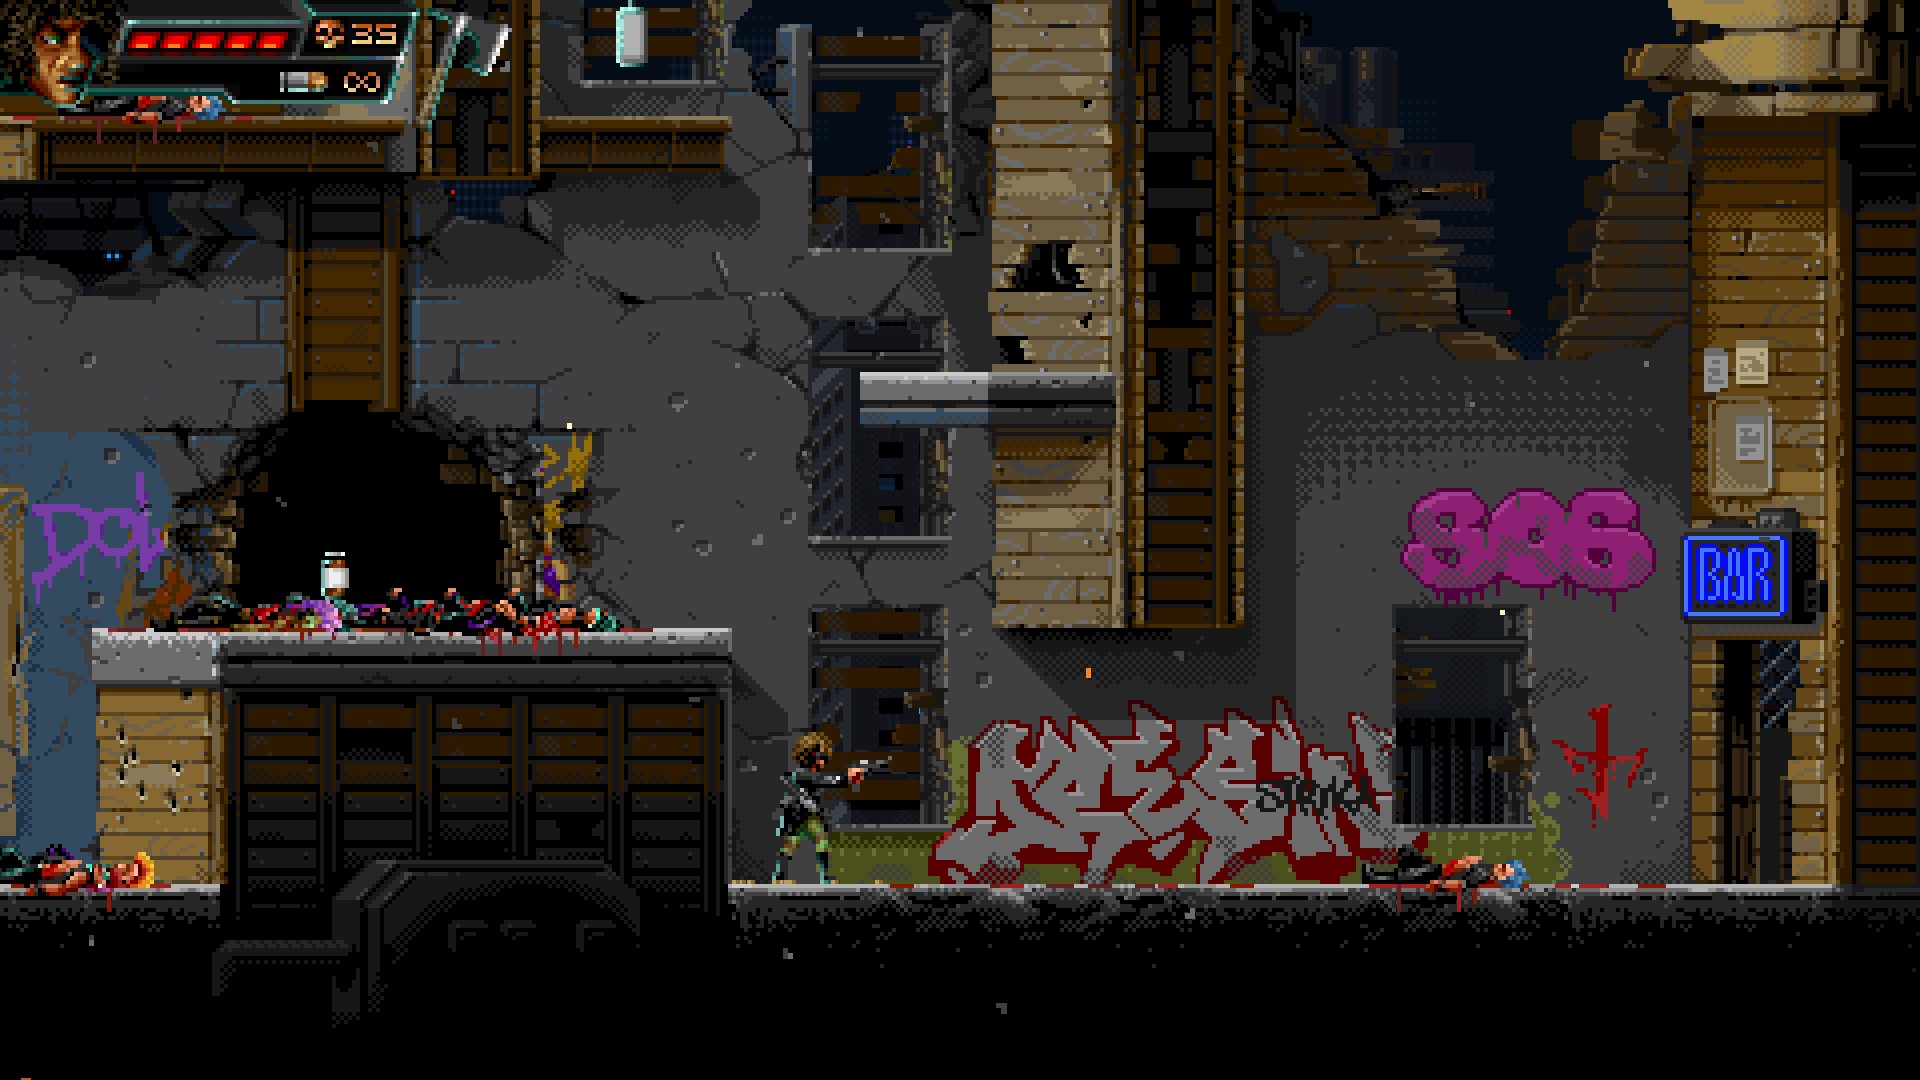
If you have missed one, you really need this guide.
⠀
Hoodlum Dolls – Level 2 – Sid Handsome
Stash #1
⠀
⠀
┻━┻ ︵ ヽ(°□°ヽ)
⠀
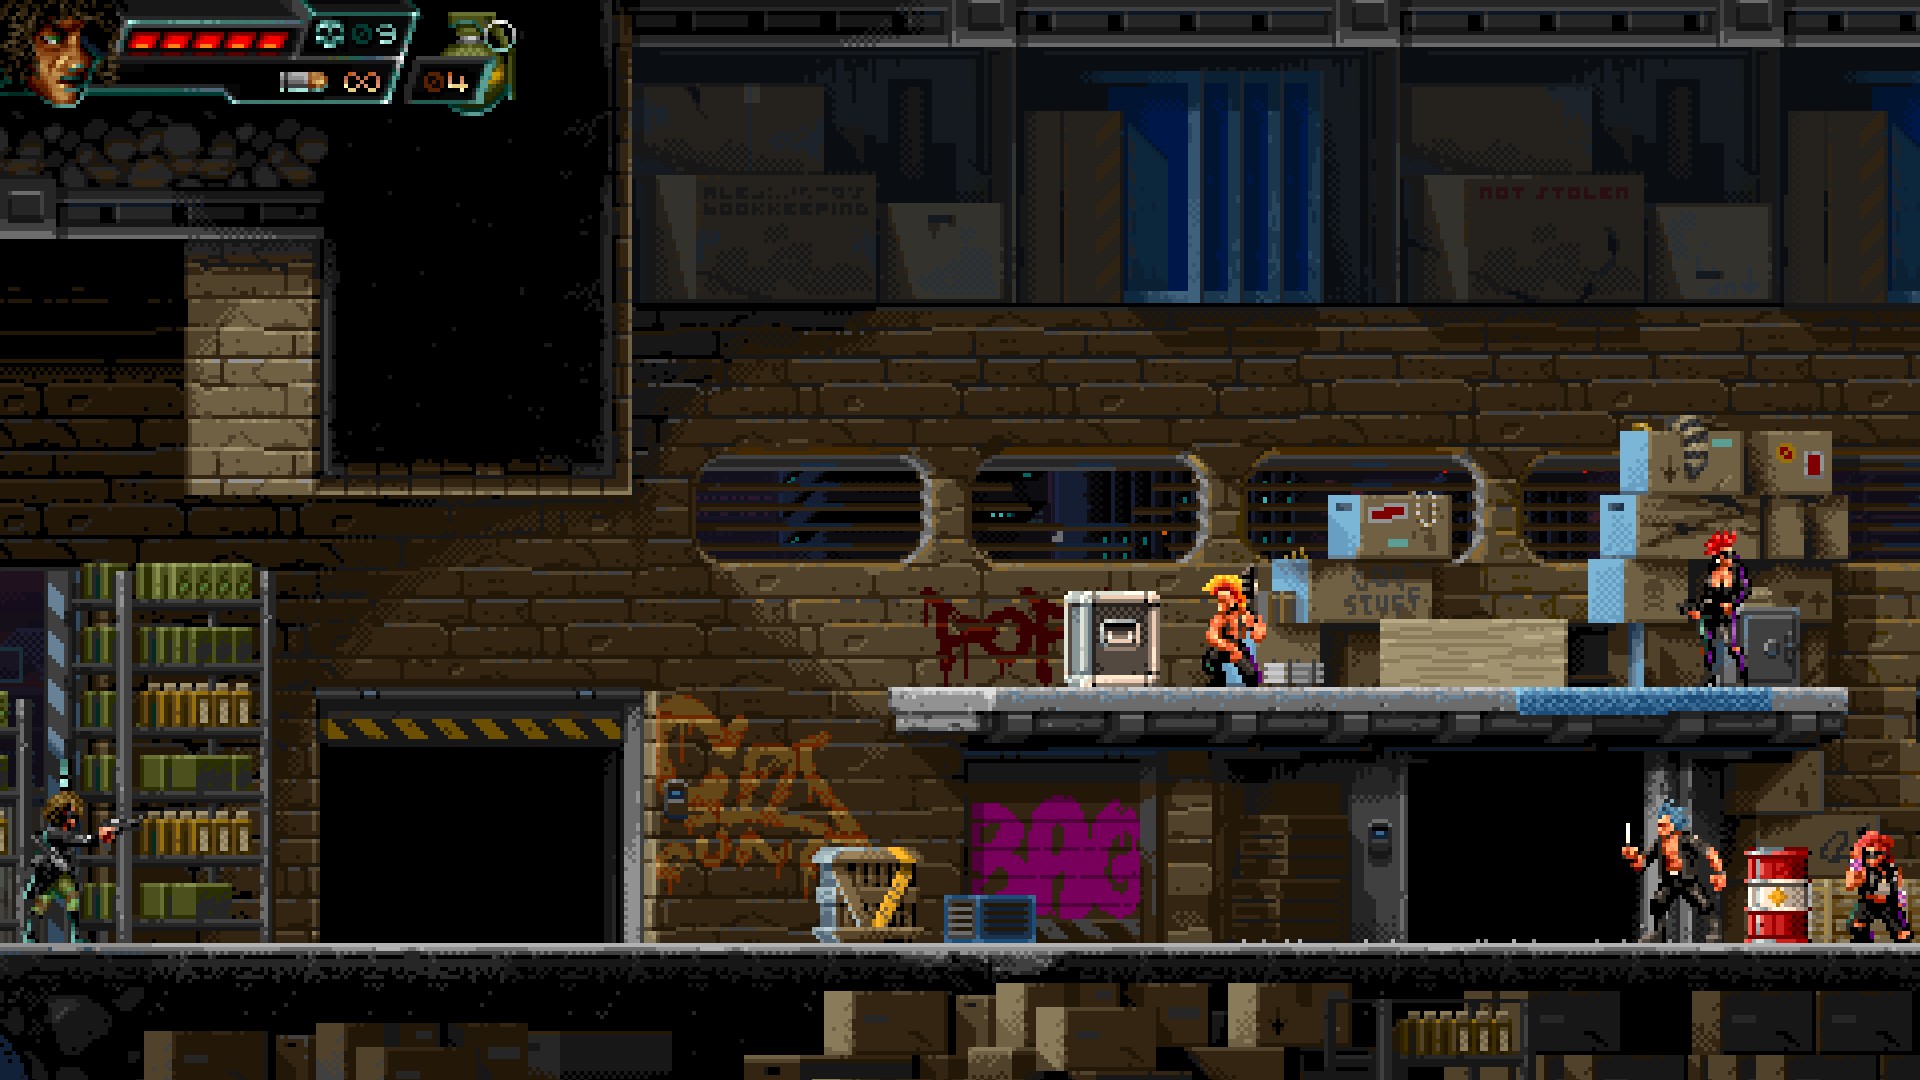
After panicking and doing a table flip this courier makes a run for it. Kill him and pick up stash #1.
⠀
⠀
⠀
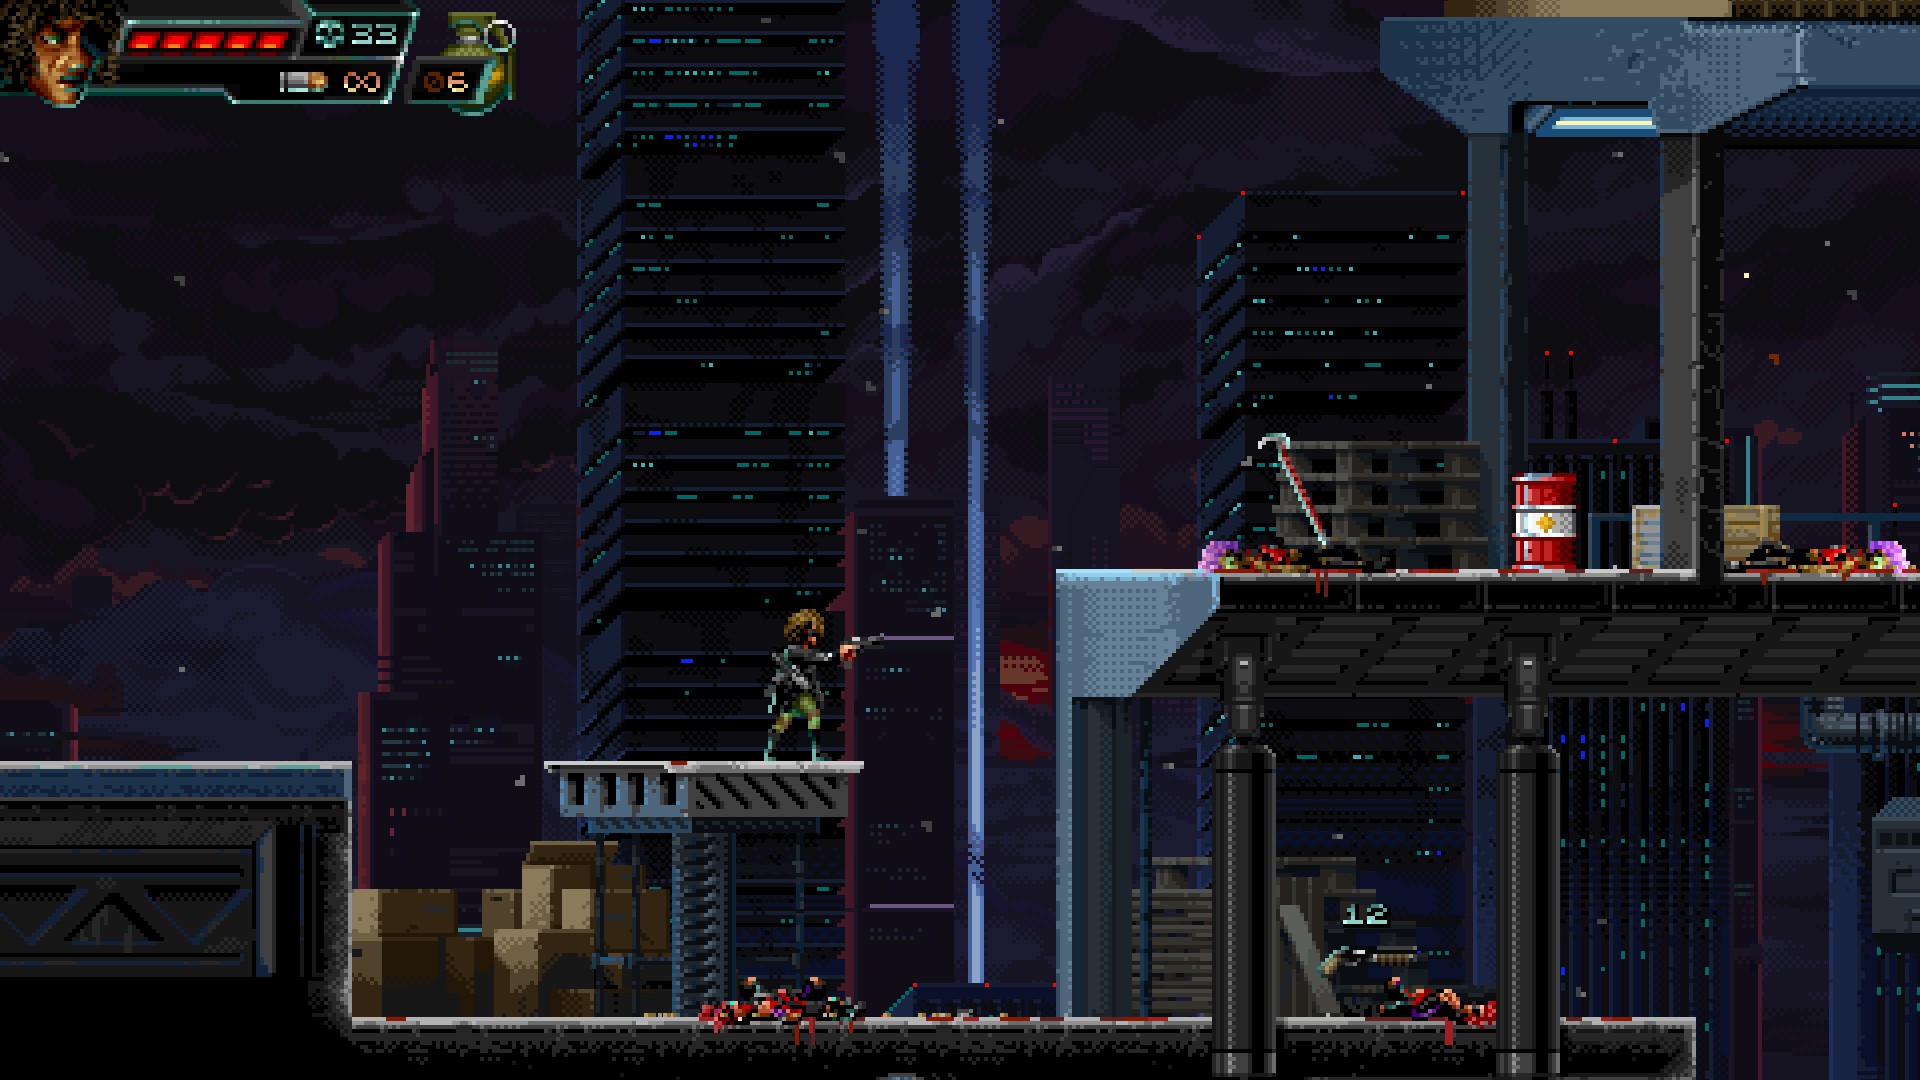
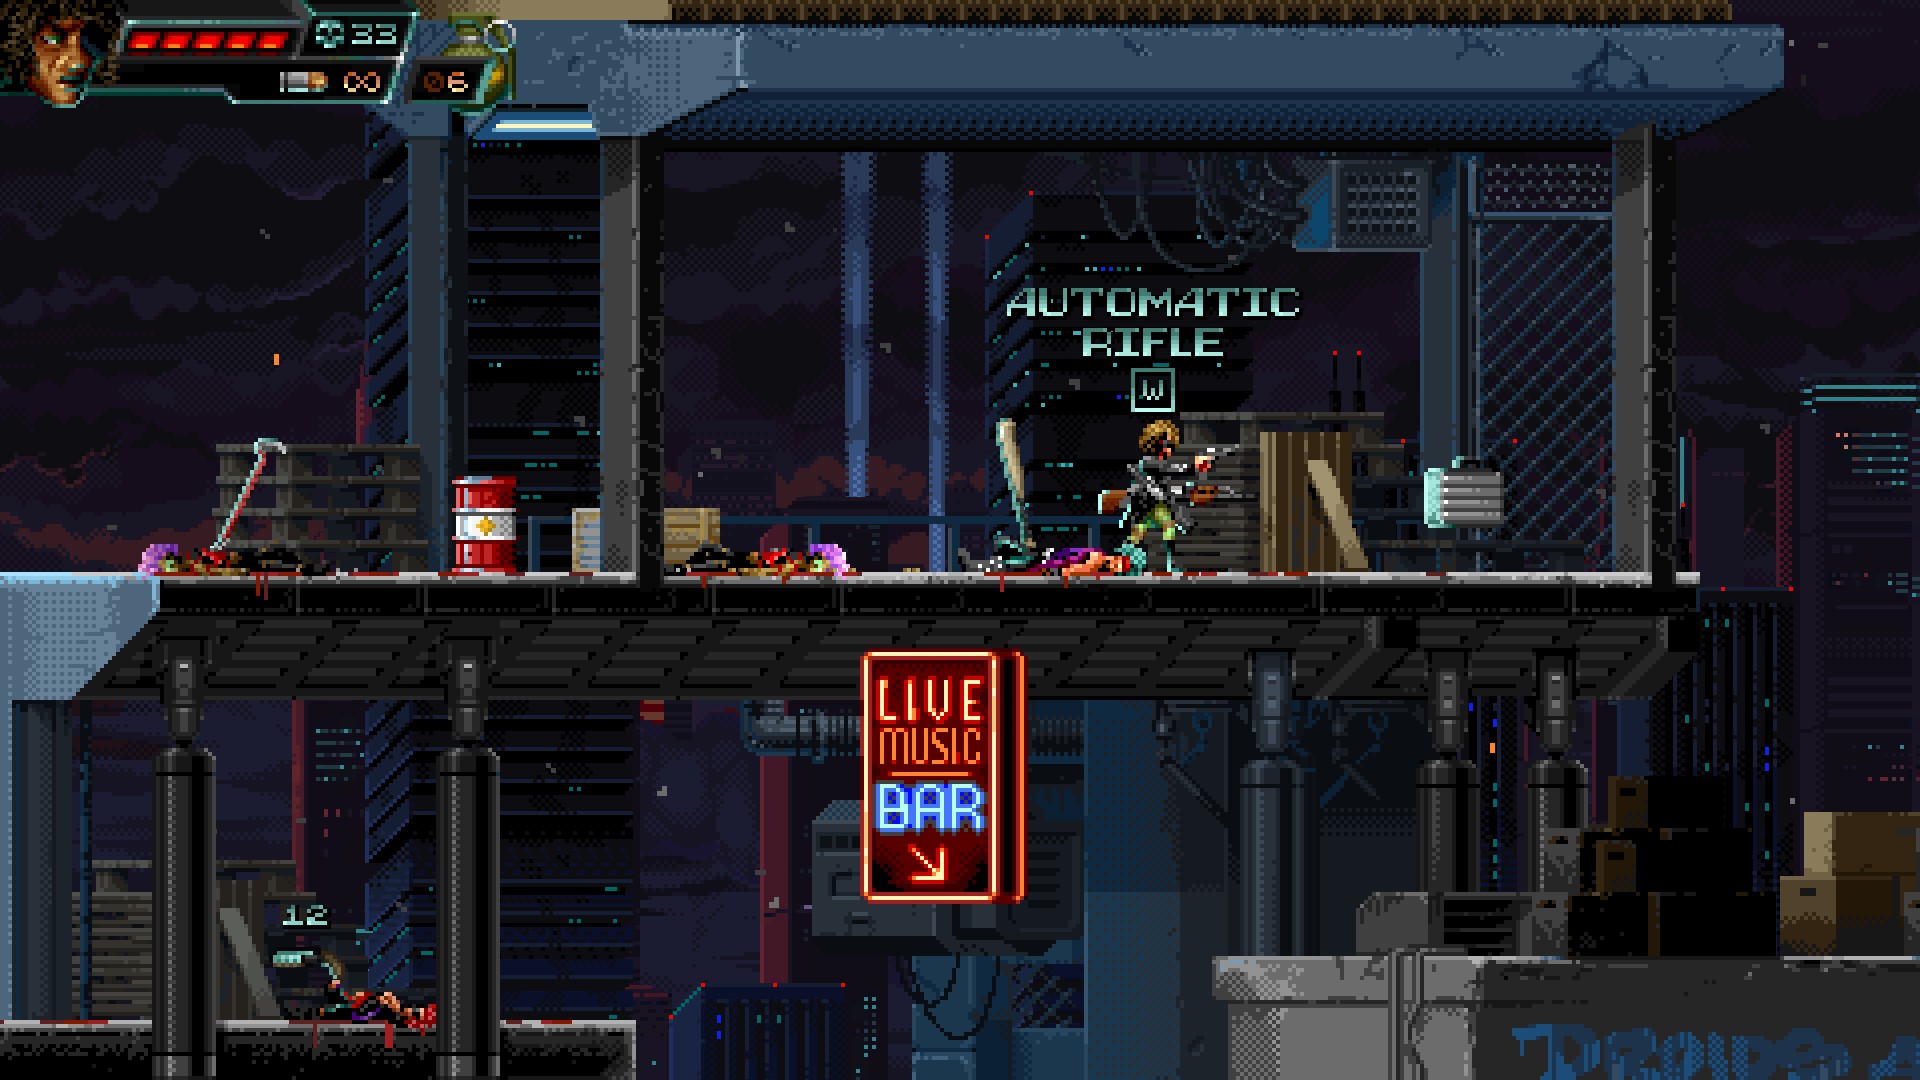
Stash #2
⠀
⠀
Stash #2 is easy to see and even easiert to pick up.
⠀
⠀
⠀
⠀
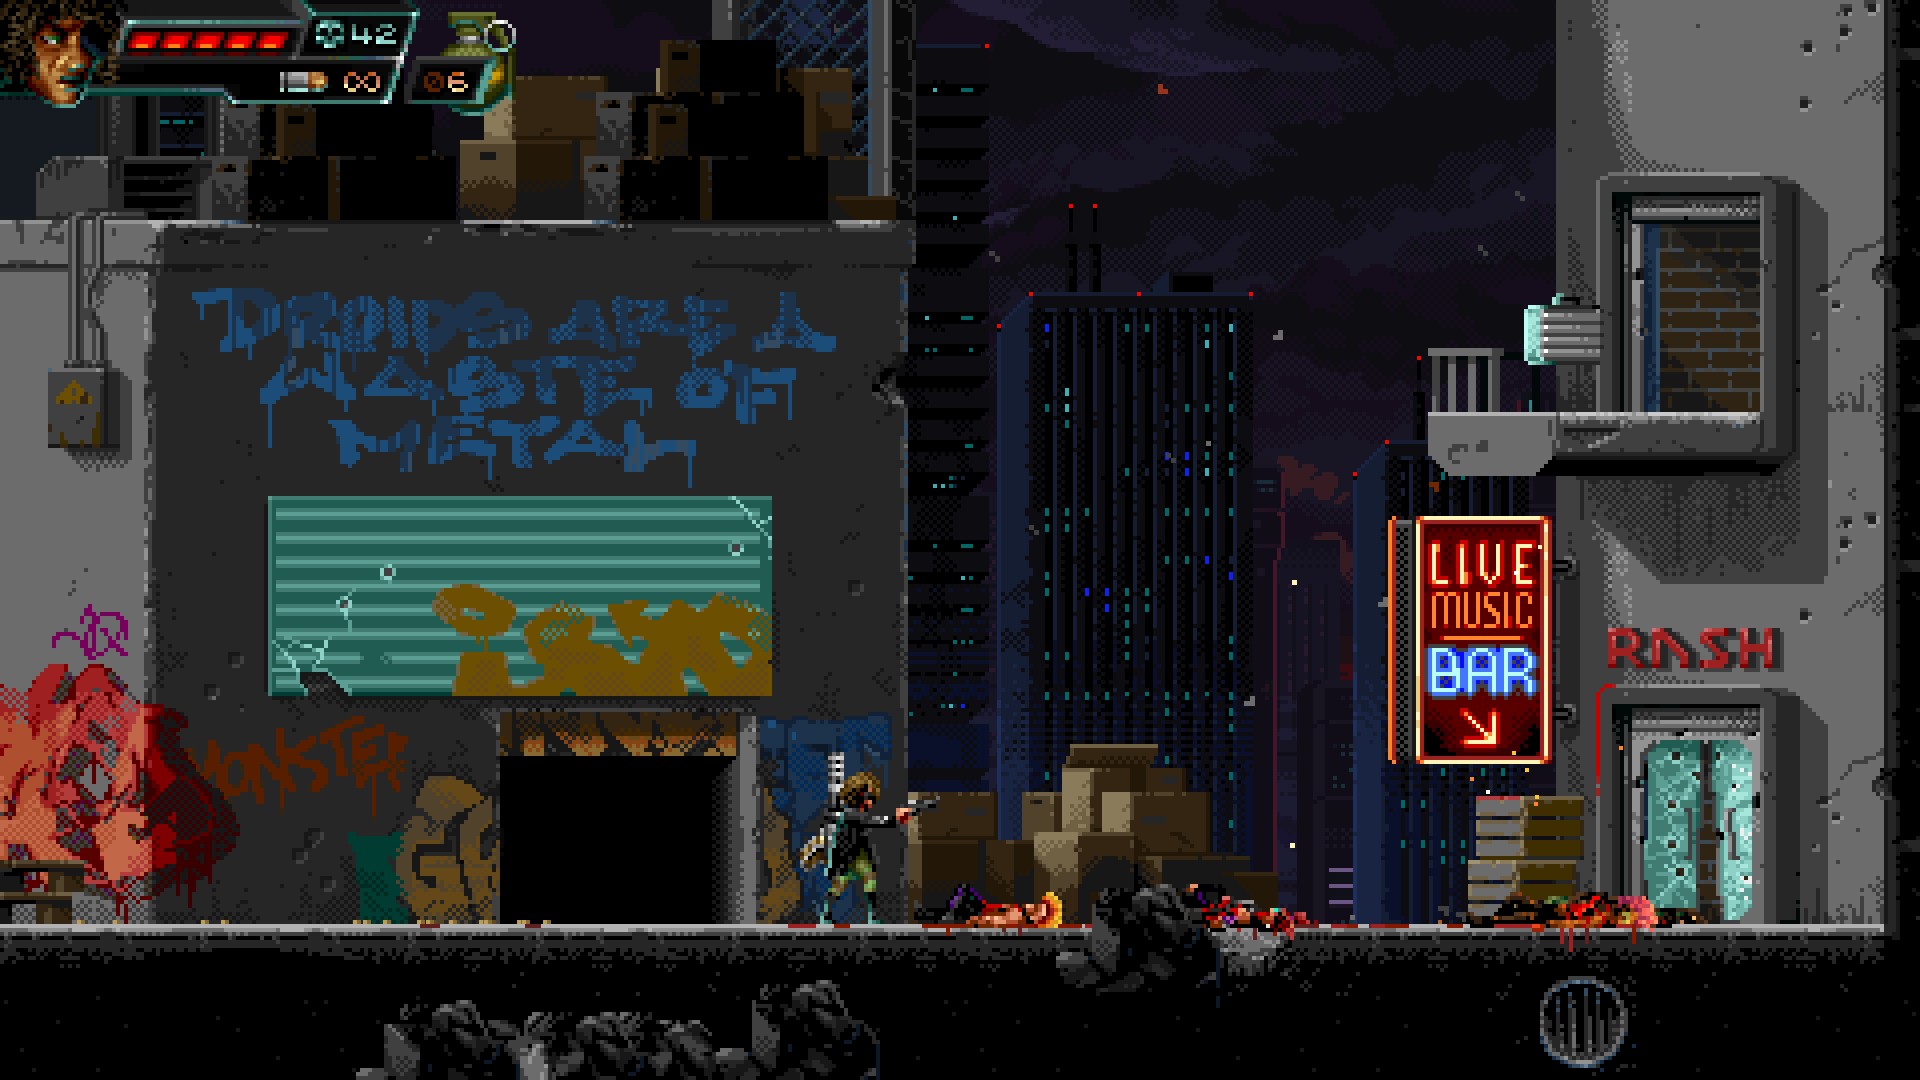
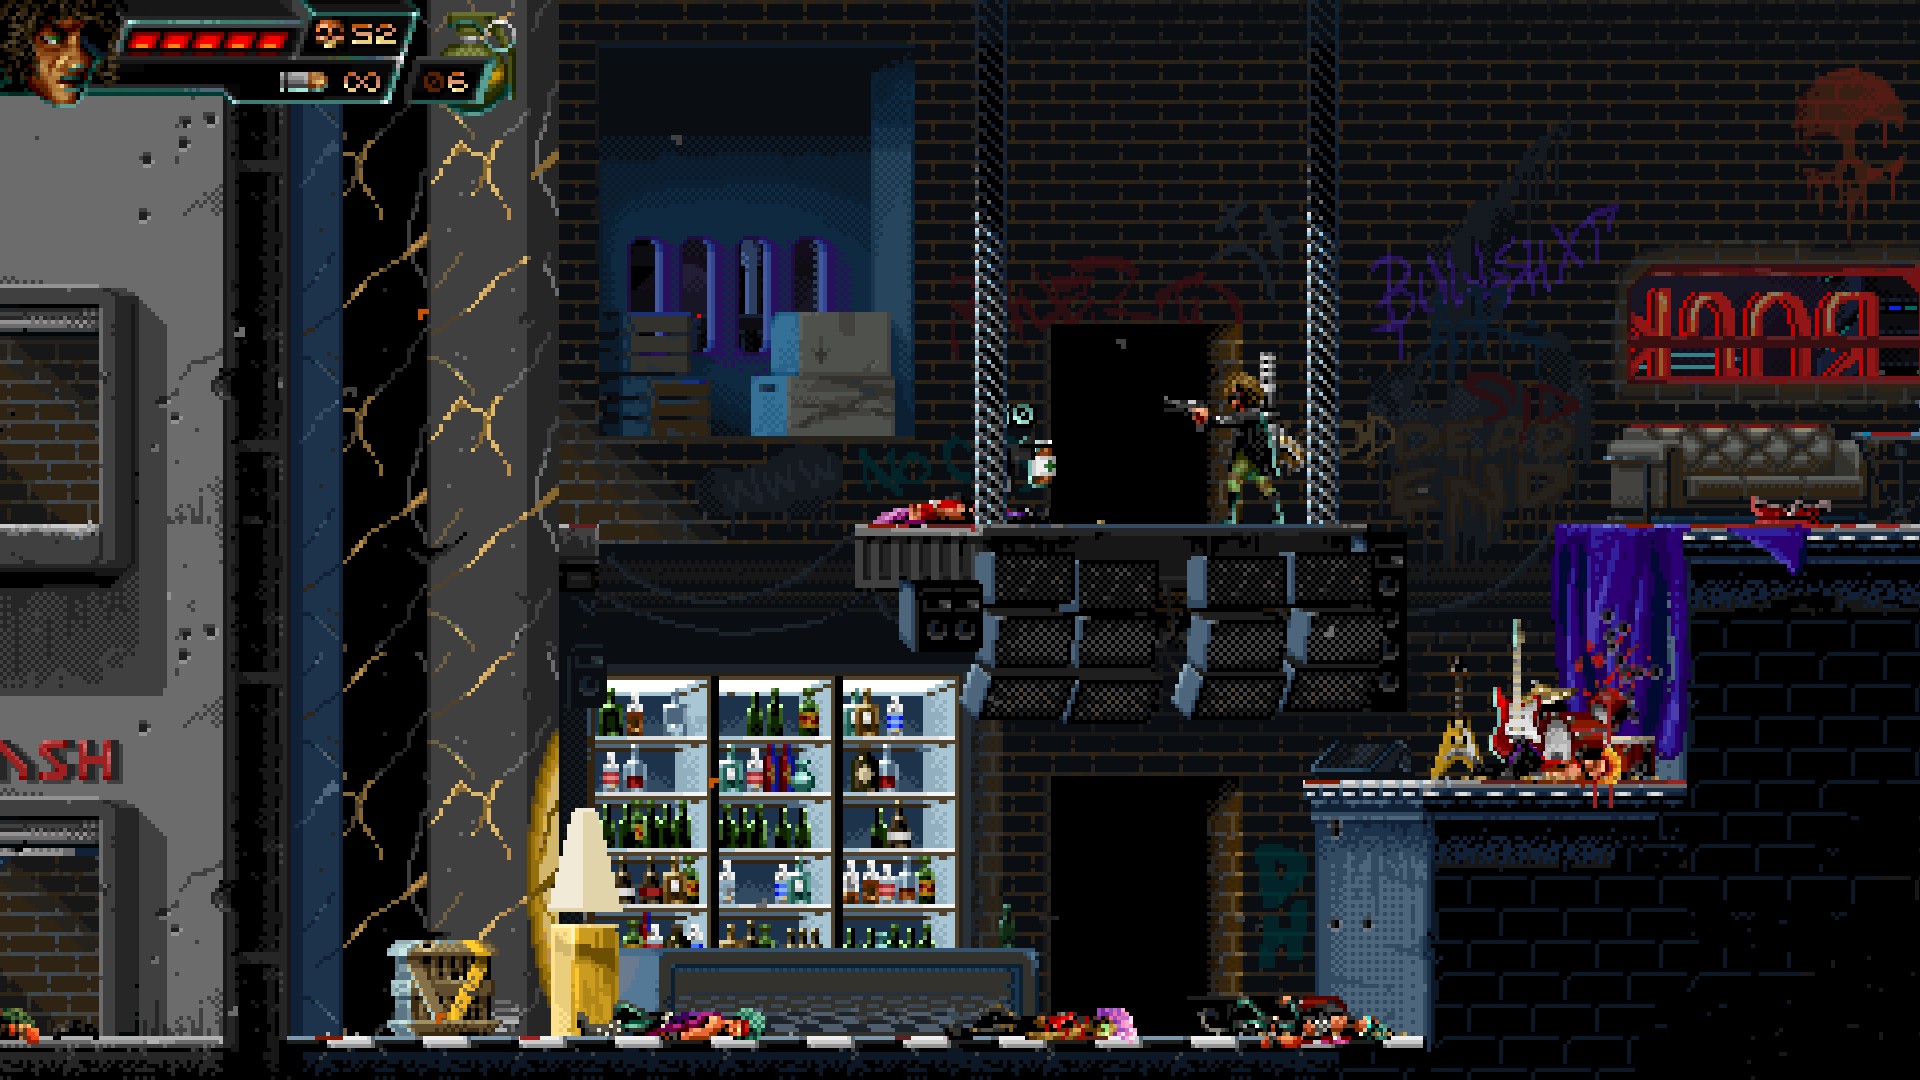
Stash #3
⠀
⠀
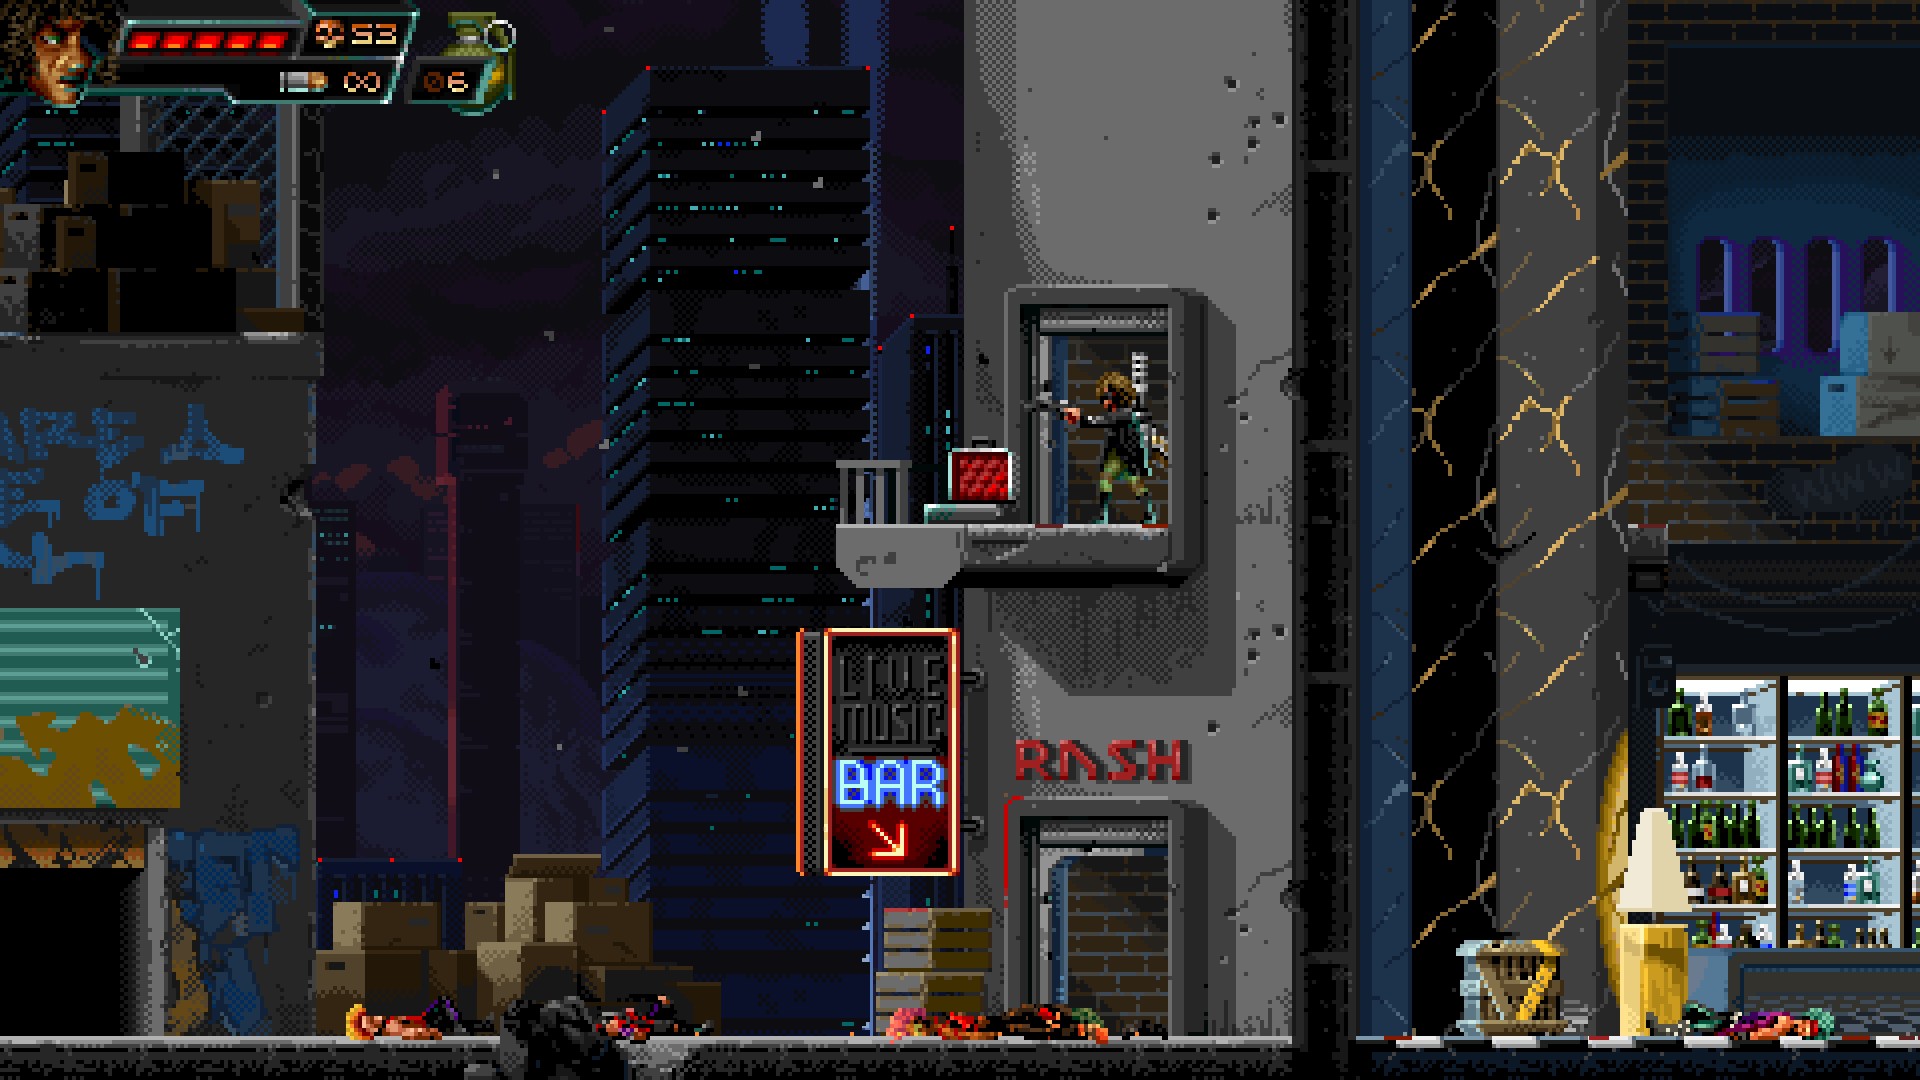
You can easily spot stash #3. Fight through a few more enemies and backtrack.
⠀
⠀
When you almost reach stash #3 an enemy spawns in the doorway.
⠀
Hoodlum Dolls – Level 3 – Bad Boy Bob
Stash #1
⠀
⠀
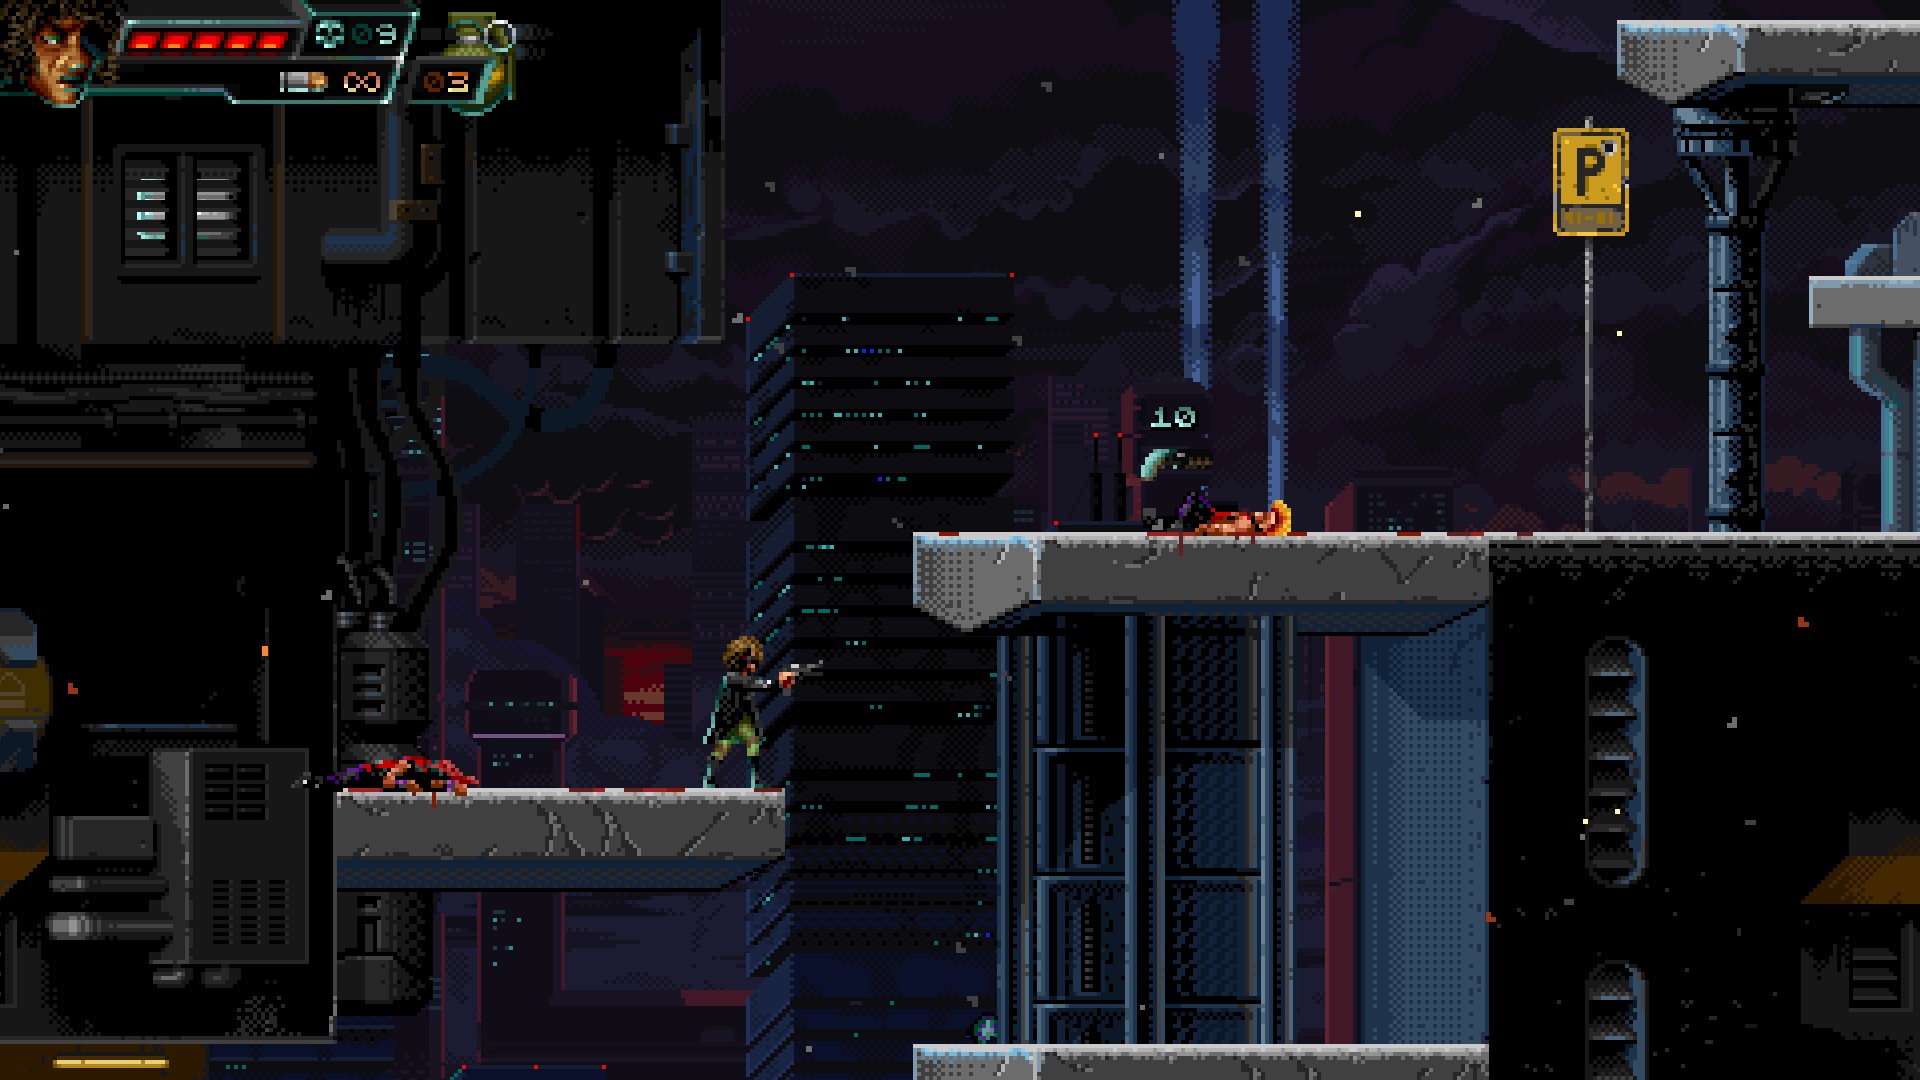
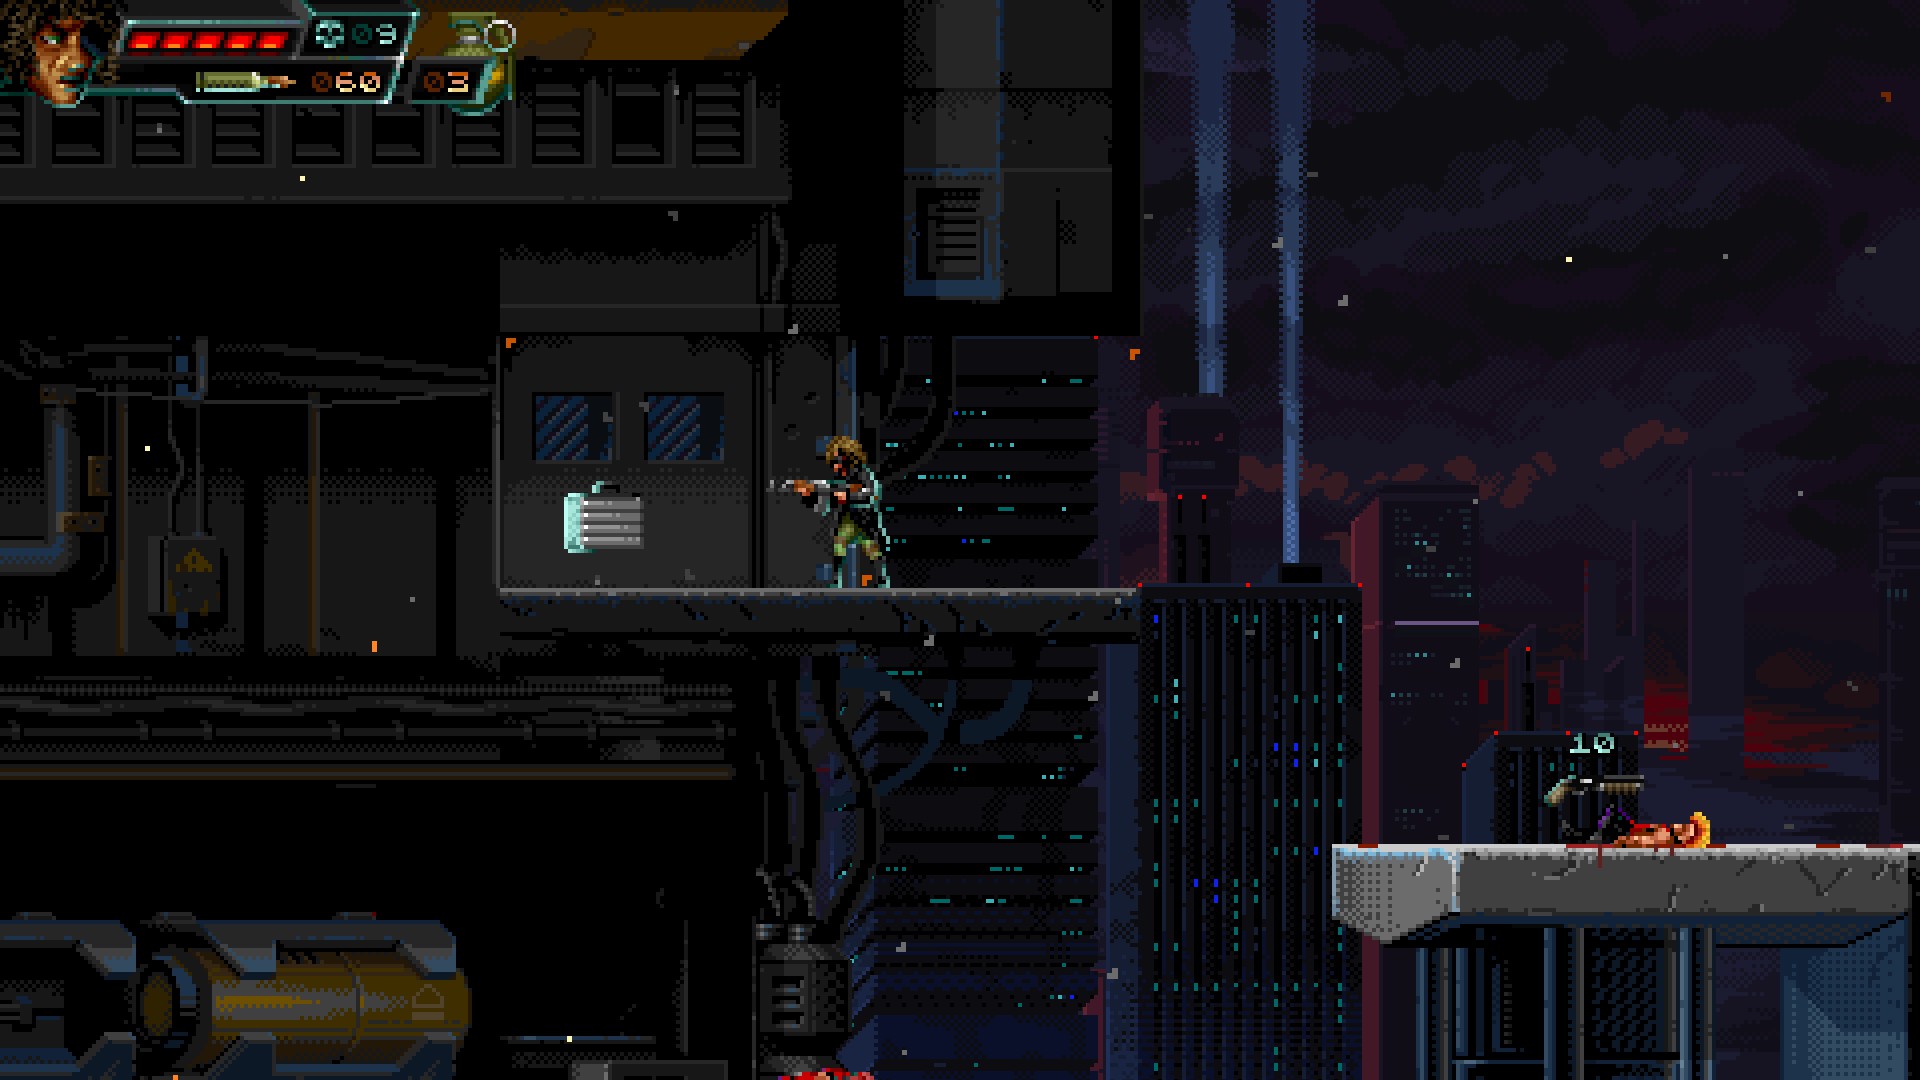
You can spot stash #1 behind the grate. Jump to the left from the uppermost platform to reach the concealed area.
⠀
⠀
⠀
⠀
Stash #2
⠀
⠀
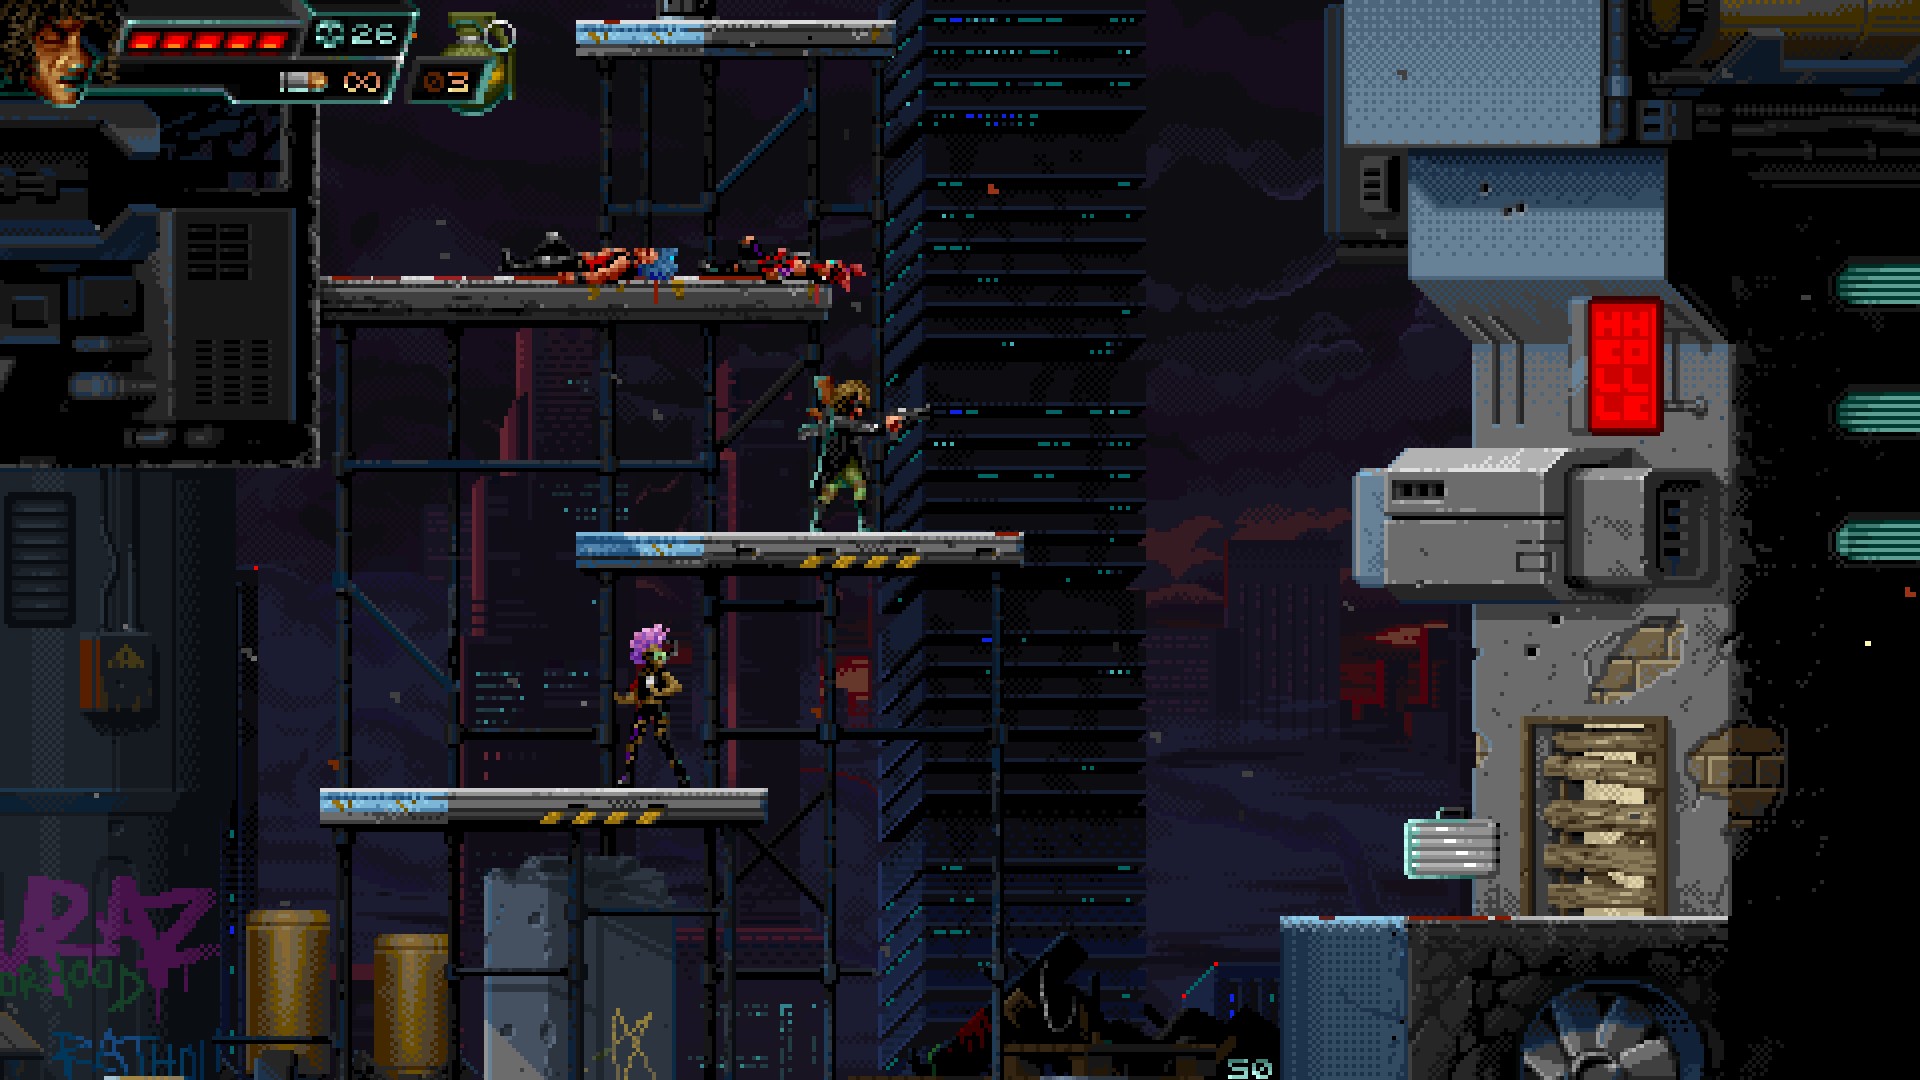
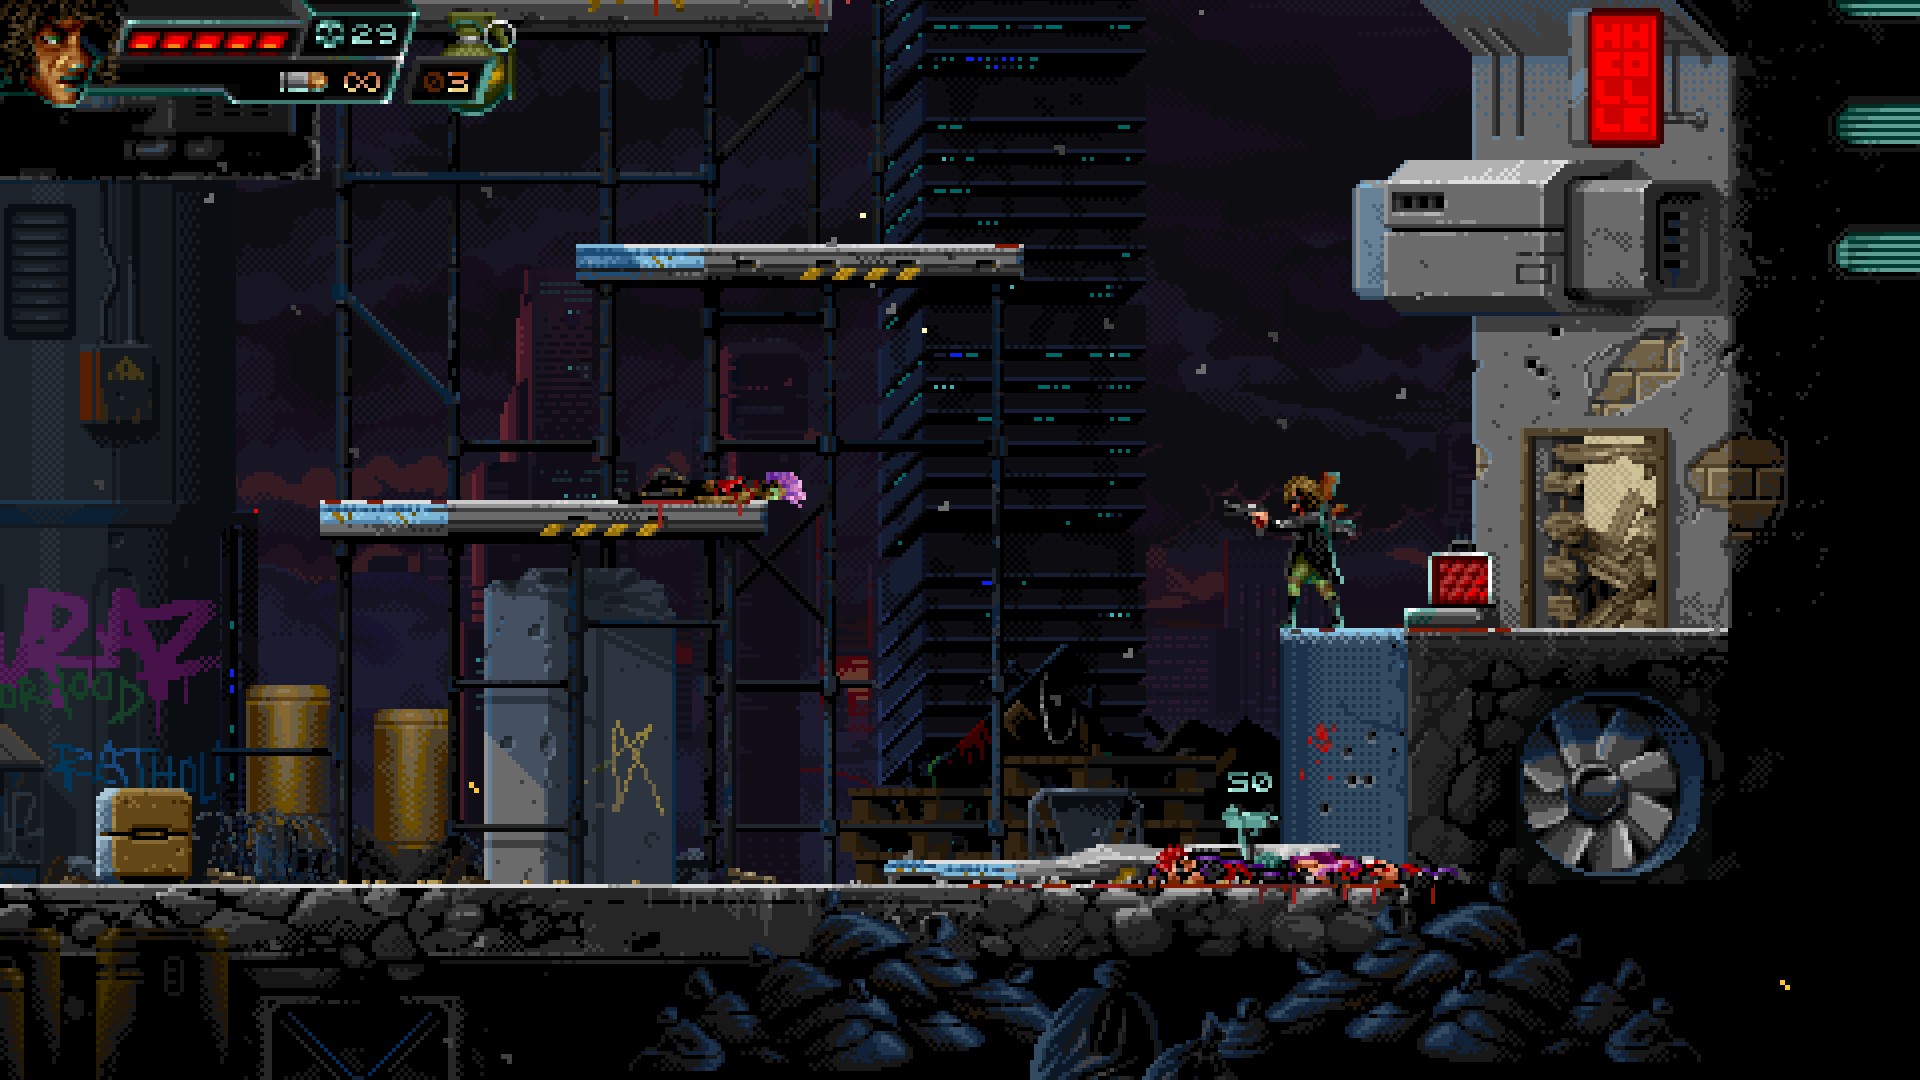
Another easy picking it seems. Pick up stash #2 and get ready for an ambush.
⠀
⠀
⠀
⠀
Stash #3
⠀
⠀
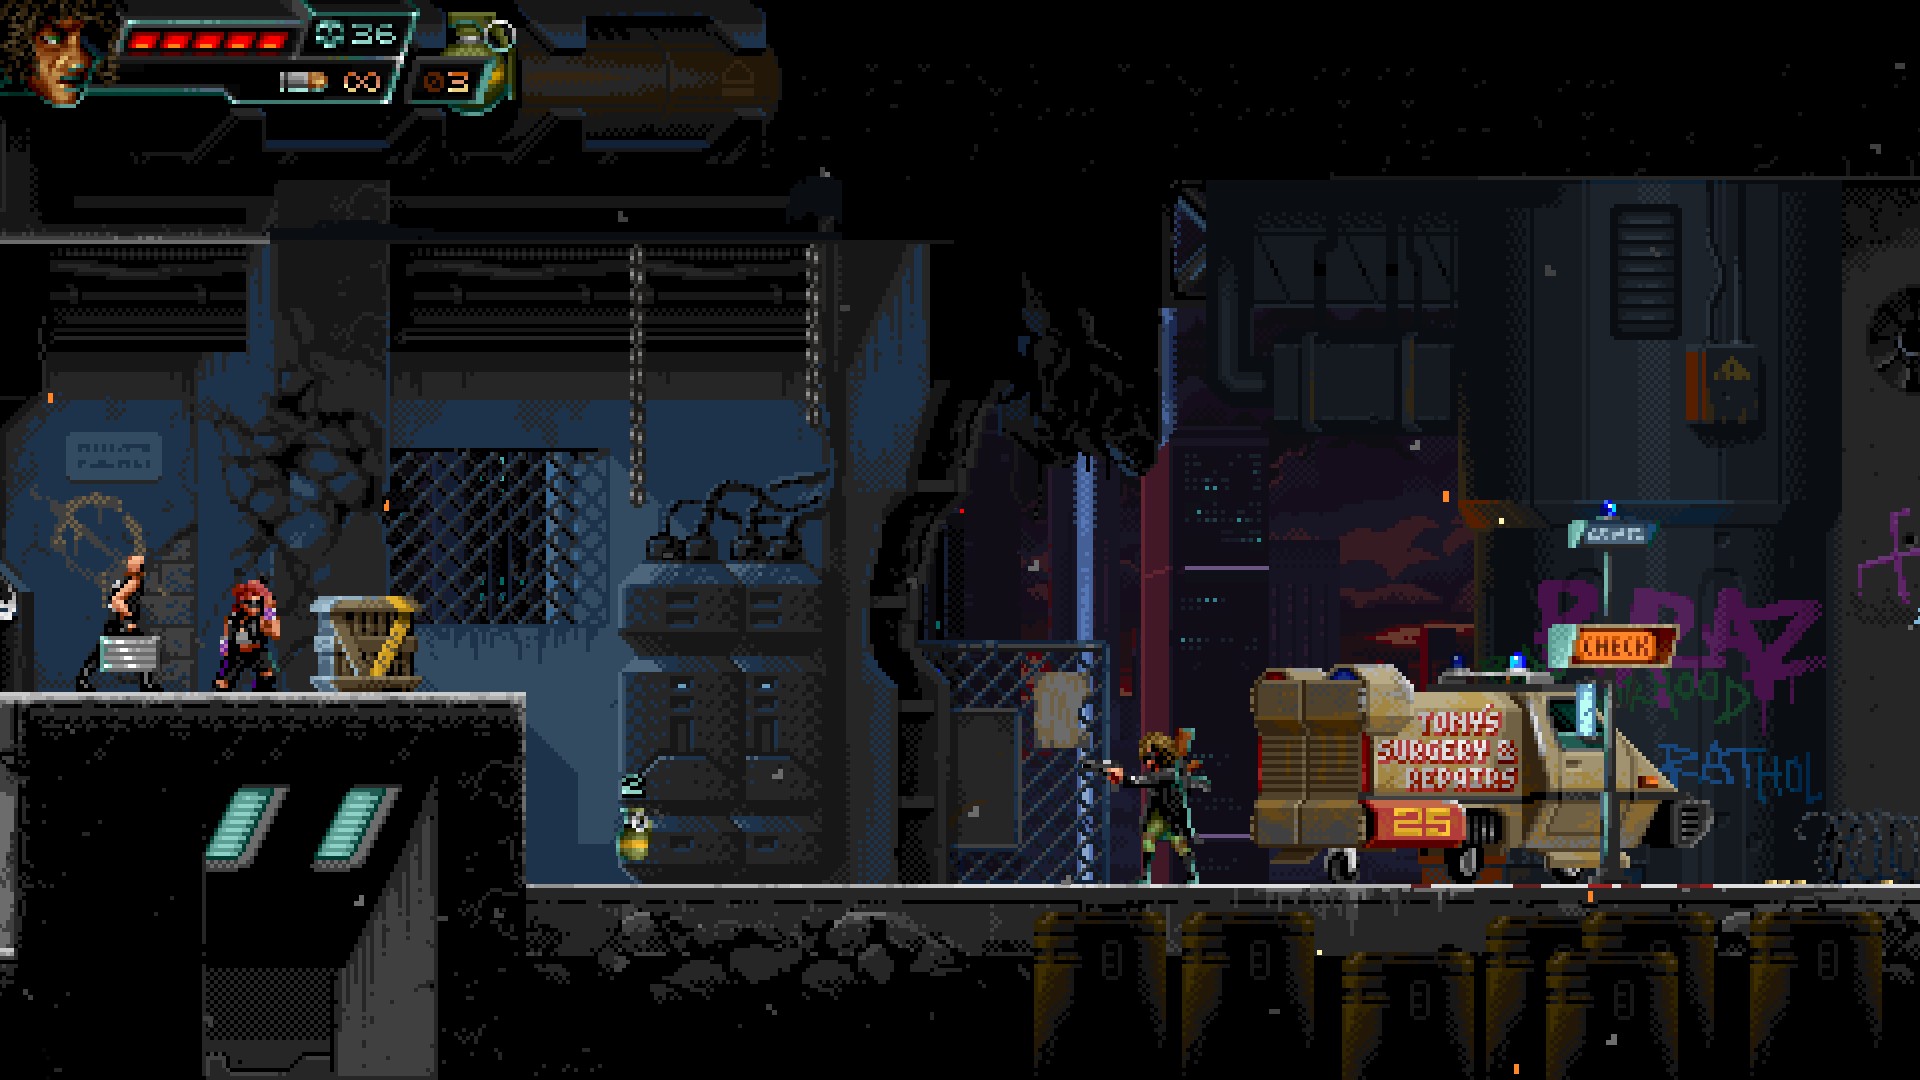
Another courier running away. Seemingly the only sane person around here. Grenade that bastard, hunt him down and pick up stash #3.
Hoodlum Dolls – Level 4 – Psychonaught
Stash #1
⠀
⠀
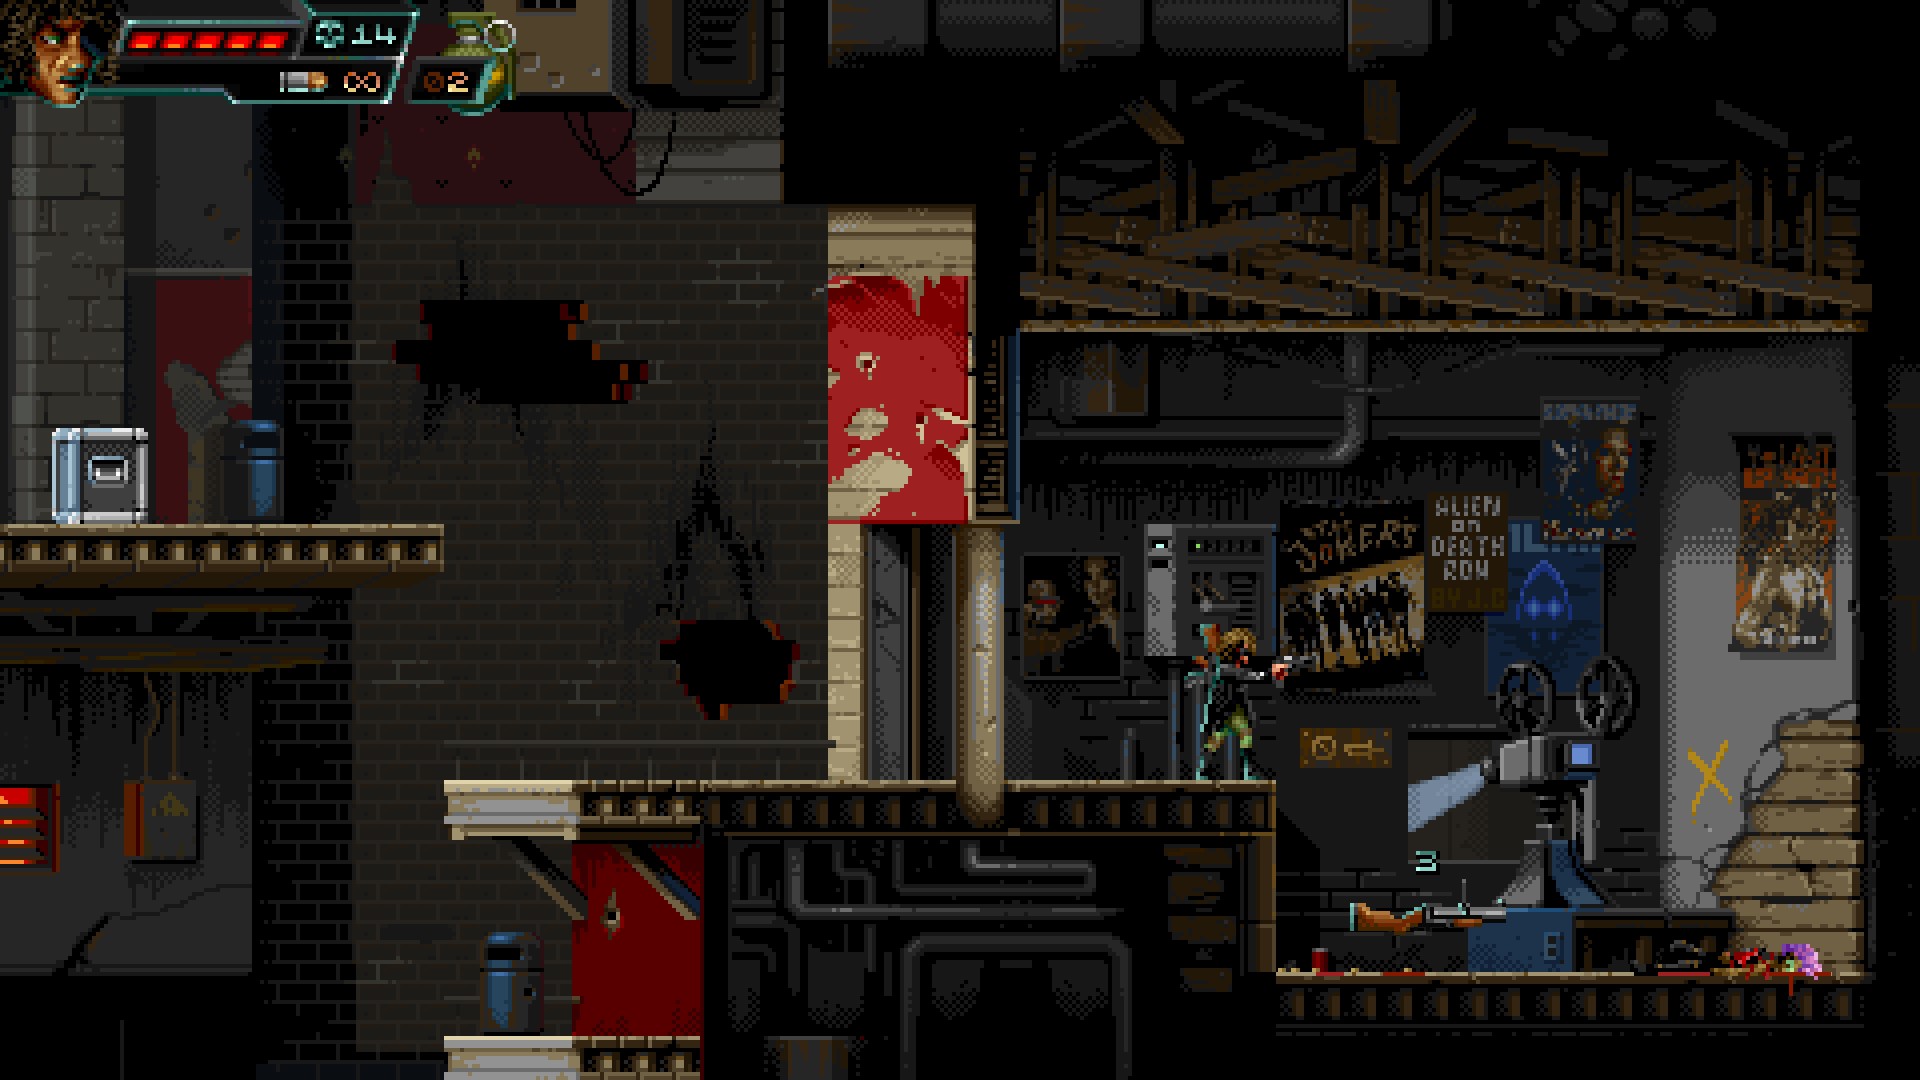
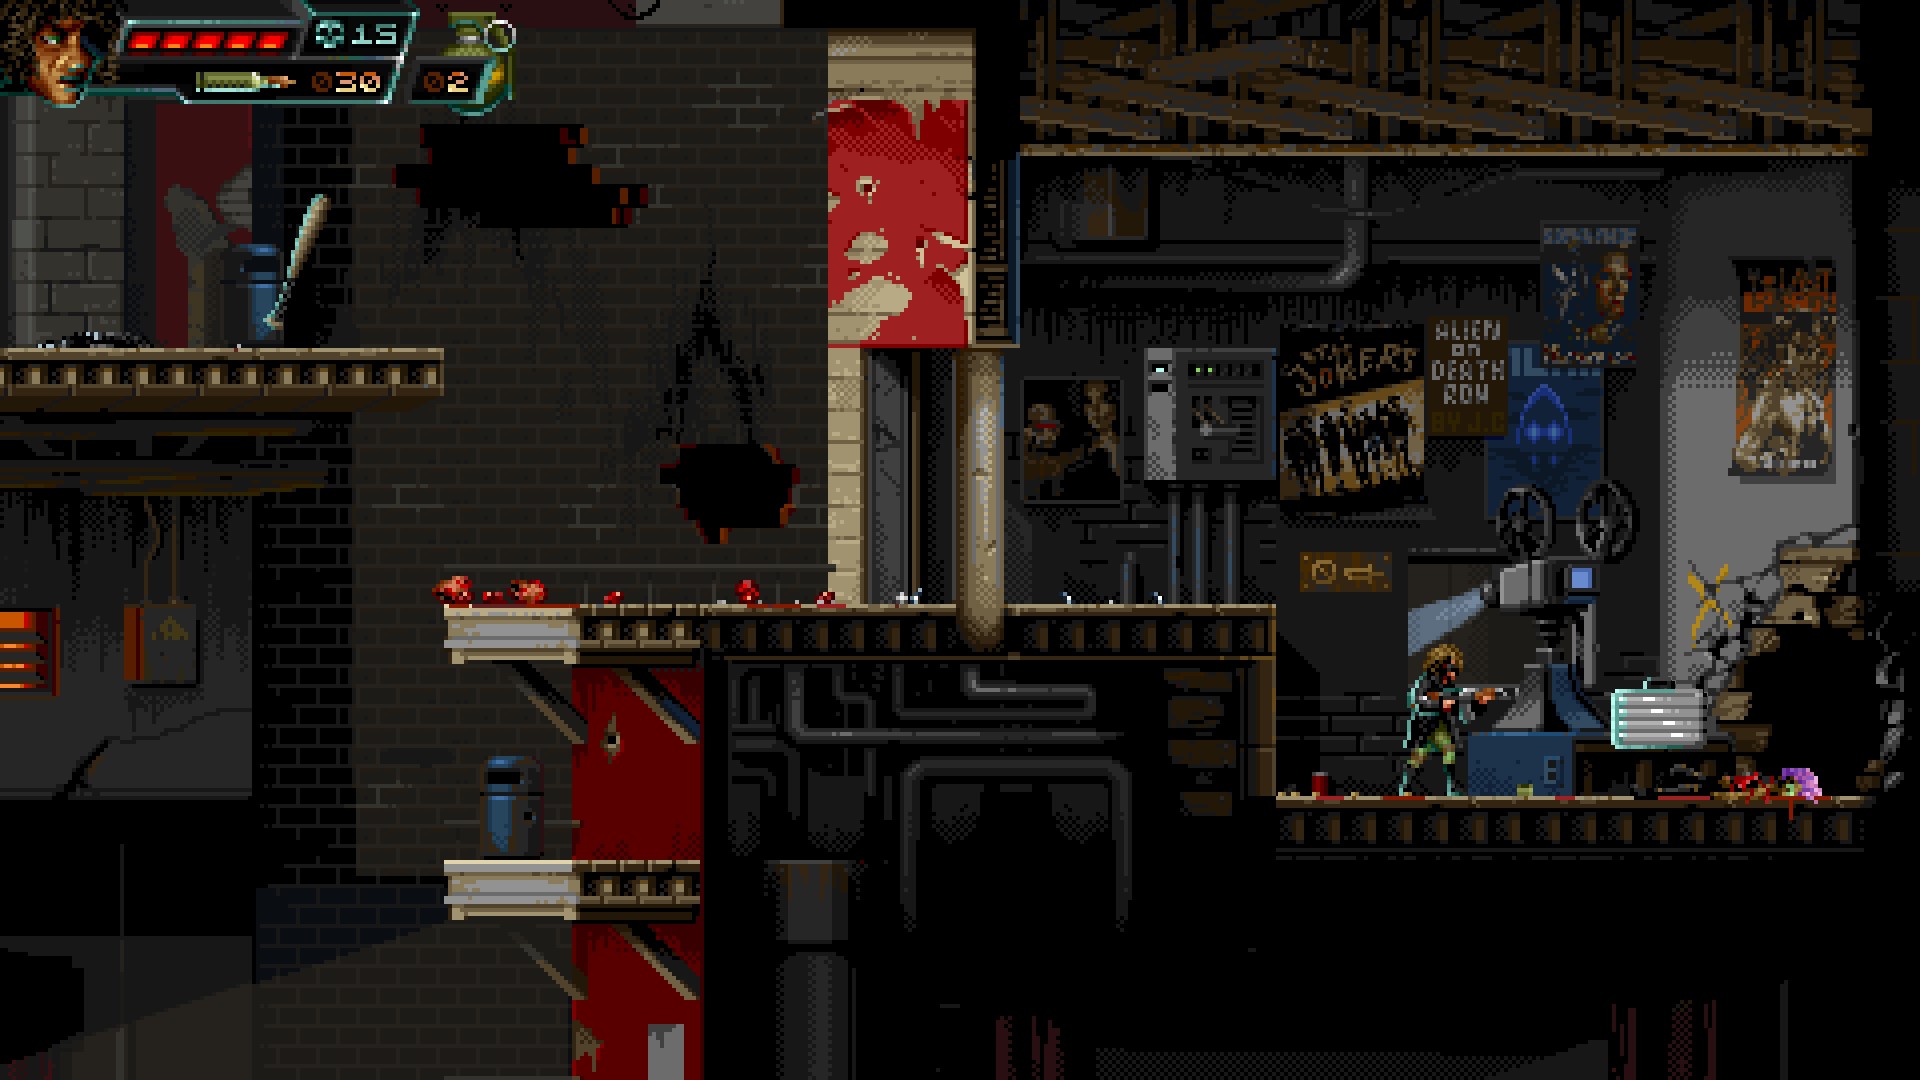
Handgrenades. A grenade launcher. A lot of options to blast this flimsy wooden wall to kingdome come and pick up stash #1.
⠀
⠀
⠀
⠀
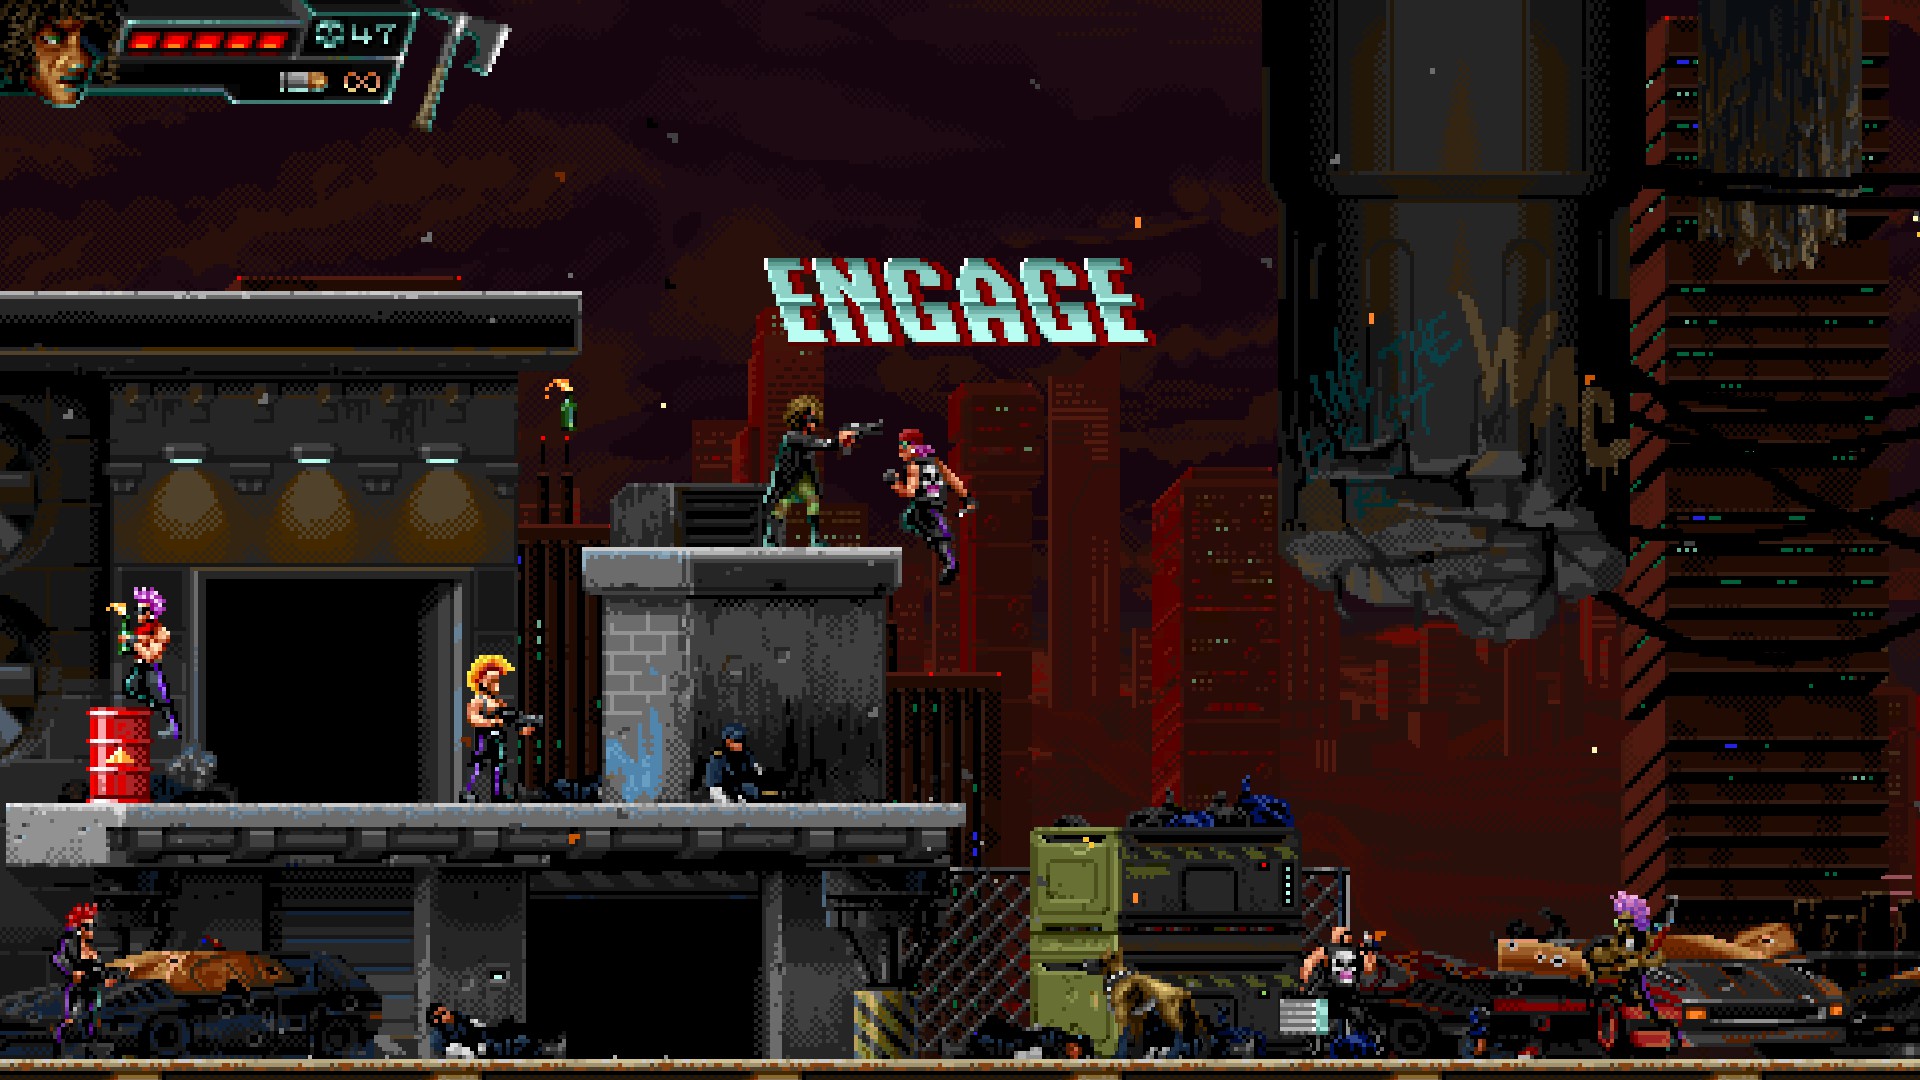
Stash #2
⠀
⠀
Another courier trying a getaway. Have a powerful weapon handy and get stash #2.
⠀
⠀
⠀
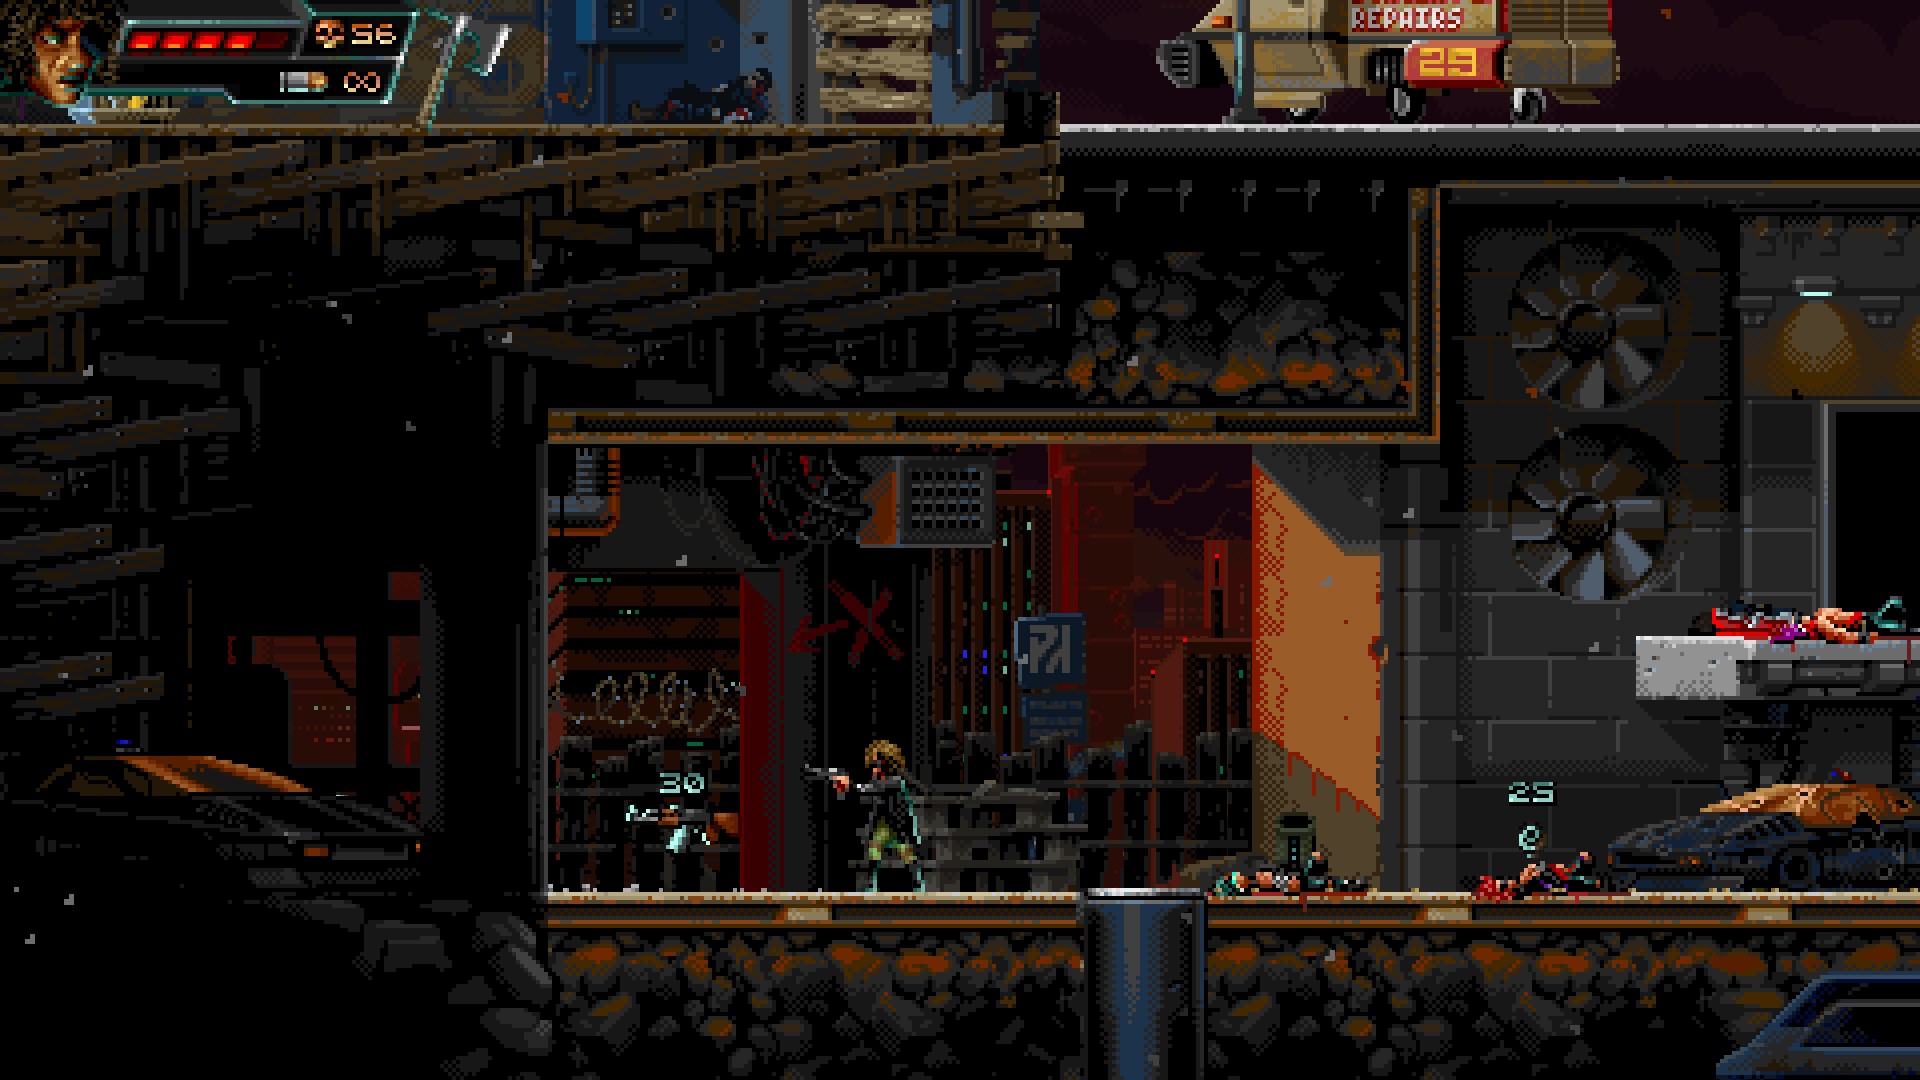
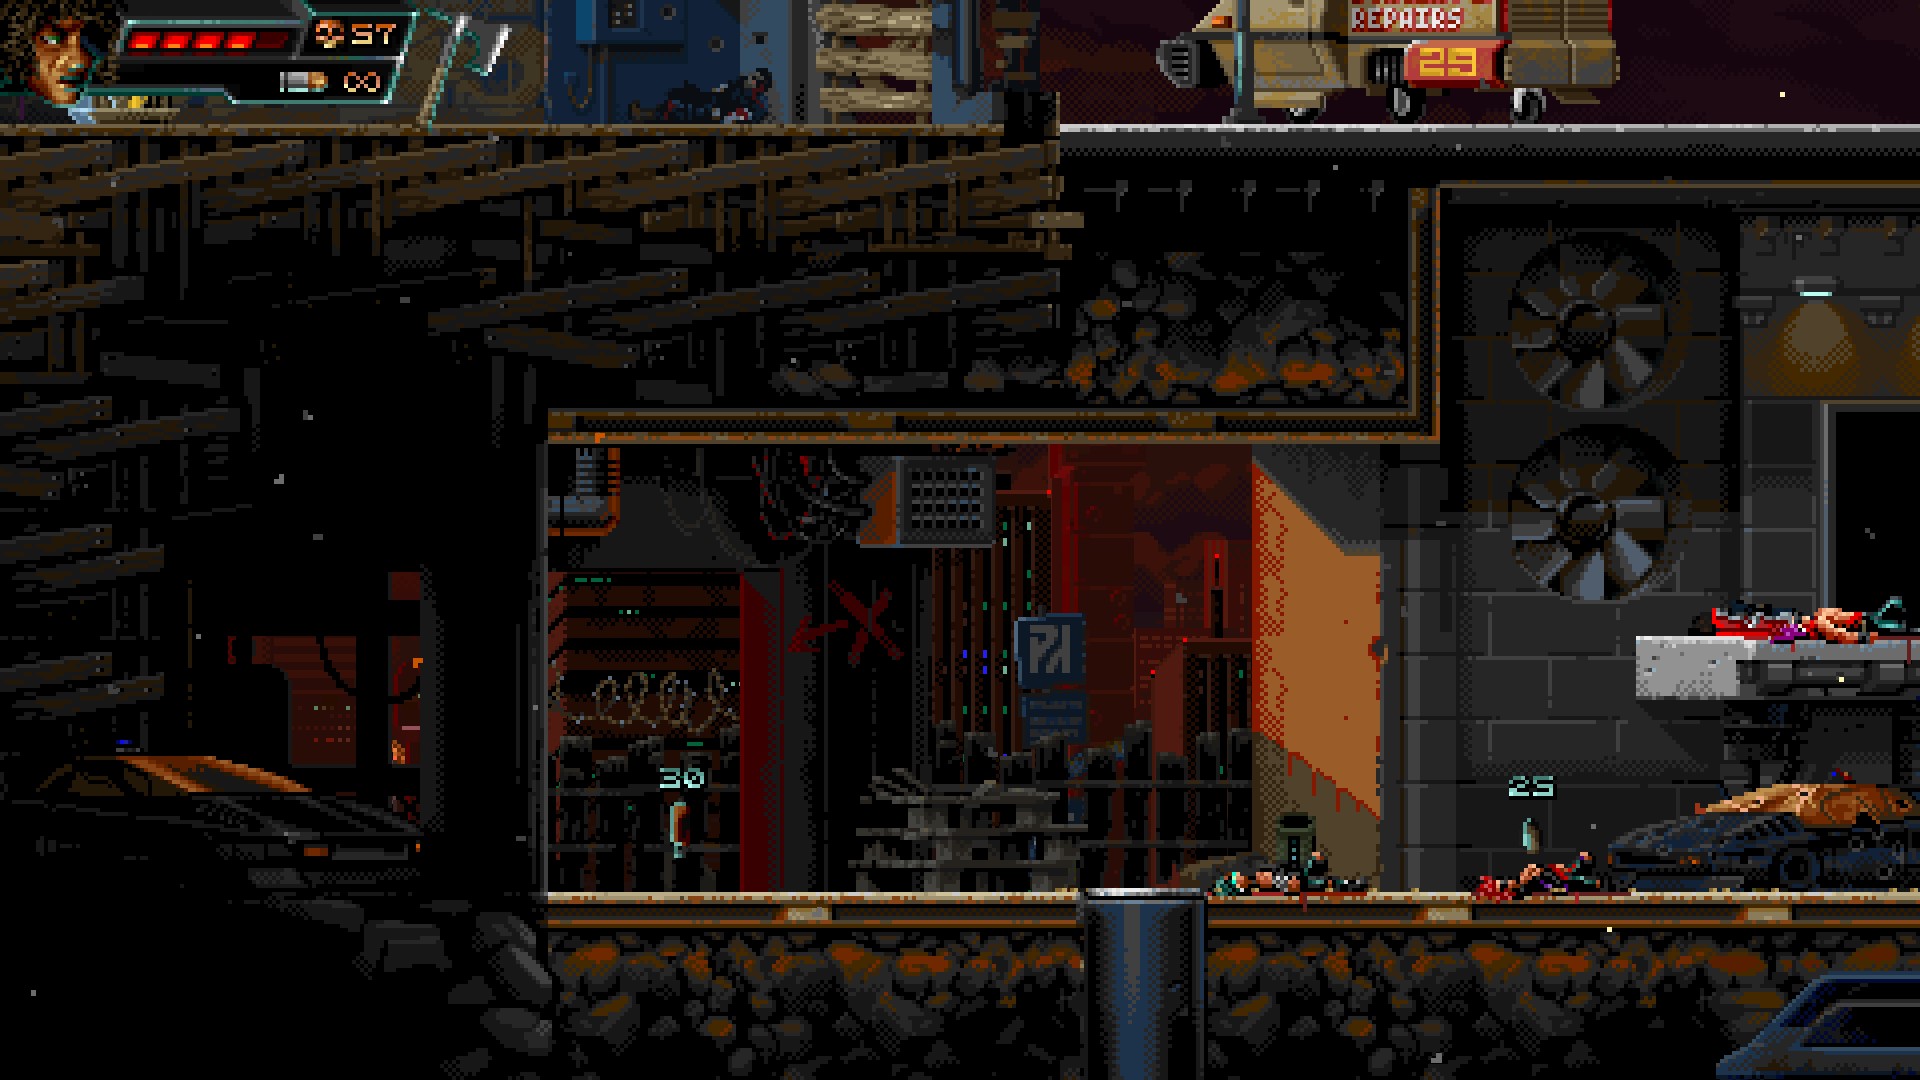
Stash #3
⠀
⠀
Left of where you hunted down the courier is a dead end. Or so it seems. Don’t let it stop you and continue to run left and pick up stash #3.
⠀
Hoodlum Dolls – Level 5 – Troy Lawman
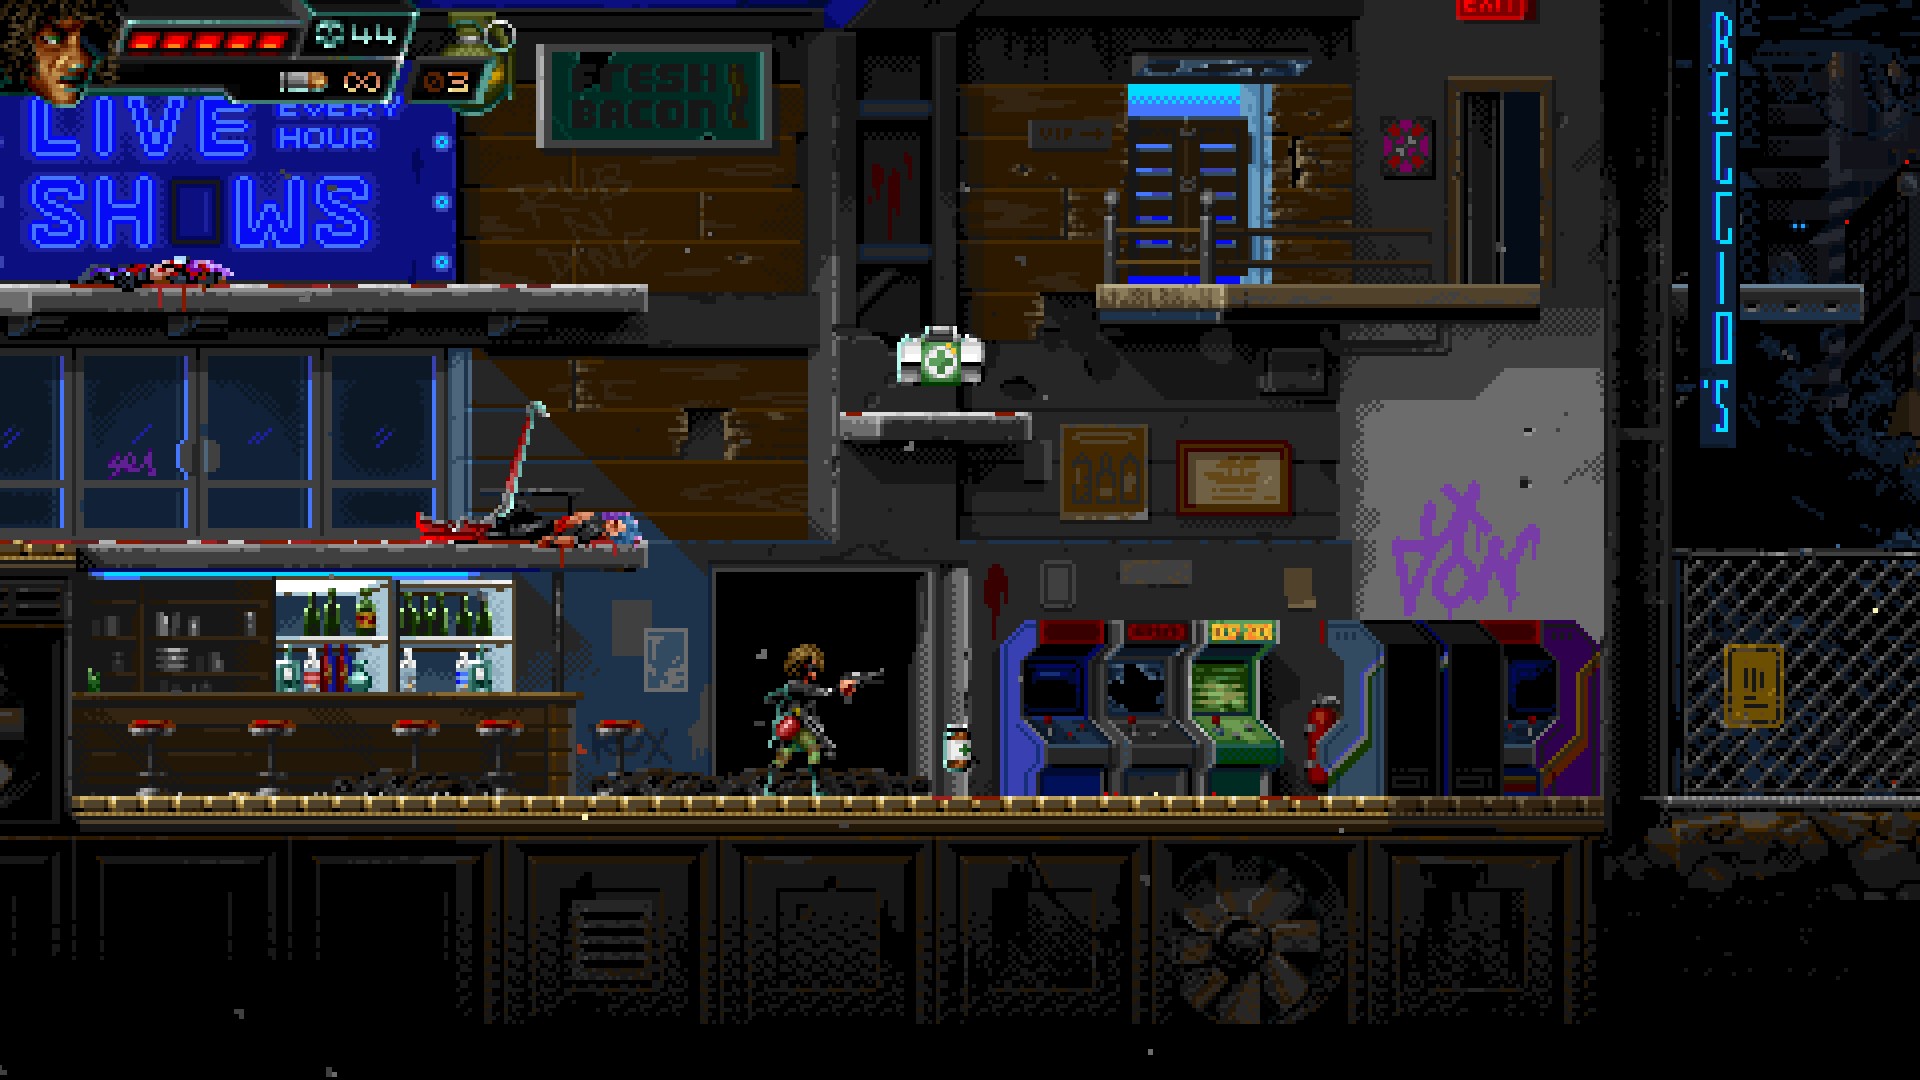
Stash #1
⠀
⠀
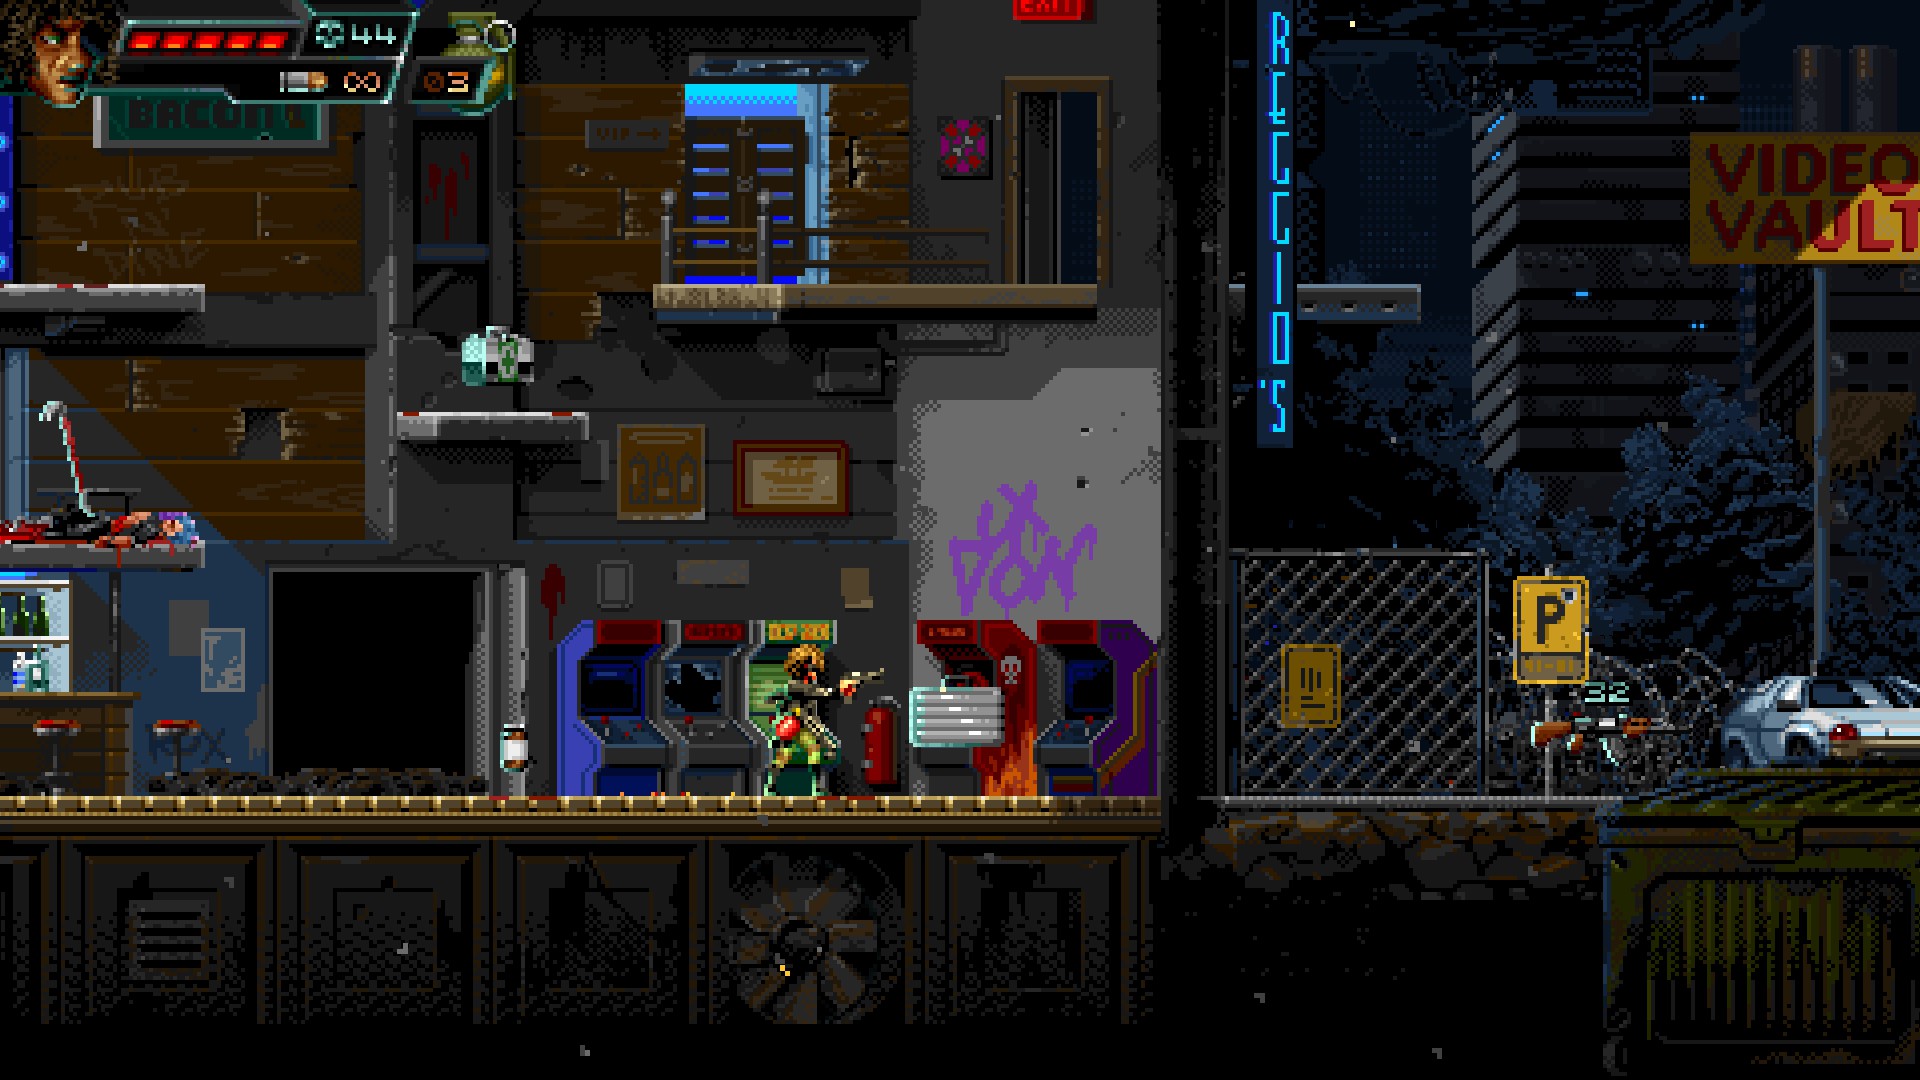
In the arcade it’s time for fun and games… and stash #1
⠀
⠀
⠀
⠀
Stash #2
⠀
⠀
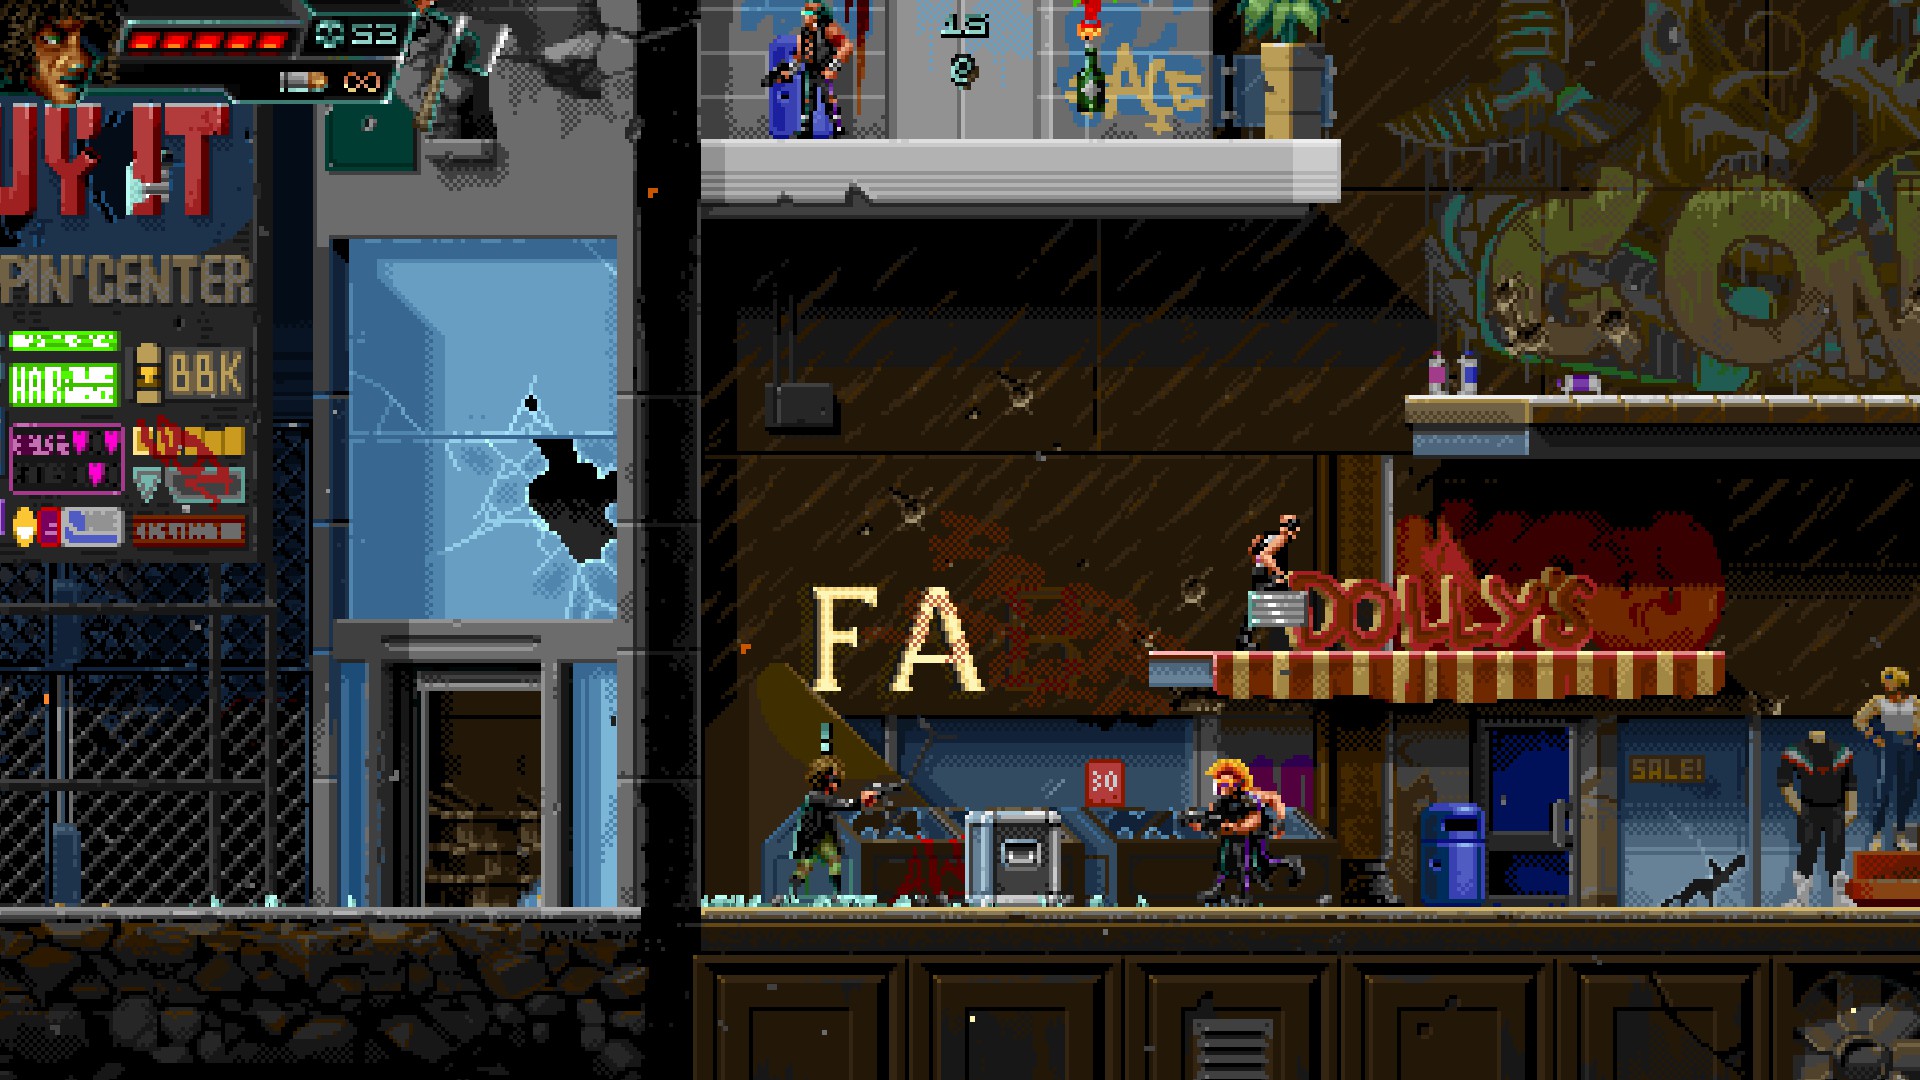
Another courier making the run for it with stash #2.
⠀
⠀
⠀
Stash #3
⠀
⠀
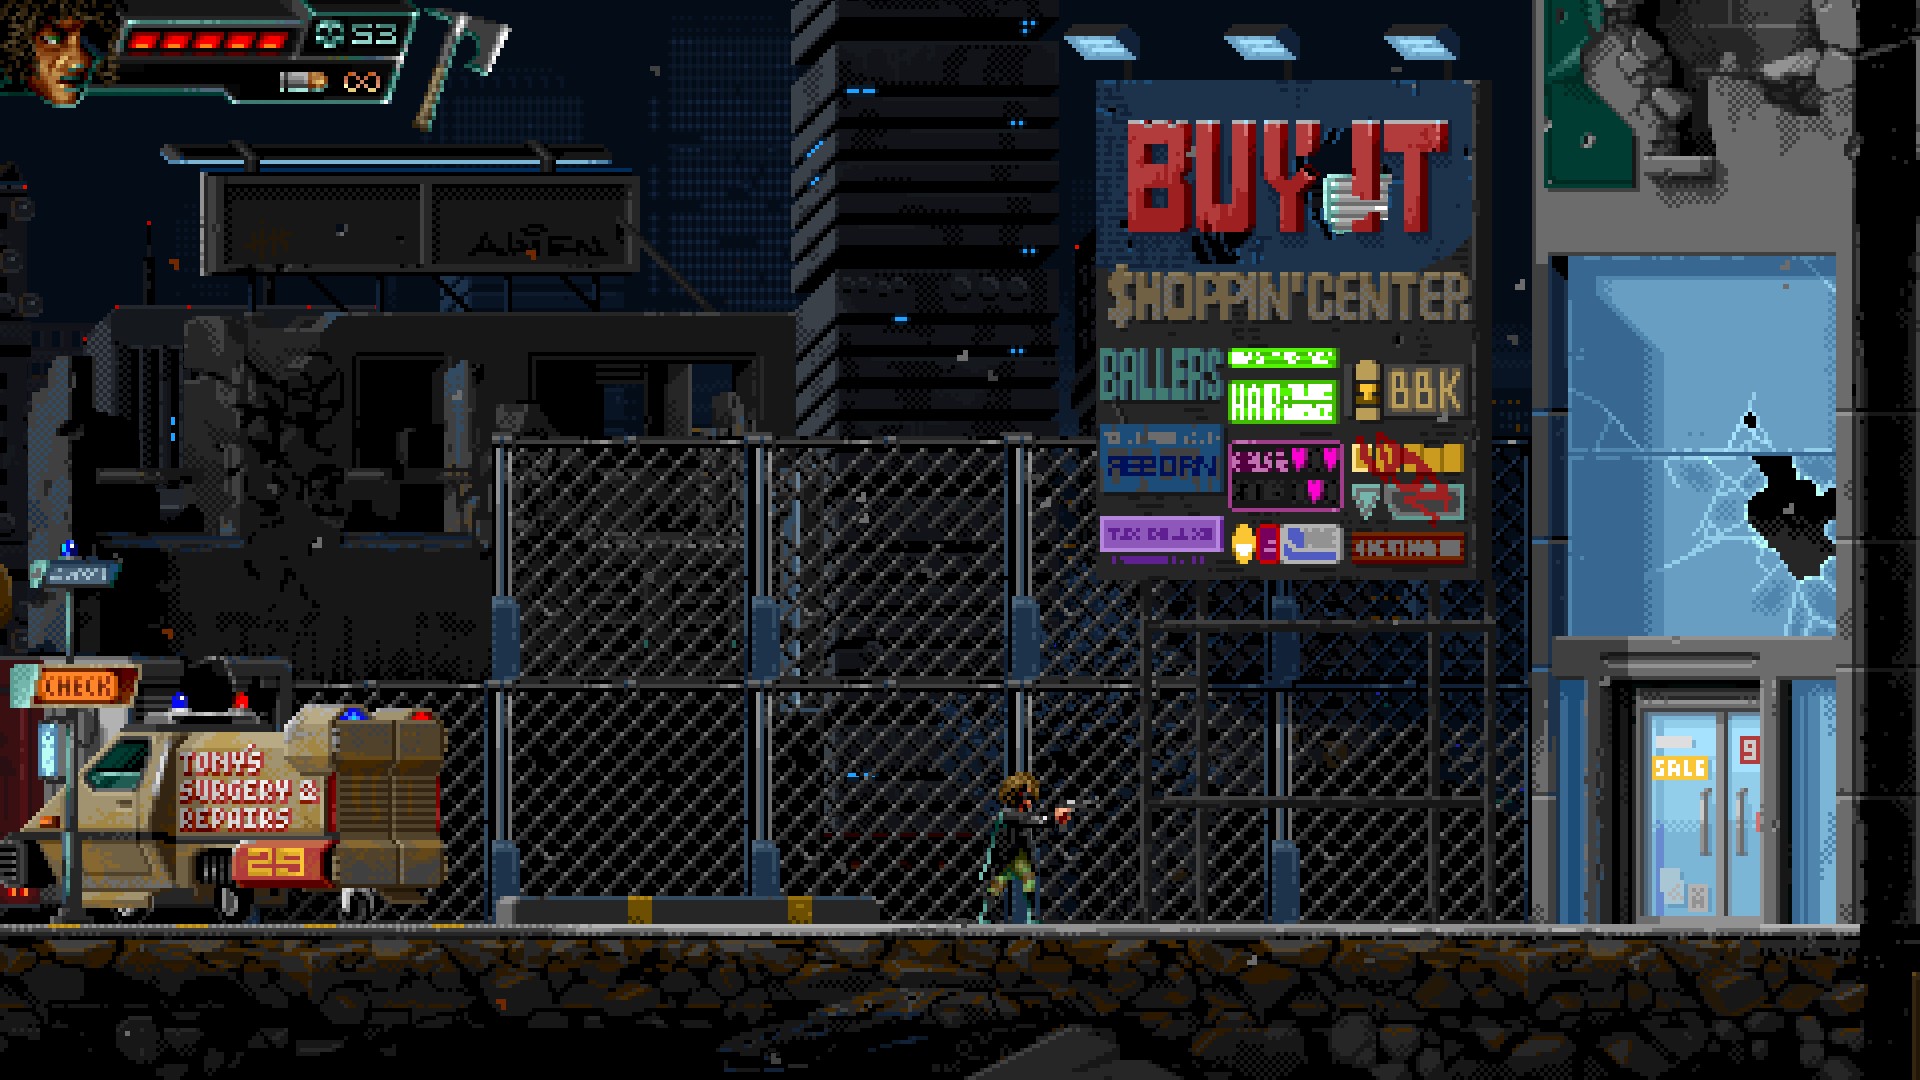
A bit harder to spot, but still easy to get.
⠀
⠀
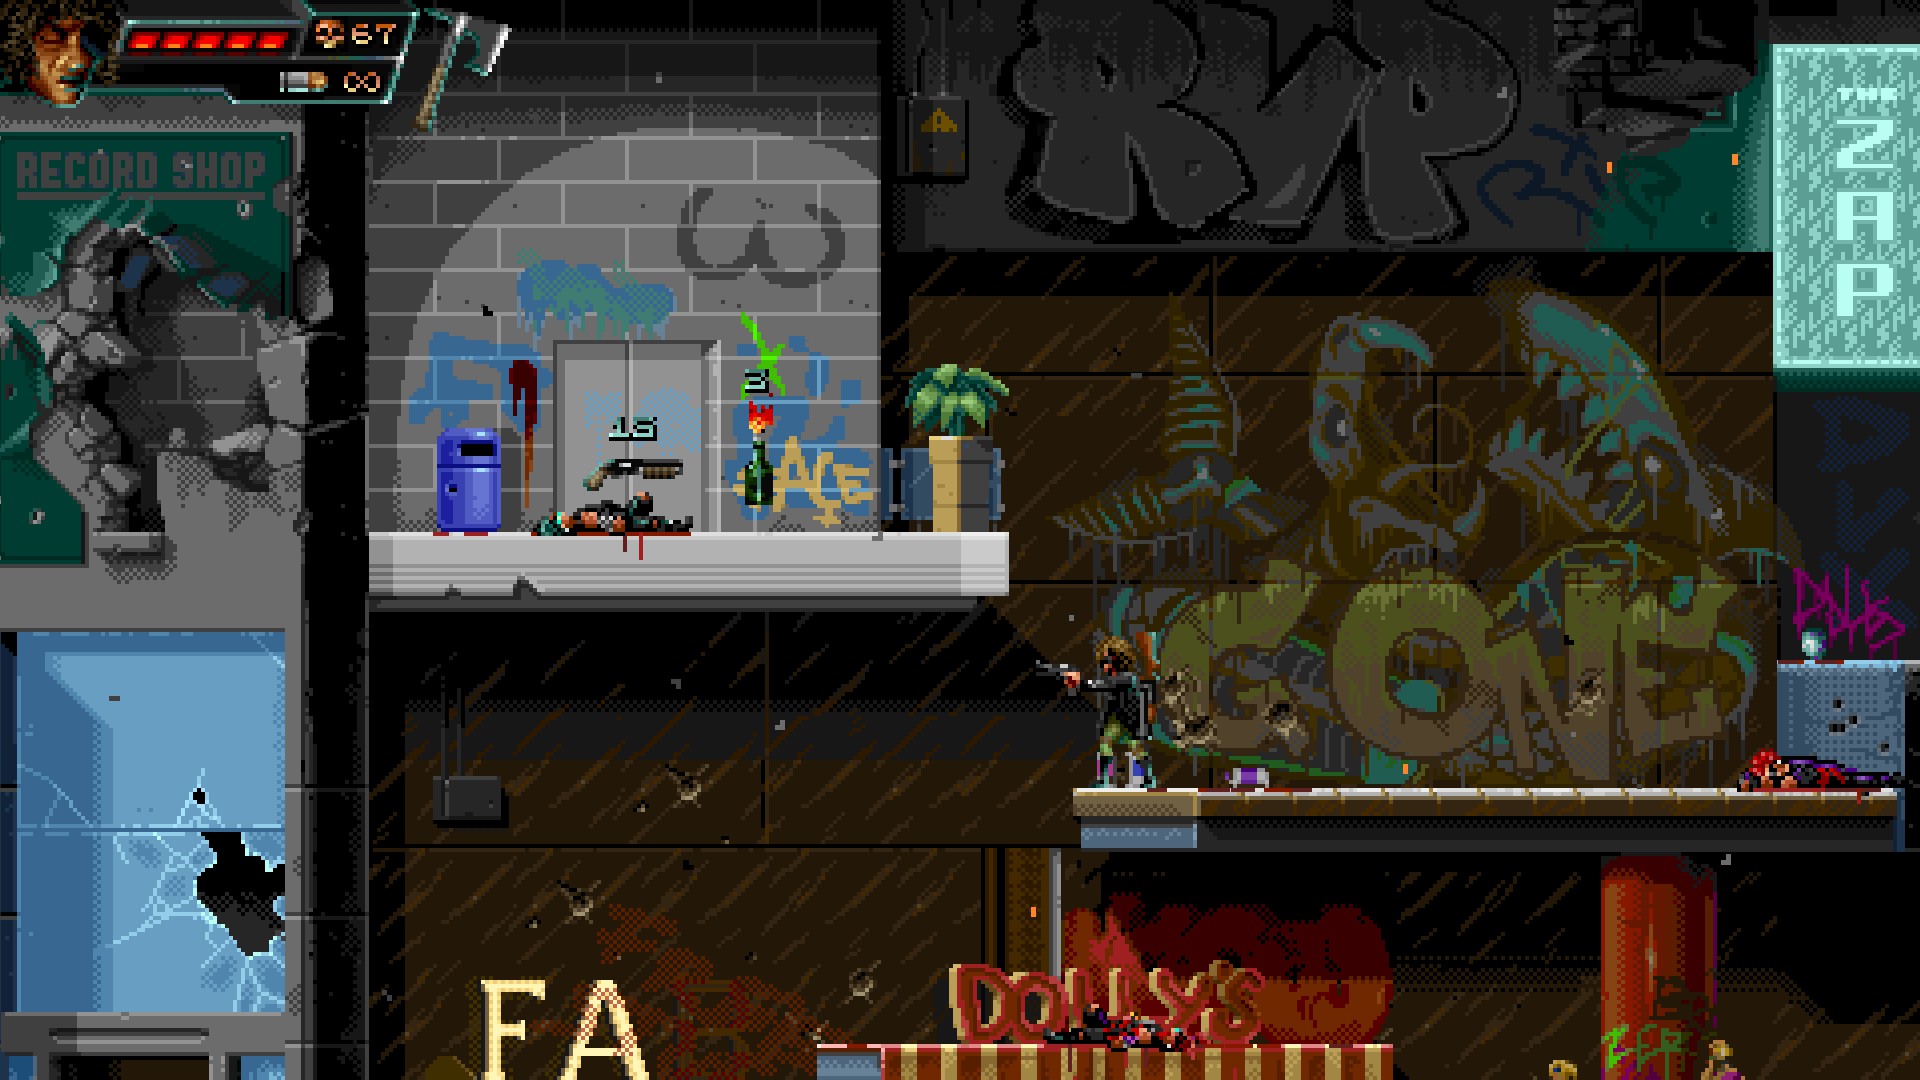
Fight through the enemies and backtrack to pick up stash #3.
⠀
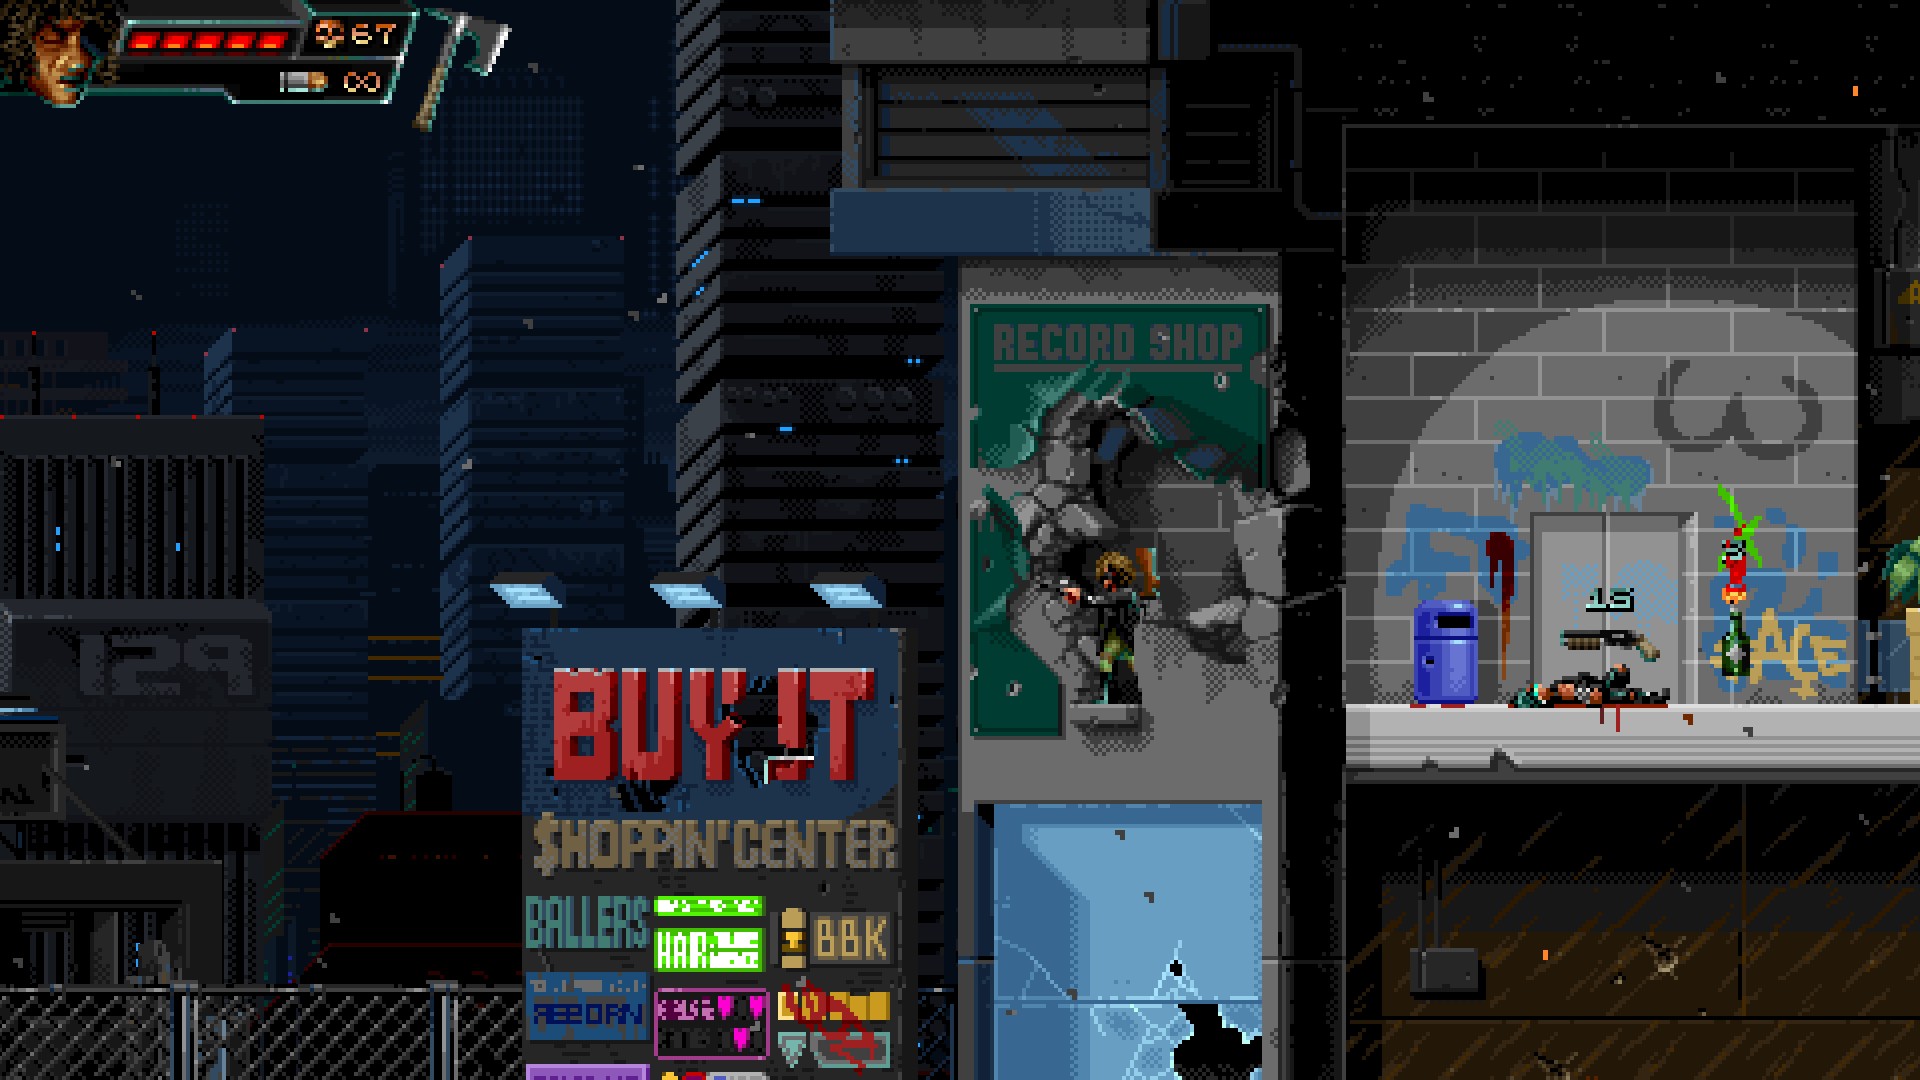
Misconducts – Level 1 – TNT Randy
Stash #1
⠀
⠀
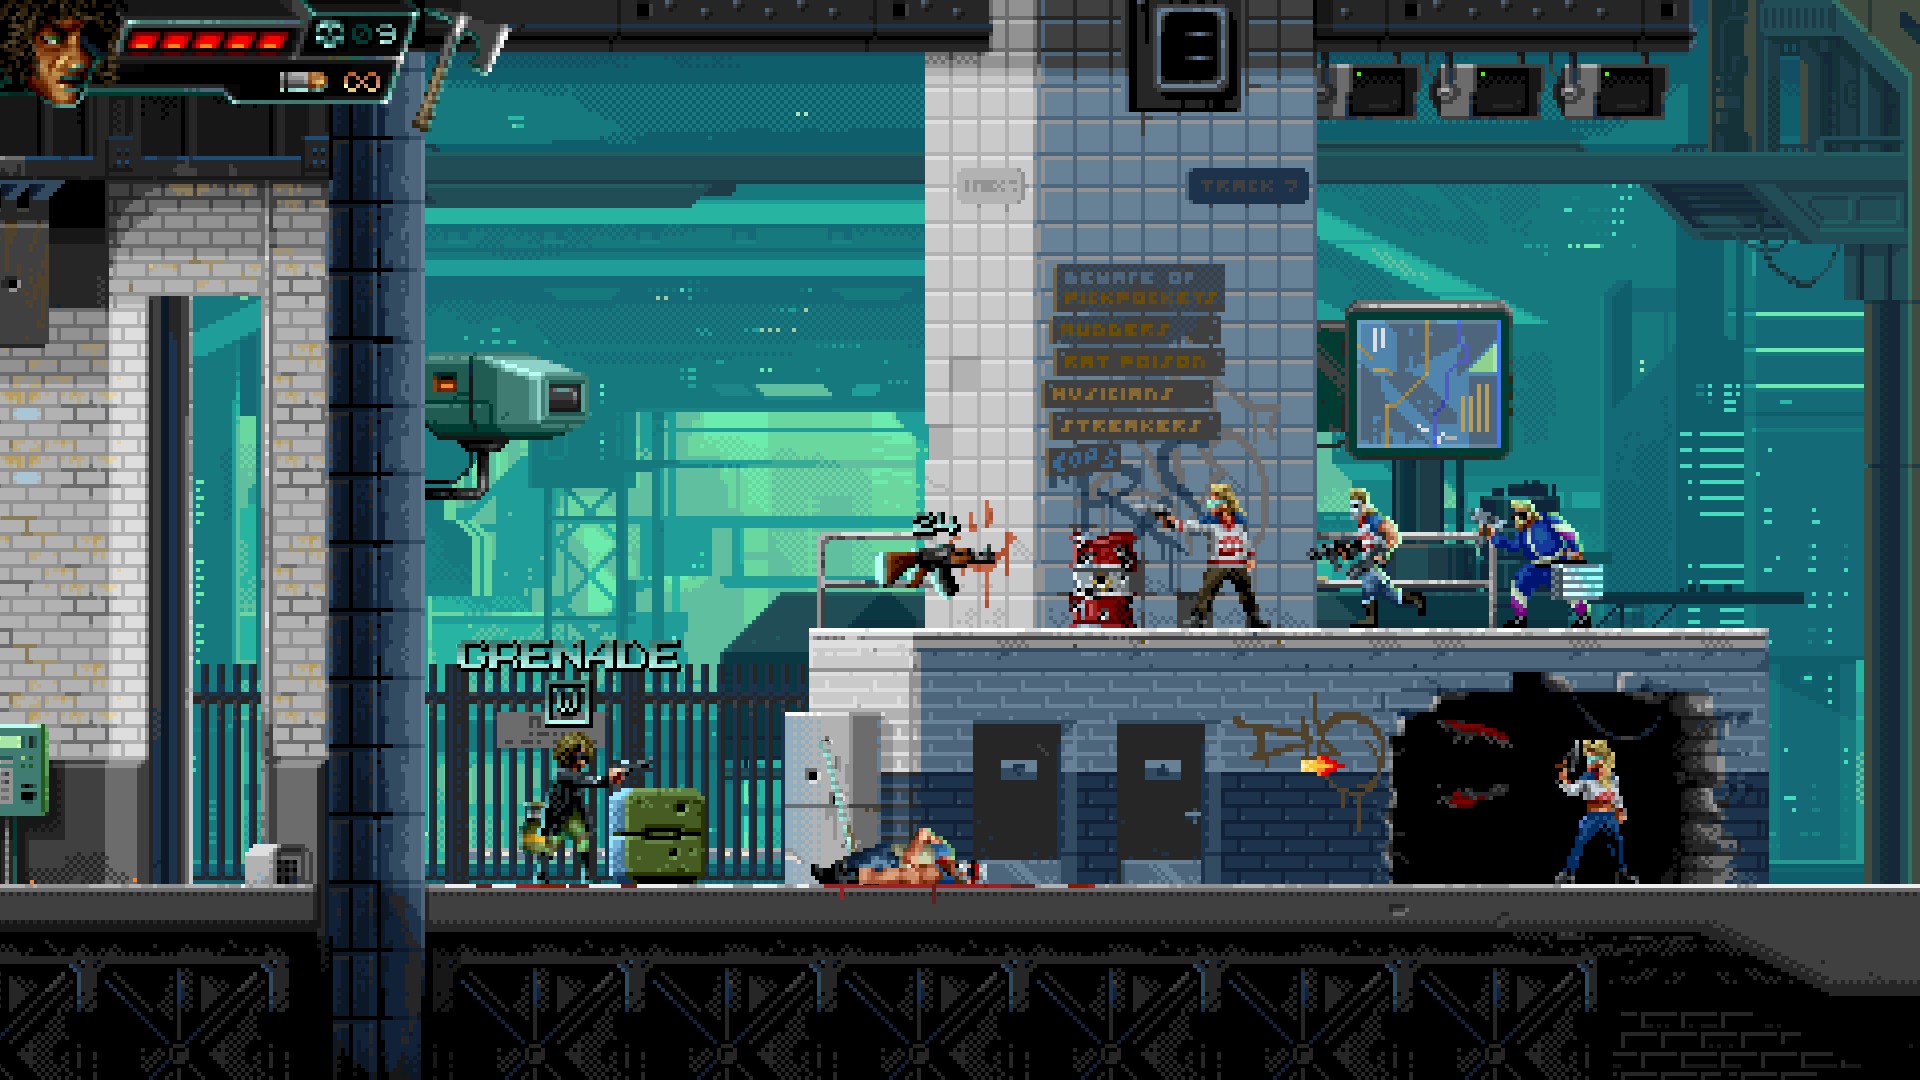
Another running man… he’s not Arnold. Kill him and take stash #1.
⠀
⠀
⠀
Stash #2
⠀
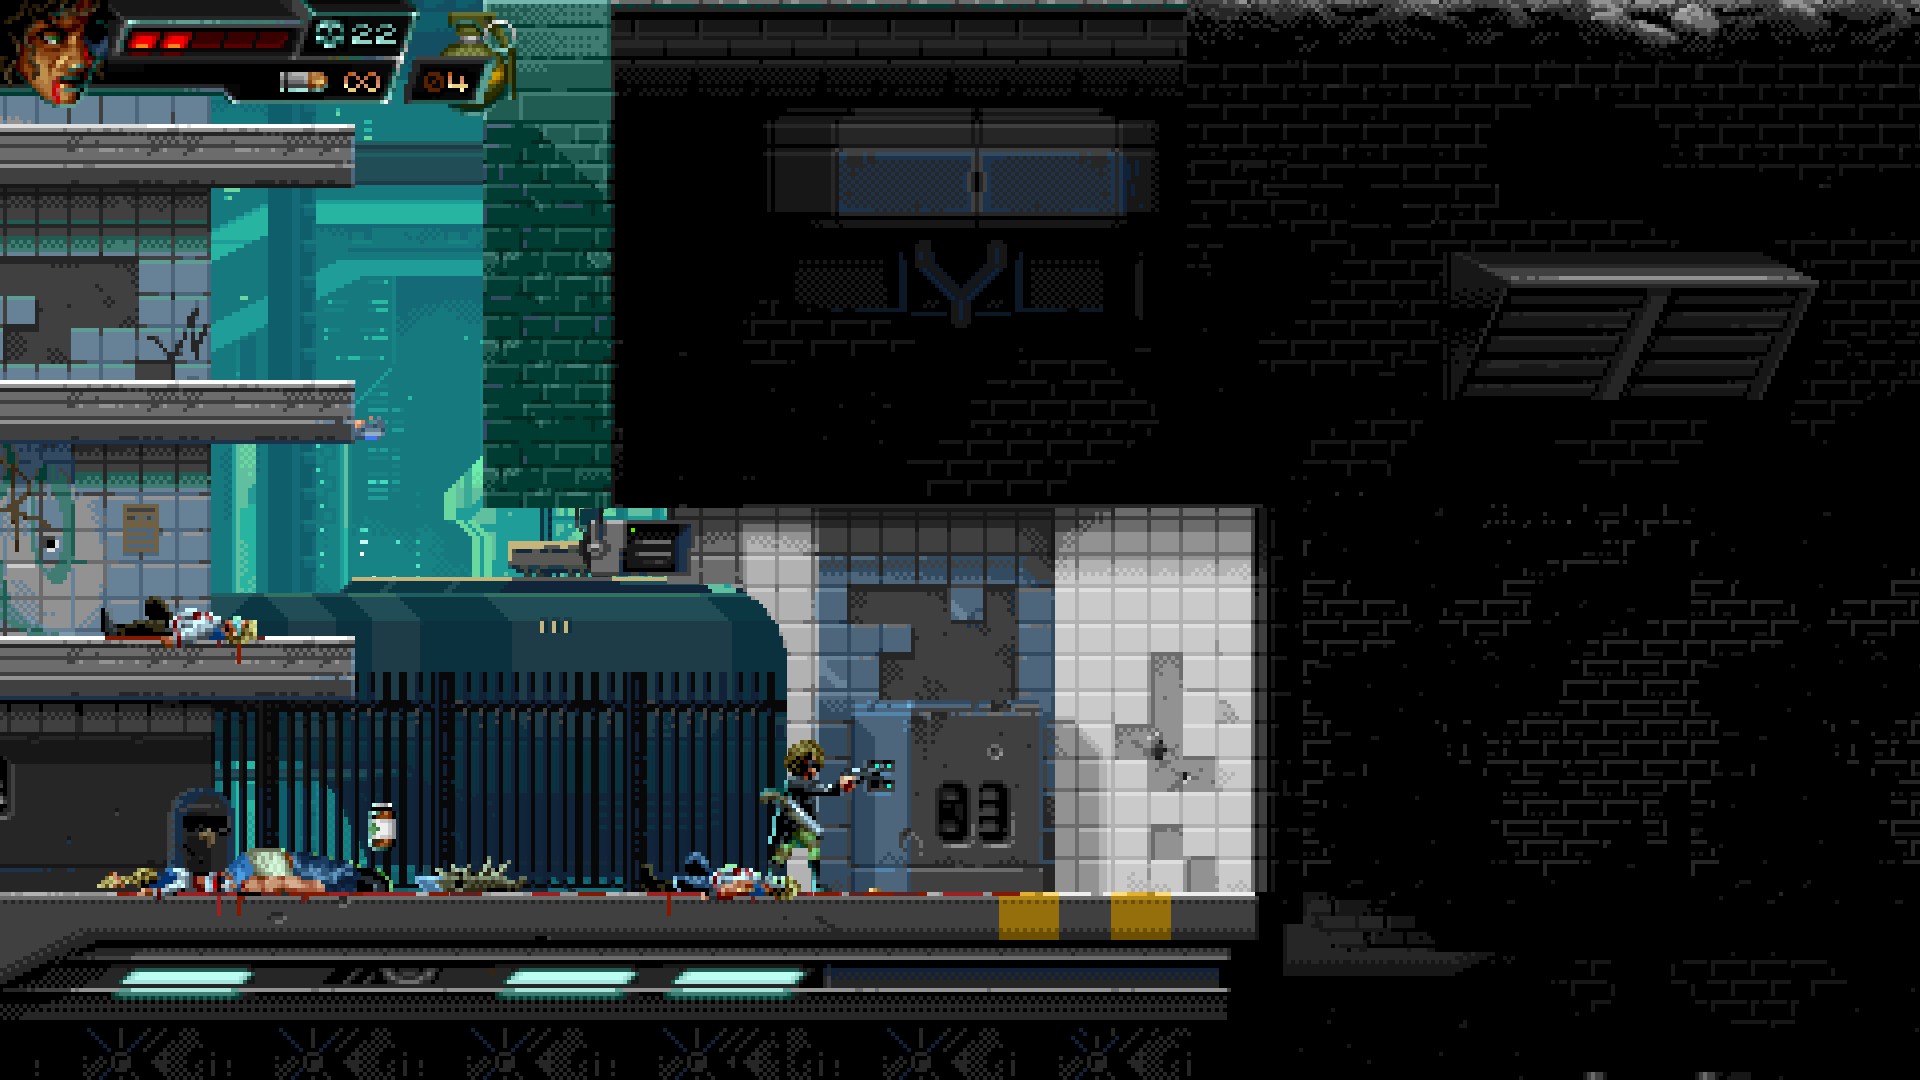
[/previewimg] ⠀ … ⠀ [previewimg=23356606;sizeFull,floatLeft;Misconducts 1 – TNT Randy – Stash 2 of 3 revealed.jpg][/previewimg] ⠀ ⠀ ⠀ Stash #3 ⠀ [previewimg=23356608;sizeFull,floatLeft;Misconducts 1 – TNT Randy – Stash 3 of 3 revealed.jpg][/previewimg] ⠀ Easy to spot. Just run past and backtrack⠀
…
⠀
⠀
⠀
⠀
Stash #3
⠀
⠀
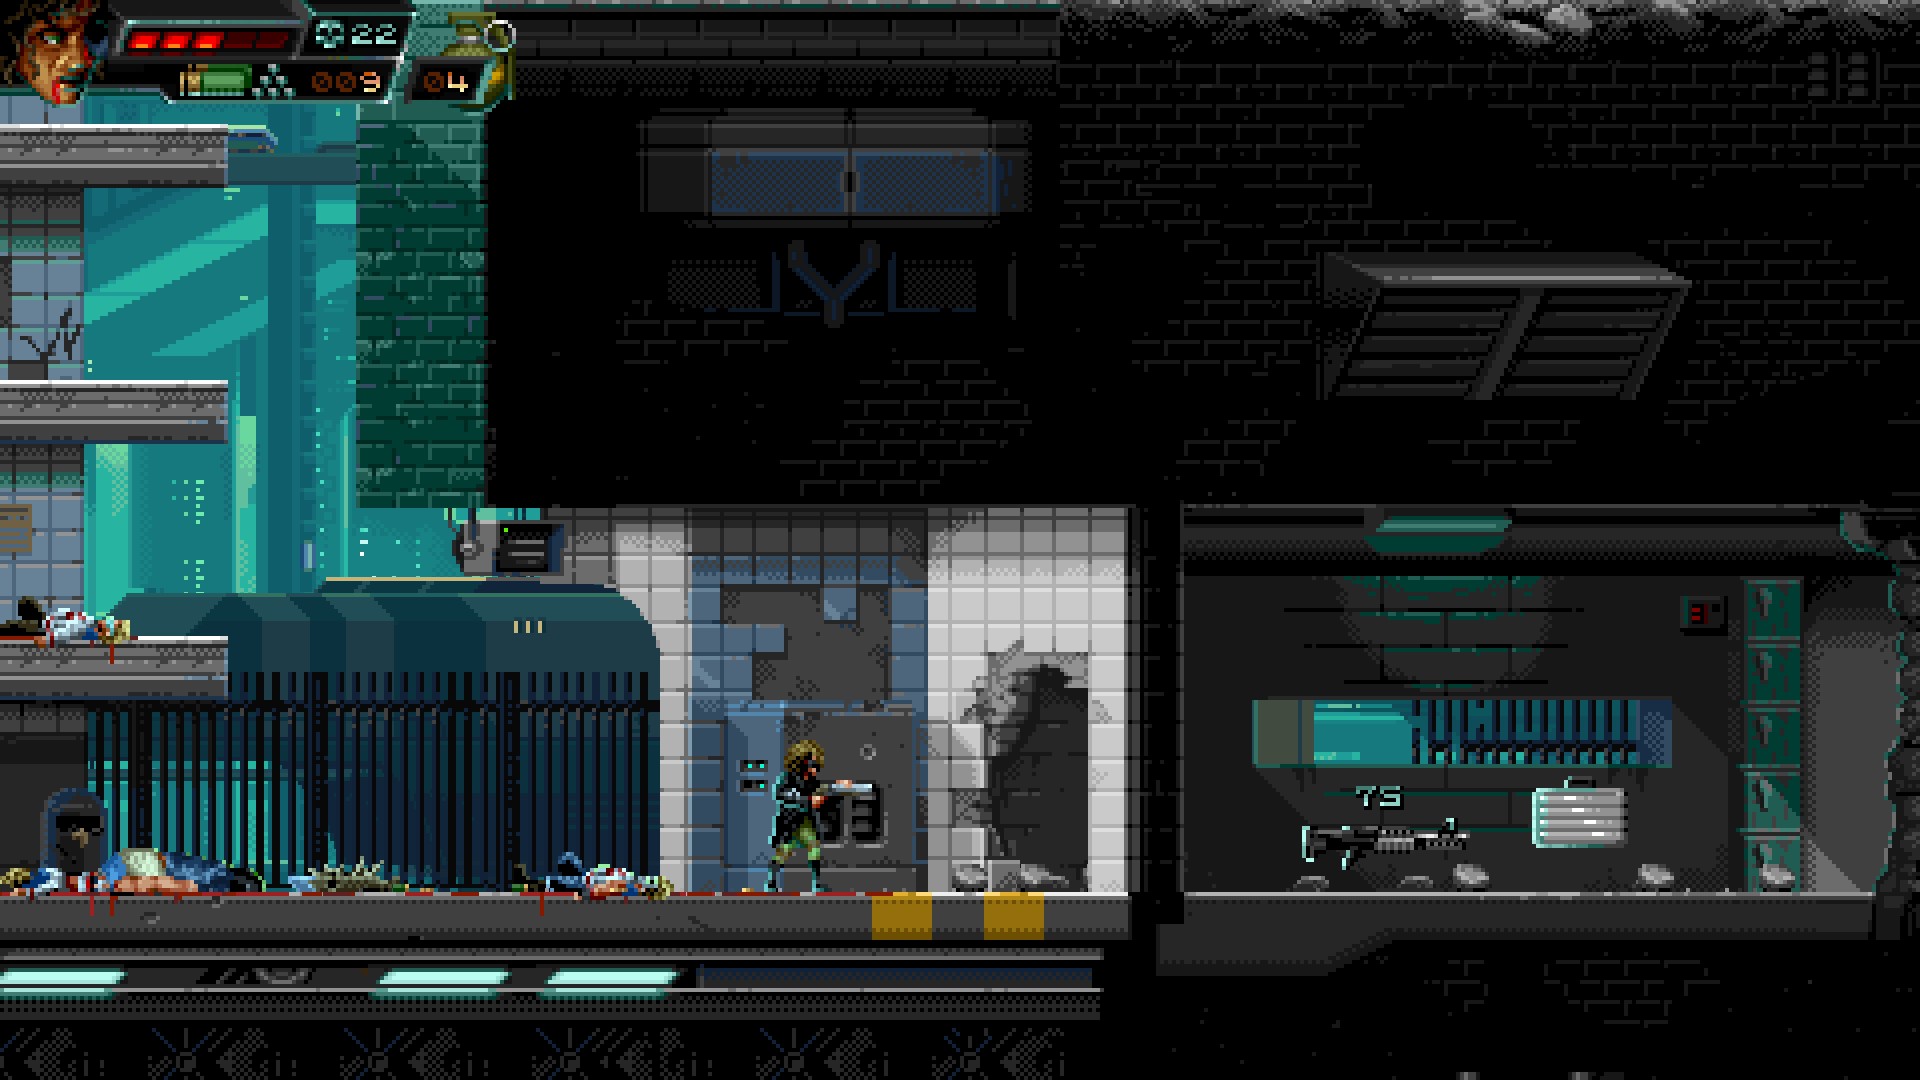
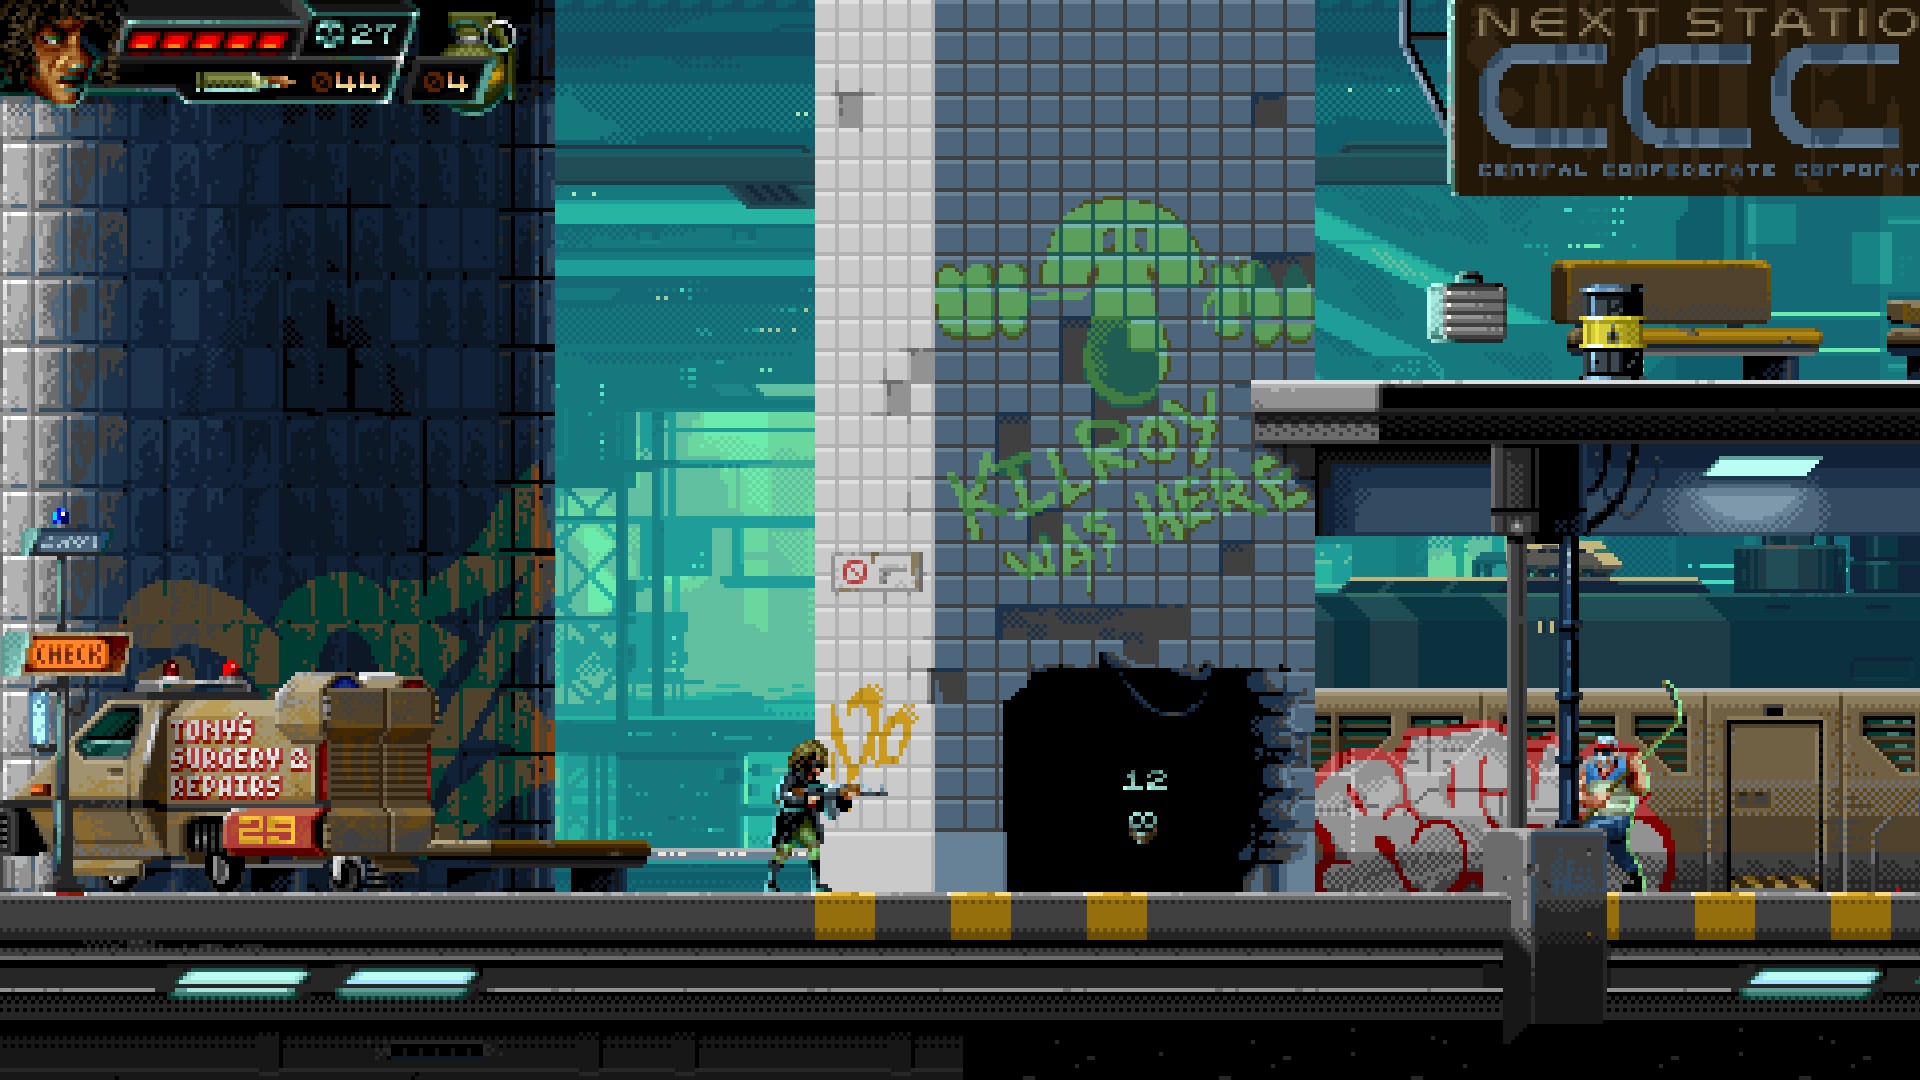
Easy to spot. Just run past and backtrack.
Misconducts – Level 2 – Nadja Drago
Stash #1
⠀
⠀
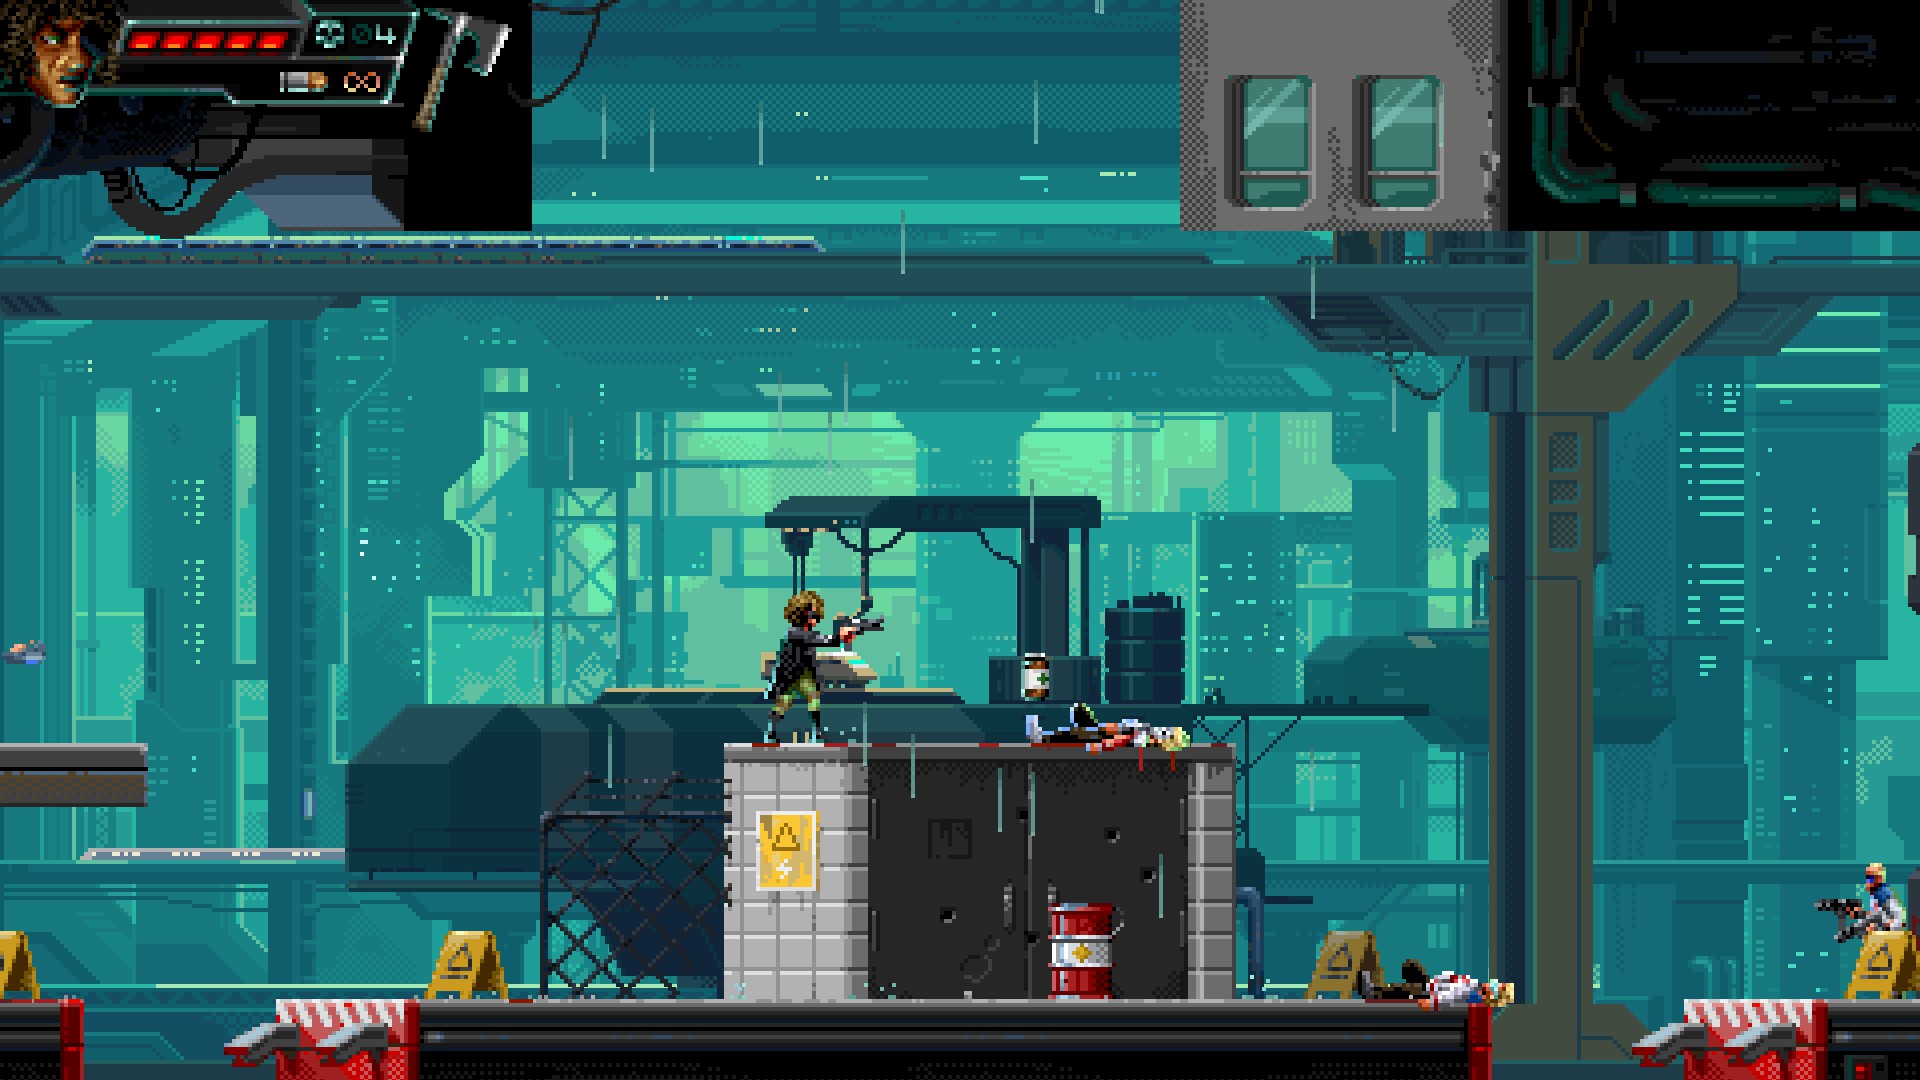
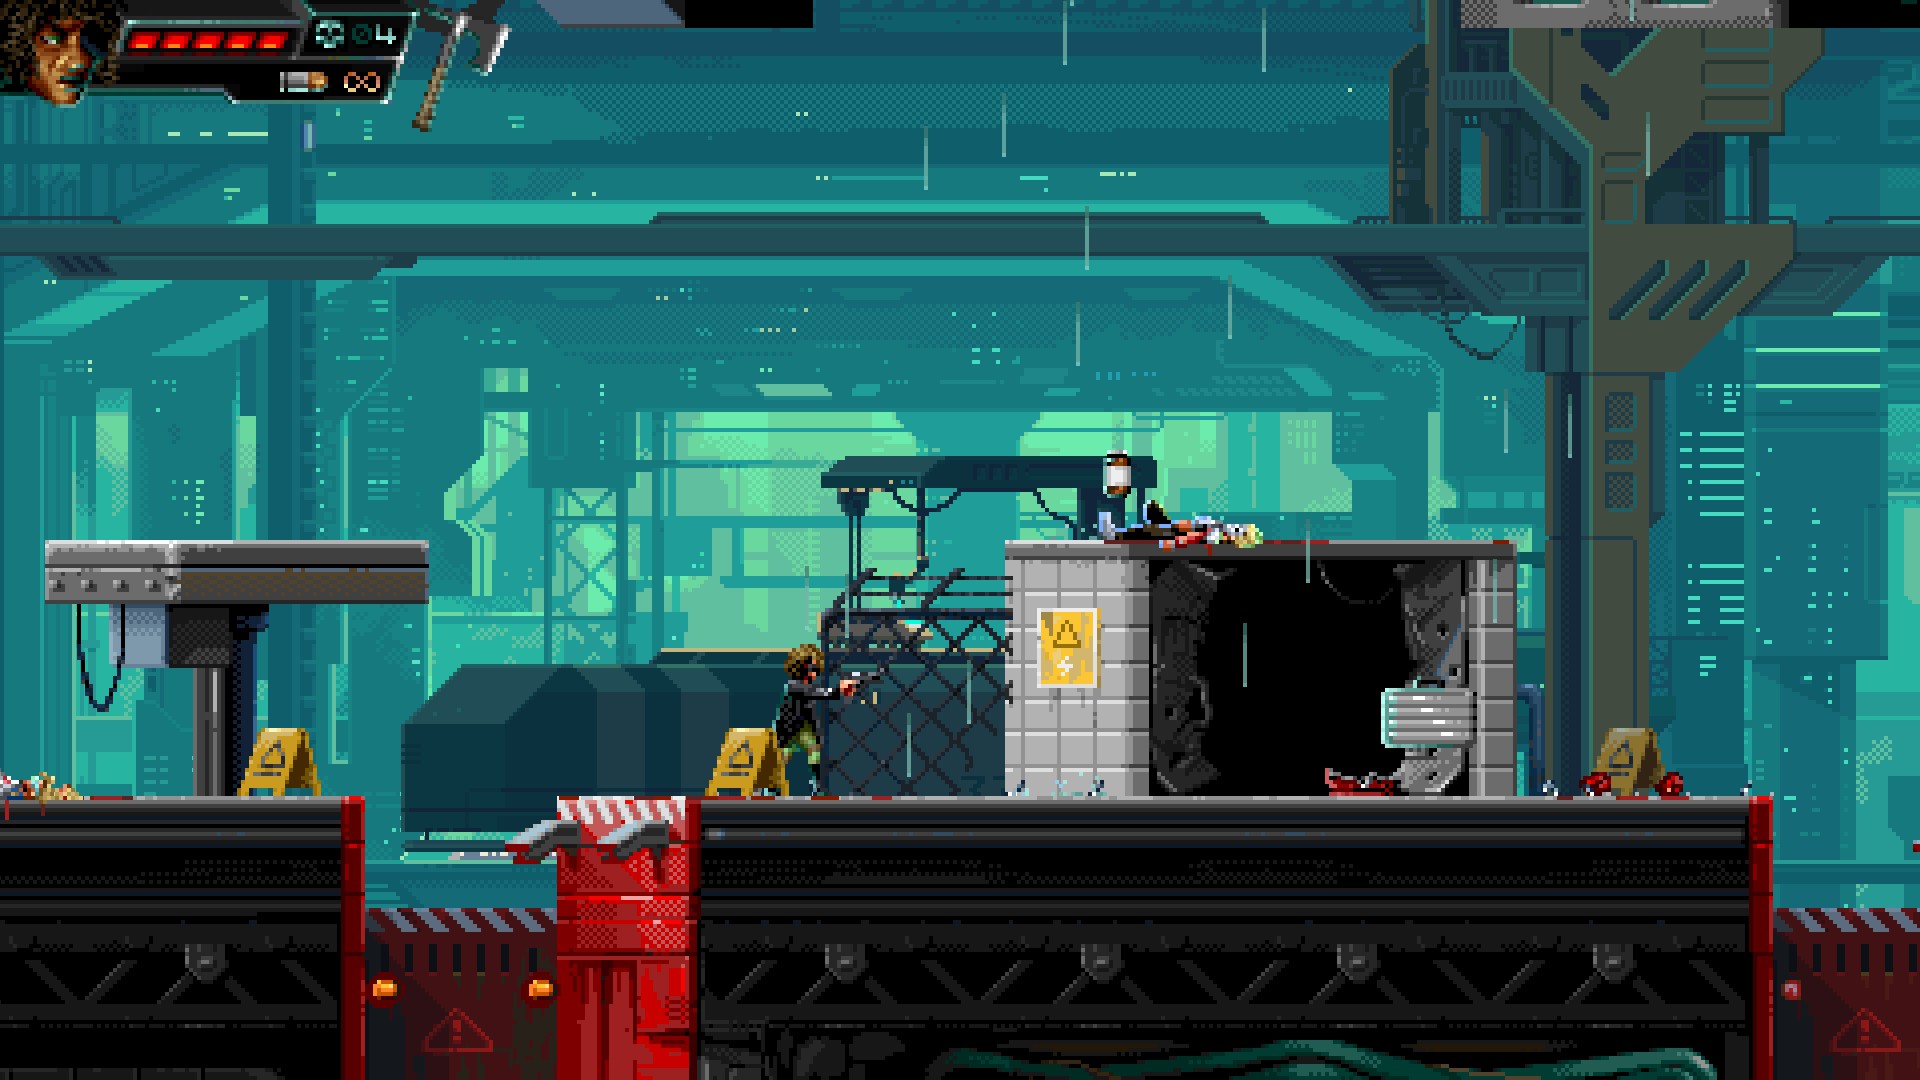
Blow up the barrel to reveal the stash #1 behind the door.
⠀
⠀
⠀
⠀
Stash #2
⠀
⠀
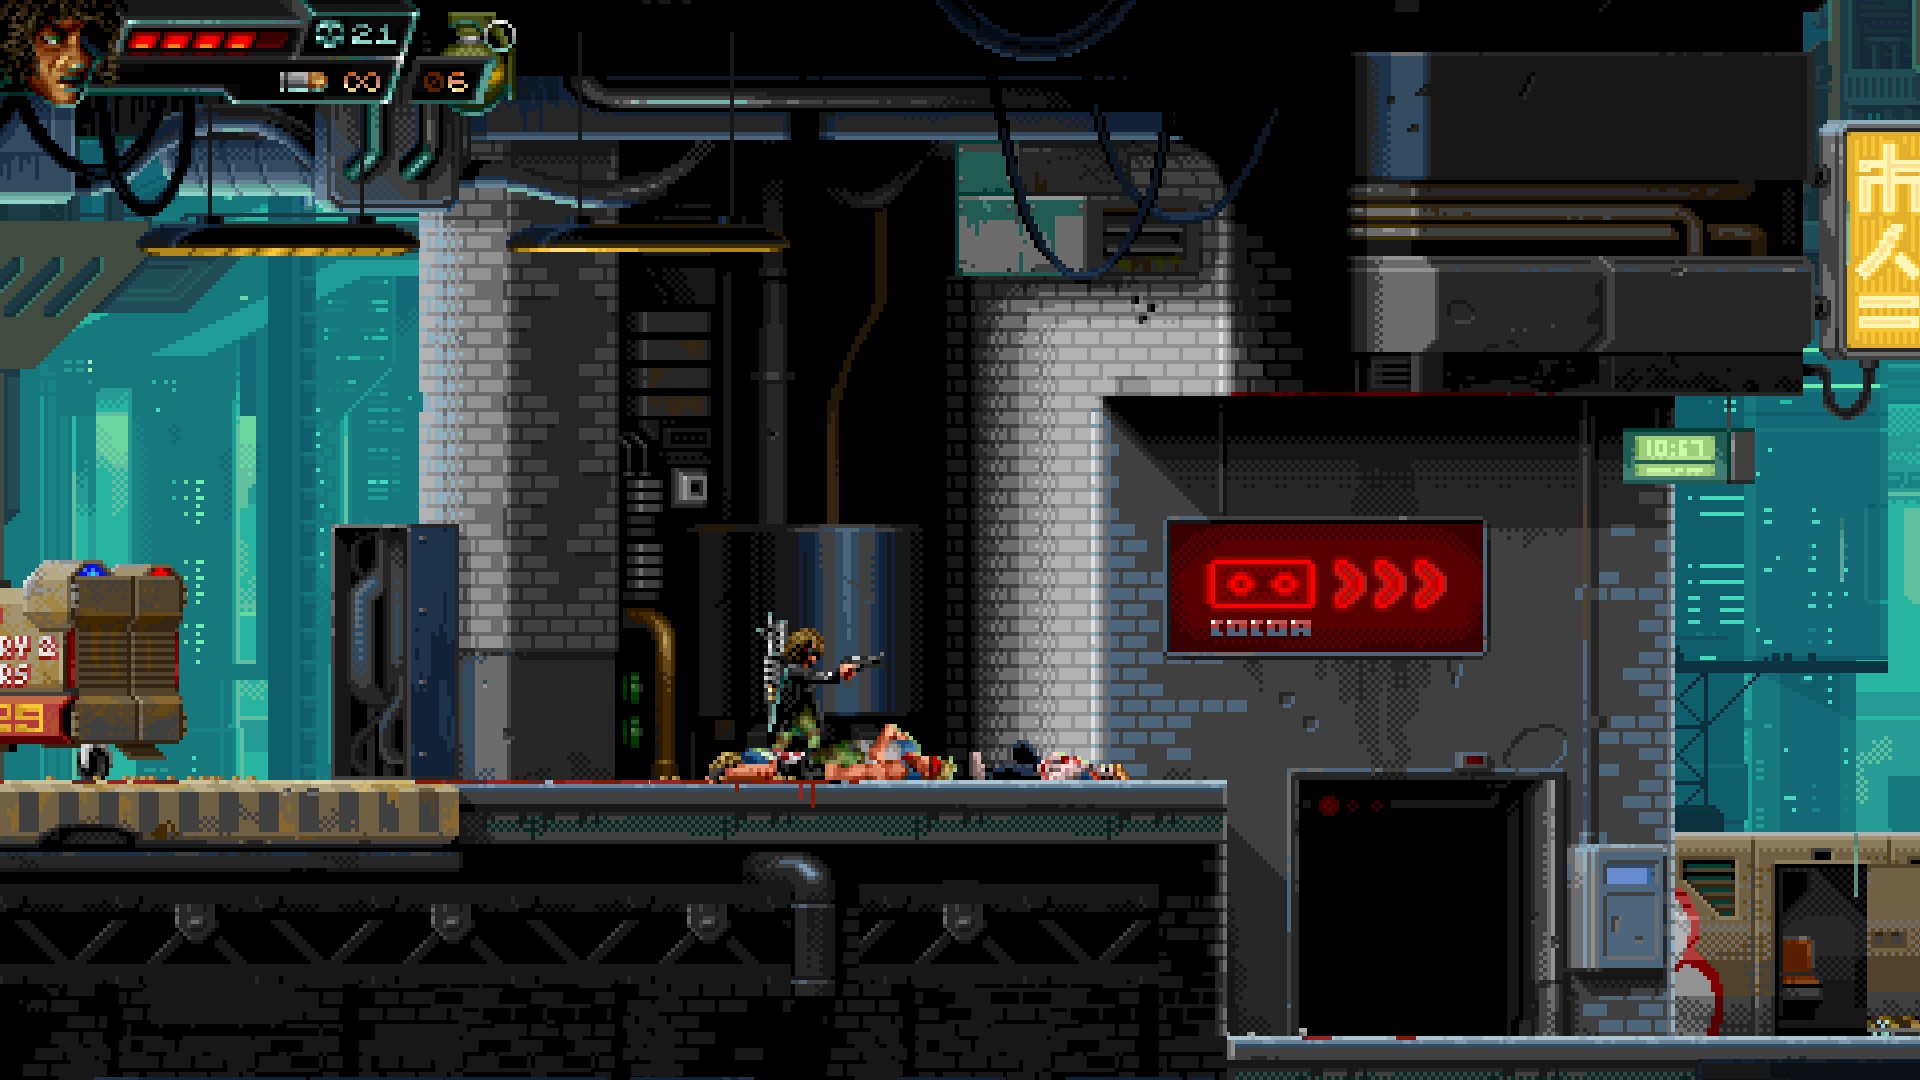
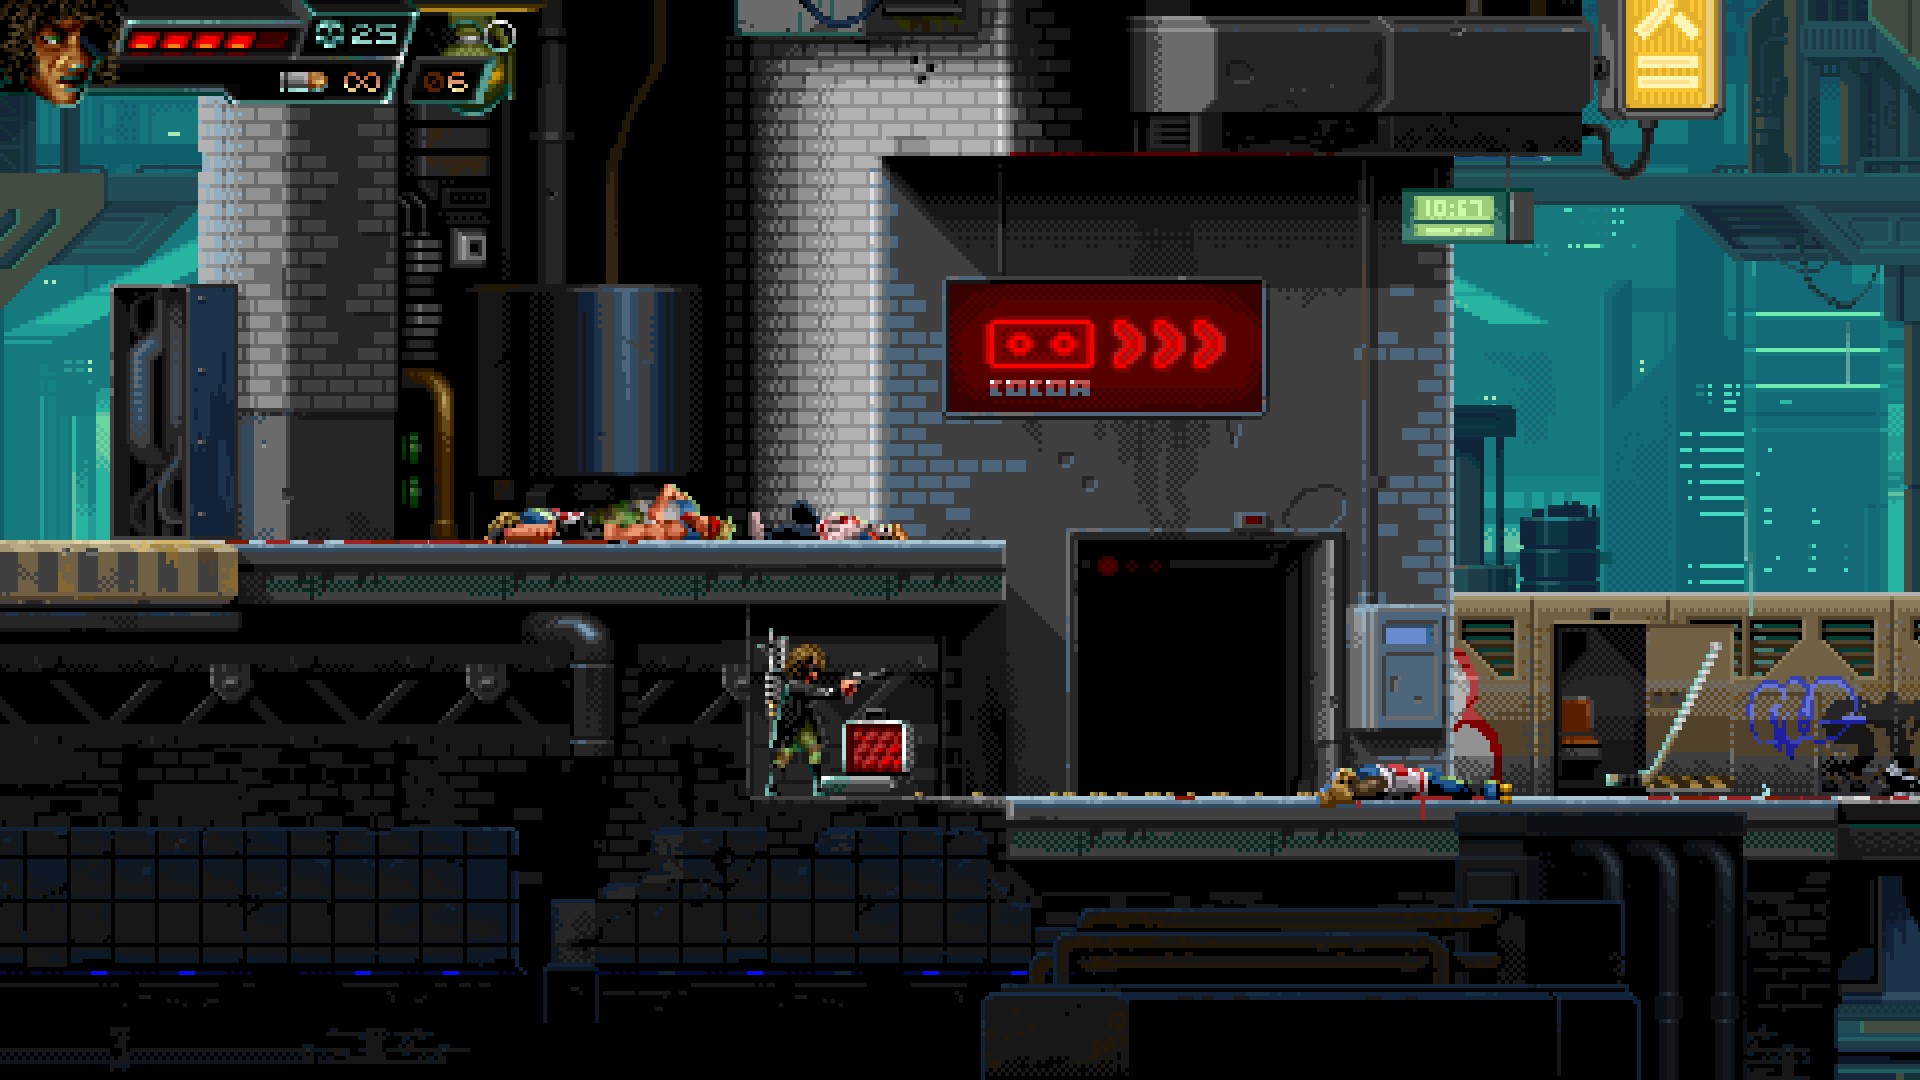
Just run into the concealed area to pick up stash #2.
⠀
⠀
⠀
⠀
Stash #3
⠀
⠀
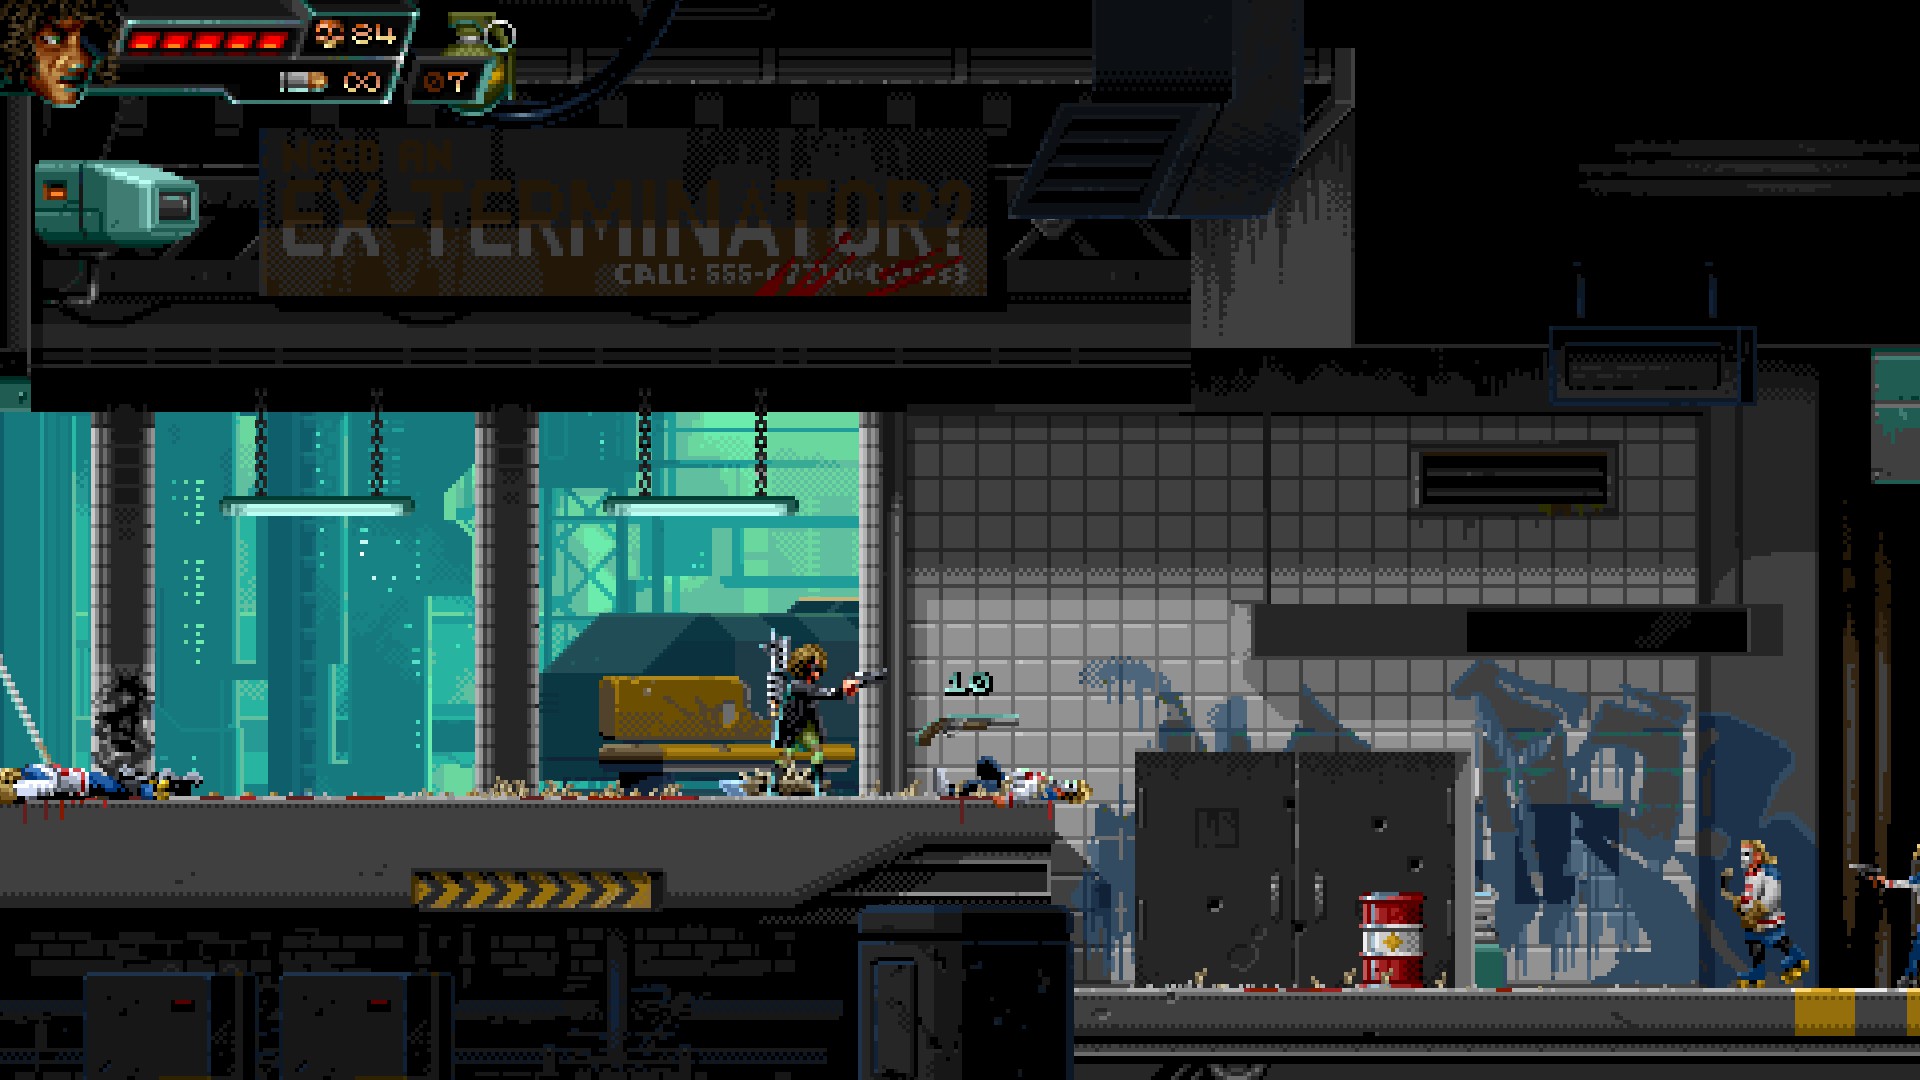
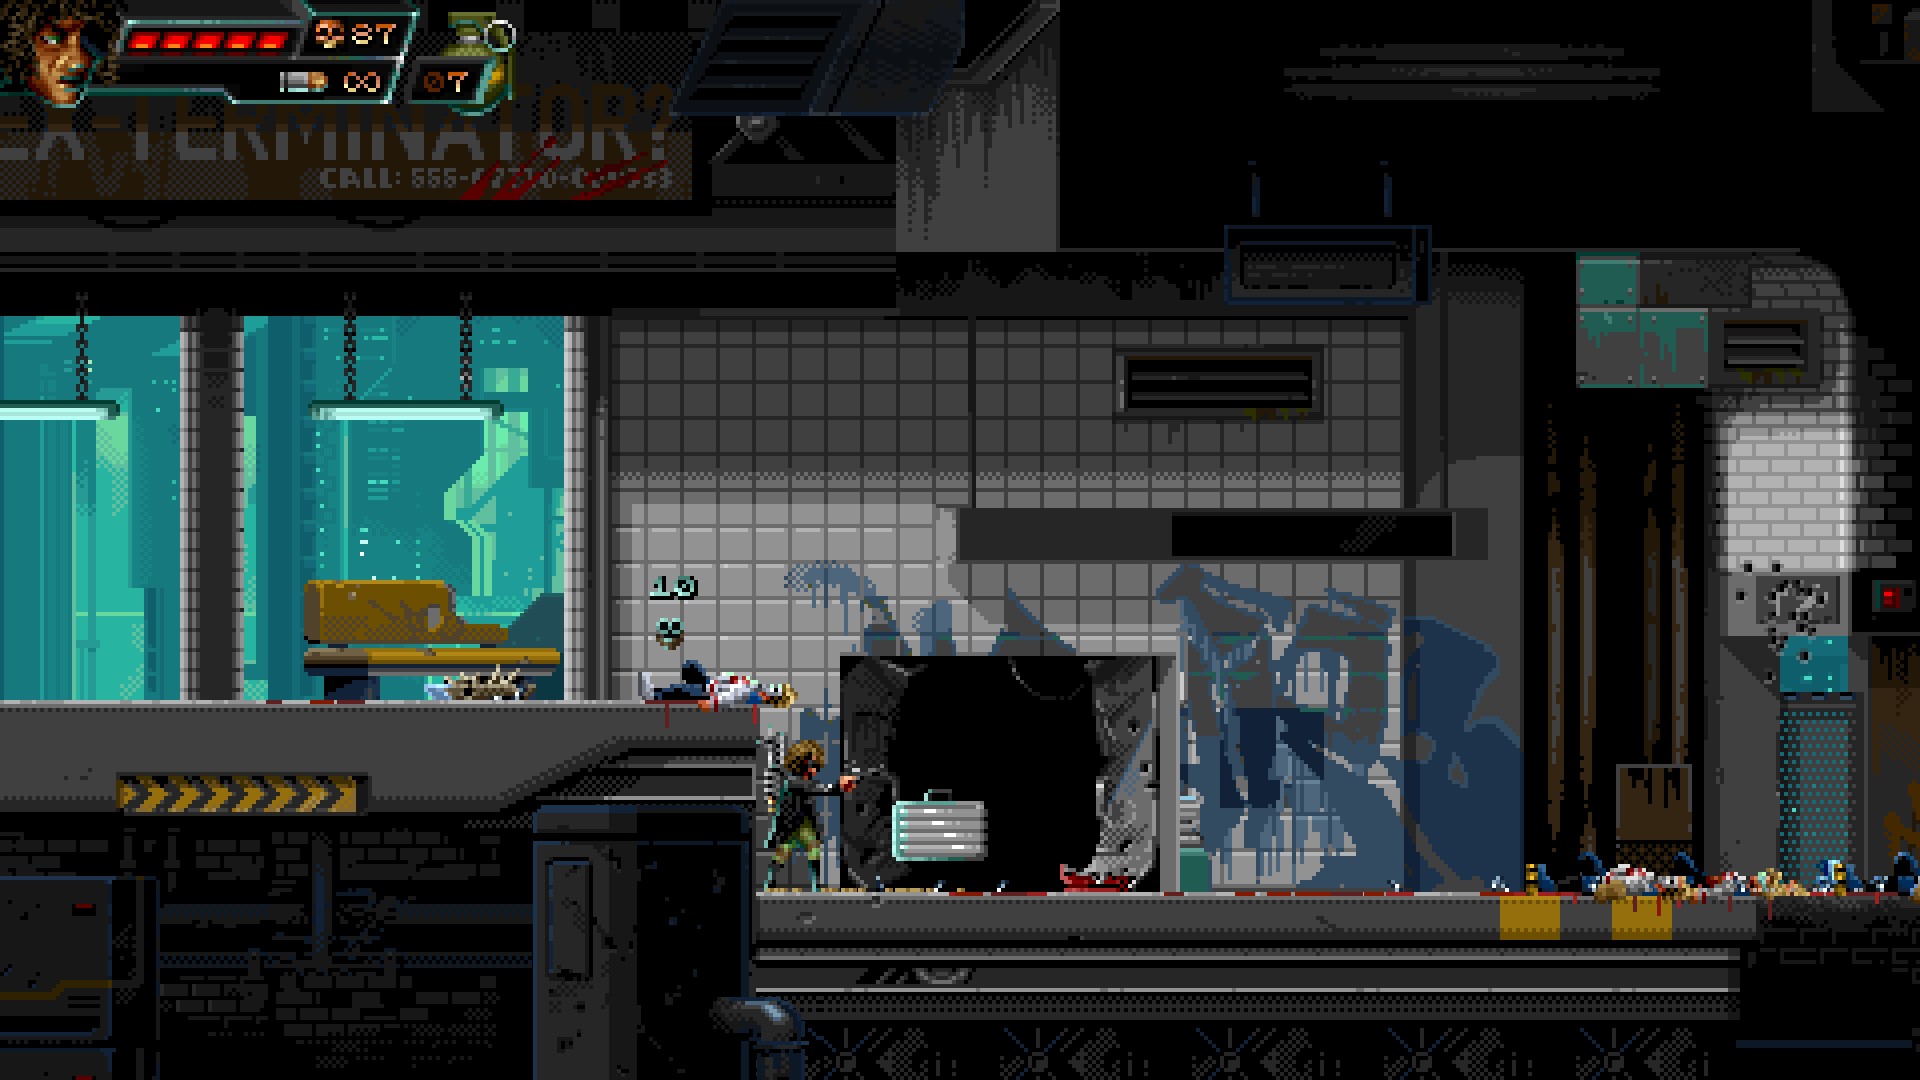
Blow up the barrel to reveal the stash #3 behind the door.
⠀
Misconducts – Level 3 – Hard-Knock Murdoch
Stash #1
⠀
⠀
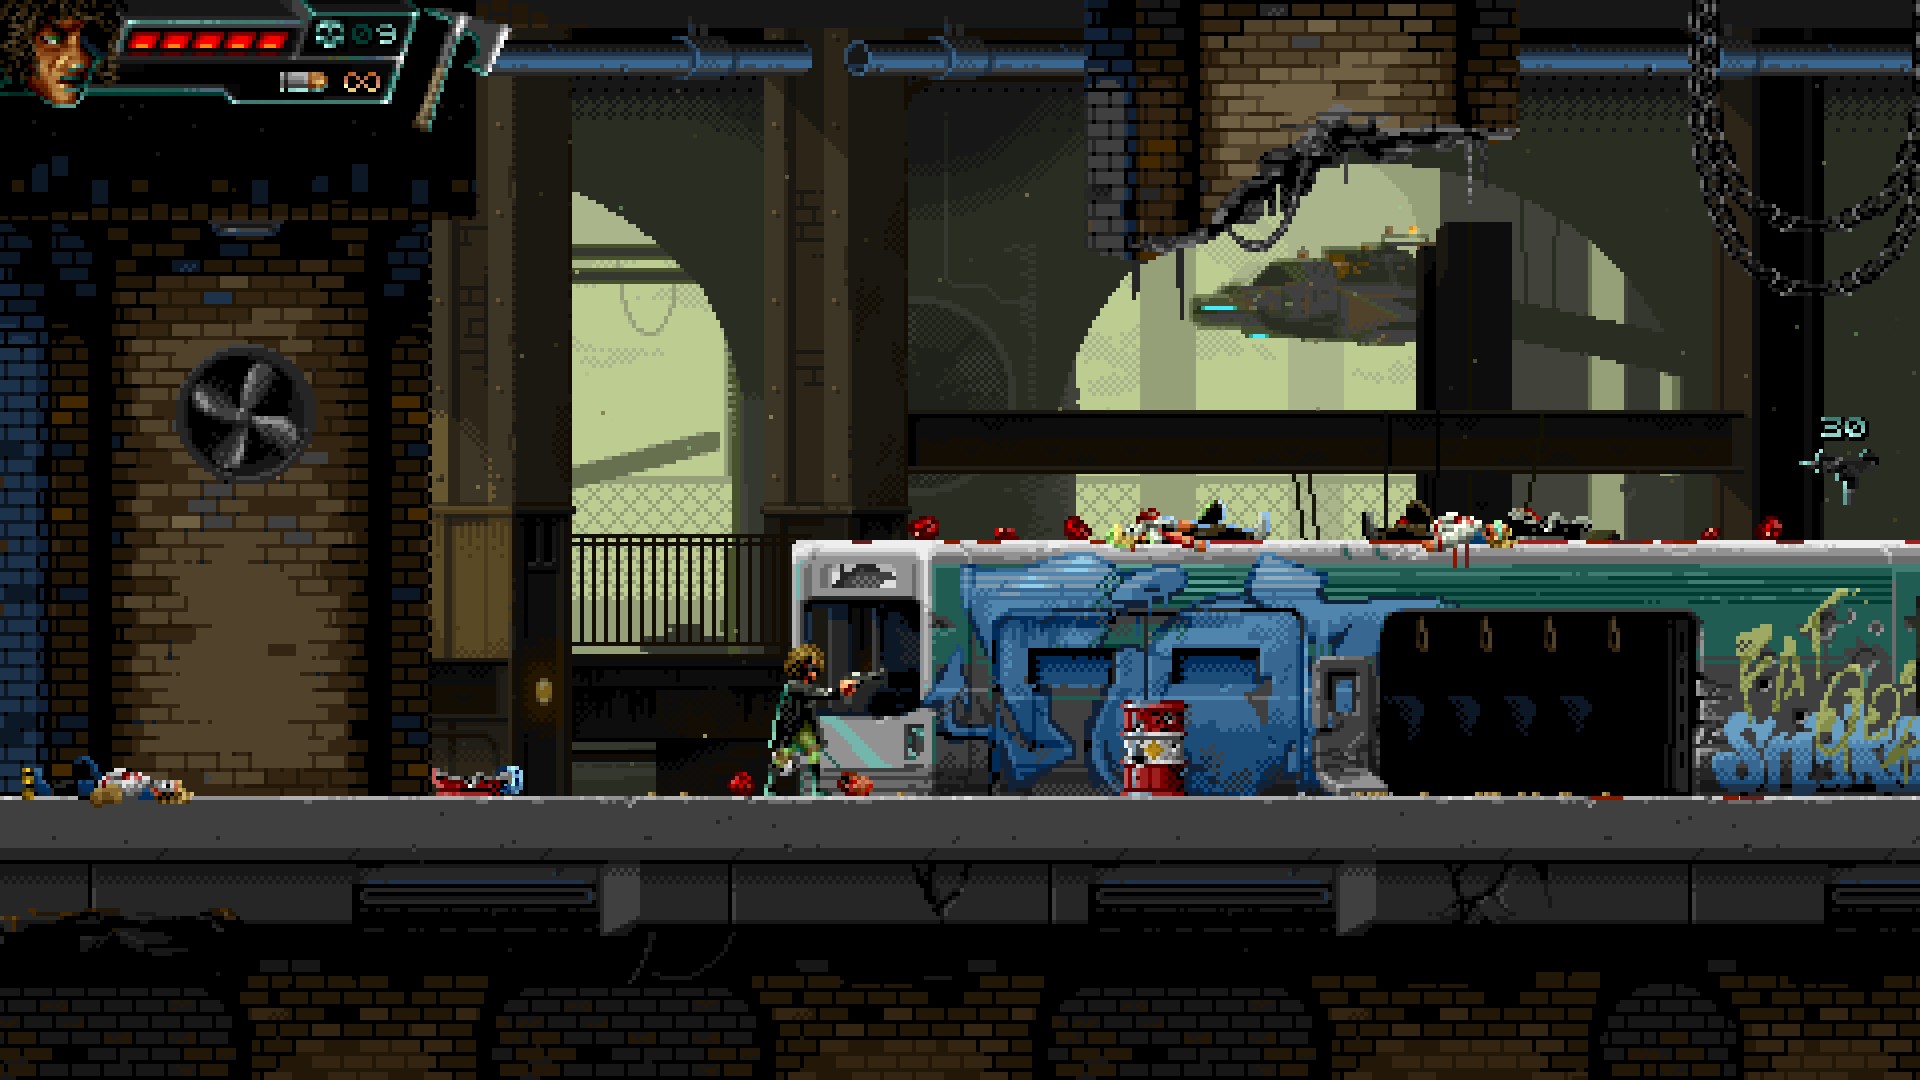
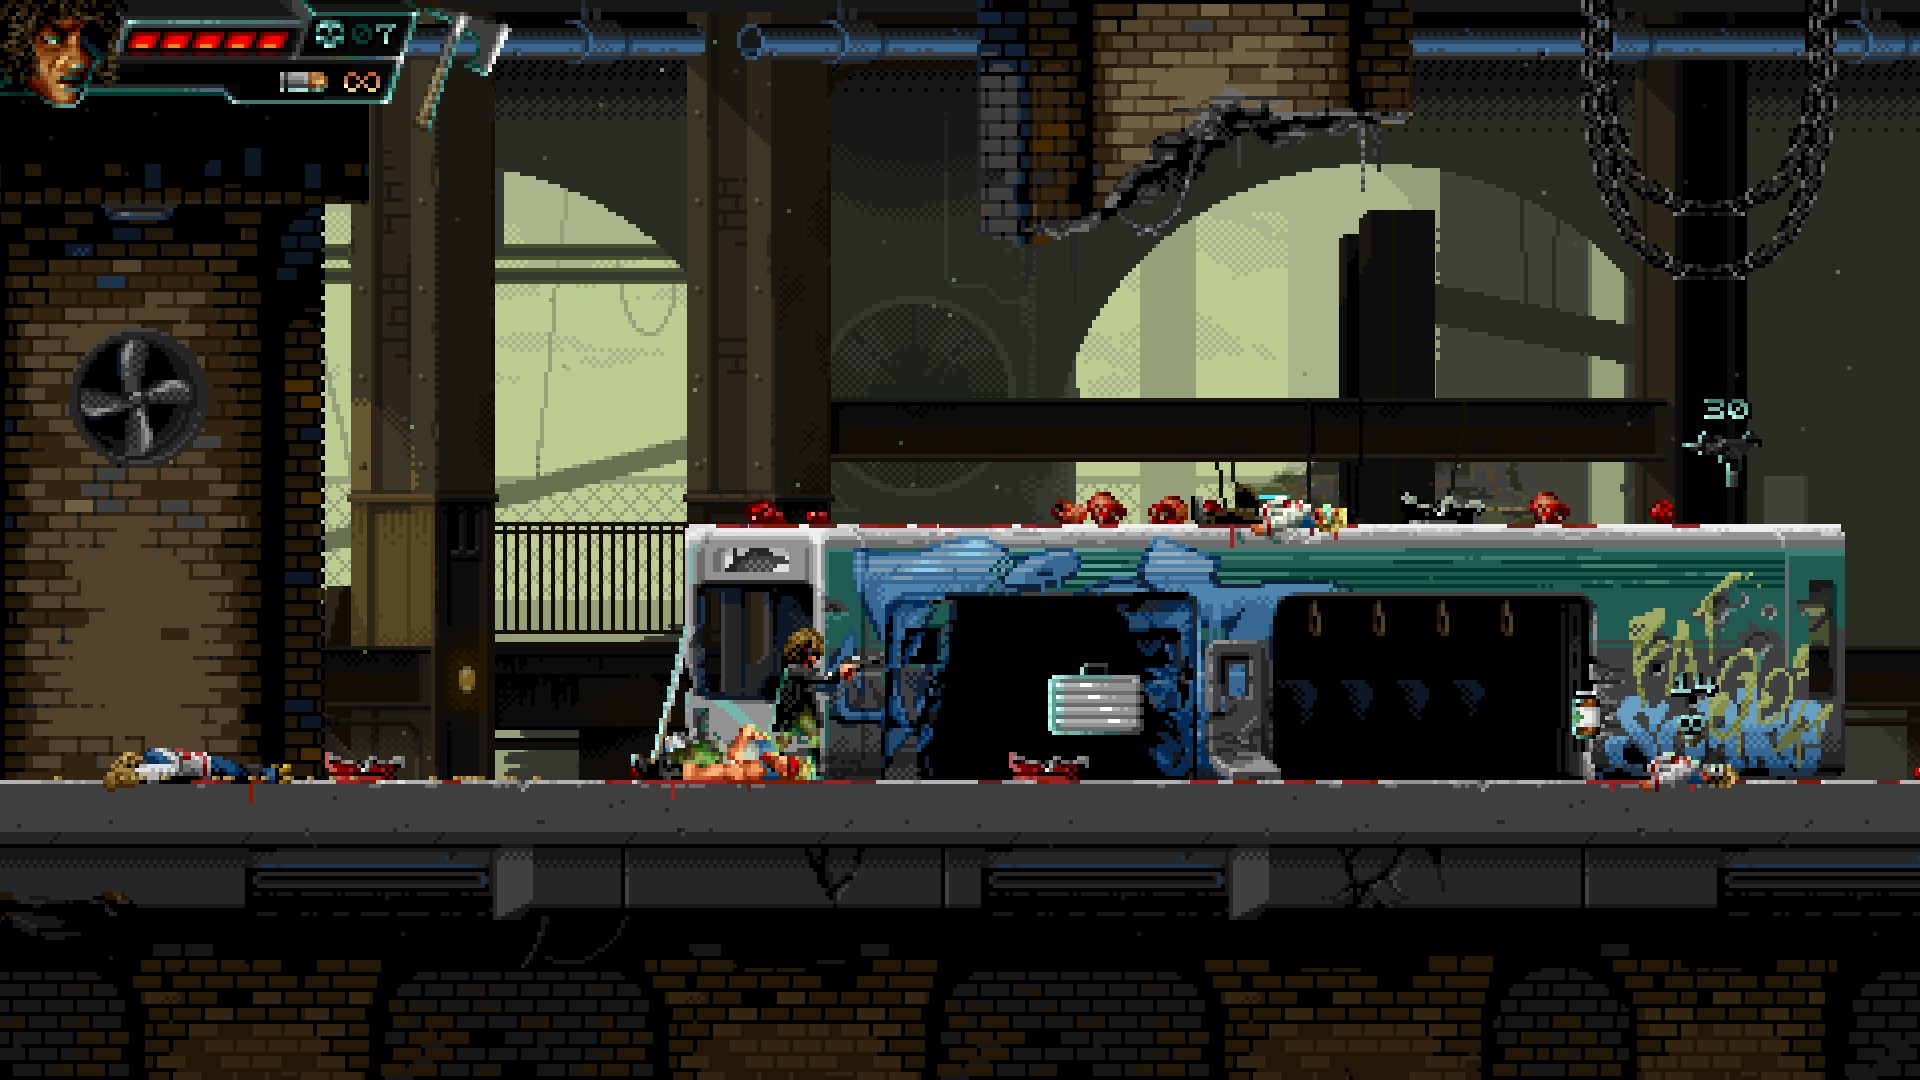
Like shooting explosives in a barrel. Blow up the barrel to crack open the subway car and reveal stash #1.
⠀
⠀
⠀
⠀
Stash #2
⠀
⠀
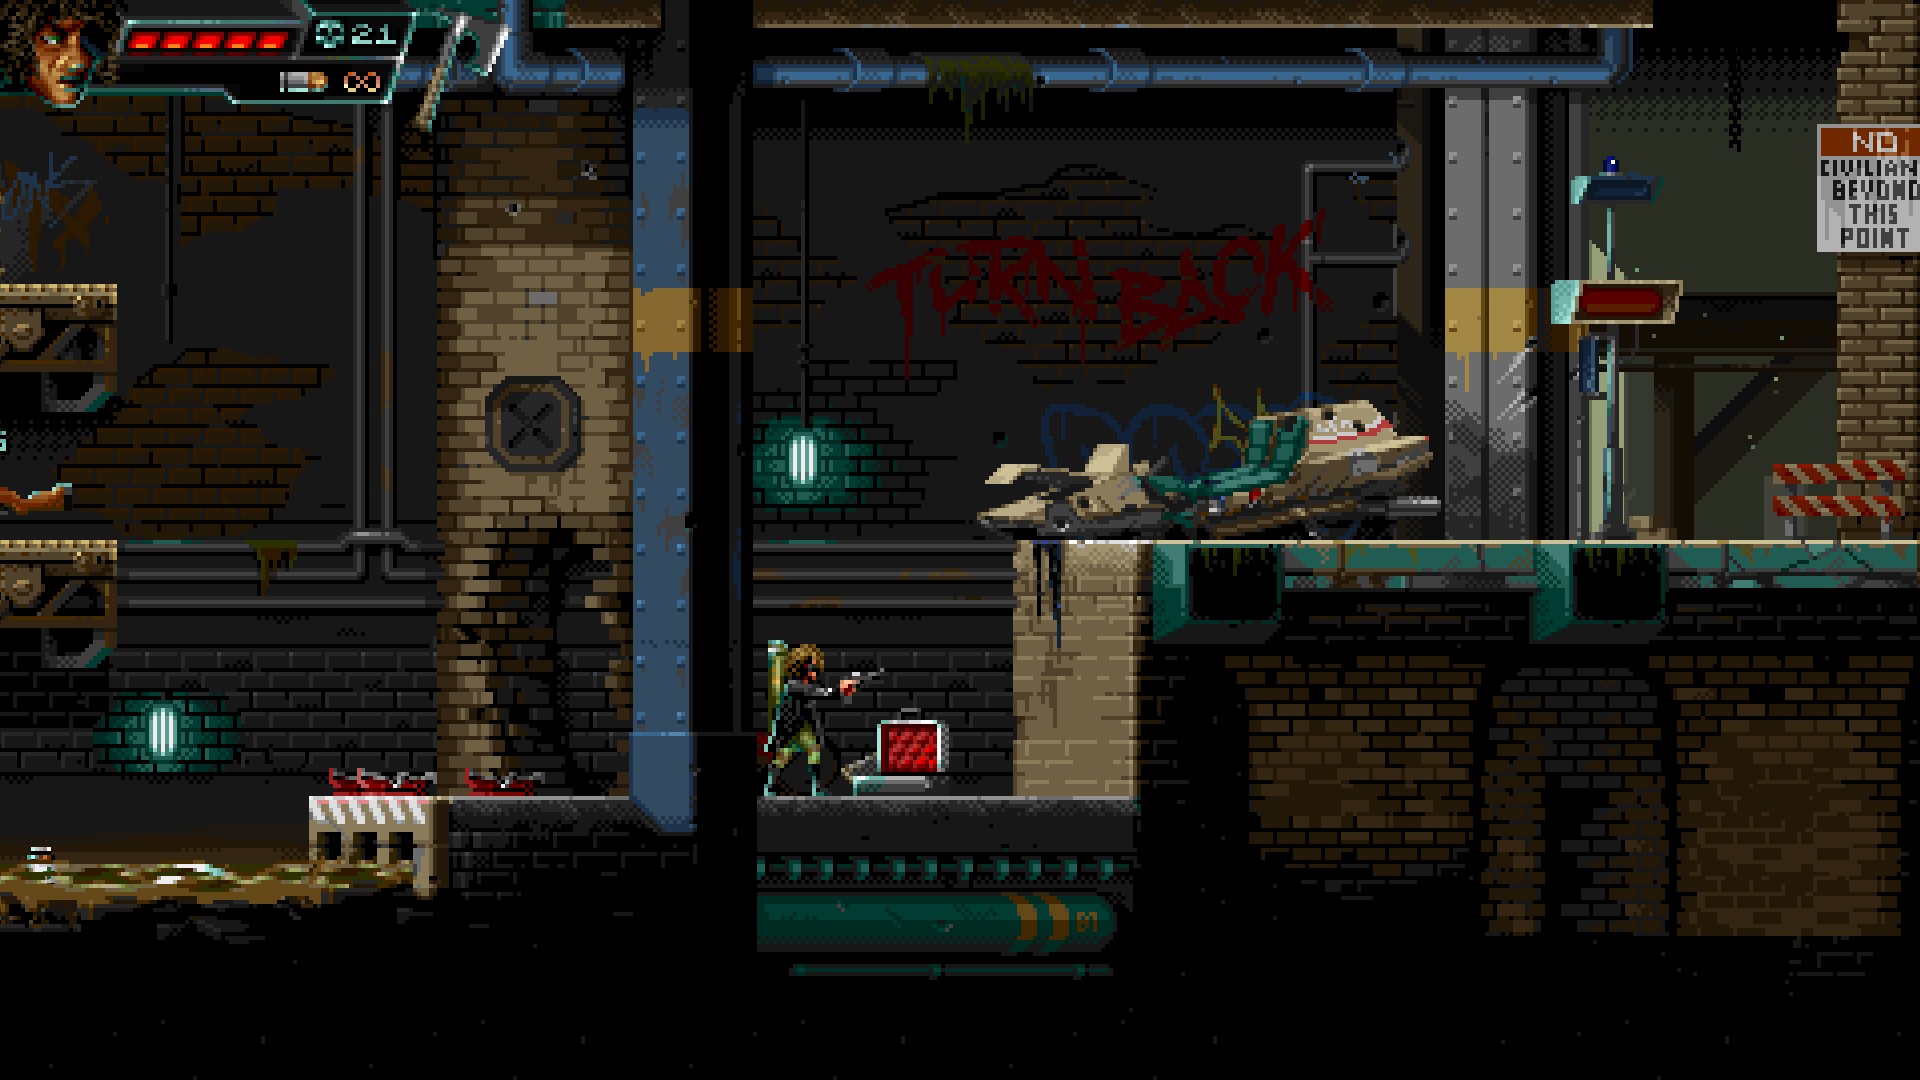
After fighting the flying car you have go past stash #2 to continue. You would have to be a master of evasion to miss this one.
⠀
⠀
⠀
Stash #3
⠀
⠀
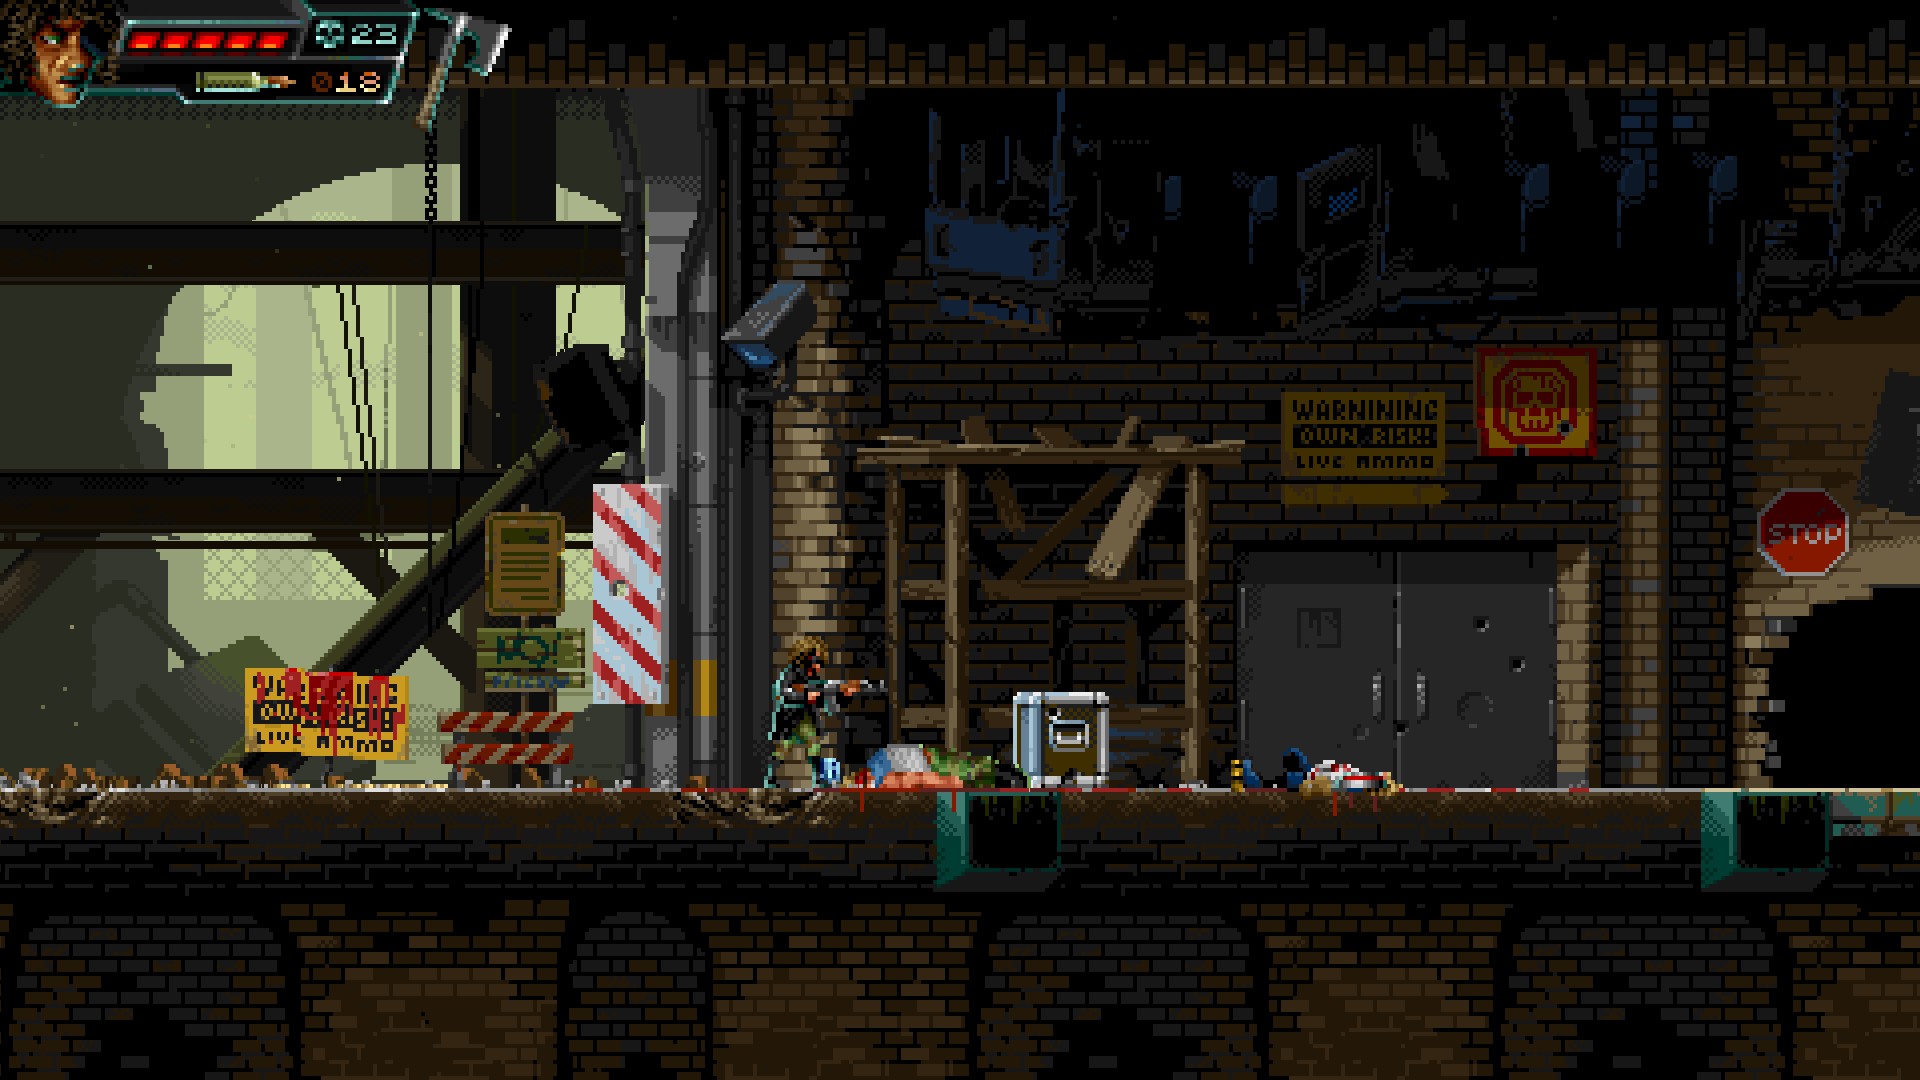
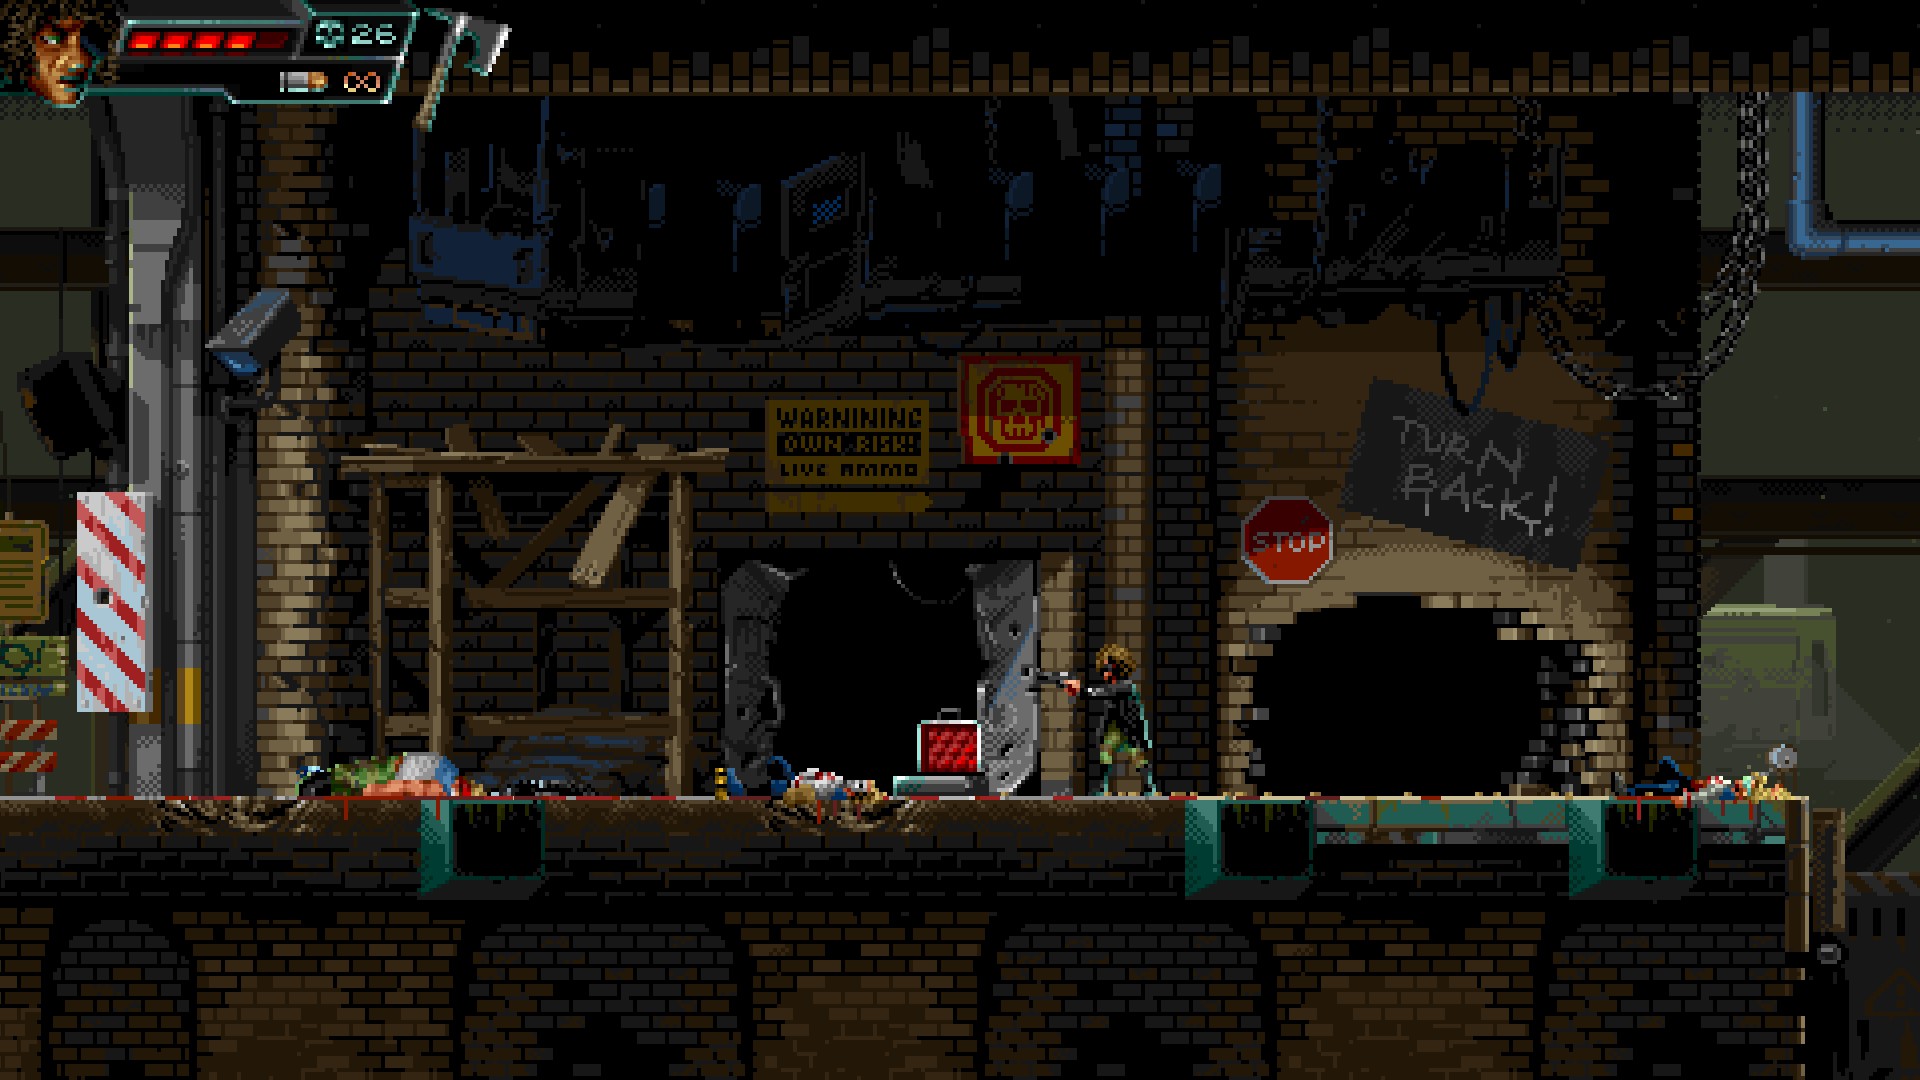
You have to blow open this door. Either with a handy grenade or by stumbling onto the mine in front of it. Pick up stash #3.
⠀
Misconducts – Level 4 – Teddy Taxman [empty]
Misconducts – Level 5 – Unholy Goalie [empty]
Heatseekers – Level 1 – Dean Dandy [empty]
Heatseekers – Level 2 – Suki the Sniper [empty]
Heatseekers – Level 3 – The Overseer [empty]
Heatseekers – Level 4 – Sonny Rooster [empty]
Heatseekers – Level 5 – Ringo Road Rage [empty]
No. 1 Suspects – Level 1 – The Dudson Twins [empty]
No. 1 Suspects – Level 2 – Marlo the Mutant [empty]
No. 1 Suspects – Level 3 – Grandmaster Yuudai [empty]
No. 1 Suspects – Level 4 – Cyra Rhodes [empty]
No. 1 Suspects – Level 5 – The Shogun [empty]
Hidden Secrets
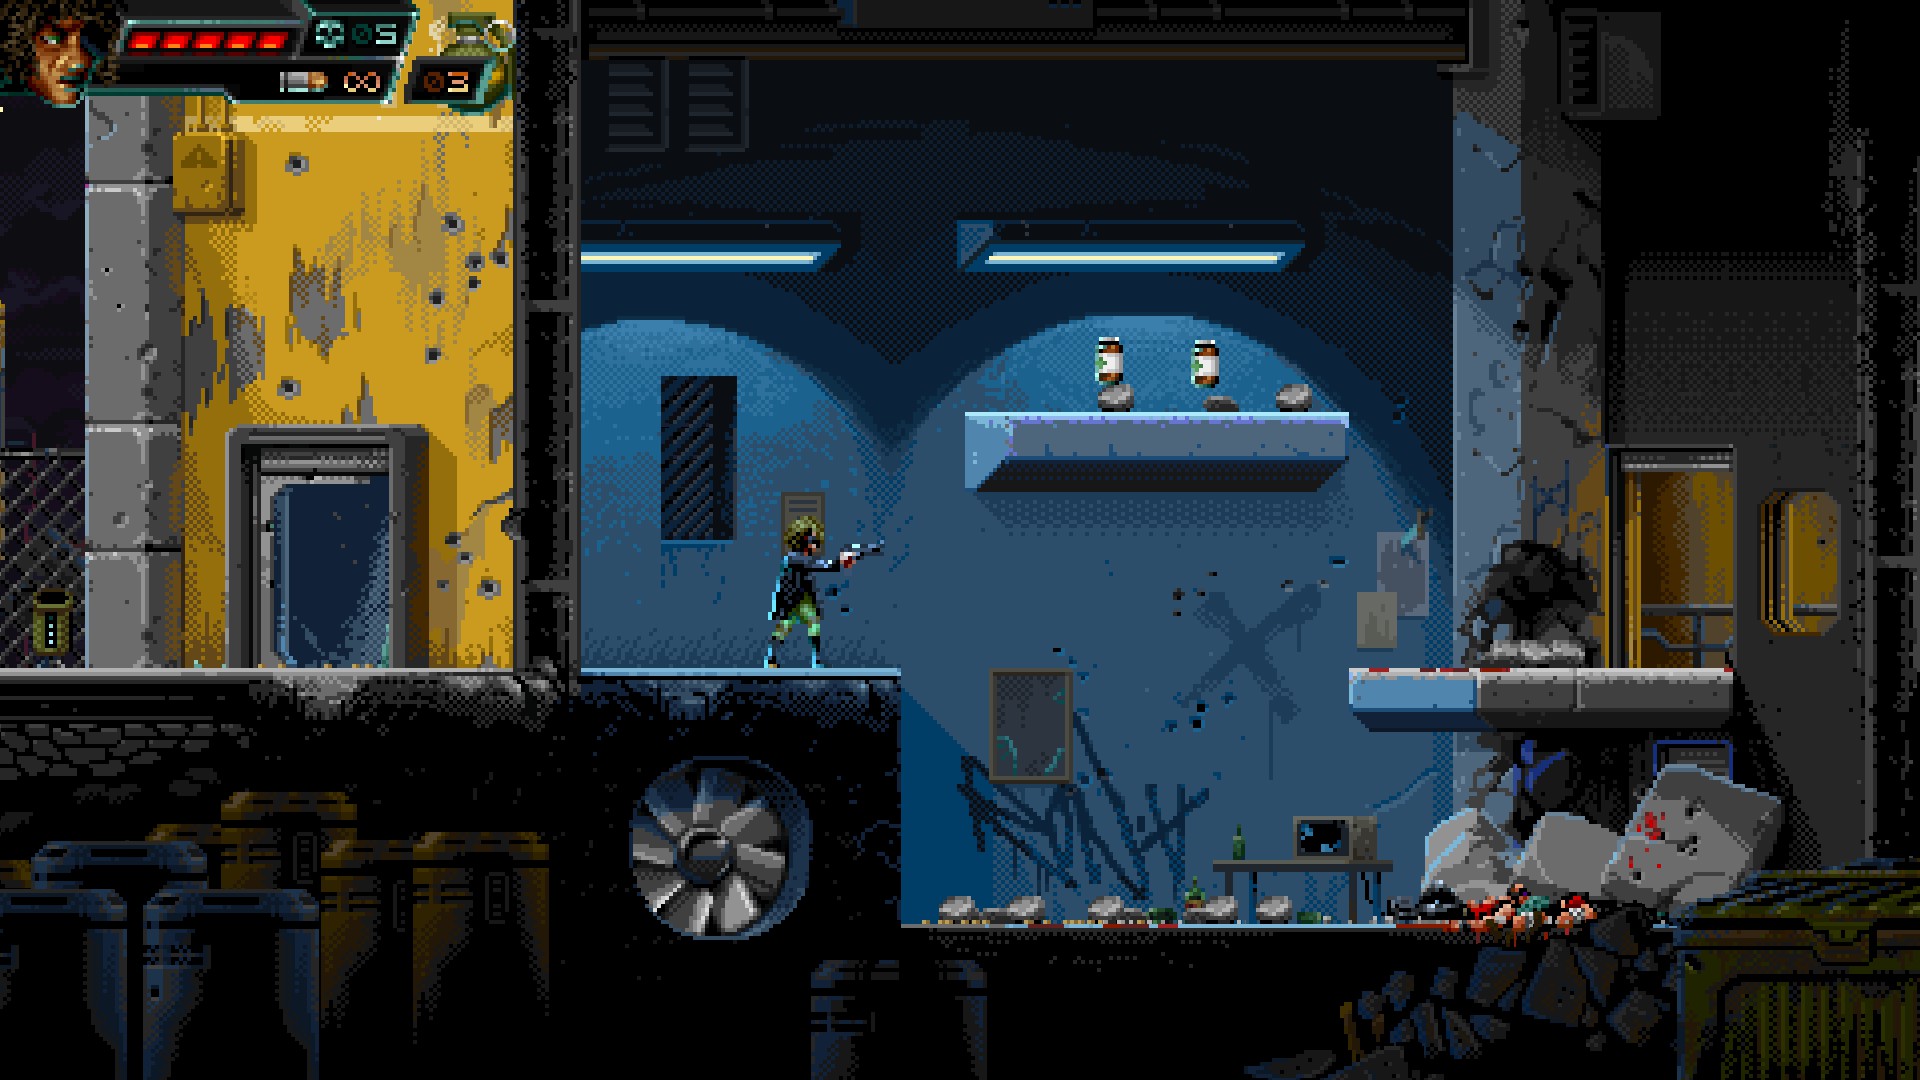
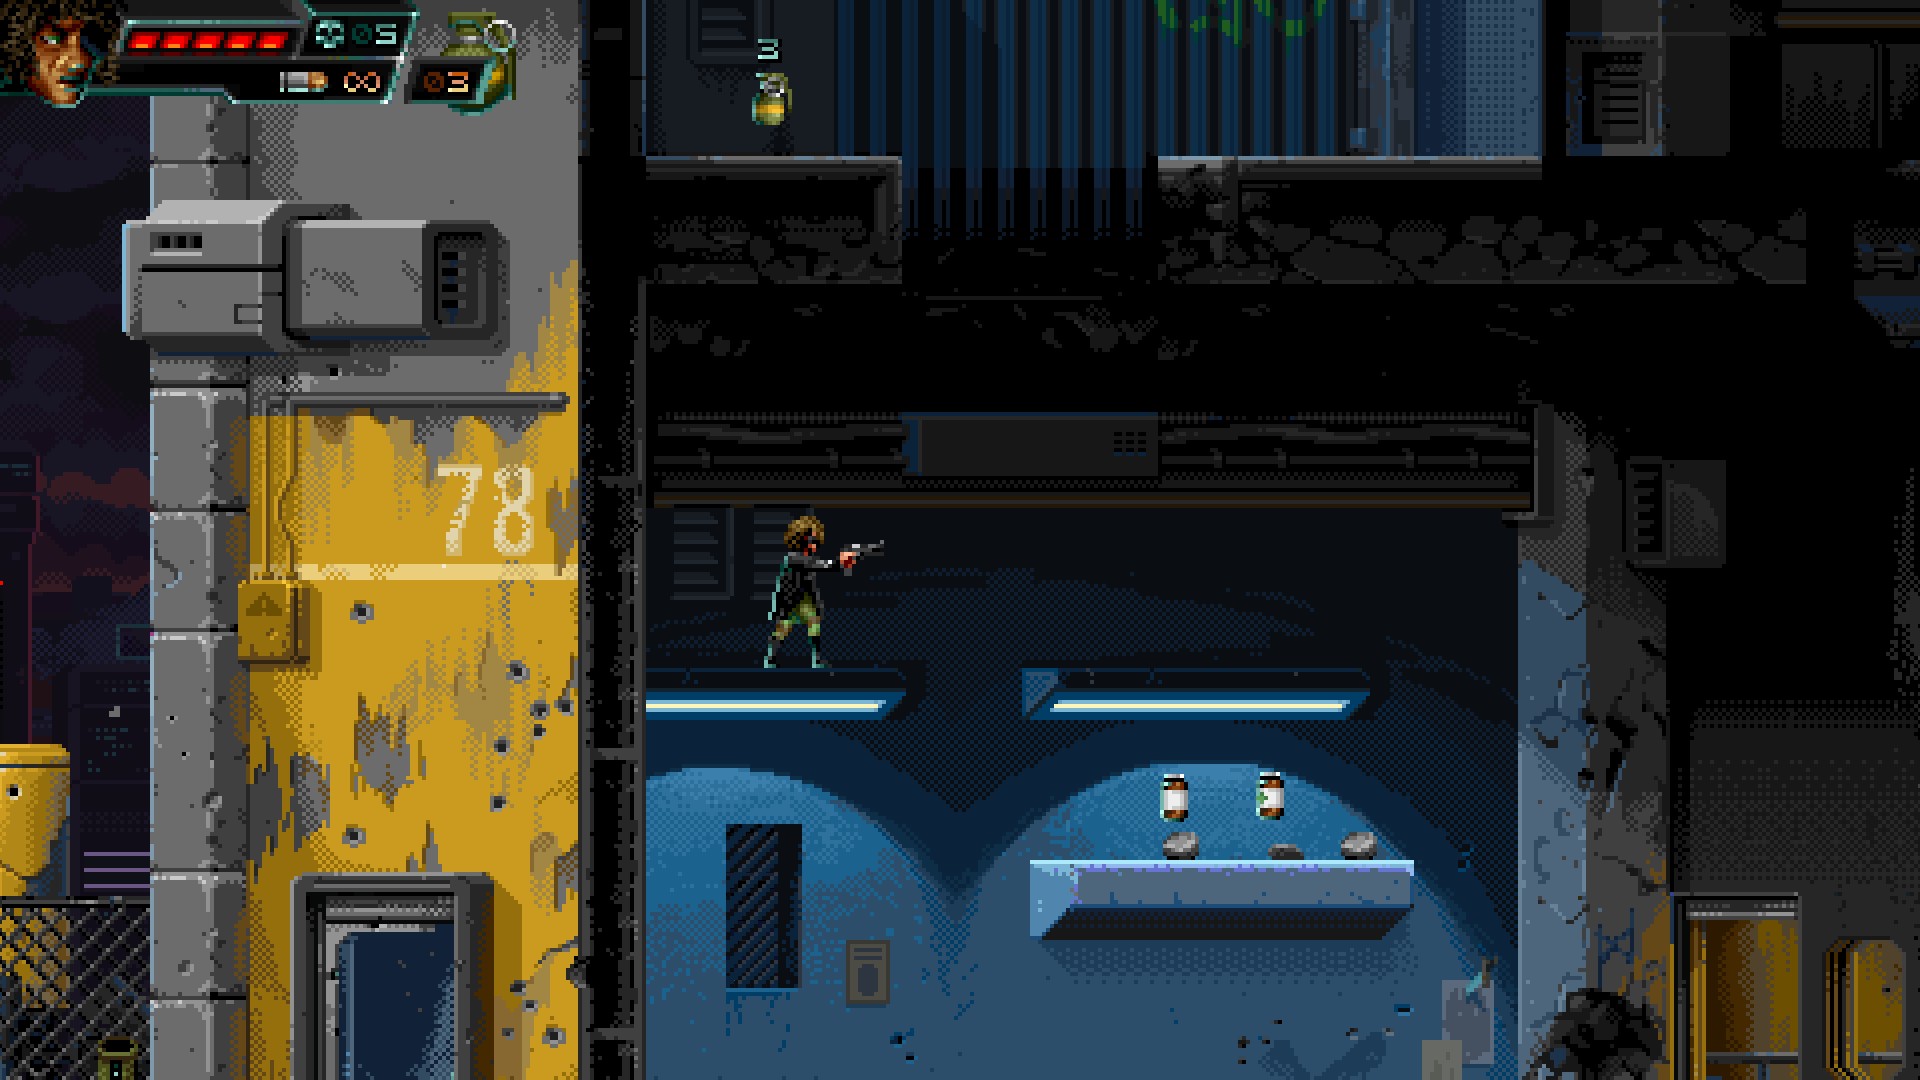
Secret #1
⠀
I thought he’d be taller.
⠀
Location: Hoodlum Dolls – Level 3 – Bad Boy Bob
⠀
⠀
Jump onto the leftmost lamp and continue upwards.
⠀
⠀
Just a little bit higher.
⠀
⠀
⠀
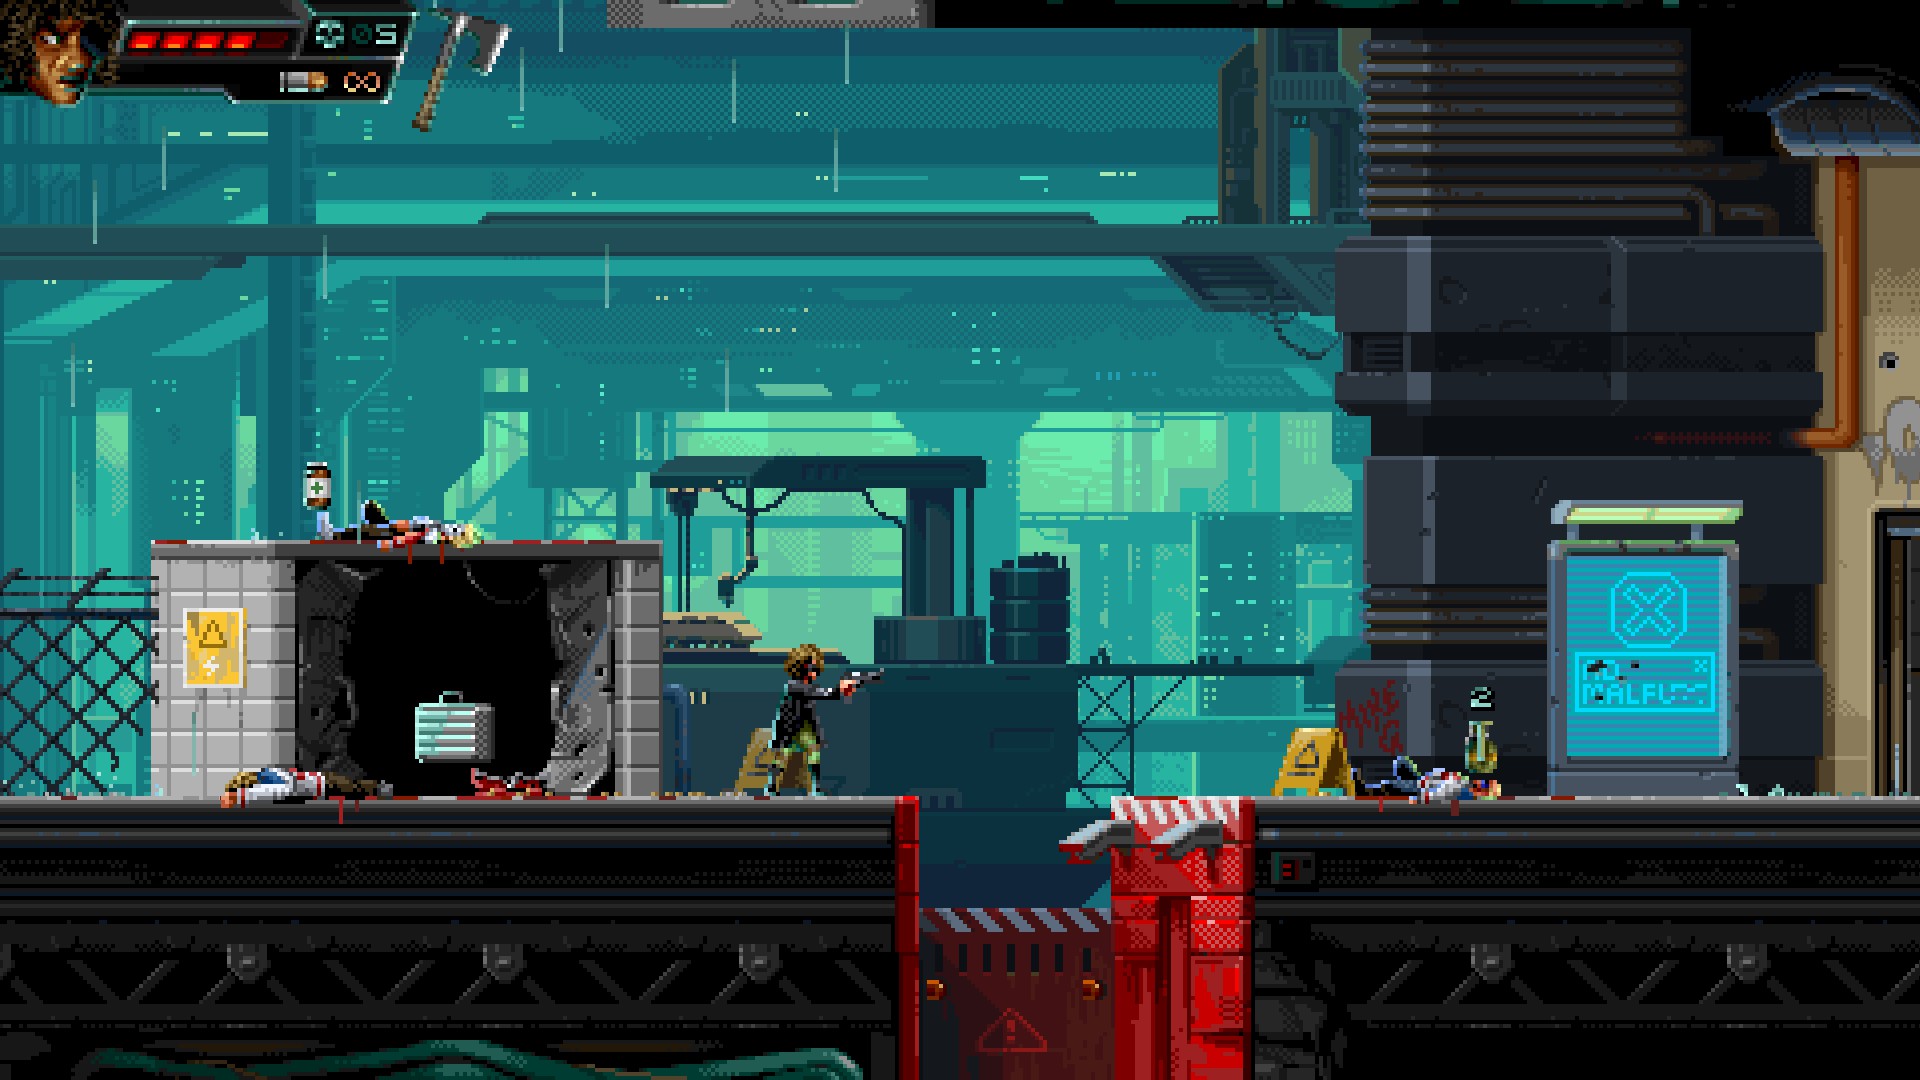
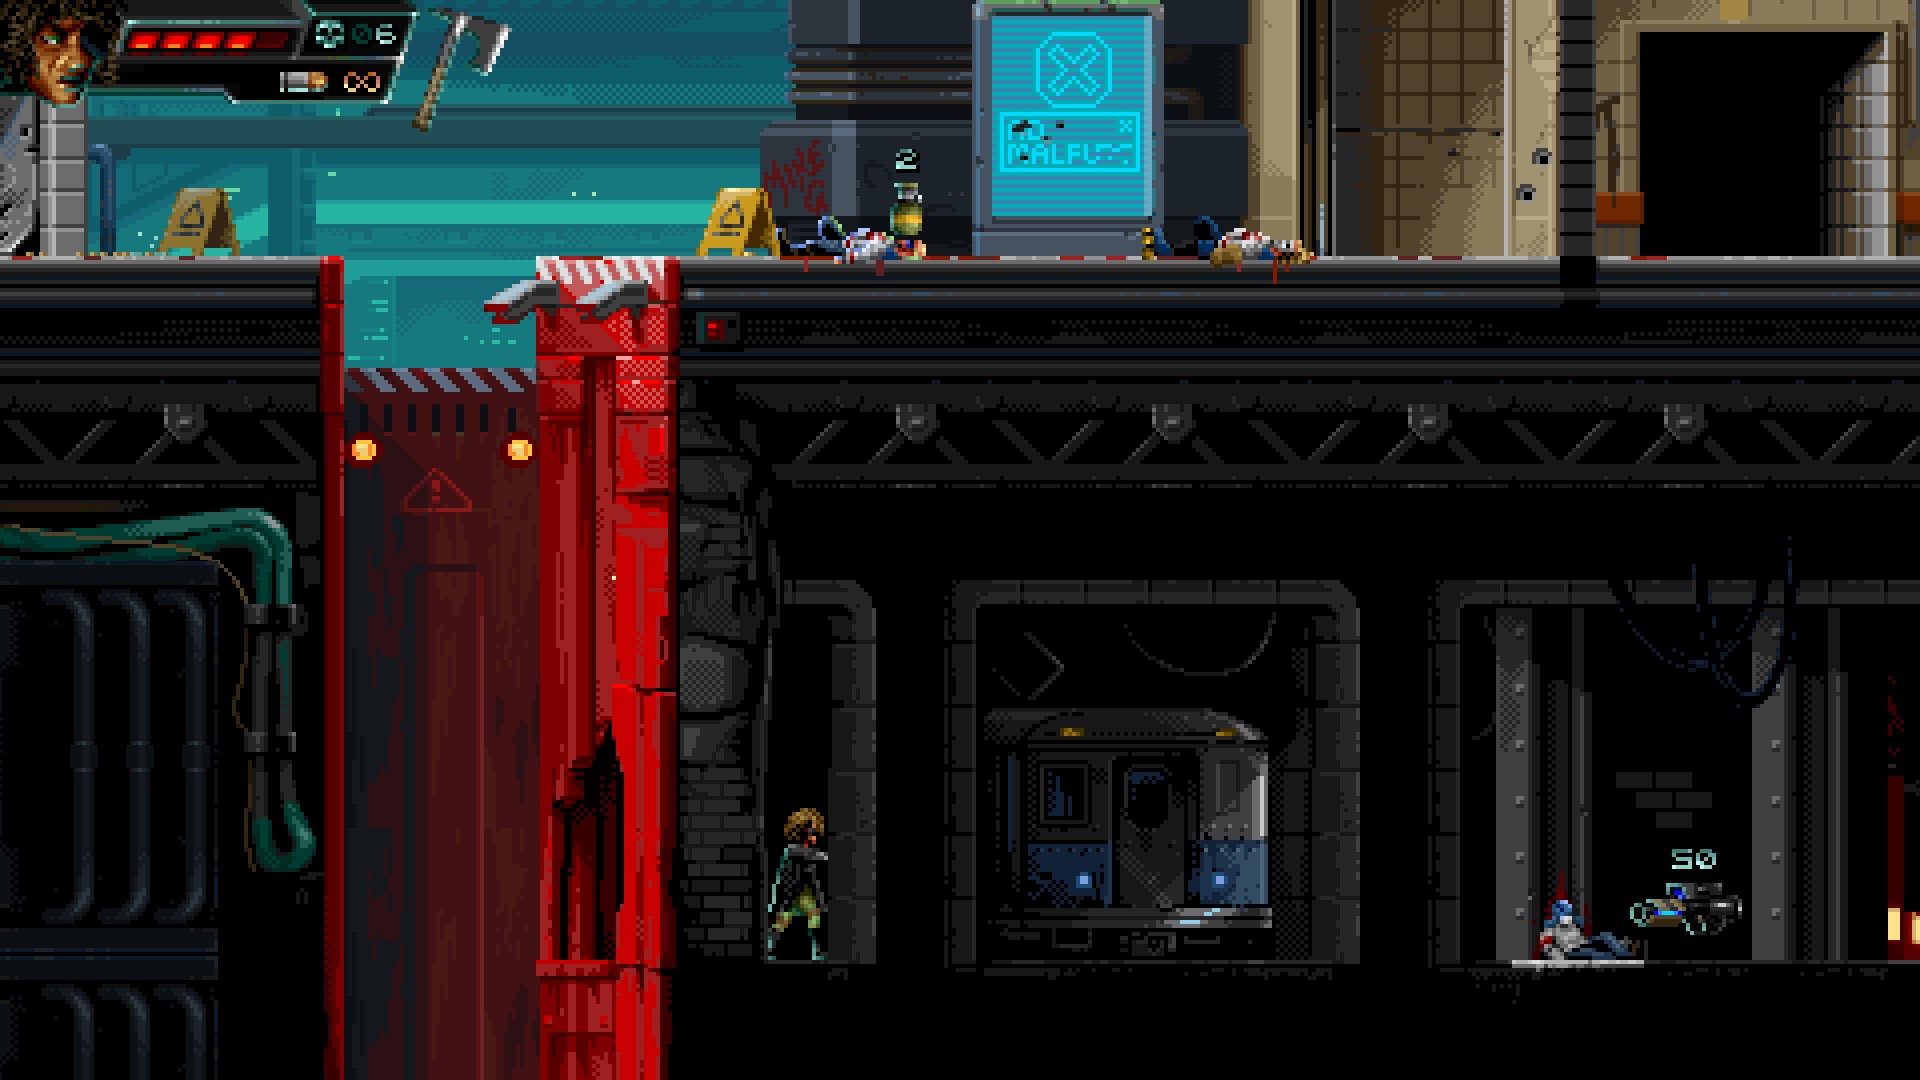
Secret #2
⠀
It seems like nobody is basking under the Maui sun.
⠀
Location: Misconducts – Level 2 – Nadja Drago
⠀
⠀
Right at the beginning jump into the shaft with the red light and stick to the right wall. The second shaft, not the first.
⠀
⠀
Did I mention to use the second shaft?
I hope you enjoy the Guide we share about Huntdown – Stash & Secret Guide; if you think we forget to add or we should add more information, please let us know via commenting below! See you soon!
- All Huntdown Posts List


Leave a Reply