This guide provides a comprehensive overview of Guild Wars 2 and provides specific details for a variety guild missions.
Introduction
Guild missions are a variety of weekly objectives in PvE and PvP that can be tackled together by groups of guild members. These missions can have different goals and difficulties depending on their individual mission.
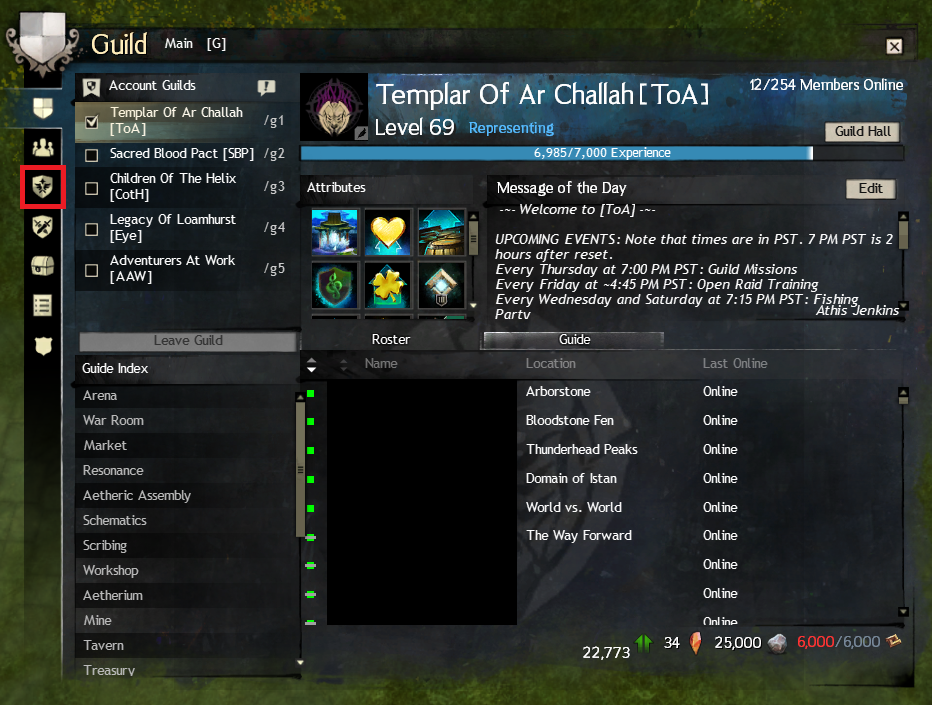
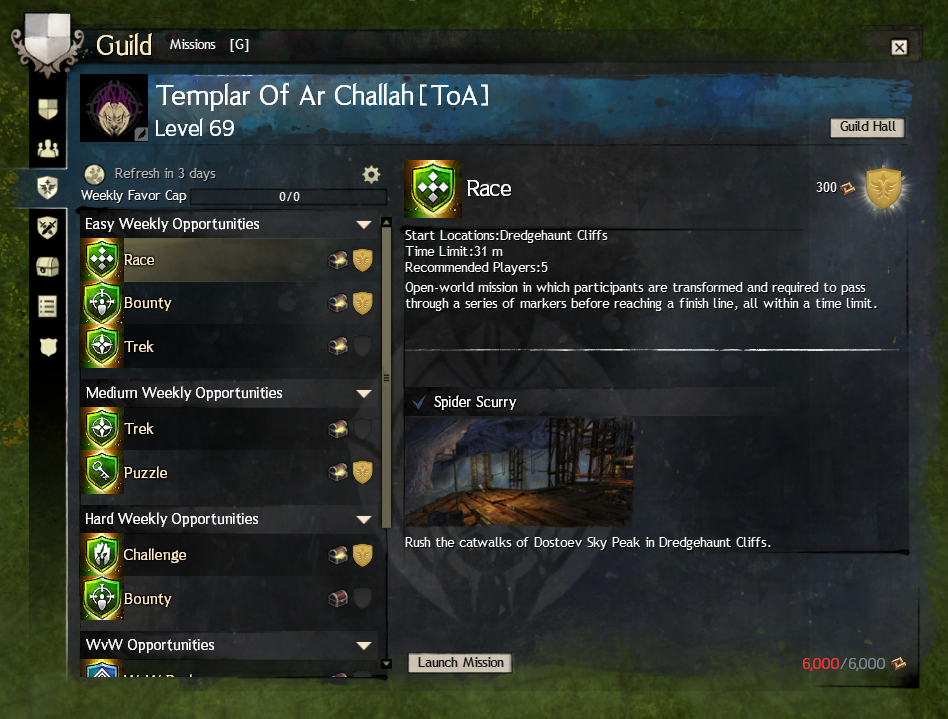
To view guild missions, open the guild panel (default key = G), then click on the third icon from the top.
You can click on the links below to view details for each mission. This includes the mission description, the location of the mission, and if any) have been awarded rewards for that week's mission.
The PvE, PvP and WvW missions of the guild are divided. You can unlock more missions by increasing your guild level and upgrading your guild hall.
PvE Missions:
- Guild Bounty
- Guild Challenge
- Guild Puzzle
- Guild Race
- Guild Trek
PvP Missions:
- PvP Conquest
- PvP Rank
- PvP Stronghold () Mist Champions
- PvP Stronghold () PvP Win
- PvP Top Stats
WvW Missions:
- WvW Capture (Camps
- WvW Capture (Sentry Points
- WvW Capture & Hold
- WvW Challenge (Obsidian Sanctum)
- WvW Supply Lines
- WvW Ranks
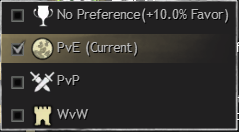
Individuals who have the right guild permissions can choose whether they want to play PvE, WvW or PvP. If you choose one preference, all Easy, Medium, or Hard missions will be assigned to the chosen gametype. Each game type will have a set of PvP, WvW, and PvE missions.
The guide will now talk mainly about PvE missions.
A Guide for doing Guild Missions
At their core, guild missions are designed with groups of players in view. Many guild missions can be completed by small groups or individuals.
With the exception of WvW rank or WvW Challenge (Obsidian Sanctum, WvW missions require a group of players. Although WvW rank can be difficult to achieve by oneself, it is technically possible. WvW Challenge (Obsidian Sanctum) requires that an individual completes the Obsidian Sanctum jump puzzle in WvW. This mission can be completed by anyone with the necessary skills.
PvE missions offer more challenges and obstacles that players and guilds can navigate through.
General tip: The Guild Wars 2 Wiki is a great resource for guild missions.
(https://wiki.guildwars2.com/wiki/Guild_mission) – []
This is a great resource for guild missions. This is especially useful for finding locations for guild treks and guild bounties.
Another tip for guild missions is that all guild missions are held in Central Tyria. All locations are accessible to any account.
Another tip for guild missions is to use the guild portal located in the guild hall to create a portal to specific guild missions that any player could jump through. This is a great option for those who don't have many waypoints. Guild bounties or guild treks don't have portal locations. Players must have waypoints, or use other means to reach those locations.
Guild Bounties
The guild must search for a boss in specific maps to earn guild bounties. The bounty boss will be following a set path through the map. Some bosses may require you to search for items in order to locate the boss.
Medium and hard bounties only require one bounty boss to kill, while easy bounties require five and three respectively. It is recommended to split the guild into smaller groups when fighting medium or hard bosses.
Individual players can easily kill easy bounties. With the right build and skills, players can kill bosses by themselves.
Non-guild members of the map can be used to find and kill bounty bosses if they are communicated in map chat or by random adventurers who find themselves at the boss. Bounty bosses may also be slightly cheated by starting the fight near a waypoint. This allows players to quickly and easily respawn after death and get back into the fight.
Guild Challenges
Guild challenges are pieces of content that guild members have to complete. To succeed, these challenges often require multiple people. Below is a list with general strategies for each guild challenge.
- Blightwater Shatterstrike – Split the guild into five groups, with everyone carrying the Charrzookas which spawn at the beginning. To damage each crystal node up to 10%, use the Charrzookas. Kill them all once they are all at 10% health.
- Branded for Termination: Divide the guild group into three distinct groups. Each group should fight each boss. Each group should DPS their boss until they are at 10% health. Kill all bosses once they are all at 10% health
- Deep Trouble: Each member of the guild should go to a quaggan on their own. Protect and escort a quaggan with all your life.
- Save Our Supplies: Divide the guild group into two. One group should defend the northern entrance of the base, while the other group should defend the southern entrance. You must ensure that no Charr escapes. It is a good idea to have a smaller third group that can roam the bases and kill enemies from the west.
- Scratch Sentry Defense – Split the guild into three groups. Each group should have its own defense point to defend against the waves.
- Southsun Crab Toss – Designate one guild member as the crab carrier. The crab carrier should run in a circle around the inner ring of the arena. All guild members should follow the crab carrier and defend him, killing any karkas that get close.
Guild Puzzles
Guild puzzles are multi-room, large, insidual puzzles that require the guild's members to overcome various obstacles to reach the final. Each puzzle has many different mechanics. Each puzzle's wiki page provides more information. There are also multiple jumping sections in each puzzle. It is a good idea to bring a confident mesmer who can carry the rest of your guild group through.
A tip for all guild puzzles is that a door will open when you have completed each room. This door will close quickly so members of the instance need to make sure they get through it quickly or they will be locked out.
Here's a quick overview of each puzzle.
Angvar’s Trove:
Room 1: Three members should grab magic bows and shoot icicles from the roof. All guild members should grab icicles at the same time and fill steam vents. The three members with bows leap across to the center, and then everyone repeats the process. Have the guild members interact with the torchlights when they reach the end.
Room 2: The jumping puzzle is relatively simple, but some members may find it challenging. The cave passageway that leads to the ship is the most important feature of this area. This cave can be difficult to find.
Room 3: To break the ice walls, players must use cannons or powder kegs. To move forward, players must bring two powder kegs.
Room 4: A drake that is invulnerable and sits in the middle the room. It will aggrove a player who has a drake eggs. The drake egg holder may drag the drake throughout the room to various totems. The fire breath will light the totems on fire occasionally. The drake will light each totem, and other guild members can grab a torch to light each one.
Langmar Estate
Room 1: Paper, scissors, and statues. Players must take weapons from weapon racks and deliver them to the appropriate charr statues. The human statue must be resisted by charr statues.
Charr Bow defeats Human Sword
Charr Sword beats Human Staff
Charr Staff beats Human Bow
Tip: A weapon rack that spawns a ghost will not give you a weapon. A weapon rack that spawns a weapon is guaranteed to spawn that particular weapon.
Room 2: The area is a small jumping puzzle with four pressure plates. To open the door, all four pressure plates must be occupied by at least one player.
Room 3 : This room has two areas. The entrance area and the larger one are separate. The entrance has 6 alcoves that correspond to 6 in the larger area.
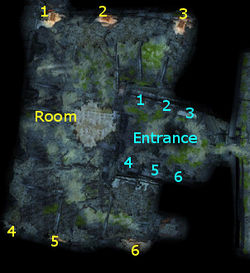
An image of a person performing an emote when you interact with the entrance alcove will appear. The emote must be performed at the other alcove. Players have five seconds to activate all entry alcoves in order to trigger the event. After that, they have 45 seconds to repeat their emote at another alcove.
There are several possible emotes: /dance' /bow' /point'?/sit'?/wave' &??/salute.
Strategy 1 (requires 6 people): Each player should be at each alcove. Have each player see the emotes they need, then have them all run to their alcoves in the larger area and type their emote.
Strategy 2 (requires 12 Players): One player should be at each of the entrance alcoves and each alcove in the larger area. The two players at each alcove should communicate with one another using '/whisper'. All 6 entrance players should activate the alcove and whisper the emotes to their respective players.
Room 4: The final room is a multilevel puzzle. It requires that people stay on each level, while others move down.
Two pressure plates are required for the top level. To remove the poisonous gas from level 2, two players must stand on the pressure plates. These players must remain on the pressure plates throughout the mission.
The middle level has exposed gears and oozes. Players must kill oozes and use drops to grease the gears. To continue greasing the gear and killing oozes, one to two players must remain at this level.
You can kill ghosts and carts to get parts. To build a Makeshift Ram, bring all the parts. The mission is complete when the ram has broken the door.
Proxemics Lab
Room 1: A button is located in the middle of the room. To start the event, activate the button. There are six alcoves in the room that contain trash piles. To open the door, search the trash piles. To distract the skritt, throw any trash in the trash piles around the room.
Room 2: A small jumping area that confident mesmers are able to teleport players through.
Room 3: A 3-floor elevator. There are six different alcoves around the room with an image above of an animal. Players must find the correct level by using the console at the center of each room. Once they have found it, they will need to transform into the animal and run into the outer alcove. The elevator will move to the next level once all alcoves have been filled.
Room 4: A small jumping puzzle room where confident mesmers can also teleport users through. To unlock the final area, players will need to stand on the buttons at the end.
Room 5: This is the final area. The exit is located in the northwest corner of this maze with 6 empty pods. There are 6 orbs scattered around the maze that must be taken towards the pods near to the exit. These orbs are identified by a tall beam white light radiating into space from them. The goal is to find all six orbs in the maze and get them to the finish.
There are many secrets and obstacles around the maze. There are traps that can be deactivated with the right panel, several mobs, including a large golem and breakable walls, which open up new routes through this maze.
Guild Race/Rush
Guild races are obstacles that guild members must complete to avoid traps and mobs. All guild races are similar, with minor differences in the environment, the mobs that you face, and the animal you are (. This also means that you have different skills).
Each animal will be able to access the 'Search' ability, which will reveal hidden traps nearby as red circles on ground. Use the BlishHUD addon
(https://blishhud.com/) – []
The Guild Missions module will show you the route to follow to reach the end, and any traps to avoid.
It is a good idea to have some players escort other players as they run the course. Escorts can help to heal allies, give boons like speed and kill enemies in the area.
It is possible for players to not complete the race in order to earn guild commendations. For easy races, one player must make it to the finish to earn a reward. Harder races require more players. The guild race event must be completed if the guild wishes to earn guild favor.
Guild Trek
Guild treks are scavenger hunts which take players around the world. Players will be rewarded for finding one location, regardless of difficulty. To earn guild favor, the guild must locate every location.
This mission can be done solo as there is only one location to find. If you are doing this mission with a large group of people, the leader can choose which location to visit.
People need to be careful when doing this.
1. ALL PLAYERS MUST STAND ON GUILD TREK EMBLOEM
2. Until all members are standing on the EMBLEM, NO ONE CAN INTERACT WITH THE EMBLEM
If these rules are not followed, it's likely that people will miss their reward and will need to find another location.
The GW2 Wiki is a great tool for finding different locations for guild treks:
https://wiki.guildwars2.com/wiki/Guild_Trek – [guildwars2.com]
Spending Guild Commendations
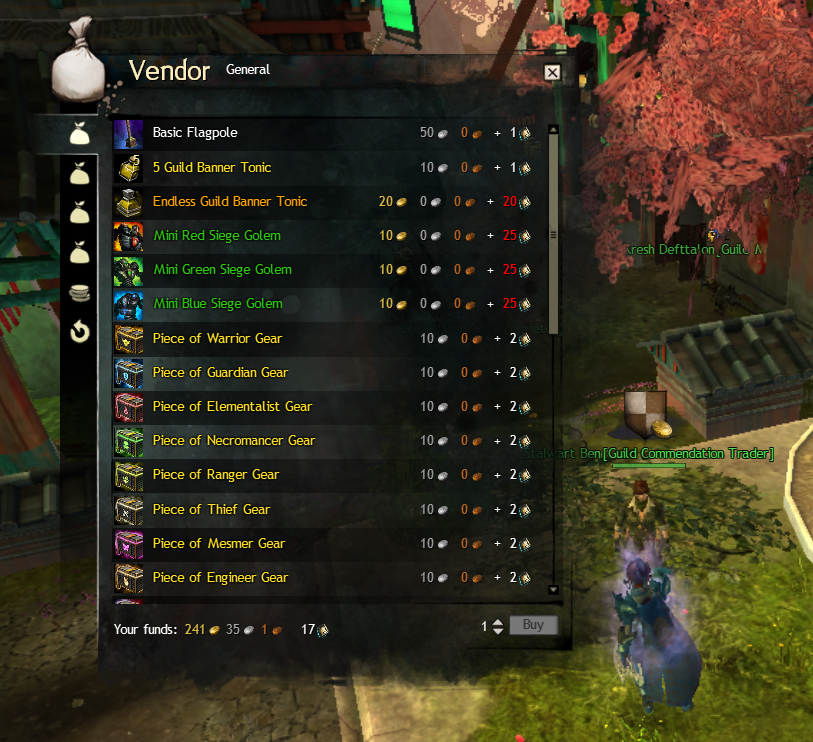
You can use guild commendations at many different vendors. You can find guild commendation trainers all over the world, such at Lion's Arch or a guild hall. These vendors sell a wide range of items, including minis and guild banners, special skins and ascended gear.
You can also find speciality vendors within the guild hall where you can trade commendations with Guild Armorers and Guild Weaponsmiths, Guild Miniatures and Guild Traders.
Conclusion
I am grateful that you took the time to read this guide. I'm happy to answer any questions you may have by leaving a comment below.
Subscribe to my YouTube channel if you're interested in seeing more of my content:
youtube.com/athis – [youtube.com]
Here's a video I recommend you watch:
Hope you enjoy the Guide about Guild Wars 2 – All Missions Puzzles & Challenges, if you think we should add extra information or forget something, please let us know via comment below, and we will do our best to fix or update as soon as possible!
- All Guild Wars 2 Posts List


Leave a Reply