
This is a guide that should hopefully reveal how the construction of crazy a*s superstructures like the ones found on Fuso are not as complex to construct as they may seem. In fact, I would argue that the chaos of these designs comes from going about construction in a sloppier and more straightforward method rather than thorough planning. By the end, you too will be able to build meme pagoda masts that extend into the endless blue sky.
Introduction – The TRUTH behind Fuso!!1!
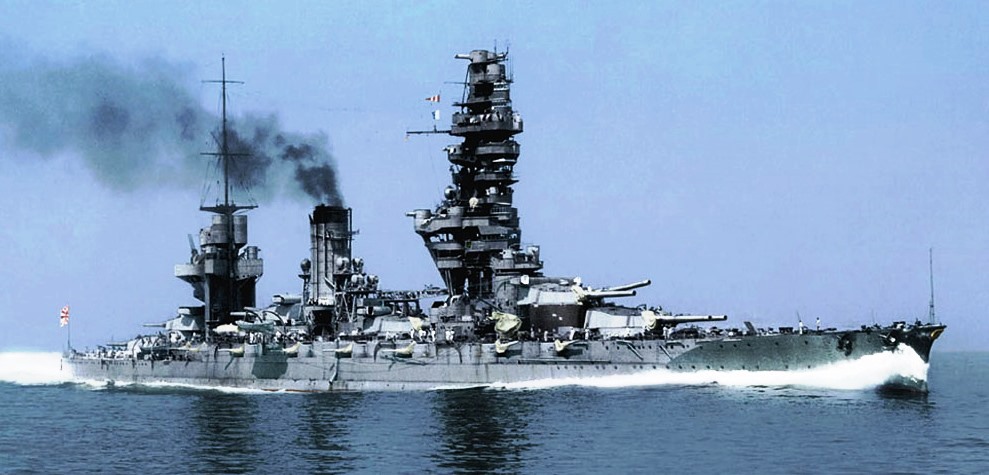
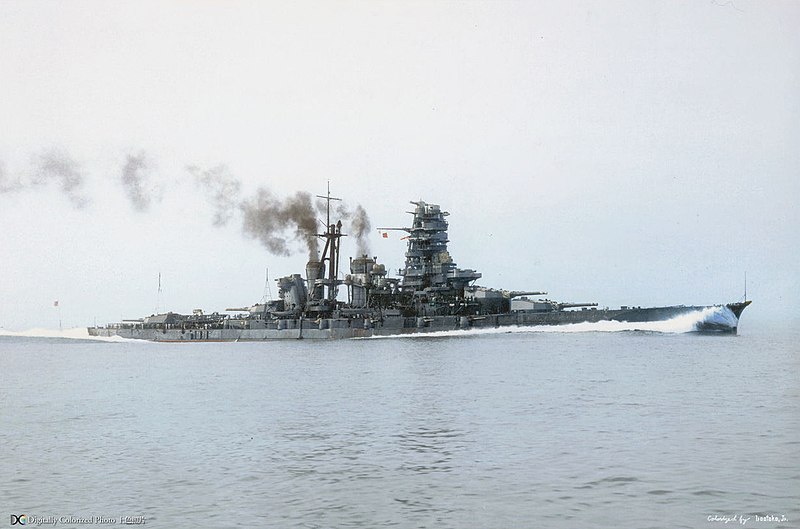
If you have never heard of Japanese battleship Fuso, please enlighten yourself with an image that almost looks like it was photoshopped:
FUSO during speed trials in May 1933-colorized photo by Irootoko, Jr.
What you are seeing is an actual warship that was built by a real navy, undergoing speed trials in May 1933. That tower of layering decks absolutely crammed with heavy equipment was the Imperial Japanese Navy’s solution to upgrading their old battleships in a rapidly modernizing world. For those of you who are already familiar with all the memes of these masts rising forever into the sky, this may not be as shocking. However, what will be shocking to those who have not looked into her history is this photograph:
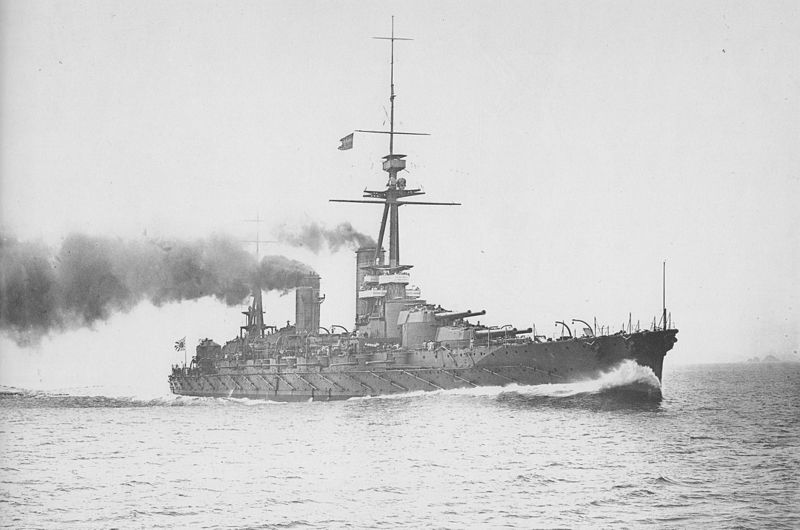
FUSO undergoes trials on August 24, 1915. Kure Maritime Museum, (edited by Kazushige Todaka), Japanese Naval Warship Photo Album: Battleships and Battle Cruisers, p. 127
This may startle you in the same way that walking in on someone changing would. Rest assured, both of these pictures are of the same warship, with this one being taken during trials in August 1915. Why does Fuso look so light? And what possessed the IJN to stuff the crap out of that bare-bones mast? The answer comes down to them having a very different naval paradigm from the rest of the world.
A brief history on Japanese superstructures and why they look like…that
The early 1900s was a very radical time period for warship design. The construction of HMS-Dreadnought had sparked an unavoidable global arms race to update existing battleships and construct new ones since her existence made every other battleship on the planet outdated. Japan in particular was very interested in the construction of capital ships because they could not put in as much tonnage of stuff in the water as the American or Royal navies who had access to plenty more metal, and so to compensate they would build bigger and more sophisticated ships in order to even the playing field.
After getting the Royal Navy’s assistance in the construction of the Kongo-class battleships, the IJN used all of the latest British secrets and designs to construct their own battleships. Fuso was one of these designs, and like Royal Navy ships at the time, she featured a large yet simple tripod mast. Navies across the world differed in the masts they used, from tripods to cage masts to pole masts, but they all served the same purpose and even the superstructure around them could be simplified into a few basic parts.
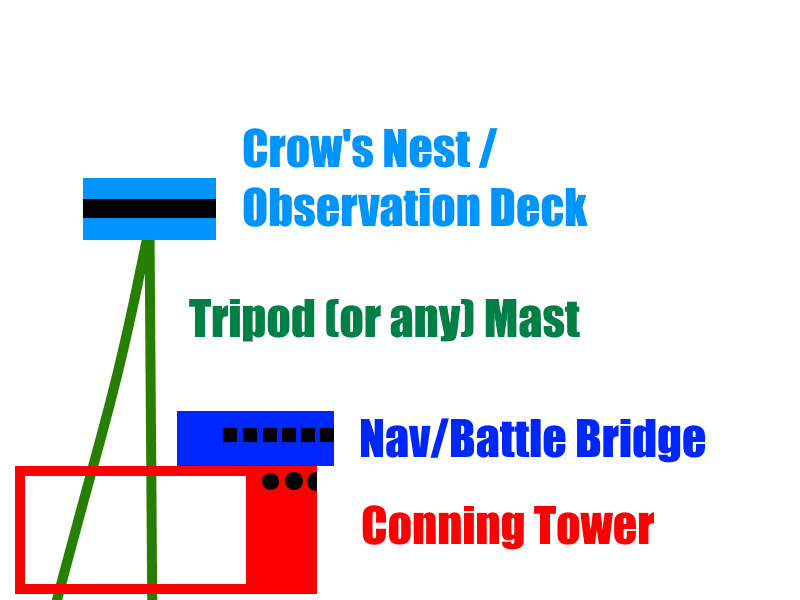
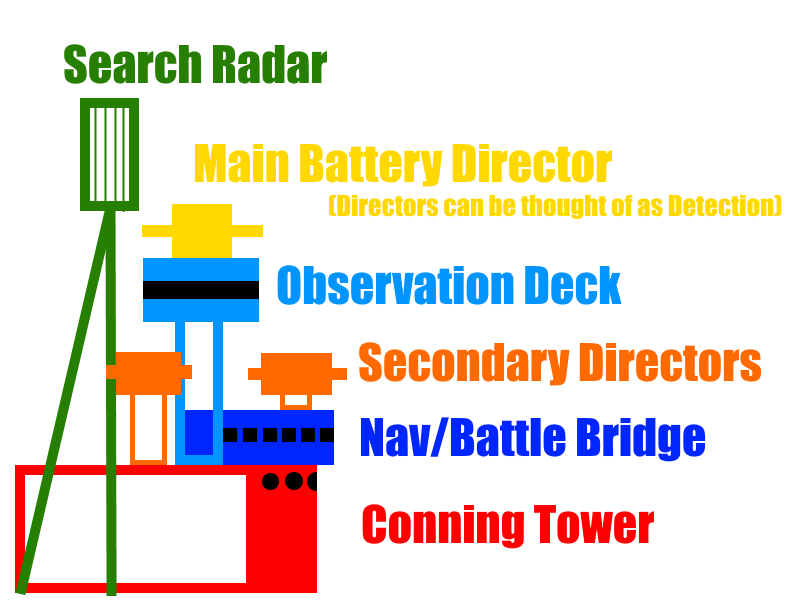
Central to all superstructures is the conning tower. It’s a heavily armored control tower from which the ship’s highest officers can issue command. However, something heavily armored may not have ideal visibility, so above the conning tower will be a more open yet more vulnerable bridge from which command that requires greater visibility can be conducted. Depending on design philosophy, a ship may have multiple bridges such as one for navigation and another for battle, but in the early days this seemed to be rare. Behind and far above the main command area, supported by a tall and strong mast, would be a crow’s nest or enclosed observation deck. The reason for placing all the men manning telescopes and binoculars up here was that it would allow them to see far above high waves and spot enemy ships at greater ranges and before they themselves could be spotted.
A lot of superstructures tended to be small and weigh less because having an aggressively top-heavy warship would not do well for stability, but also because there was not really a need to build anything bigger. Adding more stuff may improve redundancy, but the reality is that it would make your ship a bigger target, and pre-dreadnoughts did not need nor have access to the heavy gun fire control equipment that later warships would start utilizing. This explains why Fuso, in her earliest years, was very light on top and had a minimal superstructure.
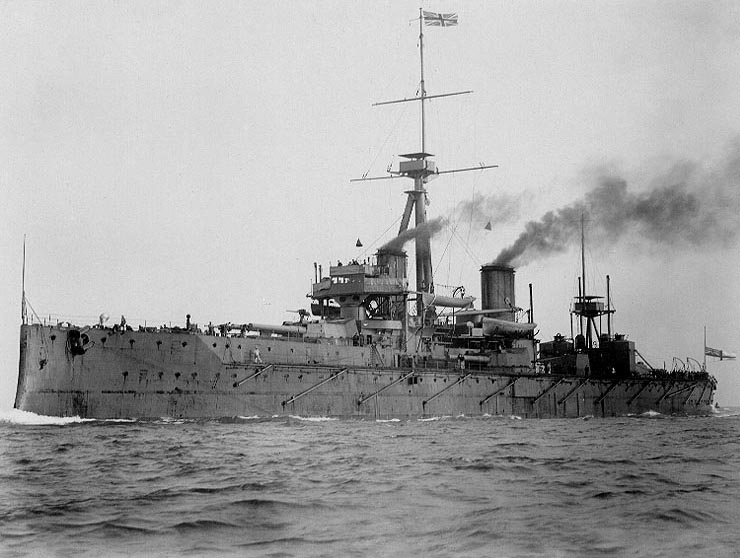
HMS Dreadnought underway, circa 1906-1907. U.S. Naval Historical Center.
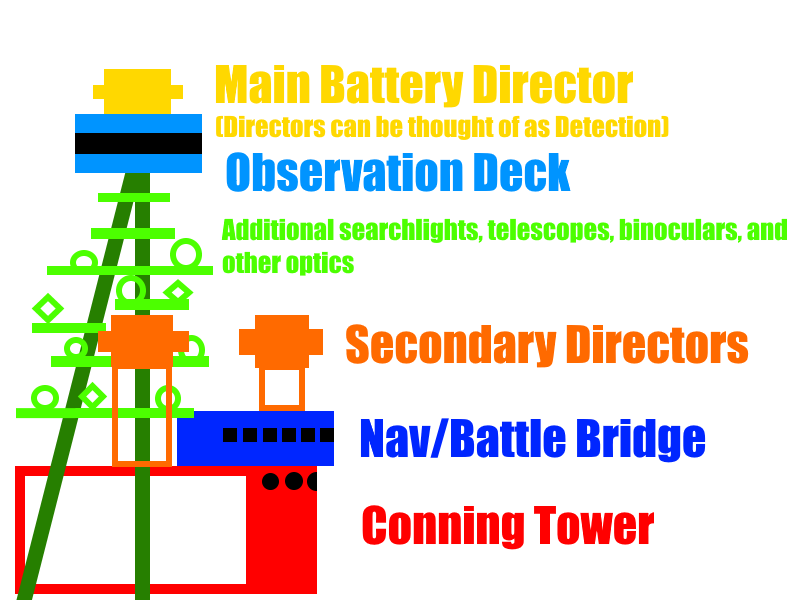
This all changed with HMS dreadnought and her revolutionary feature of dedicating most of her firepower to a uniform set of massive guns. Having a high-caliber, all-big-gun main battery did not just mean bigger boom; it also meant bigger boom at a longer range. Navies engaging in the arms race to keep up with the Royal Navy adopted bigger and bigger guns, but these would require heavier equipment. Finding enemies and plotting their locations was no longer done by small, single-operator range finders. Now, this was instead done by teams of sailors in housed, turreted fire control directors with massive range finders and optics arrays, supported systems of searchlights for spotting in the fog and the dark. Naturally, the mass, weight, and size of superstructures began swelling to accommodate these new toys, and balancing top weight became a harder challenge.
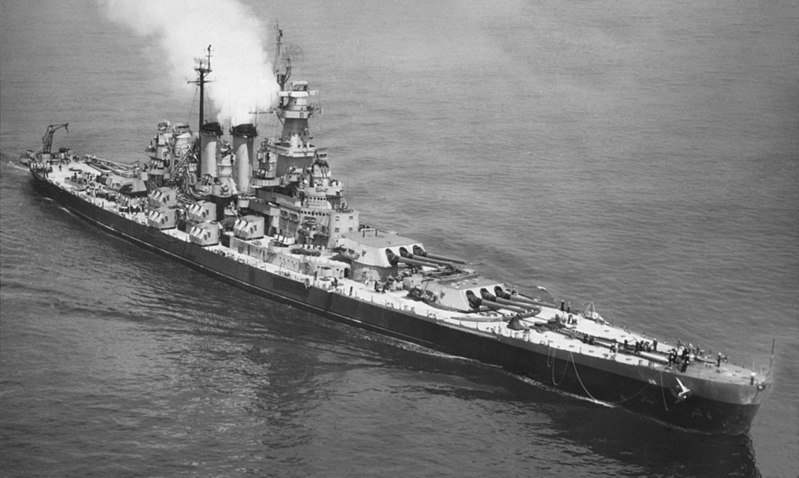
Left – Japanese battleship Kongo on Sea Trials. November 14, 1936. Right – USS North Carolina (BB-55). Photo courtesy of David Buell.
It’s at this point that we can see a shift in design philosophy between the IJN and western navies. The IJN, coming back to their emphasis on bigger ships, also put a massive emphasis on having vastly superior crews and tactics. Back in the day the rapidly moving cutting edge of searchlights and optics was pretty futuristic, and Japan wanted to be ahead of the game. So they put a massive emphasis on these technologies, and adopted it into their greater naval doctrine of engaging enemy fleets in night battles hoping to overwhelm them in skill while expecting enemies to not practice as much in the dark. This also meant that they needed bigger, more powerful searchlights and optics, and more of them. Japanese rangefinders were the crowns of their masts, whereas American ships were crowned by big radar systems. The focus of the US Navy and by extension the Royal Navy on radar allowed them to greatly reduce how top-heavy their ships were getting, as well as simplify the superstructures yet again. Japan, on the other hand, had already invested much more time, resources, and training into equipment that was once more becoming obsolete, that by the time they began refitting their ships with radar it was already too late for them to properly catch up.
Left – American and British Superstructures. Right – Japanese Superstructures.
As a result, Japanese battleships during WWII could readily be characterized by having tall, massive, and incredibly intricate masts that were saturated with various heavy targeting equipment. Because this equipment required line-of-sight outside of the vehicle and towards enemy vessels, pagoda masts were made as layers and layers of open decks from which visibility was always a given, whereas other superstructures were walled in and did not need as many exposed spaces. And because Japan built most of their big capital ships at the beginning of the 1900s and intended to refit them, most pagoda masts were created by cramming existing tripod masts with as much stuff as possible. This reflected a fundamental focus on these technologies as an integral part of Japanese naval training and doctrine, and so this must be kept in mind when actually designing and creating a pagoda mast.
What we can also learn from 3d artists
Knowing the history behind how the pagoda masts were constructed is helpful, but the idea of actually going through the process may still be daunting for some. It’s one thing to say “build a tripod and then go layer by layer, stacking a deck and some detection equipment and then moving higher up.” Actually doing it however can seem tedious and like it requires a lot of detail work, at first.
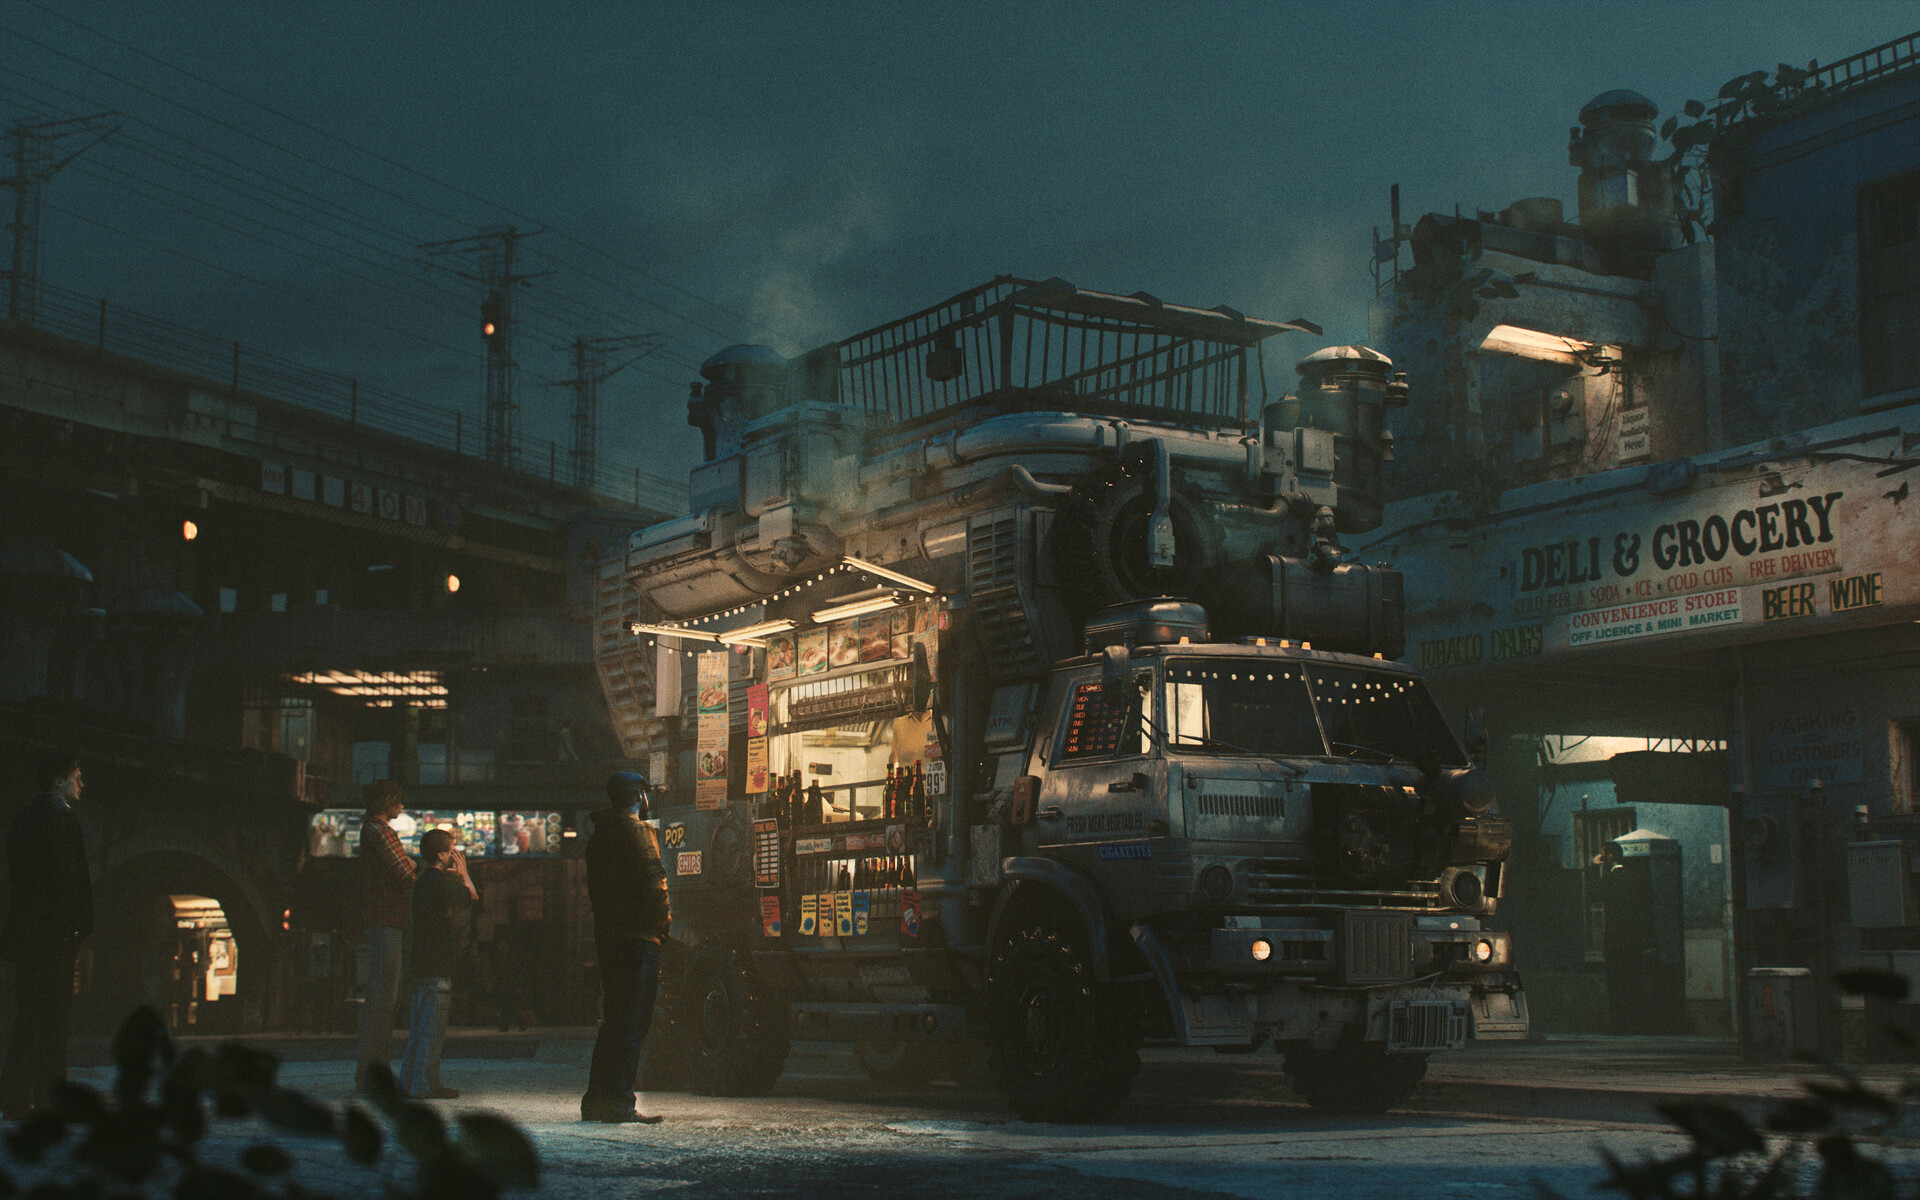
Ian Hubert 2019, “Taco Burgers.” Hosted on Artstation.
We can learn how to make this process easier and still get good results by taking tips from my favorite 3d artist, Ian Hubert. He’s kind of a big deal, and has been responsible for pretty impressive scenes like the one on the right. You might look at this and think to yourself that even a small air conditioner in this scene would have so much intricate detail that up close it would be just as deep as the complete scene.
You might be surprised to hear that what makes Ian Hubert so great is that his philosophy on actually making assets for a scene is the complete opposite of detail-to-detail focus. An air conditioner modeled by him would just be a box with a cylinder, and the textures would be actual photographs of air conditioners taped to the sides. If that sounds hard to believe, then you should watch the 60 second video where he does exactly that. For 60 seconds you may not get a really insanely detailed air conditioner, but you will get a passable and convincing air conditioner. So what?
If you were to recreate your room in From The Depths, what would you do? Mimic or deco your bed, your desk, maybe your PC and monitor? That may sound like enough, but its not nearly enough to make it a true recreation. You can sit down and model your multiple dressers, nightstands, and extra tables, along with any chairs. You could model your mouse, keyboard, phone, loose electronics and cables as well as active ones that skirt all over your room. How about any clothes or trash lying around? Pens? Papers? And what of the unique varieties of all these things – after all, nobody wears the same outfit all day. Could you sit there and spend an upward of 30 minutes perfecting each jacket in your closet? The amount of different things that exist in your room is massive when you actually sit down and count; with that in mind, just imagine how much more stuff there is on a warship. You could spend FOREVER perfecting unique details in 20 square meters of deck space, and you still would not have nearly enough things to finish the rest of the warship.
Or instead, you could spend no more than a minute or two on individual components. Do some incredibly basic and simple mimicry or deco work, and by the end of half an hour you could have 15 or more different assets, which was more than what I used to build this mast. Then you can split the other parts of the mast into 2 minute chunks – the main super, the conning tower, bridges, observation deck, a tripod mast, and then the many different levels. By the end of another 30 minutes, and a total of one hour, you’ll all of a sudden have a complete, convincing, and passable pagoda mast. At least, that’s the amount of time it took me.
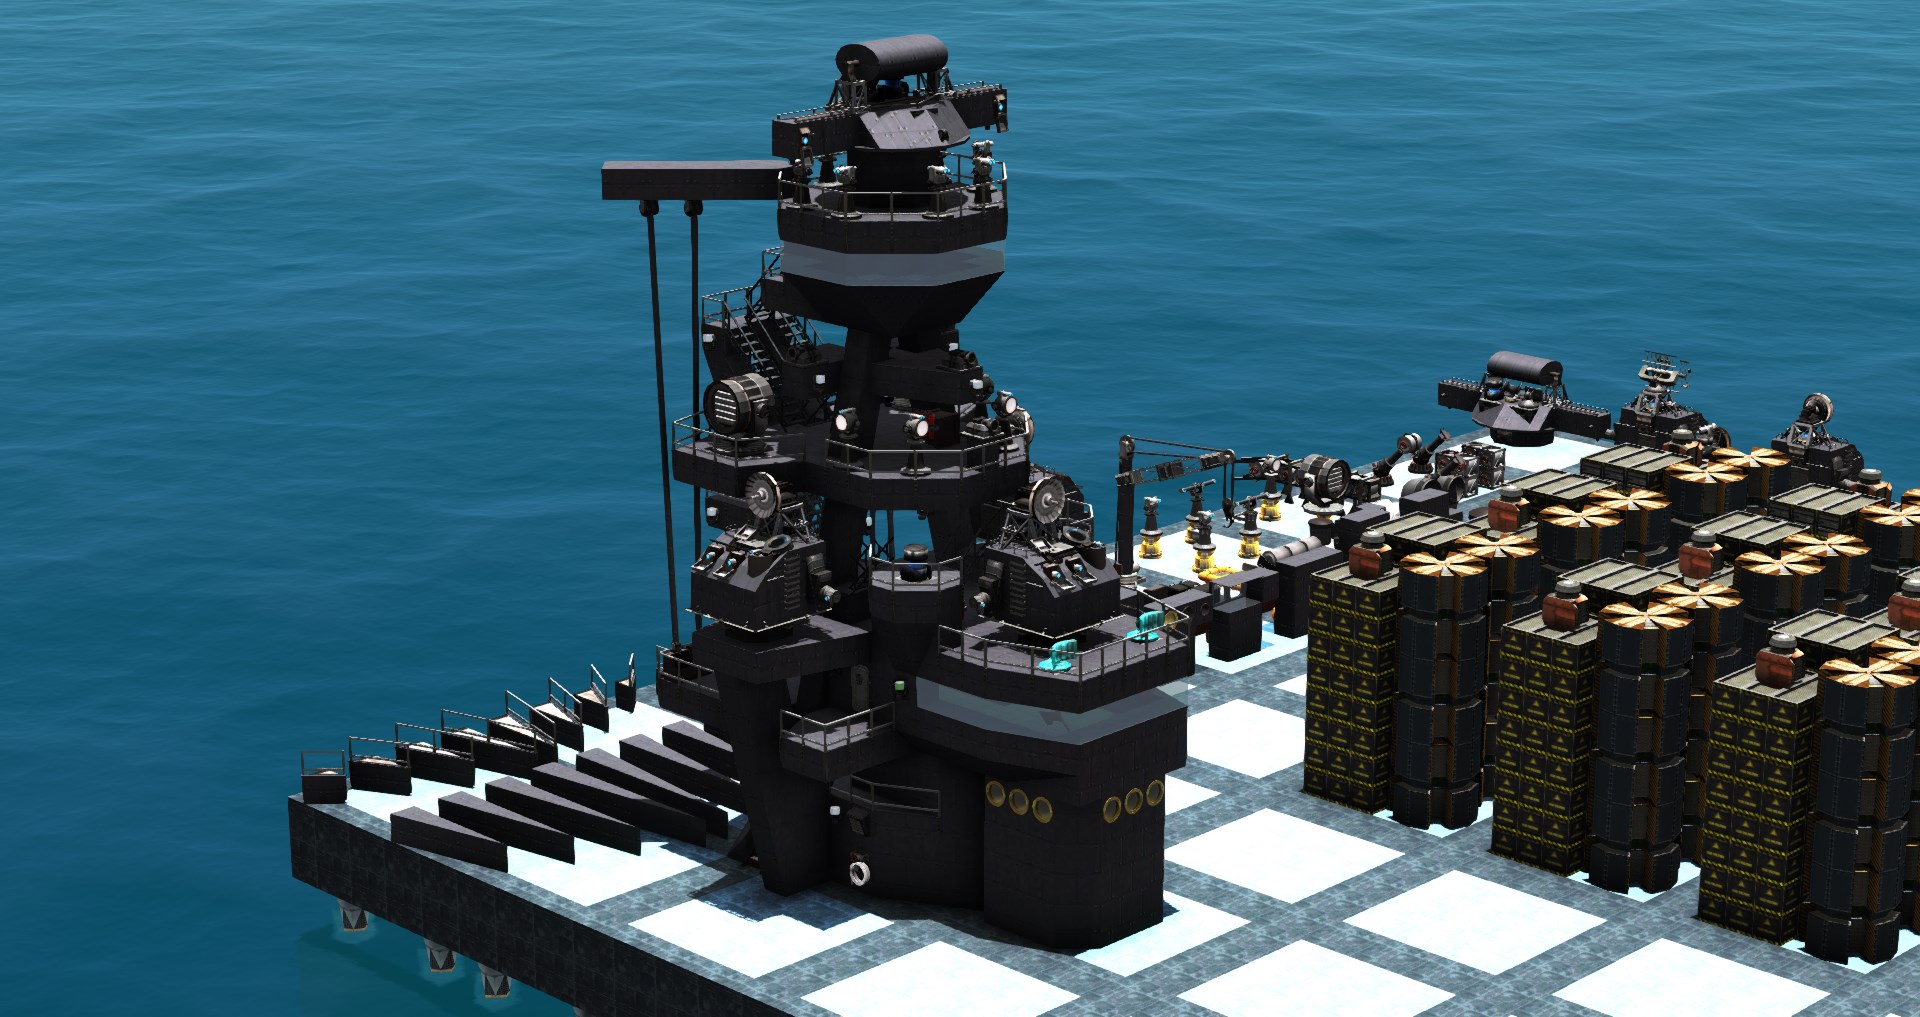
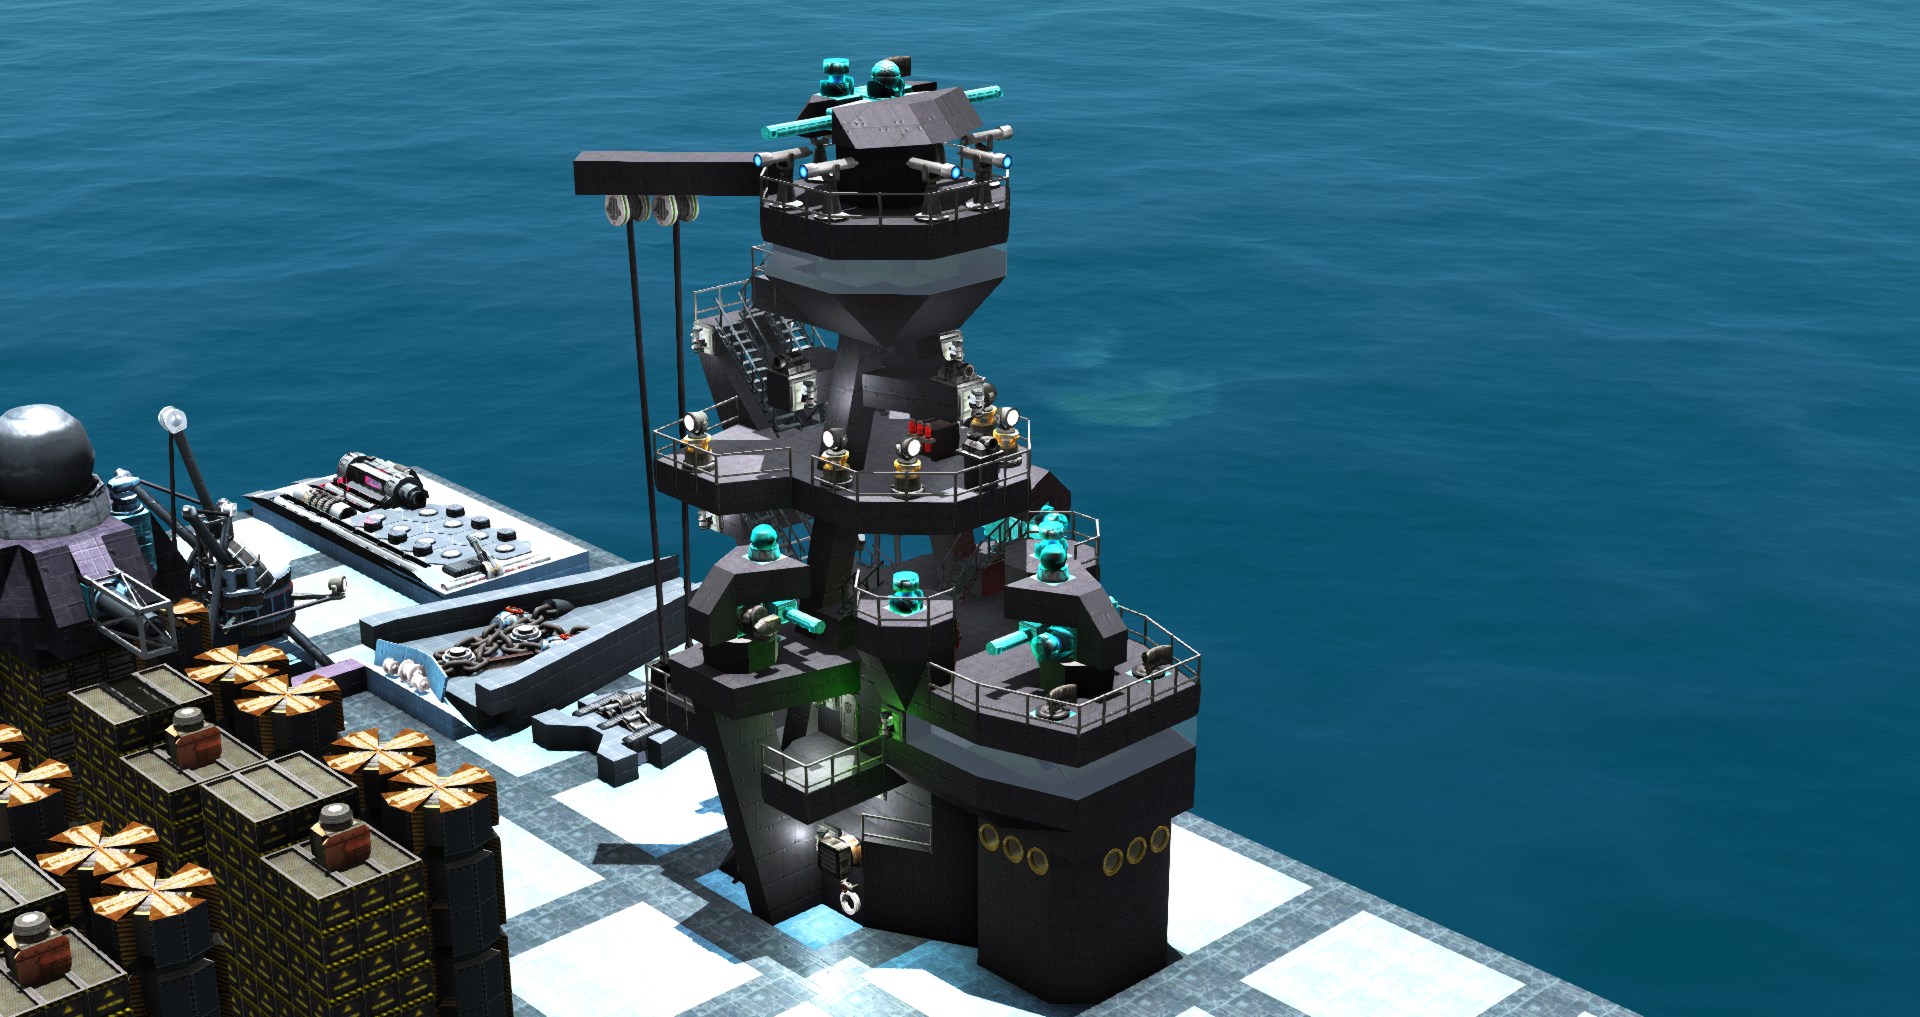
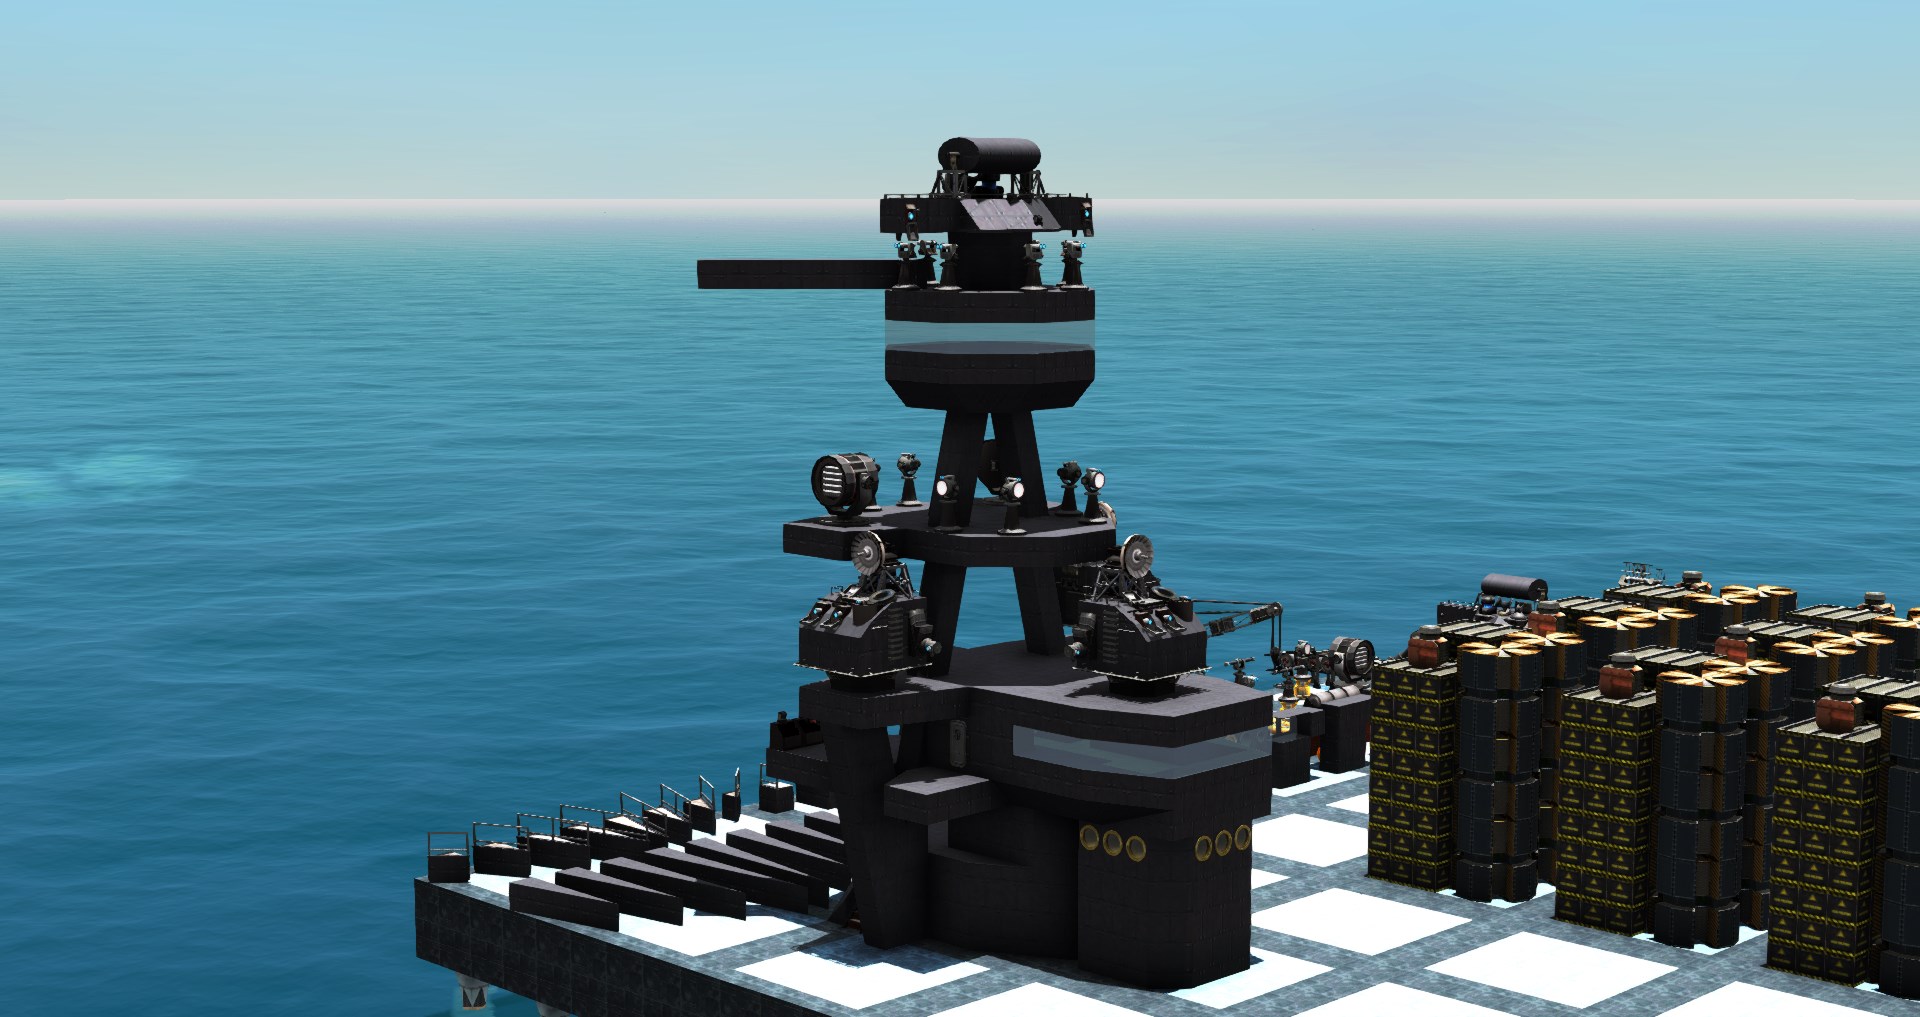
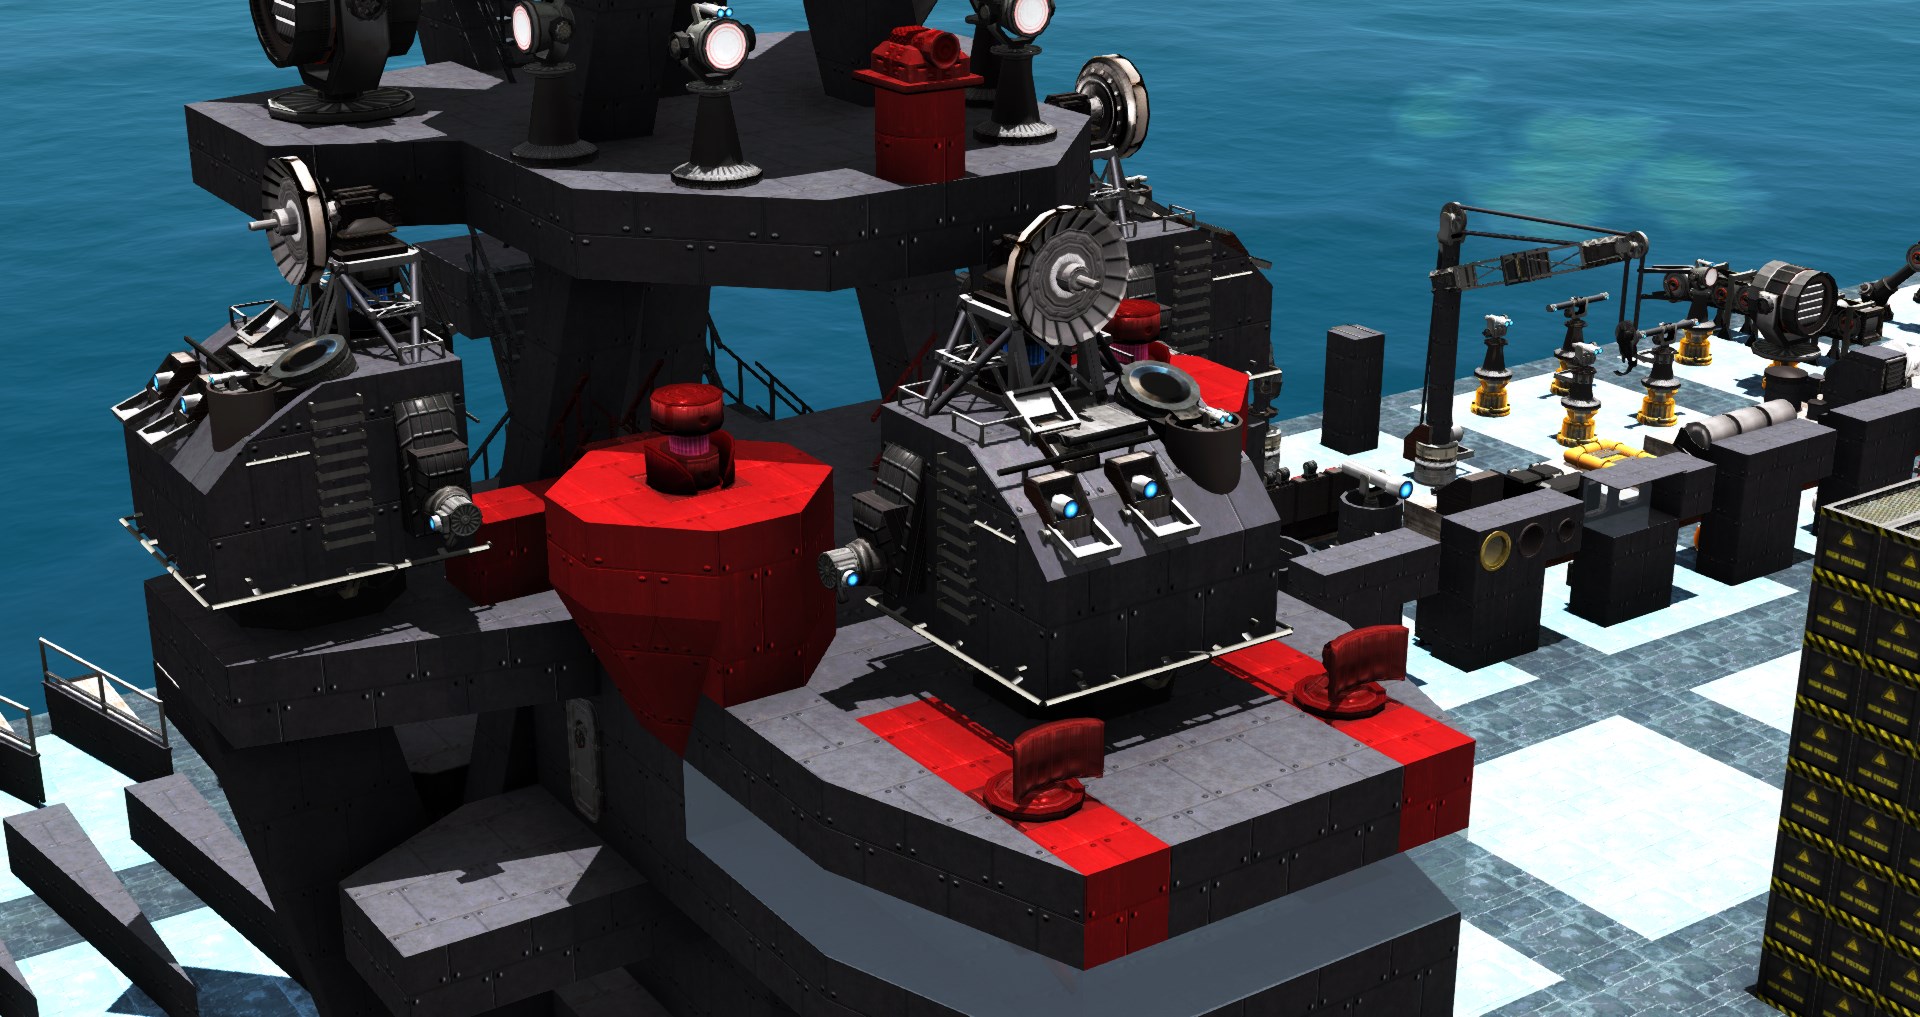
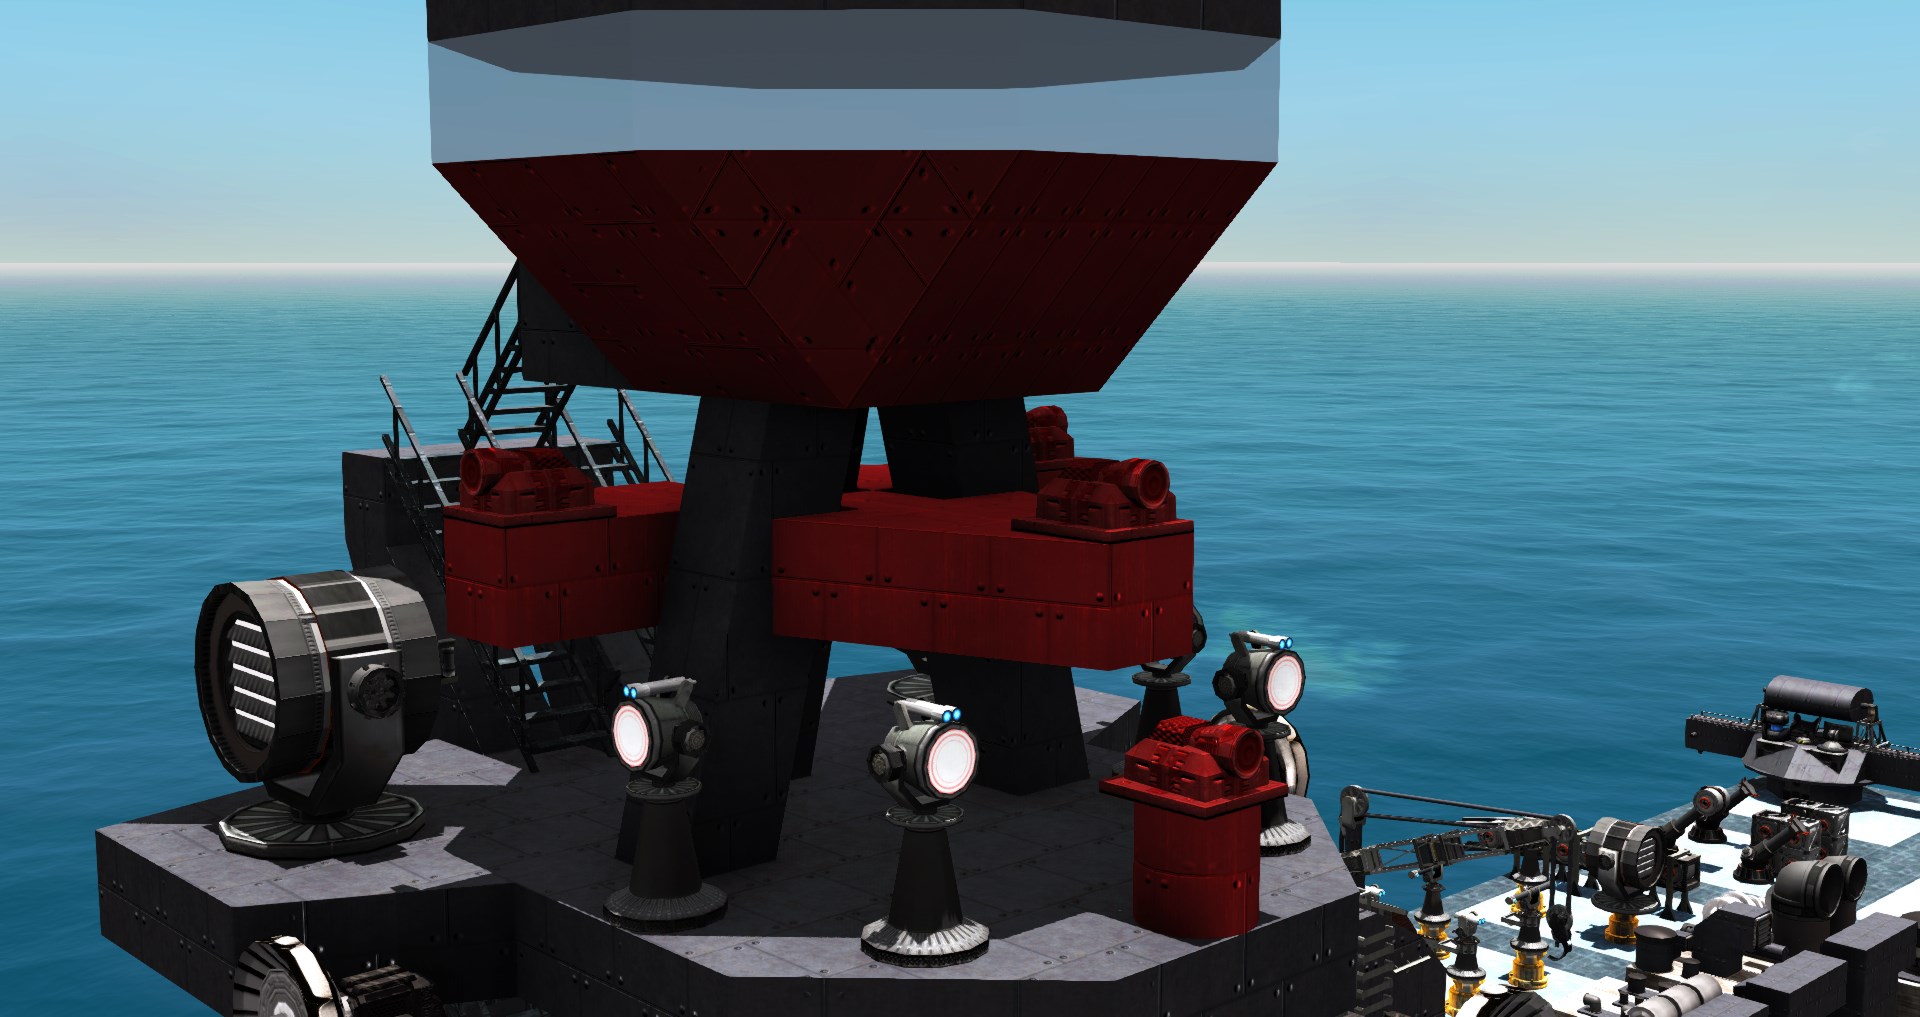
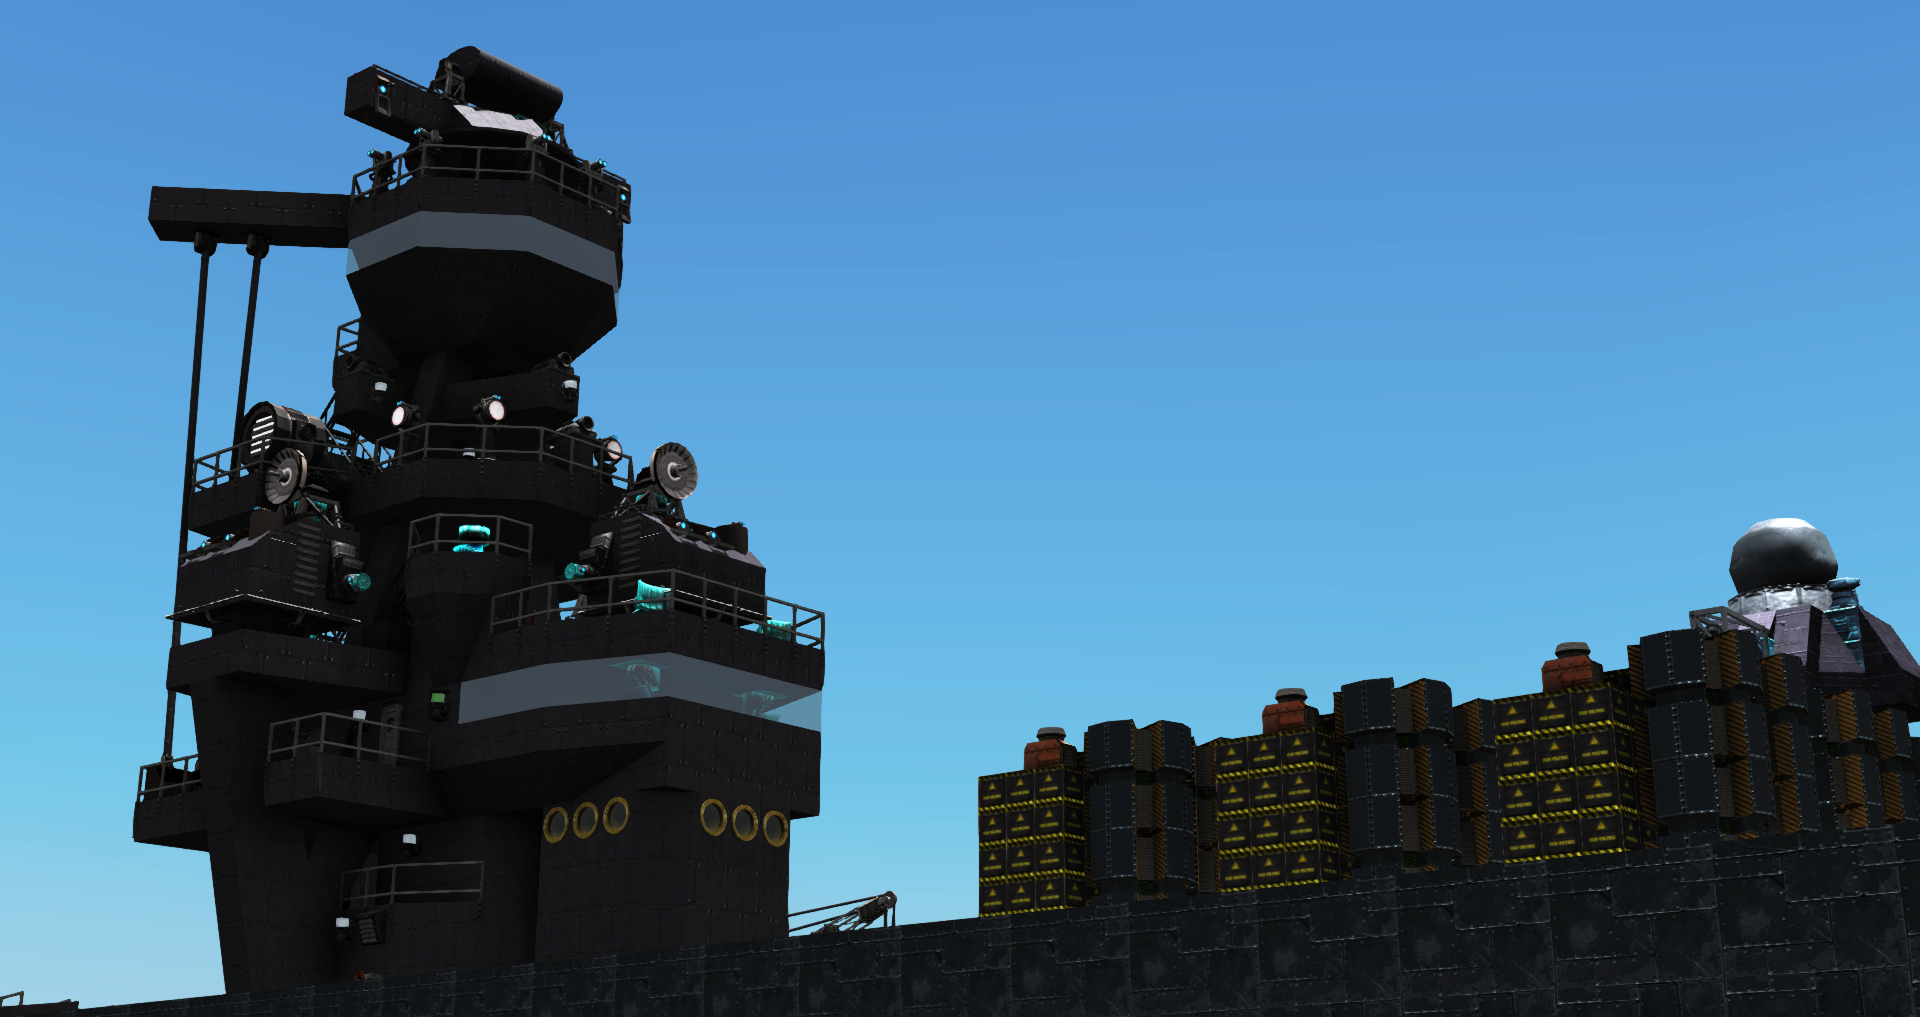
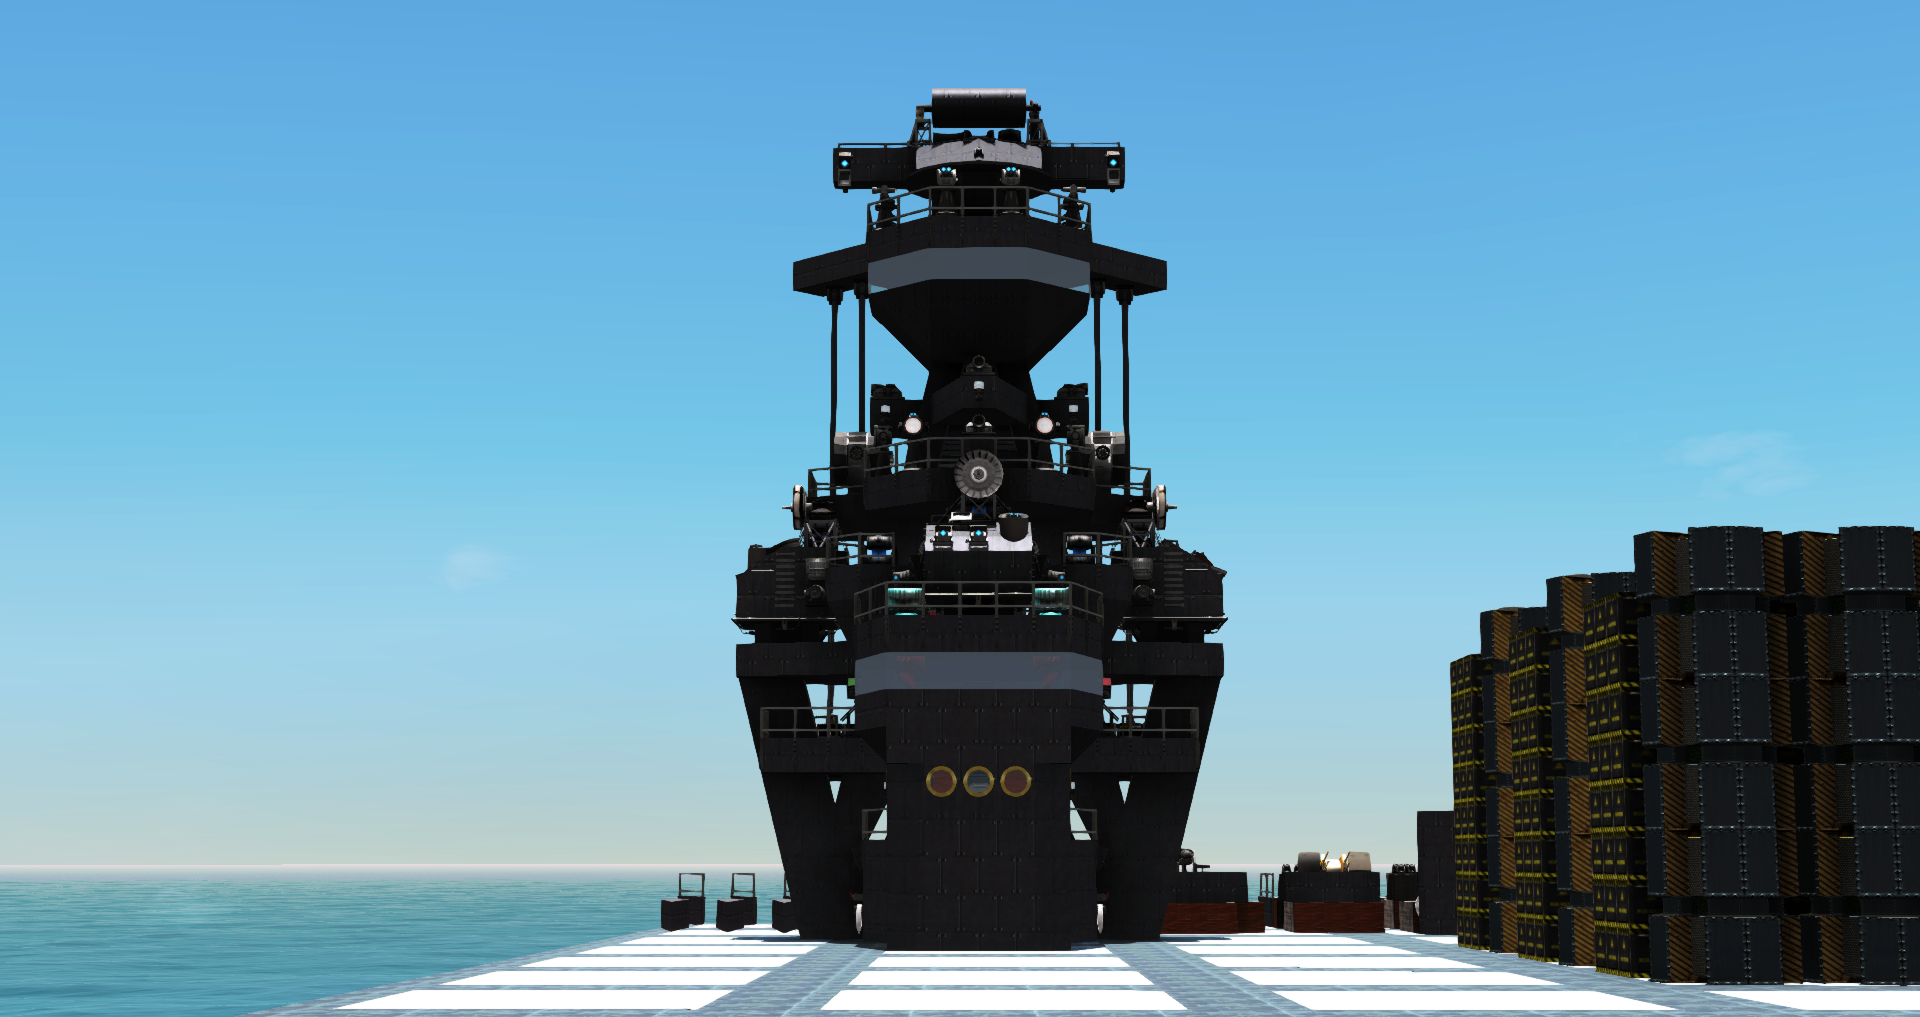
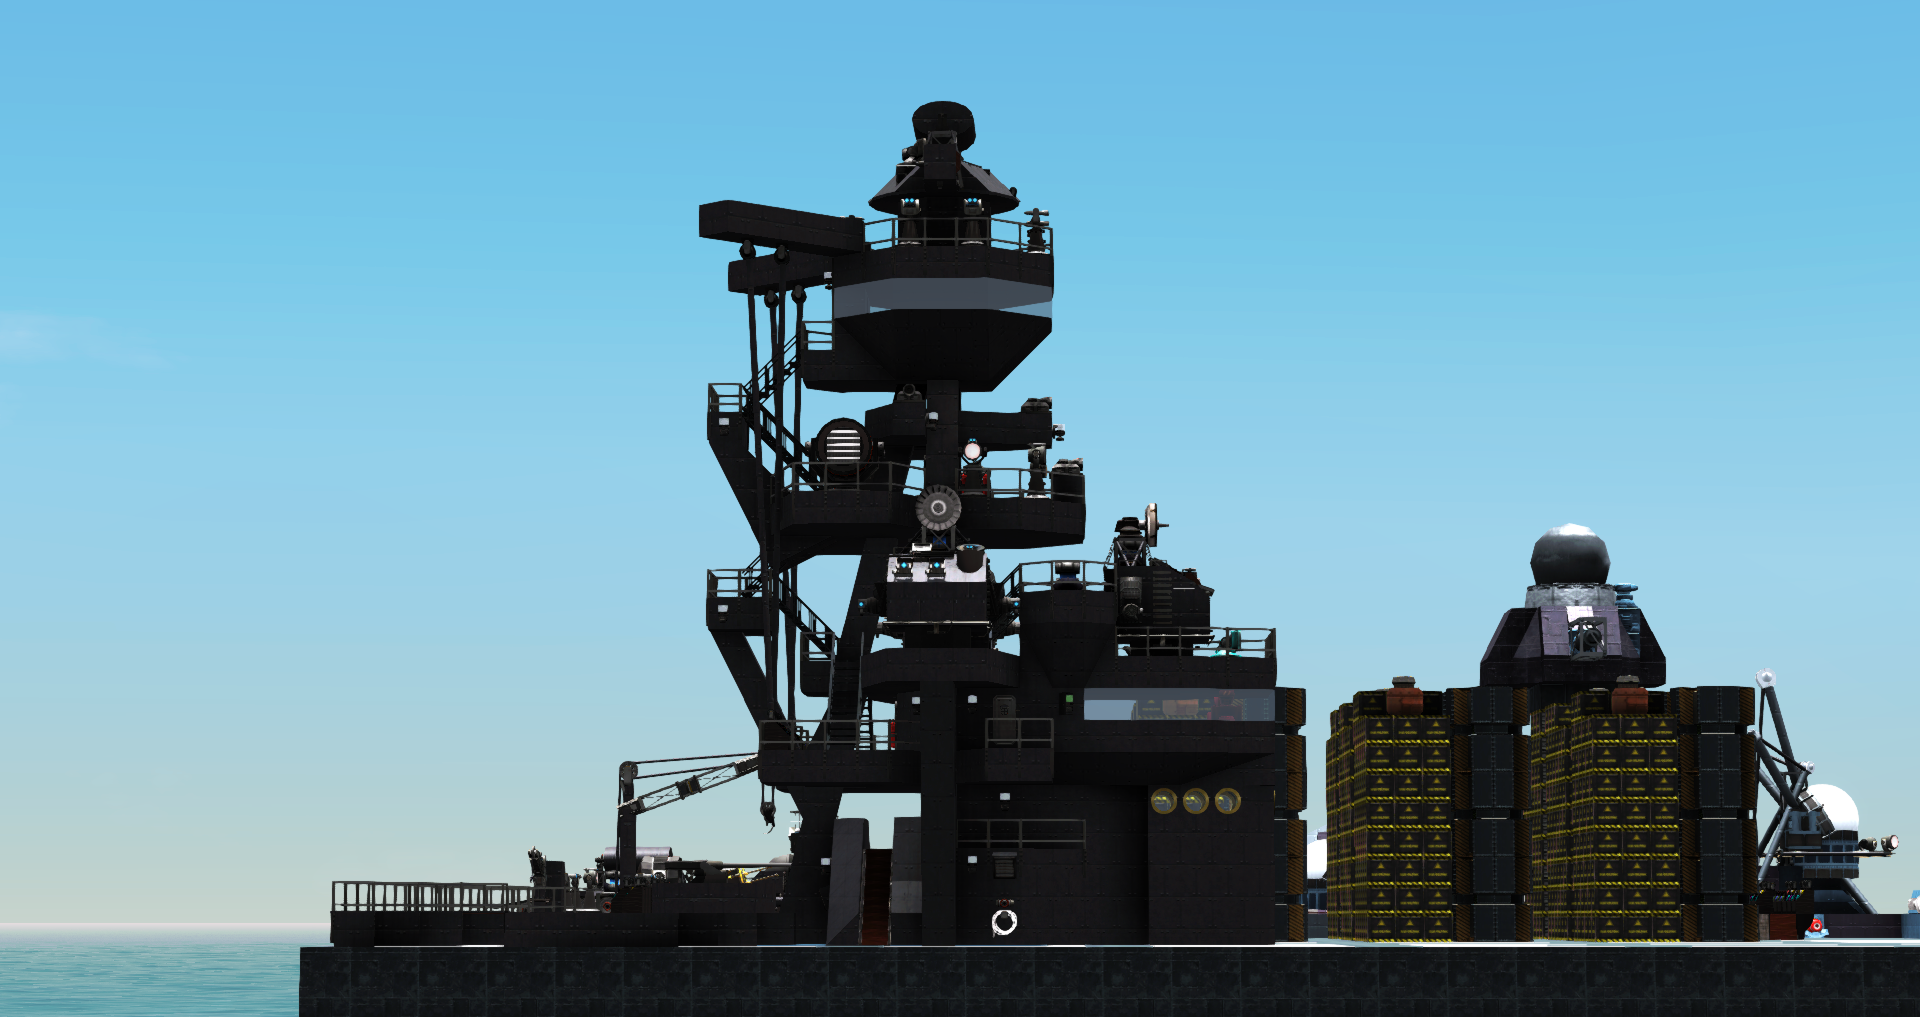
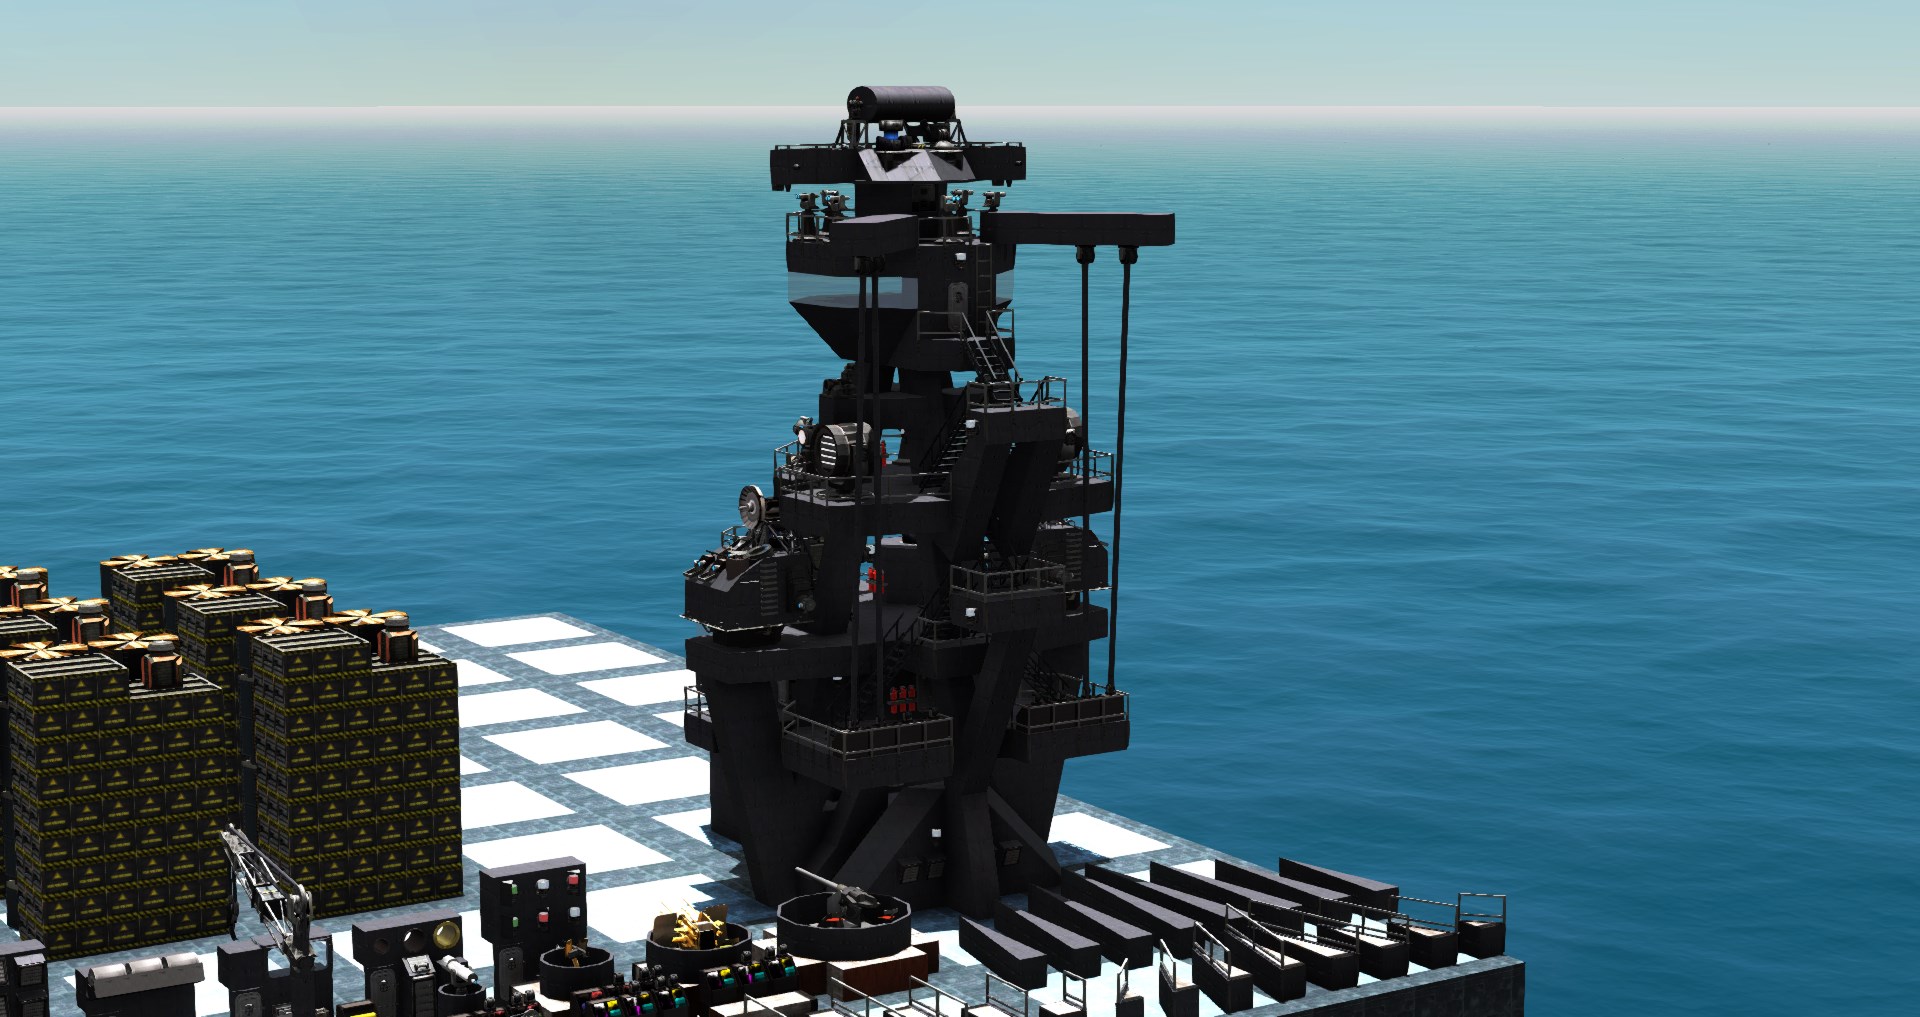
To show the proof of how amassing different details is more important than the details themselves, pictured below are the superstructure I built (and you will also be building) for this guide, as well as a version of it that uses simpler assets (Left and Right, respectively). The two still look to be somewhat even in level of complexity.
Now lets look at what I actually swapped, which was the gun fire control directors as well as searchlights and optics in exchange for telescope gimbal trackers and spotlights on turrets, as well as a few other substitutions like missile winches, fuel engine radiators, and decorative light sources.
These look a hell of a lot less detailed when compared to each other, but the final products using each variant still look just as good even when getting close. This goes to show that its actually using detail and having a wide variety of it that matters more when making something realistic like this, or any sort of style really.
This works because warships, in the end, are really just big 3d scenes from an aesthetic point of view. A lot of the art philosophies you would apply in blender or other 3d software also apply here, so optimizing for workflow will result in not only faster output but also better output.
Build an asset library!
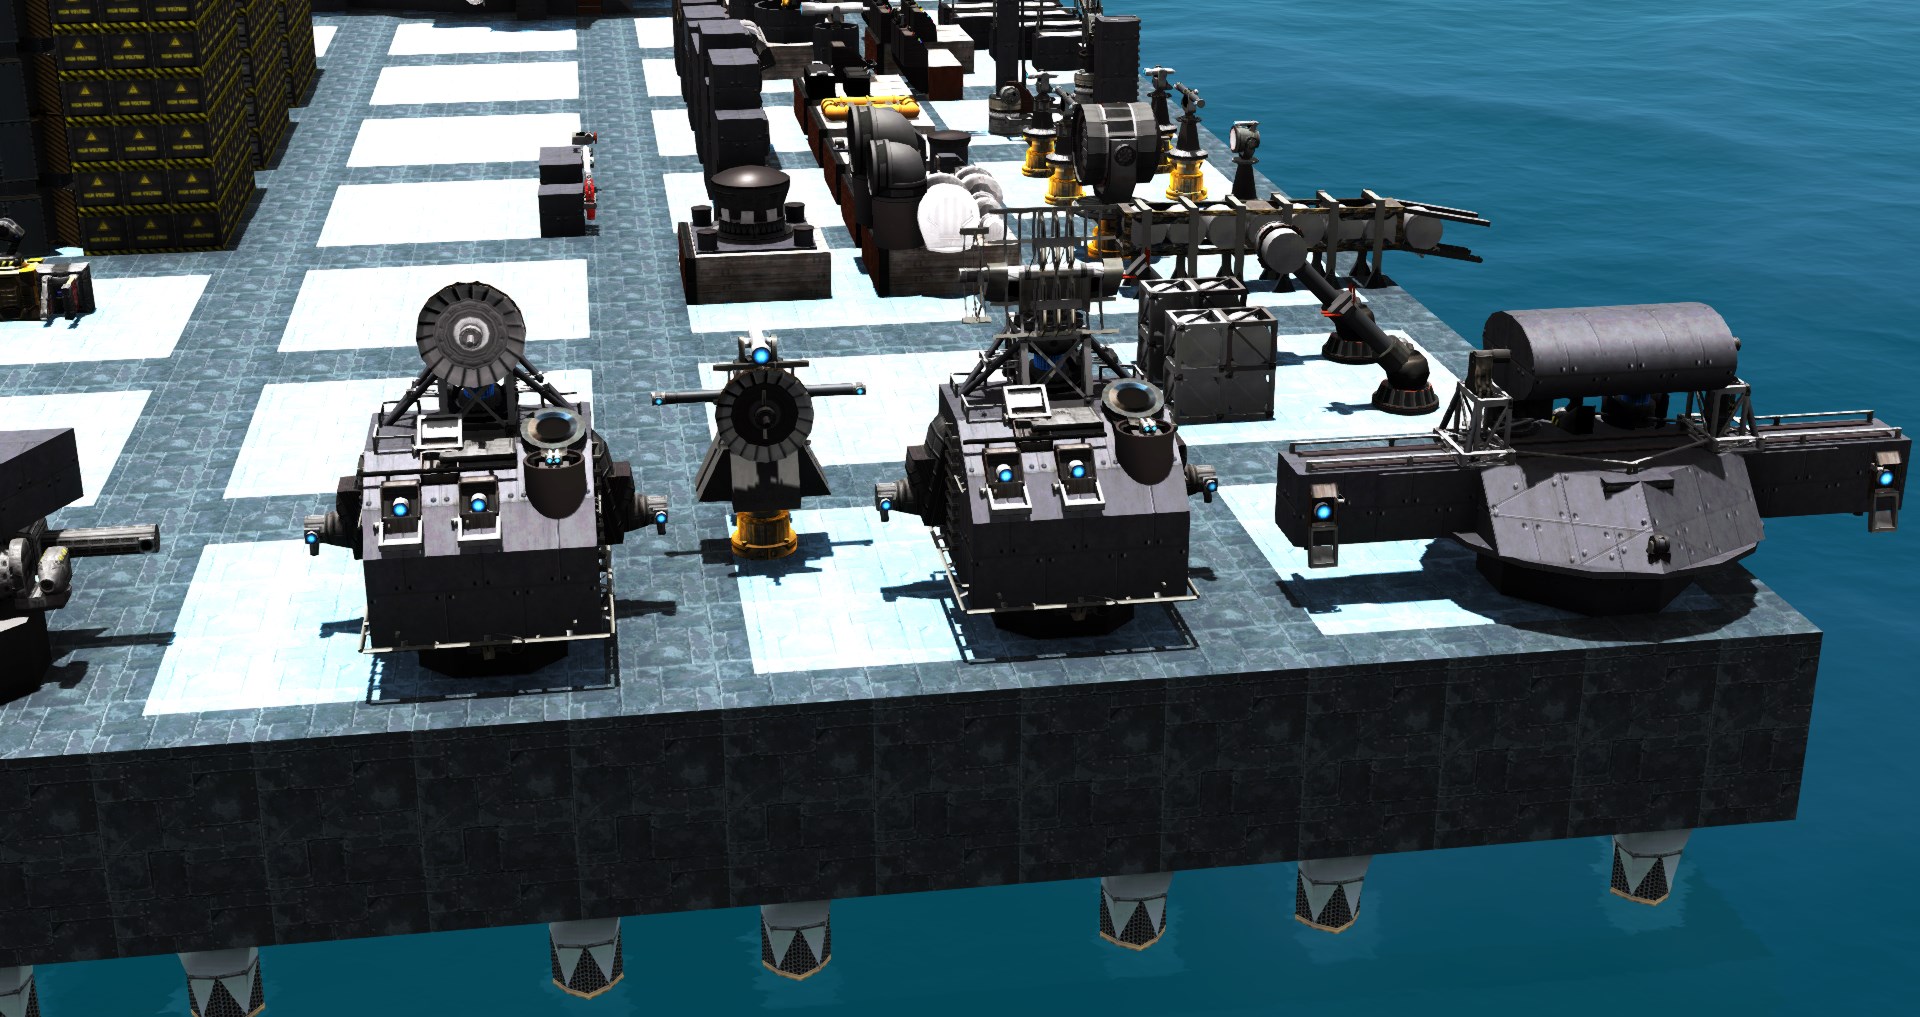
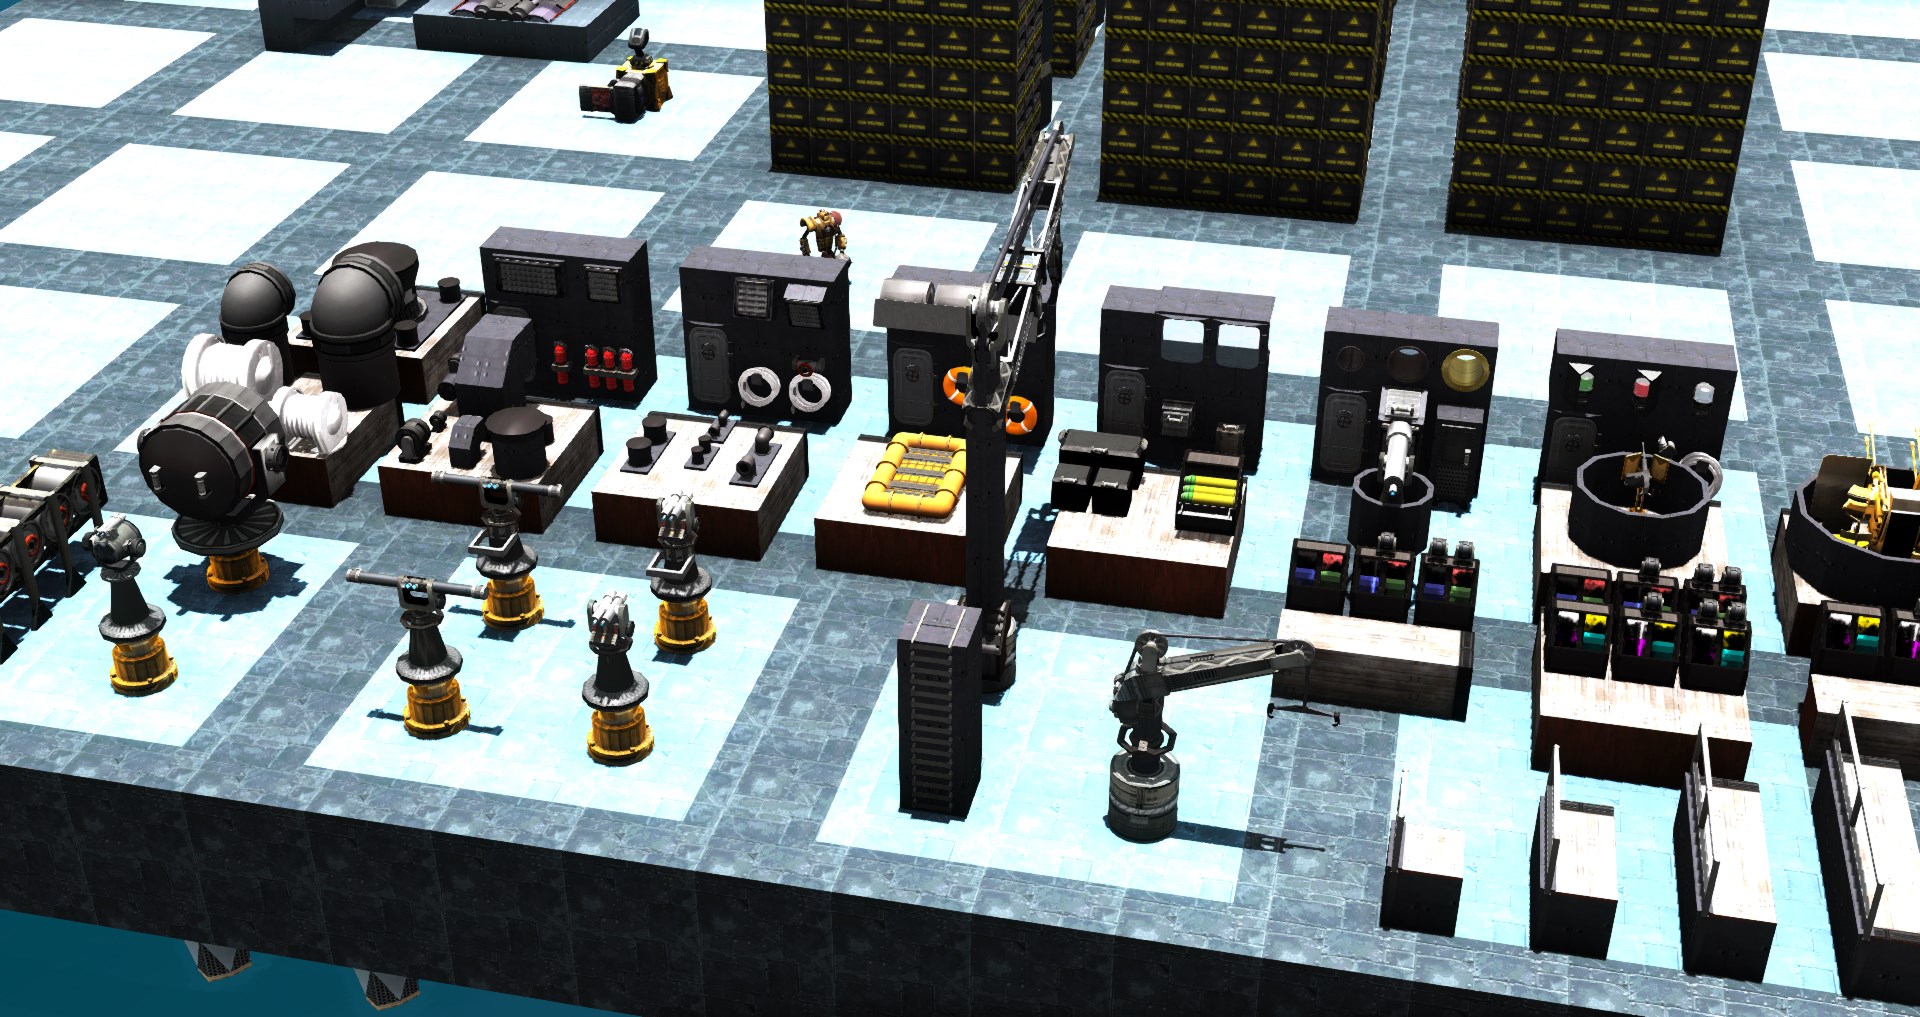
Whether this is going to be heavily based on mimics and decos or non-mimiced or deco stuff, I would highly recommend placing down and creating all of the assets, decoration or functional, to grab before starting. The best part about doing this is that you can reuse them again in the future – that’s why its called an asset library. You can do this for pretty much anything, not just realistic builds. Try it!
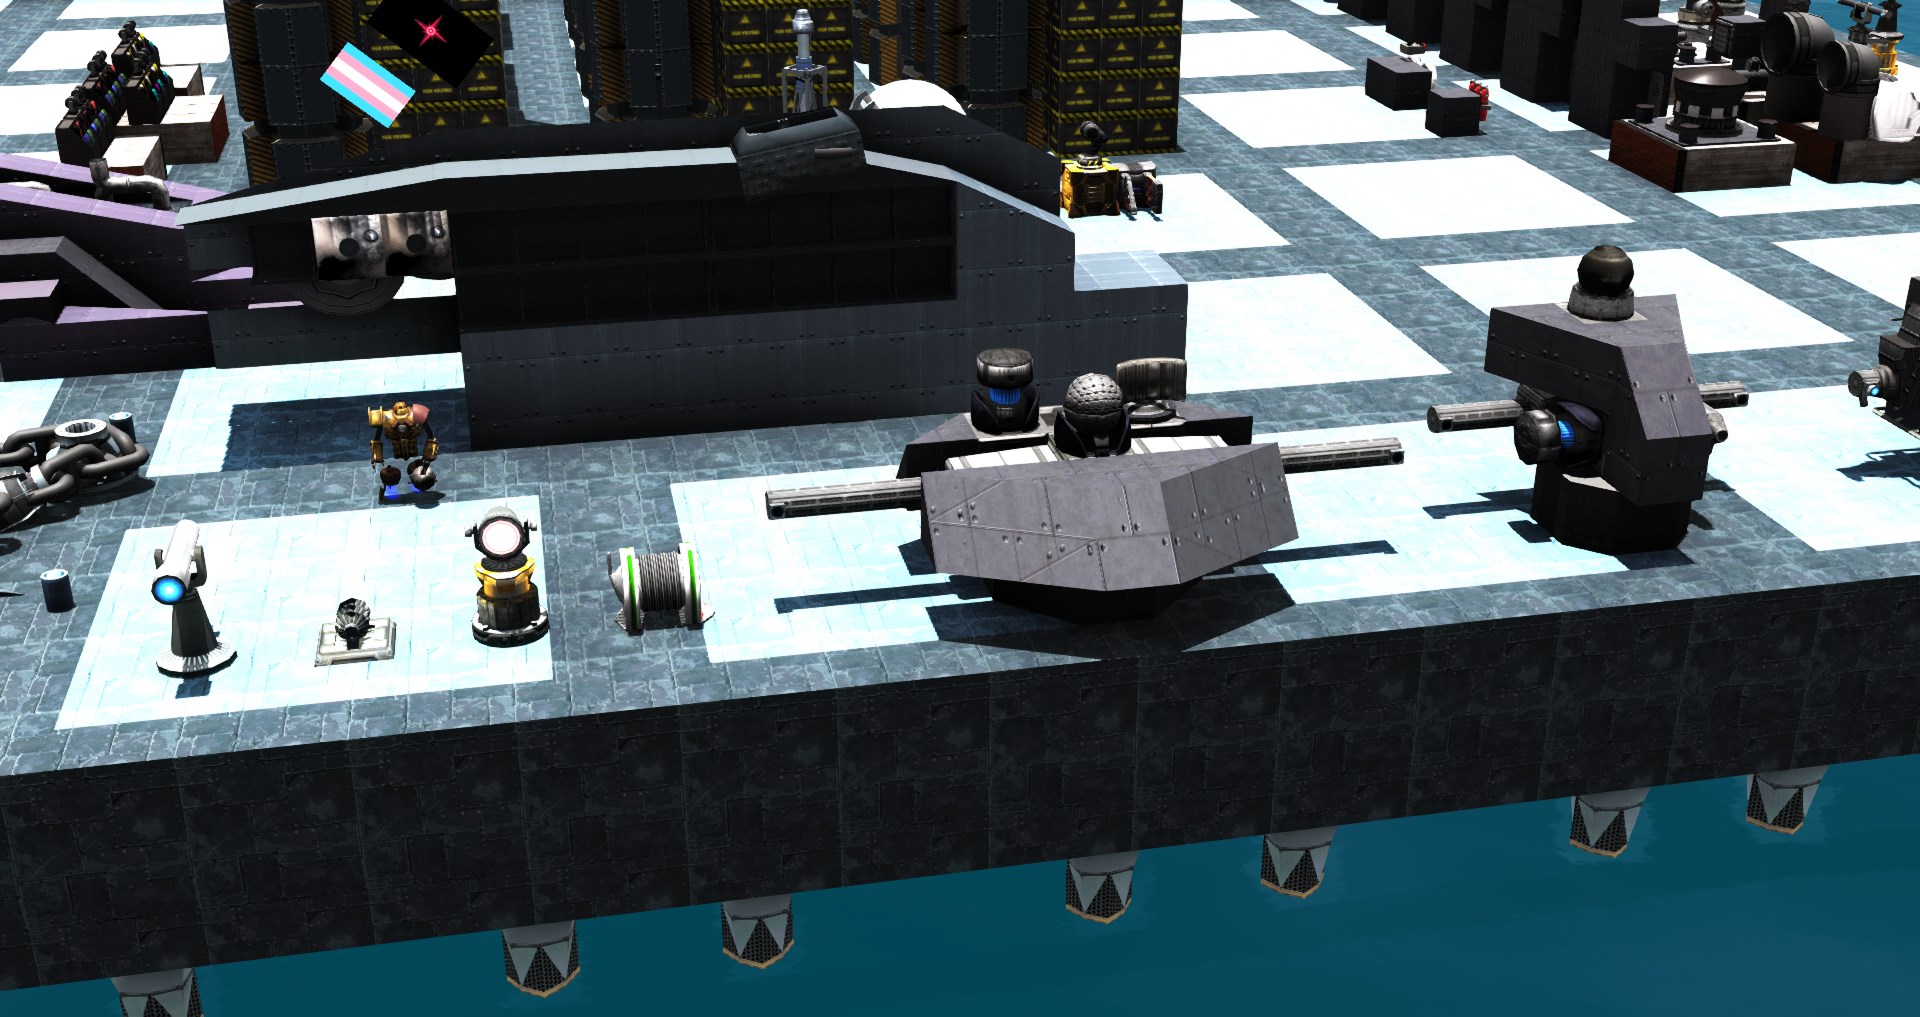
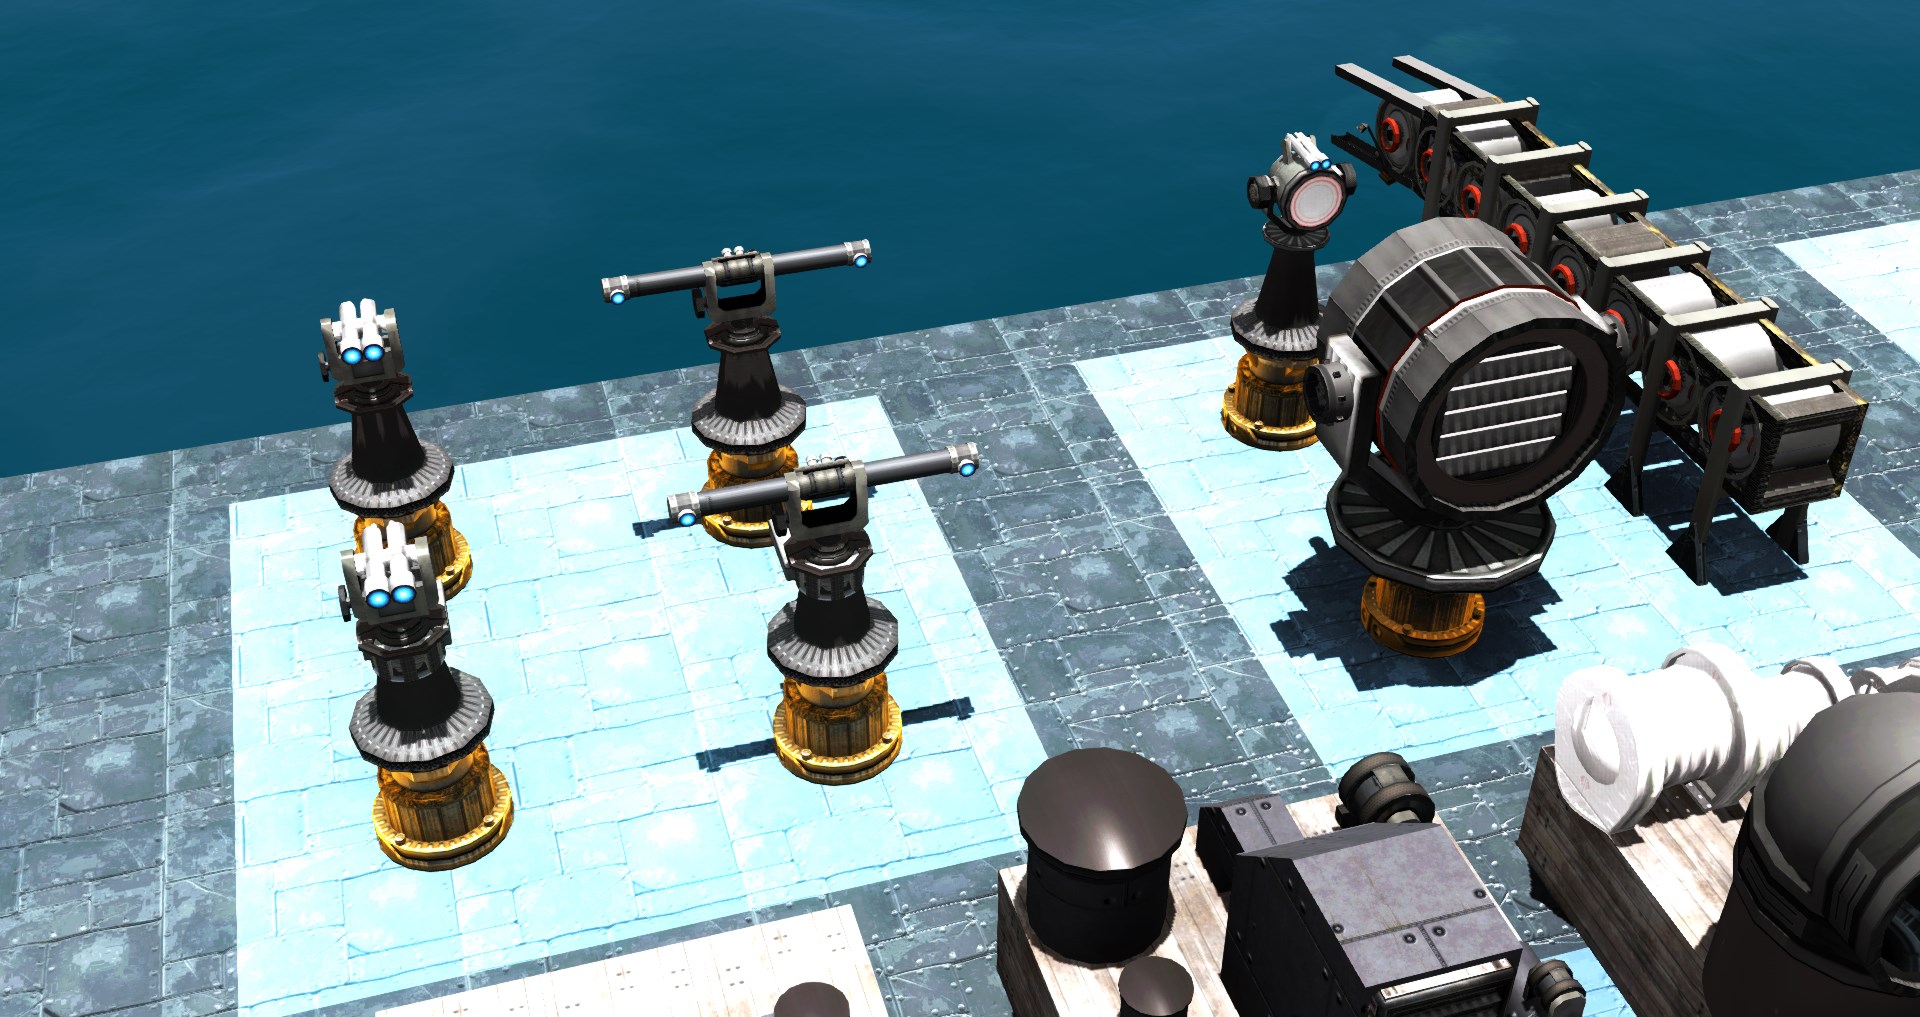
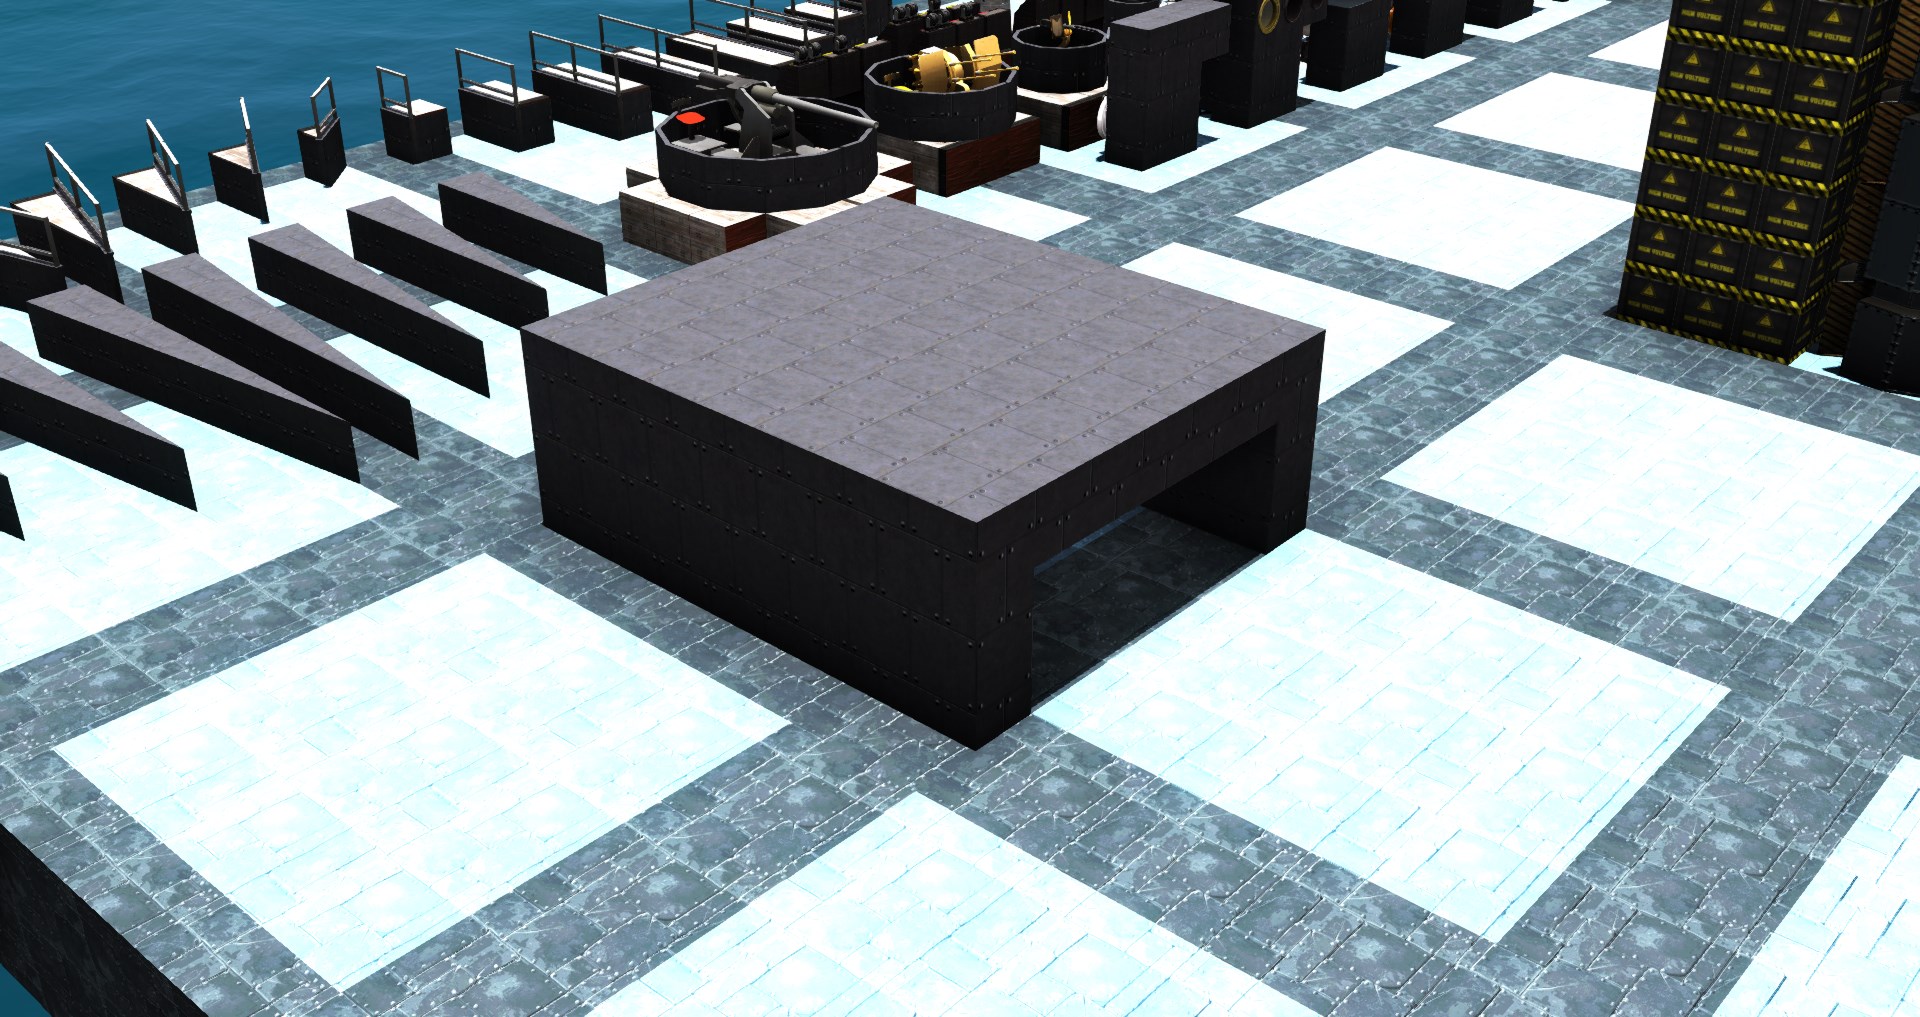
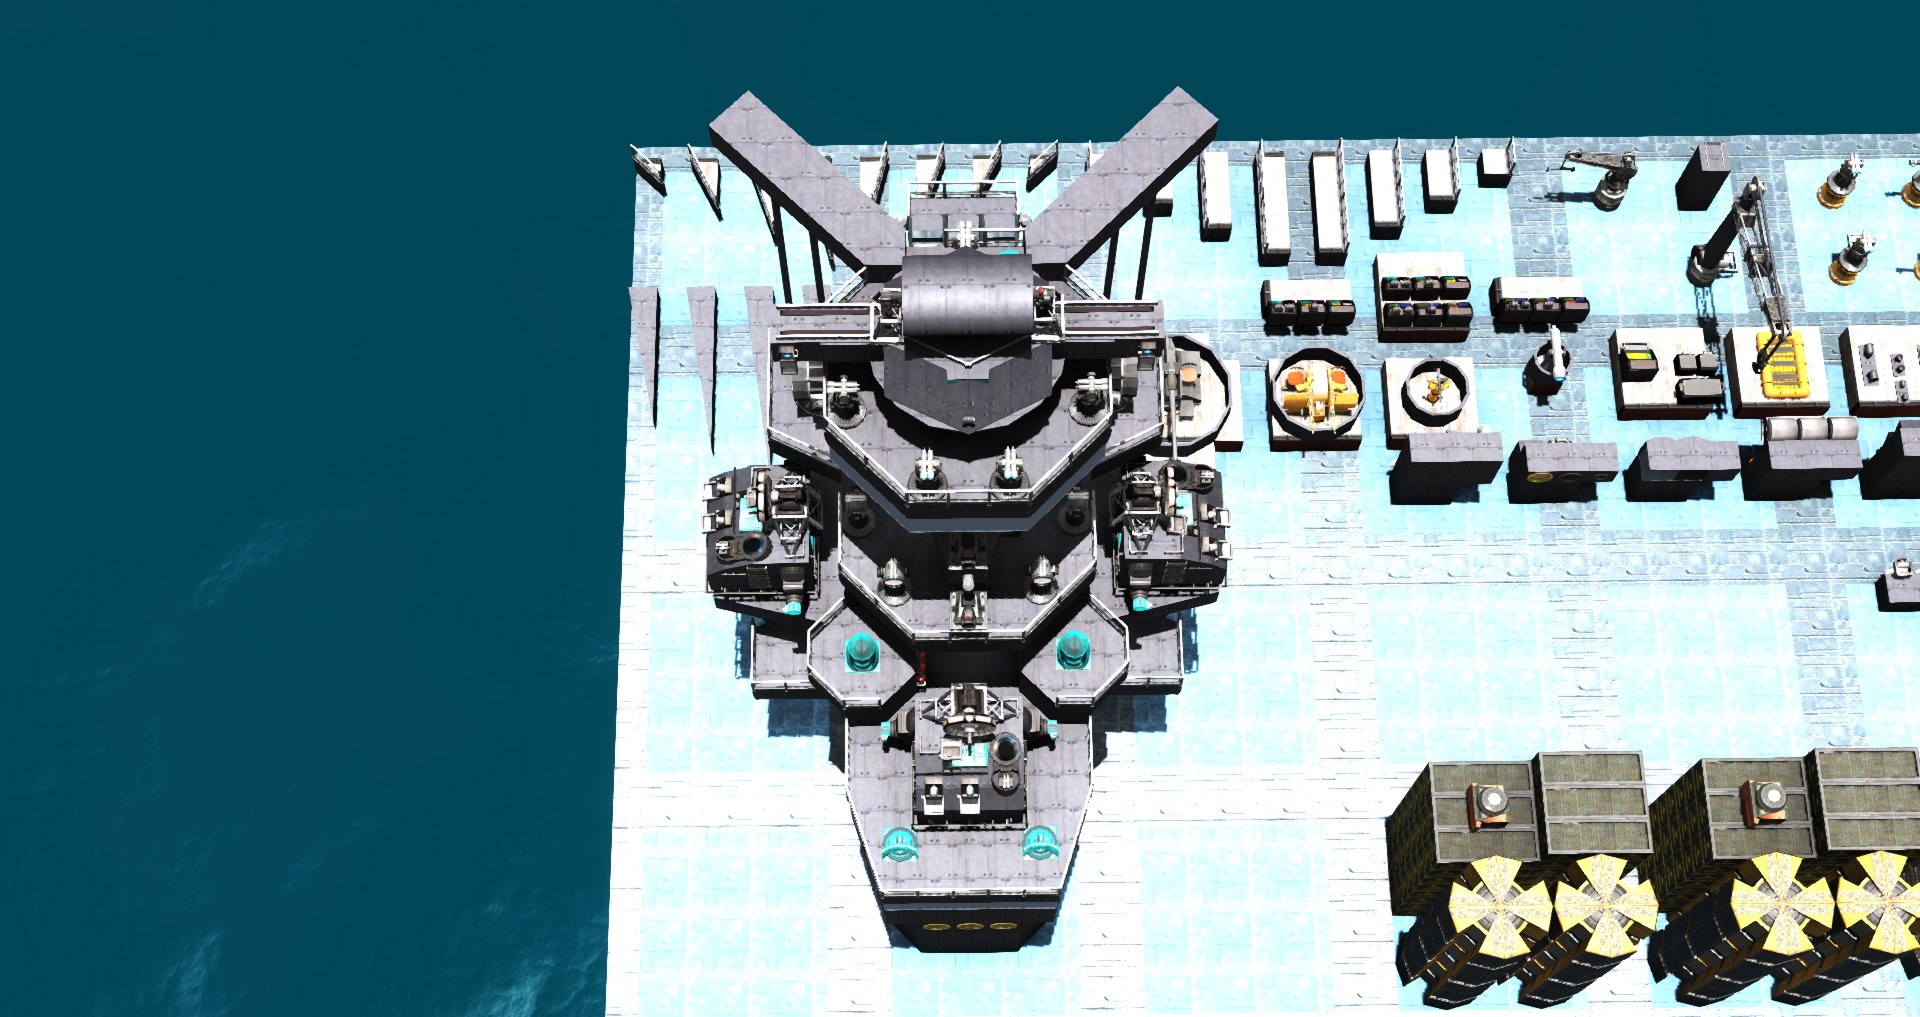
Here is my asset library which consists of various mimic and deco things as well as subobjects and actual functional parts. This will be on the workshop when this guide is published.
Actually building a pagoda mast step-by-step, Part 1
Some of you can just get straight to building after reading the first half of the guide with some photo reference. And I cannot stress this enough, even as you read through this and follow along, and especially as you start to build your own works, PLEASE use photo reference when creating anything. It doesn’t matter if you think it would be weird to give From The Depths the same level of care you would give to photoshop, you should be using reference any time you create something like this.
For others who want to see how I would build a pagoda mast and how to construct the one pictured in this guide, this section is for you. Of course, the blueprints for the pagoda masts and the assets used will be on the workshop so you can take a look at them in-game.
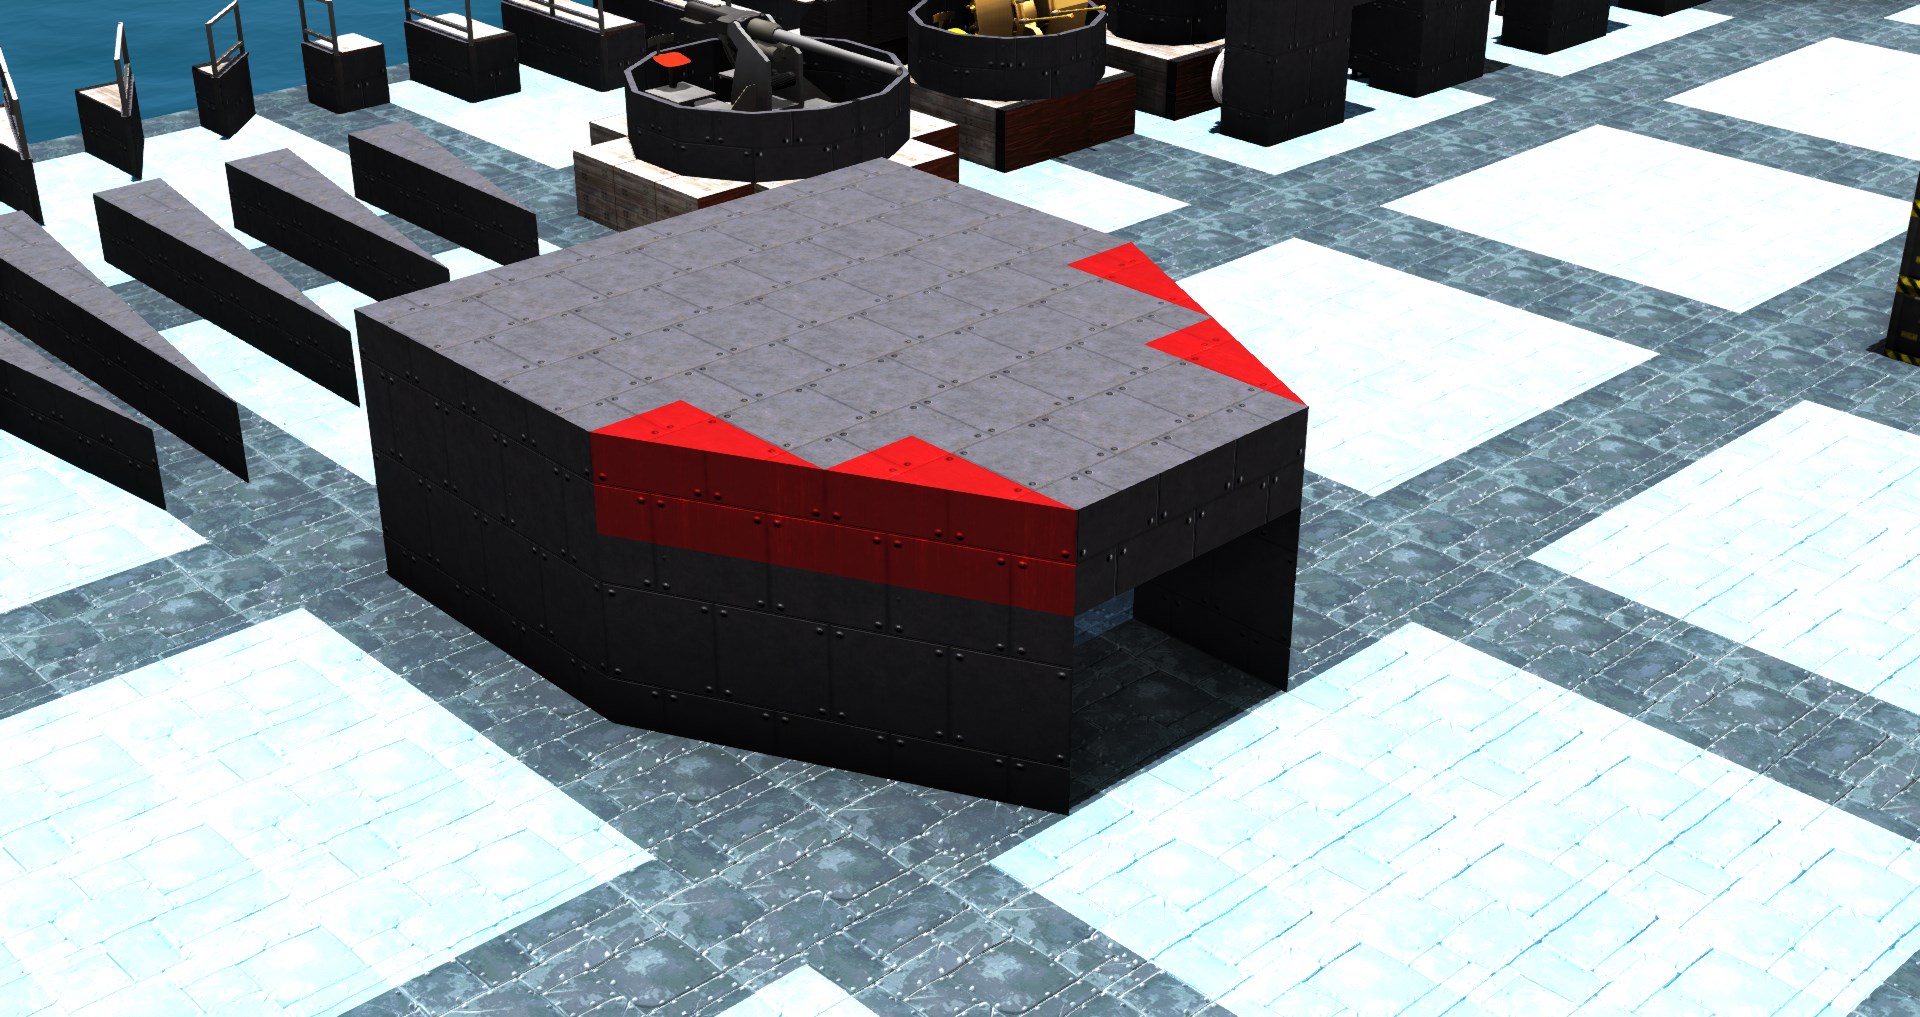
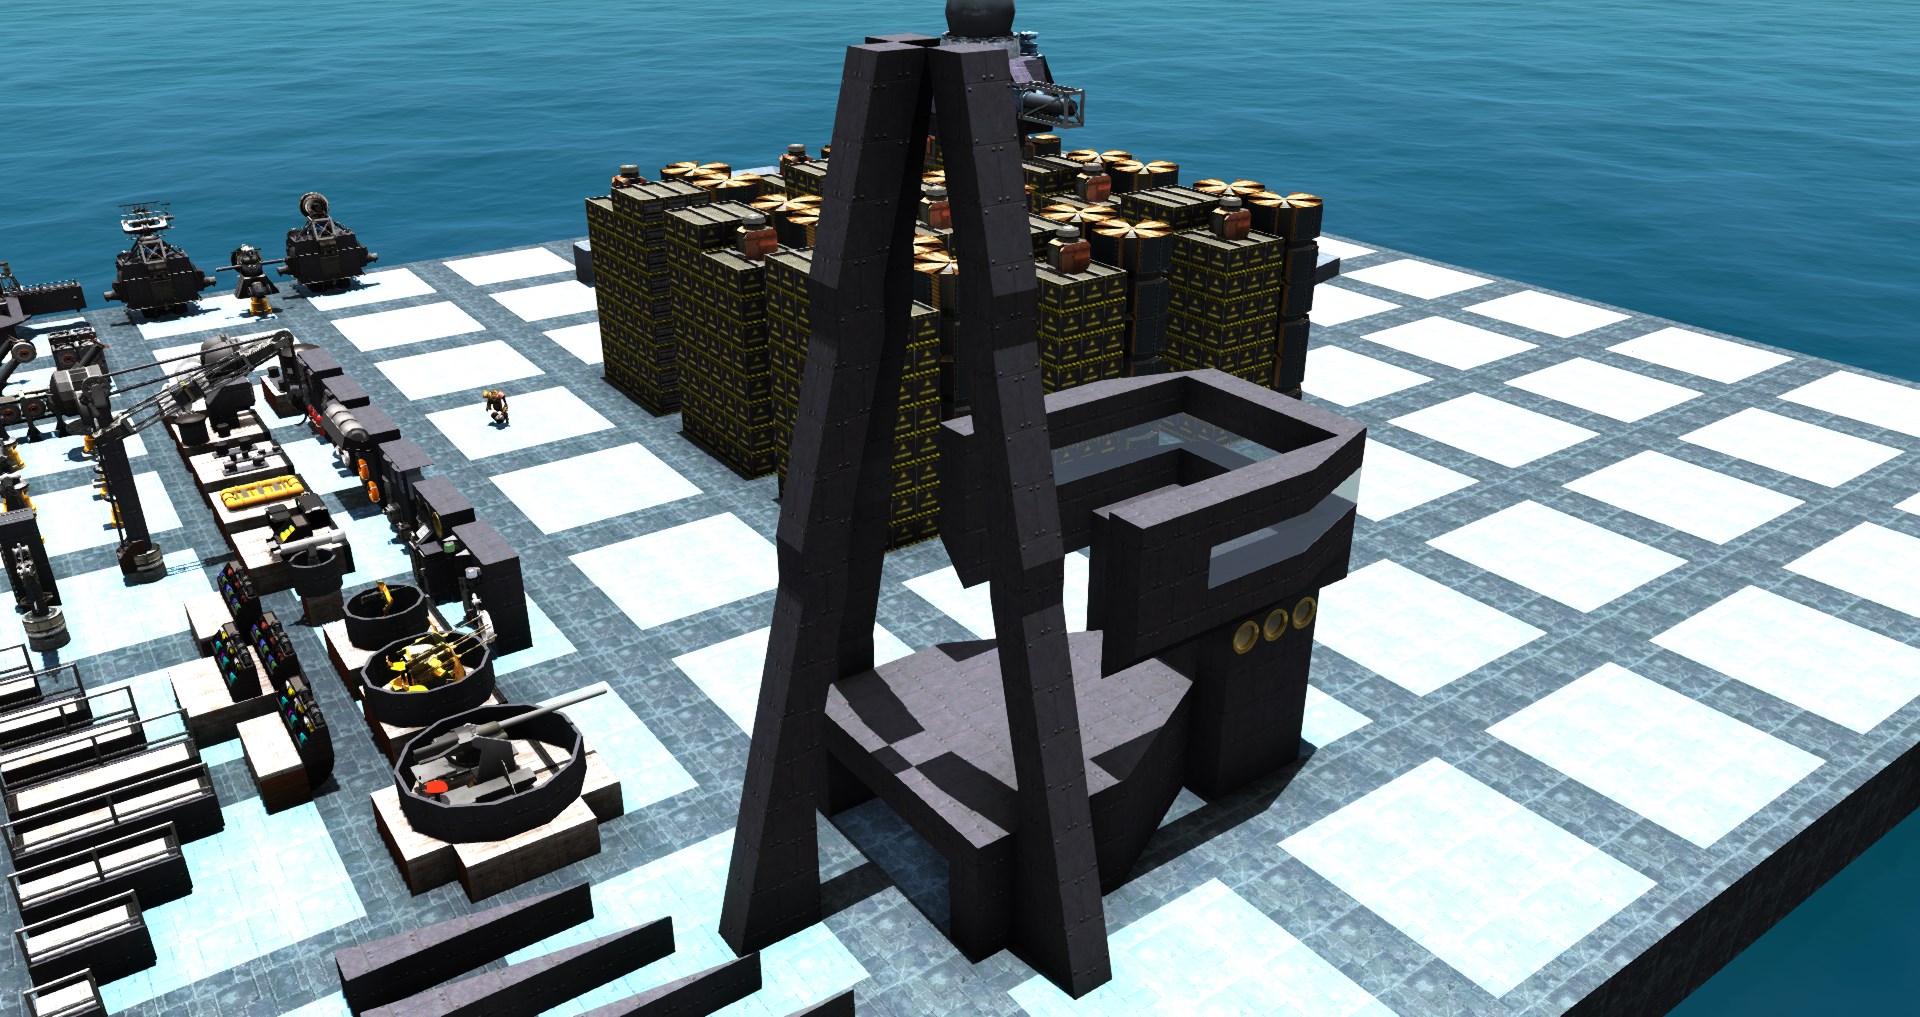
Like all good things, we start with a box. Easy, basic, not terrifying. But a box is, unfortunately, boring.
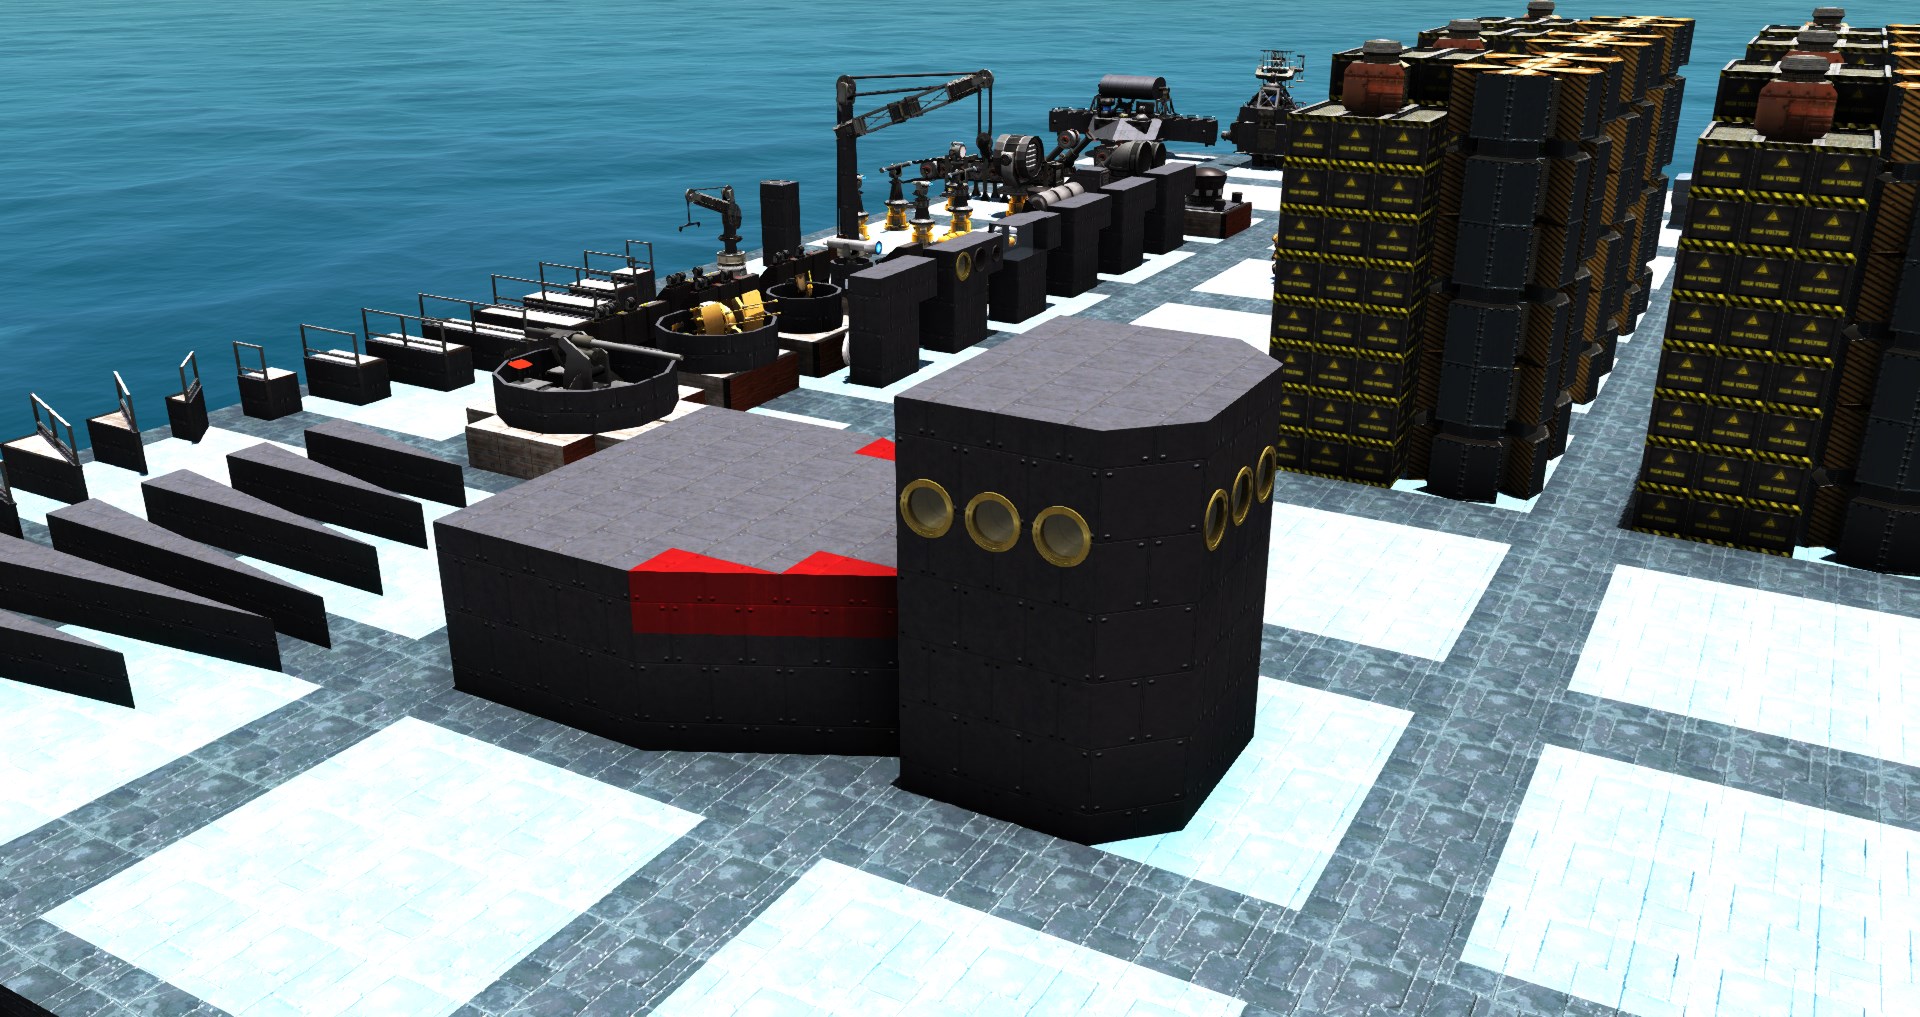
Adding a slight taper to the forward end automatically makes it so much more interesting than it was before. At the tip, we will place our conning tower.
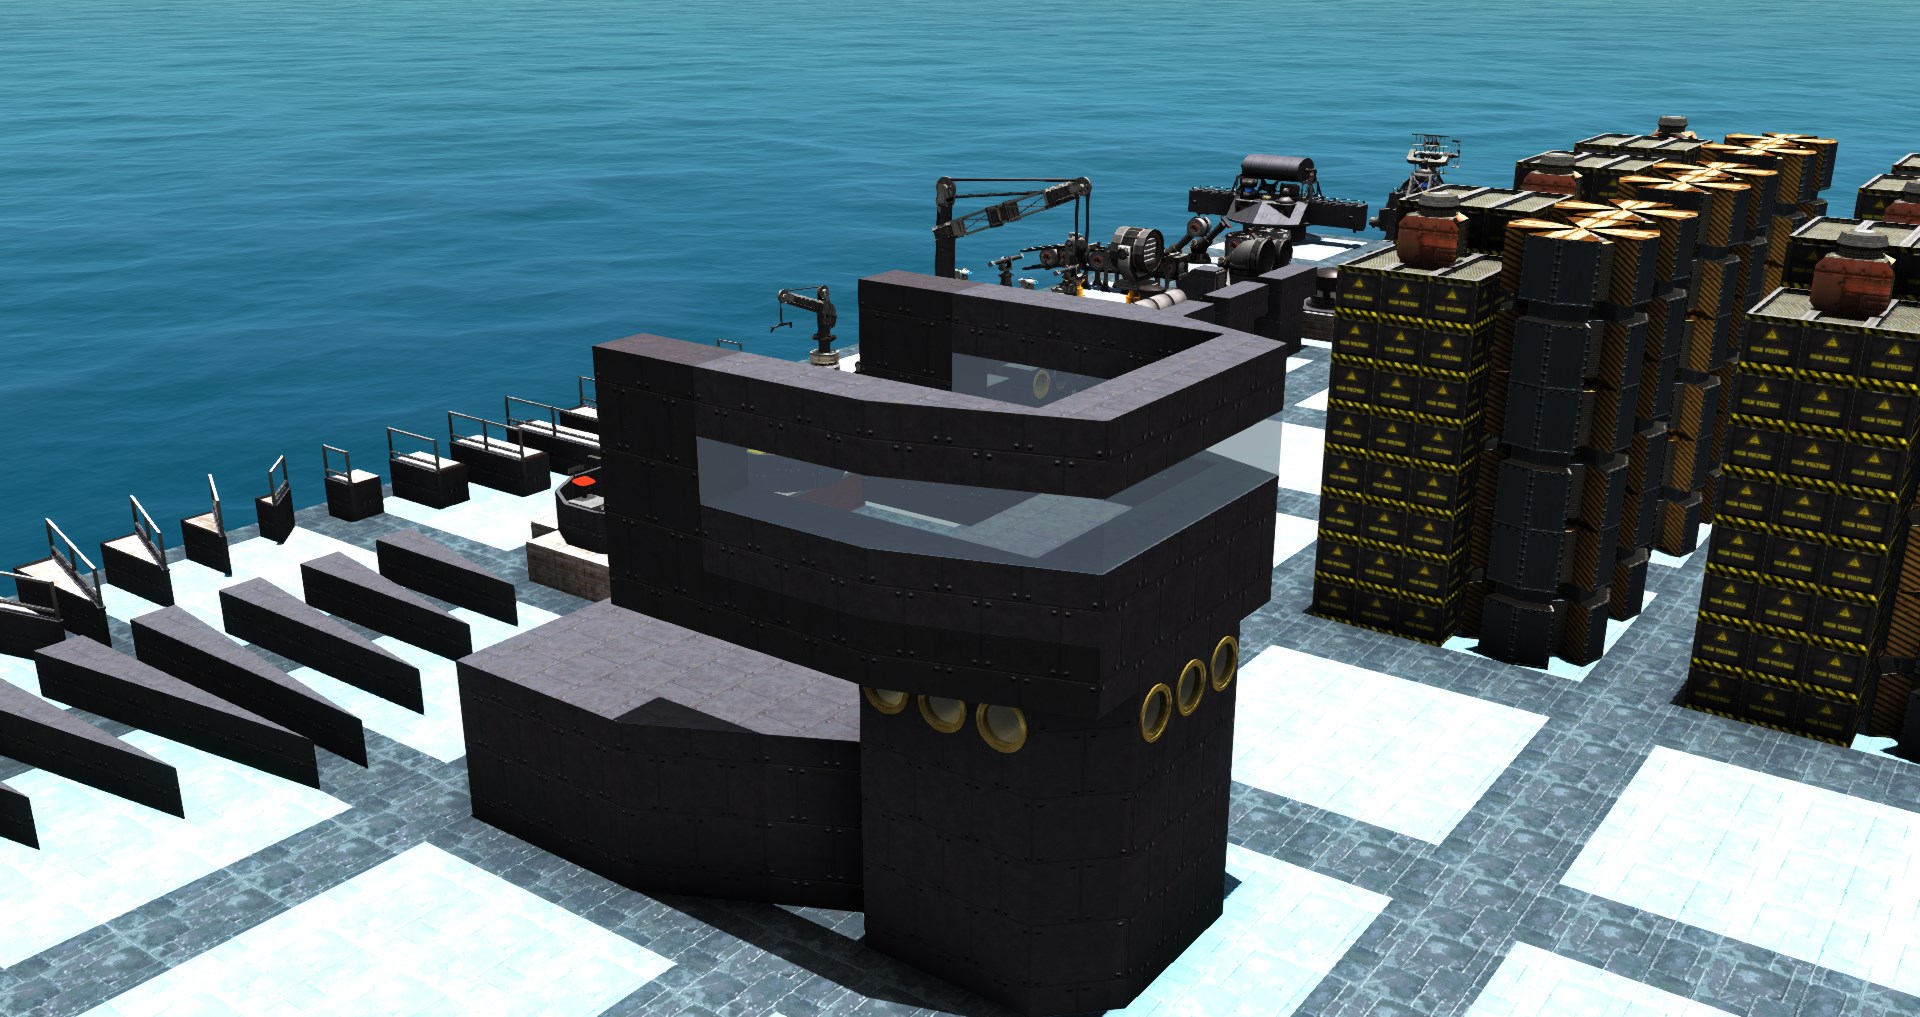
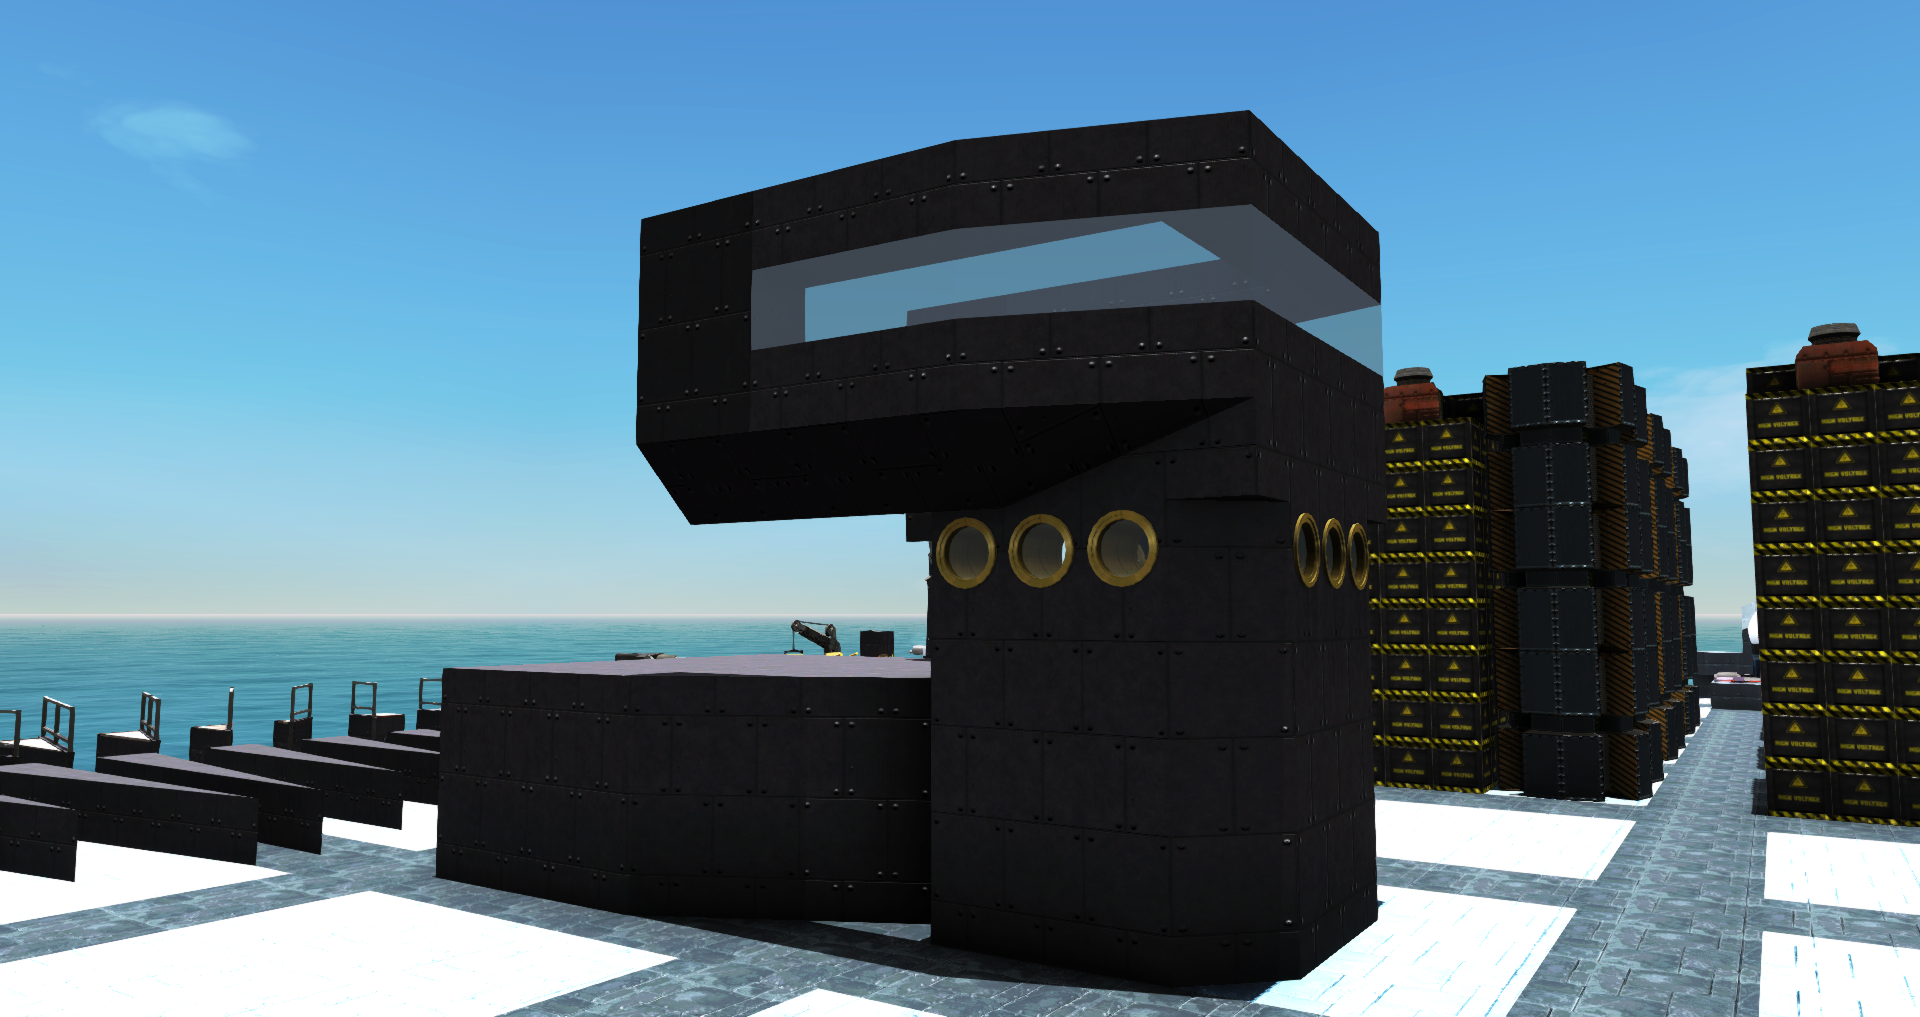
With the conning tower in place, we can place our bridge atop it, which is pretty much the same shape but a little smaller. The windows of the bridge stretch plenty both across the forward end and the port/starboard sides. This is to give the people within the bridge plenty of visibility all around, especially when standing near the middle of the window area.
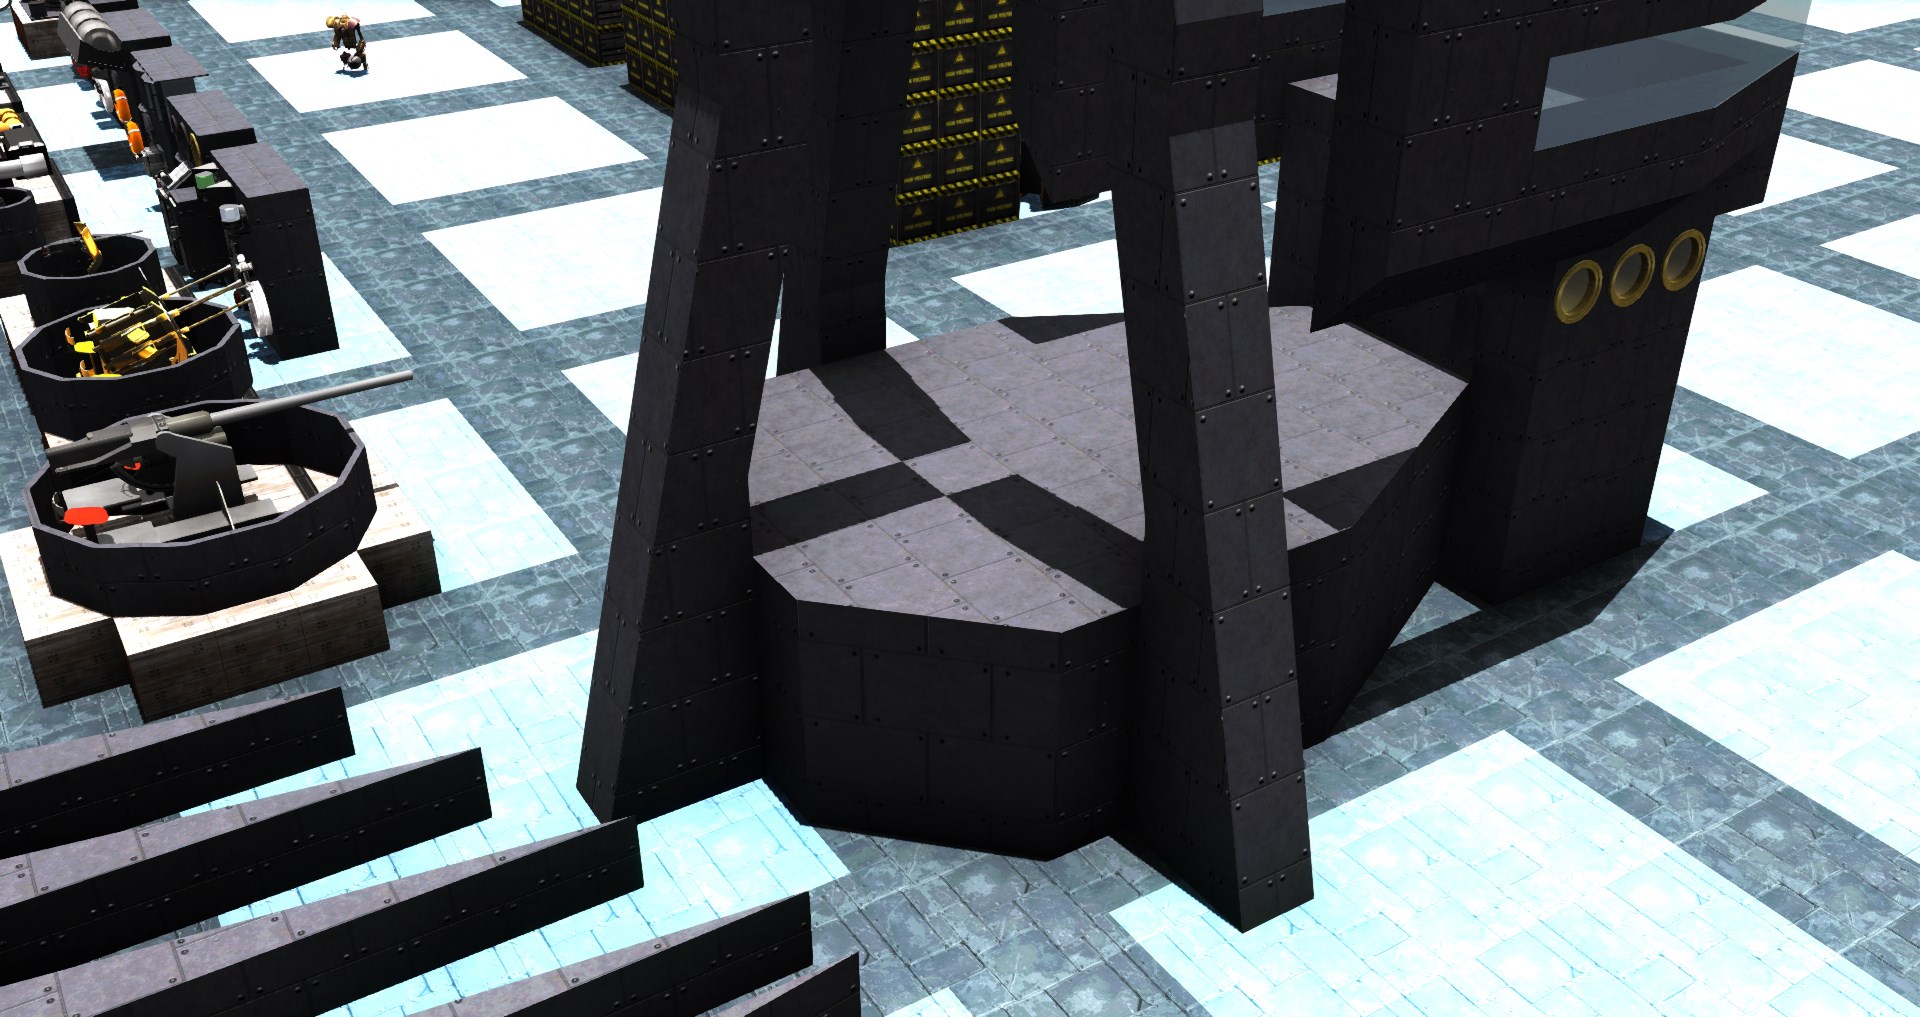
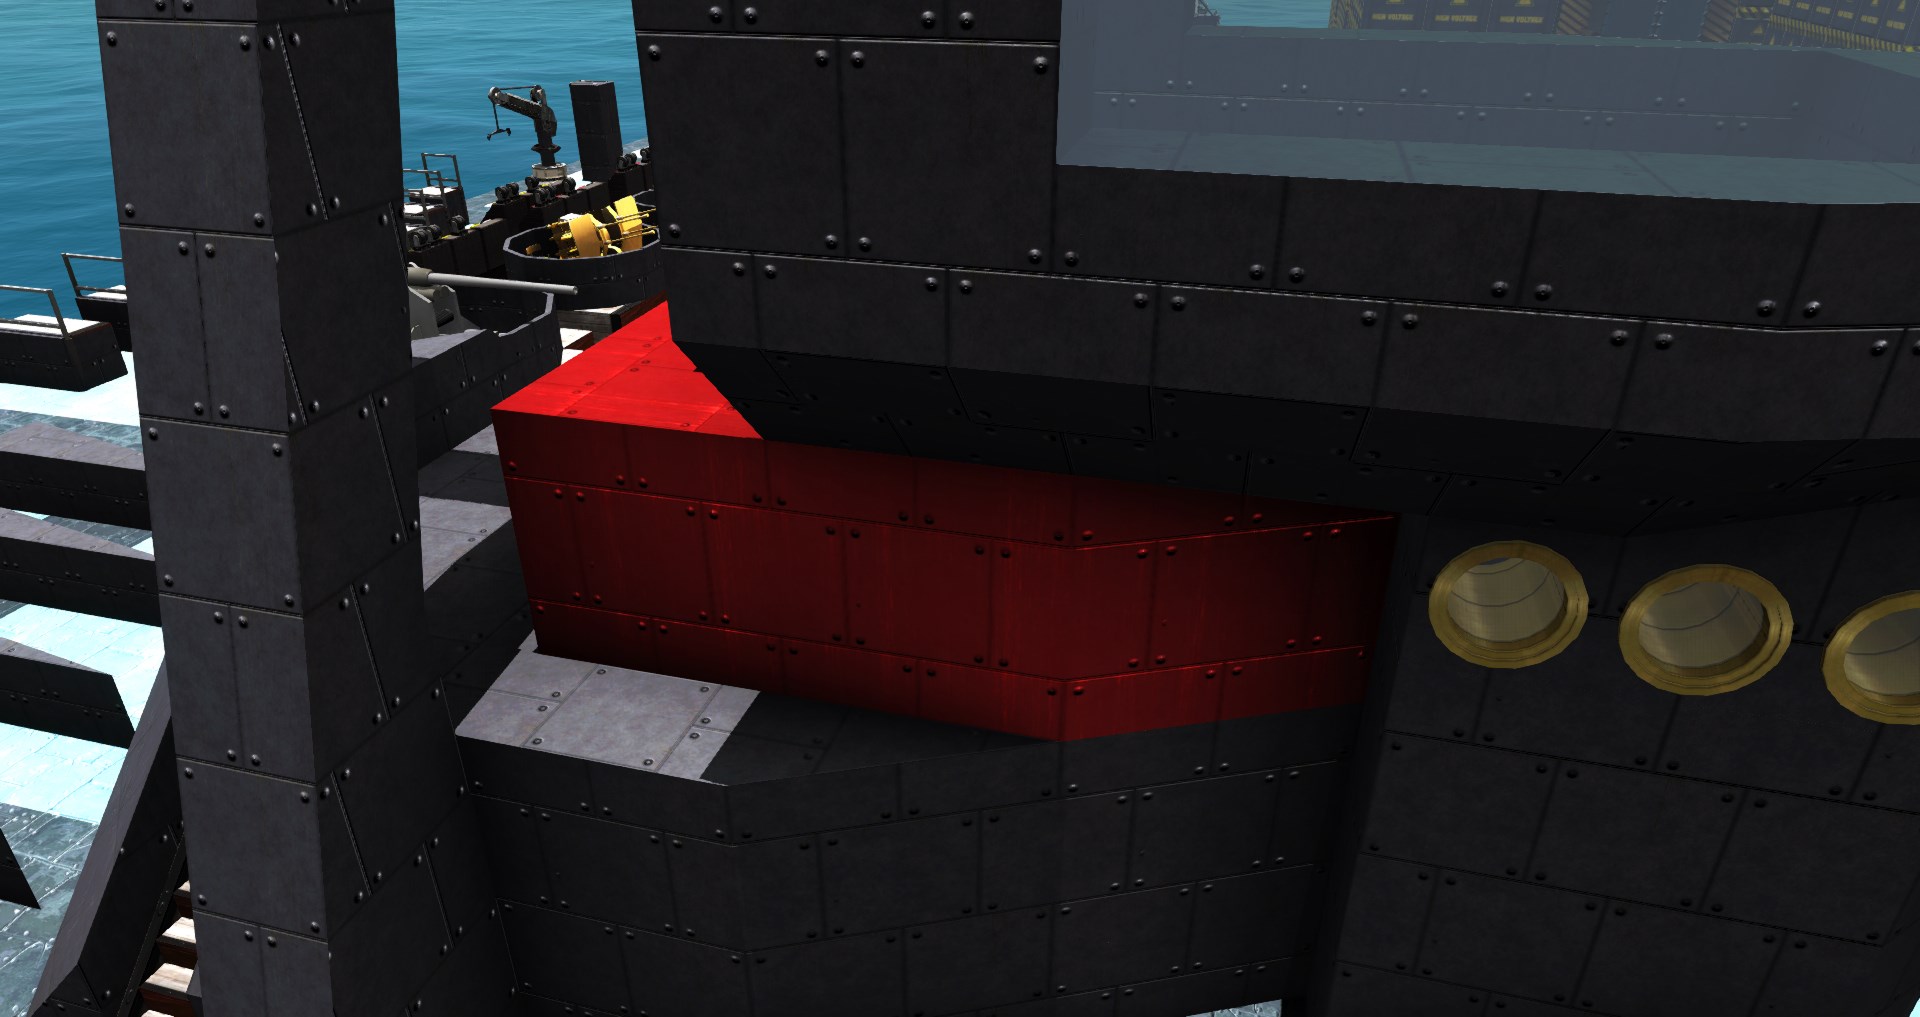
To make it more compact, lets bevel the bottom. For a more detailed build, you can model triangular supports and use that instead.
Now we have the base of the super completed. From here, we can start building up, starting with a basic tripod mast.
Round out the end of the box to give us a fully enclosed space and another deck to build on.
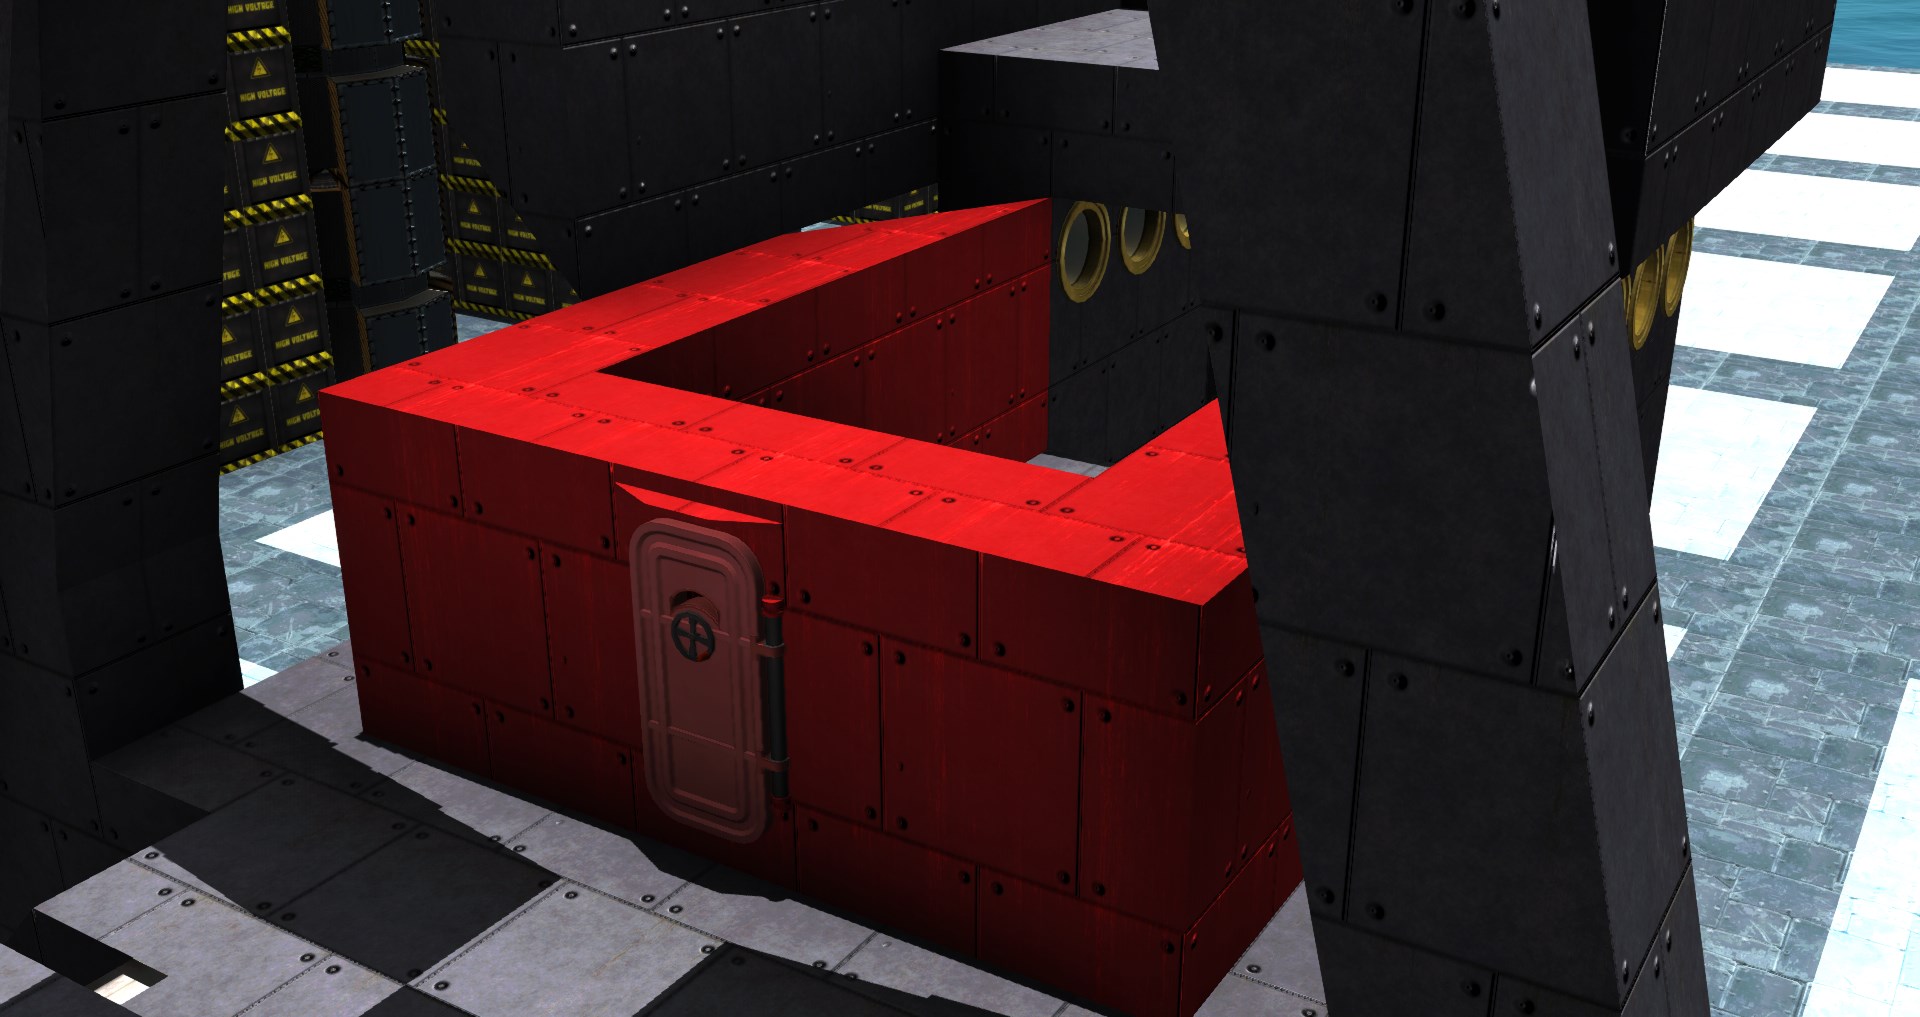
Lets close off the conning tower as well.
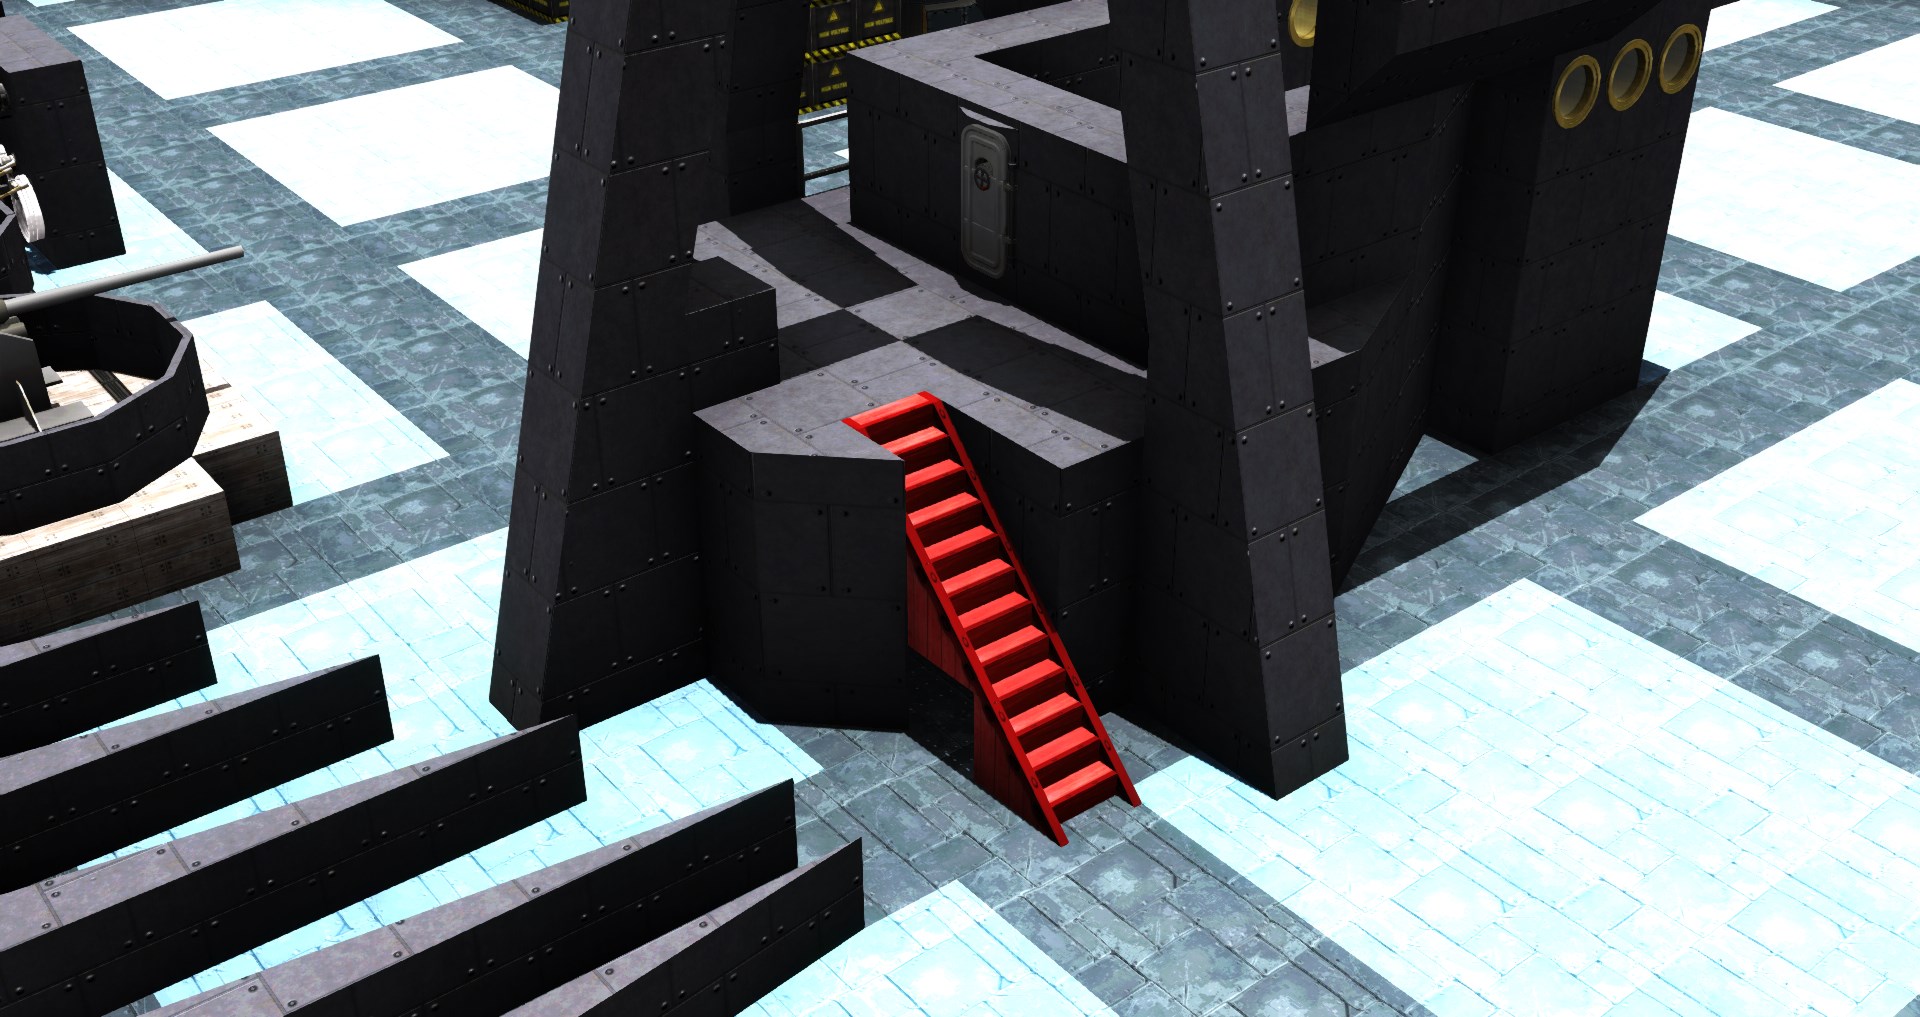
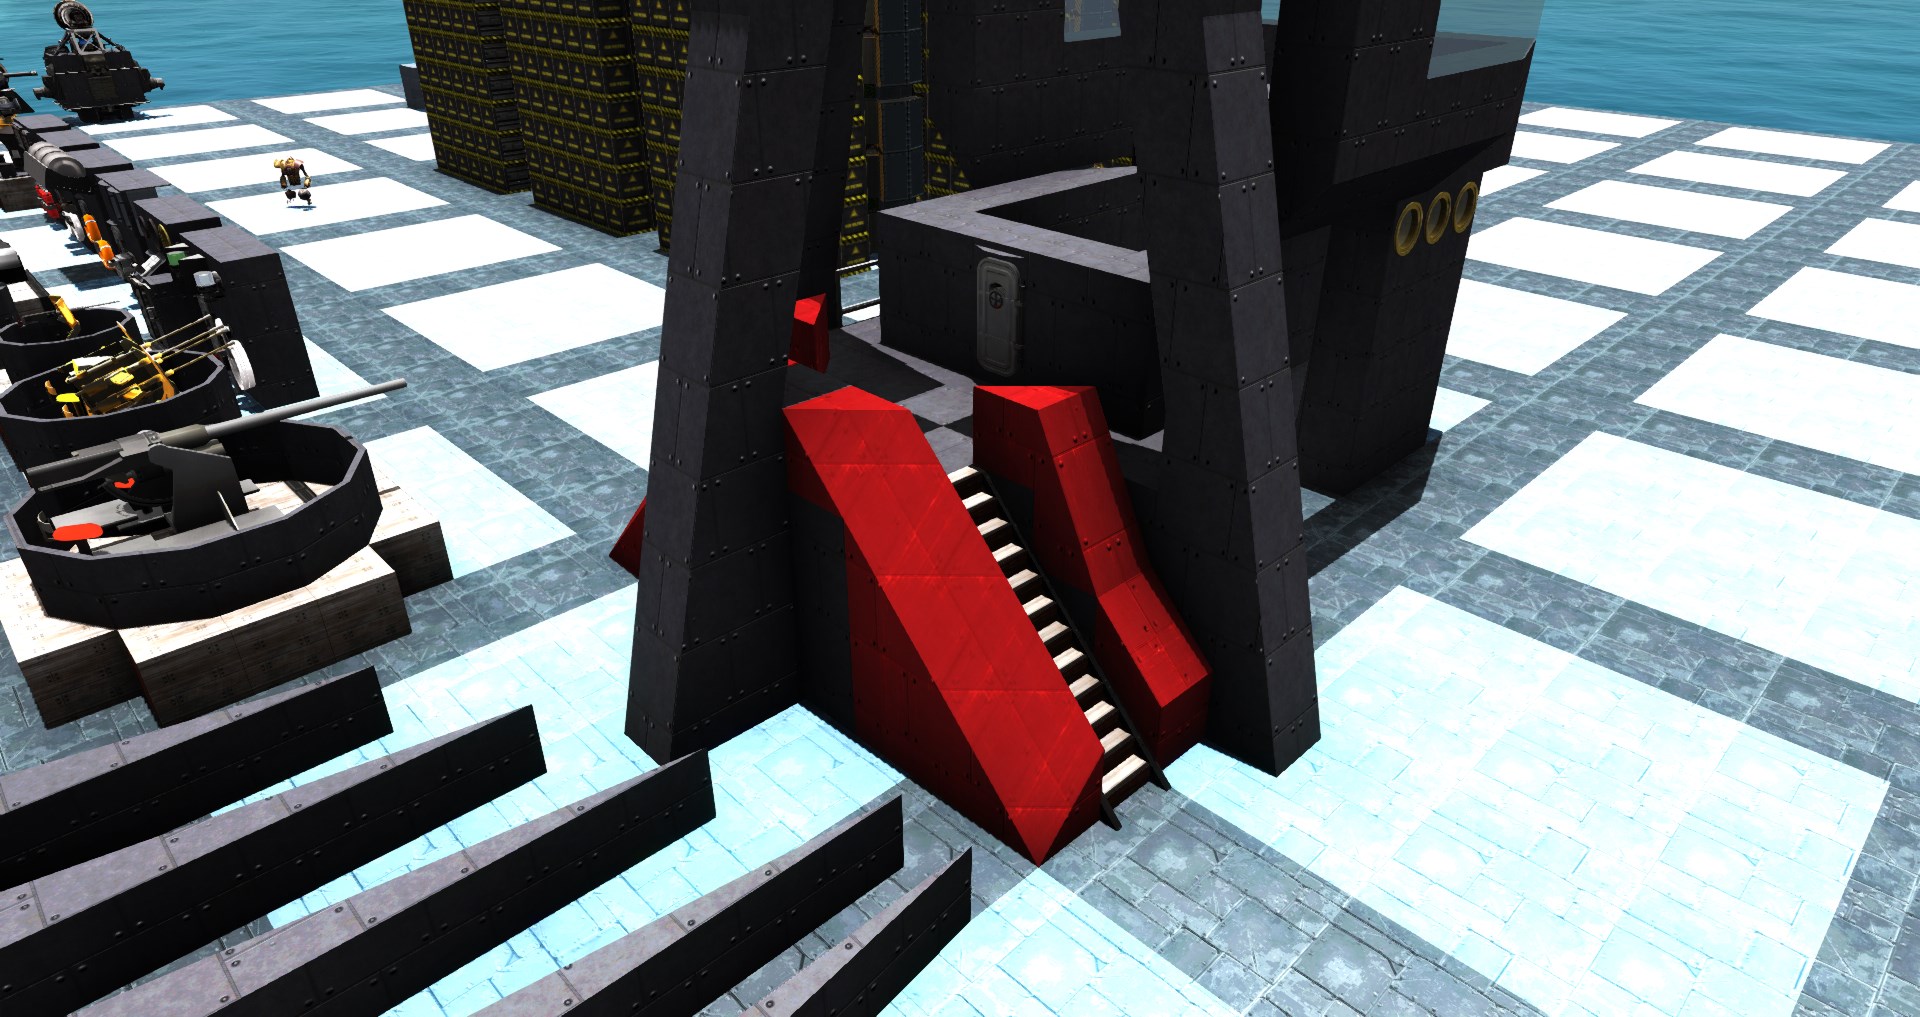
To make this place accessible, lets stack some stairs at the back.
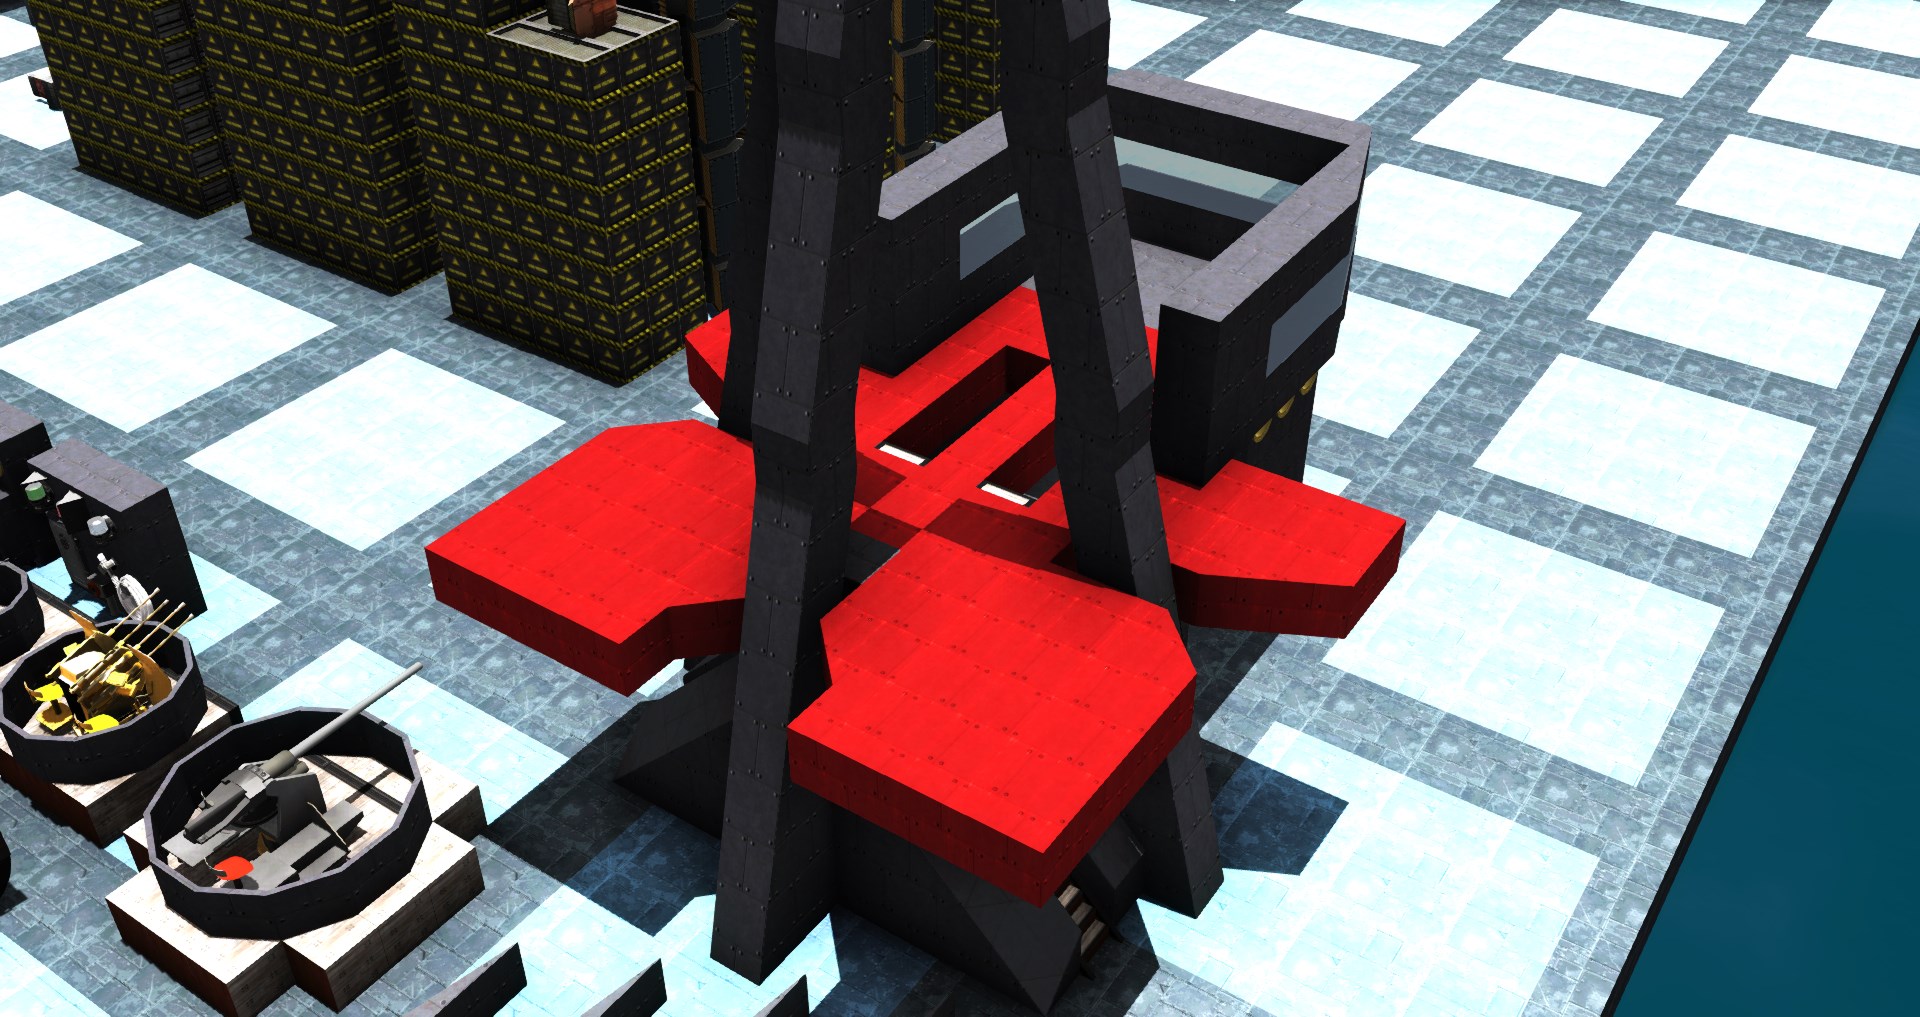
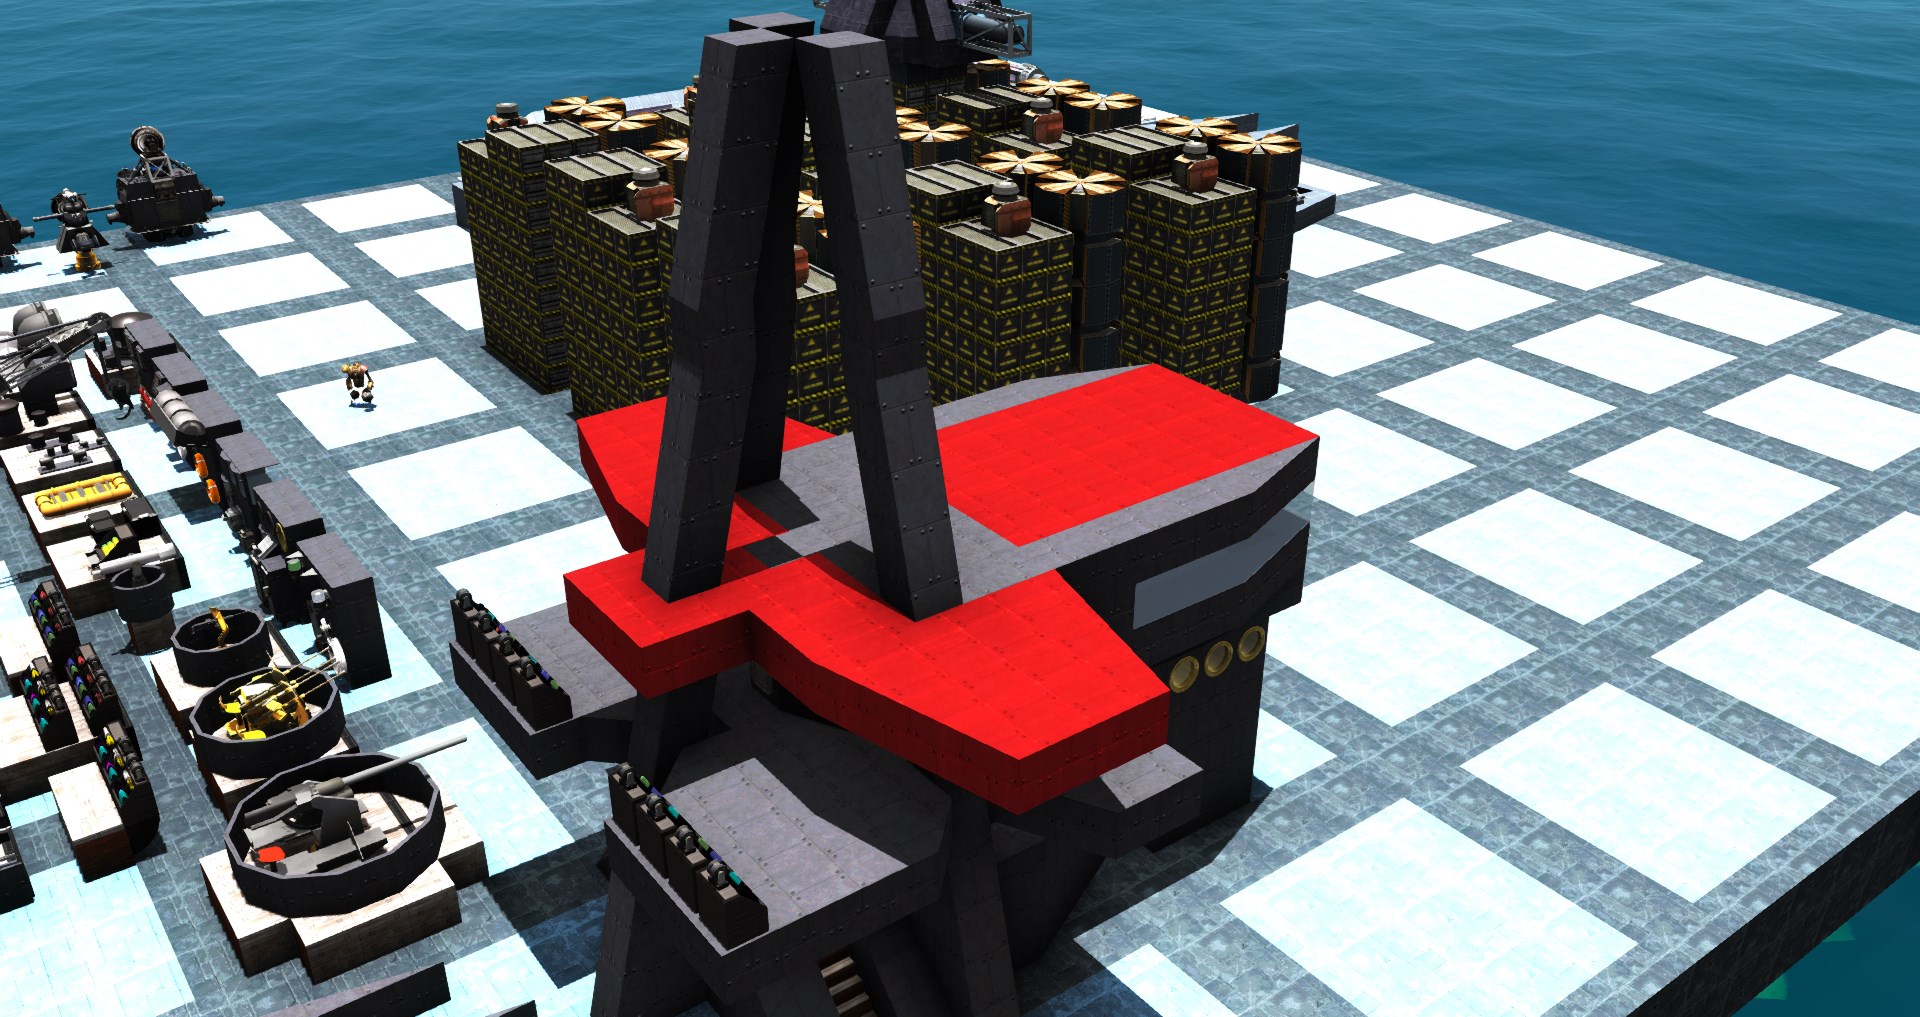
Now we can start ascending the mast proper! Lets extend the bridge into a complete deck by building aft and stretching wings into the sides.
The forward wings will be observation points where one has very good visibility on both the port and starboard sides. Like a peninsula that is surrounded on all 3 sides by water, extended platforms like this allow good clearance and visibility on 3 sides each. You will see this common pattern repeat throughout many warships in the form of decks shaped like triangles, Ts, or Ys. As for the rear observation wings, they have been widened and extended far back in order to accommodate flag boxes, which is where signal flags are stored and rigging is attached in order to raise those flags up.
We can add those now, along with big searchlights which will later be moved! Expect to rearrange and adjust entire sections of this mast as you go along. And don’t be intimidated by this – pagoda masts are chaotic by nature and thus are very forgiving. If anything, making these changes may contribute to the overall intricate look of them! So change anything as you desire in the process.
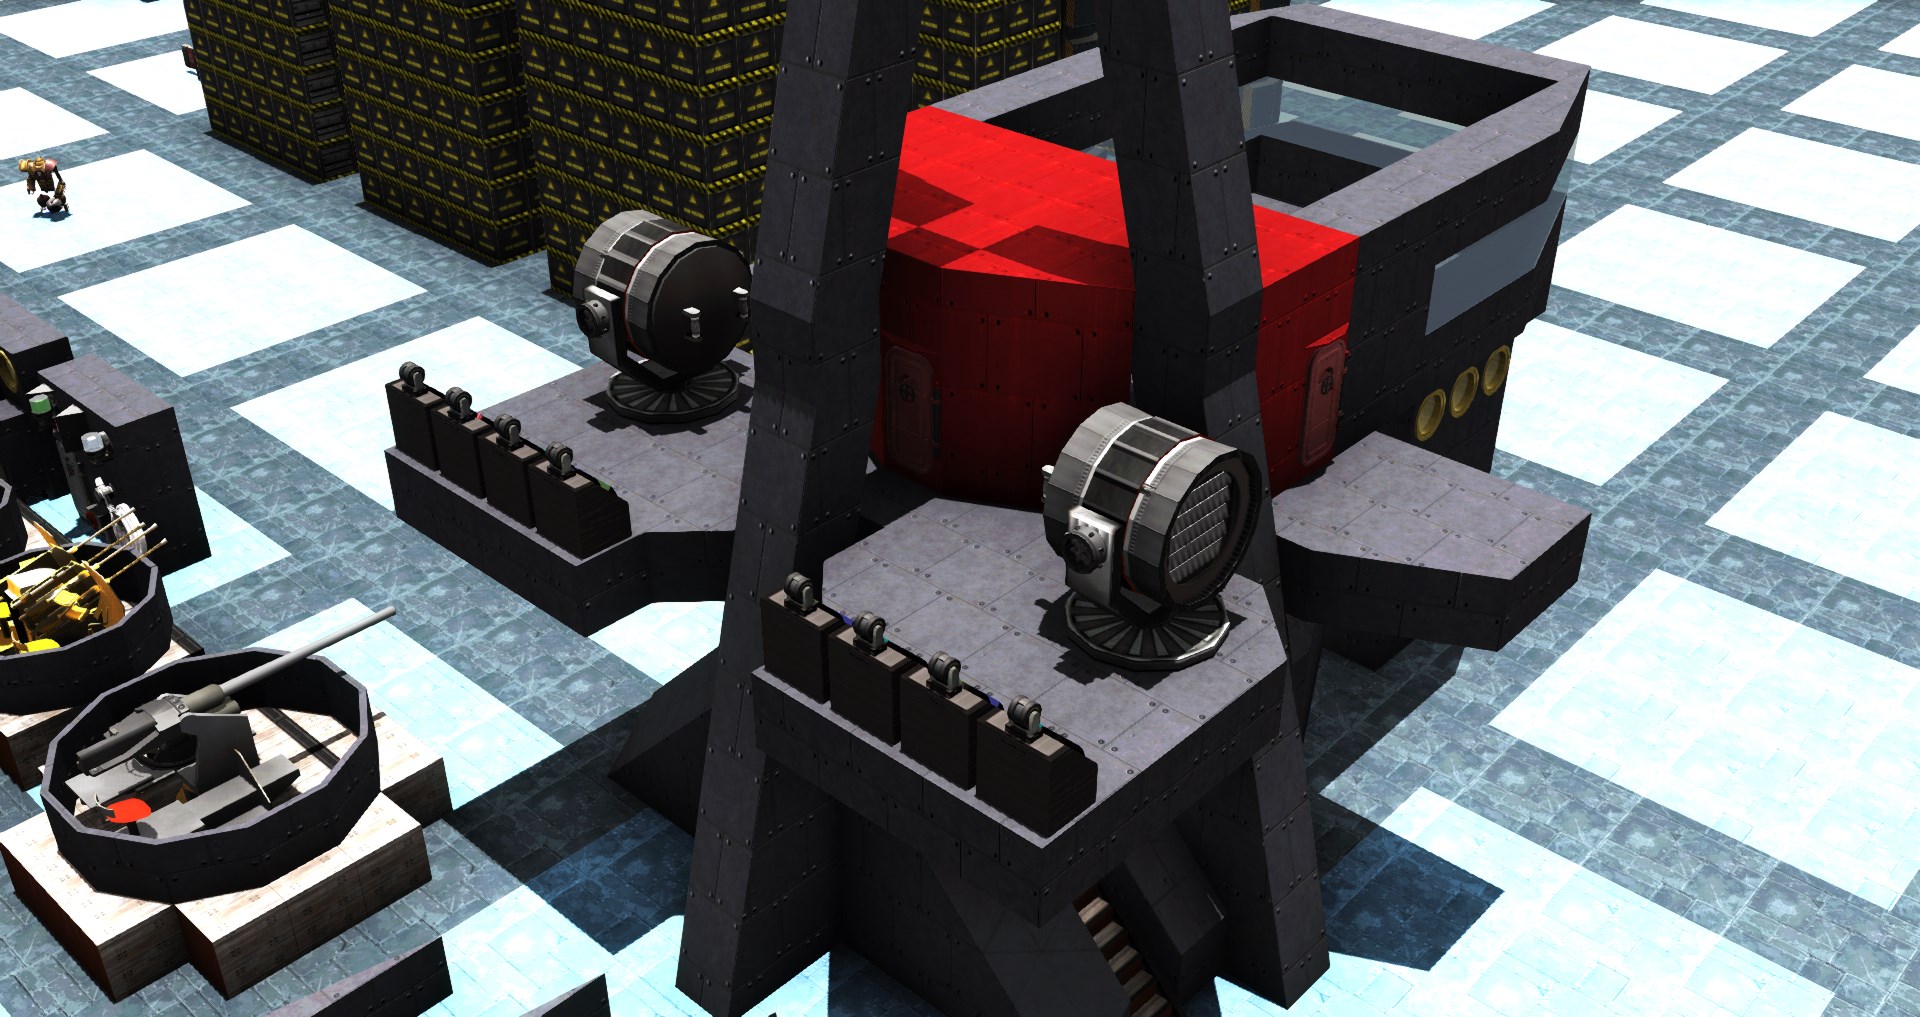
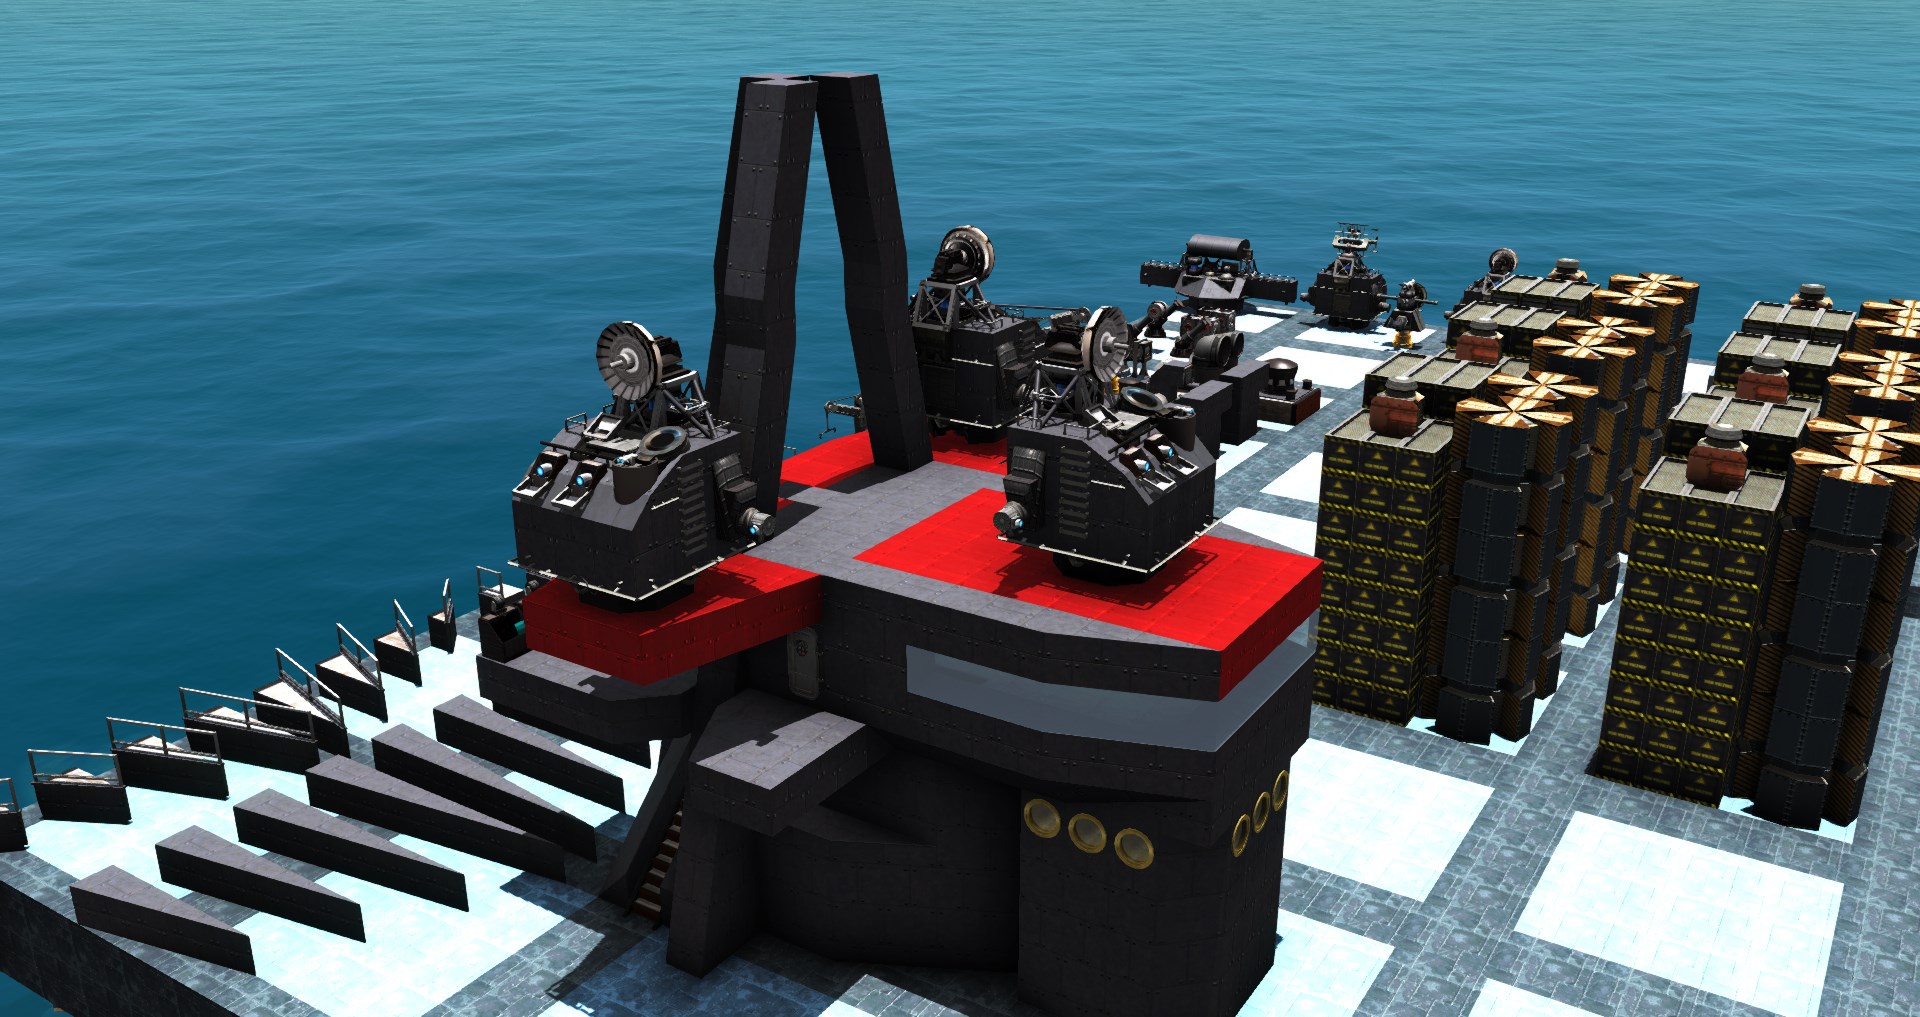
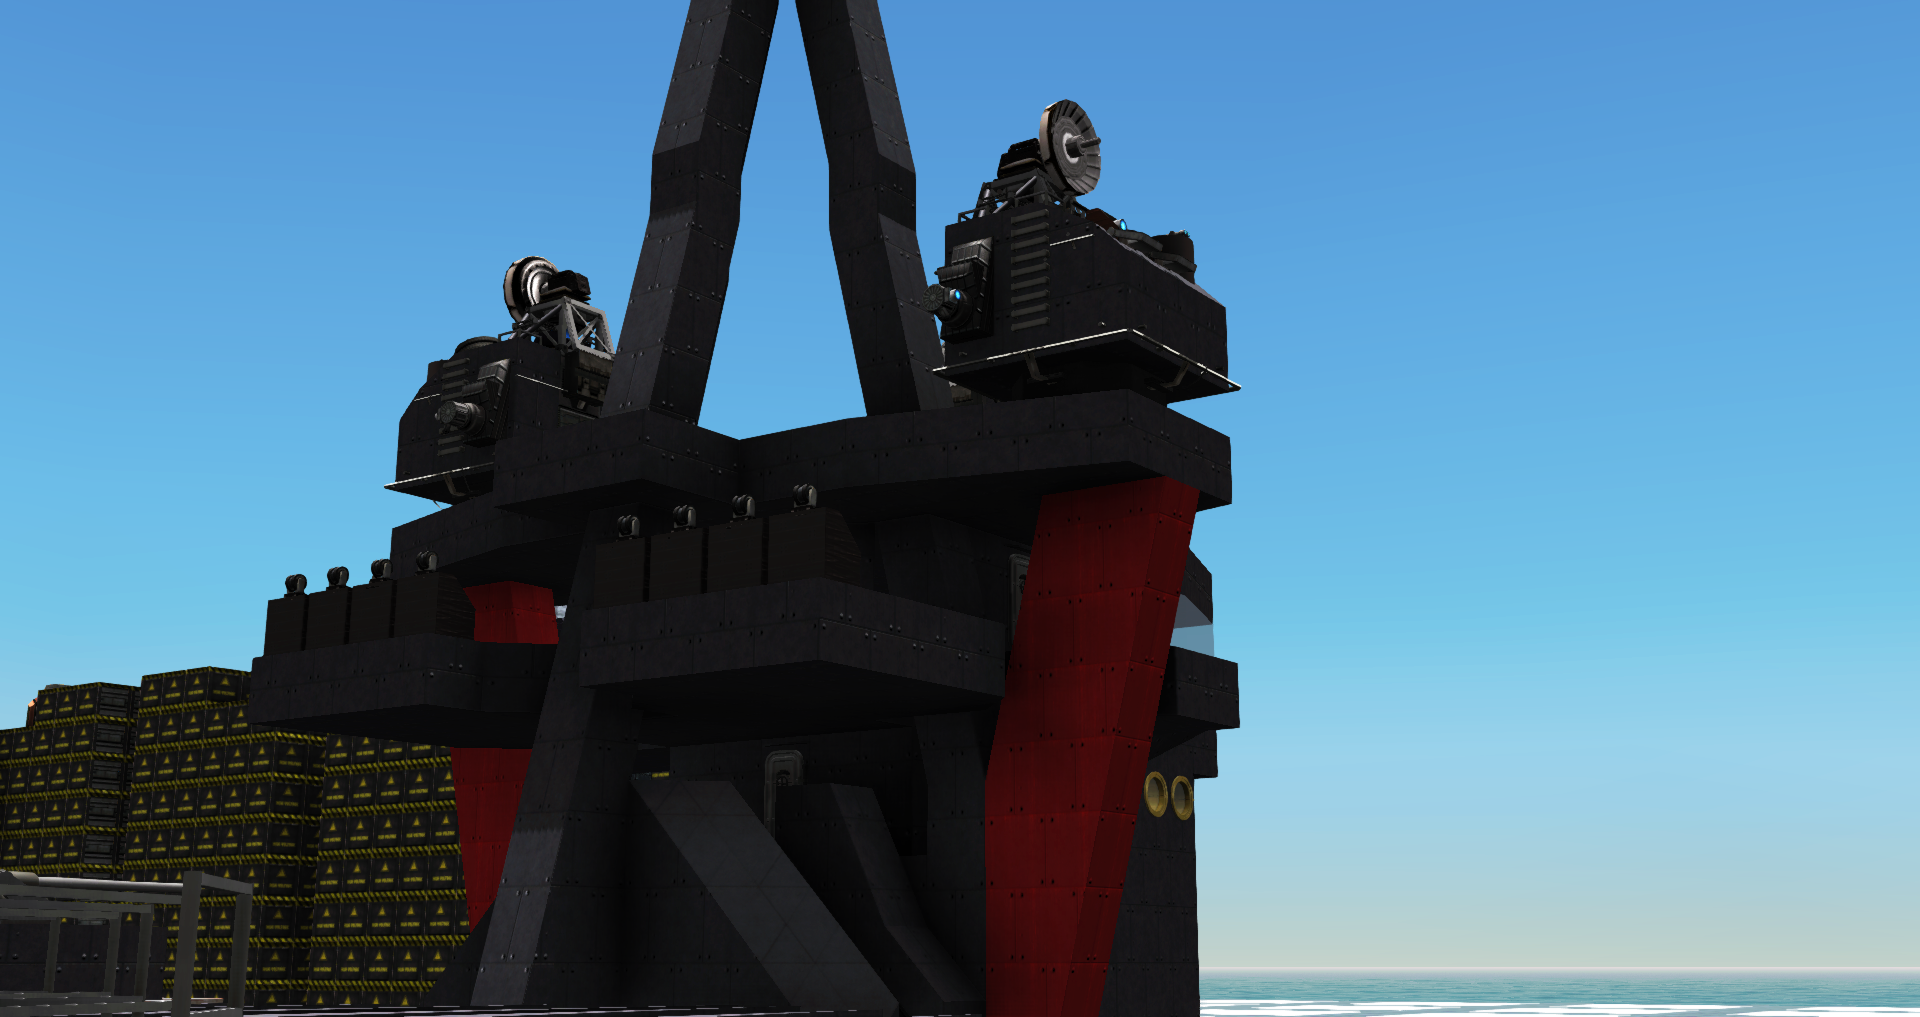
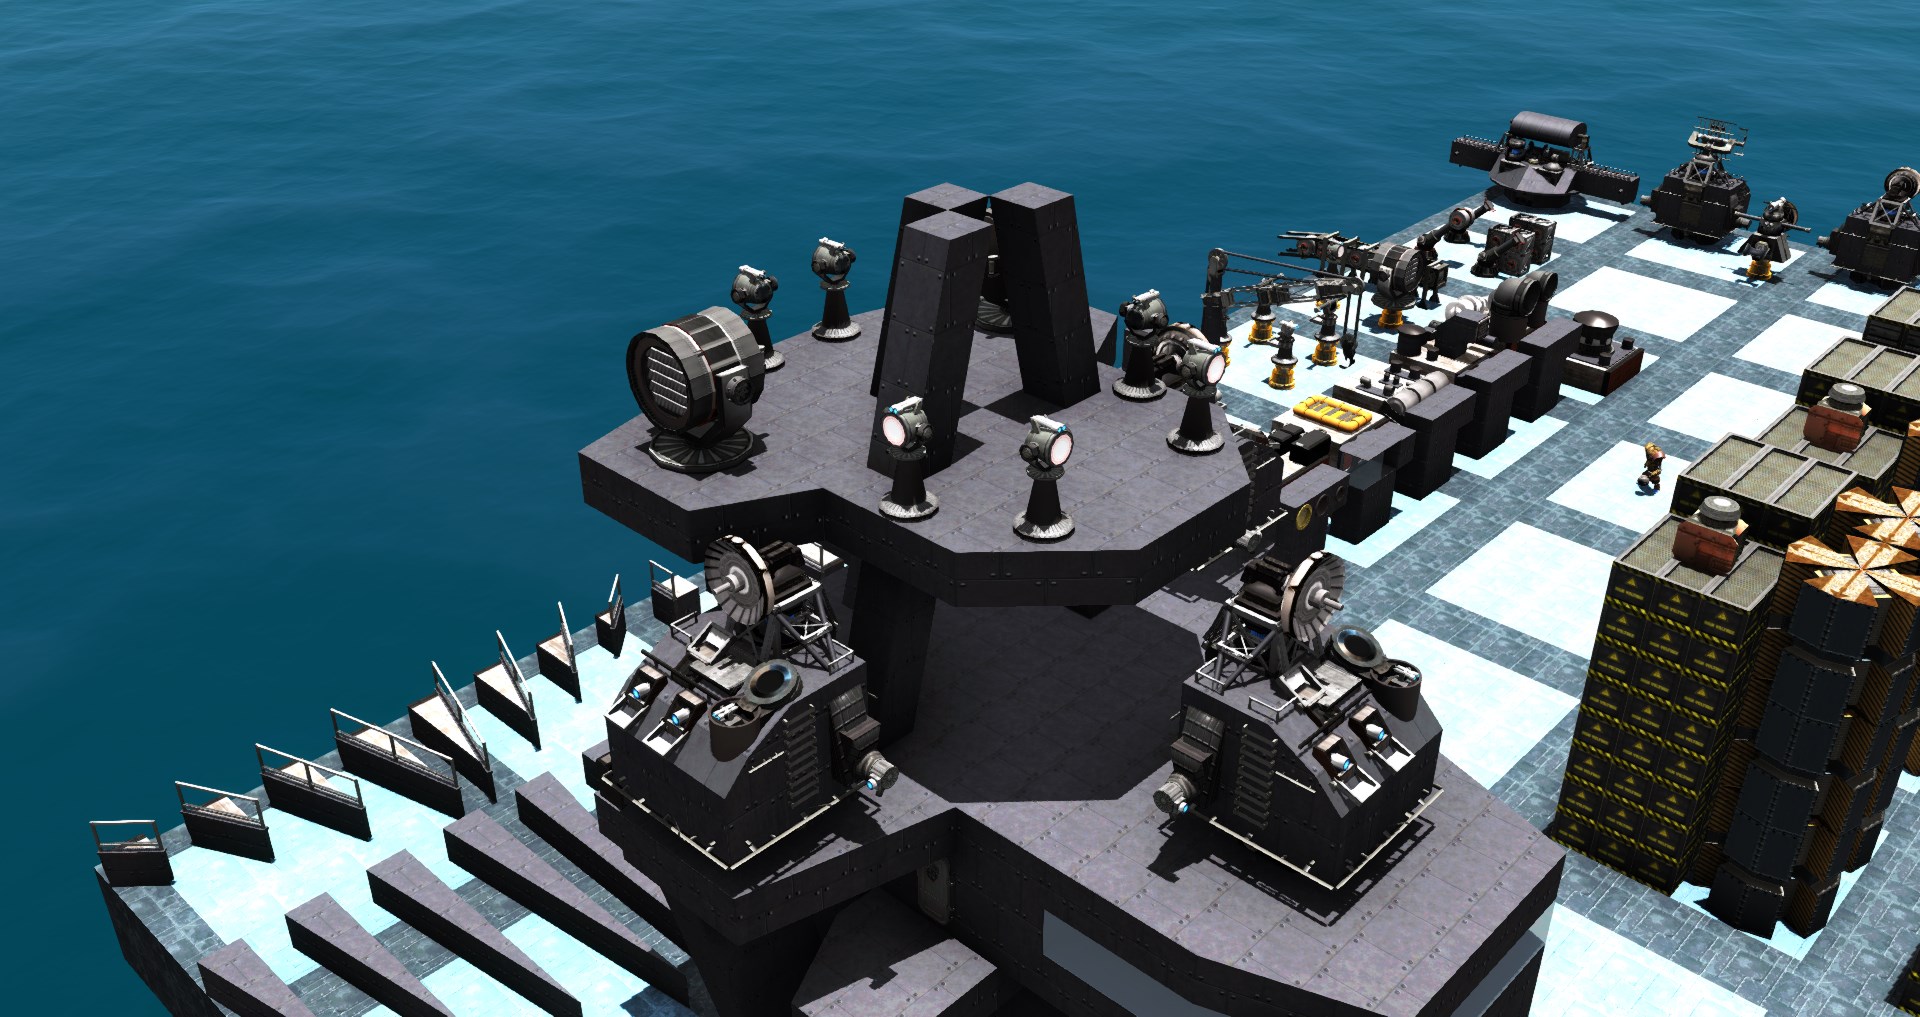
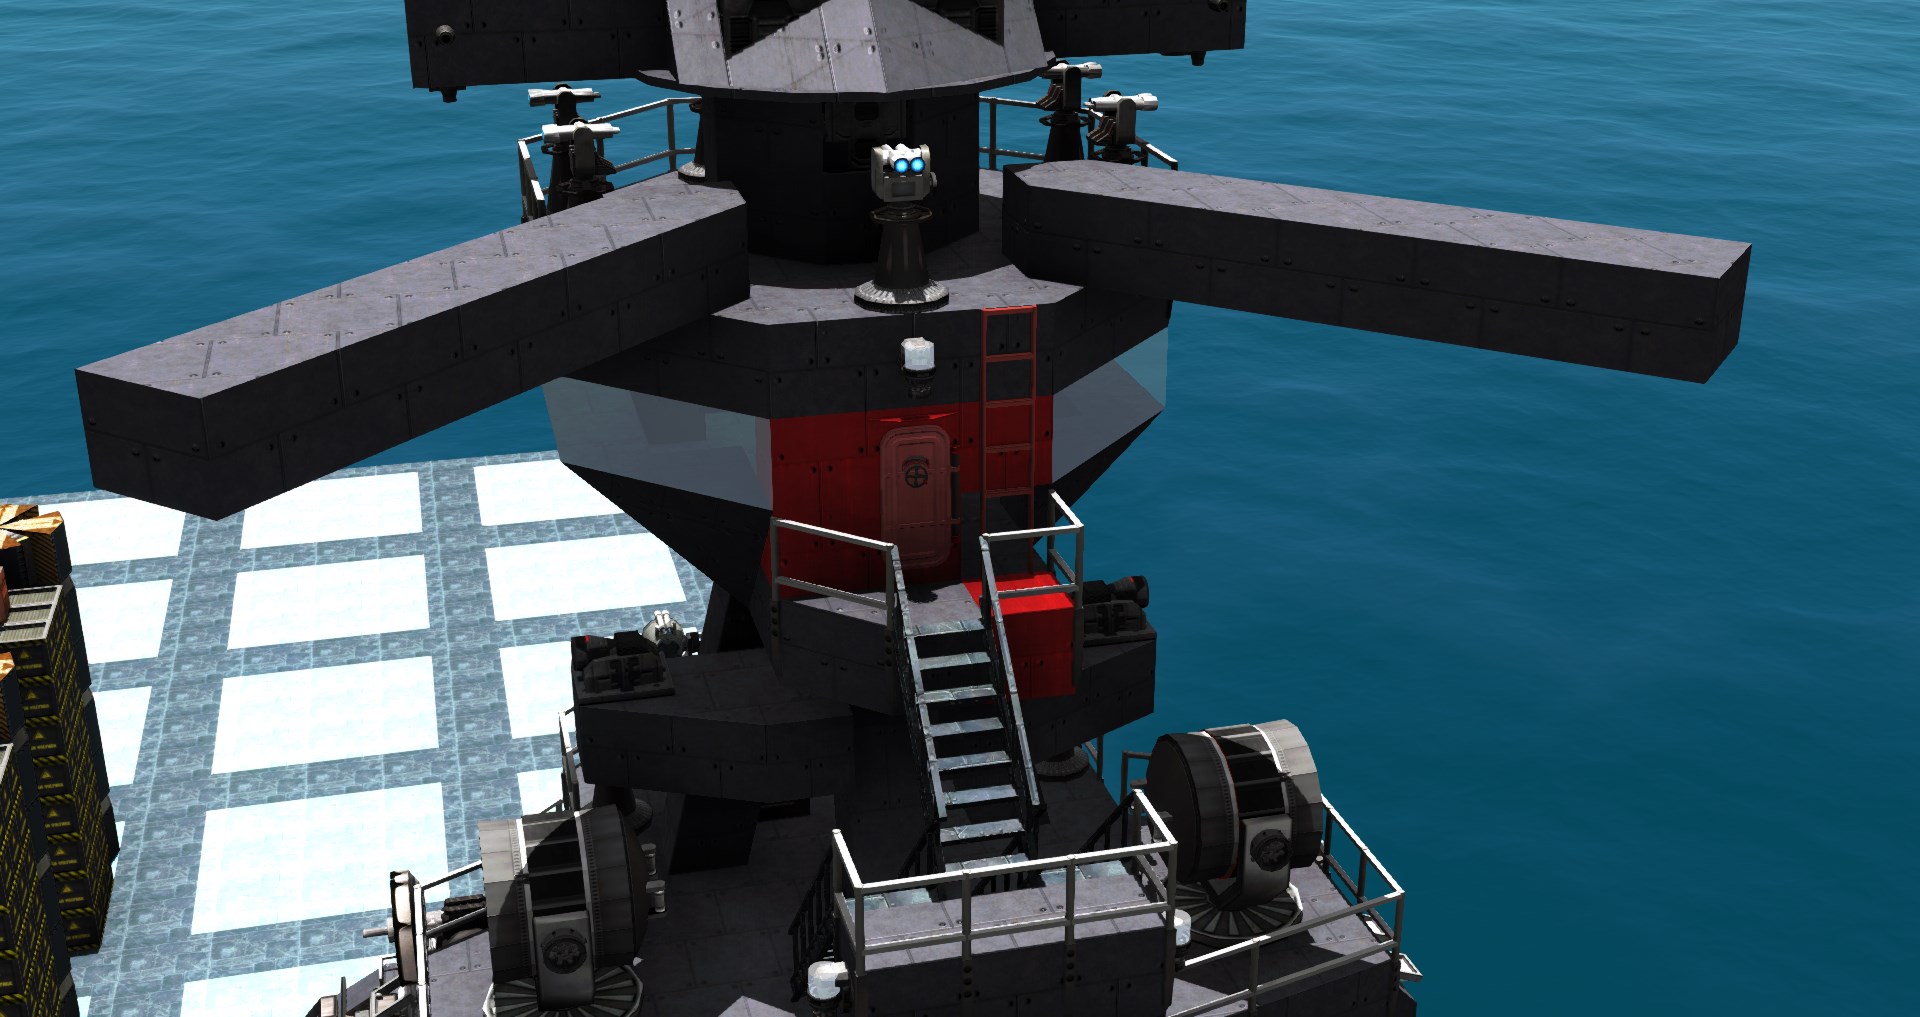
Lets go up even higher. Extend the top of the bridge into a complete deck, and as mentioned before, were going to stretch this into a wide T shape in so the forward, port, and starboard areas have high visibility. Why do we need this much room? Because this is where we will be placing the secondary fire control directors. I build fire control directors in from the depths by placing my detection on turrets. Of course, these are heavily decorated, but as demonstrated earlier a simple setup with some armor will do just as well.
With those down, we can go up another level, and create the deck where we will move our big search lights, along with a number of smaller ones. Of course, you can just use normal spotlights from the decoration menu.
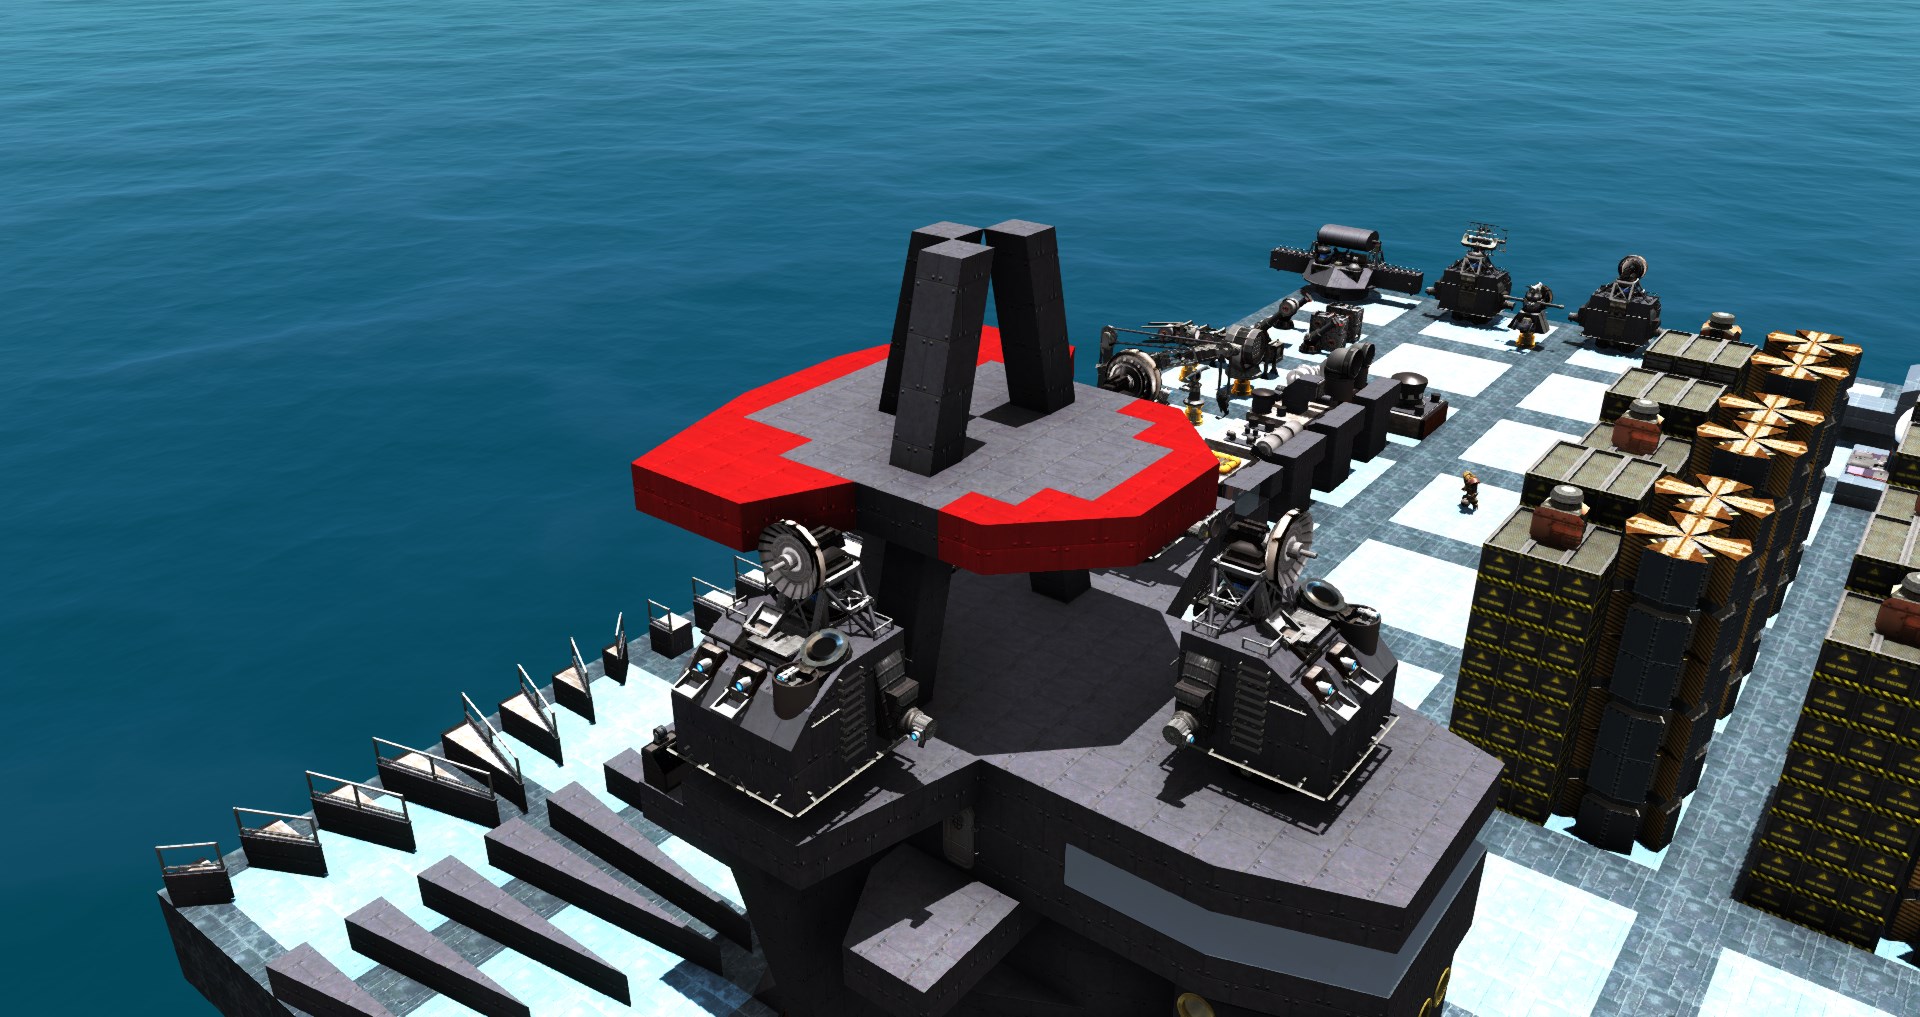
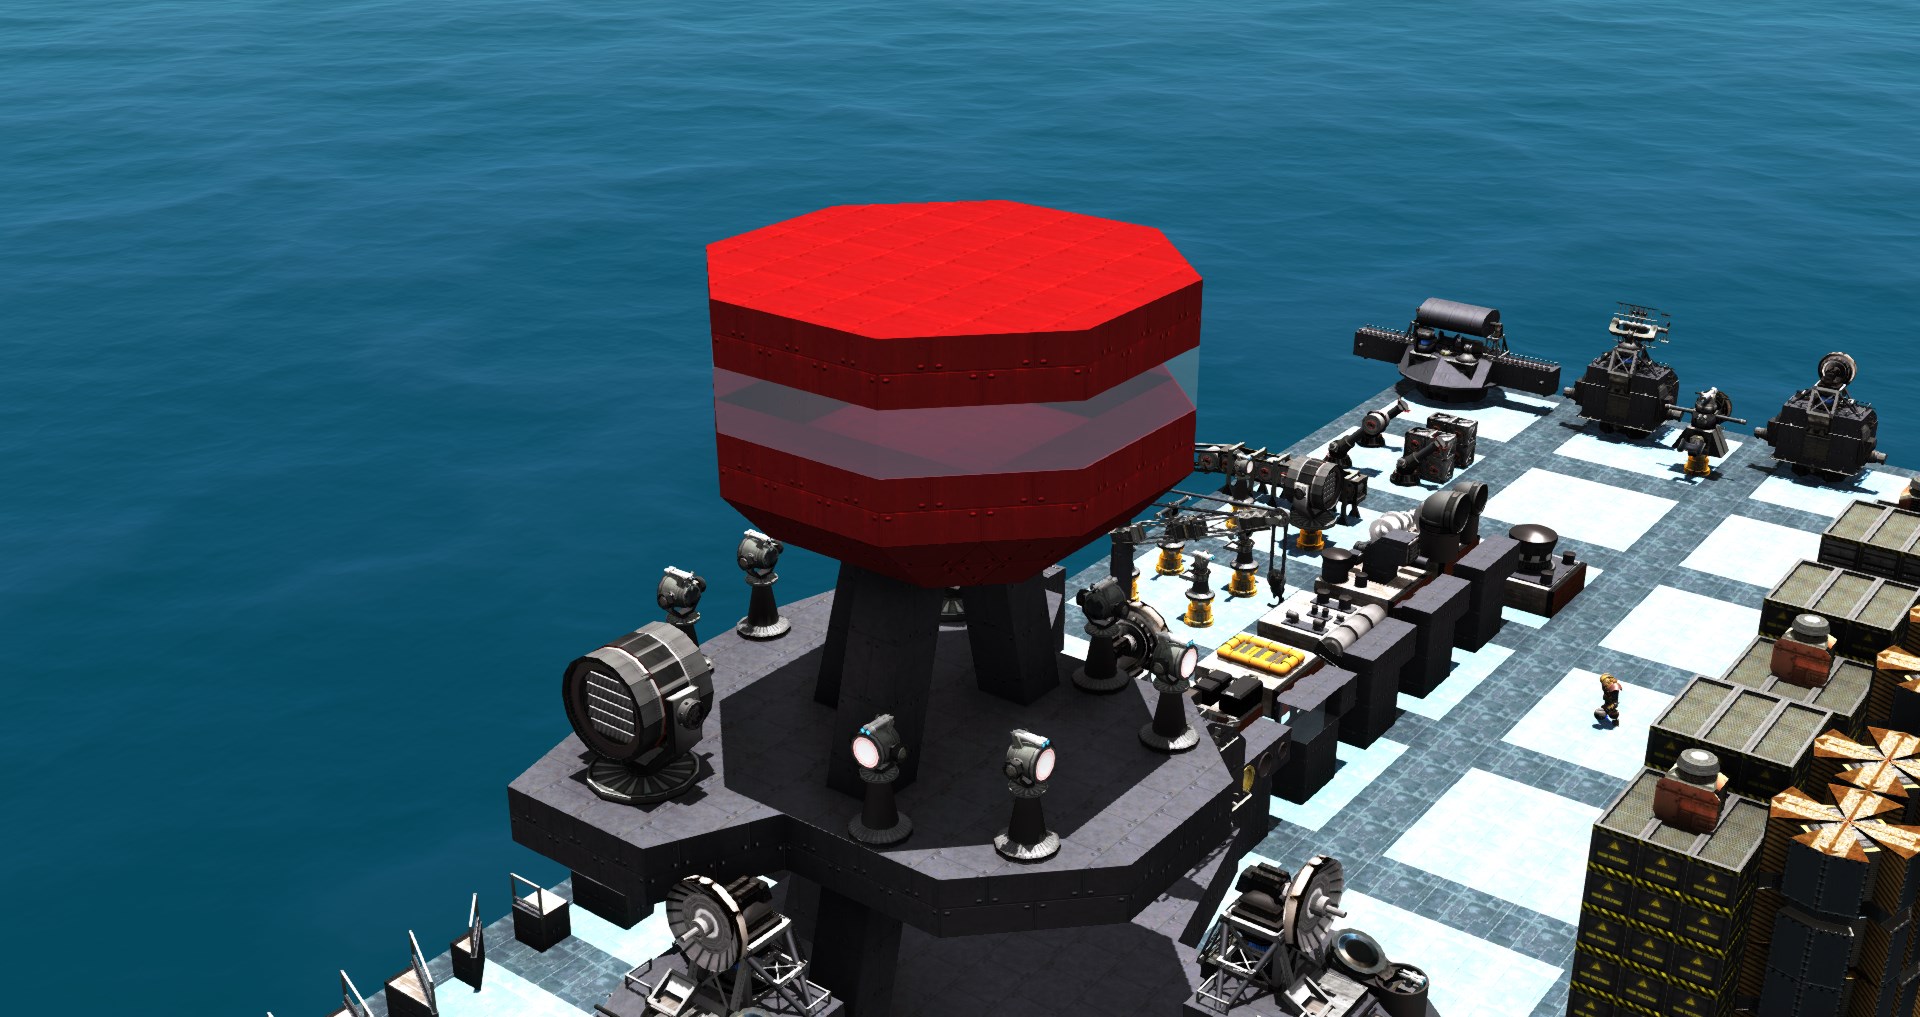
We are finally at the point where we can crown this mast. Start by adding in the observation deck, which you can make round with windows on all sides, or T shaped, or anything at all. Your call.
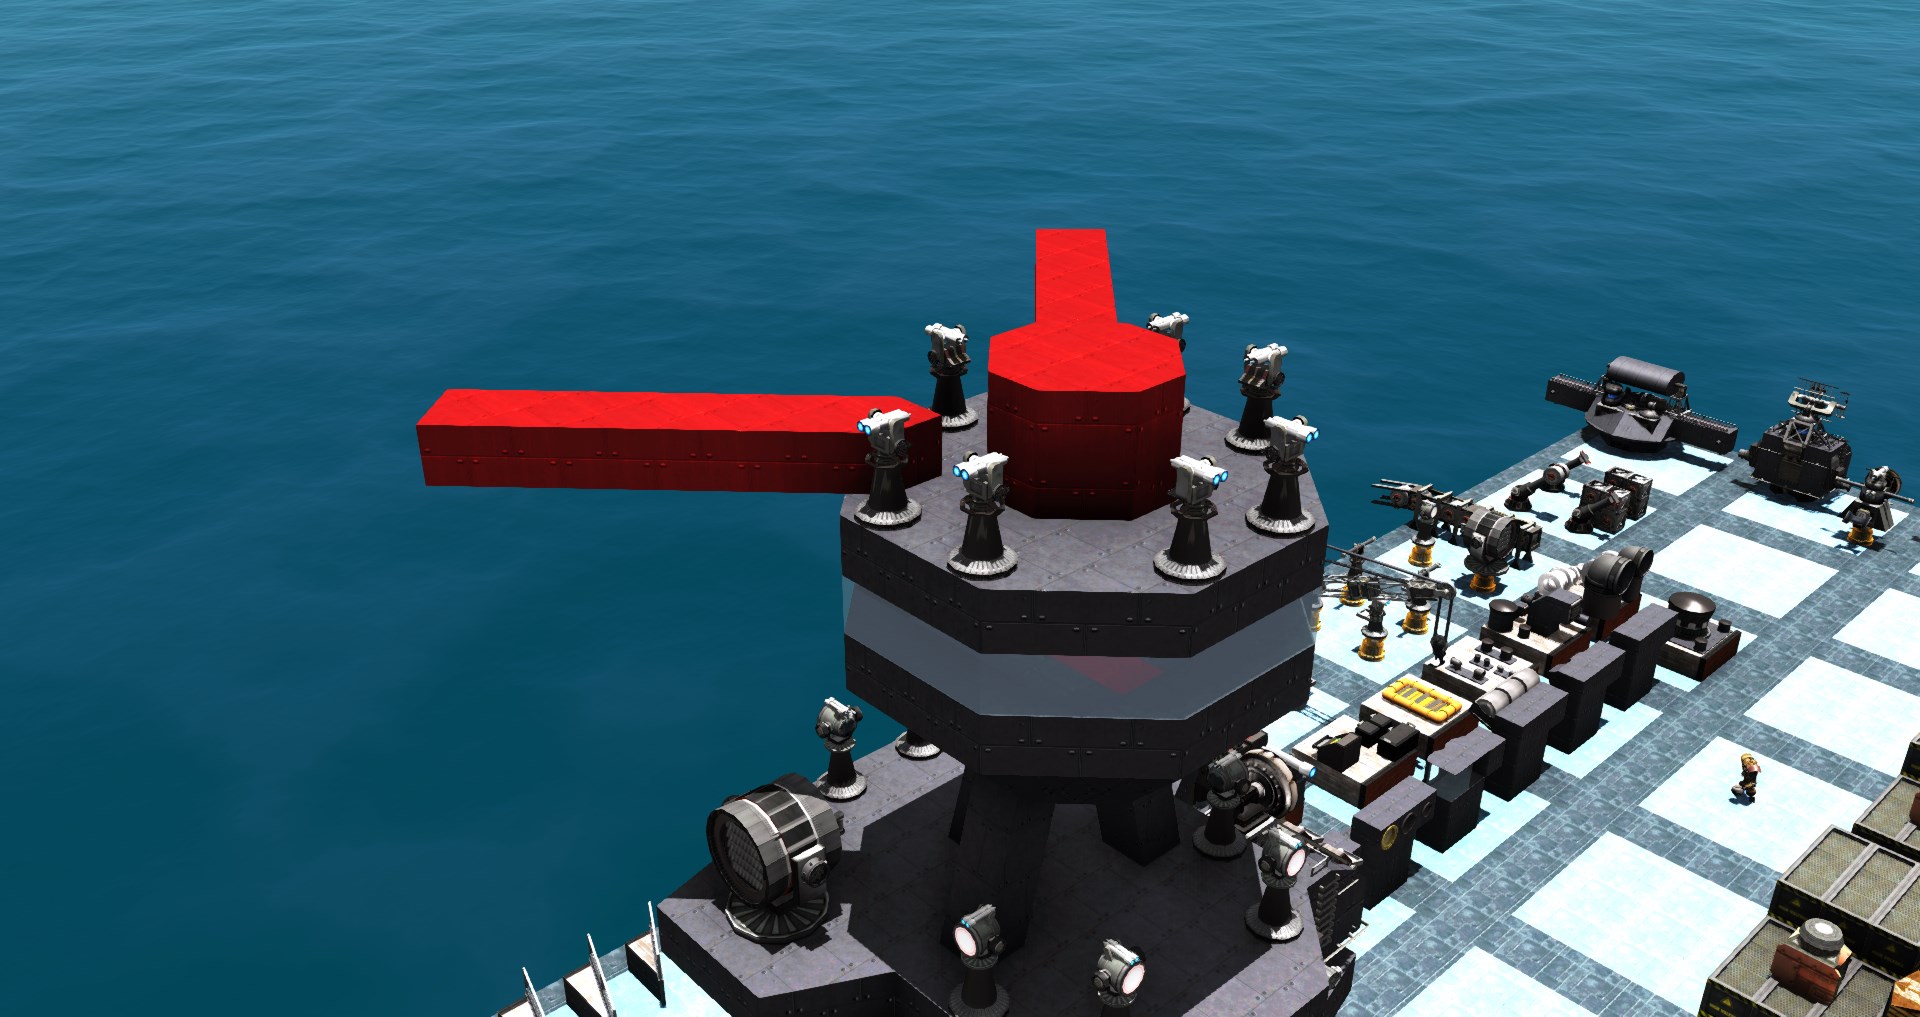
Above that we will put in some binoculars. You can, once again, replace these with the Telescope Gimbal Tracker from the AI menu. Along with those binoculars and random optics, see if you can find room for two poles for rigging up those signal flags.
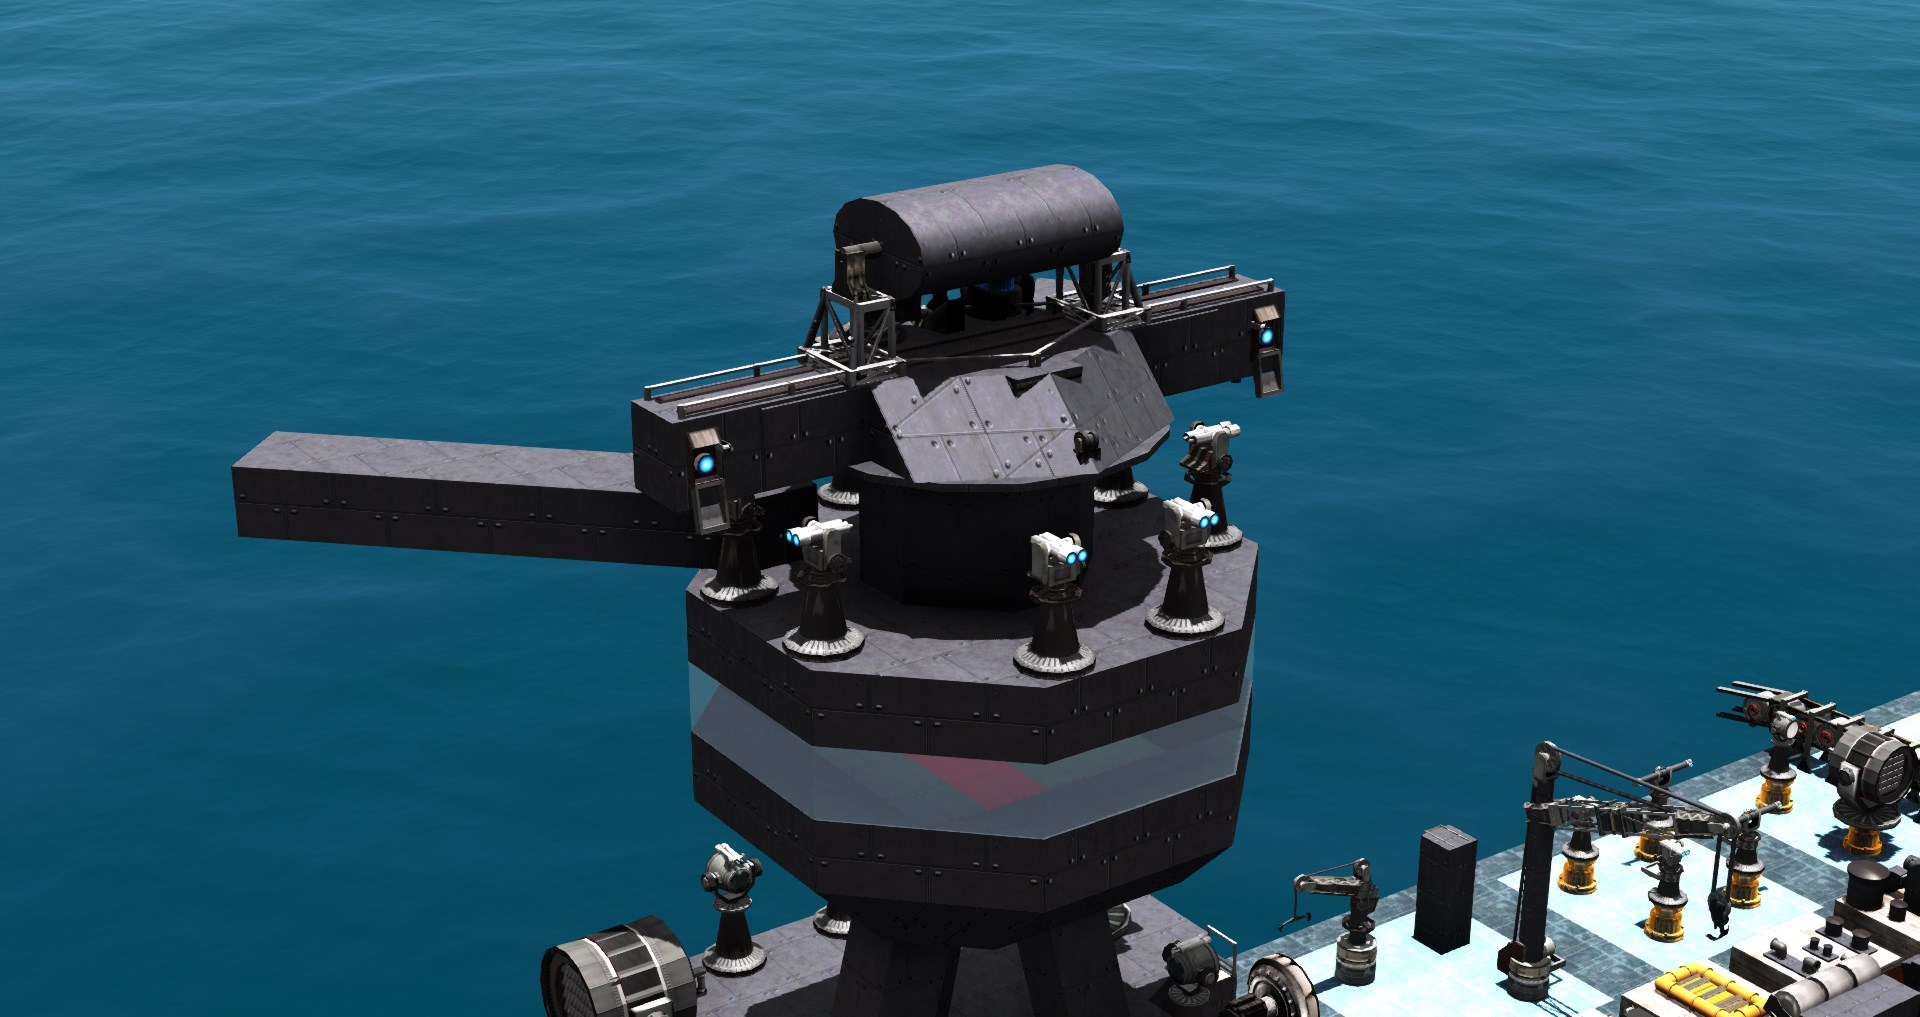
In the middle, stack a meter or two of blocks to act as a base for the main battery director. Put it on top, and you will have a barebones pagoda mast!
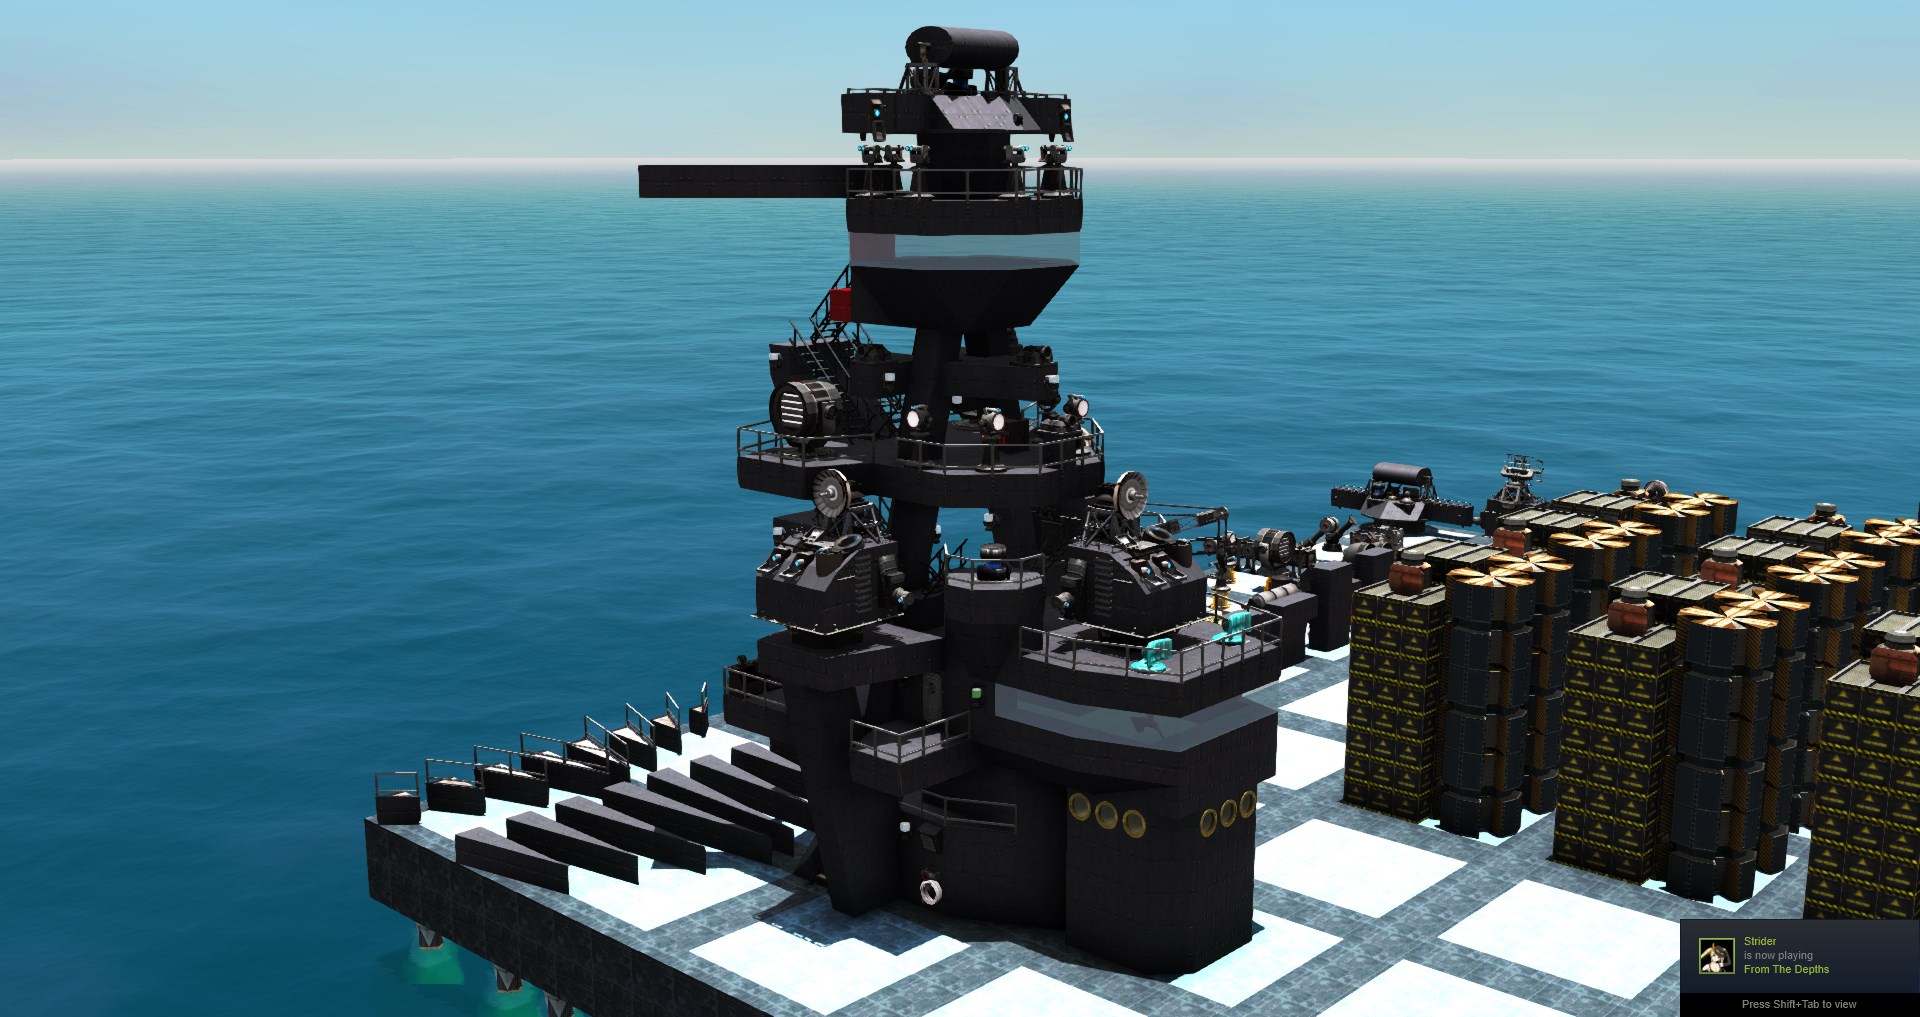
At this point you have what is pretty much a base. You can add simple railings and call it a day, but of course there is much more we can do. We can still add more decks and layers to make it even denser and more convincing, as well as other details. Here is what I did personally and what I would recommend in order to improve your own masts.
Actually building a pagoda mast step-by-step, Part 2
Adding actual and more detection systems
In an ironic twist of fate, function over form is what wins aesthetics. I have secondary detection equipment on raised platforms or embedded into decks to add redundancy and more detail to the super, as well as visual cameras which can be hooked up to screens in the conning tower or even deeper in the ship.
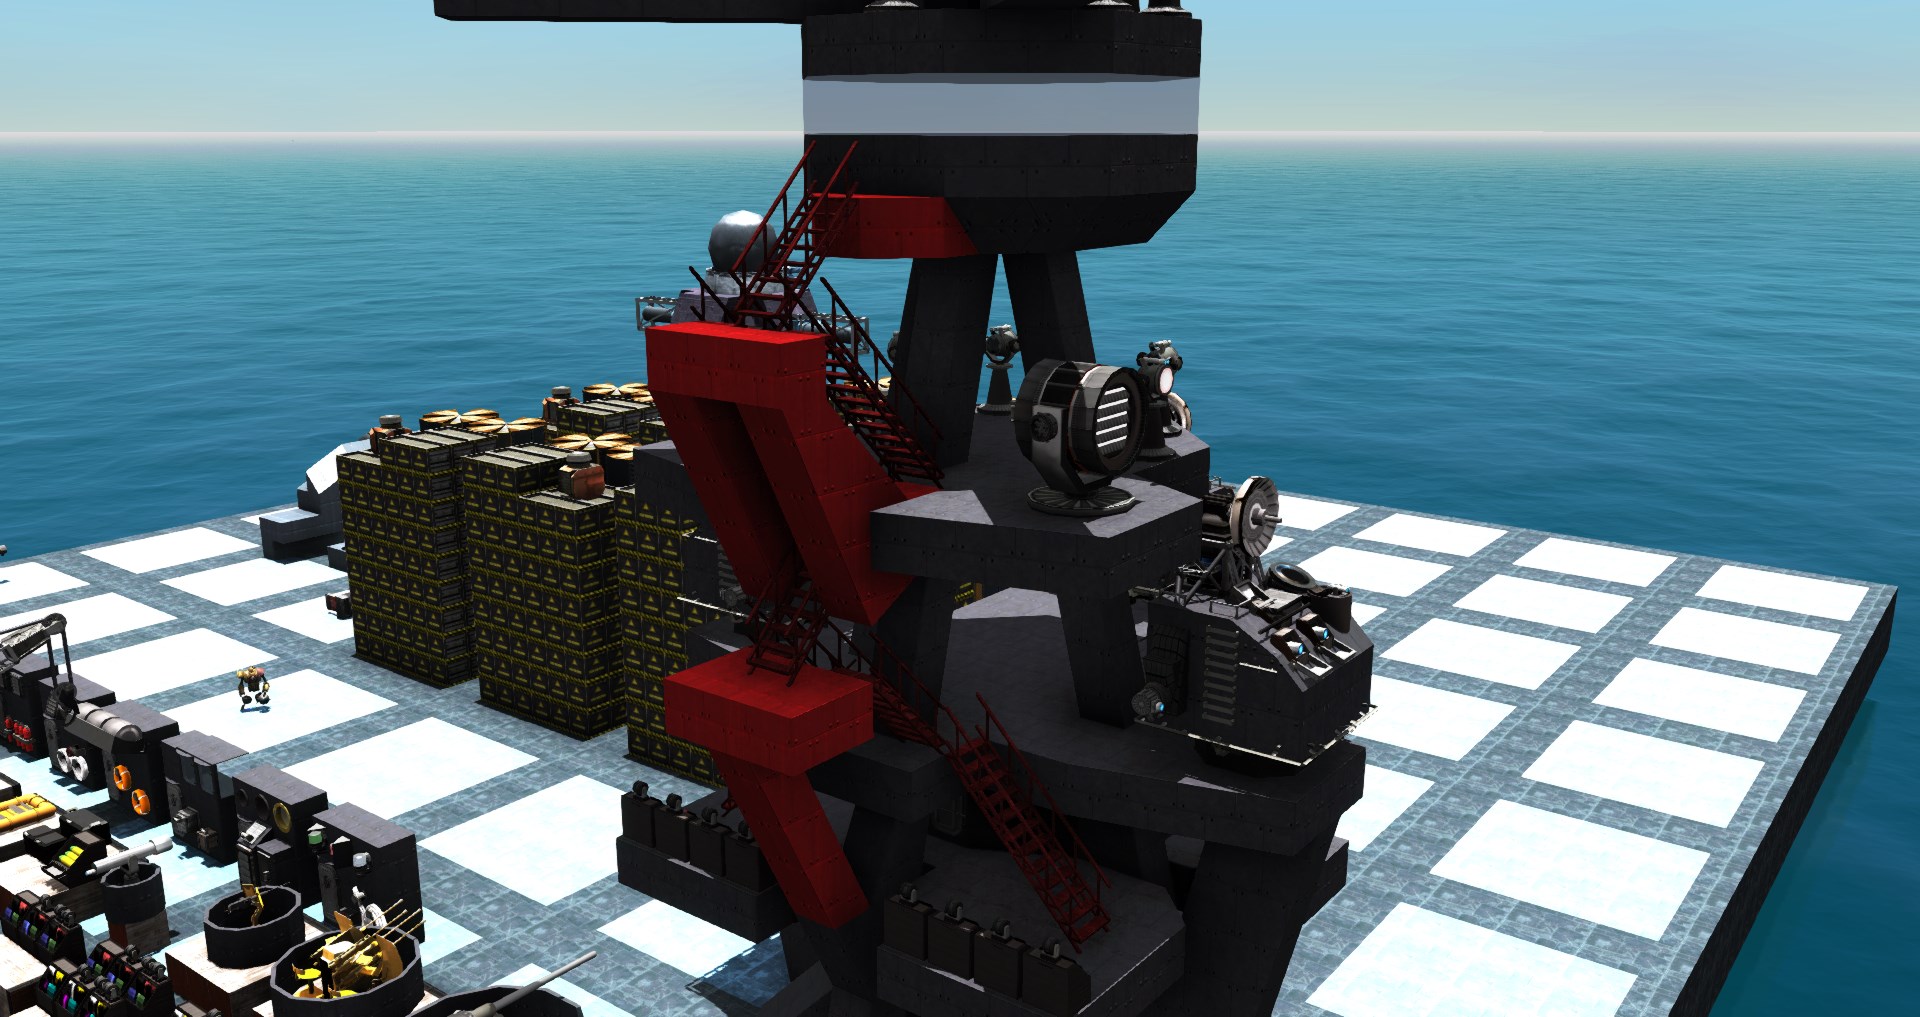
Adding stairs, ladders, and catwalks
Ships are designed for people! They should be able to be walked on. I like to put these near the back, but I think for a more authentic look they would be more central. Put in more ladders than I if you want to break up the shape even more.
Adding mimicry, decoration, and purely aesthetic details
Some may be surprised to see mimicry this far down and dedicated to one section. While I talked about the concept of creating a design library earlier, I left that decision up entirely to people since its really one of those things that you have to do yourself. At the end of the day this guide is more focused on, once again, the volume of detail over the detail itself, and I’m not going to contradict myself by spending a lot of time on mimics.
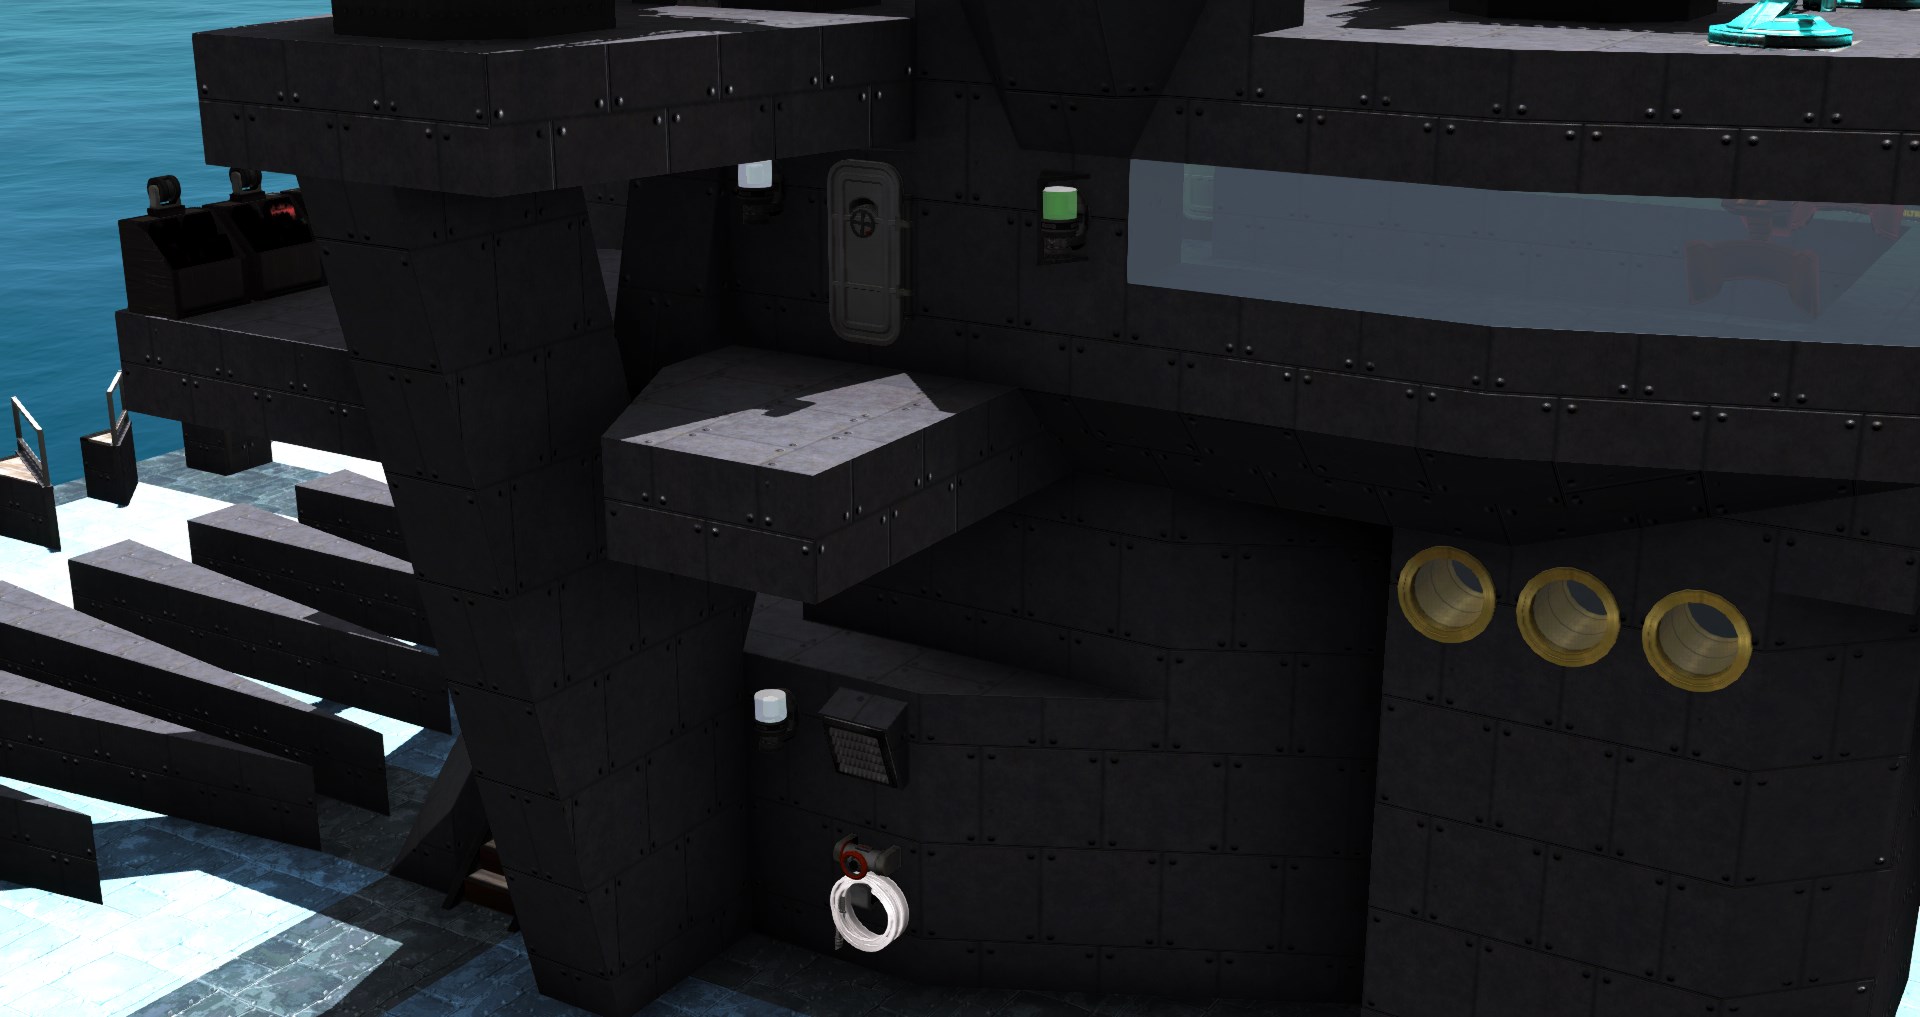
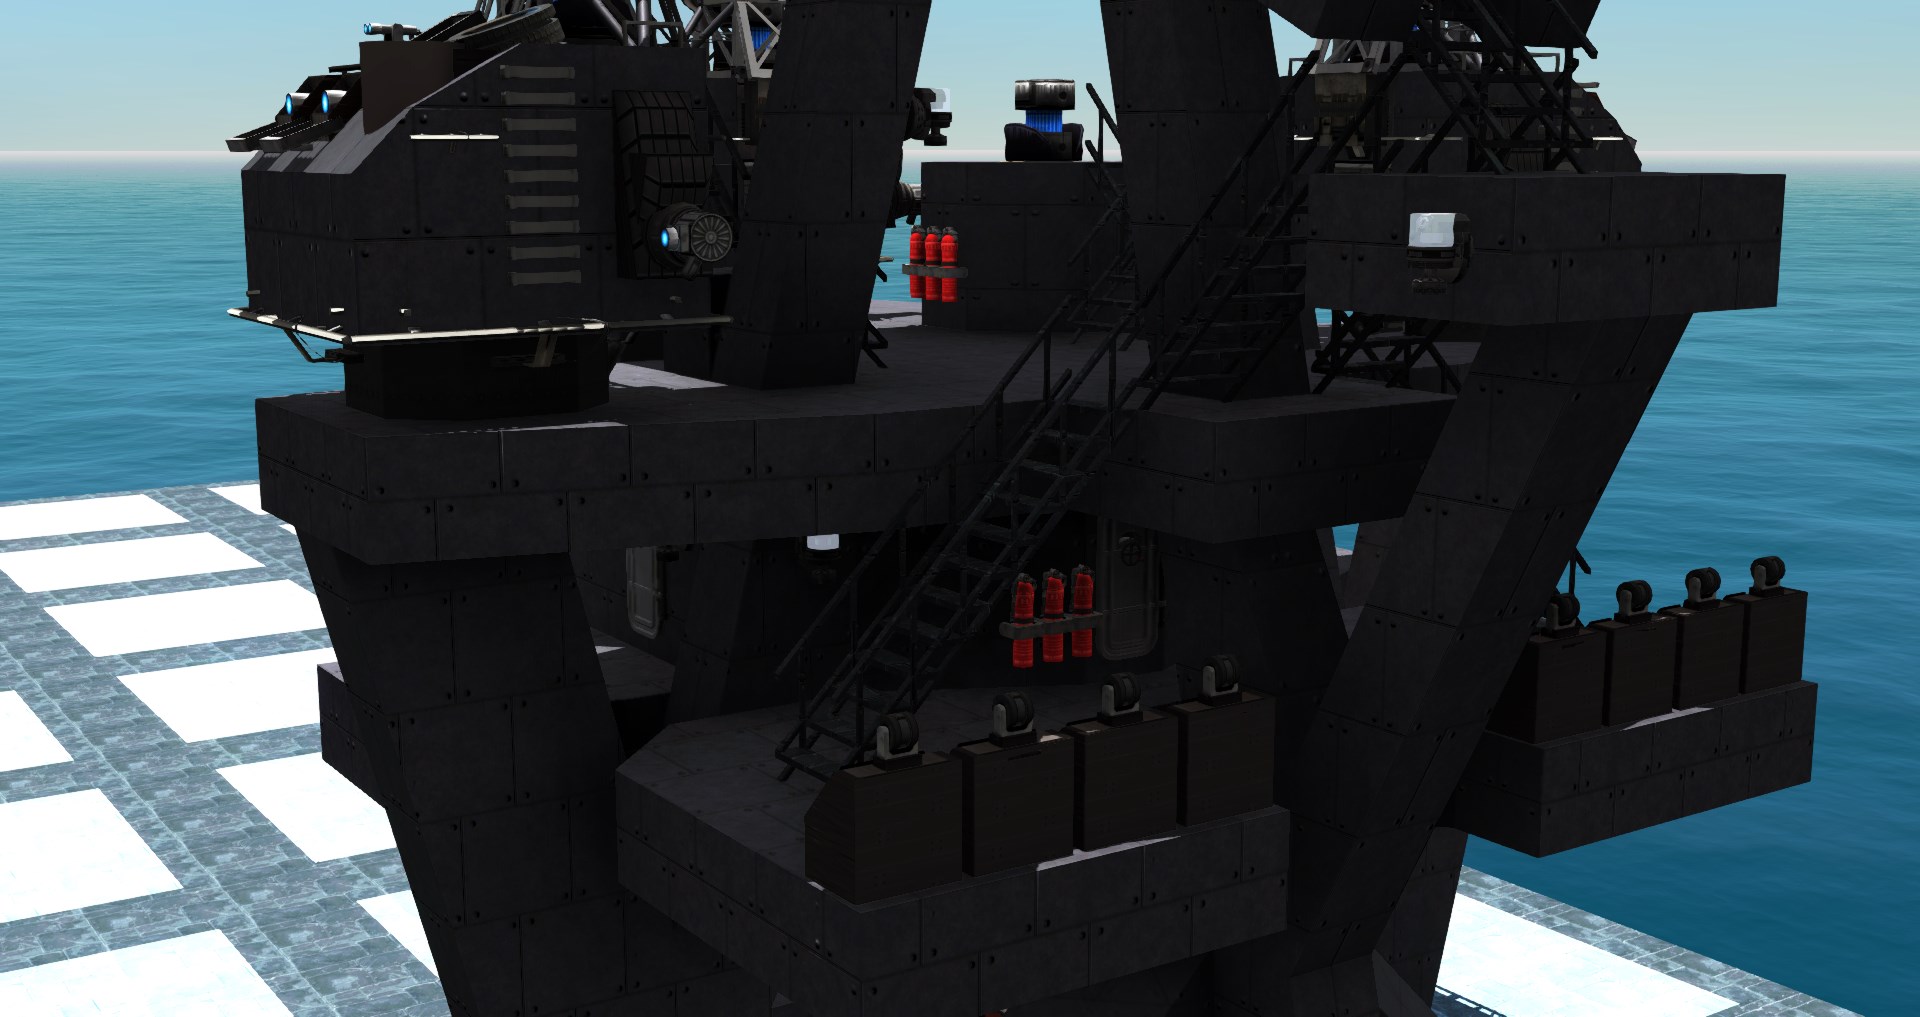
What I did here was first added a lot of lights everywhere. The green light that is visible here is paired with a red light on the opposite side. These are port and starboard lights, and you will find them not just on ships but also on aircraft. If you want free aesthetic points, remember to add these! Next, I followed up with some vents near the ground and some hoses just in case of fires. Lastly, further up the mast I put down fire extinguishers which in my mind makes sense since they don’t require as much piping and distance as hoses. You can add whatever you want here, more or less things, its up to you and the level of detail you want to reach as well as what you want to include.
Finally putting in some railings
Railings have always been tedious to me and I typically never use them in the style I actually build in, which is why its this far down. For a realistic build, of course, you should want these. For a more authentic look this is better done with plates, but they can be difficult to work with. In either case, expect to use mimics or decos to round out any conflicting parts which can be spotted if you look closely.
Rigging!
For those of you who have seen my builds in the workshop or on OFTD, I really, really enjoy rigging. You can make anything look spicy with a couple of ropes. The downside is that while every other component can be prefabbed or turned into subobjects and reused as assets, the proportions and specific parameters of each ship is unique. You can prefab winches and other assets, but most ropes are going to be done by hand, case-by-case, unless you cookie cutter your ships.
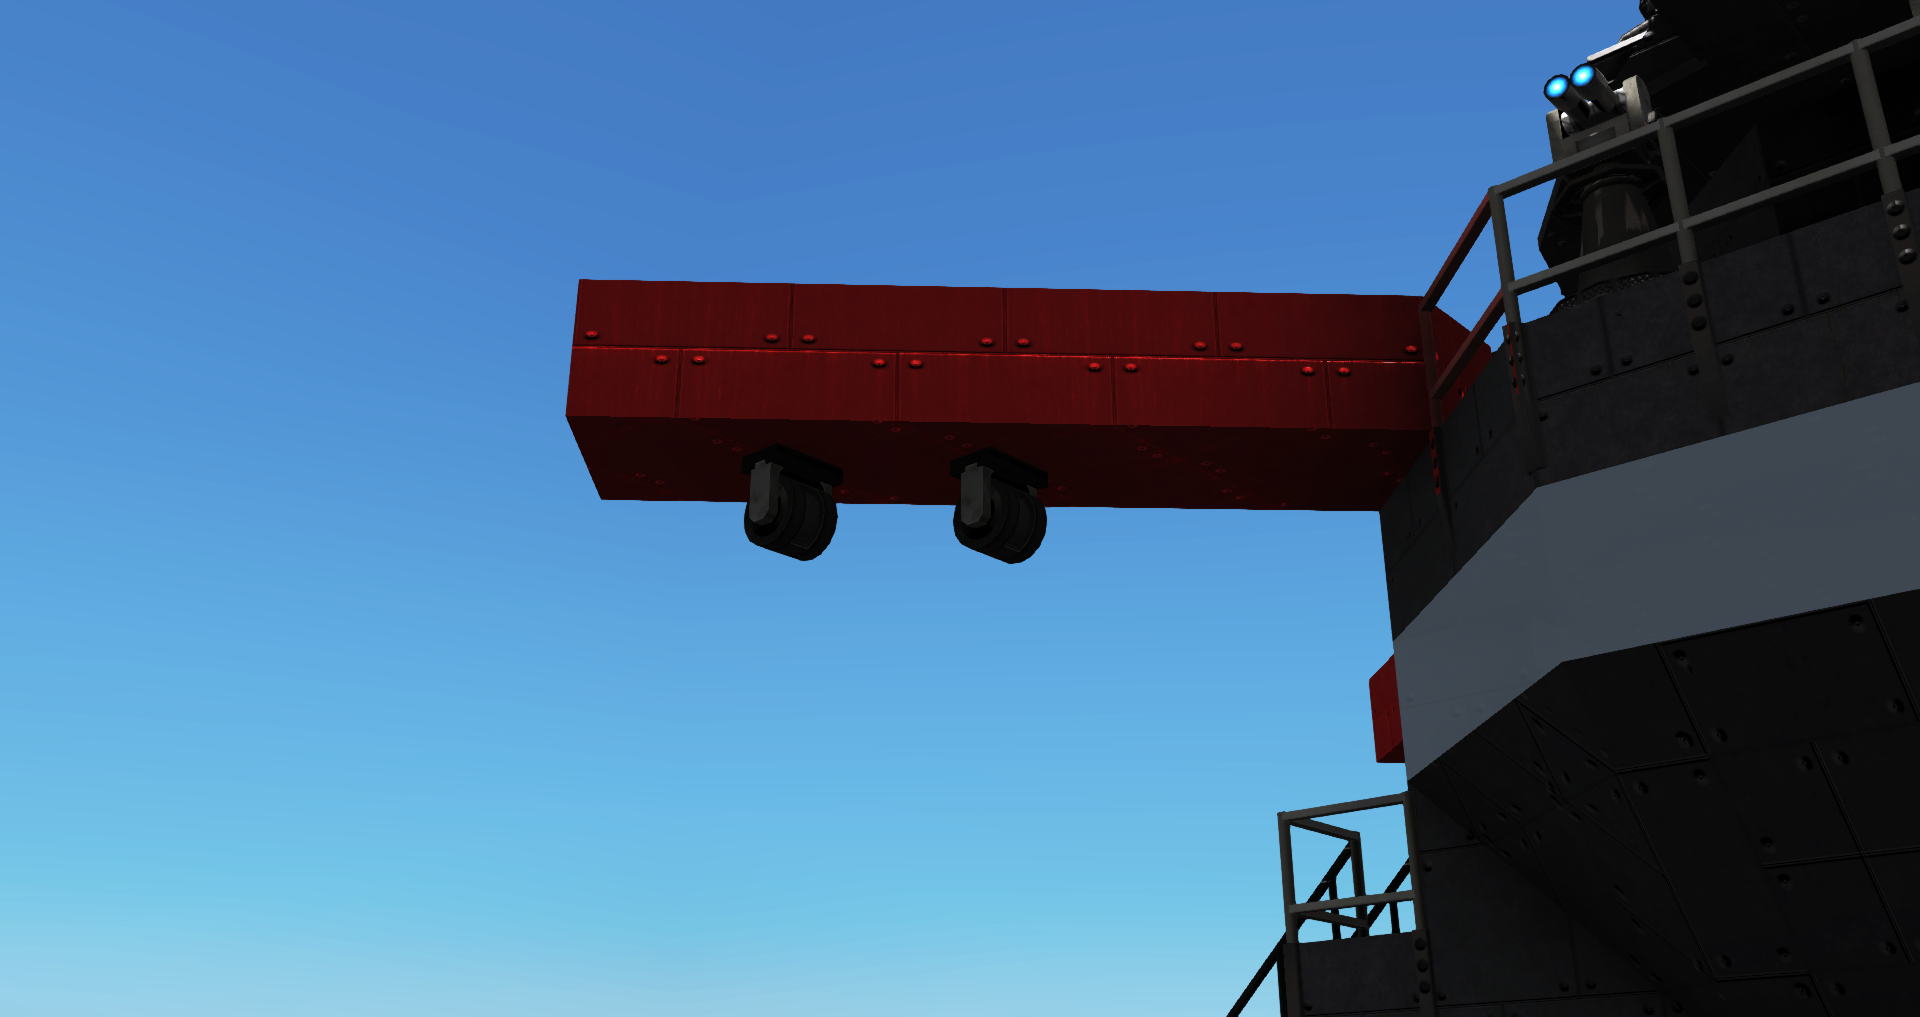
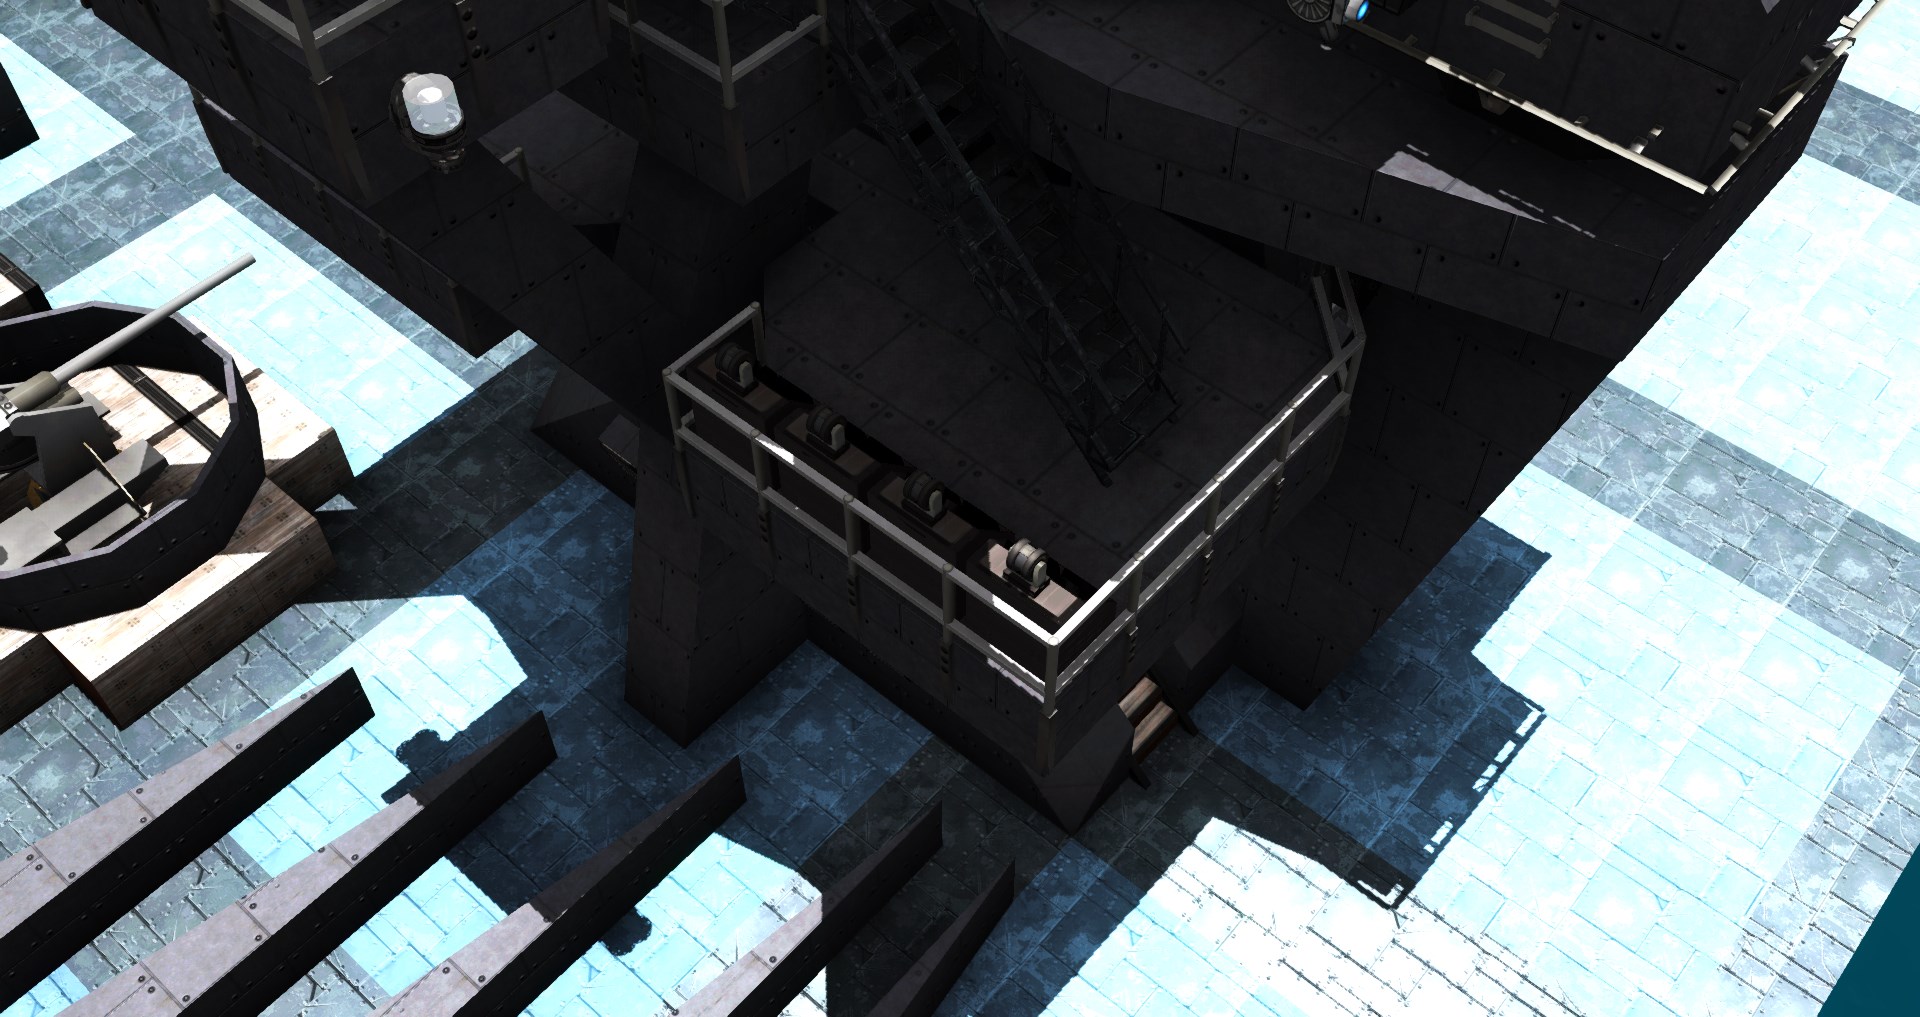
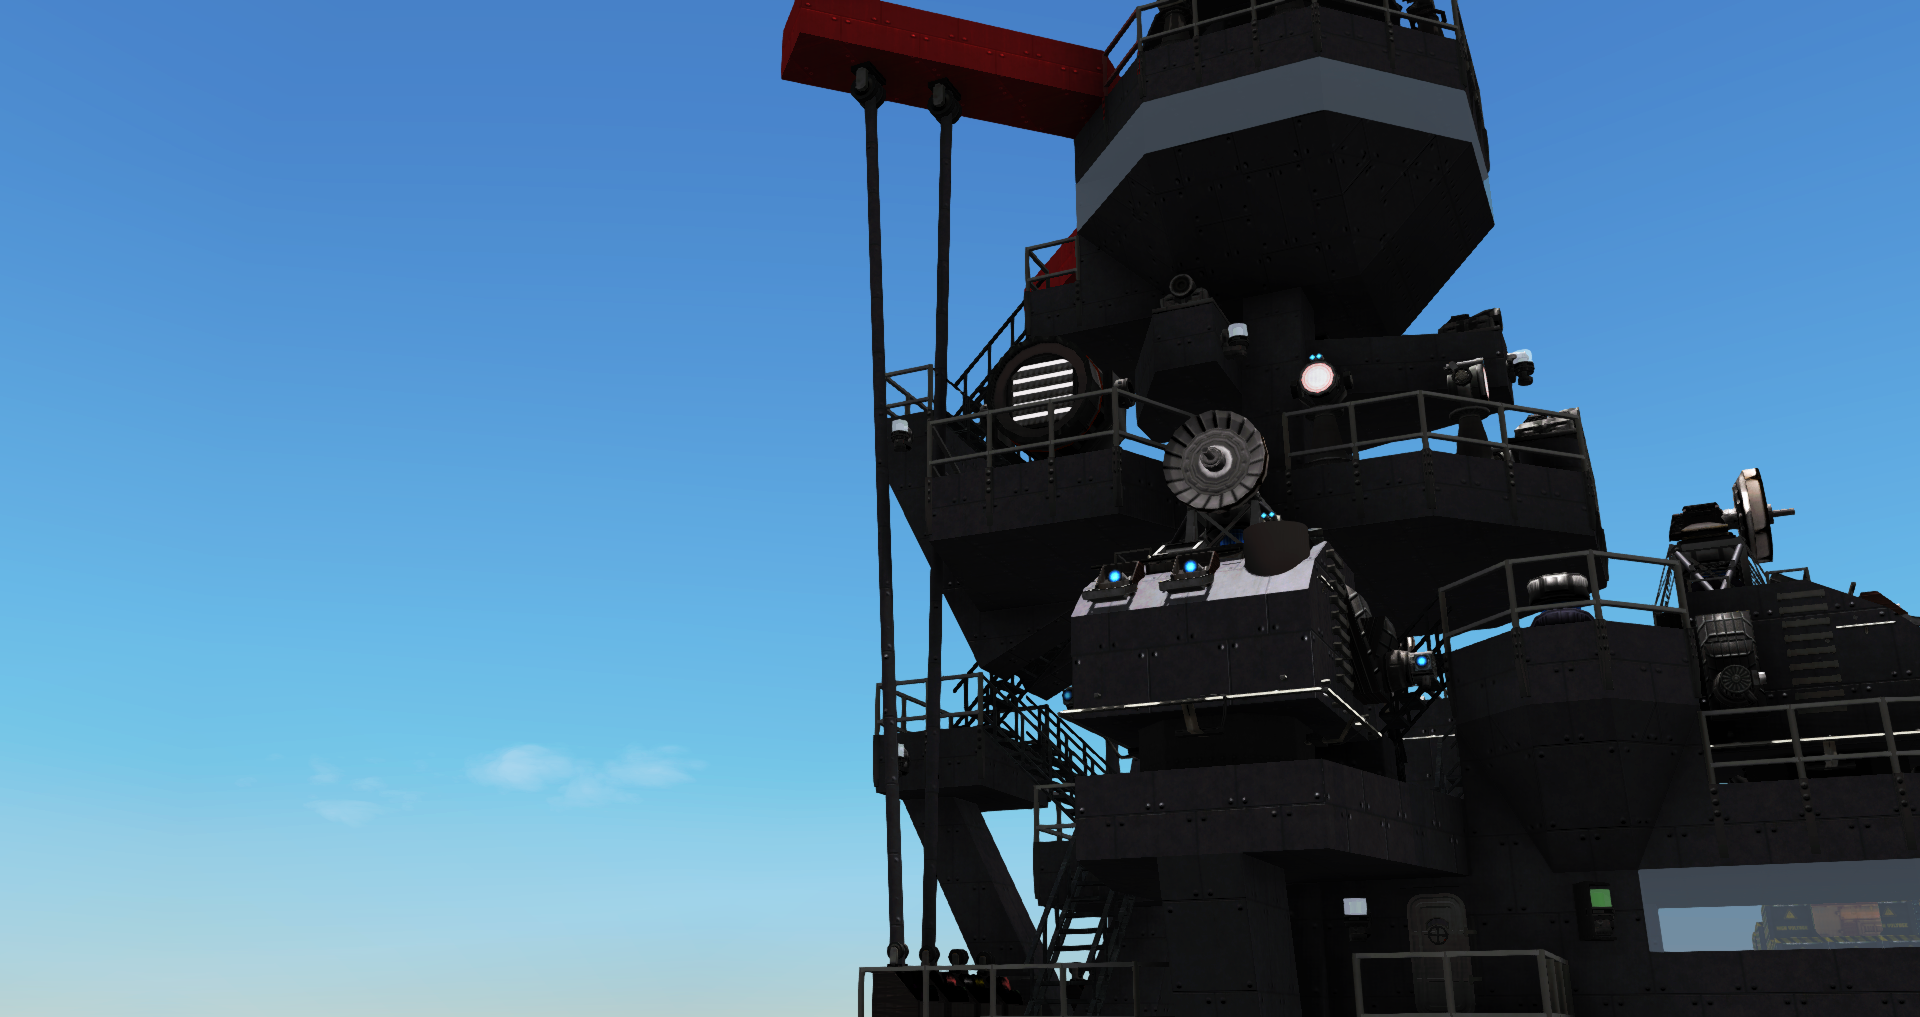
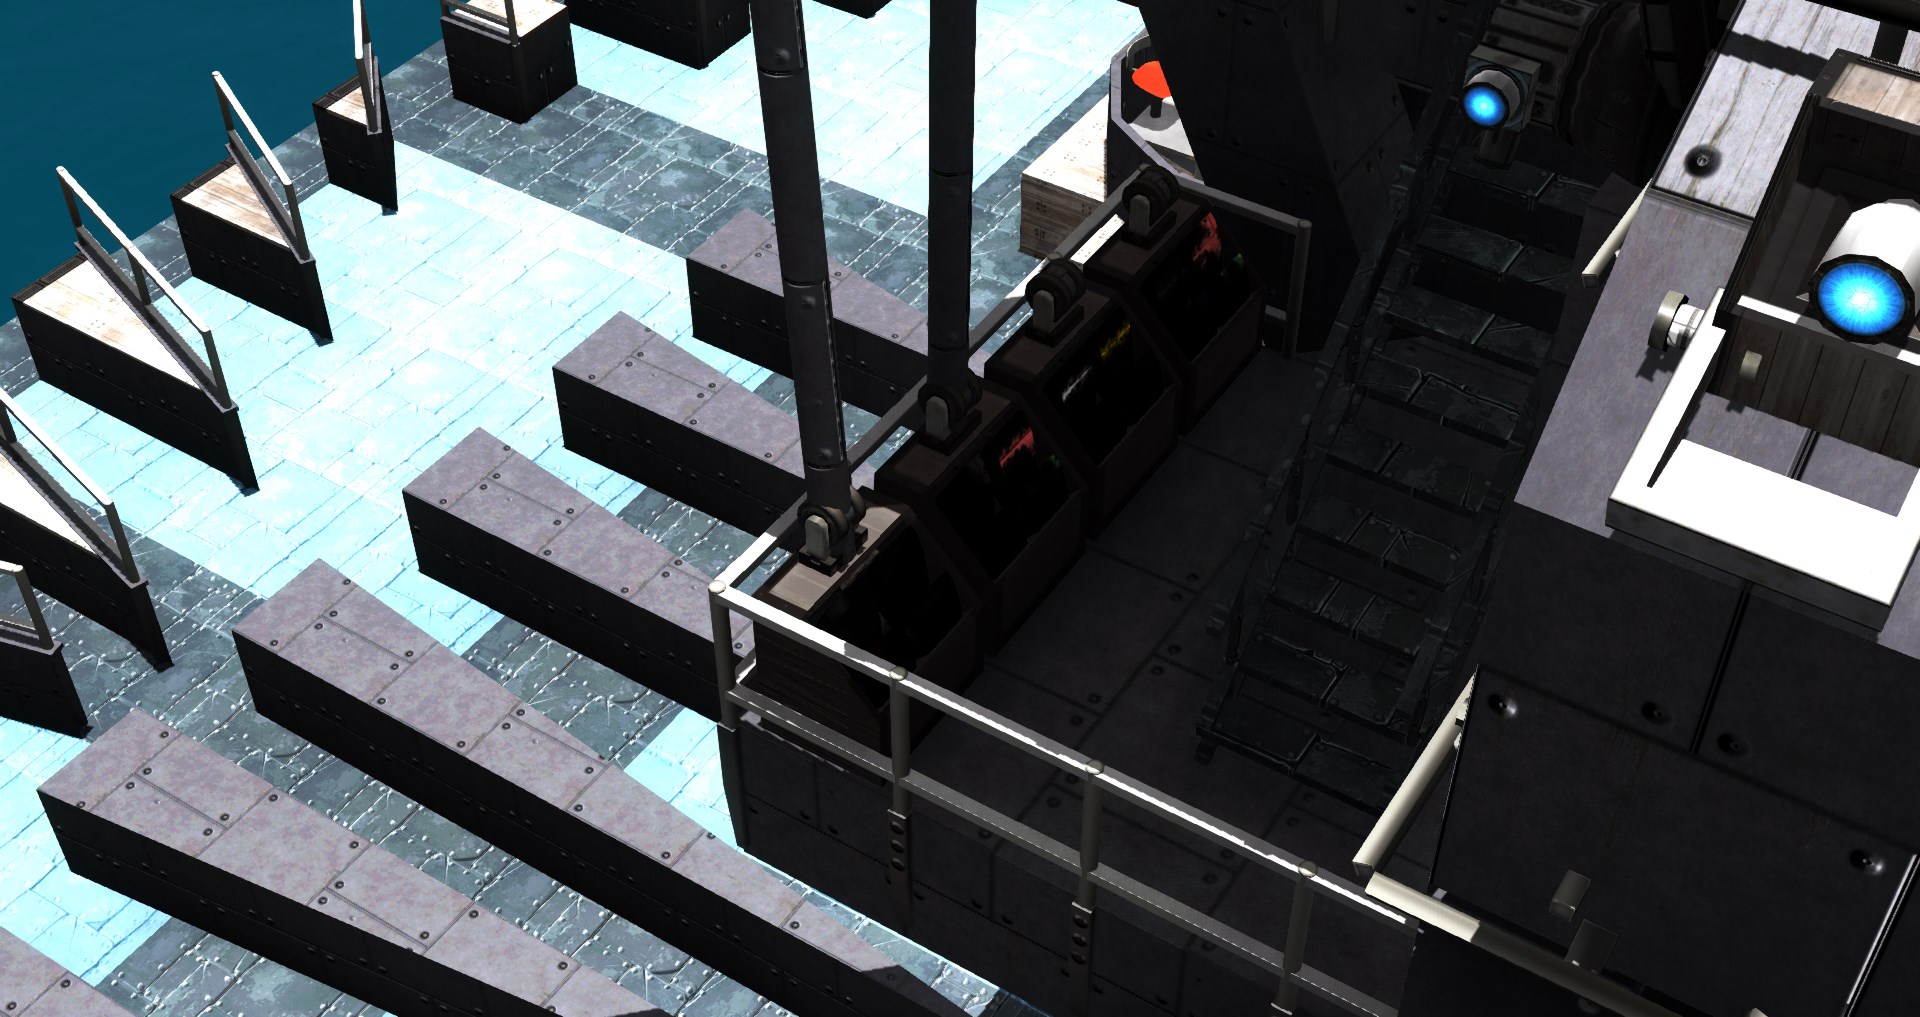
To do some basic rigging, lets add some signal flag lines. Put some winches underneath the wings that were placed at the top.
Next, give a way for them to be attached. In this case, there are winches attached to my signal flag boxes, which is absolutely perfect.
Finally, connect the two winches with some rope. In this case, I am mimicing very thin, very long Alloy 4m poles. Congratulations! You have just done one of the most annoying things in aesthetic building.
Complete!!!
What to do afterwards
If you’ve made it this far, then you should probably close the game and give yourself a nice, good break. Your skills can only get better from here, so don’t worry about constantly pushing yourself when you’re always going to be moving forward whether its now or a while later.
Realistically these would be a little bit thinner, and much more slender. I know if I were doing this I would be using a lot more mimiced parts, and squeezing things together that would make more sense at a human scale, even if it meant that rambot could no longer physically traverse the super without clipping. In any case, at some point take the time to reflect on what you build and how it can be improved. Sitting there and really thinking about what youve done so far and what to do next in the future is just as important as actually doing, and this goes for anything you create.
That being said, here’s some extra notes to help you along. First, another functional component that I did not include in the final version: flares! Countermeasures in general, actually. There is more than enough room for you to spam munition warners, laser warners, smoke emitters, and chaff or decoys everywhere. Something I absolutely adore doing is mounting flares on spinblocks and mounting them high in the mast on port and starboard sides! This can very easily add density to your pagoda mast and encourage you to build even higher and crazier, which will improve the overall look. And of course, from an FTD standpoint, it will make your ship even stronger.
Conclusion
I hope you got something out of this guide even if it was relatively trivial. I put a lot of work into this and basically threw away the good part of my day to write this since I’m very passionate about warships. What inspired me was some people on OFTD lamenting about how to create good superstructures. I figured that what could help was a breakdown of how these things are actually built, and the actual keys to making them feel real. Of course, the platform with my realistic prefabs as well as both the “advanced” and “simple” superstructures will be available on the workshop when this guide is released, so you can take an even closer look if you wish.
♥ Thank you for reading. ♥
-sOlarApple
This is all about From The Depths – How to build Pagoda Masts and Superstructures; I hope you enjoy reading the Guide! If you feel like we should add more information or we forget/mistake, please let us know via commenting below, and thanks! See you soon!
- All From The Depths Posts List


Leave a Reply