Introduction
TL;DR: Replace customlogo.png in the fpsVR folder in Steam, keep same size and format.
Why use a center marker?
I use it because I have, despite the Chaperone bounds, smacked my face into a door frame almost breaking my nose. After this I had trust issues with myself, and used the SteamVR center marker for the longest time to know where I was in relation to my physical room, it is quite ugly though.
Luckily fpsVR provides its own center marker with the option to provide an image to customize it as well as show how much you have spun around via some arrows. Let’s set all this up right now.
Settings
First off we need to turn on this center marker, we do this through turning on the setting below:
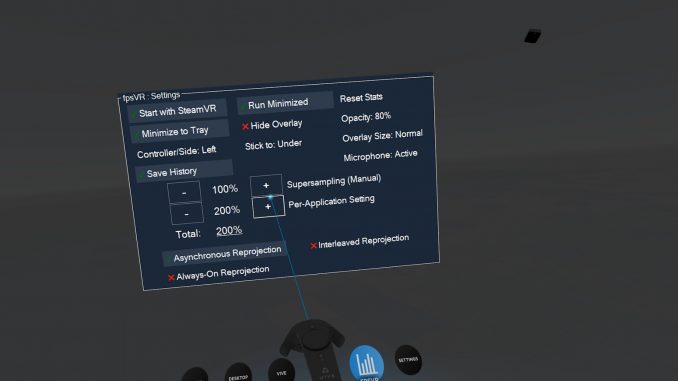
fpsVR Settings > Cable Untangling > Enable Center MarkerTo also use the spin tracker, you can turn that on just below the above.
fpsVR Settings > Cable Untangling > Enable Tracking of Cable Wrapping/TanglingFor even more settings regarding the visual appearance of the center marker, regardless of your custom image, go here:
fpsVR Settings > Cable Untangling > More Settings...
Template
As the center marker has a direction and can include the spin tracker arrows I’ve made a template to indicate these specific things. The green arrow is the direction of the play space, the red circle is the track of the arrow shaft, and the yellow is the sides of the arrow head protruding out.
Create
You can use any application you please to create the graphic, just make sure to use a square canvas when creating your artwork, as this is the final aspect ratio we will use.
Things to think about:
- It is possible to use an alpha channel, so transparency is fine to include, this lets you have any shape for the center marker instead of simply a square.
- If you want to keep track of which direction is forward, having that clearly indicated is of course beneficial.
- Keep in mind this will be overlaid the current game you are playing, only dark or light elements might be invisible in some games, so having both is a good tactic. Like having a bright fill and dark outlines.
- Remember that size and opacity is possible to change in fpsVR directly, so no need to make the whole image 50% transparent or a small icon in the middle as you can adjust that on the fly later.
Export
It is possible to use various sizes and bit depths, but that invariably breaks the turn tracking arrows, so use the correct format below:
Resolution: 512 x 512 pixels Bit-depth: 32bit (24bit color + alpha) Transparency: Yes Format: PNG (Portable Network Graphics)Export the image with the file name customlogo.png.
Install
At this point we want to shut down fpsVR to unlock the file we need to replace, do this by right clicking the tray icon and choosing Exit or by the below:
fpsVR Settings > Restart/Exit > ExitAfter this we simply replace customlogo.png in the fpsVR folder in Steam, see location below:
[Your Steam library]\steamapps\common\fpsVR\customlogo.pngAlternatively you can access the same folder directly by going into the Steam client:
Steam desktop client > Library > search fpsVR > right click > Properties > Local files > Browse...
Sample
If you haven’t made an image yet and still want to try the above steps, here is the graphic I made the guide icon with. It’s a super quick example not even taking the spin arrows into account:
This is all about fpsVR – Custom Center Marker; I hope you enjoy reading the Guide! If you feel like we should add more information or we forget/mistake, please let us know via commenting below, and thanks! See you soon!
- All fpsVR Posts List


Leave a Reply