A full spoiler-free walkthrough, guiding you through all scenes and puzzles (both hints and full solutions).
Introduction
Hello and welcome.
This guide’ll lead you through the whole game, making sure you don’t miss andy extra story bits and helping you through every puzzle giving you hints or, if you’re stuck, the full solution.
There’s no spoilers whatsoever, descriptions are kept vague to avoid giving away story elements or scary scenes.
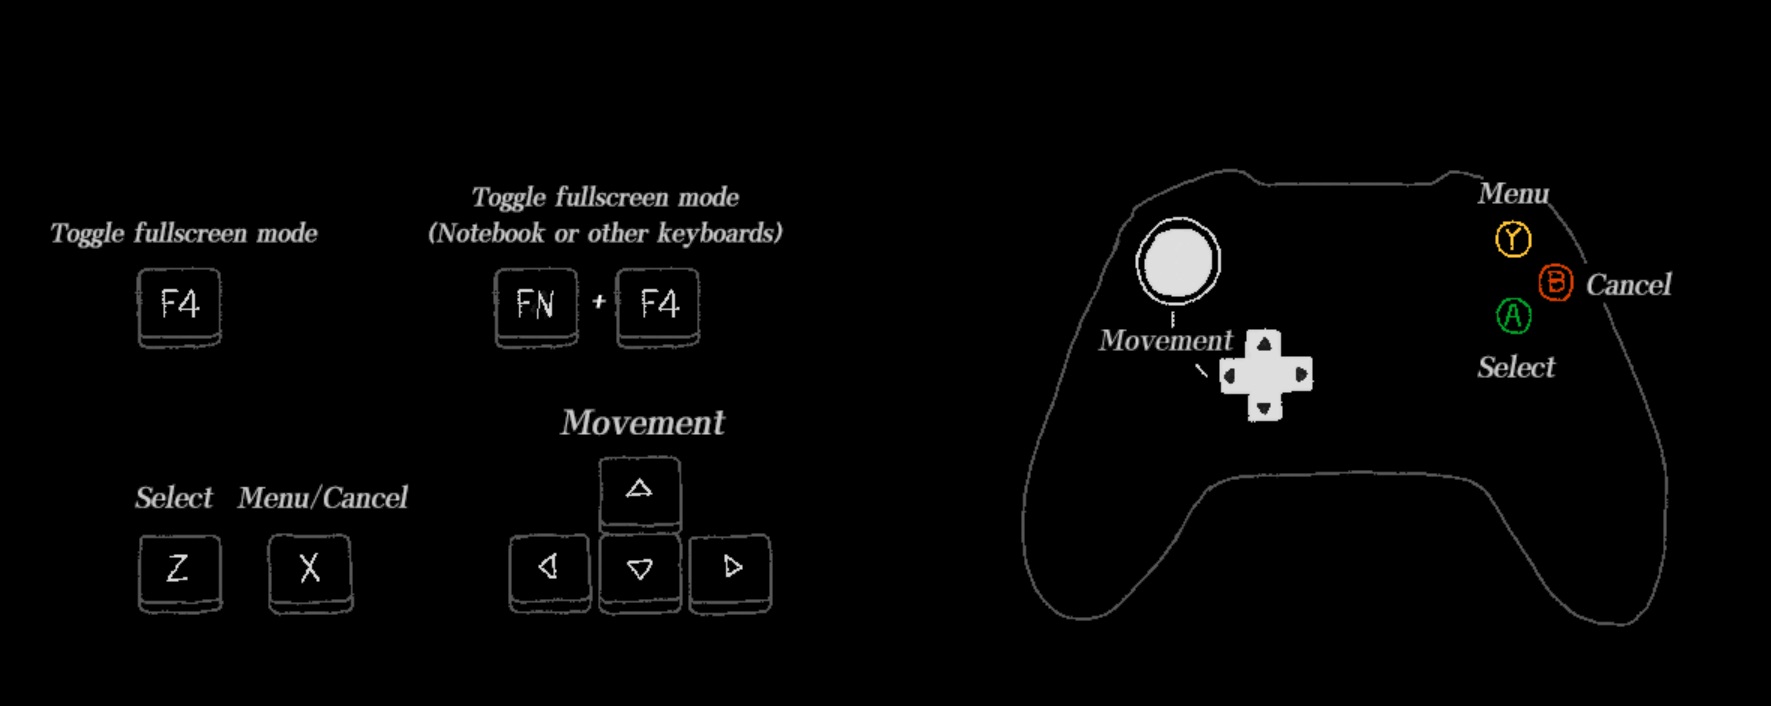
Controls are as follows:
–
–
Also note that after hitting F4 to go fullscreen the F3 key will change the resolution making the ingame area smaller or bigger.
Let’s go!
Prelude
After a short intro where you talk with your partner you’re finally in control of Lin Lixun, our protagonist, and are tasked with finding a battery.
Just to your right, on the brick wall, is a graffiti you can interact with for some dialogue, then walk right to the next screen.
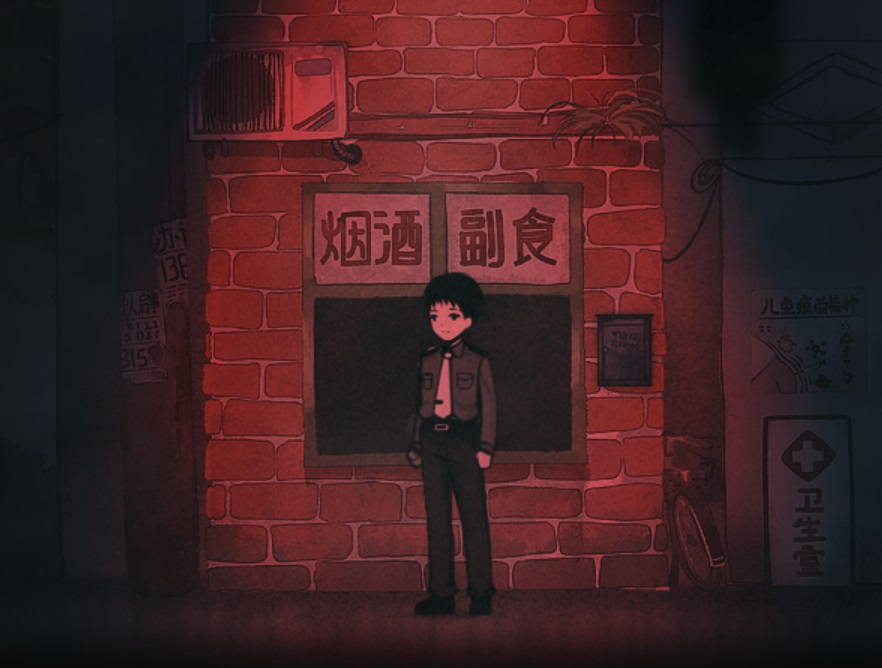
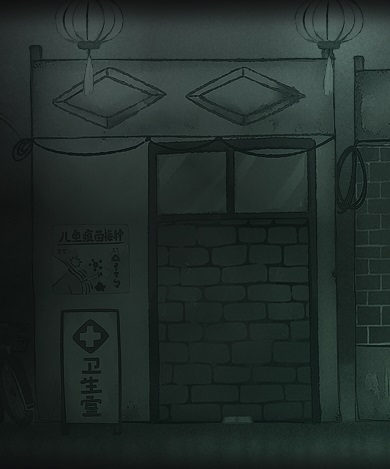
You’ll see the shop right in front of you.
–
–
Interact with the shop window for a brief scene, you’ll get the battery. Now go left, back to your partner, and hand it to him.
You can now walk around the area some more so go right and keep going, some credits will roll on the screen and you’ll eventually reach an area that looks like the one you’ve just left.
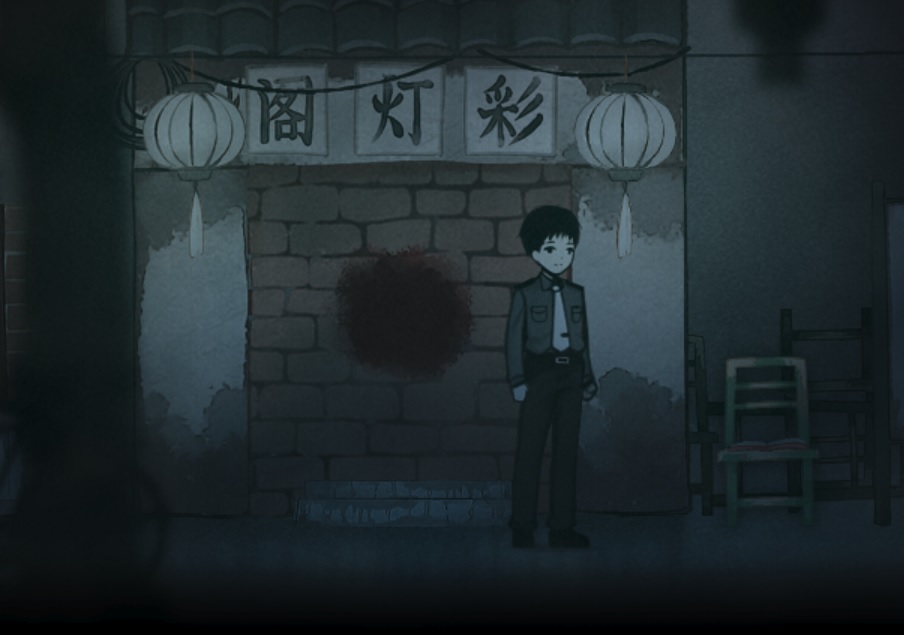
Well, kinda, there’s a brick wall with some blood on it, interact to check it out.
–
–
Go right, once more you’ll seemingly be in the same area but the bloody wall has changed again. Interact with it to check the money, weird uh?
Right once again, this time there’s a door where the bloody wall used to be, enter and you’ll be in this room.
–
–
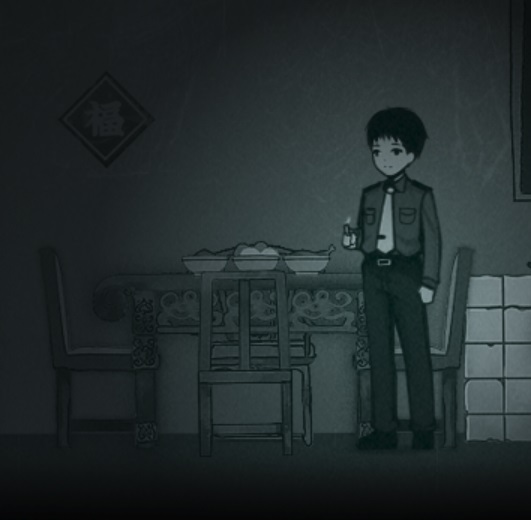
There’s two interaction spots here, very close to each other. The rightmost one will give you a candle while the one on the center of the table will yield an unsettling letter.
Now go slightly left of the letter to find another interaction point, this’ll let you light the candle we just found so we can see more clearly.
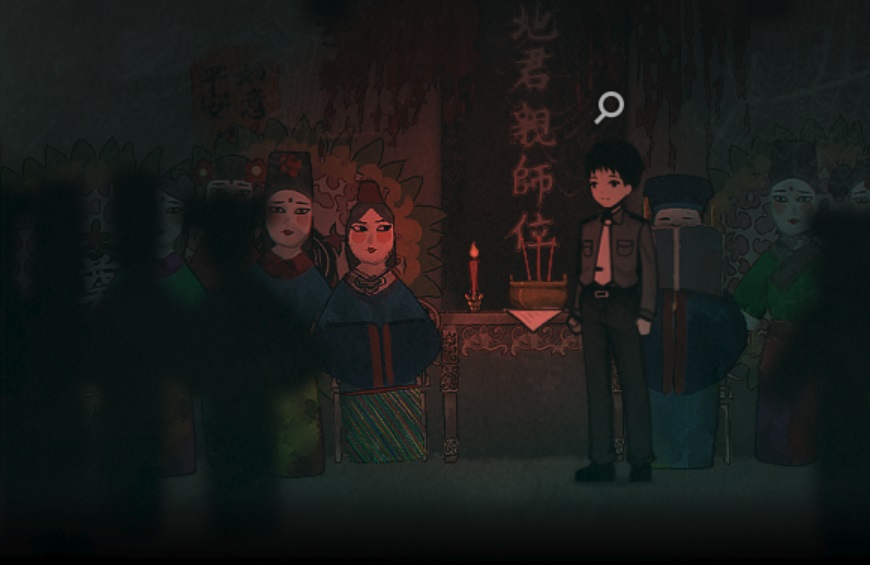
Go slightly right to interact with the doll holding a book.
–
–
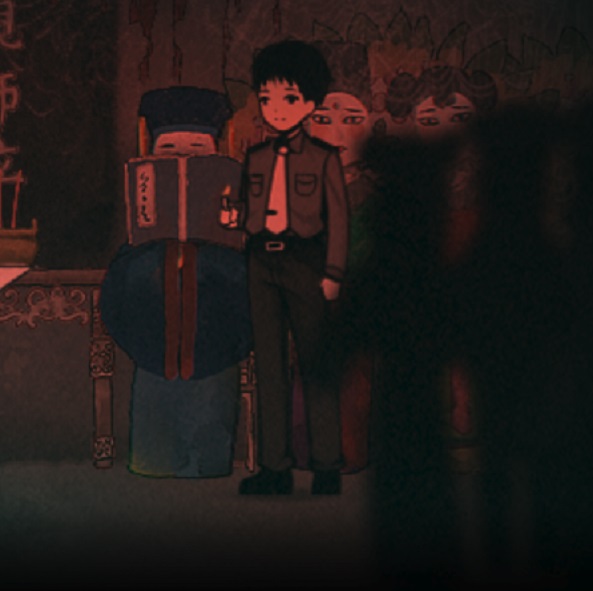
Browse the ledger until you come to the page with an handprint and some upsetting info. You’ll also pick up said ledger.
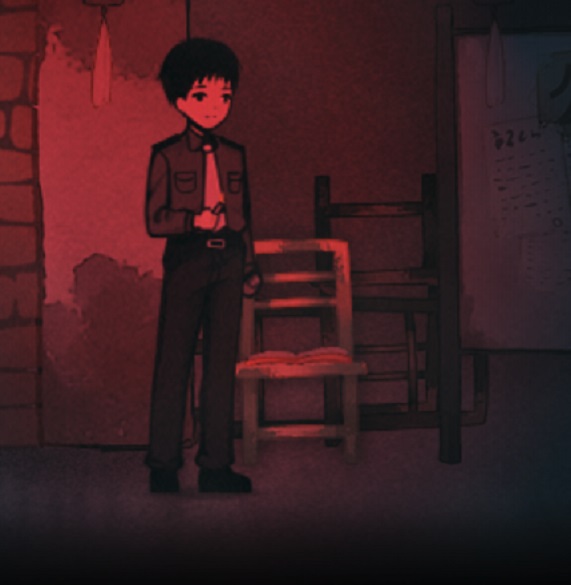
Exit the room and go right to reach this chair.
–
–
Interact with it to get Volume I- Debt of the Deceased which explains why we might be in trouble.
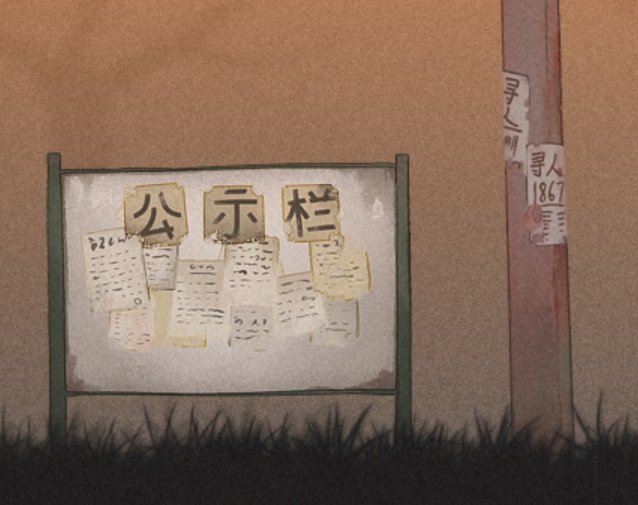
You can go right from the chair and, with your candle, interact with the bulletin board for some extra info.
Go left, back to where the door/ bloody wall is, and you’ll see an object there: interact with it to get ancestors money.
Go to the shop on the left and interact with the ash bowl, when prompted burn the money.
You can’t go back to the left as “it’s too dark” so walk right towards the bullettin board and exit the screen on the right side.
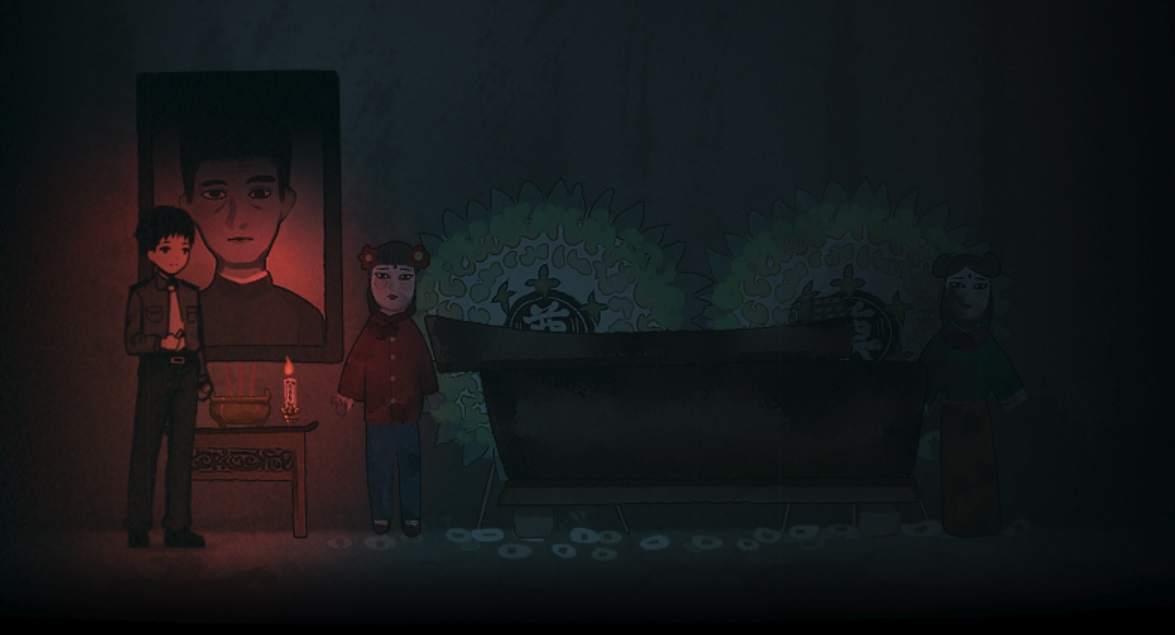
Enter the door with flowers all over to end up in this room.
–
–
Check the photo (he’s familiar uh?) then the right side of the casket to find an interaction point.
Use all three options to eamine the various areas (lid/ inside/ around) for some good info then exit once done.
Exit the room, go back left to the previous screen then keep going left to see a woman near the store. Now try and exit to the left, then move right to find a paper doll blocking the way.
Interact with the doll, then move left and interact with the funeral wreath, then interact with the ash bowl on the shop window.
You’ll find a ledger in the ash, things aren’t good but at least now you can exit to the left.
Walk towards the vehicle to finish the Prologue and get the 鬼在人心 ACHIEVEMENT
Out of curiosity, achievement’s name is “the demon within”
Chapter 1
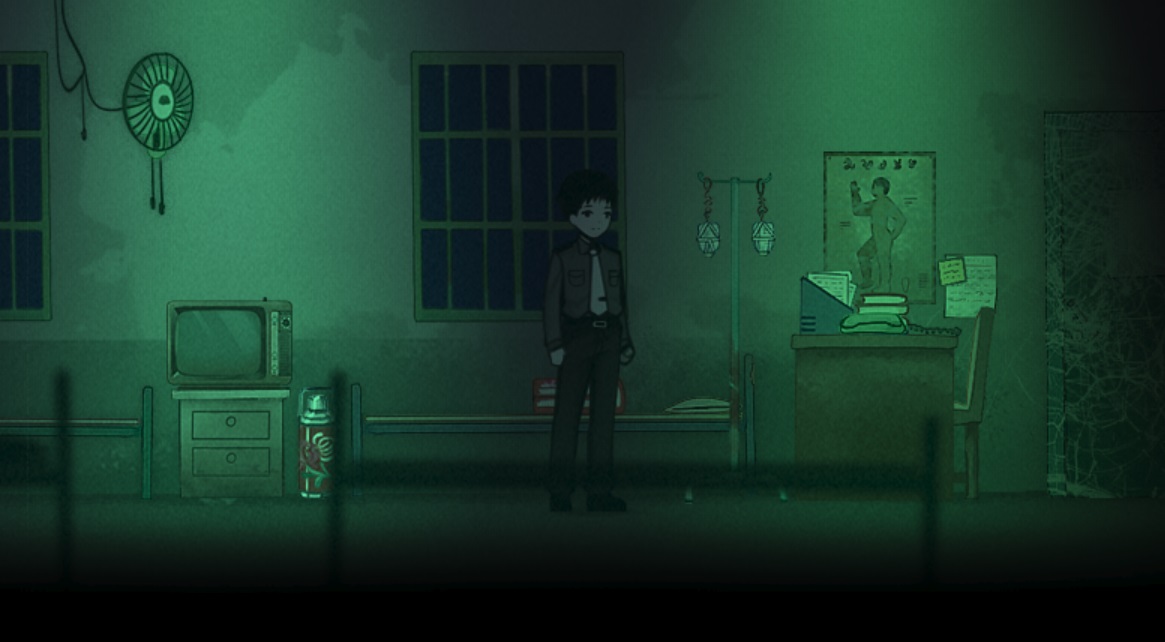
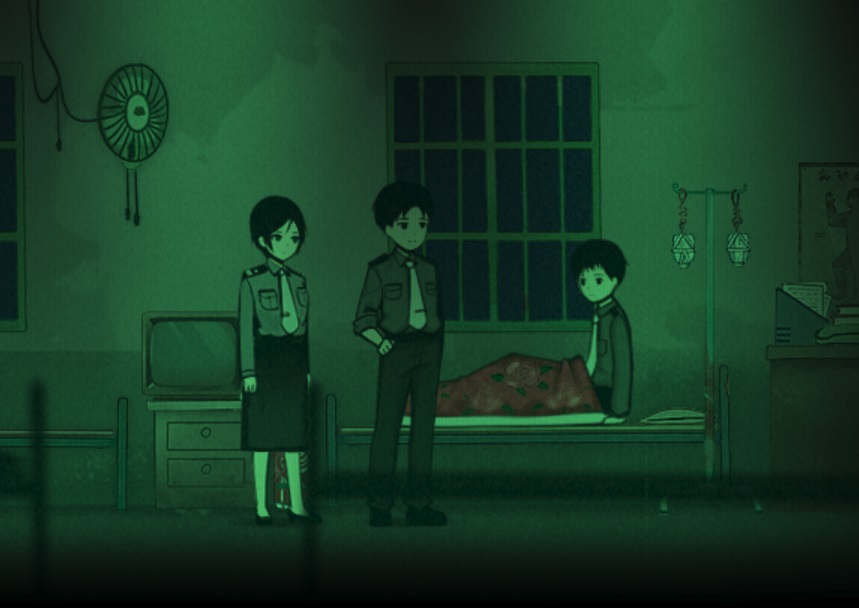
You’ll wake up in a clinic.
–
–
After a brief conversation pick up the ringing phone on the right, check the IV bags on the bed where you woke up and then use TV to the left of it. You’ll get the clinic key after watching the TV.
Exit using the door on the left and, after a brief conversation, you’ll have to grab some candles.
Exit on the left and interact with the black van to get a candle.
Get back into the clinic, there’s an interaction spot between the number 20 and white medicine cabinet so check it out. Go right and use the doorway to return to the room you woke up in.
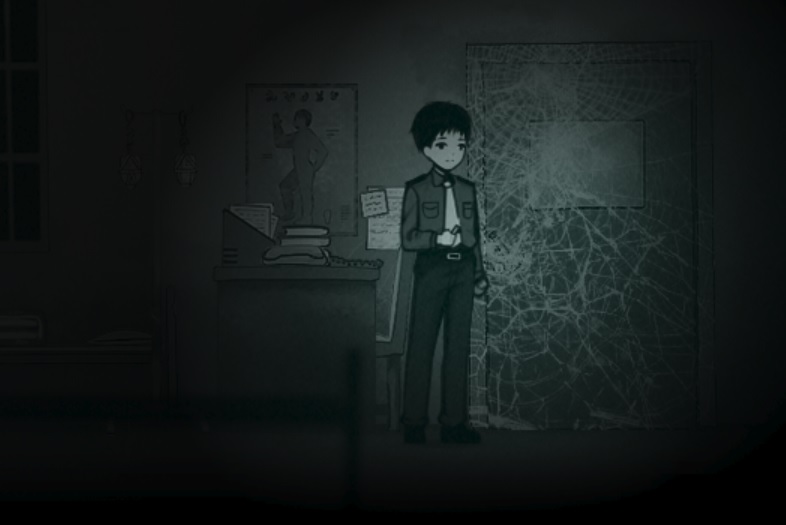
On the far right of this room is a web covered door.
–
–
Interact with the door and clear it using your candle, enter to find yourself in the backyard.
Interact with the tree on the left for some info, then enter the door on the left of it.
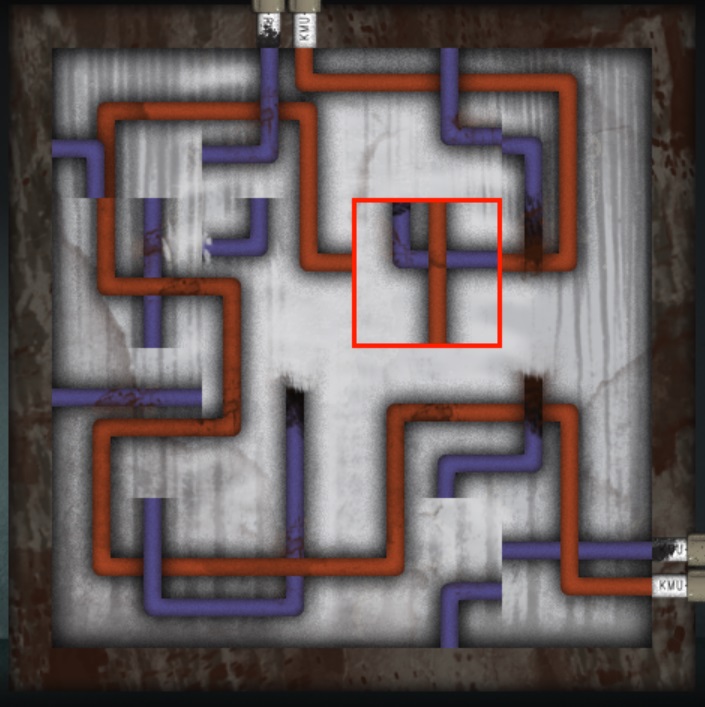
In this room interact with the wire box on the left side and solve the puzzle. You basically need to close the circuit made by the red wire.
Here’s a screen with only one move left to complete it.
–
–
After a conversation you’ll see a red umbrella on your right, Interact with it then exit.
Outside, move right and interact with the shadowy silhouette at the window then get back into the clinic.
The TV will be on, use it to get more story. A phone will ring, exit left, go left towards the exit and interact with the phone on the desk.
Now exit the clinic.
Whoa it turned foggy.
–
–
Go right as far as you can go, then back left to a forest area of sorts, you can interact with this lit up area for some info. Keep going left and, when prompted, choose to cross.
You’ll end up here.
–
–
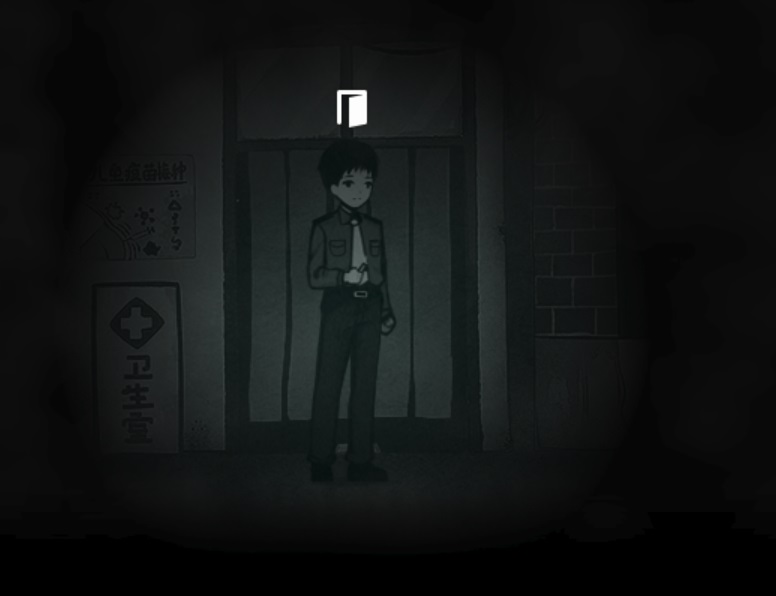
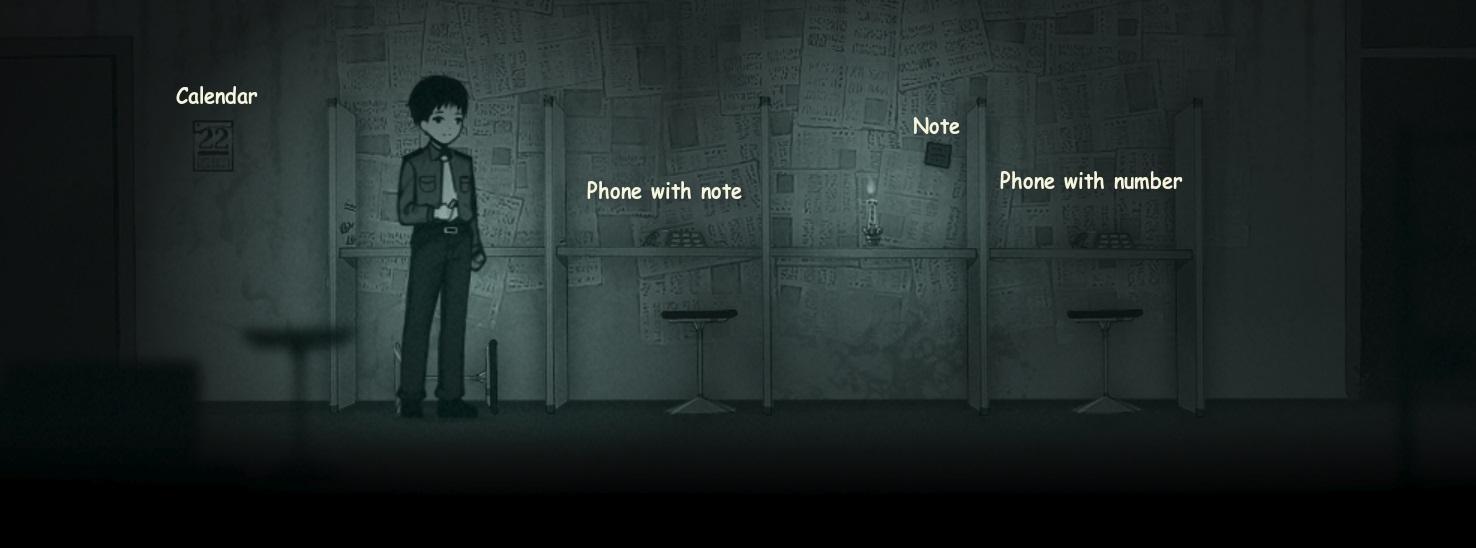
Enter the door on your left. To end up in this room.
–
–
Check the two office nooks on the left, we don’t have the means to solve them yet though.
Also check the calendar on the left of the nooks.
Now go back and check the small note in the second nook.
The small note is a clue to the telephone puzzle in this room.
To solve it dial the correct number which is 2357
You’ll be tasked with finding the two halves of an order slip.
Exit this room.
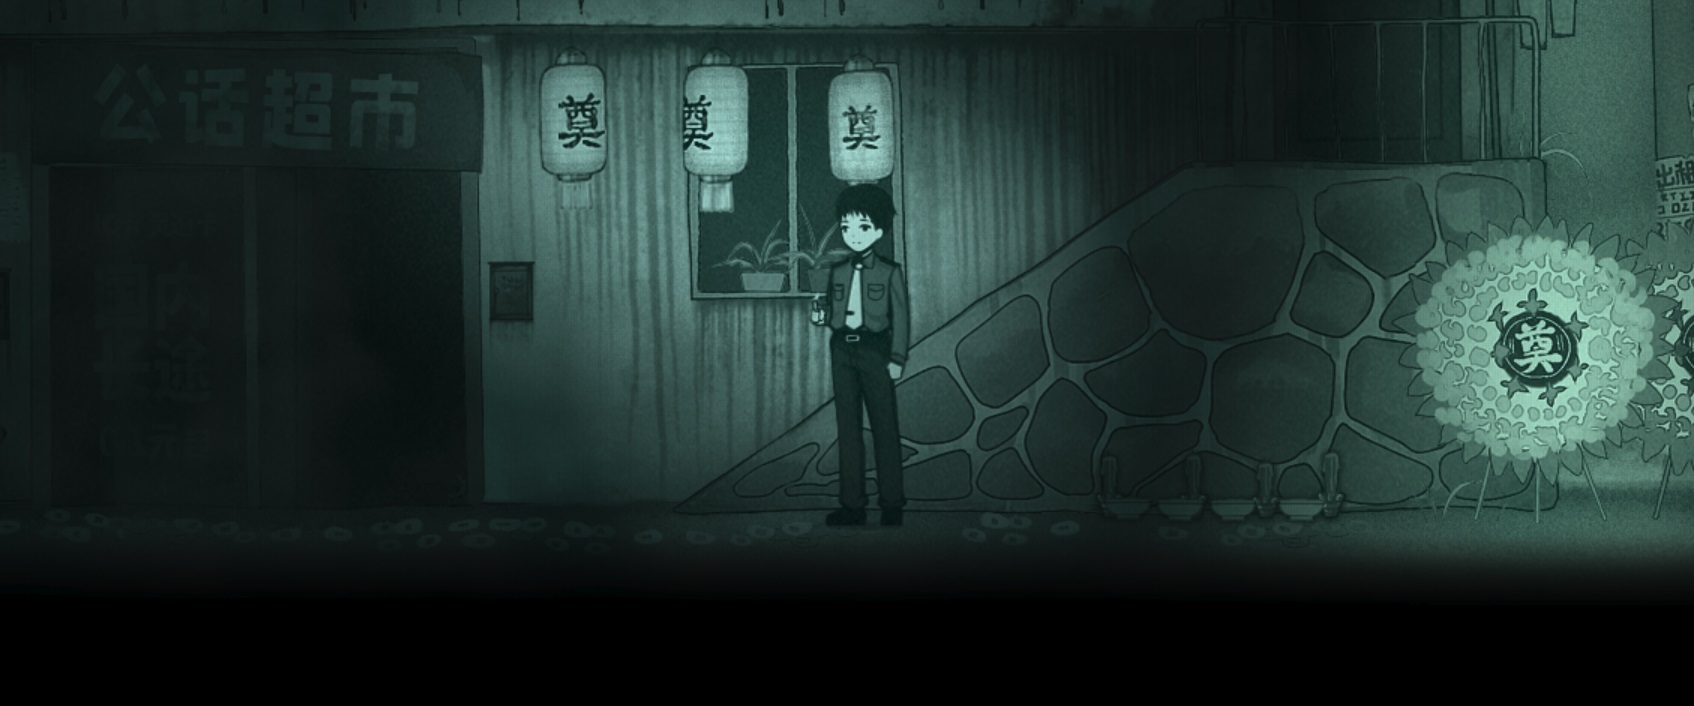
Outside, check the four bowls on the floor, to the right of the stairs going up, then use said stairs to go up a floor. The door here is locked but go forward and interact with the hung clothes to get half a cake order slip from a pocket.
Go back down the stairs and enter the door with the office nooks again.
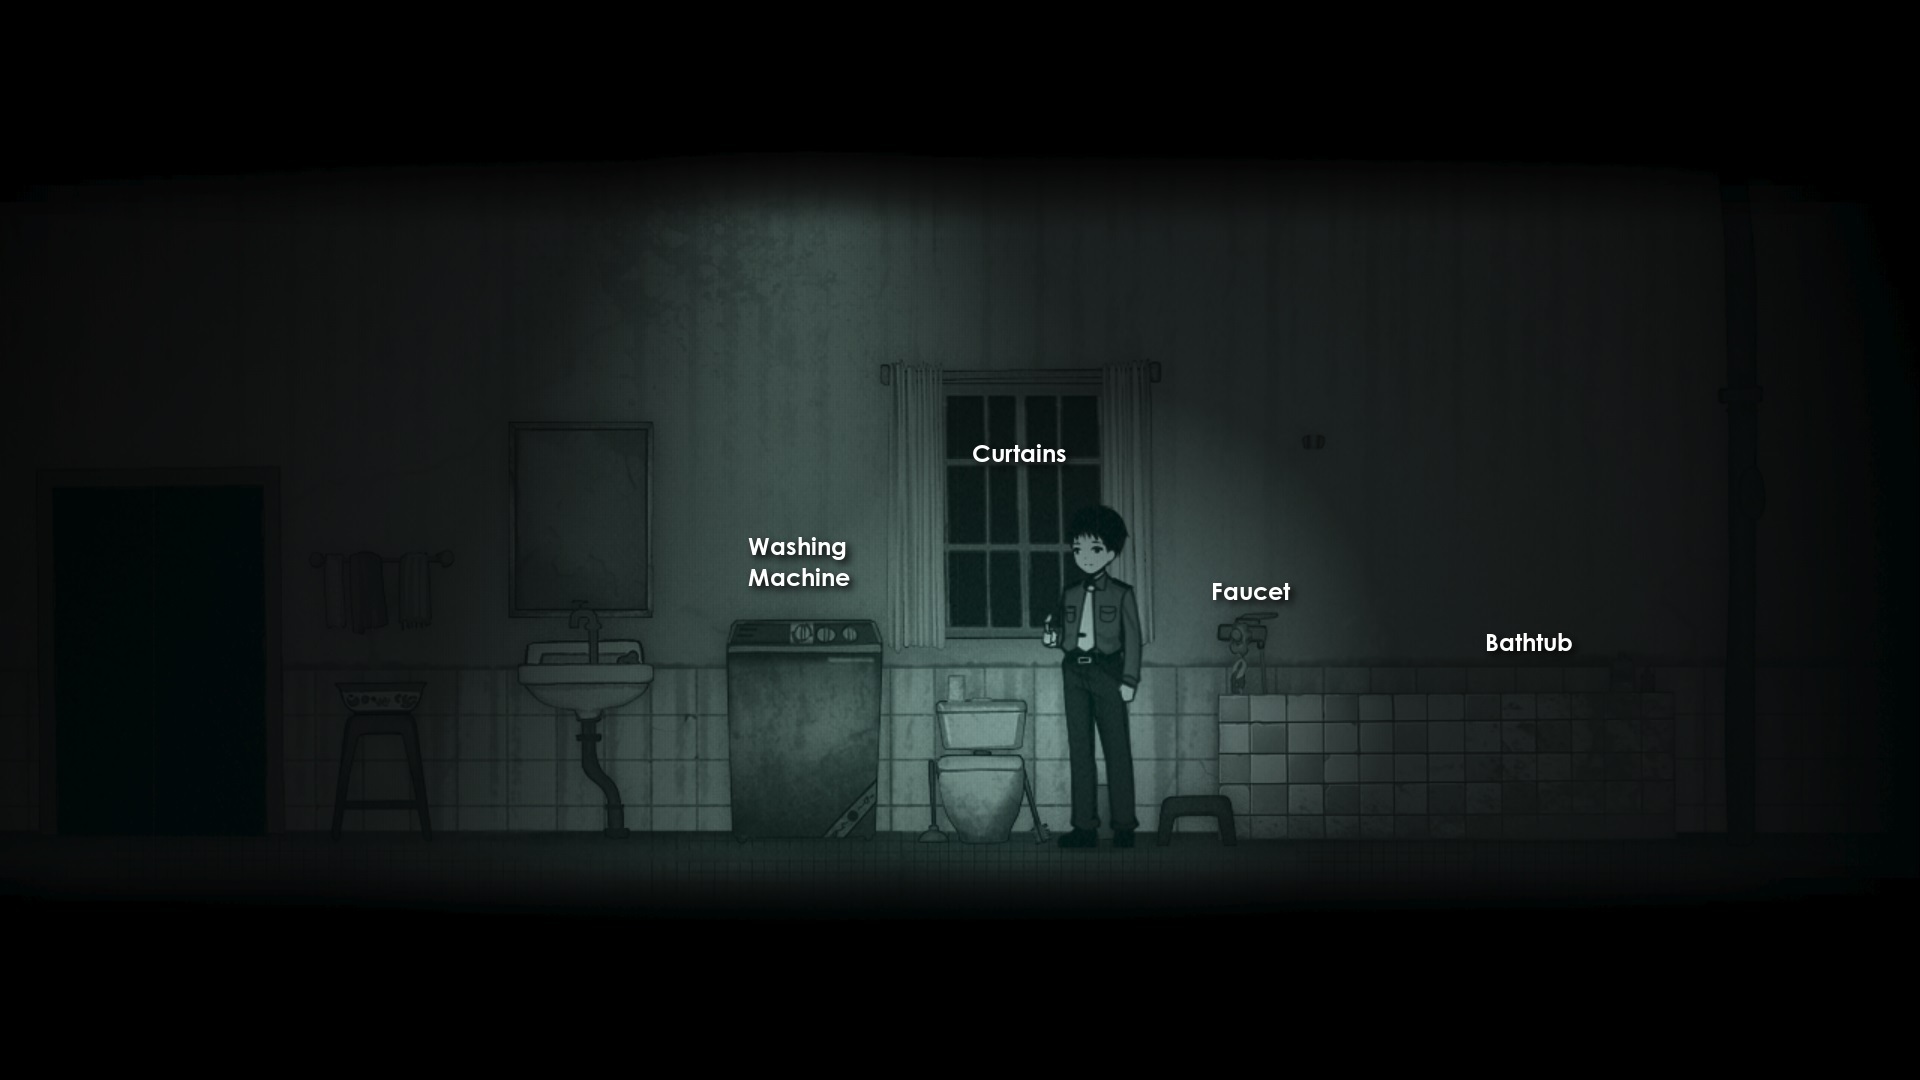
A door to the left will open, use it to enter a bathroom.
–
–
Check the washing machine to find Volume 2-Mirror, then interact with the mirror on the left for a clue. Once done interact with the curtains above the toilet and open them for a second clue.
Now interact with the bathtub, then with the faucet, turn it on and look in the tub again for the final clue.
Now just rotate the washing machine’s knobs accordingly.
Solution: Starting from the knobs pointing up. First knob rotate two times. Second knob rotate one time. Third knob rotate four times.
If done right the lid will open up and you’ll get a complete cake order slip after assembling the two halves.
Now check the door on the left then go right for a scene change.
Interact with the corpse tray to get an autopsy report. Then with the sink overflowing with hair on your left.
Slightly left of it get the [b[scissors[/] and use them on the sink to get a key.
This key opens the electrical box on the wall just to the left of where you got the scissors, open it.
Pull the red switch, interact with the corpse tray and push stuff aside.
Go back to the box, pull the blue switch and interact with the corpse tray again to get text on the cake note. Once done the door opens again so go back to the office nooks room.
After a conversation interact with the remaining phone on your left. Use the note from the cake paired with the one on the phone to find the right number.
Solution: 1481
Once the call is over exit on the right.
Outside interact with the four bowls near the stairs, choose to examine them and pick the third one to get a main door key.
Go upstairs and interact with the door. Then go back down, enter the doorway to the office nooks room and interact with the first phone on your left.
Now go back outside and go right for a scene and the end of this chapter.
You’ll earn the 火树银花 ACHIEVEMENT
It’d mean “firey tree of silver blossoms”, this is a phrase usually used to describe fireworks
Chapter 2
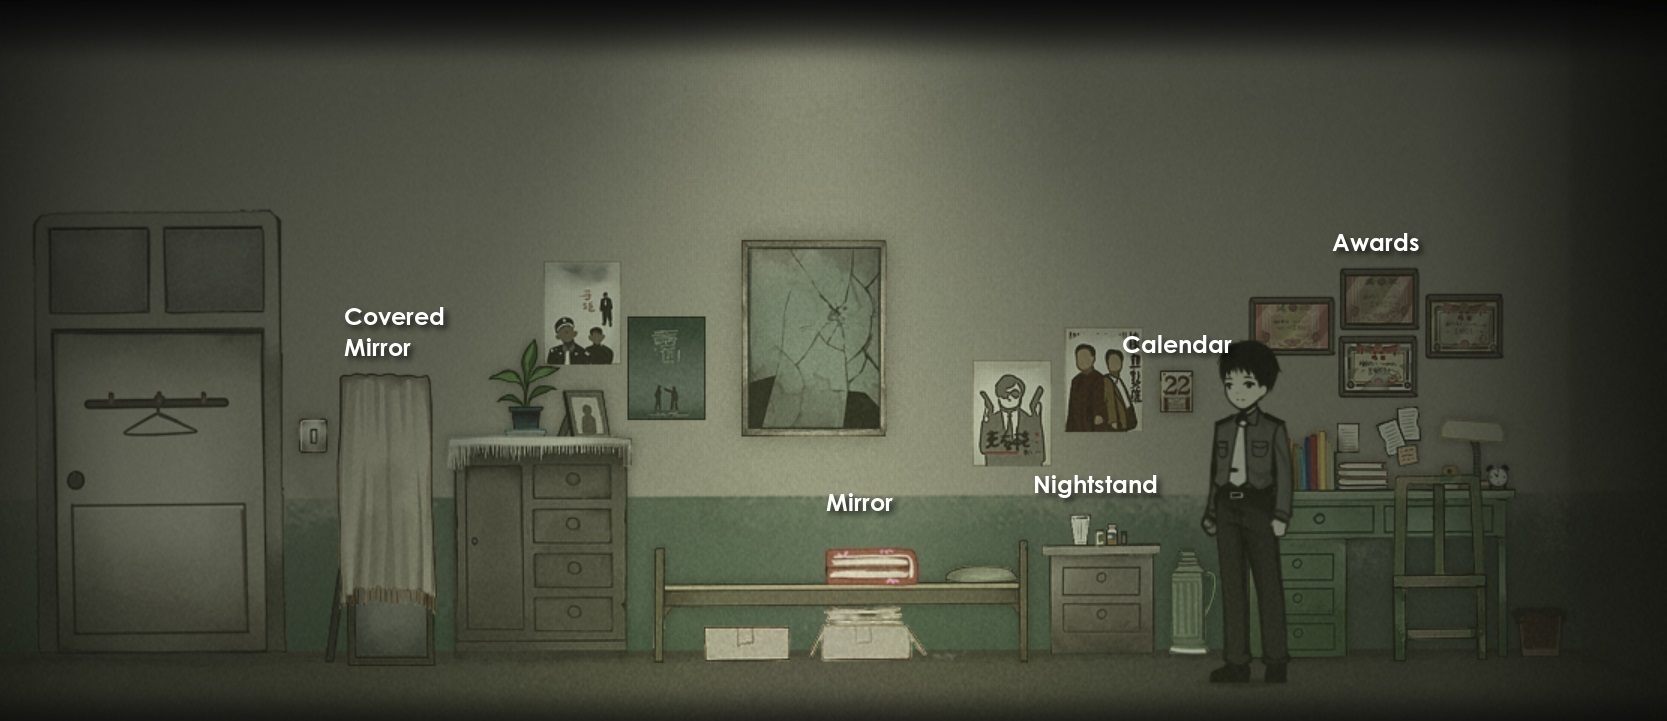
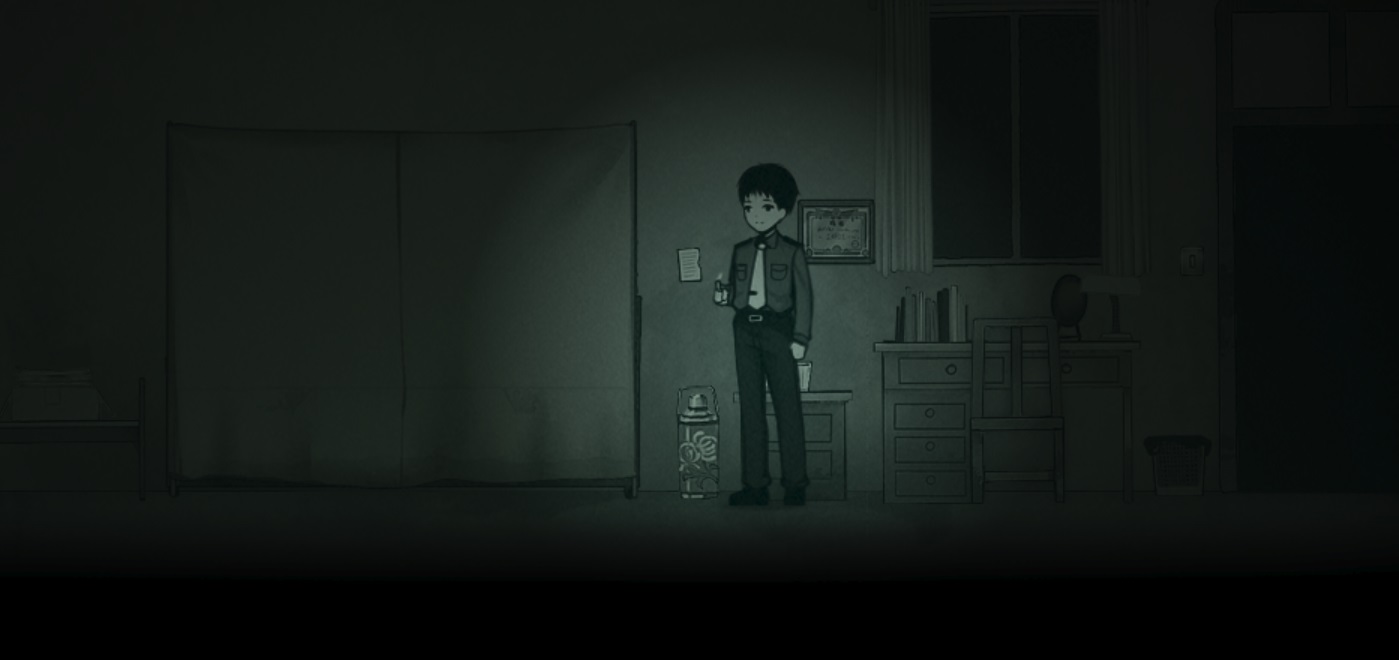
You wake up in a new room.
–
–
Interact with the nightstand on the right of the bed, then go past the mirror only to double back and interact with what’s fallen from it to get mirror fragment 1.
Move left and interact with the covered mirror, remove the cloth to gain mirror fragment 2.
Now go right and interact with the calendar for some creepy vibes, then right once more to interact with the awards and get mirror fragment 3.
Go to the mirror and fix it then focus on the image for a scene change.
Exit the bathroom, pick up the lit candle in the office nooks room and go right to exit outside.
Go up the stairs to your right and open the door.
Here check the calendar on your right, the red umbrella on your left and exit using the cordoned door on the left.
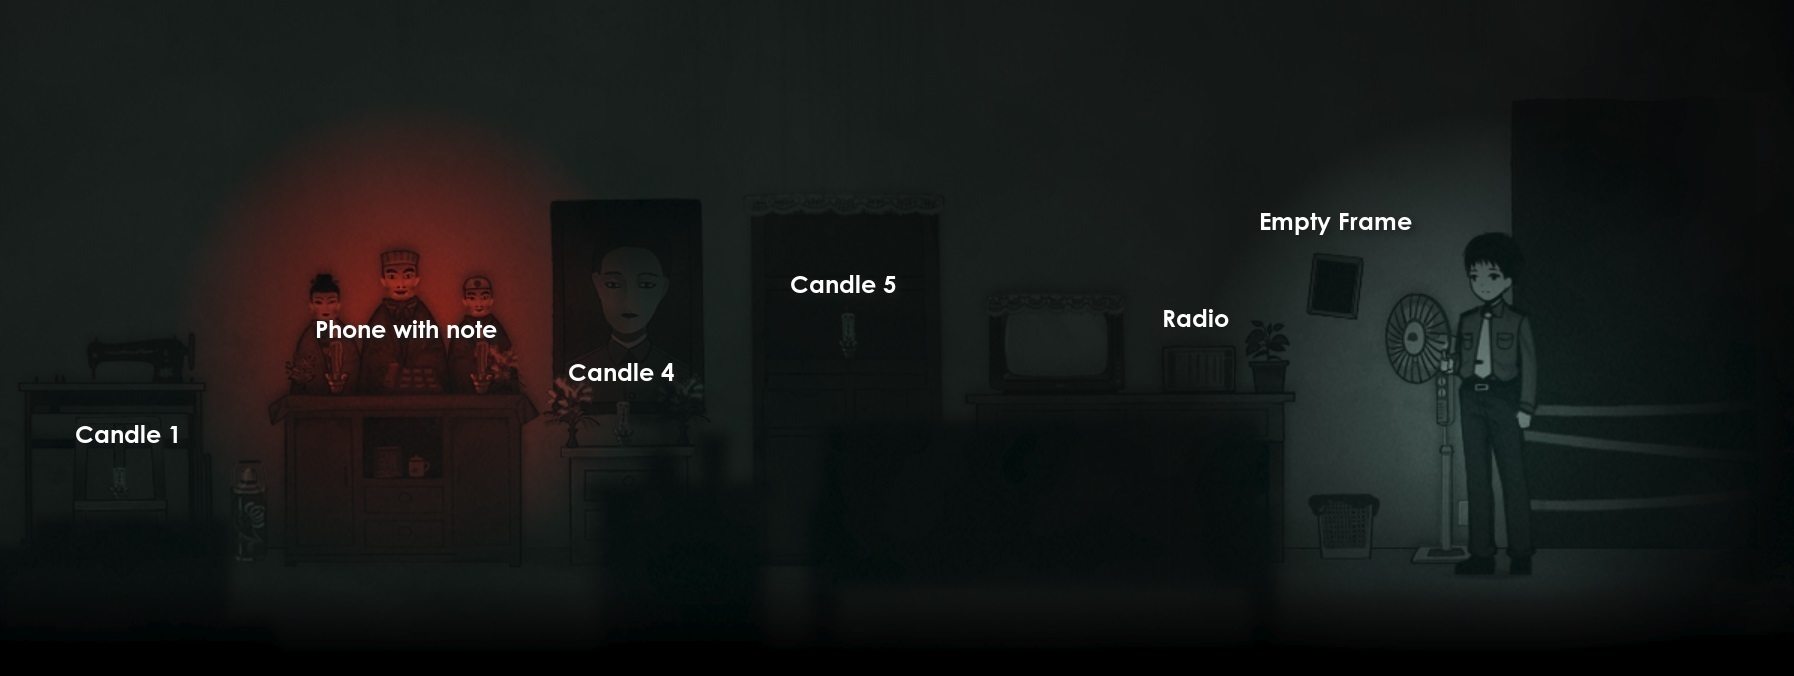
You’ll be in the living room.
–
–
Check the empty frame on your left, then the phone on the table with the red light to get yellow paper-Huisha.
Now light the candles in order, note than number 2 and 3 are already lit, once done interact with the radio near the TV.
You need to tune it the right way. This puzzle is a bit cryptic tbh.
If you want a hint look at what height the numbered candles are positioned
Actual solution From left to right: first dial on the lowest spot, second and third dials second spot counting from the top, fourth dial third spot counting from the top and fifth dial at the top spot
Once done enter the door to the left of the sewing machine where candle 1 is.
You’ll end up in a kitchen and have a brief conversation,
Open the cupboard near the door and examine the wine jar, then head right towards the stove and pick up the chopsticks. Check the poem on the table as you go back to the cupboard then use the chopsticks with the wine jar to snatch the family portrait from it.
Go back to the living room.
Here go right and interact with the empty frame, straighten it and get a code. The TV part of it makes it obvious what you need to do.
Interact with the TV and tune to the right channel 21 .
You’ll get some numbers, then clean the screen for a scene and the noise of a door opening.
Get back to the entrance hall using the door on the right then use the door on the right again (the one with the hanging beads).
In this hallway enter the door under the red lantern.
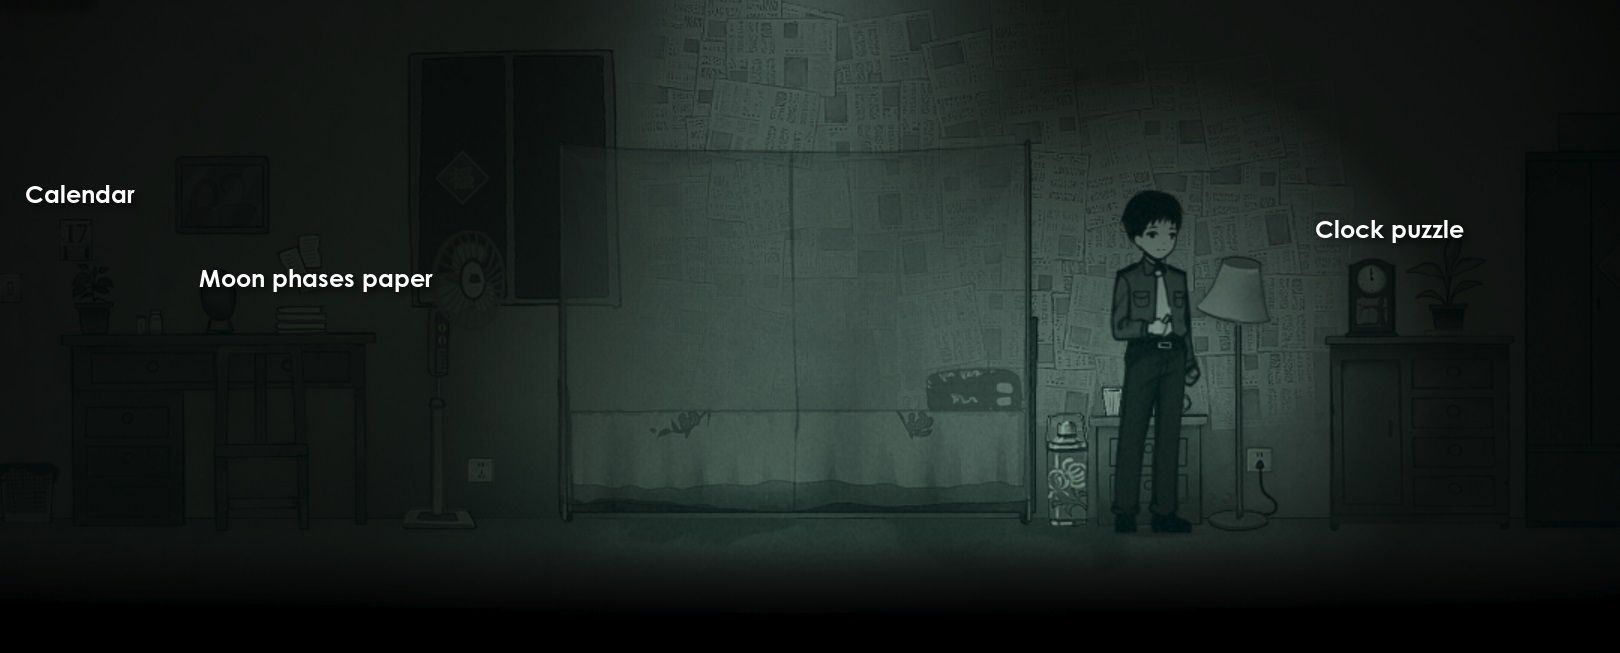
You’ll be in a bedroom.
–
–
Check the calendar for some enigmatic notes, then the desk for a paper about moon phases, they’re both clues for the next puzzle.
Go right to the clock and use the info from the calendar and the paper to set the time accordingly.
A hint: check the written number of the day on the calendar, check the notes on the calendar to see what matters in regards to the moon, then check that info on paper to get a time
Solution: we need the time the moon sets on the first quarter, so 24:00
Now keep walking right in this small scene, you’ll get some dialogue. Once it’s done interact with the objects you’ve found inside the clock and you’ll get another scene.
Once done go back left to the entrance hall, then left again to the living room.
In the living room go to the door at the far left corner, enter it to reach the balcony.
Here interact with the plant on the left side for more scenes, Here I’ve unlocked the 父债子偿 ACHIEVEMENT. This one’d mean “a son must pay his father’s debt”.
–
–
Go back inside, the phone on the table with the red candles will ring, answer it.
Once the call is over the portrait to the right of the phone will be different, check it to find musical notes.Go right, back to the entrance hall.
At the front door you’ll have a conversation and have someone join you.
As the game says you can now revisit some places for some more info but there’s-sadly-only two new things.
Start with the calendar here in the entrance hall for some info about the family, then go back to the living room and interact with the musical notes on the portrait left of the TV to get a code.
Back to the entrance hall, use the code 5358 and exit.
Chapter 3
You’ll be back at the entrance hall, but it’s kinda different.
Interact with the torn page on the wall to your right for a scene, then go left and interact with the toy camera hanging from the wall.
This’ll make the art style VERY different, you can invert the image again using the toy camera but keep it like this for now. Use the door on the left.
You’re in the living room again, go left and interact with the red drawing, now use the toy camera on the right of this room and invert the image to get back to “normal”.
Go left to where you saw the red figure and interact with the table then choose to move the statue to find a diary page.
Read it and follow the instructions at the botton of the page to fold it as follows down, up, up, right, left and down . If done correctly a scene’ll start, interact whenever you’re asked to.
You’ll be controlling a tadpole, this is very straightforward so just go around and enter each red circle to interact and get some dialogue.
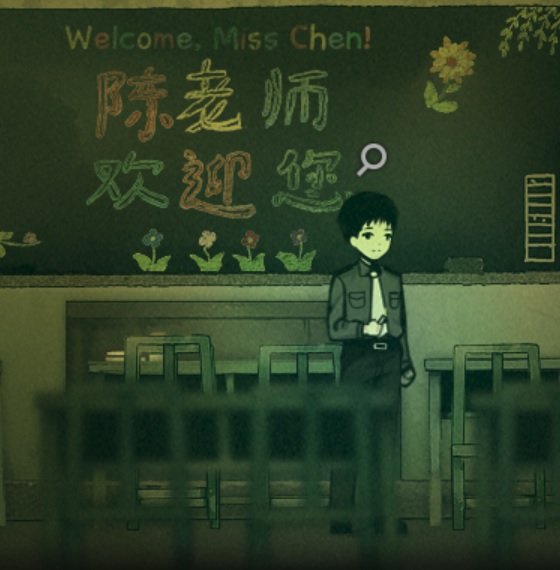
You’re now in a classroom.
Go slightly right and use the interaction point here.
–
–
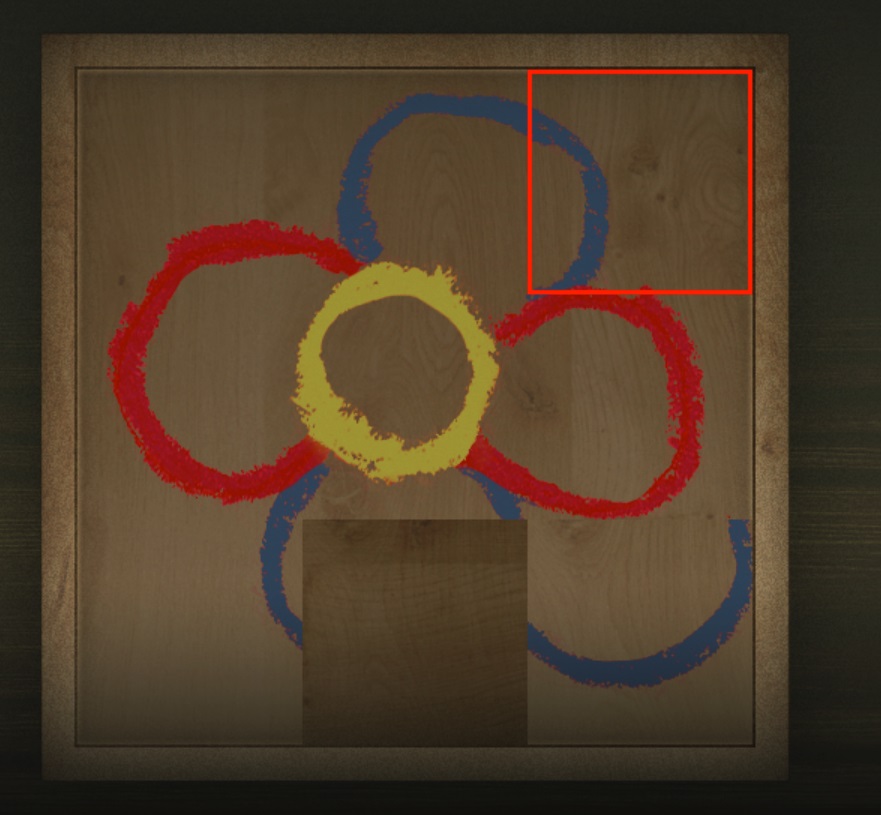
You’ll find a wooden box and a simple sliding puzzle where you recreate a flower, here’s how it’d look when one move remains.
–
–
You’ll get the key in the box.
Now go left and use the toy camera, invert the image.
Check the red door on the left, the faces on the blackboard, the red flower on the right and the window close to it then switch the image to get back to normal.
Go to where the red flower was and use the key to unlock the middle drawer to get red chalk.
Go left to find an interaction point on the desk below the “welcome” text, use it and choose to grind the chalk to get red chalk powder.
Use the toy camera to invert again, interact with the blackboard and choose to use the powder.
Once more go to the toy camera and go back to normal.
A scene ensues, just follow the instructions whenever they appear. Once you’re a tadpole you’ll have touch all characters on the sheet to turn them into colorful stars, do this four times.
You’ll end up in a white screen with stars and clouds, here keep going left for another scene, you don’t need to touch the stars or anything.
We’re now in the kitchen, there’s a set table on your left, interact with it for yet another scene.
–
–
You’ll hear a door, go left and exit to the living room.
The living room seems very foggy, navigate right and use the toy camera to invert then use the door on the right to get back to the entrance hall, in the hall use the door on the right to reach the hallway and then use the camera here to go back to normal.
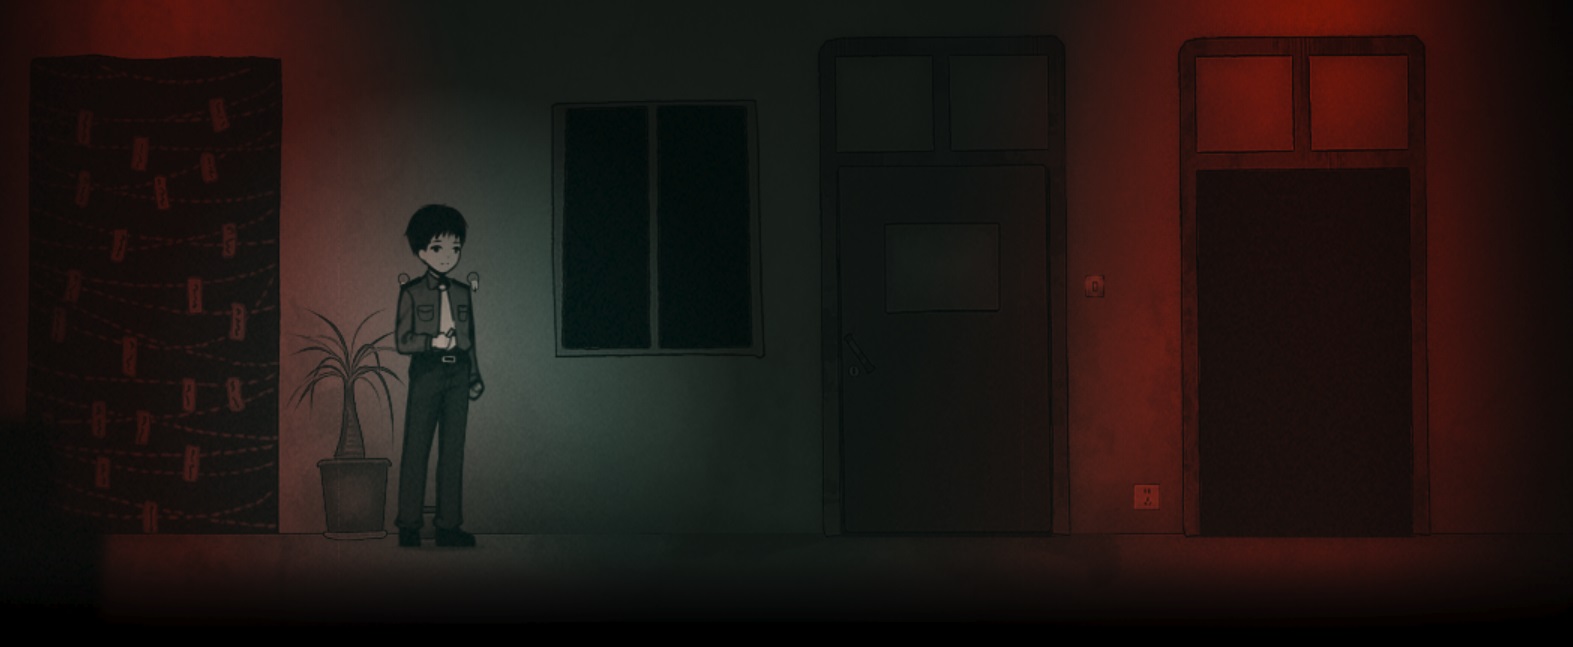
You’d be here, enter the rightmost door.
–
–
You’ll be in a new bedroom.
–
–
Interact with the diary page on the wall to get ticket to “Vase Girl”.
The bed will lit up red, interact with it and open the mosquito netting.
Two toy cameras will appear to the left and right of the bed.
Use the left one, invert the image then move it around until the pieces form a star, you’ll get a blue marble.
Use the right one, invert and move the pieces around to make a cage.
Now go to the window above the desk and interact with it to get black feather.
Back to the bed, interact and choose to put the marble and black feather in the bowl, ask your questions.
When the conversation is over you’ll get the 童趣奇缘 ACHIEVEMENT. It means “fantastic adventure of childish nature”.
–
–
Go right and the award on the wall near the window will move, interact with it and follow the prompts.
A conversation will follow and someone’ll join you, you can then examine the bed on the left and the award again to get some extra info.
Exit the room then go back to the entrance hall inverting the image when needed.
In the entrance hall you can examine the page on the right for some more dialogue, there’s no extra info to find in the living room or kitchen so just exit using the main door to complete the chapter.
Chapter 4
We’re back in the clinic, it looks a bit messy though.
Interact with the smashed medicine cabinet just to your left and take the clinic key.
Go right, check the infusion stand on the way then use the door to exit.
You’ll be in a hallway, after a scene go right again and through the door.
In this ward go left, pausing to eavesdrop on conversations behind doors 3 and 2 then open door 1 and exit.
You’ll now be controlling someone else, just go right for some dialogue then exit back left.
We’re now back at the entrance hall, go right and interact with the sheet on the wall to get damaged doodle then go left and do the same with the skewed potrait to get damaged family portrait.
Now go back and a frame will appear in front of you.
–
–
Interact with it and follow the prompts for a scene change and dialogue, you’ll end up in a photo studio.
–
–
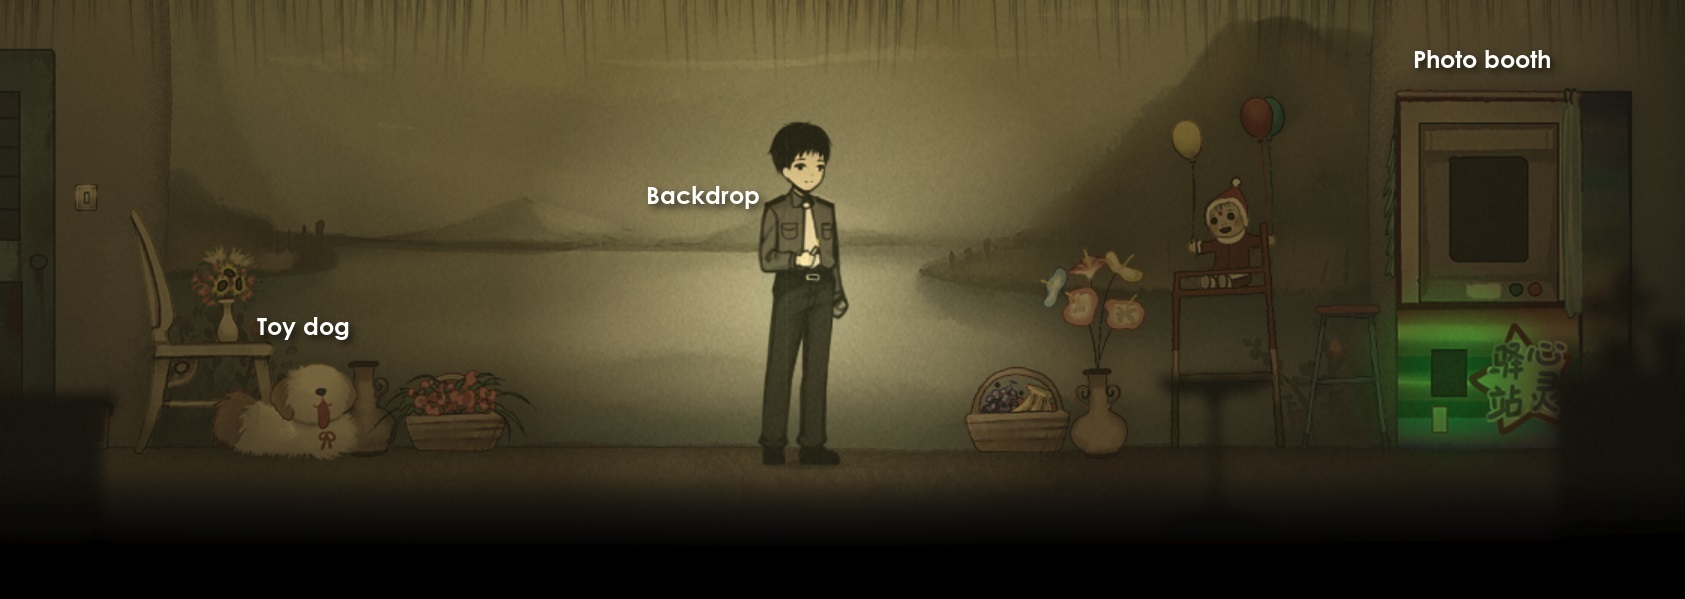
The toy dog on the left makes funny noises, if you’re so inclined.
Go right and interact with the photo booth to obtain a photo sticker.
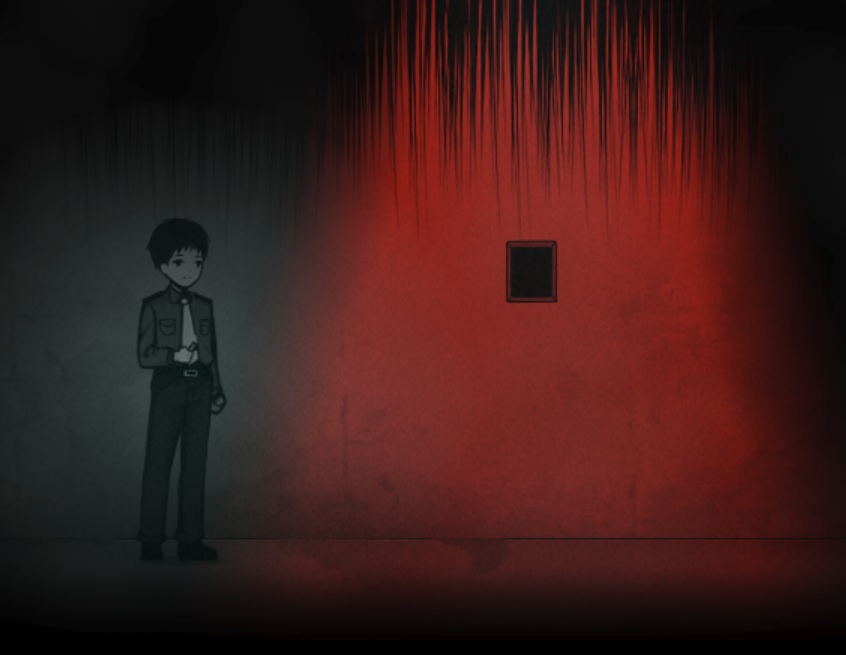
Now left until you get to an interaction spot around the middle of the screen, tear the background up to get backdrop fragment and a scene.
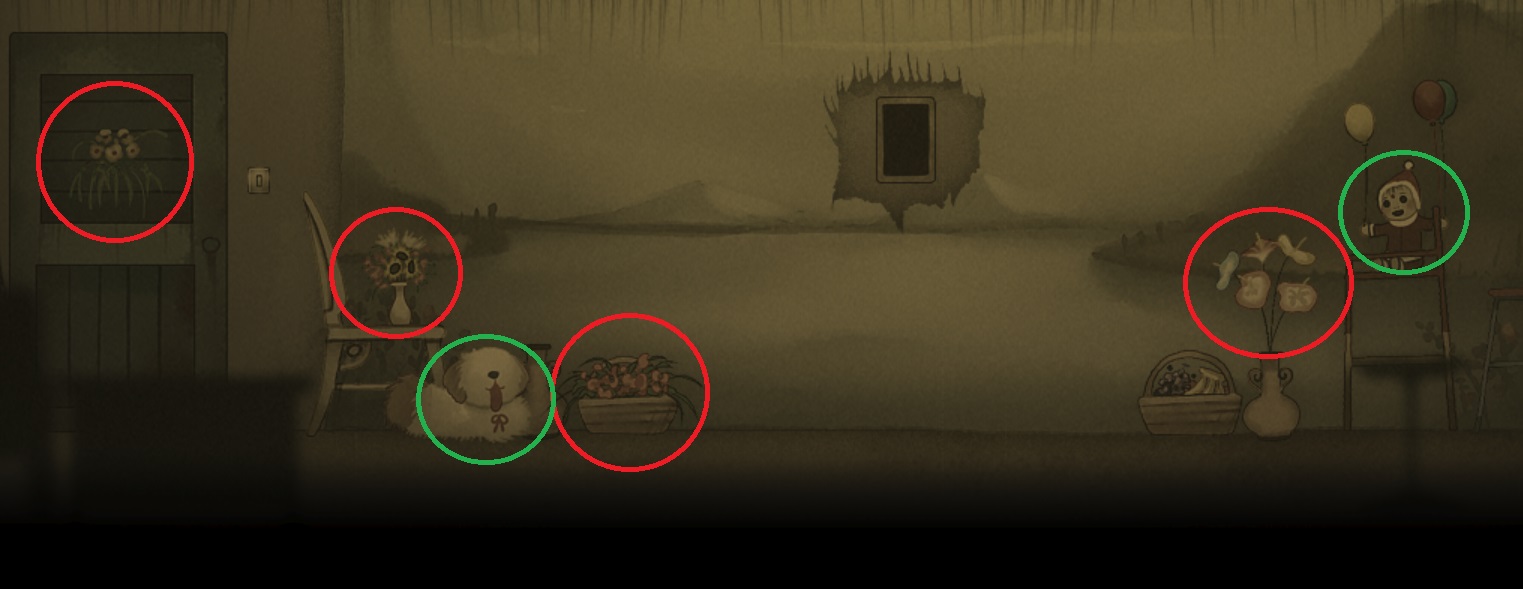
You now have to gather four flower fragments, they’re all close by and I’ve circled them in red in the screenshot below. Once you have them interact with the frame and then do the same again for the two toy fragments (circled in green).
–
–
Once you’ve added everything you’ll get a scene then a phone will start ringing, exit the photo studio using the door on the left.
In the living room go left and pick up the phone for a conversation.
Now go right and check the black frame just to the right of the phone then the interactive spot near the TV, exit right.
In the entrance hall check the brick wall before exiting right.
Were in the hallway, check the only available door then go left for a small scene; now interact with the portrait bathed in red light and exit right.
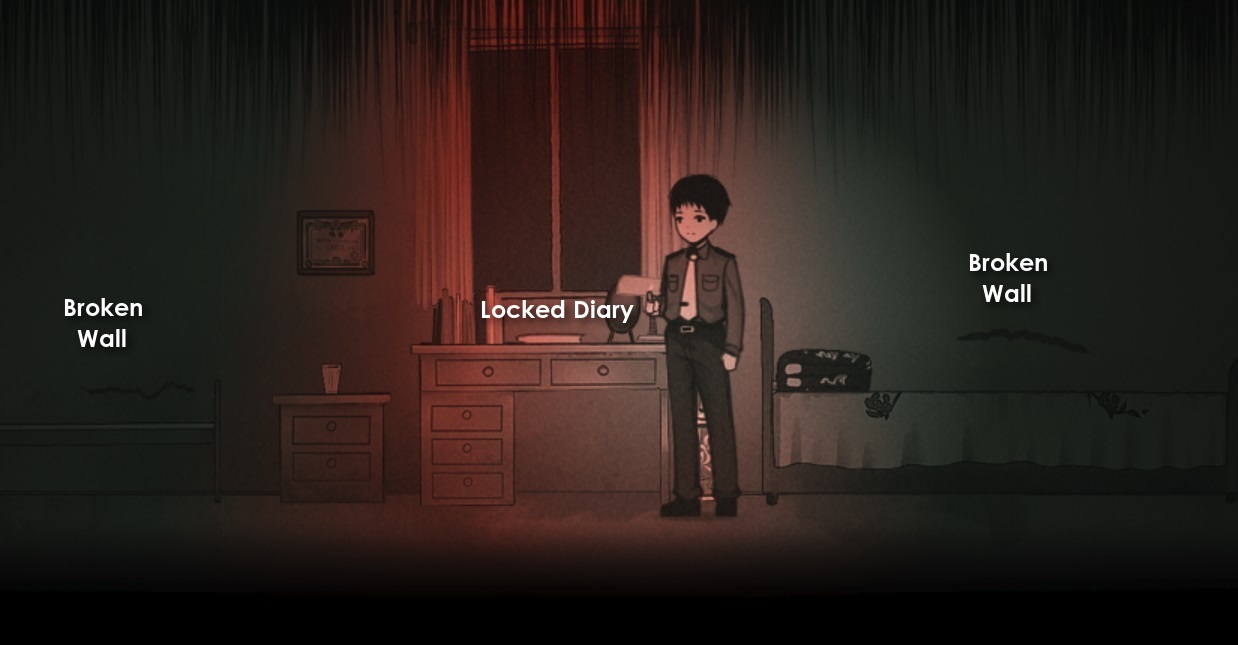
In this bedroom interact with the two broken sections of the wall to get wall fragment 1 and wall fragment 2, you’ll combine them automatically.
–
–
Now interact with the locked diary on the desk, it’ll ask for a combination.
Hint: The two wall fragments, together, provide the solution.They need each other to work though.
Solution: If you tried overlapping the two fragments as if they were transparent you’d get the code: 922
Once the diary is opened you’ll get some story and a simple minigame where you move scissors to cut something.
You’ll be on the balcony, move right for a scene then go inside.
In the living room use the door just to your right, choose “yes” to open the door.
The only item of note in the kitchen is a chained diary on the table, interact with it.
Now move right and interact with the greenish area, choose “yes” to enter.
In this forested area you’re supposed to follow a voice but I didn’t hear anything tbh. Anyway there’s only one correct exit for each area and if you choose the wrong one you stay where you are and can choose a different one, no biggie.
From left to right use the second path, then the third one to end up in a new area.
Now walk right until you spot a tree with a red lantern, interact with the piece of paper that’s on it.
After the conversation walk left and use the first exit that comes up.
In this area walk right and interact with the mound and plant you can see in the background to pick up a ring.
Walk left to find the chained diary and unlock it.
Back in the kitchen walk left for a conversation then use the door to exit.
Now on a town street walk left until you find the clinic
–
–
Interact with its entrance then keep going left for some scenes.
Back in the bedroom check the door on the right. Choose whichever option then enjoy the scenes and follow the prompts.
When you’re back in control interact with the diary on the desk in the middle then go right to the door and choose to leave the room.
You’ll be in a new, weird area. Walk left until you reach a bridge of sorts and interact with it.
In the new screen follow the prompts then you’ll be controlling a boat.
Go left until you touch the leftmost screen (you’ll reappear close to a flag) then go right until a flag changes direction, once it does go left until you touch a dock and the scene changes.
Check the ship on the right then move left until you get a scene, once it’s done move slightly right and interact with the lit stove and follow the prompts for another scene change.
In this heated environment walk left and check the red writing on the tree, then interact with the person to the left of it.
A few scenes follow, once you’re back in control interact with the purple flame to your left.
You’ll also unlock the 魂兮归来 ACHIEVEMENT. Aka “O soul, return!”. This is an excerpt of Chu Ci; the original poem was more or less an eulogy for Qu Yuan..
–
–
Now walk right until a mirror appears, go left and interact with it then exhaust all the options in the conversation to end this chapter.
Chapter 5
You’ll now be in the criminal investigation department, use the door on the left.
This is the archive room, move left and intreract with the cabinet under the red light; exhaust all options to get the fingerprints on the bottle cap. Once done go back using the right door.
Nothing to see in this hall, exit left.
In this living room go left and pick up the phone where the red light is, scenes and dialogues follow.
Once you’re back in control go left to the sewing machine and interact to find out you need some tape.
You’ll find said tape on the right, where the TV is; interact with the cabinet pictured below to get a roll of tape
–
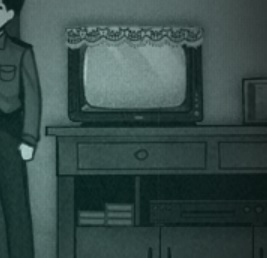
Now go back letf and interact with the sewing machine again to get fingerprint 1. Exit right to the entrance hall.
We’re just passing through, so in the entrance hall use the right door to go into the hallway.
You’ll remember this hallway has two bedrooms, enter the closes one first.
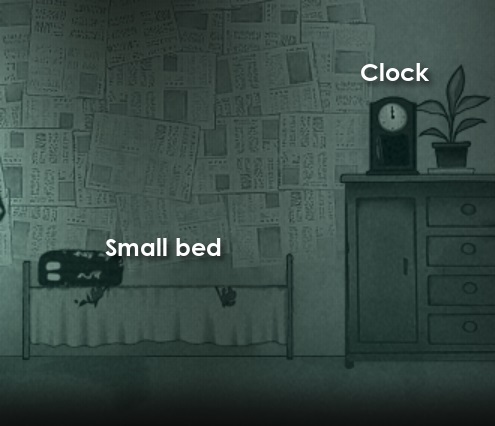
Here you can check the small bed for some info and then the clock for fingerprint 2.
–
–
Go back to the hallway and enter the rightmost door to the other bedroom.
There’s only one thing here, a toy camera on the left with fingerprint 3.
If you’ve got everything a minigame will start where you match the fingerprints, you can retry if you pick the wrong one so no worries.
The correct order is 1-3-2
Once you’re done and got through all cutscenes you’ll be in a small, dark area.
Here interact with the portrait and light a candle.
You’ll now get lots of scenes with story exposition, just enjoy the show and follow the prompts when needed.
When they’re done (that was some intense stuff uh?) you’ll unlock the 飞鸟投林ACHIEVEMENT. (birds scatter into the woods [/])
–
–
Once you’re back in control head right to exit the living room.
We’re done in this house so use the main door in the entrance hall to leave then, when you’re outside, use the stairs to descend to the ground floor.
You’ll get some dialogue and hear a phone ringing, enter the office nooks room on your left.
In this room just pick up the first phone you see to bring the chapter to an end.
Chapter 6
You’d be where we left off having ended a call in the office nooks room, exit right.
You’ll have a scene with an announcement and find yourself under a tall pole, go left and check the board to find a poster.
Now walk right until you meet some kids and get some dialogue then follow the prompts and play a simple mingame (just move to the red circles on your right three times).
You’ll get more scenes after the minigame then you’ll have to climb up a rope and follow a couple prompts; this ends the chapter and nets you the 星落秋水 ACHIEVEMENT. “stars sinking into an autumn river”
–
–
Chapter 7
You’ll be back at the clinic, sit back for some lengthy dialogue,
–
–
Once you’re back in control walk right, check the sign as you go until you move to a new screen then enter the last door on the right.
The only noteworthy thing in the autopsy room is the row of pictures, eamine them for some extra info then enter the door on the right.
In the morgue go right and examine the body where the light is, follow the prompts and get some dialogue.
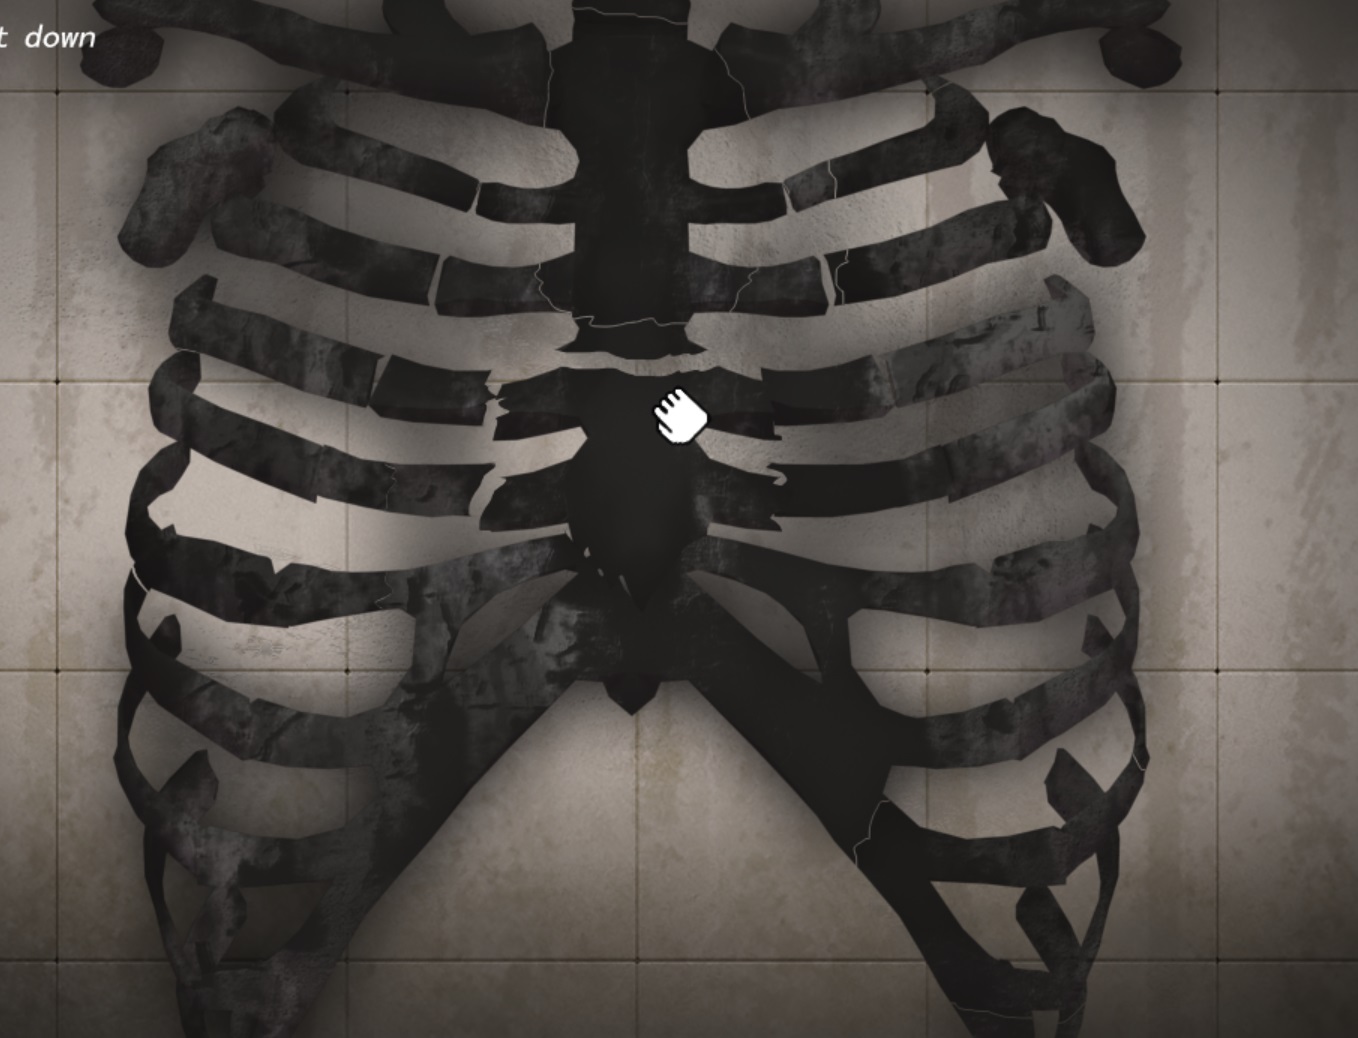
Onwards to a minigame where you have to put bones together, here’s what it’d look like if you want help.
–
–
Exit left, in the next room use the phone on the desk to the left.
New area and new scene, enjoy the dialogue and answer the questions.
The chapter ends and you’ll unlock the 落烬成牢 ACHIEVEMENT aka prison of falling embers
–
–
Epilogue
Note: DO NOT skip the credits if you want the last achievement, make a save now to be sure you don’t have to replay too much in case you somehow skip em and miss it.
We’re back at the tall pole area.
–
–
Go to the board and interact with it, read through everything.
Move right until you reach the tree and a scene starts.
You’ll also get the 春风化雨 ACHIEVEMENT aka “nurturing spring wind and rain” this is usually used as a praise to educators
–
–
The credits’ll now start, again DO NOT SKIP or you’ll void the last achievement, you can use F4 to toggle fullscreen and do something else while they run if you want.
Once the credits and last screens are done you’ll get the 今宵别梦寒 ACHIEVEMENT thus 100% the game. This one’d mean “tonight, a shivering dream of parting”; this is an excerpt from the song “Song Bie”.
–
–
Thank you and a request
I hope you’ve found this guide helpful, if you did pelase give it an upvote to make it more visible to others!
If you spot any mistakes or wrong info please lemme know in the comments.
Also follow this link for my other guides, maybe one of em will catch your fancy:
https://steamcommunity.com/profiles/76561198006541362/myworkshopfiles/?section=guides – [steamcommunity.com]
Stay safe and happy gaming.
–
–
Hope you enjoy the Guide about Firework – All Scenes & Puzzles Hints + Walkthrough, if you think we should add extra information or forget something, please let us know via comment below, and we will do our best to fix or update as soon as possible!
- All Firework Posts List












Leave a Reply