Mission Editor 01: Create / Edit mission
From the “Mission Editor” menu you can create new missions for Easy Red 2.
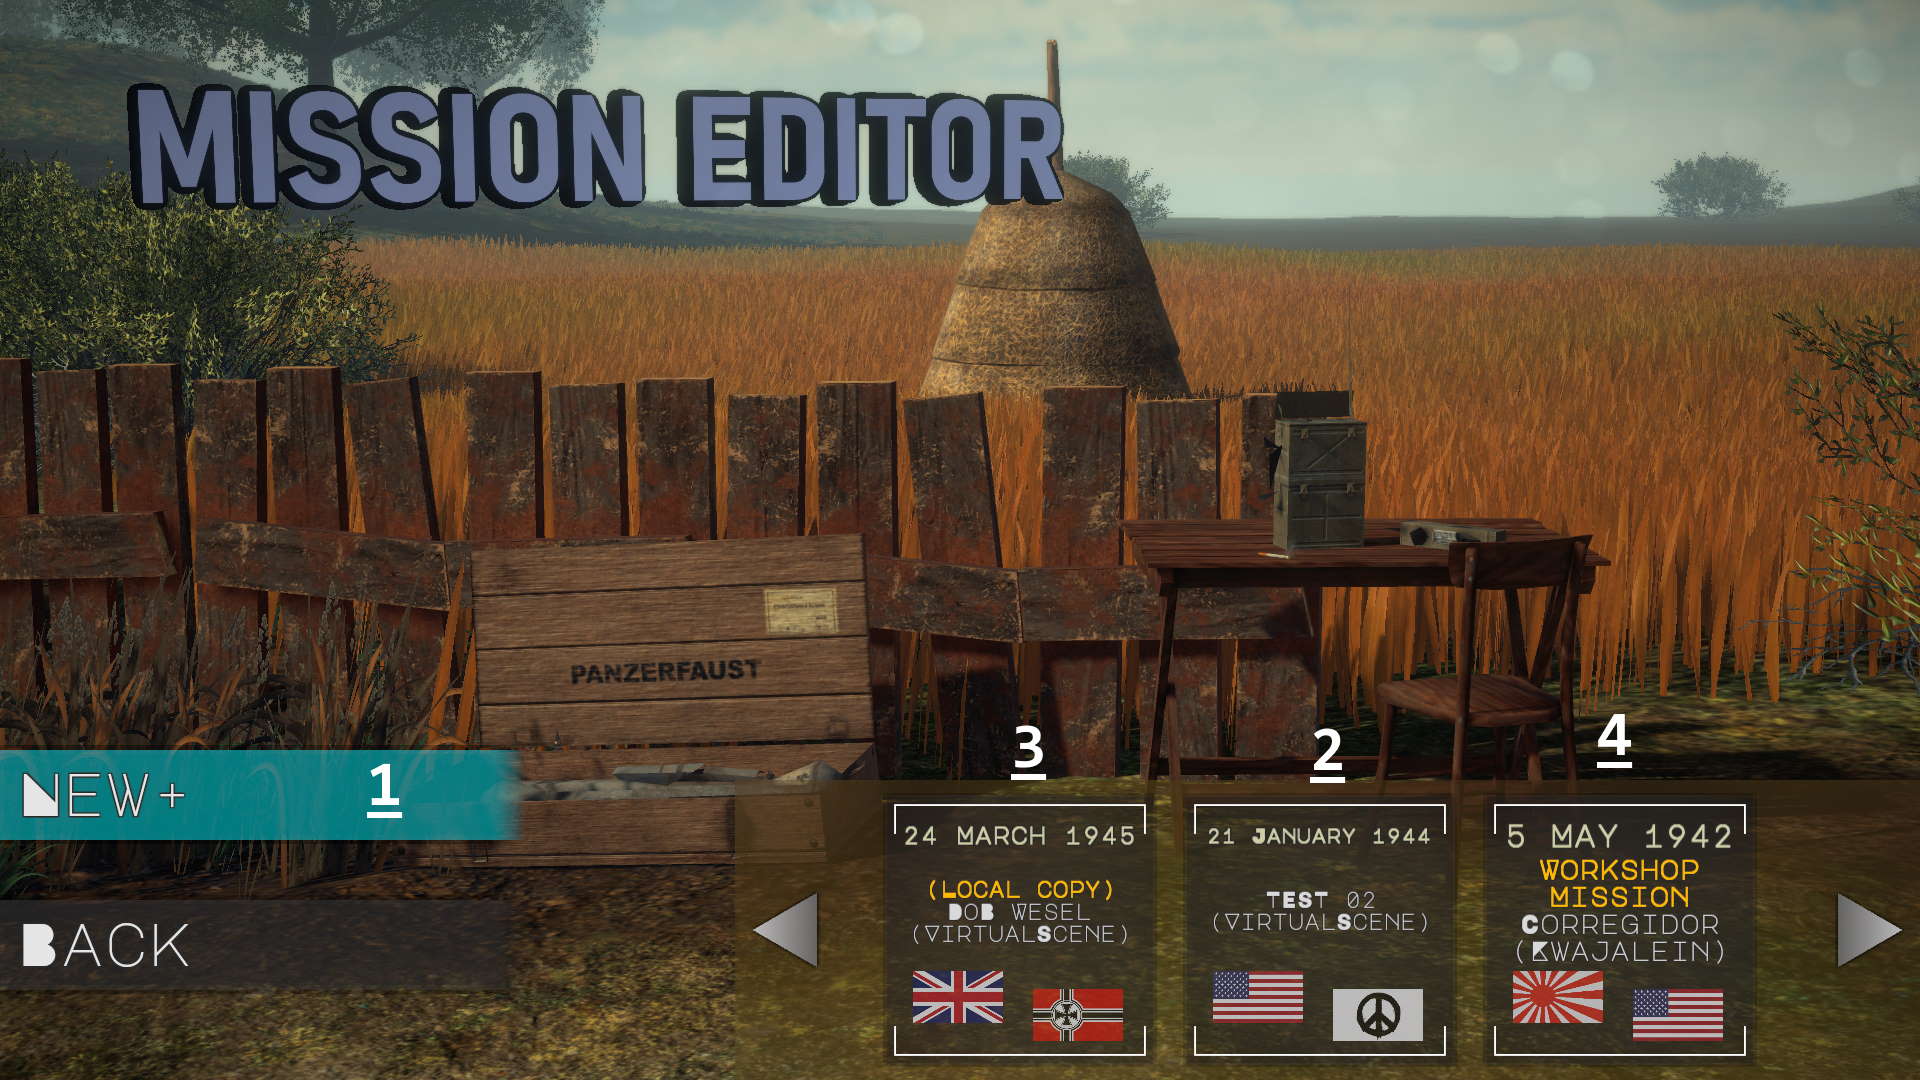
By pressing New (1) you can create a new mission.
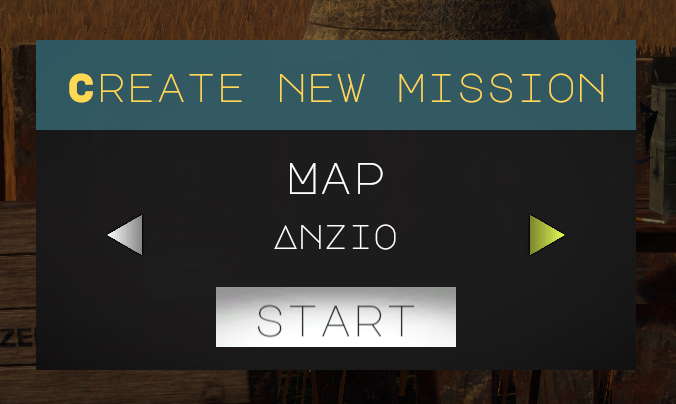
You will need to select the desired map. By selecting “CustomTerrain” you will have a maritime area available where you can place blocks of land and create your own map.
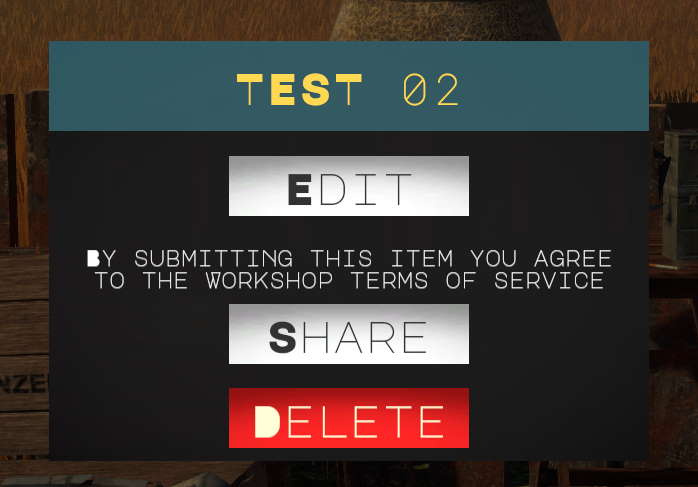
By pressing on a mission it will be possible to modify it, delete it or share it in the Steam Workshop.
User created missions (2) appear with their name and the map on which they are created. It is also possible to modify the missions downloaded from the Steam Workshop (4). To remove these missions, simply unsubscribe from the mission from the Workshop. However, it is not possible to reload missions downloaded from the Workshop.
Once a mission downloaded from the Workshop has been modified, it will be saved locally on file (3). However, having no rights to create the mission, it will not be possible to load it in the Workshop.
You can use this https://steamcommunity.com/sharedfiles/filedetails/?id=2413665529&searchtext= to learn the functionality of the mission editor.
Note: You can play created or downloaded missions from the “Campaigns” menu.
Mission Editor 02: Set up battle details
As soon as you start the Mission Editor, you will be faced with a screen like this:
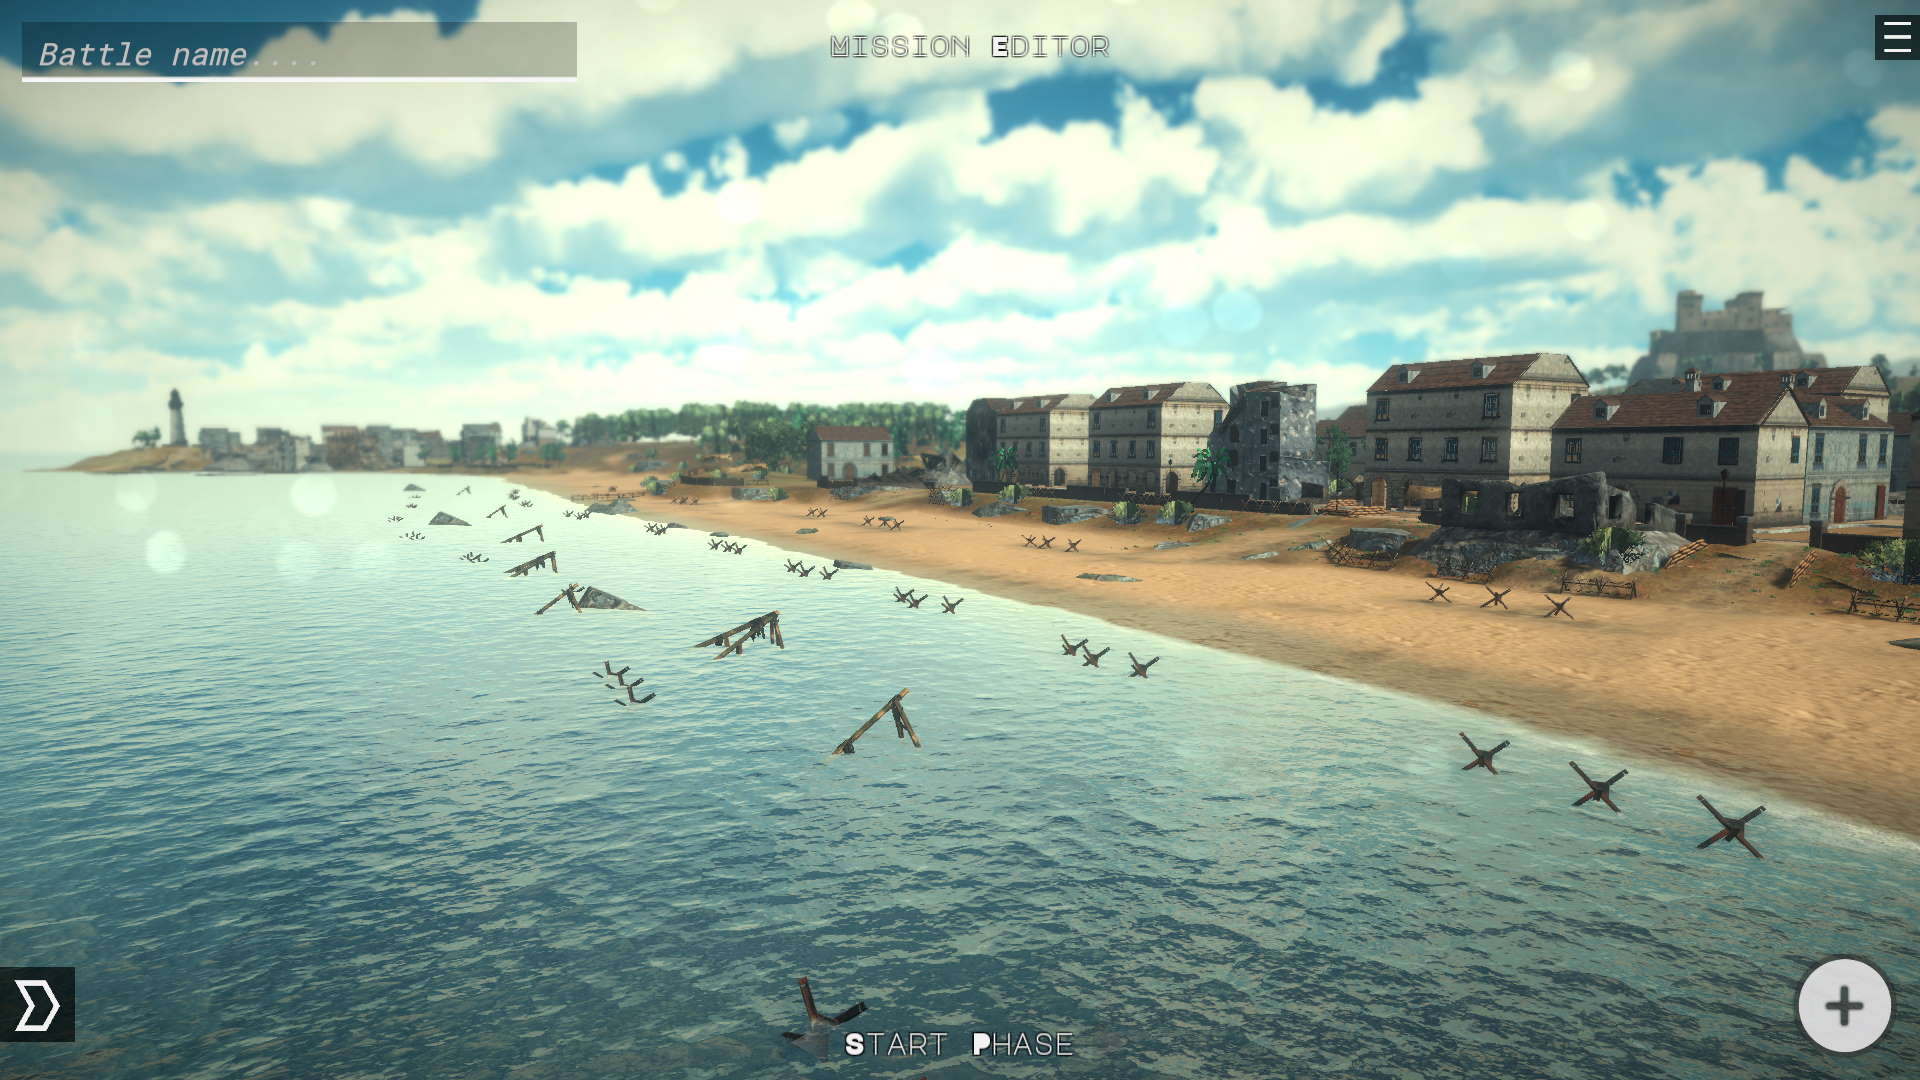
By pressing the arrow at the bottom left you can open the battle configurations.
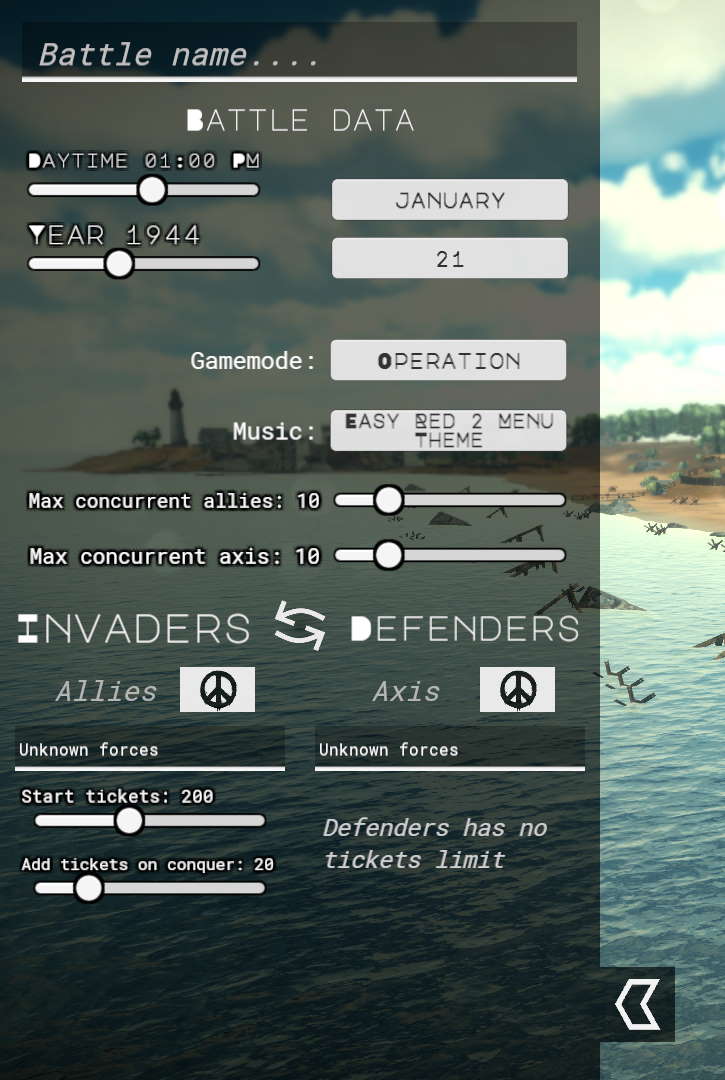
From here you can set:
- Battle Name The name of the battle
- Battle date and daytime Time, date, month and year of the battle.
- Gamemode The game mode including:
-Operation, which is a game mode where the team of invaders will have to conquer a series of objectives one after the other, before running out of units available.
-Push The Frontline, which is a game mode where both teams can conquer the objectives and proceed to conquer the entire battlefield. For this game mode it is advisable to start from an intermediate stage instead of the first available. - Music The background music
- Max concurrent units The maximum number of concurrent units alive for both factions.
- Invaders and defenders data Settings regarding who are the attackers, who are the defenders and how many tickets available for the attack will be awarded.
The mission is also divided into consequential or non-consequential phases (depending on the game mode). Each mission phase involves having at least one team spawn and one mission objective.
Mission Editor 03: Placing Editor Objects
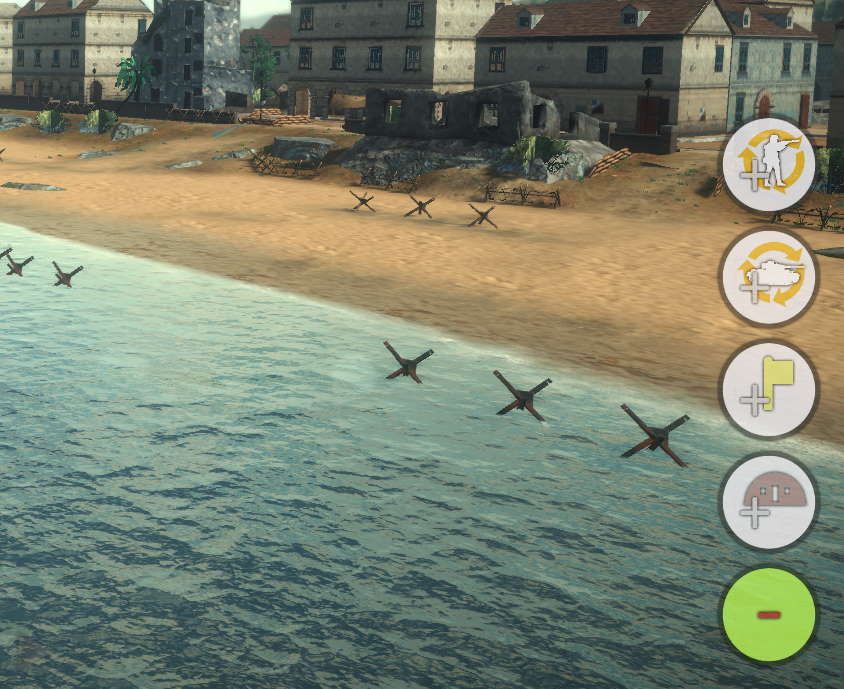
From the lower right corner of the screen it is possible to add new editor objects, such as props,
The buttons allow (from above):
- Add squad spawn. (for the current phase)
- Add vehicle spawn. (for the current phase)
- Add a mission objective (for the current phase)
- Add a building or prop (for all stages)
Let’s start with the last button, the building and props menu
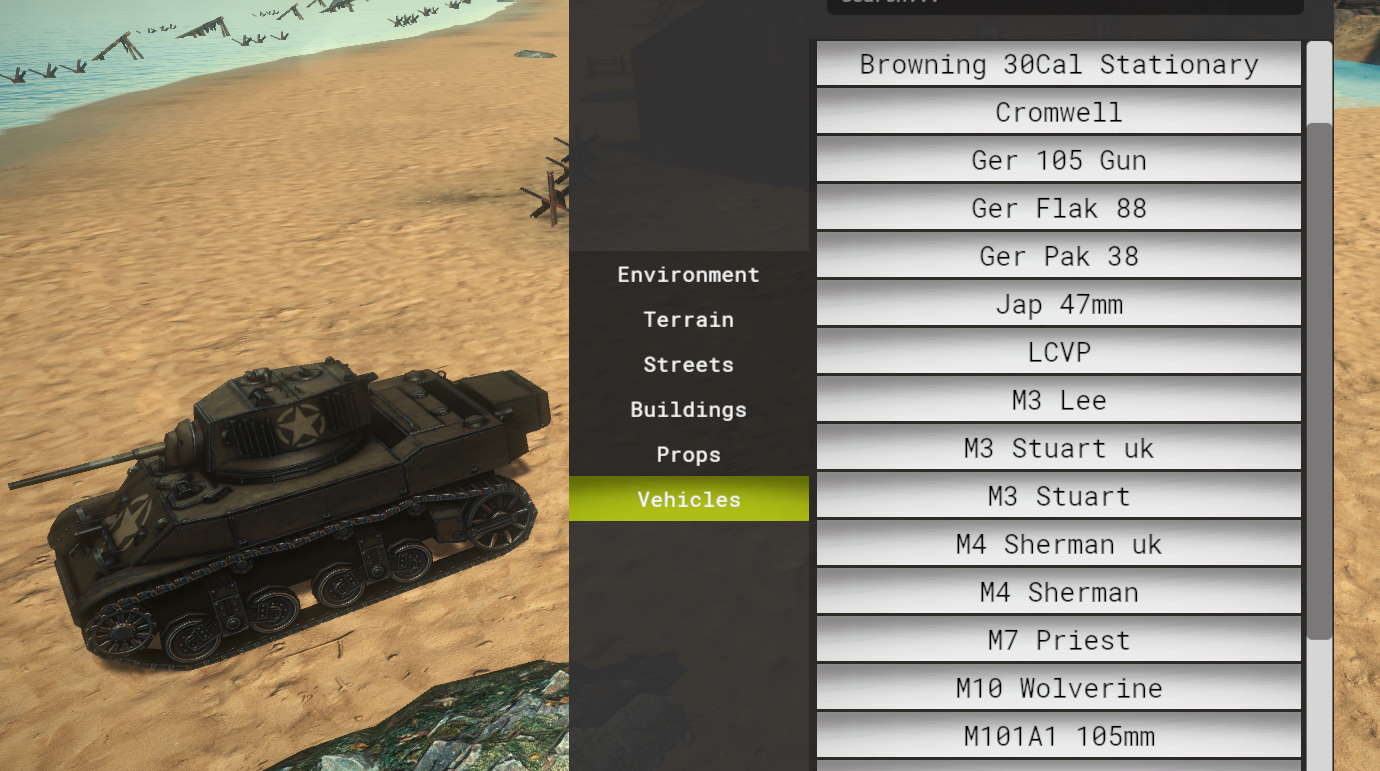
Adding Props
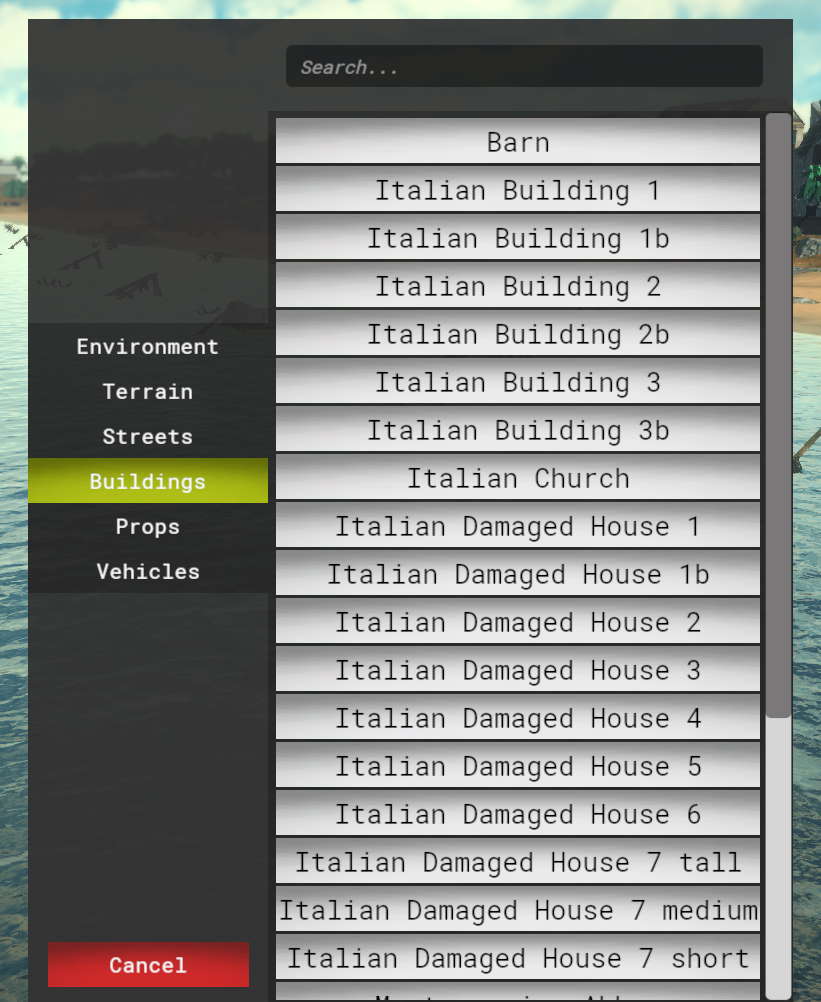
From this menu it is possible to select and place buildings, roads, vegetation and vehicles. Any items placed will be available from the start of the game.
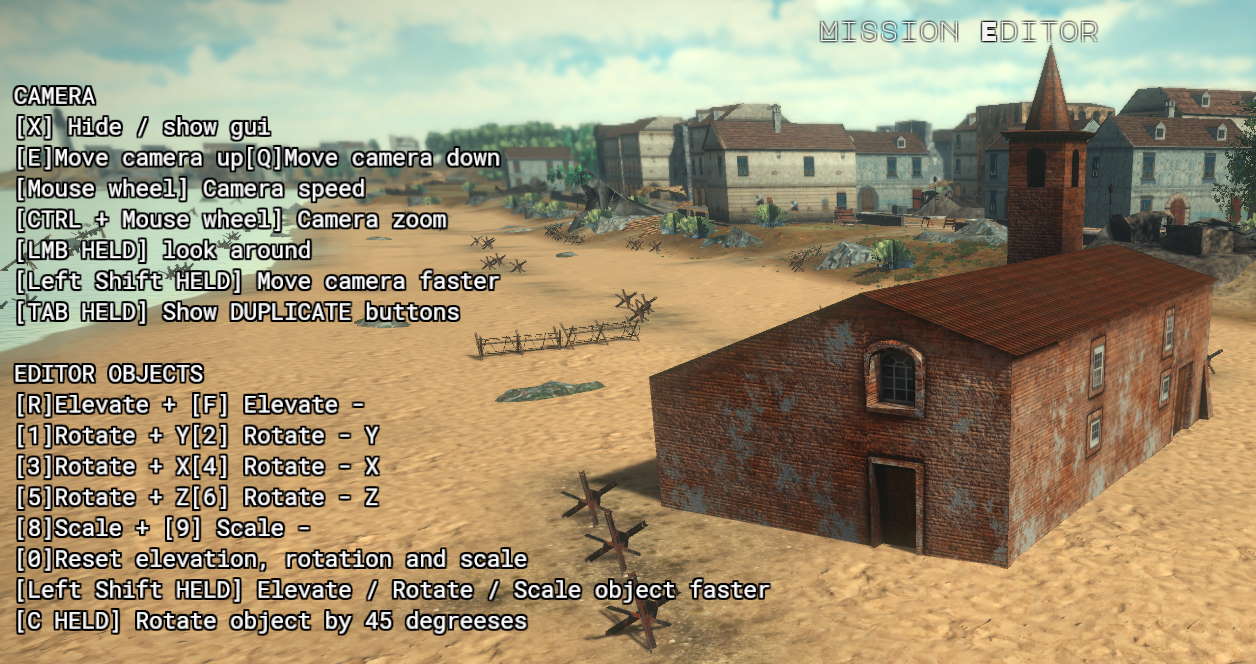
Once you have selected an object, you can drag it onto the map and place it.
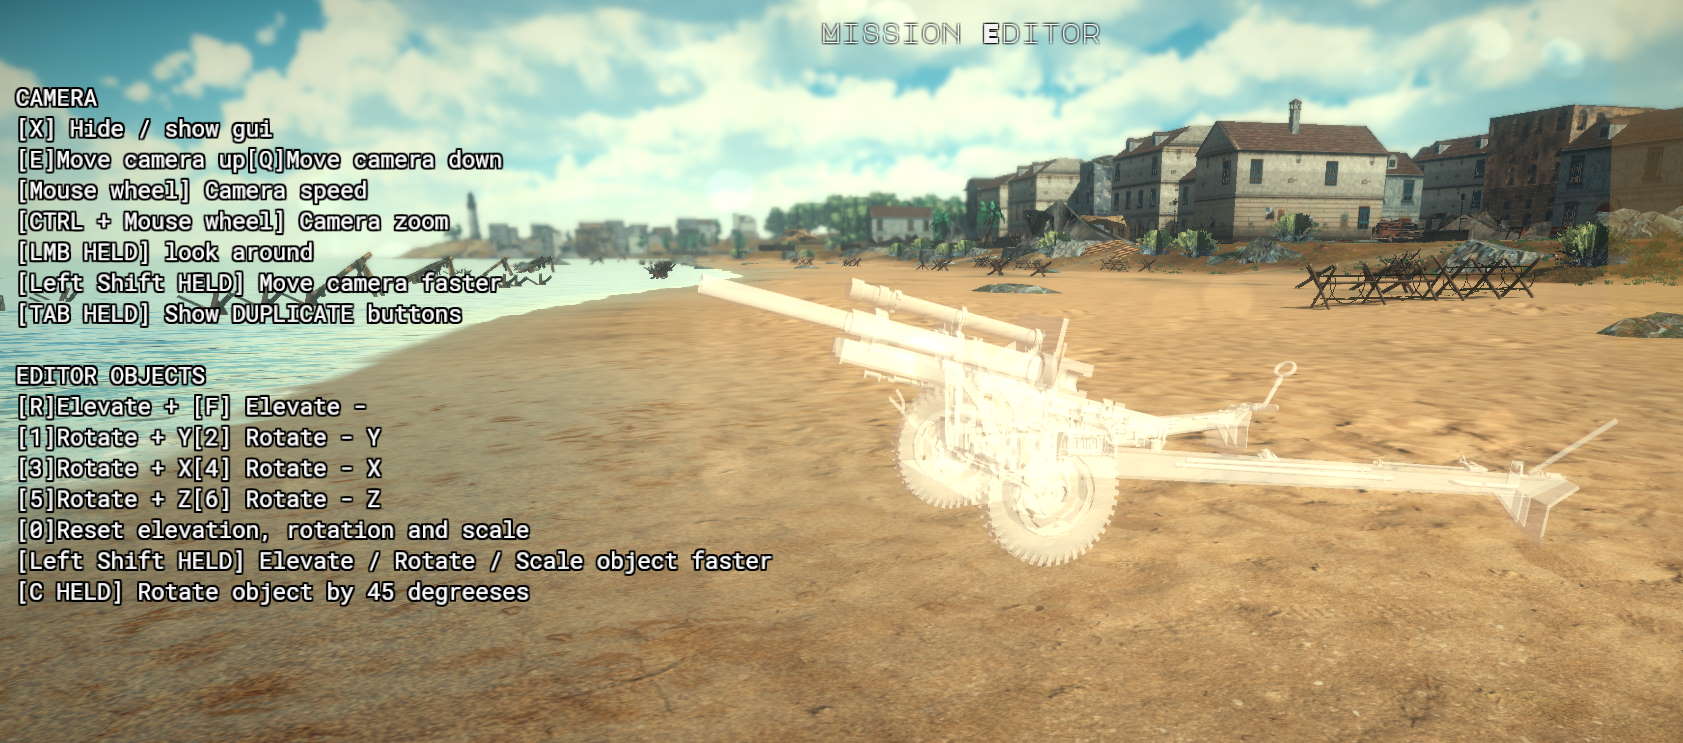
The keys to rotate, scale and elevate objects according to your keybinding settings are also shown on the screen.
Note: Holding Left Shift (basic configuration) will allow you to rotate / scale / elevate objects faster.
By holding down C (Standard configuration), you can only rotate objects 45 degrees at a time.
Once you have finished positioning the object, just press “Left mouse button”.
You can also enter vehicles from this menu, which will appear at the start of the mission with no internal crew.
Adding Phase Objective
With the second button from the bottom it will be possible to add a phase objective, that is a mission objective that the units in the game will have to conquer or execute during the current selected phase.
Once conquered or lost, it will move on to the next or previous phase, activating other mission phase objectives.
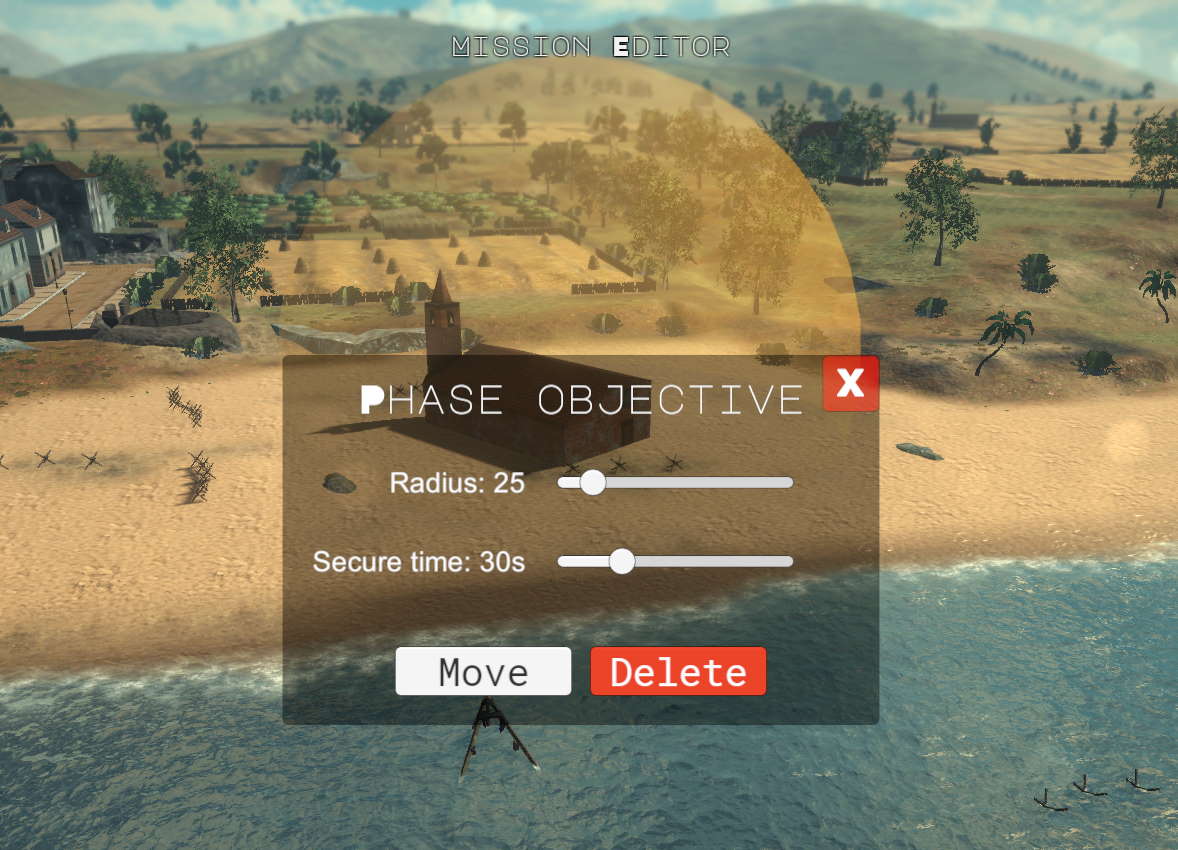
For a mission objective it is possible to set the size of the radius and the time required to conquer a unit.
Adding Vehicle Spawns
The button with a tank icon allows the addition of vehicle spawns.
A vehicle spawn is an object that, connected with a team spawn, allows you to insert vehicles with a crew into battle.
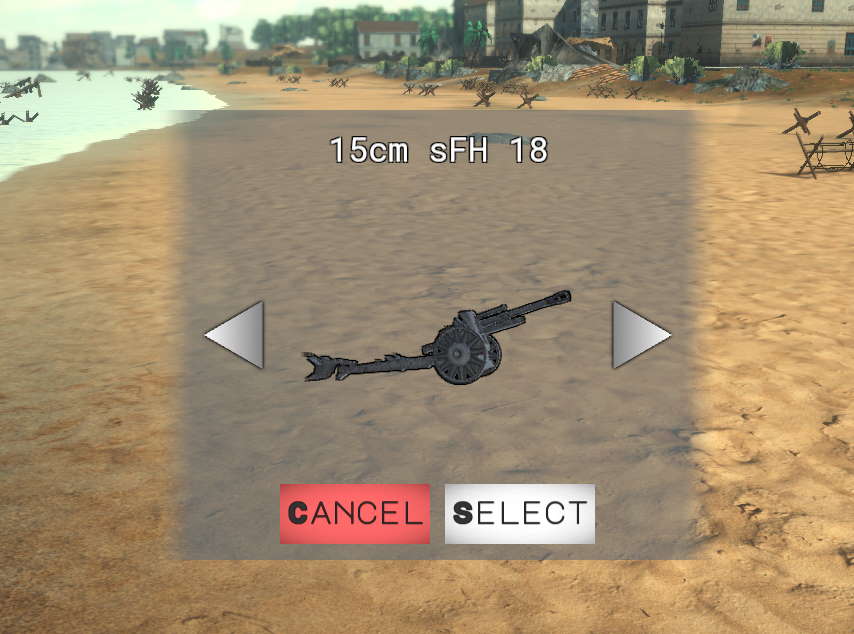
Unlike vehicles added via the props menu, these vehicles can therefore only appear when a team respawns on the spawn linked to this vehicle spawn. Vehicles can also respawn on this spawn once destroyed.
This means that for every contemporary vehicle you want in battle, you need to add a vehicle spawn for it.
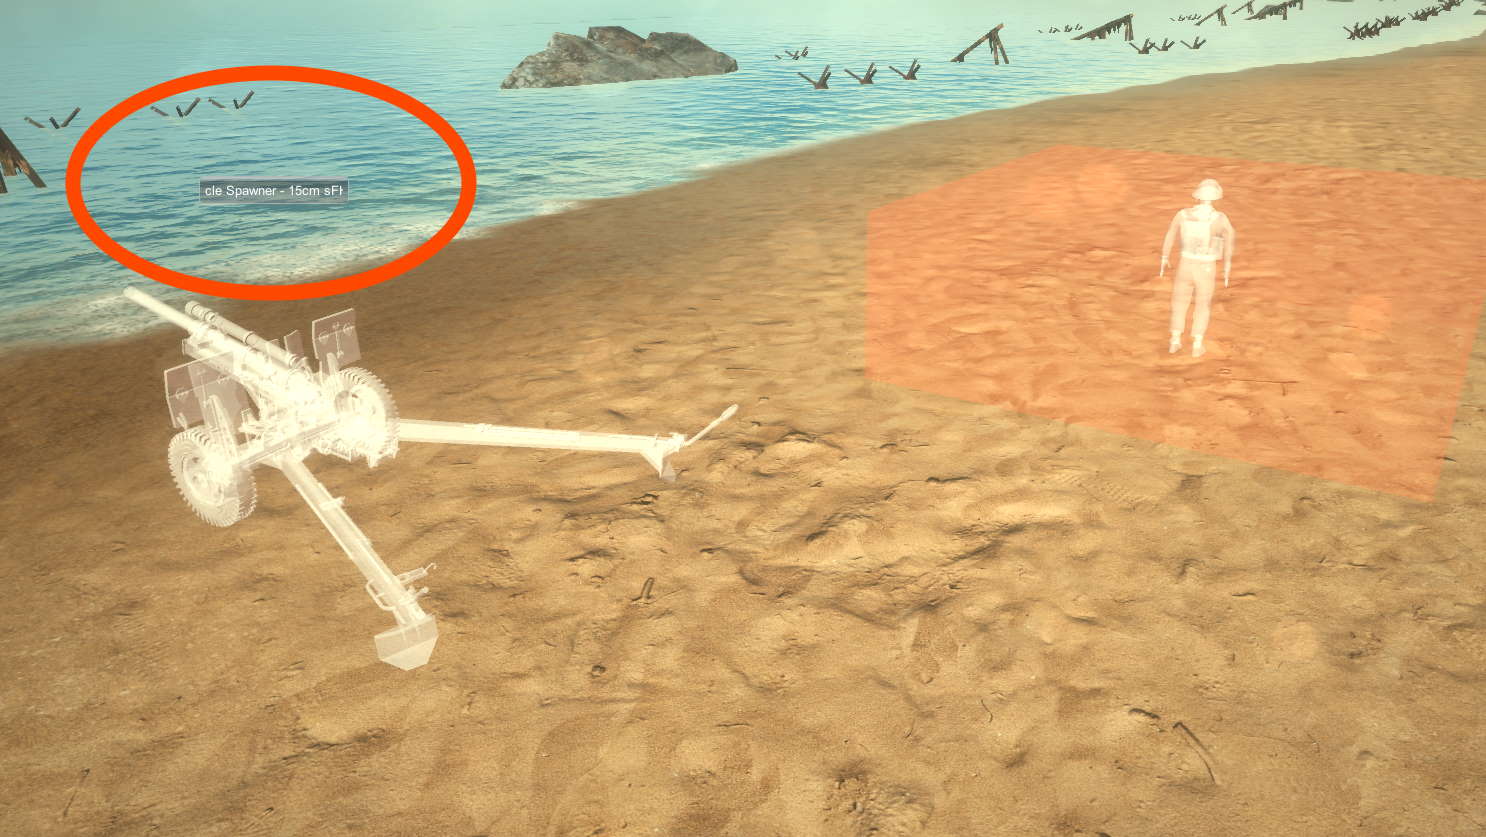
The placement of the vehicle spawn is similar to that of the props or objectives, but instead of showing the placed object it only shows a generic preview.
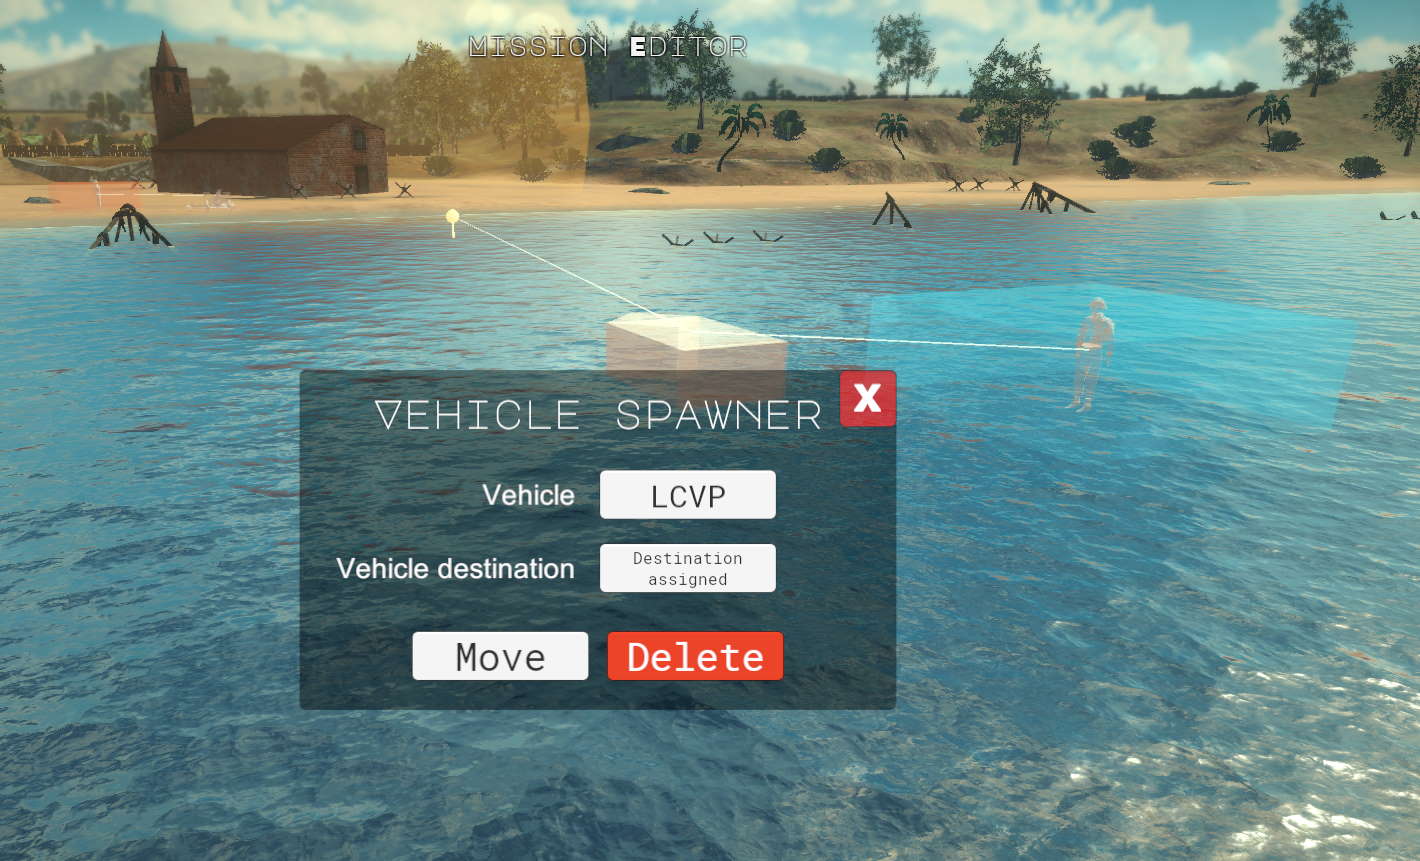
For troop transport vehicles such as LCVPs, Trucks or Gliders, it is possible to assign a destination to reach to unload troops that spawn on this vehicle.
Adding Squad Spawns
The last button allows you to add team spawns.
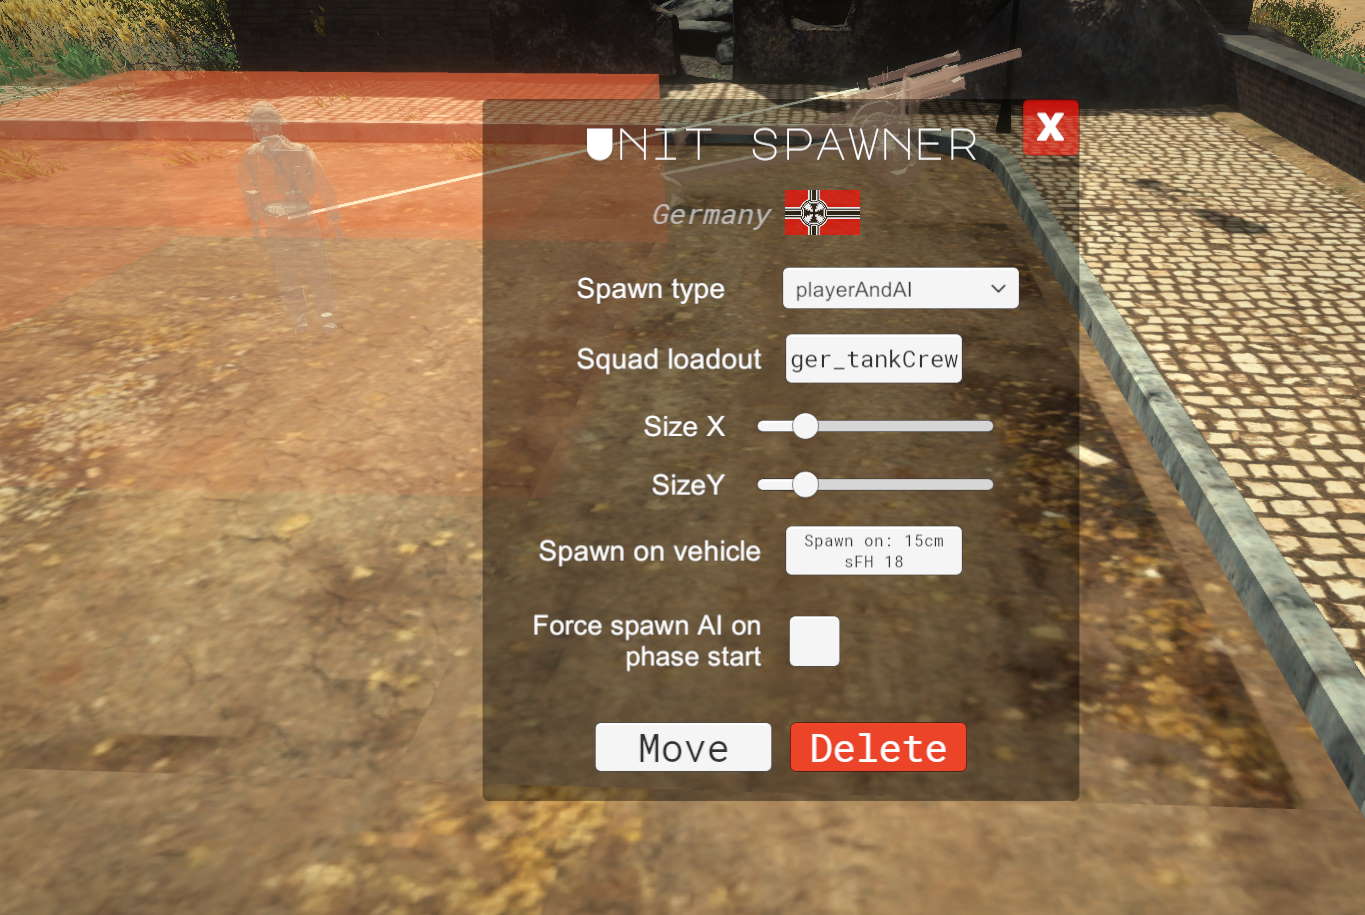
Here different configurations can be applied including:
- Select the spawn faction (by clicking on the faction flag); Based on the selected faction, spawned units will speak a certain language, have certain names, and fight certain other factions.
- Select the type of spawn; That is who can use the spawn (The player, the AIs, both or none).
- Select drive loadout. This will also determine the size of the team.
- The size of the spawn area.
- The ability to spawn on a vehicle (you will then need to select the vehicle you want to use).
- Forcing units to spawn the first time; This setting allows you to spawn an AI team even on a spawn that does not normally allow it. The team will spawn immediately at the start of the phase. This setting is useful when you want to place unique vehicles such as warships on which you want to be sure that the AIs spawn right away. In this case it is recommended to set the spawnType to “none”.
Mission Editor 04: Mission phases and battle ending
To build a mission it is necessary to define the objectives, the spawns and how they follow each other.
This is why the mission is divided into “phases”.
Each phase needs to have at least one team spawn and at least one active objective.
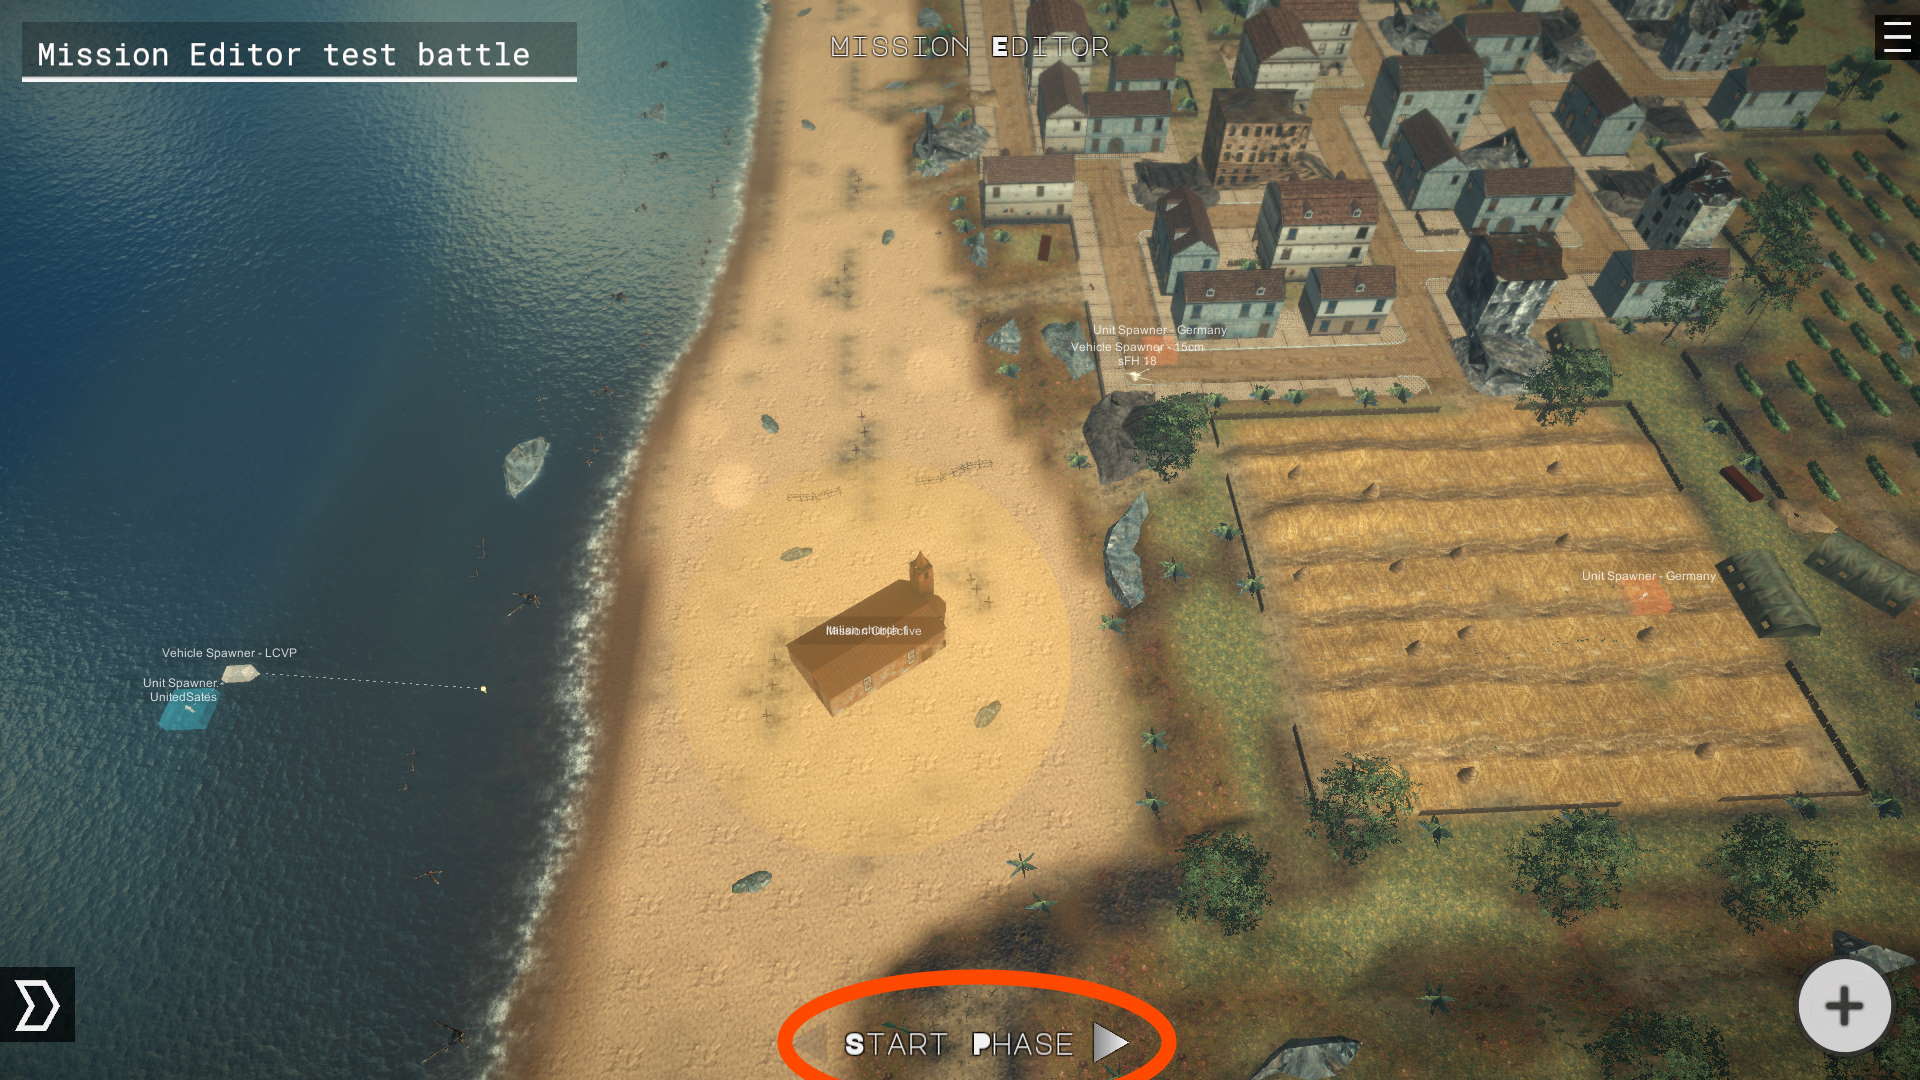
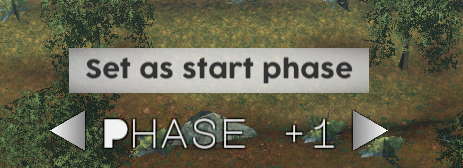
Once a first phase has been created, it will be possible to change the next phase. The battle always starts from the “Start phase”.
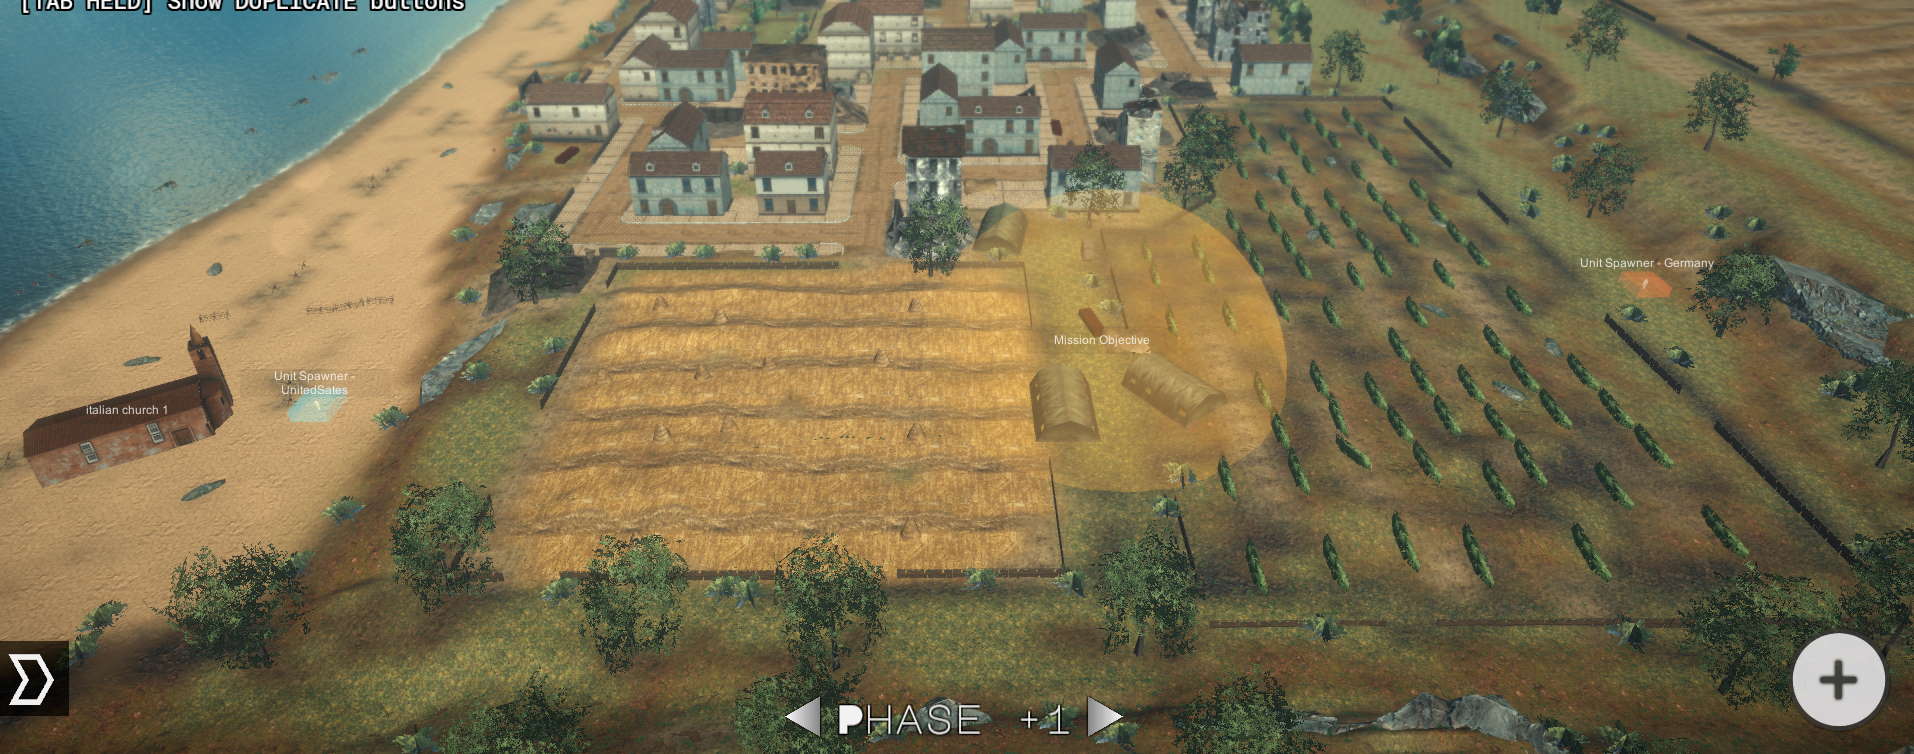
Phases behave a little different based on the selected gamemode:
In “Operations” mode the Start Phase is always the first phase. In this mode, once the invaders have conquered the mission objectives, you move on to the next stage. The invaders win when they conquer the objectives of each stage.
Instead, they are lost when the available tickets set in the battle details run out.
In “Push The Frontline” mode, on the other hand, both factions can conquer the objectives. If the invaders conquer an objective, proceed to the next phase, if instead the defenders are the ones, proceed to the previous one. The team that wins all the objectives in a row wins. For this reason, in this type of mode it is strictly recommended to set a central phase of the mission as the Start Phase.
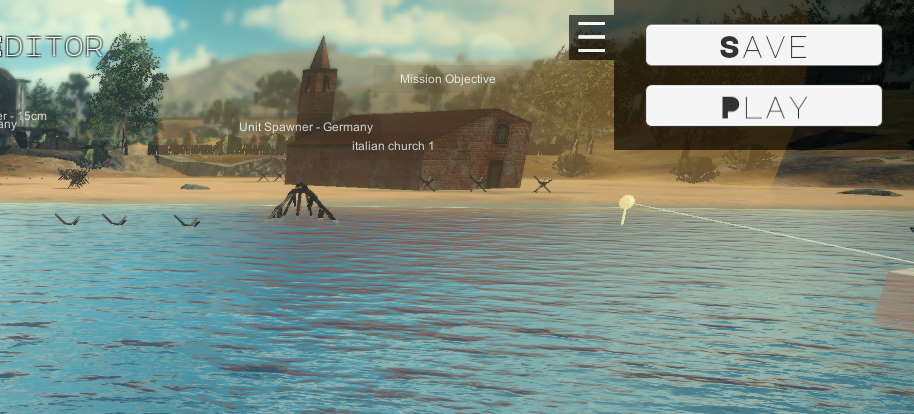
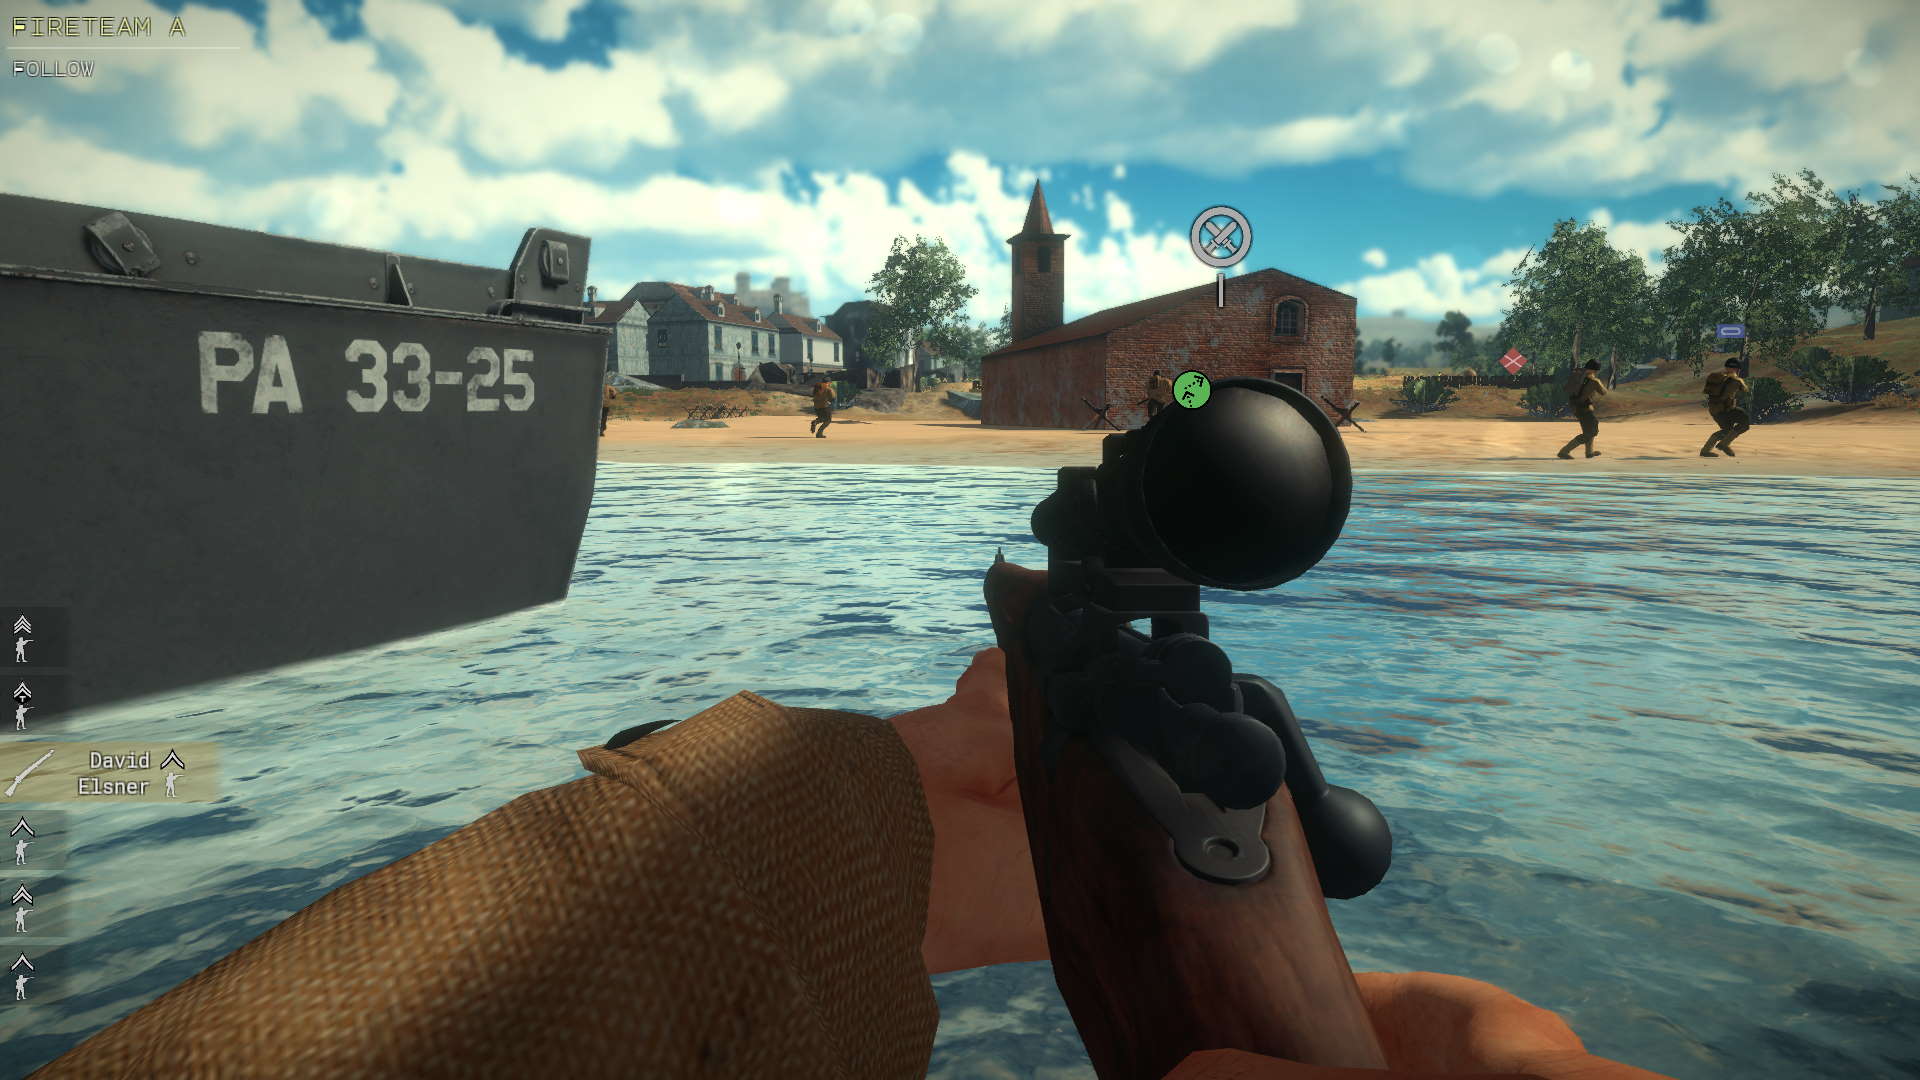
Once you have finished creating the mission, you can save it and play it.
Mission Editor 05: Share to Workshop
Congratulations, you just created your first mission. The time has come to allow anyone to play it.
To do this, go back to the “Mission Editor” menu, select the battle you just created, and click on “Share”.
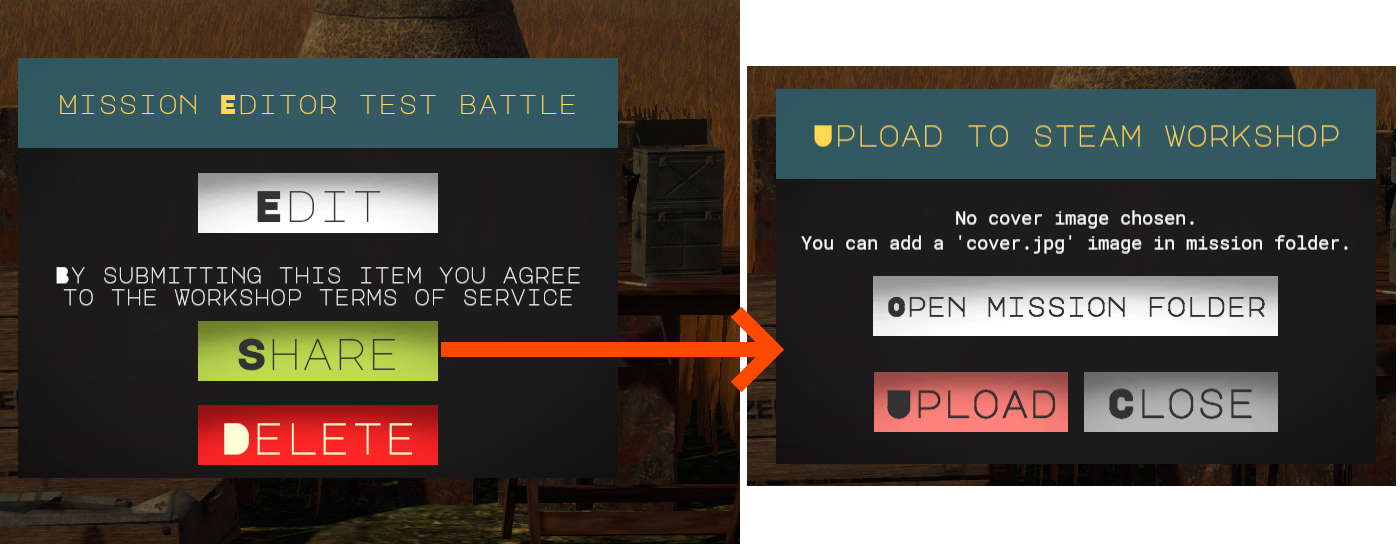
From here you can open the folder where the mission resides and insert an image called ‘cover.jpg’ as a preview of your mission that will be bought in the Steam Workshop. 1200x1200px square image is recommended.
Adding the cover image is however optional.
When you are ready you can finally click on “upload” and make your mission public.
Whenever you want to update it, just repeat this operation.
Remember that only missions created by you can be uploaded to the Workshop.
Hope you enjoy the Guide about Easy Red 2 – Mission Editor Guide, if you think we should add extra information or forget something, please let us know via comment below, and we will do our best to fix or update as soon as possible!
- All Easy Red 2 Posts List


Leave a Reply