Welcome to Dread Templar – Secrets location Guide – Episode 4.
Location of all the secrets in the fourth episode.Episode 4
E4M1: Sand of Time
IMPORTANT: Your character setup and emblems are kept separate from your game progress for the difficulty level that you are currently playing at. You can return to the previous level by selecting the level, grab the emblems or blood gems you missed in your first run, and then returning to your saved game to access a more extensive selection. In the descriptions of the secrets they are found within, emblems and blood gemstones are listed in brackets throughout the guide.
—
This level contains 8 secrets as well as a super secret.
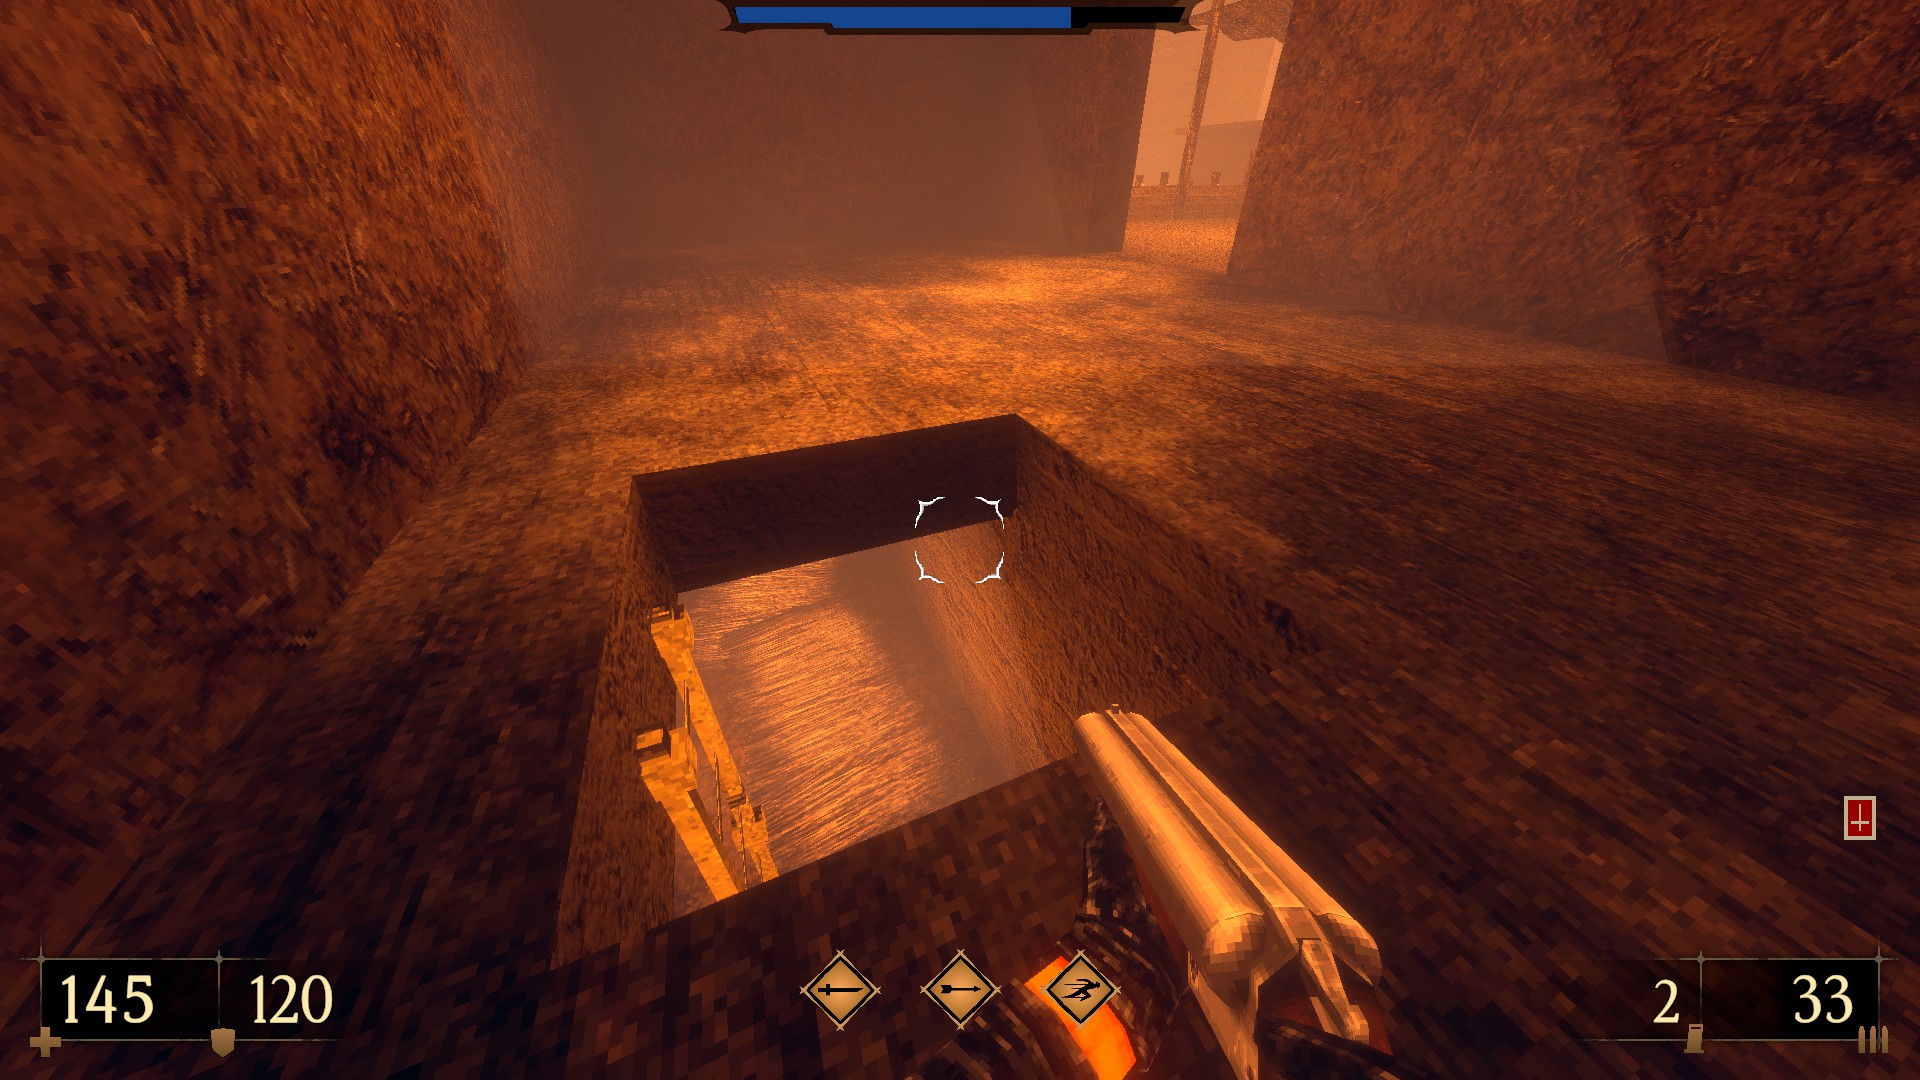
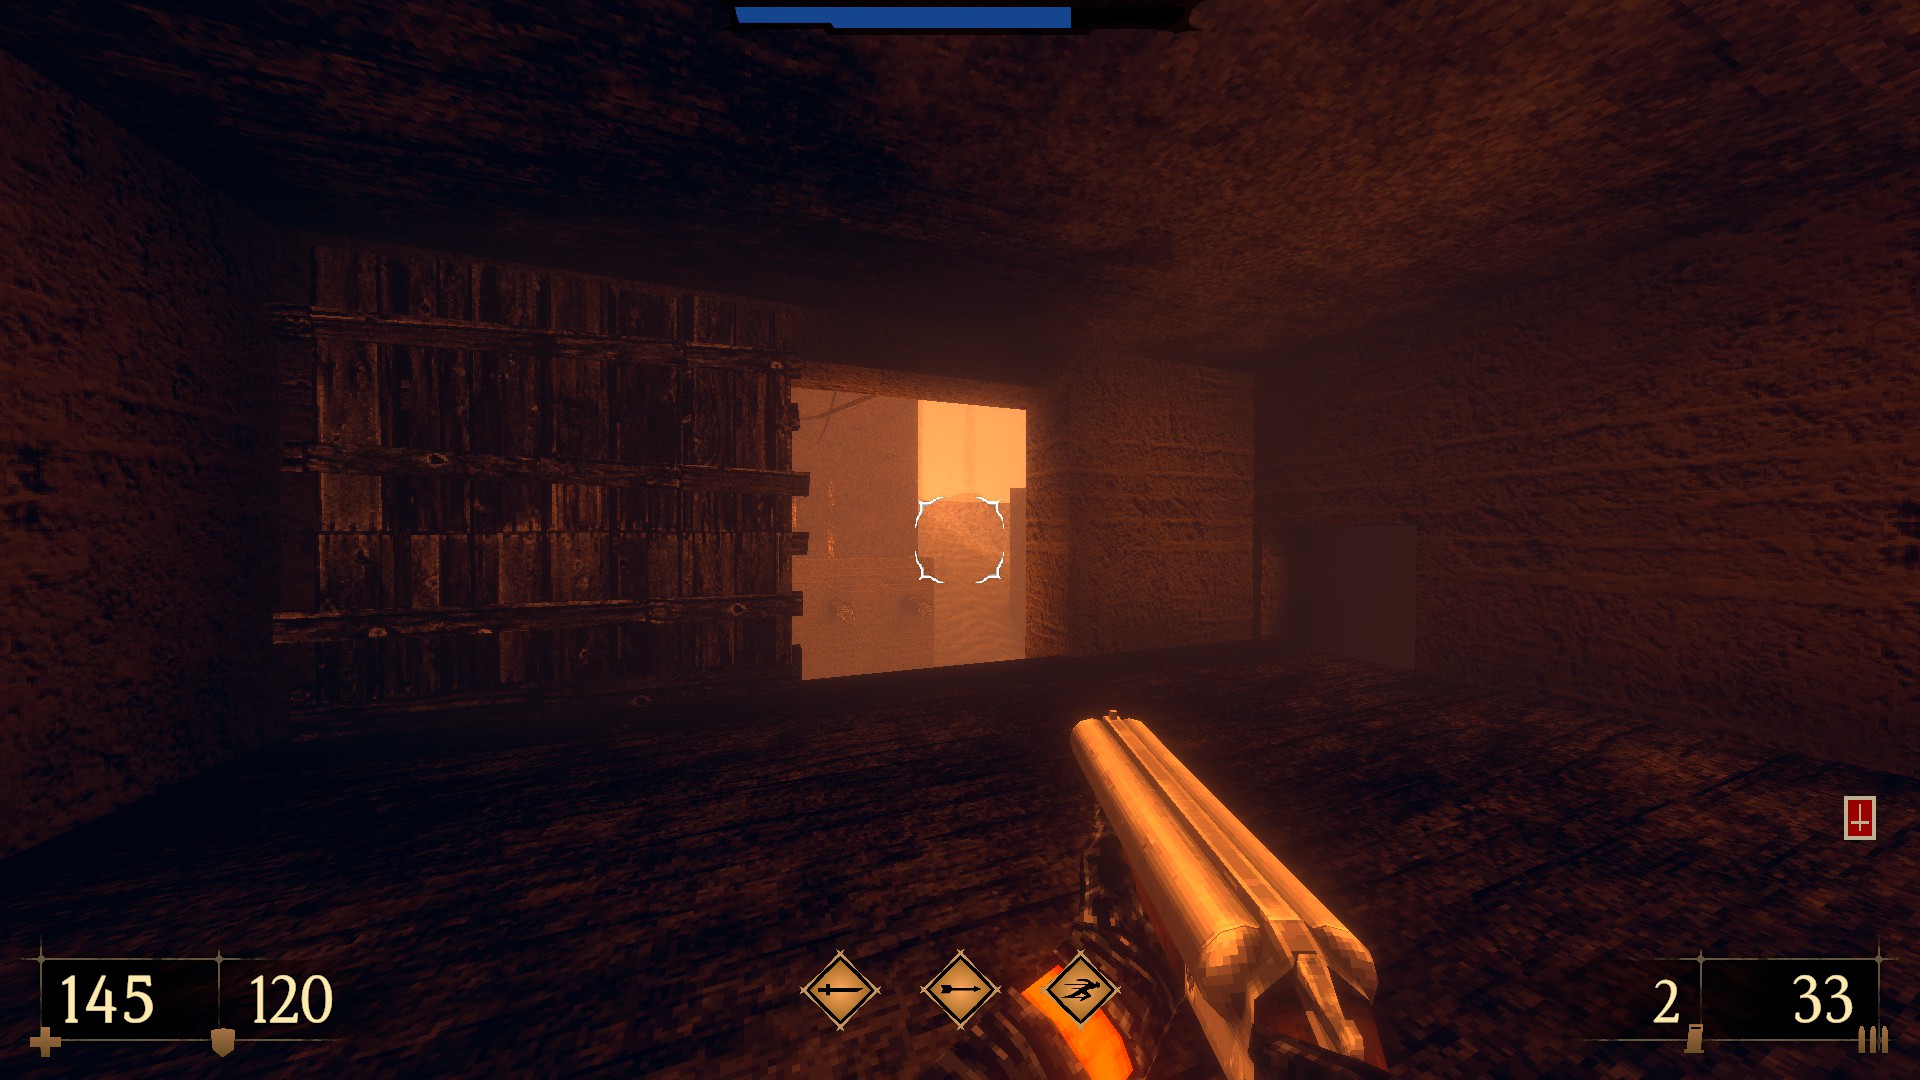
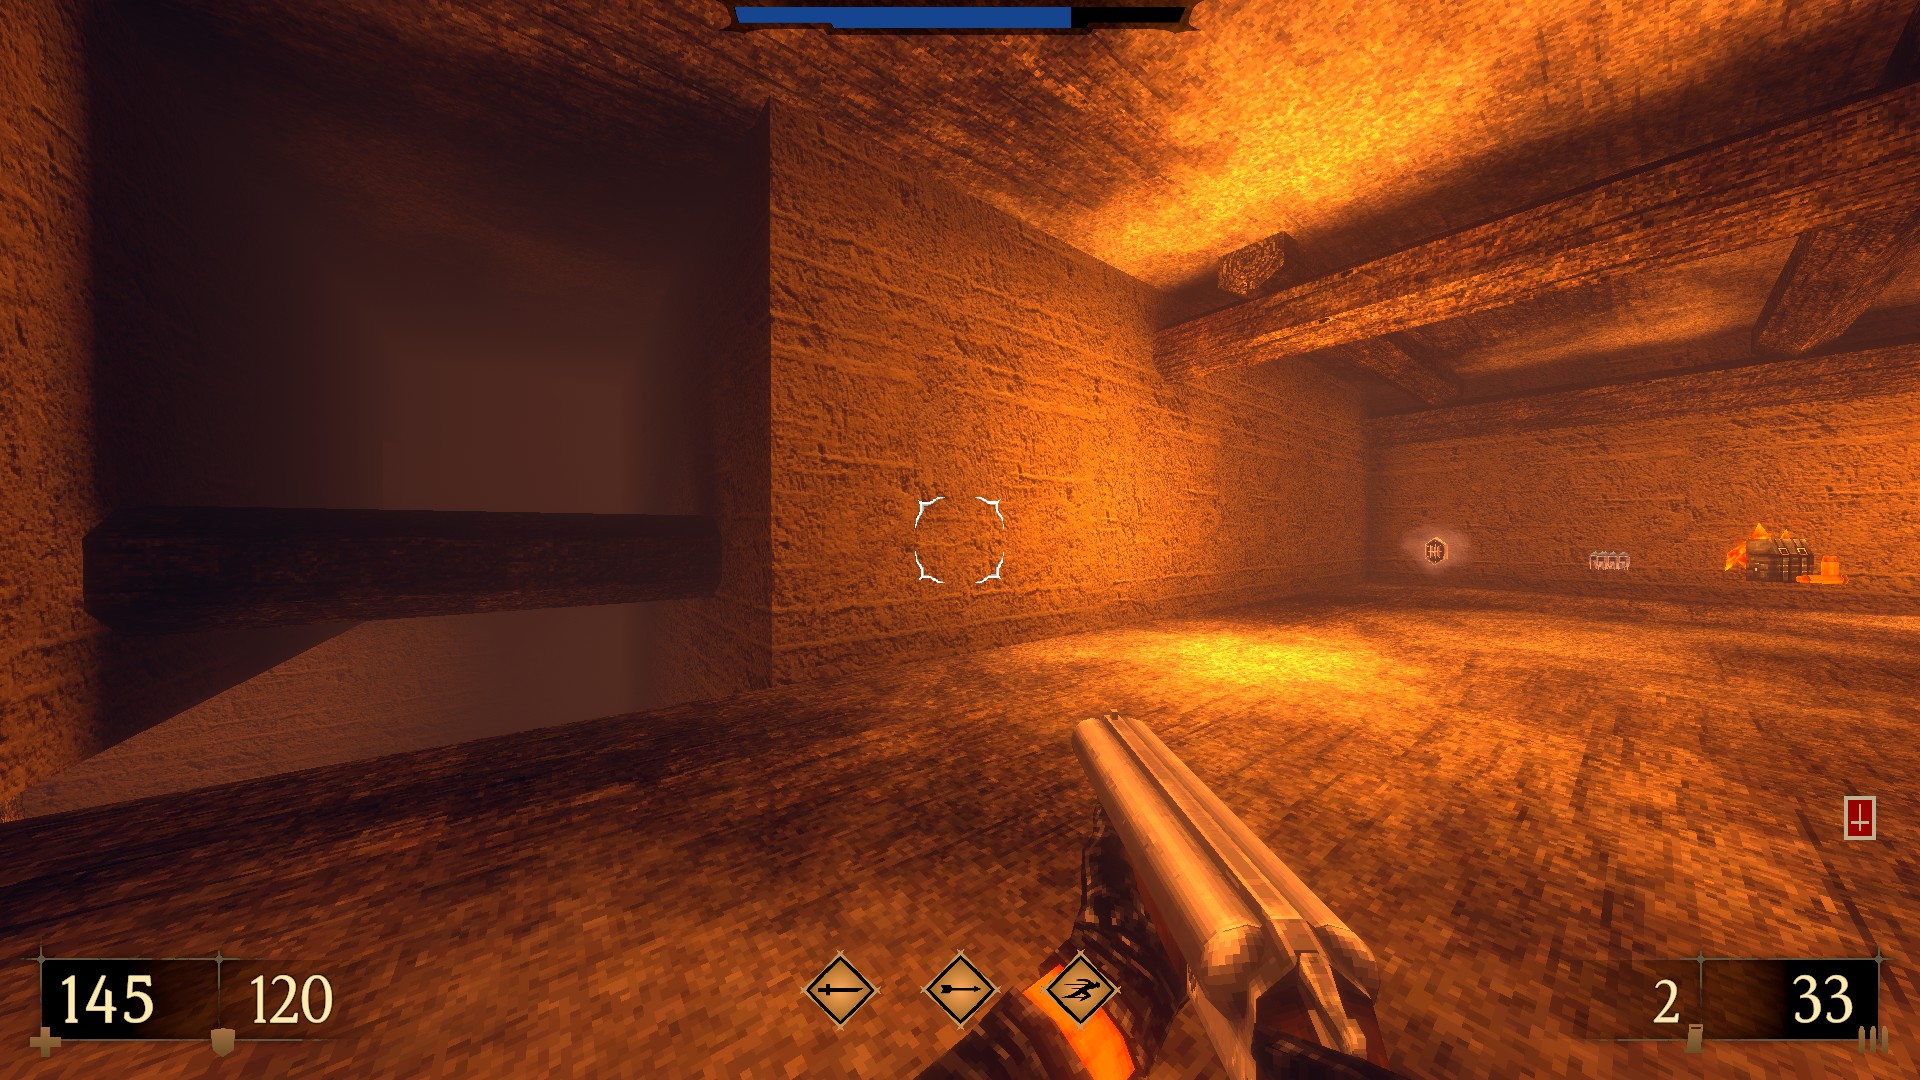
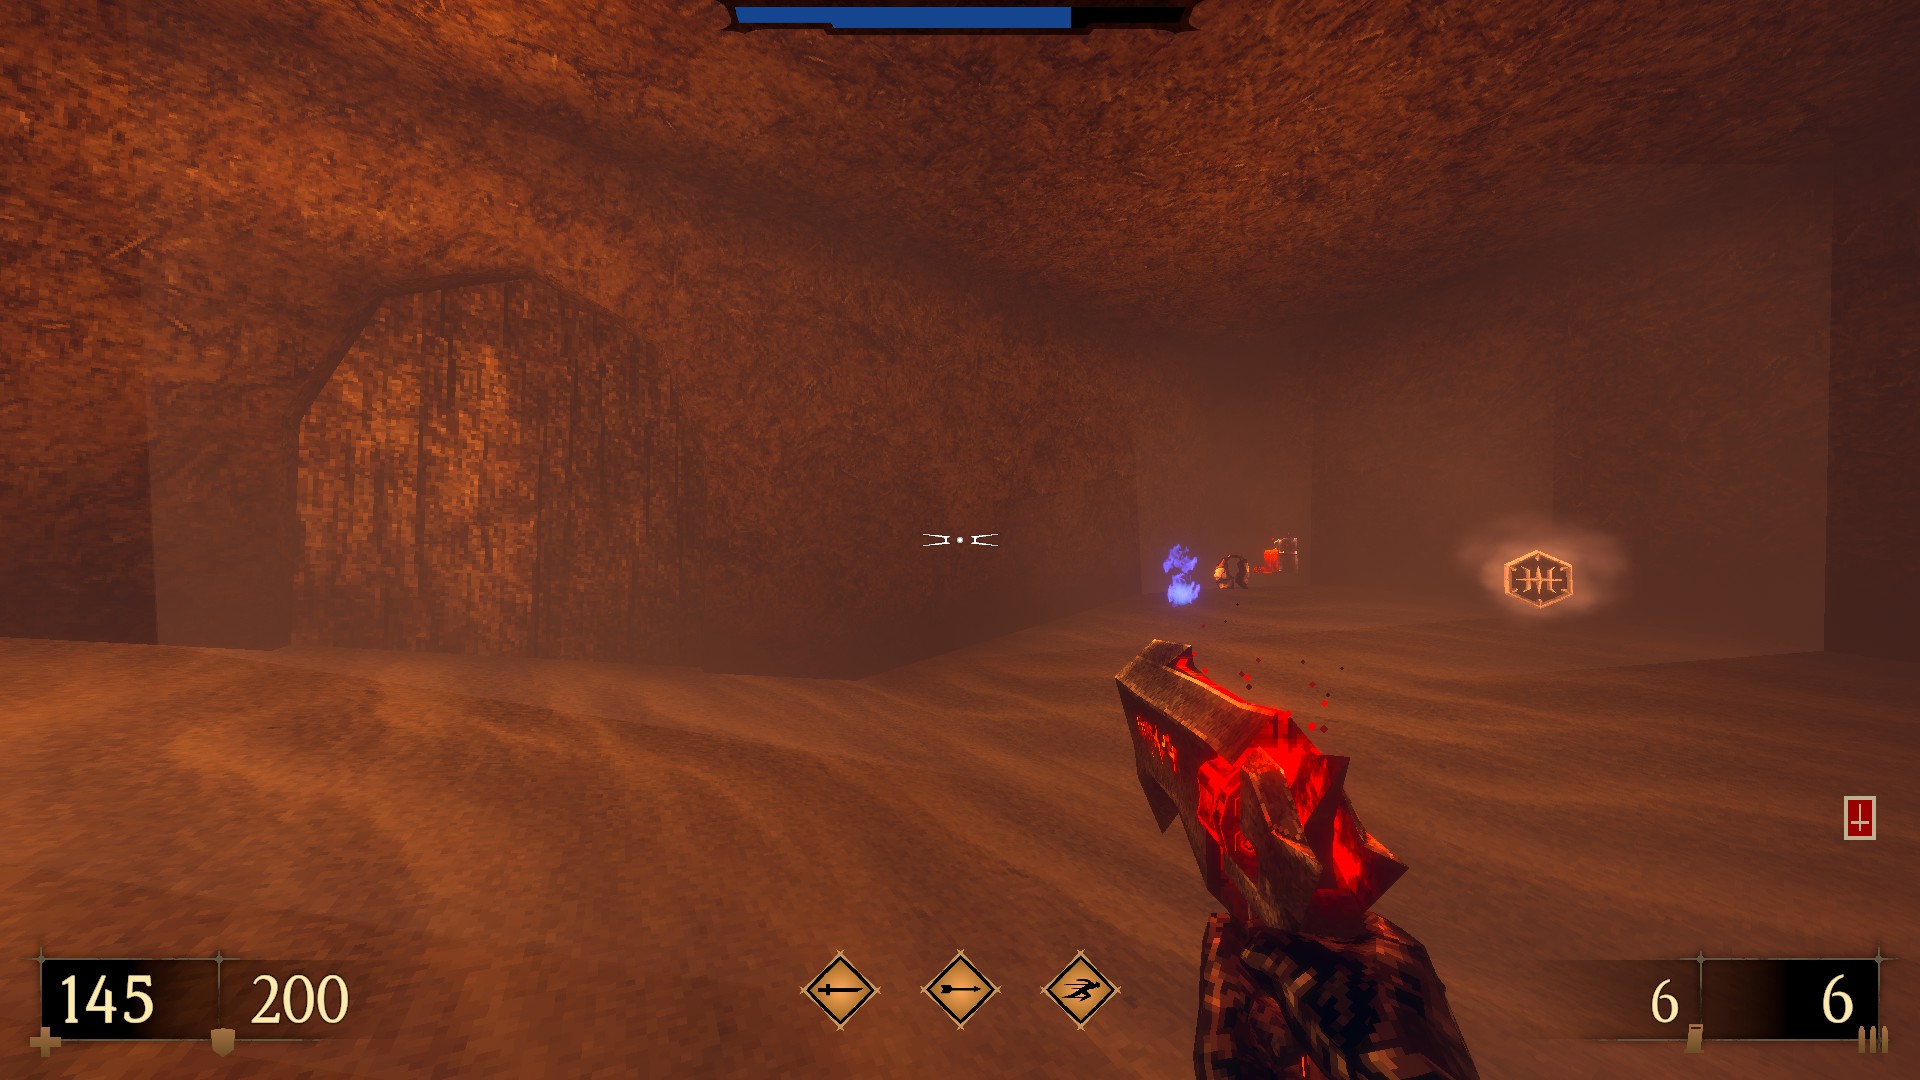
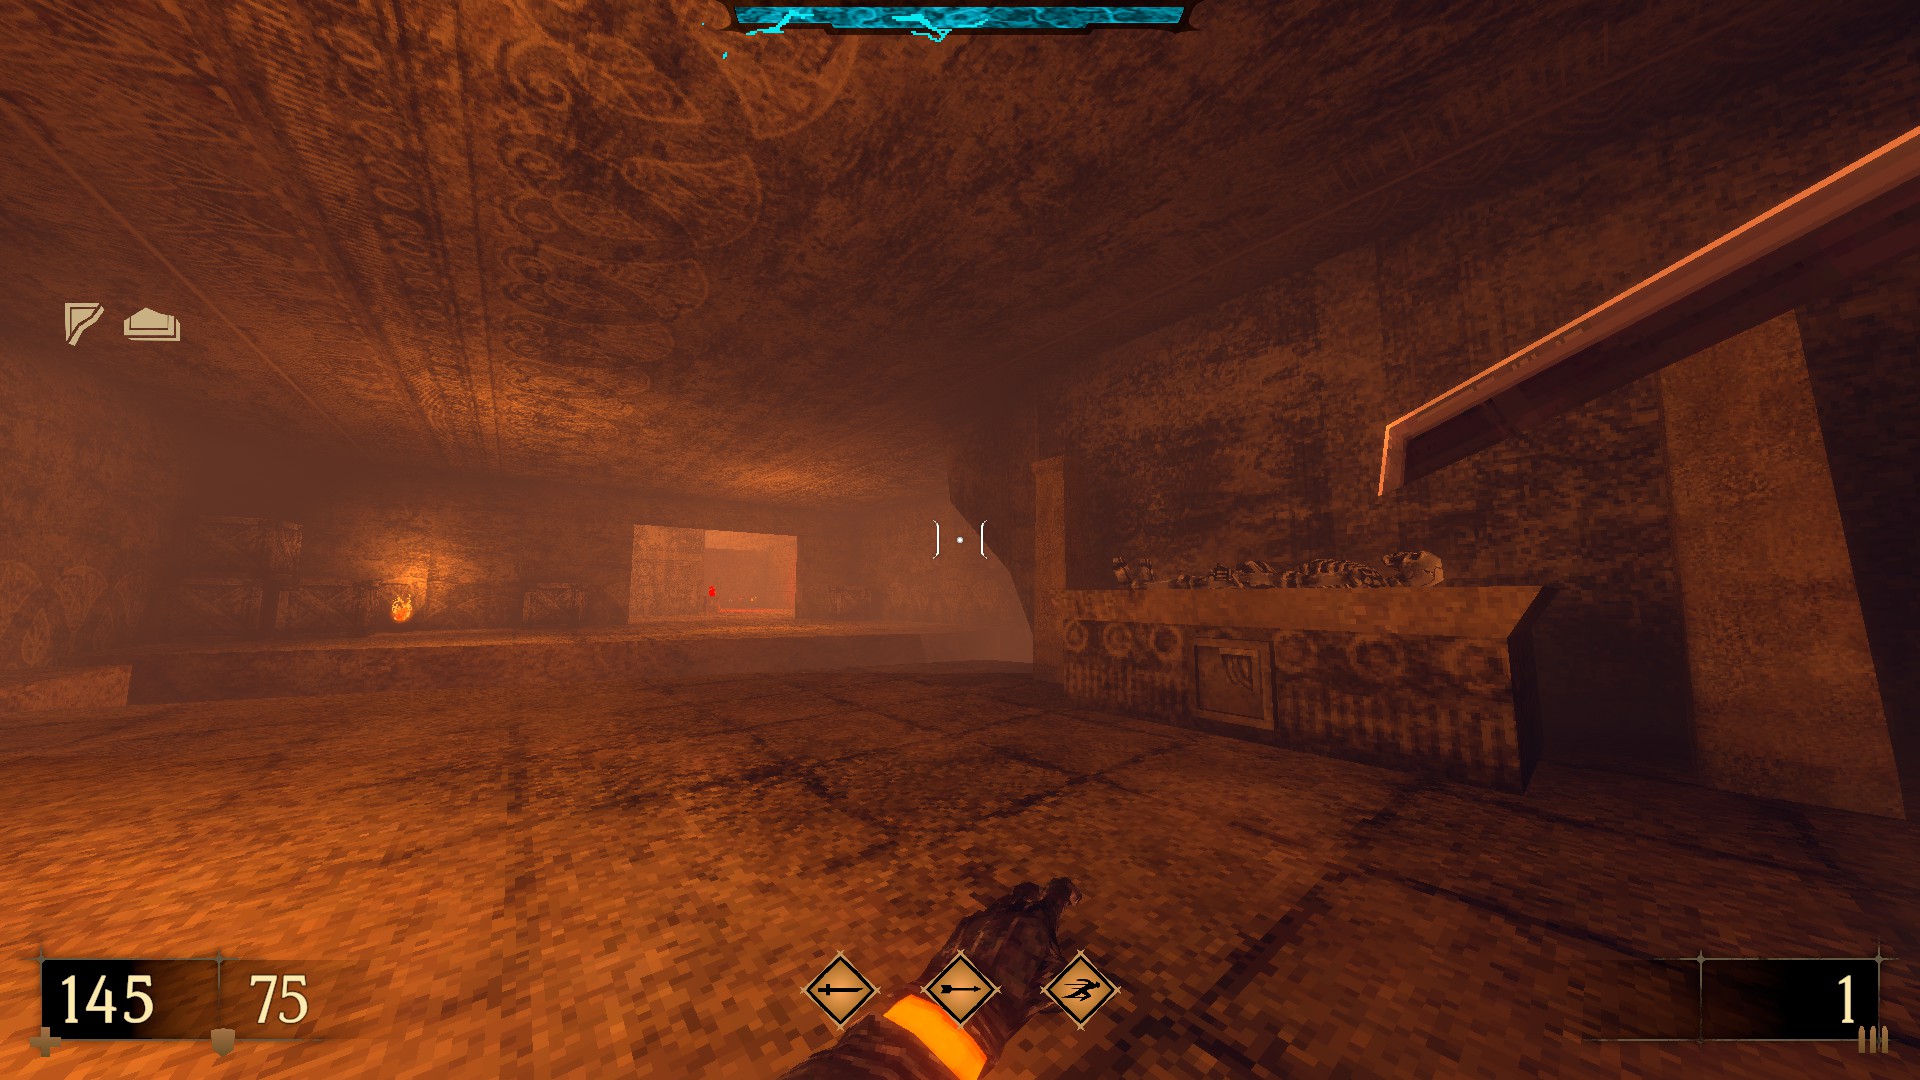
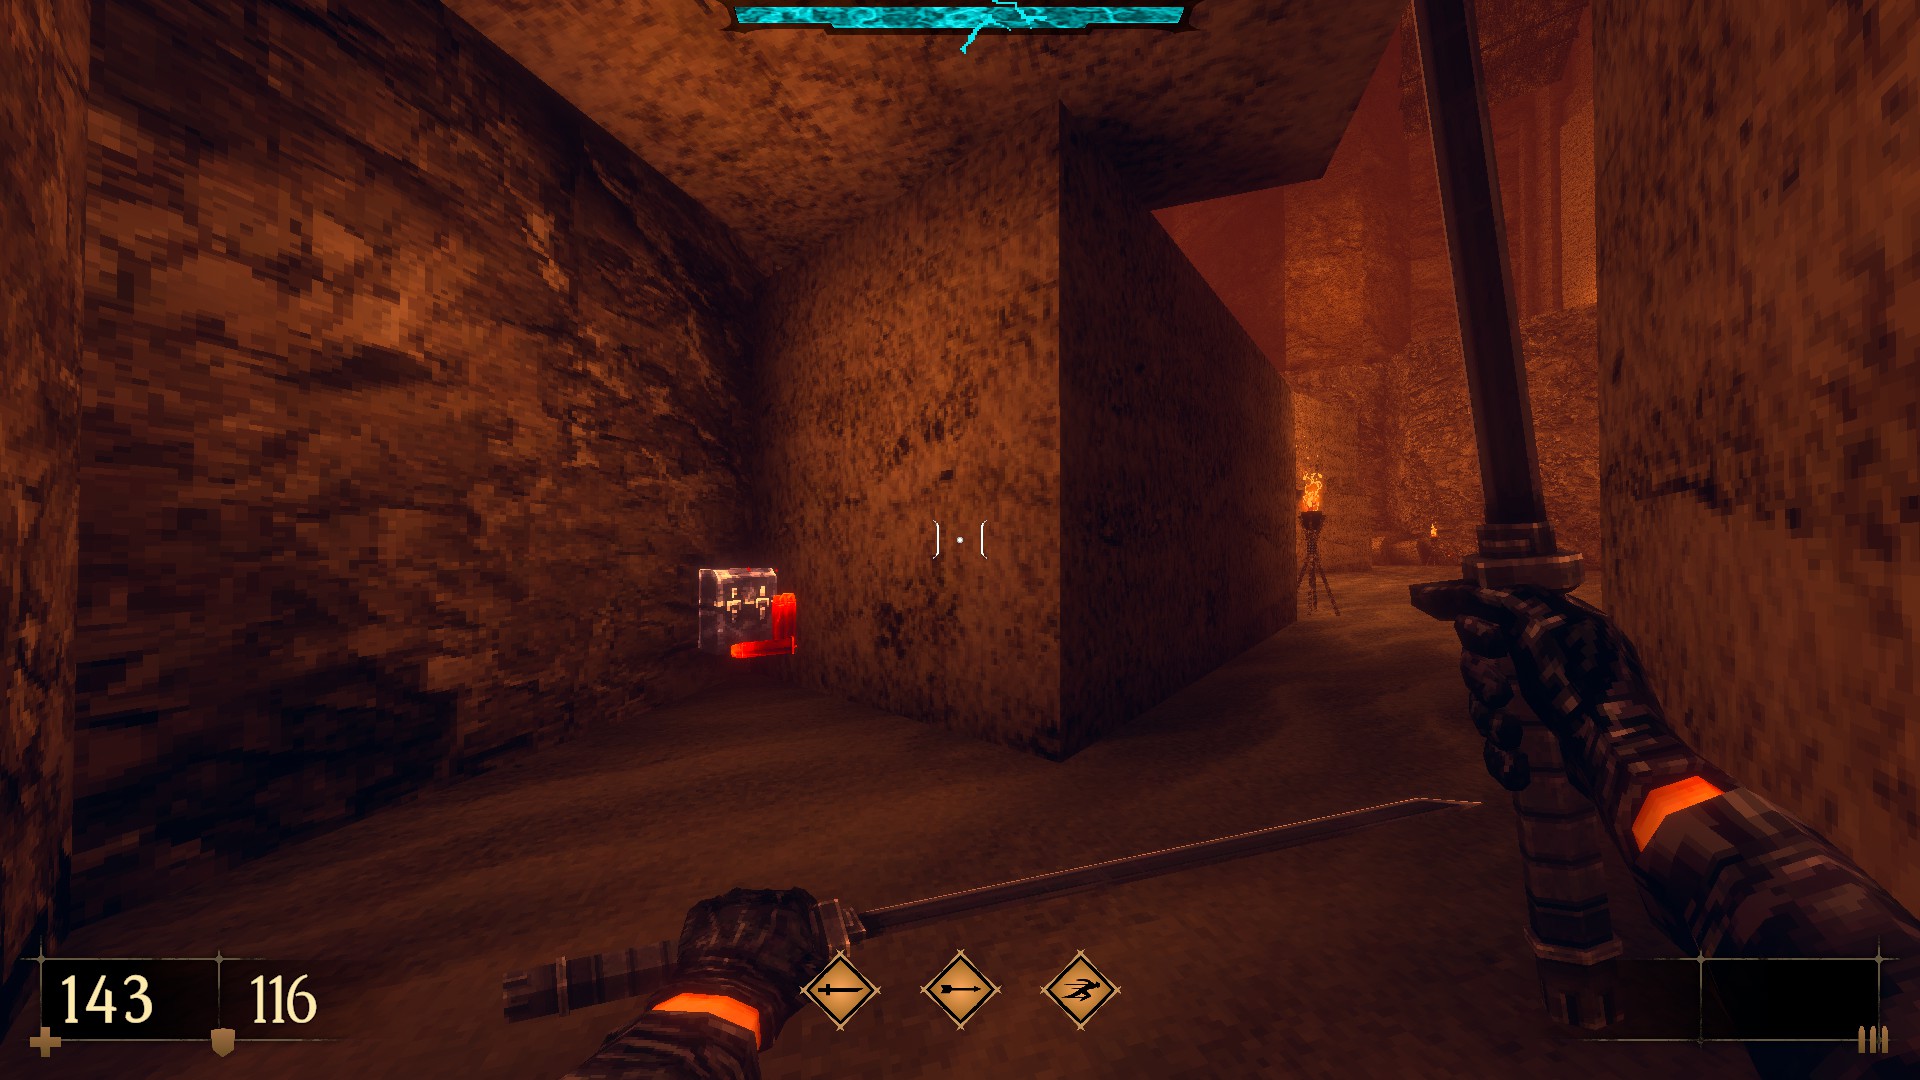
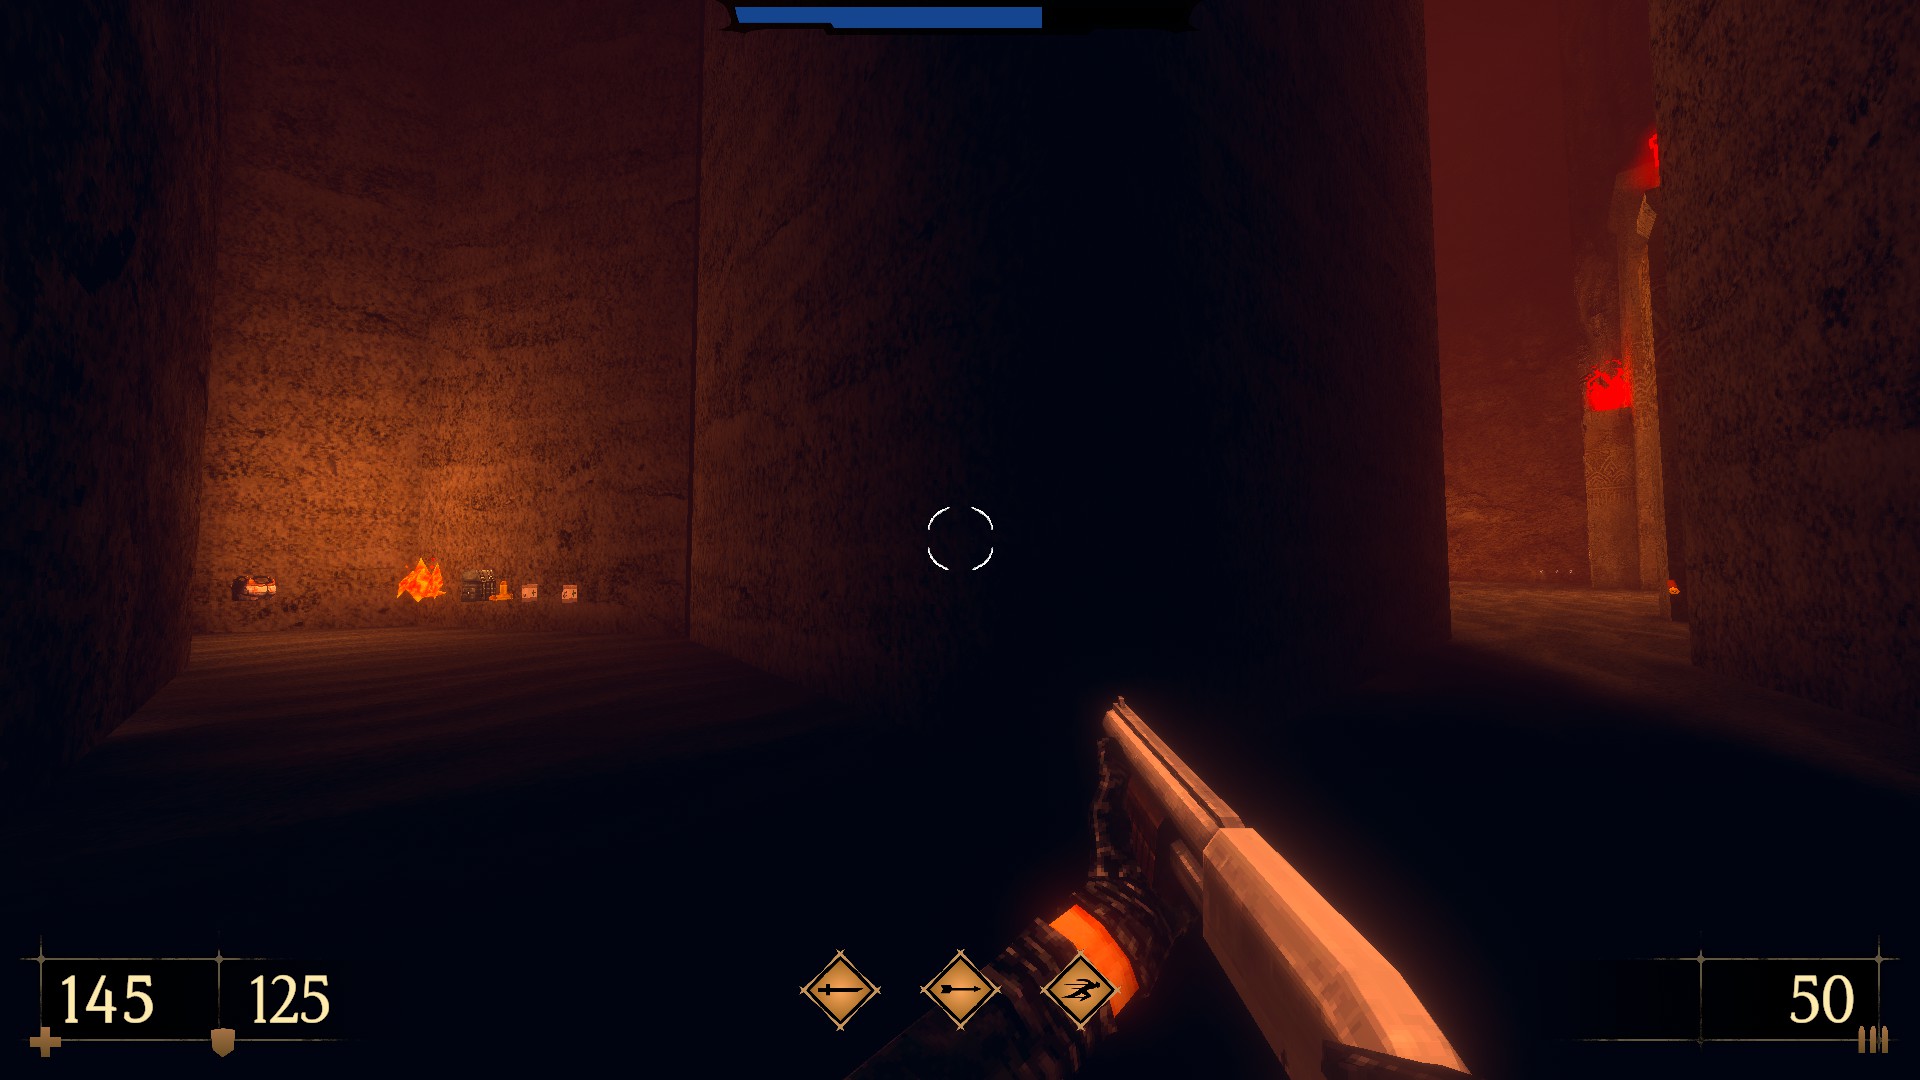
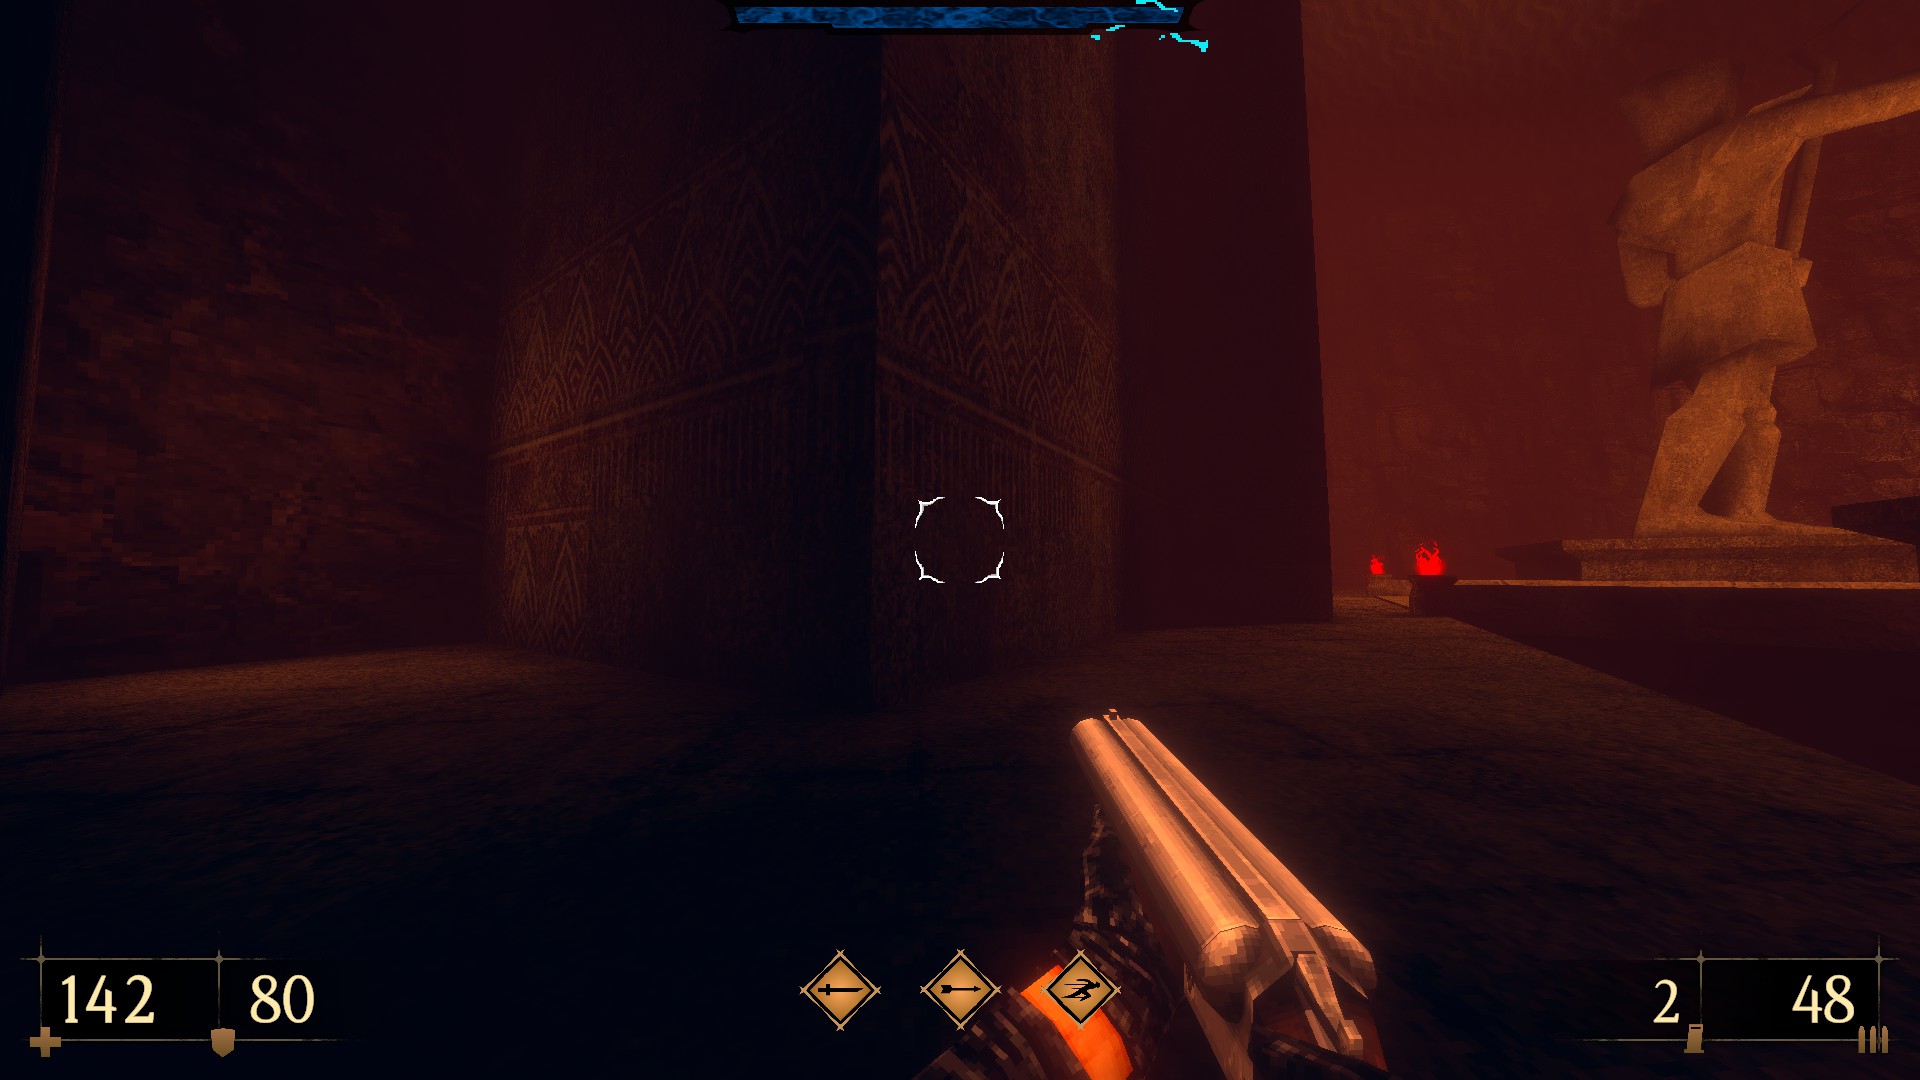
1/8 – Take the hallway leading to the underground tunnels. Turn left to find a semi-hidden cache. (Shotgun Slaughter II)
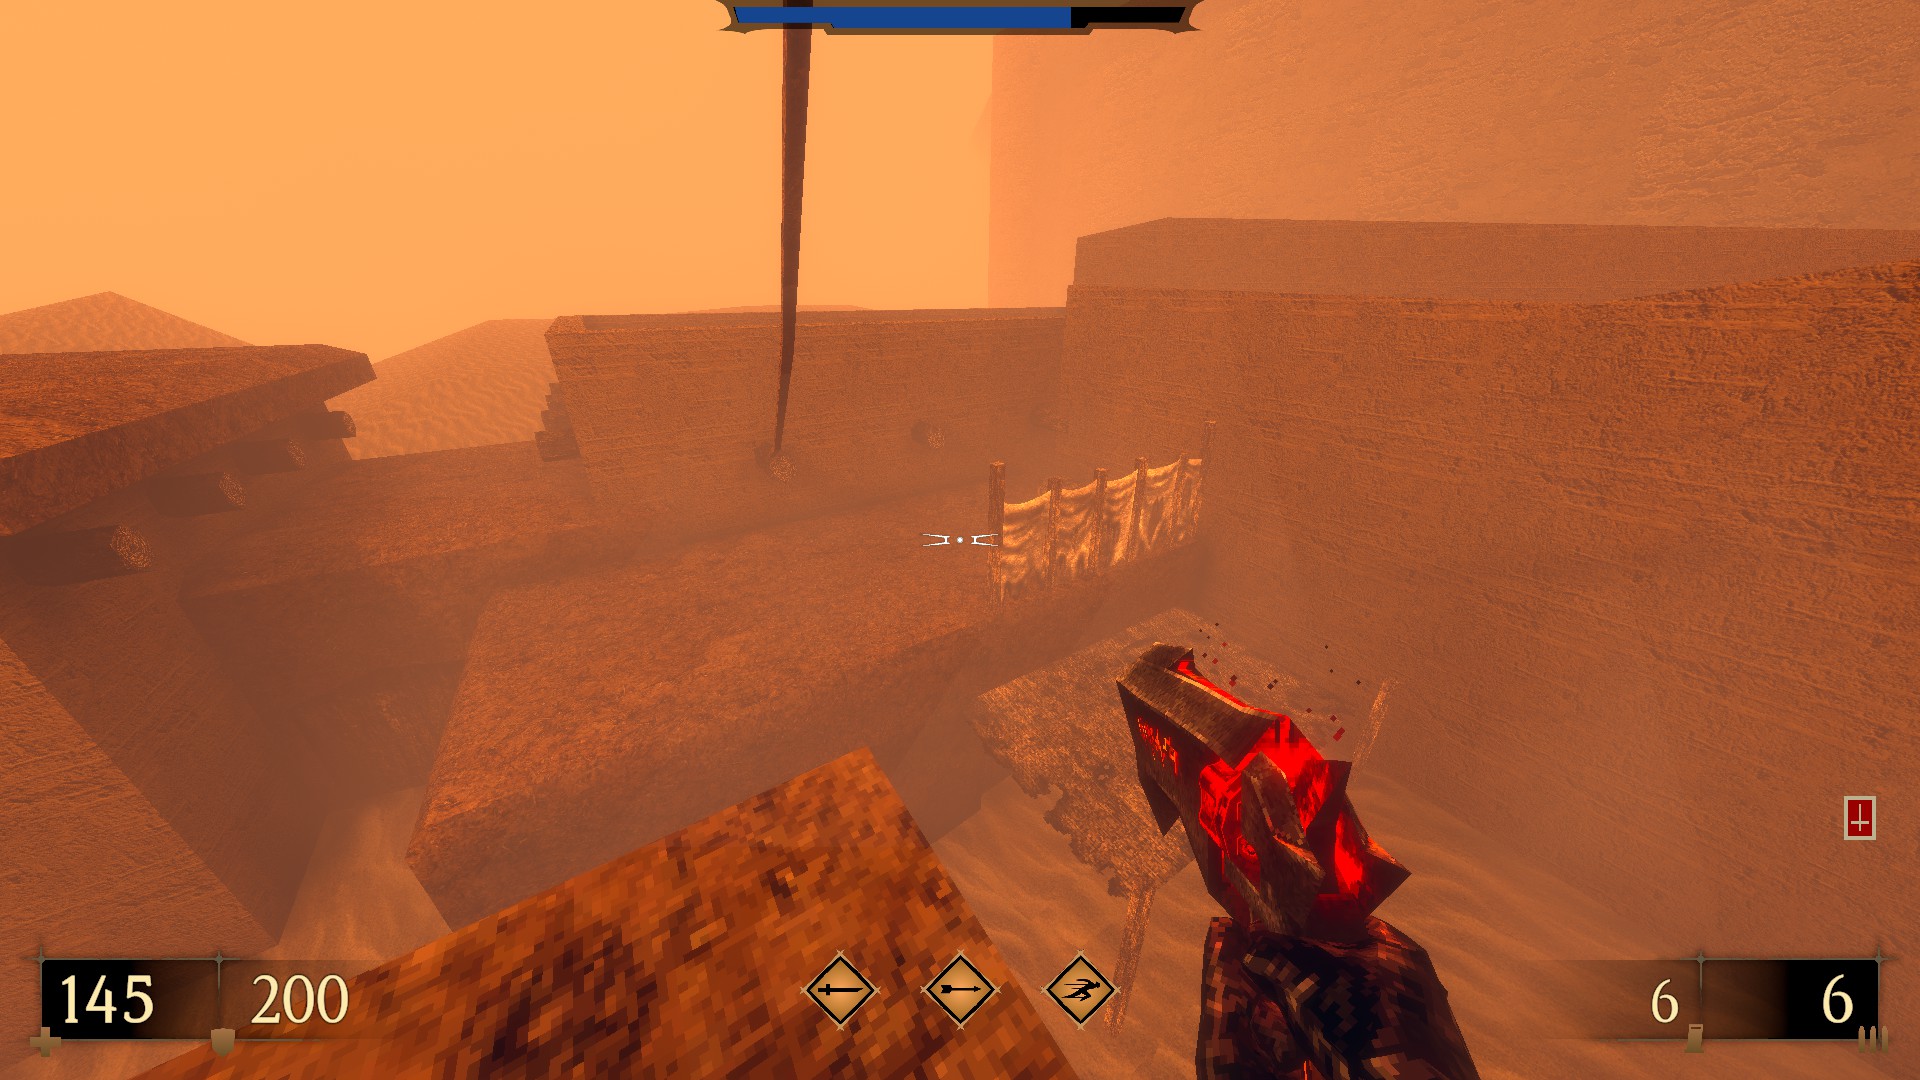
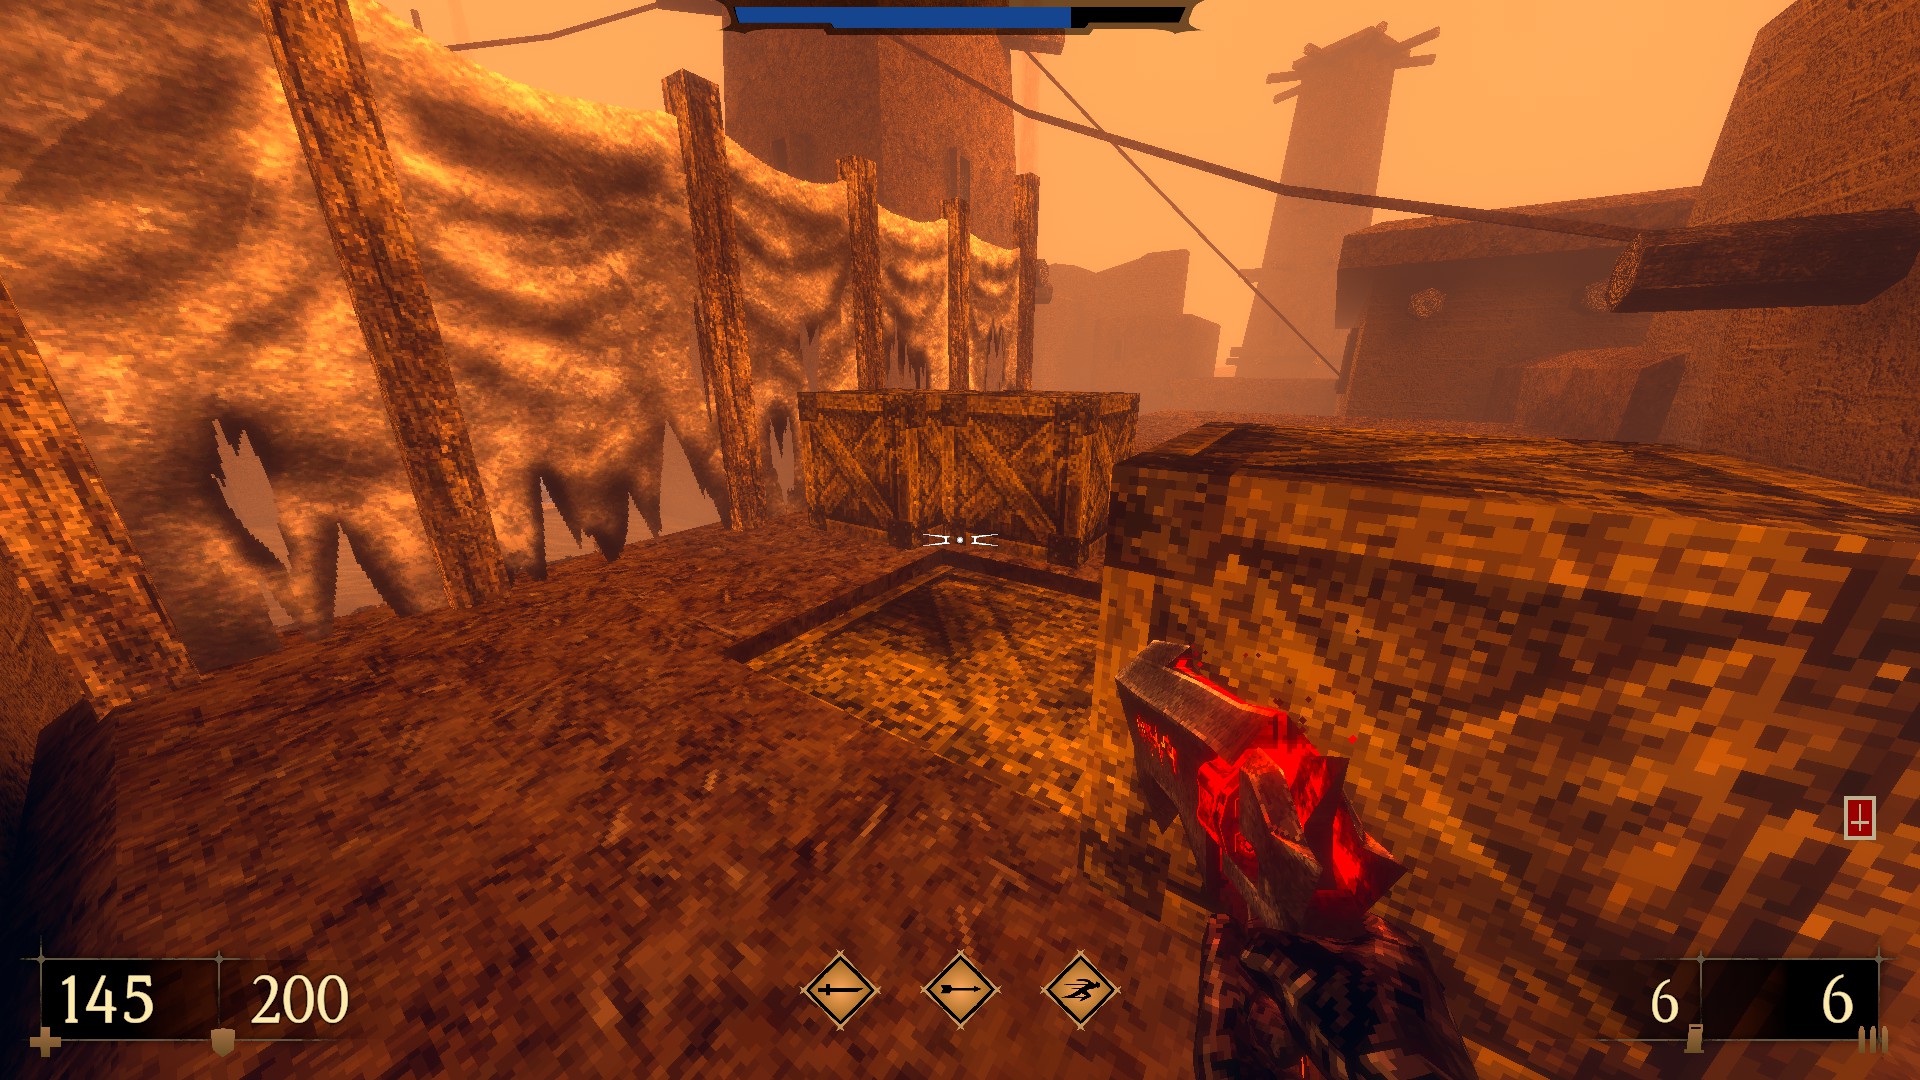
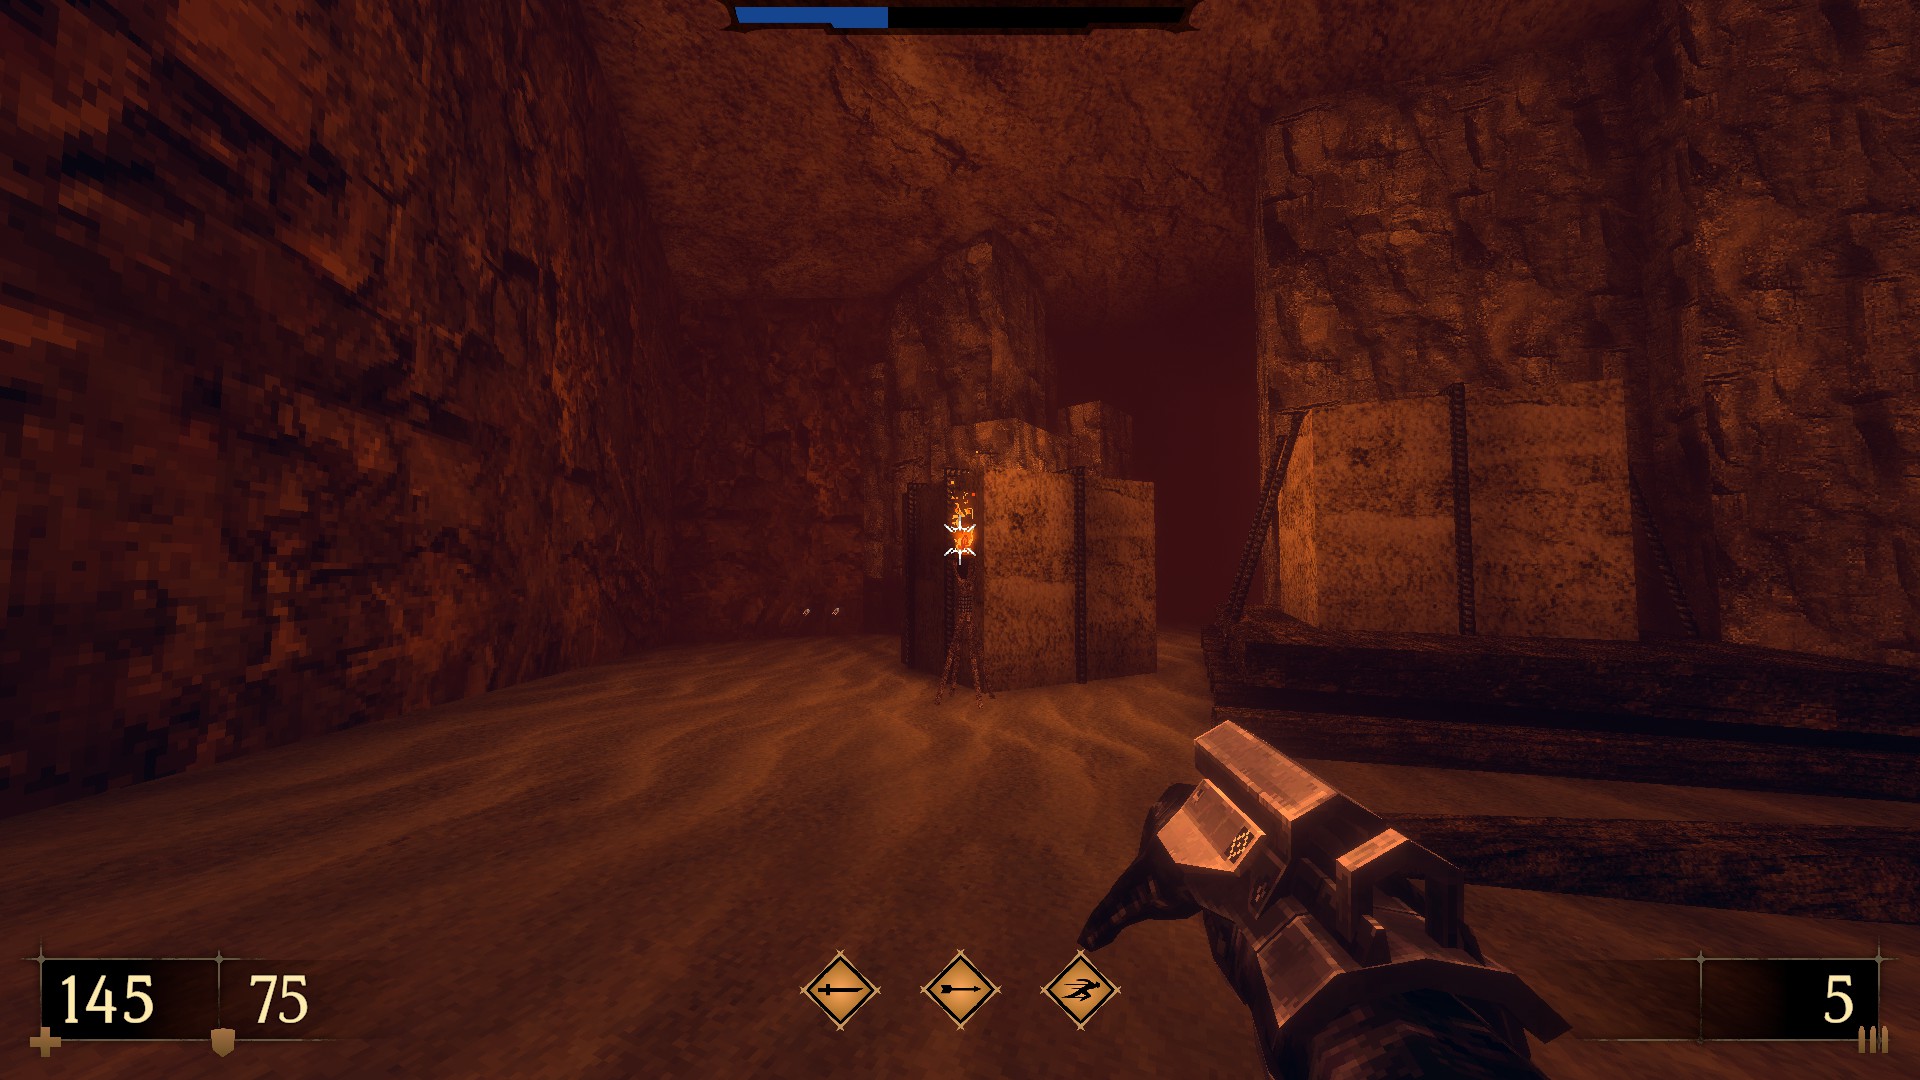
2/8 – Follow the previous secret and climb the wooden fencing via pillar near the tunnel entrance. Then, walk to the other side of the tunnel and dash-jump for an out of sight cache.
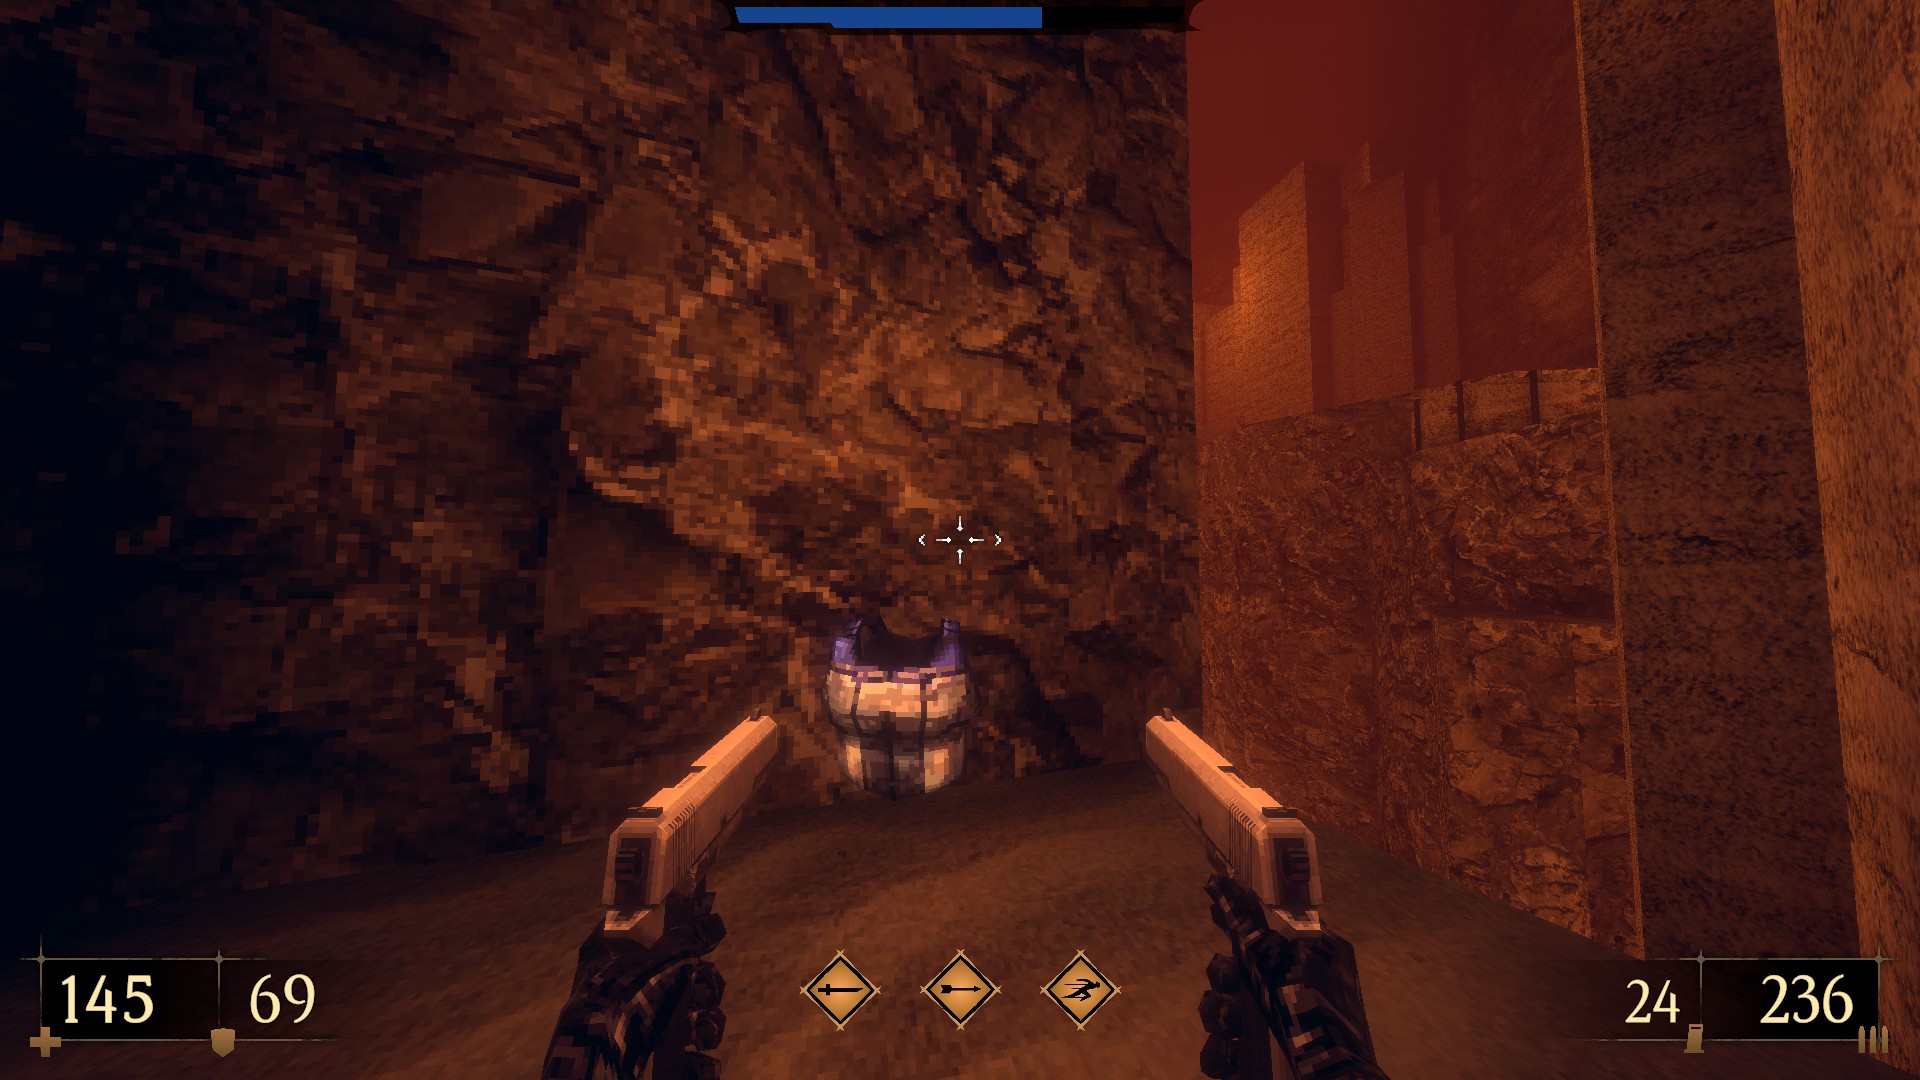
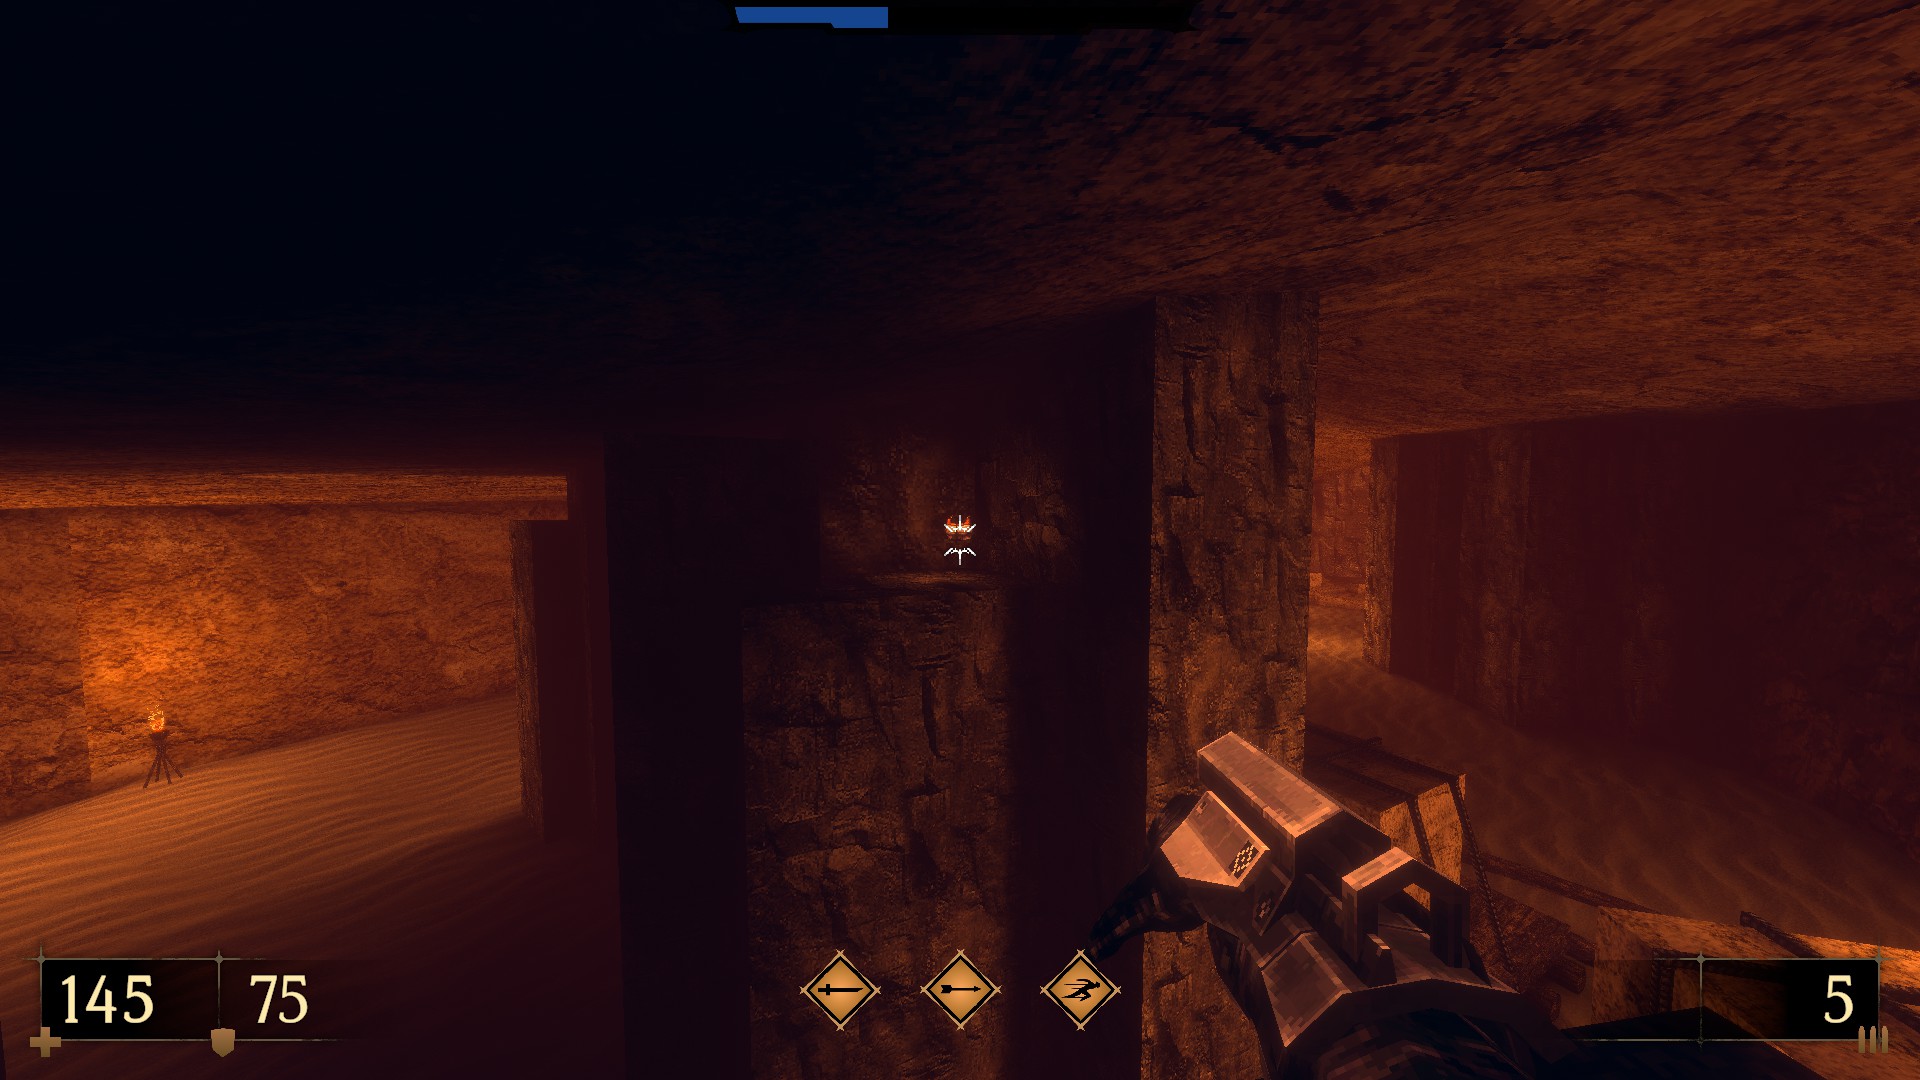
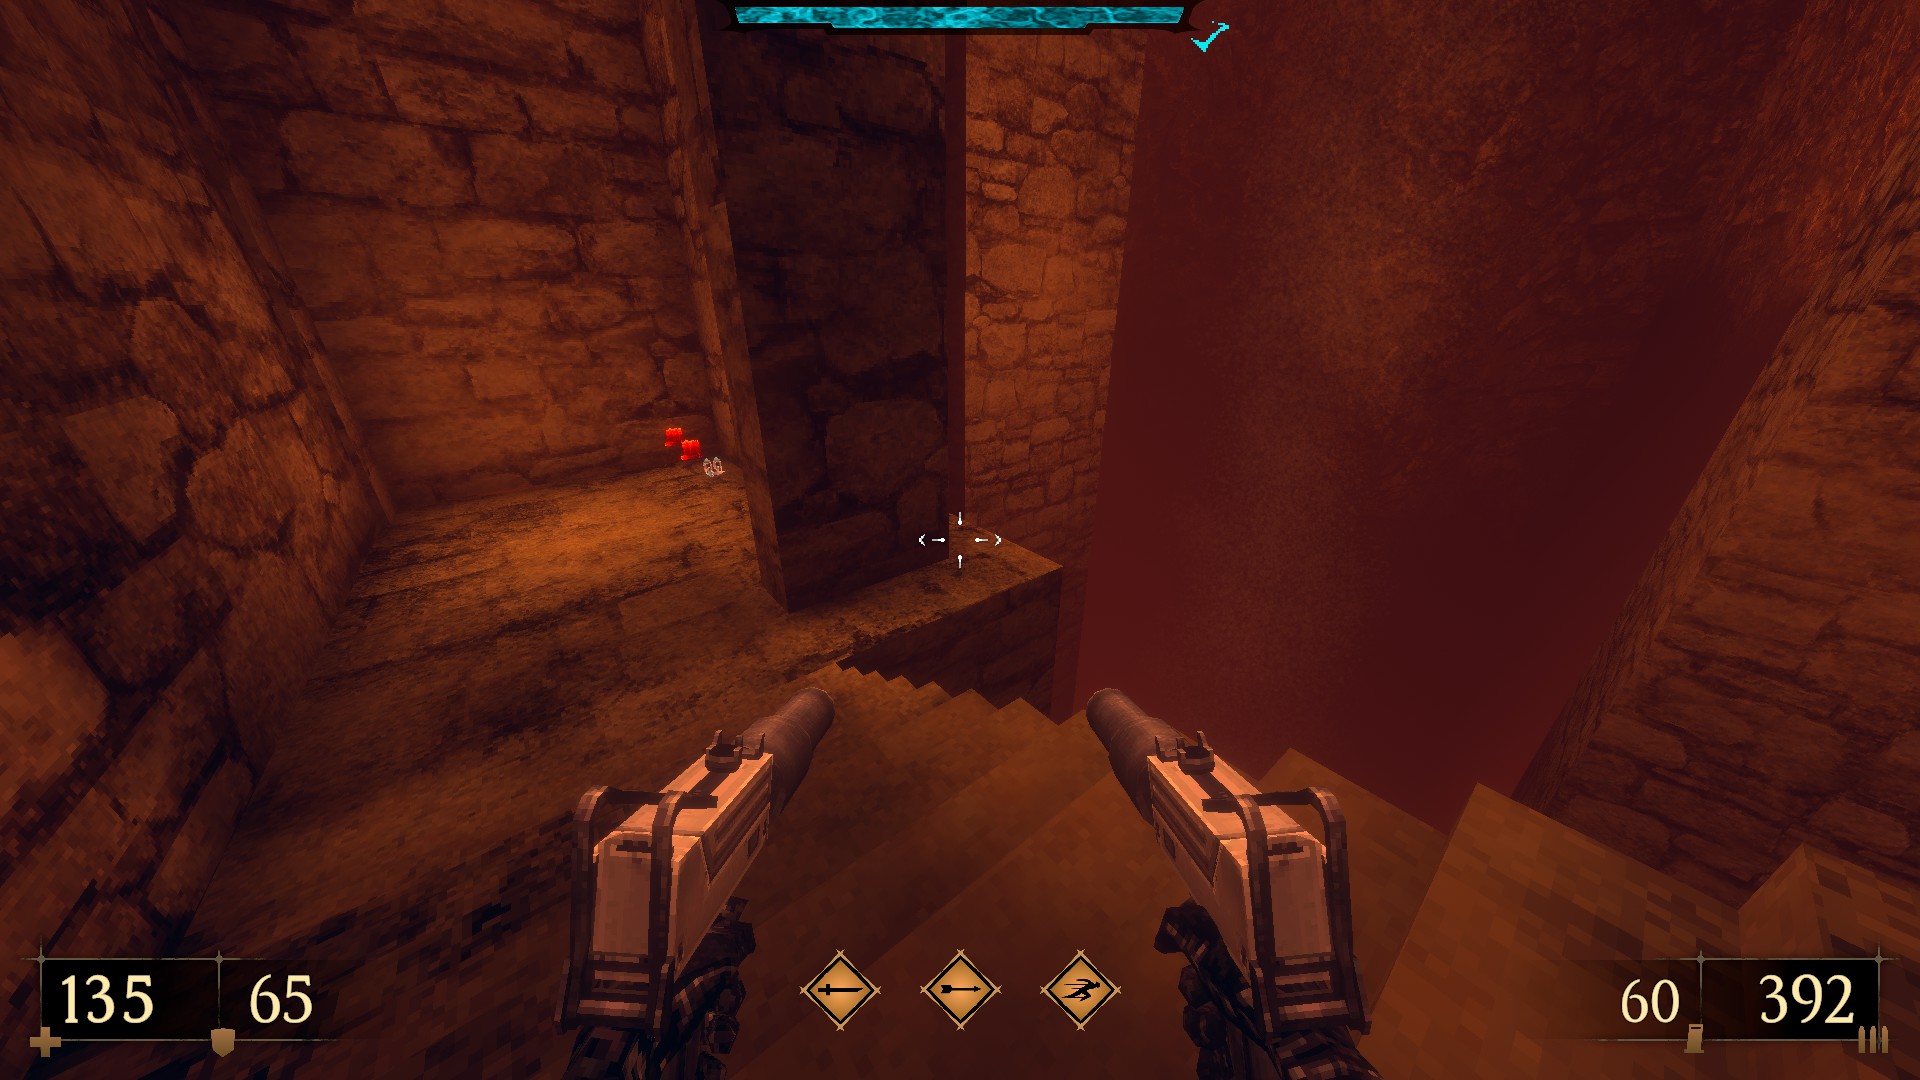
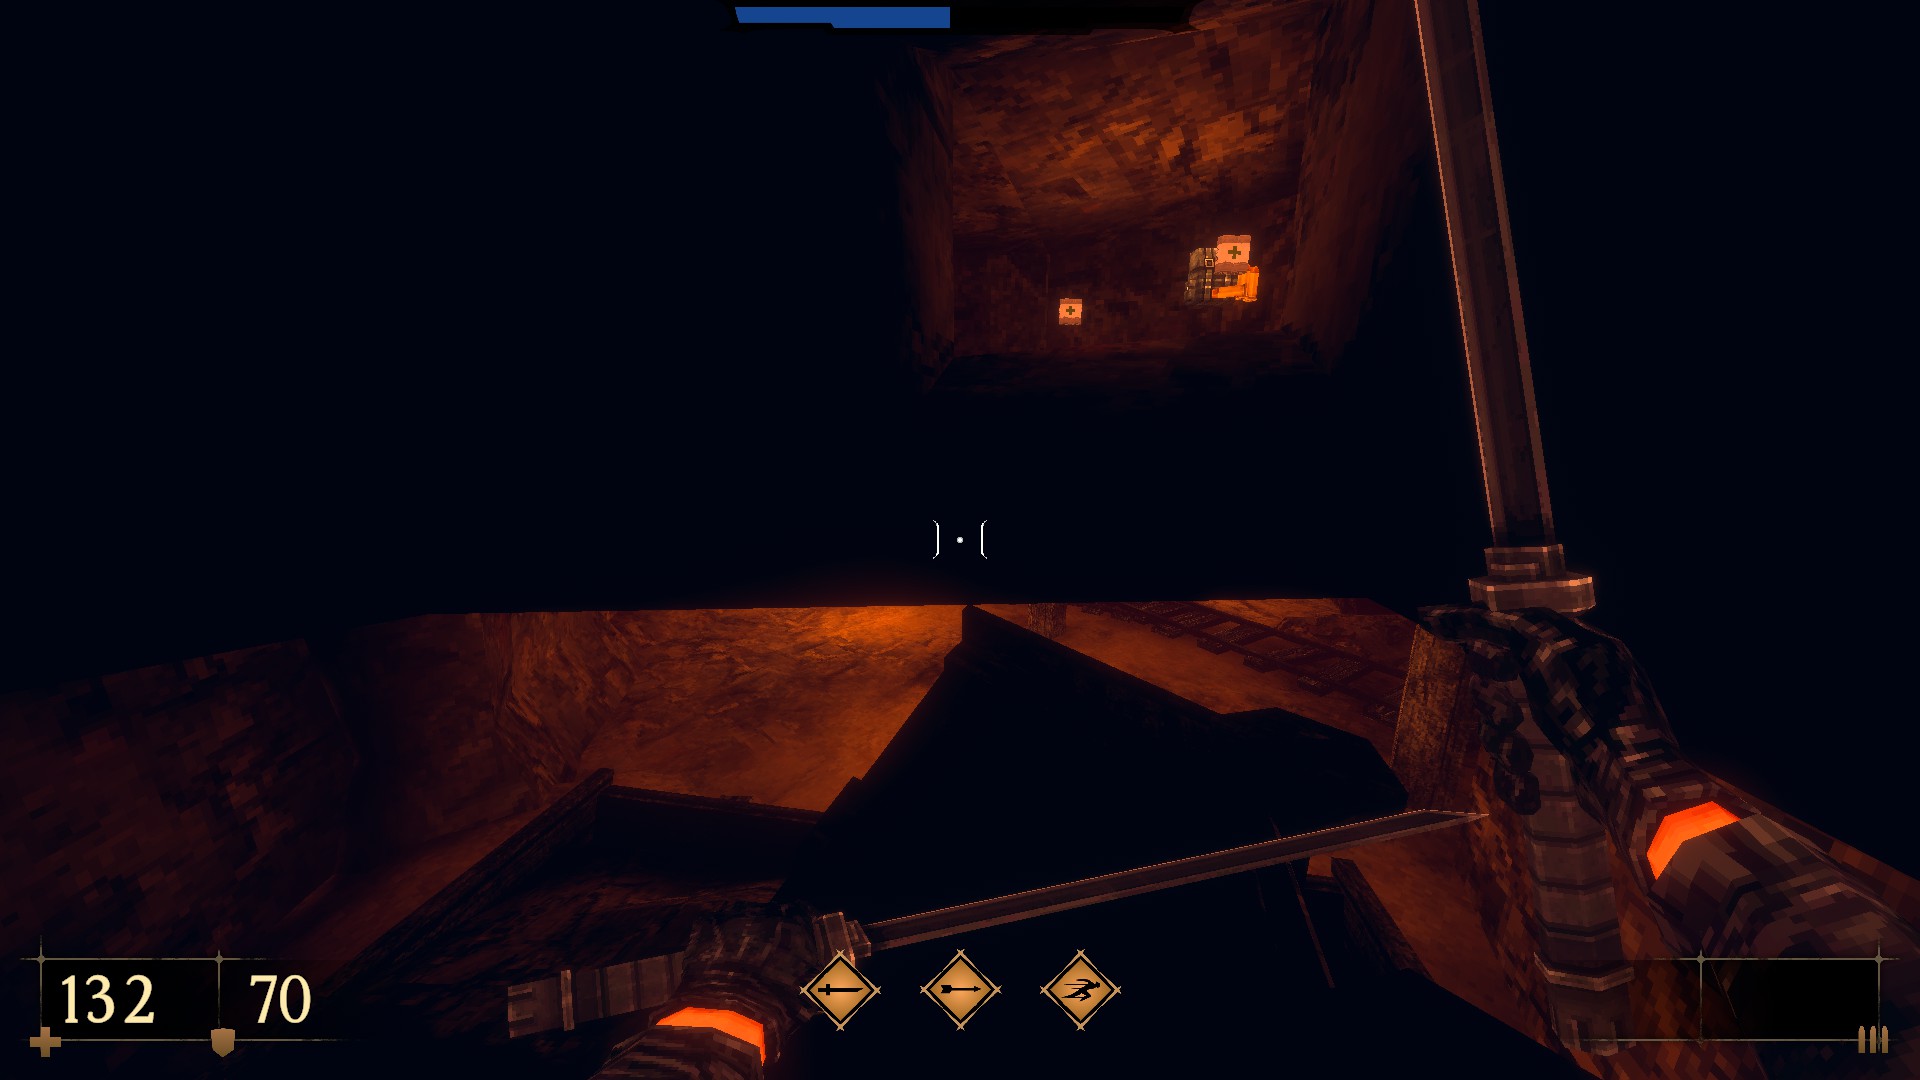
3/8 – Drop down into the second tunnel hall. Dash-jump onto the ledge around you and follow it to the end. To find armor and two health packs, use the protruding portion of the wall.
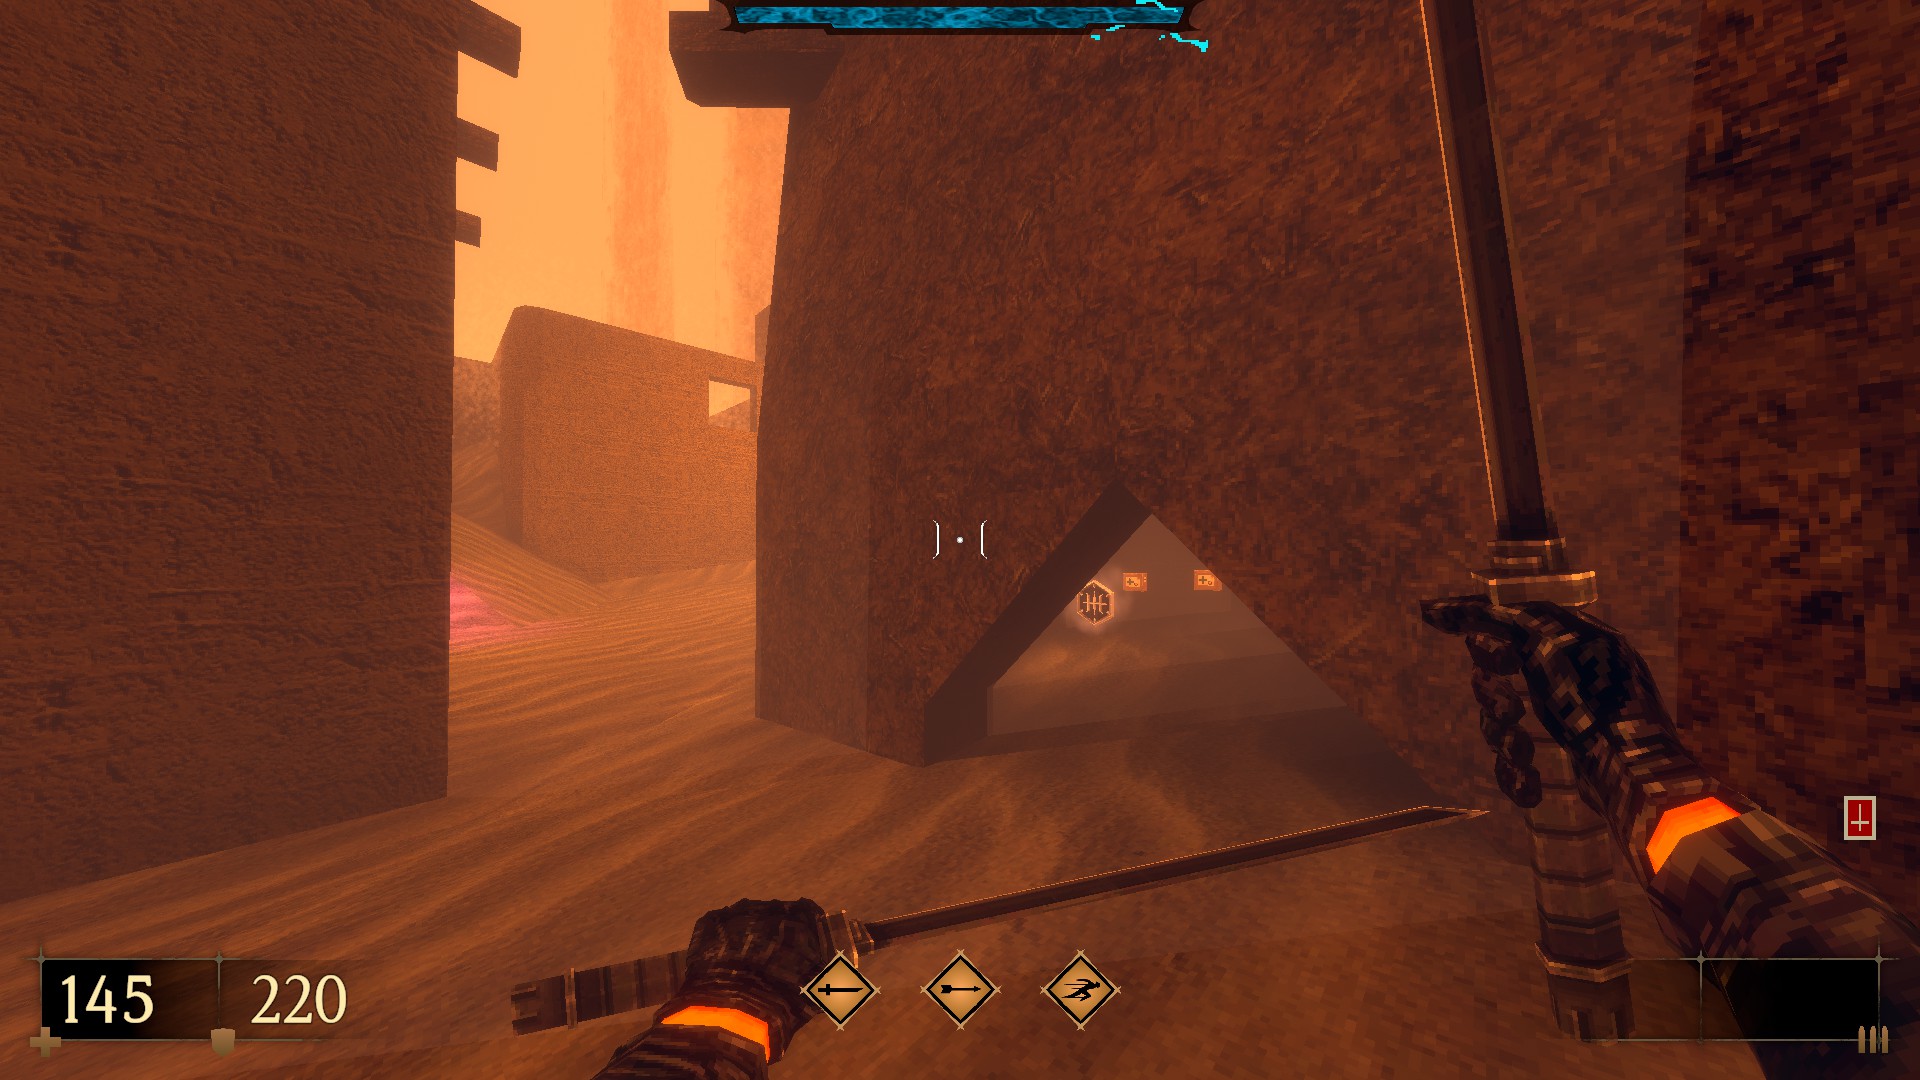
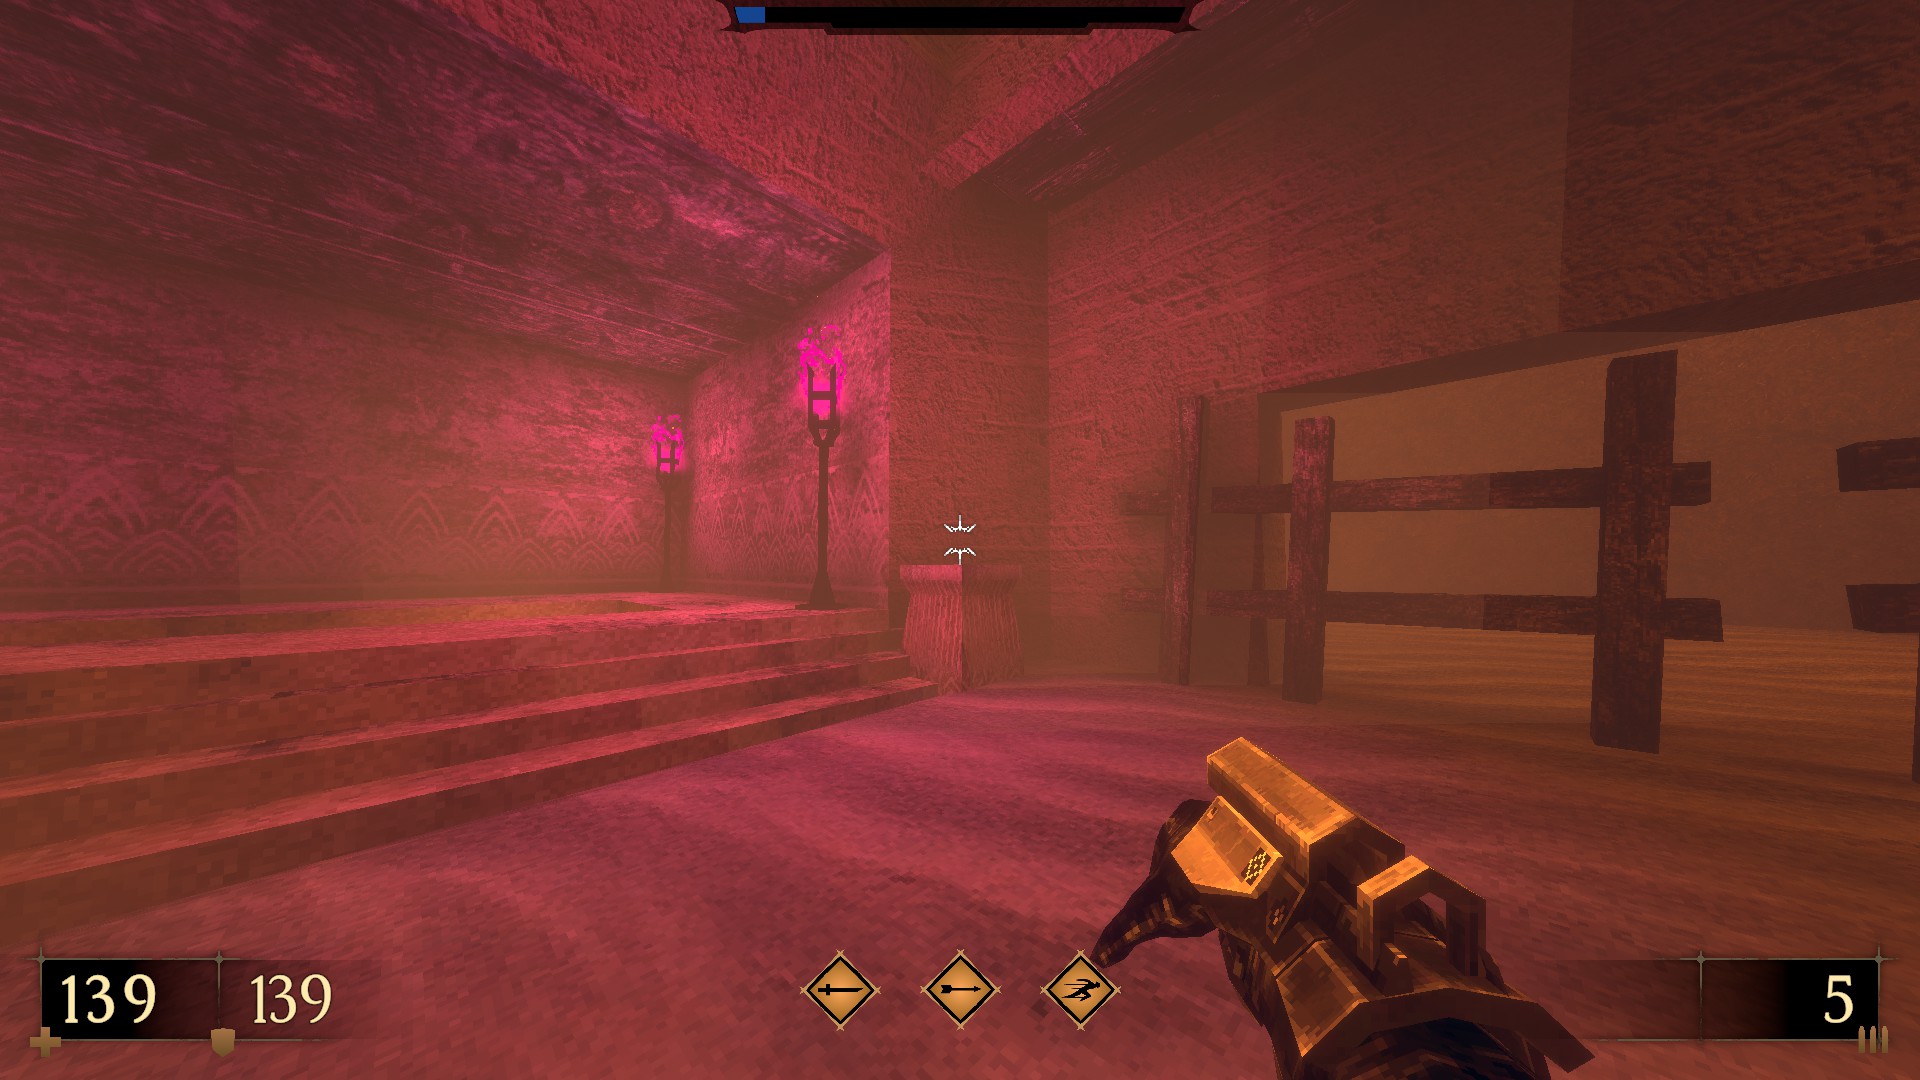
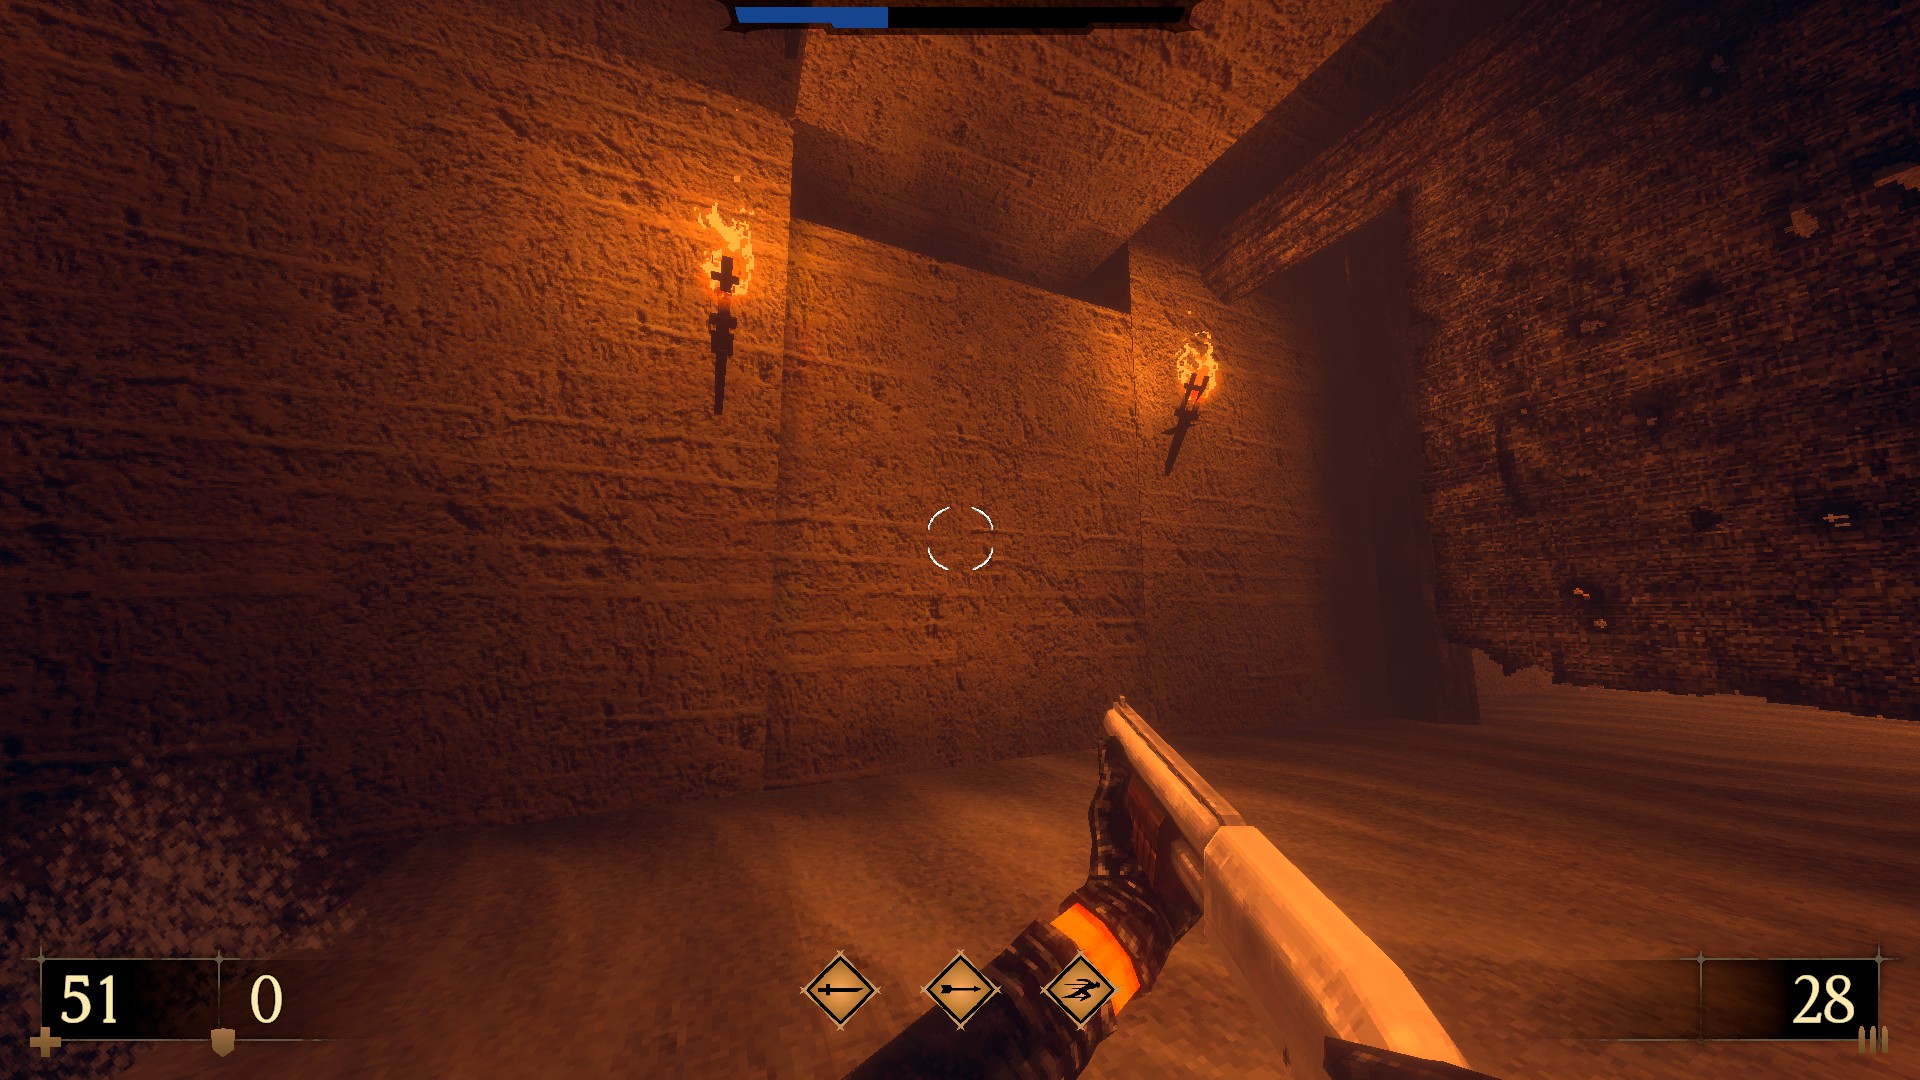
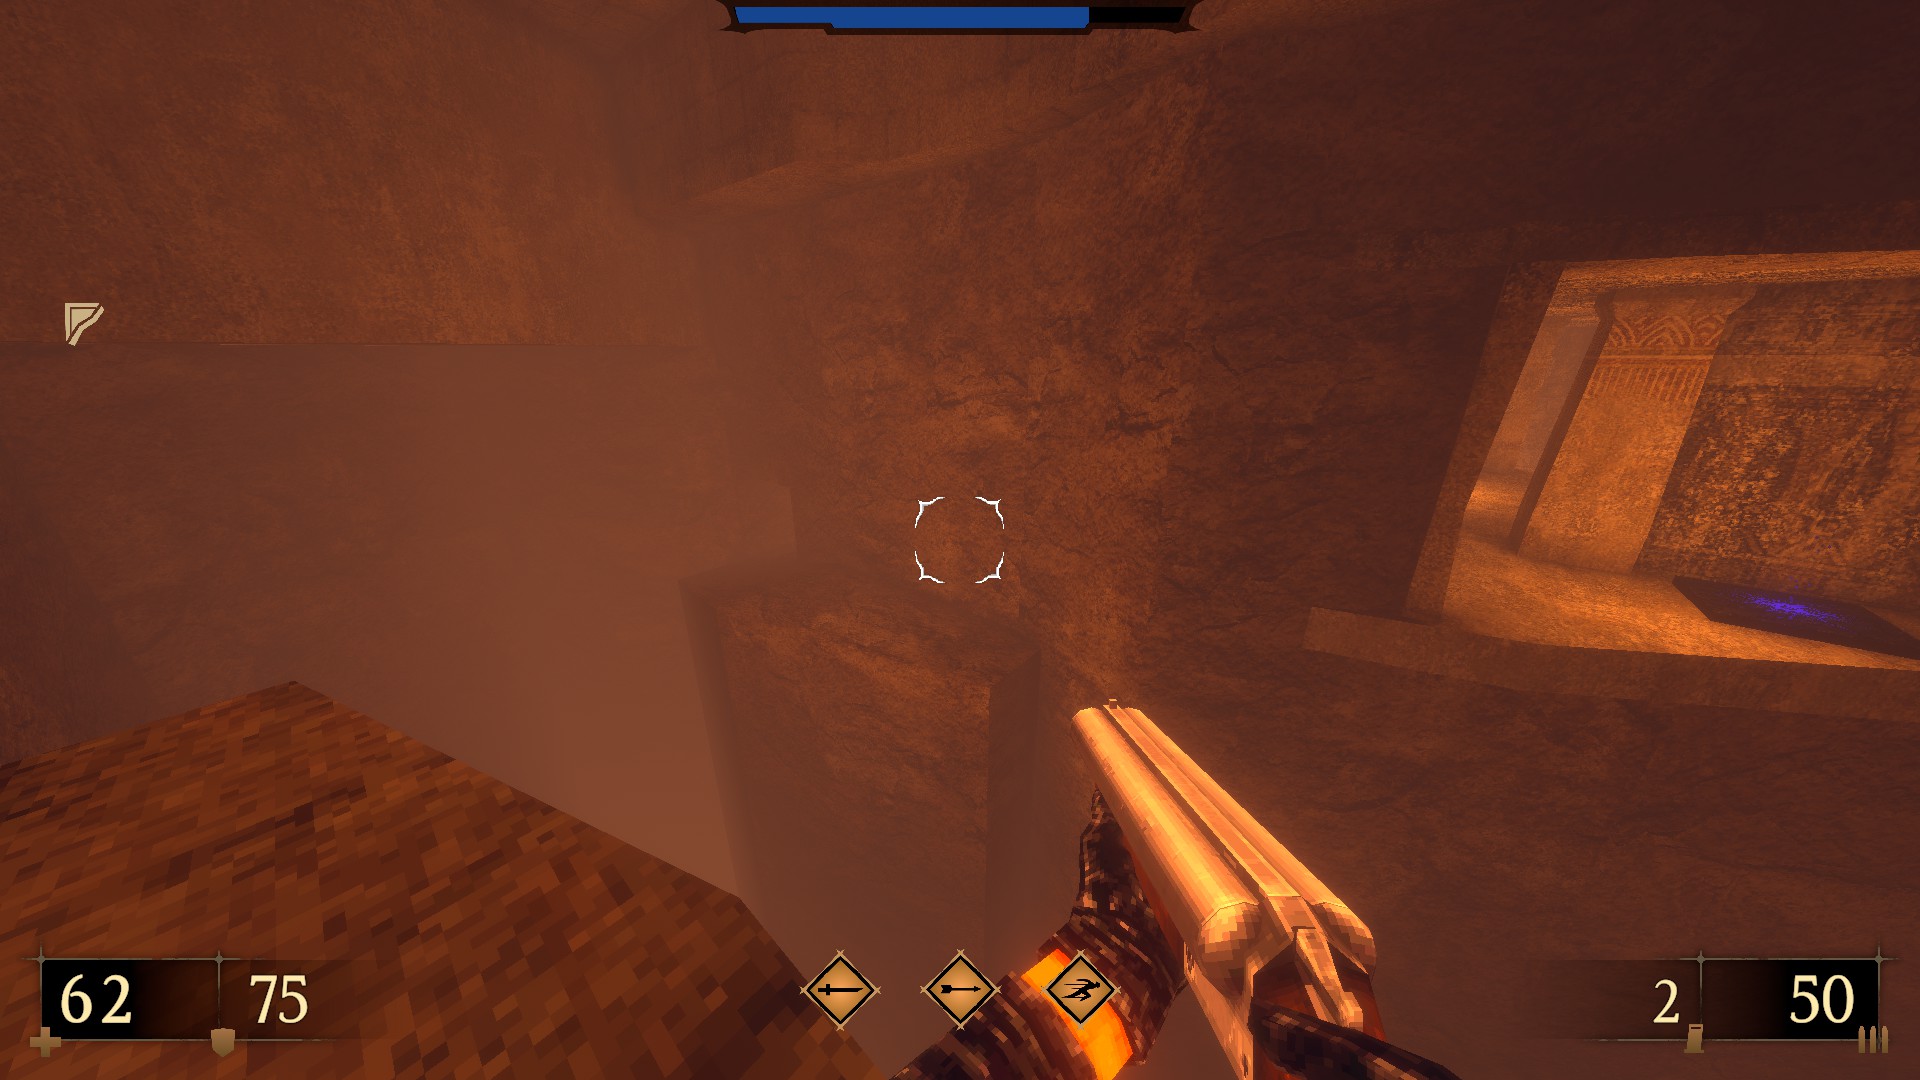
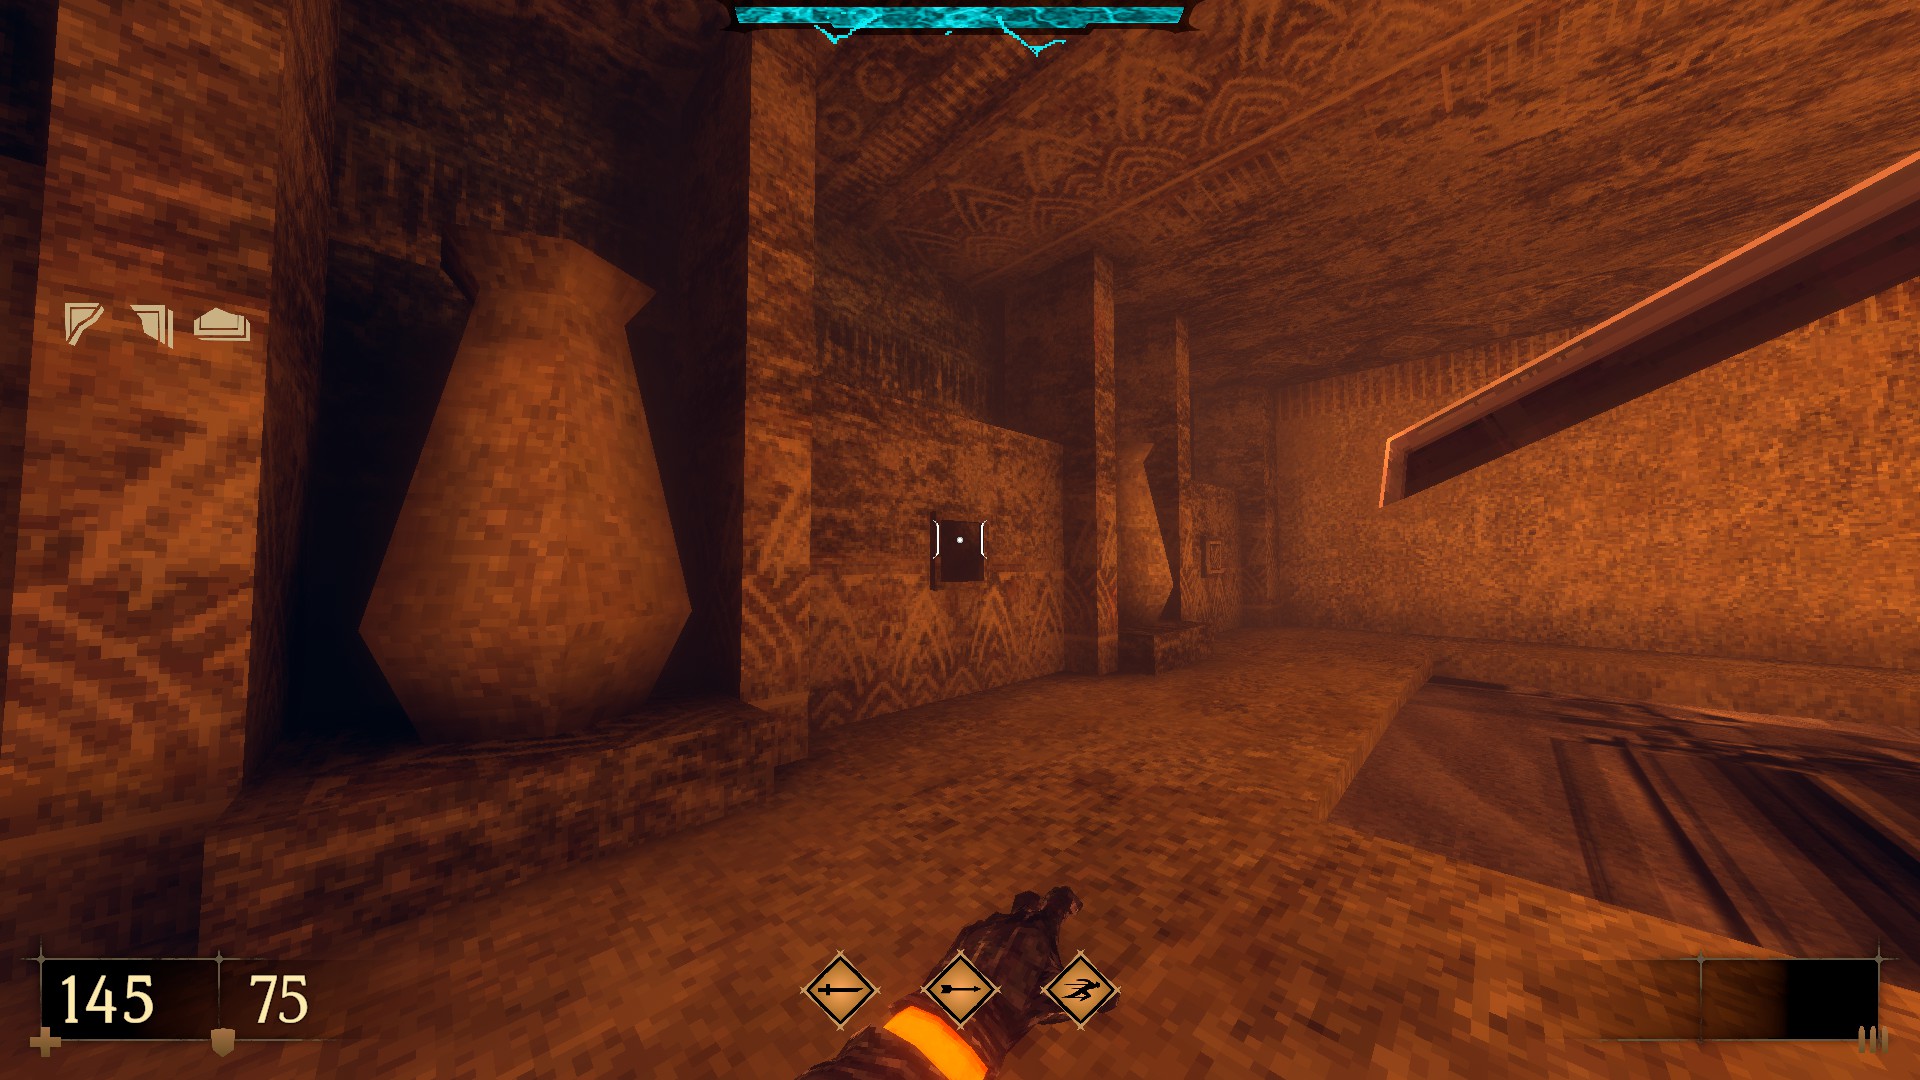
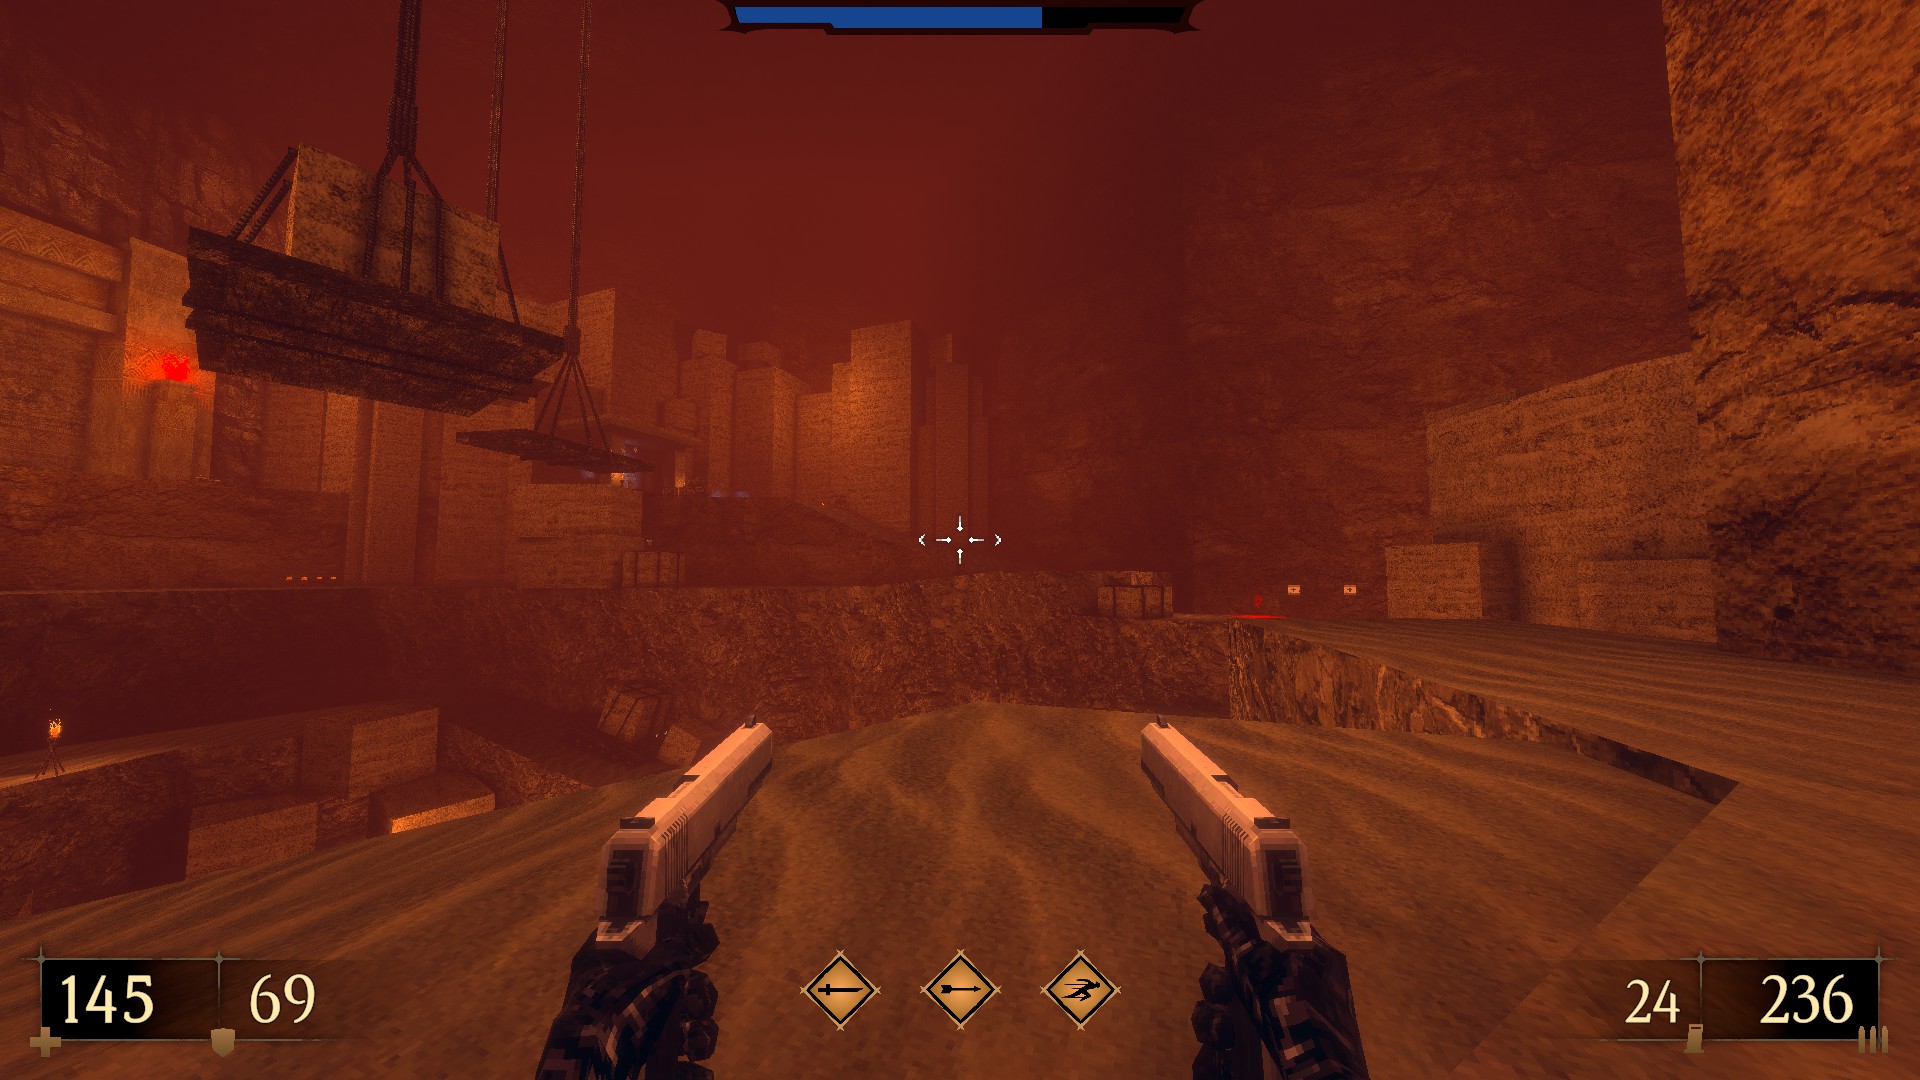
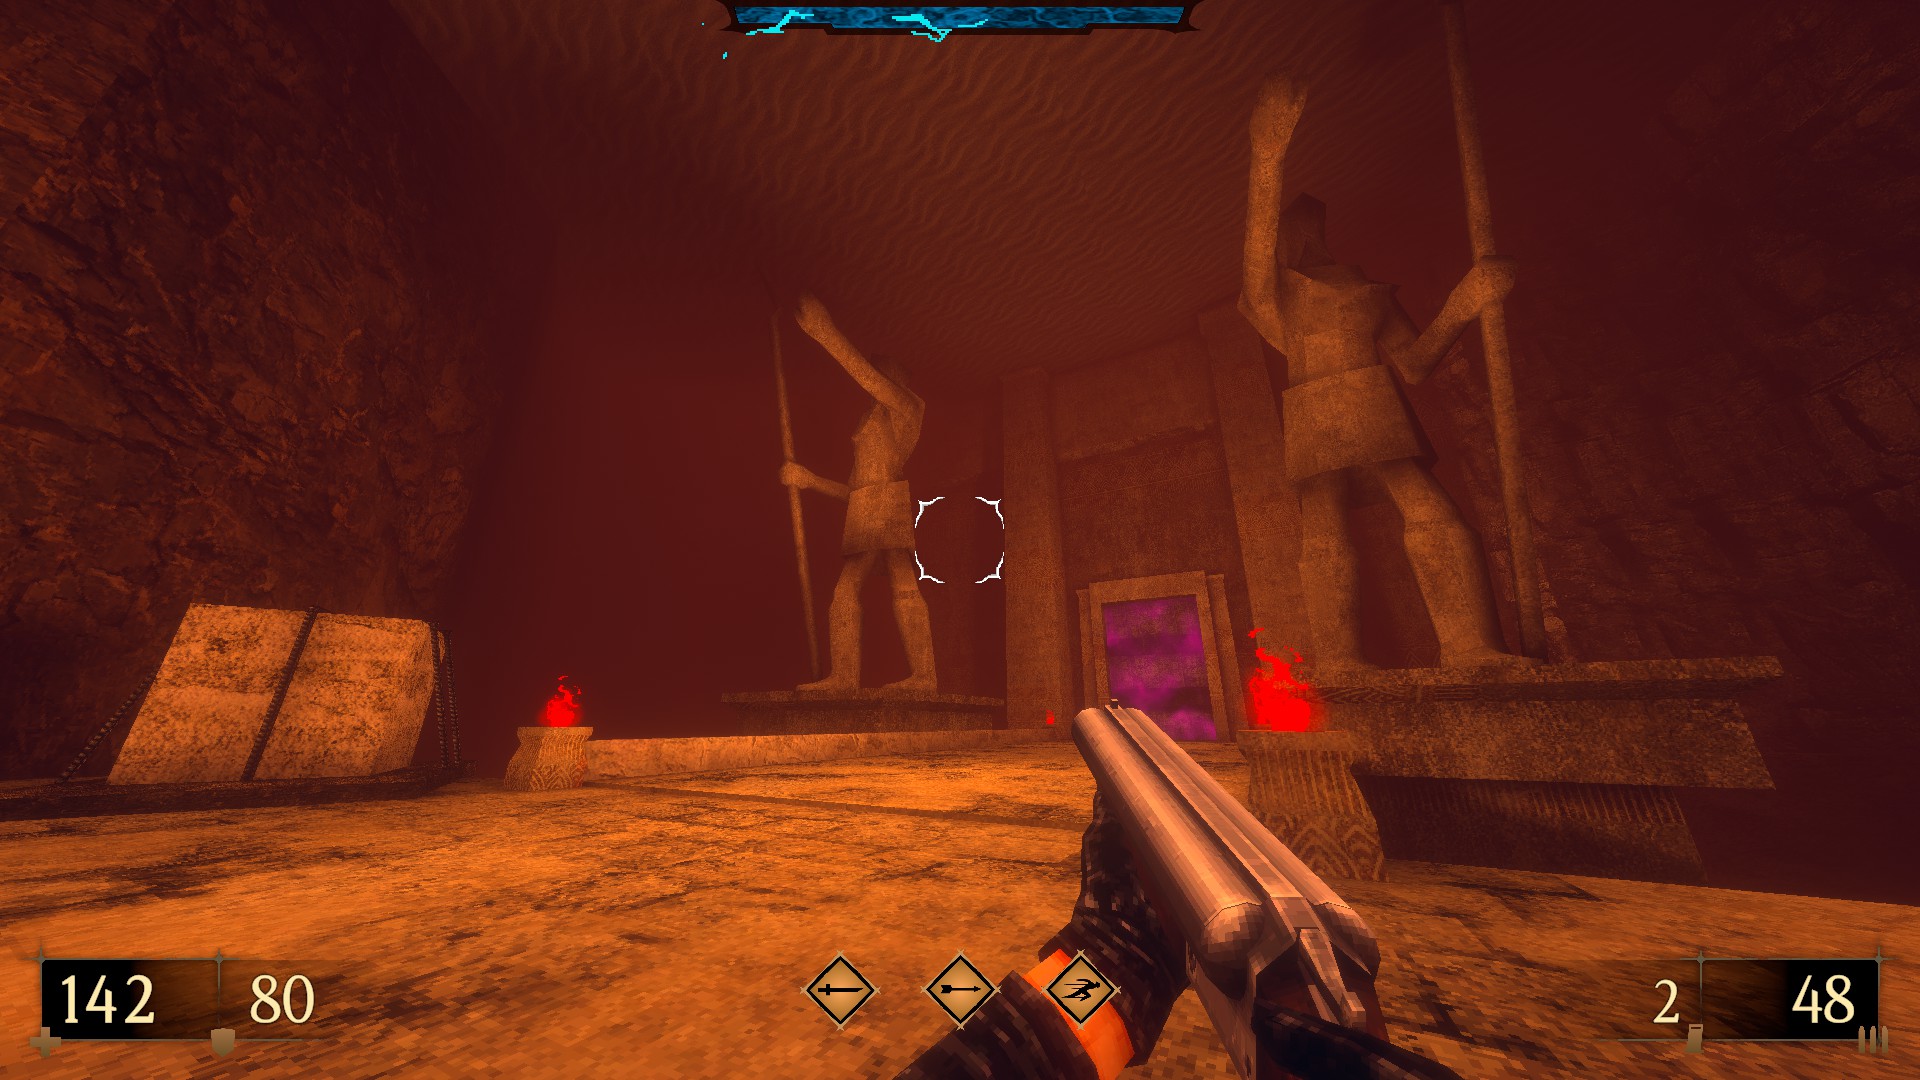
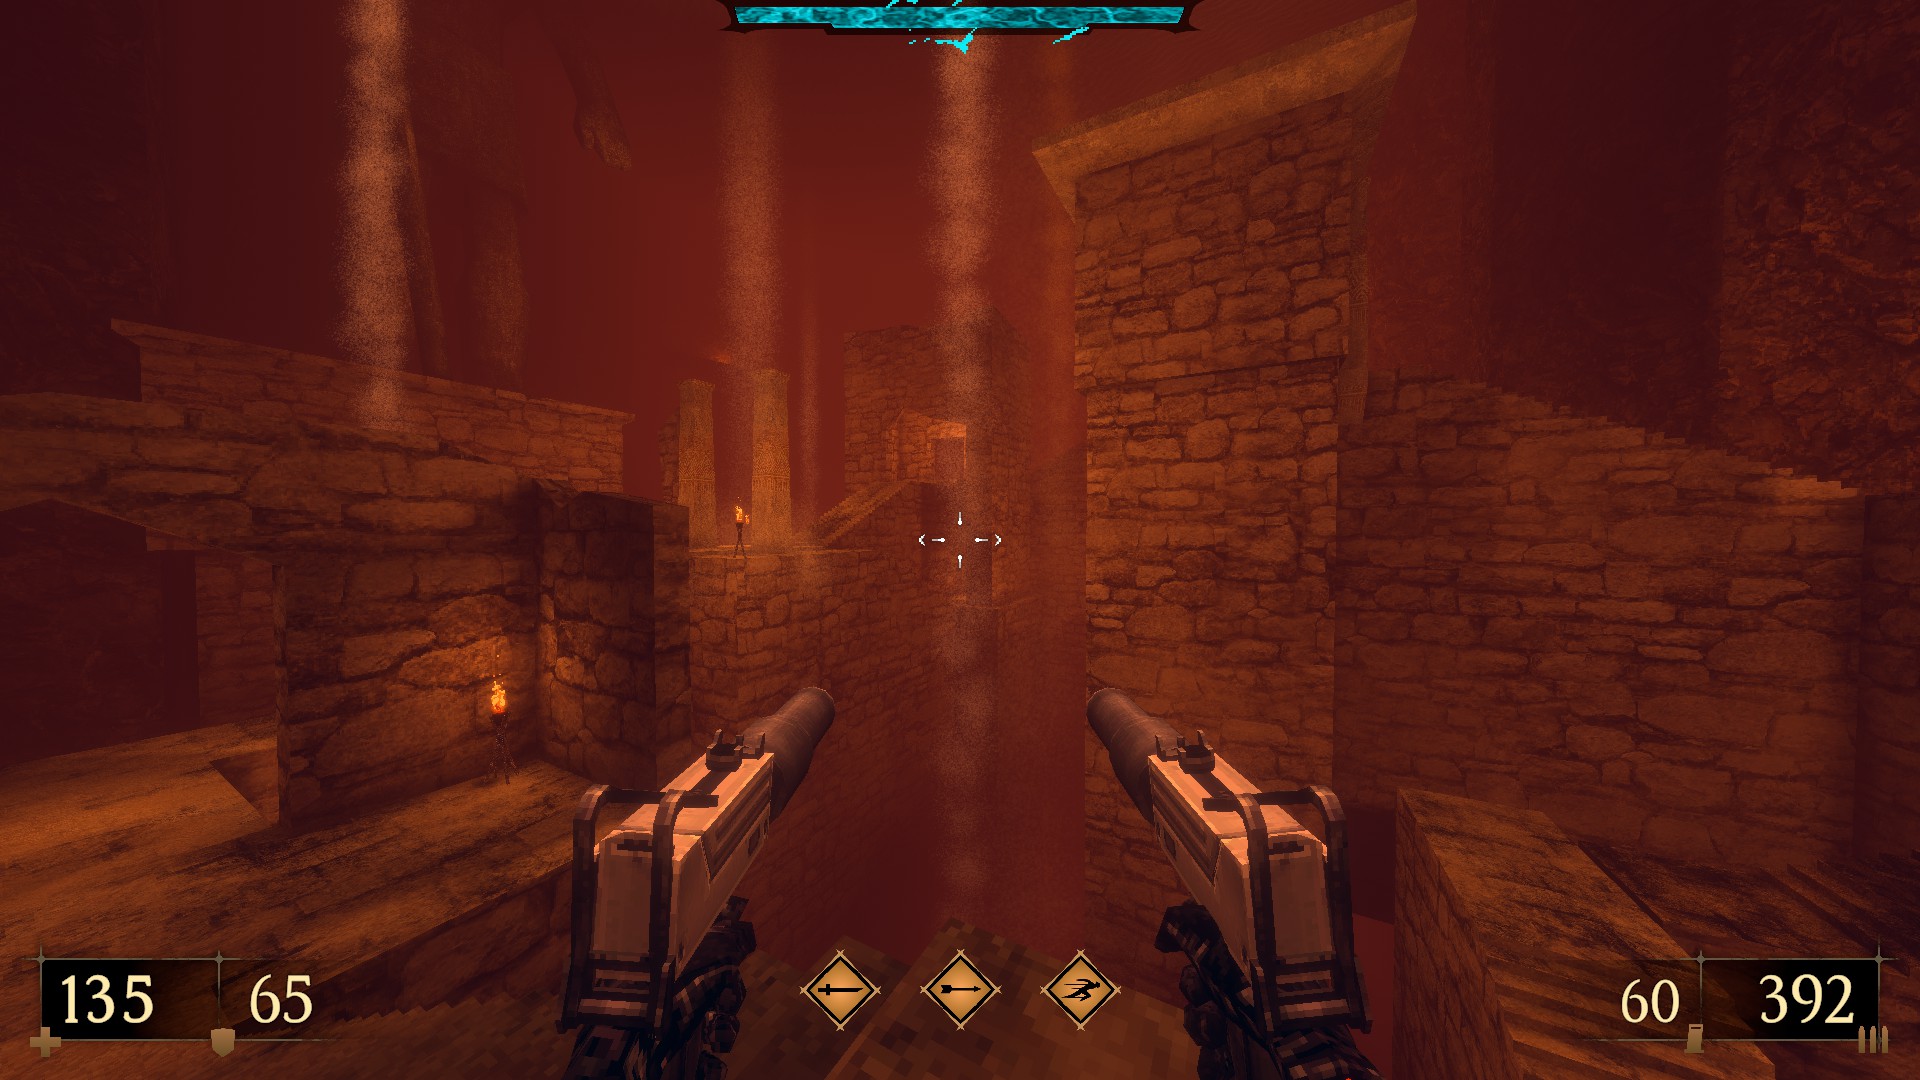
4/8 – A Shortly after passing through purple door, you will come across a chasm. To find a secret passage, use the indented wall located between the two torches to the right.
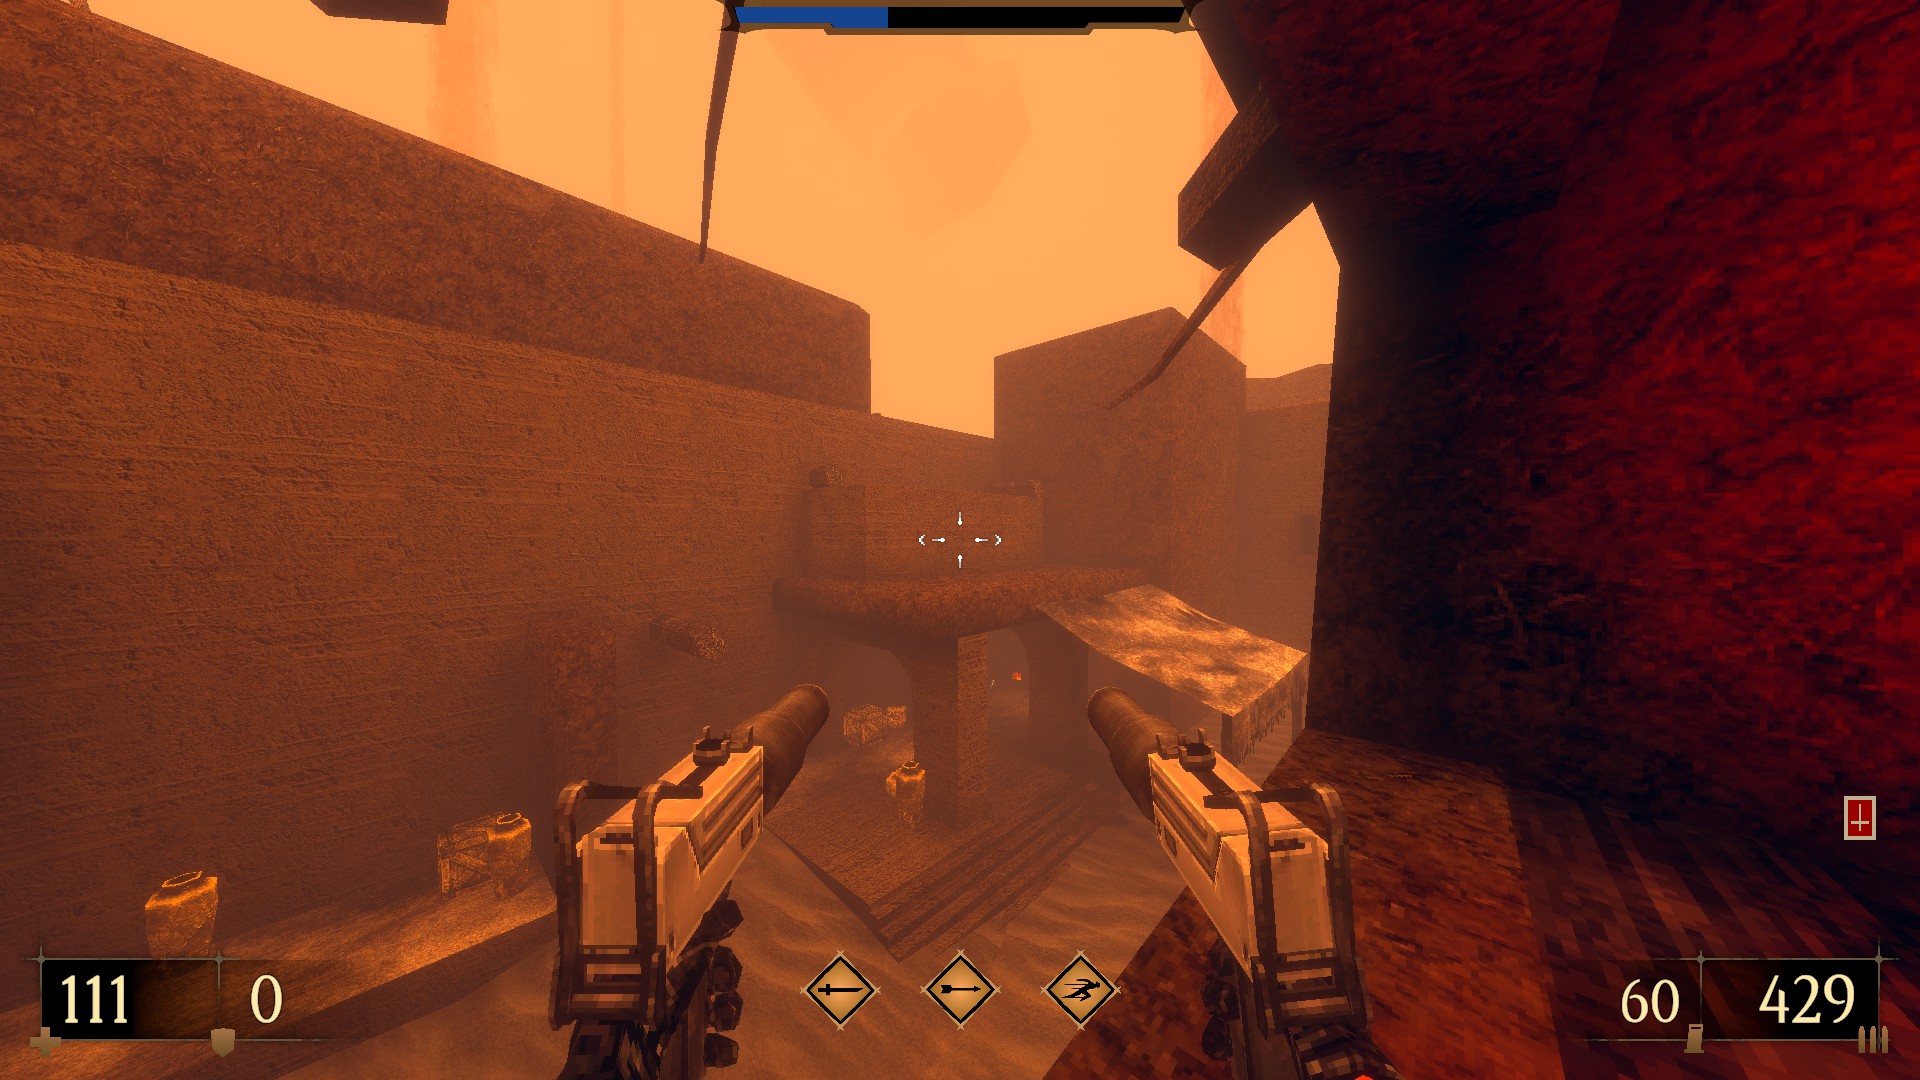
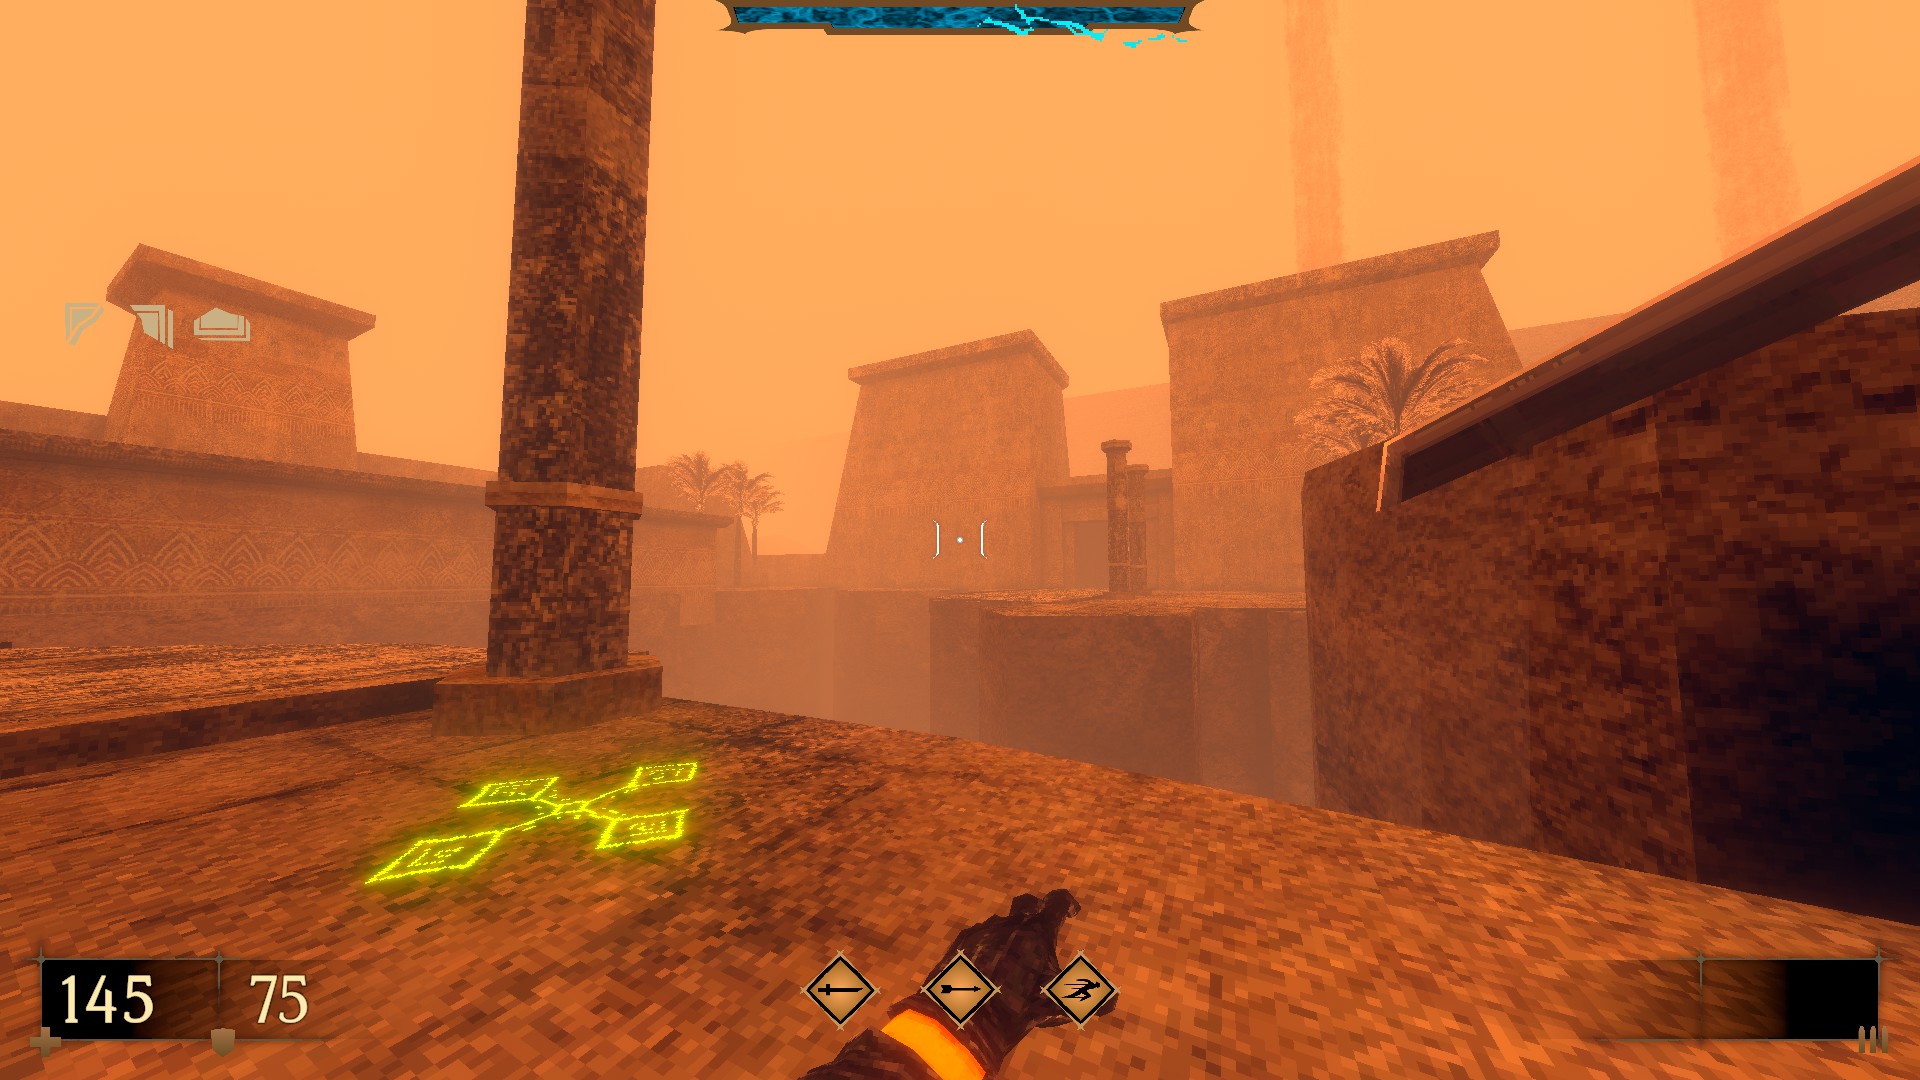
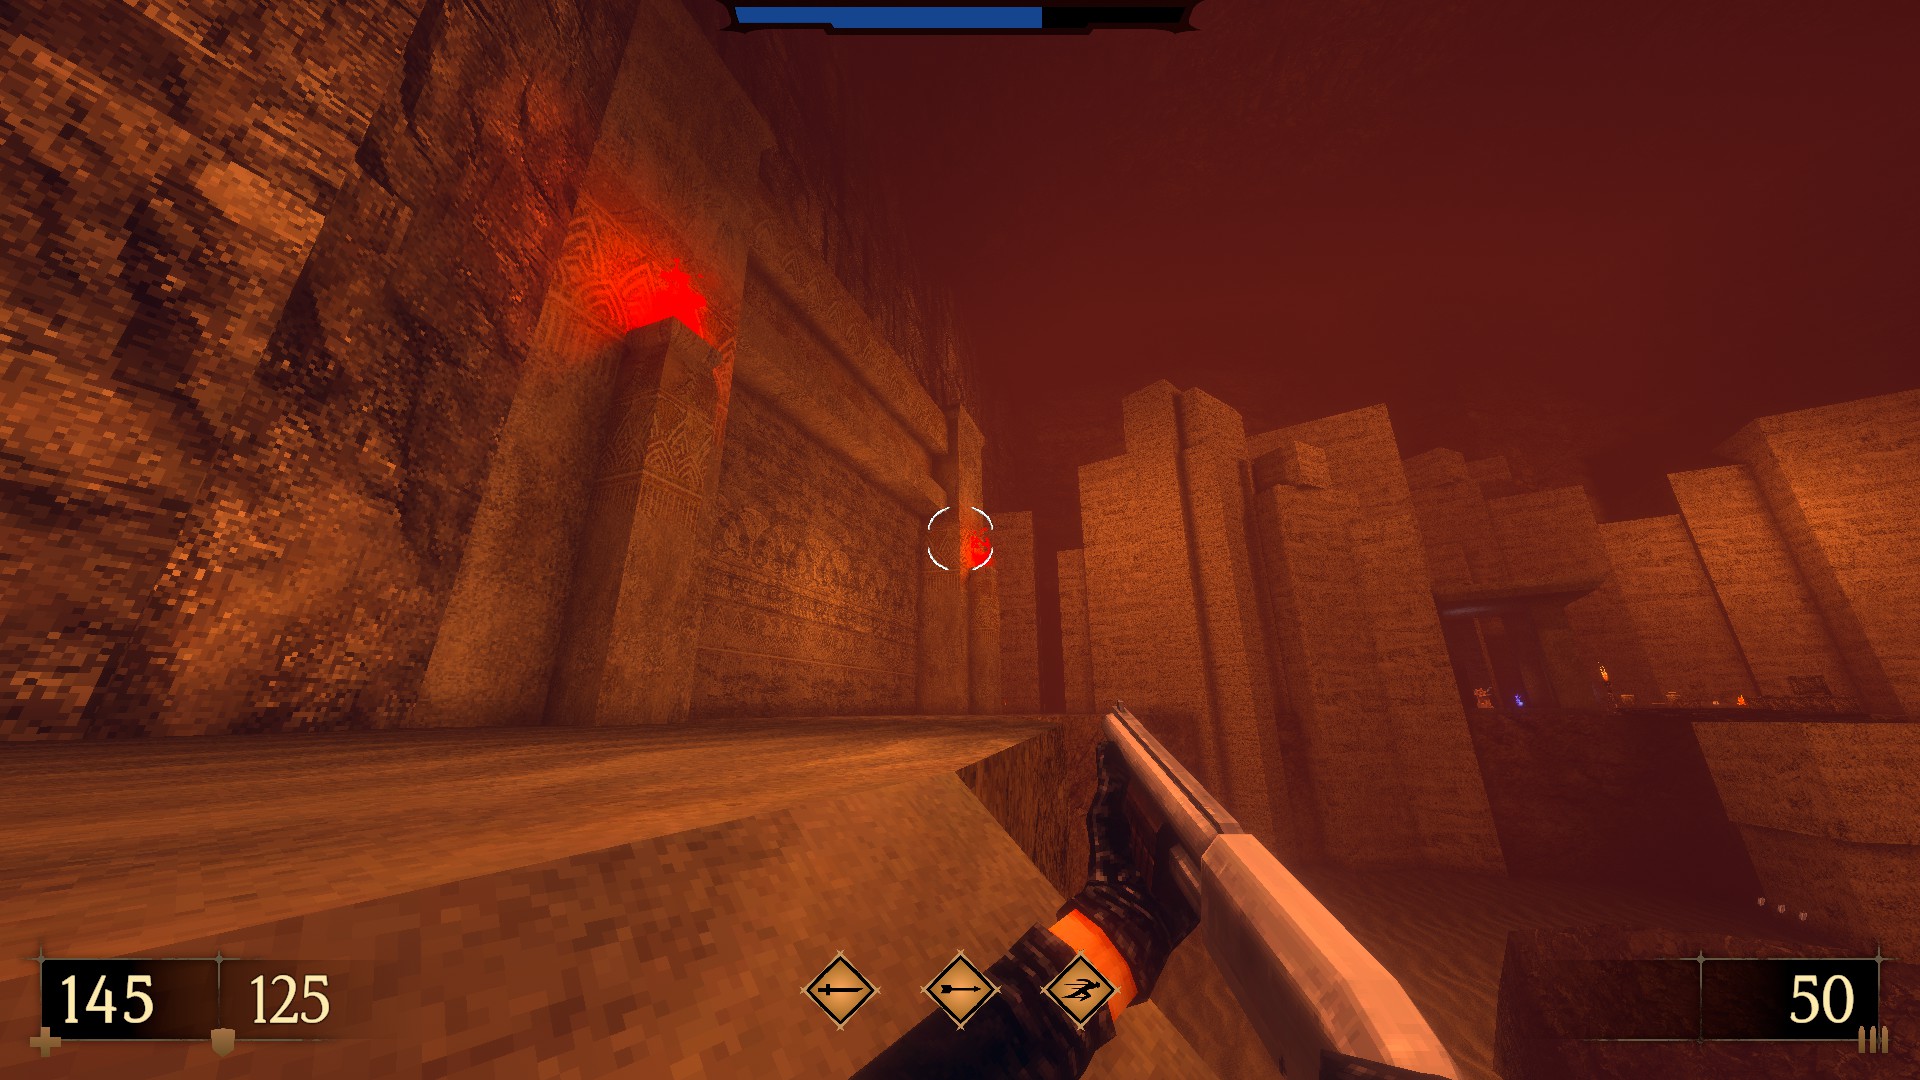
5/8 – Jump from the red keycard balcony onto the roof and turn the corner for hidden ammo.
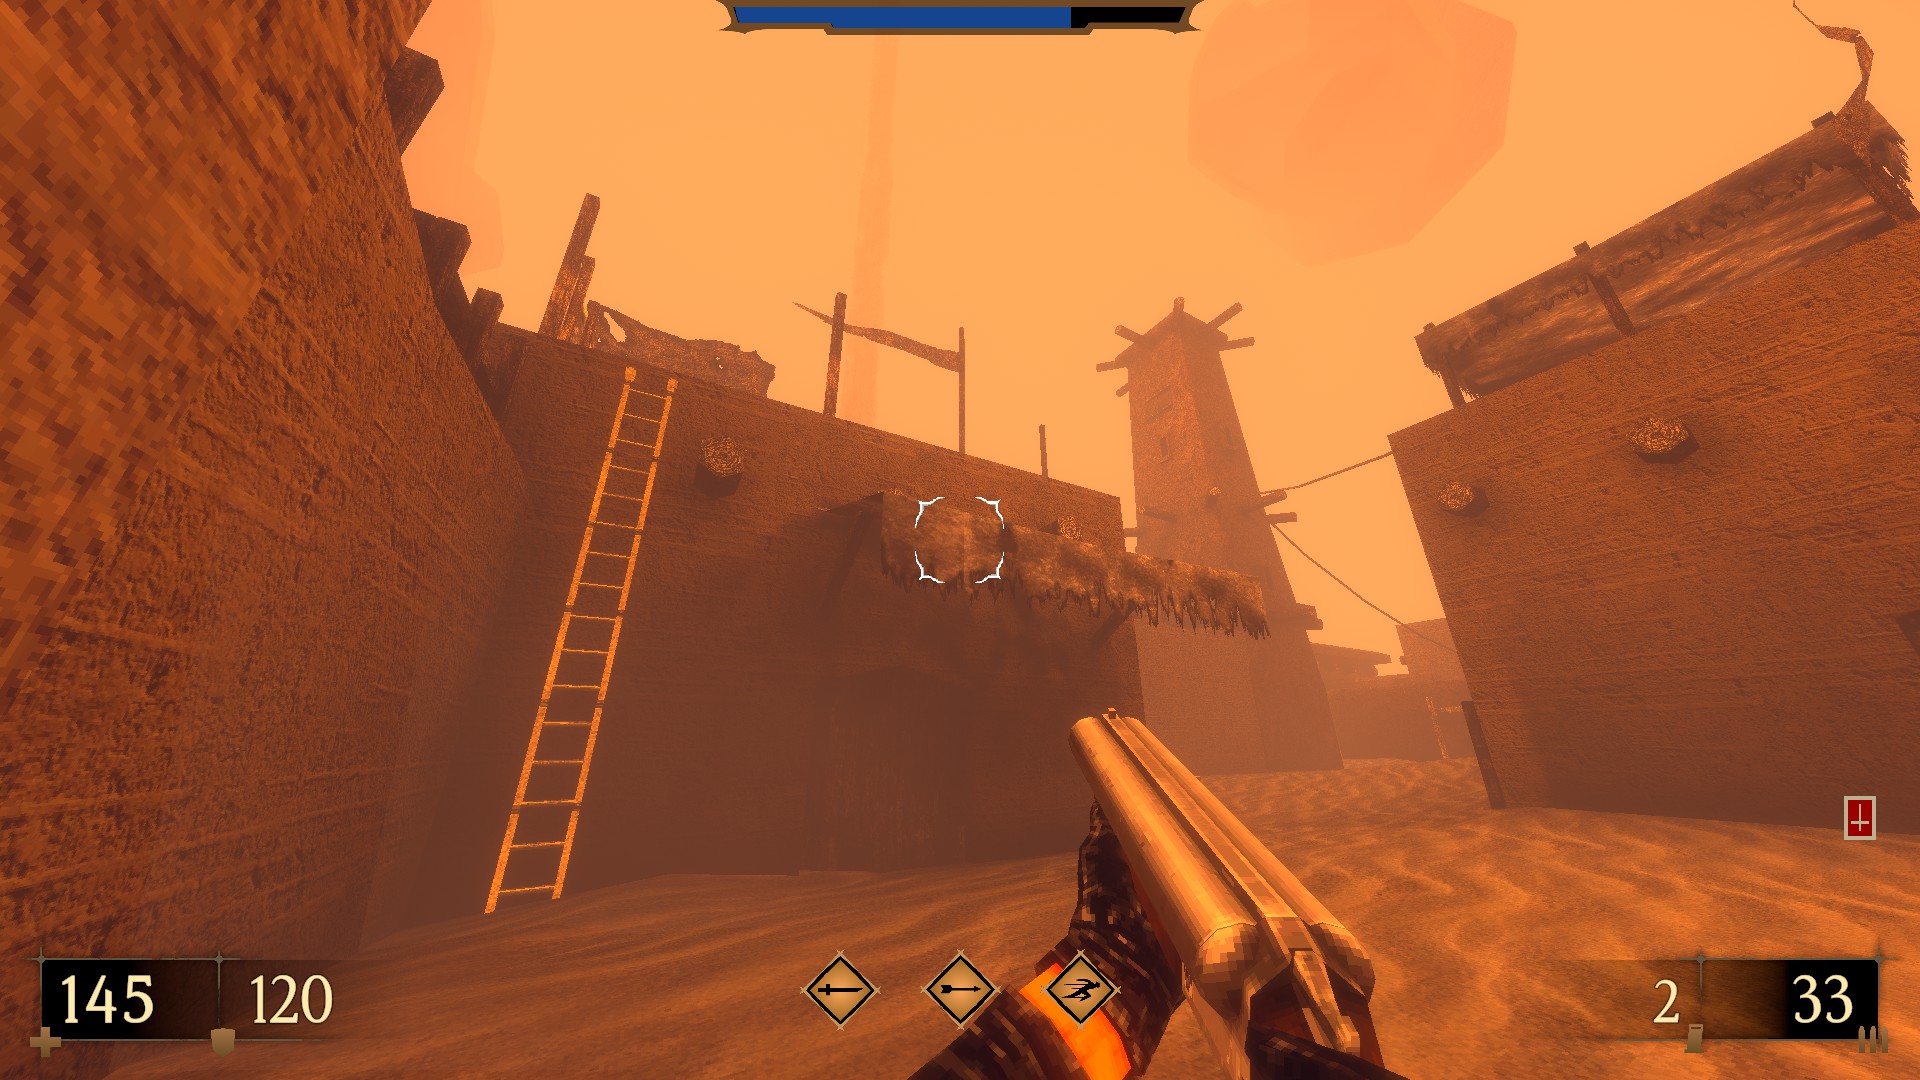
6/8 – Follow the previous secret and climb the ladders located on the same alley. Then, drop down into the structure through the opening at its top. Instead of exiting the room via the door that leads back to the beginning area, go to the right and jump over the three beams to access a hidden room. (Inferno Gauntlets Slaughter)
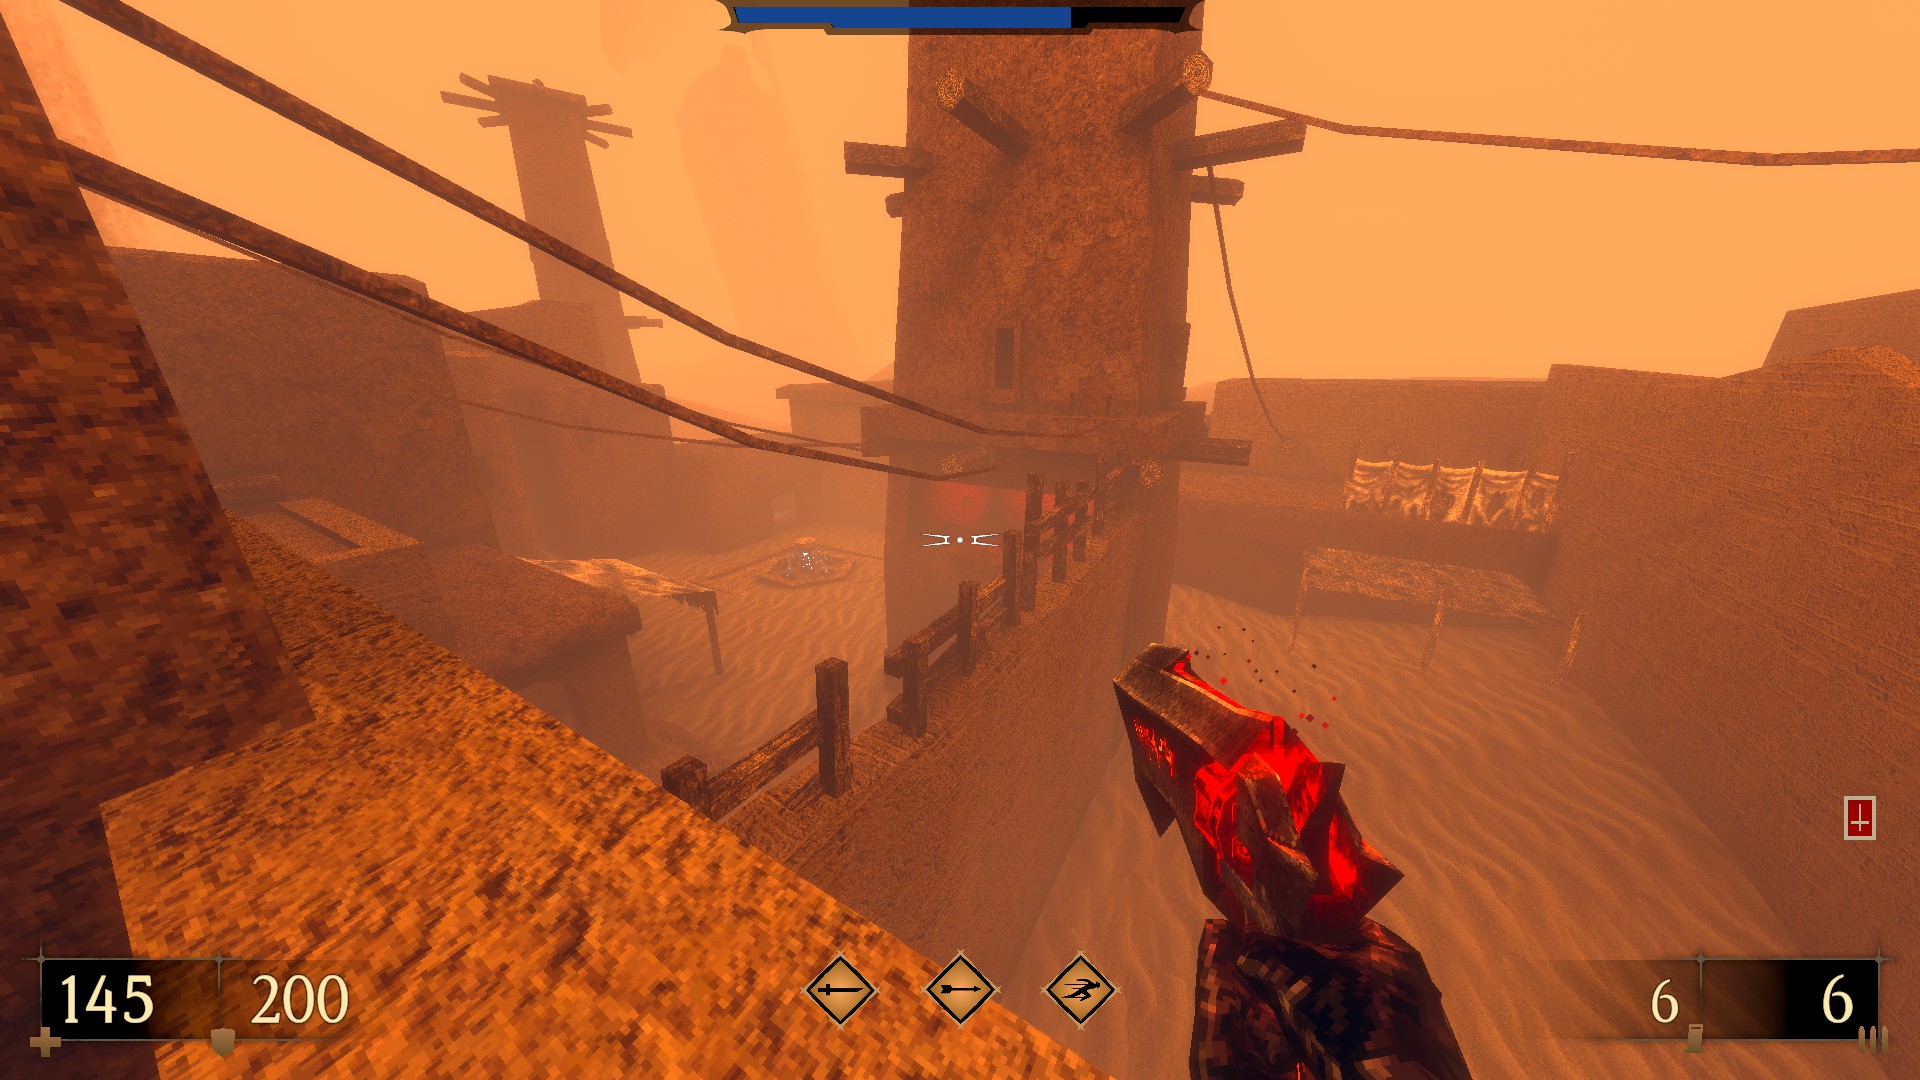
7/8 – Using the previous secret, climb the ladders again and reach the central tower’s ledge via the wooden fencing. Follow the ledge to the corner and jump onto the roof. To find another hidden room, destroy the wooden panel on top. (Katana Mutilate II)
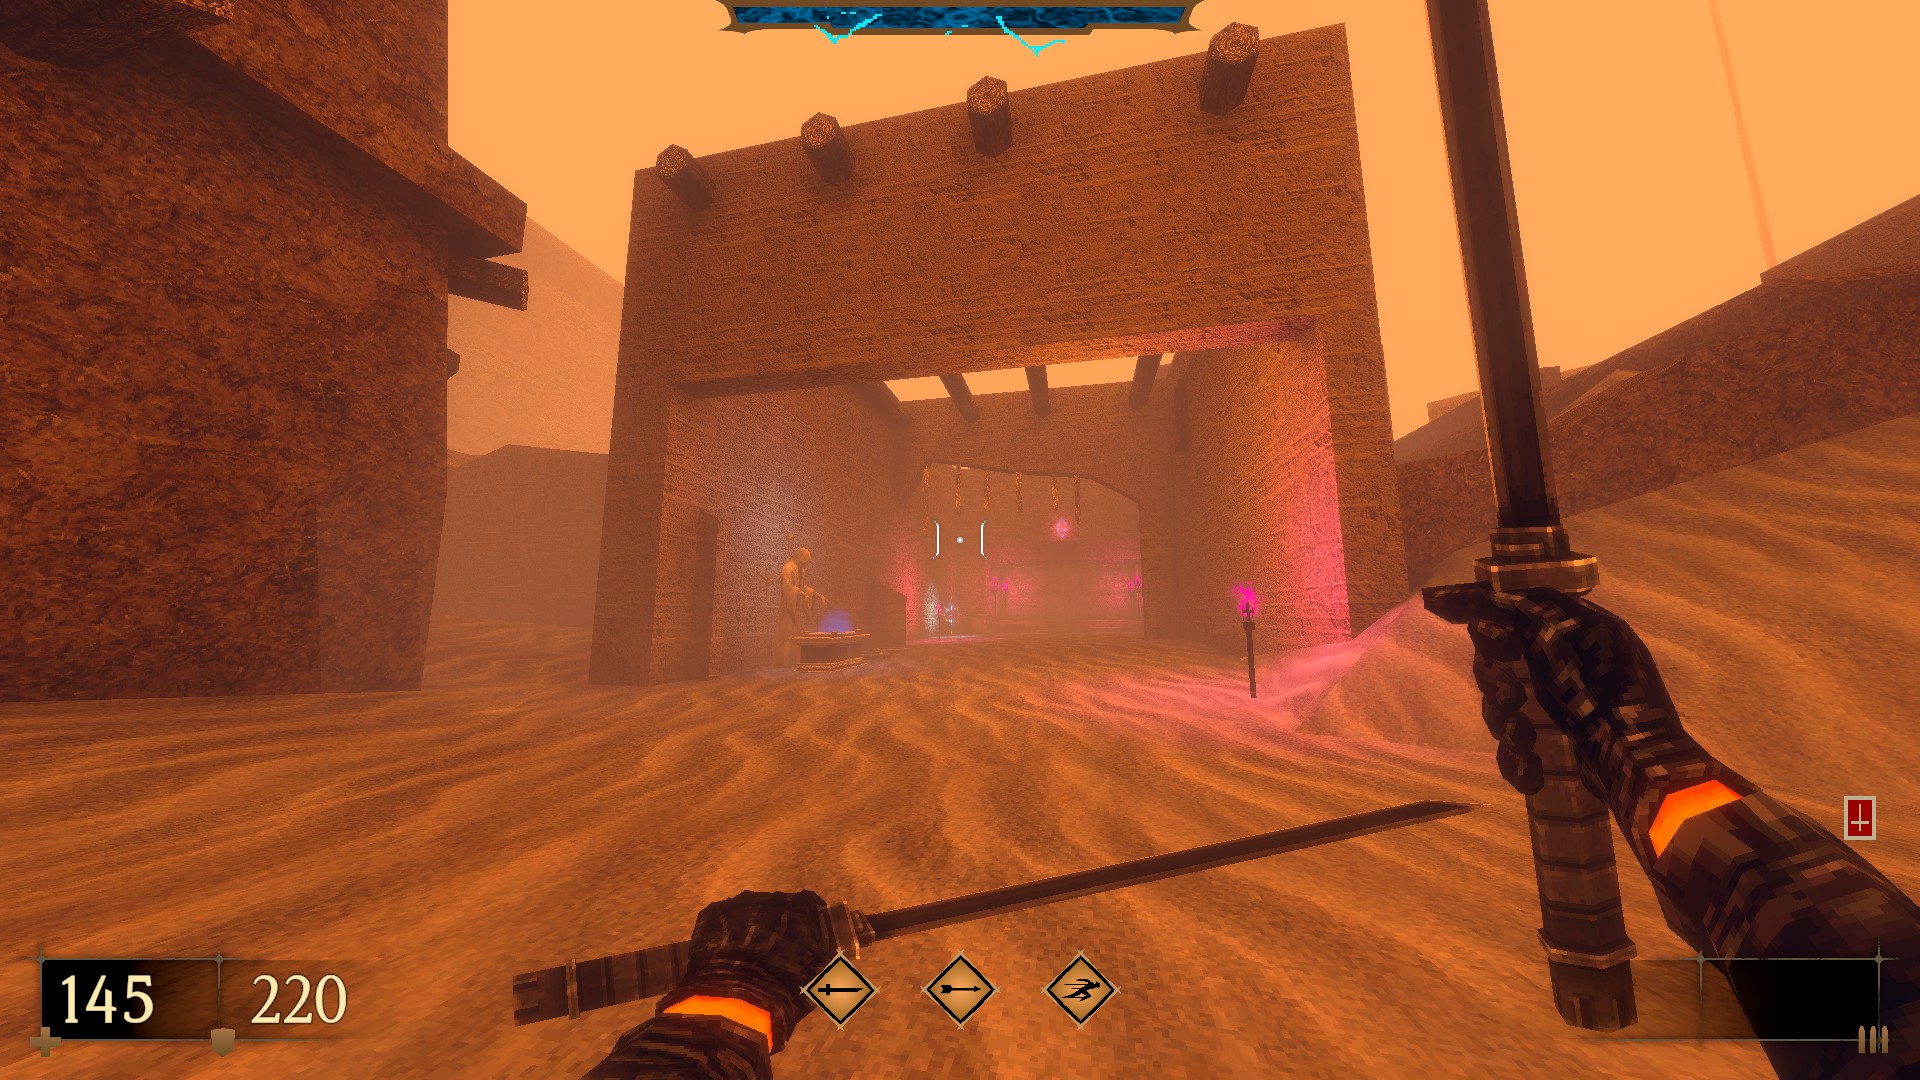
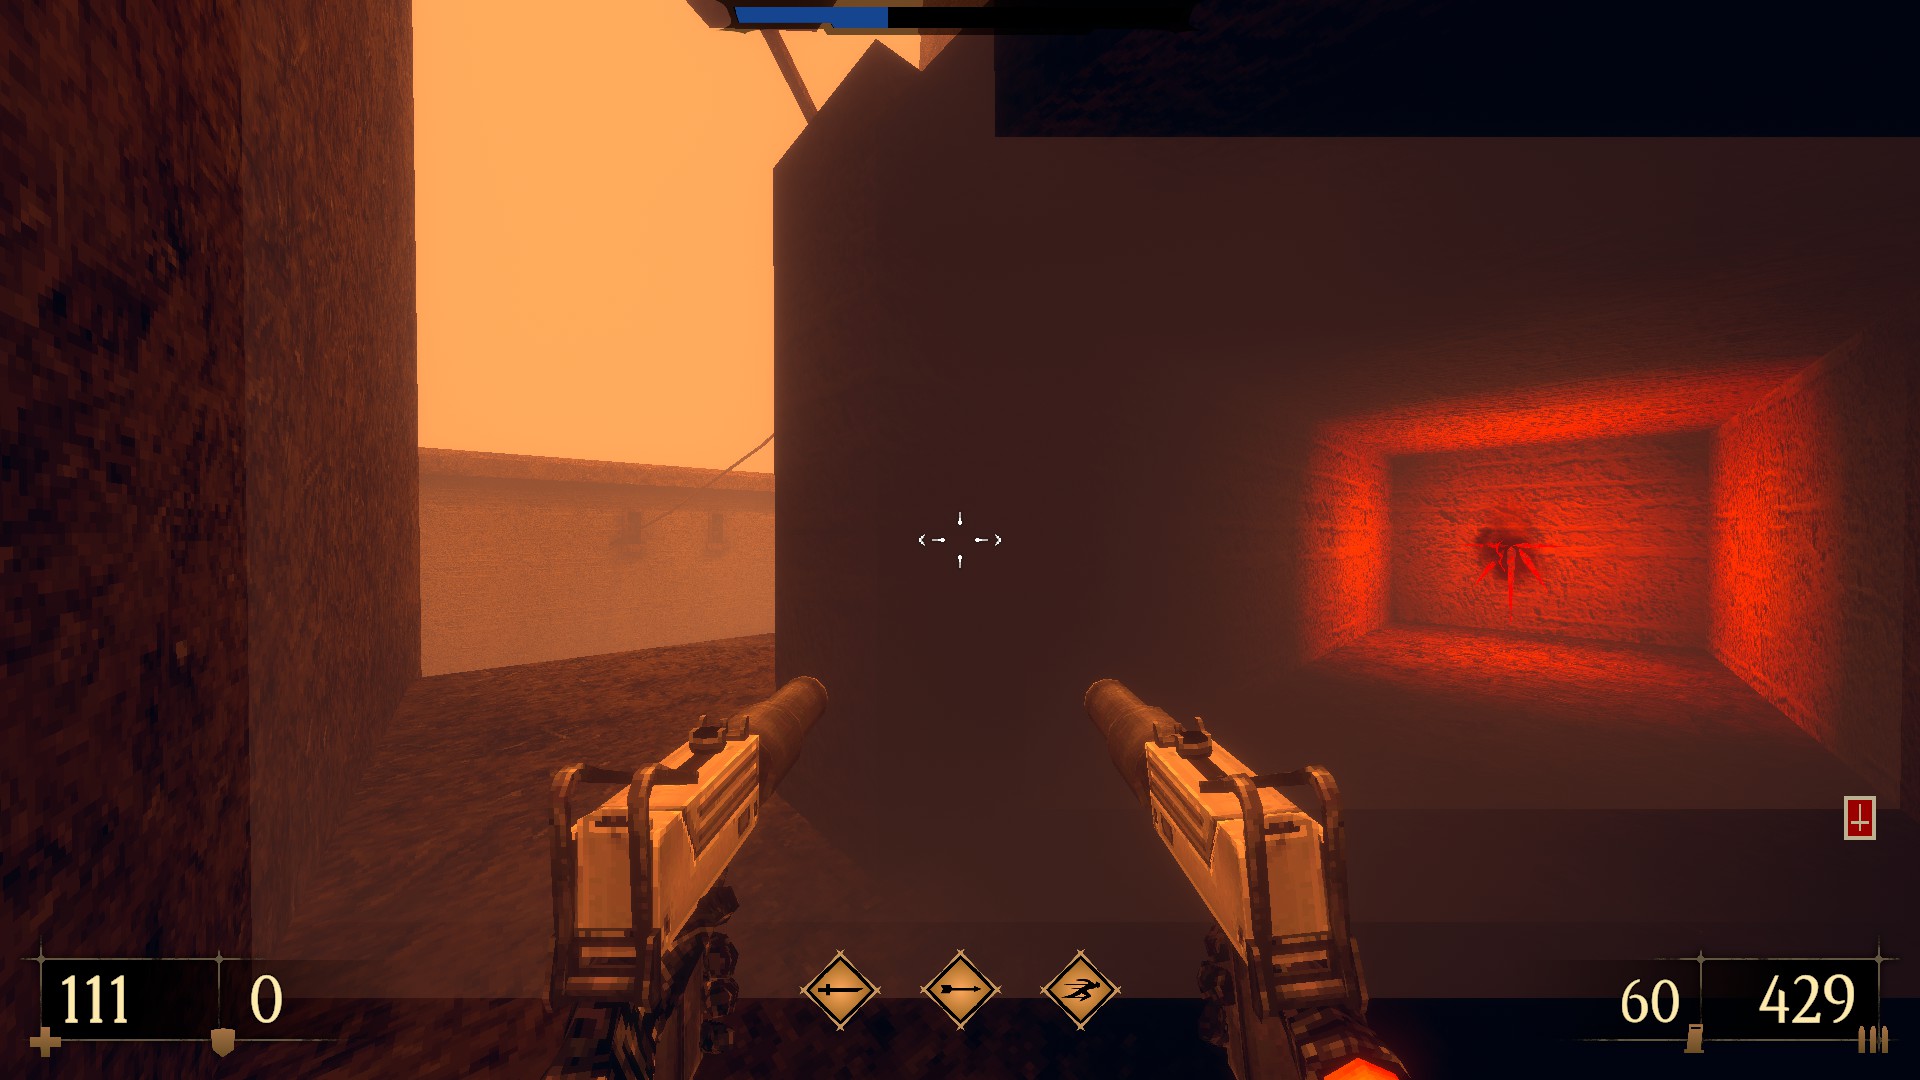
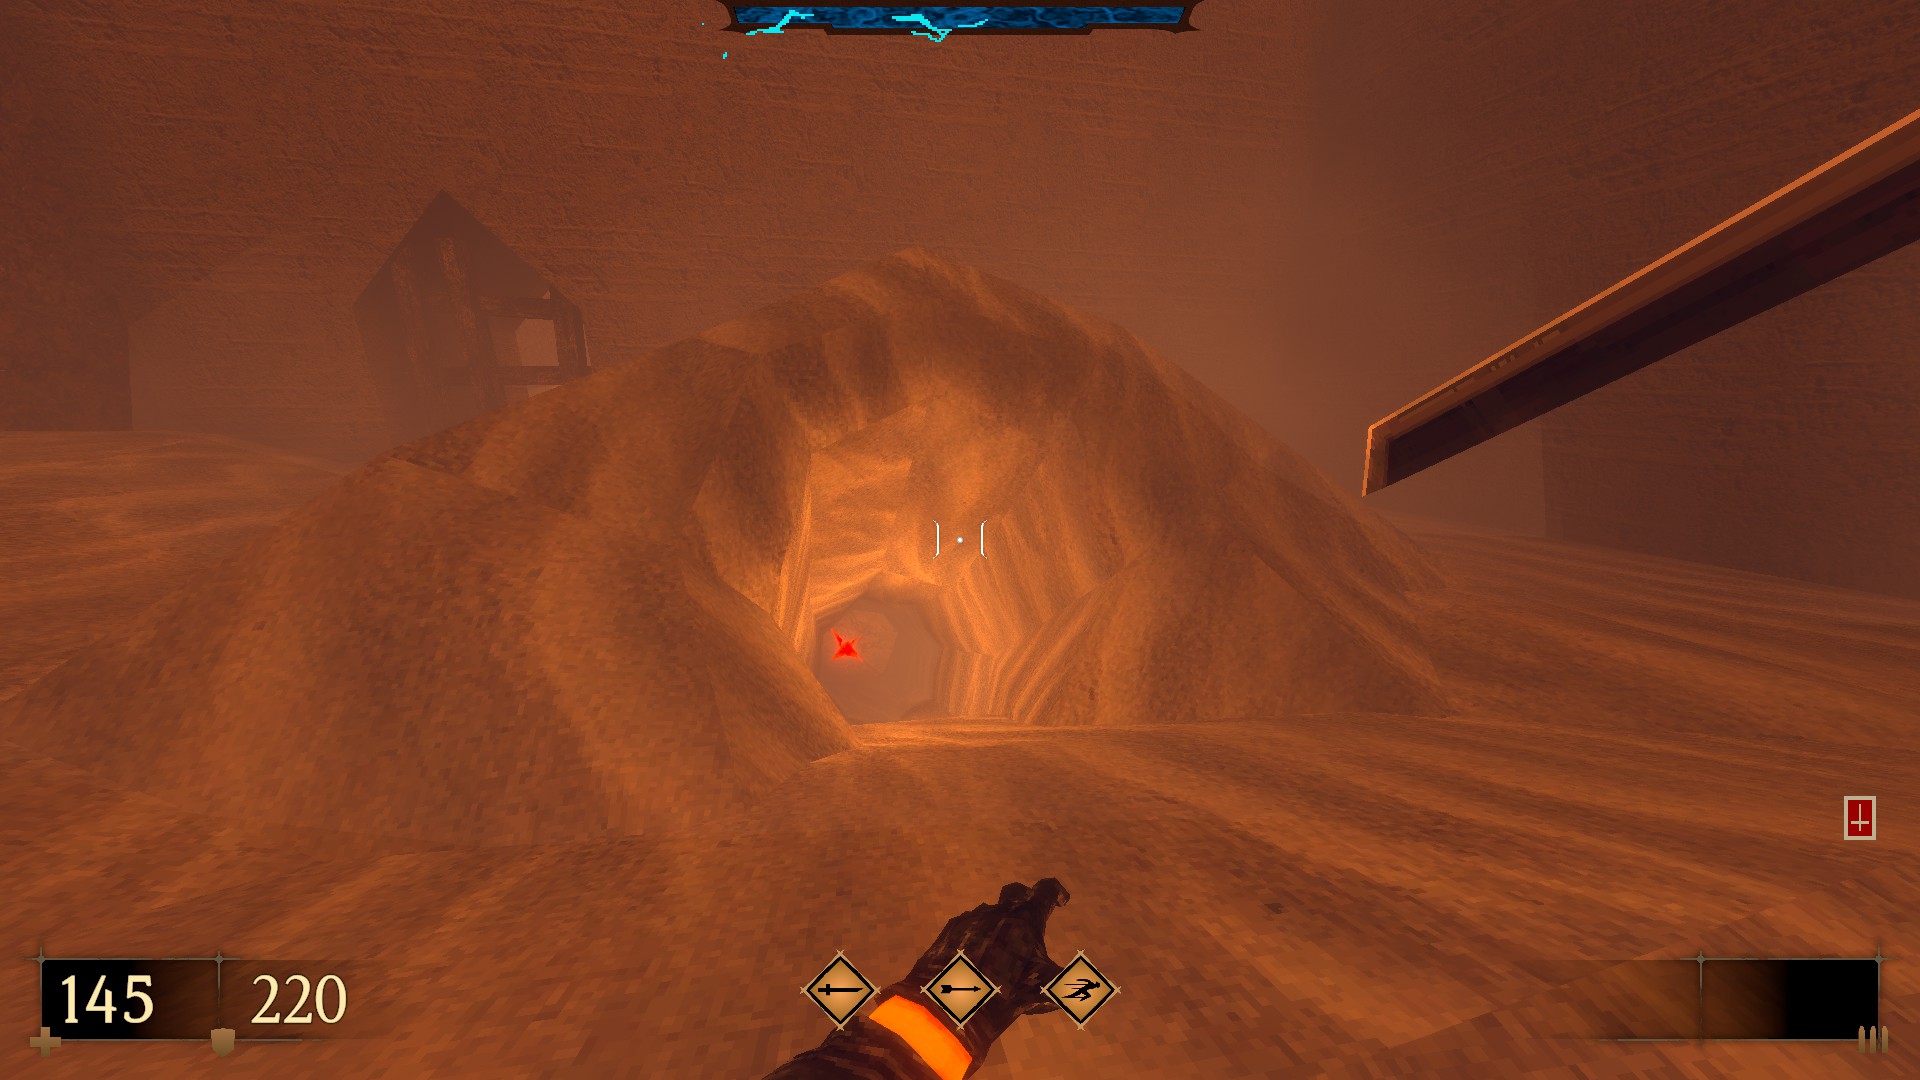
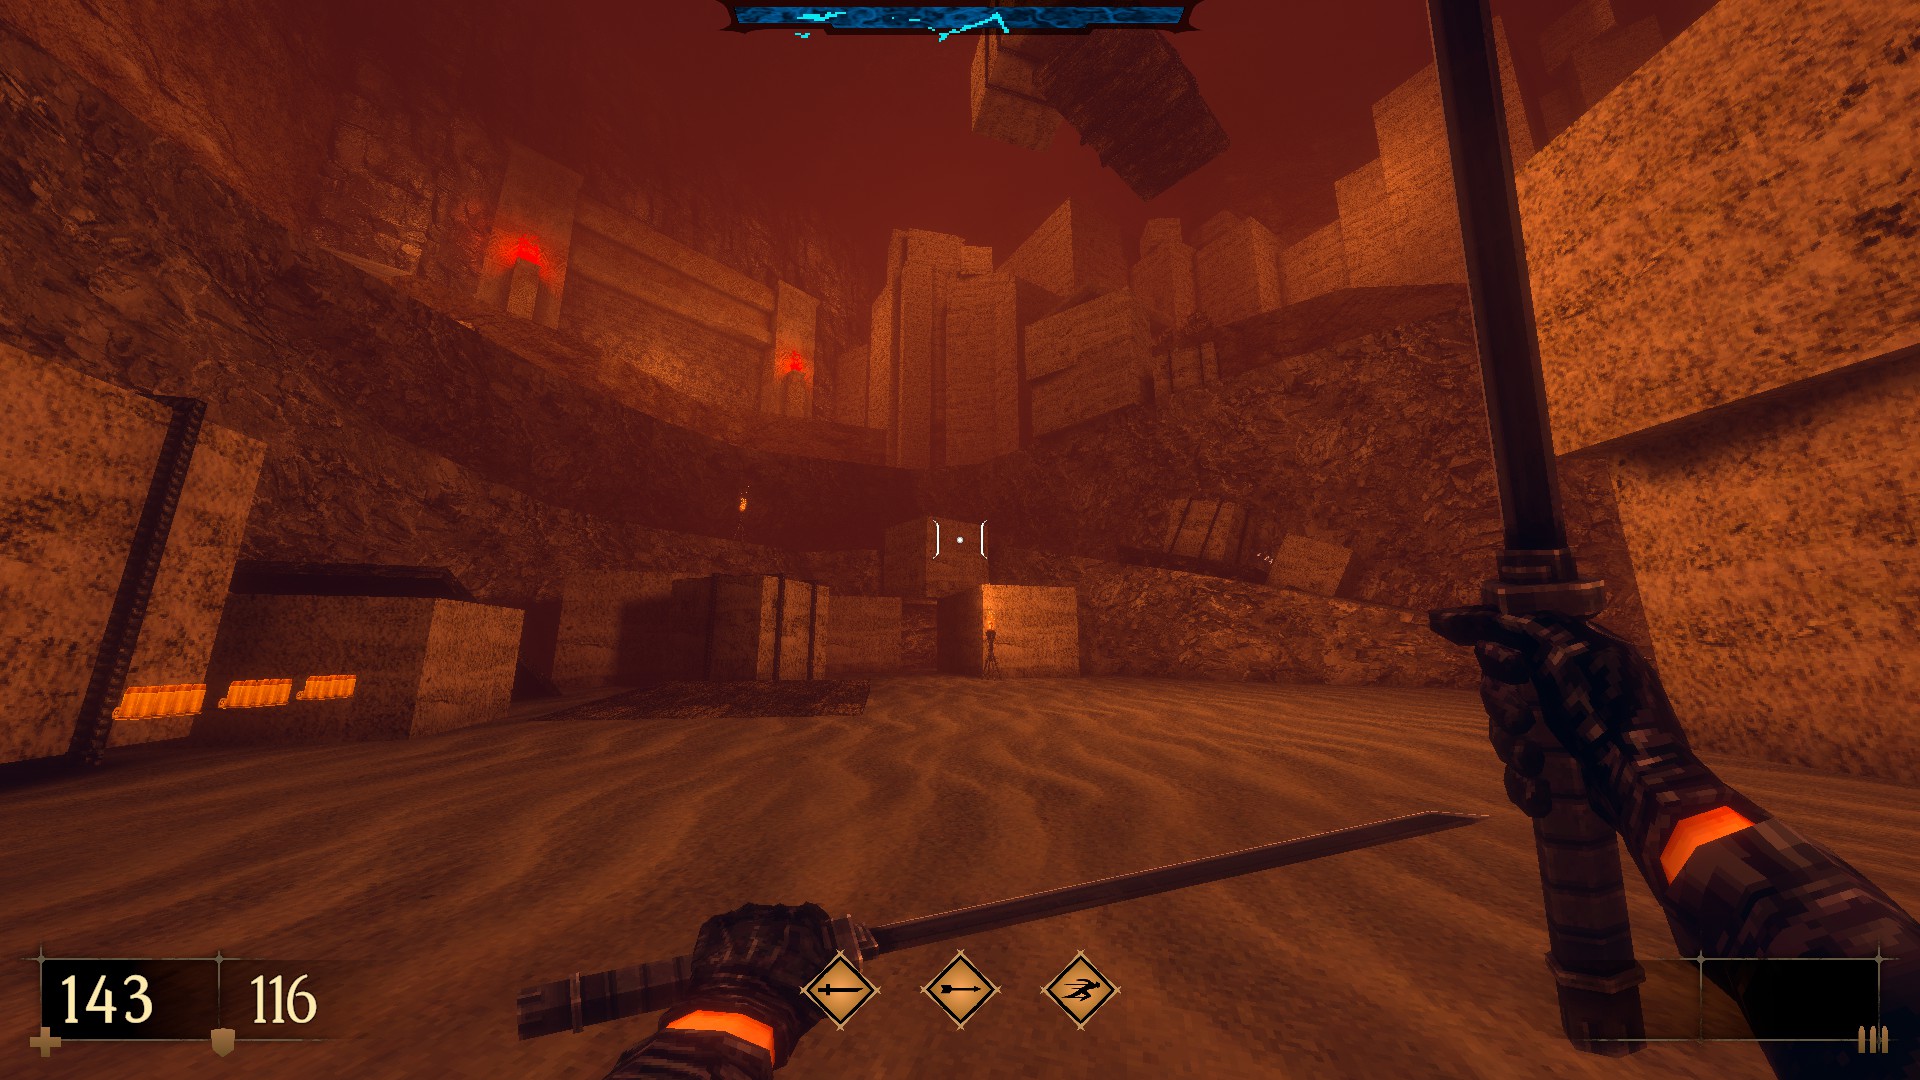
8/8 – Look to your right for a tunnel made of sand with a cracked wall at its end. To find the entrance to the side area, destroy it.
Strangely familiar. – [fandom.com]
Once inside, fight it out until you reach the end of the underpass. Then, use the different part of the wall for a cache.
—
SUPER SECRET – Go through the purple door again, descend into the tunnels and take a right. The lever is located in the corner of the room. To start the water flow, go down the stairs and use the second lever on its side. Enter the passage to secret 4. Turn the corner and shoot the fourth lever at the wall. An on-screen message appears: “A fountain’s rune has been activated.” After the red key turns on, the fountain in the middle will glow. It can be used to uncover a stash nearby. (Hurricane-G- and a blood Gem) (Also unlocks ‘Oasis’.
E4M2: Death Palace
This level contains 7 secrets as well as a super secret.
EXTRA – Enter the area and look for a crack in the wall to the right. The achievement “I Am Doing my Part” is unlocked by surviving the arena.
1/7 – Turn right past the building housing the side area teleporter and look for a wood panel on the ground. To reach a hidden room, use it to drop down. (Black Bow Expansion III).
2/7 – Clear out the tunnels and use the wall to the right of the save point to reveal a hidden chamber. (Pistol Expansion III)
3/7 – Using the previous secret, after you have taken the teleporter to another side, turn around, and sprint-jump across the ledge to find an out-of-sight cache.
4/7 – Follow the previous secret and climb the stairs leading to the outside. Turn around and look for the indented portion of the walls surrounding you. It can be used to locate ammo.
5/7 – Proceed from the previous secret and use the indented wall signified by a torch for more ammo or health.
6/7 – Once you have dealt with the mid-boss on the left, jump into the space between his legs and use the wall at its end to reveal a cache.
7/7 – The emblem can be found on a ledge just above the red key socket. You can use your platforming skills to get to it. (Inferno Gauntlets Expansion 2)
—
SUPER SECRET – Go back to the tunnels, and look for a piece of a tablet with a skull on it on the backside. Continue onwards to find the second tablet piece from a related tomb. You will find the third piece around the corner. Grab it, and move on. You can use the runes outside to get backtrackable. To reveal a hidden room, return to the building with the side area teleporter. Mount the tablet exactly where it belongs. (Boss Killer-G- and a blood gem)
E4M3: Quarry
This level contains 7 secrets as well as a super secret.
1/7 – Search for an opening at just the end of the first cavern to find hidden ammo.
2/7 – Drop down to the ledge below and pick up out-of-sight armor at the end of the slope around the cavern.
3/7 – Explore the opening to the right before you go through the stone gate to find a cache.
4/7 – Look for stone blocks just past the gate and use them to climb up to the armor residing above.
5/7 – Follow the previous secret and cross the underground bridge to check the area to your left to find the different part of the wall. It will reveal another cache.
6/7 – After passing the two pillars in underground ruins, descend and follow the ledge to reach an emblem and ammo. (Shotgun Expansion III)
7/7 – Follow the previous secret and take the path on the other side. To reach the side area, destroy the cracked wall. Look for the ledge on the right as you enter the next cavern. There is an additional hidden emblem and armor below. (Katana Focus II)
—
SUPER SECRET – From the corner that leads you to the side area of the sandfall, dash-jump toward the sandfall which strangely stops halfway up the air. A platform appears and lifts you up, revealing another sandfall nearby. You can use it the same way to reach the highlighted ledge on your opposite side. To reveal a cache, use the indented portion of the cavern wall. (Combo Shoot-G- and a blood Gem) (Also unlocks ‘Jump Bravely’.
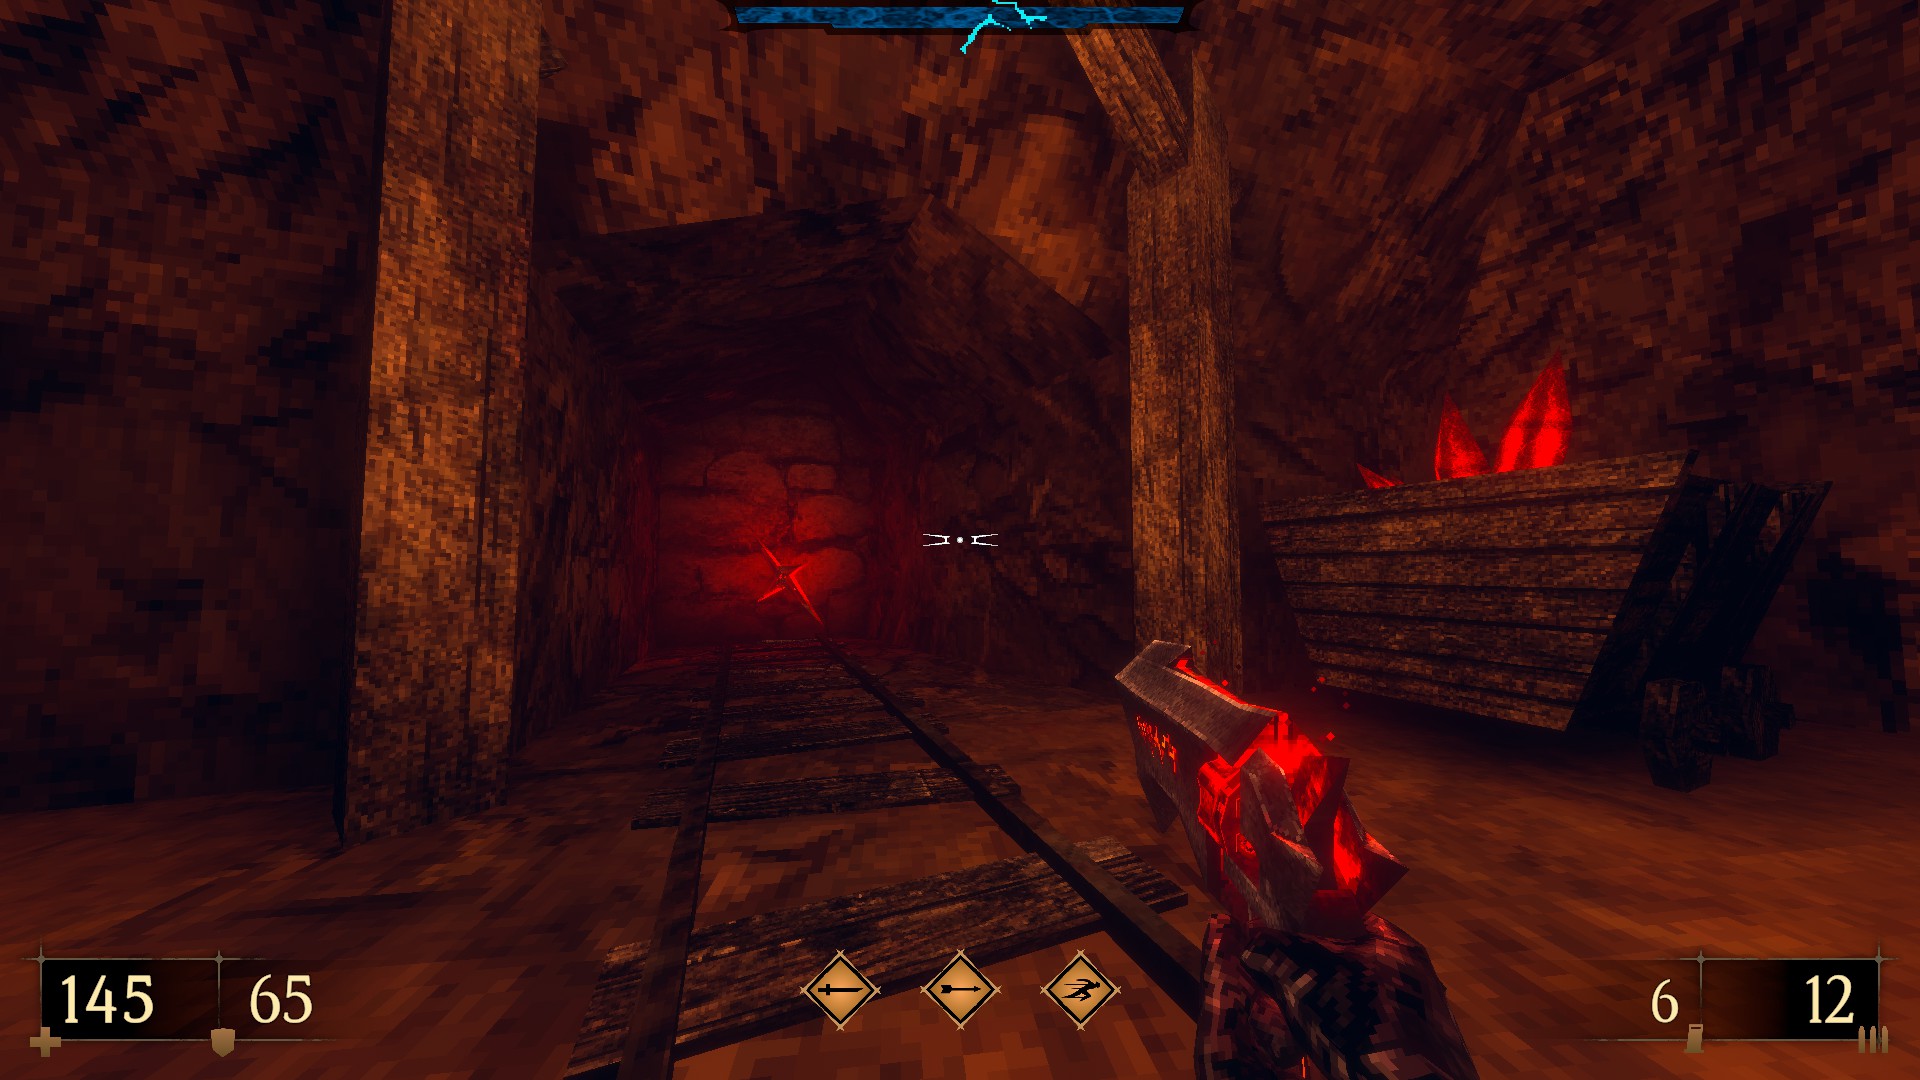
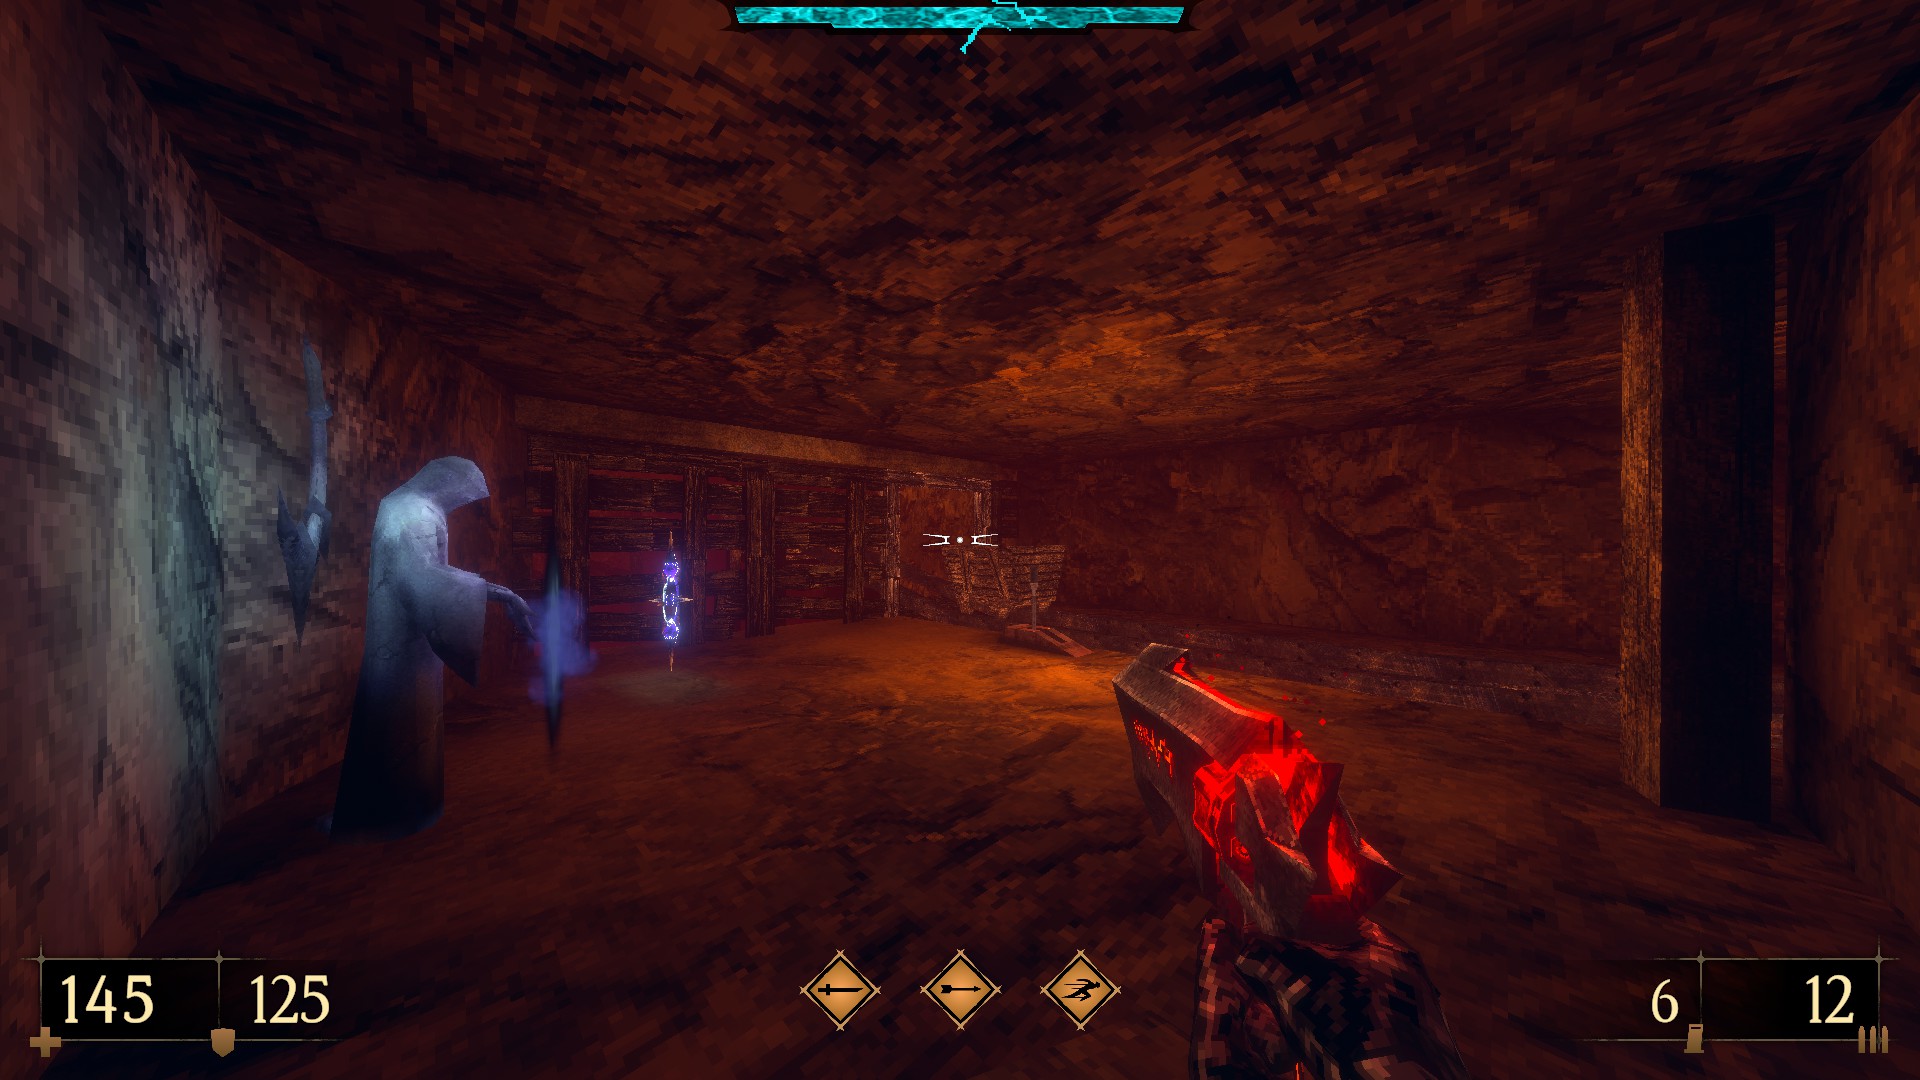
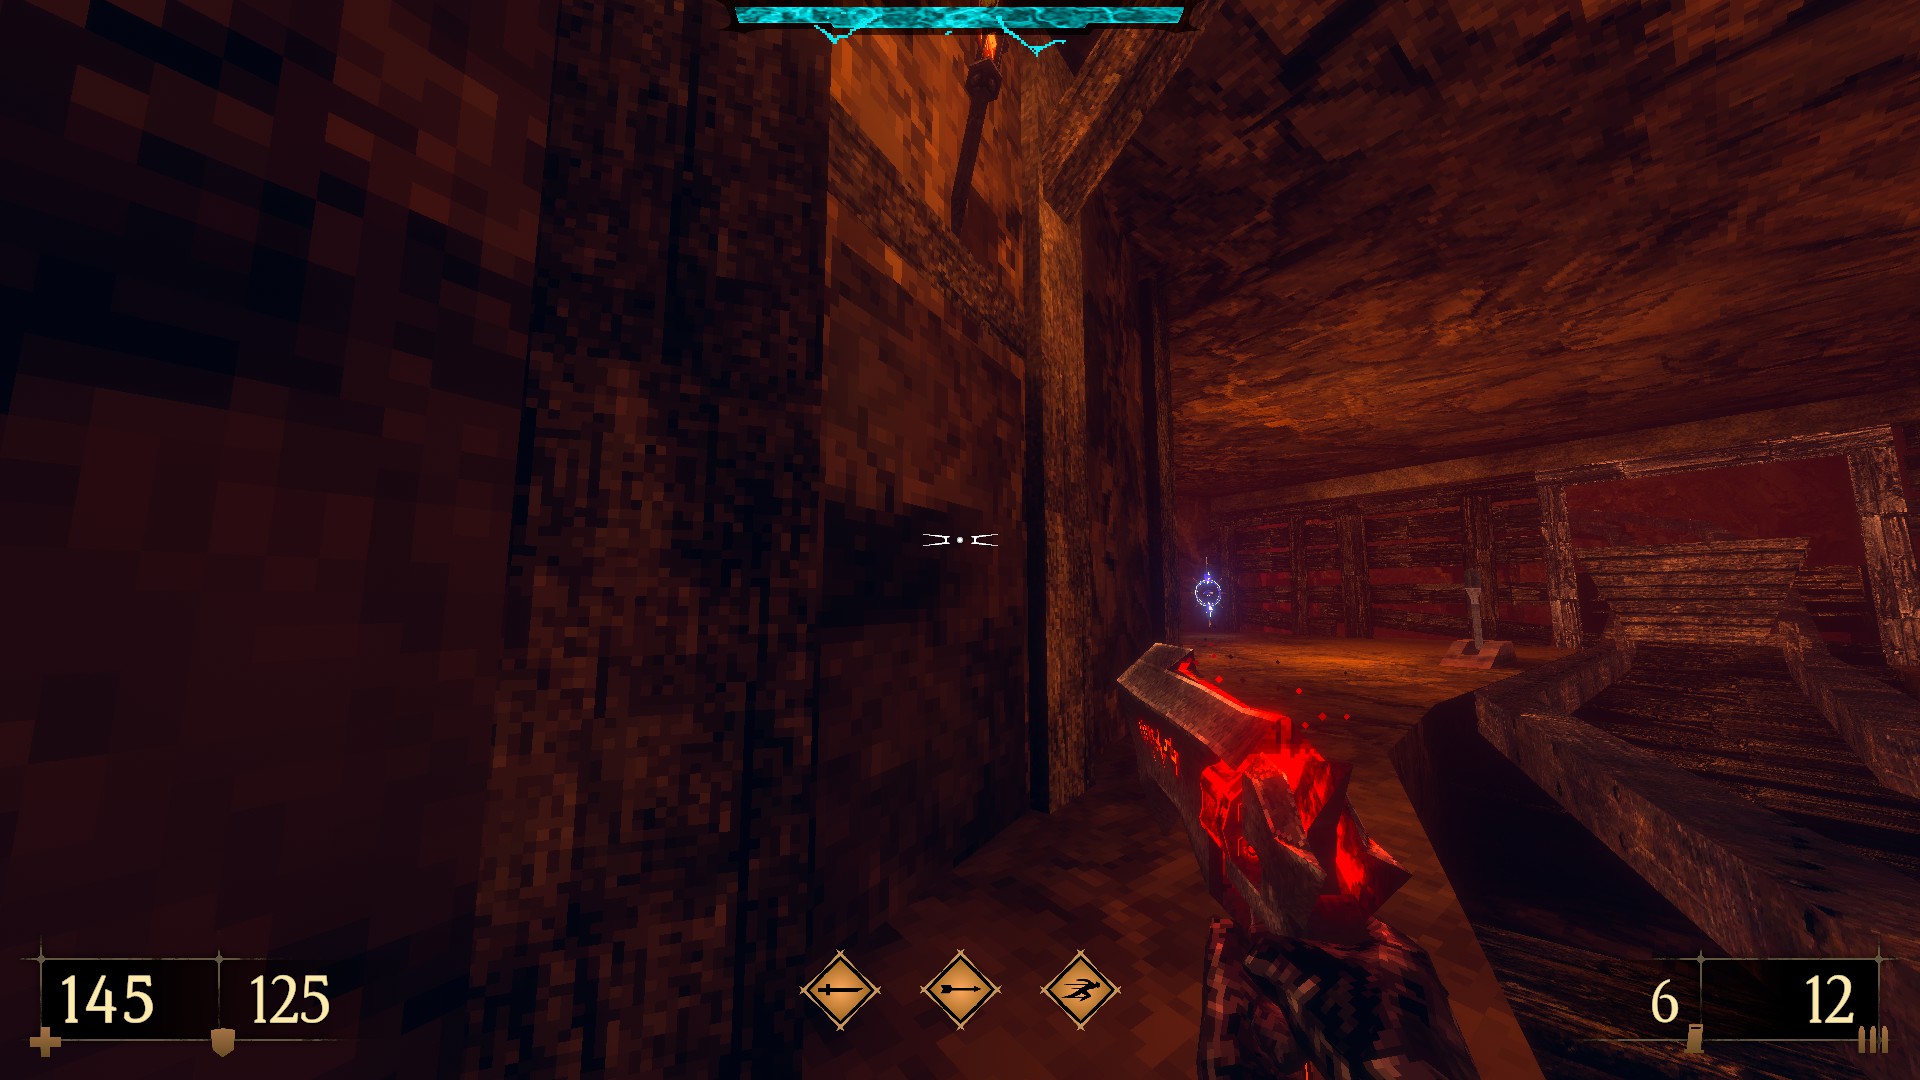
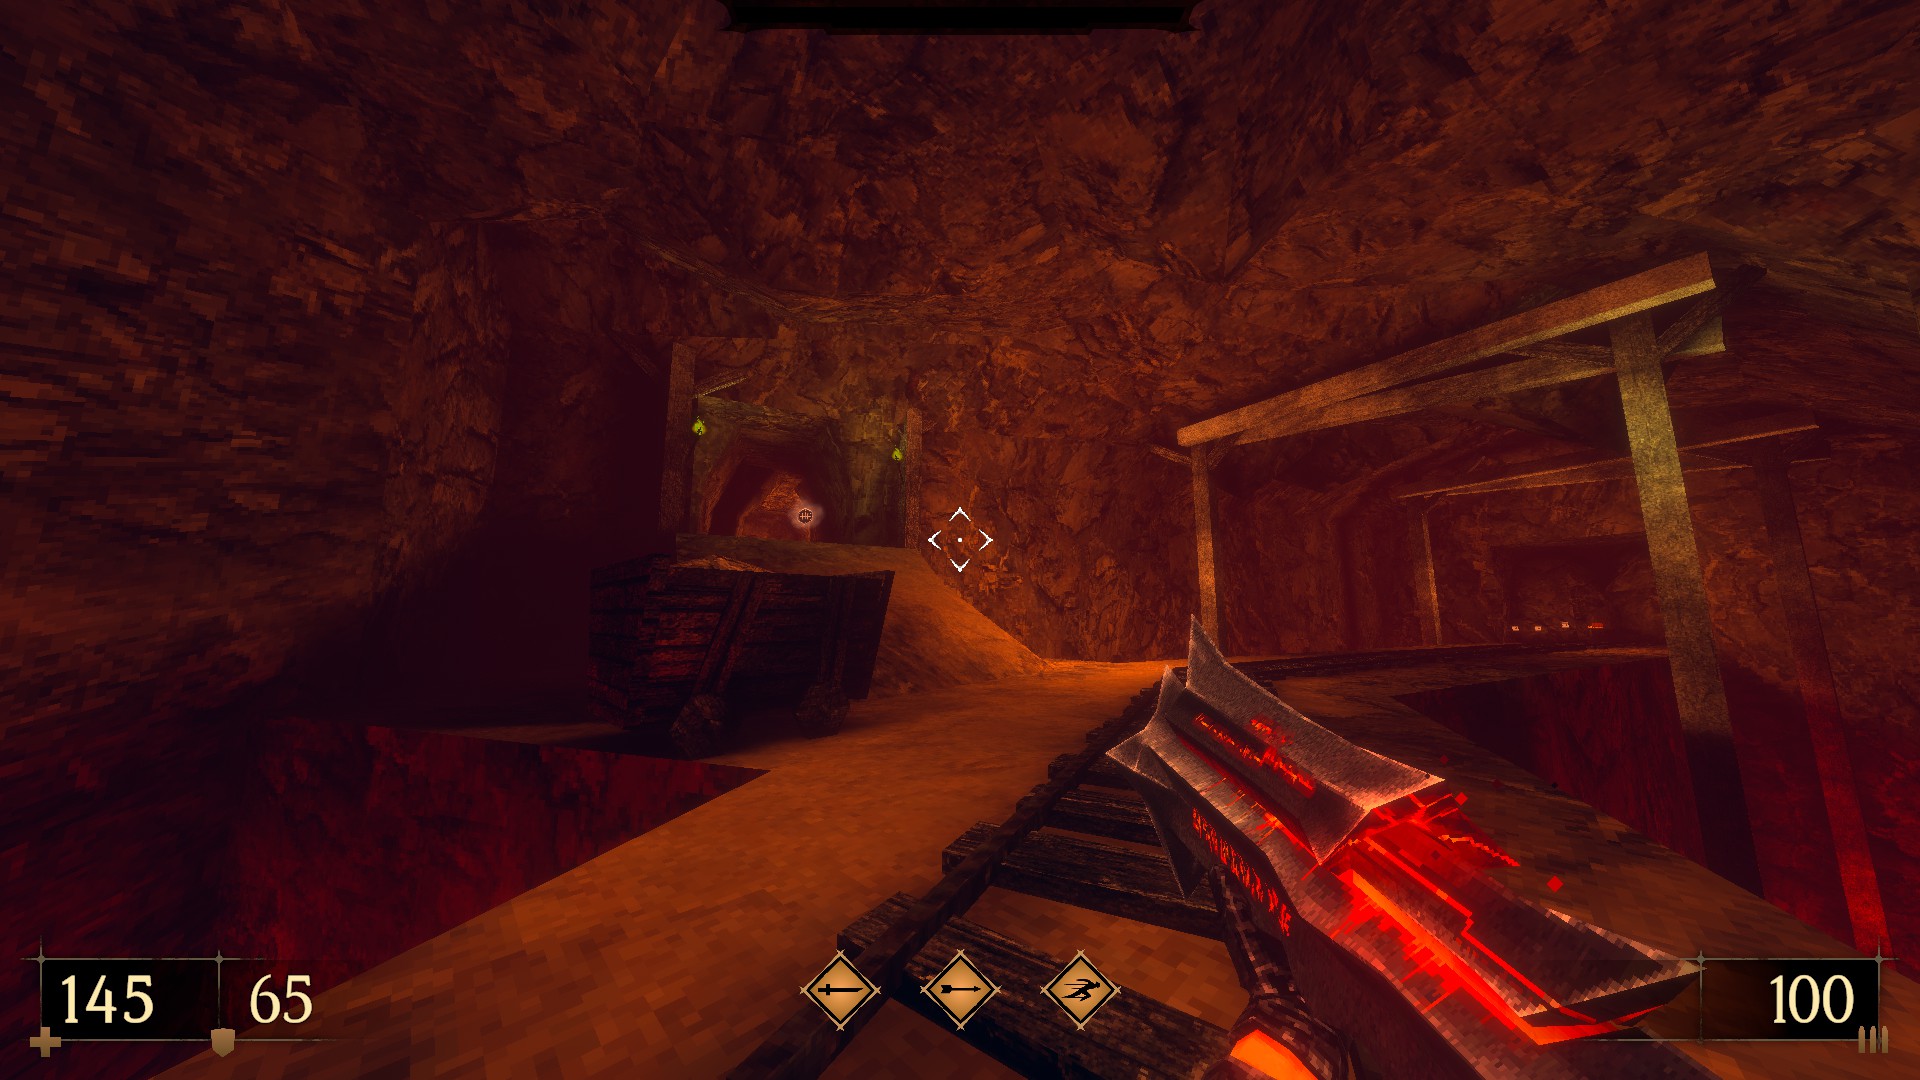
E4M4: Ominous Silence
This level contains 9 secrets.
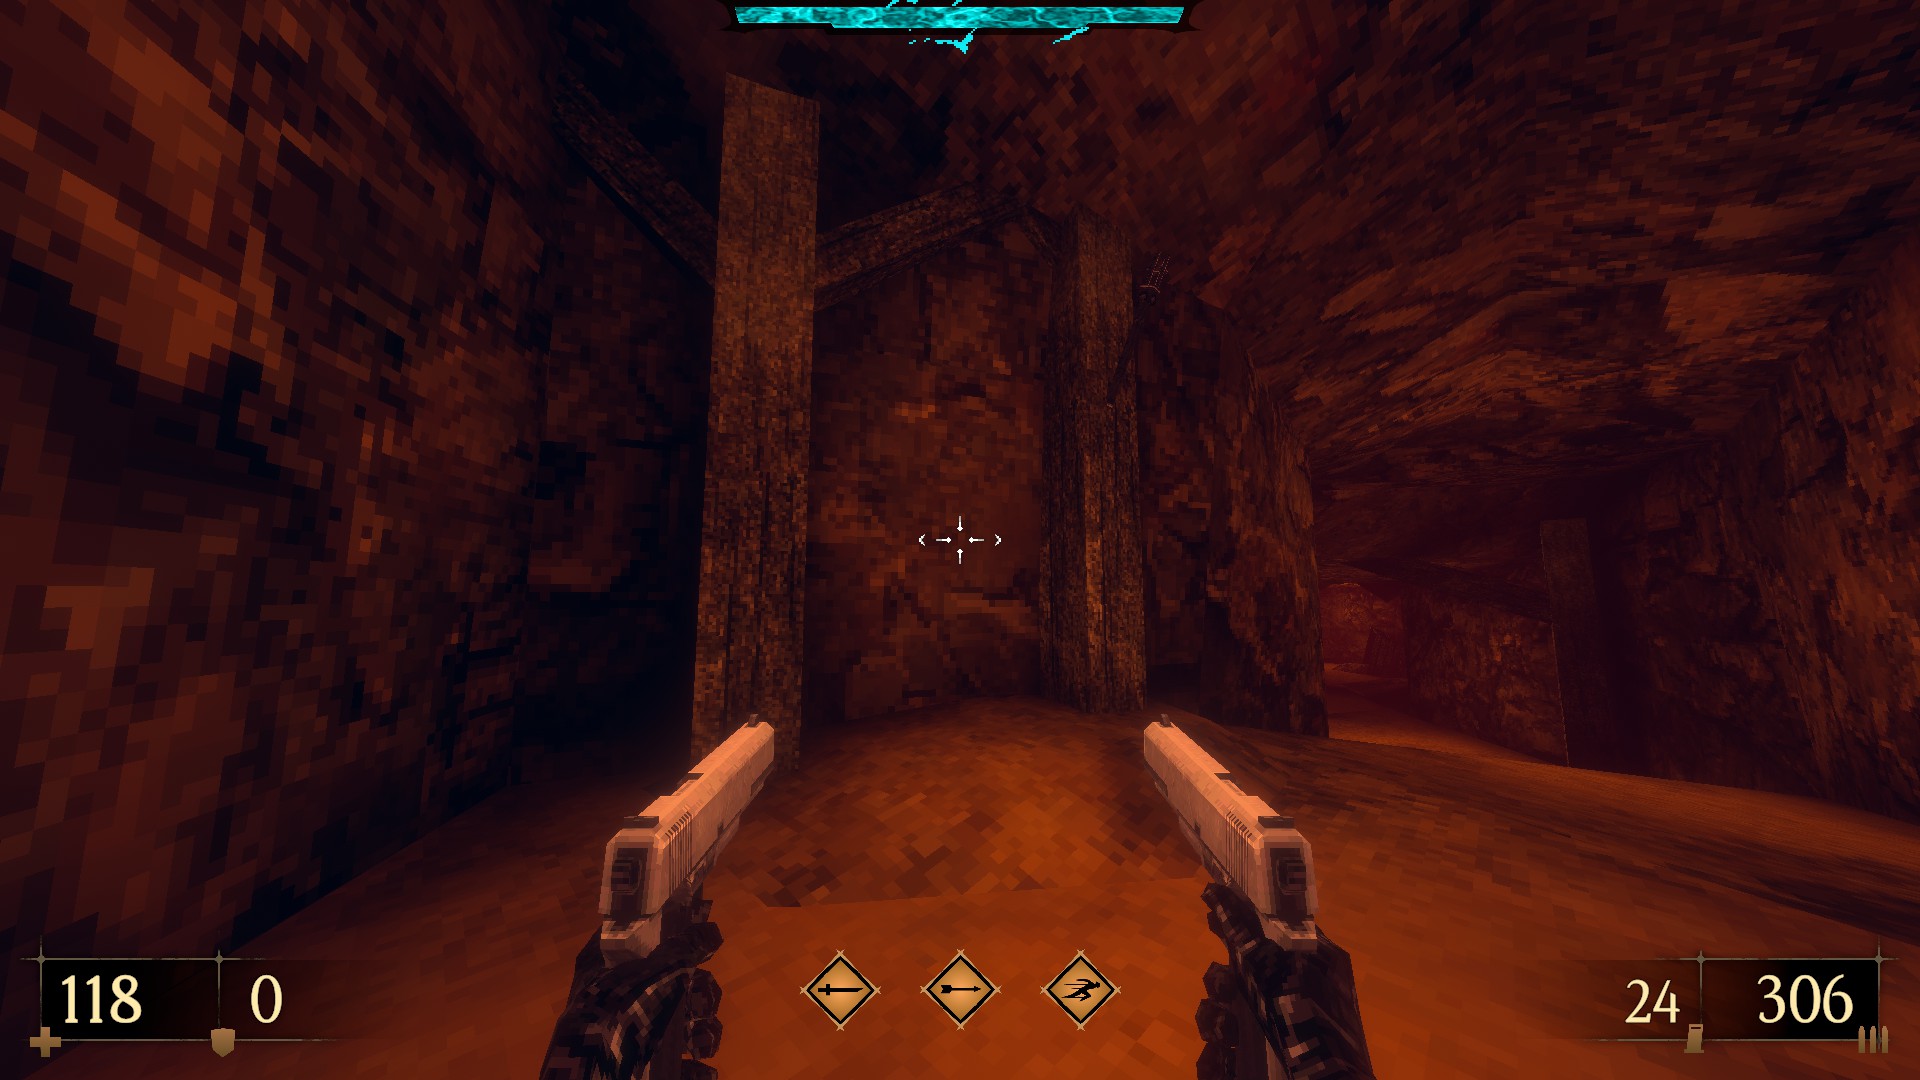
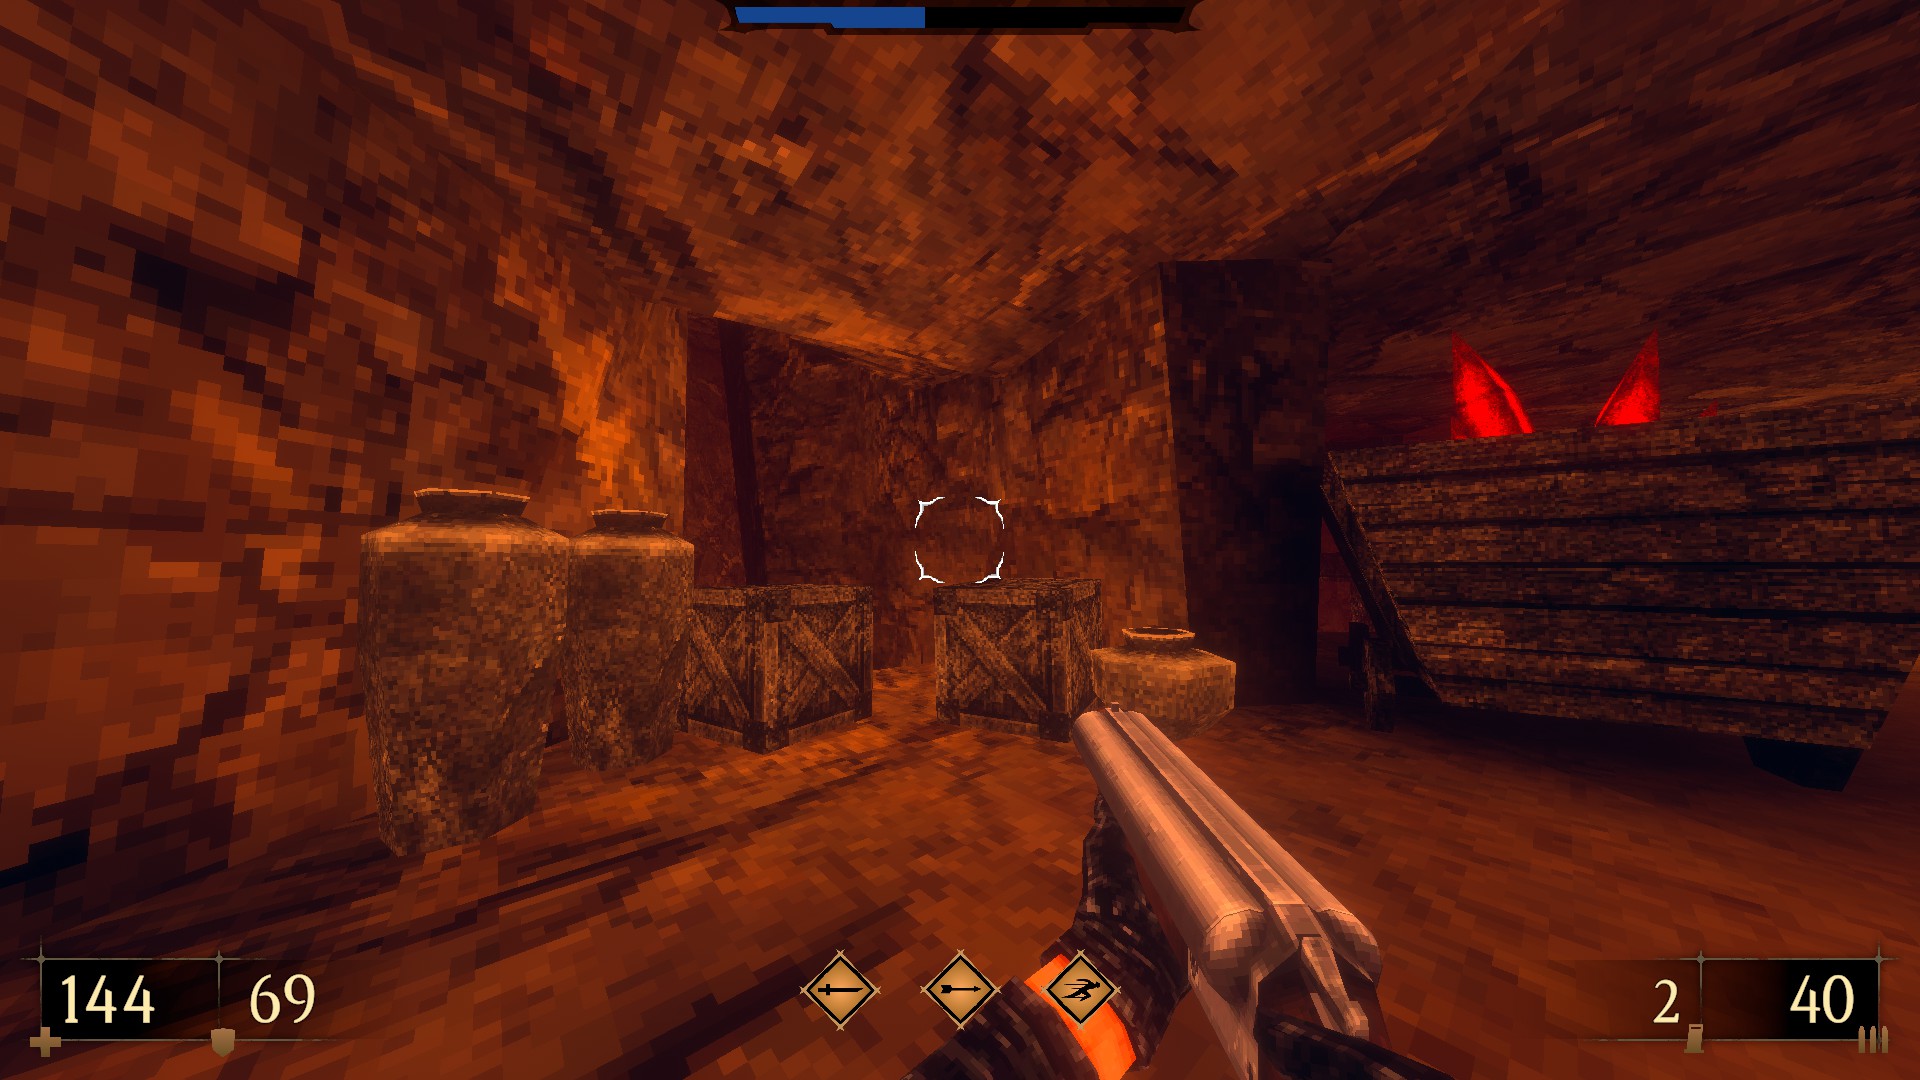
1/9 – Check the dead end at the first junction and then use the wall between the pillars to reveal a hidden room.
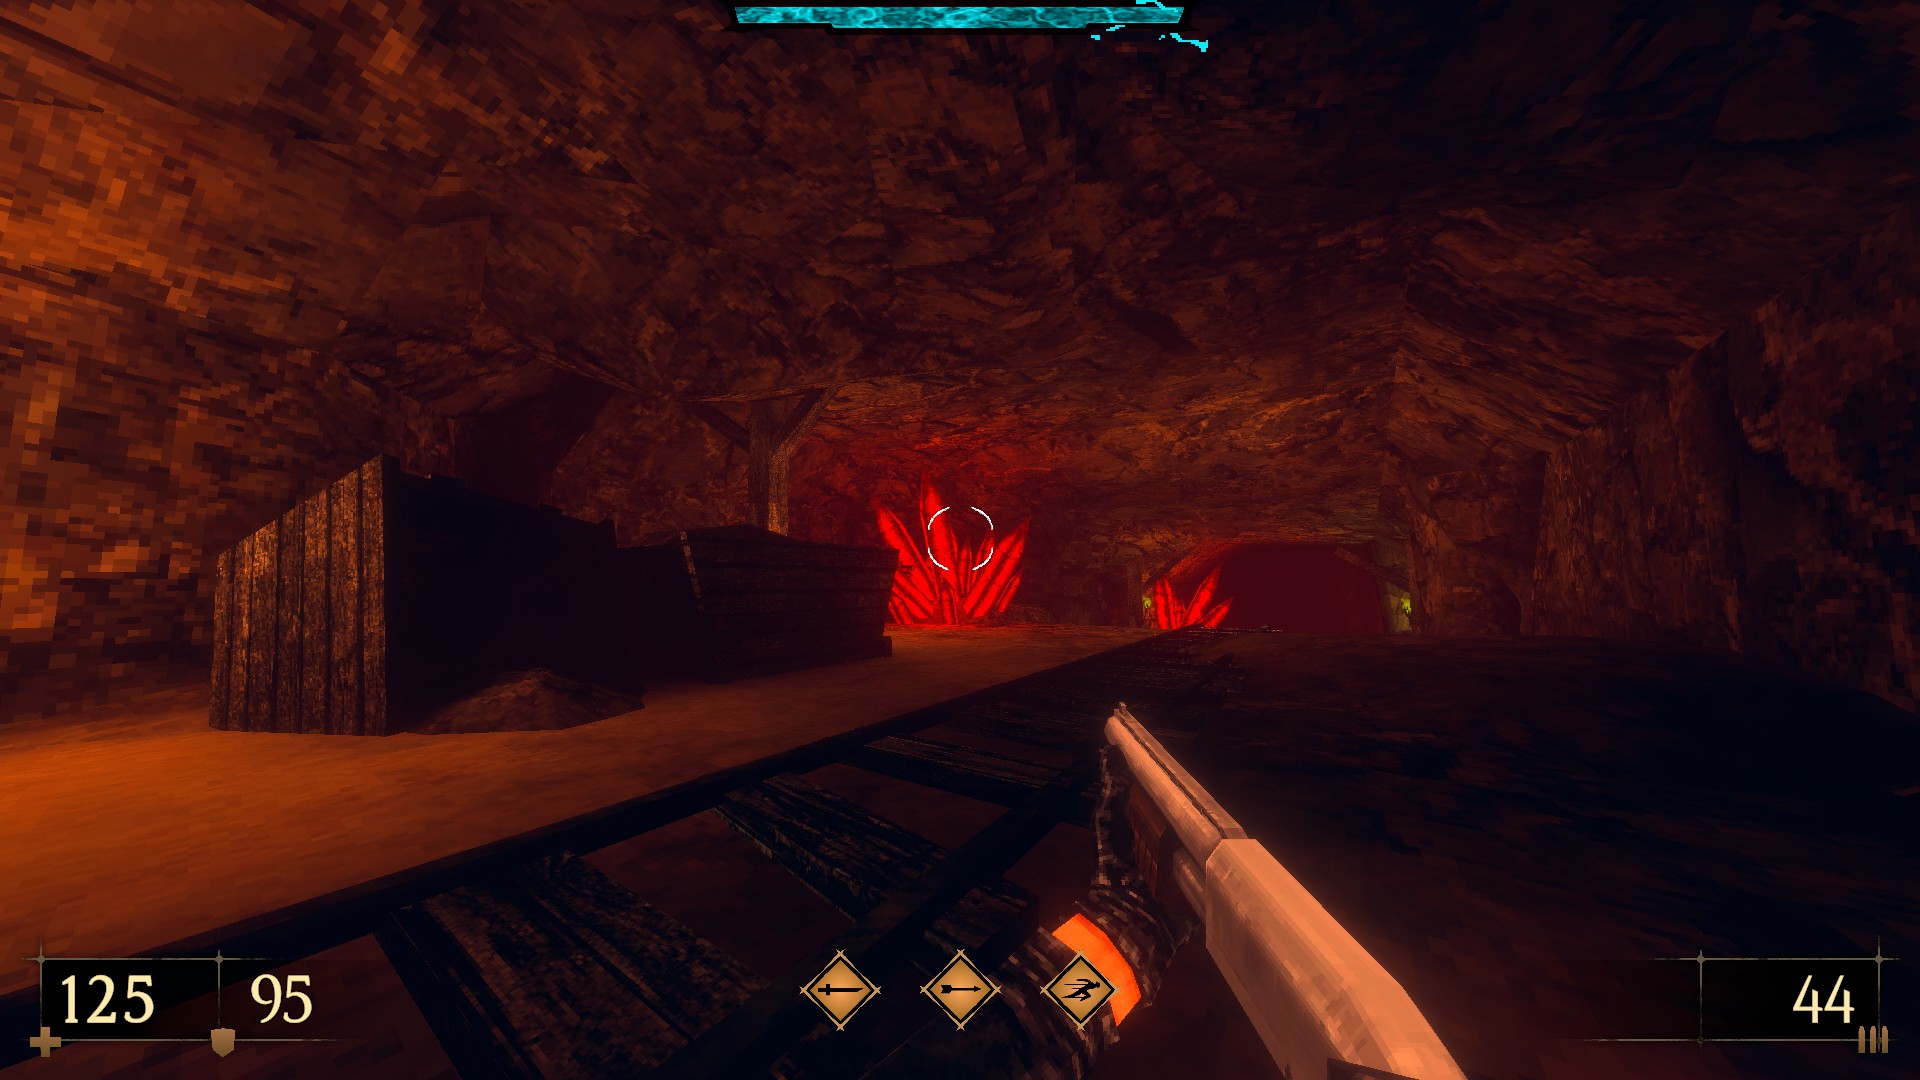
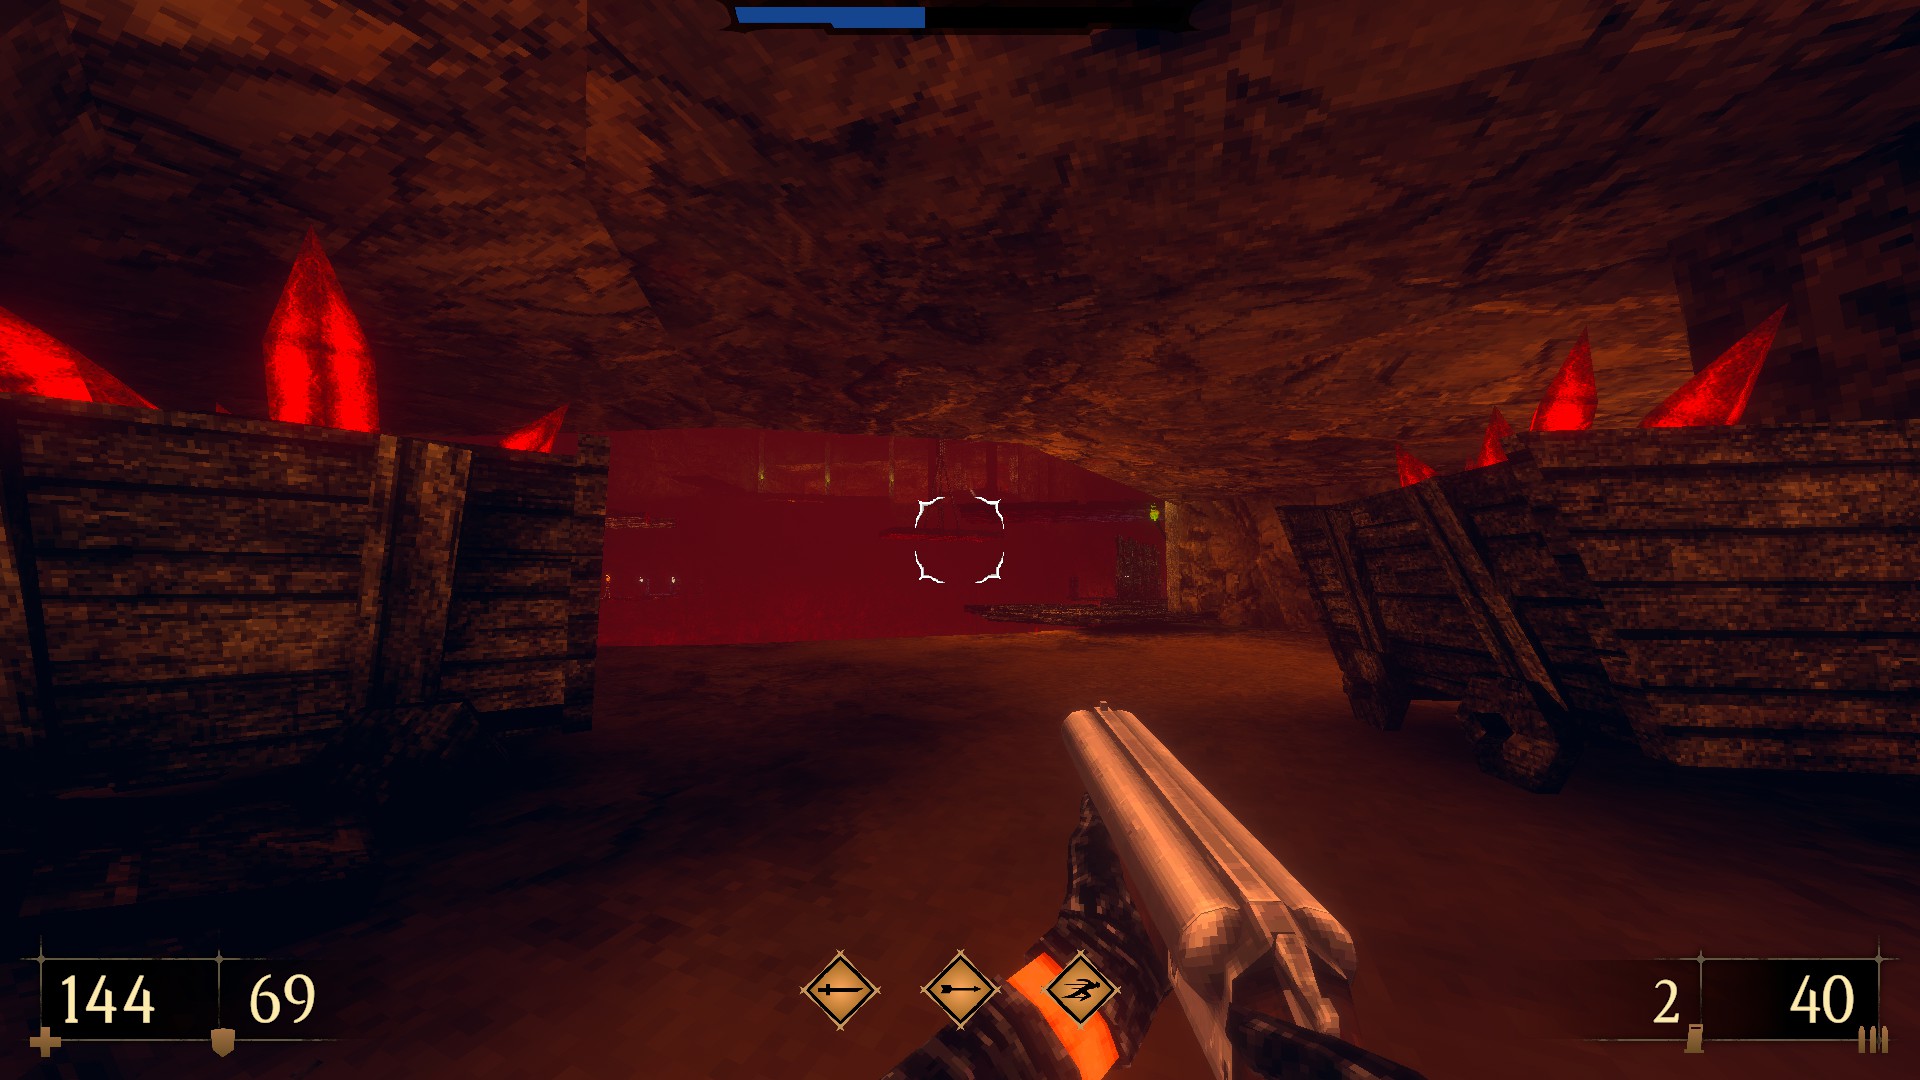
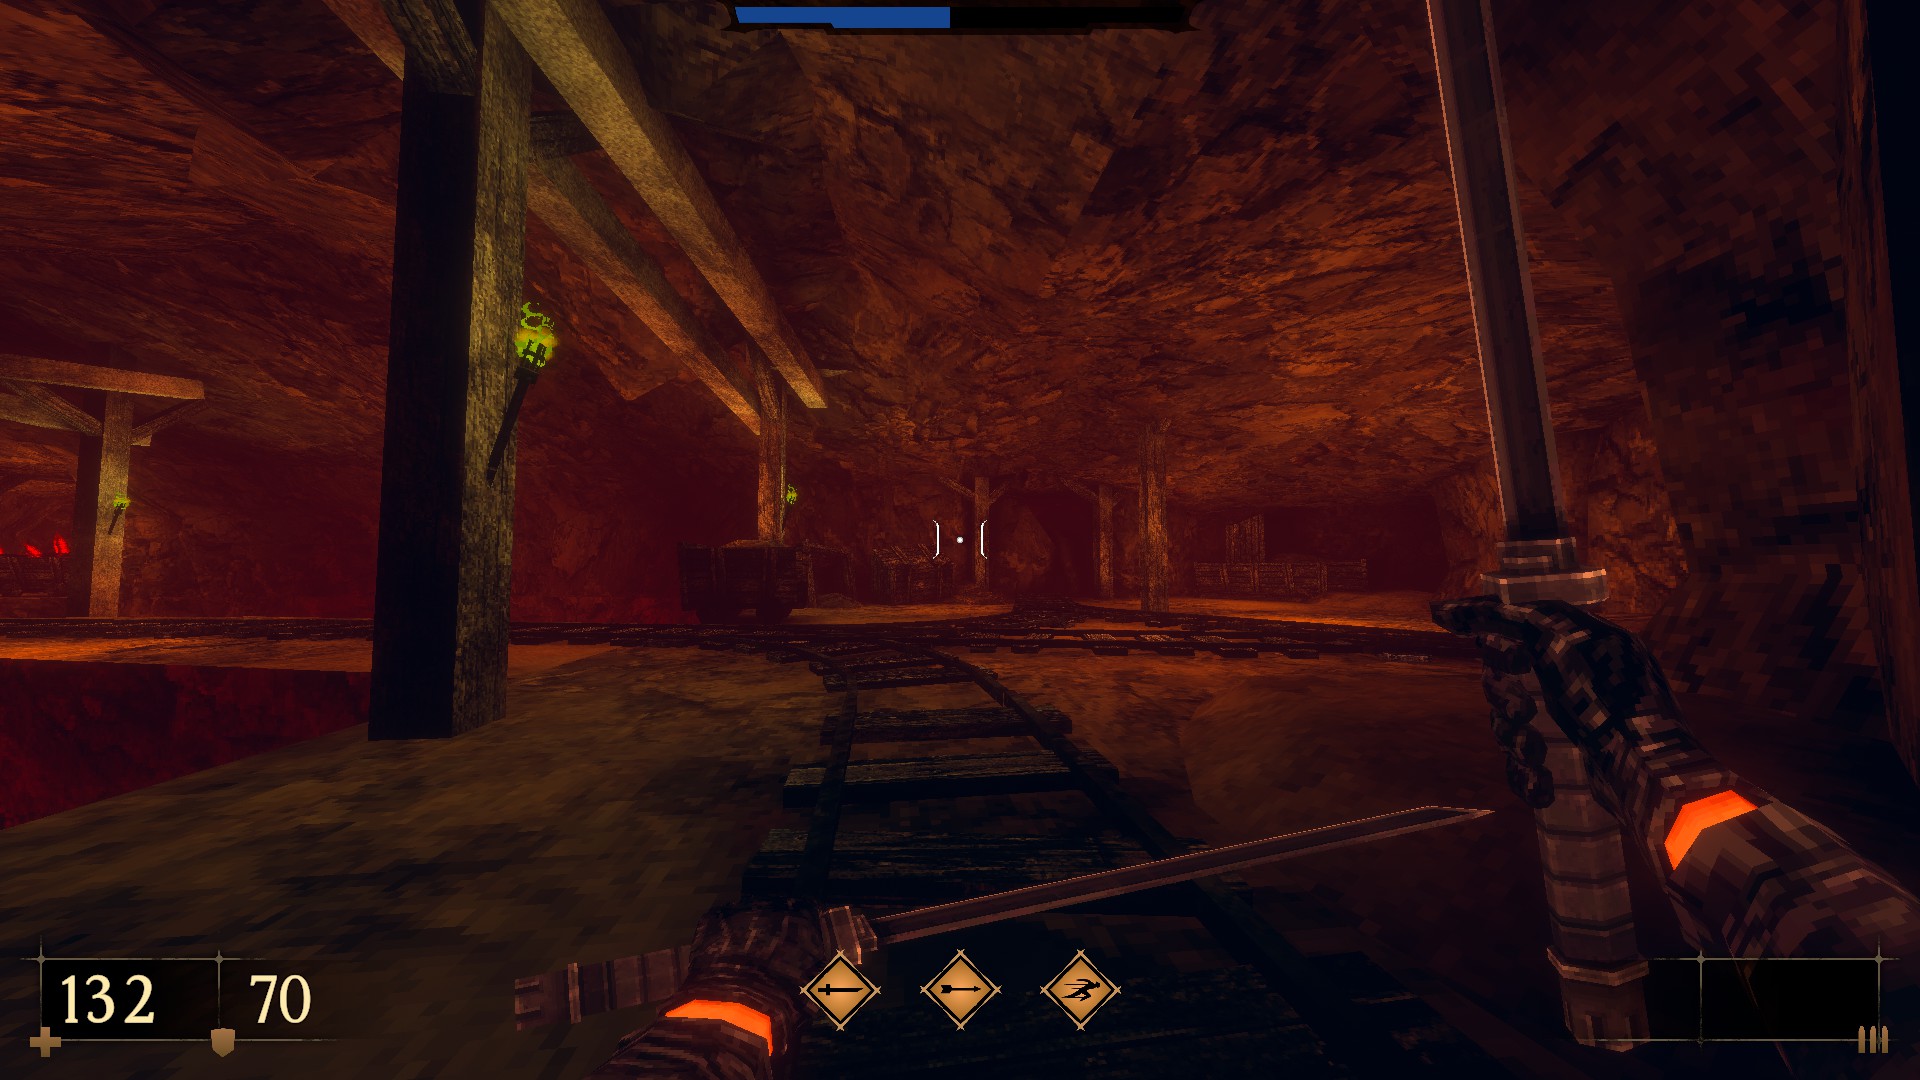
2/9 – Jump on top of the minecarts and crawl through the opening to the right to reach an alcove containing ammo.
3/9 – Once you reach the top floor with the aid of a minecart turn around and dash-jump across the ledge. Then use the indented portion of the cavern wall for a cache. (Black Bow Slaughter III).
4/9 – Using the previous secret, return up to the top floor, and destroy the crates to your right. Then, drop down to grab some ammo and armor.
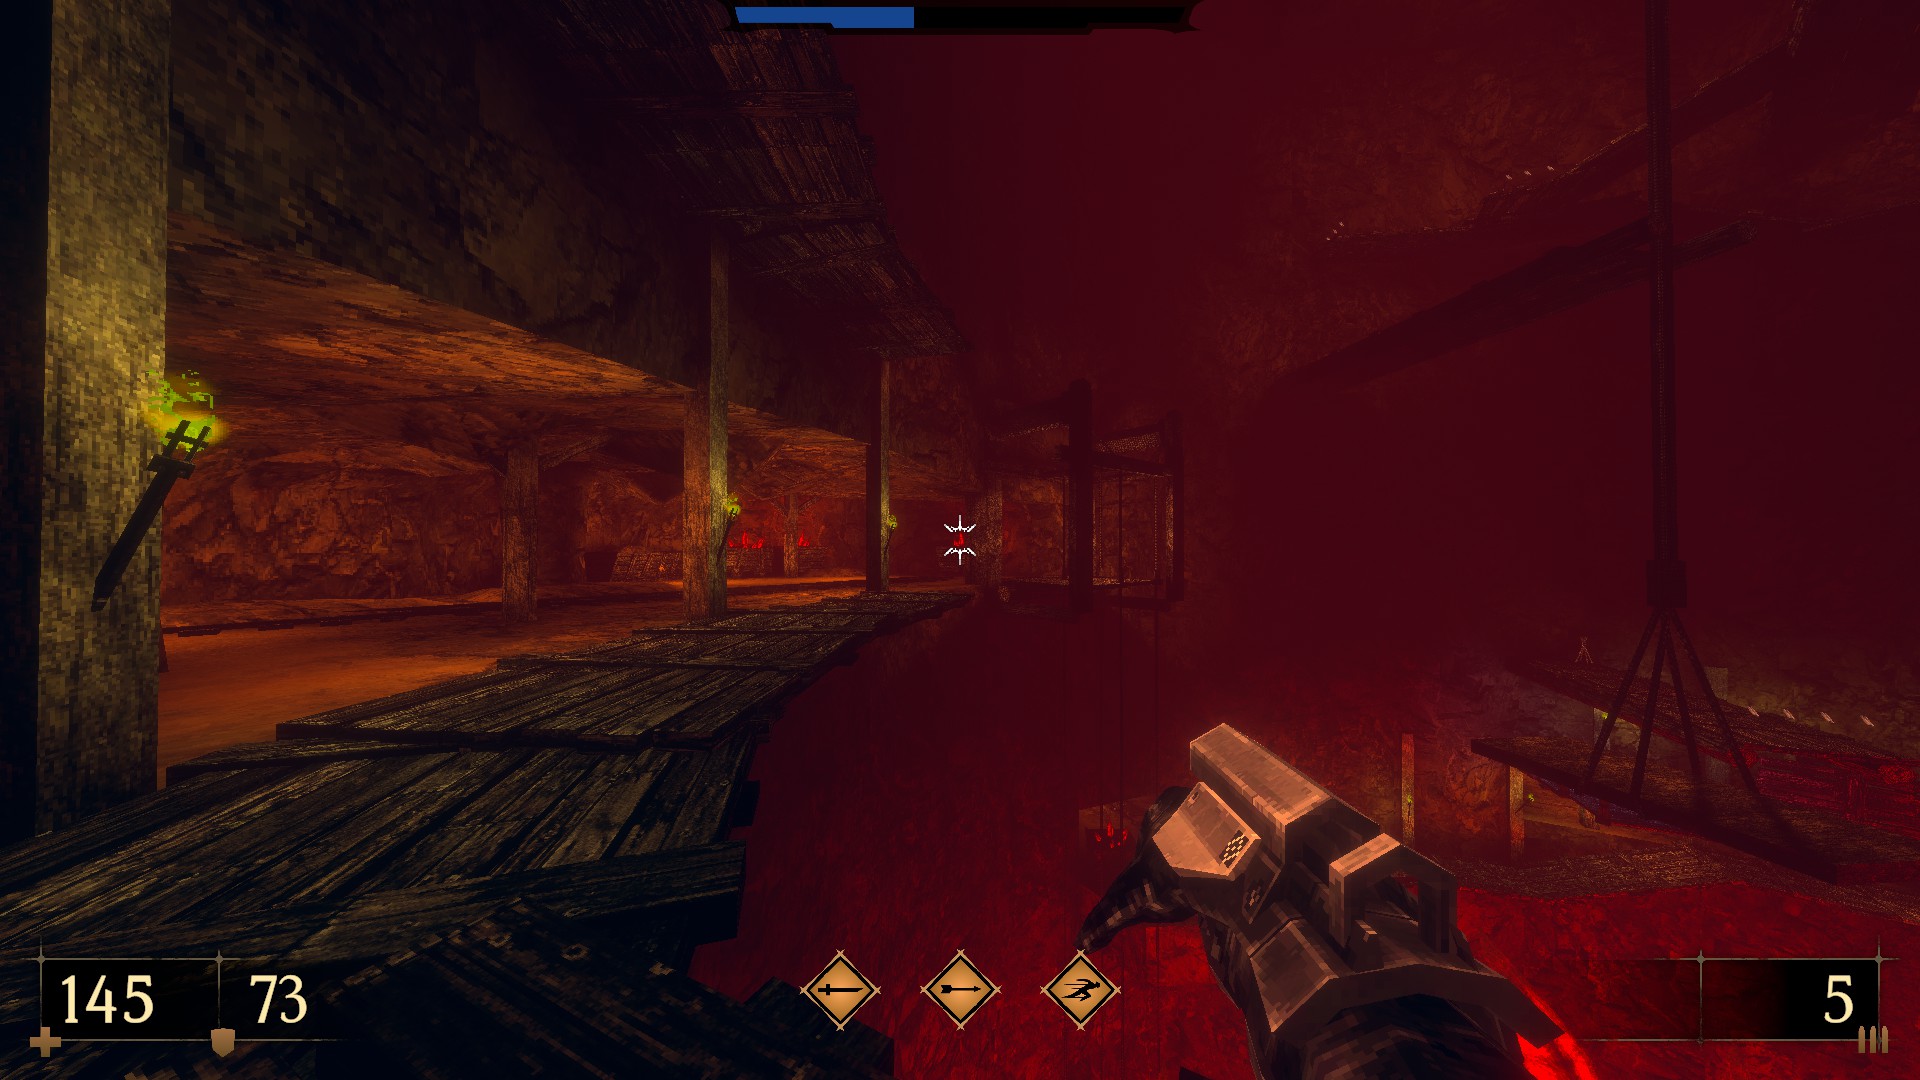
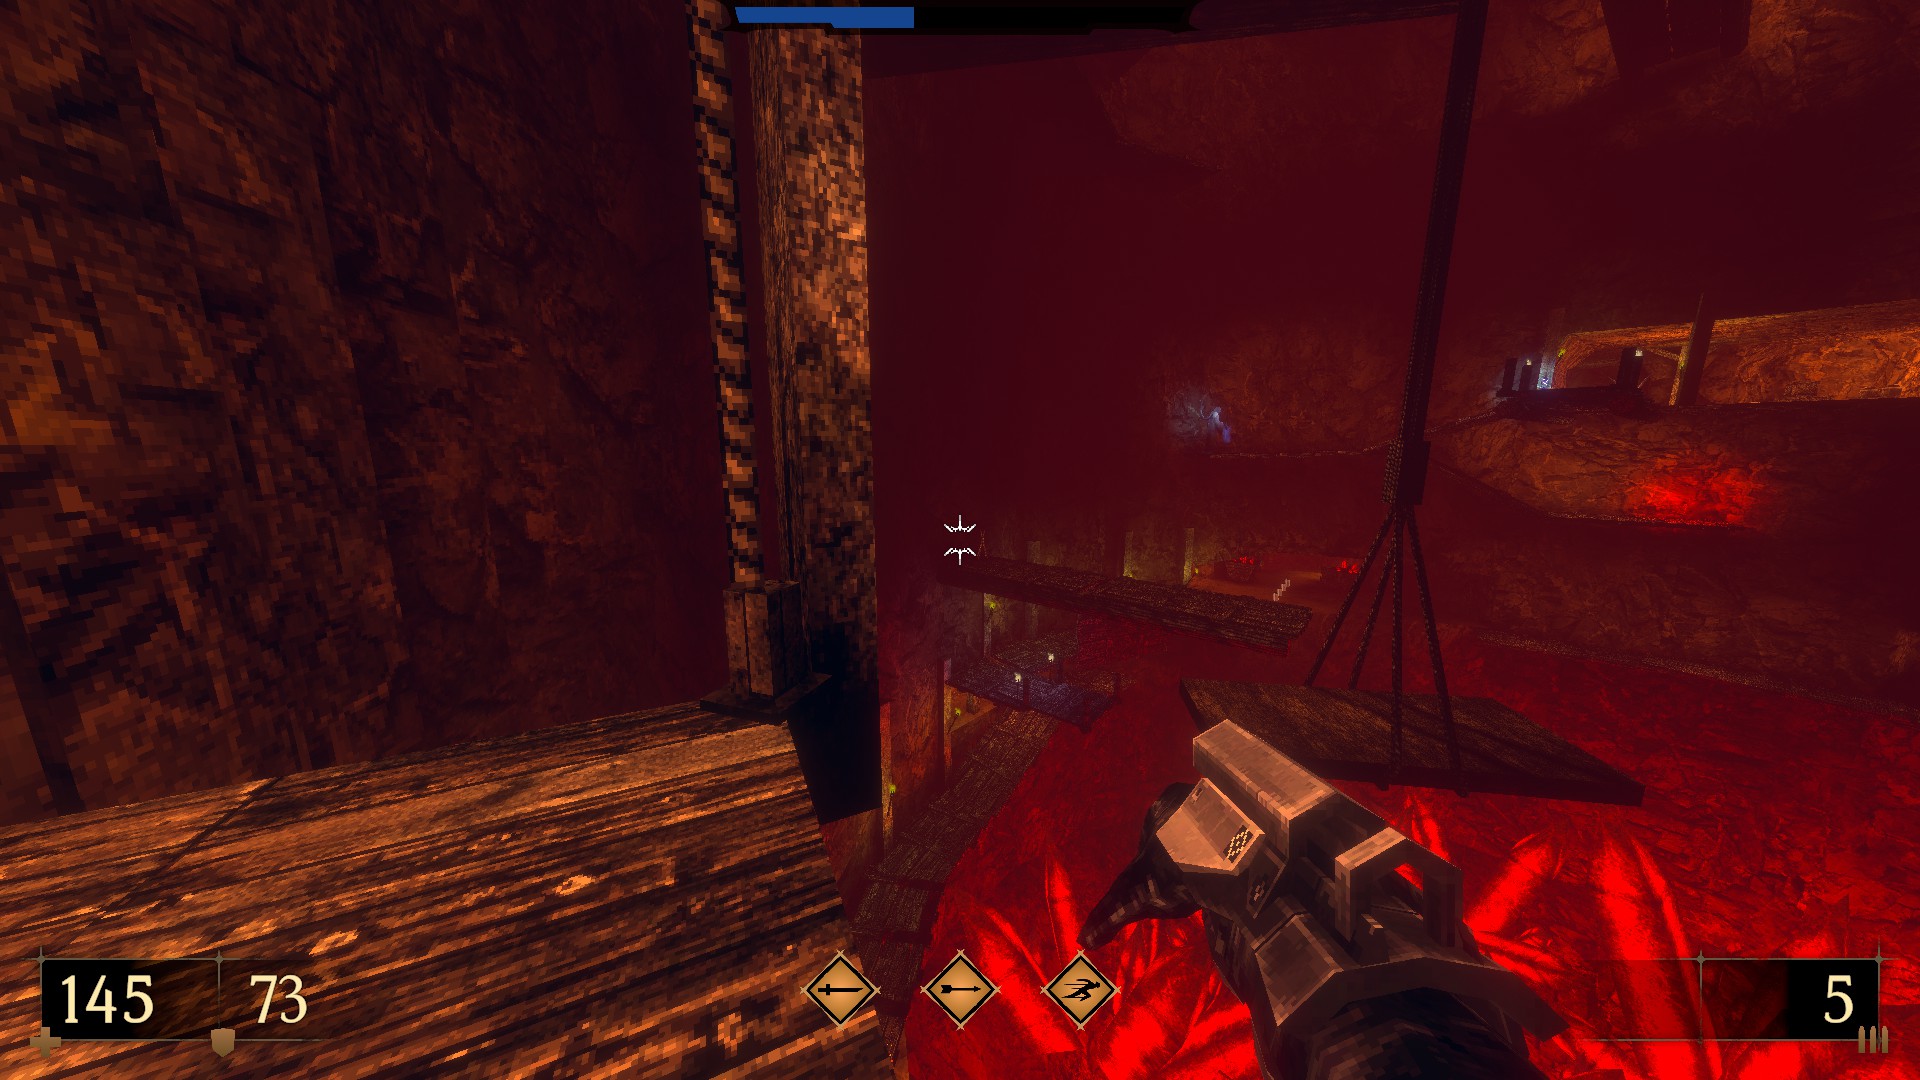
5/9 – Take the elevators up and then go straight towards the one that takes you back down to the lower level. Then, jump to the platform hanging over. Jump on the walkway adjacent to it and use the cavern wall near the torch to uncover a hidden alcove.
6/9 – Jump on top of the long minecart to the side at the next intersection to reach another hidden alcove. (Trap Launcher Mastery III).
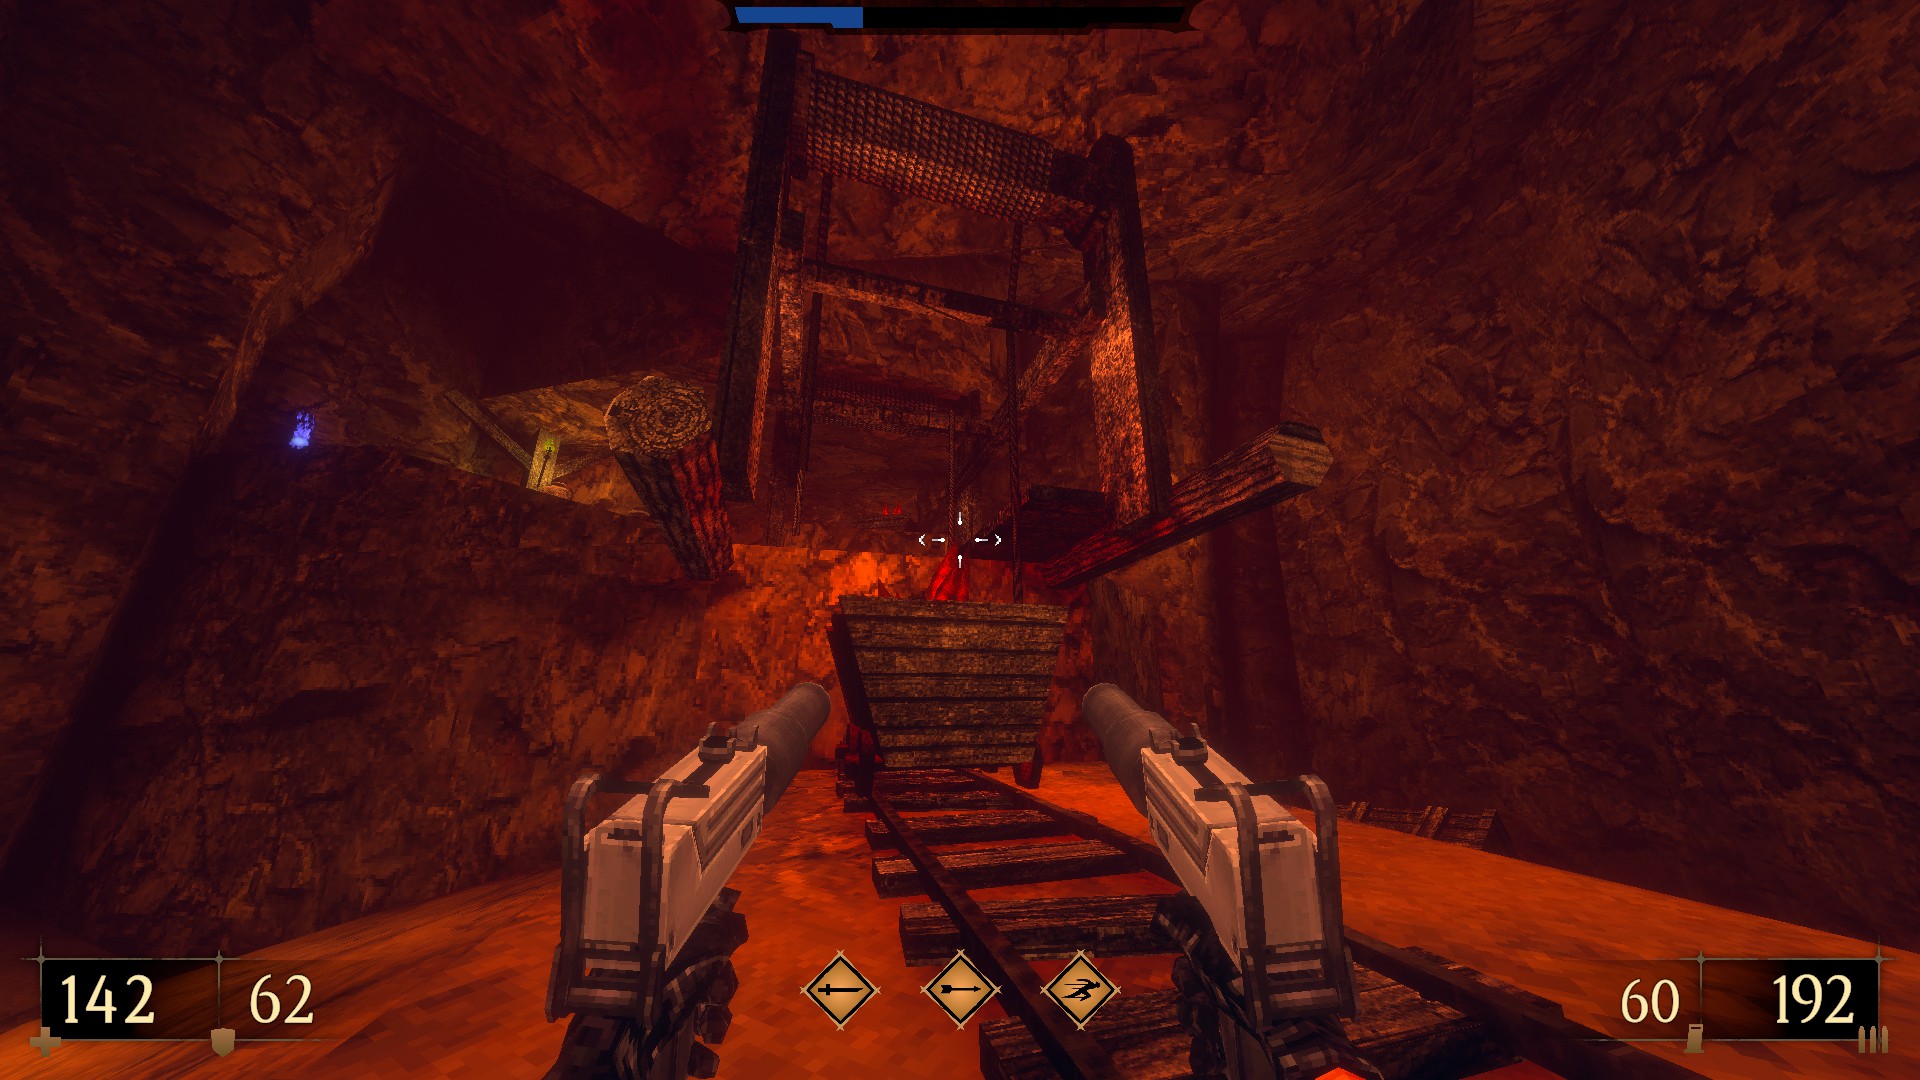
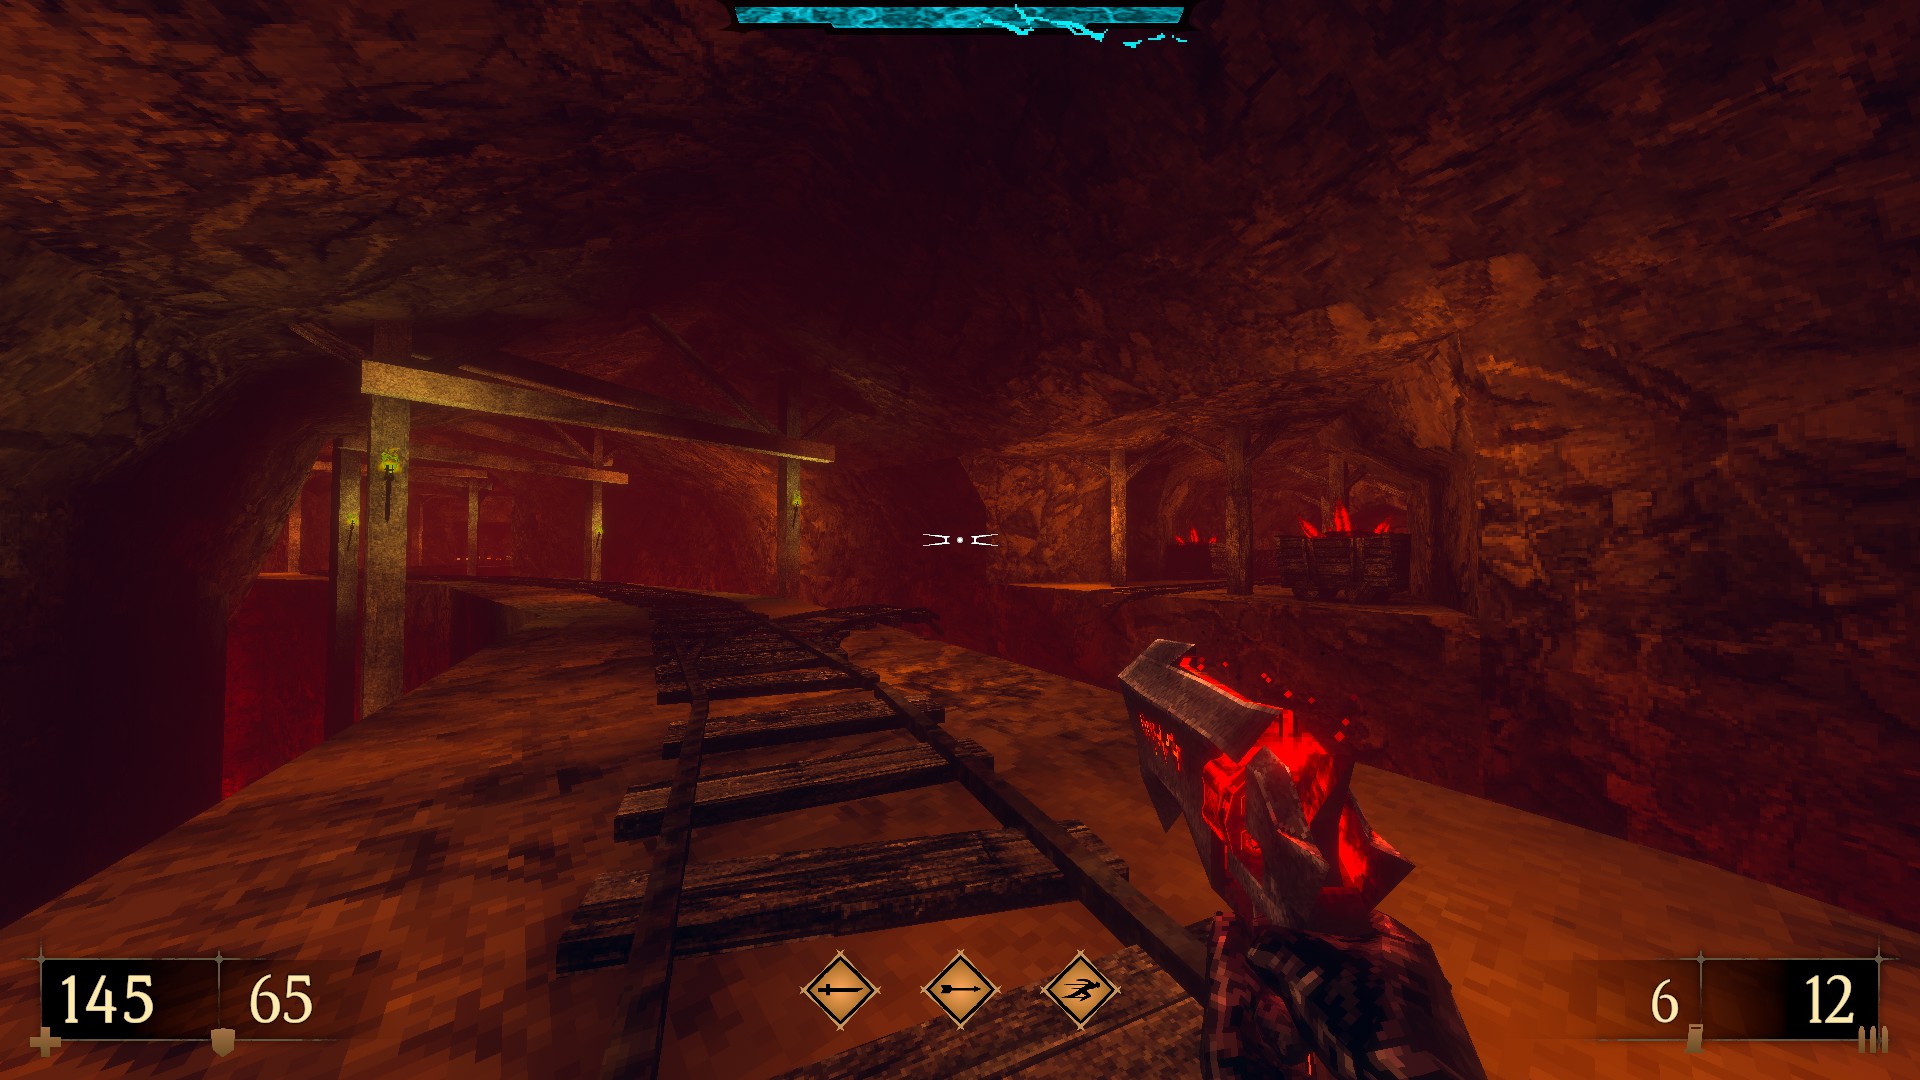
7/9 – Follow the railway and dash-jump to the right. To reach the side area, destroy the cracked wall at its end. To find a hidden alcove, you can use the cavern wall to the right of the torch before you take the cart for a ride.
8/9 – Returning to the main path, descend to the ledge below the next elevator to locate a hidden alcove containing more supplies.
9/9 – After reaching the yellow key pedestal, you can use the wall between the two pillars on either side to reveal another cache. (Inferno Rocket Expansion III)
—
SUPER SECRET?
Based on the fact that I still had not found a Blood Gem despite searching the level, I believe there is a super secret to this area. But I couldn’t find it. Any assistance would be greatly appreciated (along with due credit, of course).
Fake or real E4M5
This level contains 8 secrets as well as a super secret.
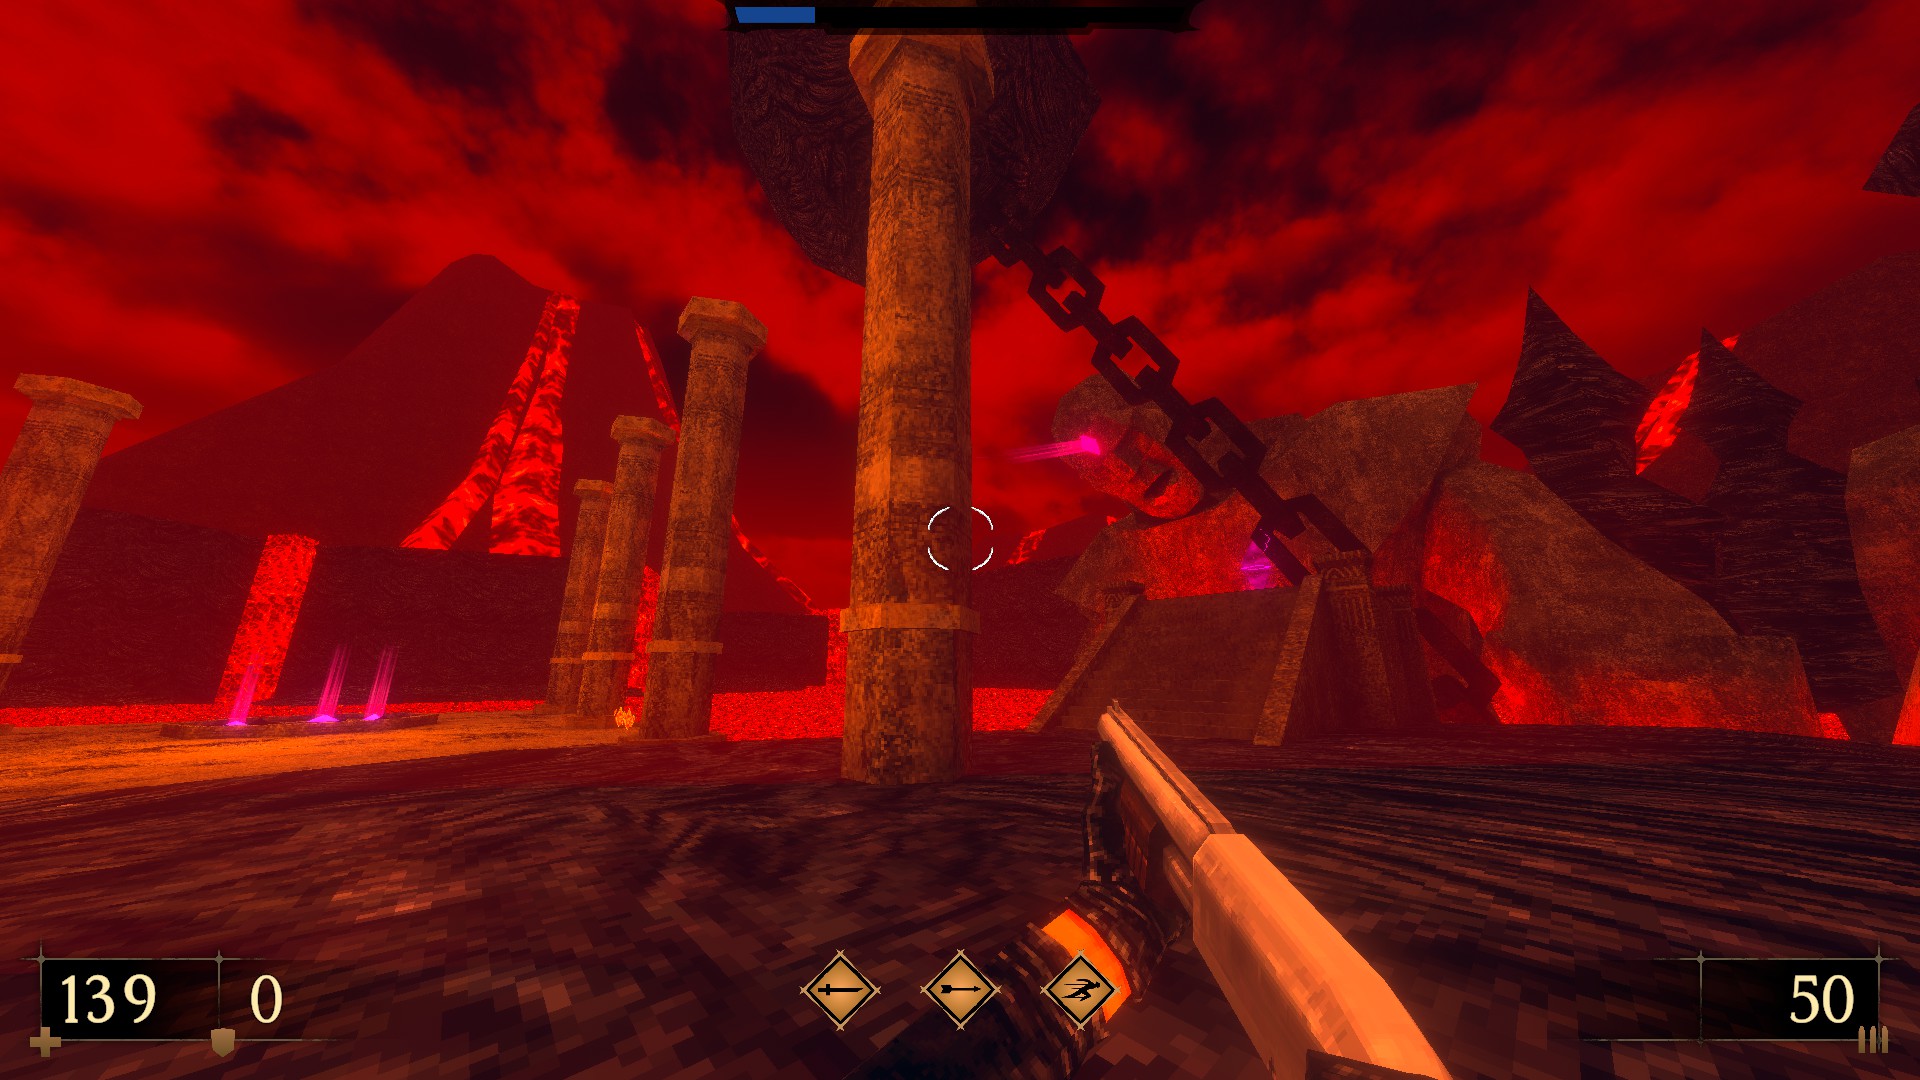
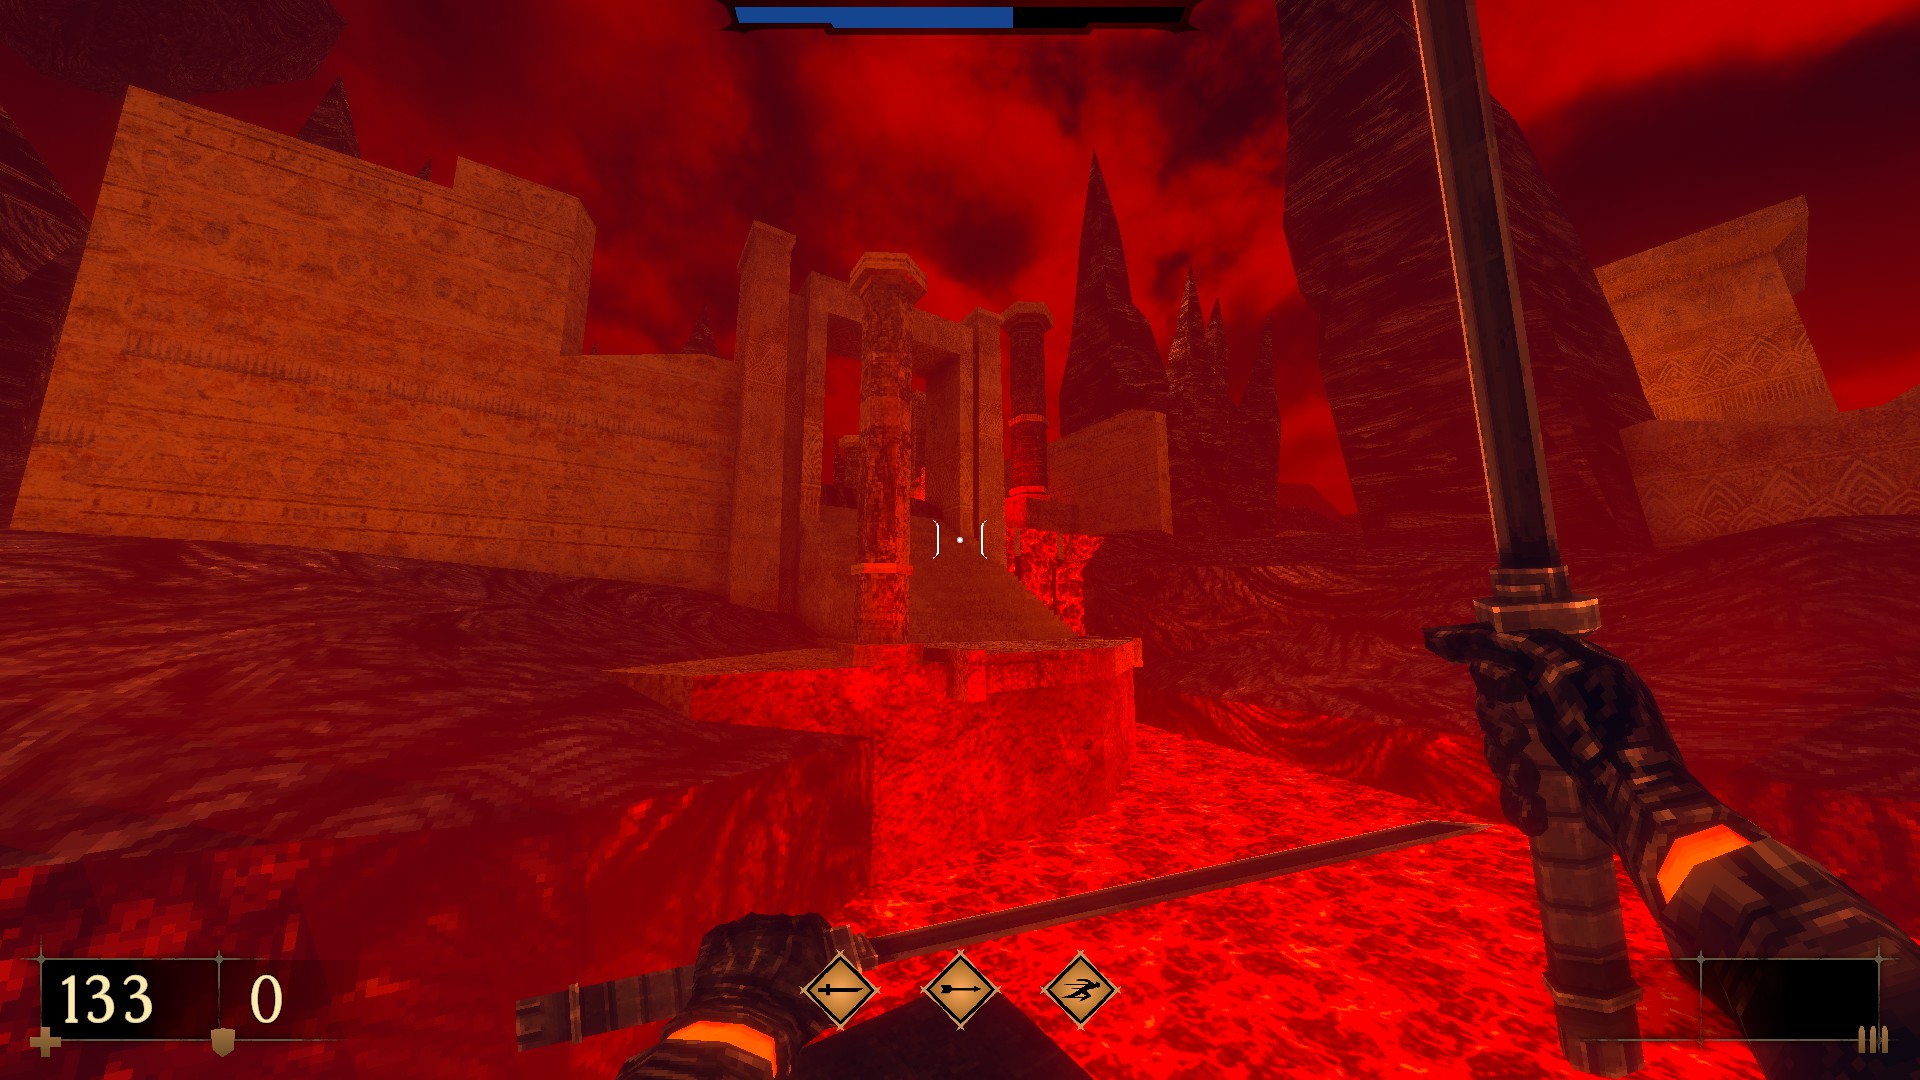
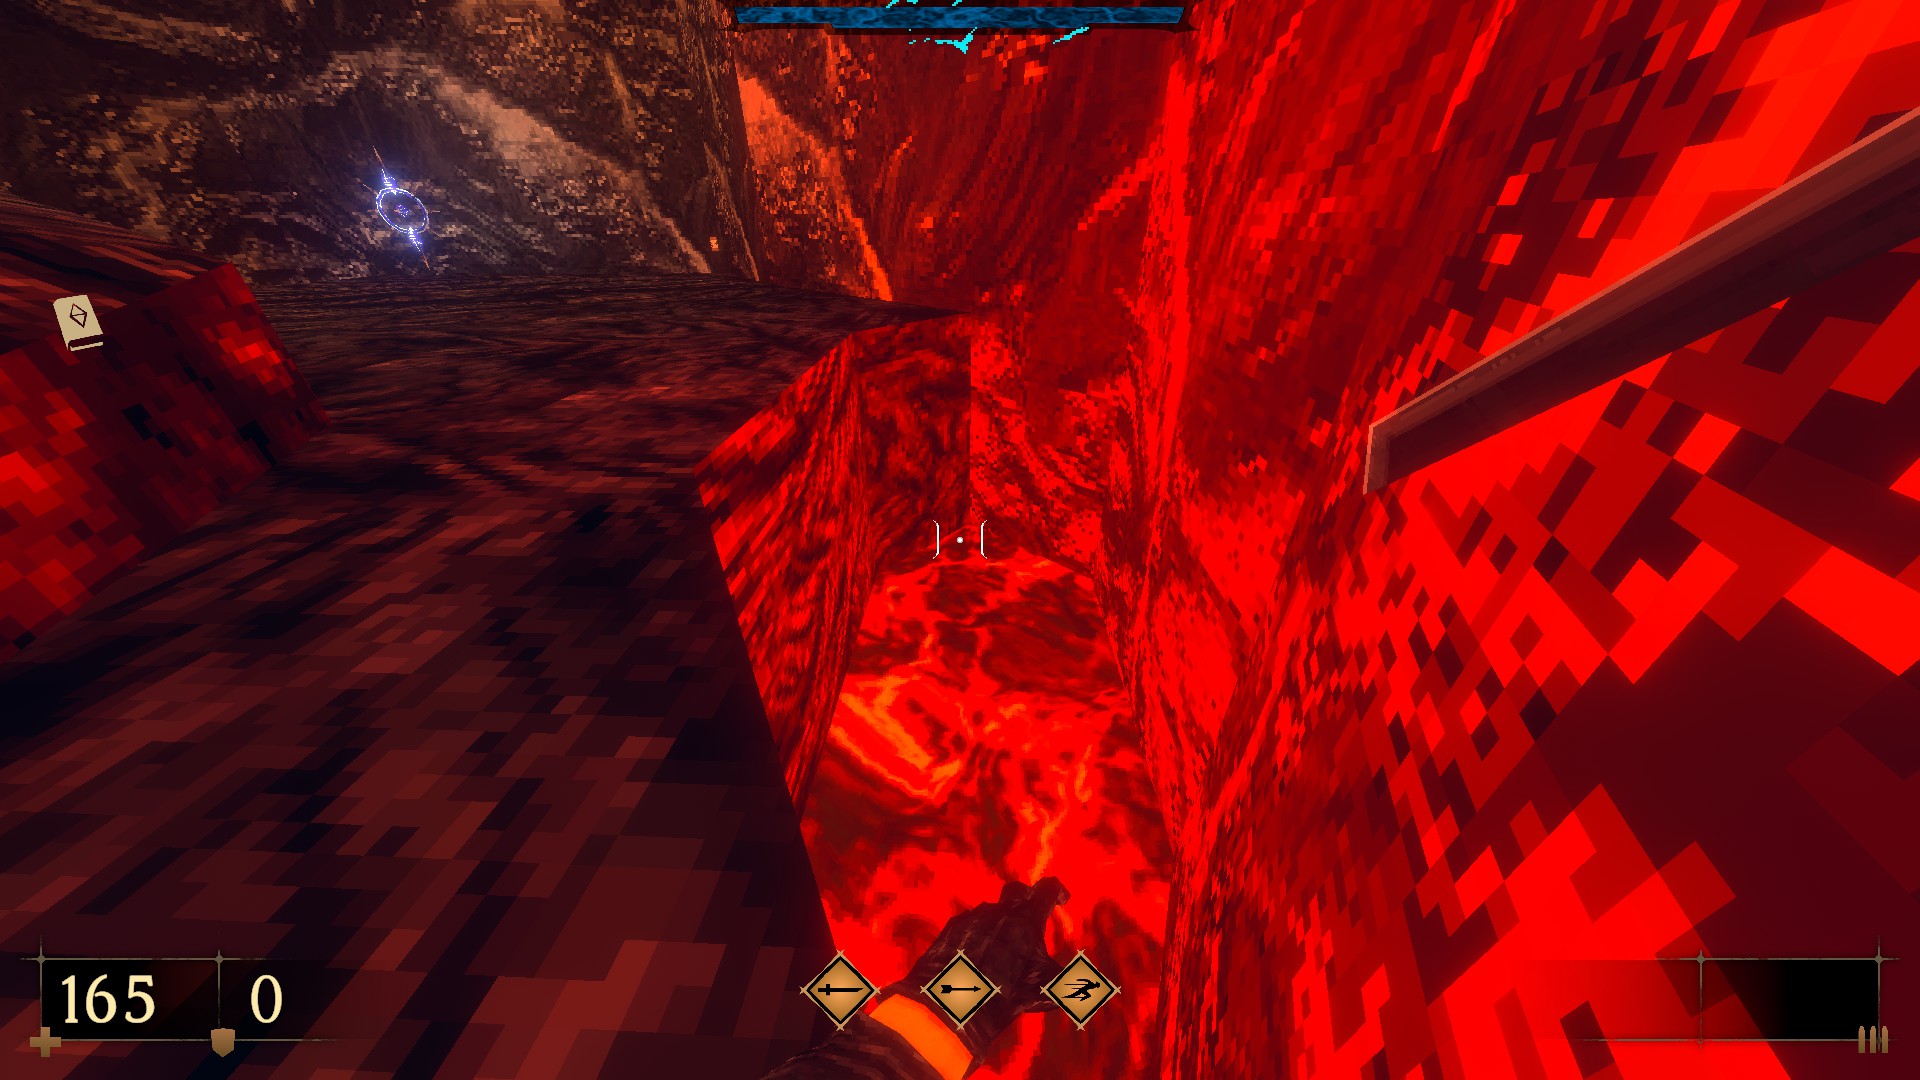
1/8 – To find various items, turn the corner covered in lava next to the first titan.
2/8 – Jump on top of blocks to your right as you move towards the second titan to find a cache to the other side.
3/8 – Move around the tower of lava near the third titan in order to reach the items on either side. (Templar Rush III)
4/8 – To grab ammo, drop down to the lava ledge near the fourth titan.
5/8 – Jump to the lava ledge near the seventh titan to obtain the items that are openly available. (Templar Rush III)
6/8 – Using the previous secret, remove the cracked portion of the mountain to access the teleporter to a side area. To reveal a hidden cave, battle it out in the side area. (Inferno Gauntlets Slaughter II).
7/8 – To find another cache, look to the right side of the temple steps that are covered in flowing lava.
8/8 – Continue from the previous secret and find the opening at the temple’s back. Follow the path to discover another cache. (Katana Slaughter II)
—
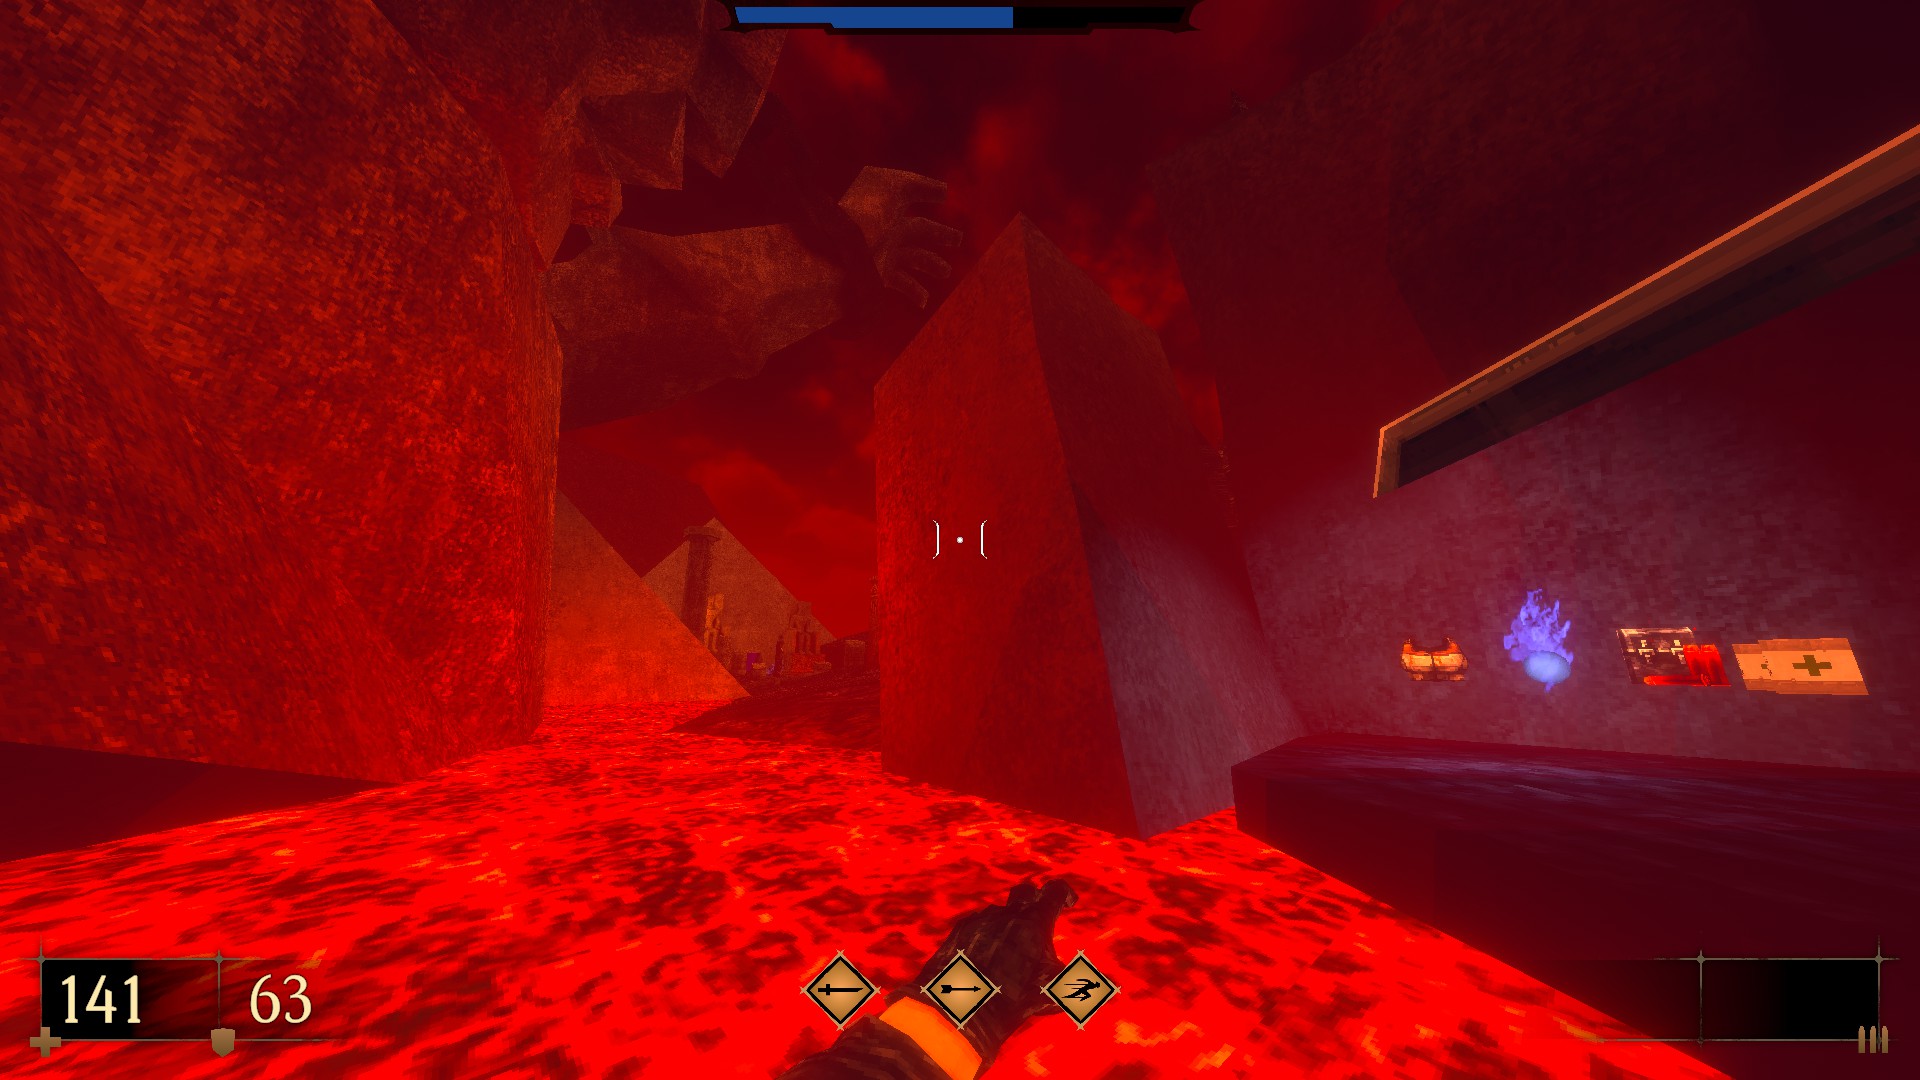
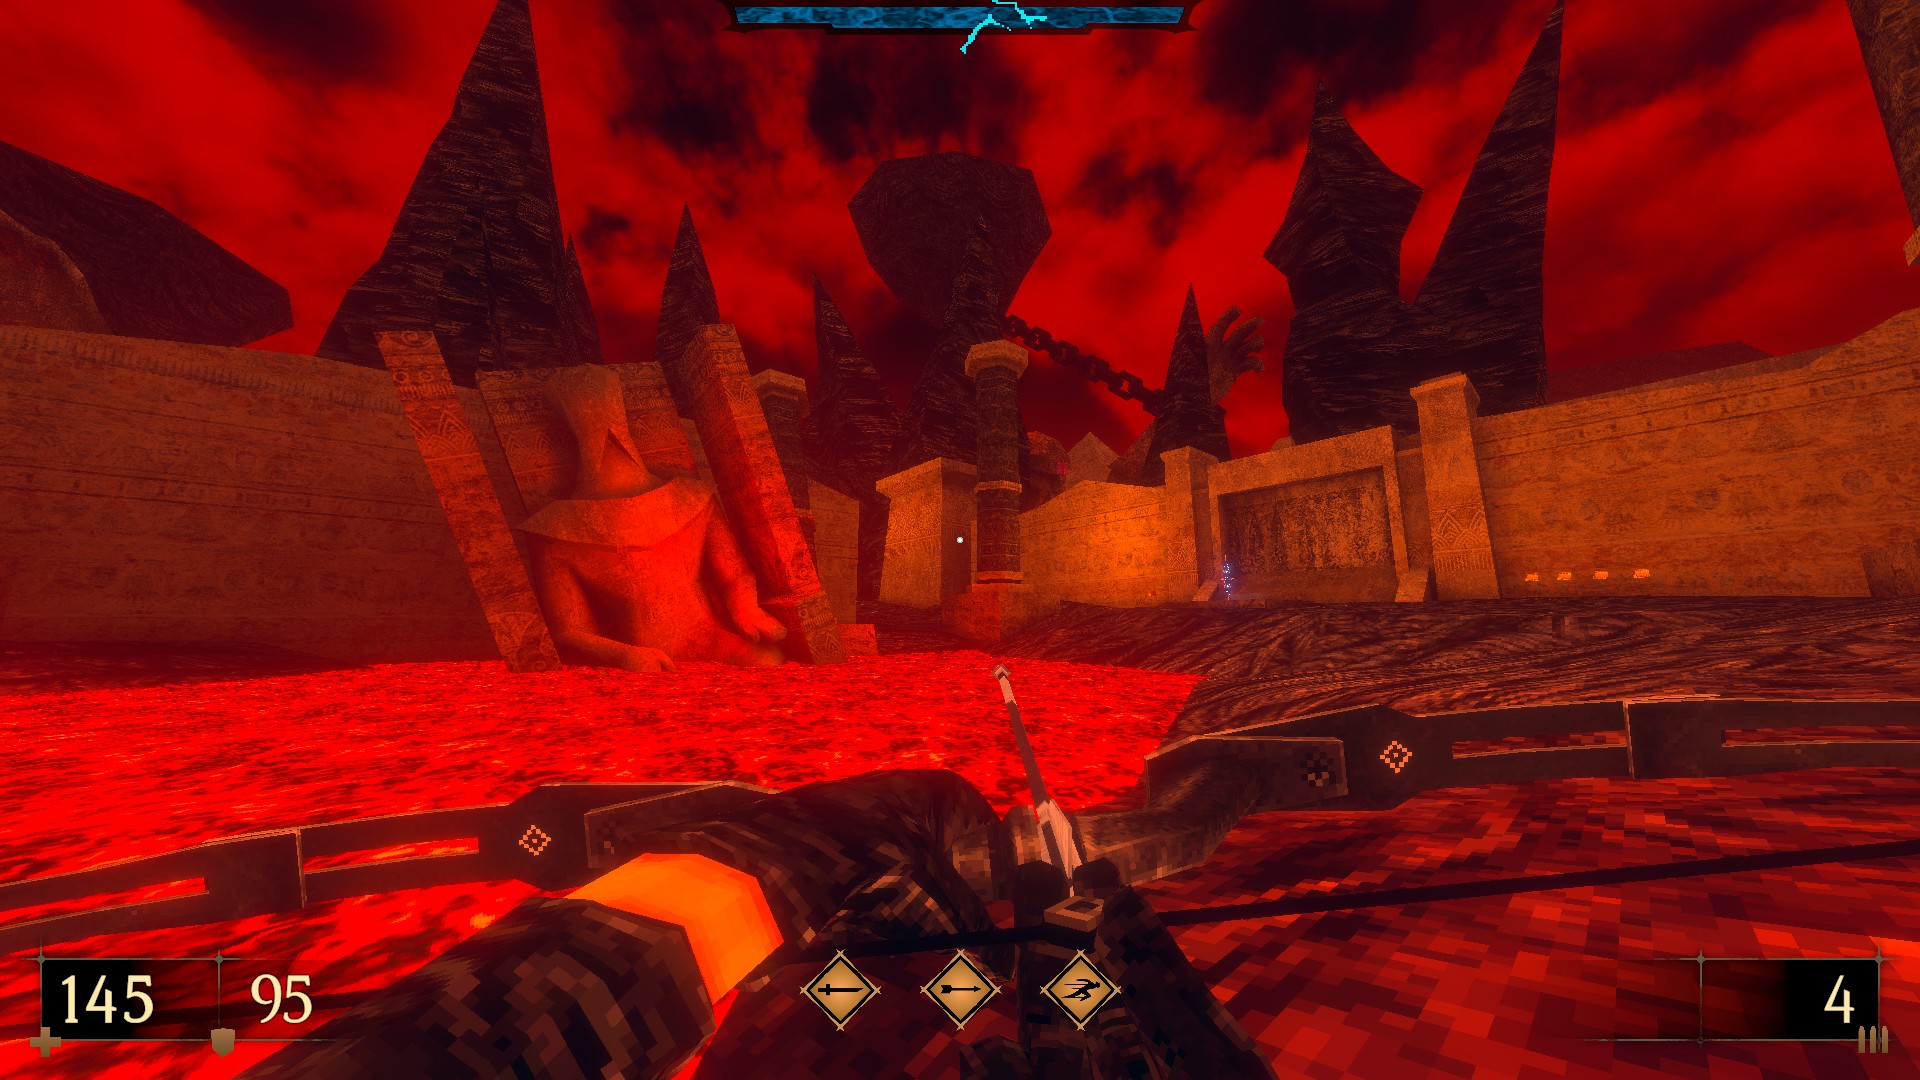
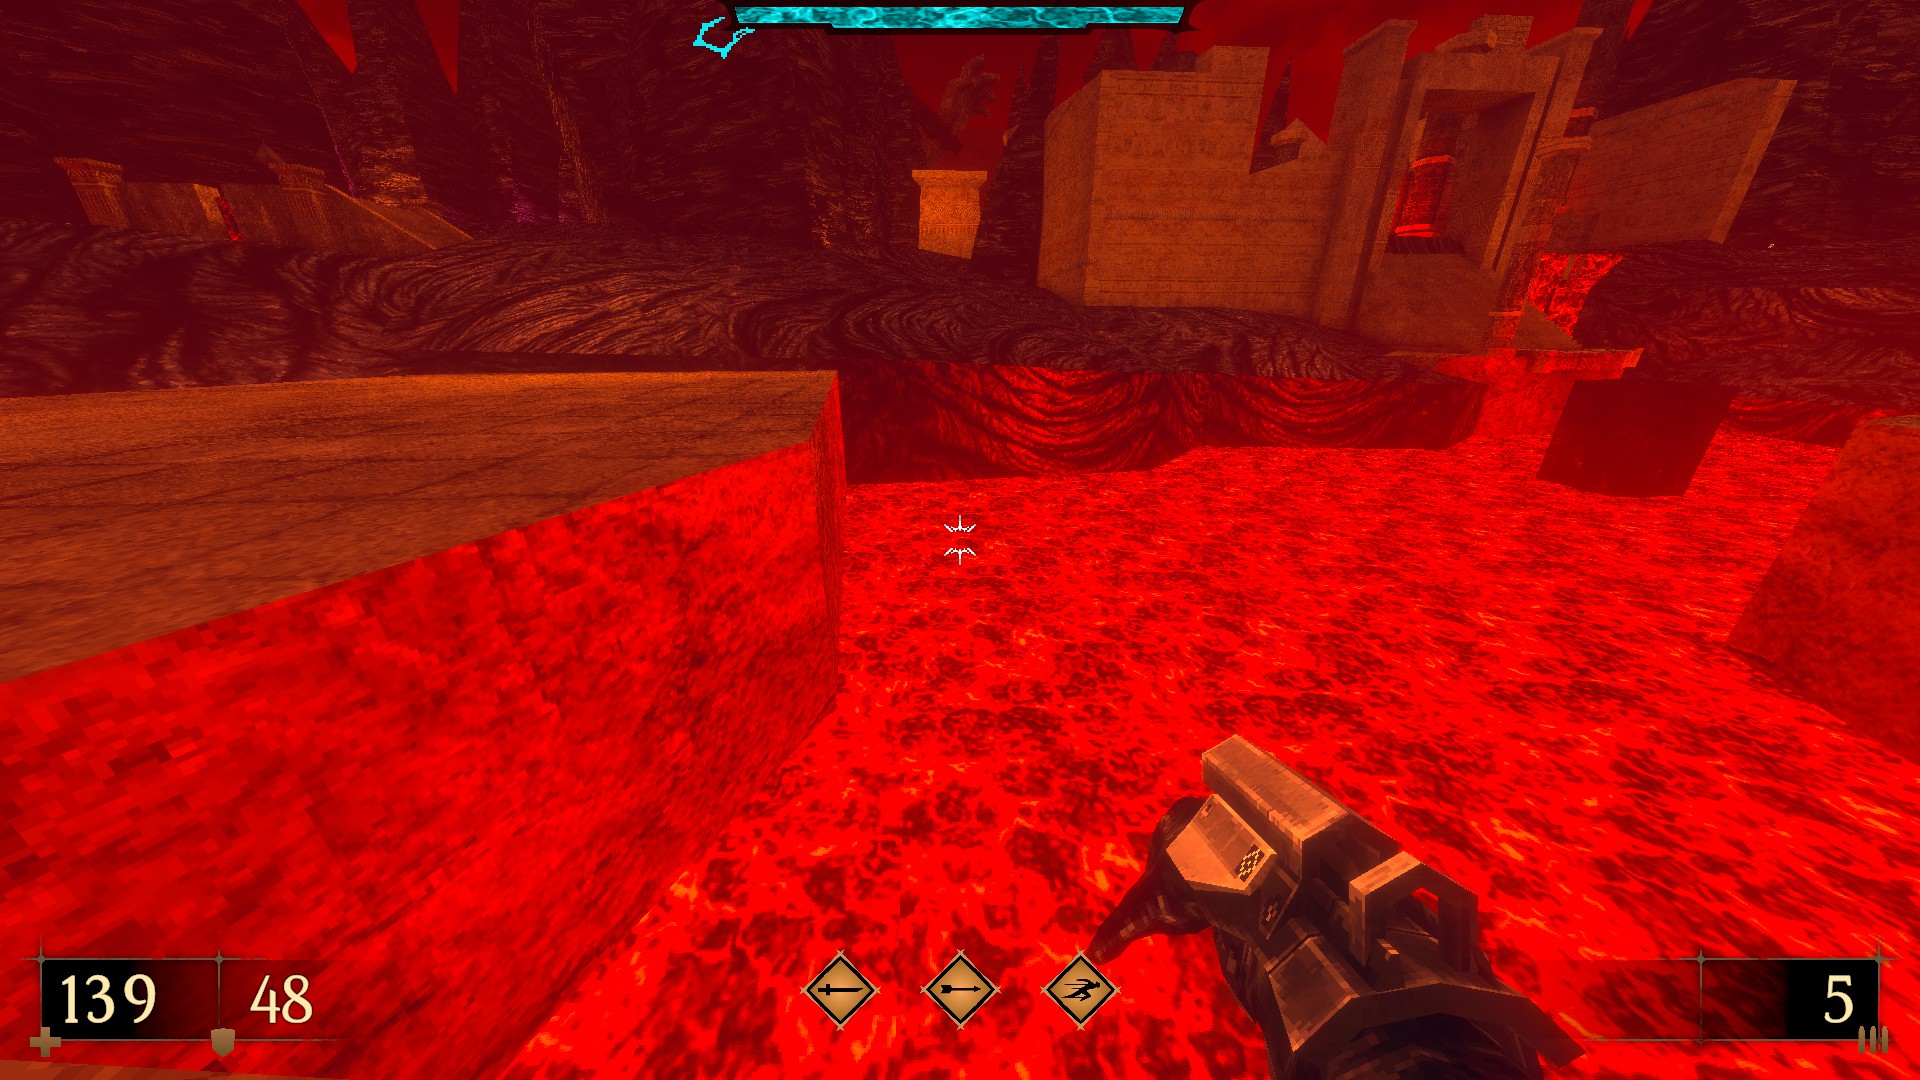
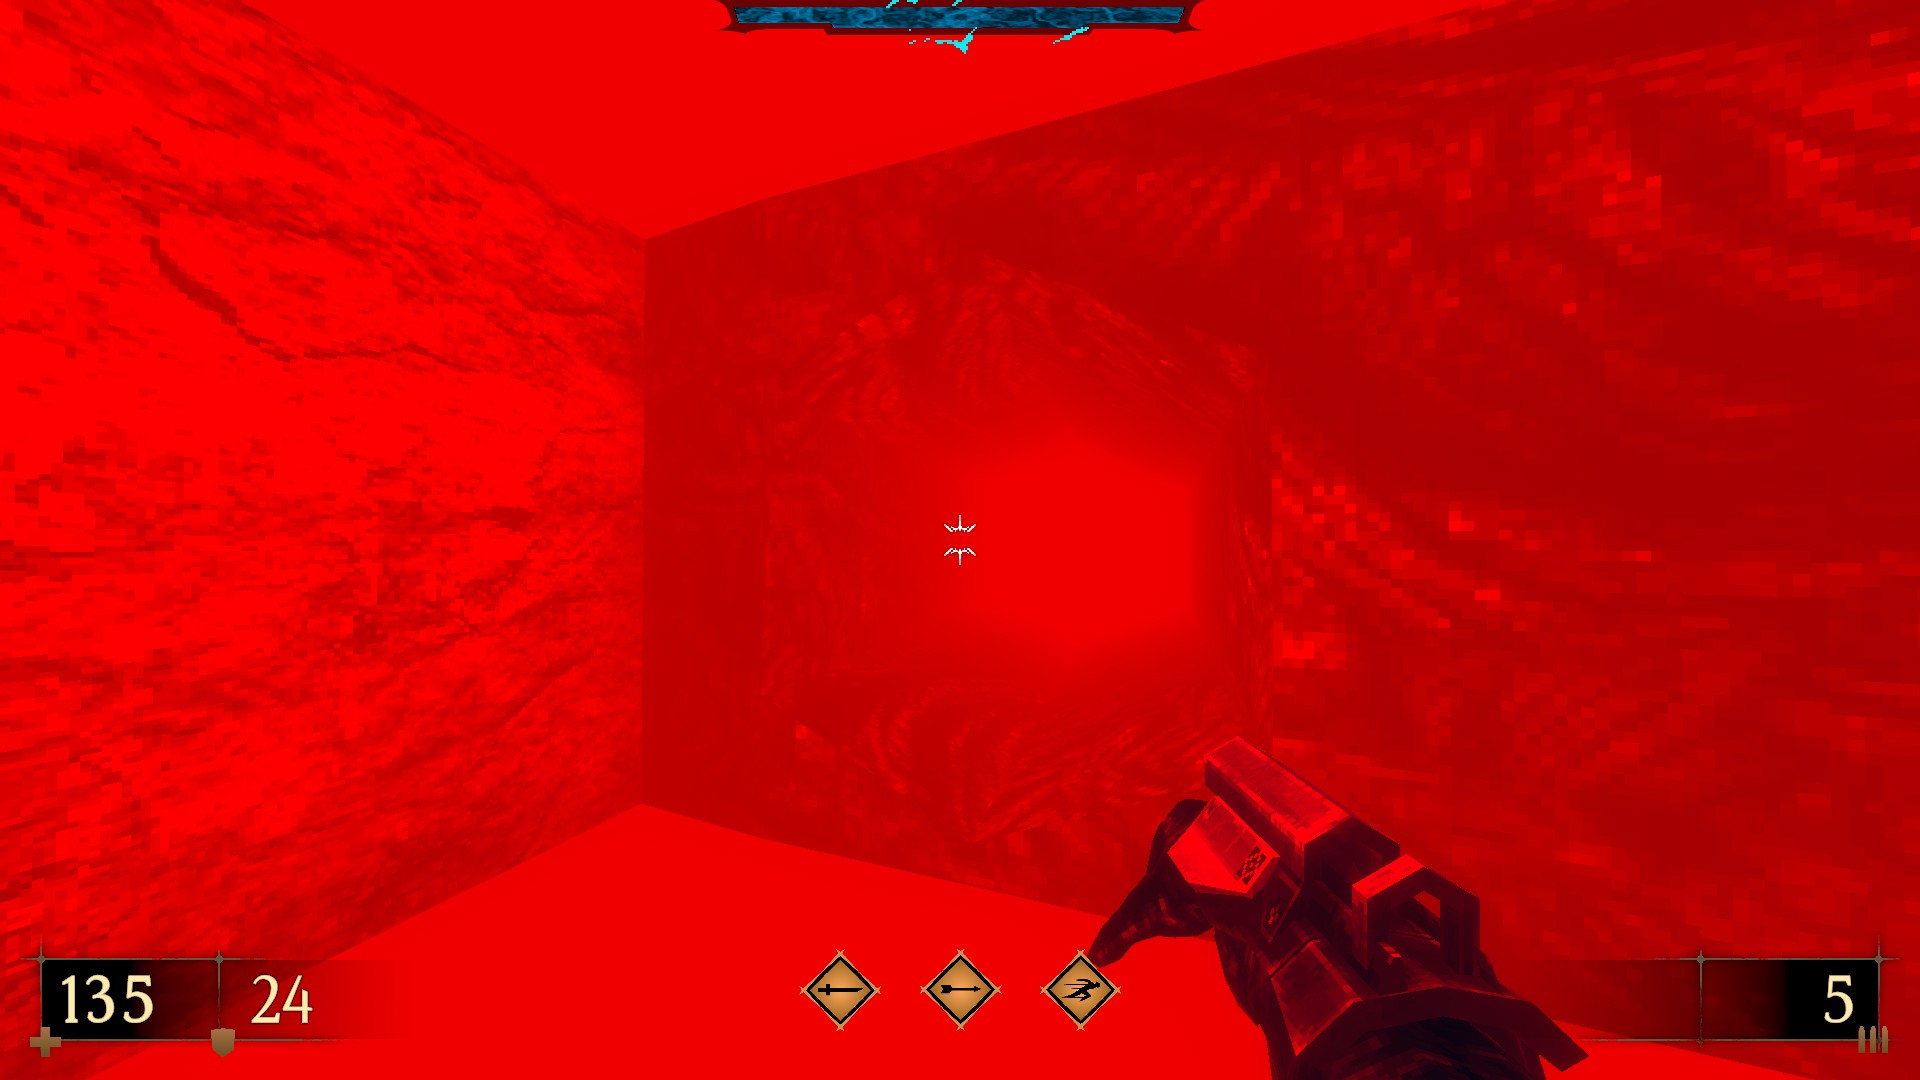
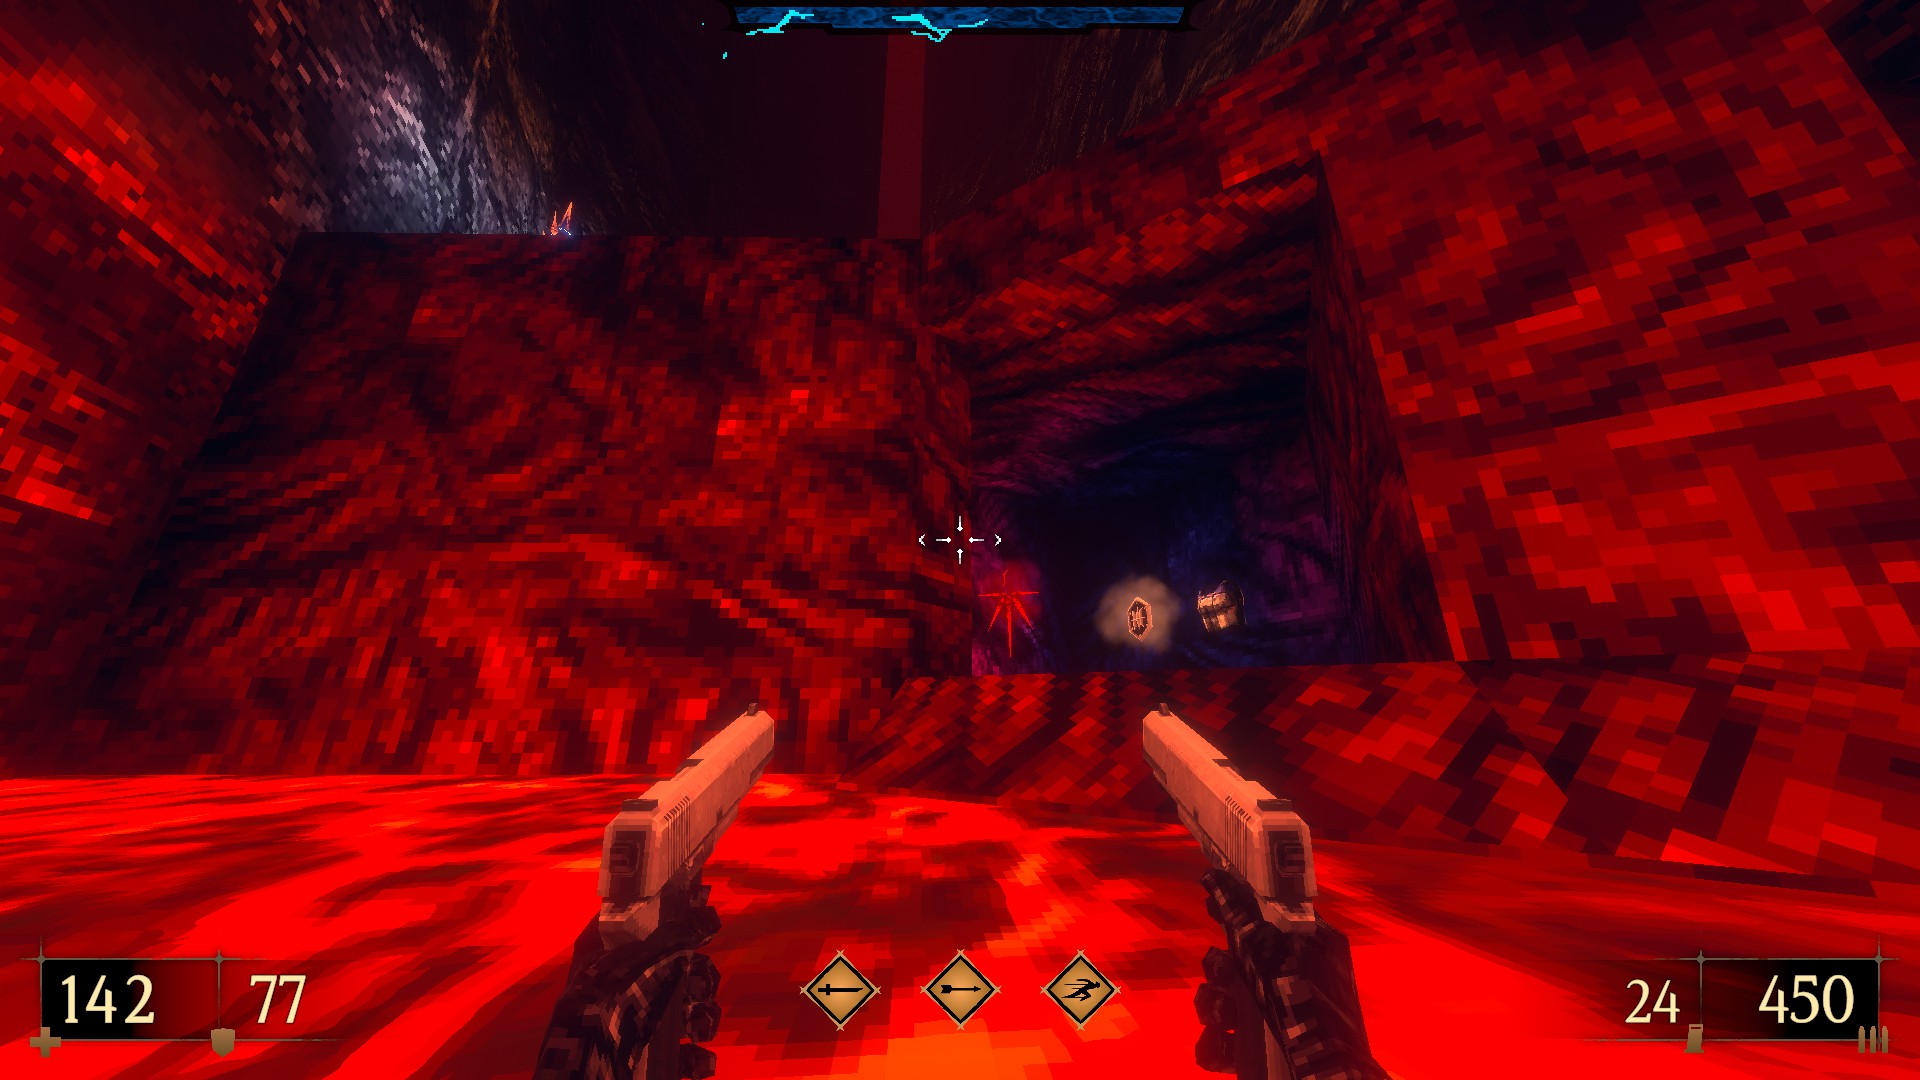
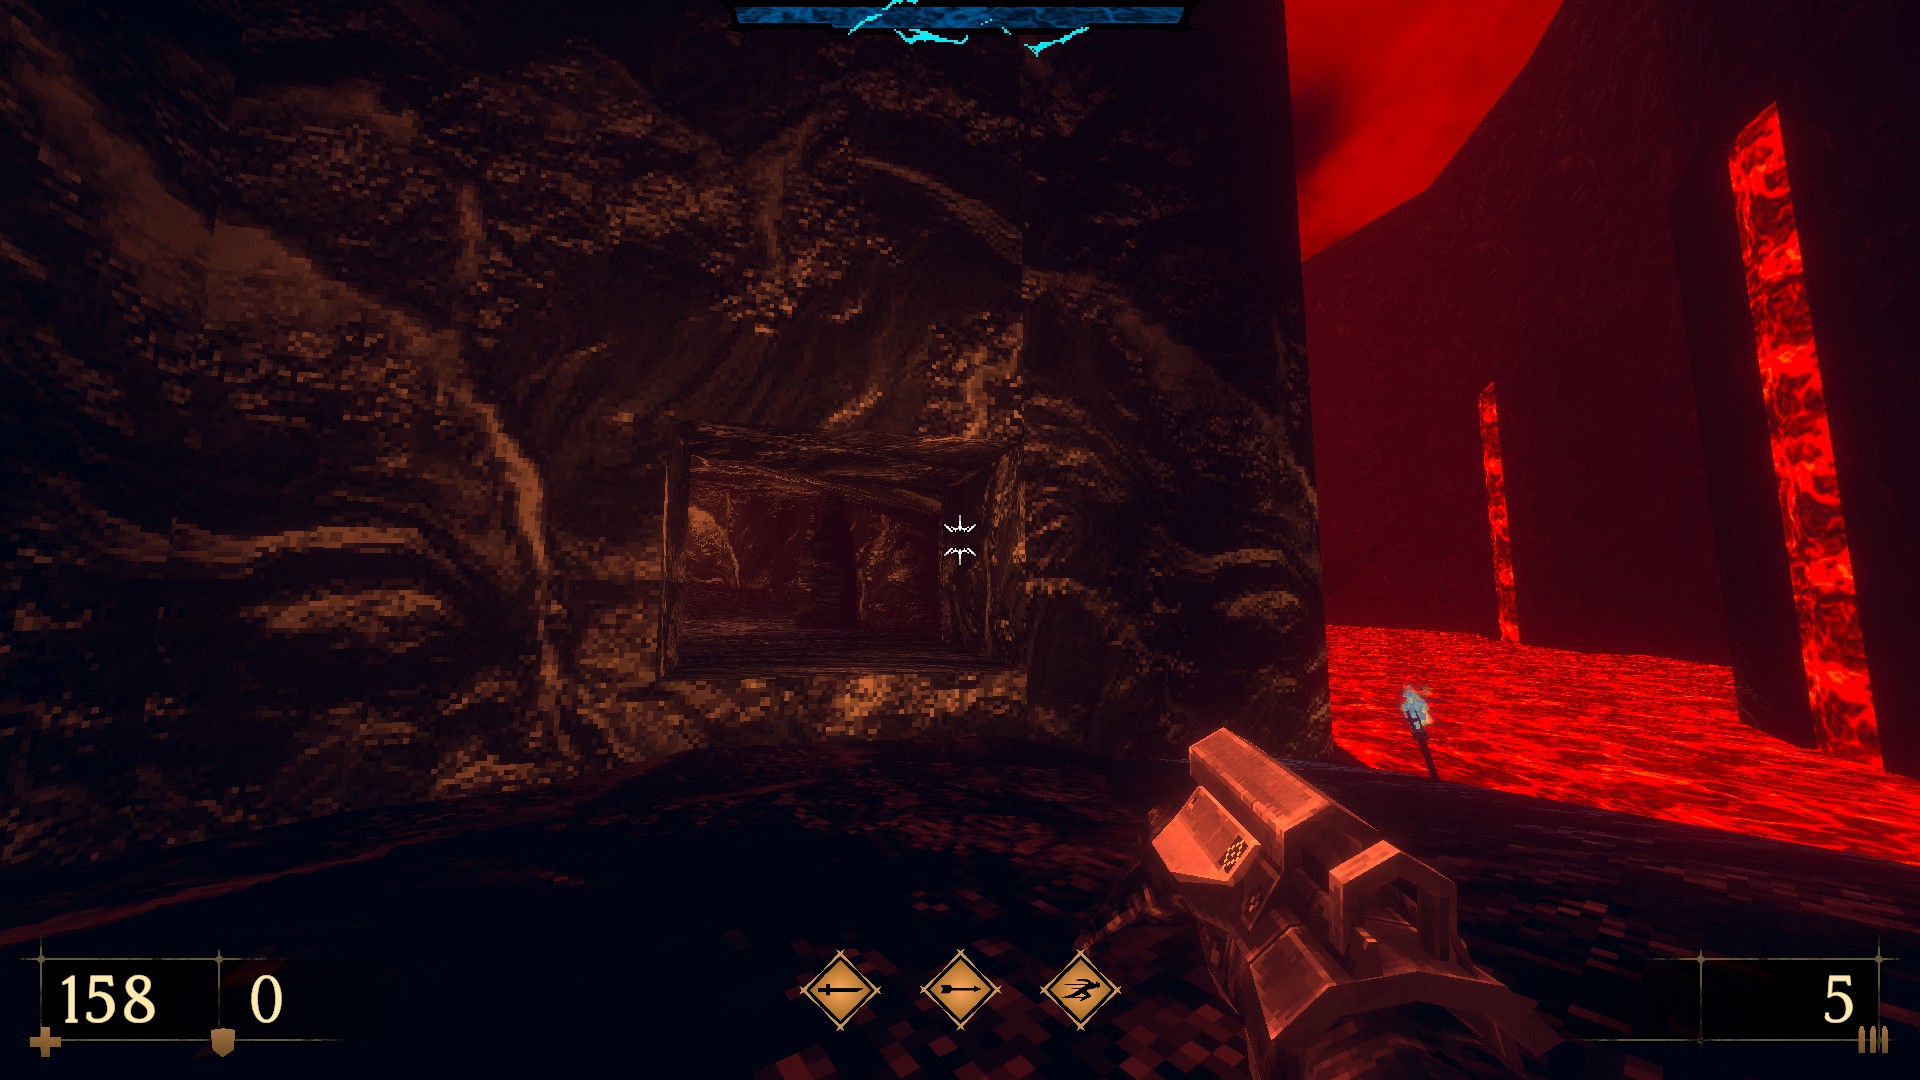
SUPER SECRET – Swim through the opening and into the pool of lava to reach a hidden cave. (Cerberus-G- and a blood Gem) (Also unlocks achievement ‘Under The Lava’.
E4M6: Fallen God
This level contains 4 secrets as well as a super secret.
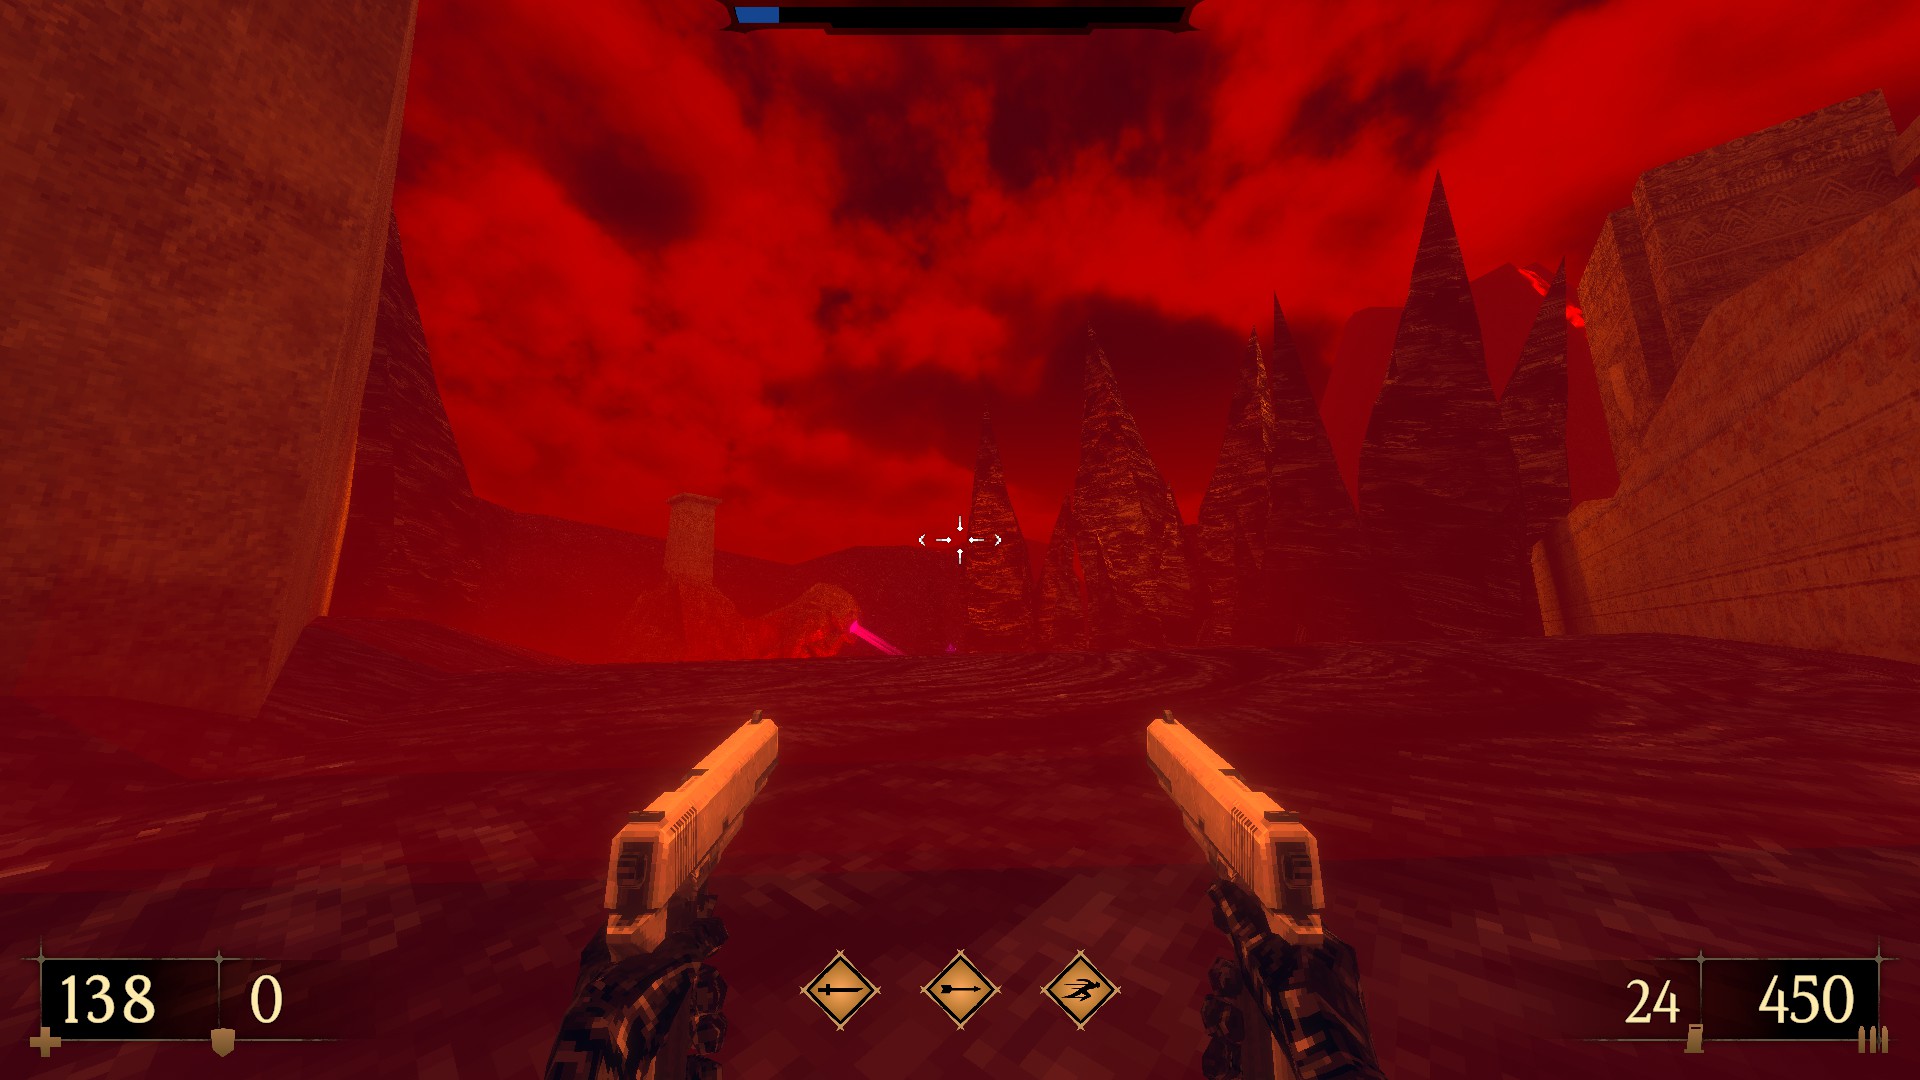
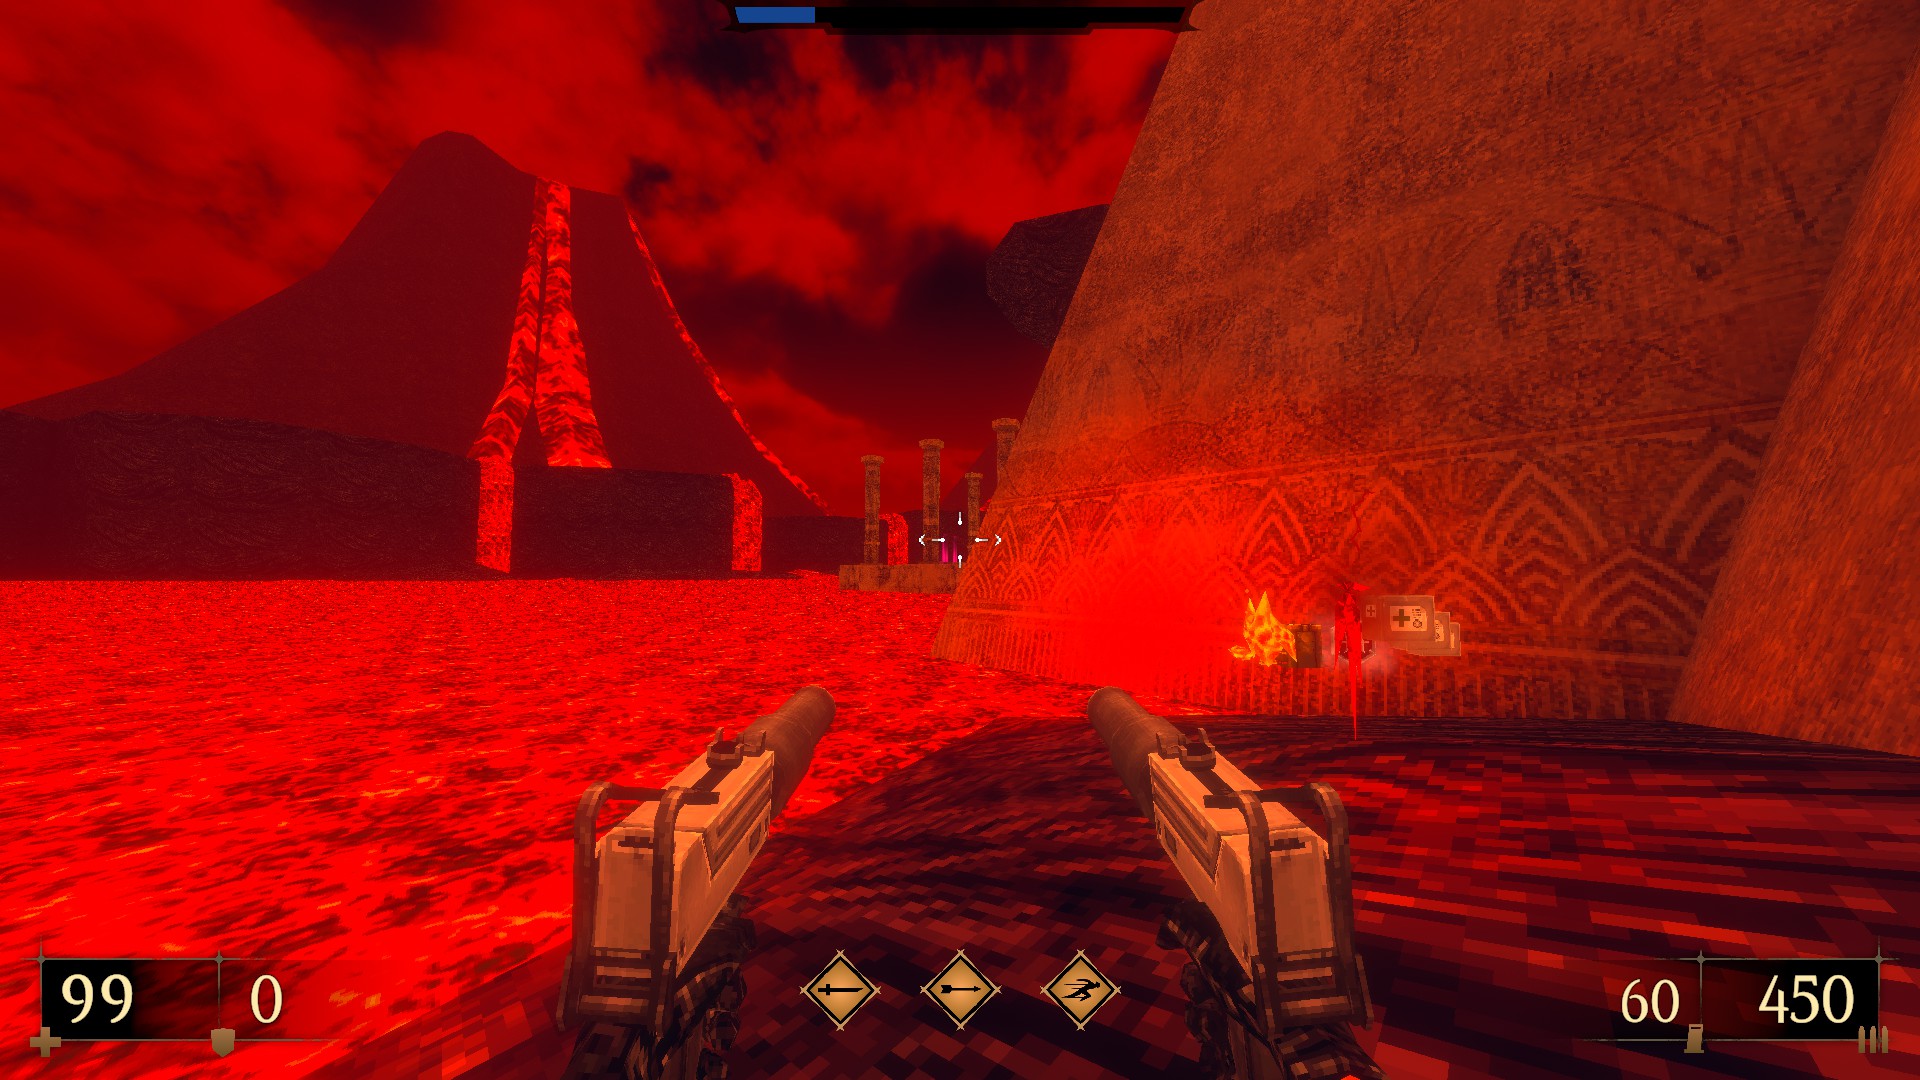
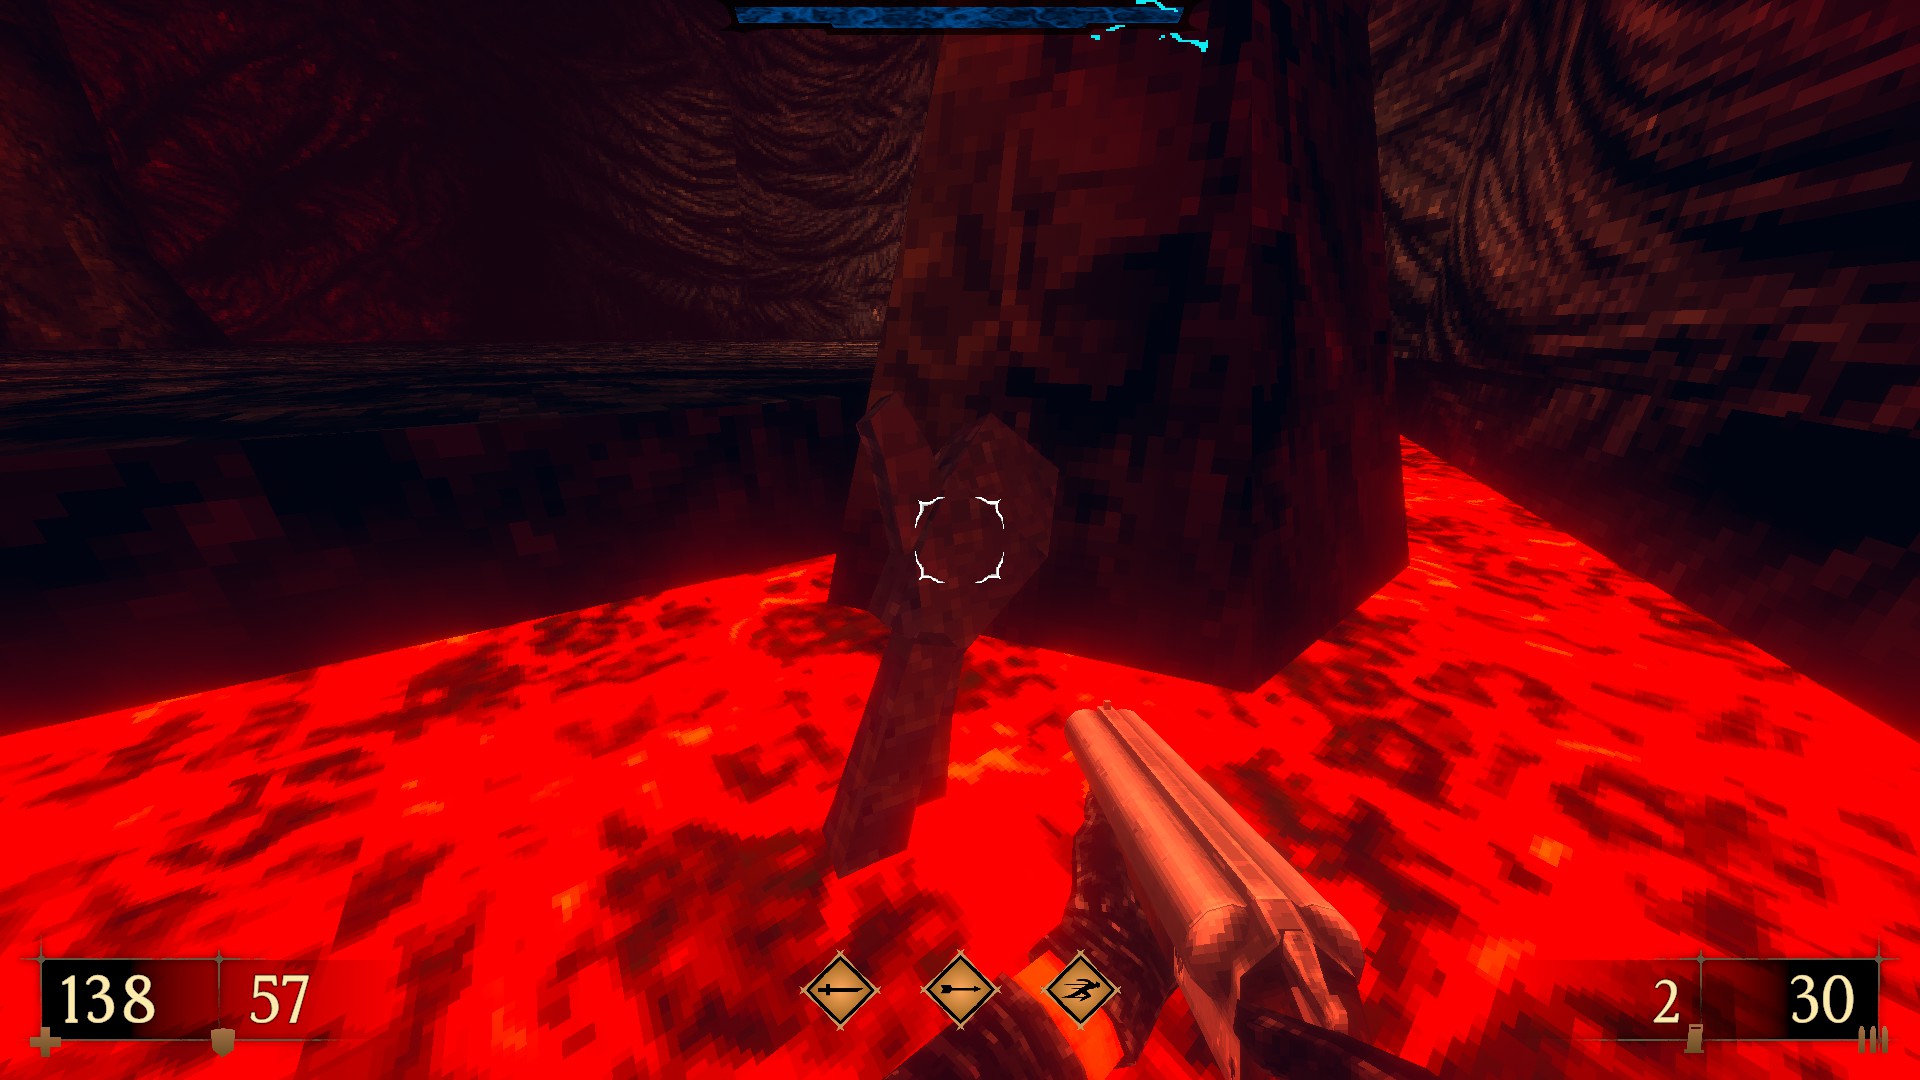
22A27463344Right at the beginning, turn around and descend into the lava until you reach a hidden cove. (Templar Toughness IV)
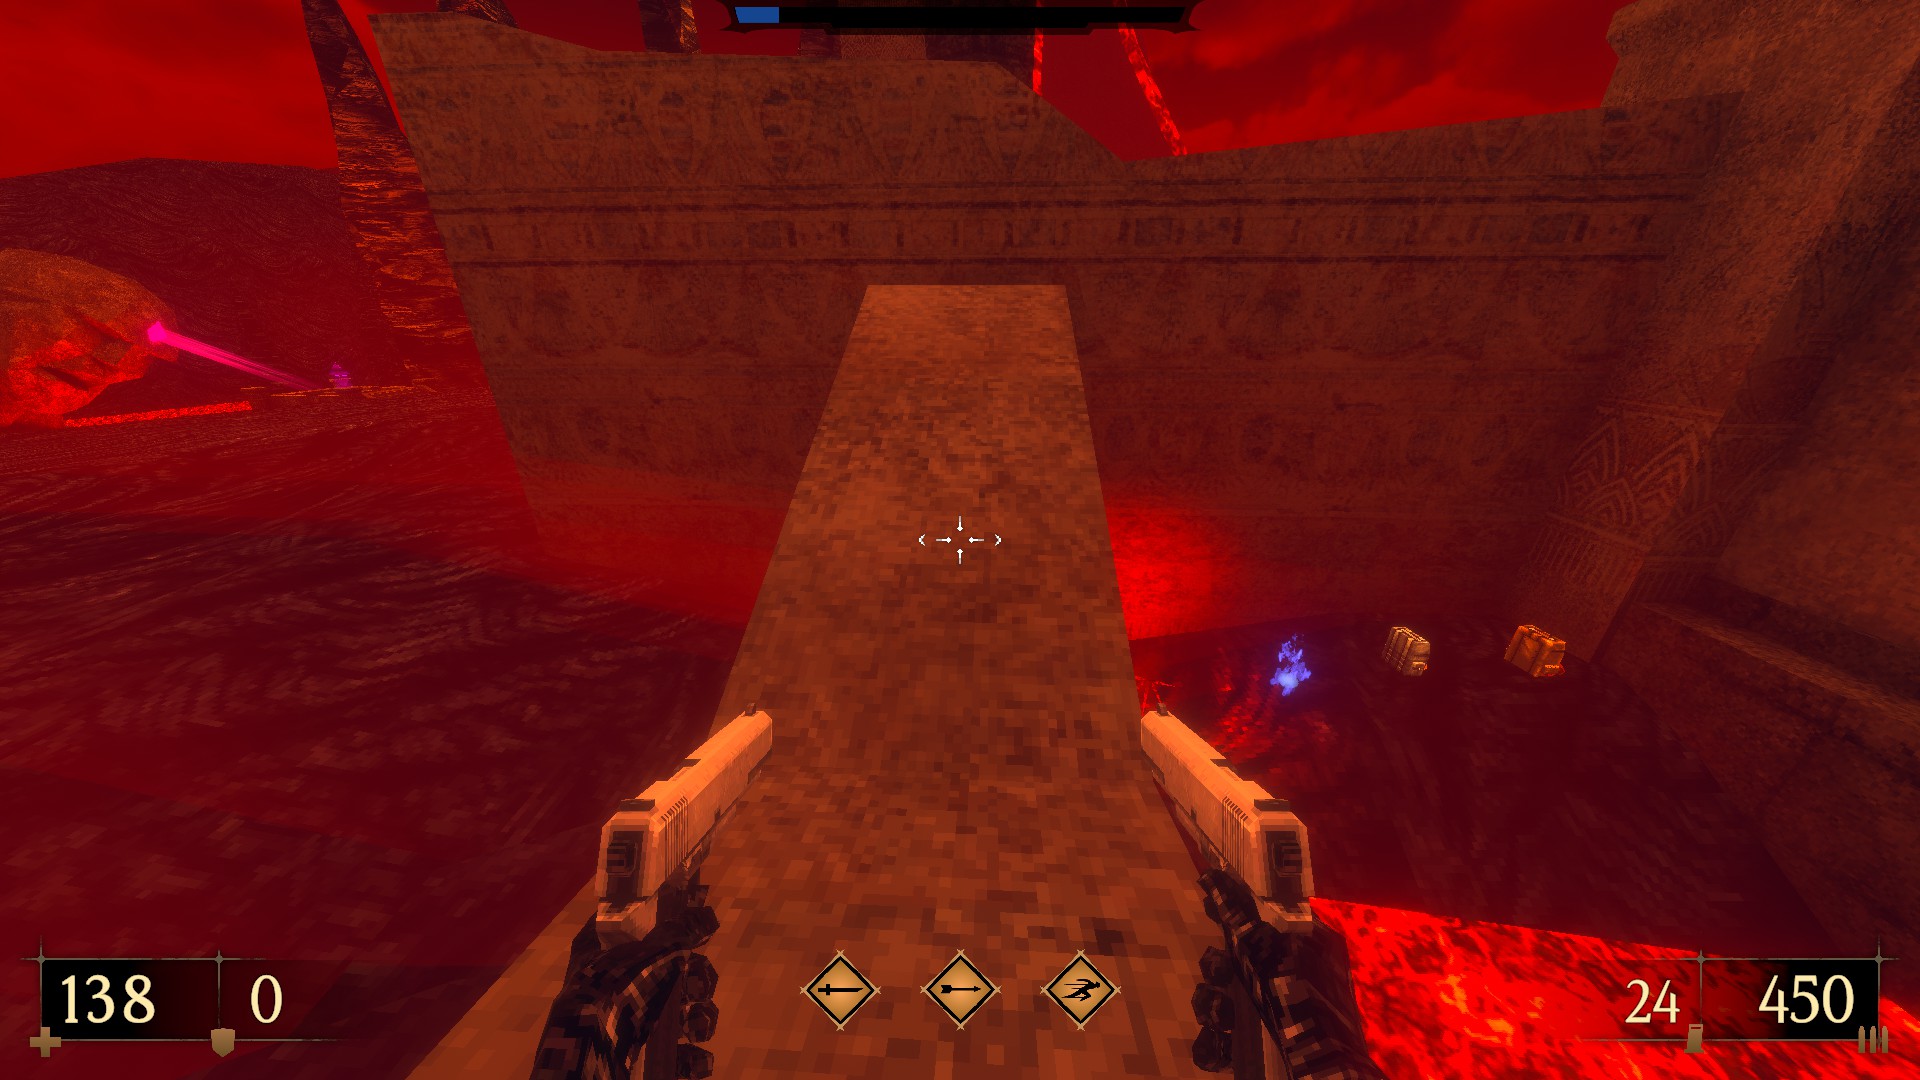
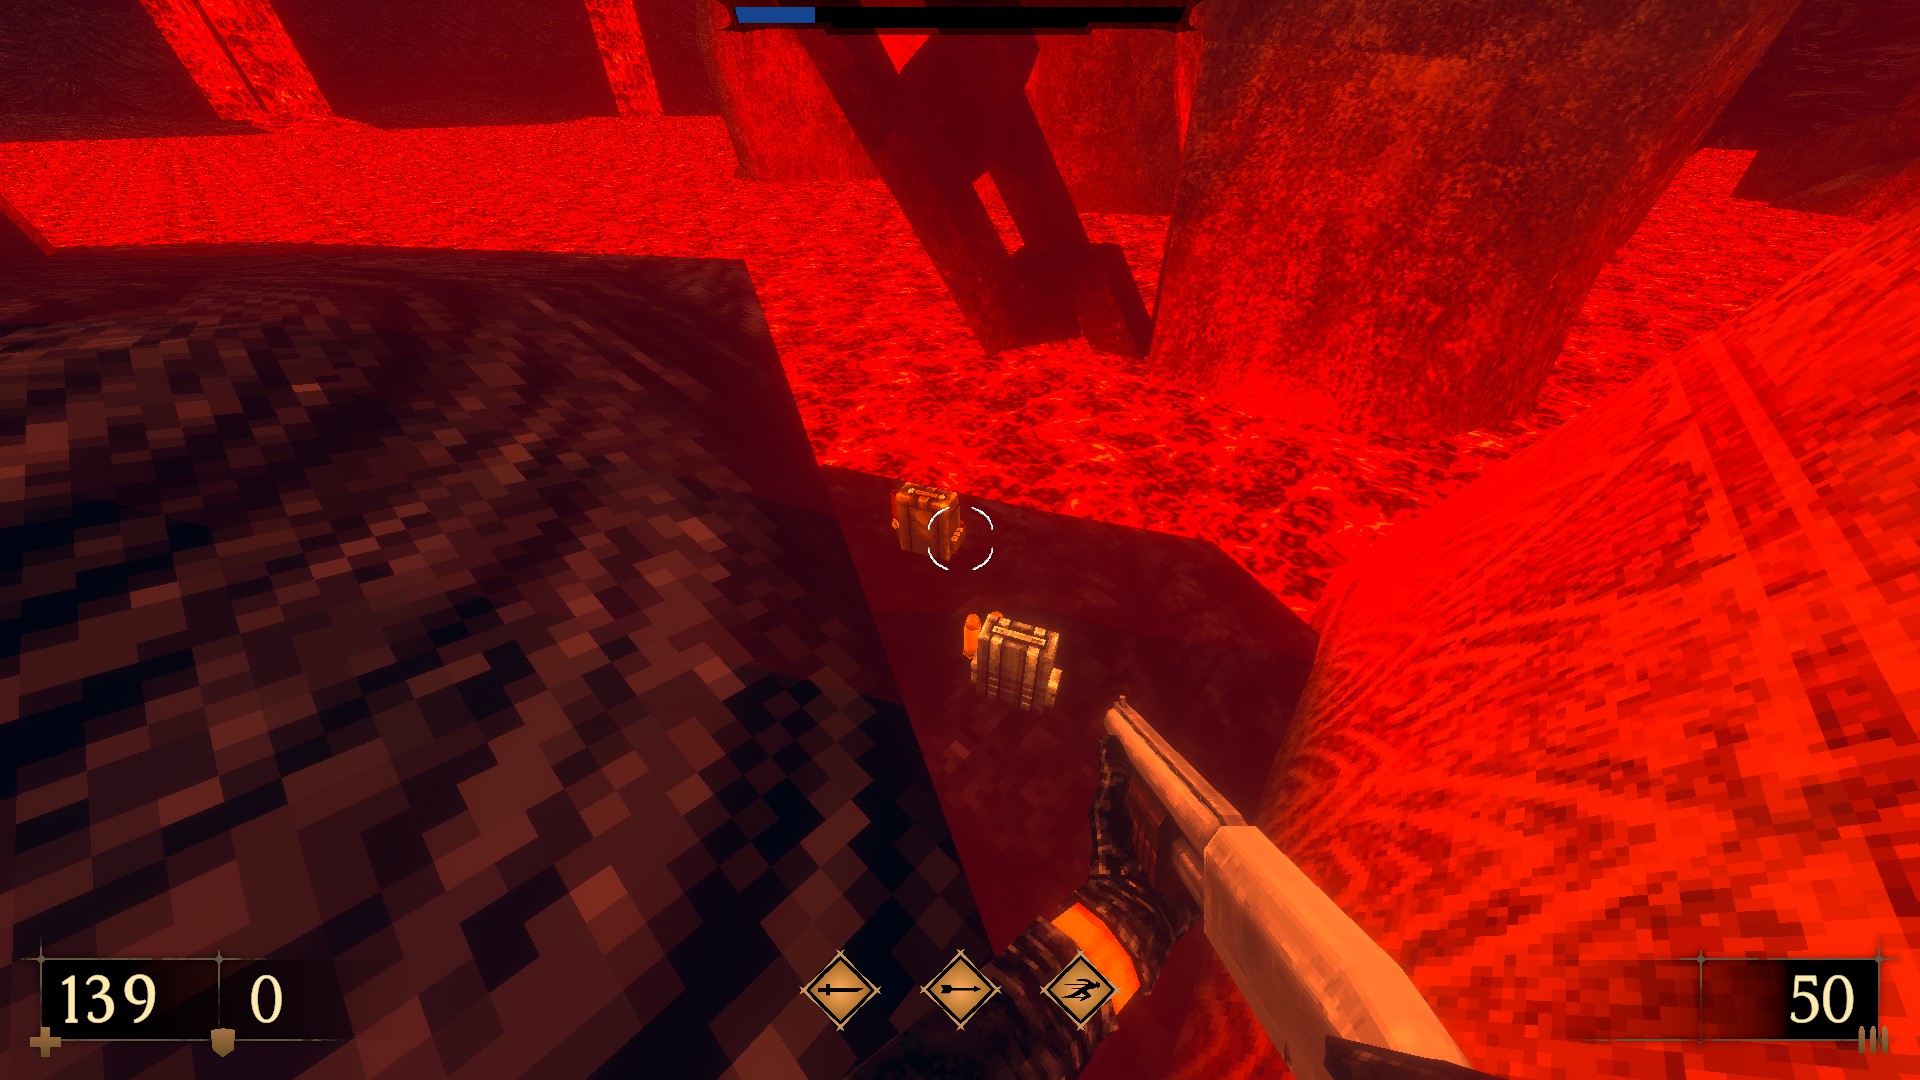
2/4 – When the lava begins rising, hurry up and grab the goods from the ledge to your left. (Inferno Revolver Expansion III)
EXTRA – Shoot the cracked section of the cavern wall after the section with rising lava to find the teleporter in the side area. The achievement ‘Monkey Kong” is unlocked by surviving the hill ahead. Don’t forget to say goodbye while you are there
Your beloved T-800. – [fandom.com]
Hasta la vista, baby.
Side note: It may be more advantageous to choose the super secret at this stage, as it is impossible to retrace your steps in most levels.
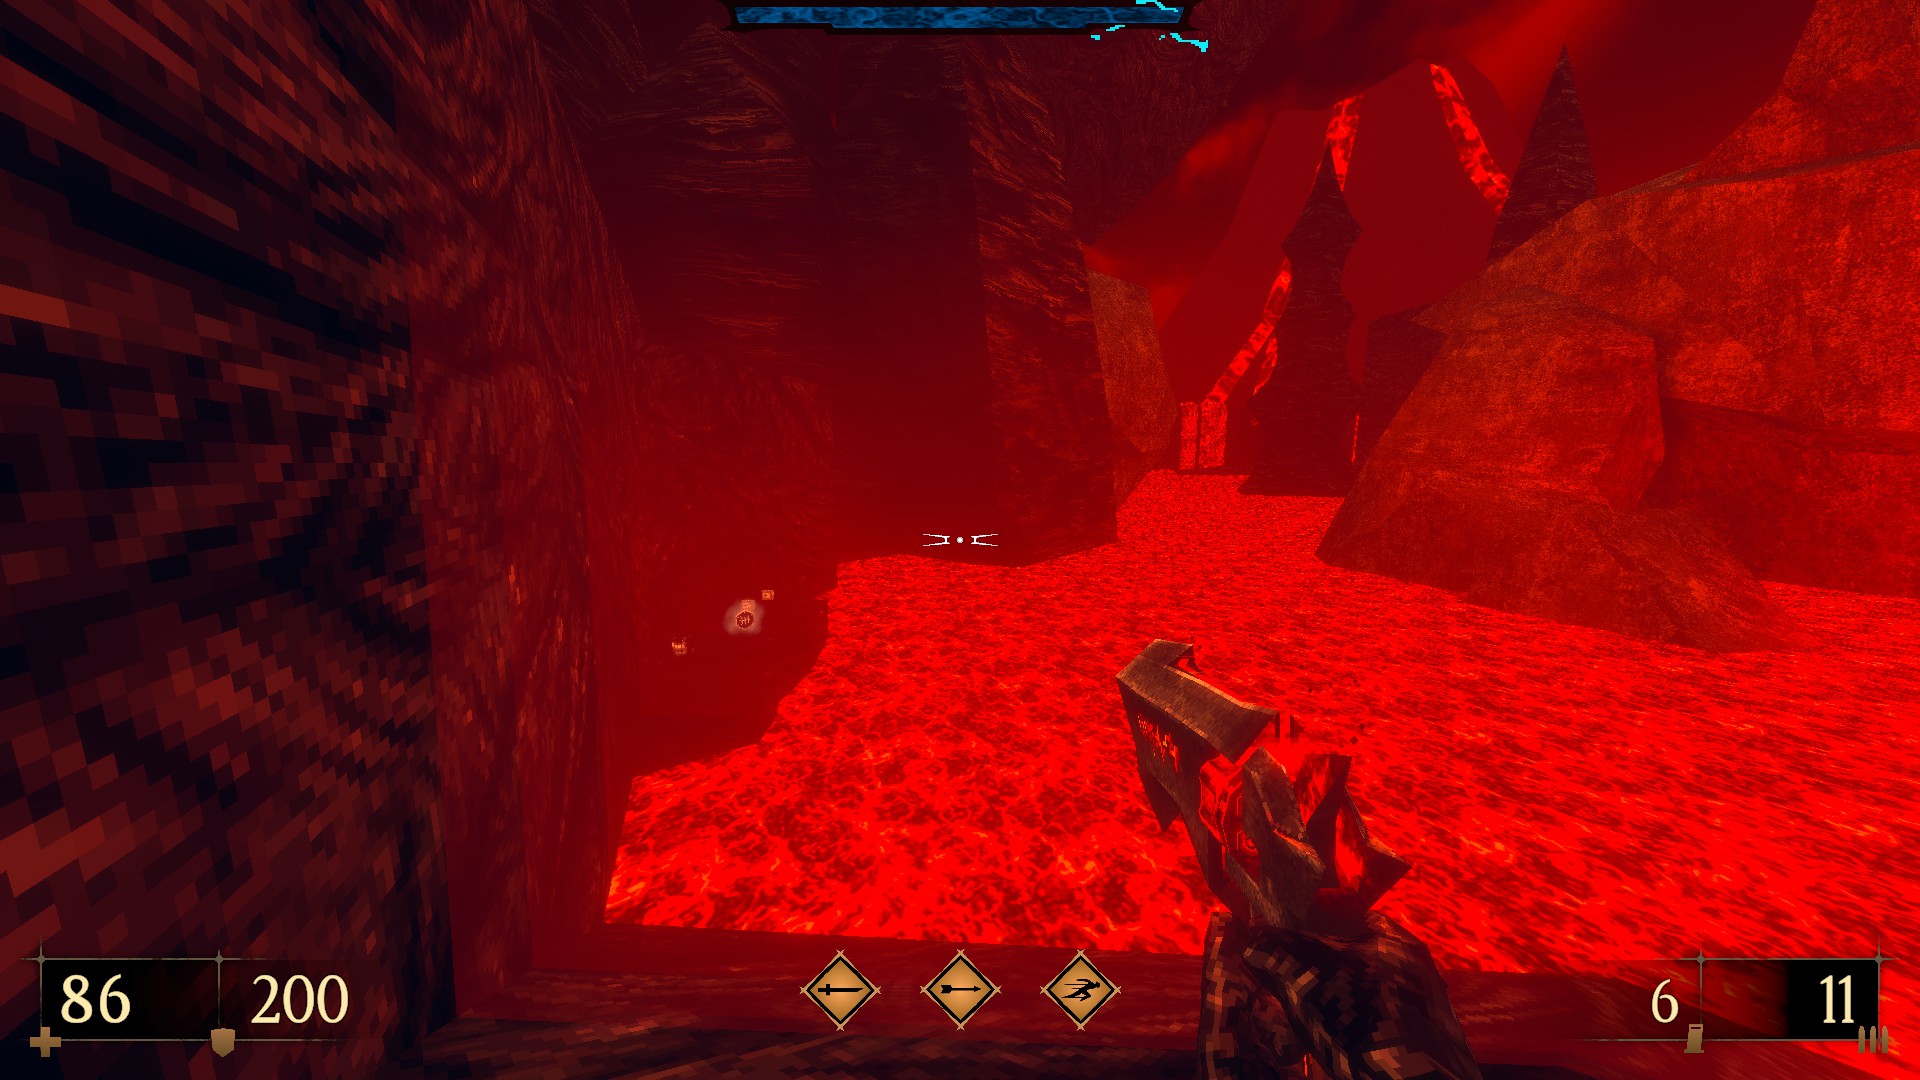
3/4 – When the lava begins rising again, take quick action of the monsters blocking your path and reach the ledge with the goodies near the gate before it is completely covered.
4/4 – Use the crystal to enter the next cavern. Look for the small steps of rock in the corner. Jump on top of them, and then turn around to find another hidden cove.
—
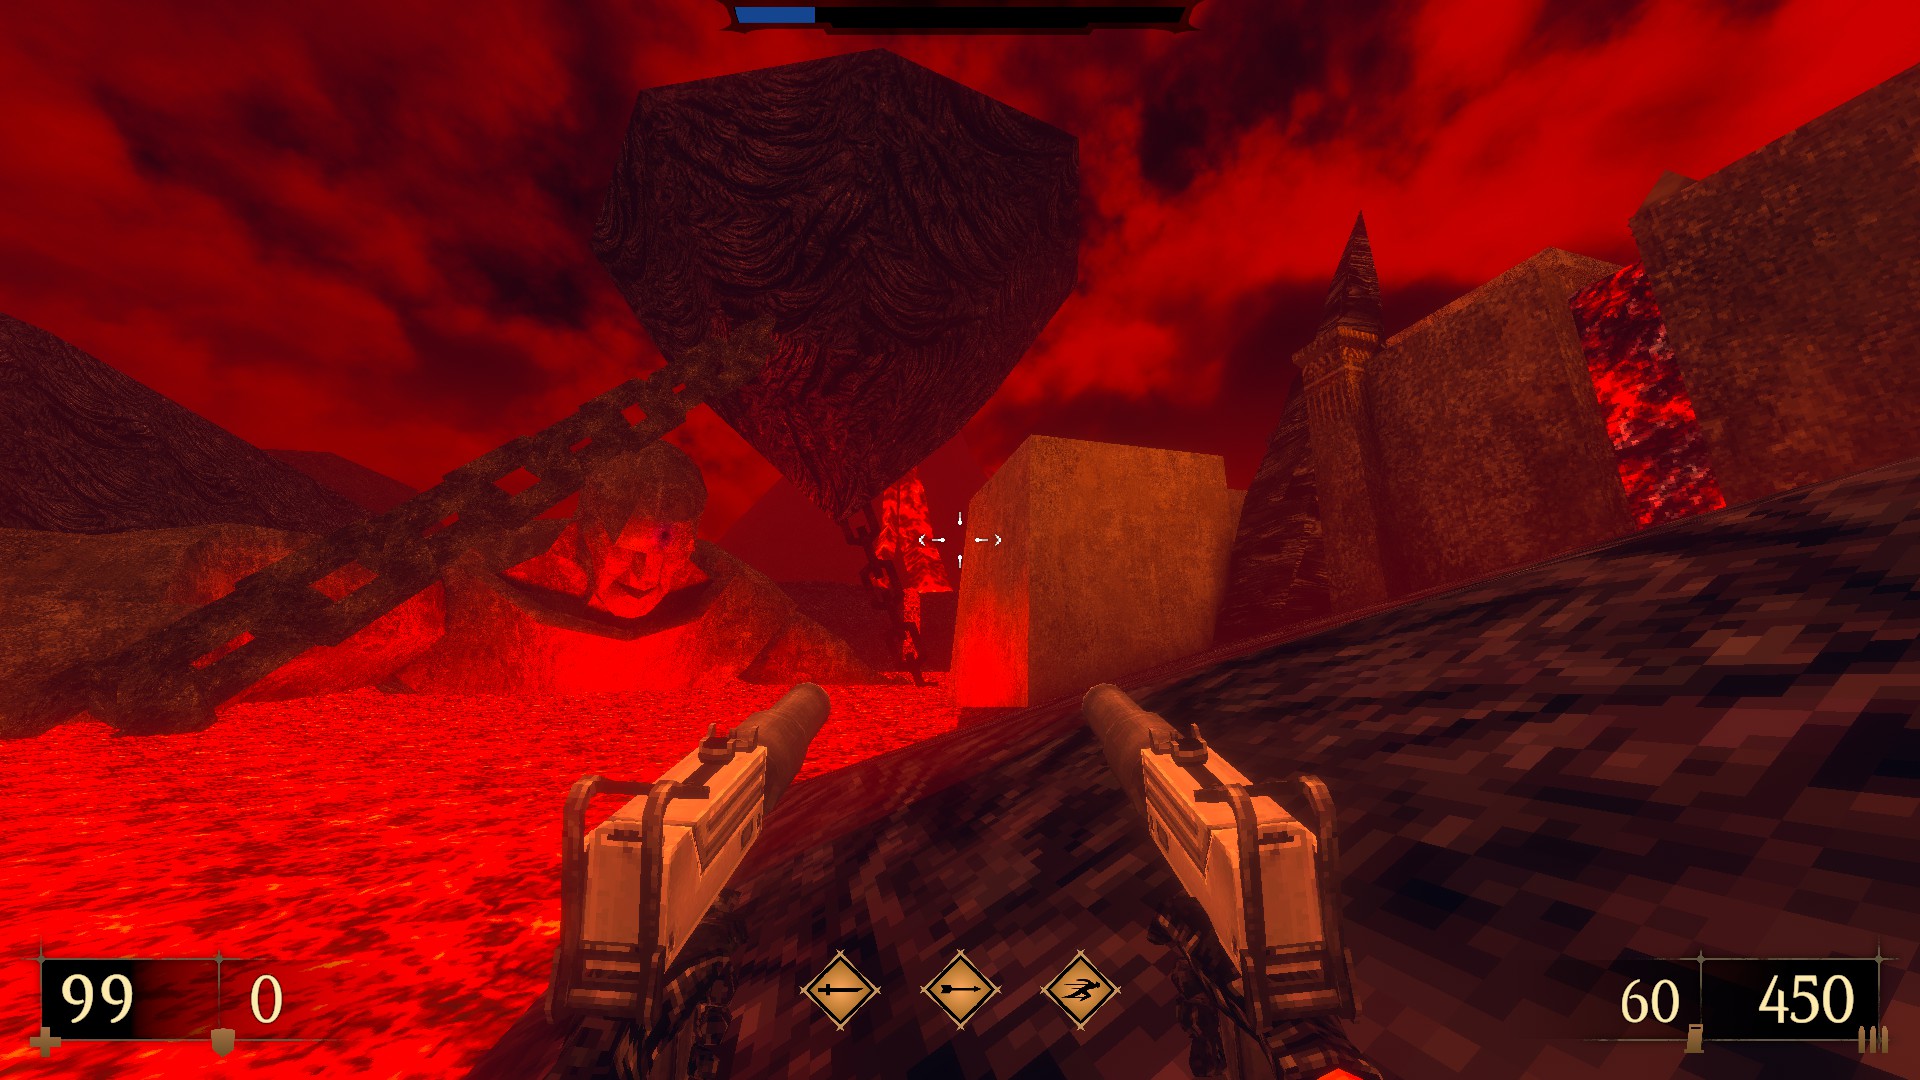
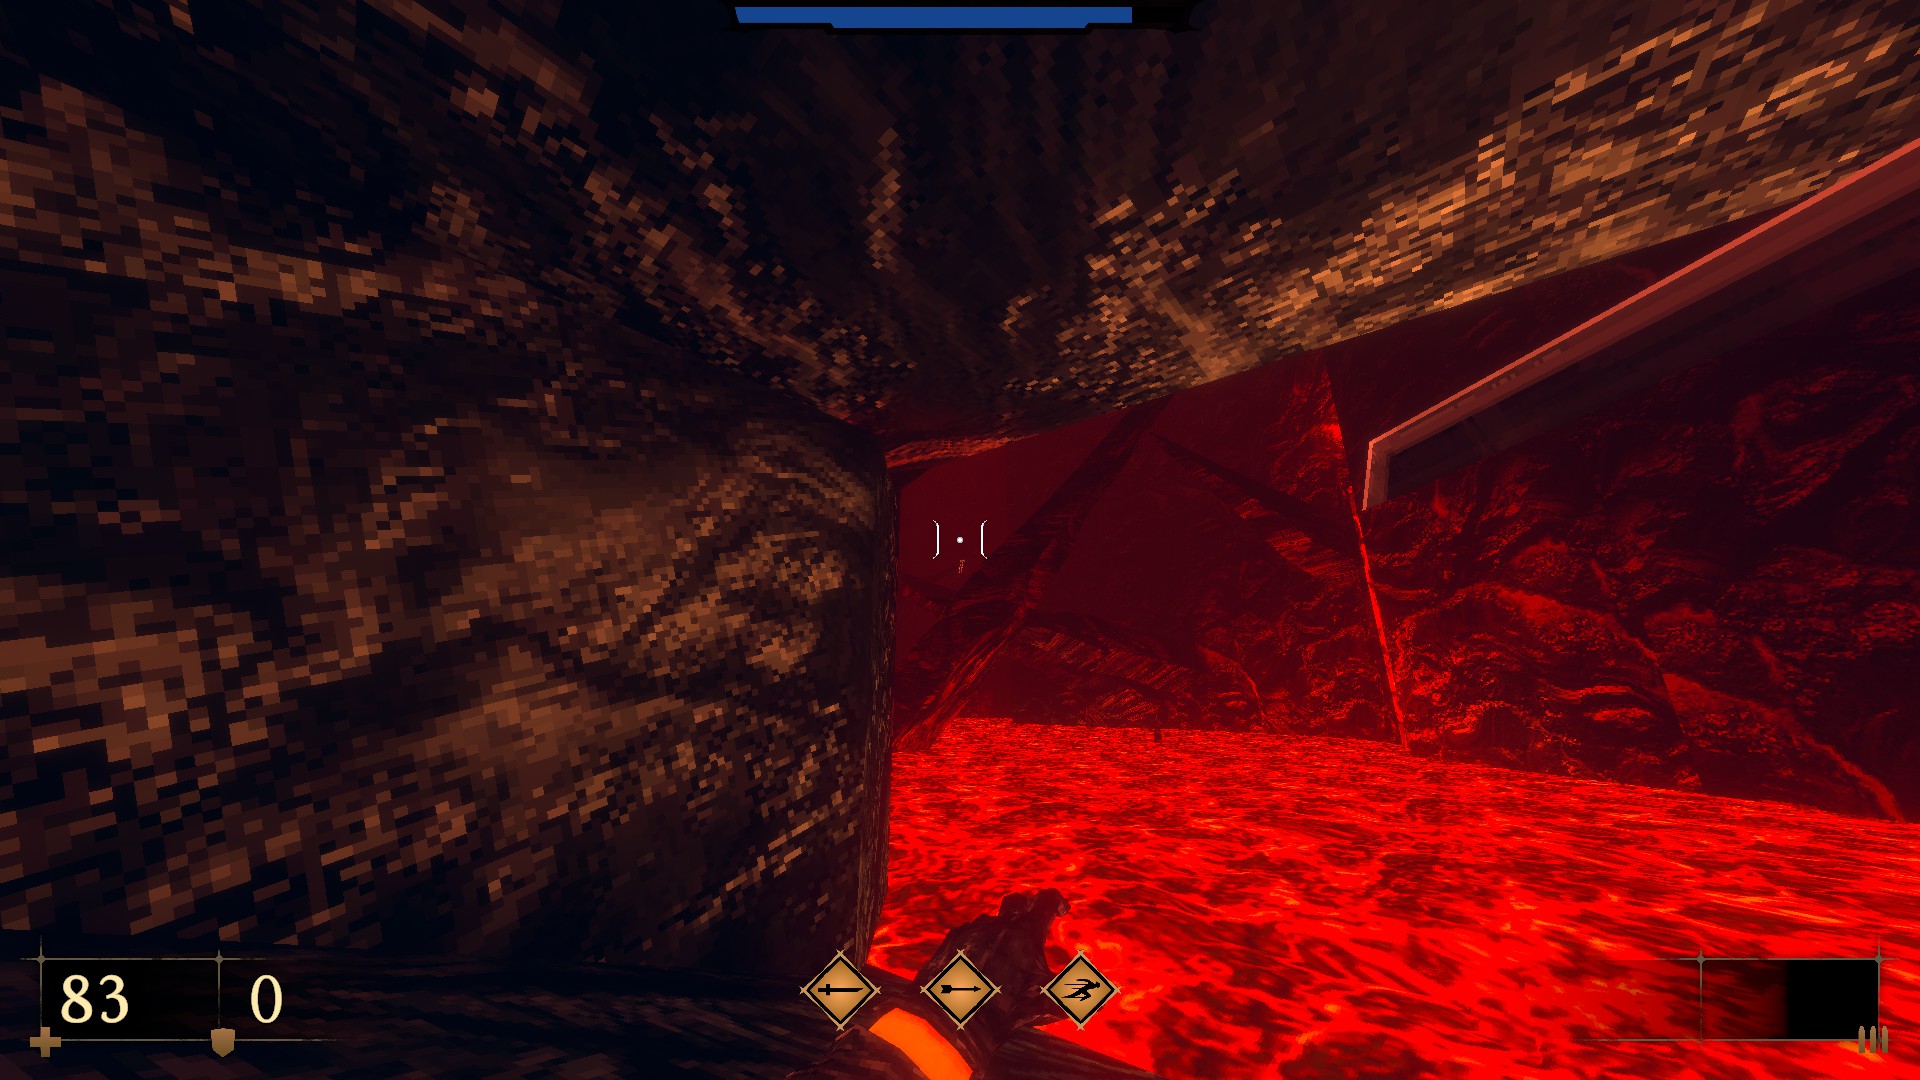
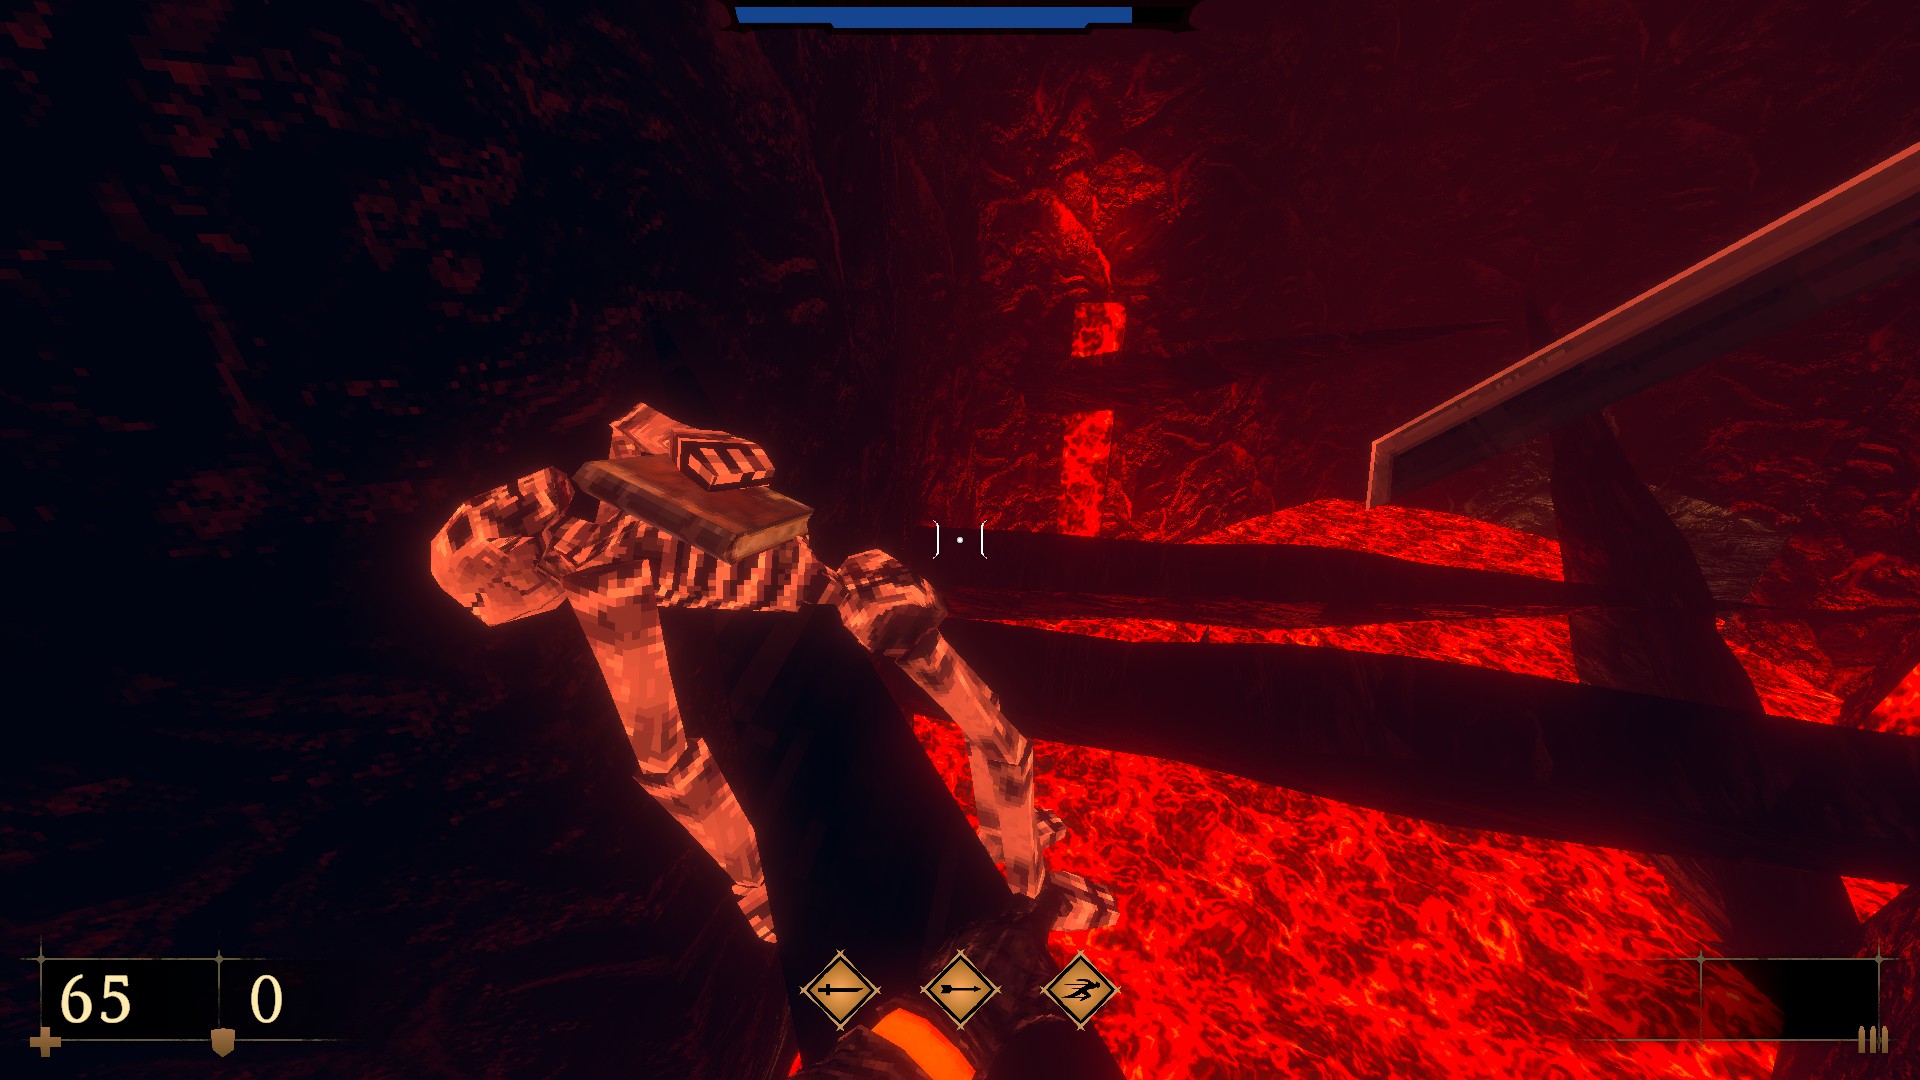
SUPER SECRET – After the second lava rush turns around to see a skull laying on top of one of the spikes. The spike closest to you will have a ledge. Start there and sprint-jump to the skeleton. Grab the book from his hands. Continue to the third lava rush. Swim to the next save point and dive into the lava pool. To reveal the goodies, place the book in its original location. Before you leave, remove the book page. (5 -G and a Blood Jewel) (Also unlocks ‘Don’t burn that book’.
—
The guide for the fifth and final episode will be available in a few days.
Hope you enjoy the Guide about Dread Templar – Secrets location Guide – Episode 4, if you think we should add extra information or forget something, please let us know via comment below, and we will do our best to fix or update as soon as possible!
- All Dread Templar Posts List


Leave a Reply