
How to make use of this strange weapon.
Basics
I’ll start by saying: The gun is NOT like the sitcky flames of the flamethrower. People make that comparison, but it won’t exactly be true.
Treat this as the “ranged option” for the driller. Both the cryo cannon and the flamethrower are short range weapons, while this one’s range can be anywhere between 10-50+ meters (or the other side of the largest caverns). You can also think of it as a fast firing grenade launcher if that helps, with the way you’d line up direct hits.
What I write here is based on what worked while I was playing with the gun. I cover a lot of ground, pick what you find useful.
I’ll be using “DOT” a lot in this guide, it means “Damage Over Time”, the weapond deals most of it’s damage like that. Other examples in the game are fire damage, and poision.
Now that we cleared that up, time for some builds.
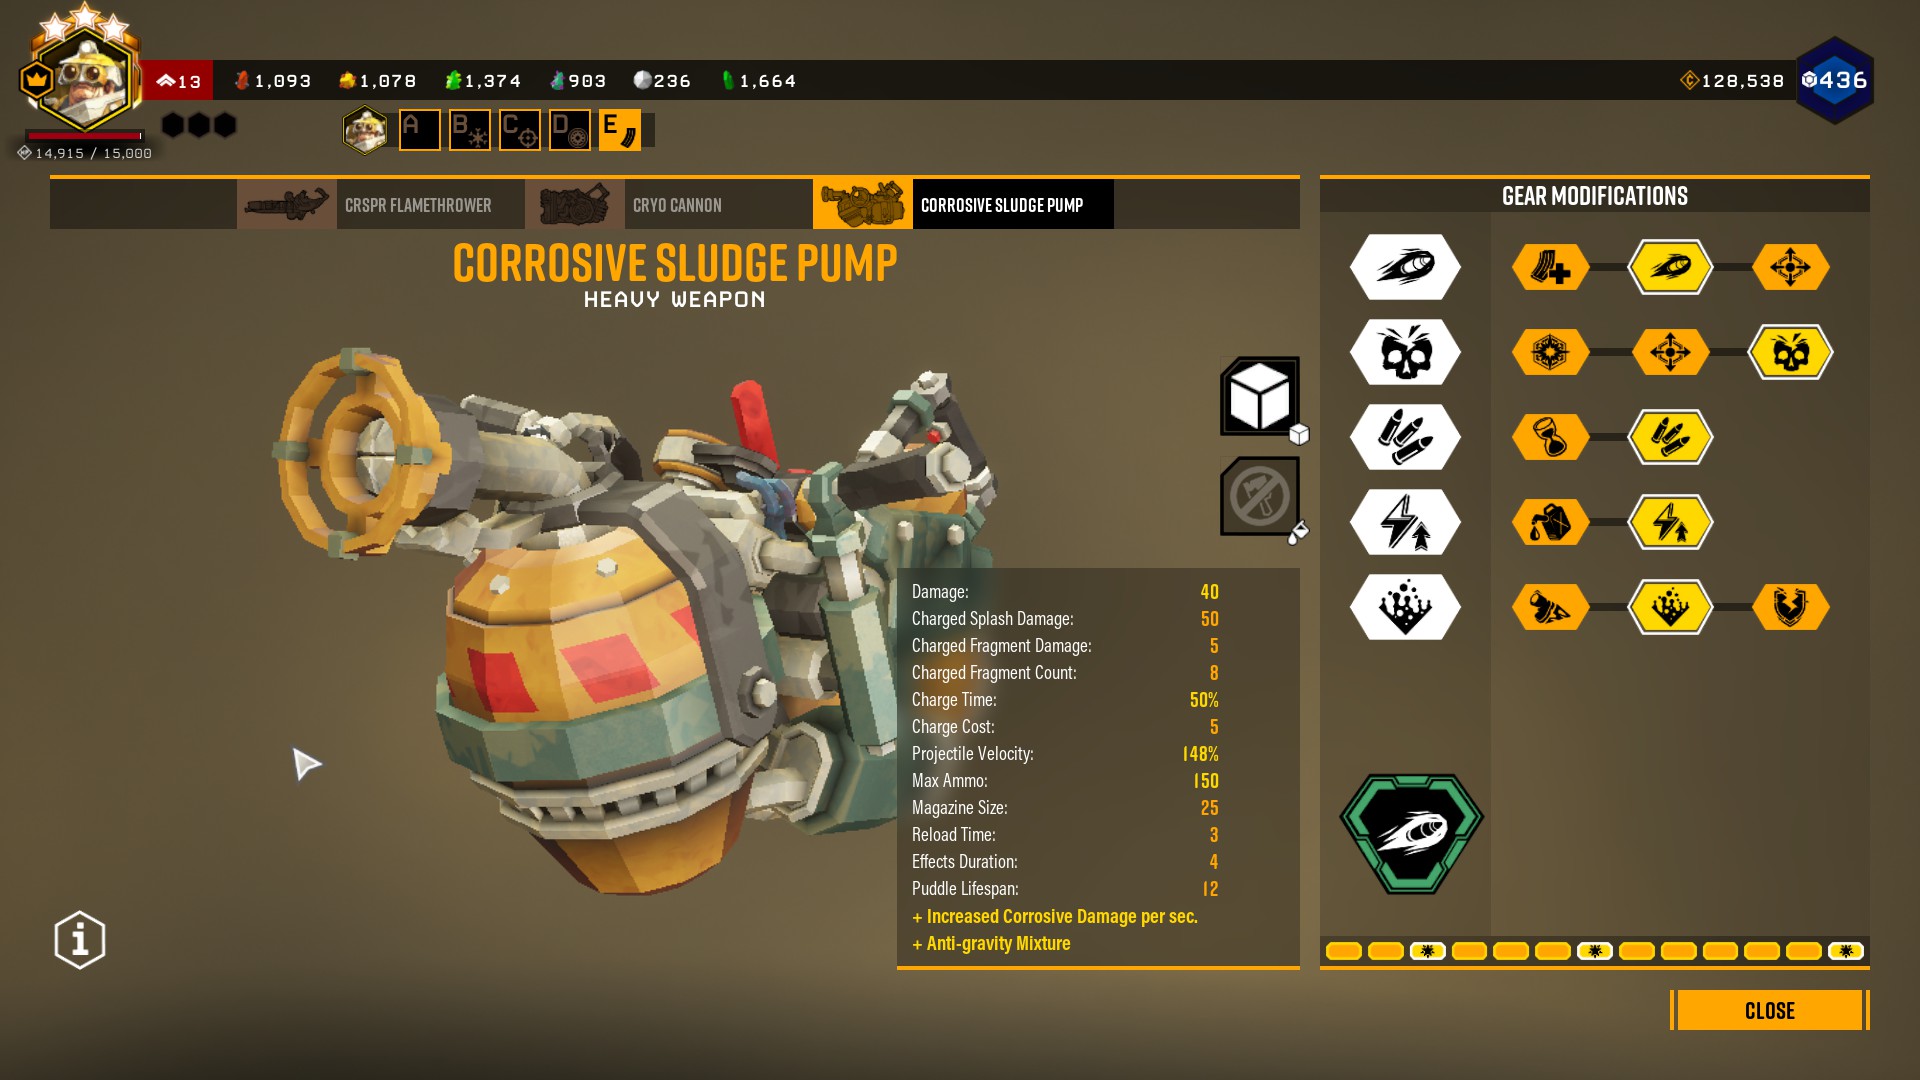
The heavy hitter
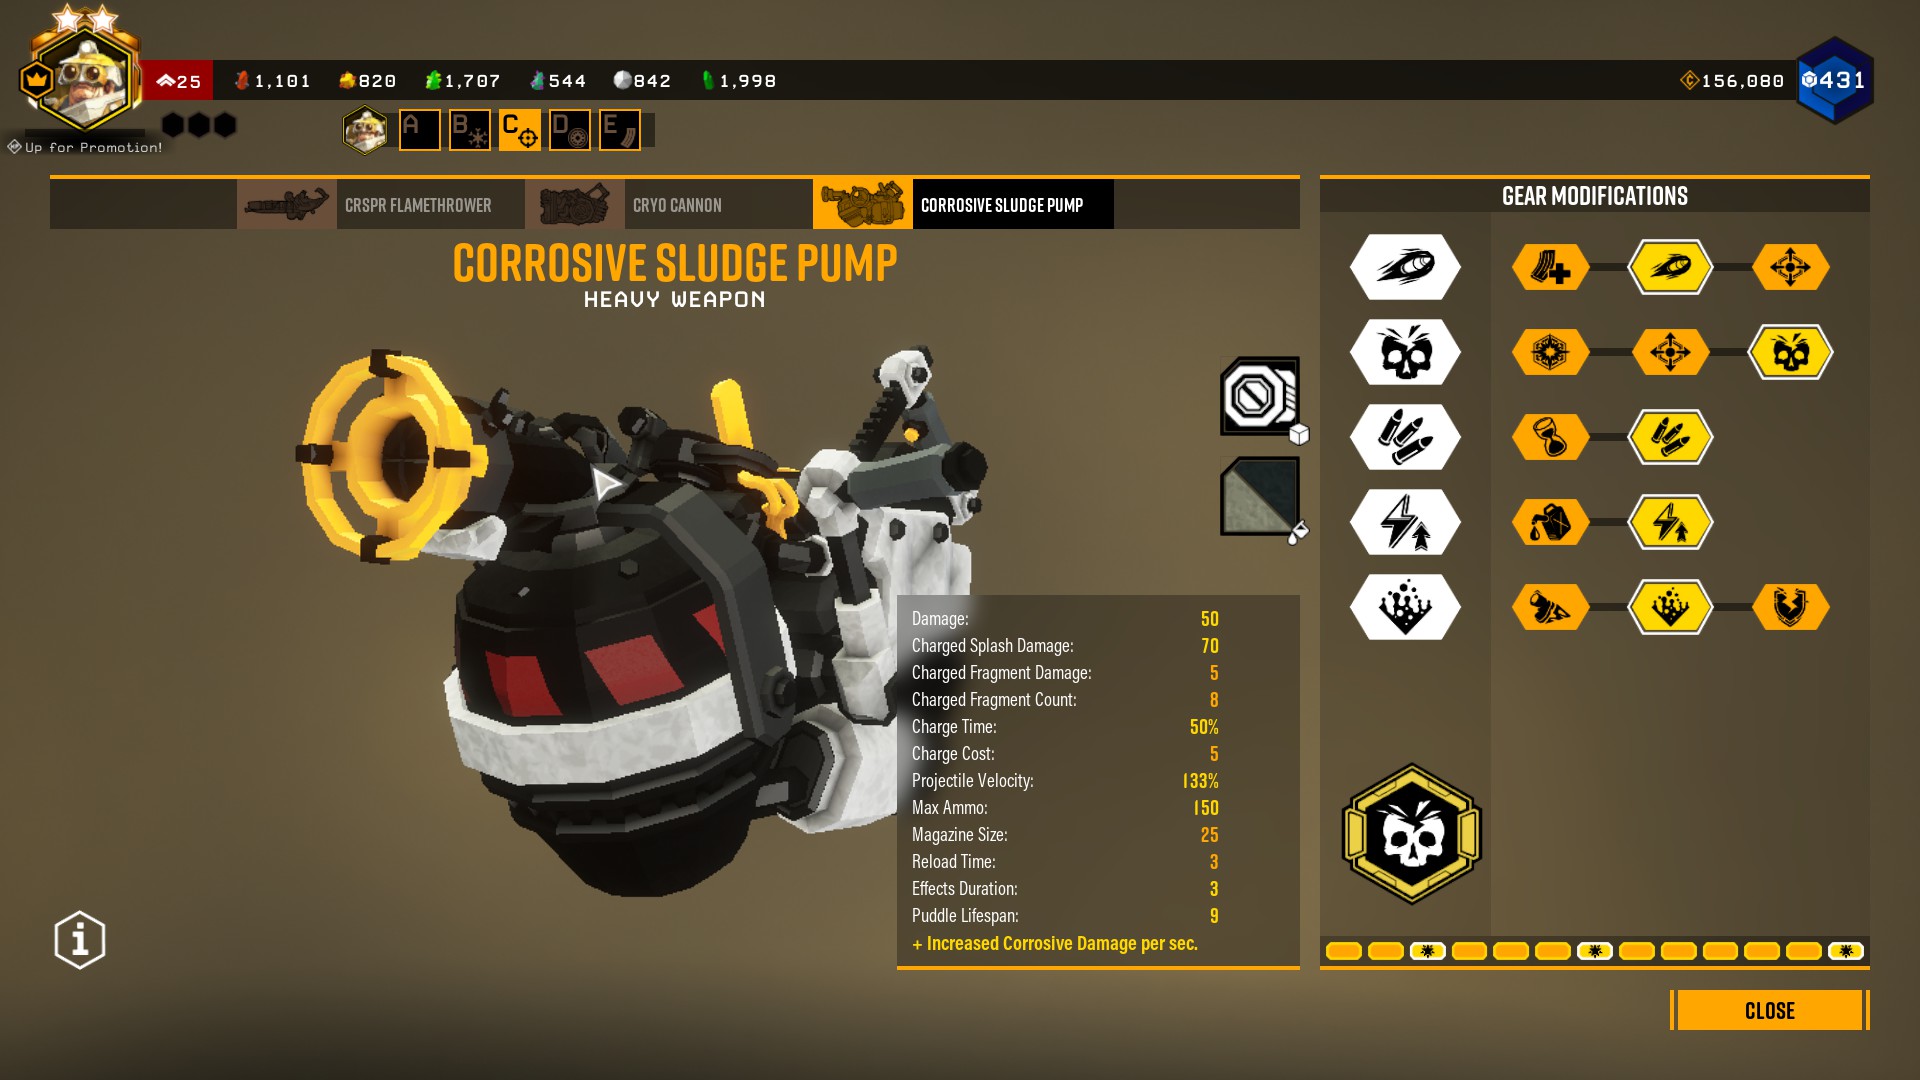
I start with the direct damage option, because this is the “least uncanny” build to use. We don’t bother with ground coverage, every shot should be a direct hit.
This is also the driller weapon I can whole heartedly recommend for elimination missions. This is more reliable than the other primaries, as we can’t set the thing on fire, and freeze has a smaller impact (hard to freeze, easy to miss your damage window if you were reloading at that second).
The optimal overclock is volatile impact mixture.
Possible modifications:
- On t1, you can take magazine as well. I go with air pressurizer for increased range, because I can reload the gun with born ready.
- On t2, dyse nozzle can also work if you decide to make most of your shots charged. I go with potent goo mix, because It’s better against grunts, and helps with our ammo economy. The gun is also more responsive (we use a lot of normal shots, those are fast to launch), our dps is increased.
- on t4, we can take spillback, but it will make charged shots more risky, because you have to wait more. If you primrily rely on normal shots, take the extra ammo.
- on t5, we can take armor melting if the team needs armor break. (eg: gunner does not take any, or you use a subata) That mod is surprisingly good, easily turns guards into grunts. Not the best against preatorian armor, you do need to leave them rinse a bit.
- We can also take any of the green overclocks, they won’t impact the gun’s performance for this use. If you only got greens, treat it as this.
The gun responds to weak spots, you deal more damage on them, but it’s not vital to it. You can shoot an opressor in the face and kill it.
IF you only have green overclocks, then you can also use this kind of build for puddles, but those are an “investment” into an area that can pay off or not. If you want to cover the ground, I recommend using a gun that maximisies that, so you can minimize your losses.
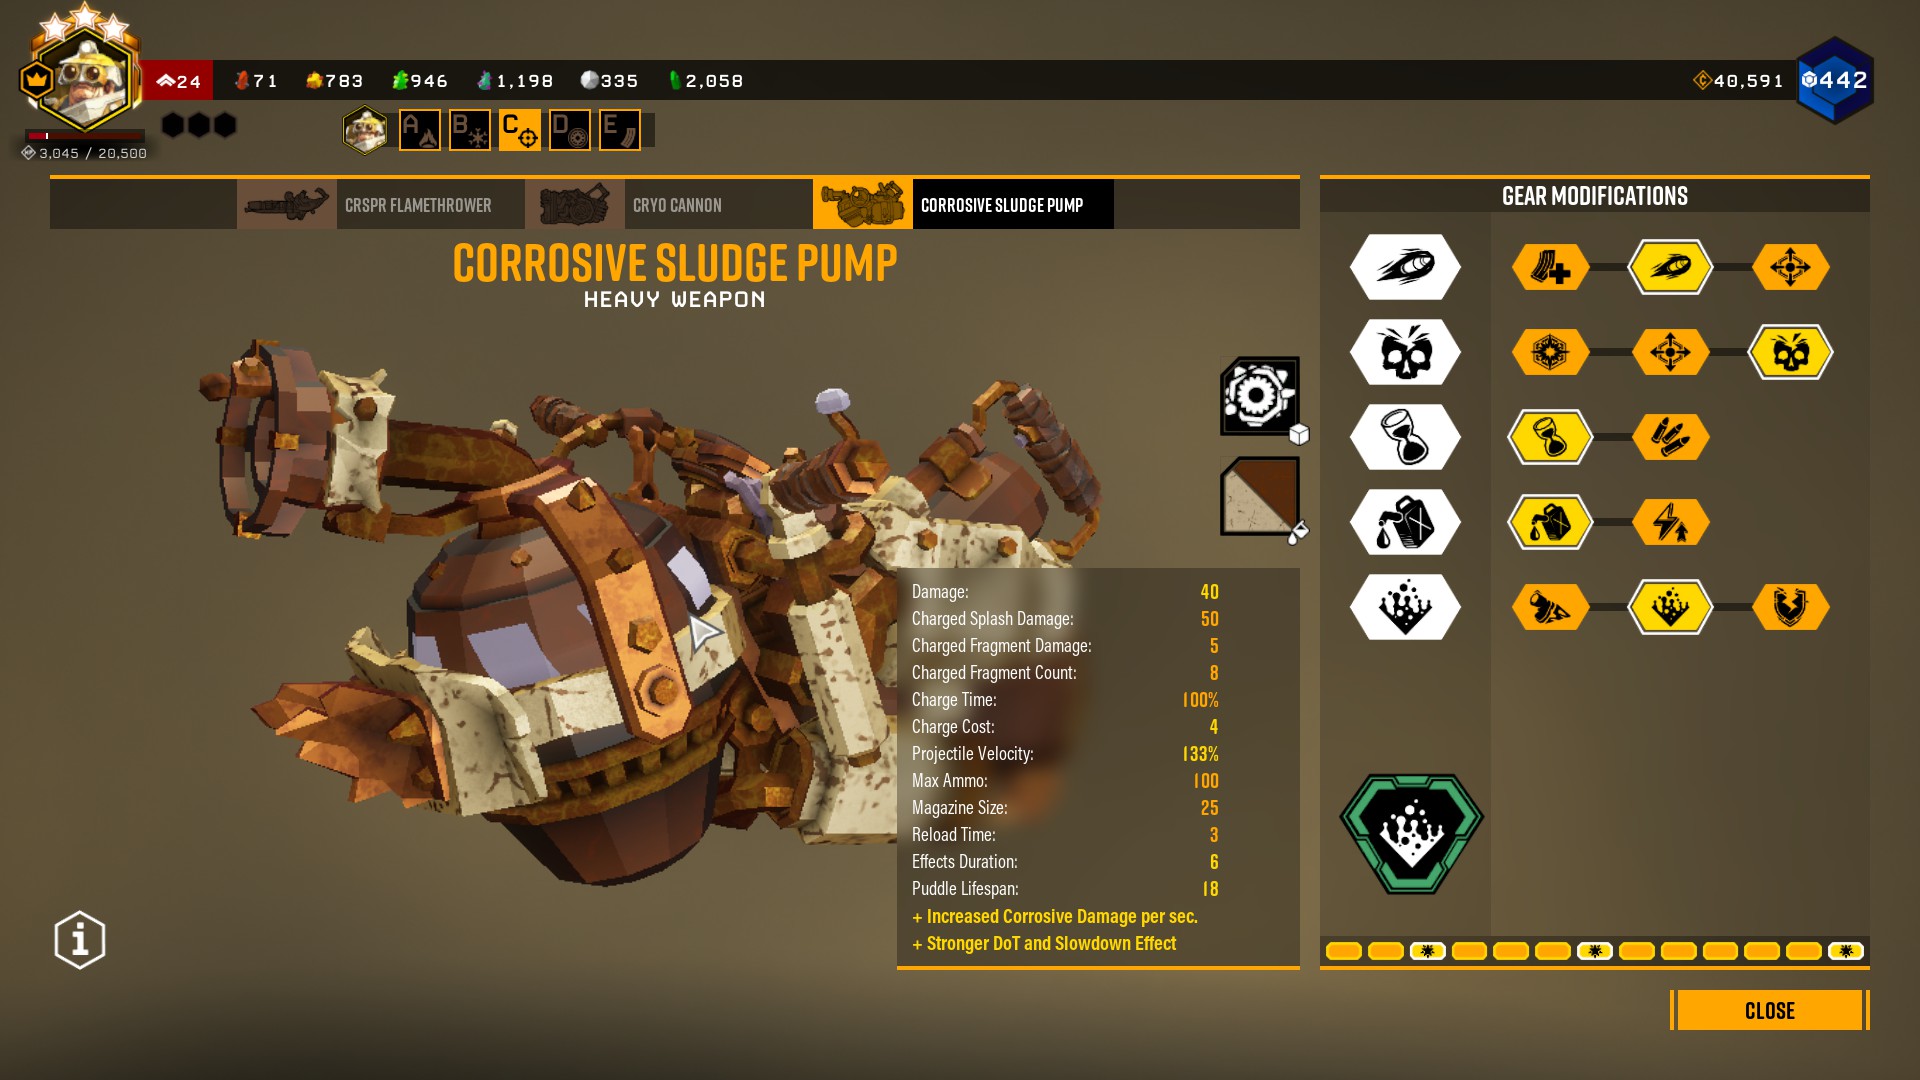
Balance above all else.
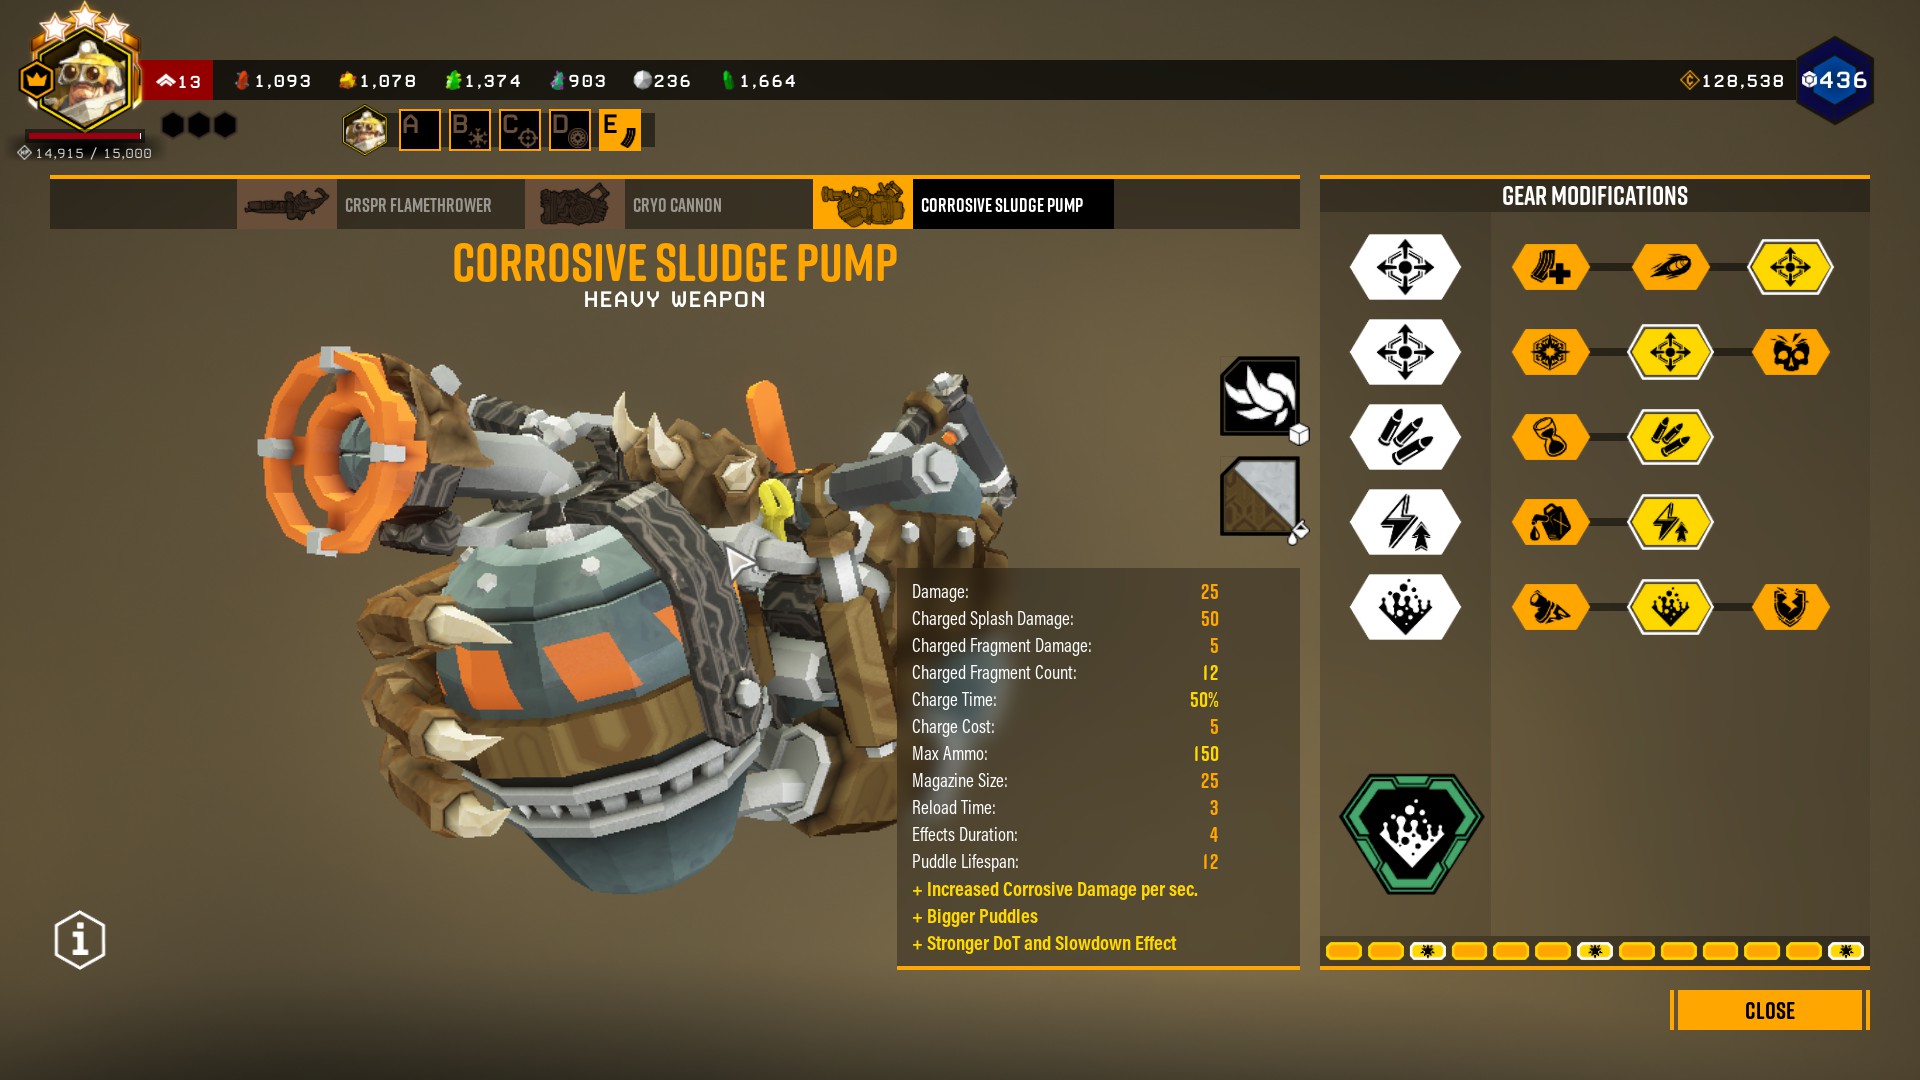
The hydrogen ion additive overclock just makes this gun do everything it can better. Stronger dot and slow, good for direct hits and also for puddle damage.
Use the descriptions of the direct damage or the ground covering variants for possible modifications, this build is somewhat in the middle. We can both cover the ground, or just use direct hits. In the case of the latter, use the DOT from the status effect to do the heavy lifting.
Keep an eye out for the charged shot damage. With certain overclocks/mod combinations it can make sense to use charged shots as a stronger attack, but if the damage is almost the same (40 vs 50 here) then it can be wasteful. In these cases we should use charged shots if we want to create more fragments, either to cover the ground or damage multiple enemies. (shoot it at an incoming swarm)
I recommend a subata as the secondary, EPC makes less of an impact. Puddles are not our focus.
Ground coverage
These 2 builds are intended to go for surface coverage. I recommend taking some fire with you so you can deal more damage while the bugs enjoy their mudbath.
In terms of ammo efficienty, these builds are beasts. You can handle entire haz5 waves out of a single magazine, if you need to clutch.
I won’t take any credit for this one, got this on discord.
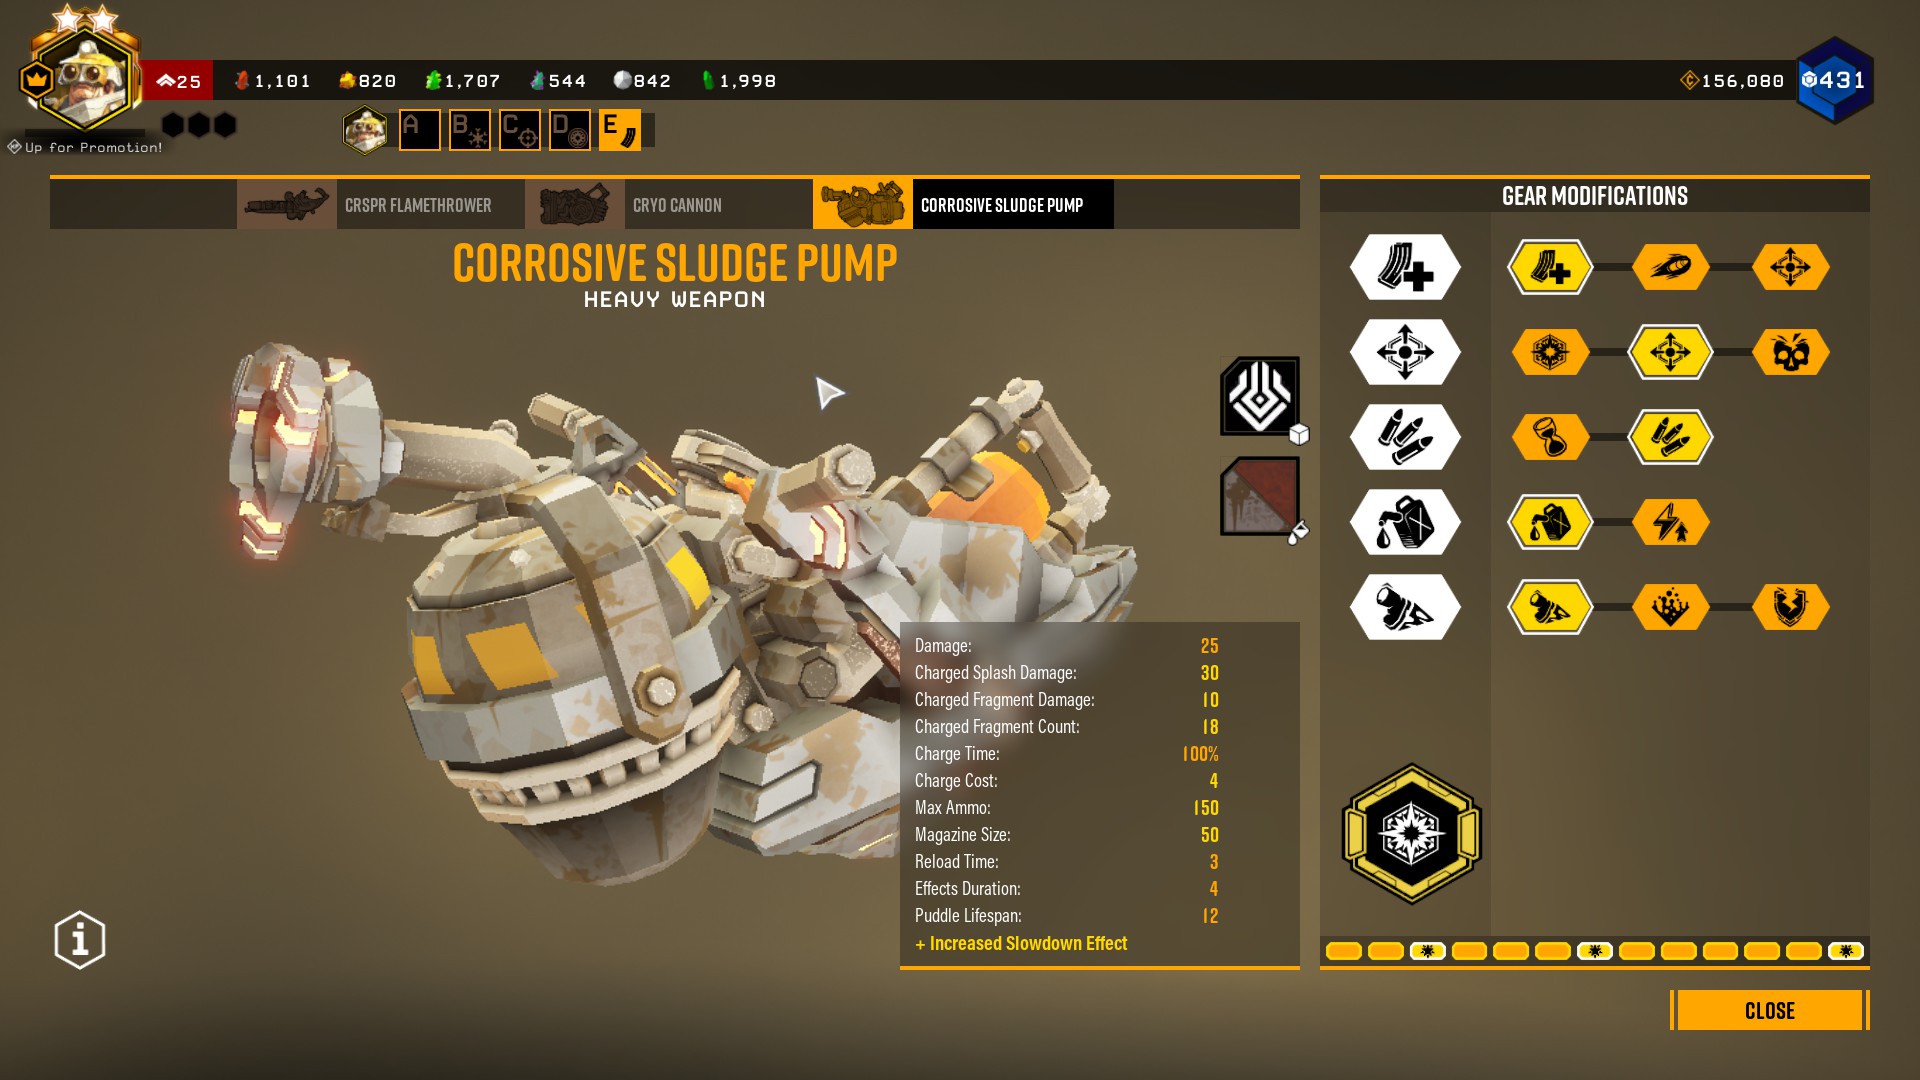
With this build we can easily cover areas of the ground in sticky goo. The dispenser compound overclock is mandatory for this to work, we specifically rely on the increased fragment count.
Charged shots create circlular puddles that we can lure bugs into. We can also use mactera as “anchors”, try to shoot them to get a puddle directly under them even if there’s no suitable surface around.
Possible modifications:
- on t1, we can take the pressurizer for increased range. Air sensitive compound can be an option, but I personally found it less useful. The puddles already cover enough ground.
- on t4, we can take improved spooling, but I didn’t find charging speed to be a problem. when I was using it.
- We take the extra slowdown for the fire. Depending on what we need we can take more damage or armor break.
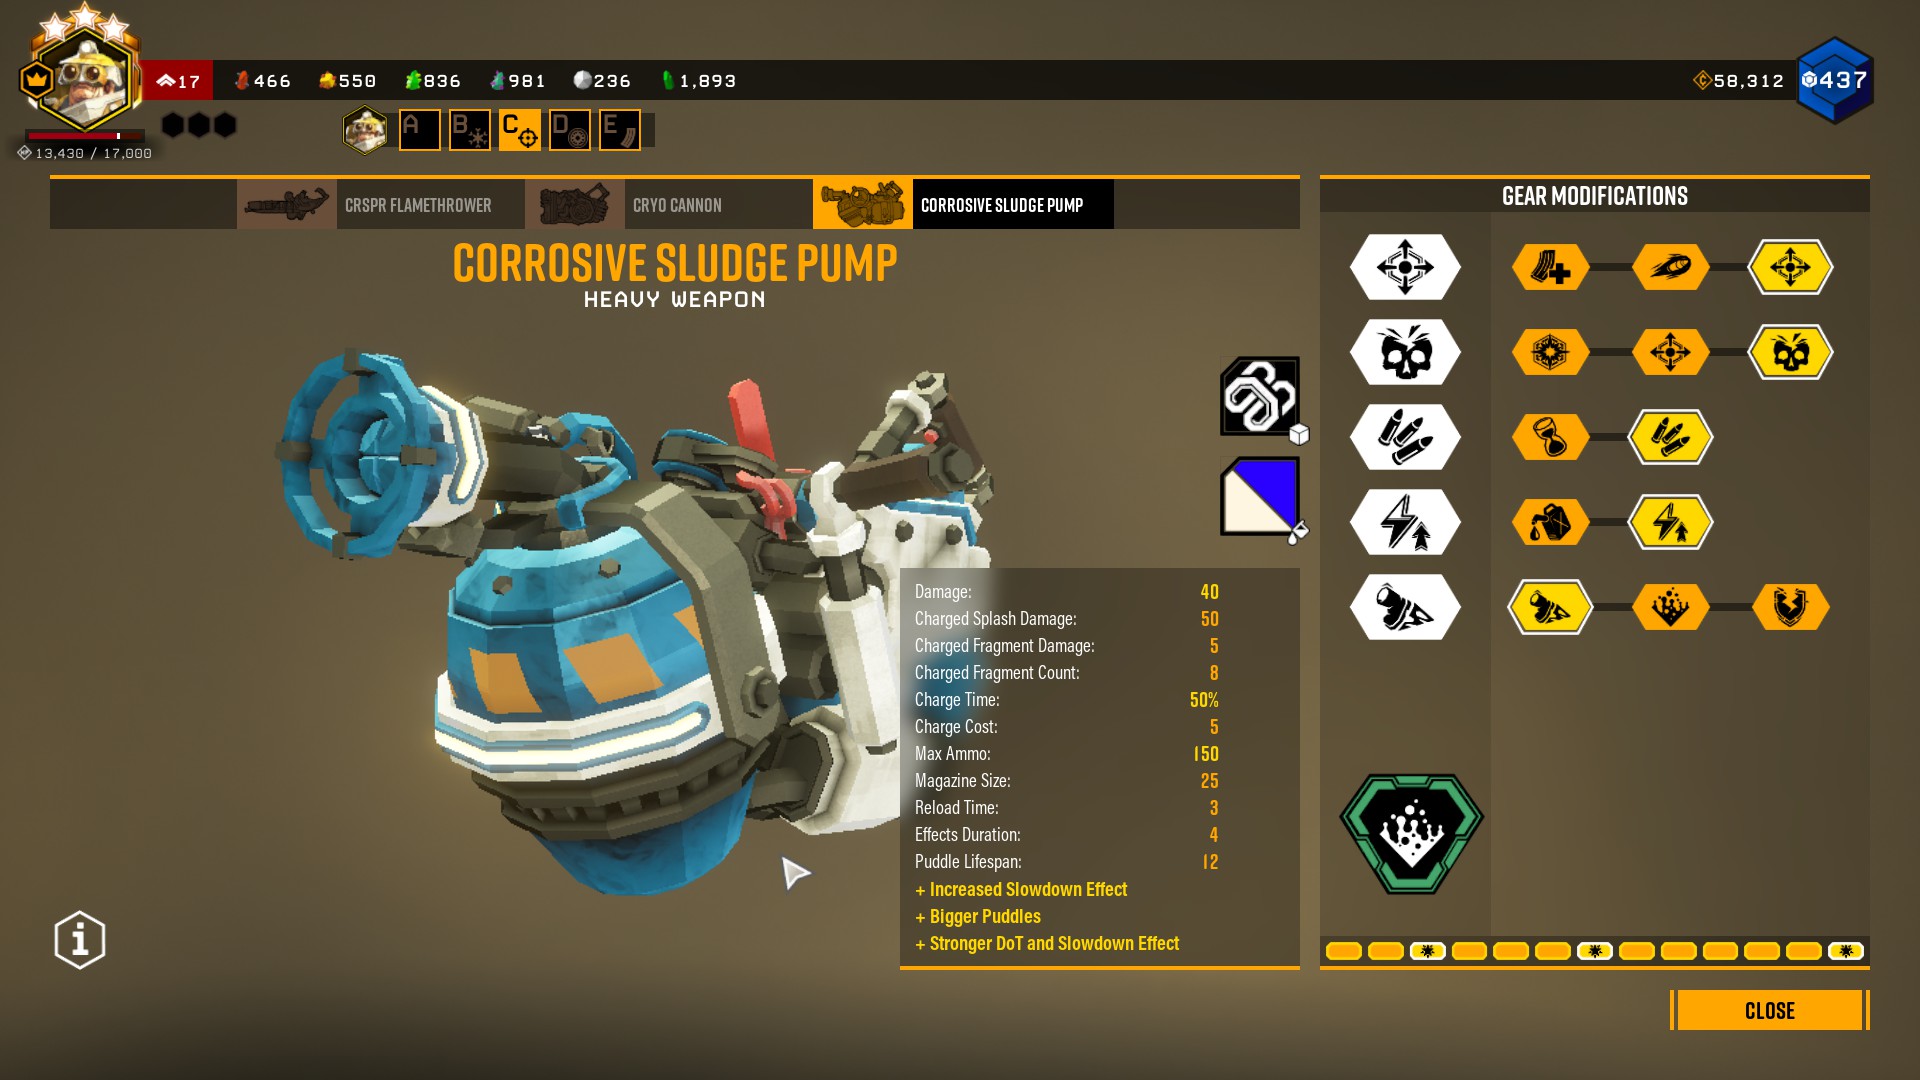
Next up is a build I’m personally fond of. This was the one that helped me learn how to use this gun properly. The goo bomber special, we create long lines of goo to cover the ground. The puddles are the easiest to control with it, it won’t splash all over the place. But, we also have to mind where we aim as if the projectile hits something too early we lose a lot of our puddles.
I also use this with a fire EPC, the air sensitive compound makes it so that the puddles are perfectly aligned for creating a s*rip of flames.
If the goo line landed on a bug, then it will have a gap in it. We can fill it back in with normal shots if we still want to burn it.
In corridors (tunnel made by doretta for example) a “V” shape can help us catch a lot of bugs.
In rooms, we can use a triangle, a rectangle or a cross shape as a “trap” we can lure the bugs into. I personally use the cross.
I’ll reiterate: the amount control we have on this gun is invaluable. The power from not having the fragments fly around at random should not be underestimated.
Possible modifications:
- on t1, technically we can take the pressurizer, the further the projectile flies the more puddles we can possibly get, but then we’ll also forfeit a large portion of the fire potential.
IF we take the long range option, then I recommend goung for a subata secondary, the fire will not spread as well. - On t2, we can take the dyse nozzle, but we’re not going to be charge shotting into anything. I found that the atomizer nozzle has less impact on the overclock, so that’s why we go for potent mix. That gives us more value in that slot, and we can use our normal shots more effectively.
- on t4, both options are fine.
- We take the extra slowdown for the fire. Depending on what we need we can take more damage or armor break.
This is a very tight build, I’d only take alterations on t4.
IF we’re good enough we can aim almost vertically next to a large target and have all of the fragmens fall on that single target. I don’t recommend doing it, it’s very hard to pull off but if you can then it can give you some extra burst. If we can pull it off reliably, then we *could* build it for direct damage.
Gameplay tips: (applies to both of these builds)
Take the aggro of the bugs onto yourself. You want to use yourself as a lure to pull them into the puddle for maximum damage. This is our primary tactic, we can also do this if we’re just playing with a driller like this. Both builds create large puddles suited for this. The benefit you get from goo bomber is that you can keep bugs furhter from yourself by using the length of the puddle.
We can ask our engineer to throw lures into the puddles, and we can also build them around their lures. The lure has a cap of~10 bugs, but if the goo kills them off then it can draw away more bugs.
If you’re not in the middle of a wave, rely on normal shots to save ammo. I think about each charged shot as “an investment” into that area. Figuring this out is the way you master these builds.
If you’re good enough with this, then this weapon is the most ammo efficient gun in the game, you can really hold out while you wait for the scout to gather nitra. *
Stack the DOT of the puddles with fire or neurotoxin for a higher output. While the bugs are slowed, we can wait for it to deal the hurt. Don’t use both, the toxin is flamable.
DO NOT wait for the DOT on ranged enemies, they need to be taken out immidietly. IF you can, make sure that someone else is on the lookout for them.
* NO, if you think you’re good enough with this, still do not take supersaturation.
The Shotgun
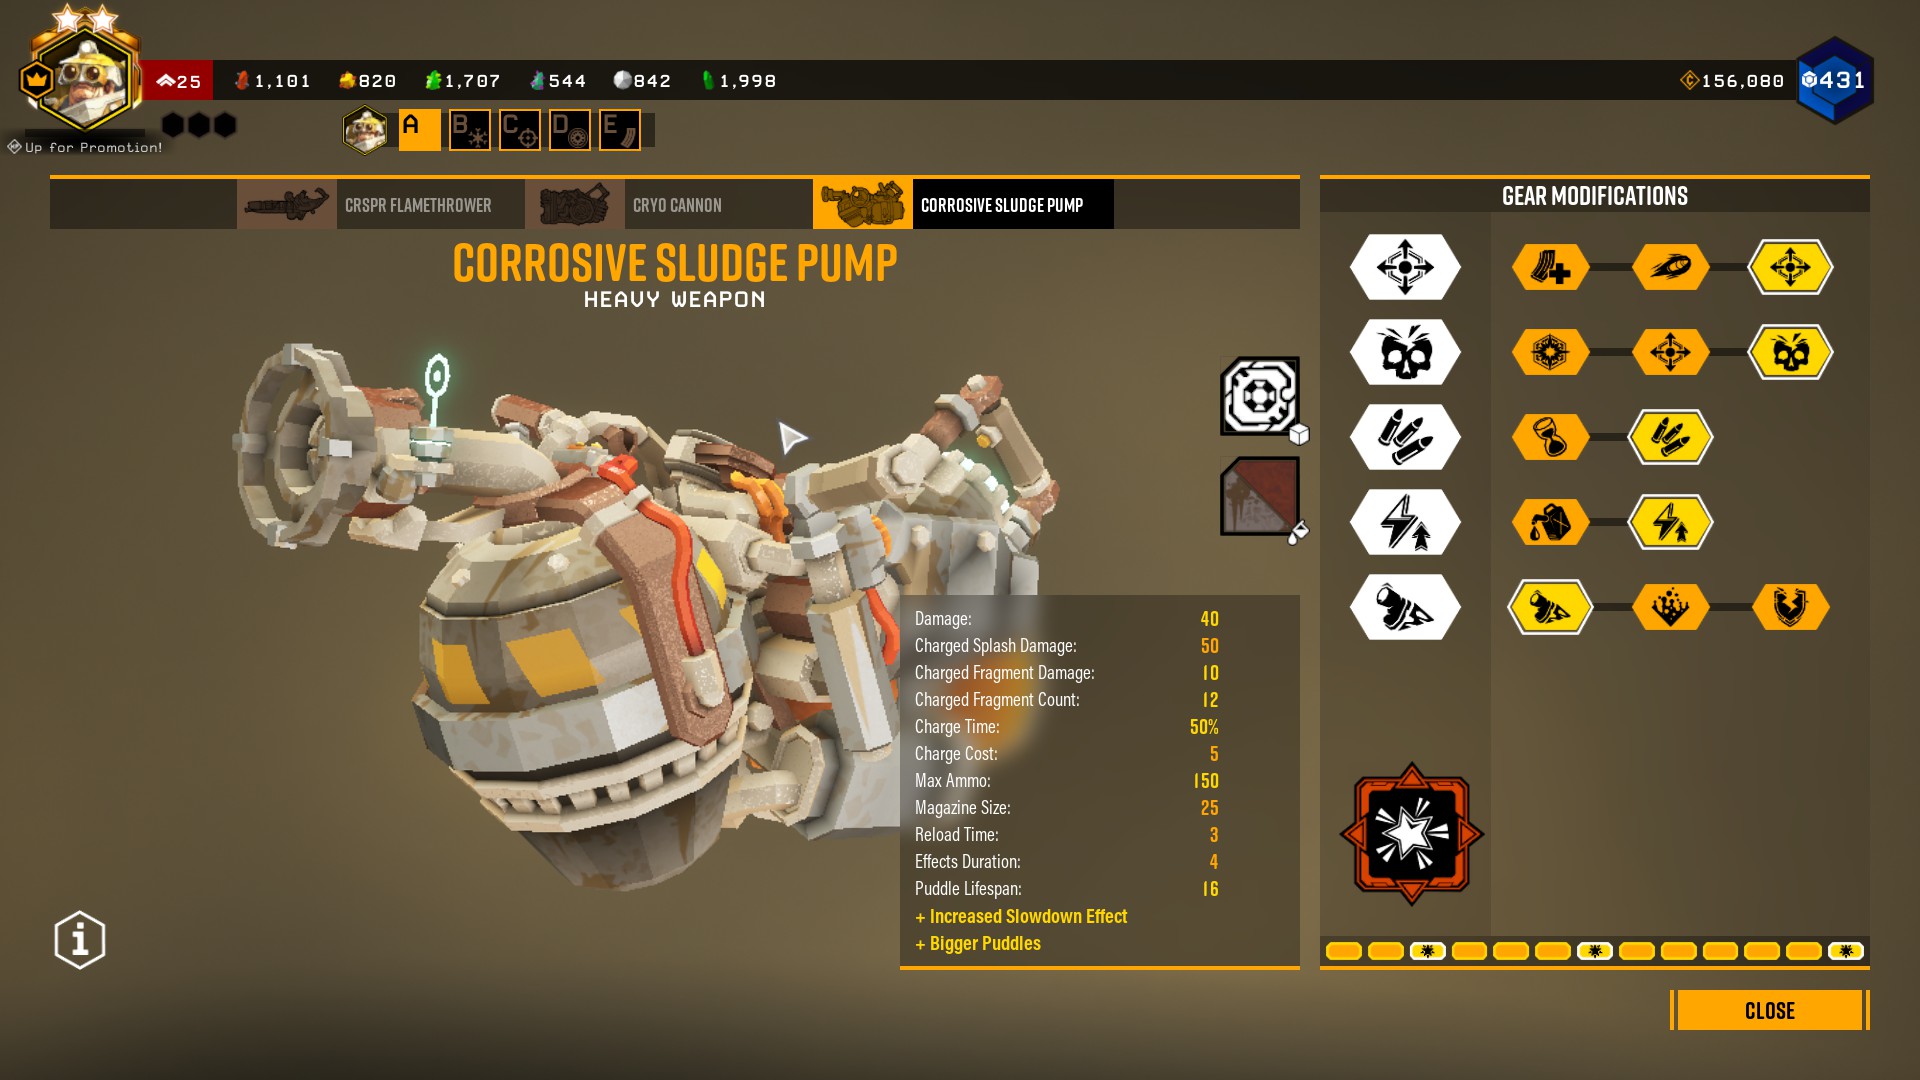
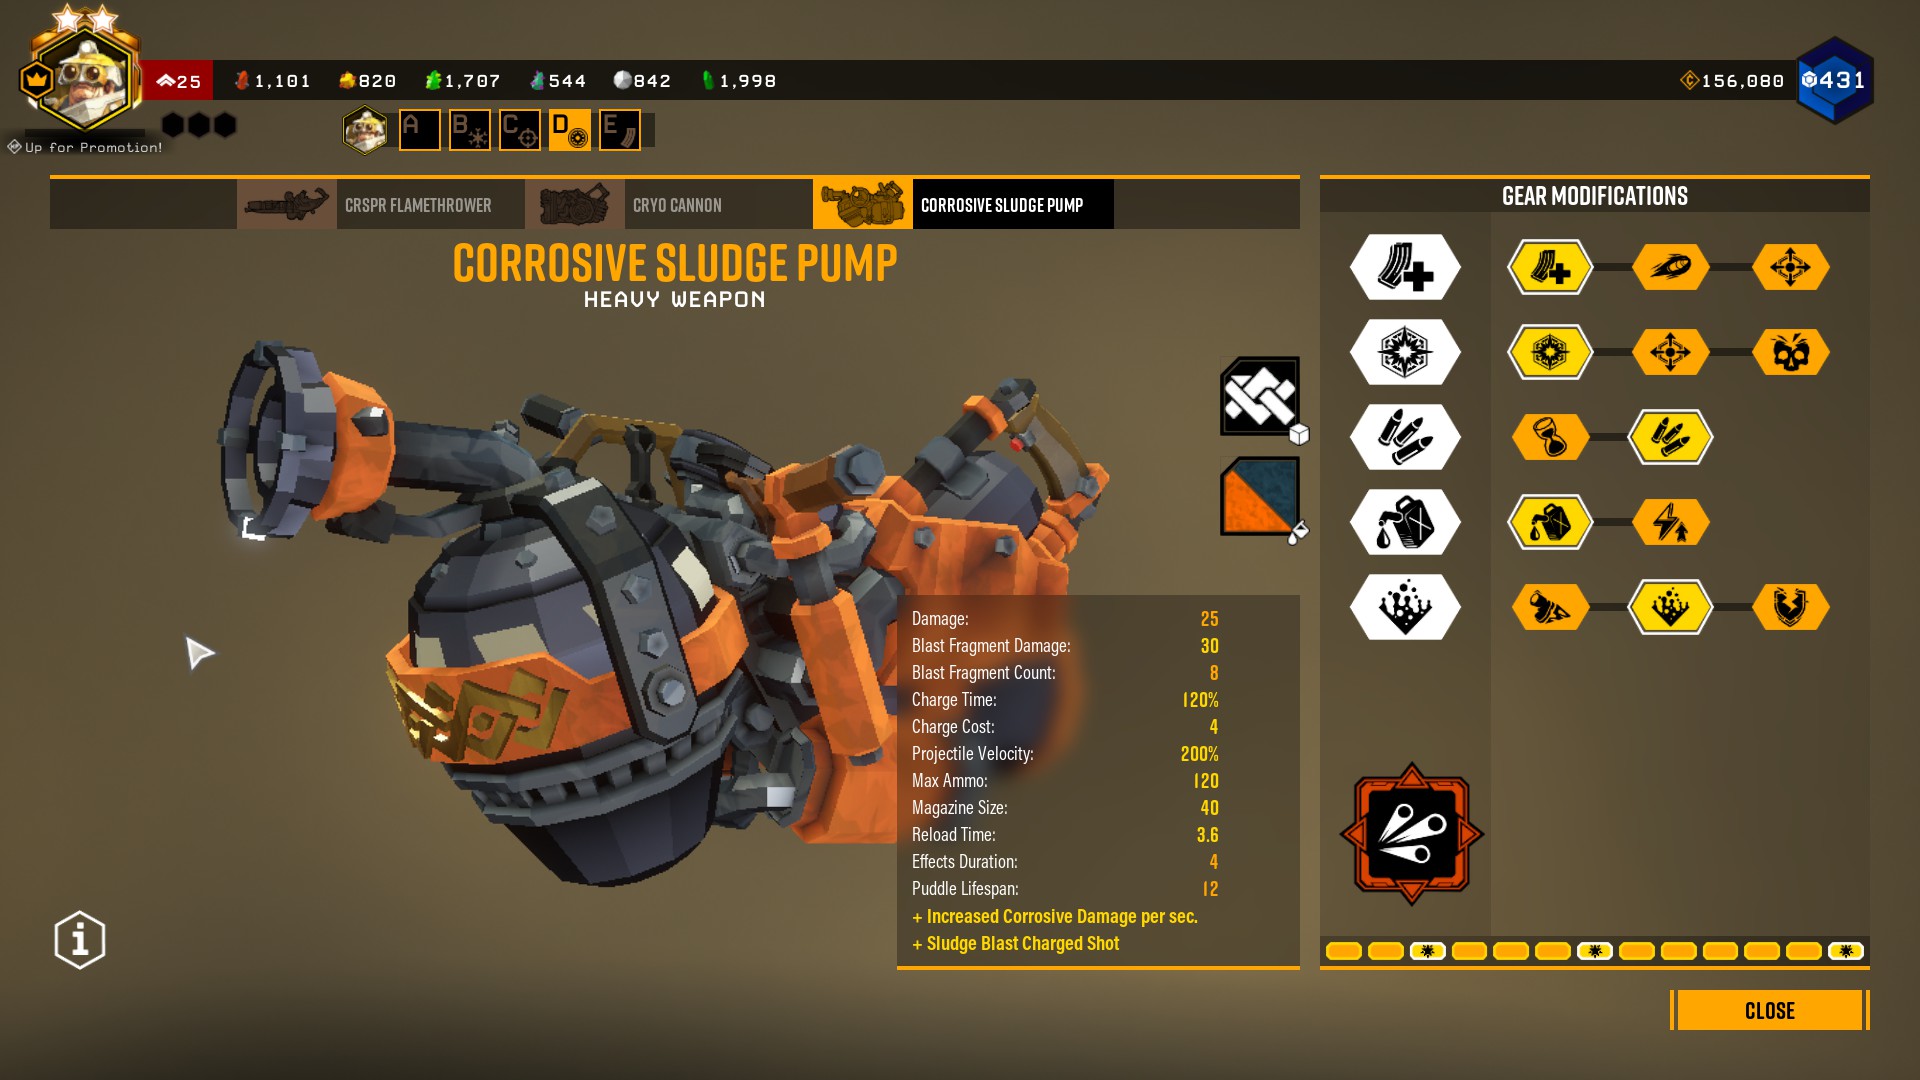
I had to include the “controversial” sludge blast on this list. This is one of the hardest, but also one of the most fun builds for this gun. The recipe is simple. We can sneeze giant blobs of toxic goo at the wildlife of hoxes. Great at dealing with large swarms, excellent at covering mactera.
The only issue is obvious when we look at the overclock, it comes with a heavy ammo penalty and I’d say that it’s warranted. If it didn’t, it could be the one thing you’d need to run.
We want to use charged shots on incoming large swarms. Drop the goo directly on top of them for deletion.
This build is also very tight.
Possible modifications:
- on t1, we take the magazine to do some over compensation for the overclock’s penalty. The projectile is fast enough so that is not a great option, but a valid pick. Increased puddles doesn’t really do anything, we won’t hit more bugs.
- on t2, pick your poision. I heavily rely on direct damage from the charged shots, so I chose that.
- Spillback is a bliss, we can compensate for the ammo capacity loss. We gonna be using charged shots enough that it will grant us more shots.
- on t5, anything but slow. we’re not covering the ground.
The long range option
I genuenly take it as a “meme” option, with this we can shoot at the other side of the largest of caverns. Making puddles is a lot harder, because it’s more difficult to predict where it will land, and if we shoot too far the fragments might scatter too much.
If we go full meme, take the better pressurizer on t1.
The benefit we get is that it might be easier to aim with it, the blob flies more straight, it’s less affected by gravity.
Maximum duration
This is the option I personally do not recommend using, but can work if you go all out on a dreadnought mission. NEVER shoot a bug more than once, wait for the DOT, that is why we maxed that out. When you shoot a boss, you can see the dot chip away a lot of hp every tick.
The supersaturation is not for puddles, we use it as a damage multiplier. The reason why this can not really work in this game as anything other than a risky single target build, is because it will always kill too slowly for the amount of stalling this weapon does. Maybe a tranquilizer subata, but then we go all out on single target damage.
We could bring a persistent plasma/thin containment field EPC with this to fill out our gaps in CC, but this is one of the weaker builds I found.
I would still stack neurotoxin on the top of this damage, but it’s not truly required here.
This gun shows a little context why the direct damage option is so good. If the bug needs to be dead now and can’t wait 2-4 seconds then this kit will fail you in one way or another.
Compatible EPC builds
This is my personal recommendation, I don’t do thin containment field because I think it’s less reliable/useful here. We can bring it if we want to, the explosion we get by shooting charged shots can set the goo on fire.
I won’t include a build like that, this guide already has enough padding. 😛
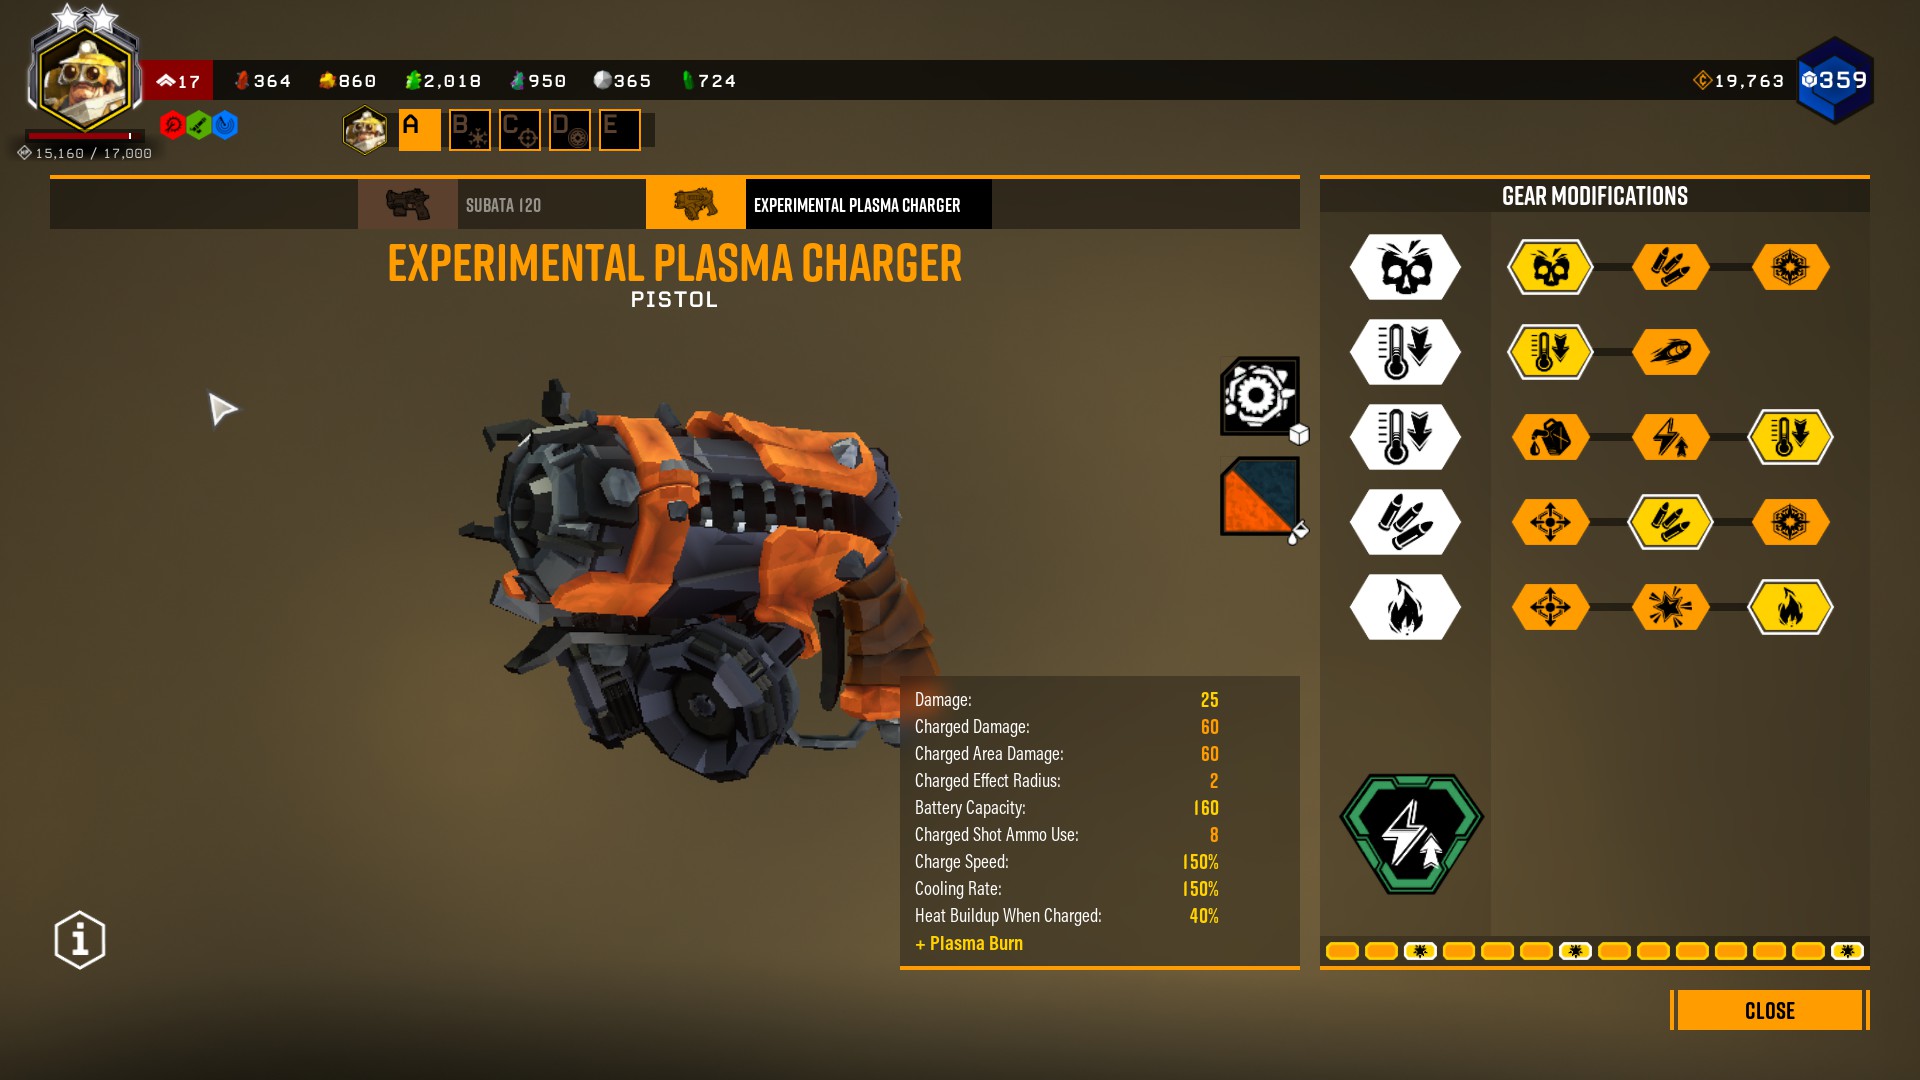
This EPC is built for fire output and fast normal shots. The overclock is a bit awkward, it is technically for charged shots, but it does not impact the gun’s performance and the extra ammo is nice.
A lot of drillers prefer the EPC, but I found it to be really good only as an internal source of fire so we don’t need to rely on the team to burn the goo.
Remember to use it on opressors and other hard to burn targets. Primarily so we use more of it’s ammo, otherwise we’ll get less resources at the resupply pod. The only bugs that are good to shoot with it are the macteras and the occasional spitter on the celing. (too far to reliably hit with the pump)
Possible modifications:
- We can take heavy hitter, IF we can manage the overheat. It is more fire but I didn’t find it to set the goo on fire any faster. (3-4 shots)
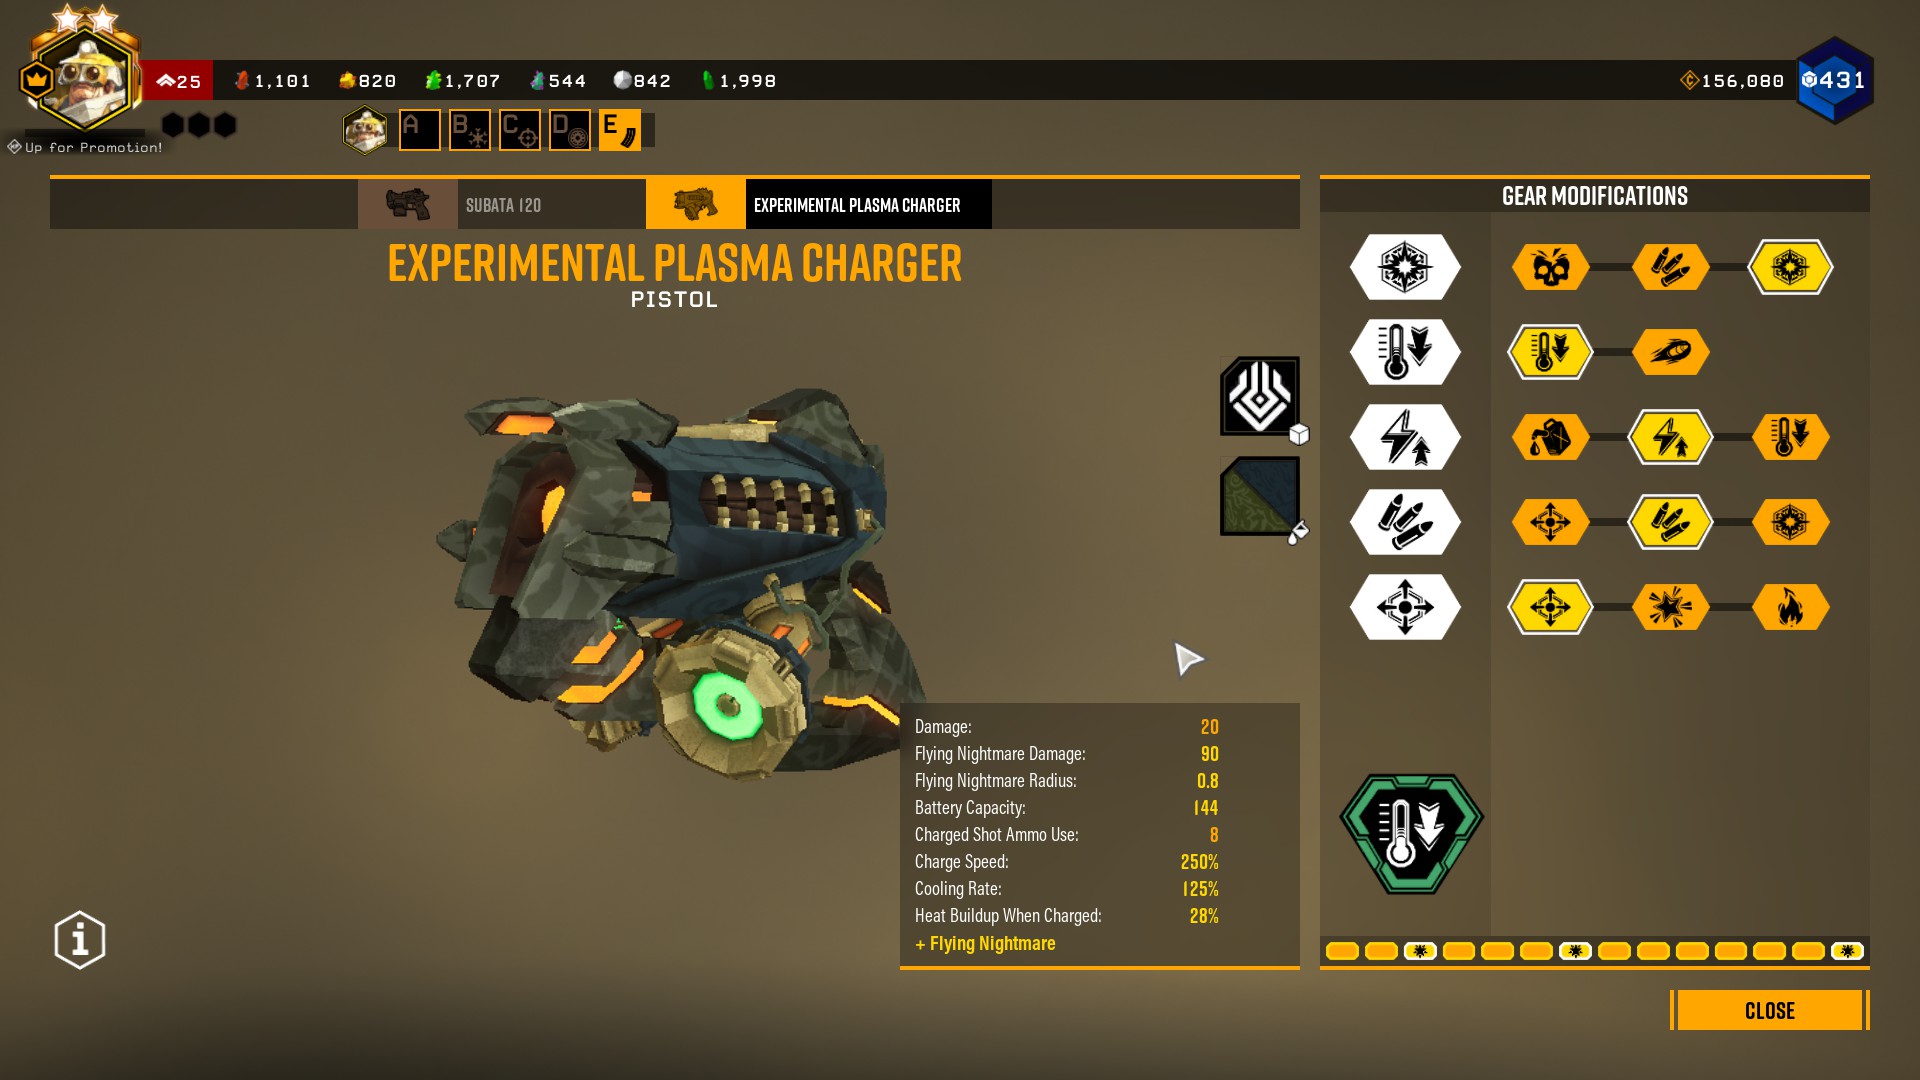
If we played engineer, this build is a “mini breach cutter” and we should use it like that. We give up on the fire, but get a different form of crowd control. Can be useful depending on your playstyle, or as a possible learning aid.
I have not used this build much (I like me fire), but I’m still including it for inspiration. This has the same kind of problem as thin containment field, it somewhat overlaps with the crowd control functions of the pump itself, so we get less value from it.
It is also harder to get the kind of burst damage we need out of the EPC. Not impossible, but hard. We can get some with the thin containment field, but that takes a lot of practice that not everyone has the time for.
Subata, the true sidearm
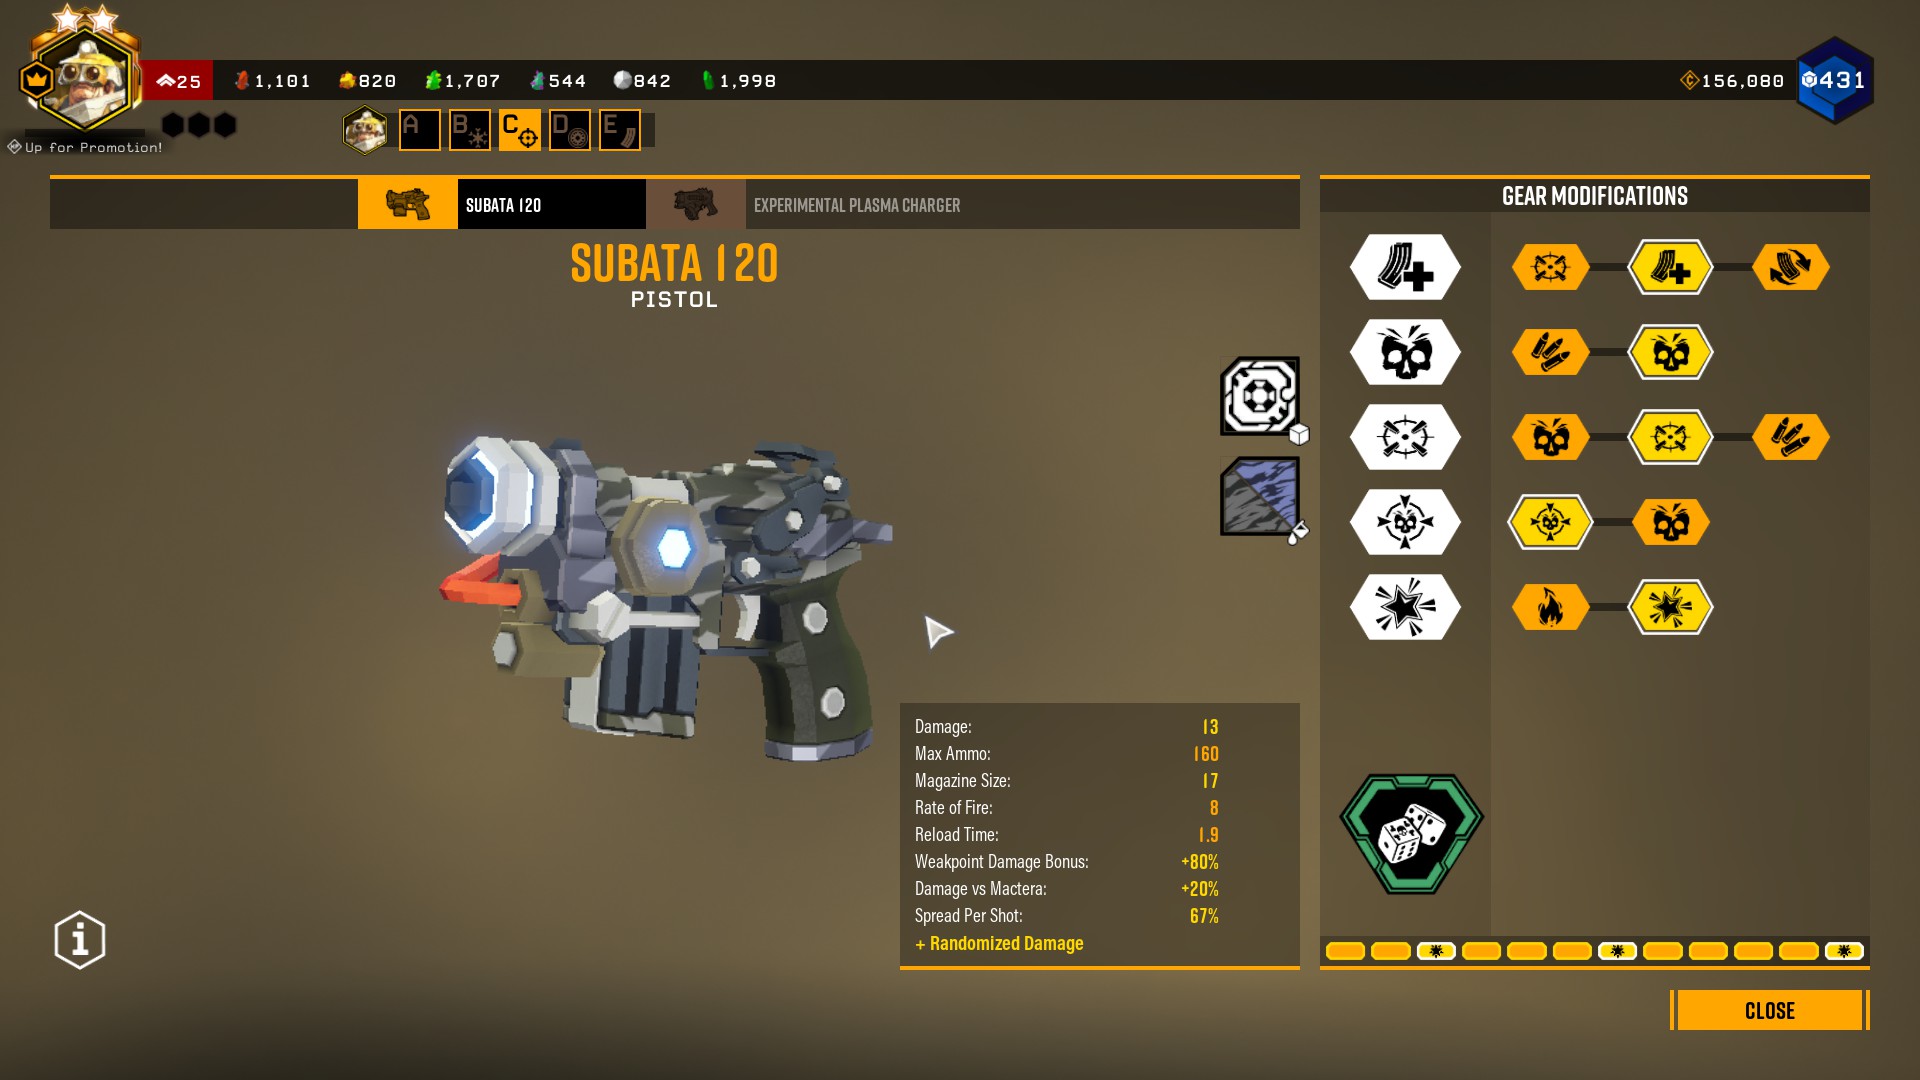
The Subata is a great complement to the sludge pump if we want to get more options.
These builds are mostly inspirational, you can use them as-is, or mix and match what you want/need.
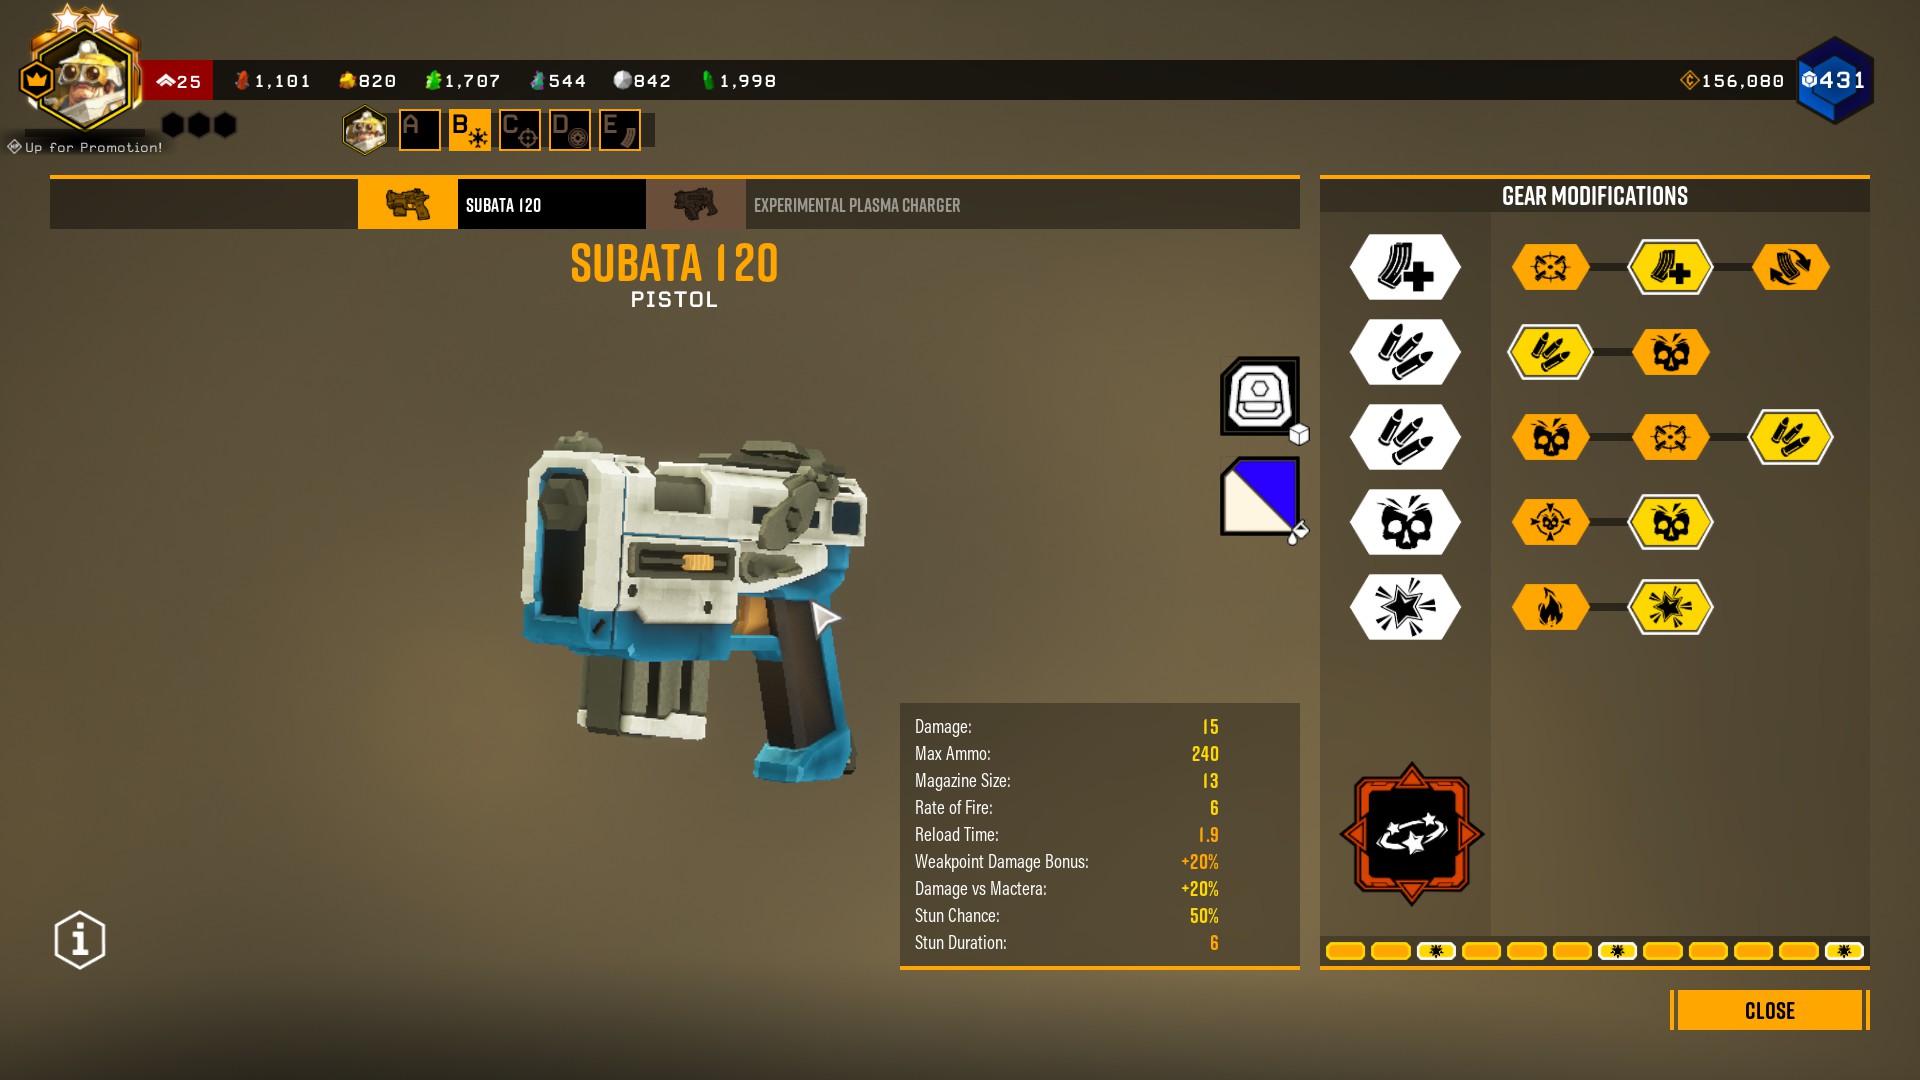
These 2 are fundamentally similar. Built for utility from the tranquilizer rounds. We can stop large bugs in their tracks while the corrosive DOT does the job. Especially good for praetorians as we can cancel their attacks over and over again.
The first one is my initial design, a good weapon to fall back on. The second is the refinement. We don’t need much ammo, the pump saves up for this as well (Honestly, I still have an overabundance of subata ammo). Apply liberally, stun macteras, guards, anything that could be a threat in the immidiate future. We can also use it against lone enemies.
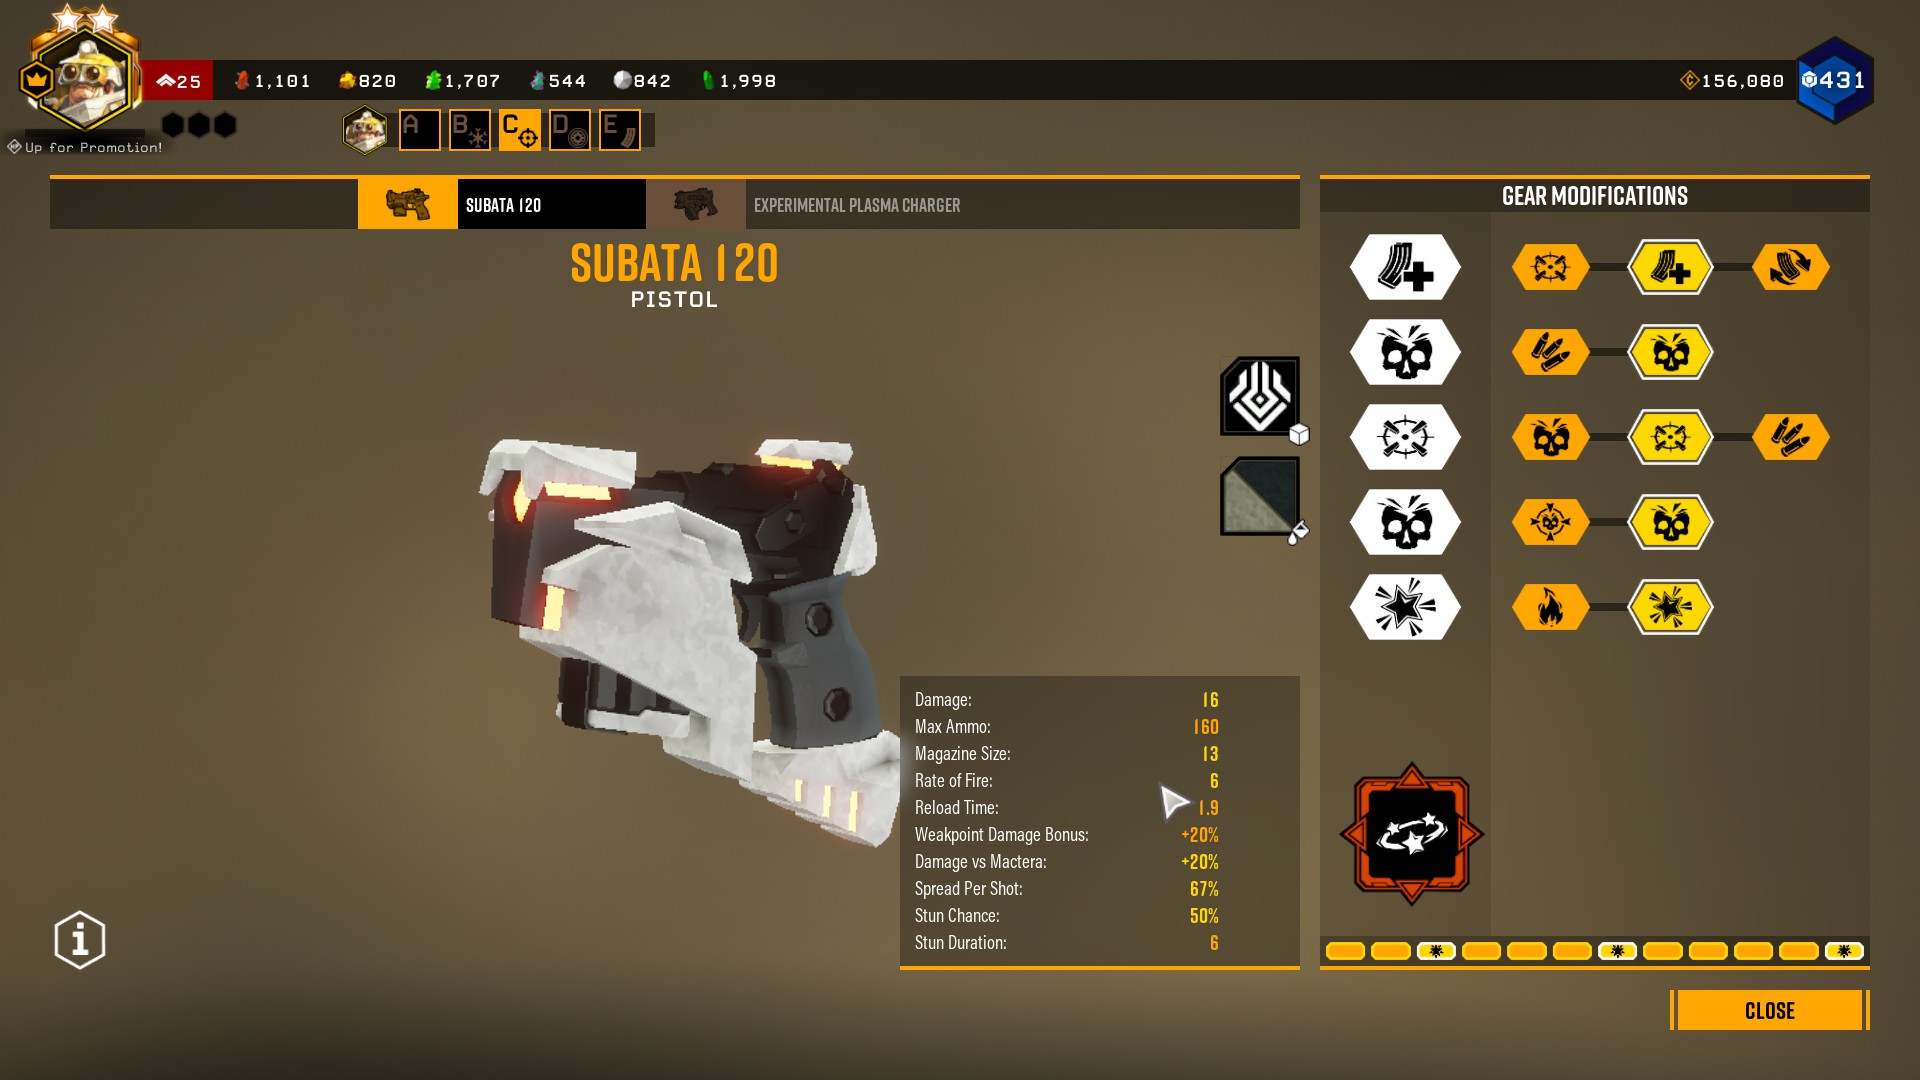
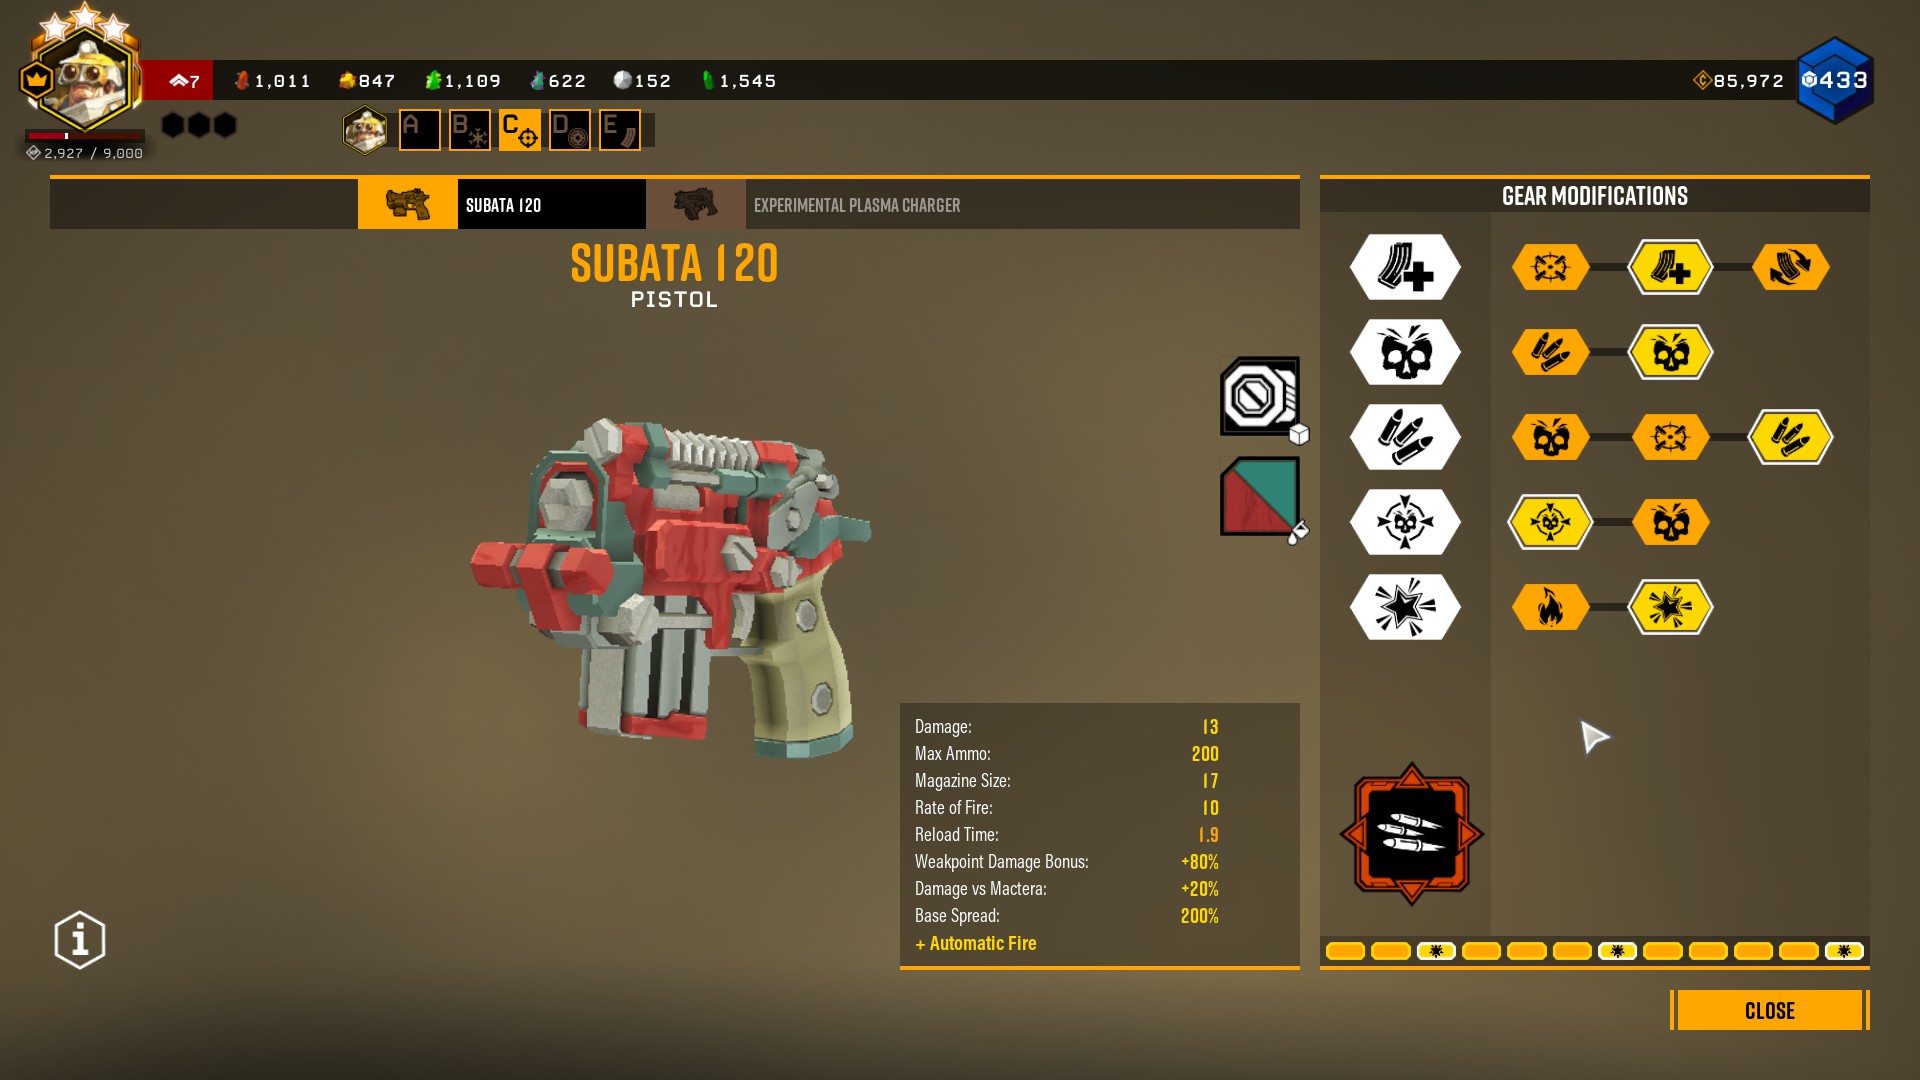
We can also go all out for damage, if the stun does not suit us. This is a powerful weapon that can quickly dispatch any bugs in your way, at any distance. Uninspired, but works.
If we’re good at hitting weakpoints, we can further increase our output. From 52-84 when hitting weakspots to 55-90 if we take the damage instead of accuracy. These numbers are calculated with the homebrew powder, and include a 2X crit bonus. (if my calculation is incorrect, comment and I’ll correct it). This a LOT more than the 20-30 damage on the EPC. We can argue about how realistic it is, but it is still not a weak pistol.
Full auto is surprisingly good. It gives us big burst damage, complementing the DOT we’re otherwise reliant on. Armor melting is a must, the subata can’t do that.
The output from this is higher than what we would get the from the EPC.
Possible modifications (applies to both):
- the t1 improved alignment can be a life saver if we need to snipe things, or with full auto. With full auto, this mod allows us to very reliably target the “ears” on a hiveguard.
- If you need a better “fallback weapon”, feel free to take more ammo.
- Chain hit can be a valid choice, but only because it’s clean, with no downsides.
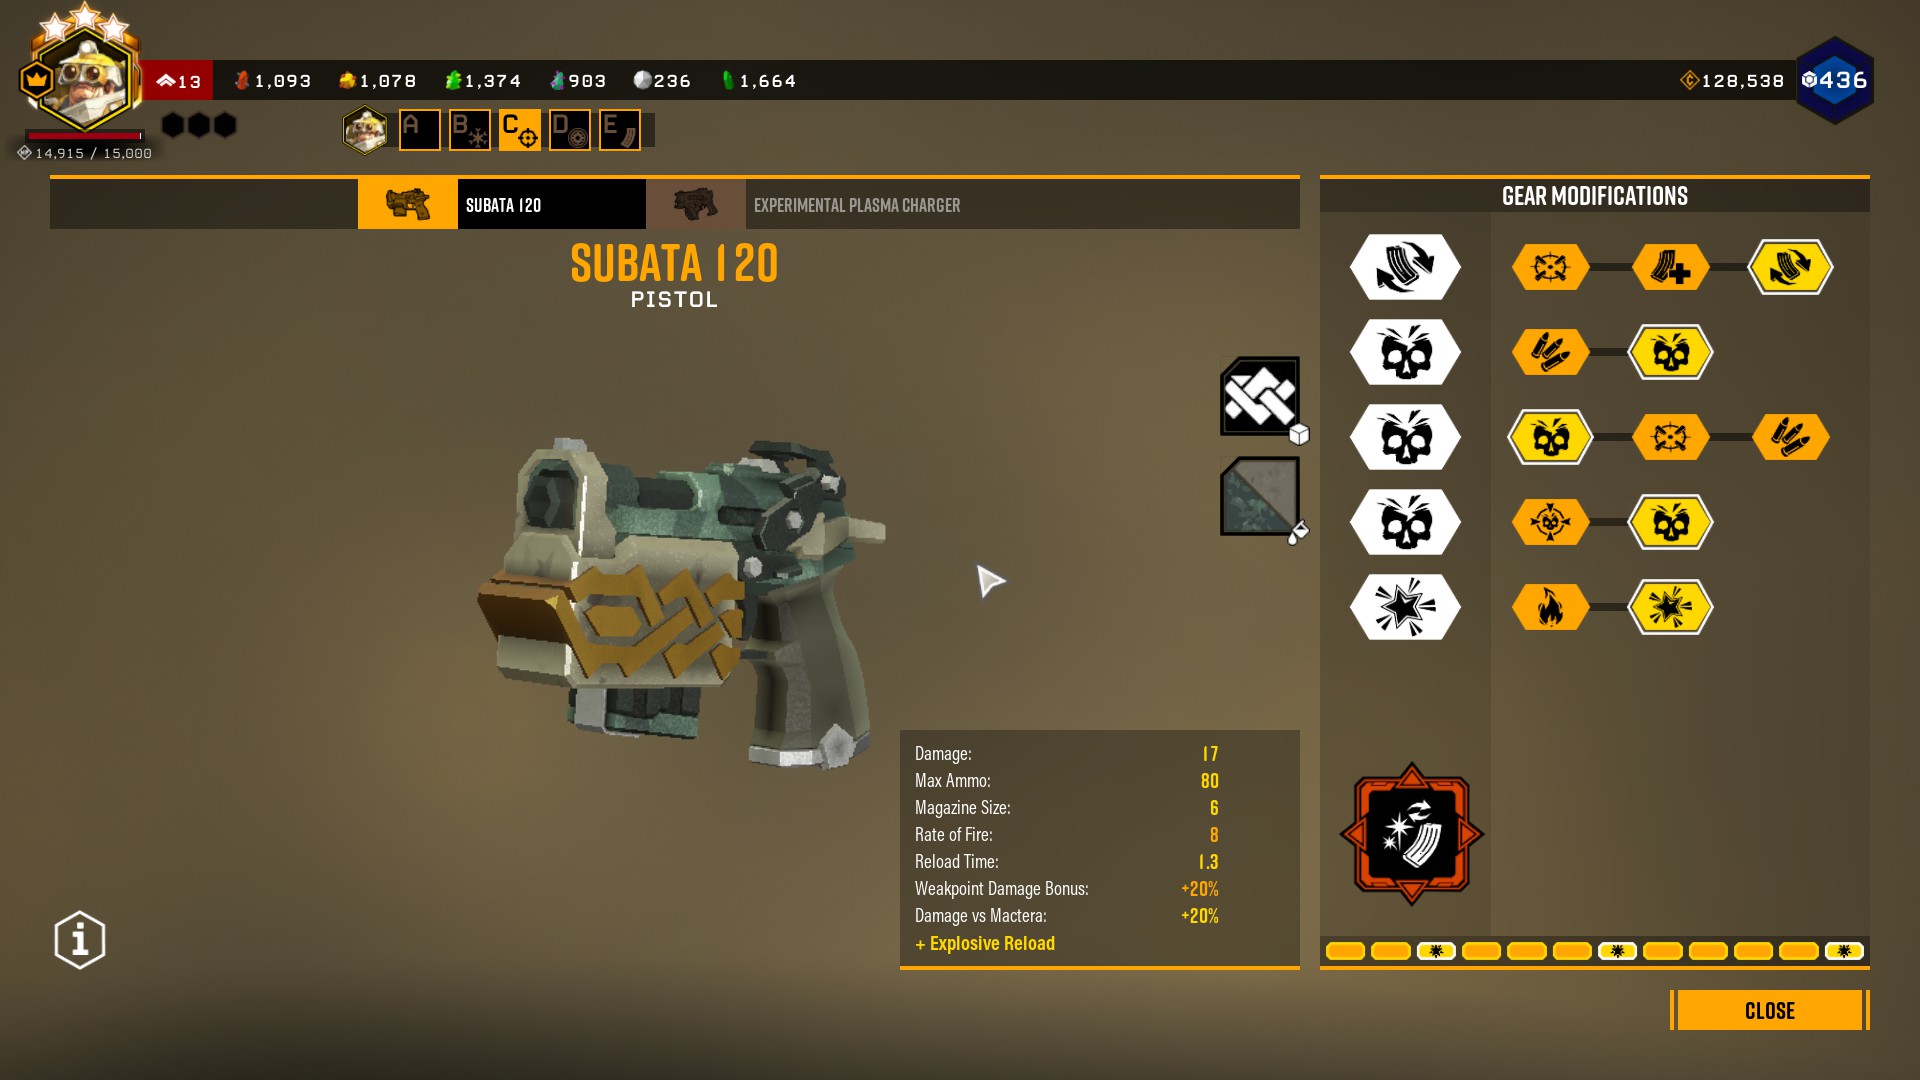
I also tried explosive reload, but it’s just too slow. You can kill 2-4 bugs with other options while you kill 1 with this. Would be more ammo efficient, but we don’t need that. There is no time to wait for the reload, we just need to do burst damage. We’re already waiting for the DOT to work.
I won’t say you can’t make this work, this has a lot of damage, but it did not work for me.
You might be able to make use of it for dreads, it is good at shooting the ears of the hiveguard, but not much.
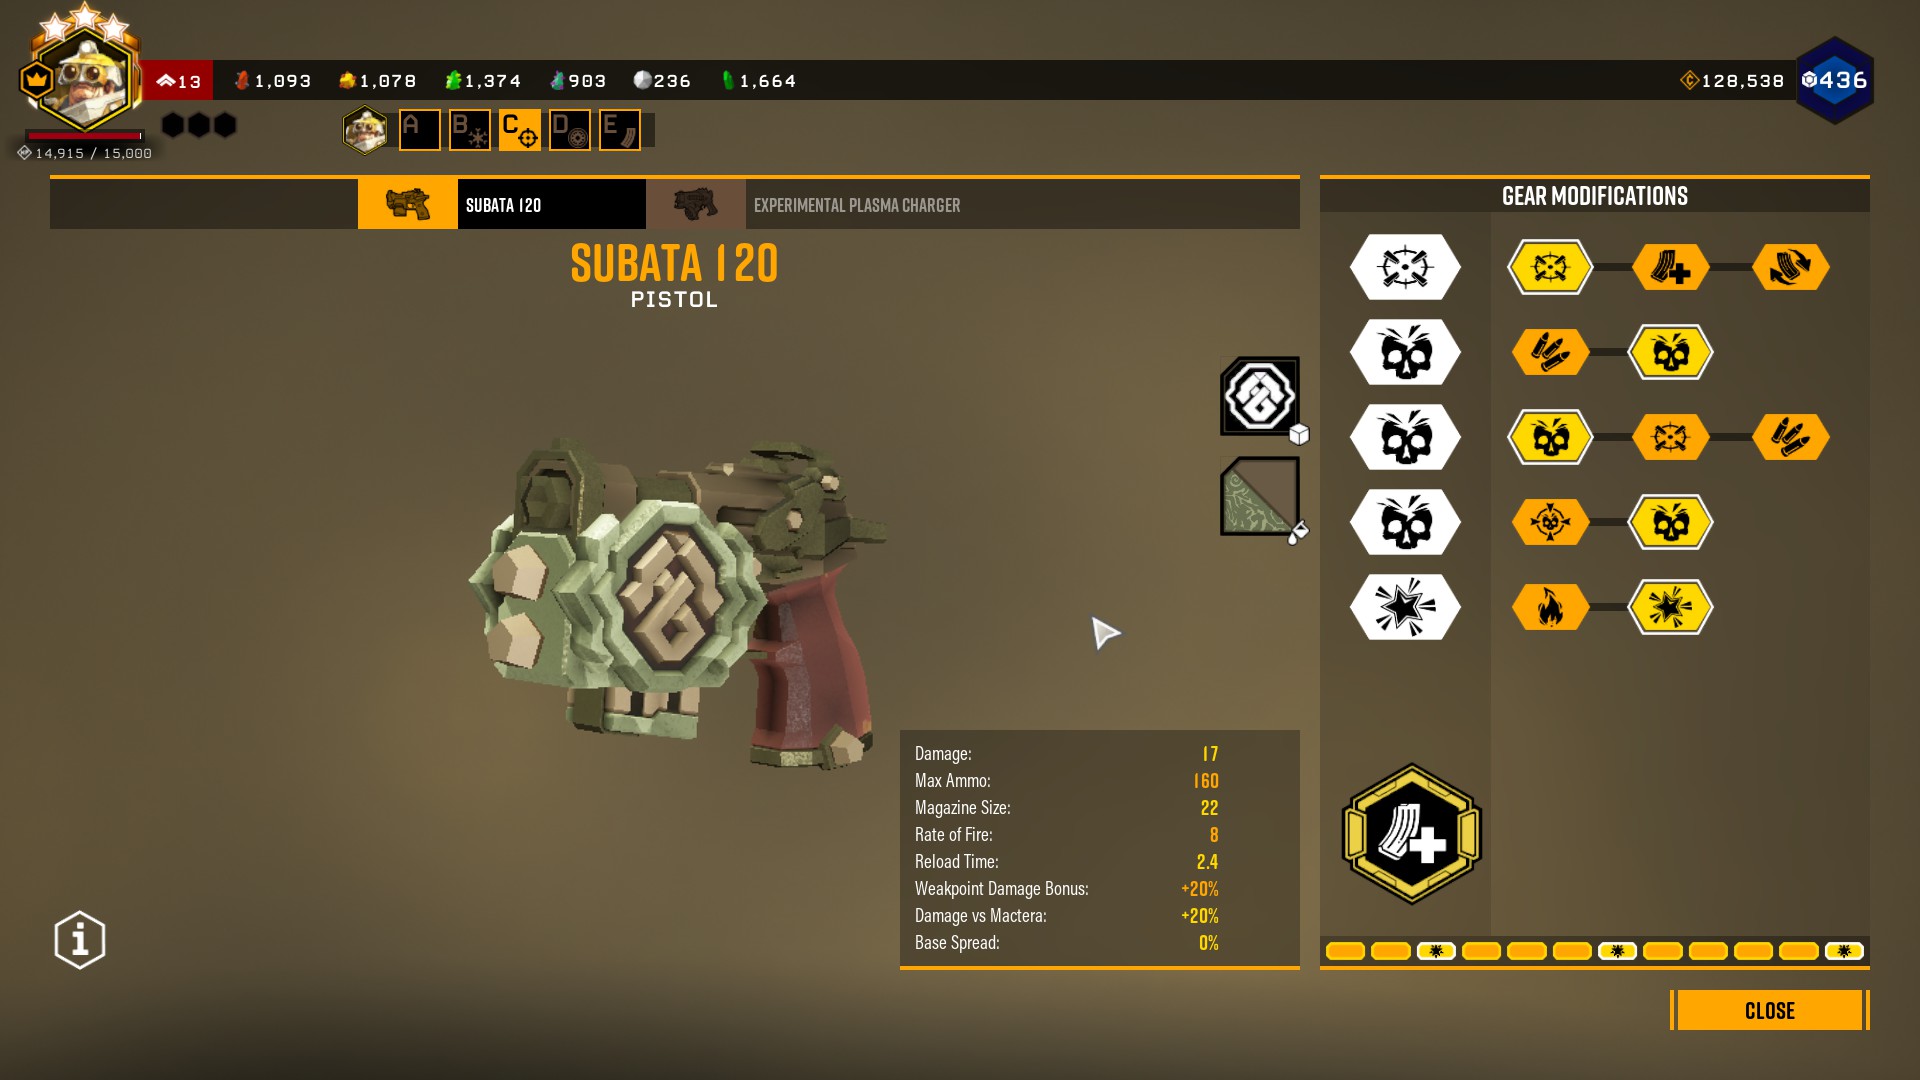
Overstuffed magazine is quite nice. You’ll never have to reload with a 10 second (level 2) born ready, the magazine will last. Do not need to care about anything but swapping between your 2 weapons for a constant output of hurt. We can go full damage, the output of the pump will carry it.
The reload time is usually so negligent that I can never go down because I had to reload. This overclock changes it, now we want to keep swapping between the primary and secondary for 5-10 seconds (level 3-2 born ready) to keep both reloaded. The benefit we get is that we can keep the damage output constant.
Unless you want to count on puddles to kill the bugs, bring the subata, even against “our collective wisdom”. When I was learning it I found that I needed some form of short burst damage. At first I substituted it with “common sense”, aka EPC charge shots and axes but it never worked out as well as it needed to. Subata with full damage upgrades provides this burst, even without full auto.
Even if you do rely on puddles, you should still consider it. The pump has absolutely no potential for burst damage and it can pull you through more situations. You can still stack the damage with the neurotoxin grenade, the fire is not mandatory.
In my opinion the problem of the subata before (along HE greande at the time of this writing) was that it had no real slot to fit in, where it can shine. No real use that you can’t replicate. The pump needs so much burst support that nothing else can do it in the driller’s arsenal.
I can highly recommend taking armor melting If you use a damage oriented subata.(If we rely on stun, then the damage is less important) It always sounded like a strange mod for me, until I started to pair it like this. After that it makes sense, driller has no other way to break armor. This is what that mod is for.
The DPS (damage per second) is still a LOT higher than the EPC, even if we always reload by hand. This is what we’re looking for. “Not having to reload” is a utility, not a primary thing we need. Reloading the subata is faster than waiting for the EPC to cool off after an overheat. With the amount of burst we need we WILL overheat the EPC very frequently. We can keep sustained subata fire really well, if we shoot a dread or a bulk.
My ammo economy also tends to be a lot better with the Subata. I run out of ammo regularly, even if I pick all the ammo mods on the EPC.
Equipment
I recommend NOT taking the axe with this, normal shots serve a very similar purpose. I specifically mention it, because most drillers are used to the axe but it’s not that great with this gun. To be fair, it’s only excellent with the 3X damage multiplier with the freeze from the cryocannon.
We can optionally take it if the build is set up for dreadnoughts, but does not handle well against swarms.
The HE grenade is one of the most explosive solutions in the game, and you get six of them. A solid choice. If you need more armor break, take it. It also hard wipes grunt swarms, but we usually have tools to manage those.
If you hear bad things about it, you do because it used to be bad. The explosion was much smaller, and you only got 4.
I have not found much use for it, it’s a good grenade but we have no problems it would solve for us. The pump is already acting as if we threw grenades everywhere. Technically it could give us more armor break, but it’s only useful as a targeted explosive on flat ground. If we fight downhill, it will roll to far, if we fight uphill, it can roll back down.
I’d encourage you to try it, but it has it’s own issues.
The neurotoxin is the one I’d call the “final solution” when using the pump. Most likely one of the most flexible pieces of equipment in the game. I’ll just list the possible uses in no particular order, there are many:
- Clean swarmers
- Clean swarmers after killing a brood nexus (I’ll say it specifically, so you don’t need to make that leap of logic. You’ll thank me when you can’t freeze it)
- Block off an area (tunnel)
- Protect yourself against naedocytes.
- Use it as a “shield” while running in for a revive
- Stack the poision with the sludge
- Set the cloud on fire massive chunk of fire damage
- Set the cloud on fire to set large amounts of goo on fire (works with fart clouds as well)
- Slow down the advance of the swarm (poision also slows)
- Stack damage on dreadnoughts. This one is interesting, as this is the only other DOT that works on them, as they are immune to fire.
A damage focused drill also works well with this. I was surprised, but you can use it to stack something on the goo, and can also fill in for the burst we need.
Gameplay tips
If you stay in an area for an extended period of time, flatten the terrain. The gun works better on flat ground especially if you go for puddles. Rocks sticking our can break your consistency a bit.
Use c4 to extend the rooms you’re in if you need to. Especially with goo bomber special. This is a “generic” driller tip, but good to remember.
If you see a chokepoint, it’s your spot. Especially if you puddle. The direct shots also have a small “spread”, so if you shoot a bug and others were too close they will also get hit and now covered.
When you shoot something, it’s immidietly slowed. No questions asked. This makes it an excellent weapon against anything that’s hard to freeze.
1 blob is enough to kill the lone grunt. The DOT will finish it off, no need to use more ammo on them. Same applies to lootbugs.
I’ll specifically elevate armor melting again. This is a very underappriciated mod, that is worth picking. The base damage of the DOT is enough for most bugs, you can chose another utility. I don’t pick it on the example builds, because if you pick that then you should push yourself to hit those exposed spots.
If you’re a scout, and the driller covered 3+ preatorians in goo, throwing in a cryo grenade is a waste. Those will no longer be a threat, even with the base slow.
Zipline perching (when you’re up on the gunners zipline and shoot from up there) is also useful with this weapon. Your aim becomes more accurate from up there.
Be preemptive, shoot where the bugs will be when the goo lands. When you see the digging animation you can strike, you’ll hit them as they spawn.
Perks
I’ll only include some highlights. Basic things like Field medic and Iron will work of course.
- Dash gives us much needed mobility when jumping around our puddle.
- Born ready can save us some reloads. This is usualy a bad perk, but only because we can have a primary, a secondary, and a support tool that we don’t need to reload. But with the pump we can easily run a kit where both the primary and the secondary can make use of it.
- Friendly is useful if our charged shots hit our mates. You have to watch out, it can happen a lot.
- Because the sludge pump is not a “constant stream of damage” (flamethrower, cryocannon), thorns can help us against swarmers
- Vampire is viable even without the axe (counts as meelee), if we make use of our drills as a weapon as well.
These work, the rest is going to be your personal preference.
Final notes
I repeatedly hear “use epc because the fire is good”, but the fire is not the singular direction for this weapon.
It’s not that I don’t like the epc, I considered a lot of different EPC options. But it always worked consistently better when I had pure burst damage in the secondary if it wasn’t used for some form of utility. (eg: fire) Even the non-auto fire subata can deal damage more quickly. The flamer or the cryocannon both deal damage faster than the subata, so it does not need to step in specifically for that.
Always attack Goo bombers. You must take your revenge!
I hope you enjoy the Guide we share about Deep Rock Galactic – Sludge Pump Weapon Tips & Guide; if you think we forget to add or we should add more information, please let us know via commenting below! See you soon!
- All Deep Rock Galactic Posts List



Leave a Reply