Basic progression outline. This will inevitably involve spoilers, but if you get stuck you can try to read to around where you are. This guide aims to outline the minimum intended path to reach the final fight of the game and will not detail optional content defined by my own subjective understanding of the game’s progression. It is possible that some of the checkpoints I mention can be completed through other means or skipped entirely by skilled and creative exploration, the intended audience of this guide are those who are stuck on where to go next in order to make progress towards the final battle.
The Trial Grounds
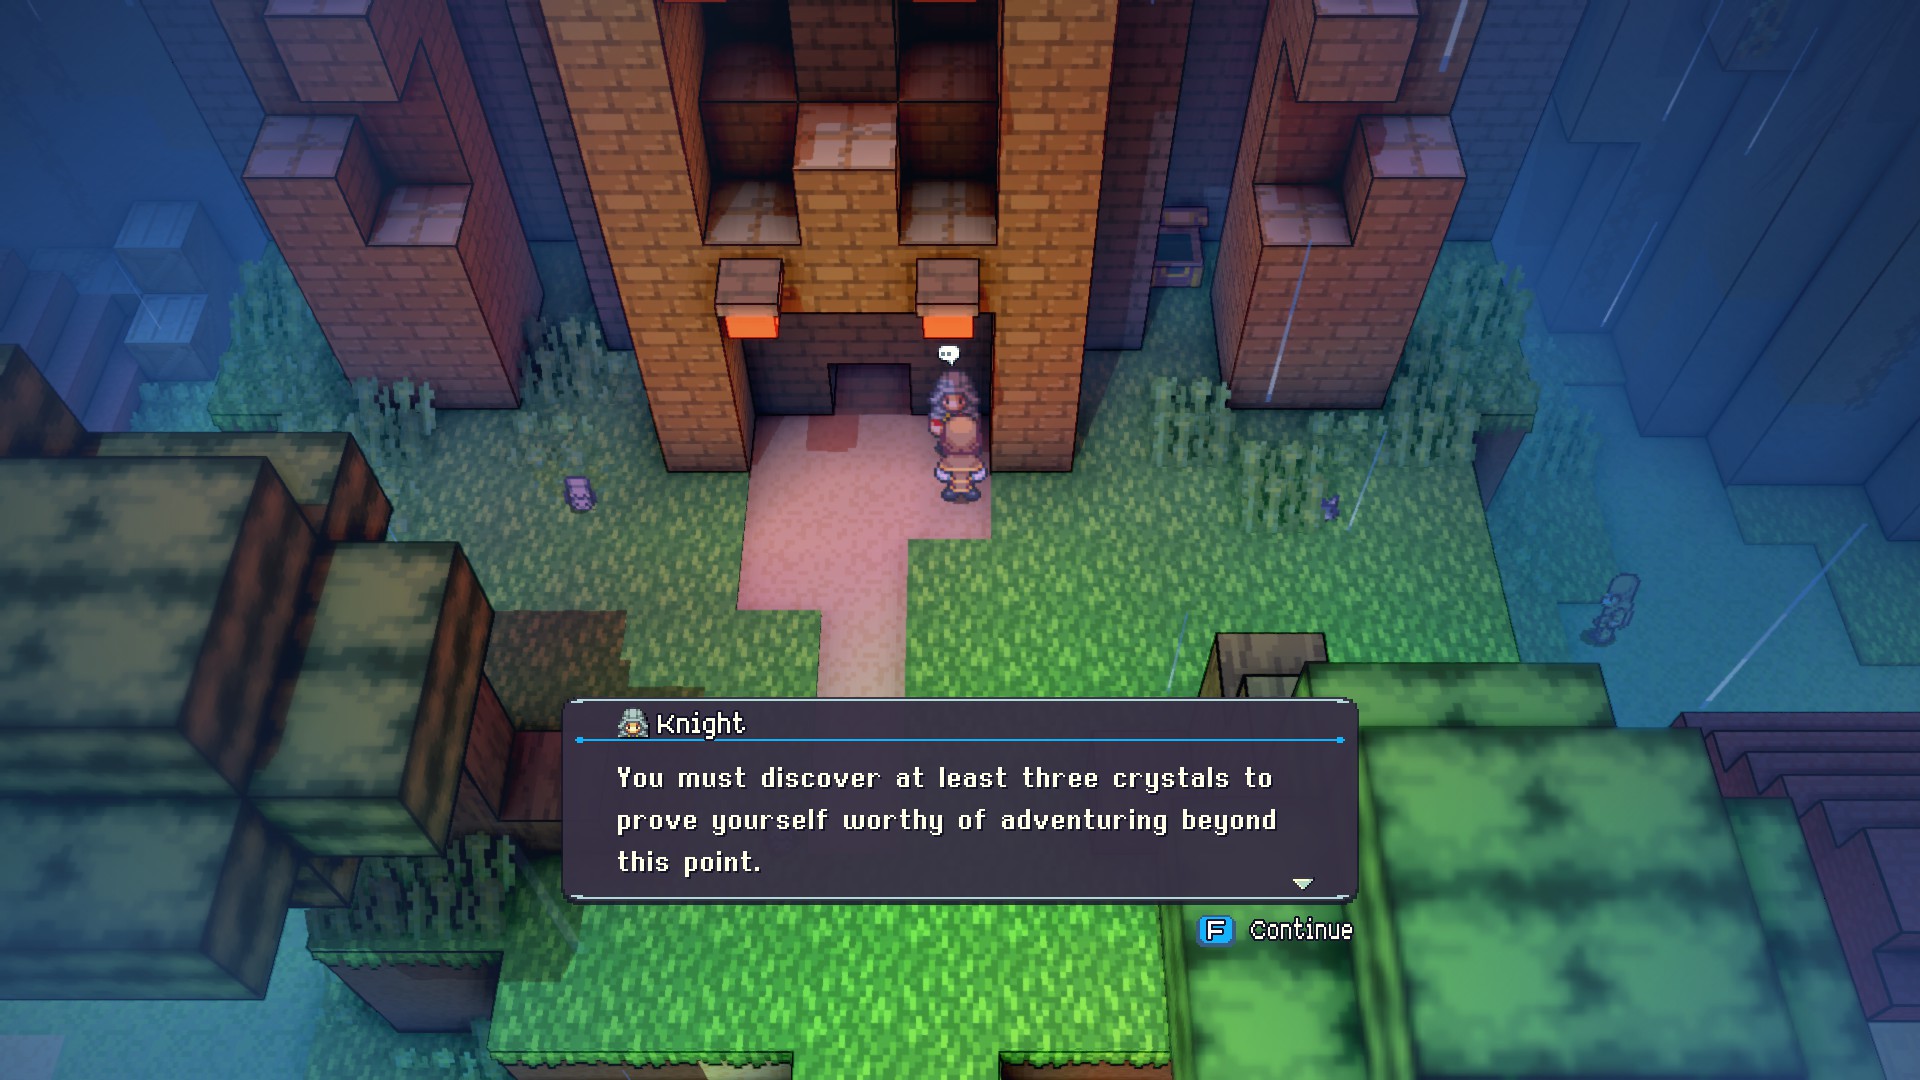
The first major progression checkpoint of the game is accessing the Trial Grounds. After exploring Delene and the surrounding areas, you will eventually find yourself at the proving meadows, however a knight standing guard will tell you that you need to find 3 crystals before proceeding. Strictly speaking, this is the only time the game will require you to find crystals, but doing so will unlock new classes and demonstrate the usefulness of seeking them out.
The Slate Crystal
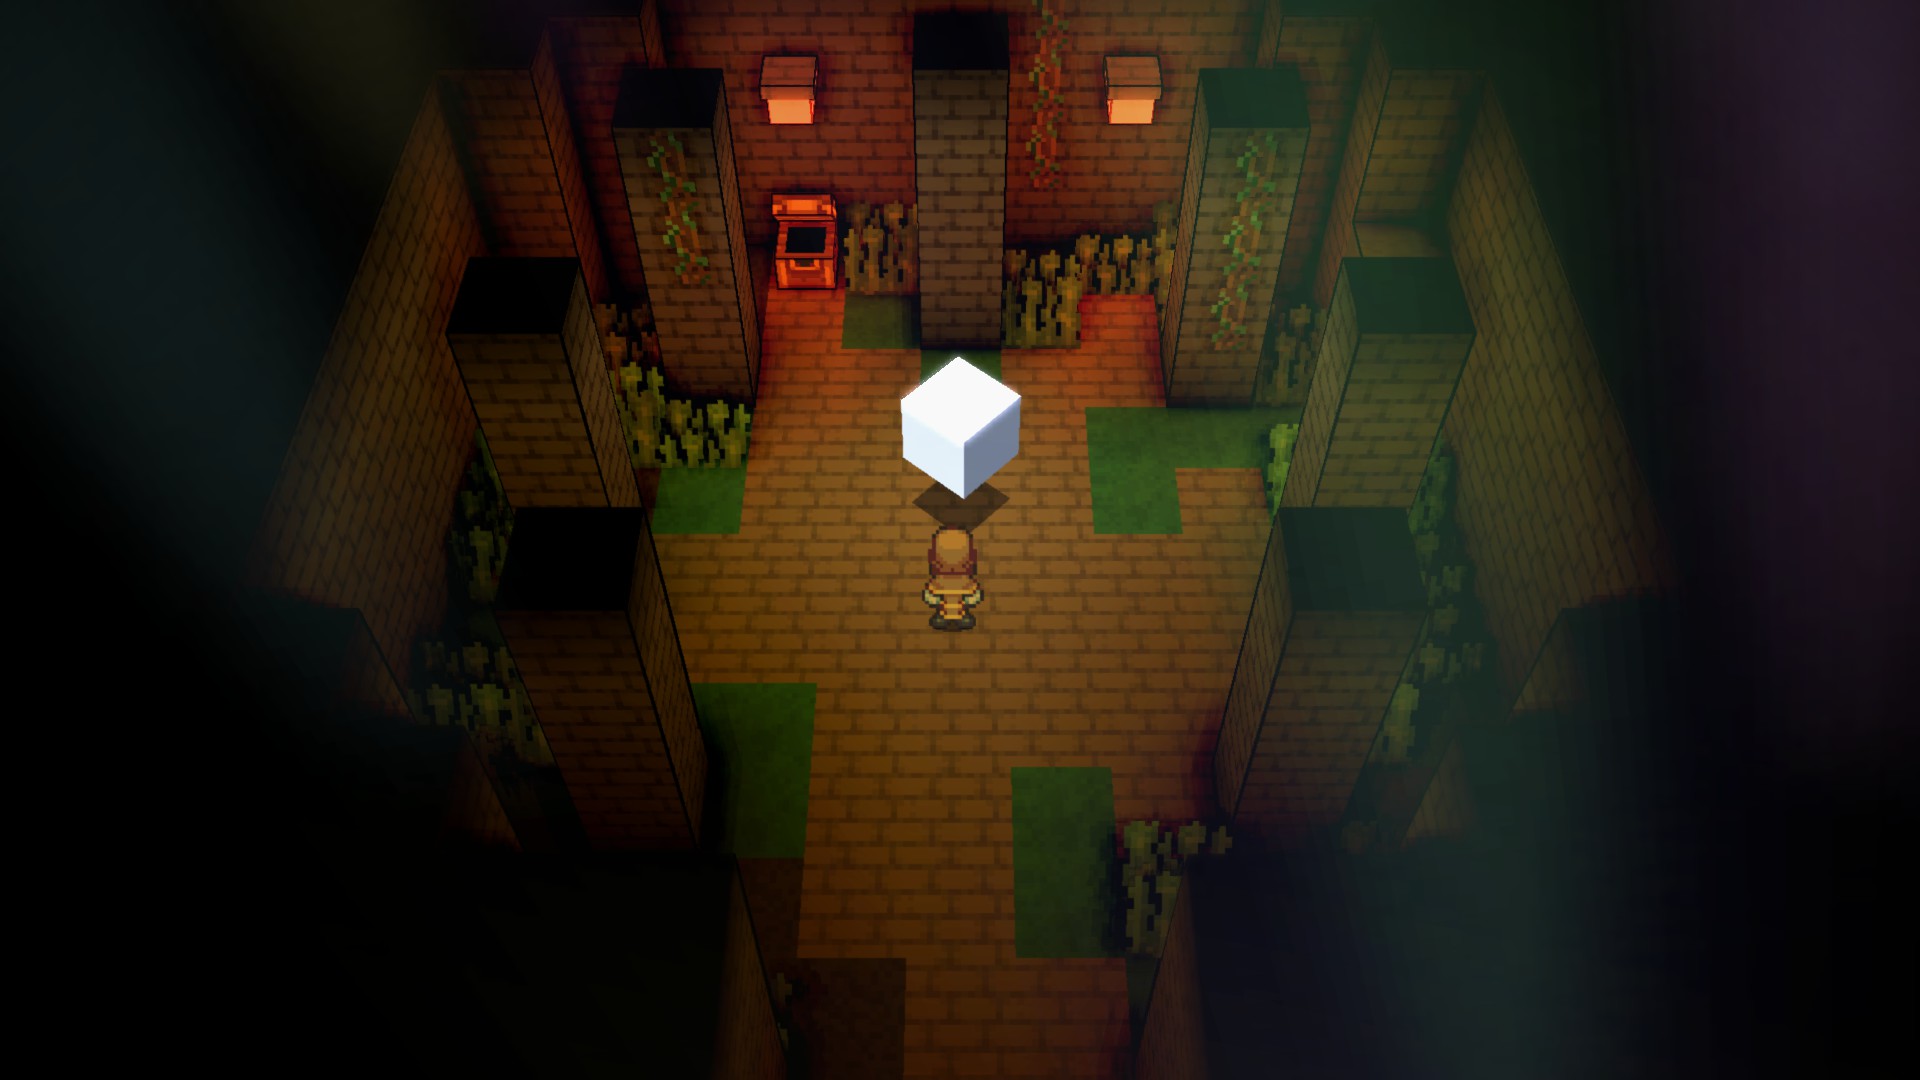
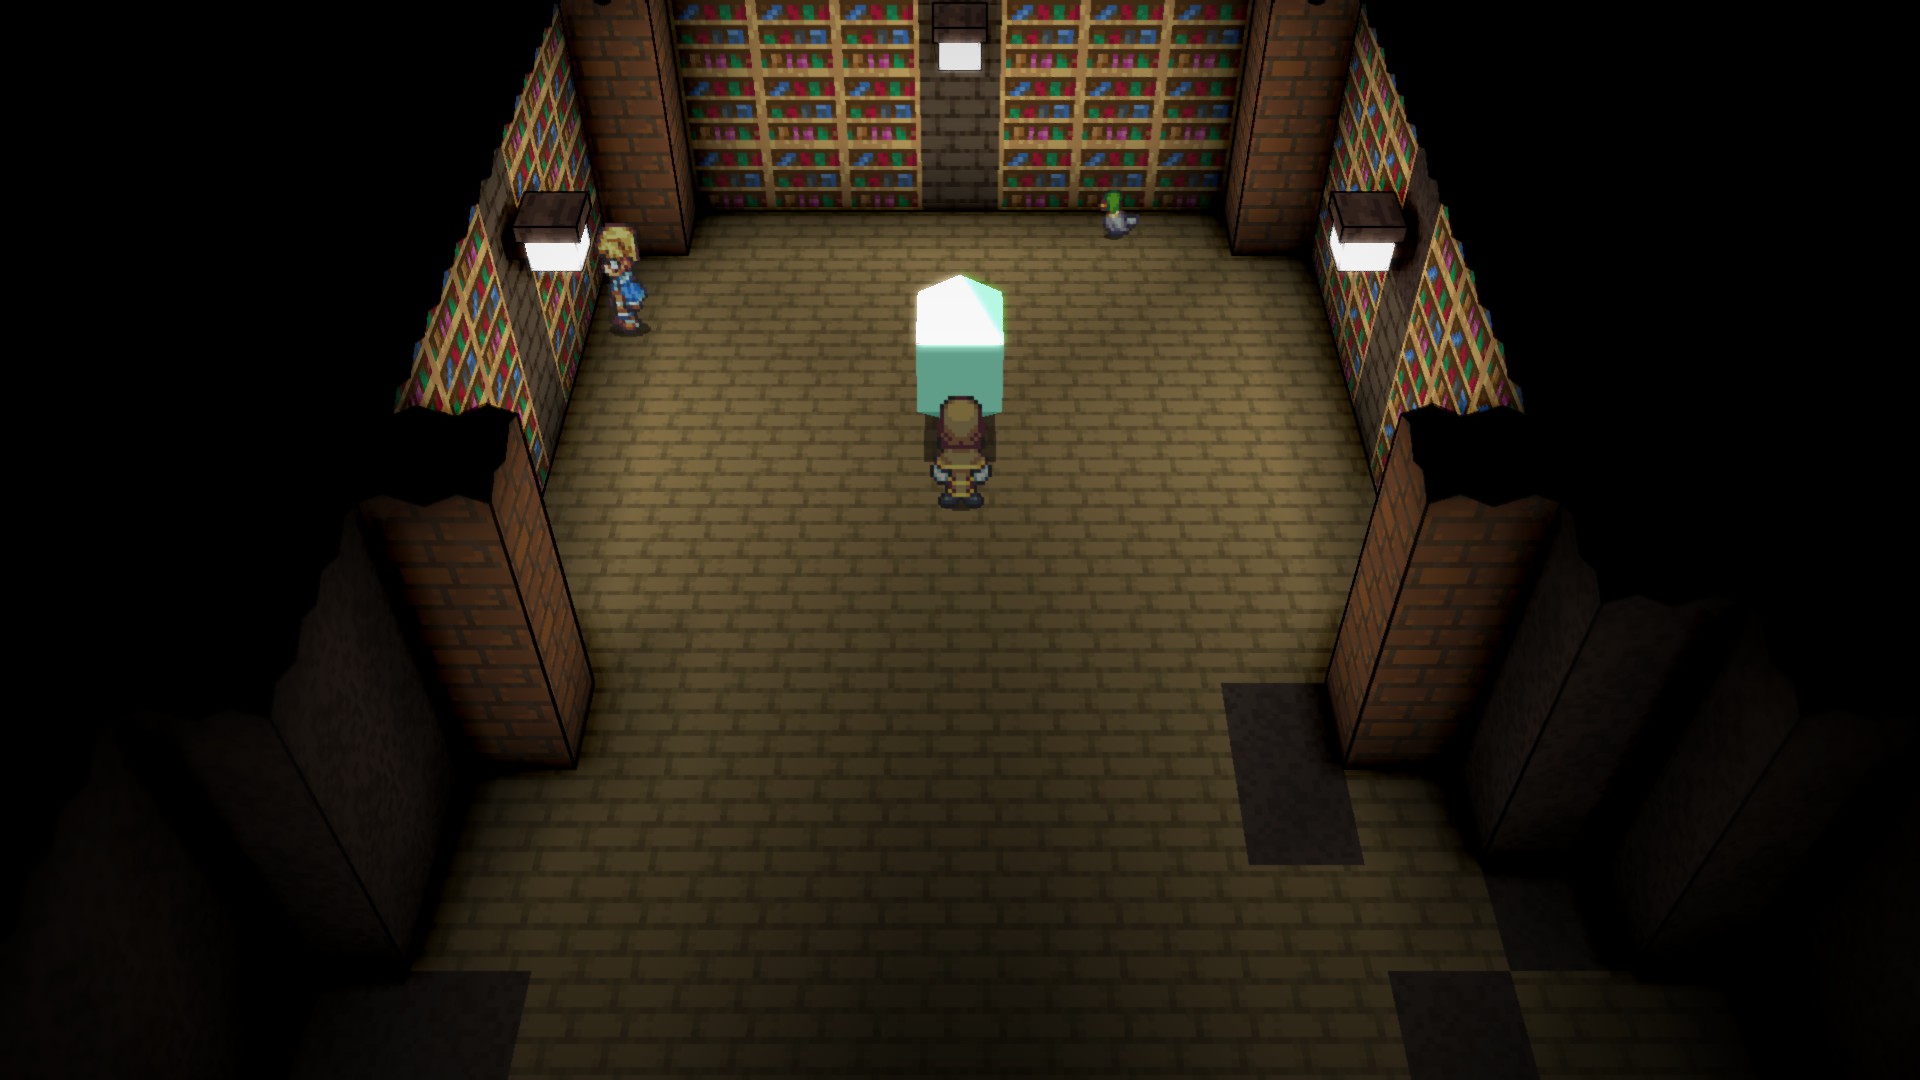
This is most likely the first crystal you will find, and it’s very likely you found this before finding the Trial Grounds. If you head north from the broken bridge in Delene you will find The Pale Grotto, inside of which is an area of stonework ruins. Making your way through them you will eventually fight a boss and then come to this crystal, unlocking the Fencer class.
The Violet Crystal
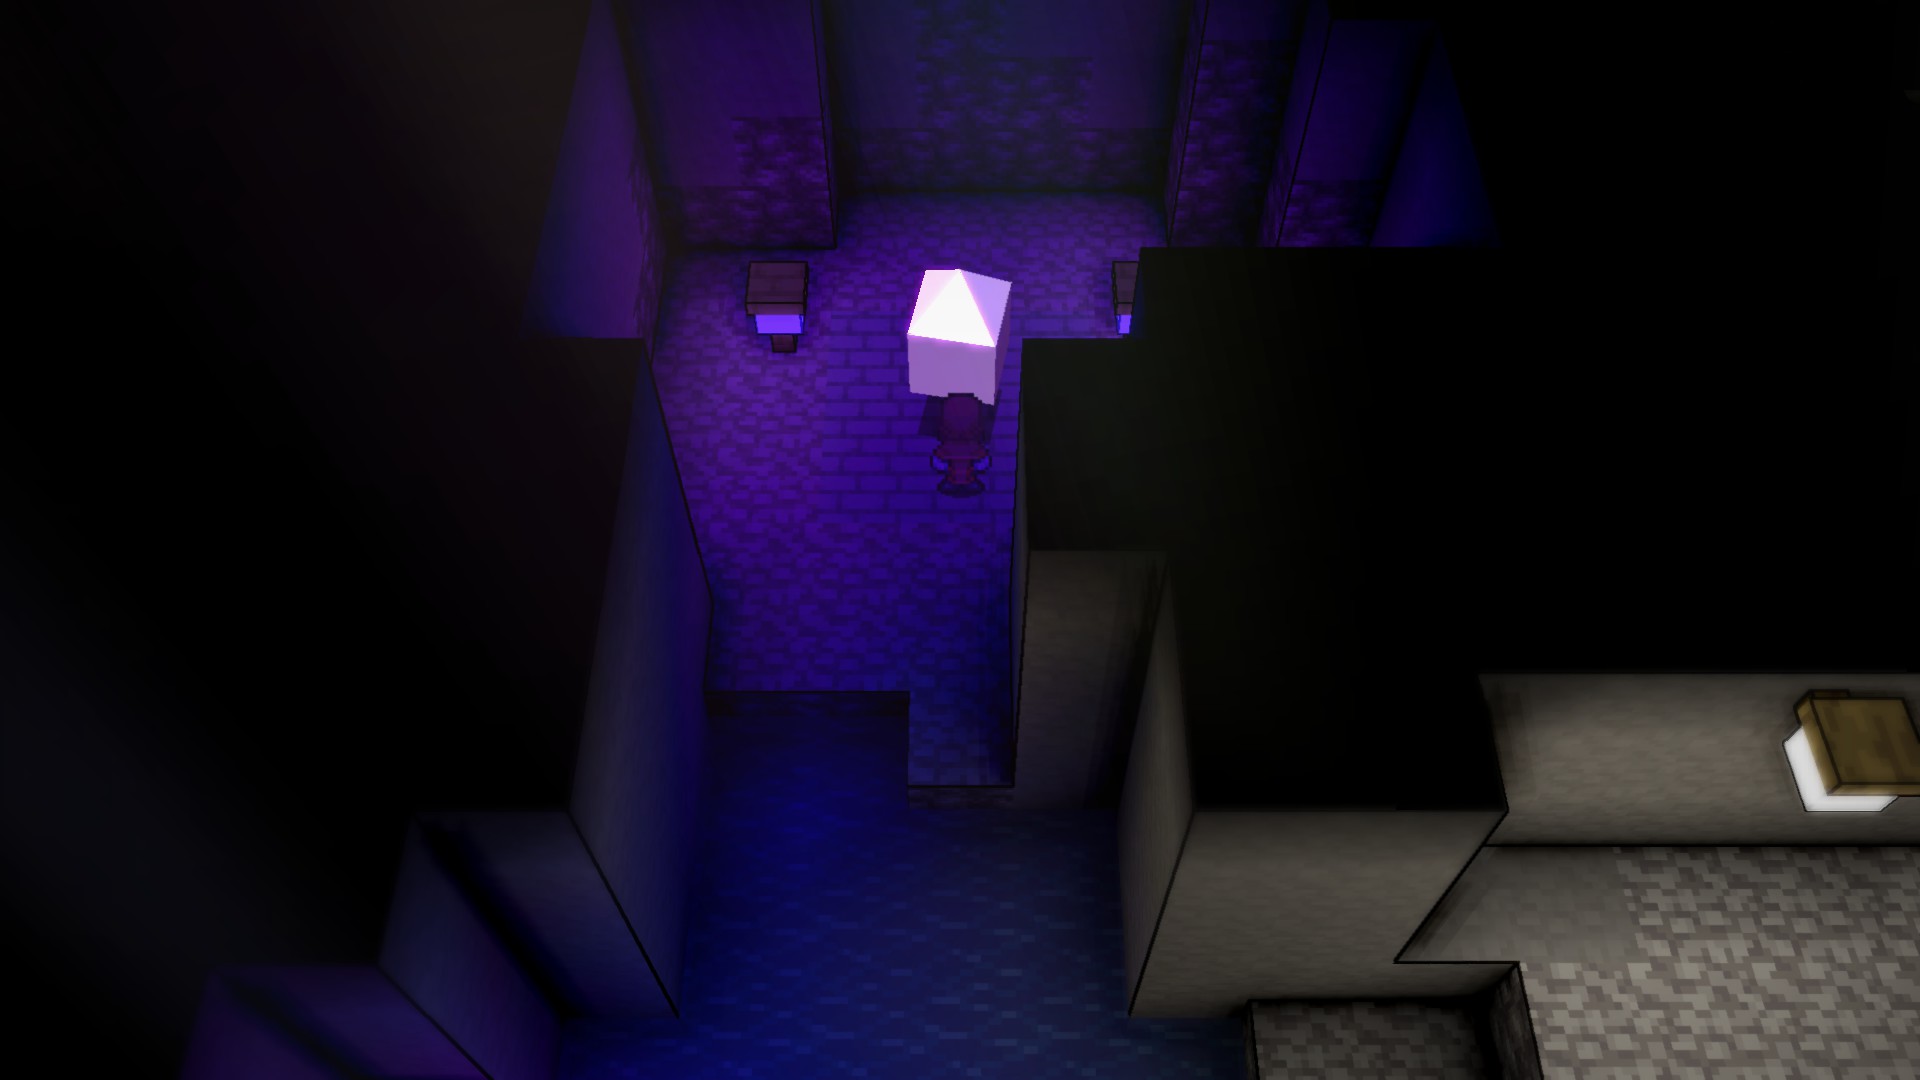
If you head south instead of north at that broken bridge, you will eventually find yourself in the Seaside Cliffs. If you explore this area sufficiently you will find a small encampment, follow the river southeast from it and you will eventually find the entrance to another small dungeon area, the Draft Shaft Conduit. Make your way through and you’ll be rewarded with the crystal and the Shaman class.
The Aquamarine Crystal
Starting from the eastern side of the broken bridge this time, head a short ways south and you’ll find two NPCs hinting that you can jump on top of the trees for further exploration. Use this tree to cross over the ravine and follow it south and you’ll find a cave. Make sure not to fall down and the path should be straightforward.
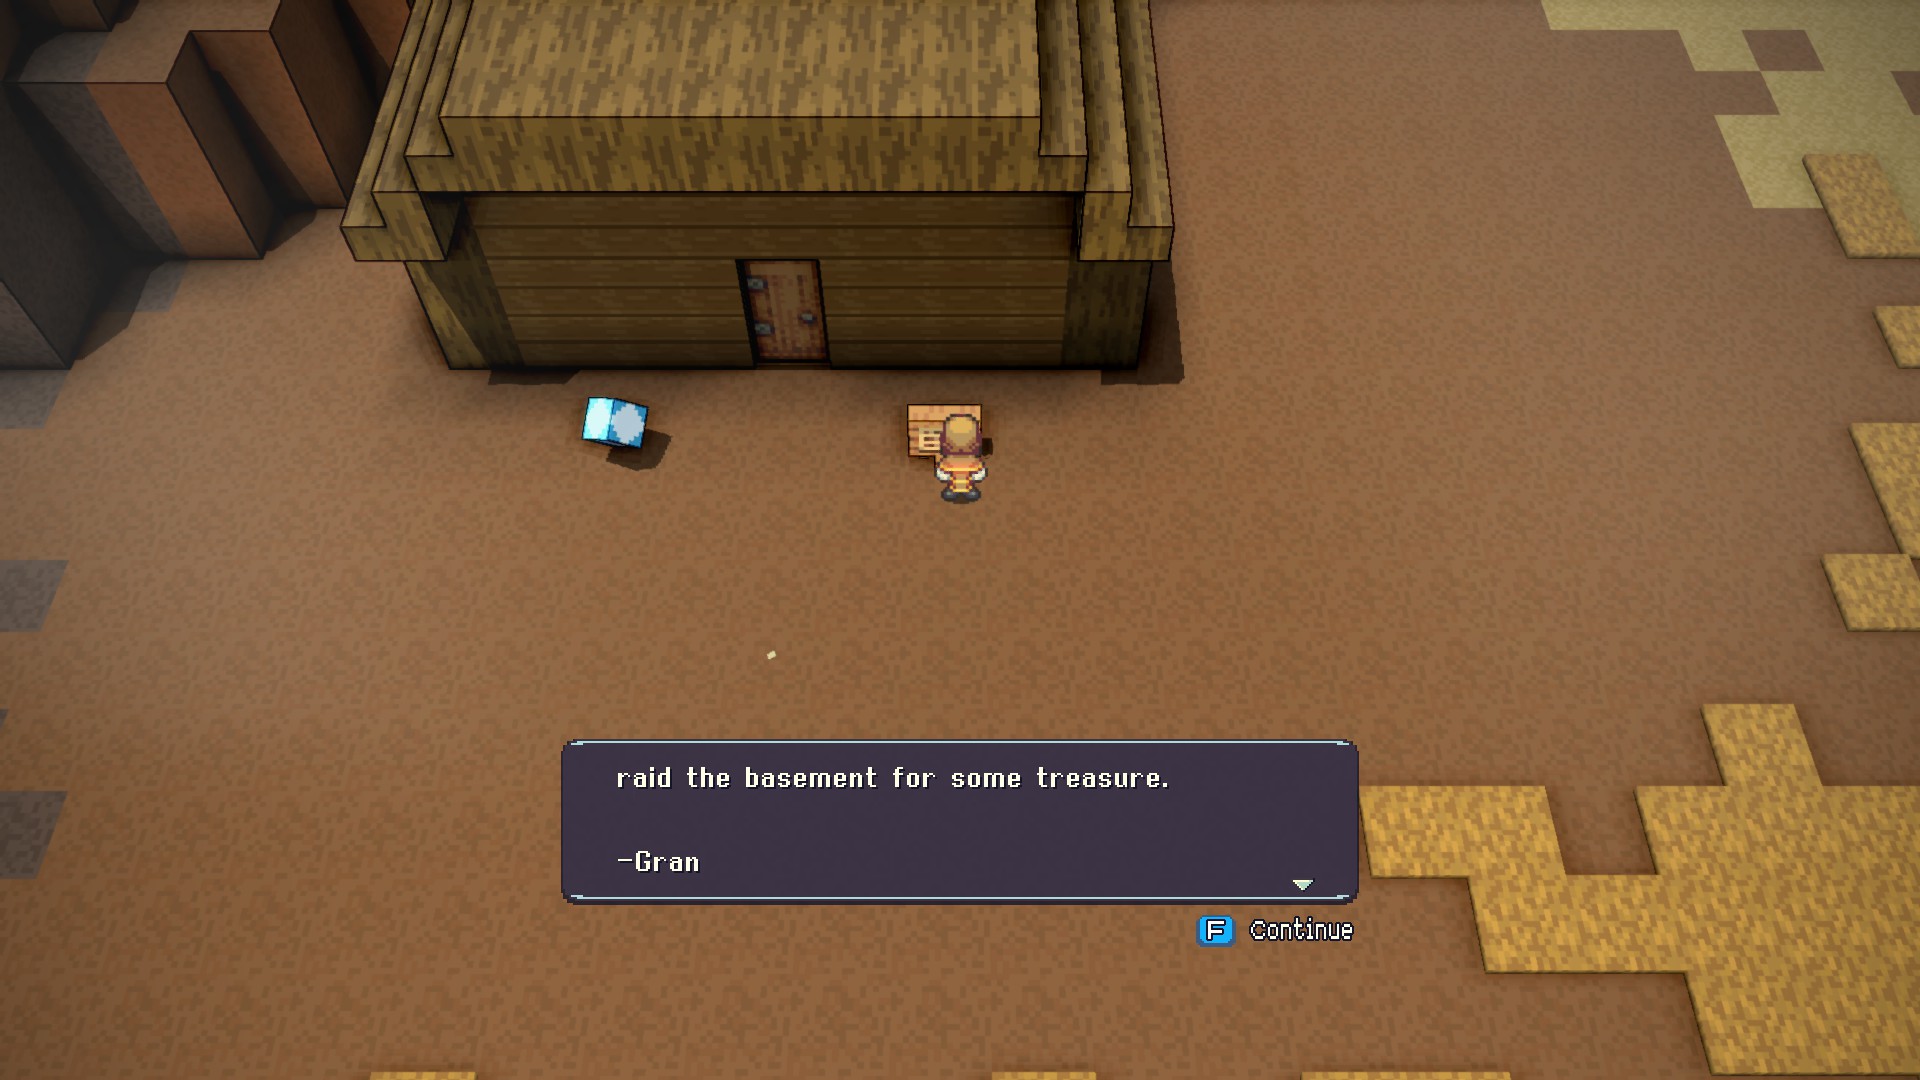
You’ll reach a checkpoint at gran’s house (Feel free to raid the basement, just make sure to set your homepoint first).
Heading further west from here you’ll arrive at Yamagawa M.A and be faced with a wall of platforming challenge. Make your way to the top, drop down inside for a boss fight, and then drop down further to find the crystal and the Scholar class. As far as I’m aware this room is impossible to escape from aside from teleporting out using your Home Point Stone or another item you might have found if you’ve been exploring a lot more.
With the power of these first three crystals obtained, make your way east from that broken bridge and present yourself to the knight. He’ll give you a very simple test to prove your strength before allowing you into the Trail Grounds, which should be straightforward (though not necessarily easy) to get through.
The Capital City and our first Mount.
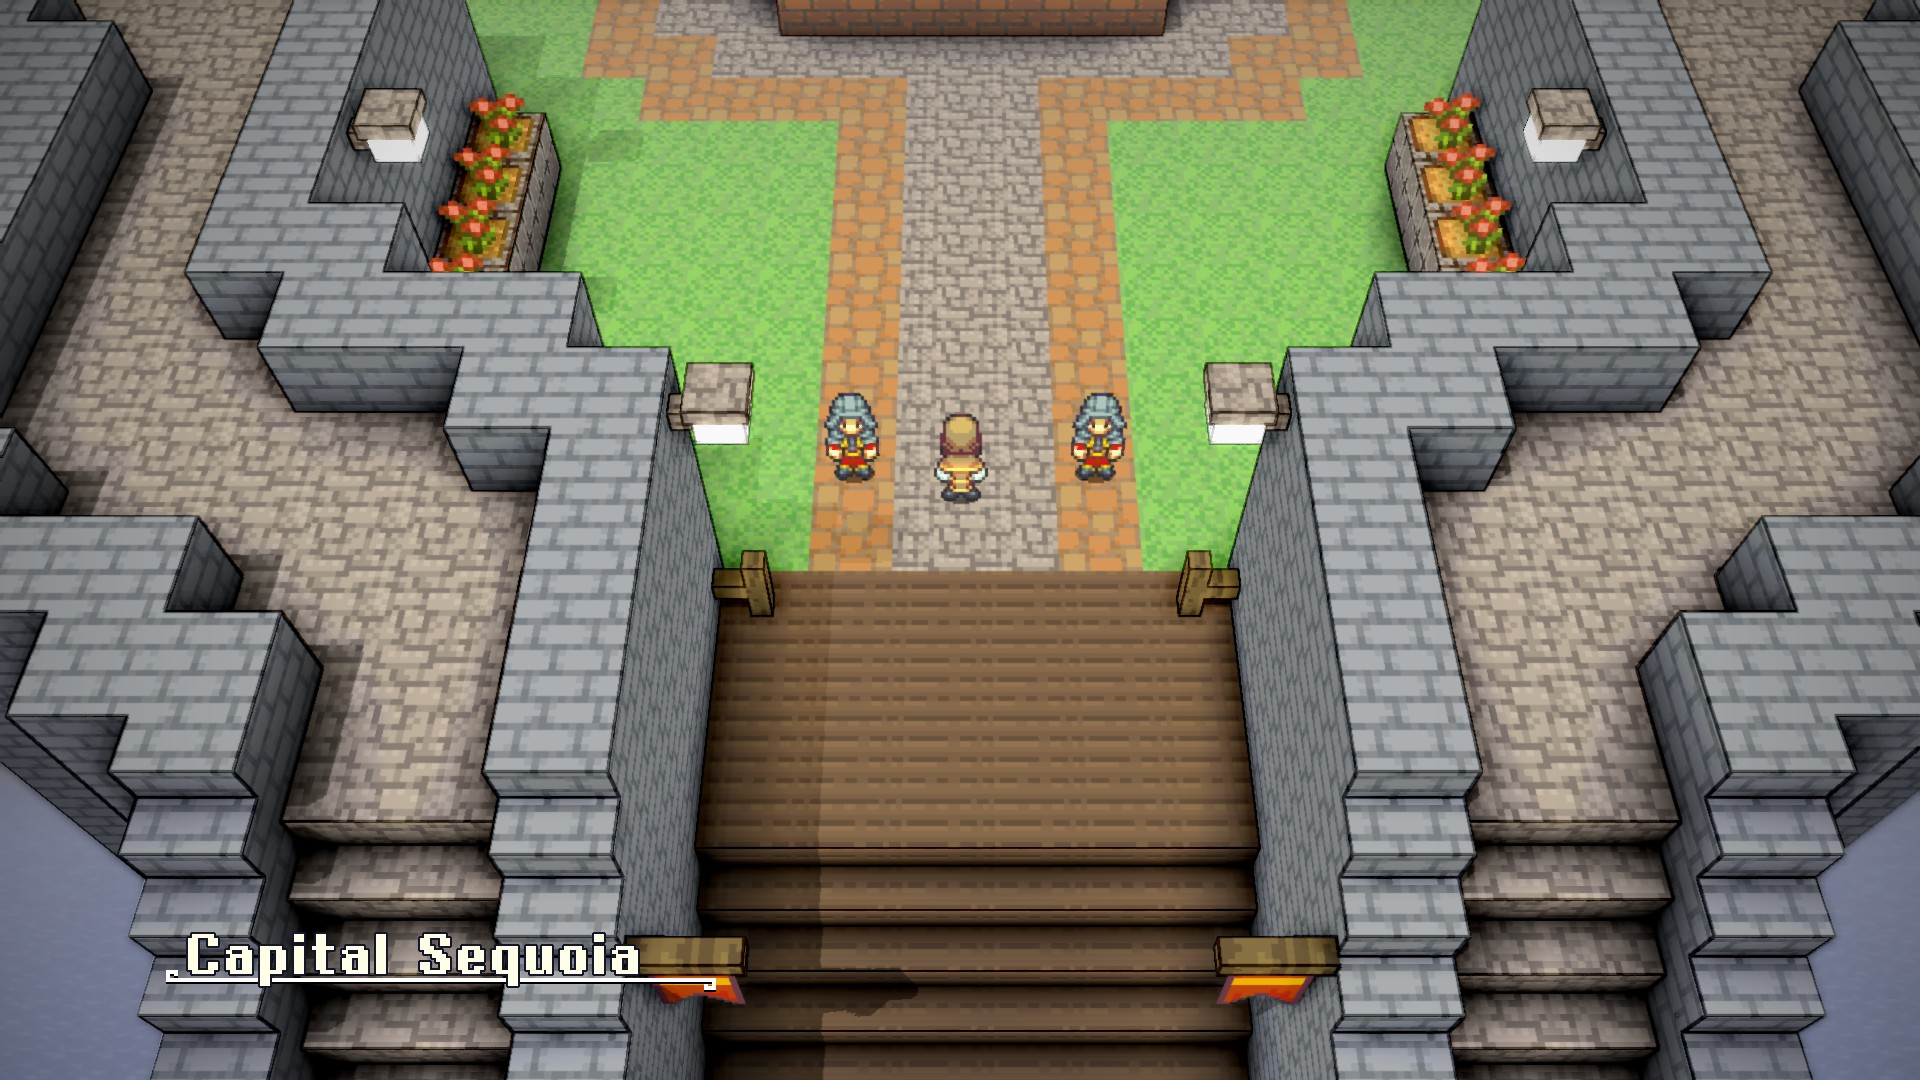
After making your way through the Trial Grounds you’ll find yourself in the capital city and the game’s main hub. There are a multitude of shops and other services so take your time to explore around and make yourself acquainted. While it is not required in any real sense, I would highly recommend stopping by the Gaea Shrine and picking up a Gaea Stone for 2 silver pieces. Having this tool will enable you to teleport back to the capital at any time. There are several other shrines
like this one throughout the game world which can be used as a fast travel system, but with a few exceptions they are not required for completing the game. That said, it is possible to end up stuck far away from the hub city if you are not careful, so picking up this item comes highly recommended. If for some reason the price of the stone is too steep, you can also purchase shards to teleport one time each.
Getting back to our goal of progression,
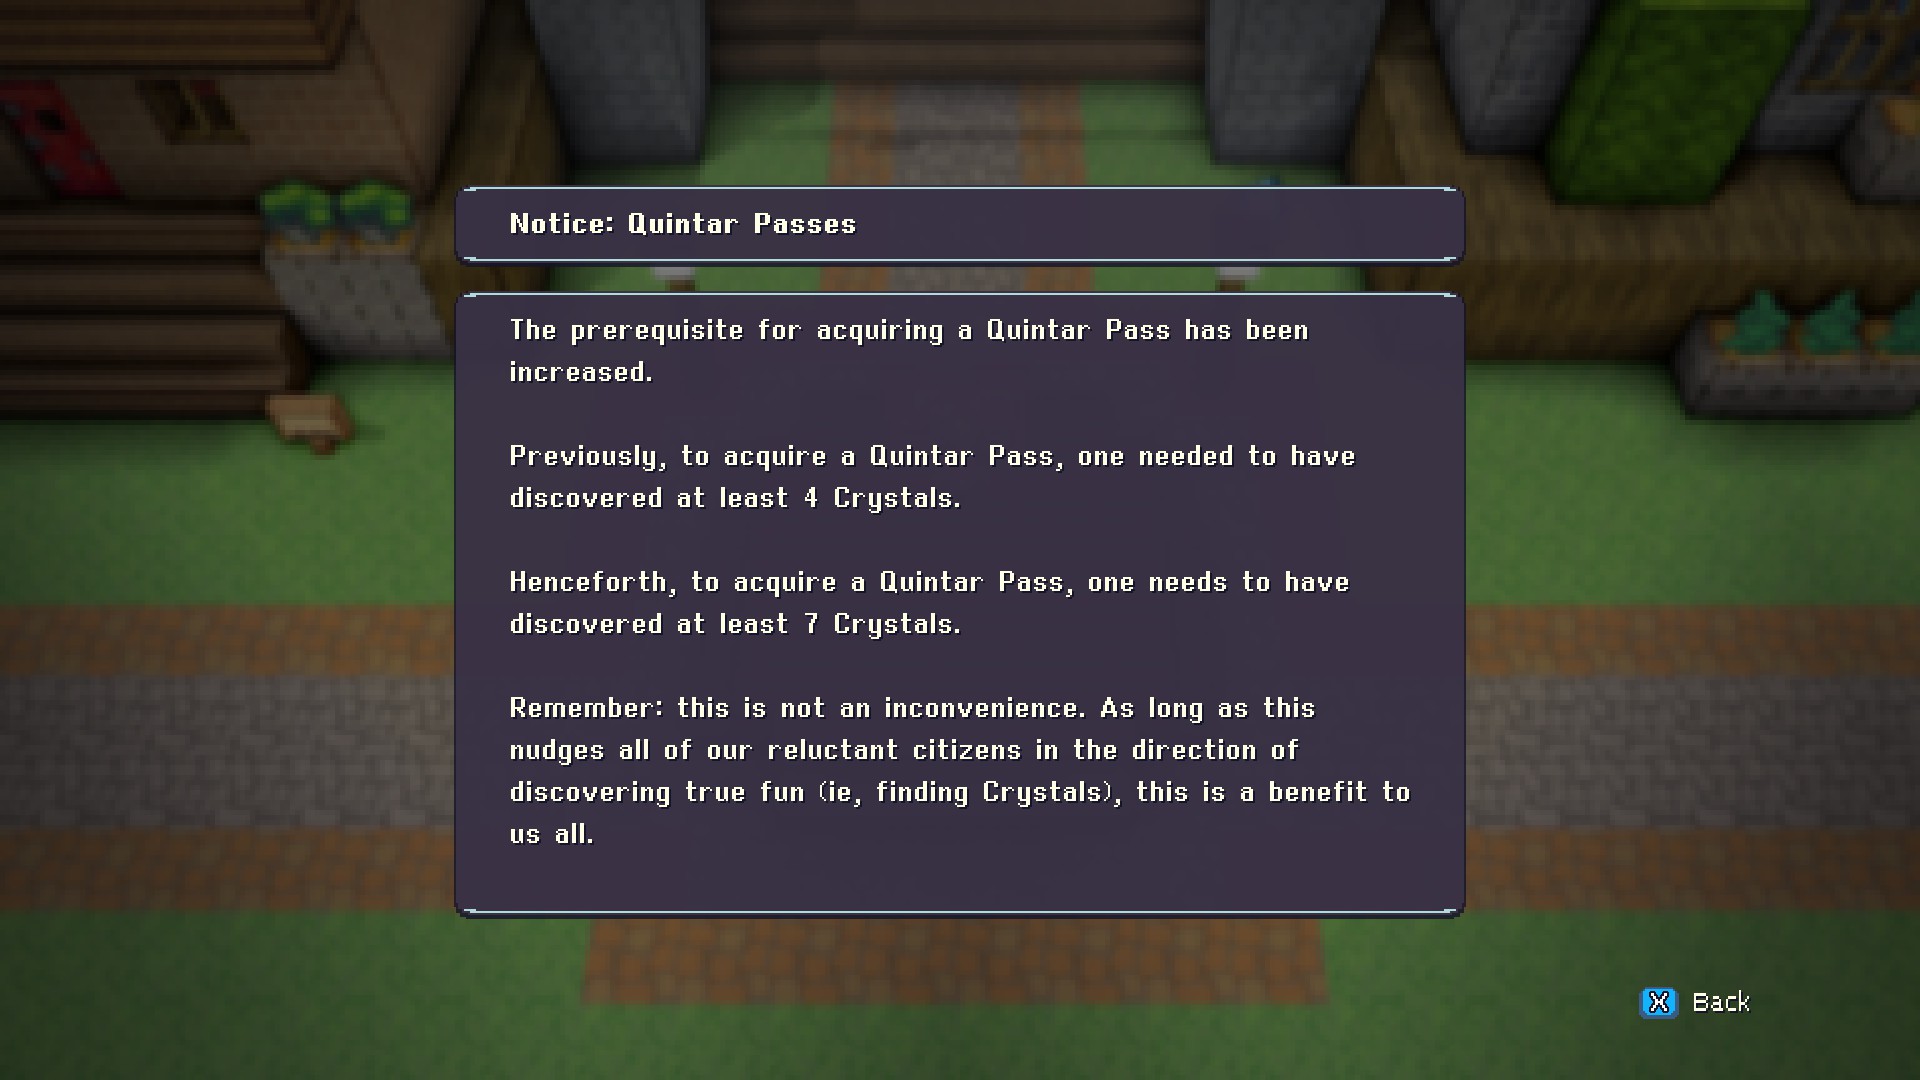
if you explore around you’ll probably find the notice board where an NPC is complaining about the requirements for a Quintar Pass. getting one of these is our next progression gate.
Aside: 7 Crystals
If you’re exploring around and stuck at this point in the game, you may be asking yourself if there are really 7 crystals available to find. My answer to this is a hesitant yes, however it is not necessary and in my opinion at least, not intended to do so.
The Olive Crystal
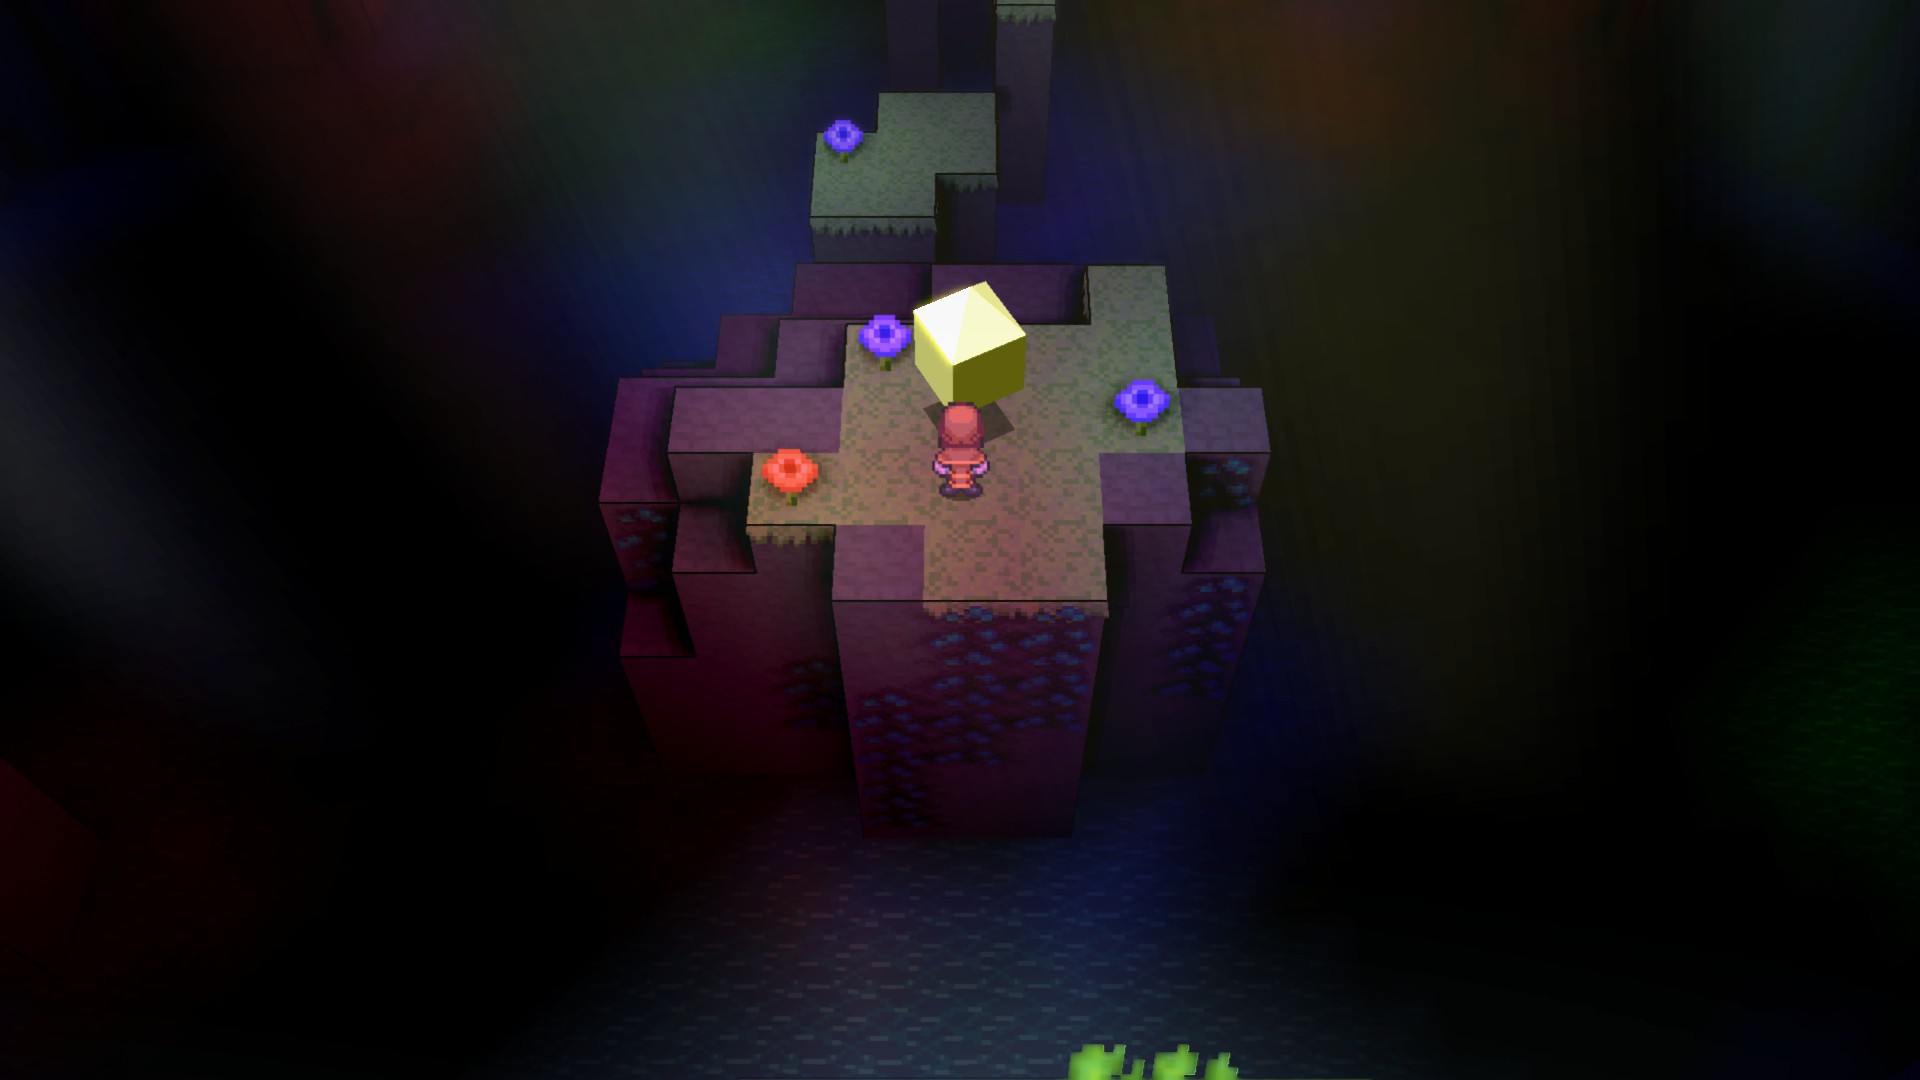
Either by exploring some back alleys or doing some tricky platforming from the east, you can find yourself inside the Jojo Sewers beneath the capital. If you head towards the east, you will eventually find yourself at an open area called the Quintar Nest. By platforming around the edge, and then eventually finding some stepping stones, you can make your way to a crystal here and unlock the Hunter class.
The Crimson Crystal
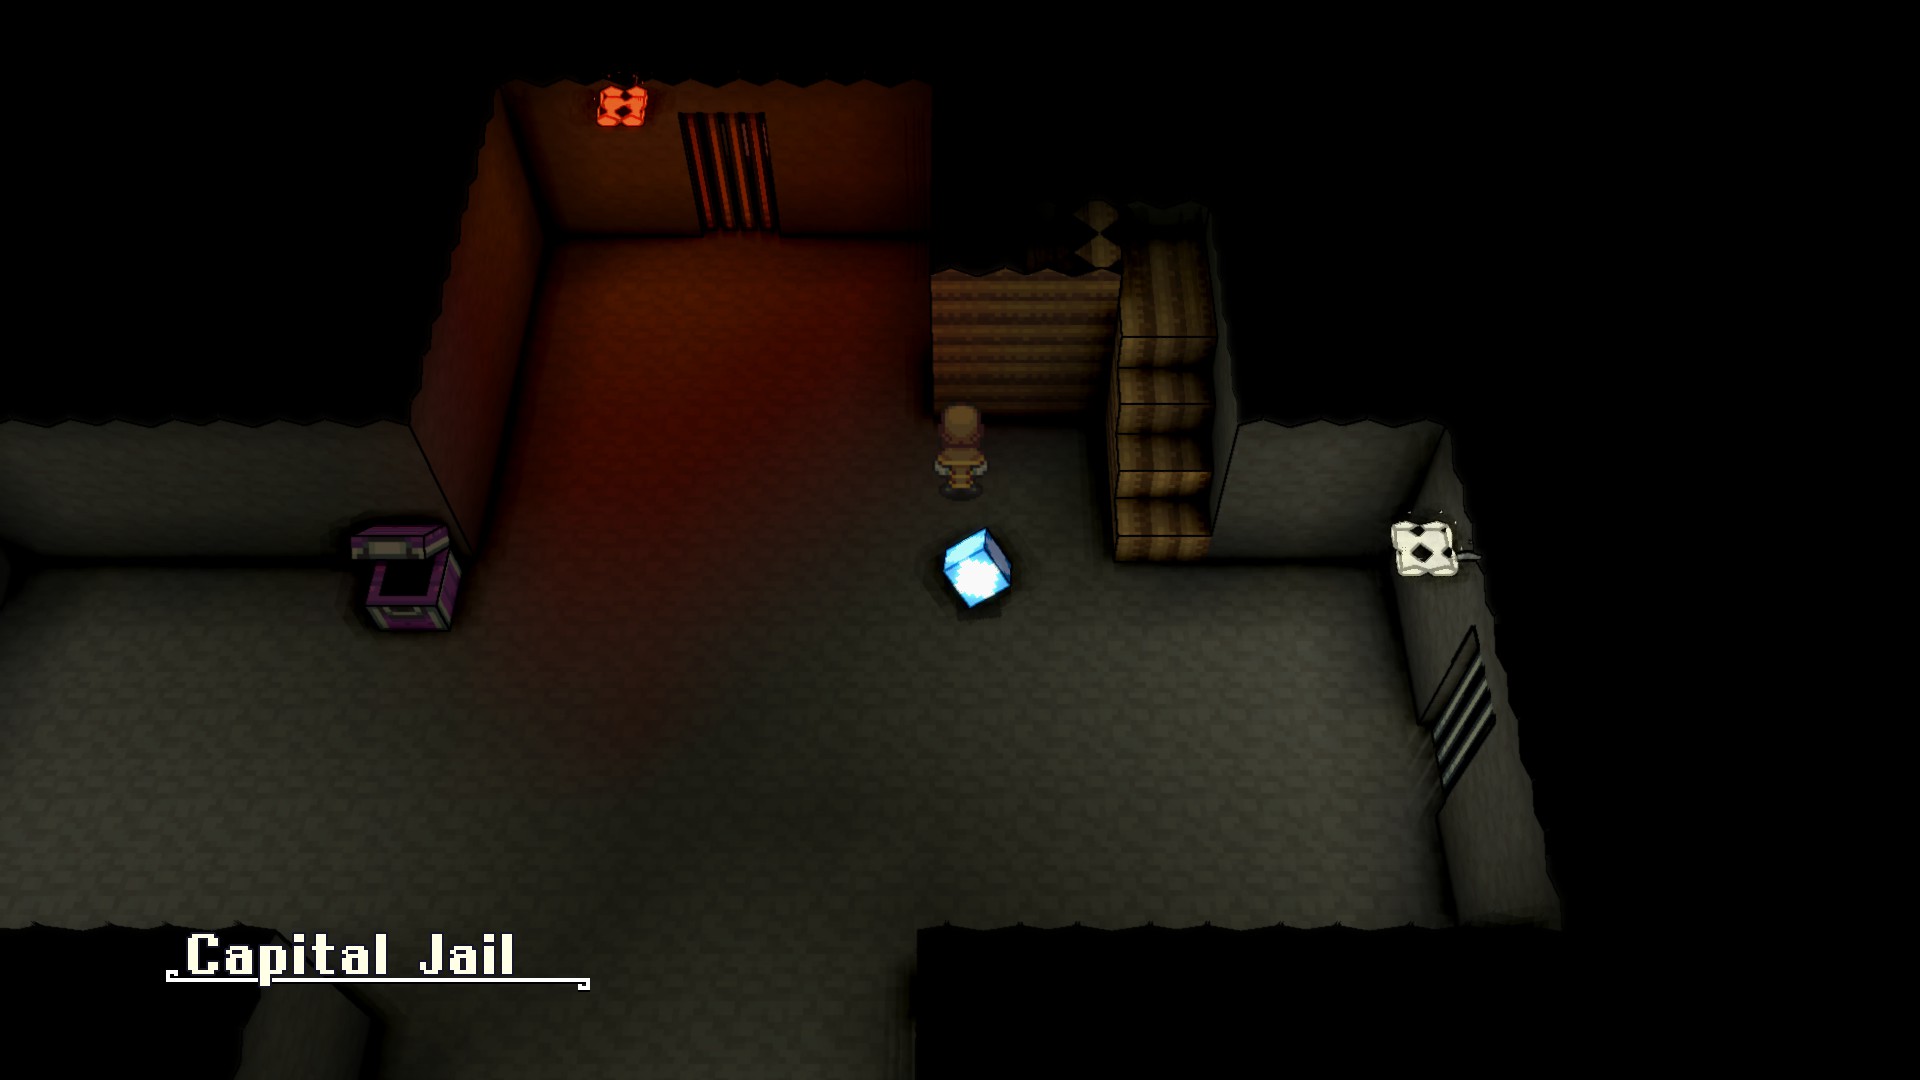
Also in the Jojo Sewers, you can find a door that leads down into the Capital Jail. This is another dungeon area which requires you to explore the south, west, and east wings before eventually making your way north to the final wing, where a boss fight guards this crystal and the Reaper class.
The Shadow Crystal
This is the sticking point on whether obtaining 7 crystals is possible or not at this point in our progression. If you head south from the Quintar Nest you will find an exit to a cliff face called the Cobblestone Crag.
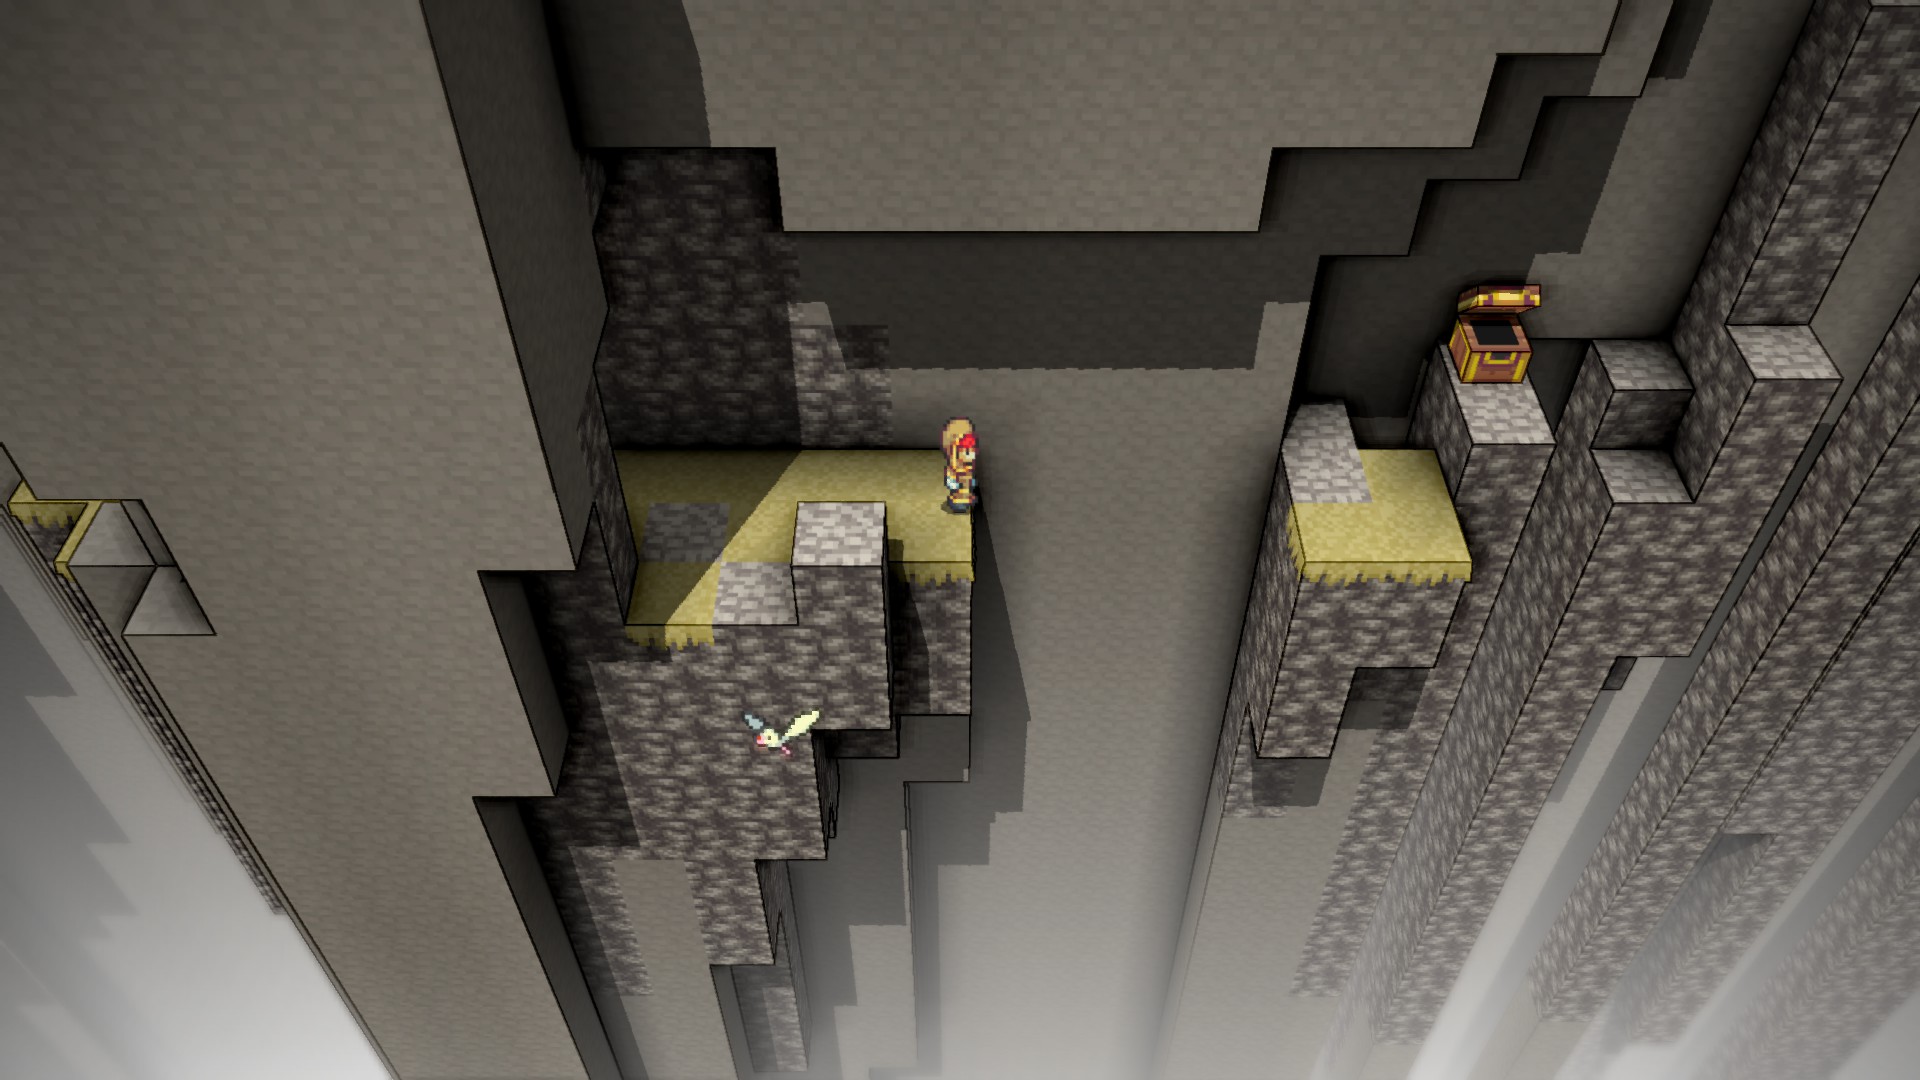
If you platform around being very careful to avoid a red boss wisp that stalks the area, you will eventually find yourself at this jump, which seems to require the Quintar mount to get past. If you can get further east than this, and though I’m not personally aware of how to do so I’ve seen it referenced in some discussions, then it’s possible to follow the rest of the path on foot, arriving at and navigating up Okimoto N.S. to a building guarded by NPC Ninjas which will eventually lead to the Shadow Crystal and the Ninja class.
Completing the above, along with the 3 crystals required before and the Yellow crystal at the start of the trial grounds, you should meet the requirement of 7 and be given a free Quintar Pass at the stables.
Getting a Quintar Pass without Crystals
So as described above, it is theoretically possible to obtain 7 crystals and obtain the pass that way, however there is another far simpler method to obtain the pass, though it requires a bit of exploration. Exiting the capital city to the east brings you to the Rolling Quintar Fields. The area isn’t that complicated to navigate, and if you head to the northeast portion of it, you’ll eventually find a house on the cliffside with several Quintars gathered around and inside it. Upstairs, there is a Quintar Enthusiast who requests that you bring him a Brutish Quintar Eyeball.
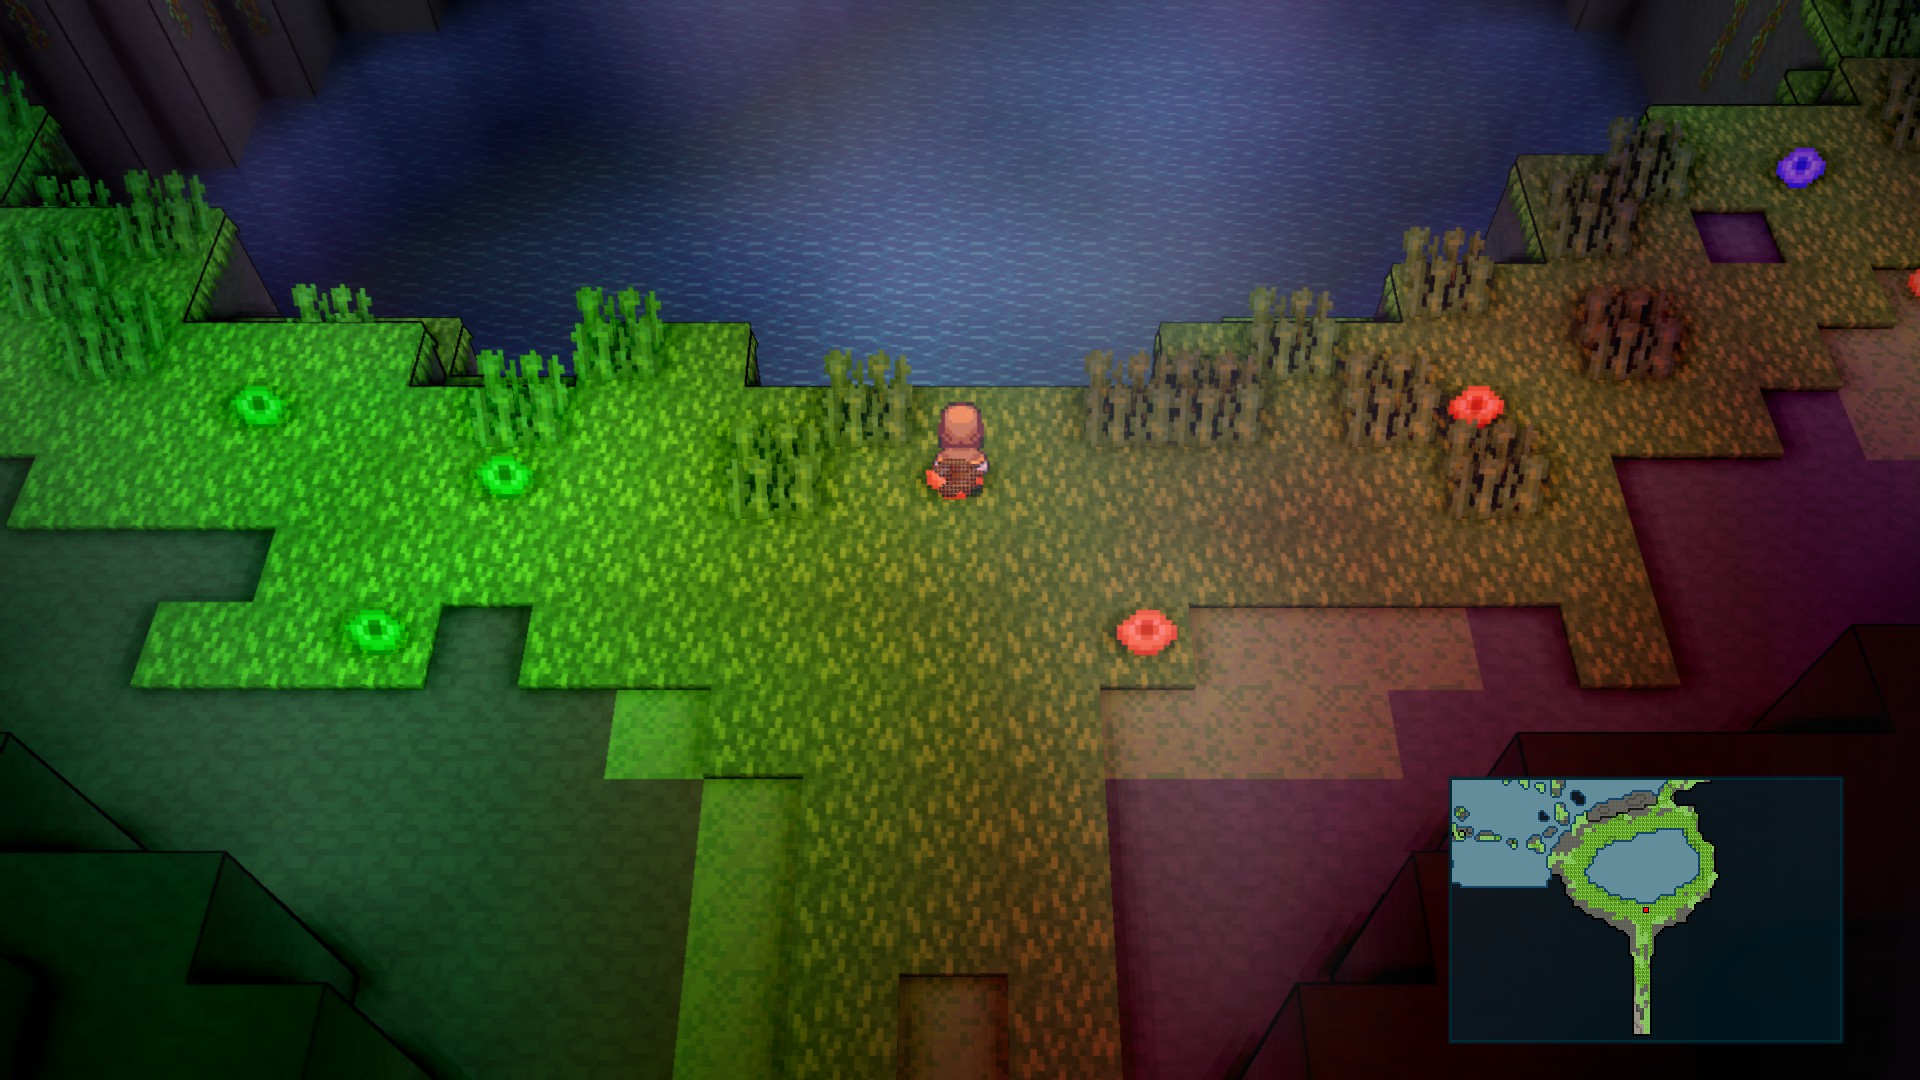
If you reference the note about the Olive Crystal above, you can find the Quintar nest by following the sewers underneath the capital city. From where the crystal is, if you continue following the outside edge of the area to the east and then south, you’ll eventually find a pool of water with a fair amount of space around it. There are a few fast moving wisps running around the water which will give you encounters with Brutish Quintar. Defeat one of them to obtain its eyeball as loot and bring it back to the Quintar Enthusiast and he will give you a Quintar Pass in return, no matter how many crystals you currently have.
Quintars on demand.
So now you have access to rent a Quintar from the stables, maybe you’ve even tried to explore around for it but not really done much except hit dead ends, where are you supposed to go from here? The answer is that the only meaningful progress renting a quintar lets you make is in the Rolling Quintar Fields itself.
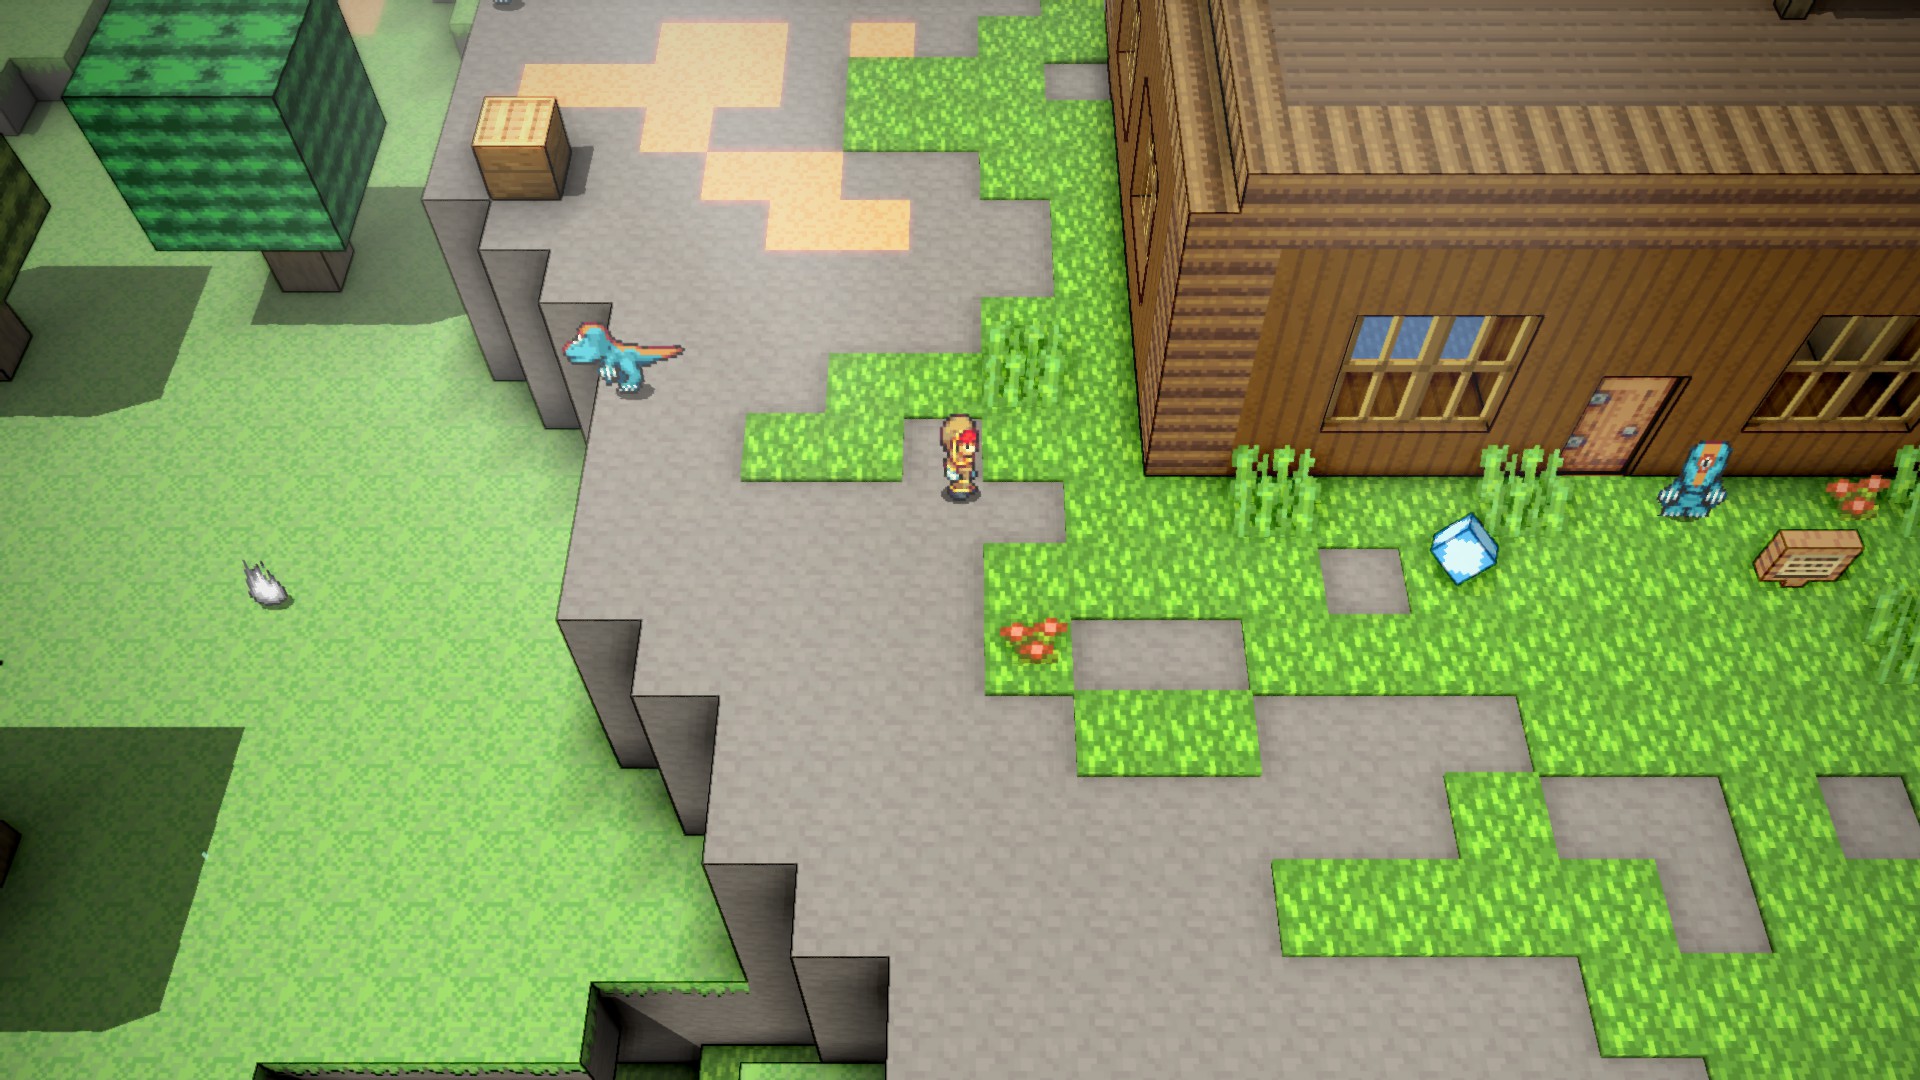
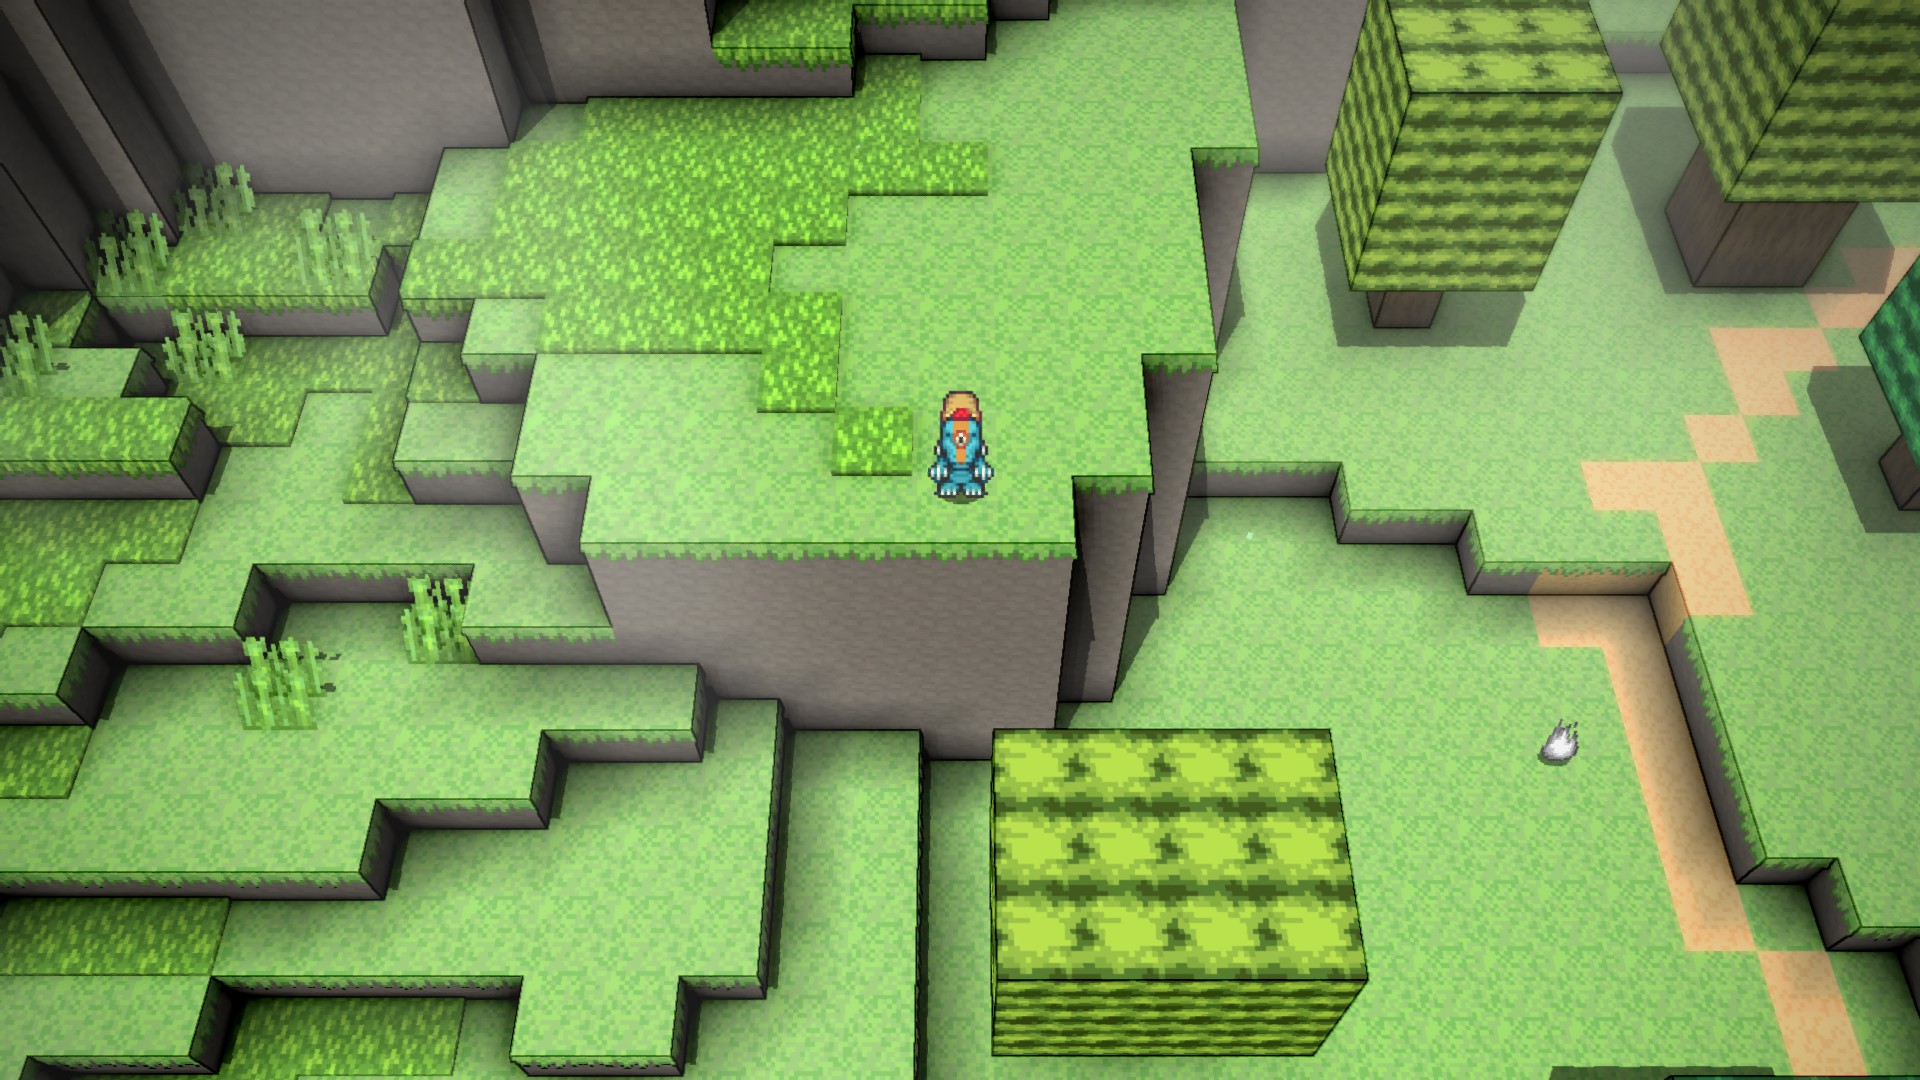
From the stables, head slightly north and use this hill to get up on top of some trees and jump across to this cliff. Following the dirt trail and jumping over several more treetops, you’ll eventually reach a cliff which will require you to dismount to jump up.
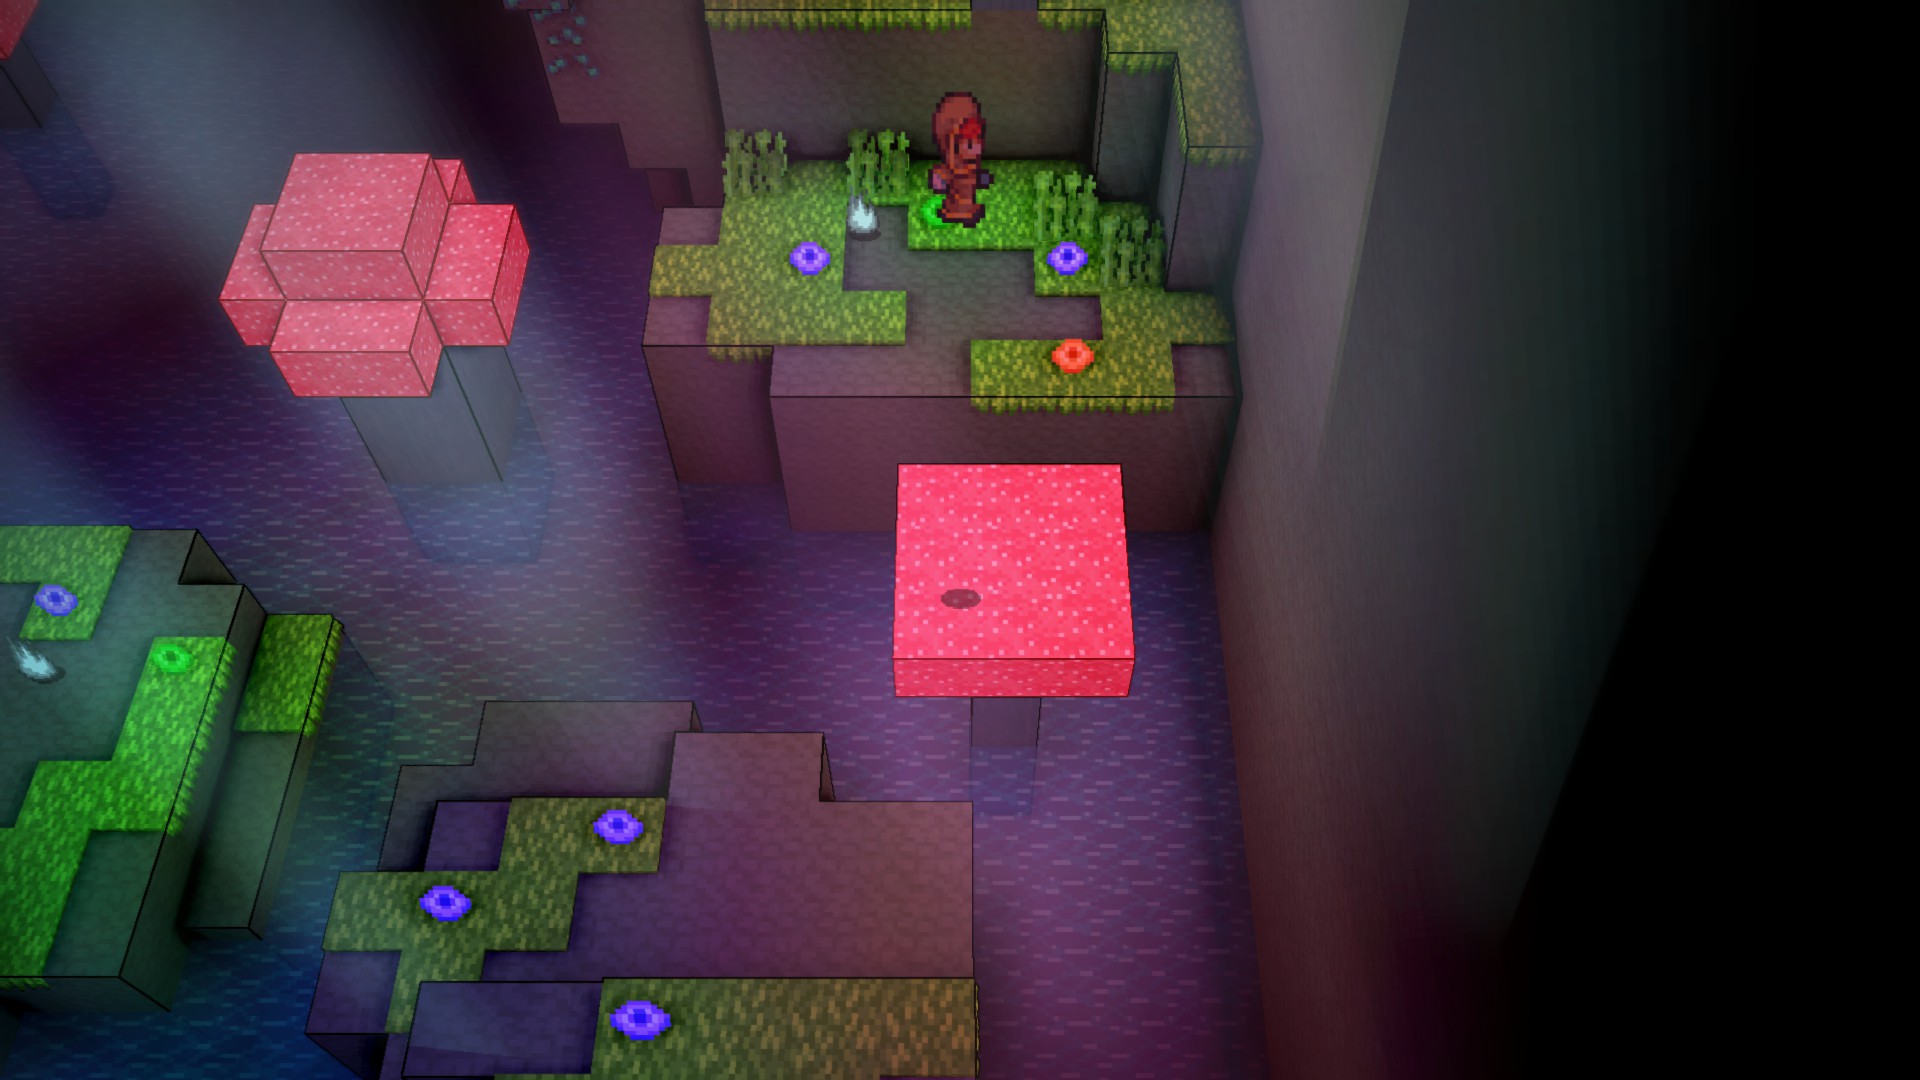
Save at the home point and drop down into the cave ahead to enter the Quintar Sanctum. Platforming through this cave requires the use of these giant mushrooms which will bounce you high into the air when jumped on.
Using them, get as high as you can and you’ll eventually find a home point and the Violet Red Crystal which grants the Chemist class, but that’s not what we’re actually here for.
Continue northwest and jump up another series of mushrooms to get even higher, and you’ll find a particularly large mushroom with a boss wisp on it. Defeating this boss will give you a Fancy Quintar Eye. With our prize, head north and then west to find an exit out onto the cliffs overlooking the Rolling Quintar Plains and follow them back around to the Quintar Enthusiast’s house. Show him your fancy new eyeball and he’ll reward you with the Quintar Flute, an item which will allow you to summon a Quintar wherever you are, much more useful.
(Optional) West of the Capital
With the Quintar Flute we technically have everything we need to advance further into the game, however I believe that the player is intended to make a detour to the west first for a reason I’ll explain at the end. If you don’t care and just want to get on with things, skip to the next section.
With the Quintar flute in hand, the area to the west of the capital is no longer a dead end. (There’s a guard who won’t let you pass until you have 5 crystals, but that shouldn’t be an issue at this point and it’s also possible to just get up on top of the walls and jump past him). Following the path, you’ll find a broken bridge that requires a Quintar to cross, then a 2-voxel high ledge that requires you to dismount, and then another broken bridge that requires a Quintar to cross. Before obtaining the flute this would be a dead end, but now we can get past it just fine.
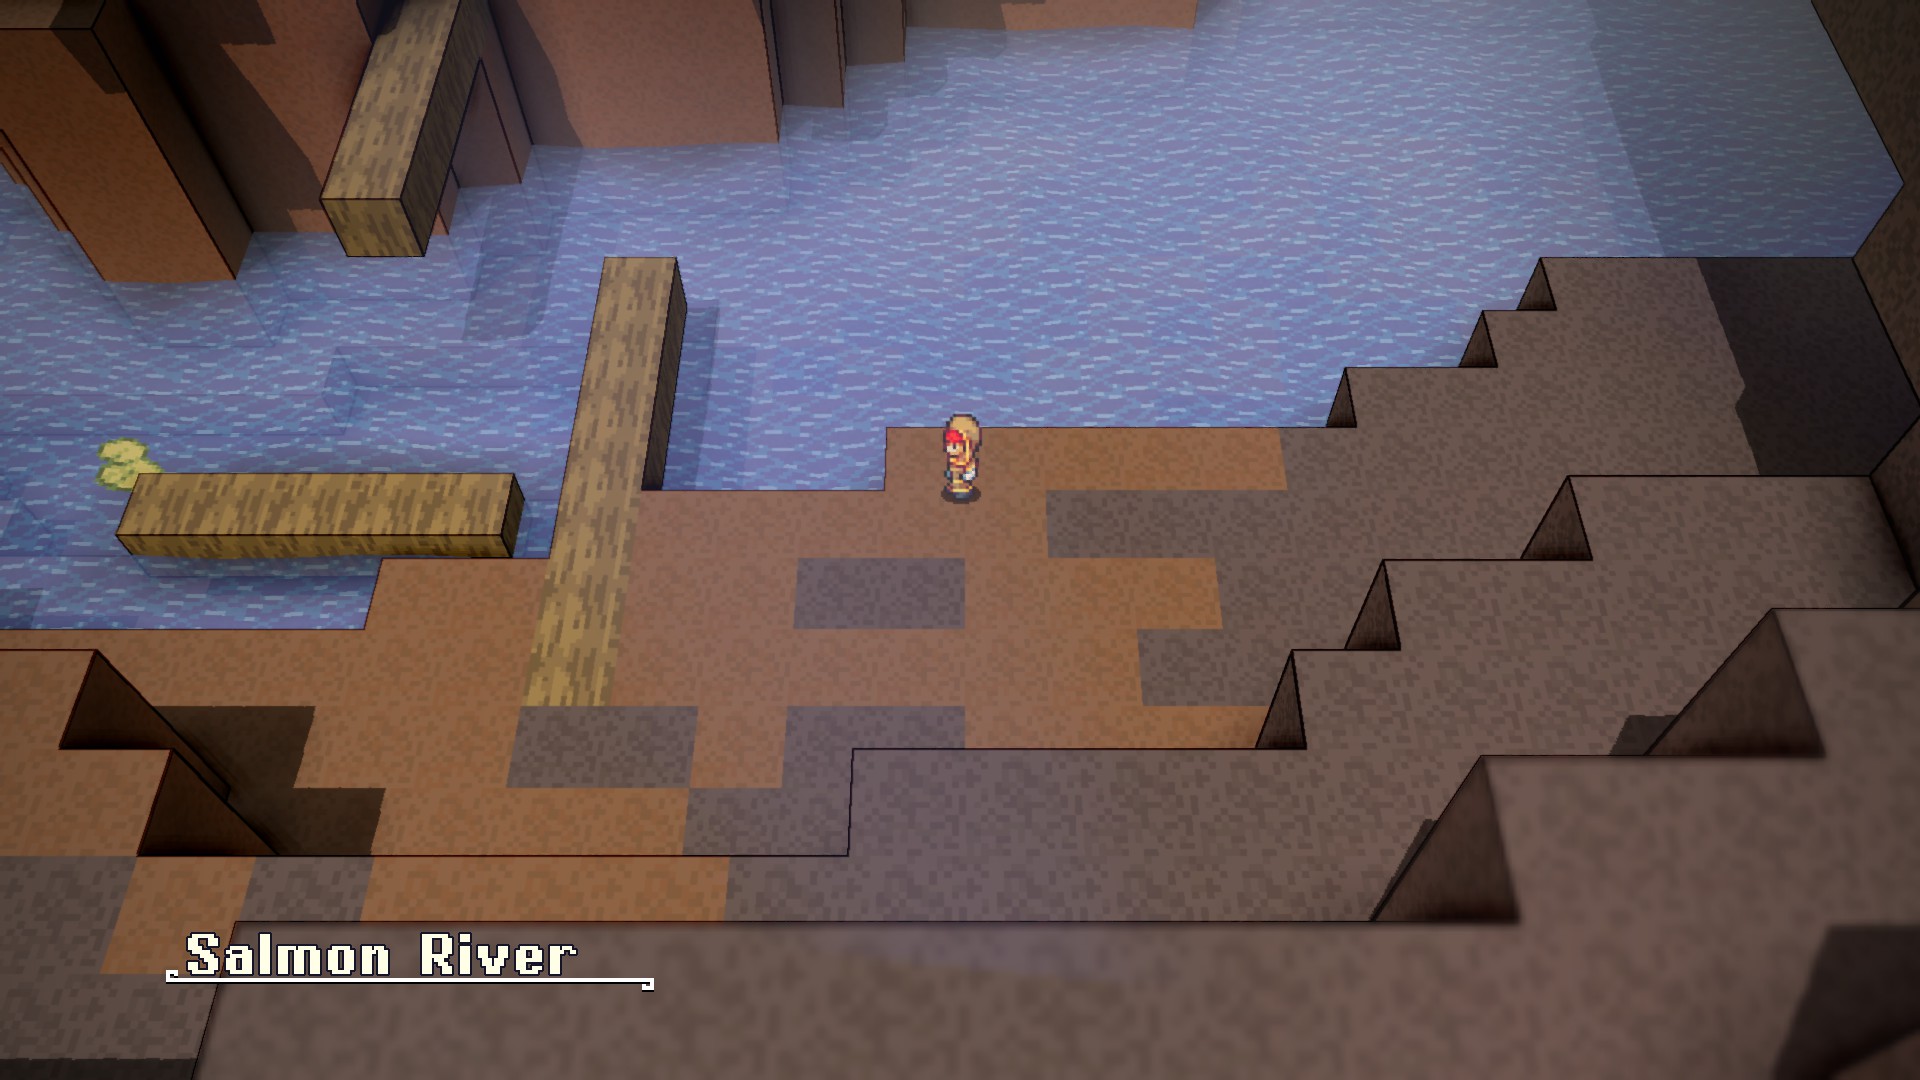
The Salmon River is a gauntlet of enemies and platforming. You’re not required to defeat every or even really any enemy in order to proceed, however trying to dodge them will make the platforming all the trickier, so it may be worth it to just bite the bullet and fight some here and there to give yourself more time to line up some of the trickier jumps. If certain jumps can’t be cleared on foot remember that the Quintar can jump a bit further as long as you can manage a running start. Even then some of the jumps are rather precise, so don’t get too discouraged if you end up in the water over and over.
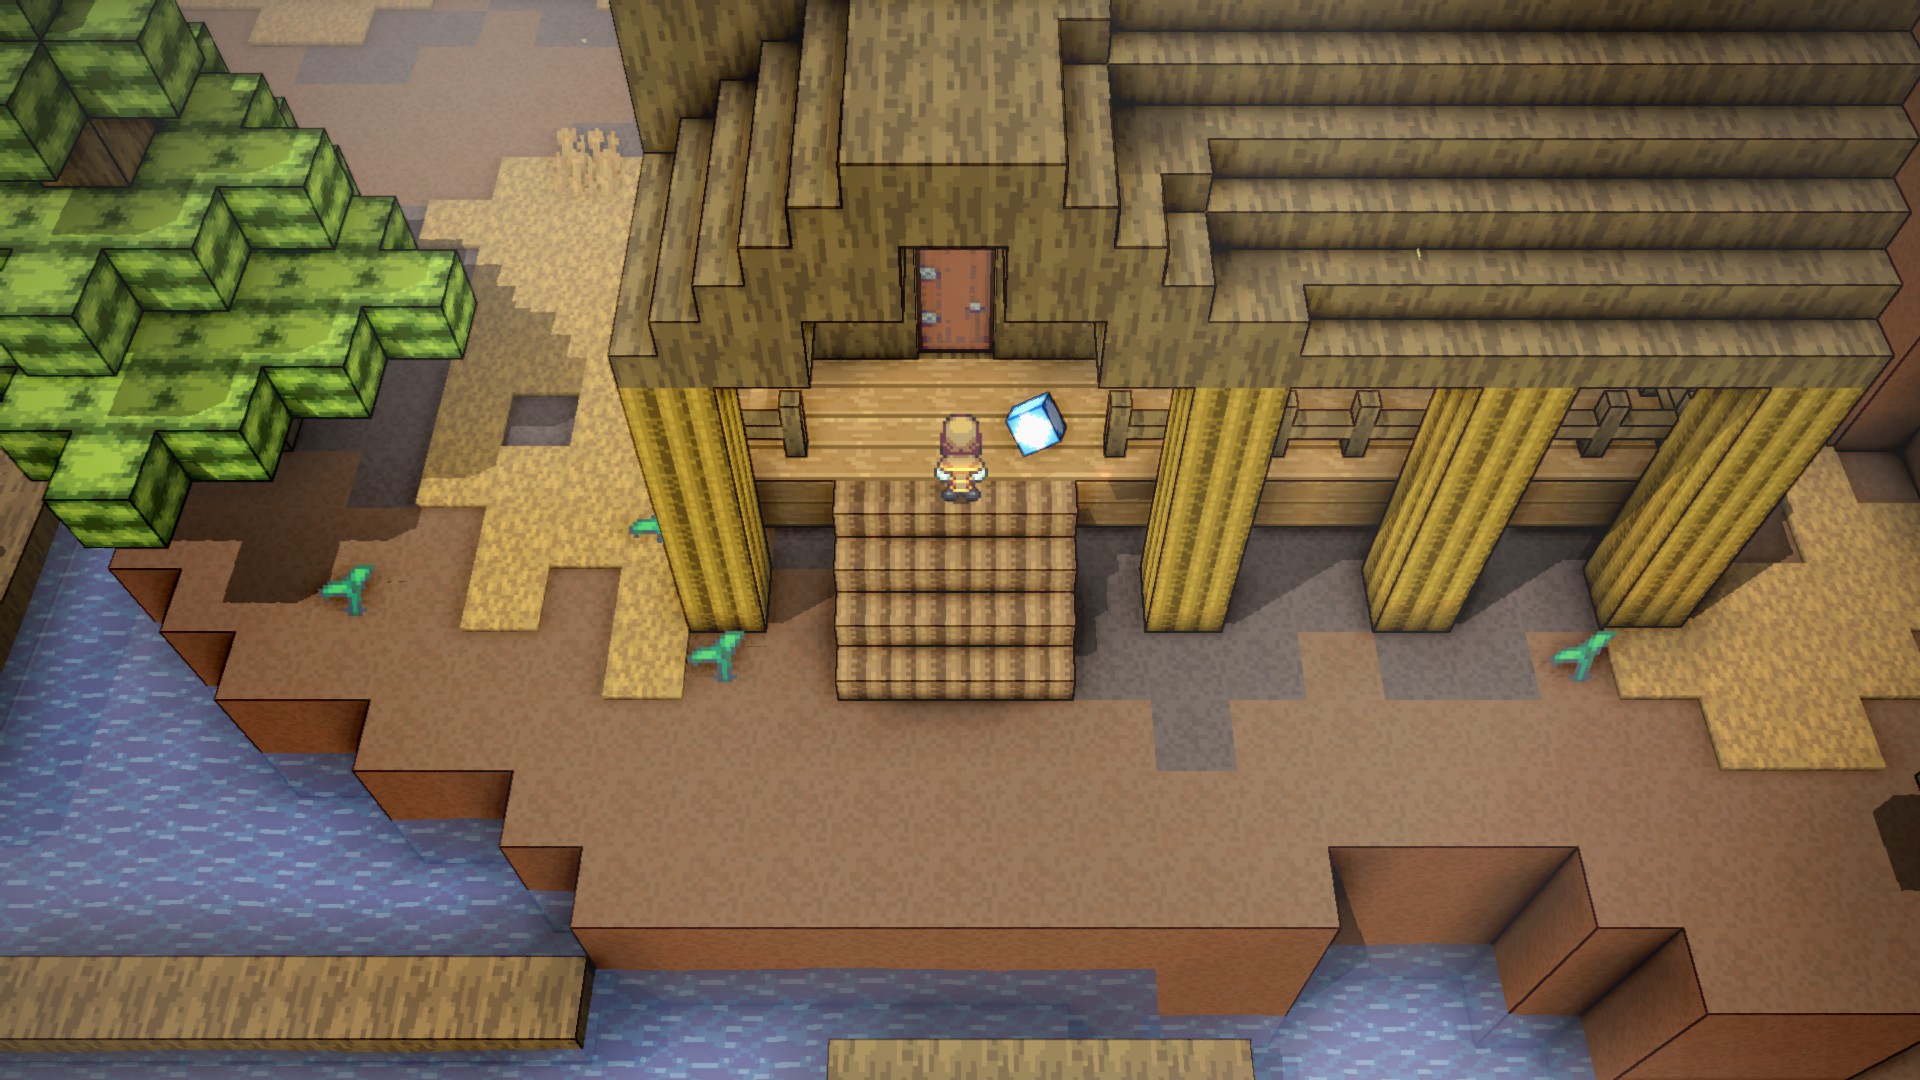
Eventually we’ll reach the end at the Salmon Shack, which offers the Salmon Sprint minigame, but that’s not why we’re here. Talk to the NPCs outside of the hut and one of them should give you the Courtyard Key and mention that there’s more adventure to be found east of the capital. This dialogue and this key are why I feel like it’s intended for players to stop over here, but it’s entirely possible to reach the area locked by this key with some clever platforming regardless.
Advancing to the East
Either by making use of the Courtyard Key and platforming past the couryard walls, or by using a path south of the Quintar Nest noted in my aside about the Shadow Crystal, you can reach the Cobblestone Crag and carefully advance along and down it to the east. You’ll eventually reach the gap which requires the use of your Quintar Flute to get across, and then a section which will require more platforming.
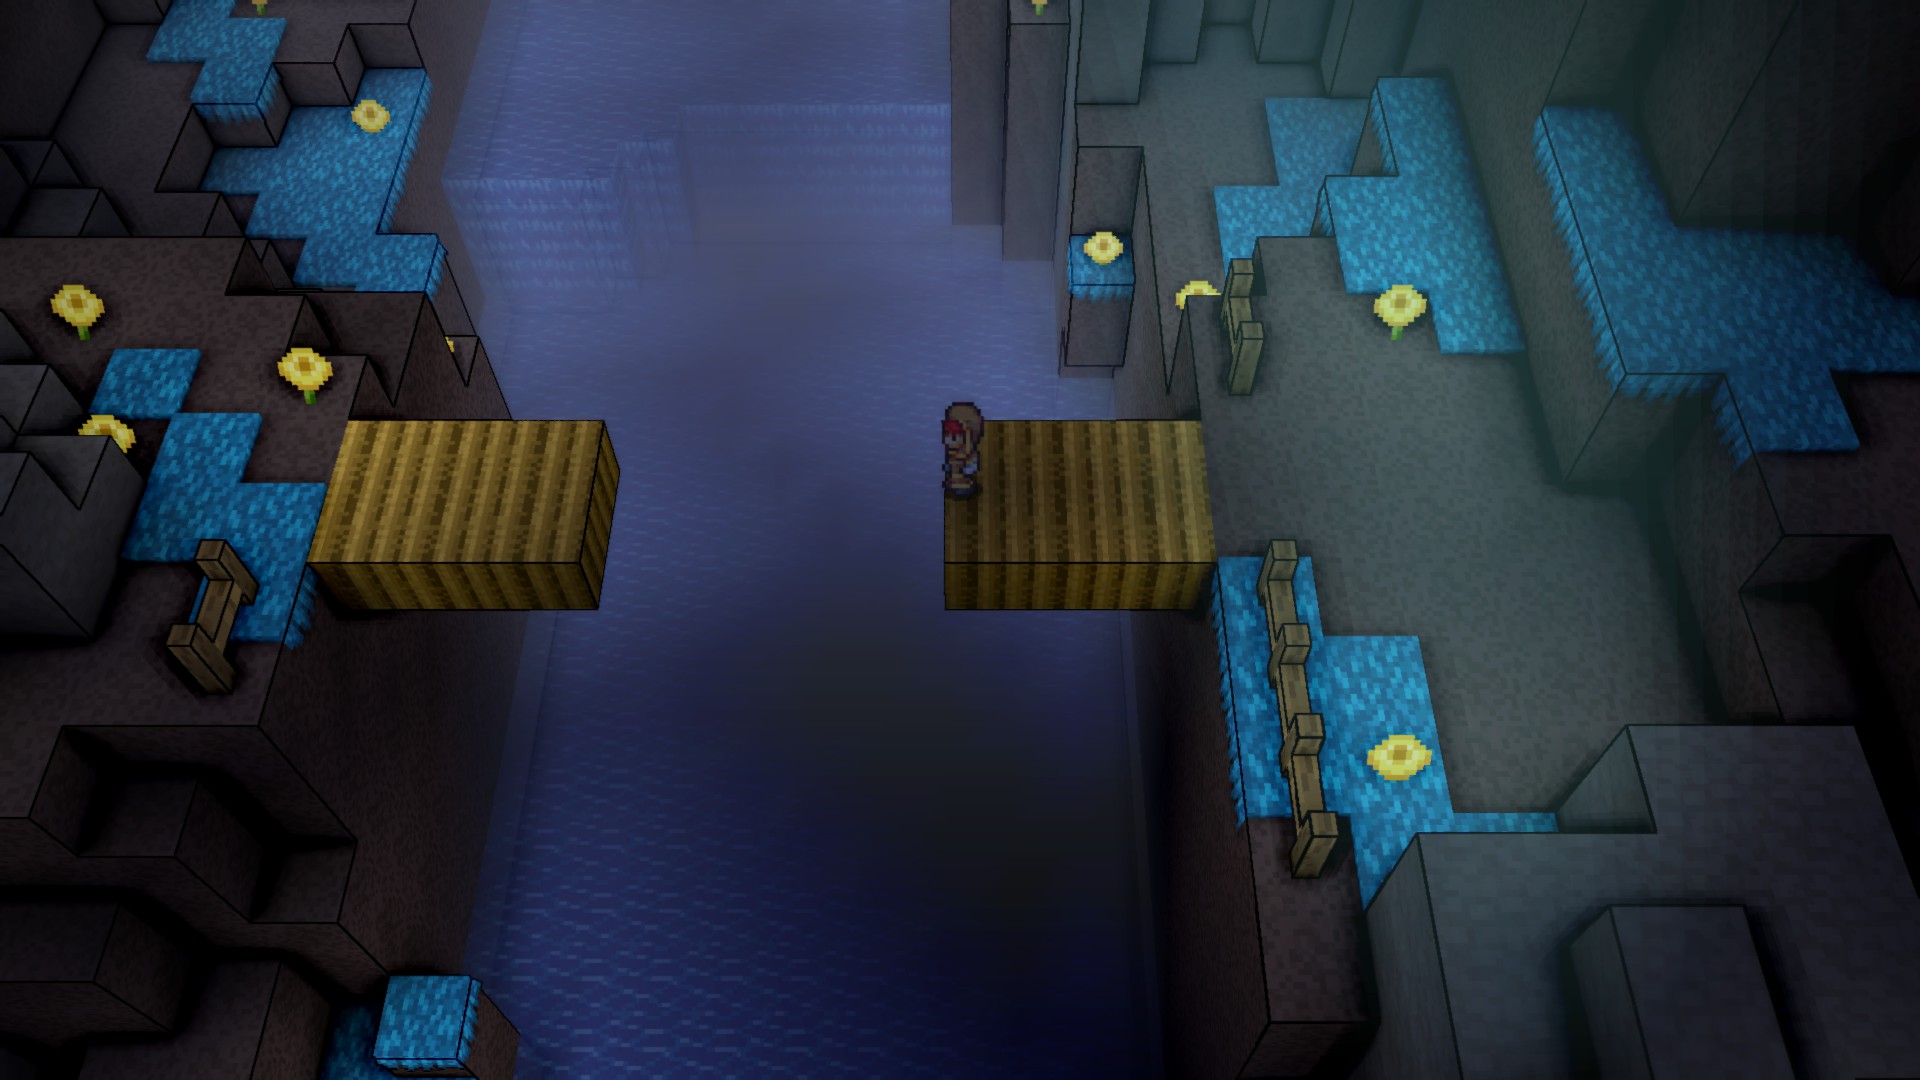
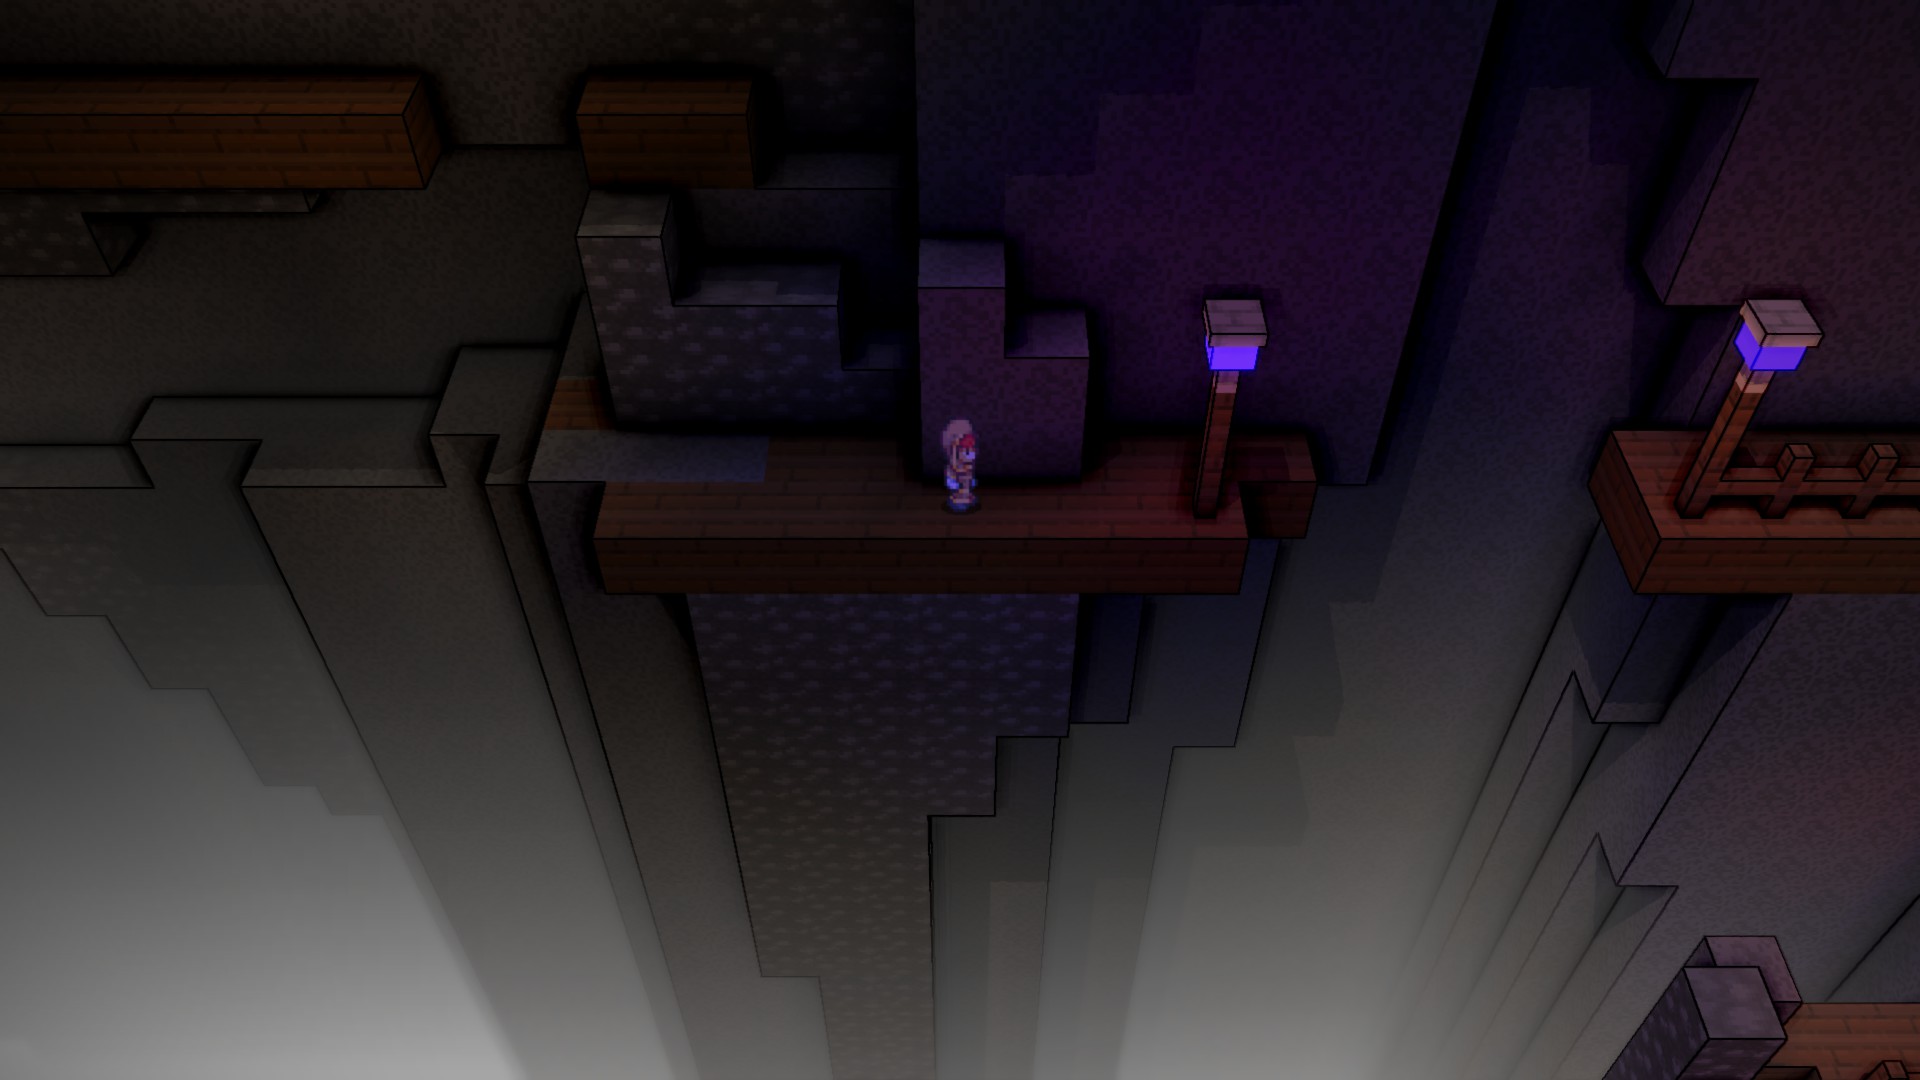
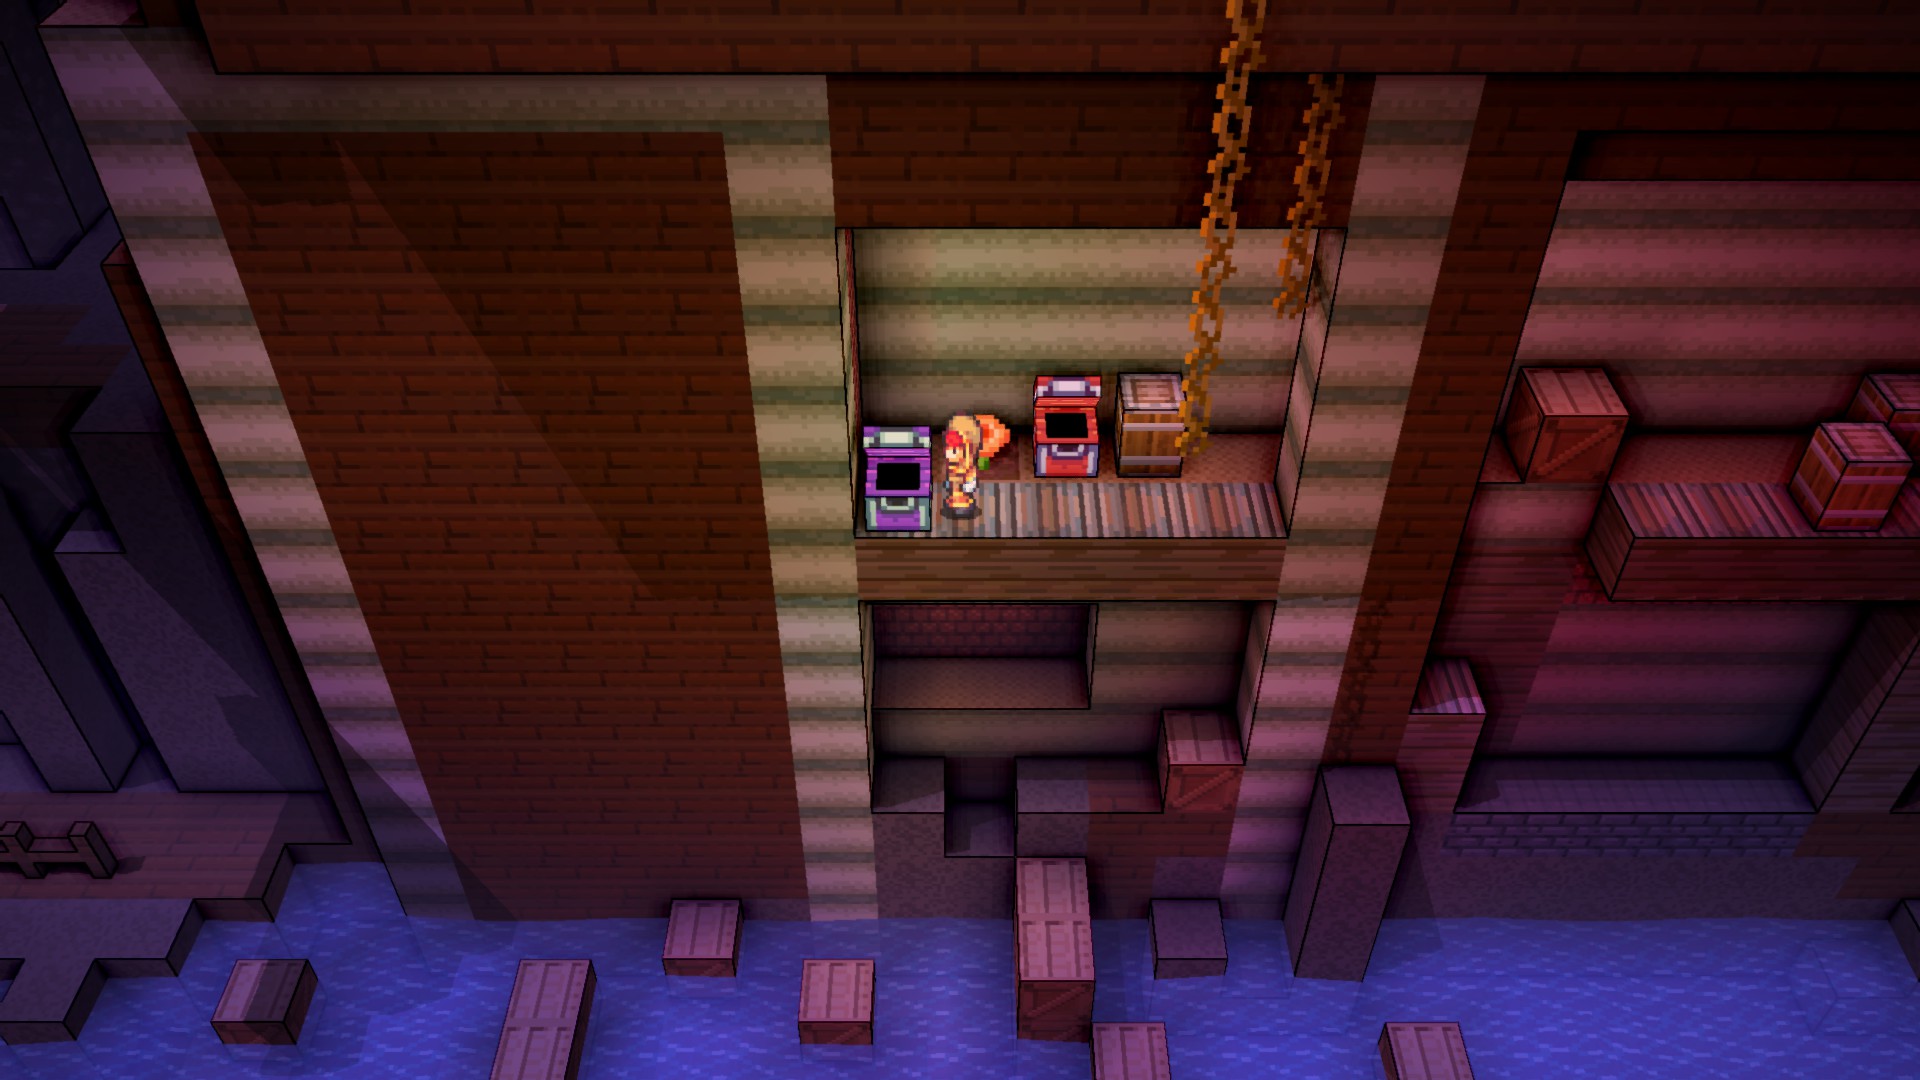
You’ll eventually reach a fork in the path marked by these lamps. You can continue upwards and reach the Shadow Crystal, or you can use your Quintar Flute once again to cross the gap here and follow the path laid out. You’ll get a notification that you’ve entered Shoudu Province, however due to some broken infrastructure we are cut off from the main part of that area. You can talk to a goat here who will walk off and seem to climb up a wall, go ahead and make a note of that for later but we are unable to follow at the moment. All we can do is platform around some crates and boxes down here until we arrive at a chest that contains the Mars Stone. If you’ve purchased the Gaea Stone I mentioned above, and perhaps even found another shrine or two, you’ll recognize the purpose of this item. Using it will trigger a brief cutscene and bring you somewhere completely unknown.
Traipsing Around the Desert
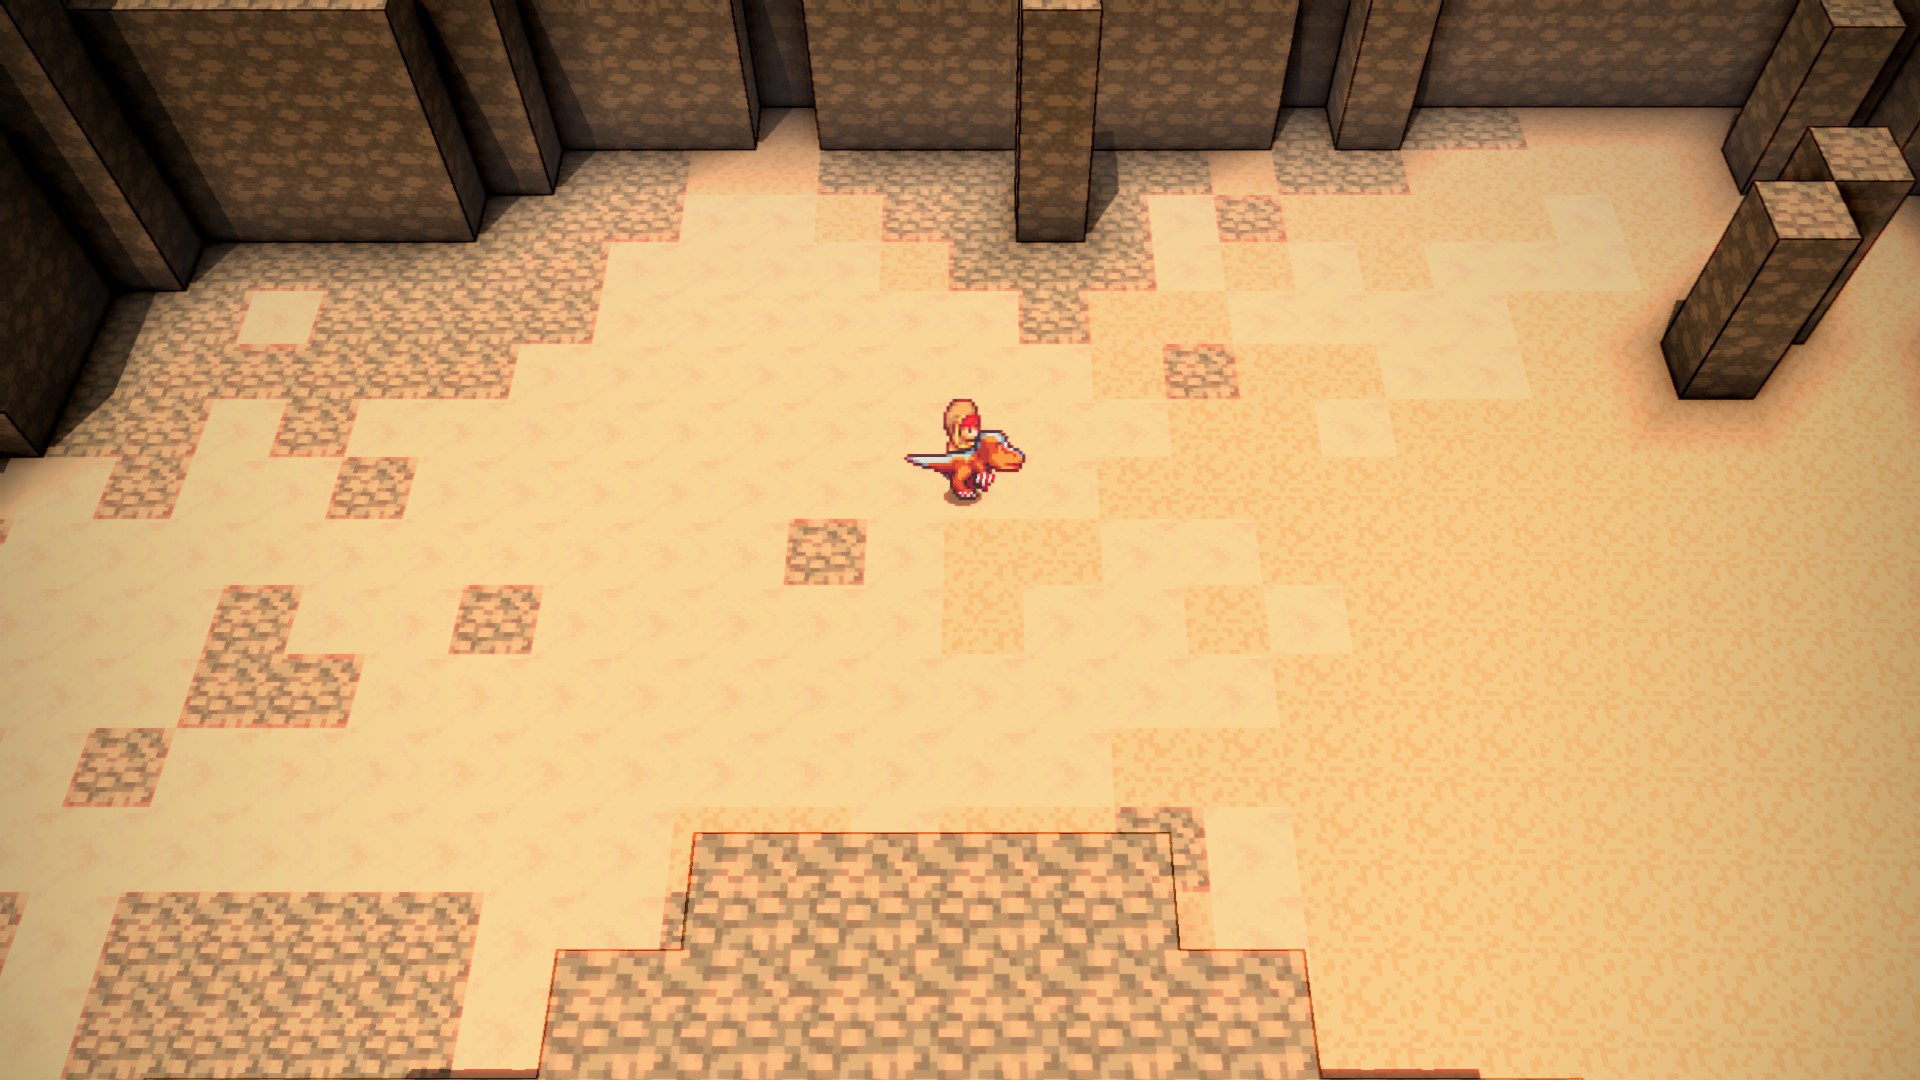
Using the Mars Stone will bring you to a ruined shrine in the middle of the Poko Poko Desert. This area is very wide and has some particularly aggressive enemy wisps. Considering we have the Mars Stone to return here at will, don’t be afraid to warp back to a safe area to heal, stock up, etc.
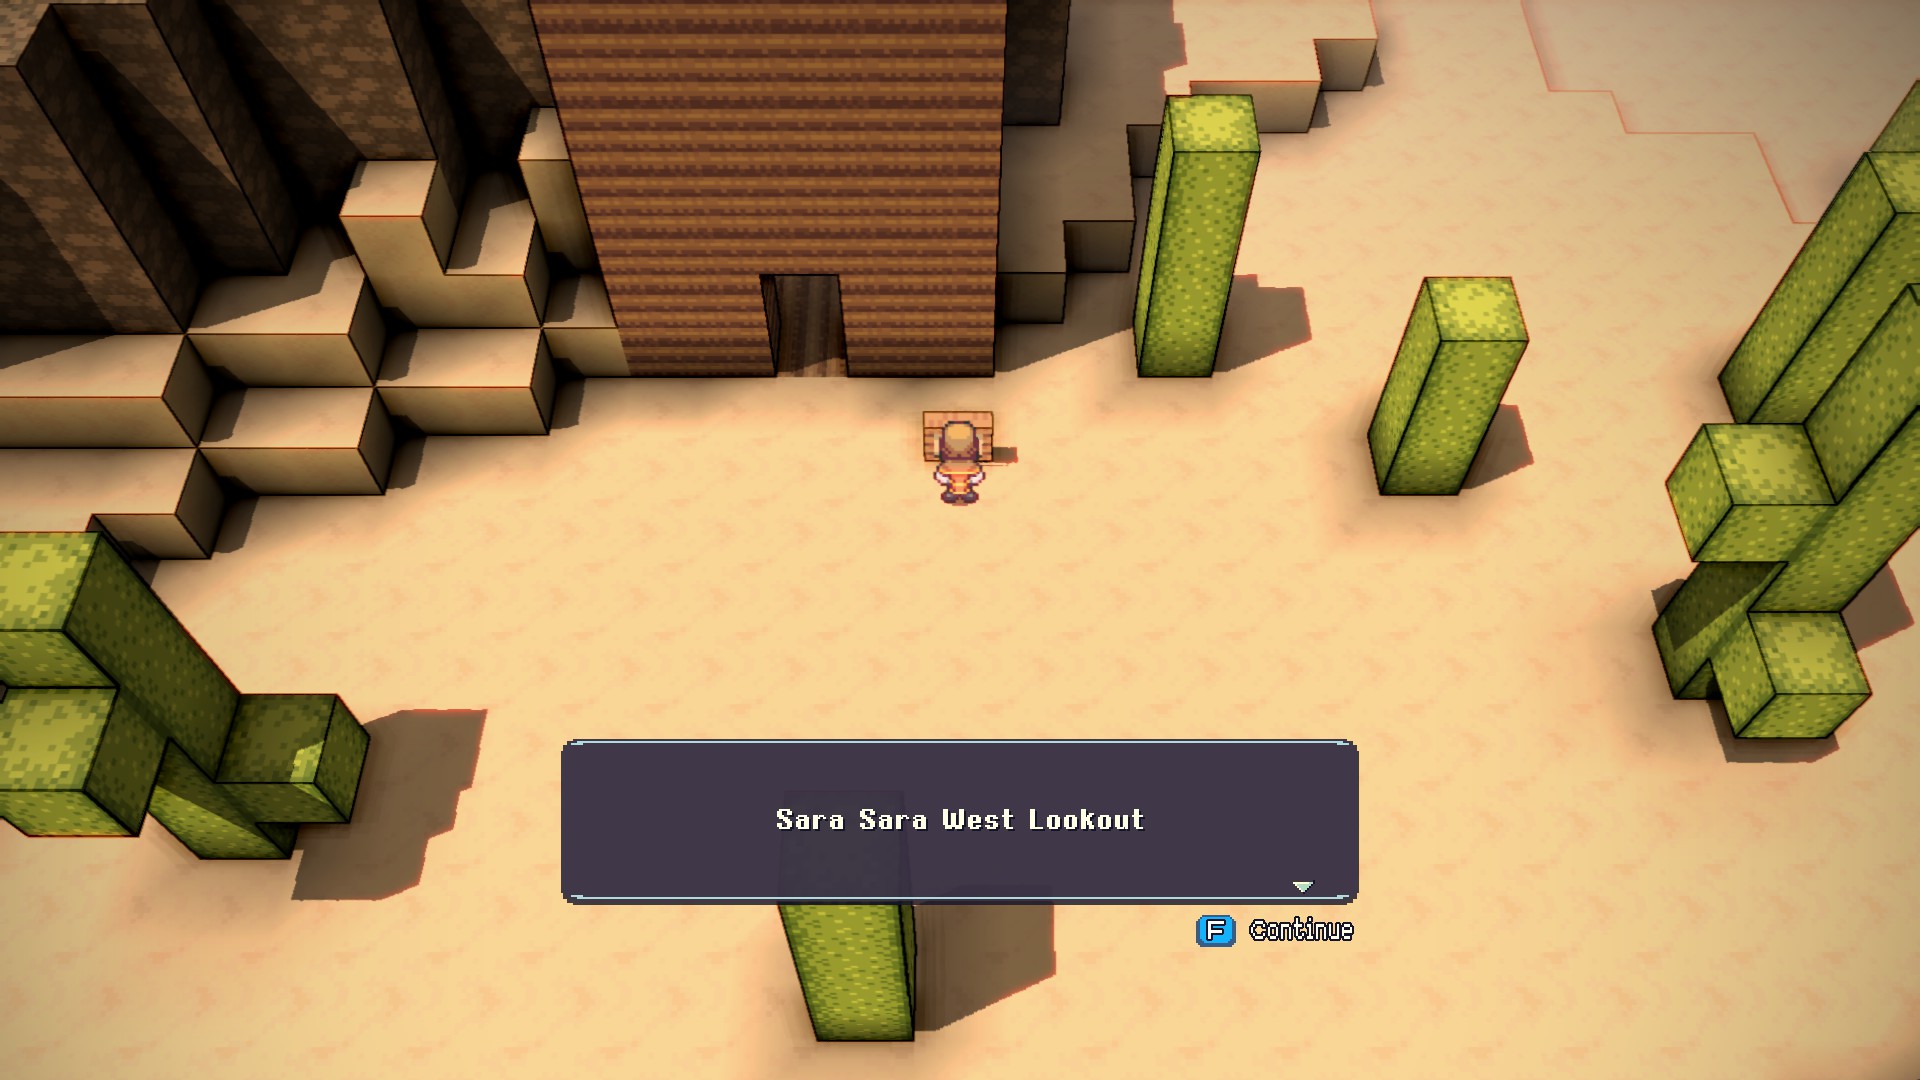
The size of the area can make it difficult and intimidating to navigate but if you head generally south from the Mars Shrine, you’ll find a lookout point that can be used as a landmark,
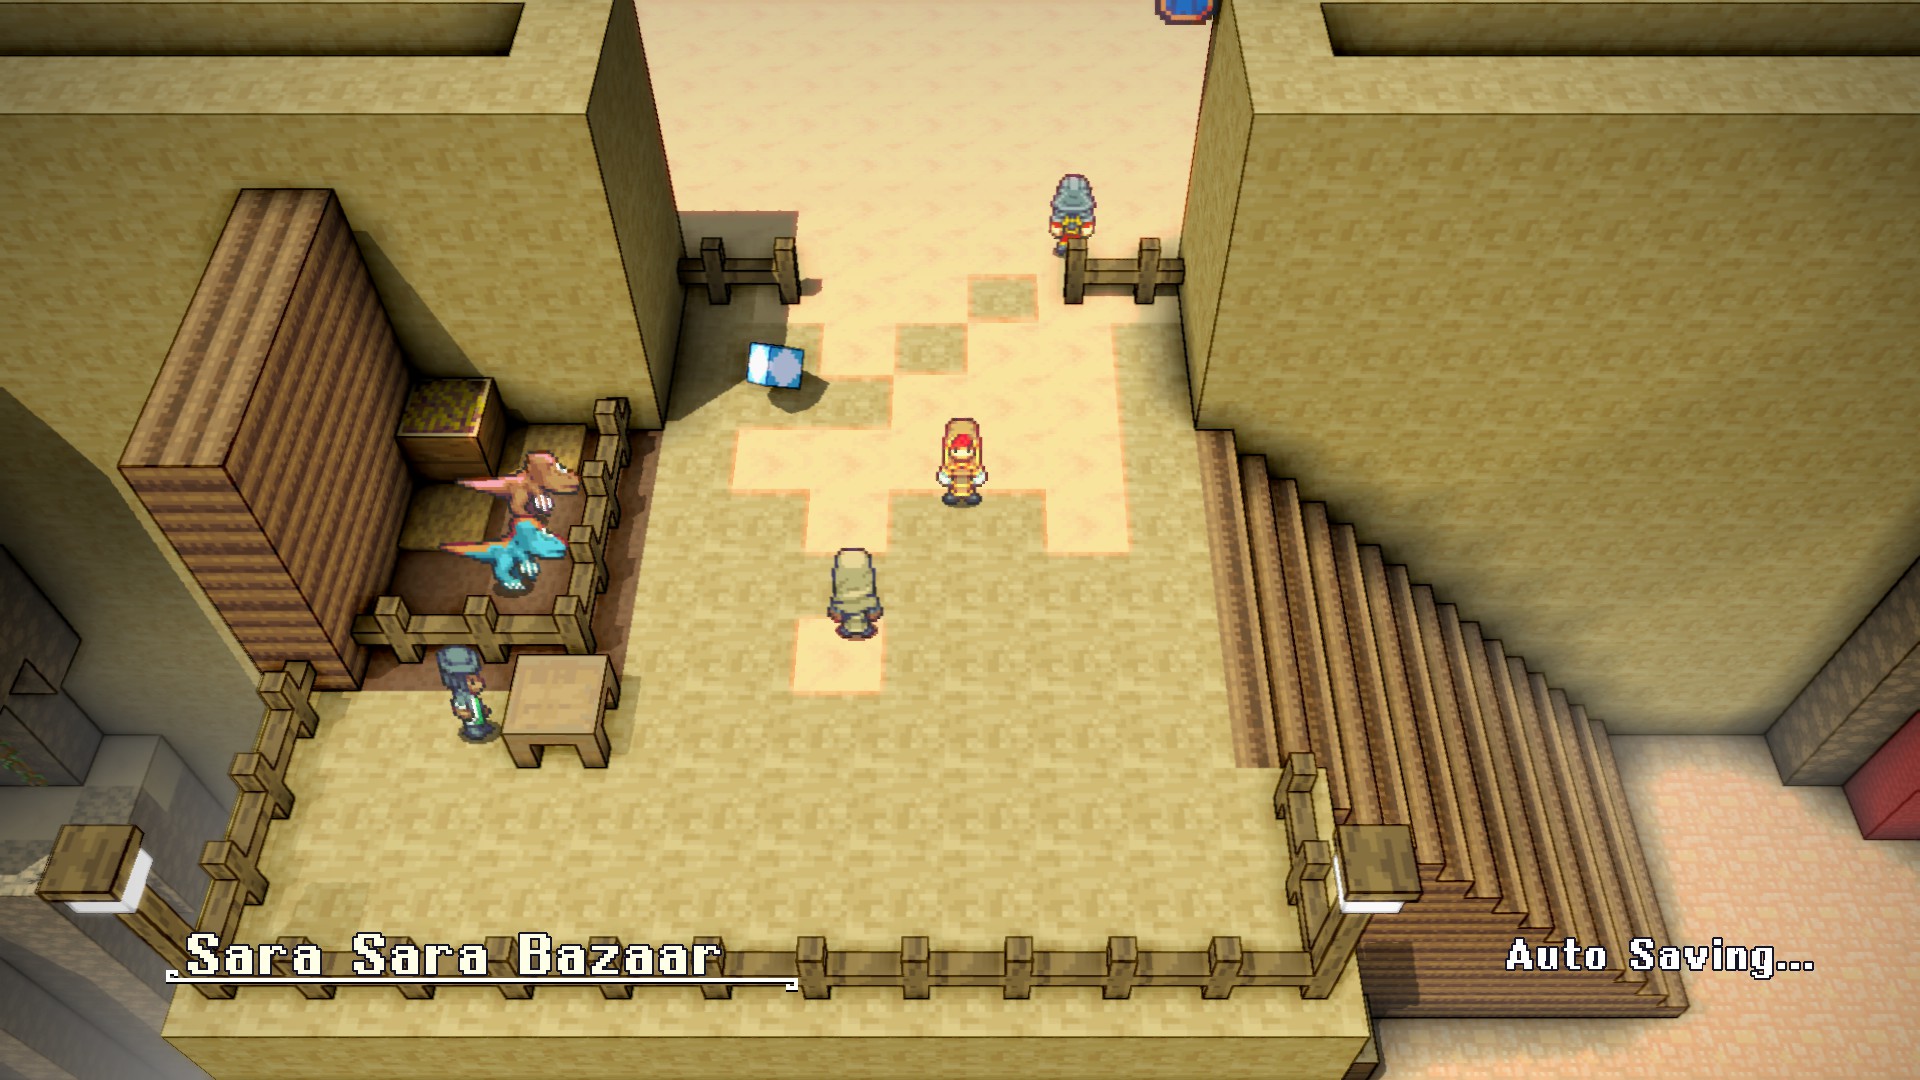
and heading further south from there will eventually lead you to Civilization, the Sara Sara Bazaar
NOTE BEFORE SETTING A HOME POINT: If you have not purchased the Gaea Stone or one of the other available teleportation items in the previous section of the game, setting a home point here will leave you stuck and unable to return until you make some progress here. If you have not already done so it is highly recommended to go back and purchase the Gaea Stone before locking yourself into this area by mistake. If you do end up stuck here and unable to deal with the area’s enemies, skip down to section Taking a Ride on the Ferry for a way to return to the mainland, but make note that you’ll need to be on your toes to avoid enemy encounters in the desert while following it.
As you explore around the town, you’ll eventually find an NPC who asks you if you think Crystals or Adventure is more important. I’m not sure that the answer you give matters, but after that he should ask you to visit the three lookout towers in the desert and return with proof of your exploration. We already passed one of the towers before, but the other two are a bit tricker to reach. While we’ve had some platforming challenges before, I feel this is where the game really starts to pick up the difficulty level on them.
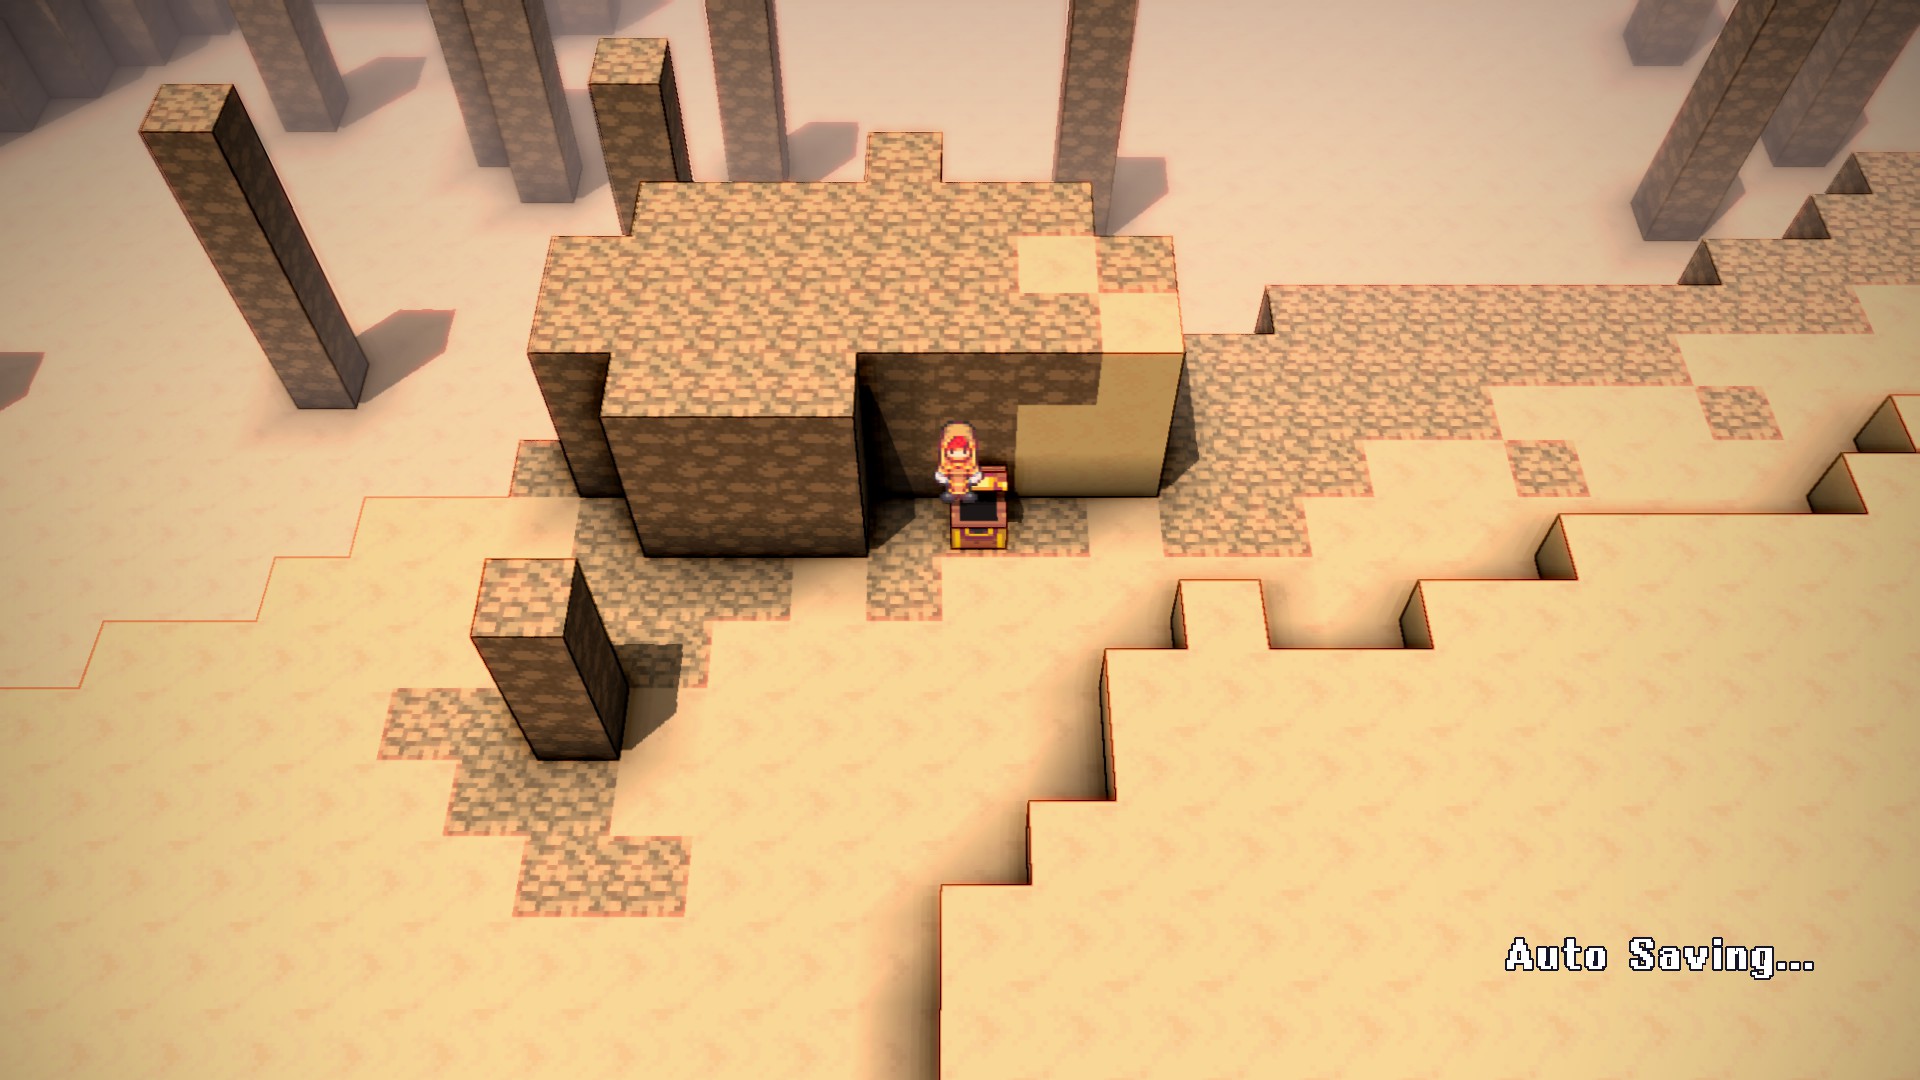
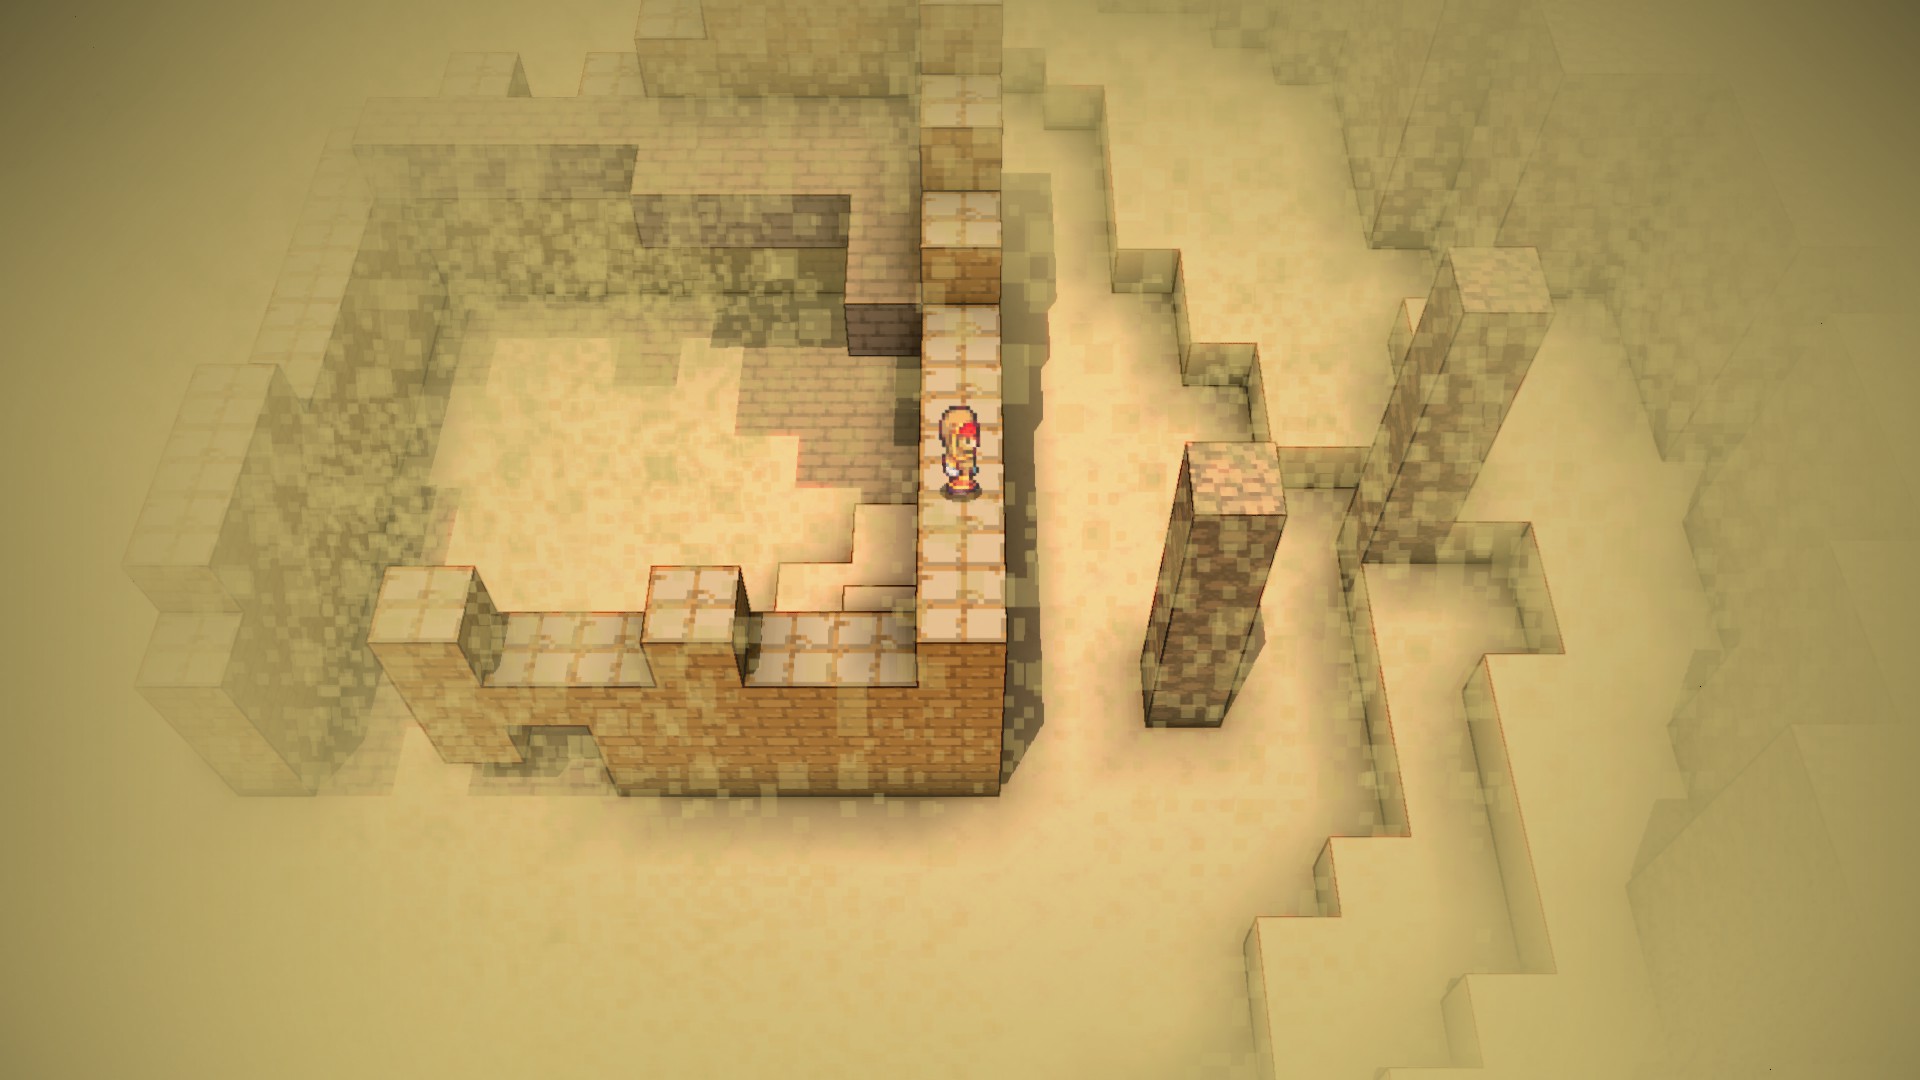
For the central tower, start from the east gate and head north. You’ll eventually find this chest just before a cliff which drops down quite a ways. Jump on top of the chest, then carefully platform across the pillars, and then past one last jump to the northern side of this rock. From there simply follow the northern edge to the west and you’ll arrive at the tower and claim it’s proof.
The northern tower is a bit more involved. from the central tower head north until you see some ruined buildings and then head east to find this one,
this will be our starting point for some more platforming. Head east across the pillars to a larger mass of rock, then head north, make some tricky jumps across more pillars to another larger rock (remember that the Quintar can jump further than you with a running start), then make one last series of jumps to the northwest. From here simply walk north and you’ll find the last tower.
Heading back to town, that NPC will give you a key to the Pyramid in the desert,
saying that whether you’re looking for crystals or adventure it’s a good spot to check out. It’s likely that you haven’t come across it before but it’s in the northeastern portion of the desert. If you need a landmark, head to that ruined building that was the start of our platforming for the northern tower, and after the first set of jumps continue to the east instead of heading north.
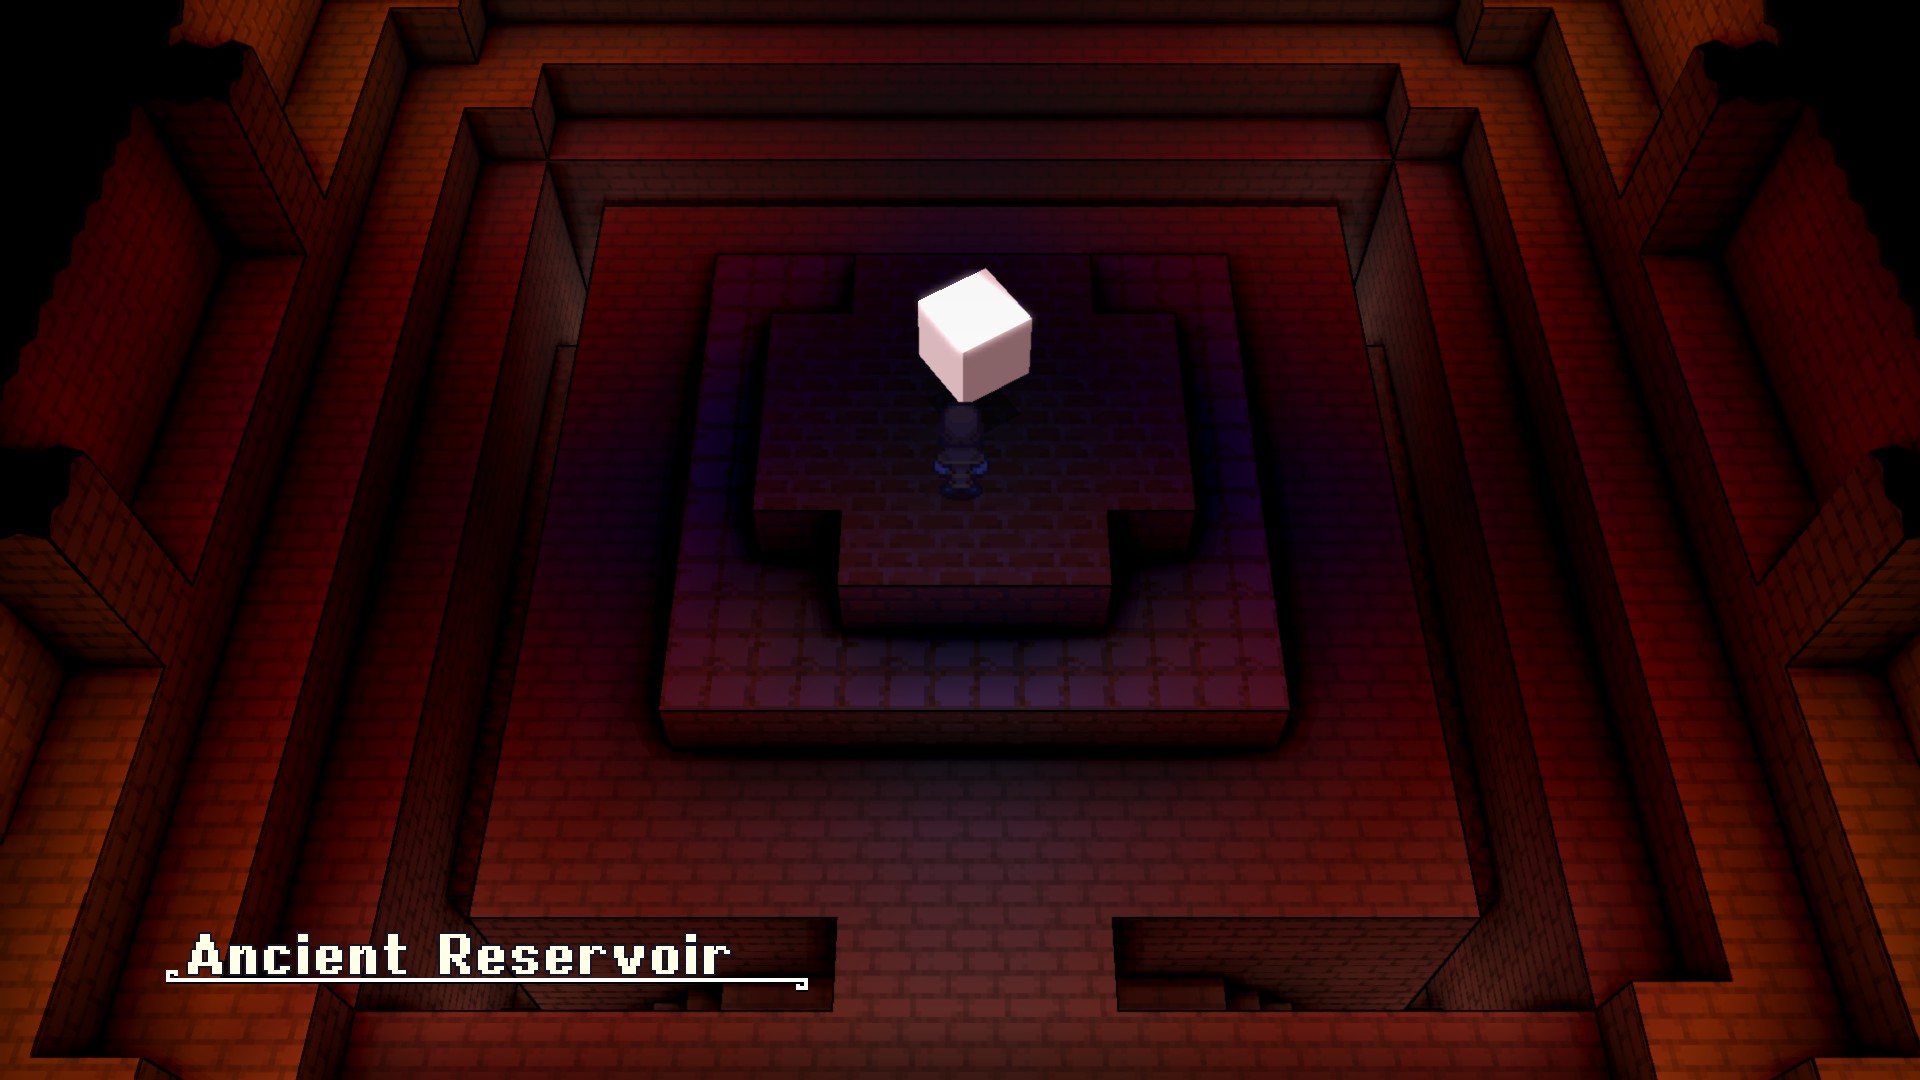
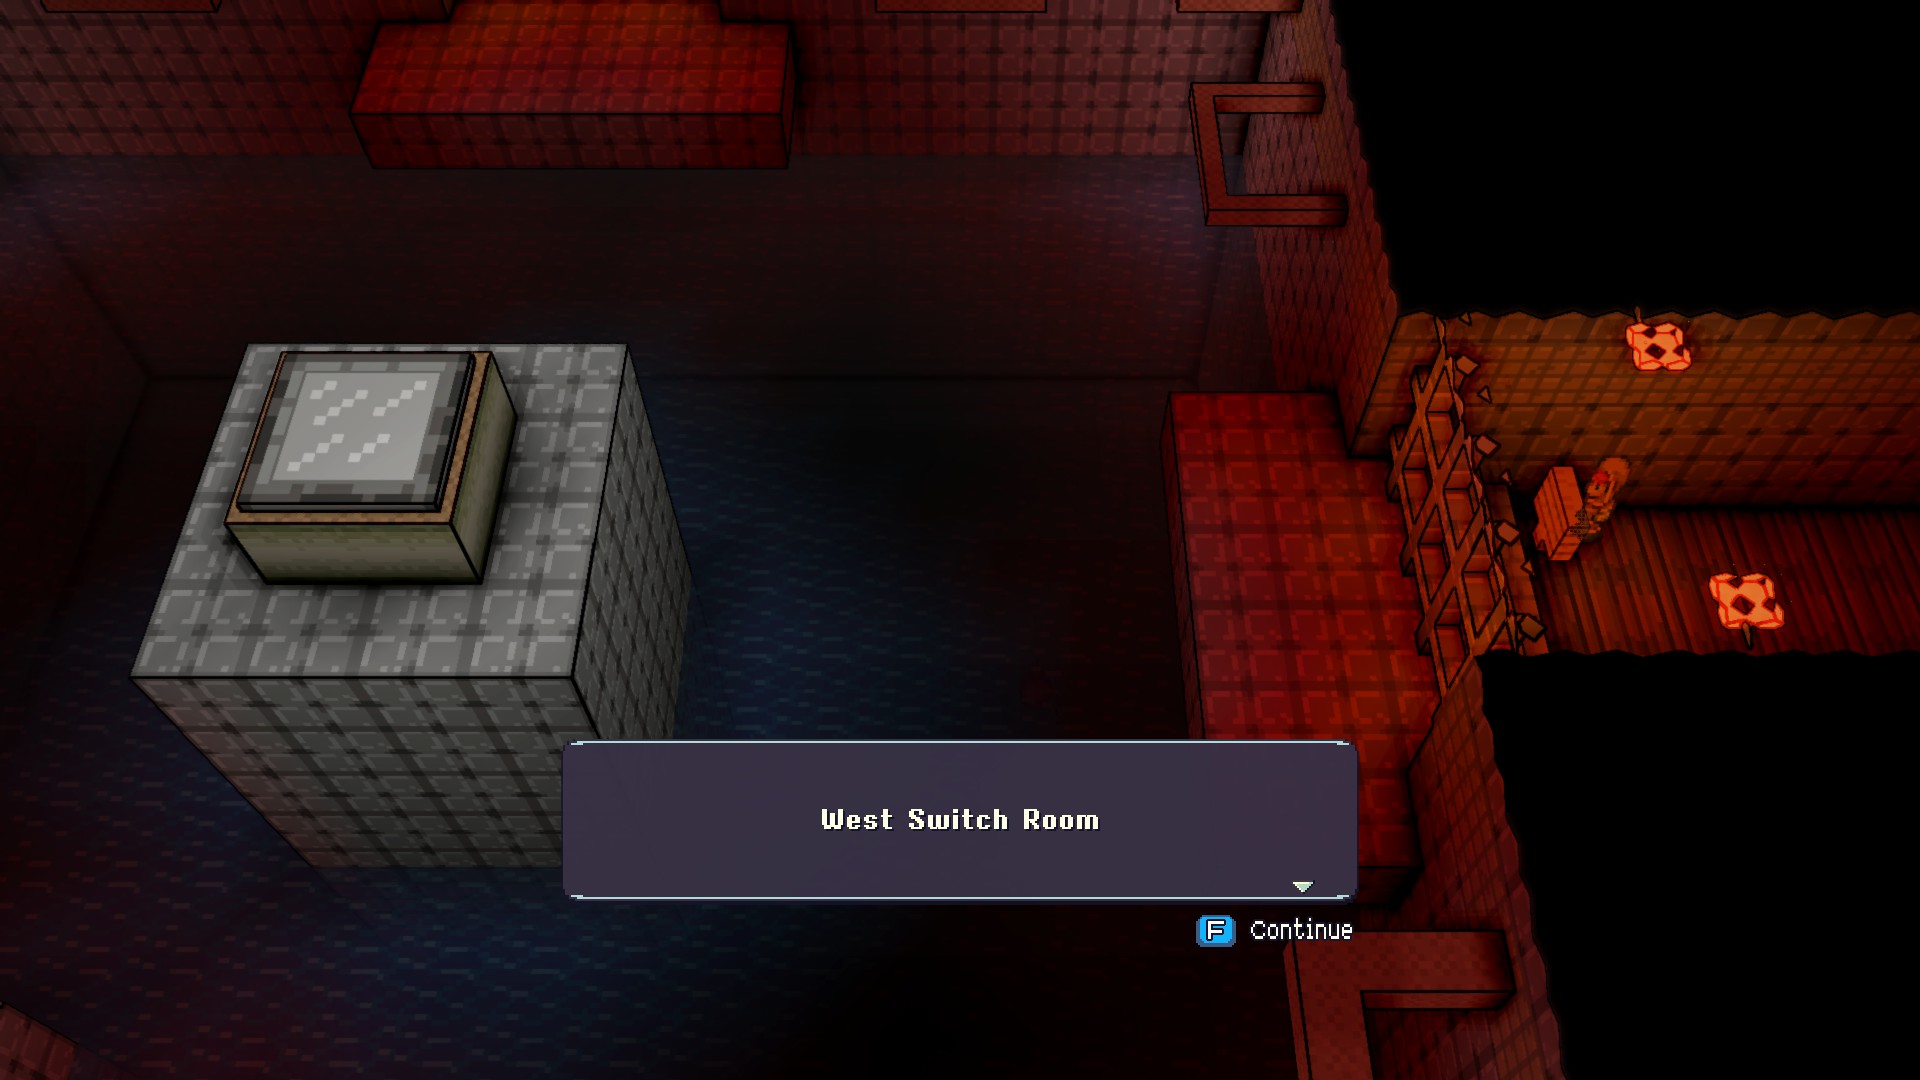
Once inside the pyramid, you’ll immediately find a crystal, but in terms of progression that’s not why we’re here. falling into the gaps around the crystal’s platform you’ll find yourself at the start of a dungeon area, and a rather more involved one than dungeons have been up until this point. Exploring around, you’ll eventually find the main reservoir chamber, but with not much to do inside of it. Nearby however you will be able to see, but not reach, two rooms that have large switches inside of them. Your goal is to explore around to find your way into each of those rooms to activate the switches, then return to the main chamber.
A hole will have mysteriously opened up allowing you to drop down into a room full of goats. Following the path will eventually lead you to a boss fight, and once it is completed the goats will reward you with a bell, allowing you to summon the Ibek mount at will. The Ibek is not fast in any respect, however you can hold down the jump button to charge its jump, eventually reaching 3-voxels high.
Remember that goat we saw before when we reached that small section of Shindou Province? using the power of this mount, we can backtrack to that location and follow it to reach the main part of Shindou if we want, though it’s not actually required for our progression.
(Optional) Taking a Ride on the Ferry
If you have a way to teleport back to the mainland this is completely optional, but let’s say you ended up stuck in the desert with no teleportation items, or you just want a more organic way out of here. Near the east gate of the bazaar, you probably noticed an NPC running back and forth worried about their son. If you head north out the gate and reach the chest again, instead of doing any platforming, simply follow the cliff edge to the east. You’ll eventually reach some spots that require some minor platforming, but eventually you’ll reach a stable path to the northeast. Here you should find that NPC’s son. If you’re reading this after obtaining the Ibek Bell, you can use that mount to continue east reaching Lake Delene and then Delene proper.
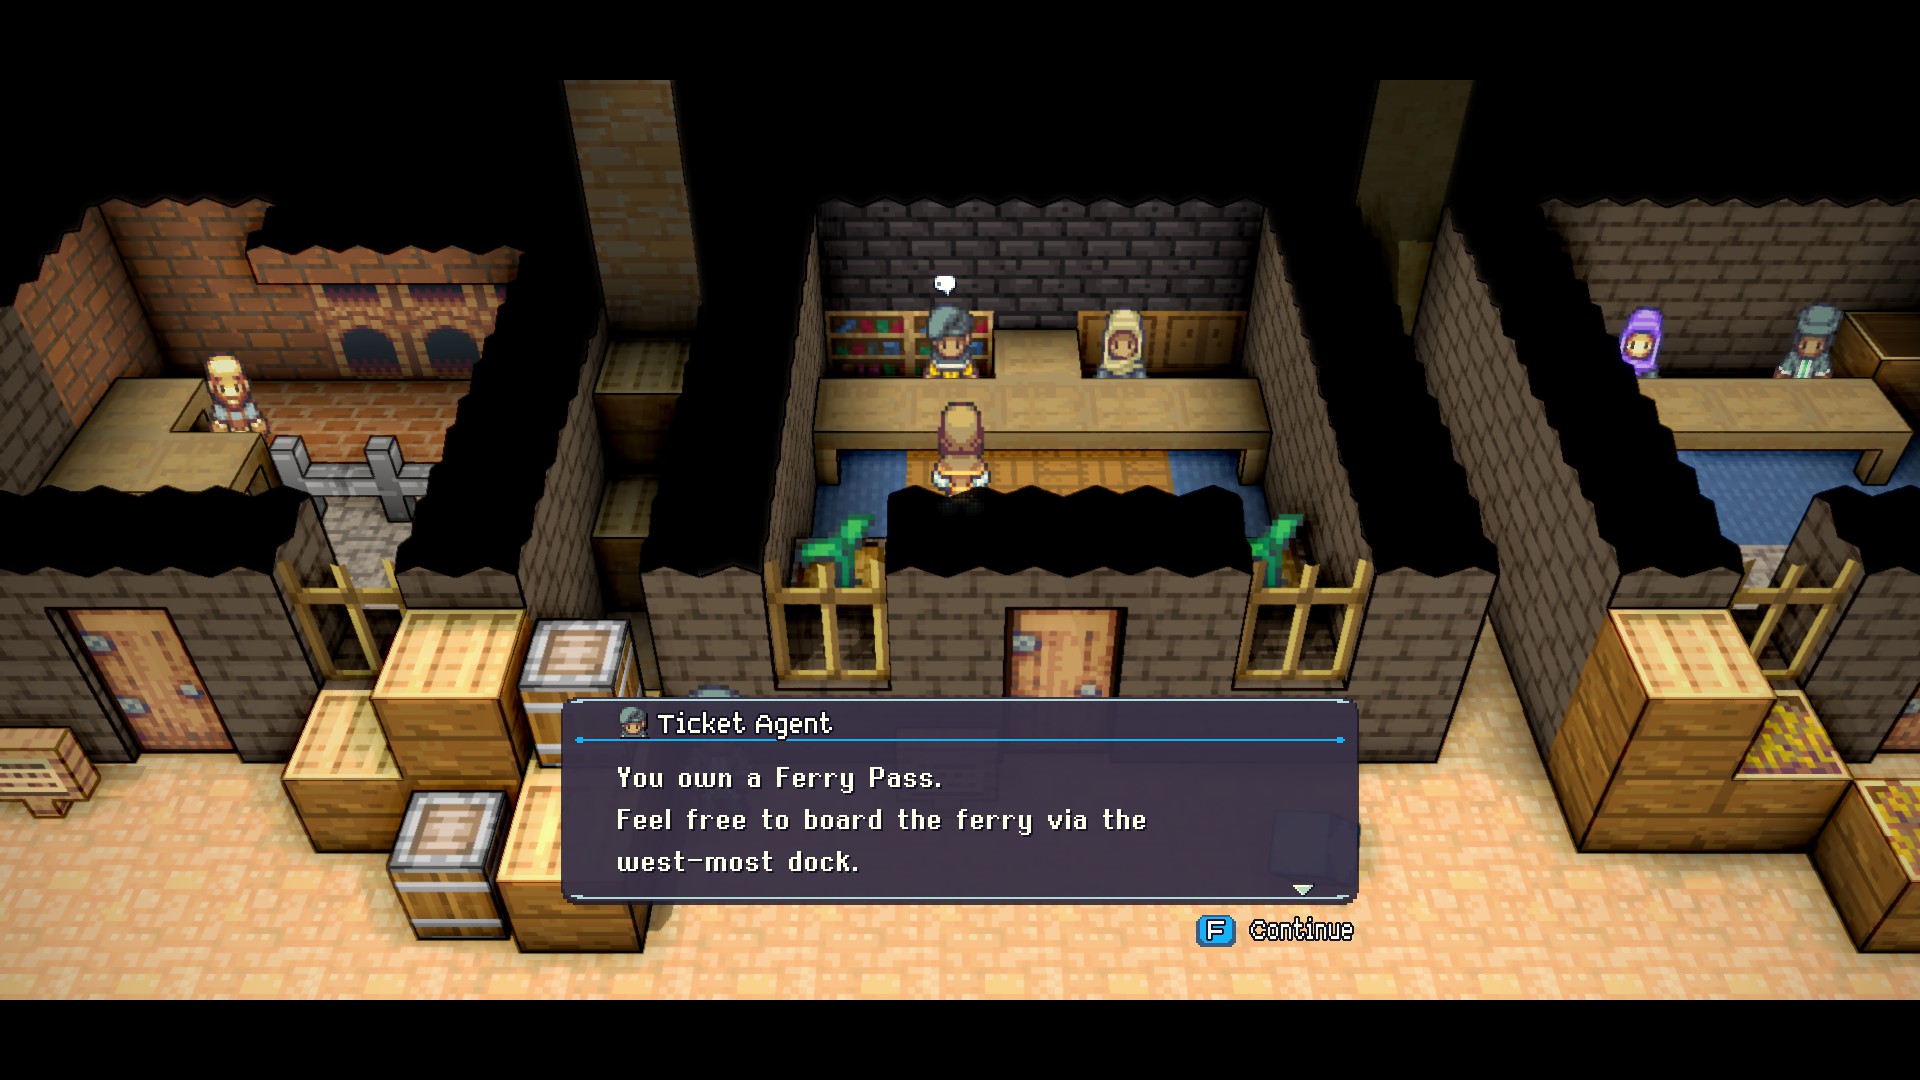
Either way, you can return to the Bazaar and talk to the worried mother, who will give you a ferry pass. With the pass in hand, head west to the lowest level of the Bazaar and check in with the Ferry Pass Counter and you’ll have access to the ferry to Shindou Province. Once you arrive, you can make your way to the west and eventually find a way to drop down to that small section of it where we found the Mars Stone in the first place, connecting the world back together.
Ibek = Endgame?
Between the longer jump of the Quintar and the higher jump of the Ibek, it’s possible to reach the castle gates, jump up into the castle, and make your way to the main sections of it where you need to complete some platforming challenges and fight some bosses in order to reach the final boss of the game. Strictly speaking, once you collect the Ibek the end of the game is open to you and no further exploratory progression is required.
To say this is not recommended, however, is an understatement. These endgame fights are built with the assumption that you are close to the level cap and if you’ve just obtained the Ibek it is most likely that you are nowhere near that point and will get stomped into the ground by the normal enemies around here, not to mention the bosses. And even if the castle itself is open to you, there are plenty of sections of the world which will require further assistance, and the process of exploring more of the world will allow you to find gradually stronger enemies to battle and level up against.
While this guide will not go in depth on every area you can reach with the Ibek and future mounts, the following sections will guide you to the remaining mounts if you are stuck on further exploration.
The Icy North
With the Ibek Bell in hand, head back to the capital city and exit out the west gate. Instead of crossing the first bridge, use the Ibek to scale the cliffs heading to the north. You’ll eventually find a spot where you can jump up into some snowy patches and continue north into Tall, Tall Heights.
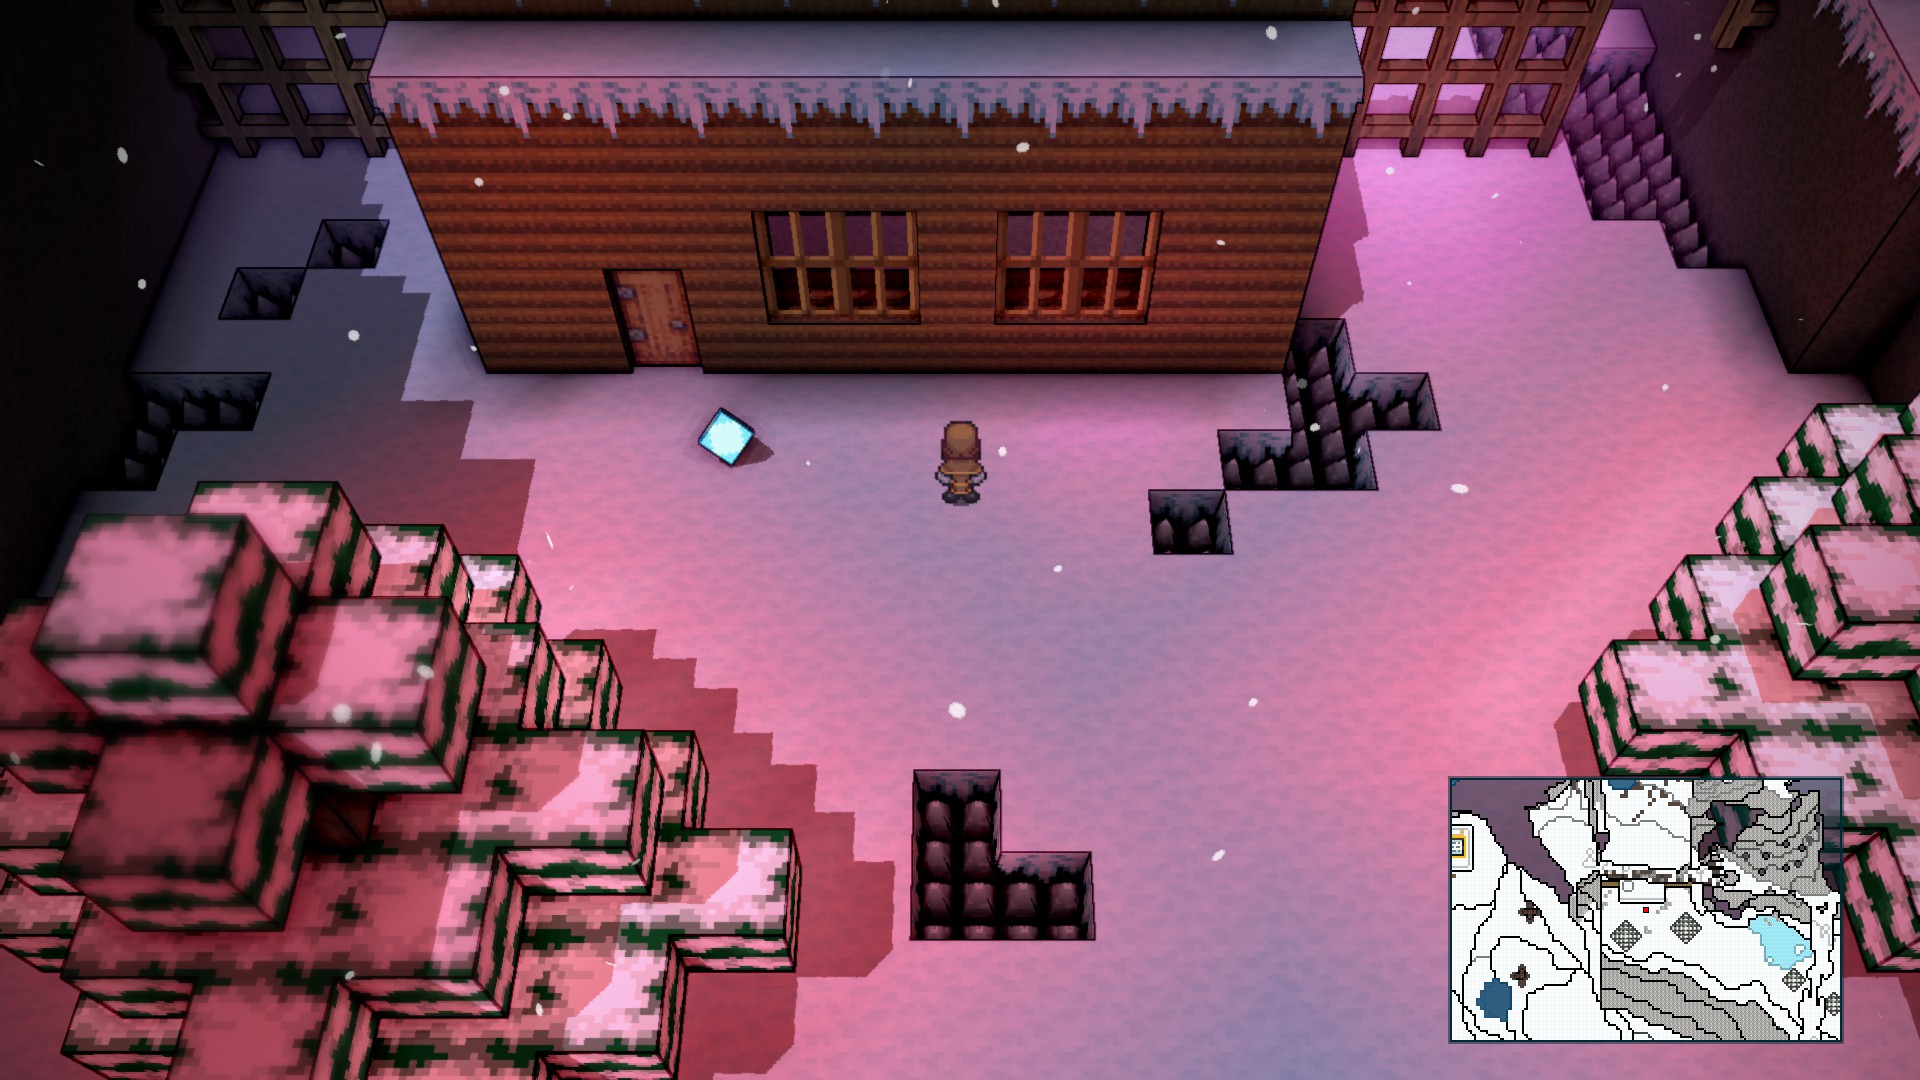
Make your way through this area heading north and west when possible and you’ll eventually reach a home point in front of a sizable cabin which has a locked back door.
Using the Ibek and some nearby trees, we can get over the wall without much issue and access Land’s End. What follows is a gauntlet of battles and platforming eventually ending at a large tower with a fight against a boss.
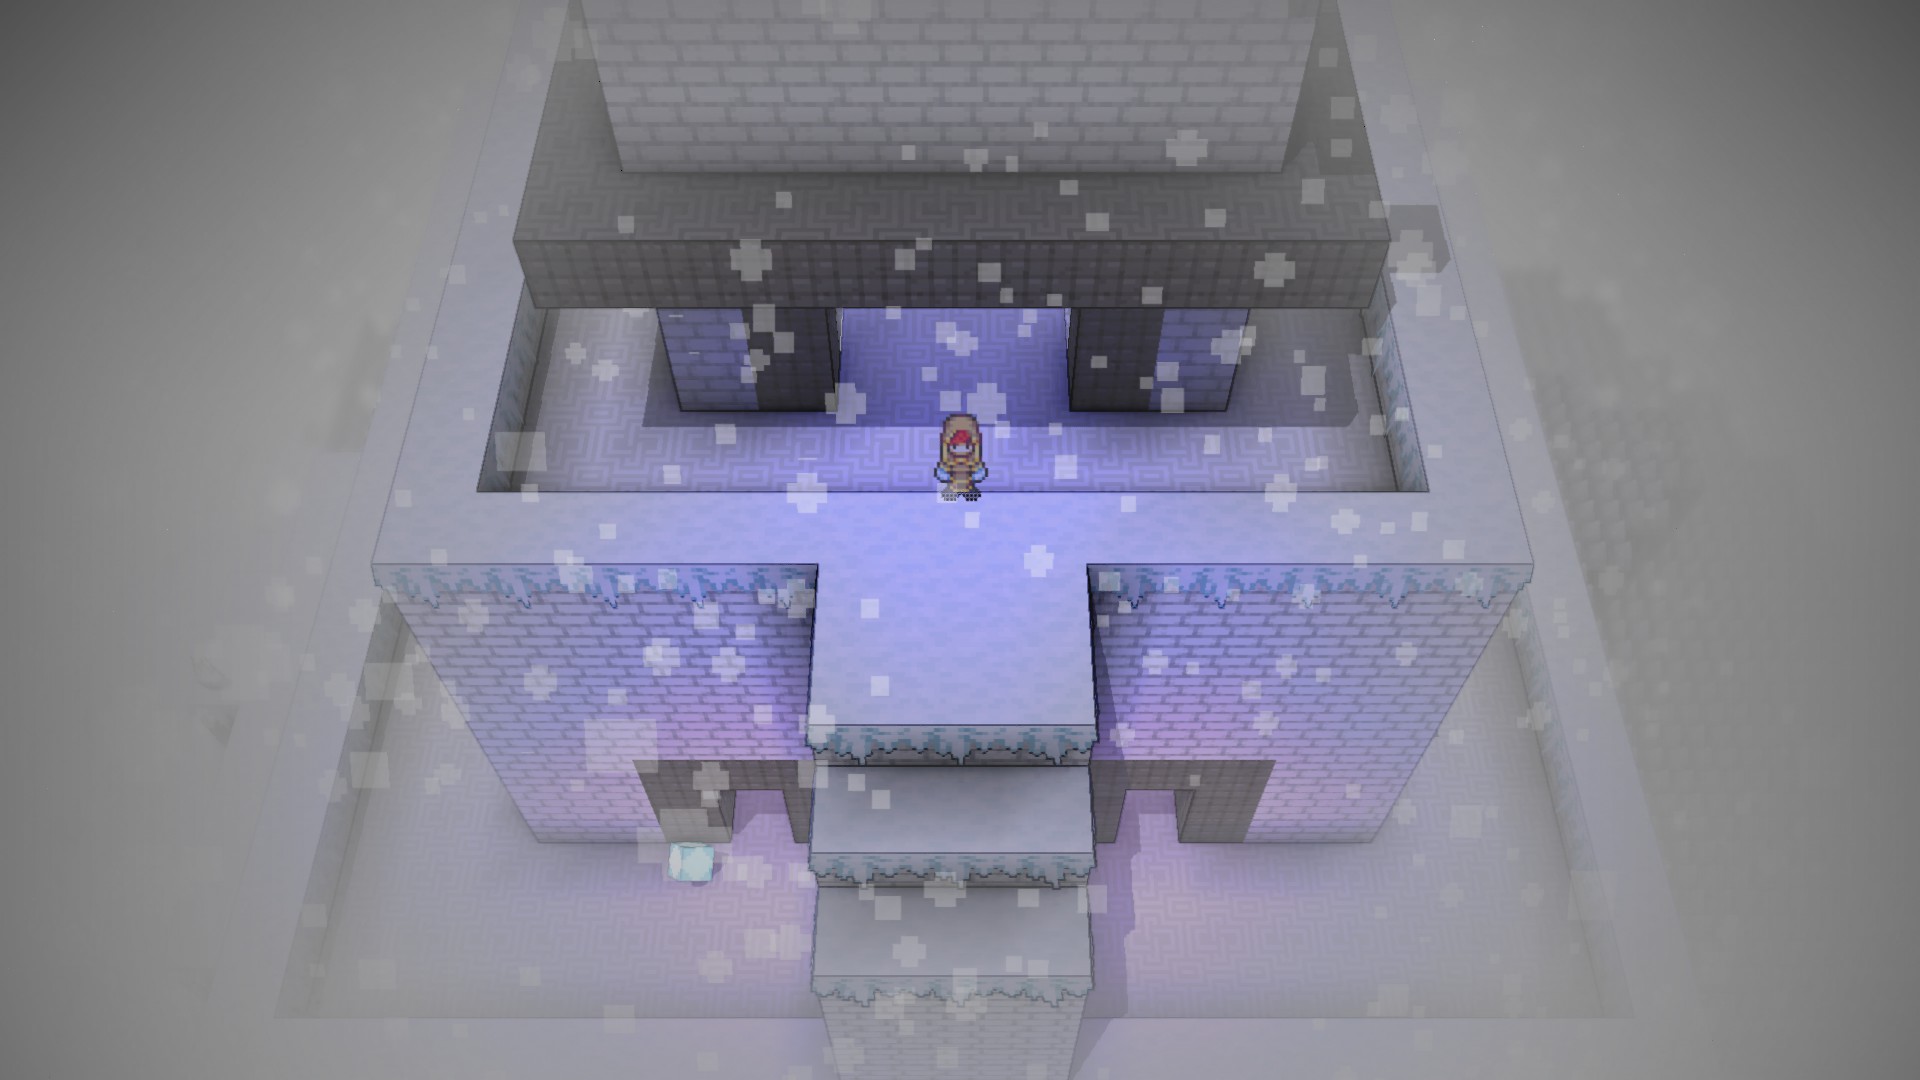
Once the boss is defeated, you can make your way up to the tallest part of the tower, where you will find a chest with a Callisto Stone. After the Mars Stone you may be expecting this to whisk you somewhere far away, but actually this will teleport you to this spot right where you find it.
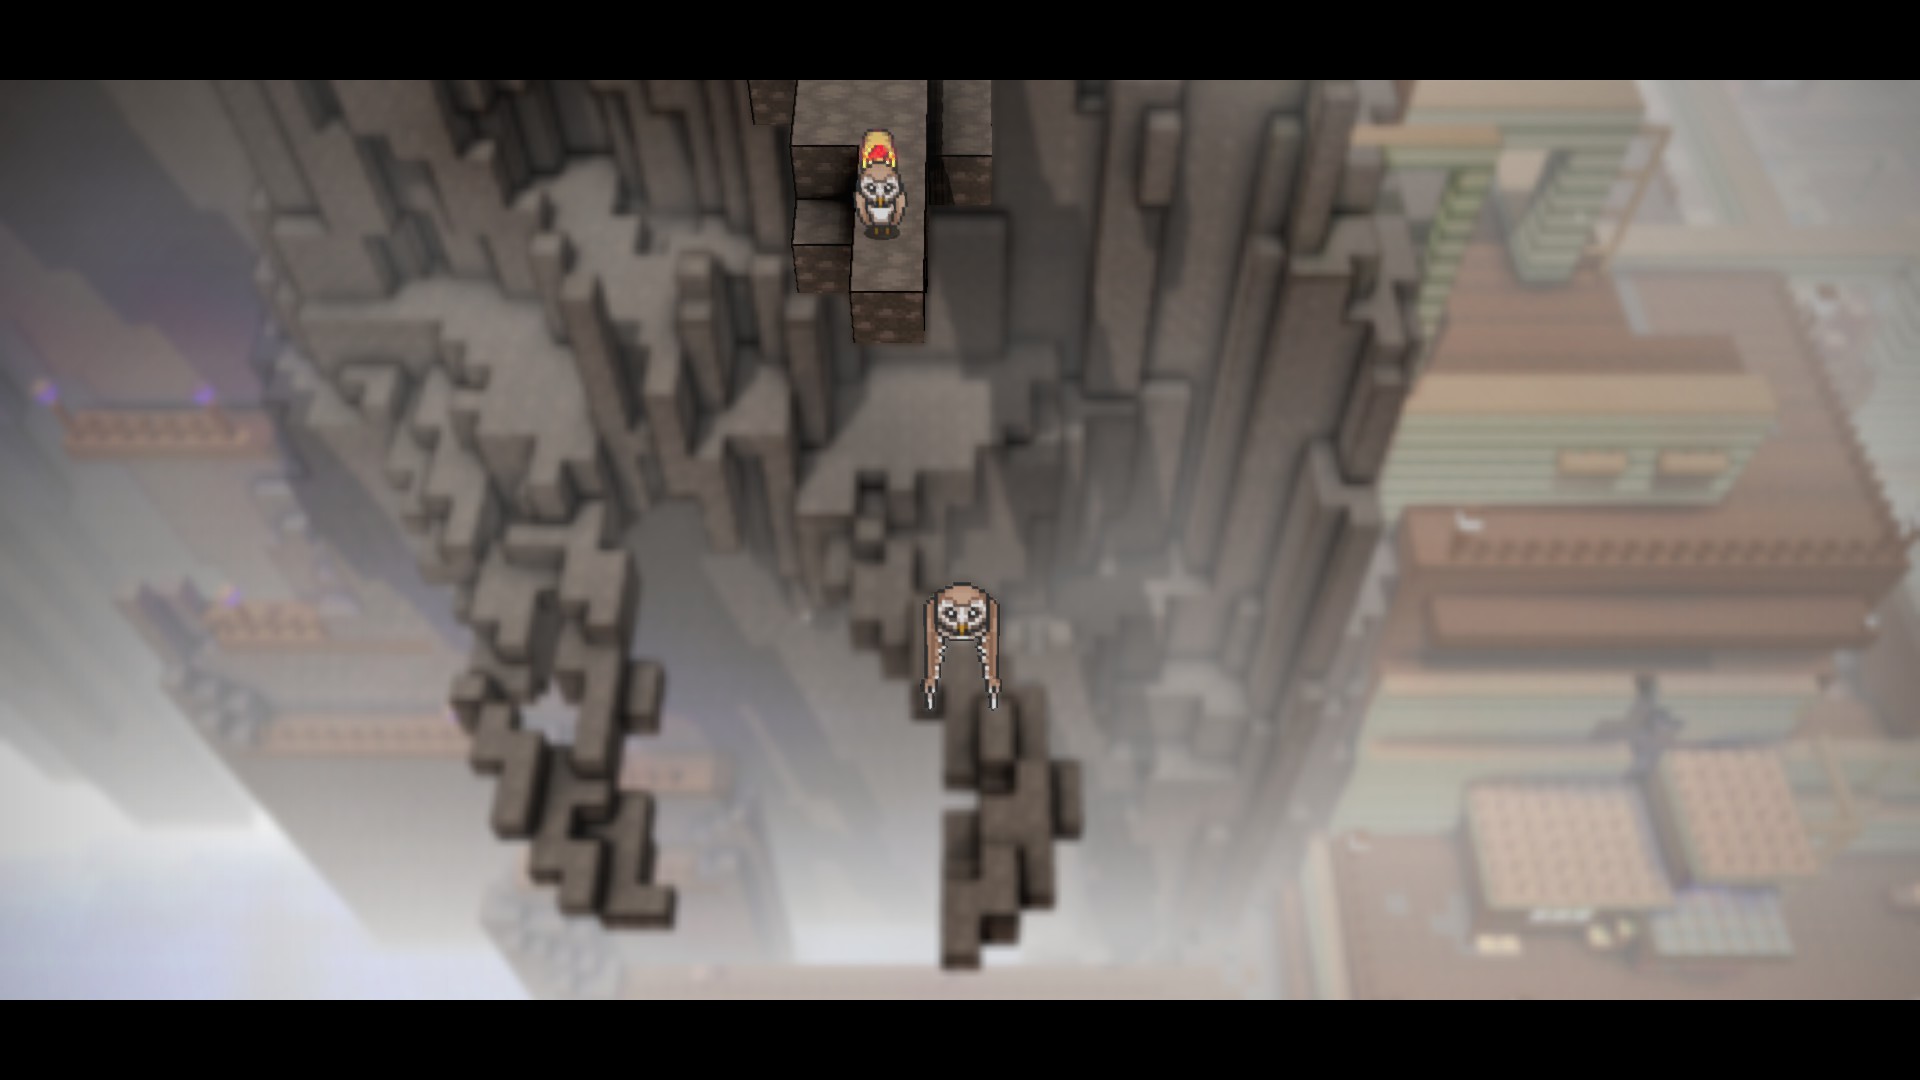
If you continue up into the tree however, you will find an owl who will fly off, dropping the Owl Drum. With this, we can use the Owl to glide through the air, reaching areas we couldn’t previously by making exceptionally long jumps, particularly from high starting points like where we are now. The Callisto Stone seems to be placed to encourage using this spot to explore the capabilities of the owl in fact.
It’s a Jungle Out There
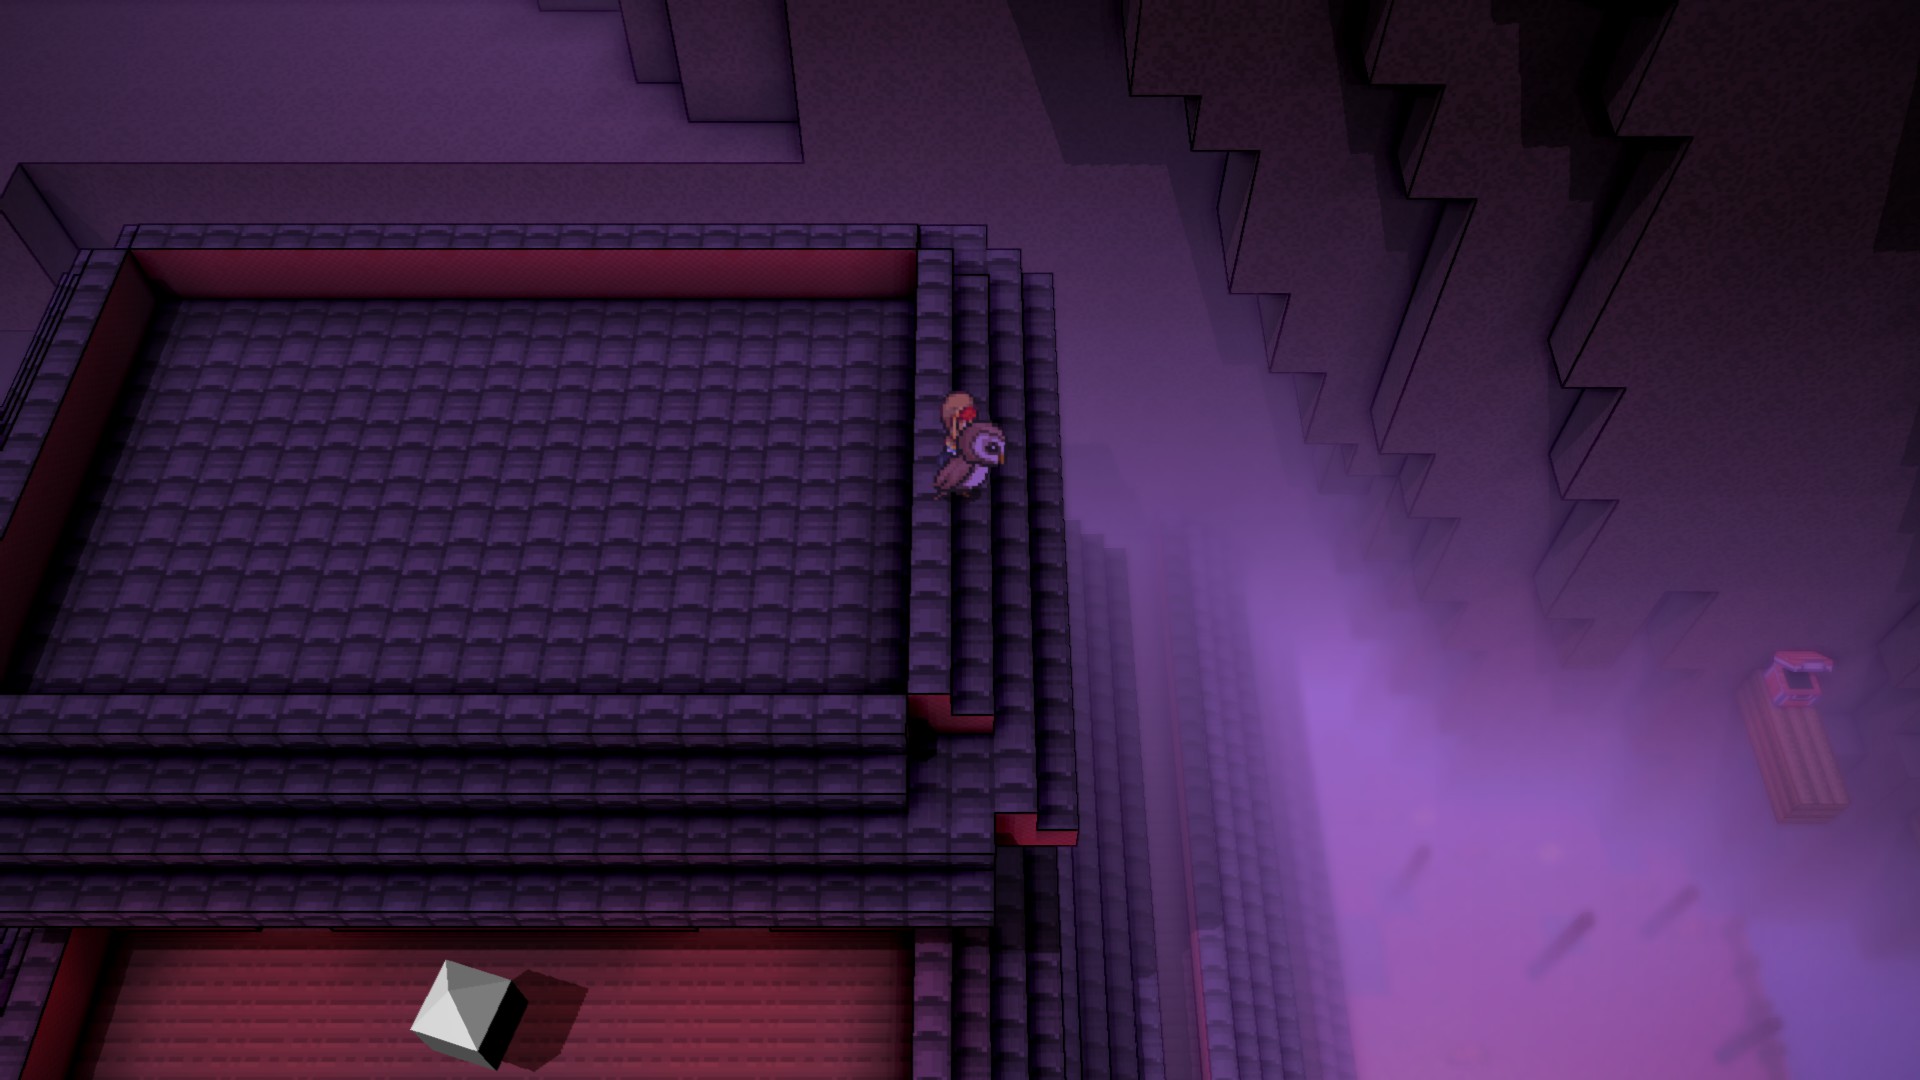
The next location important to progression is the Jidamba Tangle. If you’ve been exploring around it’s possible you’ve found this area, but if not the simplest way to reach it will be to backtrack to where the Shadow Crystal is mentioned before. Make your way onto the roof, then fly to the east to reach the outer wall. Follow the wall south, and you’ll find yourself at the Flyer’s Crag.
If you drop down a few levels you can find an owl perched on one of these outcroppings, talking to it will make it fly off to the south, providing an in-game hint of where you can go.
Take off and glide to the south, and before too long you’ll find yourself on the jungle island. Notable landmarks include a shrine to Europa where you can purchase a teleport crystal to get back here, and a ruined temple looking area on the south side of the island.
When you first arrive, the main doors to this temple will be locked. If you explore around, you will find a trio of side-doors each blocking a switch which will state that they require the Cave Key, the Foliage Key, and the Canopy Key, which can be found around the island.
The Canopy Key will require climbing up on top of some of the large, long trees going up over the island and eventually finidng a chest. The Foliage Key is in another chest down on the surface of the island. And the Cave Key is hidden in a cave on the west side of the island which will require some platforming navigation to reach.
Once inside, you will see another series of 3 switches which activate an elevator, providing context for the following floor. To the west, east, and south there are platforming challenges which will lead to switches.
Once all three switches are hit, the door to the north will unlock and lead to another elevator. Here you will find a crystal that unlocks the Weaver class, but as usual that is not why we’re here. To the south you will find a salmon that you can interact with to very temporarily mount it.
Making use of these temporary mounts you can explore the area and eventually find your way to a drop down onto a platform with a chest which will grant you the Salmon Violin. Using this item will give you a permanent salmon mount you can use to explore the waters of the world.
You can even backtrack and use it to complete some side sections of the preceding dungeon.
What Comes Next?
With the Salmon Violin obtained, all of the primary progression items are in your hands. As mentioned previously, the castle gates are open to you by this point, and if you’ve gone through all of this effort you’re probably a lot closer to being prepared for the fights ahead. That said, there may still be some more parts of the world you aren’t able to fully utilize yet. Below will be some brief notes about further progression points you can aim for.
With the Salmon Violin, you can enter the Salmon Sprint minigame using your own mount, which is significantly faster than the default one. It will still take some practice and possibly some luck, but if you can get first place, you’ll unlock an upgraded version of the mount that moves even faster which may help with certain water based areas.
Exploring east of the Rolling Quintar Fields or north of Shindou Province may lead you to the Quintar Reservation and the Dione Shrine, which is overrun with Quintar. Some ducks here mention Quintar racing and breeding, but you can’t seem to do anything, what gives? Well, if you head to the southern portion of the reservation and use your salmon mount to head underneath the mausoleum, you can find a series of challenges which will lead you to the Quintar Babel, allowing you to speak with Quintar!
Once you have the Quintar Babel in hand, you can make use of the Dione Shrine’s facilities, and when you defeat various wild Quintar in battle, you will obtain eggs which can be sent here. Through some very complicated procedures and lots and lots of racing, you can eventually obtain the Gold Quintar mount, which effectively supersedes all the other mounts (Except the Ibek for some reason) and enables exploration into a few more endgame areas which were previously inaccessible.
Conclusion
This guide is far from a complete overview of everything available in the game, there are plenty more crystals that we didn’t discover in the course of this, not to mention other sidequests and general adventure to be had. But I hope it can be of help to those who just feel completely lost wondering where their next goal should be.
I hope you enjoy the Guide we share about Crystal Project – Walkthrough Basic Progression Overview Guide; if you think we forget to add or we should add more information, please let us know via commenting below! See you soon!
- All Crystal Project Posts List




Thanks for the guide my man! You are seriously the best, I’m pretty sure I’m not the only one who used it but I think I should let you know in the name of all of the lurkers who came and read this.
Thanks a lot!