
Introduction
I see that there is no review for this game so I decided to make one.
Tips
– Your ammo is limited. Make your shots count!
– Do not waste your ammo by killing non-bosses unless if they are obstructing your path.
– Use knife to destroy obstacles.
– You can rotate between weapons with the 2 and 3 button.
– Hold right click, then press e to use Syringe Shot. Yes, it doesn’t recover your HP to full health.
– If you have someone following you, use them to dodge from projectiles. If they can attack, let them kill the enemies whenever possible to conserve ammos.
I tried to optimize some routes so there might be times when I didn’t ask you to enter a certain area. I also tried to make the guide not too relying on ammo, in case you’re short on it. Pistol also works for most non-bosses if you need them. Just make sure to get crit on each of them.
Walkthrough
Follow the cutscene until you reach your house.
1. House
House
– Explore the whole house to talk to your daughter and husband.
– Proceed to the kitchen, the room where your son was going.
– After you wake up from the bed, take the gun from the drawer.
– Exit the house and go to the house next to you.
Next Door House
– Head to the east exit to find a save point and 9MMx5 hidden behind the TV.
– Return to the previous room and head upstairs.
– Enter the first room that you find (bathroom).
– Interact with the cabinet to get Syringe Shot.
– Return to the hallway.
– Enter the second room to the east (the room to the right of the cross painting that is on the same side as the bathroom).
– Pick up the Knife in the middle of the room.
– Return to the hallway and head downstairs.
– Enter the door with the cross sign.
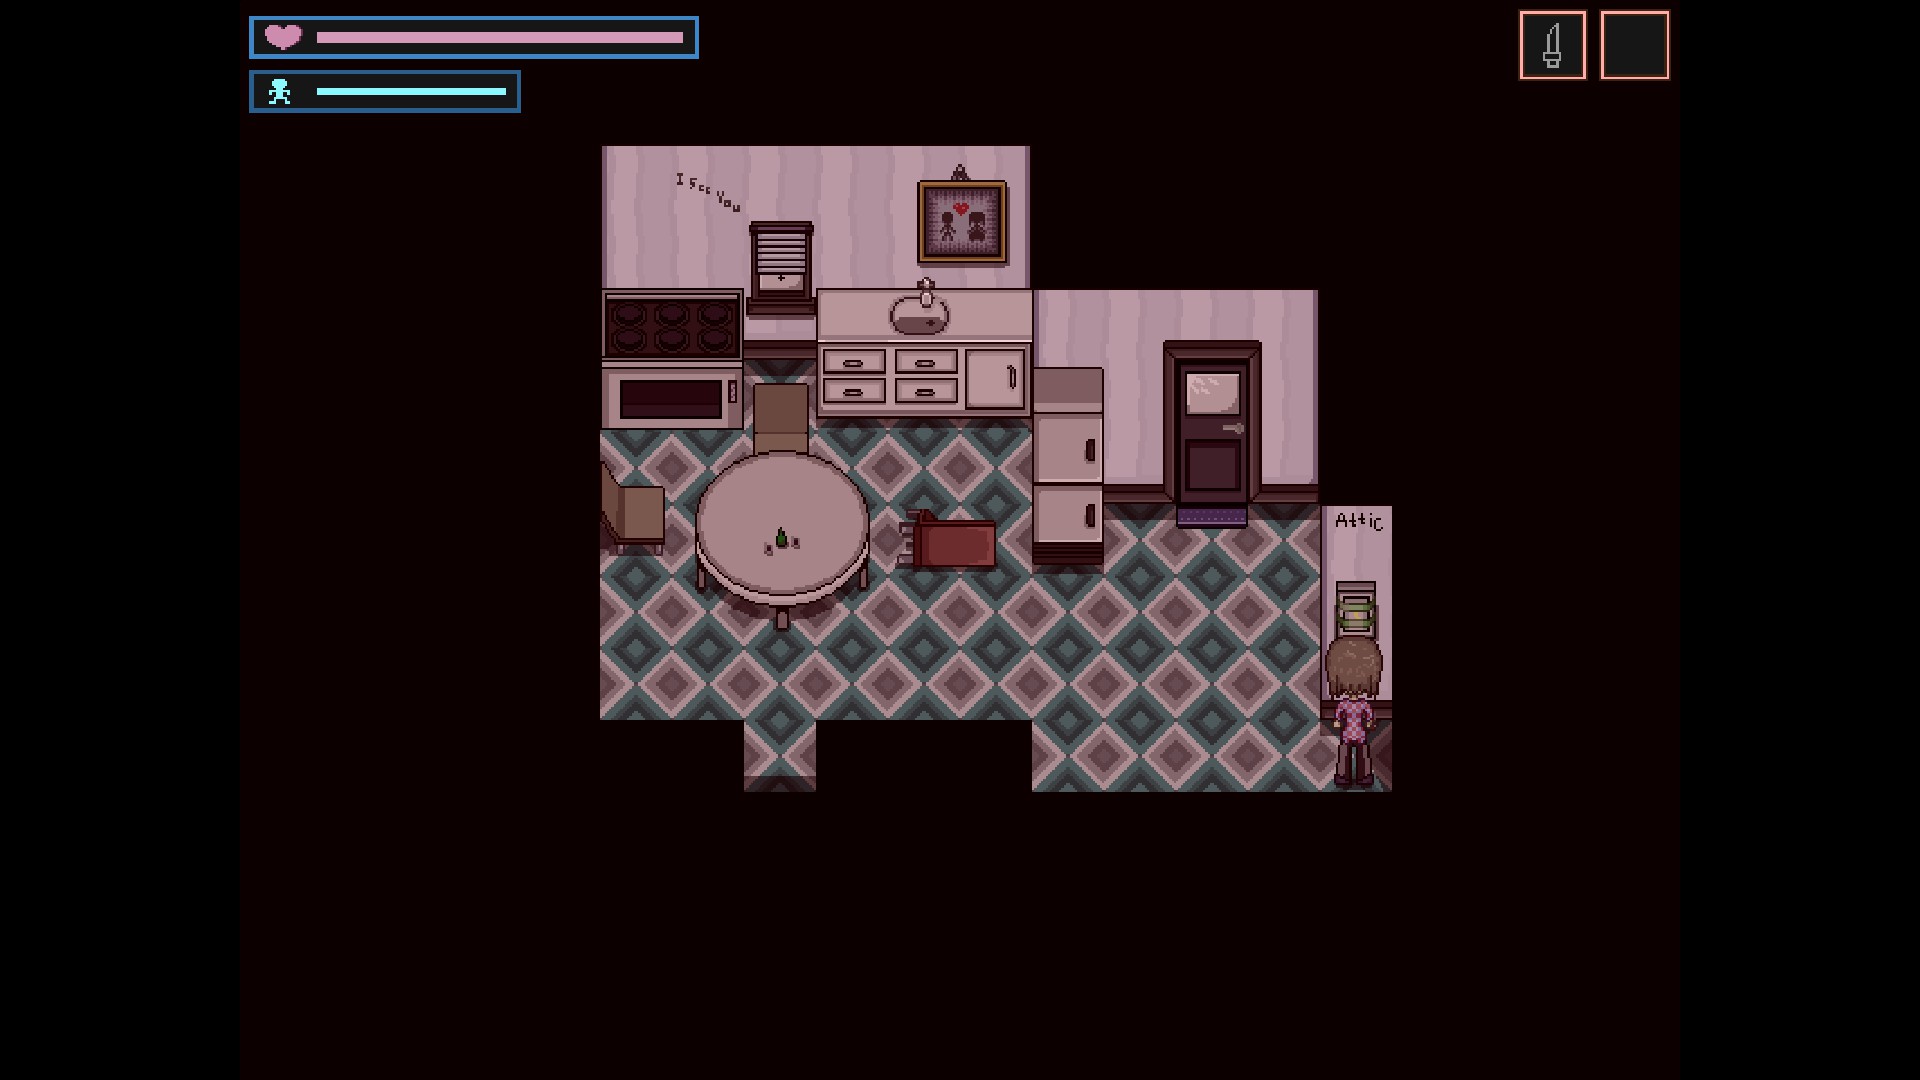
– Use Knife to the fuse box on the bottom right (the one that has Attic written in it). You need to interact with it from the south side twice. This will reveal a ladder on the room that we are going to next.
– Head upstairs, back to the hallway.
– Enter the room south of the cross painting.
– Climb the ladder.
– Pick up Bedroom key on the table to the east.
– Open the drawer on the southeast corner to get Syringe Shot.
– Return to the hallway. You might want to save before proceeding.
– Head all the way to the east to go to the bedroom.
– Attempt to exit the room.
Boss
Keep on shooting it with your pisol and it’ll die. Make sure you face in the same line as the boss and have your mouse right at the boss. If you don’t know already, you can rotate between your weapons with the 2 and 3 button.
– Pick up the ladder and use it on the wall.
– Climb upstairs.
– Return to your house.
2. Church
House
– Save by the telephone downstairs and exit the house.
Outside
– Head to the west exit.
– Avoid all enemies while following the road. There is a trashcan that has Syringe Shot in the second screen.
– Once you reach the church, pass through the graveyard-like area.
– Enter the small house on the east side in the next room.
Storehouse
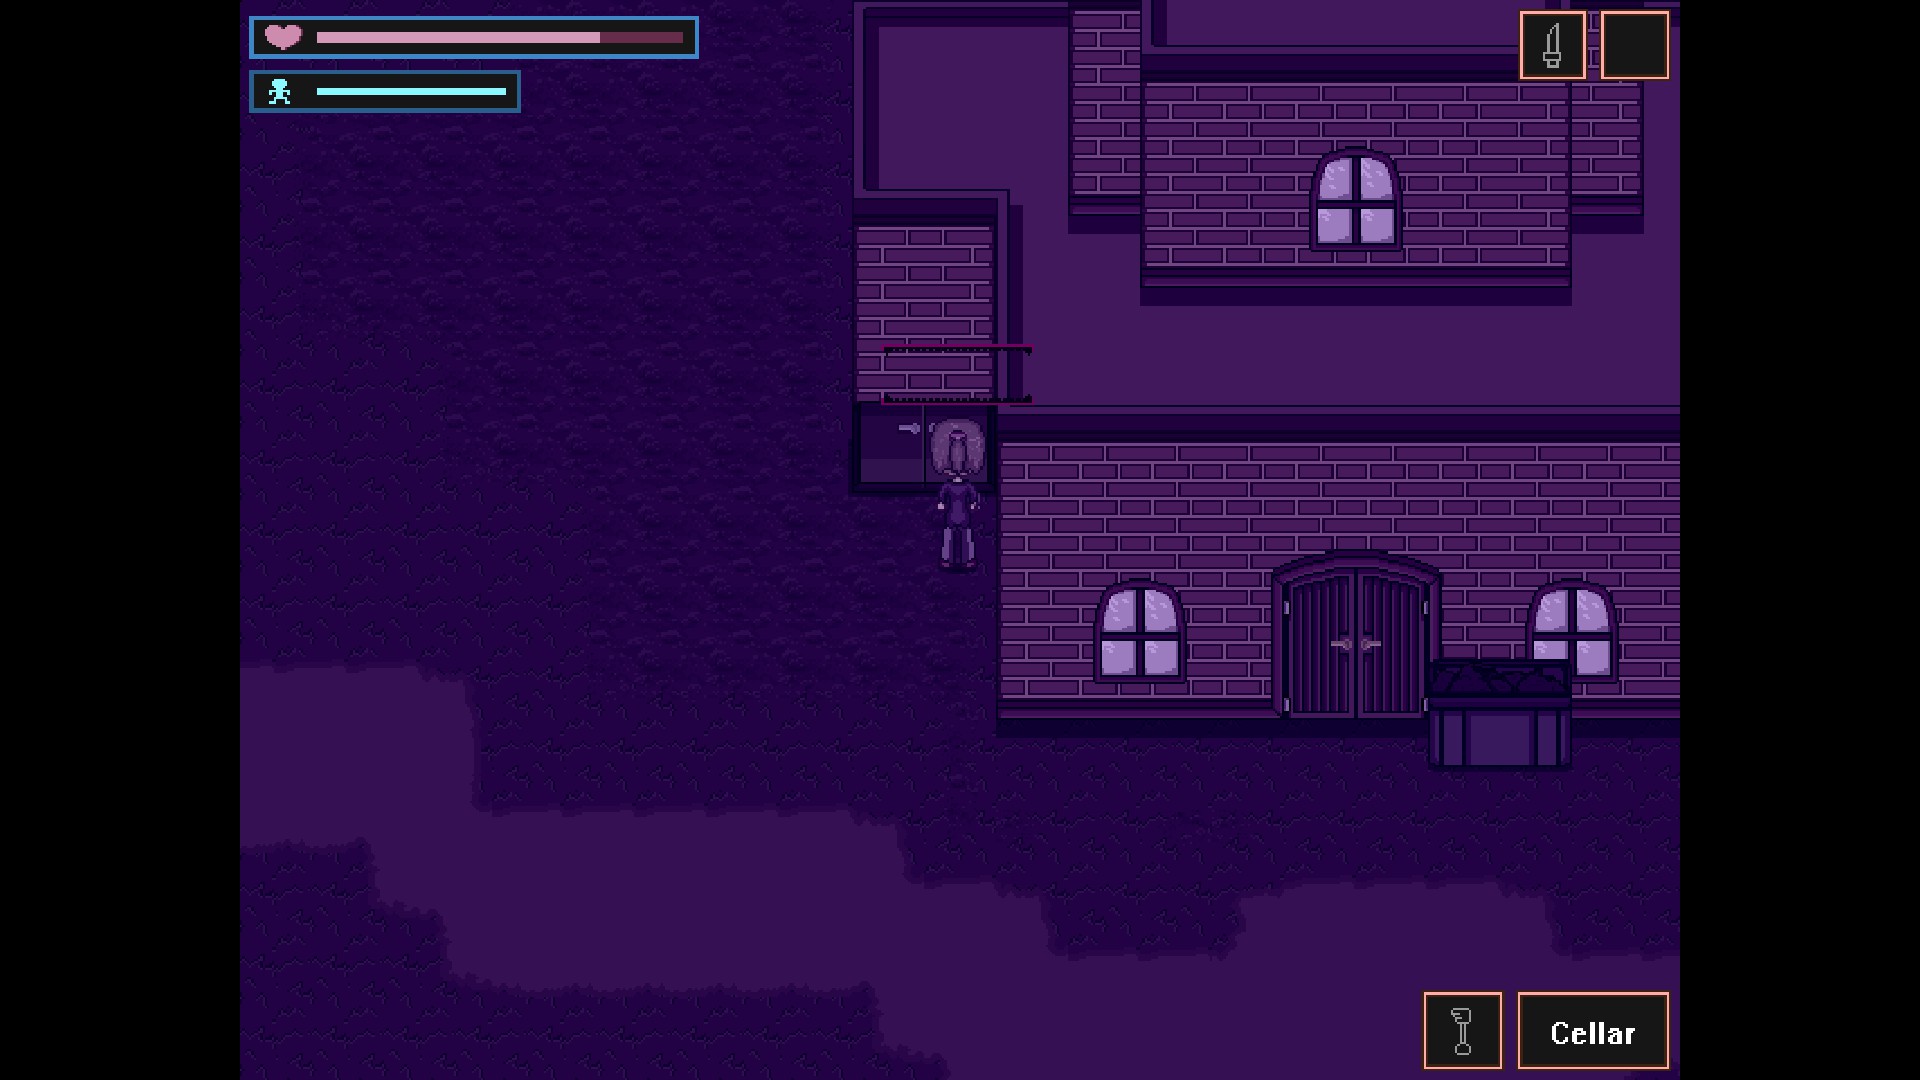
– Pick up the Cellar Key hanging on the wall.
– Exit the room.
Outside
– Enter the room west of the church’s entrance.
Cellar
– Pick up 9MMx5.
– Head to the next area.
– Climb the ladder.
– Exit the room and head north.
– Save.
– Head to the east 2x, then south exit to see another hallway.
– Enter the first room that you see.
– Read the note for a puzzle hint. Take note of the solution.
– Open the drawers to get 9MMx10.
– Return to the hallway.
– Pick up the Syringe Shot on the south area, near the southwest exit.
– Return to the place where you can save and head east, then south.
– Press the pressure plate based on the hint. Solution: 5, 4, 11, 6, 3. The number represent the pressure plate order from the left to the right.
1–2—3–4
5–6—7–8
9–10–11-12.
– Take Chamber Key.
– Return to the east hallway (the hallway where you found the note).
– Enter the second room that you see.
– Pull the rope.
– You have 29 seconds to pull the rope in the exact same room in the west hallway. Return to the hallway and use the southwest exit to make it faster.
– After you pull both ropes, go to the room with the cat and save.
– Head east, then north to see a hole.
– Jump down.
Church
– Climb on the nearby plate.
– Talk to Toby, the man sitting on this room.
– Save and climb upstairs.
– Inspect the bell.
Boss
Don’t bother shooting the boss. Push the lamp on the northeast and northwest area (make sure you face towards the lamp) to make it fall. You’ll have to exit the church before the timer is up. Exit this room and break the barrier blocking the south exit with your knife.
– Return to your children.
– Head outside.
3. Camino Hotel
Outside
– Go to the west exit.
– Head south until you see a house. Enter it.
– Open the cabinet to the west to get Syringe Shot.
– Exit the building.
– Follow the road and enter the building with an arrow.
– Follow the west room to get 9MMx5.
– Exit the building.
– Enter the building to the northwest.
– Turn on the TV in the west room (optional).
– Pick up Syringe Shot in the east room.
– Save in the north room.
– Head upstairs.
– Head to the east room (DO NOT enter the west room. There is nothing there except of 1 enemy).
– Open the drawer on the southeast corner to get 9MMx5.
– Exit the building.
– Enter the building with an arrow to the south.
– Enter the only door.
– Pick up 9MMx5.
– Open the drawer to get another 9MMx5.
– Exit the building and head to the south exit.
– Enter the first building with an arrow that you can find.
– Read the note (optional).
– Head south, then east (or east, then south, it doesn’t matter).
– Open the drawer to get 9MMx5.
– Return to the building entrance and head upstairs.
– Exit the building.
– Follow the path and enter the next building that you see.
– Cut the obstacle that is blocking your way with your knife.
– Head north.
– Pick up 9MMx5 on the west exit.
– Eat the cake on the east exit to recover some of your HP.
– Exit the building.
– Enter the next building with an arrow mark, labeled Mortuary.
– Follow the southeast path until you reach a room with a flesh-like creature.
– Ignore the creature and take the Syringe Shot on the southeast.
– Exit the building.
– Continue to the south exit.
– Enter the next building with an arrow mark, labeled Teeth.
– Head east, then north. Pick up the Syringe Shot on the floor while dodging the monster.
– Return to the previous room.
– Head to the east room and go upstairs.
– Enter both rooms to get 9MMx5 twice.
– Exit the building.
– Enter the huge building to the east.
– Pick up Syringe Shot on the counter.
– Exit the building.
– Pick up 9MMx5 near the garbage bin.
– Enter the building to the south.
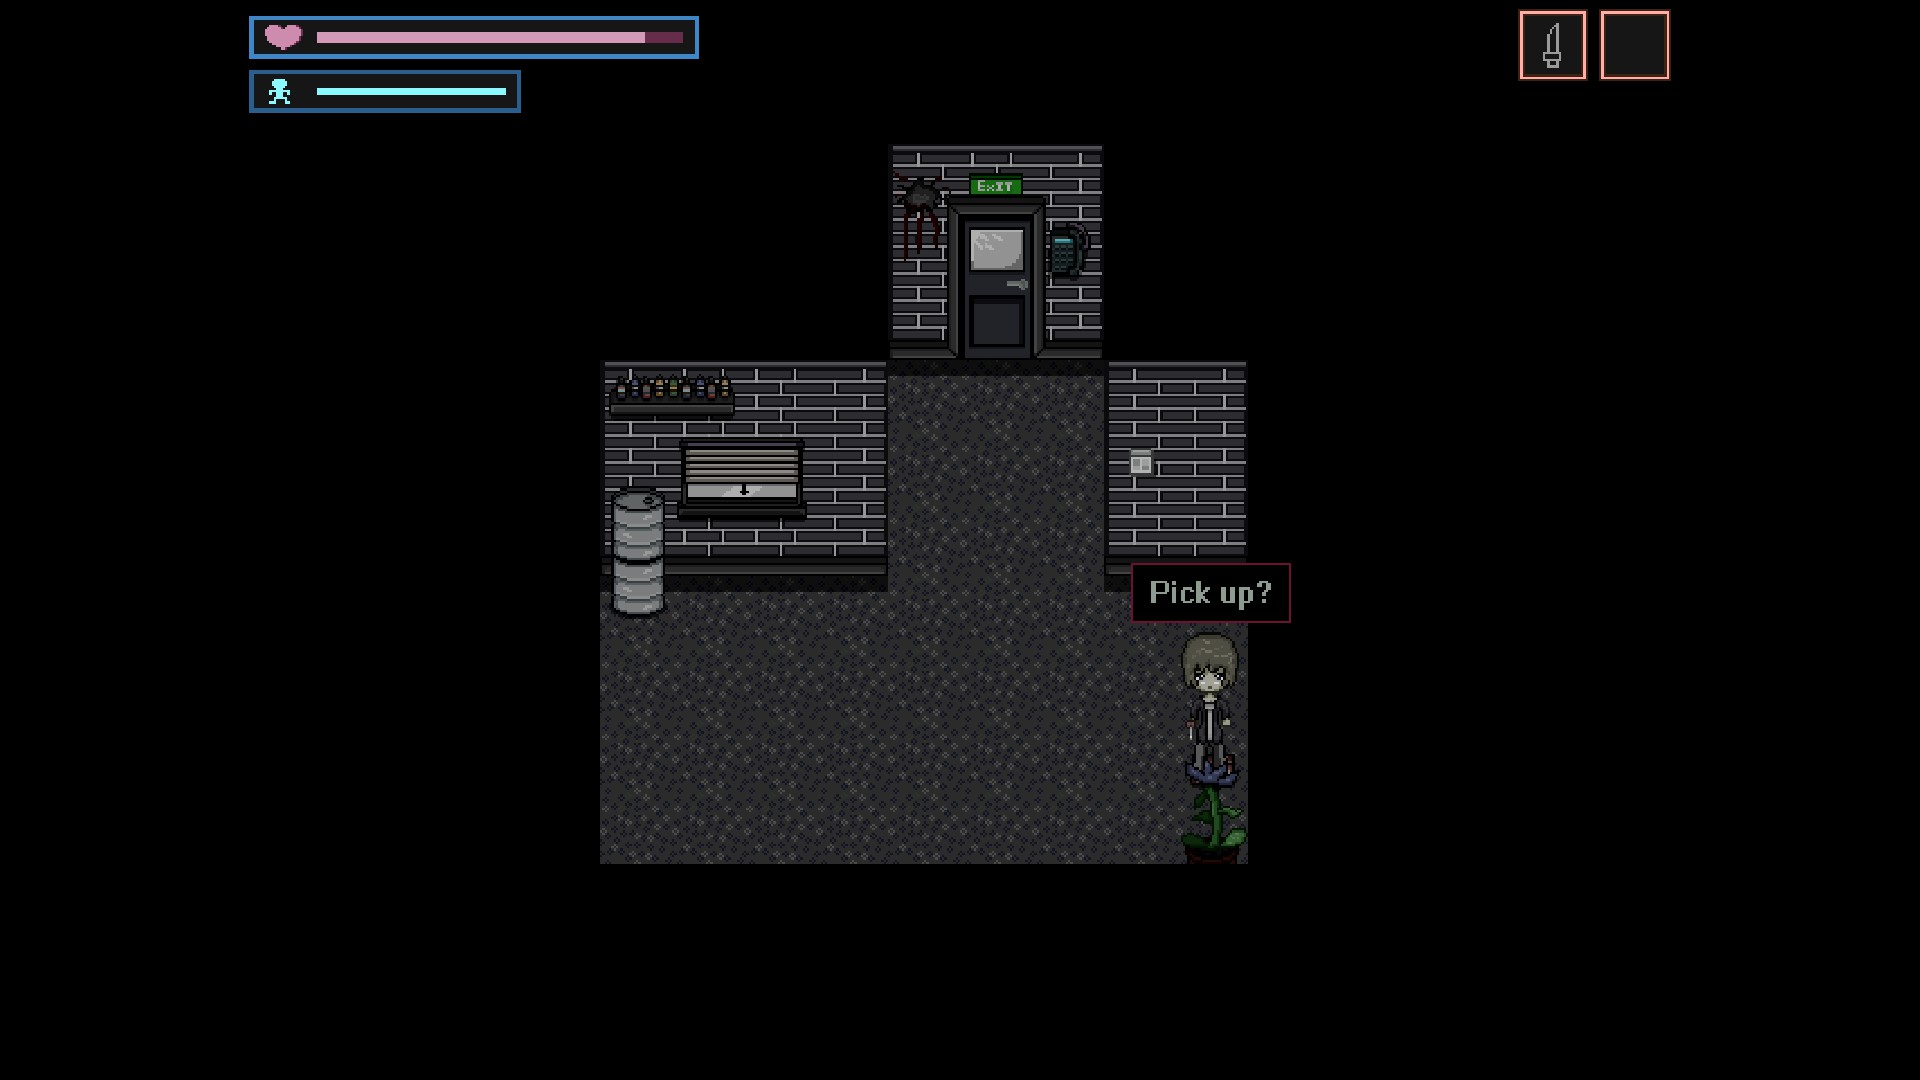
– Pick up 9MMx5 near the plant on the southeast.
– Exit the building.
– Follow the path until you reach Camino Hotel (finally!).
– Enter the hotel.
Camino Hotel
– Enter the northwest exit (upstairs).
– The first room that you find has a save cat inside.
– Head to the west exit to find Syringe Shot from the drawer.
– Exit the room.
– Head to the east exit.
– Pick up Keycard in room 01.
– Pick up Syringe Shot from the drawer in room 02.
– Pick up 9MMx5 from the drawer in the east exit.
– Return to the hotel entrance.
– Enter the northeast exit.
– Enter the room 06 to find the save cat.
– Enter the room 07 to get Syringe Shot from the drawer.
– Head to the east exit.
– Enter the west room to find a cake that can restore your HP.
– Head to the east exit.
– Enter the room south of room 16 (room 20) to get Syringe Shot from the drawer.
– Enter the room 17 to get 9MMx10 from the drawer.
– Enter the room south of room 17 (room 19) to get Valve. Use your knife to break the obstacles.
Don’t push your luck to continue exploring the area. There’s nothing you can do for now.
– Return to the hotel entrance and go to the northeast exit again.
– Enter the water pump room to the northwest.
– Use Valve to the left pump. Interact with it twice.
– Return to the hotel entrance.
– Enter the basement.
– Enter the room next to the cat to get 9MMx5.
– Enter the south room to pick up Library Key.
– Return to the building entrance.
– Head to the southwest exit.
– Enter the library to pick up Fuse.
– Pick up 9MMx5 on the west room.
– Return to the building entrance.
– Enter the room behind the counter, and then head to the east exit.
– Pick up Syringe Shot on the floor.
– Place Fuse on the fusebox with Attic label.
– Return to the building entrance.
– Make sure to save to the save cat in room 06.
– Follow the path to the east until you reach a dead end.
– Head to the north, dodging the enemy, to reach the Attic.
– Flip the switch to the northeast.
– Enter the newly-opened area.
– Follow the path, dodging any enemies along the way.
– Pick up 9MMx5 on the floor on the next screen.
– Drop off the vent.
– Exit the room.
– Pick up Syringe Shot in the box in the west room.
– Head north until you see 2 rooms.
– Pick up 9MMx5 in the drawer in the west room. You might want to return to the cat and save.
– Head to the north exit (to room 13).
– Break the window.
– Pick up the bed’s mattress and throw it towards the window.
– Use your knife to break the lock.
– Return to your children. Just head east.
– Head outside.
4. VW Radio
Outside
– Head to the north exit, then west.
– Enter the first building you find.
– Enter the room in the first floor.
– Pick up Syringe Shot in the table in the southeast room.
– Eat cake in the northeast room.
– Pick up 9MMx5 in the northwest room.
– Return to the building entrance and head upstairs.
– Use your knife to destroy the obstacle to the north.
– Enter the room to the north to bypass the monster nearby.
– Head to the east exit to go to the other side of the area.
– Enter the south room to get Slugx2.
– Head upstairs.
– Enter the north room to get 9MMx5.
– Exit the building and head to the north exit.
– Enter the first building you find.
– Save.
– Open the drawer to the southeast corner to get 9MMx5.
– Exit the building.
– Enter the next room you find that Open sign in front of it.
You might want to use some of your bullets to clear the way. Save beforehand if you’re unsure.
– Pick up Syringe Shot in the west room.
– Exit the building.
– Enter the building with an arrow mark to the south.
– Pick up the Syringe Shot in the north room next to the stair on the west.
– Head upstairs.
You might want to use some of your bullets to clear the way. Save beforehand if you’re unsure.
– Open the drawer in the north room to the west to get 9MMx5.
– Pick up the Syringe Shot in the south room to the west.
– Exit the building and head to the next area. You should reach the radio station already.
VW Radio
– Pick up 9MMx5 from the drawer on the way to the west exit.
– Head to the west exit.
– Save.
– Pick up 9MMx5 on the southwest corner.
– Head to the south room.
– Pick up 9MMx5 near the obstacles. Use knife to break them.
– Pick up Syringe Shot from the drawer to the east.
– Return to the room with the save cat.
– Head to the west exit.
– Follow the path until you reach a dead end.
– Pick up 9MMx5 from the drawer east of the entrance. Use knife to break the obstacles.
– Pick up Mainframe Key on the northeast corner.
– Return to the room with the save cat.
– Head to the north exit, then head north again.
– Head to the east exit. Watch out of the TV heads.
– The next room has an eyeball enemies that can shoot laser. Avoid from being in the same line as them.
– Pick up Shotgun and press the button in the next room (interact with the shotgun twice).
– Head south.
– This is going to be harder. You need to pick up the Storage Key and return to the room with cat. No, the door on the other side of this room can’t be used so you must backtrack it manually.
– Save.
– Head north, then enter the Storage room.
– Return to the cat.
– Pick up the cat to get Buttons.
– Return to the Storage room.
– Feed Buttons to the monster.
– Jump down.
– Save.
– Jump down and head to the exit before the time is up. There are several areas where you can reset the timer. Check the blue circle.
– Enter the room that is pointed by the arrow. Head to the east exit.
– Save.
– Pick up the radio.
– Pick up the Walkie Talkie in the same room.
– Return to the area entrance.
– Head to the west exit.
– Follow the path until you return outside.
4. Bearwood High School
Outside
– Return to your children. Just head south from there.
– Exit the building.
– Head north, then enter the room with Ruby sign on it.
– Follow the path until you exit the area with the dance floor. Beware of the monsters there.
– Pick up 9MMx5 from the ground.
– Pick up Slugx3 from the table near the center exit.
– Pick up Syringe Shot from the counter to the north.
– Exit the building.
– Head to the north exit.
– Enter the first building that you find.
– Pick up Syringe Shot near the toilet roll on the southwest side.
– Exit the building.
– Enter the next building that you find.
– Save.
– Eat the cake on the northwest room. Turn on the TV if you want (optional).
– DO NOT enter the southwest room. The one that looks similar to a drawer is an enemy.
– Head upstairs. You might want to save beforehand.
You might want to use some of your bullets to clear the way. Save beforehand if you’re unsure.
– Head inside both rooms in this floor to get Slugx2 twice.
– Exit the building.
– Head all the way to the west until you reach Bearwood High School.
Bearwood High School
– Exit the classroom from the south exit.
– Head to the south exit.
– Save.
– Return to the hallway.
– Head east.
– After the cutscene, head inside the south room to the west to get BBx2. You might want to save before proceeding.
– Head to the north room to the east.
– Pick up BBx2 on the floor.
– Head to the west exit and go to the north room.
– Enter the first room that you find to get BBx2.
– Pick up another BBx2 from one of the rooms to the north (right after the pile of books).
– Use 2 bullets of your BB gun to pass through the guy.
– Enter the room at the end of the hallway to get Laundry key.
– Return to the room with the save cat.
– Head north to the Laundry room.
– Look through the hole.
– Enter the first room that you find.
– Pick up Slugx3 and save.
– Exit the room and head north.
– No, there isn’t anything worthy on the west room.
– Enter the first room to the east to pick up Syringe Shot.
– Enter the second room to the east to pick up 9MMx5.
– Enter the third room to the east and turn on the TV (optional).
– Head to the north exit (you might want to get around from the third room to make it easier to avoid the enemy).
– Break the obstacle with your knife.
– Enter the first room that you see to pick up 9MMx5.
– Enter the third room that you see to pick up Slugx2.
– Enter the fourth room that you see to pick up Syringe Shot.
– Head to the north exit.
– Don’t enter the first room that you see just yet. Instead, head a bit to the north and enter the room with Cafeteria sign to pick up Slugx3 from the drawer.
– Enter the first room that you find to eat cake.
– Exit from the north room.
– Head to the north room.
– Exit the room from the east exit.
– Head to the north exit. Use knife for the obstacles.
– Head inside the second room to find Slugx3.
– Save.
– Return to the hallway.
You might want to use some of your bullets to clear the way. Save beforehand if you’re unsure.
– Enter the room to the east to get 9MMx5. Turn on the TV if you want (optional).
– Head to the east until you find another small-sized door (ignore the big door).
– Interact with the “hole” to get Cafe key.
– Enter the room to the southeast (the one with “deadline this friday” text in the blackboard) to find Syringe Shot on the southeast corner.
– Return to the south exit.
– Head to the room to the east to reach the east exit. Ready your gun.
– Head to the south exit.
– Press the button.
– Save.
– Return to the hallway.
– Follow the path to the east, traversing through the area that you cleared, until you reach a new area (just head north 2x).
– Enter the first room that you see and turn on the TV (optional).
– Enter the other 2 rooms to find BBx2 twice.
– Head to the next area.
– Enter the third room that you see to pick up BBx2 and push a button.
– Return to the room with the cat (north 2x, enter the second room that you see). Save
– Return to the hallway and enter the big door to the east.
– Pick up Baby Oil from the trashbin to the northeast.
– Return to the hallway.
– Enter the room at the end of the hallway to the east.
– Pick up Balloon.
– Return to the hallway.
– Enter the room east of the big door, the laundry room.
– Interact with the “hole”.
– Return to the Laundry room. Just follow the way to the south.
– Interact with the “hole” to get 2nd Floor Key.
– Pick up 2nd Floor Key.
– Head upstairs.
– Enter the southwest exit.
– Climb the stairs.
– Exit the room and head to the south exit.
– Save in the room to the east.
– Exit the school and head to the west exit.
5. Verwood Public Library
Outside
– Enter the first building you find to get Slugx3 and 9MMx10.
– Continue to the west exit.
– Enter the first building that you find.
– Head upstairs to find Slugx3.
– Enter the room and head upstairs. Shoot the enemy with your gun once.
– Pick up 9MMx5 in the south room.
– Pick up Syringe Shot in the north room.
– Exit the building.
– Head to the next area and you should arrive in Verwood Public Library.
Verwood Public Library
– Save.
– Head to the east exit.
– Enter the first room to pick up Hunting Rifle and press a button (interact with the rifle twice).
– Enter the room to the north and follow the path for a cutscene.
– Exit the library.
6. Je m’appelle
Outside
– Follow the path to the east.
– Enter the first building that you see.
– Head west to pick up 7MMx3.
– Eat the cake to the southwest.
– Follow the path to find 9MMx10.
– Continue following the path to find Syringe Shot near the beds.
– Exit the building.
– Head to the next area. Watch out for the enemies.
– Enter the first building that you find.
– Pick up both Syringe Shots.
– Exit the building.
– Enter the second building that you find.
– Pick up 9MMx5 from the drawer to the southeast.
– Exit the building and head to the next area.
– Enter the Gun Store.
– Pick up 9MMx10 from the drawer and Slugx5 from the counter.
– Exit the building.
– Head inside the building with an arrow mark on it.
– Pick up 9MMx10 from the counter.
– Head to the south room.
– Head upstairs.
– Pick up 7MMx3 on the floor.
– Enter the room to pick up Slugx3 on the table.
– Exit the building and head to the next area.
– Enter the building.
Je m’appelle
– Pick up Syringe Shot to the northeast.
– Head to the east exit.
– Pick up 9MMx5 on the floor.
– Enter the second room that you find.
– Interact with the human to the north.
– Pick up Slugx2 from the drawer.
– Head to the north exit twice.
– Head to the west exit for now.
– Pick up 9MMx5 from the drawer.
– Return to the east exit.
– Keep on following the path until you meet another human. Interact with it. Make sure you have your gun ready.
– Head to the next area.
– Pick up Slugx3 on the floor.
– Head to the south exit.
– Pick up Syringe Shot from the drawer.
– Save.
– Head to the east exit.
– Interact with the human.
– Return to the room with the save cat and head south.
– Pick up 7MMx3 on the floor.
– Head to the south exit twice.
– Interact with the human.
– Pick up 9MMx10 on the floor.
– Head to the east exit.
– Pick up Slugx3 on the floor.
– Head to the east exit.
– Save and head upstairs. Make sure you have your gun ready.
– Open the drawer to get Syringe Shot.
– Head to the east, then choose the northeast exit.
– Interact with the human.
– Head west, then north.
– Interact with the human.
– Pick up 9MMx5 from the drawer.
– Head to the northeast exit.
– Pick up Slugx3 from the drawer.
– Follow the path until you see the save cat. Save.
– Head south, then east.
– Pick up 7MMx3 from the trashcan.
– Head to the southwest exit.
– Interact with the human.
– Head south, then east.
– Interact with the human to unlock the door.
– Follow the path until you see a door with “Come Inside” written above it. Enter the door.
– Save.
– Follow the path until you see a save cat.
7. Building
Outside
– Follow the path until you see an enemy. Head north to the first intersection to pick up 9MMx5.
– Enter the building at the end of the road.
Building
– Save and head north.
– Pick up Syringe Shot from the drawer.
– Head north. Make sure not to walk when the spikes hit the place you stand. Once you reach this place, you need to trigger the spike to the north from spawning.
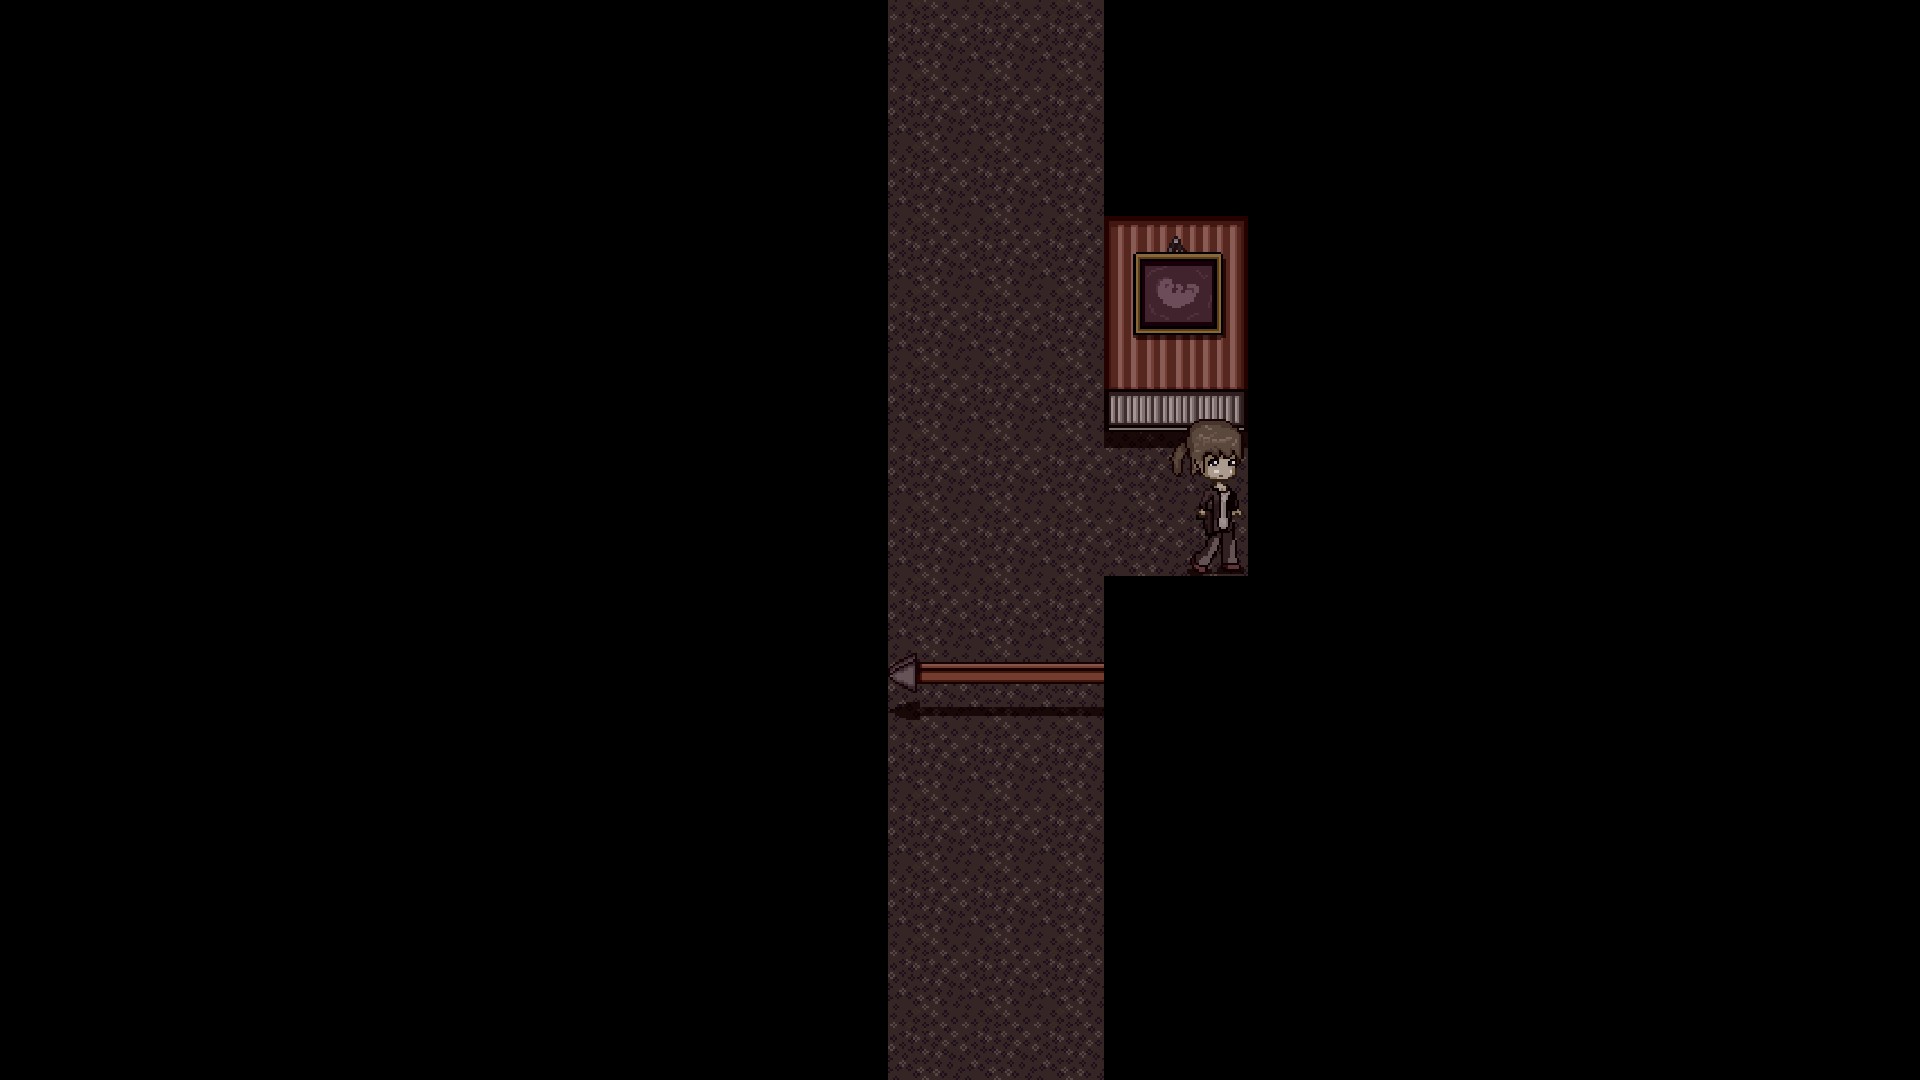
Tread carefully. Wait at a minimum 2 tiles south of where the first spike landed whenever it is moving to the north.
– Open the drawer to get 9MMx5.
– Press the button.
– Return to the save cat and save (yes, the spike is disabled).
– Head north, then east. Enter the room.
– Press the pressure plate.
The hint is in the picture next to you..
Solution: see that picture in the frame? it has the same shape as the pressure plate, with an additional line to the top. The line is the order which you have to press, in other words, press orange, blue, red, yellow, green based on the location of the plates on the picture..
– Head to the next room.
– Shoot the 2 enemies. You can kite them to the very beginning (where there were no red lasers) and they will back down a bit. If you time the shoot properly, you can kill them with normal pistols (you need to shoot them ~5 times).
– Press the button at the end of the room.
– Enter the room to the east.
– Exit the room and use the elevator.
– Exit the building.
8. Medical Center
Outside
– Enter the next building that you find to pick up 9MMx15 and Syringe Shot.
– Head to the next area.
– Enter the first house that you see.
– Pick up 9MMx15 at the southeast corner.
– Pick up 7MMx3 on the west area.
– Pick up Slugx5 from the drawer at the northeast area.
– Exit the building.
– Enter the building to the east.
– Pick up both Syringe Shots in the northwest area.
– Pick up another Syringe Shot to the east.
– Exit the building.
– Follow the path until you reach Verwood Medical Center.
– Pick up Slugx5 from the trashcan.
– Head to the south exit (the location with the arrow).
– Save.
– Enter the building.
Building next to Medical Center
– Head upstairs.
– Enter the only room. Use the elevator.
– Head upstairs until you reach the roof.
– Call Rupert.
– Head downstairs. Ready your gun.
– Shoot the enemy until it dies. You can shoot it safely from afar with your pistol.
– Pick up Fuse.
– Head downstairs (through the elevator) and exit the room.
– Use the fuse to the fusebox.
– Head back upstairs and head to the west exit.
– Pick up the brick and place it to the roof.
– Return to the room where you pick up the brick and press the button.
– Enter the room south of the elevator on the second floor.
– Pick up the brick and place it to the roof.
– Return to the room where you pick up the brick and press the button.
– Return to the building entrance and head to the east exit.
– Pick up the plank and place it to the roof.
Verwood Medical Center
– The save cat is to the north. Save.
– Head to the east exit.
– Head north to see 3 rooms in the middle area.
– Enter the middle room to get Slugx2.
– Enter the east room to get Syringe Shot.
– Save and head to the east exit.
– Shoot the zombie with your pistol. 2-3 shots should be enough.
– Enter the third room that you see to get 9MMx5.
– Enter the room to the east to pick up Battery from the chair in the center. It’s the small red s*rip.
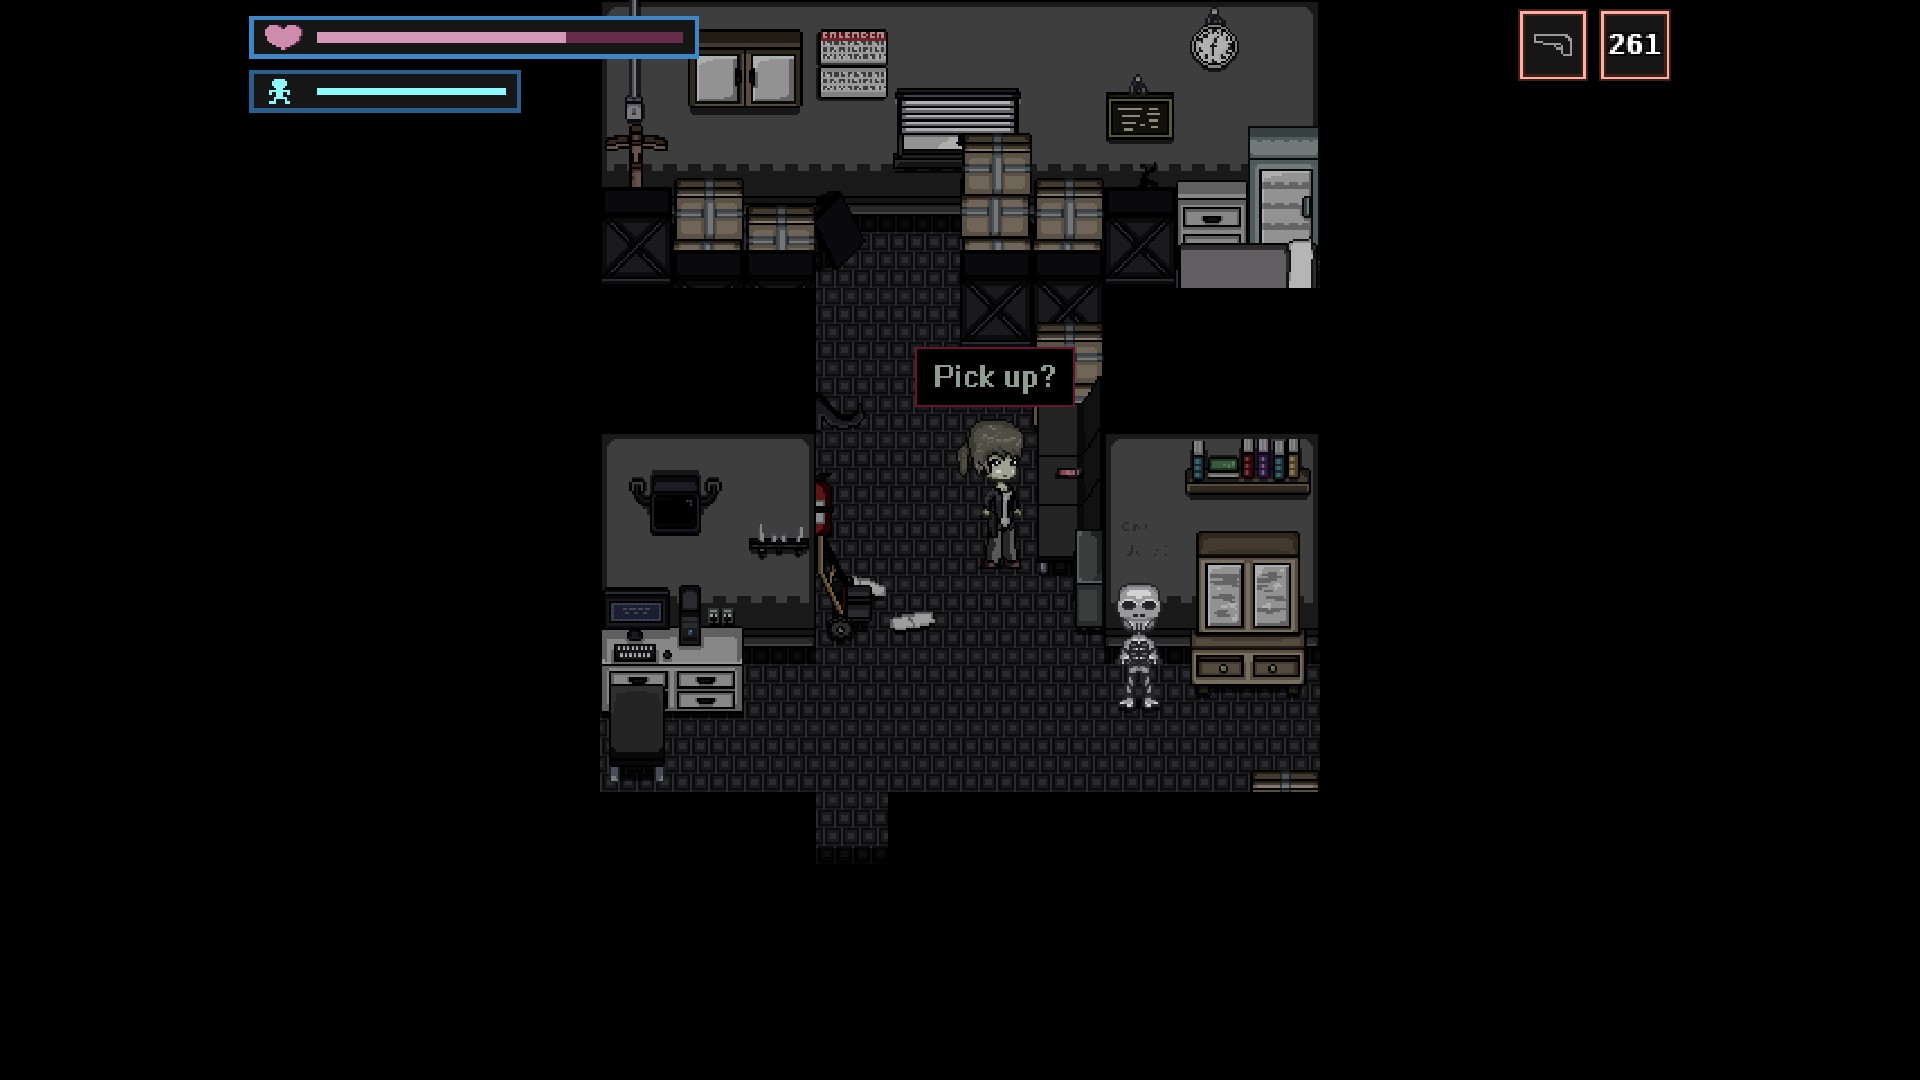
– Head to the northeast exit.
– Open the drawer to get Director Key.
– Return to the cat and save.
– Head to the east exit.
– The Director room is on the northwest exit. Try to lure the zombie near the door somewhere else first.
– Pick up the Battery.
– Return to the previous area and head downstairs.
– Ready your gun. It’s best to kill these fast creatures. They can die in 1-2 pistol shots. Save scum if necessary.
– Enter the Nursery room.
– Pick up the Battery.
– Save.
– Return to the previous area.
– Head to the northeast exit. Kill the monster if you want.
– Pick up 7MMx3 from the drawer in the first room.
– Pick up Battery in the second room.
– Press the button in the third room.
– Head to the southwest exit.
– Enter the Tech Support room to the north.
– Pick up the Battery after destroying the obstacles with your knife.
– Enter the room south of this to pick up 7MMx3.
– Enter the room east of this to pick up Syringe Shot.
– The northeast room leads to the area with Nursery room, so feel free to head there and save if you want.
– Enter the room south of the northeast exit to find a box containing 9MMx5.
– Enter the room south of this room to get Battery.
– Enter the room east of this room to get Slugx3.
– Head to the south exit.
– Pick up the Battery on the bench.
– Head to the northwest exit.
– Head north until you see a clock. Enter the room east of it to get 9MMx5.
– Enter the room on the northwest corner to get Slugx3.
– Enter the room east of this room (south of bench) to pick up Battery.
– Enter the room east of this room again to pick up another Battery after destroying the obstacles.
– The northeast exit leads to the area with Nursery room, so feel free to head there and save if you want.
– Head to the west exit. Kill the monster if you want.
– Enter the first room to find Syringe Shot in the drawer.
– Enter the third room to find Battery.
– Enter the fourth room to find 9MMx10.
– Return to the area with Nursery room and head upstairs.
– Head to the east exit.
– Enter the X-Ray room.
– Place the batteries to get Surgery Key.
– Exit the room and head to the southwest exit.
– Enter the General Surgery room.
– Head upstairs.
– Save.
– Press both buttons.
– Head to the east exit.
– Enter the first room to the east to find cake.
– Enter the second room to the east to pick up 9MMx5 from the drawer.
– Enter the second room to the west to pick up 7MMx3.
– Press the button to the far north.
– Return to the area with the save cat.
– Head to the west exit.
– Enter the second room to the east to pick up Syringe Shot.
– Enter the second room to the west to pick up Slugx2.
– Press the button to the far north.
– Head to the north exit.
– Pick up C4 in the middle of the room.
– Head to the south exit.
– Save.
– Use the elevator.
– Head to the south exit.
– Place the C4.
– Jump down.
– Head west.
– Pick up Syringe Shots and 9MMx5 on the way to the next room.
– Pull the Plug on the next room.
– Head to the east exit.
– Place Plug.
– Head to the south exit twice.
– Pick up Slugx2 twice in this screen.
– Pick up 7MMx3 on the next room.
– The next screen has 9MMx15 on the southeast corner.
– Climb the stairs.
9. Subway
Outside
– Enter the building with the arrow mark.
Building
– Use the elevator.
– Head to the east room.
– Exit the building.
Outside
– Head to the west exit.
– Enter the Subway.
Subway
– Pick up the 9MMx5 near Rupert and co.
– Talk to Rupert (stand in the blue-ish circle to activate the conversation).
– Pick up 7MMx3 on the way.
– Ready your guns. You need to kill enemies until the next save point.
– Pick up the Syringe Shot and 9MMx15 near the enemy.
– Basically, you just need to kill the enemies and take the supplies in this area. I won’t explain too much since most items are not that hidden. Conserve your ammo, and make your shot count. I only used pistol to defeat all enemies and used ~100 ammos and ~3 Syringe Shots.
Boss
Use your Hunting Rifle to kill it. I think I used ~20-ish before the fight ends. Also, yes, I miss a lot. Try to make it crits though.
– Keep on heading east until a cutscene kicks in.
– Pick up AK-47.
– Enter the room and climb.
10. Forest
Forest
– Head north.
– Pick up 9MMx10.
– Head east to pick up Syringe Shot and Slug x3.
– Follow the path to the west to pick up Slug x3, 7MMx3, and 39MMx10.
– Head north and talk to the group.
– Head west and save.
– Pick up the Syringe Shot.
– Head south.
– Conserve your ammo. Let Sandra kill the monsters.
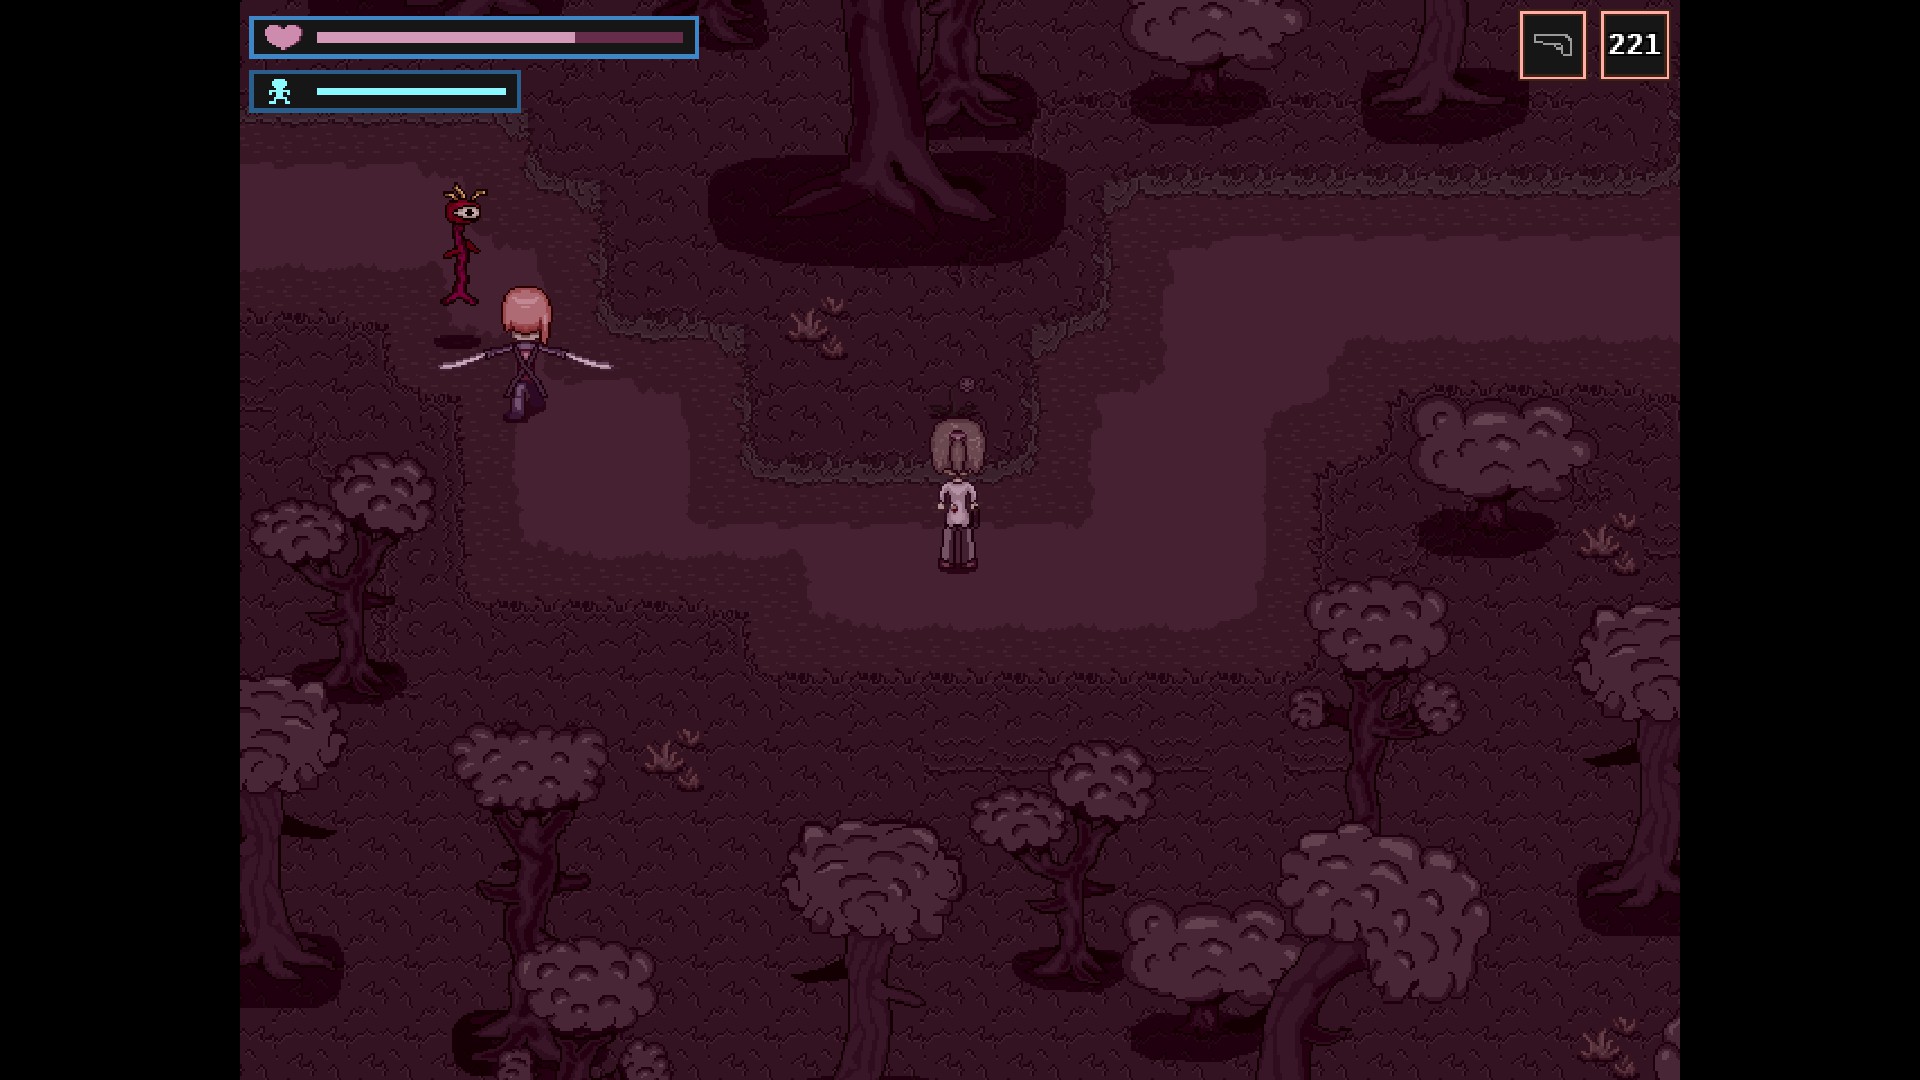
– This is basically the same as the train scene. Pick up any ammo that you see and kill the monsters until the next cutscene. On the scene where there are a lot of ene eye monsters, just zoom past through them. Only use ammo after you reach a cutscene. Still, only spare 1-2 bullets on them though.
– You’ll reach a building at the end of the road. Enter it.
Building
– Deposit your inventory in the box to the northeast.
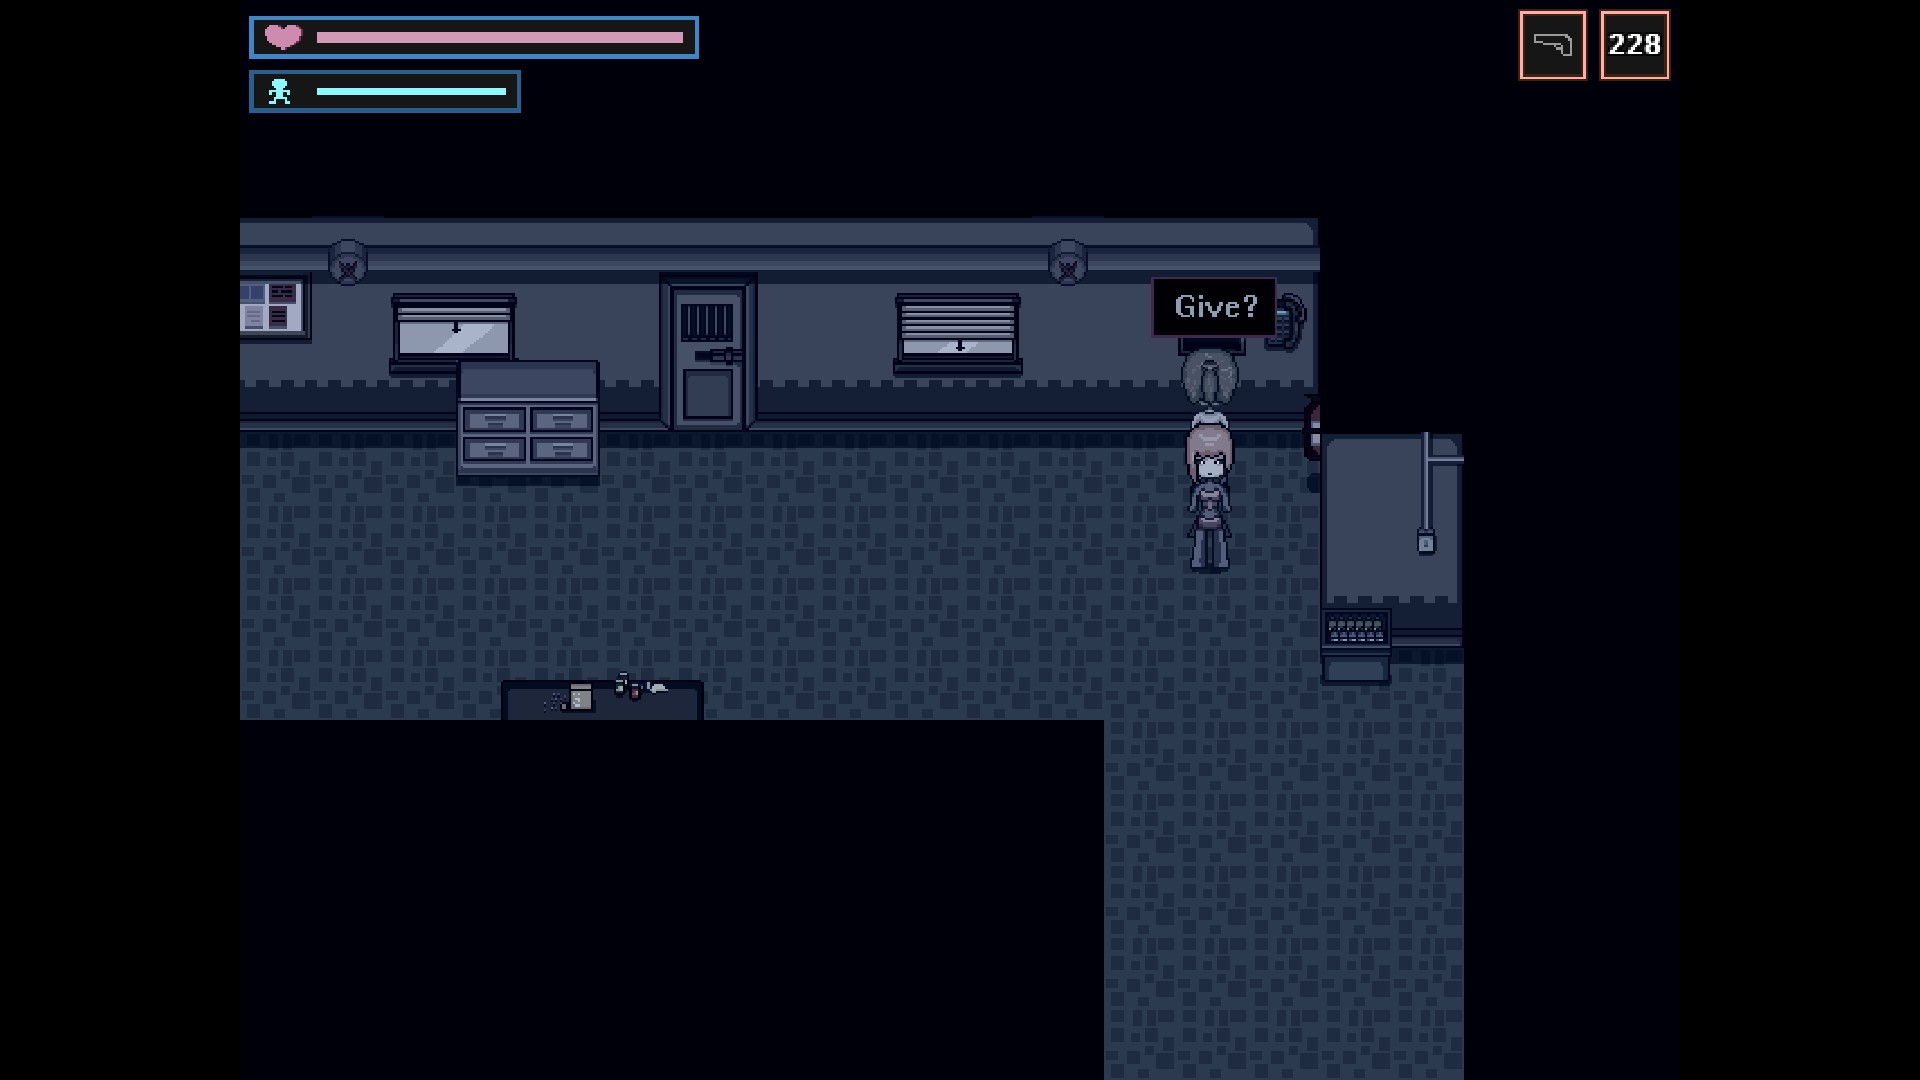
– Save.
– Head to the south exit.
– Let’s hope you haven’t use your sprint. Sprint all the way to the exit until you see a save cat.
Forest
– Sprint again to the next screen.
You don’t have to sprint in this area.
– Head south to pick a Bow.
– Make sure to have Sandra lose your track so that she’ll attack the enemies. I’m not sure if you need to be on the vicinity when she attacks or not, but a cutscene will happen after a while.
– Head to the south exit.
– Pick up your weapons.
– Exit the building.
– Head to the north exit to reunite with your group.
– Head east.
11. Verwood News Corp
Verwood News Corp
– Head to the east exit.
– Pick up Arrowx1 and 9MMx15.
– Head to the east exit.
– Open the drawer to get Slugx5.
– Head to the northeast exit and go to the room to the far north.
– Open the drawer to get 9MMx10.
– Return to the previous room and head west. Go to the next room.
– DO NOT pull the plug yet. Take all items in the next room before doing it.
– Pull the Plug.
– Return to the room east of save cat. You don’t need to kill the enemies this room btw.
– Head east. Let Donald take care of the enemies.
– Put the Plug.
– Head to the previous room and enter the northwest room, the previously locked room.
– Pick up the Keycard.
– Return to the save cat.
– Pick up Syringe Shot from the drawer.
– Head to the east room to pick up Slugx5.
– Head upstairs.
– Save.
– Pick up 9MMx10 from the drawer to the west.
– Head to the south exit.
– Follow the path to the east. Use your gun to kill the enemies until you reach a room with Slugx5 and some obstacles blocking your way to the exit.
– Break the obstacles with your knife and break the padlock to unlock the north door.
– Pick up Arrowx1.
– Head upstairs.
– Pick up 9MMx15 behind the chair from the round table.
– Talk to the group.
– Save.
– Head to the east exit.
– Kill the enemies.
– Pick up 39MMx15.
– Head to the east exit.
– Head to the south exit, breaking the obstacles blocking your way.
– Pick up 7MMx3.
– Head to the south room to find Kitchen Key.
– Return to the previous room.
– Head to the north exit.
– Pick up Arrowx1 from the drawer.
– Head to the west exit.
– Eat the cake.
– Break the obstacles to flip the switch.
– Pick up Slugx5 from the drawer.
– Return to the room with save cat.
– Save.
– Enter the previously locked room.
– Talk to the group.
Boss
Just run around until your group kill everything. It might take a while until the fight ends.
– Return to the previous room and head east.
– Pick up both Syringe Shots on the floor.
– Head upstairs.
– Save.
– Pick up Slugx5.
– Head to the next room.
– This is basically the same as other floors. Let your compaion kill the enemies and loot any ammo that you find. Once you reach a room that leads to the south exit, save.
– Pick up the 39MMx15.
– Follow the path to the west until you find Corridor Key.
– Return to this intersection and head east.
– Ready your pistol. All enemies can die in one hit and Rupert can handle most of them. Just hit the ones that he missed (if there’s any).
Boss
Just run around until Rupert finishes it off. It might take a while until the fight ends.
– Follow the east exit until you reach a save cat.
– Save.
– The next area is pretty straightforward. Just keep on going to the very top and bottom to avoid the enemies.
– Pick up 9MMx10 on the drawer.
– Save. Yep, anorther straightforward path. Collect everything.
Boss
First phase: use your Hunting Rifle
Second phase: use your Pistol
Third phase: use your Hunting Rifle. you might need to heal a bit for this. Luckily, Hunting Rifle and Syringe Shot is next to each other. Just rotate between 2 and 3 to get it. Make sure to gain some distance before shooting on this phase.
After the cutscene you’ll get another fight.
Boss
Your HP will be recovered after each wave.
First wave: just spam your attacks.
Second wave: circle them around. You can attack diagonally now. Sprint if necessary.
Third wave: ignore the boss. Kill the red minions.
Fourth wave: just keep on slashing the boss while trying to dodge its attack. I don’t think sprint is necessary. The weapon has a very slow delay between attacking and sprinting.
Congrats for beating the game!
Afterword
The game is mostly straightforward although I admit I stuck several times (the battery on the medical center, that Sandra “battle” in the woods…). Hopefully the game will help you if you are also stuck somewhere. I might confuses east with west (and the other way around) somewhere in the guide though. I tried my best to fix them all but I might miss some. Feel free to let me know if I miss any. Lastly, enjoy the game!
Hope you enjoy the Guide about Cover Your Eyes – Walkthrough, if you think we should add extra information or forget something, please let us know via comment below, and we will do our best to fix or update as soon as possible!
- All Cover Your Eyes Posts List


Leave a Reply