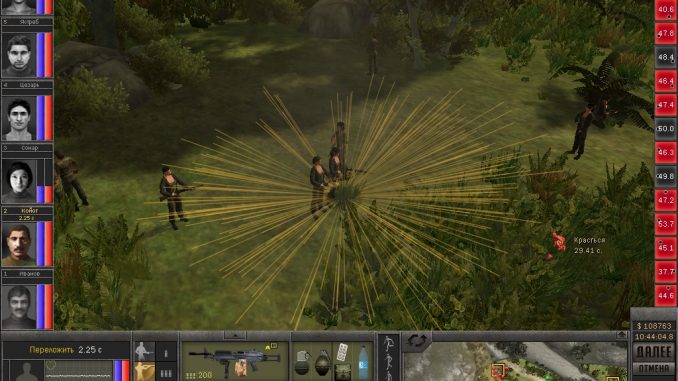
Before Starting the Game
If you are having issues with game crashes CTRL-F this page for the word crash and read the sections, this game has many quirks that can lead to consistent crashes.
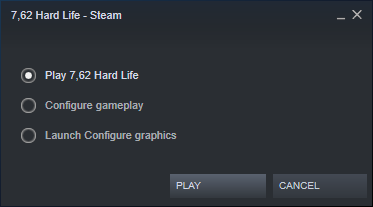
When you hit “Play” for the first time you will get this box that opens up, some changes should be made before you actually start your campaign and can be done in the two menus that cover gameplay and the graphics.
GAMEPLAY CONFIGURATION
Here’s a quick list of the various settings and their effects on the game.
Railroad
Controls whether or not the game autosaves when you use the railroad, and how much the ticket will cost you.
Papers Check
This is a very important setting, it will effect whether or not the local authorities will check your licensing to see if you are allowed to own the weapons/equipment/vehicles that you have. If you do not have the proper licensing they will confiscate the items and YOU CANNOT get them back. There is ways to get the proper licenses (whether legitimate or forged) that will be covered further in the guide.
Food
Will your mercenaries get hungry and have to be fed? Despite the wording of the setting, it is a simple ON/OFF toggle, if it is not checked you will not have to worry about food. I recommend this setting be turned off, as it tends to just add unnecessary micromanagement.
IF it is turned on, if your characters do not need food they will say they are thirsty, they are not actually thirsty this is just a bad translation. This is a source of confusion for a lot of players who think they need to drink something to survive, drinks are only used for stamina recovery during combat.
Additional Settings
I’ll leave out the settings that are self-explanatory and only cover the confusing ones.
“Disable Auto Health Regeneration” means that instead of healing slowly over a period of weeks you can only regain health by visiting a doctor, I recommend leaving this setting off as your healing is slow anyways, if you are seriously injured it will be a week before you are back in fighting condition.
“Allow Open Scope when no Scope Installed” this setting does not seem to change anything either way.
“Ask NPCs about all known characters” Bugged option, if enabled is supposed to automatically ask an NPC about all characters when one is asked about, instead of having to ask individually.
“Treasure Hunt” Ability to use the metal-detector to occasionally find items.
Mines
Safe working with mines means that you won’t accidentally trigger any explosives when you attempt to disarm them, if you just save-scum mine-disarming anyways you might as well turn this off, although mines are not very common in the game and it gives you an incentive to acquire a character with the sapper skill.
GRAPHICS CONFIGURATION
Contrary to the name this actually contains non-graphical options.
Graphics
Here you are able to change the various graphics settings to your liking, this is an older game so you should be able to run it at max settings with no problems.
Windowed Mode
The game is able to be alt-tabbed in and out of easily, but it will CRASHif you attempt to do a manual save, you are relegated to quick-save and quick-load using the keyboard commands only.
Fullscreen Mode
You can save and load your game normally, unlike windowed mode. However, the game can only alt-tab three to five times before it CRASHES, so if you need to alt-tab in Fullscreen mode then quickly save your game beforehand.
Control
You’ll want to immediately turn “Max. Slomo” to the “Off” position, this can frequently crash the game or cause other issues.
Autosave Options:
As you’ve probably guessed this game does have quite frequent issues with crashing, I recommend turning autosave count to at least five to give yourself some lee-way in case of a crash or a mistake you make that locks you out of content.
CUT CONTENT RESTORATION MODS
There are various chunks of the game’s content that was cut-out and only released on the Steam workshop, these are those files that are compatible with English, the widescreen fix and a few others will turn your game Россия (Russian)
https://steamcommunity.com/sharedfiles/filedetails/?id=653960184
https://steamcommunity.com/sharedfiles/filedetails/?id=653963565
https://steamcommunity.com/sharedfiles/filedetails/?id=653962512
https://steamcommunity.com/sharedfiles/filedetails/?id=653965602
https://steamcommunity.com/sharedfiles/filedetails/?id=653964977
https://steamcommunity.com/sharedfiles/filedetails/?id=653962676
https://steamcommunity.com/sharedfiles/filedetails/?id=653961333
Recommended Additional Mods
https://steamcommunity.com/sharedfiles/filedetails/?id=835711529&searchtext=
A more detailed and nicer-looking map with a cool grid.
https://steamcommunity.com/sharedfiles/filedetails/?id=963744567
EXCELLENT MOD Adds many, many additional firearms and ammunitions and re-balances them to be more realistic, no more .22 Caliber FALS that hit you like a mosquito bite. (Make sure that you read the instructions and install the new executable for better stability.)
STARTING THE GAME
At this point, go ahead and start the game. There is still work to be done before your campaign starts but you’re getting close!
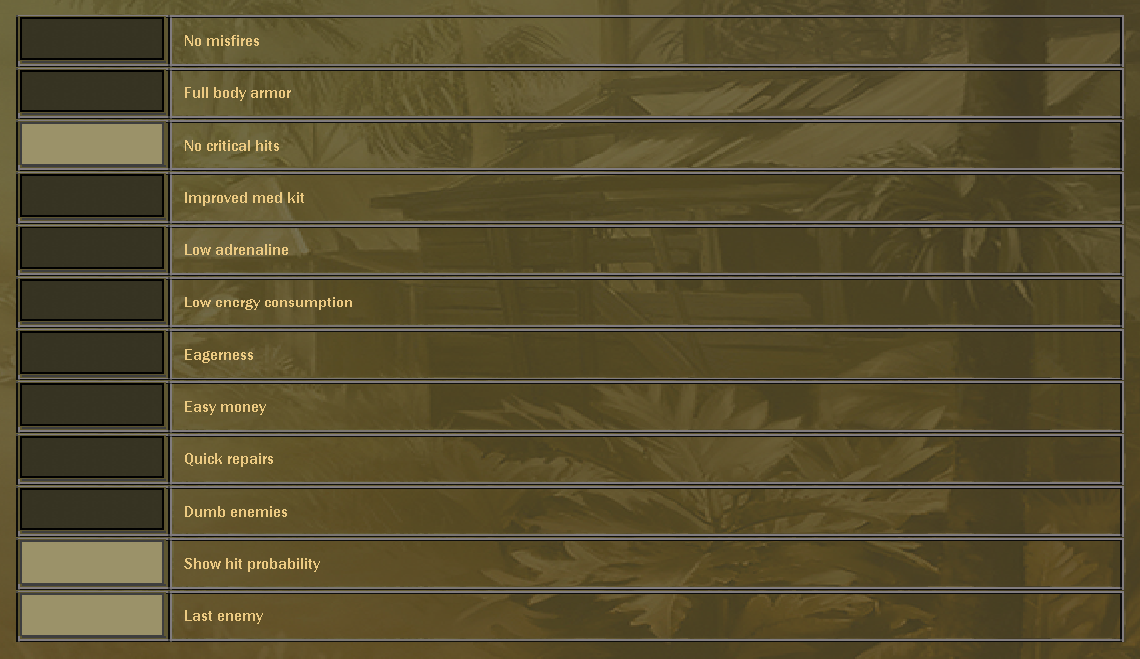
The first thing you’ll want to do is go to the “MODS” section of the main menu and enable all of the mods you downloaded. Then, go to the “SETTINGS” tab and navigate to the “GAME” submenu, we’ll be making some tweaks here.
These are the recommended settings for most players, feel free to change them if you feel they are too difficult. However, I would recommend at least leaving “Last Enemy Location” on, in-case the enemy is bugged inside of a structure or other object. You will be able to find them in this case and shoot-through the object to hit them.
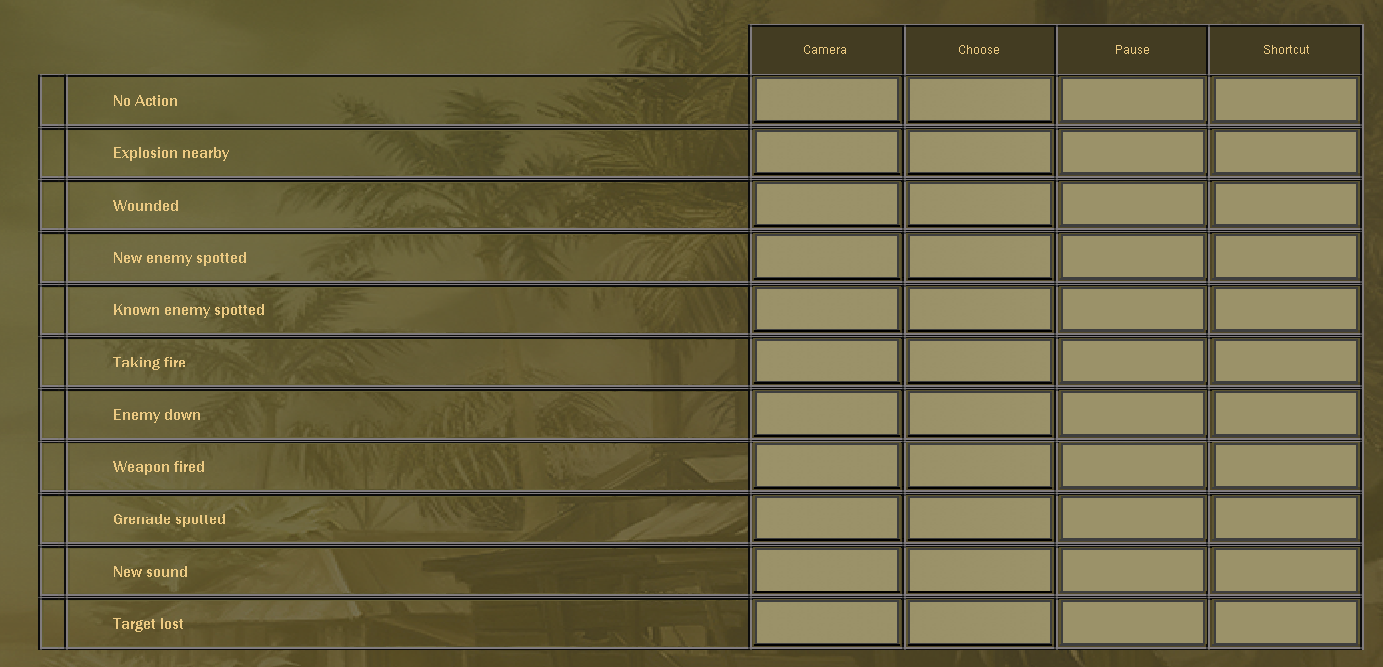
The “EVENTS” tab will let you decide what effect you want to happen when certain events occur.
I would recommend enabling the pause and shortcut function on all of the following, if it is too much you can scale it back down later.
Make sure that the game has been restarted at this point so our mod selection and changes take effect. When you open the game back up you’ll be ready to start terrorizing South America.
Starting the Campaign
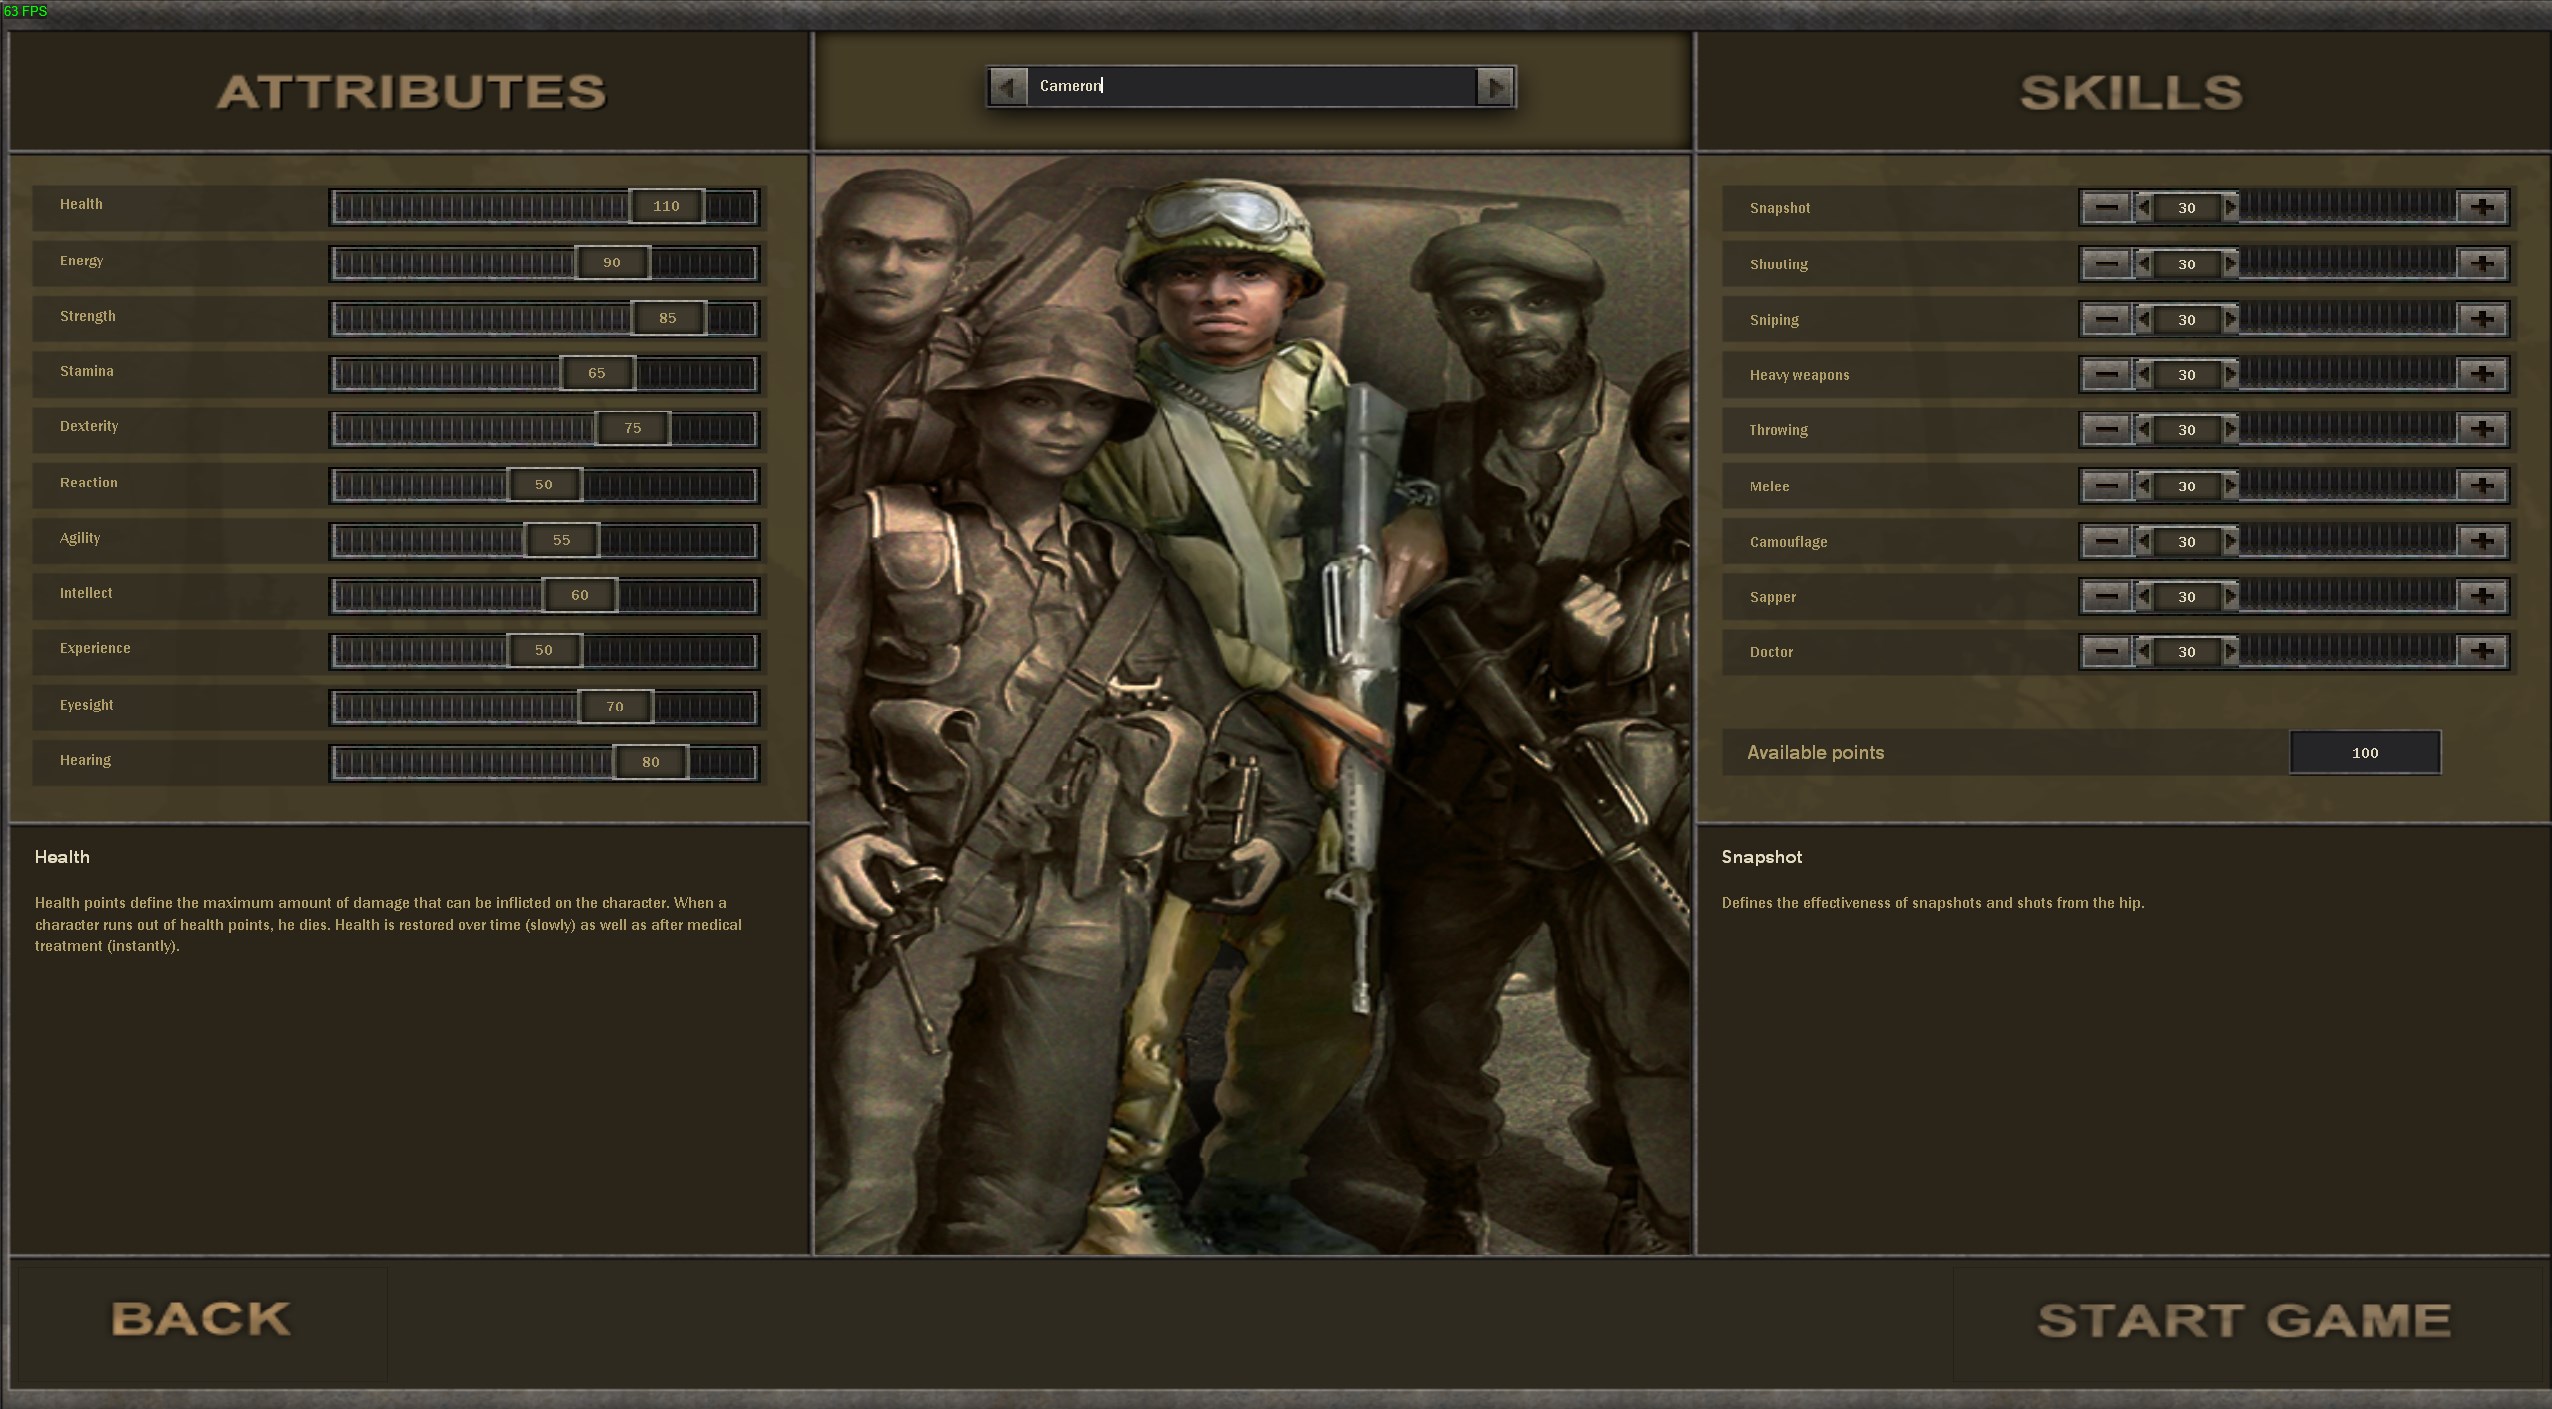
Here you can select your starting character and allocate your skill-points, starting out with some shooting skill will make the early game easier, but keep in mind that attributes and skills can both be greatly increased through character experience in the fashion of an RPG (Do thing, get better at it).
Go ahead and hit start when you’ve made your choices and wait for the first map to load.
A Rude Awakening
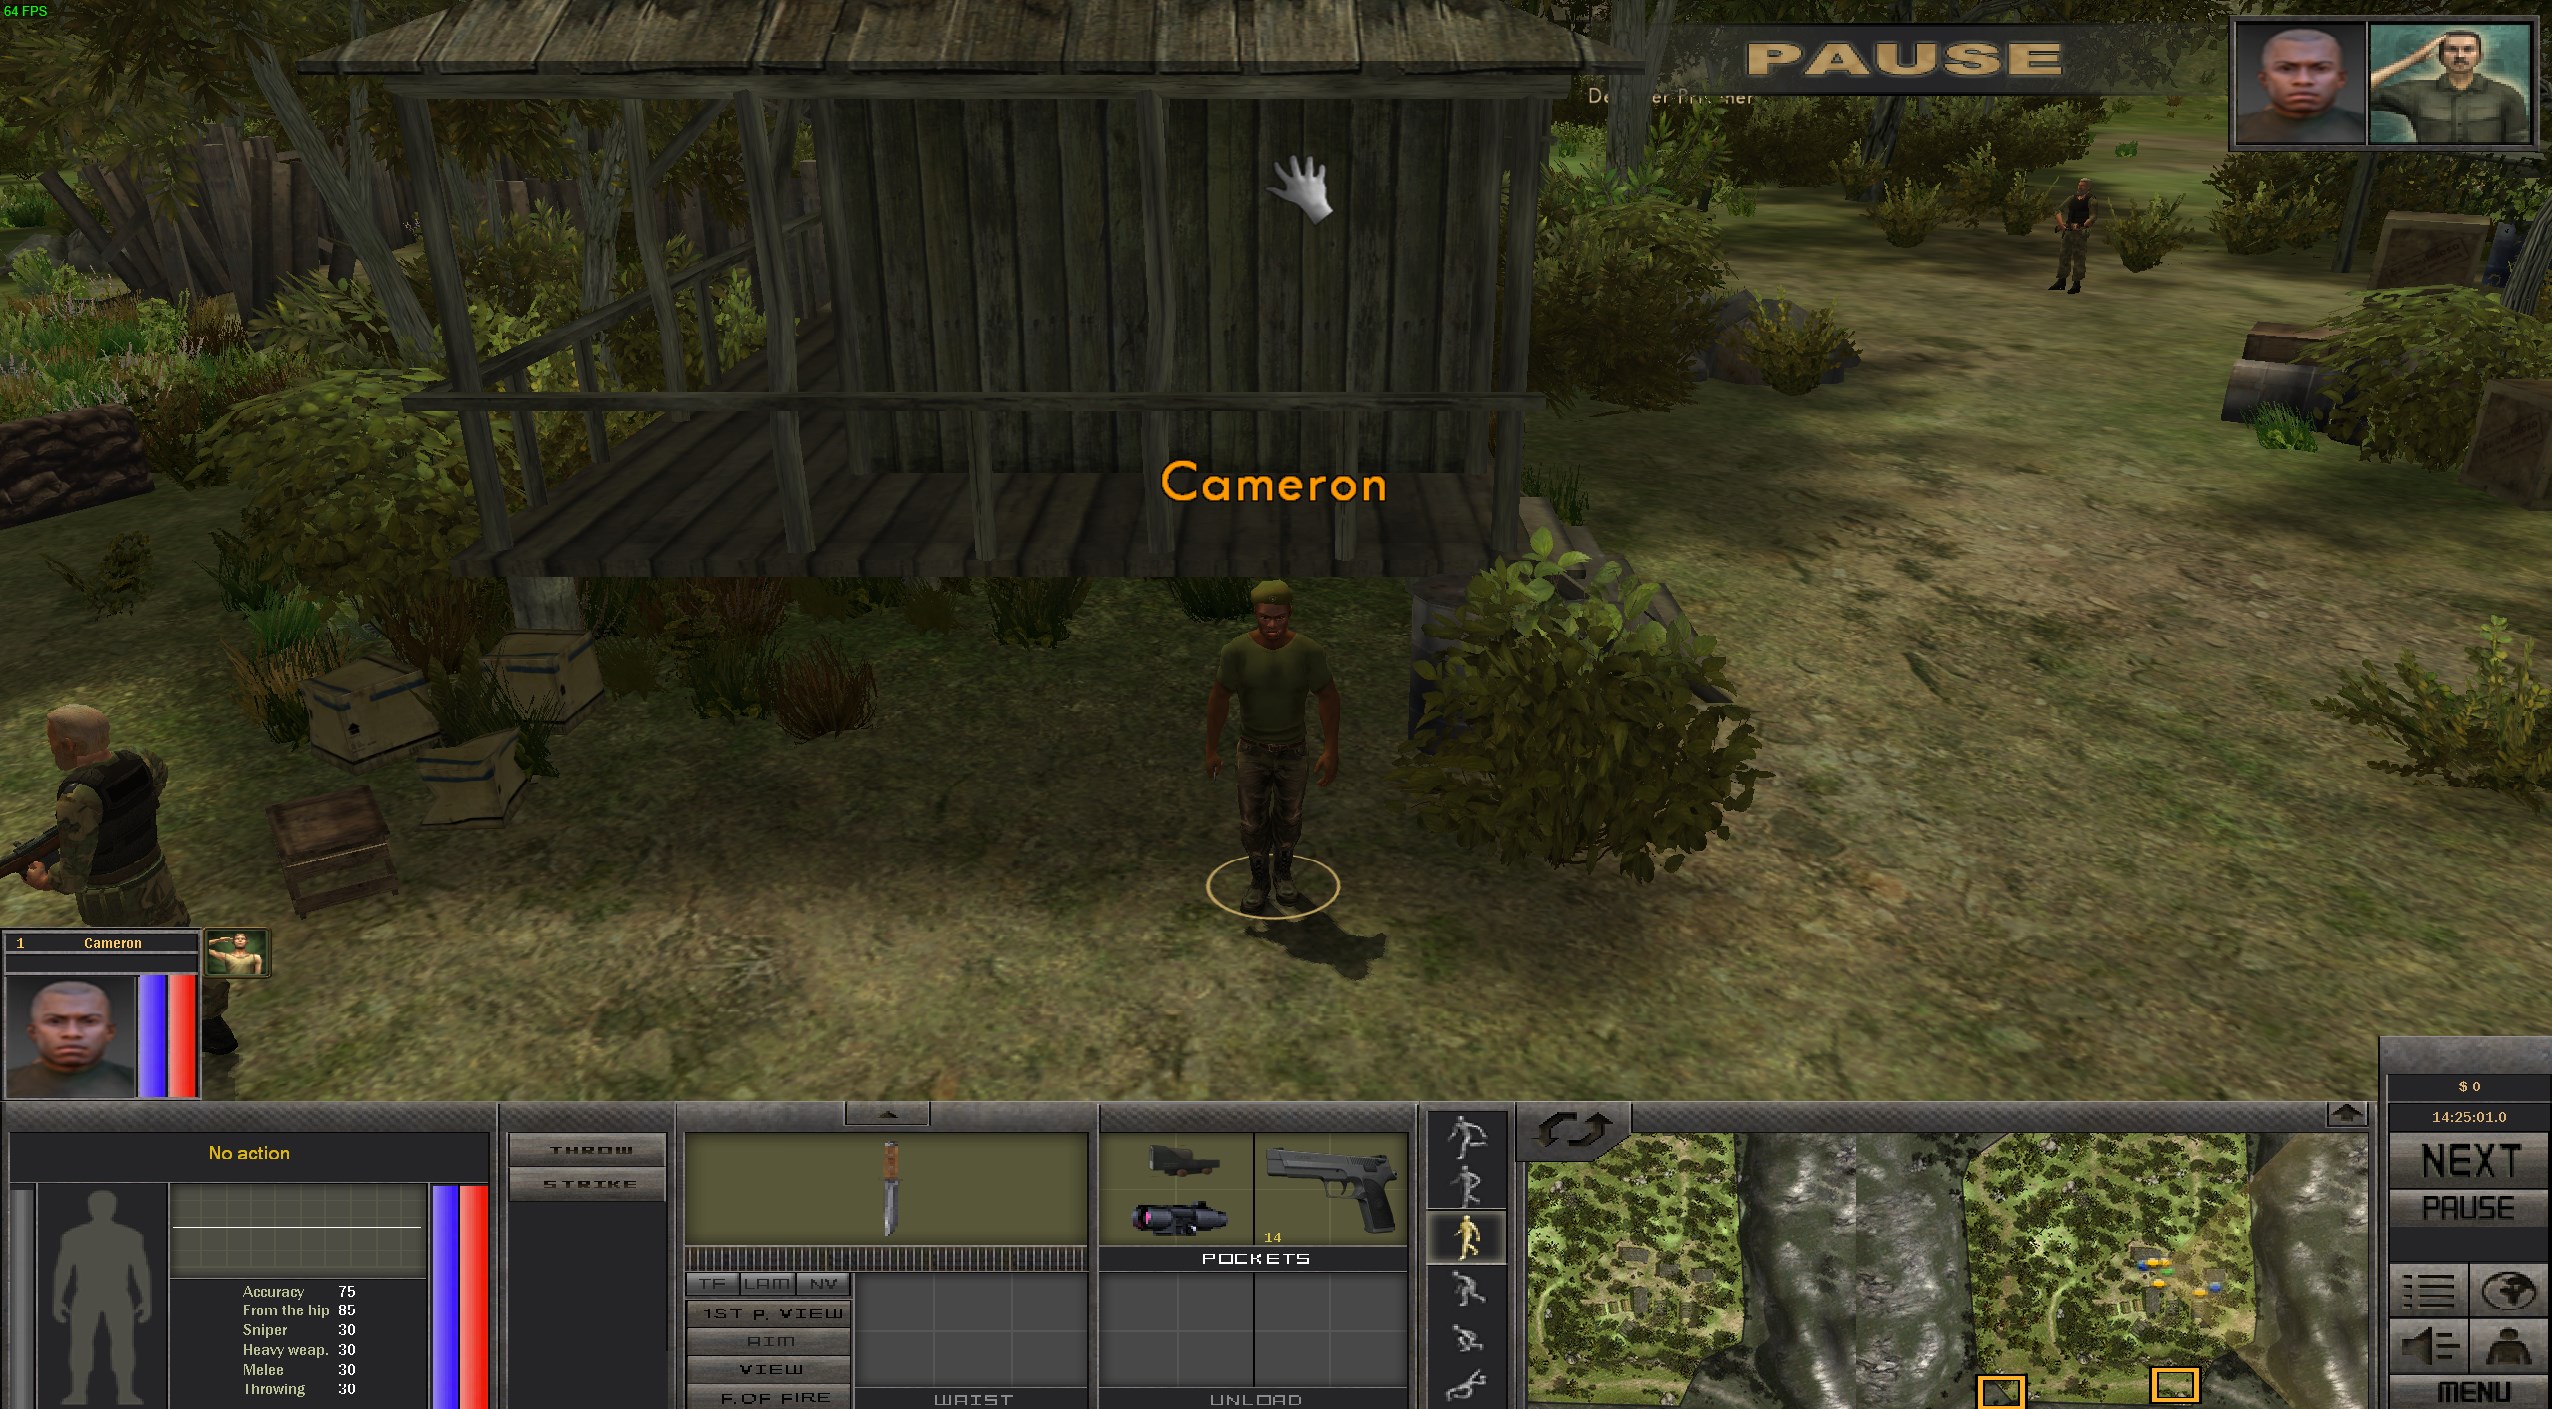
You begin the game talking to Marcelo Tron, a revolutionary commander that rescued you and brought you back to the revolutionaries’ camp after you botched your entry into the country.
Unfortunately your pleasant conversation is interrupted by a government scouting party that has found the camp. You’ll automatically exit the dialogue with Marcelo and he’ll hand you a pistol and tell you to go fight. While it may seem counter-intuitive you’ll want to immediately make a quick-save and sprint towards the enemies on the Southern border of the map.
This is your one-chance to make a good impression with Marcelo and if you do not engage very quickly then the Guerilla forces will quickly decimate the government party, leaving Marcelo unhappy if you’ve not managed to kill someone. Run up to the (most likely) wounded enemy soldiers and execute them with your pistol, try to do this for as many enemies as you can in order to get a greater reward from Marcelo.
As soon as you’ve finished the fight go ahead and open up your inventory.
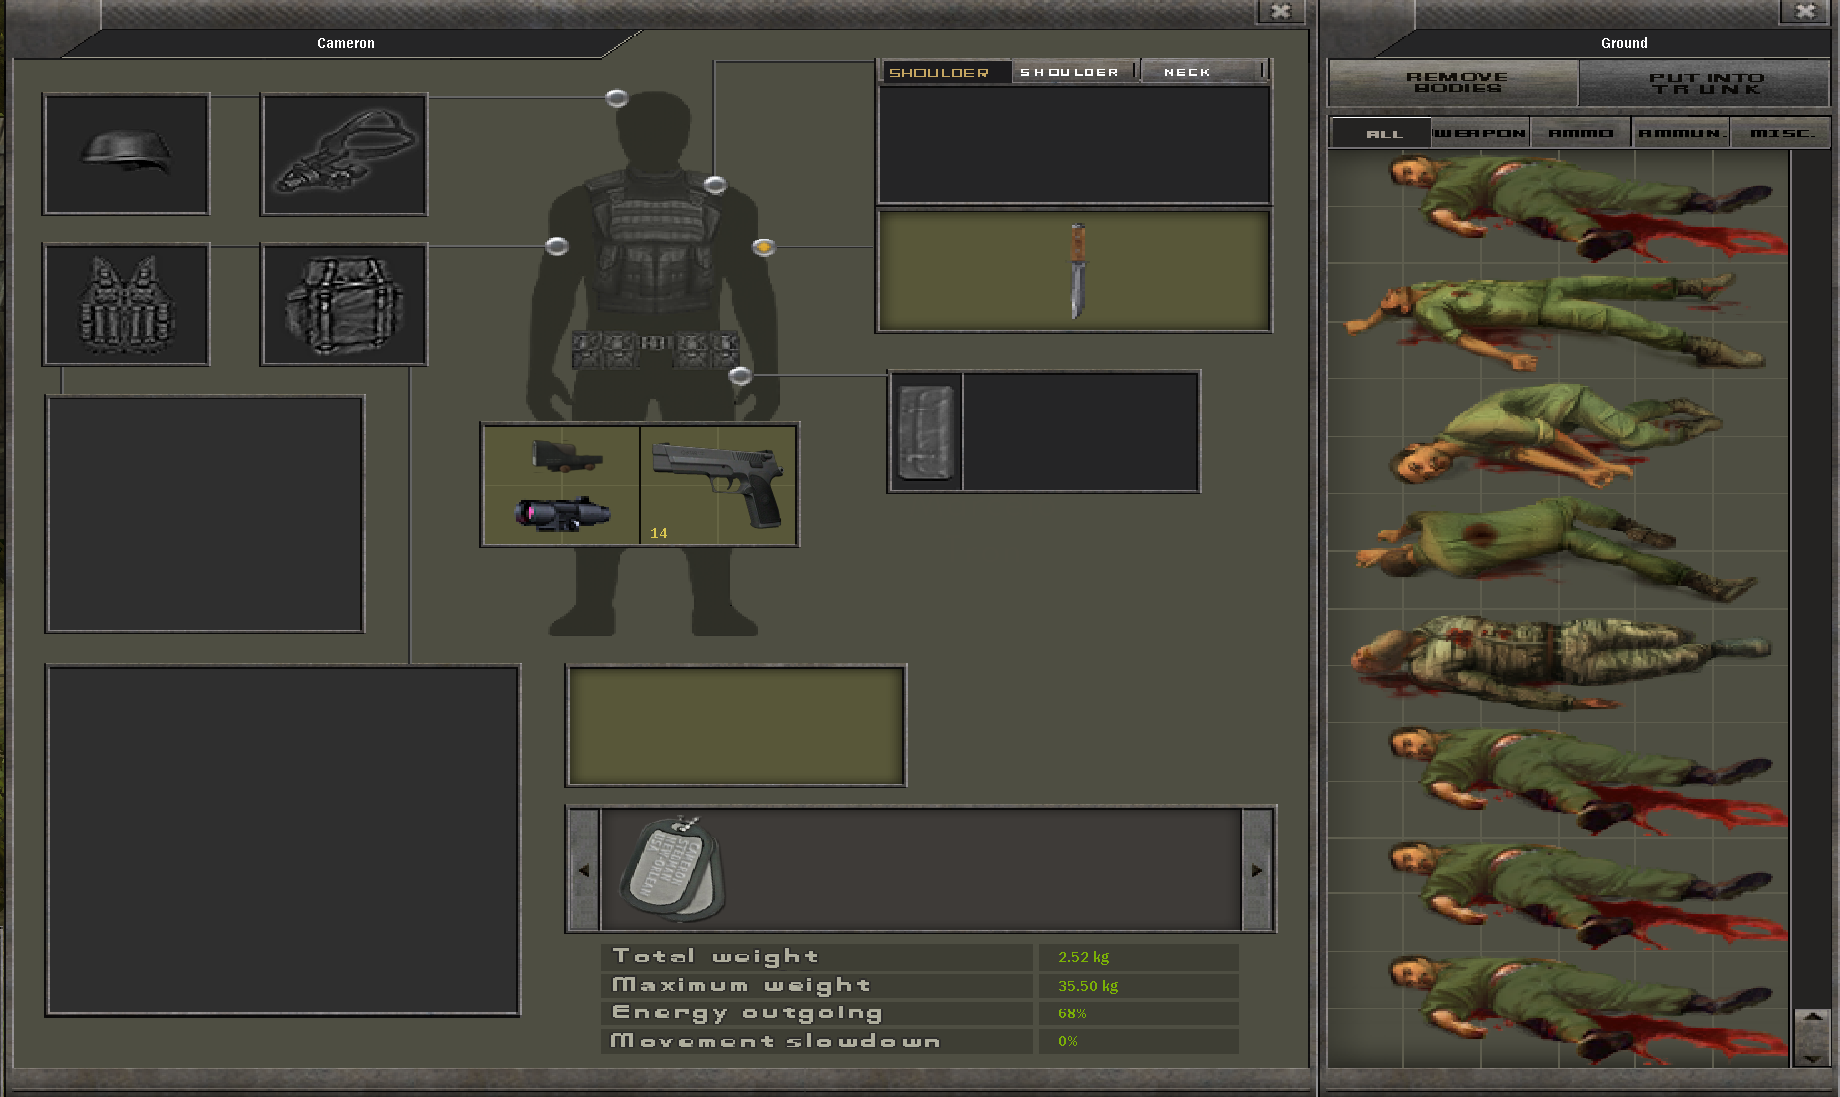
You’ll want to immediately hit “Remove Bodies” in order to s*rip the bodies of all their loot and dispose of them. Now you’re free to sort through it and pick anything you want, keep an eye out for any intel documents as they are worth a lot to the rebels. You’ll want to loot a belt for storage, some armor for protection and a vest if one dropped. Look to obtain the brown “Belt with Holster” as you are able to carry a pistol-sized firearm in it and add an additional pouch for extra storage.

Before we do anything else, let’s go report back to Marcelo and hear what he has to say about our performance. Depending on how many enemies you killed, Marcelo will assign you a different rank. Obviously a higher rank will give you better starting equipment.
Once you’ve talked with Marcelo you’ll need to go get some equipment from the armory. It is the building in this picture on the very right side with the prisoner and the deserter outside of it.
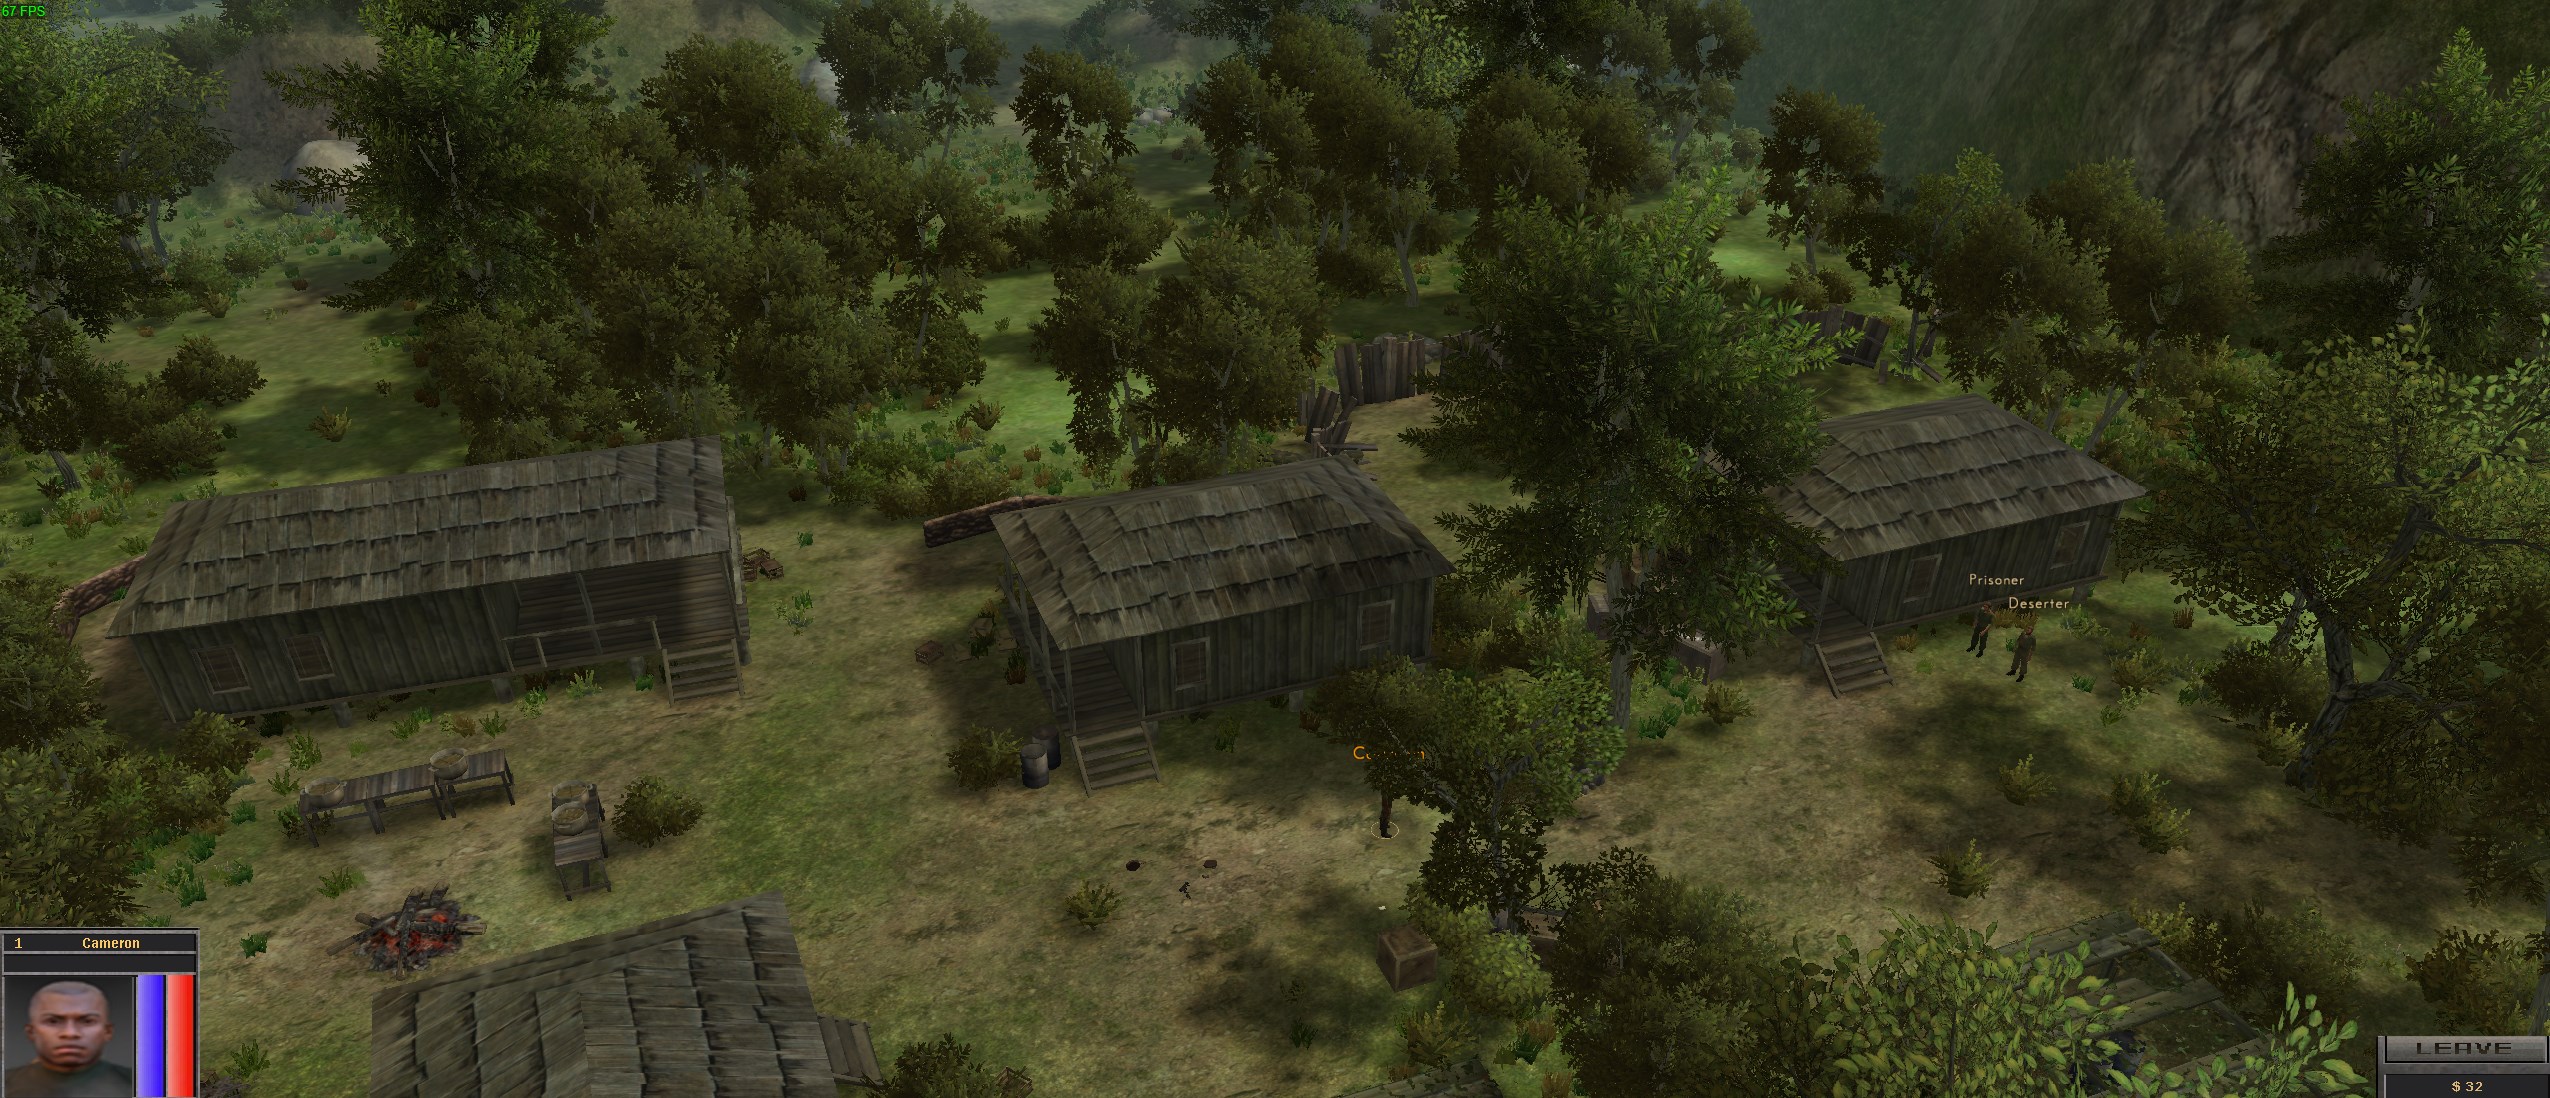
Inside is the weapons master, let him know that Marcelo sent you to get some equipment and he will provide you with a starting loadout. If you have $100 from selling any intel or items ask him to help you master and zero your equipped firearm, it will max out your familiarity (adaptation) with the weapon, greatly increasing your accuracy.
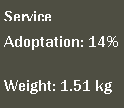
Now what to do with all the crap lying about on the ground? You can either sell it to the Weapon Master through his “Pick up all Items and Sell” dialogue or you can walk over to a nearby storage object and deposit all the items on the floor through a dogtag menu.
Open up your inventory, right click on your dog-tags click the option in Russian, then “Working with Items” > (Whichever Container You Picked) > “Collect All Items and Put In Container”
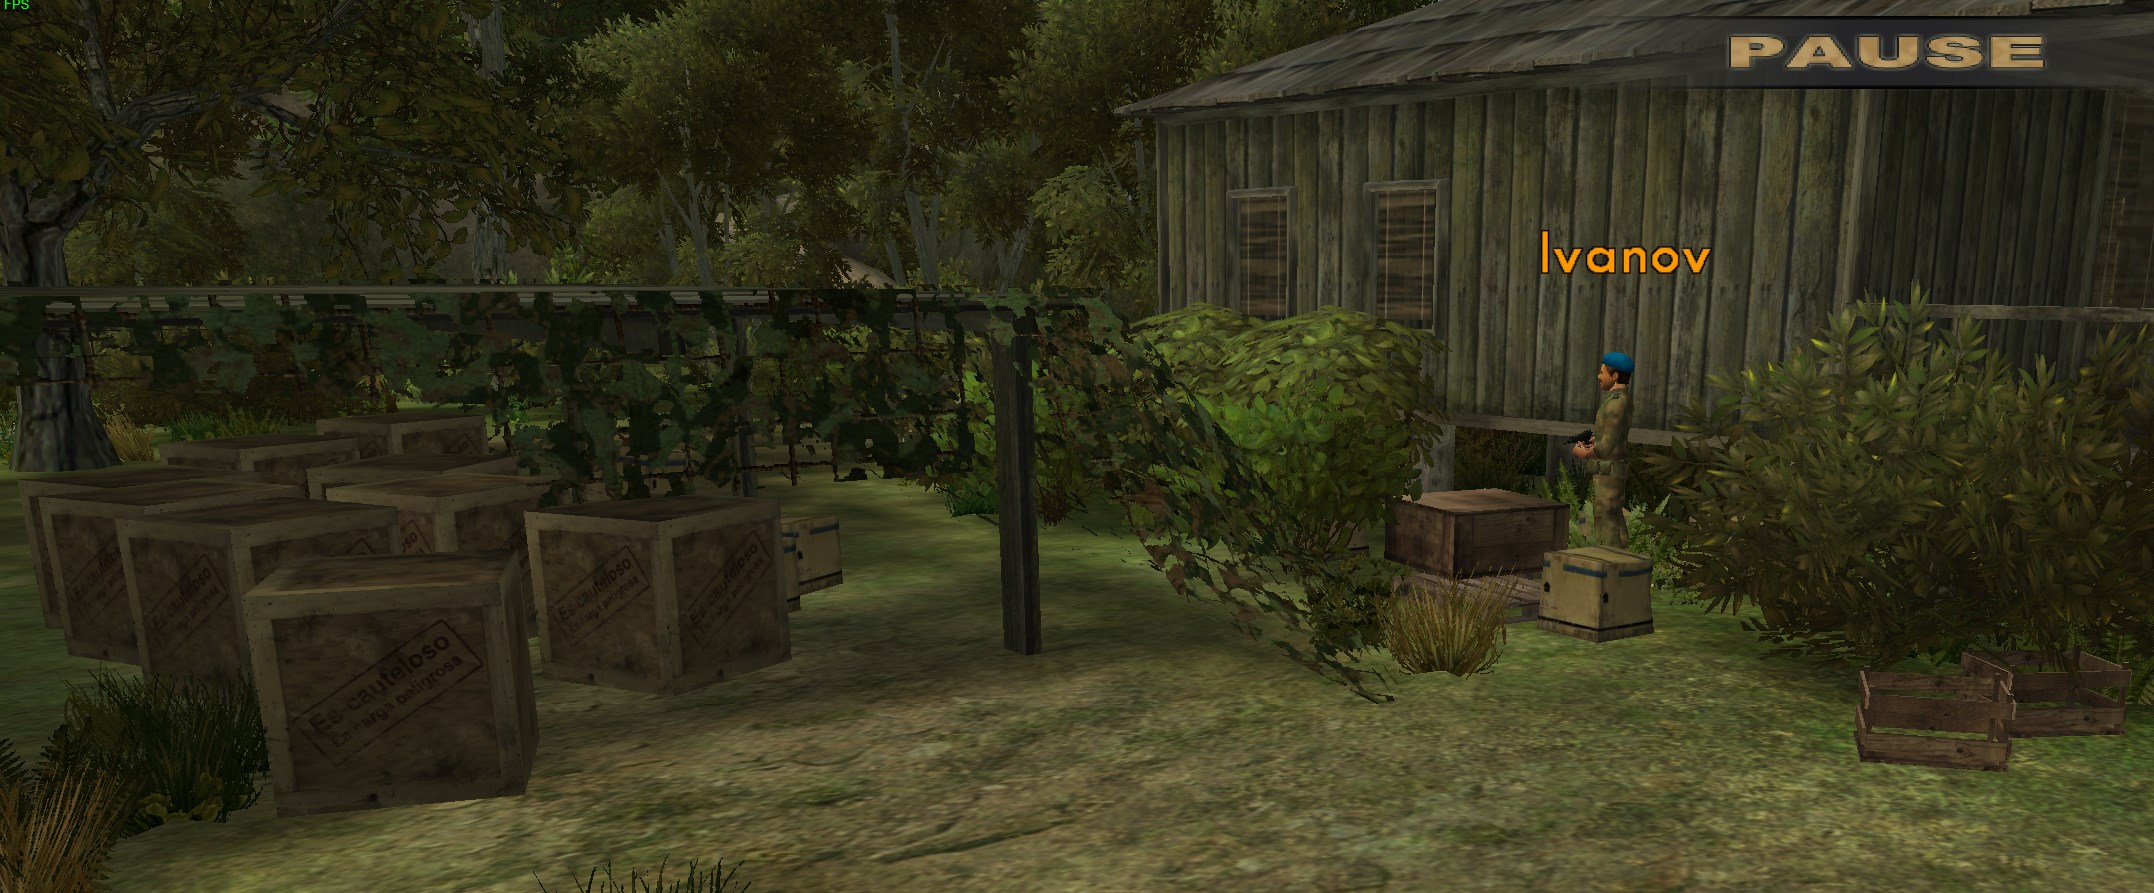
Once you’ve got your equipment, it is time to chase after the remnants of the scouting party and put an end to them before they report back to the government. Hit the “LEAVE” button in the bottom right of the screen, it’ll open up the world map.
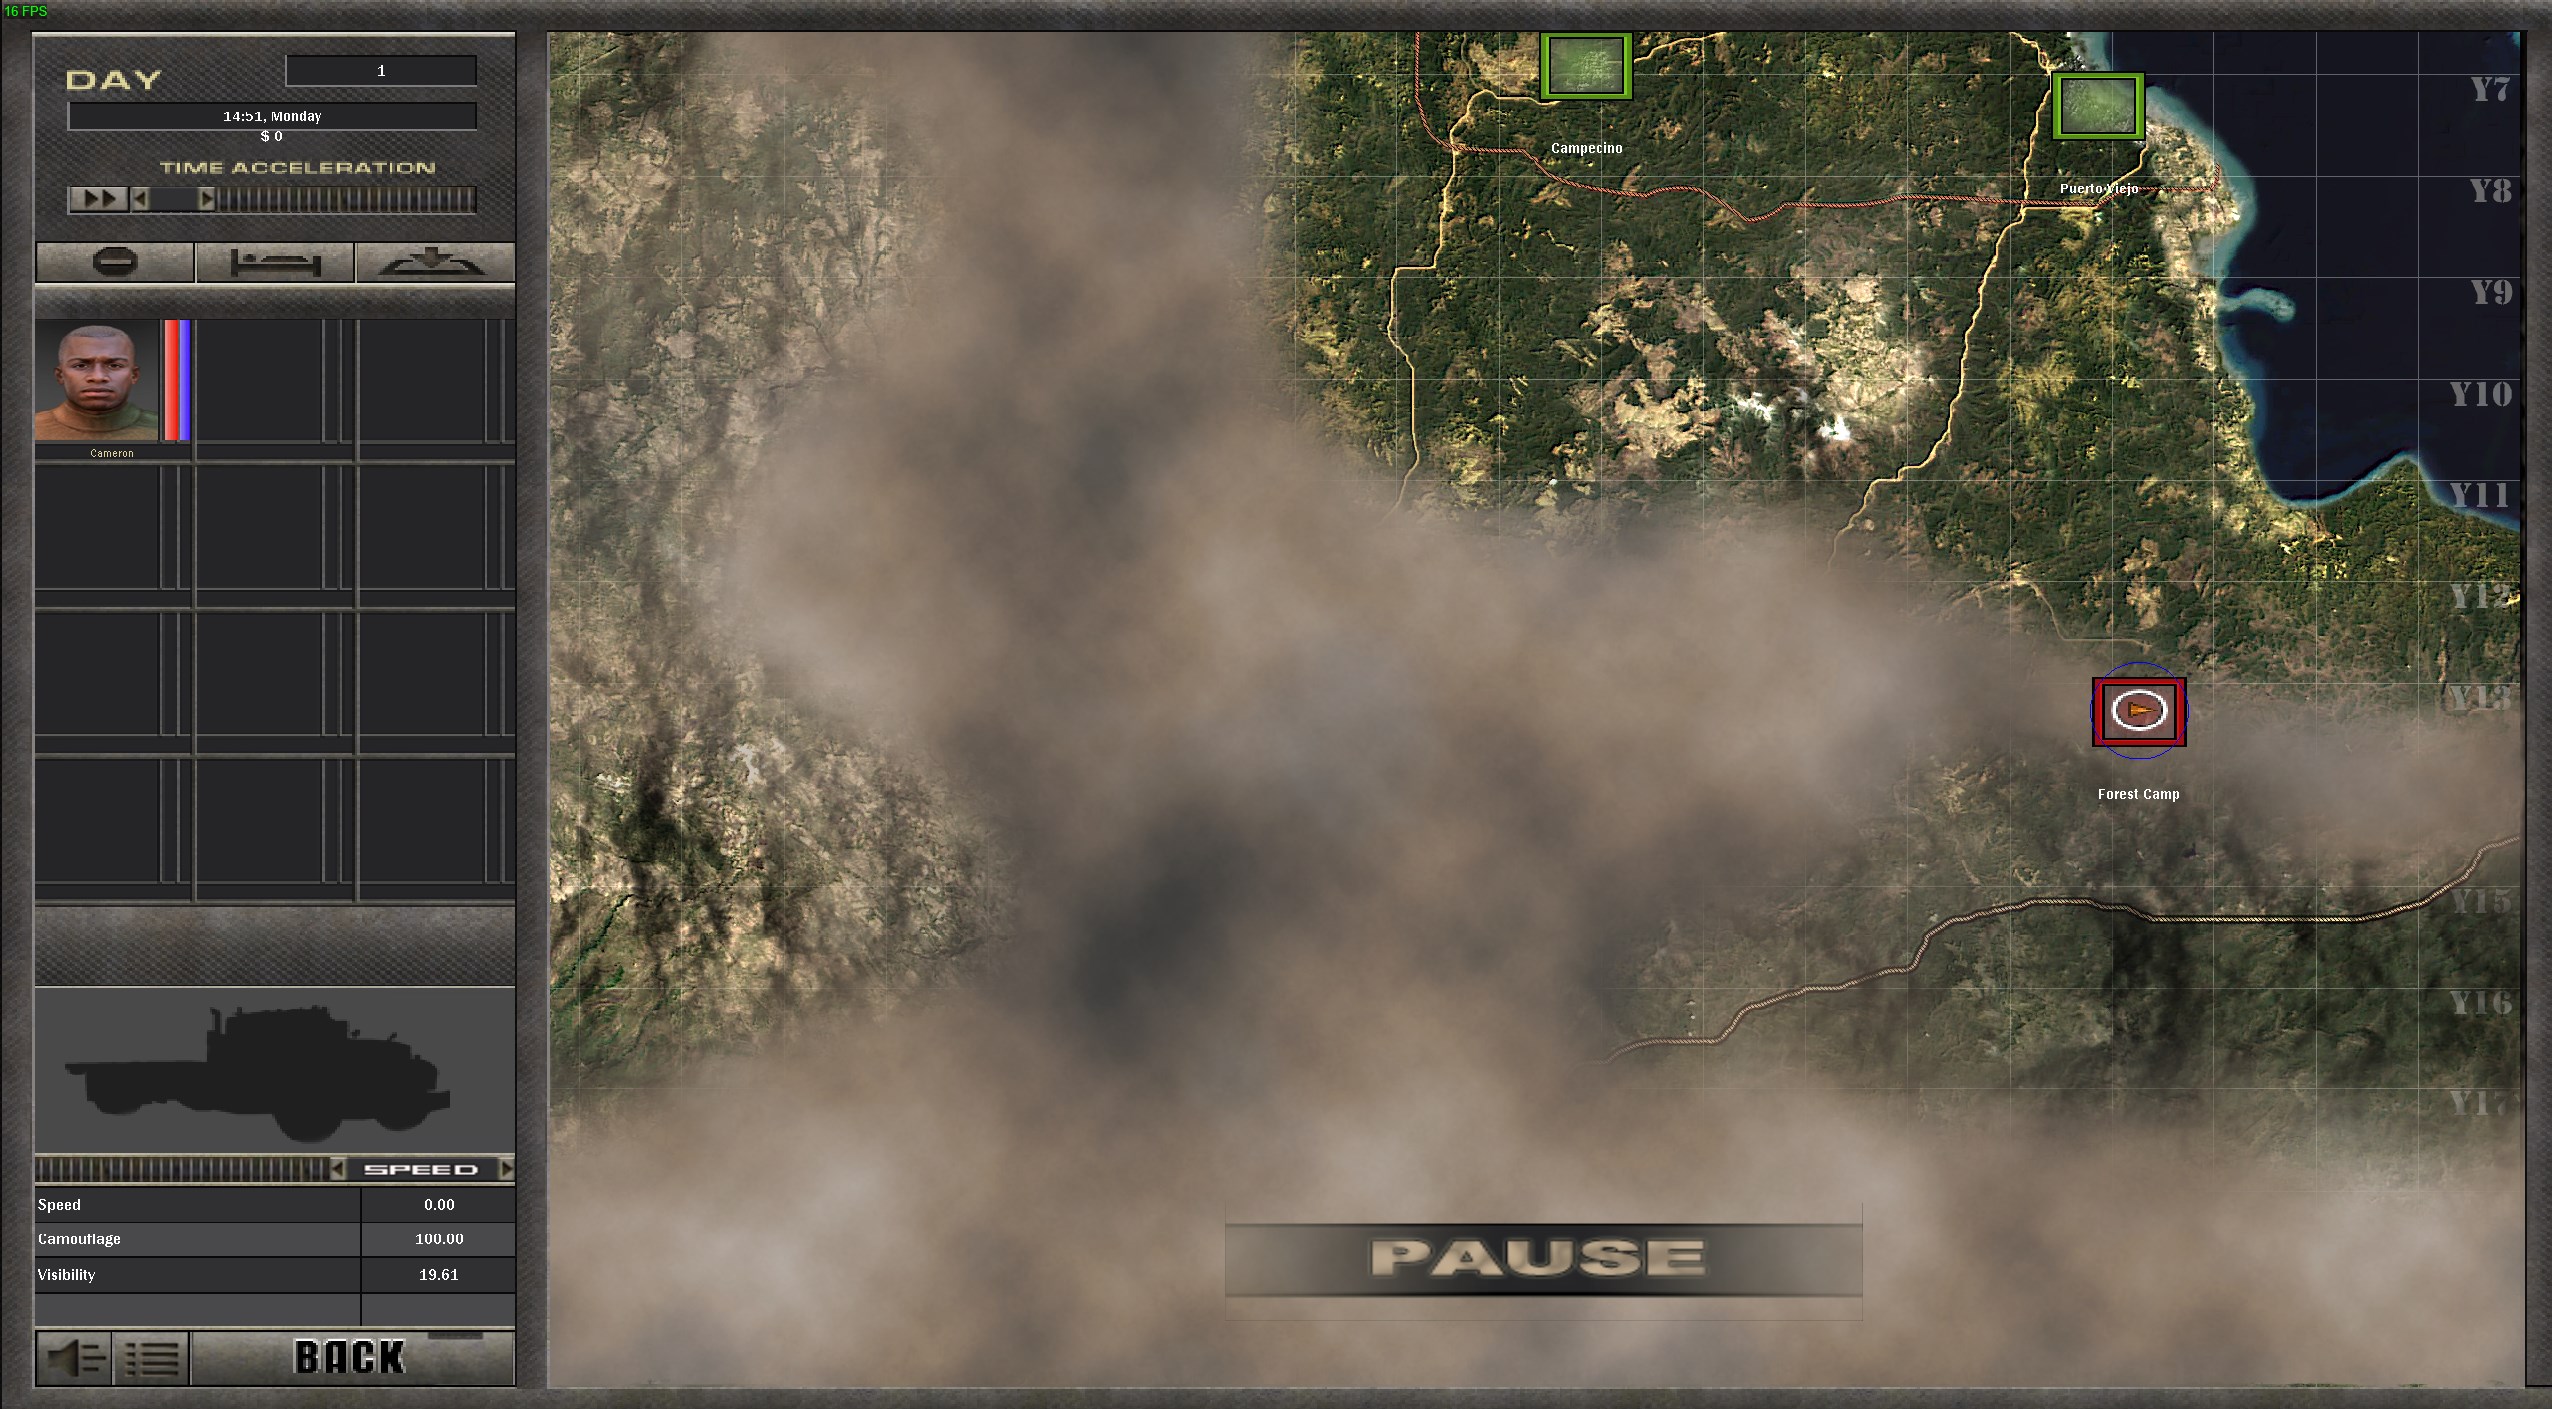
You’ll see a green-icon overlapped with your icon and that of the camp, this is the government forces. Go ahead and click northward in order to follow their direction. Once you’ve made it a sufficent distance from the camp you’ll be able to engage them by hovering over their icon and clicking on it, indicated by the red-arrow crosshair.
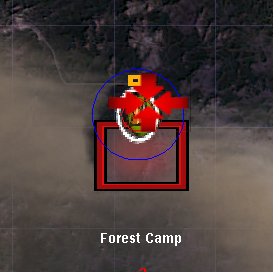
Refer to this guide on combat if you want to know a bit more than just click and hope for the best.
https://steamcommunity.com/sharedfiles/filedetails/?id=2100353991
Once you’ve dispatched of the enemy make the trek back to the Rebel Camp, find Marcelo standing in his usual spot and inform him that you took out the escaping forces. If he promotes you, go ahead and report back to the Weapon Master for an equipment upgrade, at this point you might have enough money to buy some new equipment from him as well.
THIS WALKTHROUGH USES THE “Give Everybody Guns” mod, I highly recommend it even for new players as it reduces some of the strange balancing present especially in the beginning of the game.
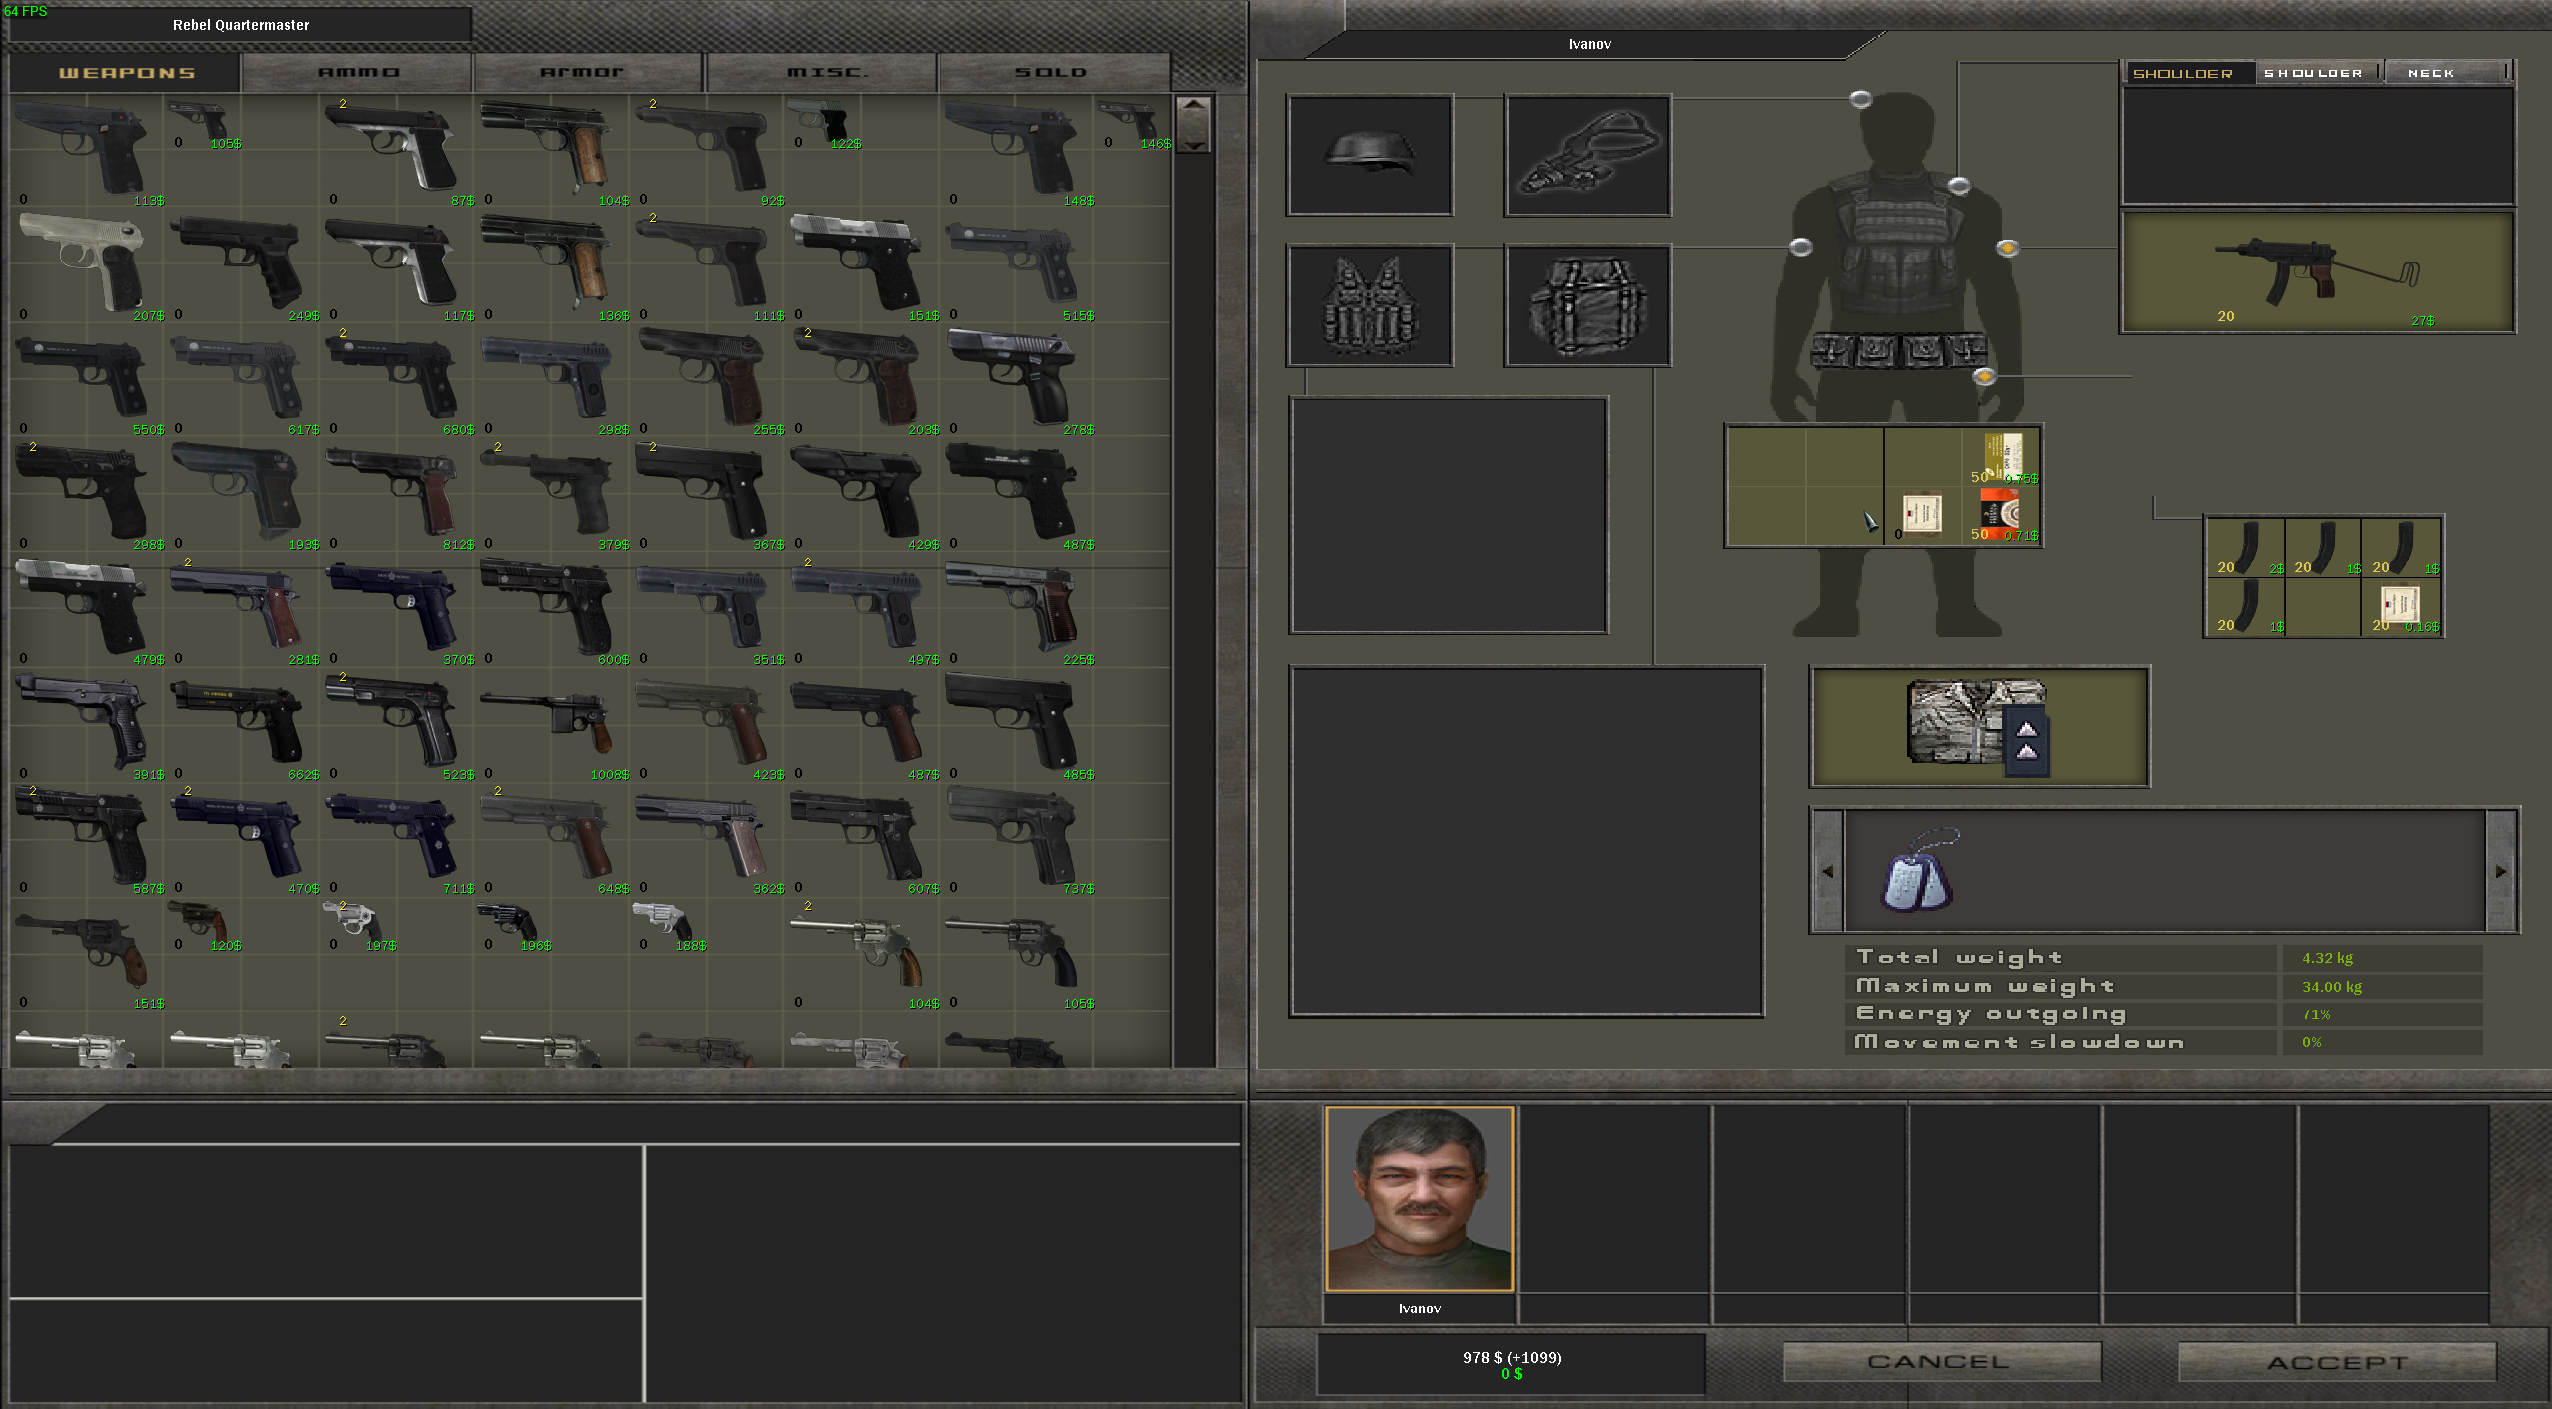
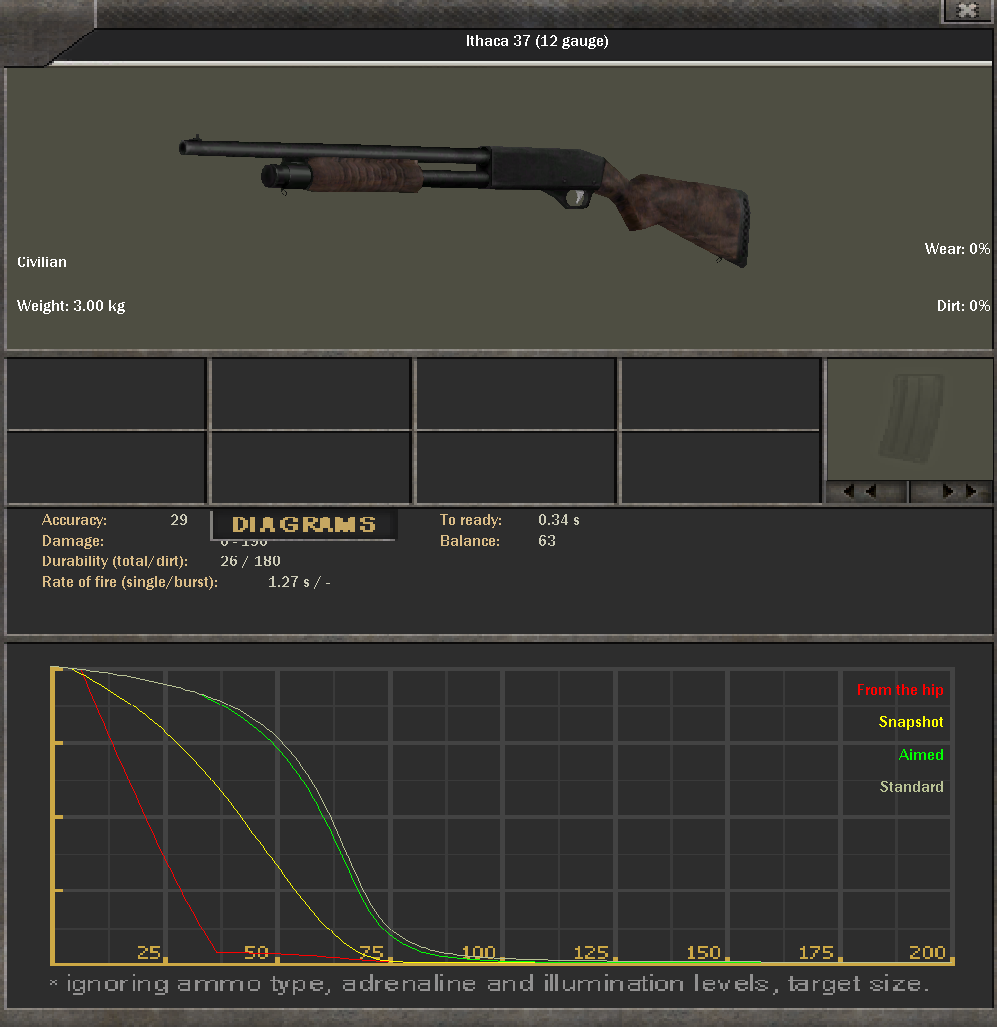
If you still need a long-arm a good weapon for the early game is a shotgun, they hit like a truck, have a lot of different ammunition options and you’ll be able to bring it with you into the government controlled zone as they are classified as “Civilian” weapons (only applicable if you have paper-checks enabled) Make sure you grab some buckshot or slugs to go with it.
Once you feel comfortable with your equipment go ahead and talk to Marcelo again, here we have two options but I’ll go with what I picked in my playthrough.
Ask him “How are you?”, if it is after around 9:00PM or so he will give you an assignment to keep watch over the camp. As soon as you exit the dialogue you will have to immediately sprint and chase after the prisoner shown in this picture.
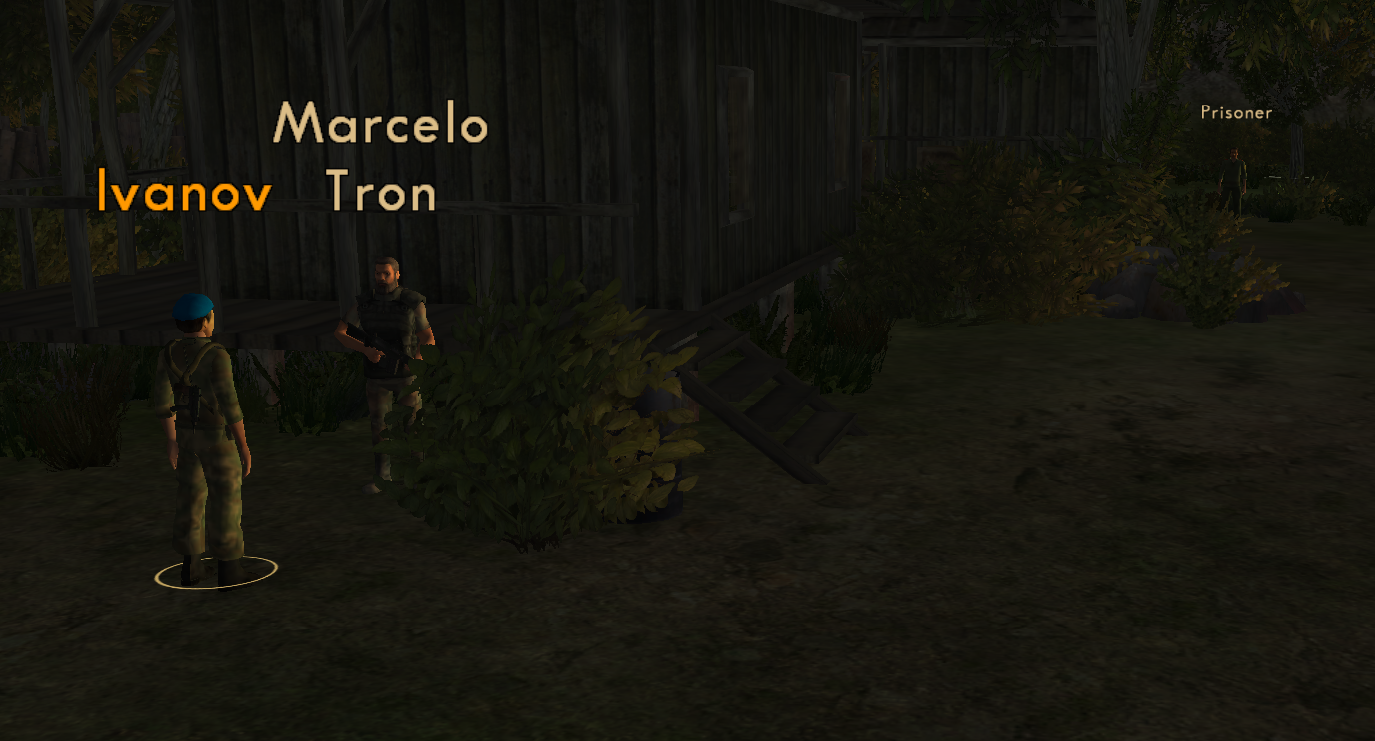
Once you’ve apprehended the prisoner head back to Marcelo and let him know about the attempted escape, he will give you a small reward, but all the cash we can get is useful.
Next tell Marcelo that you are bored, he will tell you to go collect some volunteers and return back to him.
The volunteers you can collect are:
- Servulo, found at the Kitchen
- The Three Skeptics around the Campfire to the North of Marcelo.
- The Fighter next to the Prisoner
Immediatelytake the item “Rico’s Photo” out of Servulo’s inventory and put it in your characters, this will be worth a lot of money later although it seems useless now. If you have any spare guns to equip Marco with he would be grateful (and likely much more useful), as he only starts with a pistol.
Return to Marcelo and repeat the previous dialogue, this time you’ve got people and he will let you in on the job. He wants you to go check out a nearby village that has been passing supplies on to the rebels, their latest shipment is late and you are to go and figure out the problem and bring back the supplies. Unfortunately he doesn’t have any cars to spare, so you and your new buddies will have to make the trek on foot. Helpfully, the area is only about a day away.
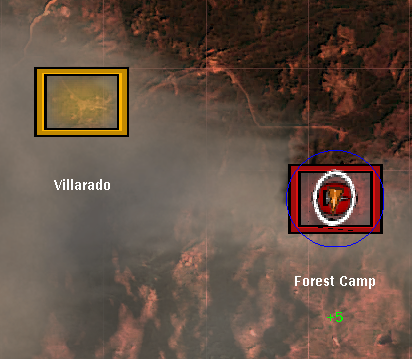
Upon arriving at the village you’ll get jumped by some bandits that were occupying the area. Defeat them and talk to the Village Elder located at this building.
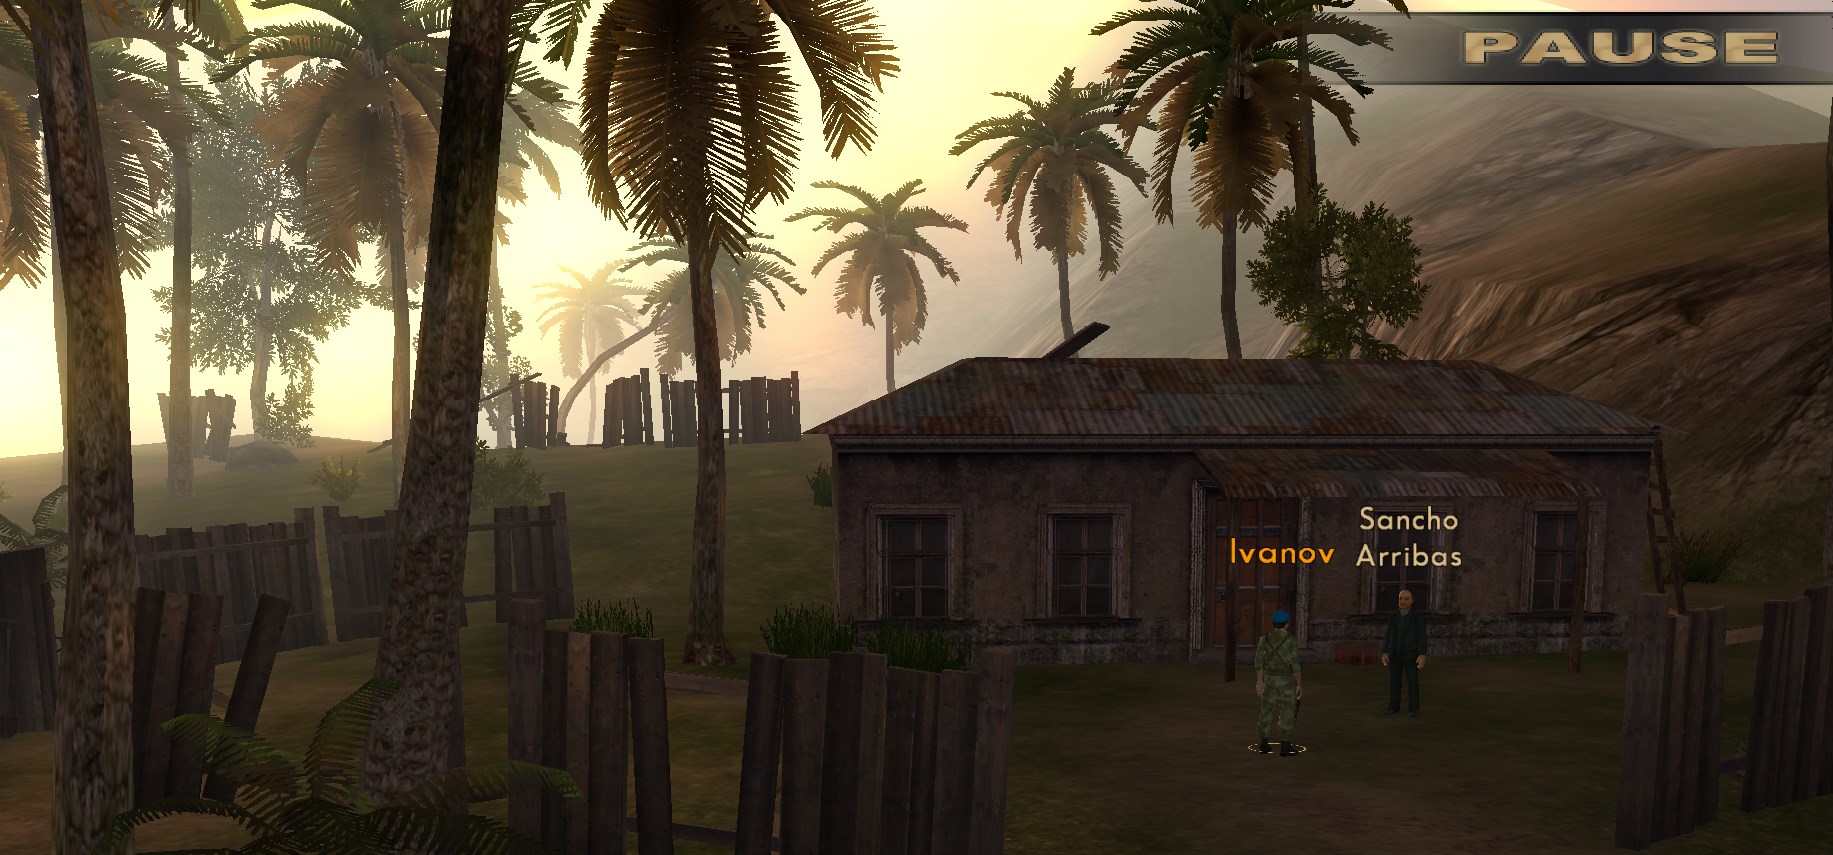
Villarado Defense
Talk to the Elder and he will explain that the supplies were stolen by bandits, who he fears will swiftly return to dole out vengeance for your impromptu slaughter earlier. Talk to the Elder a second time and offer to help him with his bandit problem. He’ll reveal that the village has a stockpile of WW1 and WW2 Era firearms they bought off a traveling merchant for a hefty price.
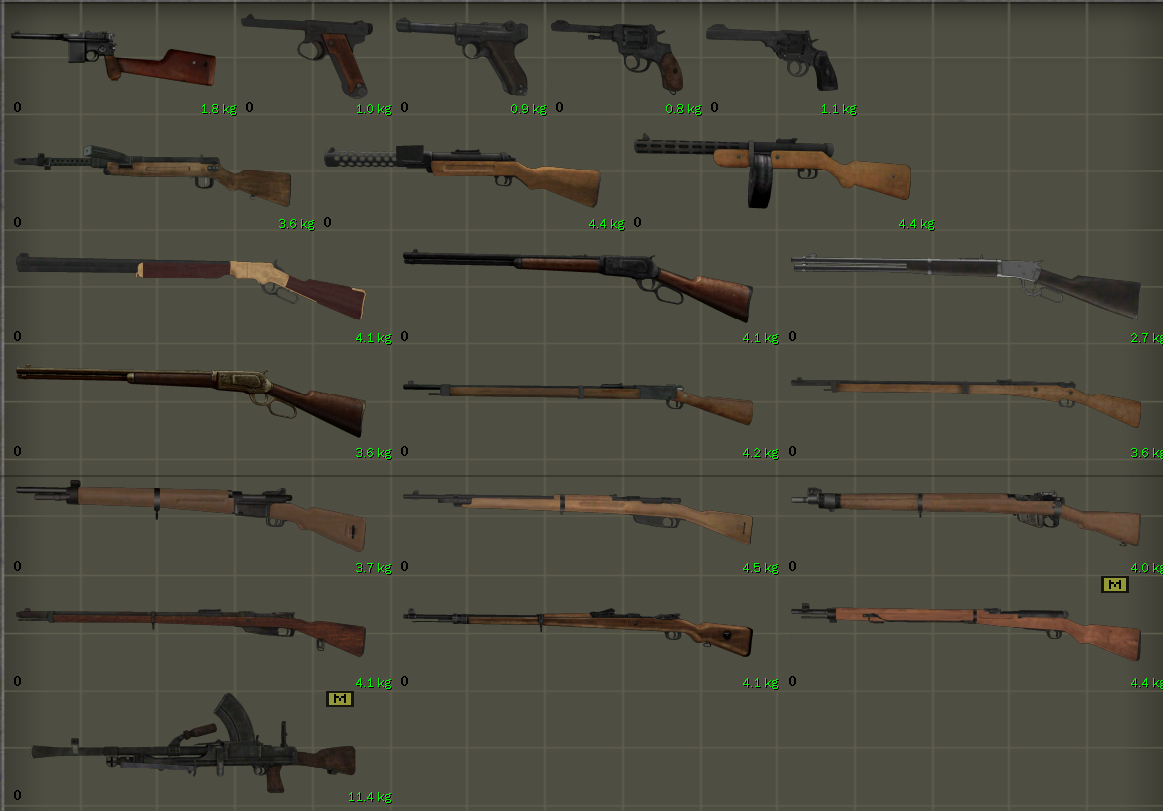
While you can re-equip yourself with these weapons, their main purpose is to arm the townsfolk.
Tell the elder to dismiss all non-combatants and call all combatants to the village center with him. You’ll see some NPCs start to leave the map and others flock towards your location.
As they come in, talk to them and equip them with items from the stash.
MAKE SURE TO GIVE THEM AMMO!
Talk to the Native, Elias in order to temporarily recruit him into your party.
Once everyone is armed and ready, talk to the elder again. While there is multiple options for how this fight can go, I’ve found that it is by far the easiest if you form the line along the right river bank. The peasants will start to move and get set up. Before we join them we need to grab a special something though.
I hope you enjoy the Guide we share about 7 62 Hard Life – 7 – 62 Hard Life – Beginners Guide and Walkthrough; if you think we forget to add or we should add more information, please let us know via commenting below! See you soon!
- All 7 62 Hard Life Posts List


Leave a Reply